Tools Day: Teeny Tiny Temple

What if you start weaving a project and realize your smallest temple is too big? And that your smallest temple is the smallest one they make. I am aware that most people do not use a temple for something this narrow, 16.7 cm/6.5 in. width in the reed, but this is a rag rug. A miniature rosepath rag rug. And draw-in is inevitable, which leads to weaving headaches like broken selvedge warp ends. A temple helps prevent all that.

Smallest temple is too big. How I solved this dilemma.
Smallest Glimåkra temple is two inches wider than my weaving width.

I have seen makeshift temples that I could try, but my genius husband has a better idea. Why not cut down my little temple to the size I need? So he takes the tiny temple out to his workshop in the garage and turns it into a teeny tiny temple! (He does this knowing full well that I will need to replace the temple being cut.)

Cutting a temple down to make a teeny tiny temple.
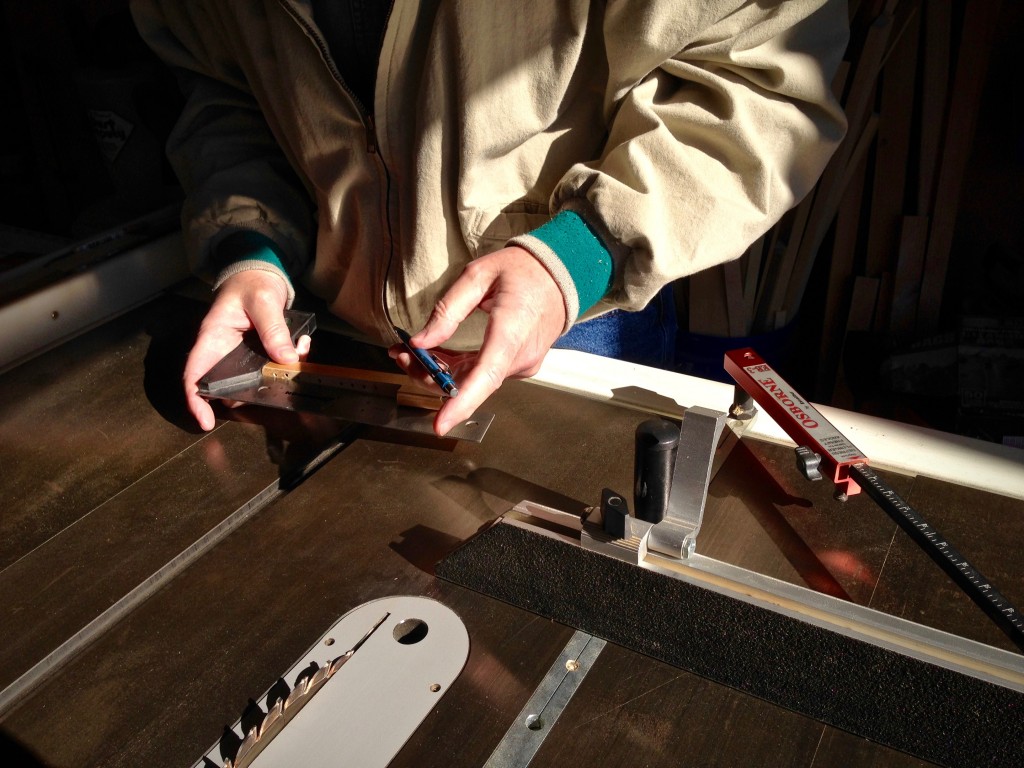
Measure twice; cut once. Steve marks his cutting lines on the original temple parts.
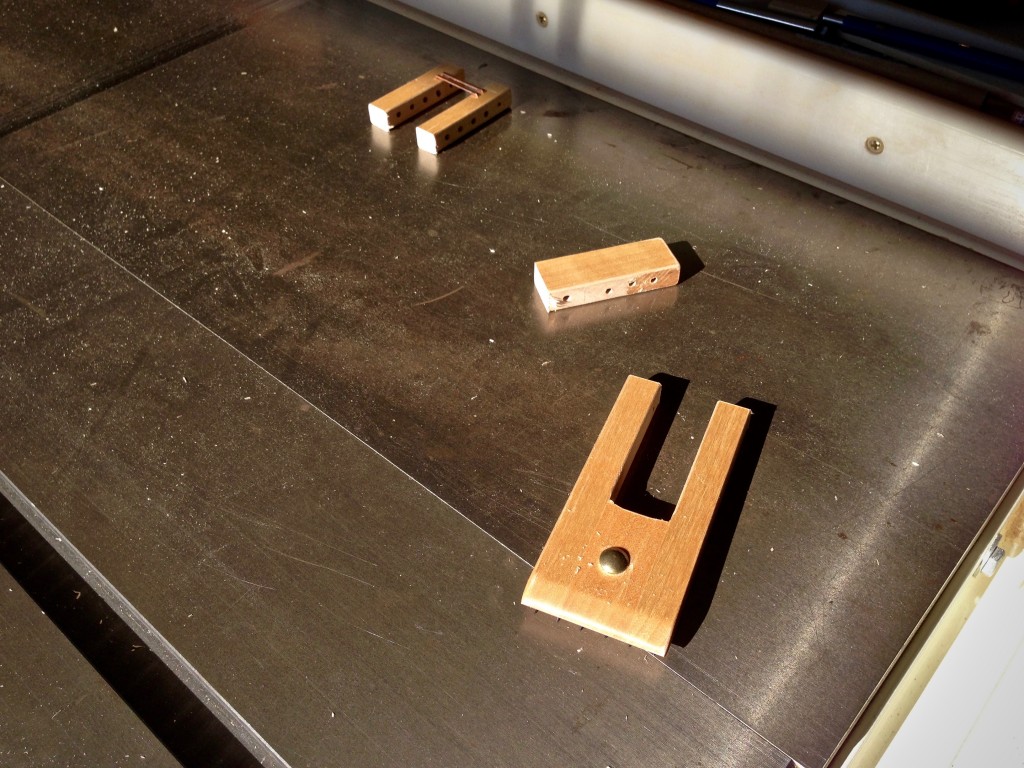
Small temple is cut down to teeny tiny size.
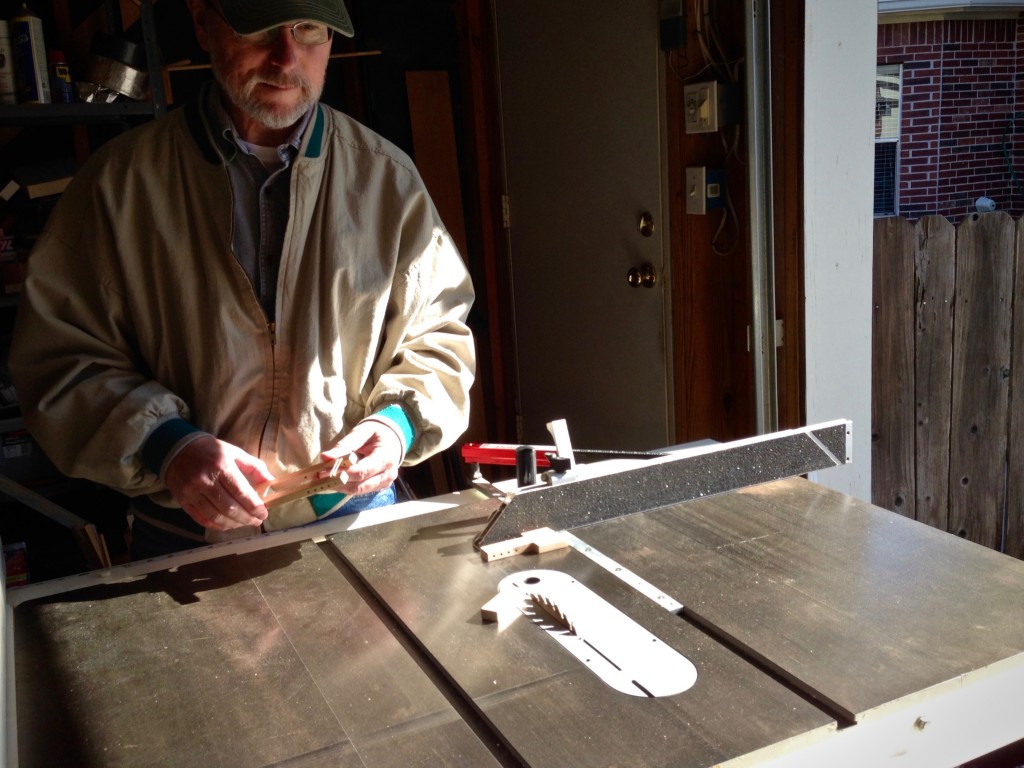
Happy with the first cut, Steve is now ready to let the second piece meet the saw blade.
Small temple is cut down to teeny tiny size. It works!
Once cut apart, we wonder if a temple this tiny will work? Will there be enough length for the pieces to pivot as needed? There’s one way to find out…

Perfect! It works! And holes for the locking pin line up, too!

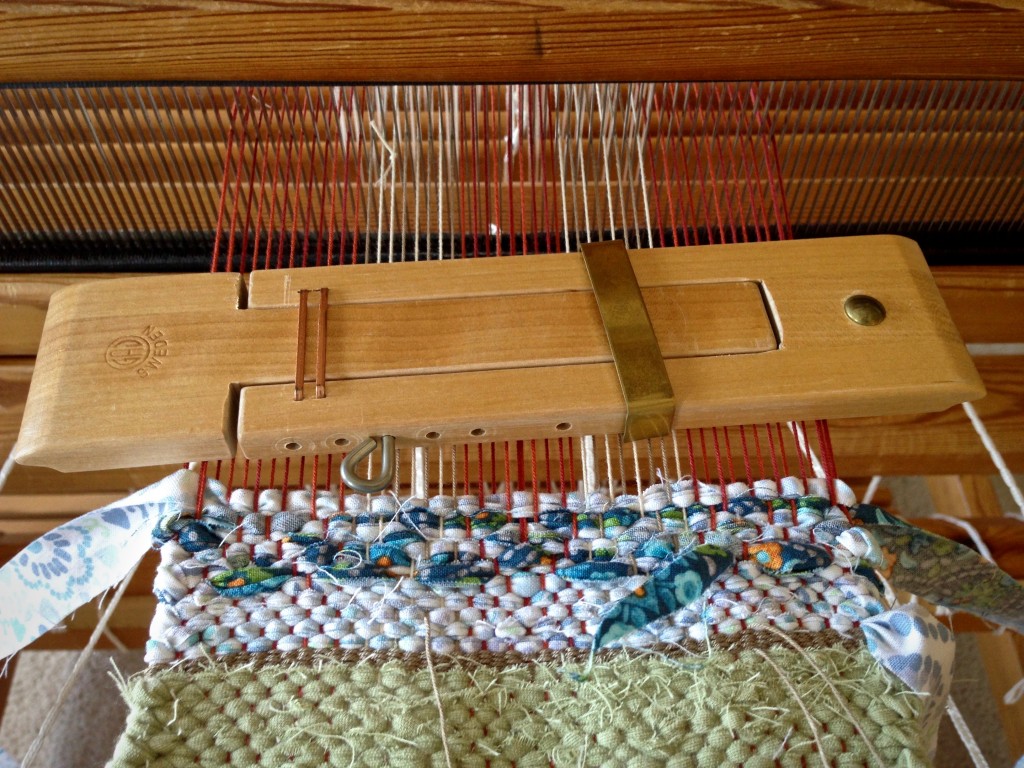
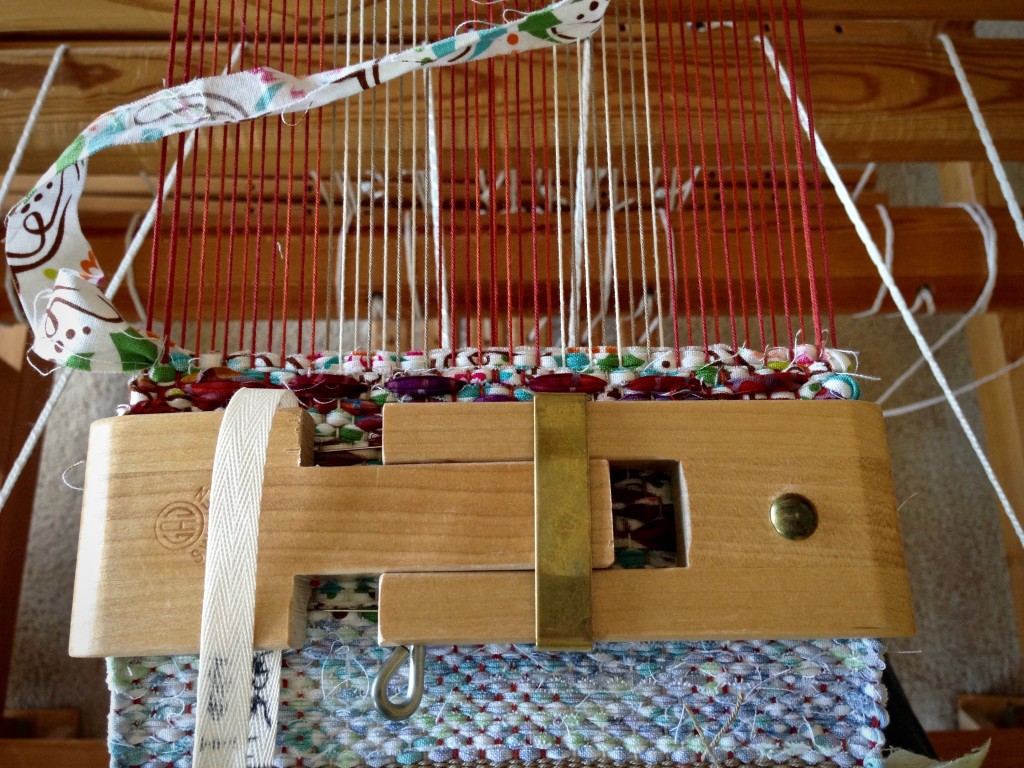
Teeny tiny temple in place on miniature rag rug. (6 1/2")
Teeny tiny temple does its job. Yay!
Start of a mini rosepath rag rug. Karen Isenhower
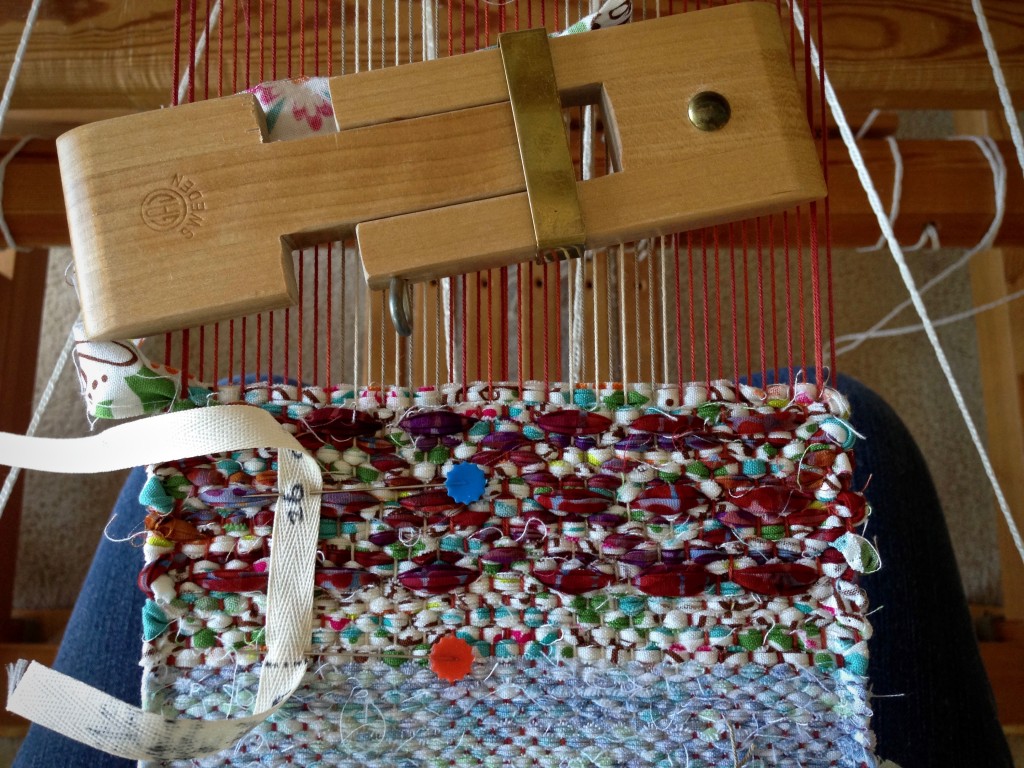
Start of a miniature rosepath rag rug.

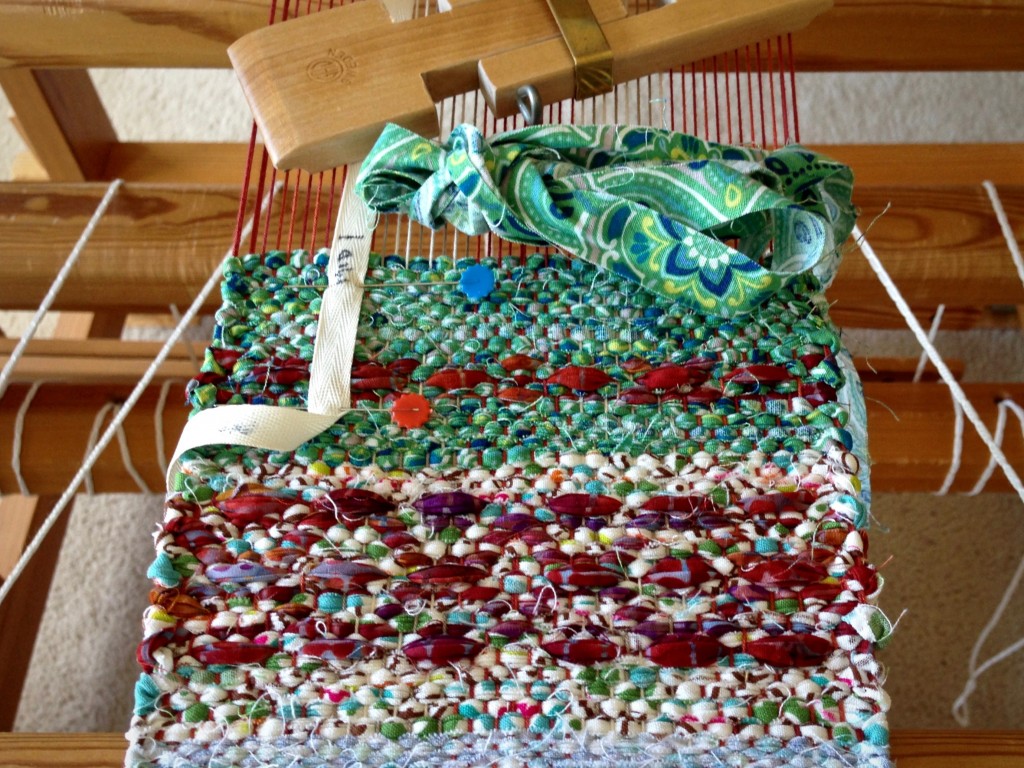
Mini rosepath rag rug in the making.

May you cut your problems down to size.

A little weaving,
Karen

Quiet Friday: Double-Width Blanket Progress

Do you ever feel like you are just not making progress? Stopping bad habits and starting good ones can feel like that. Or, what about that craft project you meant to finish before Thanksgiving? The loom is one place where progress is visible. You can’t fool yourself; the cloth beam shows you how far you have progressed. I find it encouraging to see the fabric that has been woven. What starts with an idea shows up as cloth.

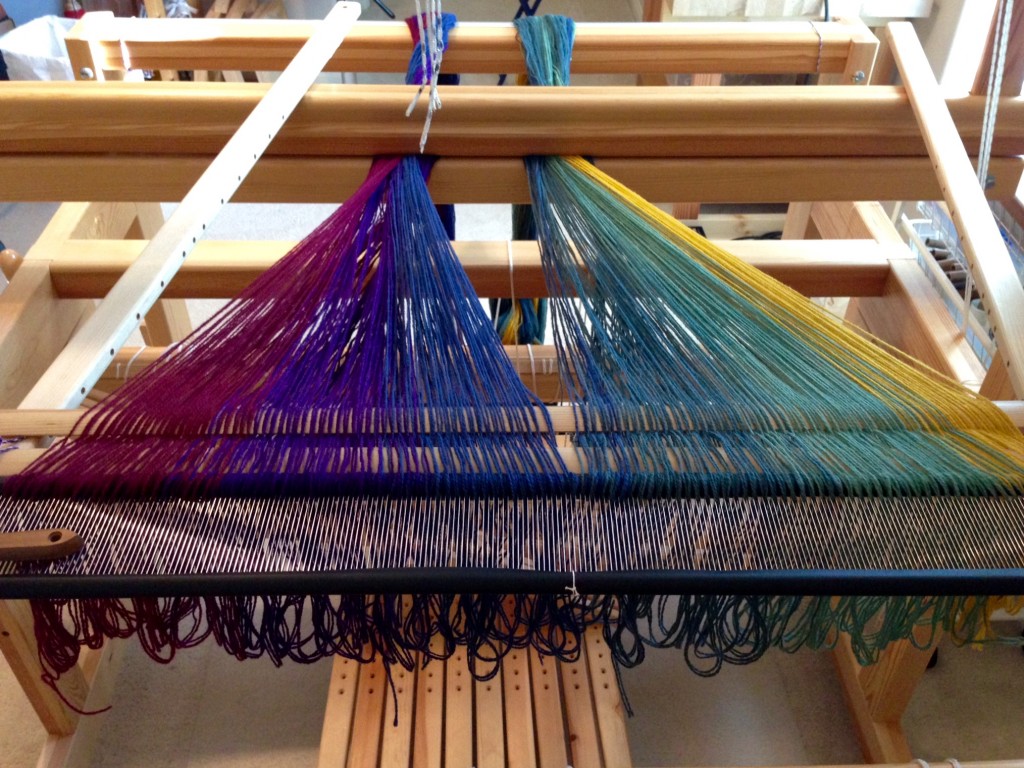
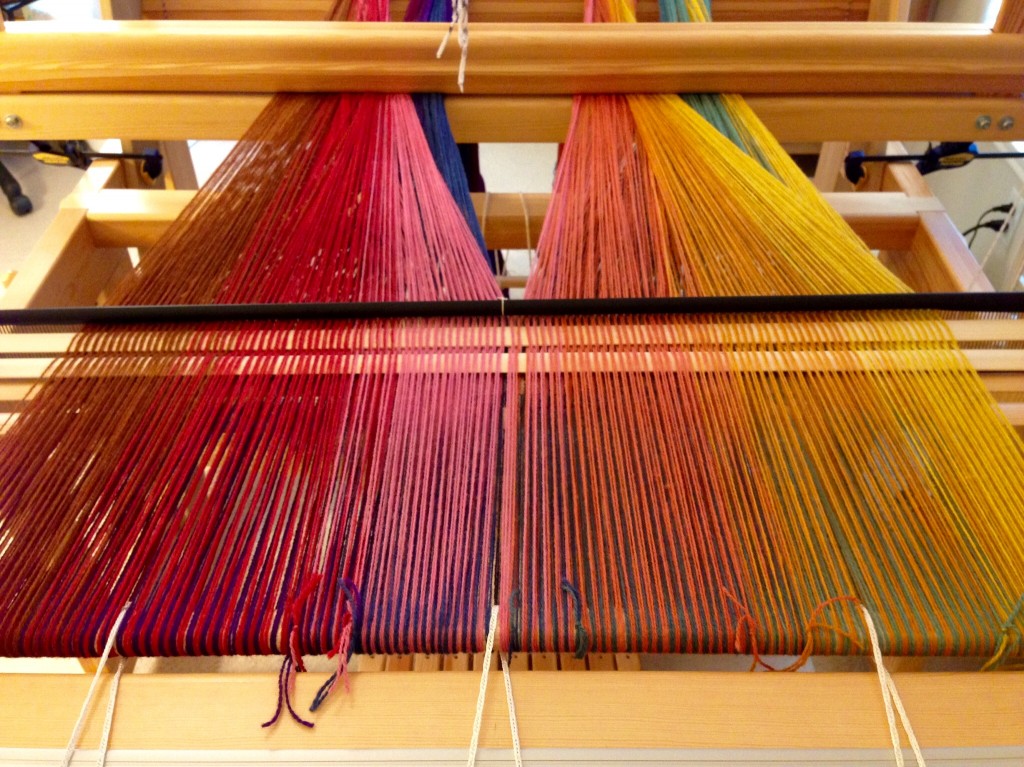
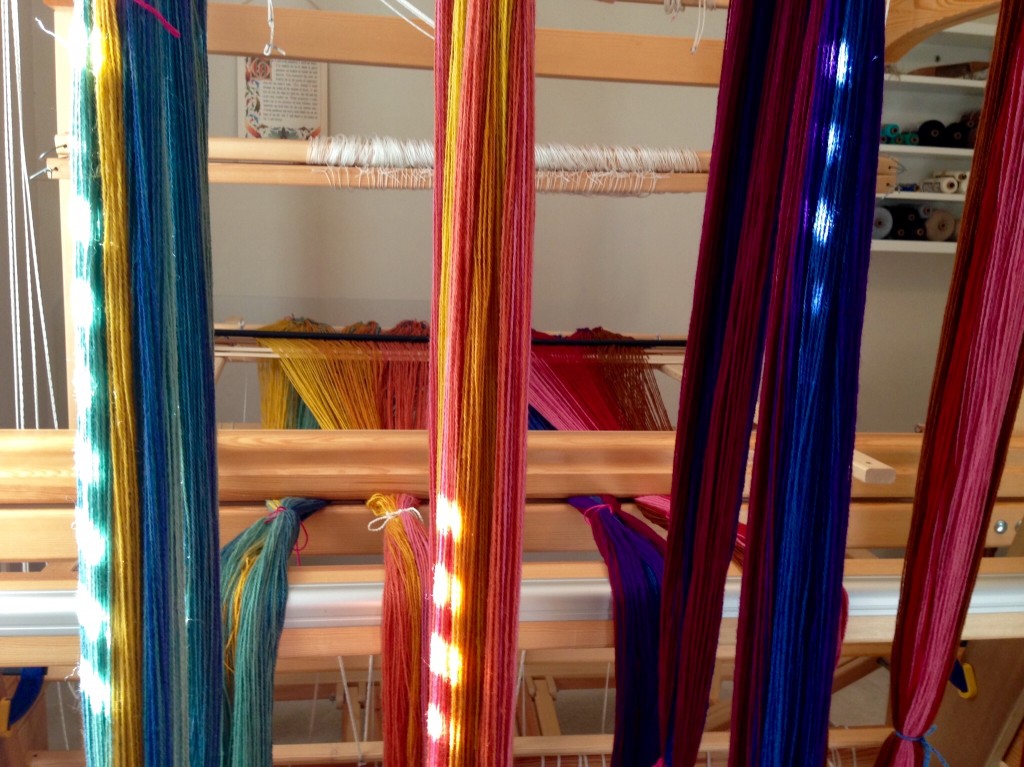
Blanket idea with eleven colors of wool.
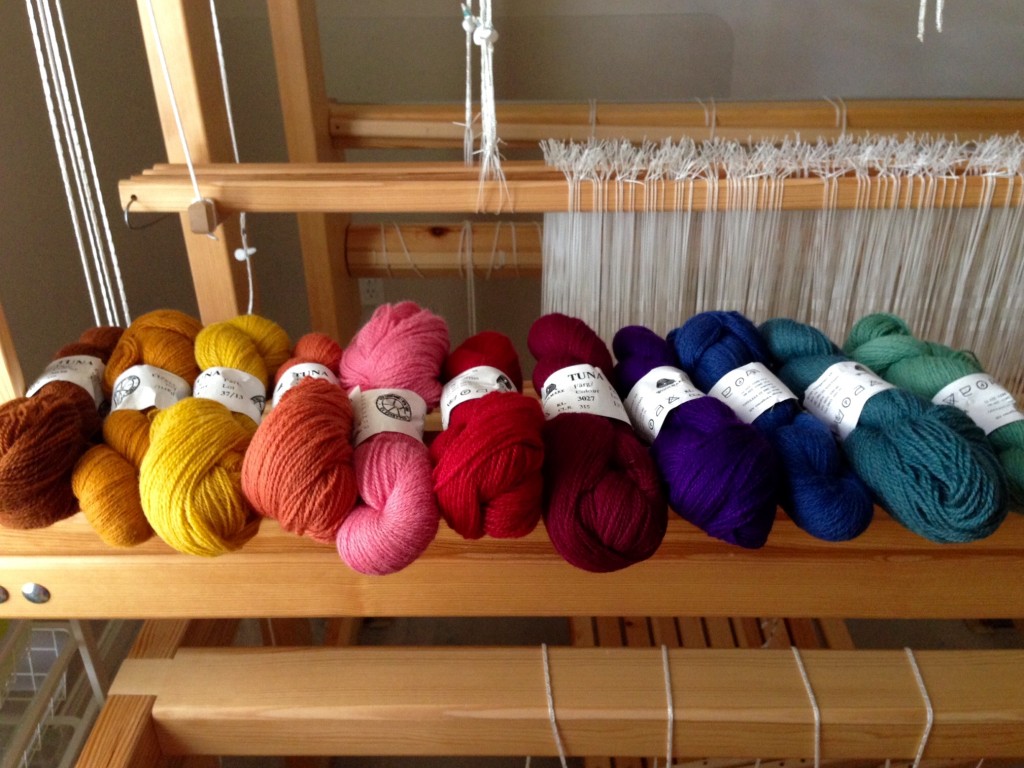
It all started with an idea and eleven colors of wool.

As we settle into the very end of this year, we know that time keeps rolling on. The warp keeps advancing. This is a great time to look at the cloth beam of our life and see the progress. Like this blanket, much has been accomplished, but there’s more work ahead before it is time to cut it from the loom.

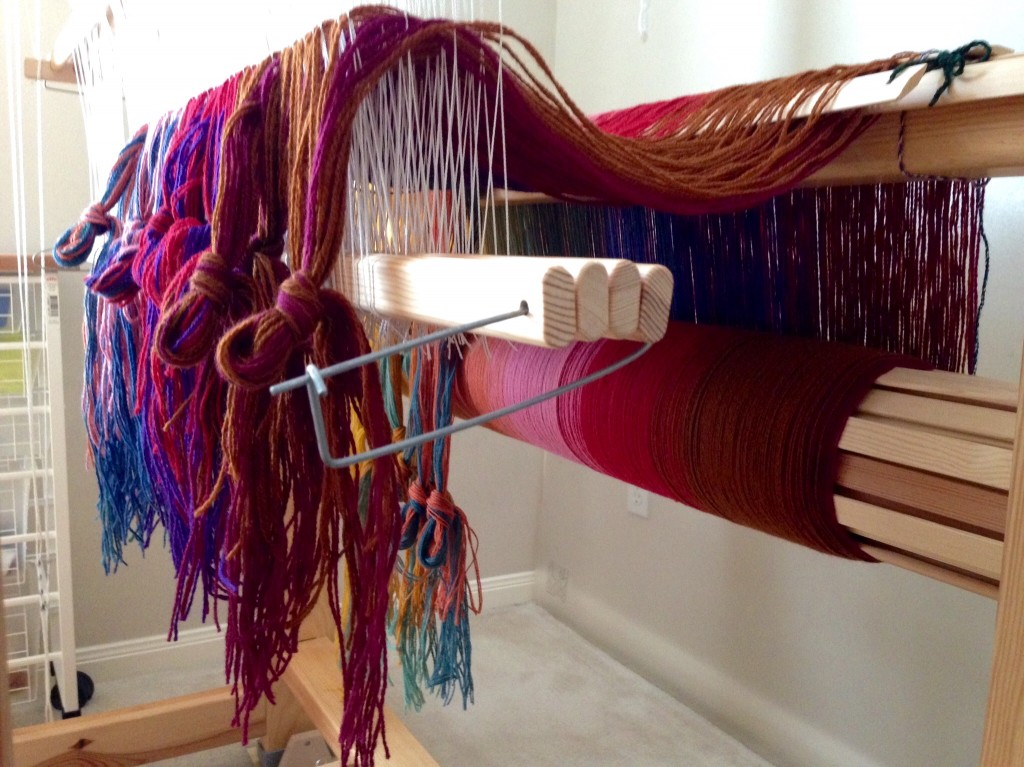
Bottom layer of double weave blanket is spread on the loom.
Bottom layer is spread on the loom.
Upper layer of double weave is spread on the loom.
Upper layer is spread on the loom; and the two layers are combined on the back tie-on bar. Two sets of lease sticks keep all the ends in order.
Beaming on double weave blanket with warping trapeze.
Beaming on two warps at once. After removing the choke ties, I beamed on with the warping trapeze, slowly and carefully. I stopped every few inches to check everything, to make sure nothing was getting hung up anywhere.
Threading heddles for multi-color wool blanket.
Threading heddles.
Sampling helps determine optimum weft colors.
Sampling helps determine weft colors, as well as checking the sett and weft density.
Warp ends ready to tie onto front tie-on bar.
Sample is cut off and warp ends are tied in bundles, ready to re-tie to front tie-on bar.
Wool Blanket sample piece after wet finishing and brushing.
Sample piece, after wet finishing, air drying, and brushing.
Fringe, twisted on the loom, at the beginning of the wool blanket. Follow progress.
Fringe, twisted on the loom, goes over the breast beam as the body of the blanket is being woven.
Pics show double weave blanket progress on the loom.
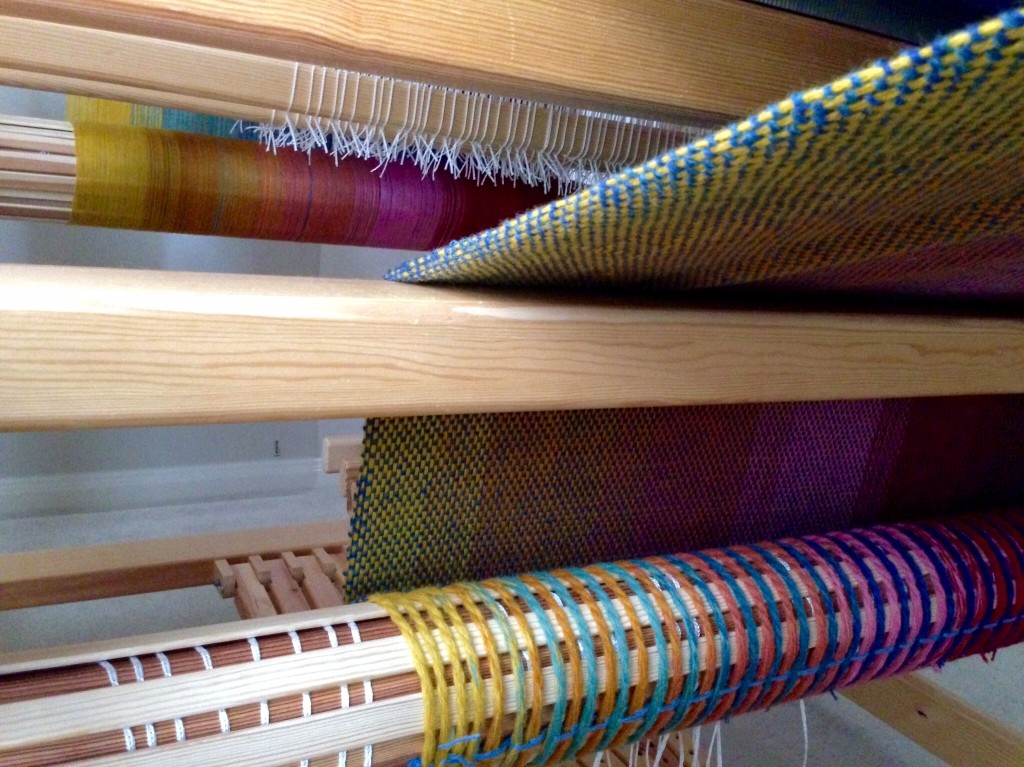
Progress is revealed. The beginning blanket fringe has reached the cloth beam! The fold edge of the blanket is in view.
Dusk dims, yet enriches, the colors. Karen Isenhower
Dusk dims the colors, yet enriches them at the same time.
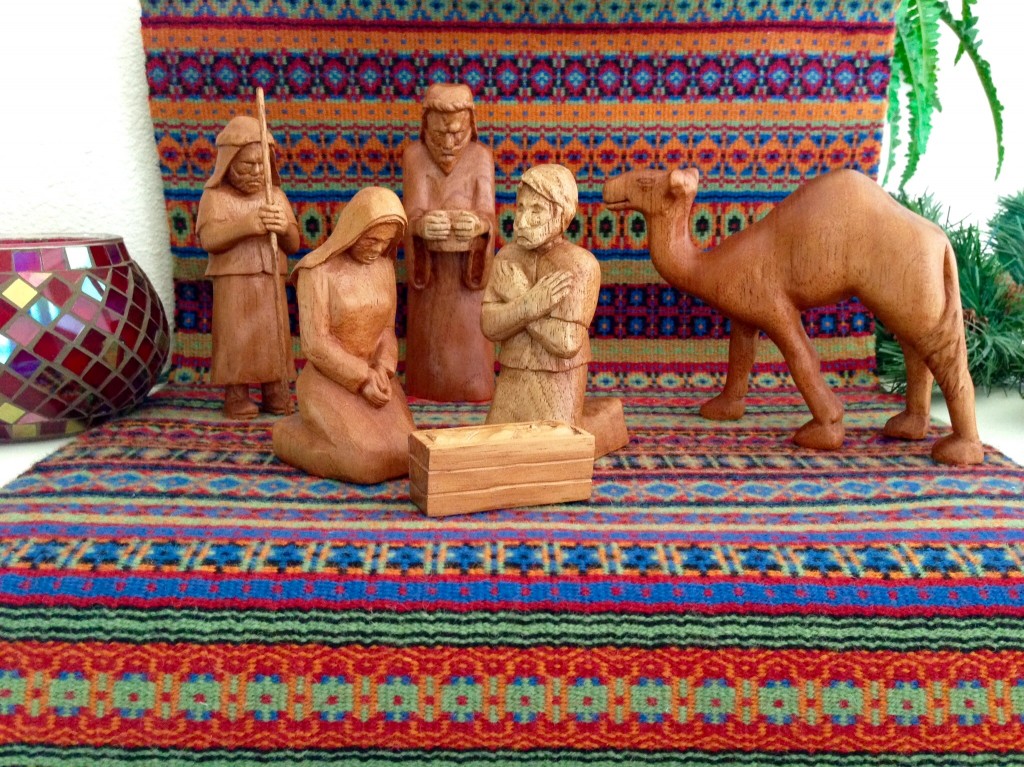
Hand-carved Nativity on handwoven bound rosepath. The Isenhowers.
Glad-hearted Christmas to all! The camel is this year’s new figure in the hand-carved Nativity by Steve Isenhower. Bound rosepath provides the backdrop.

May you enjoy reflecting on the progress you have made this year.

Happy Christmas and a Merry New Year,
Karen

Tools Day: Enough Shuttles for Now

If I line up all my weaving shuttles, end to end, how far do you think they will reach? The accumulation started slowly, adding a shuttle here and there, as needed. My husband contributed to my collection by handcrafting some of the shuttles for me. “I could use a stick shuttle in such-and-such a size.” “Okay, dear,” he would say, before going out to the garage to whip up yet another yardstick shuttle for my rigid heddle loom.

Ski shuttles are for rag weaving. Boat shuttles are for almost everything else. Most of my boat shuttles are traditional Swedish shuttles. All these fascinating shuttles, such simple tools, work the wonder of weaving.

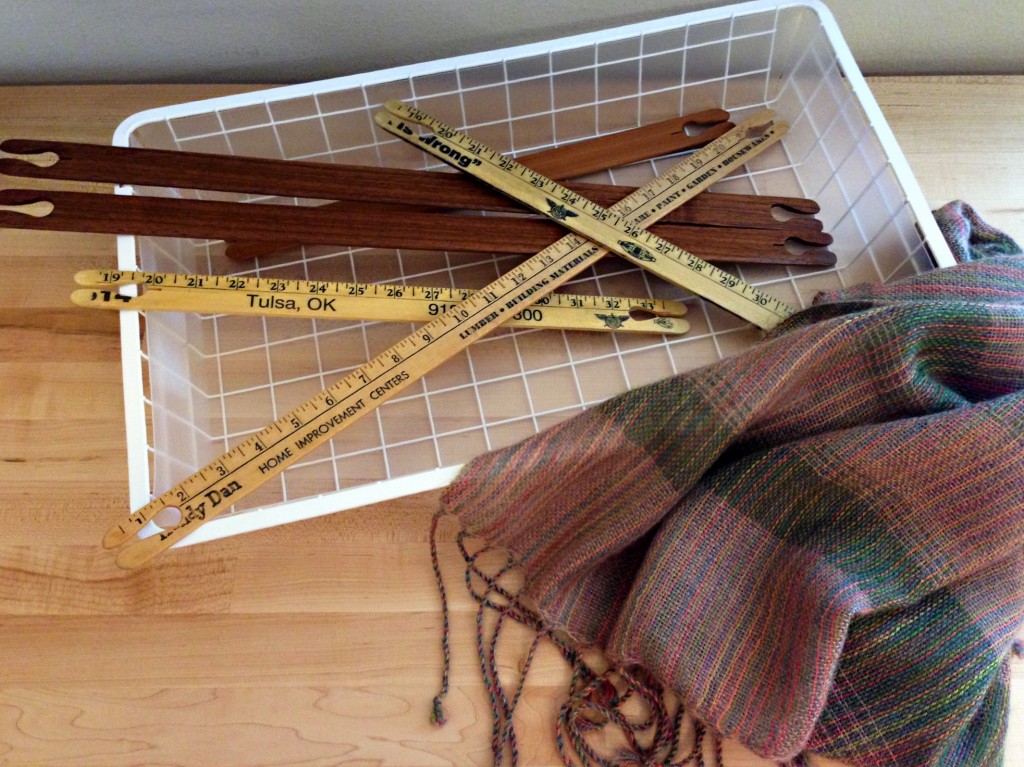
Hand-crafted walnut stick shuttles for rigid heddle loom. Mohair/silk/alpaca shawl.
Shawl woven on 32-inch rigid heddle loom, with super kid mohair/silk and baby alpaca. Smooth, handcrafted walnut stick shuttles were used for this project.
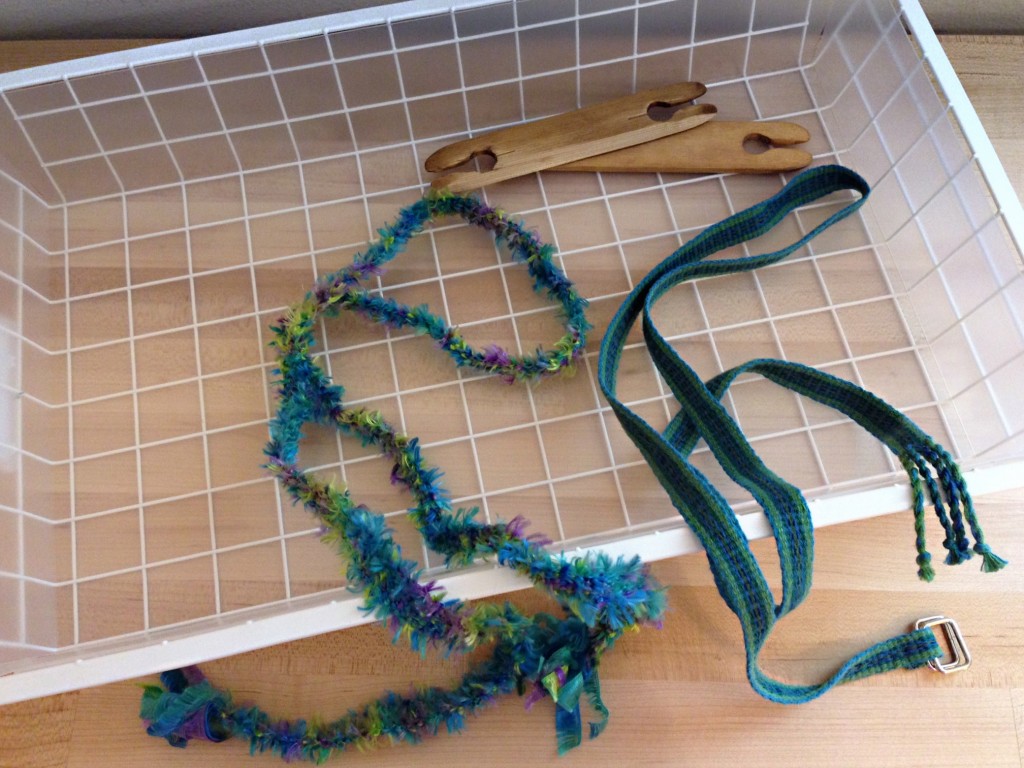
Novelty yarn woven on inkle loom.
Tapered edge on pine inkle loom shuttle helps for beating in the weft. I have been known to weave with crazy novelty yarns on my inkle loom.
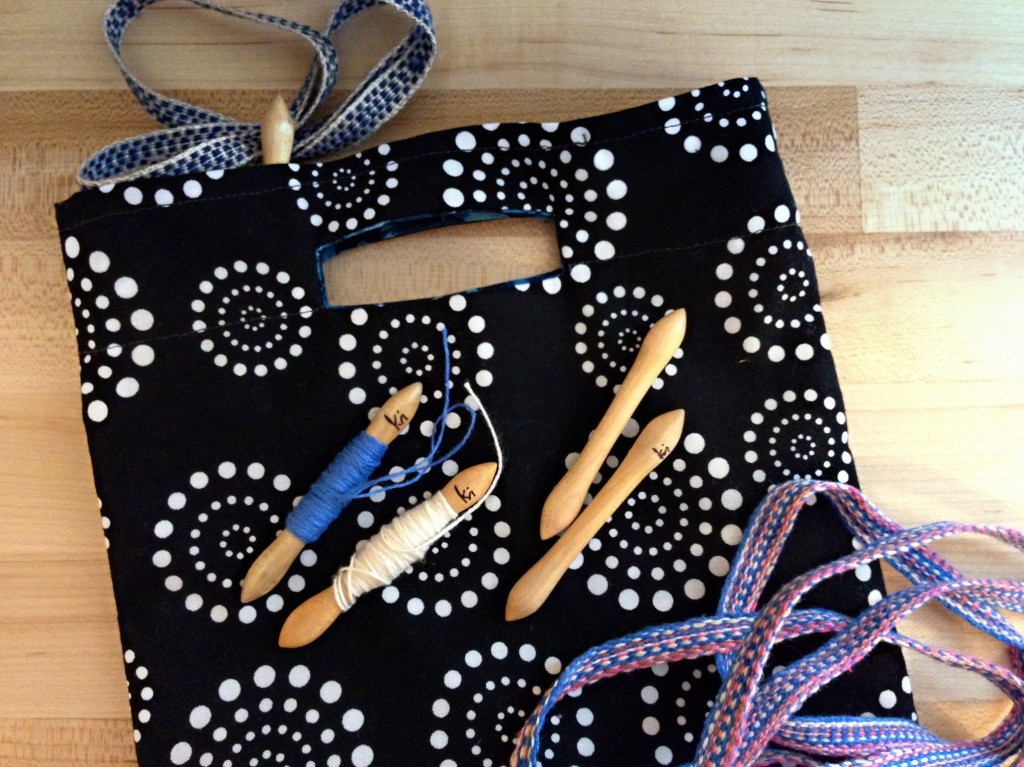
Hand-carved maple band loom shuttles, and woven bands.
Maple band loom shuttles, hand-carved by my husband, *live* in a small handmade bag that hangs on the back corner of the band loom. This shaped shuttle is perfect for the tricky one-handed manipulation that is needed. If they are too smooth and polished, however, they slip right out of my hand.
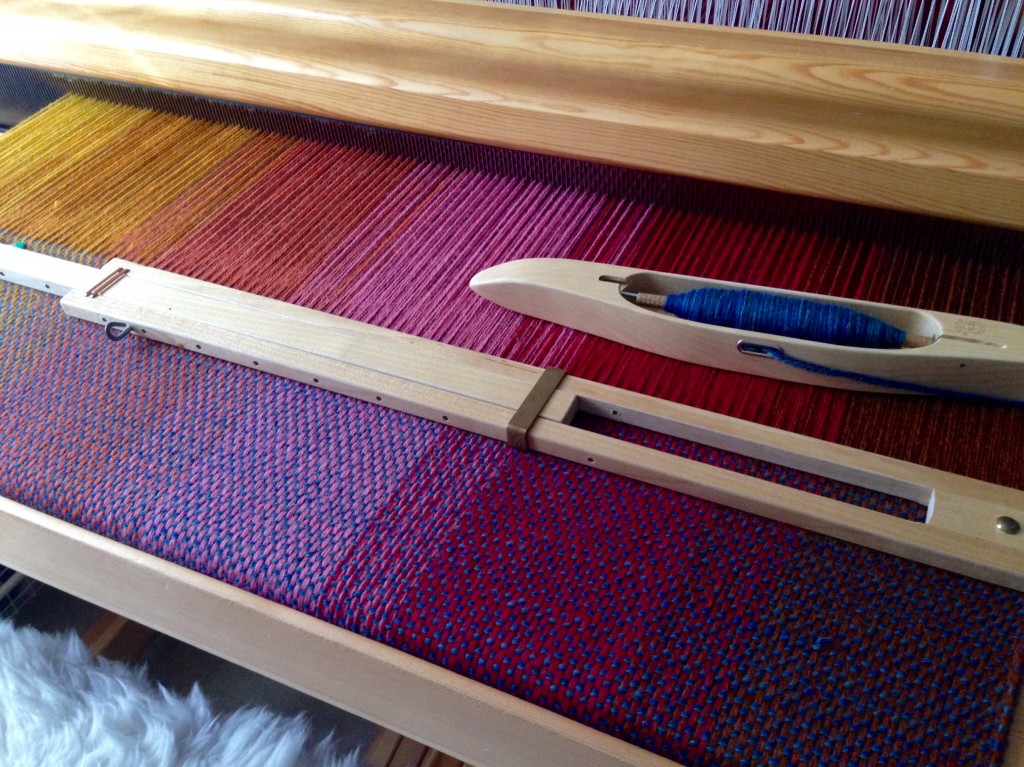
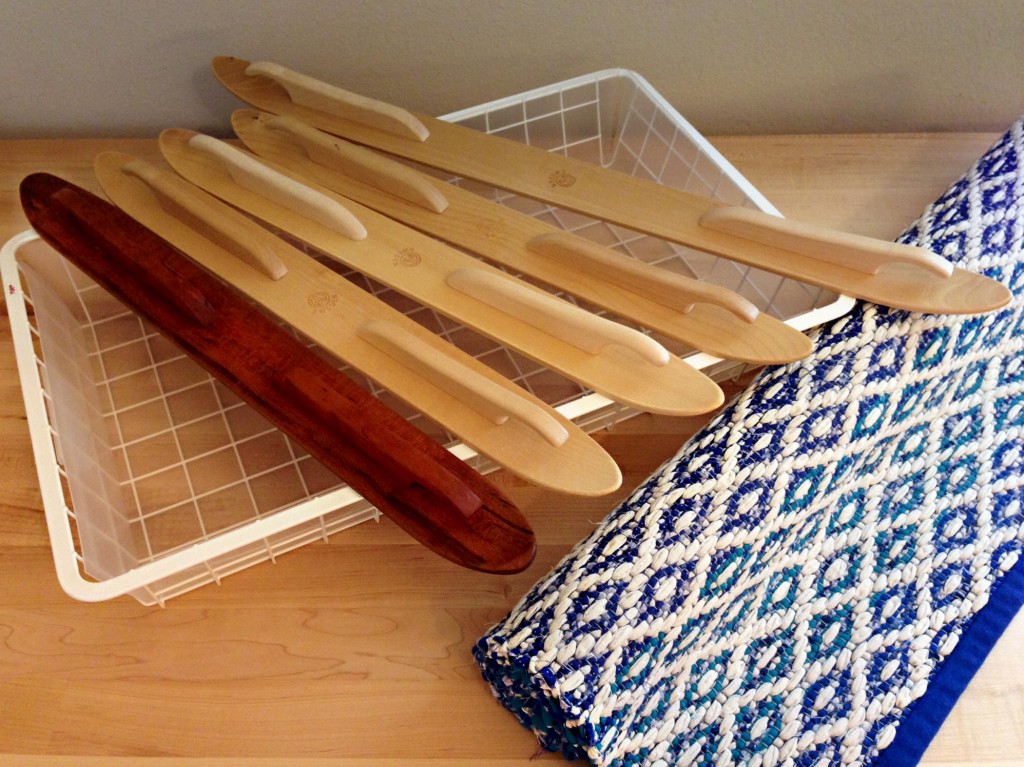
Ski shuttles for rag rug weaving. This rug used 3 shuttles at a time.
My favorite ski shuttle is the beautiful cherry wood shuttle made by my husband, Steve. It helps to have several ski shuttles. The “Creative Expression” Rosepath Rag Rug used three shuttles at a time to get the gradient color effect.
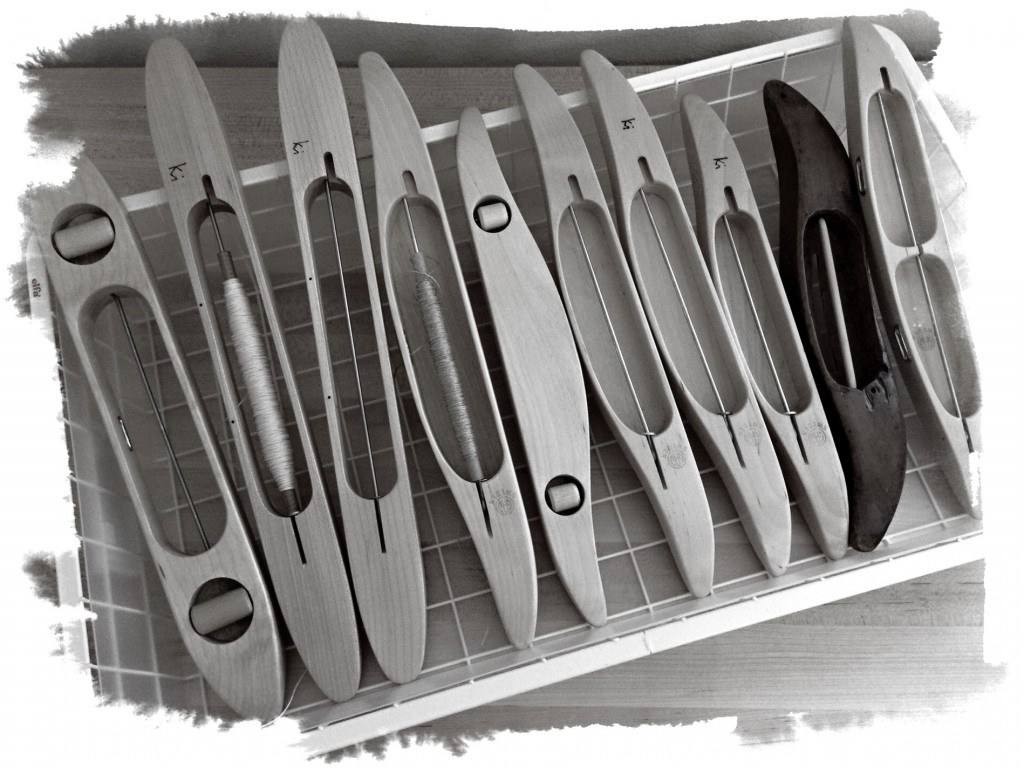
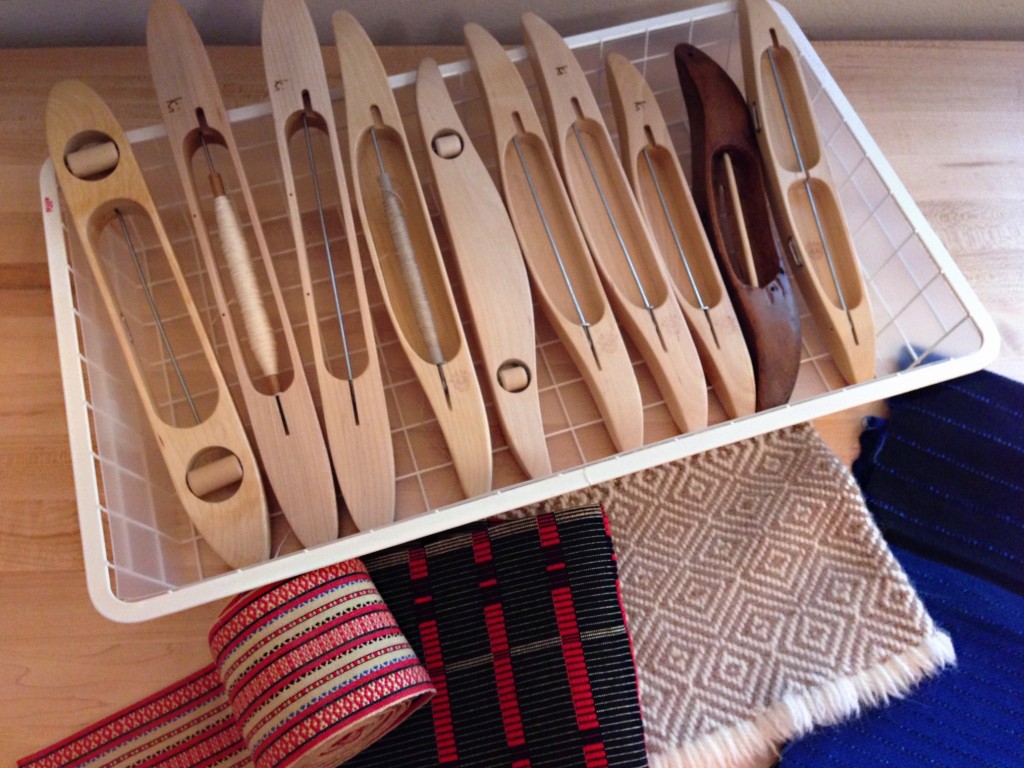
Boat shuttles ready to weave.
Boat shuttles eager to weave. Do you hear them? … “Pick me”…”No, pick ME!”
A few of my favorite things. Karen Isenhower
These are a few of my favorite things. Swedish woven goods made on a Swedish loom with Swedish boat shuttles. (I’m the only thing not Swedish here.)
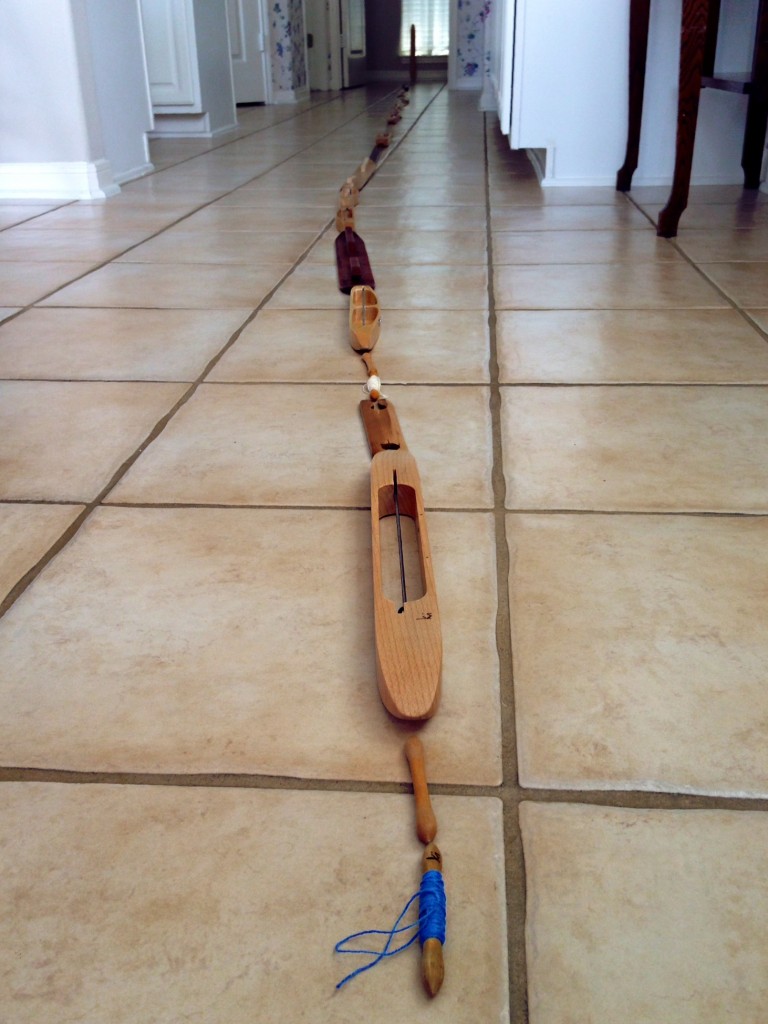
34 1/2 feet of weaving shuttles.
How far will my shuttles reach? 34 1/2 feet (that’s 11 1/2 yards, or 10 1/2 meters long). I ran out of room, so the last one is standing on end.

May you fascinated with things that work.

Happy Weaving,
Karen

How Soft Is Your Pillow?

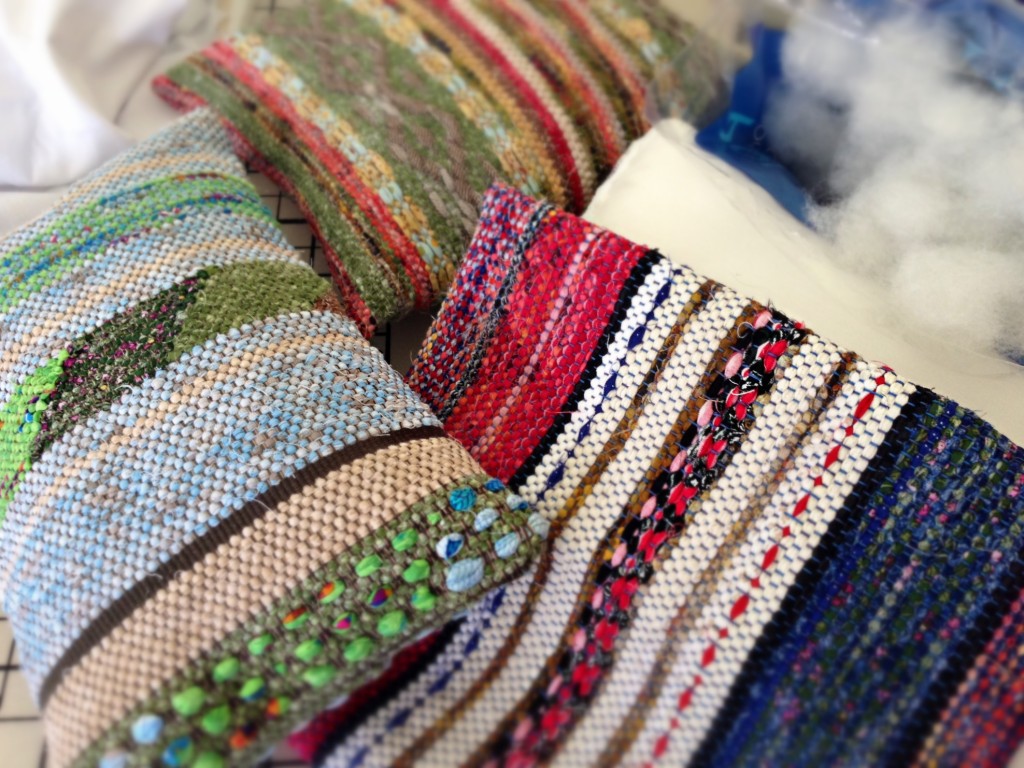
I have three short sample pieces from rug warps, where I had experimented with colors and design. I am making these samples useful by turning them into pillow covers. To complete them, I made pillow inserts to fit inside.

Rag rug cushion covers, with pillow inserts made to fit inside. Karen Isenhower
Rag rug pillow covers, with pillow inserts made to fit inside.

To get the most loft out of the polyester fiberfill, I run my fingers through clumps of it, pulling and easing it apart. I stuff these airy clouds into the pillow insert forms that I have sewn and then serge the edge of the insert closed. The durable and hearty rag rug pillow covers are pretty, but they are flimsy and floppy until the cloud-soft pillow forms are placed inside.

Like the pillow covers, your strongest asset is invisible. When we adorn our inner person with gentleness and a quiet spirit it brings clarity and courage to our outward demeanor. You would not fill the pillow cover with rocks, would you? Having cloud-soft humility instead of hard-headed stubbornness enables us to face any difficulty without becoming fearful or resentful. The beauty of your unique design is put in its best light by the loft of the pillow inside.

May you respond to difficulty with a gentle and quiet spirit.

(These three pillows are the newest additions to the Warped for Good Etsy Shop!)

Quietly,
Karen

How I Make a Bound Hem

I intended simple woven turned hems. When this rug came off the loom, however, the white ends of the rug didn’t look as I expected. I was frustrated trying to make these hems work. Was there another way to finish the rug? Yes. A compatible cotton duck print was just what I needed to sew bound hems!

When circumstances don’t go our way, we can get stuck in frustration. I cannot control my circumstances, but I can control my own behavior and attitudes. Give up control to gain control. Isn’t it interesting that options become apparent when we let go of how we thought it should be?

How I make a bound hem:

1. Cut hem fabric the width of the rug plus 2 inches /5 cm by hem depth plus 1 inch / 2.5 cm. Serge all edges of hem fabric to eliminate fraying. With right sides facing, center hem fabric from side to side on rug, with fabric seam allowance toward the end of the rug. Stitch along hem line, 1/2 inch / 1 cm from edge of hem fabric.
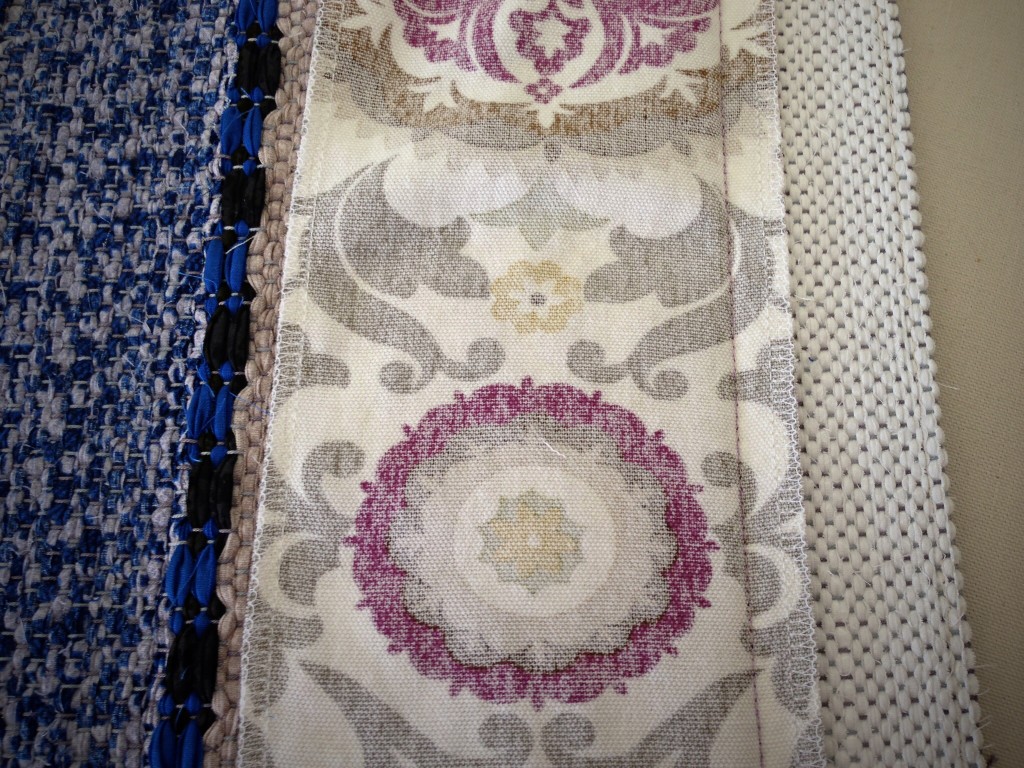
How to make bound hem for rag rug.


2. Fold hem fabric over, and press flat.
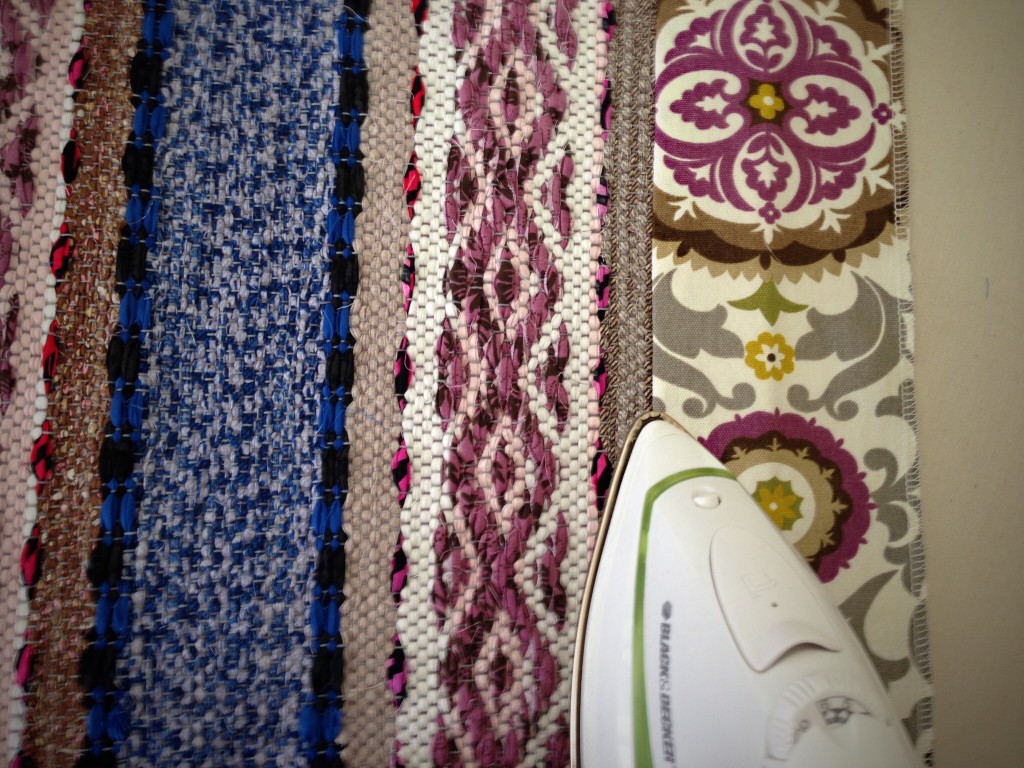
Steps for making bound hems on rag rugs.


3. Fold the hem fabric back on itself, right sides together. Fold remaining long edge outward, adjusting to match the width of the hem. Stitch through folded hem fabric 1/8 inch / 3 mm away from side of rug.
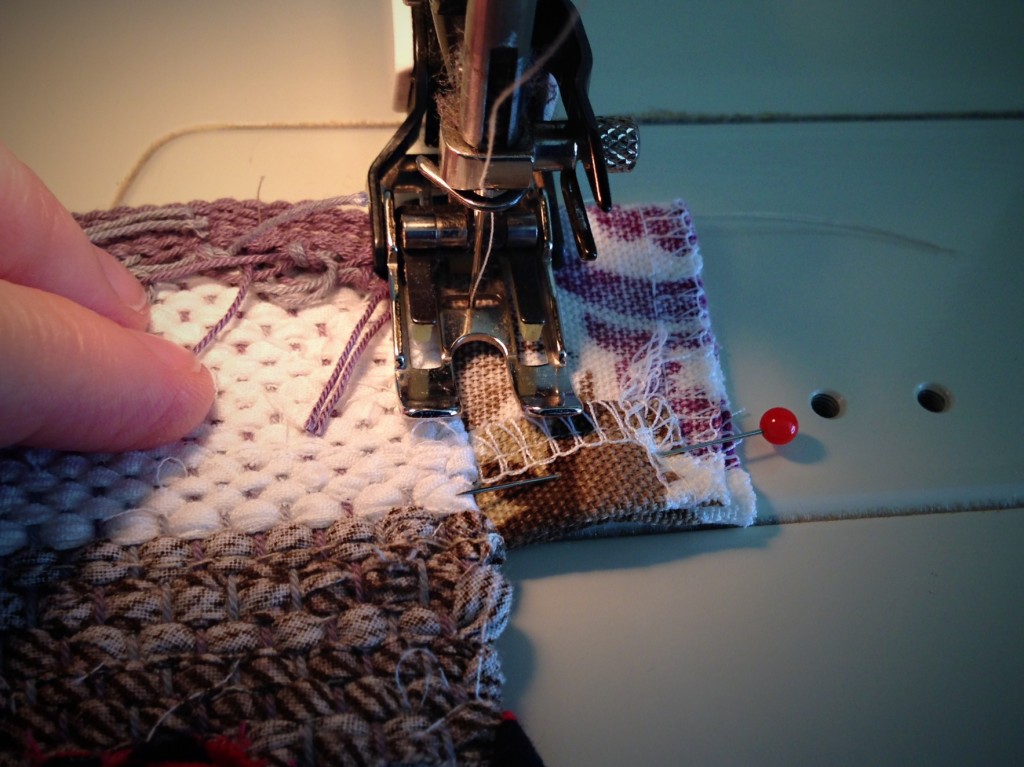
Stitching bound hem on rug. Tutorial.


4. Turn the corner right side out, straightening out the point with a straight pin, if necessary. Press corner. Fold long edge under 1/2 inch / 1 cm across the width of the rug. Press.
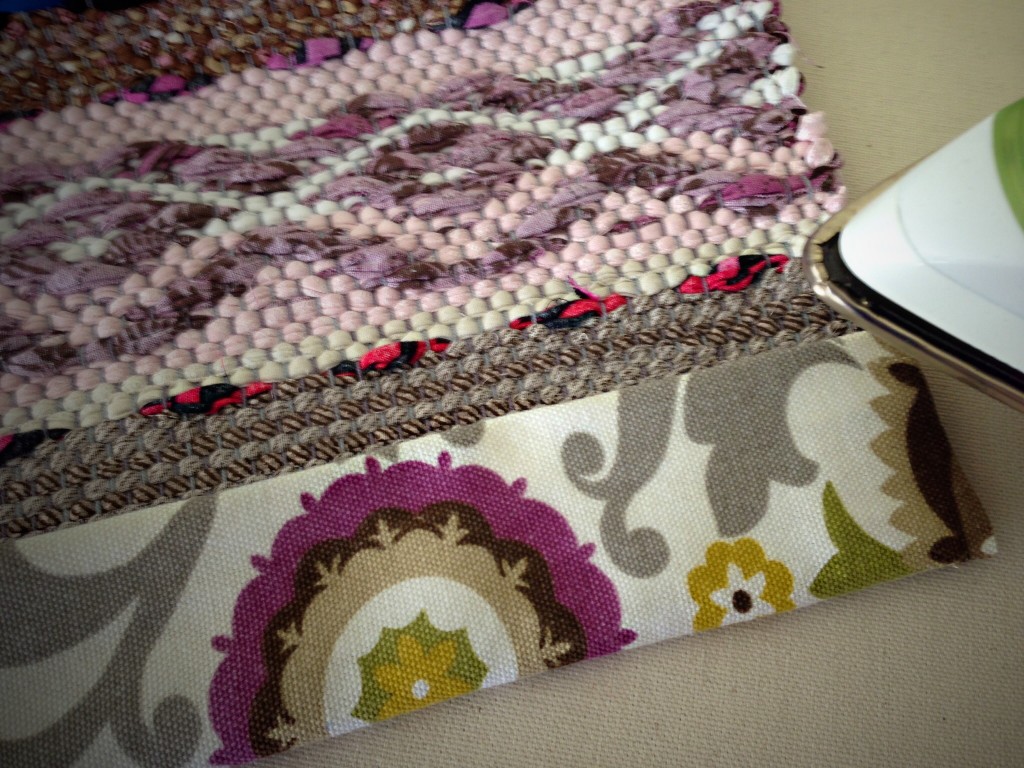
5 Steps to make bound hems on rag rugs.


5. Use doubled sewing thread to stitch the folded edge to the rug. Use a whip stitch, catching a warp end in each stitch. End with final pressing of top and underside of hem.
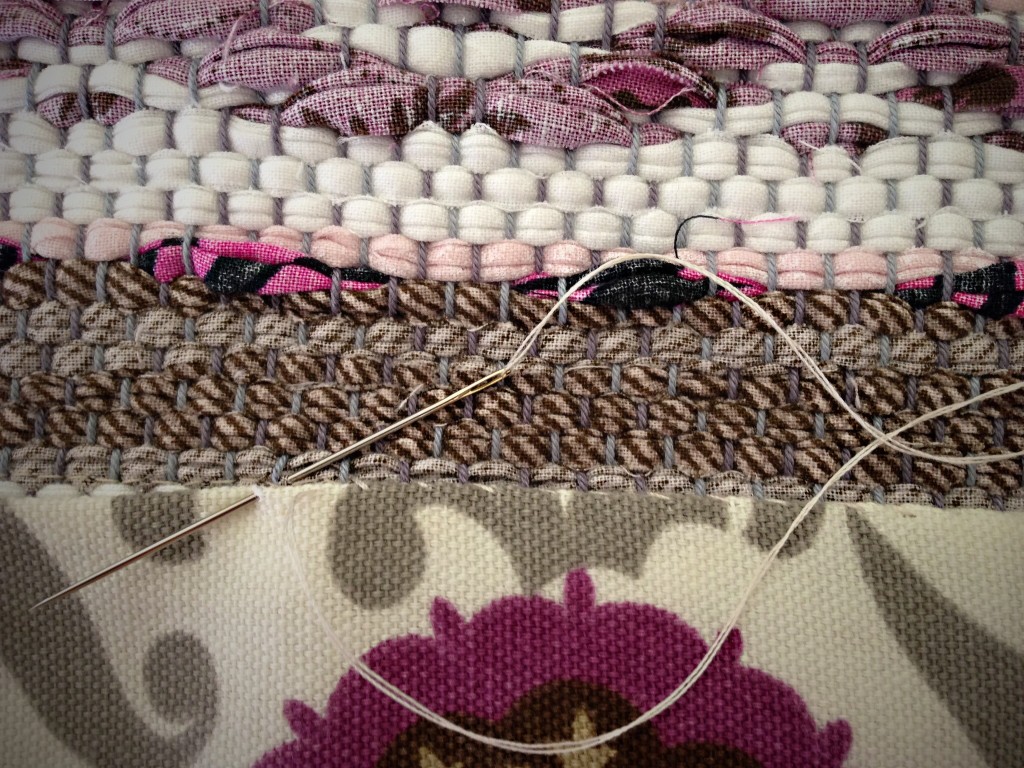
Last step in tutorial for making bound hem on rug.


To see this rug on the loom, view this post, Made to Be Noticed. To see the finished rug, view “Made to Be Noticed” Rag Rug in my Etsy Shop. Or, simply visit my Etsy Shop to see all my new rugs. (You saw them on this blog first!)

May you see all your options.

Making things,
Karen