Handwoven Scarves Embellished with Flair

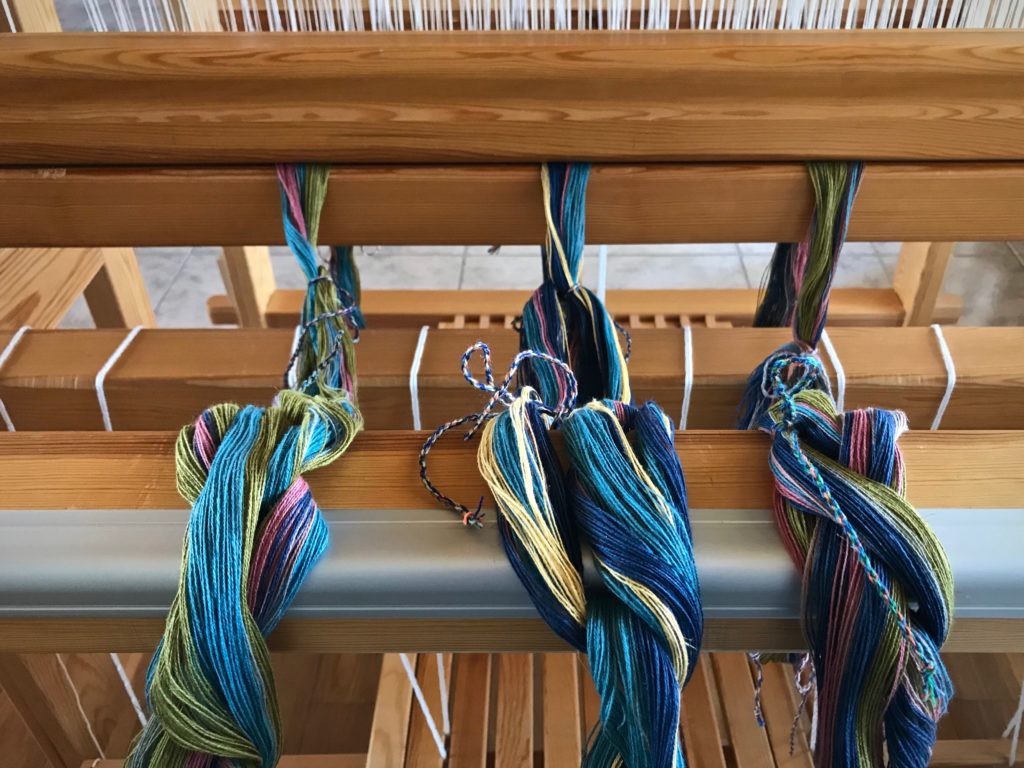
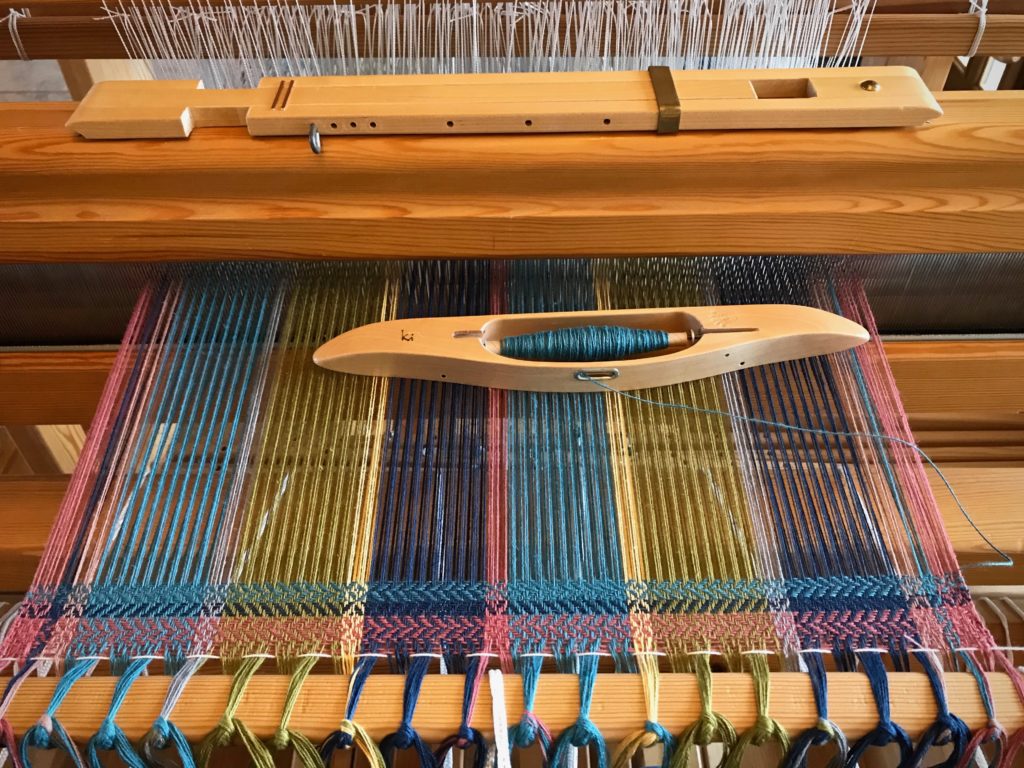
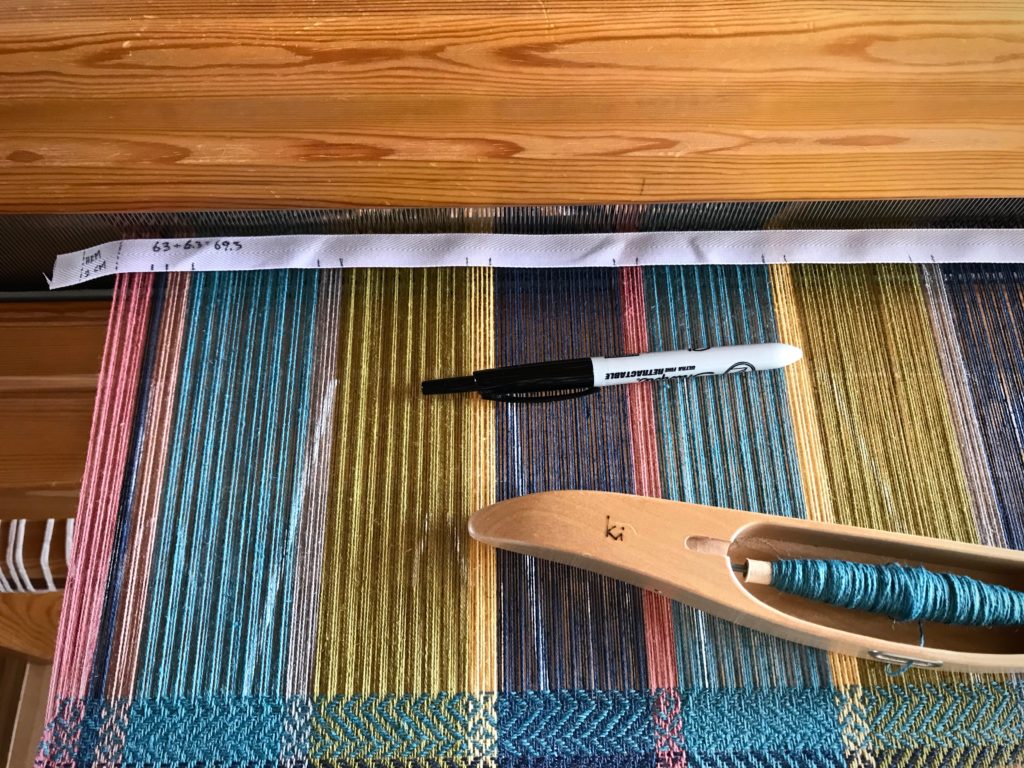
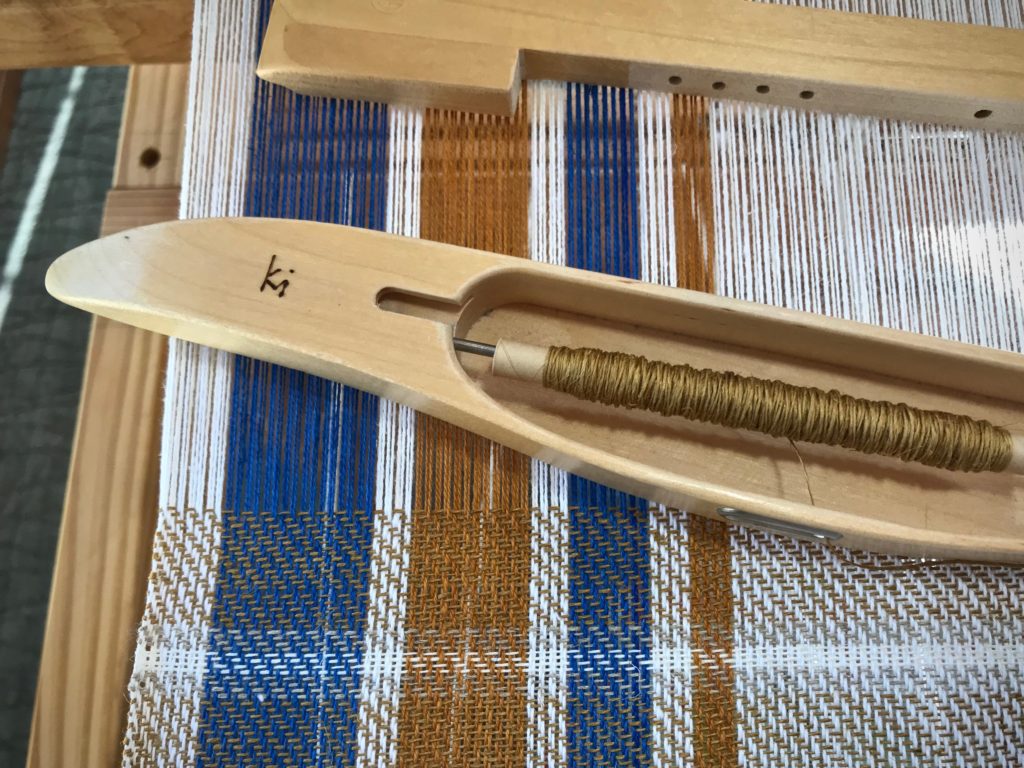
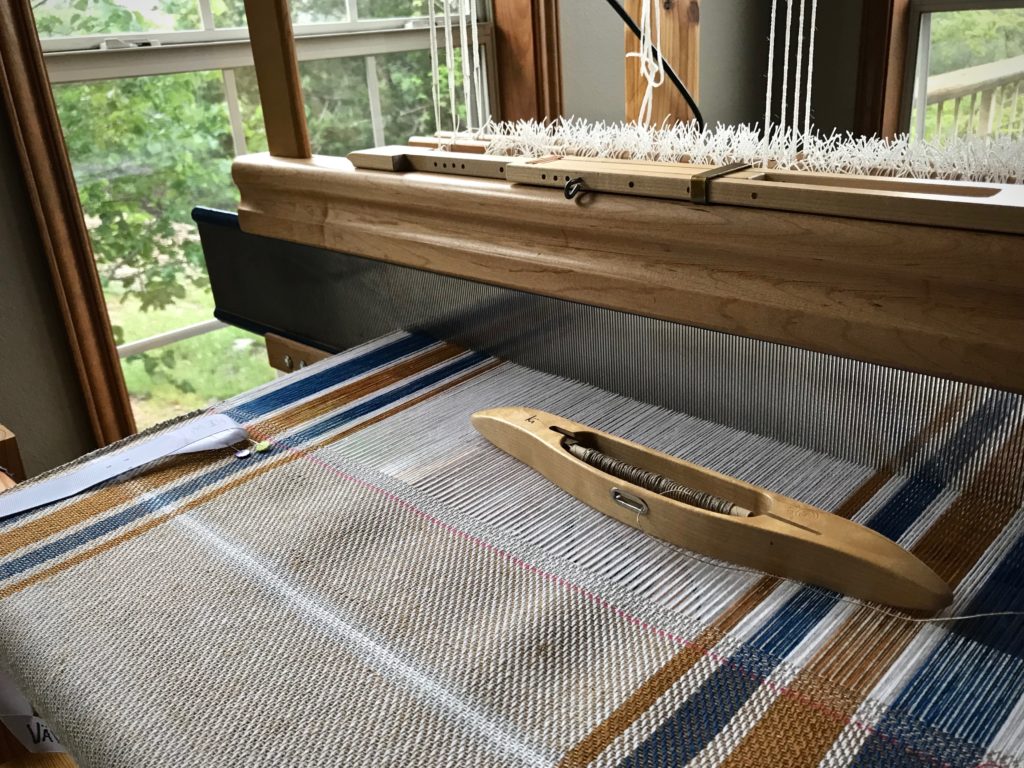
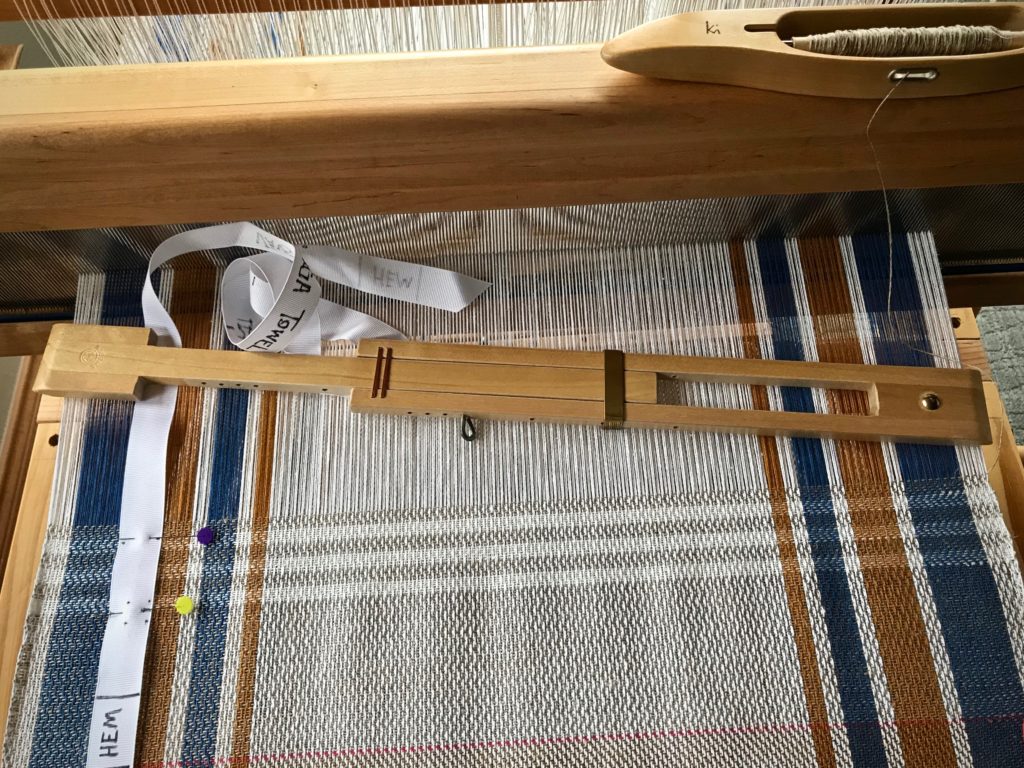
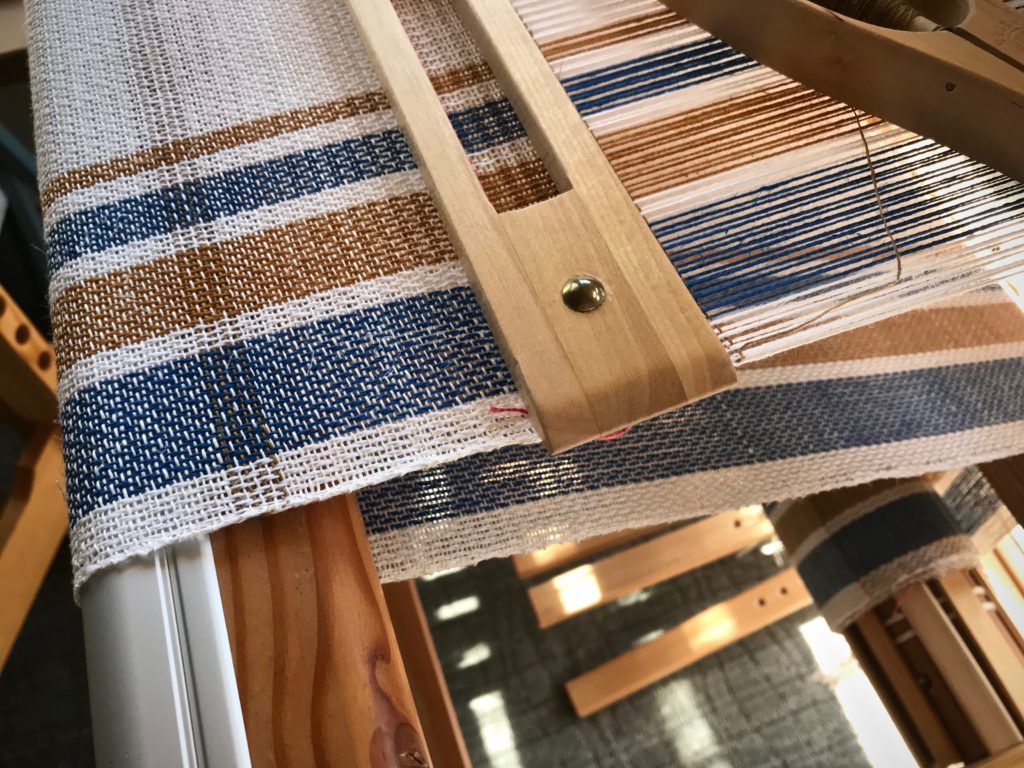
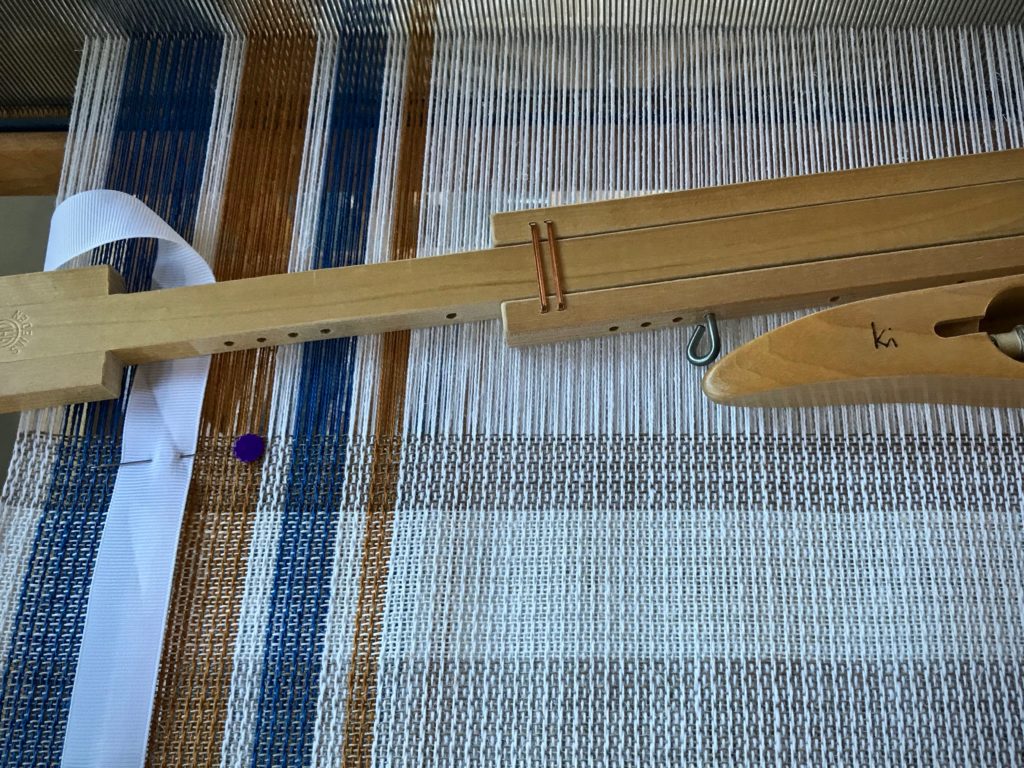
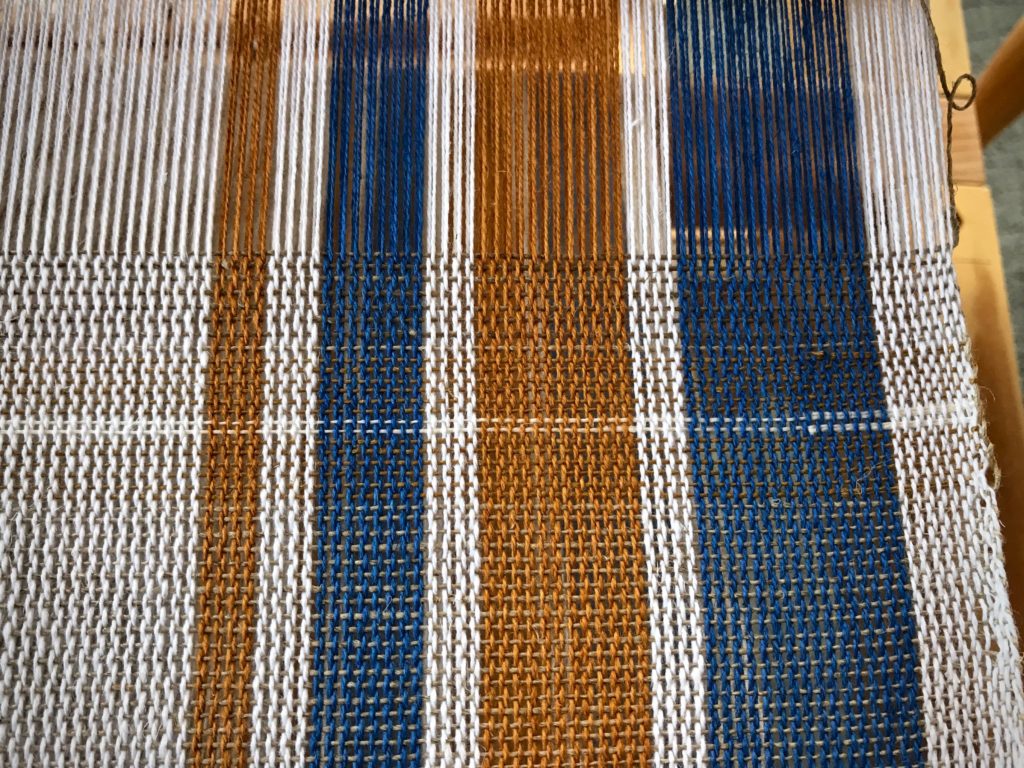
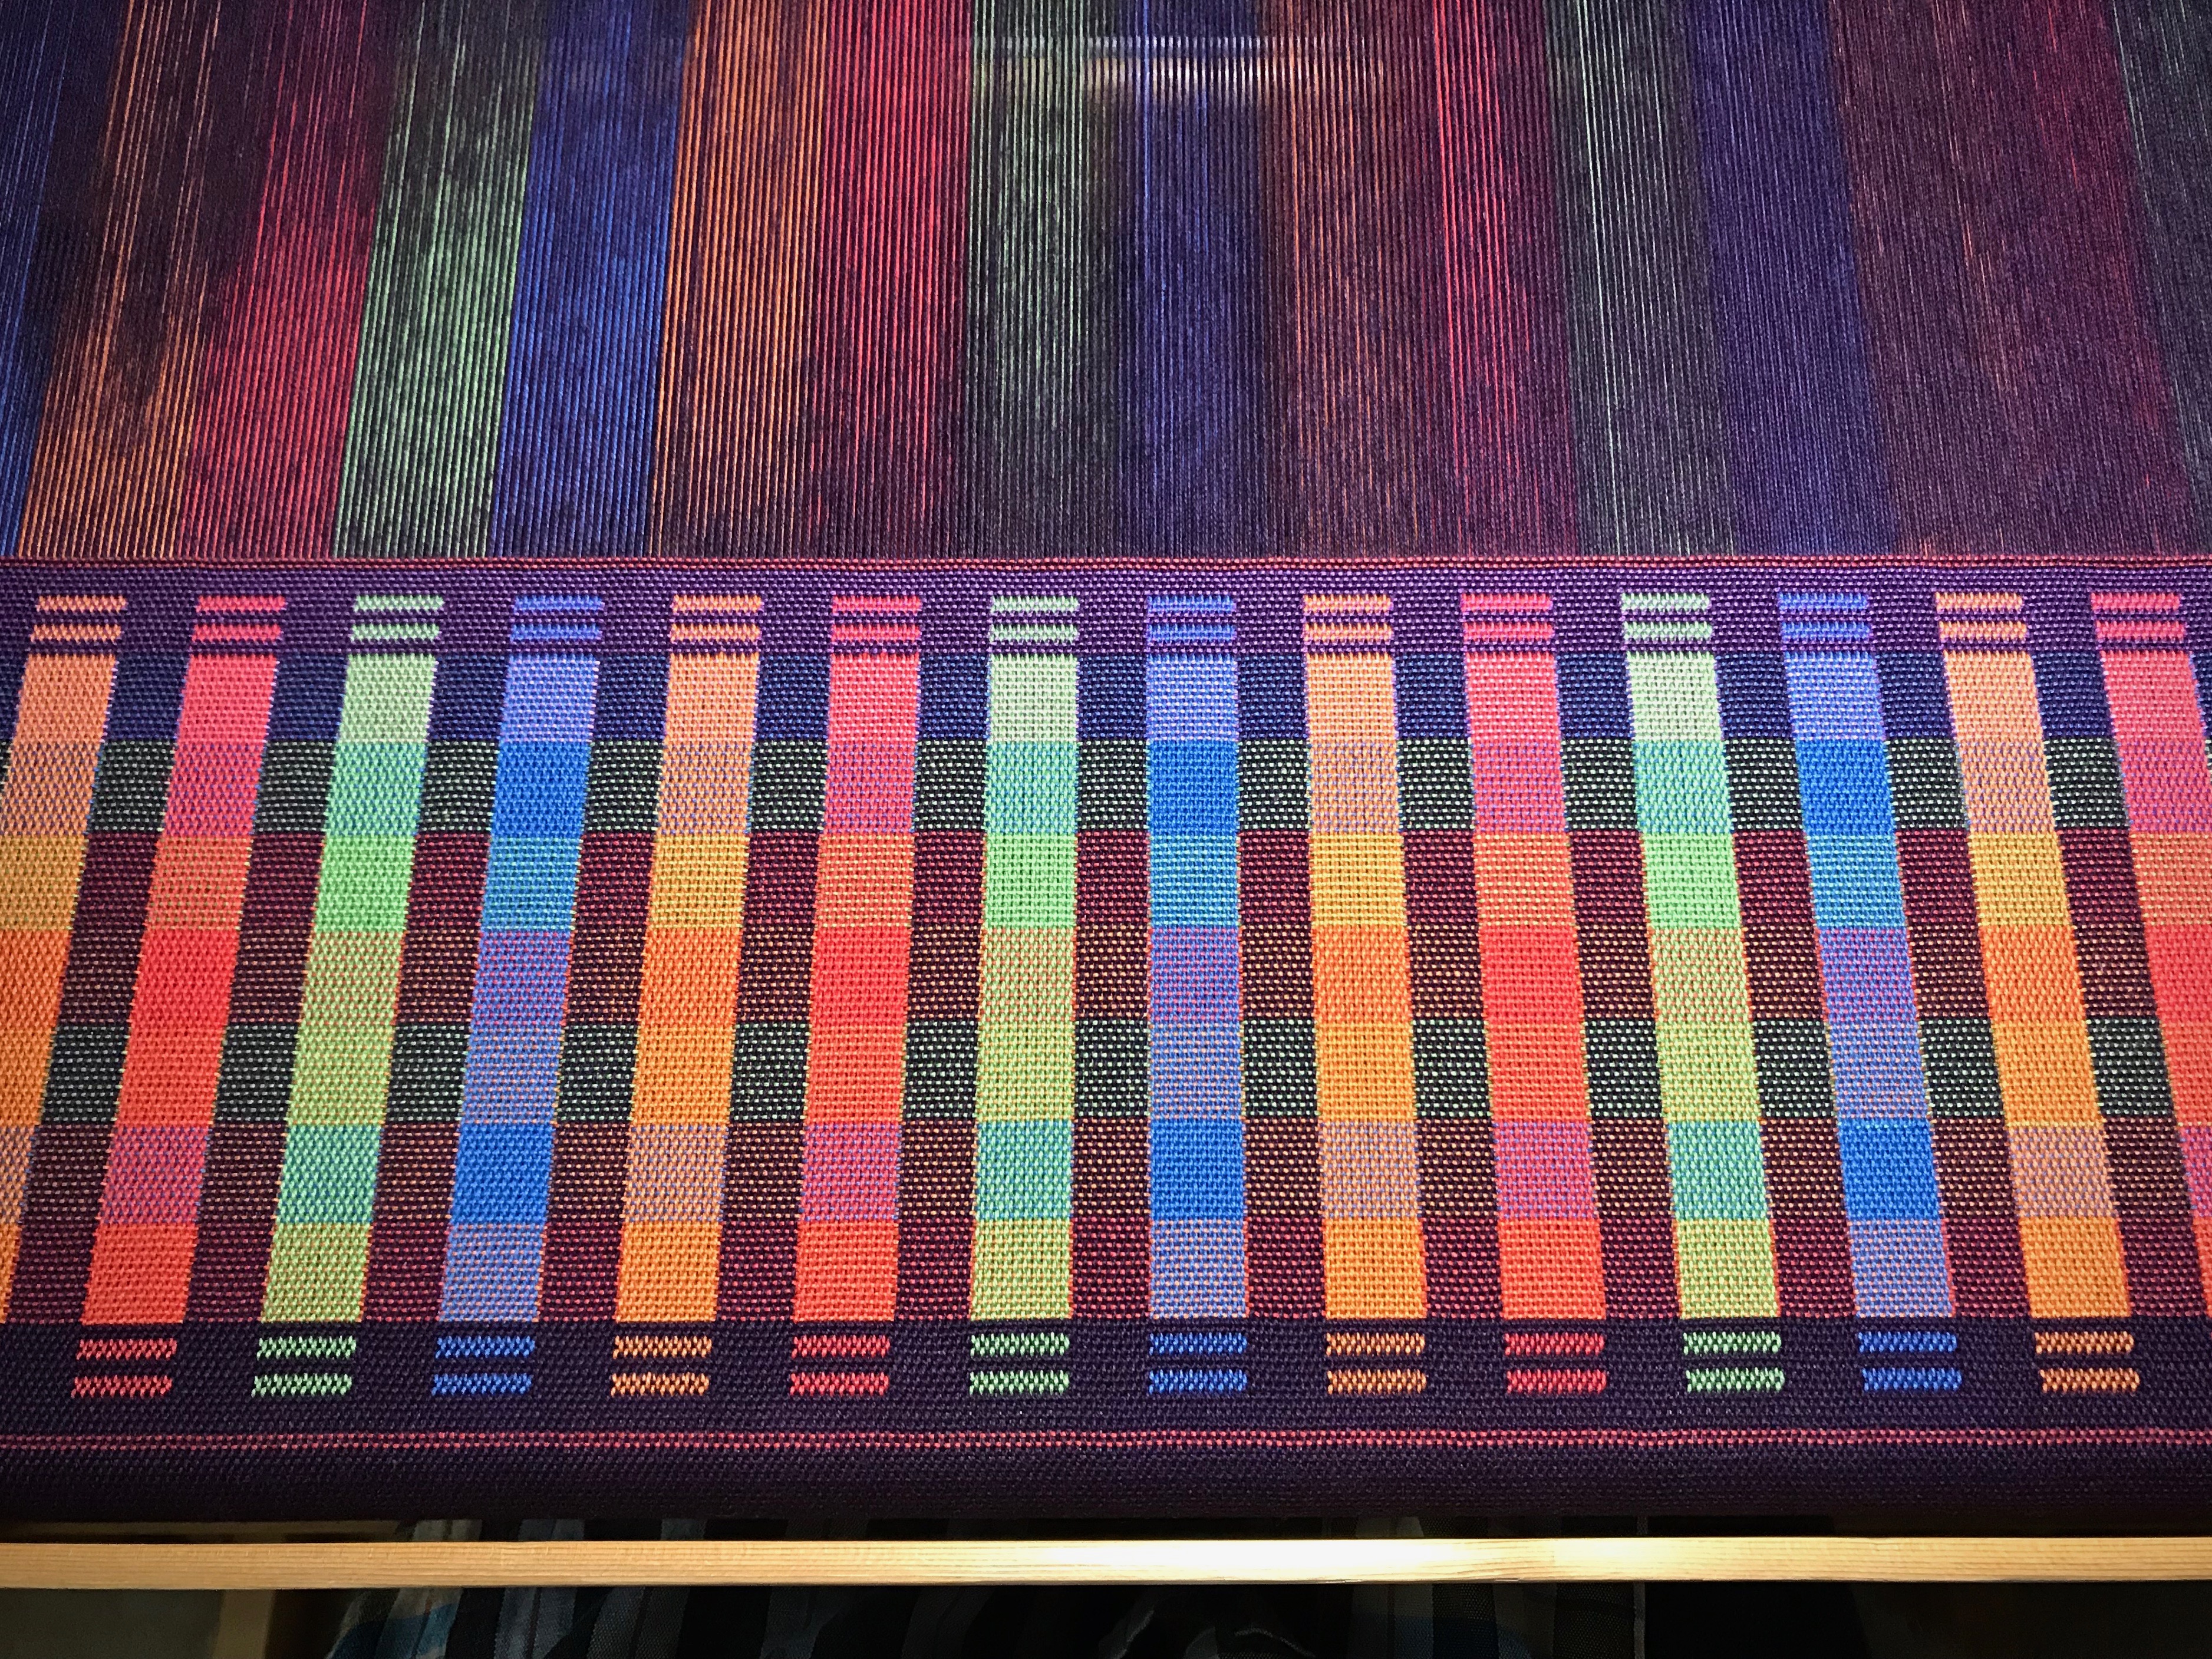
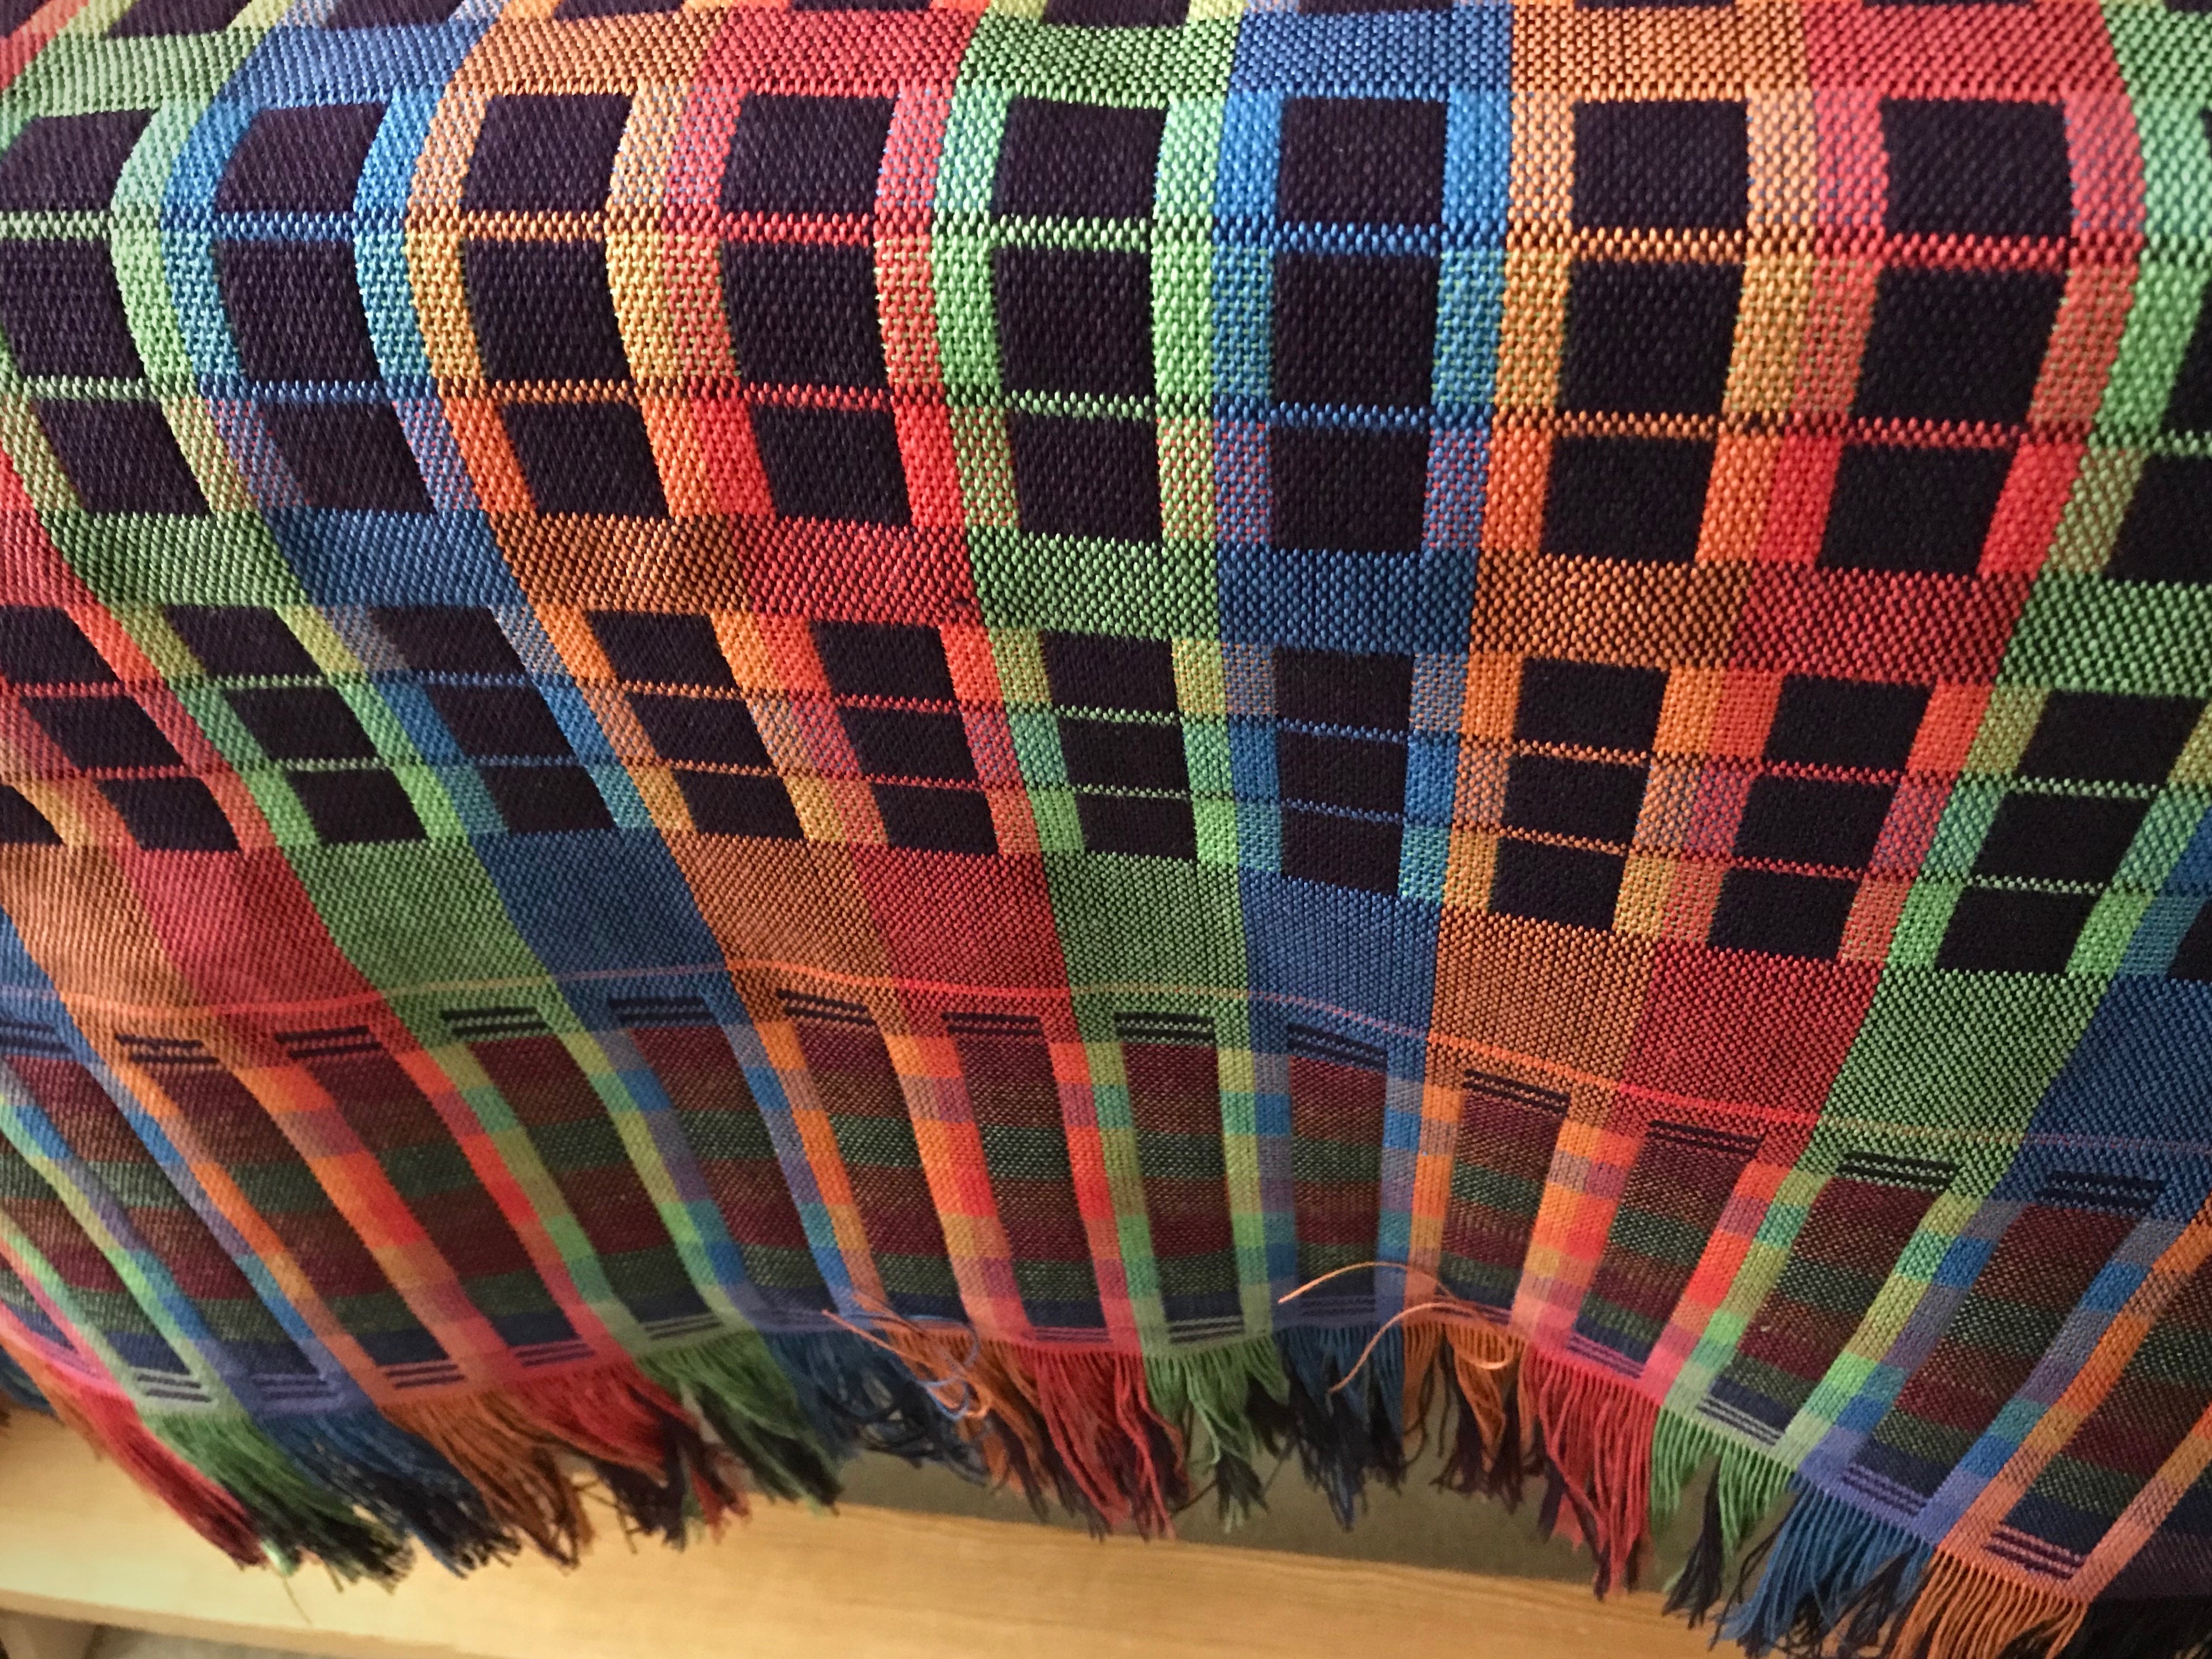
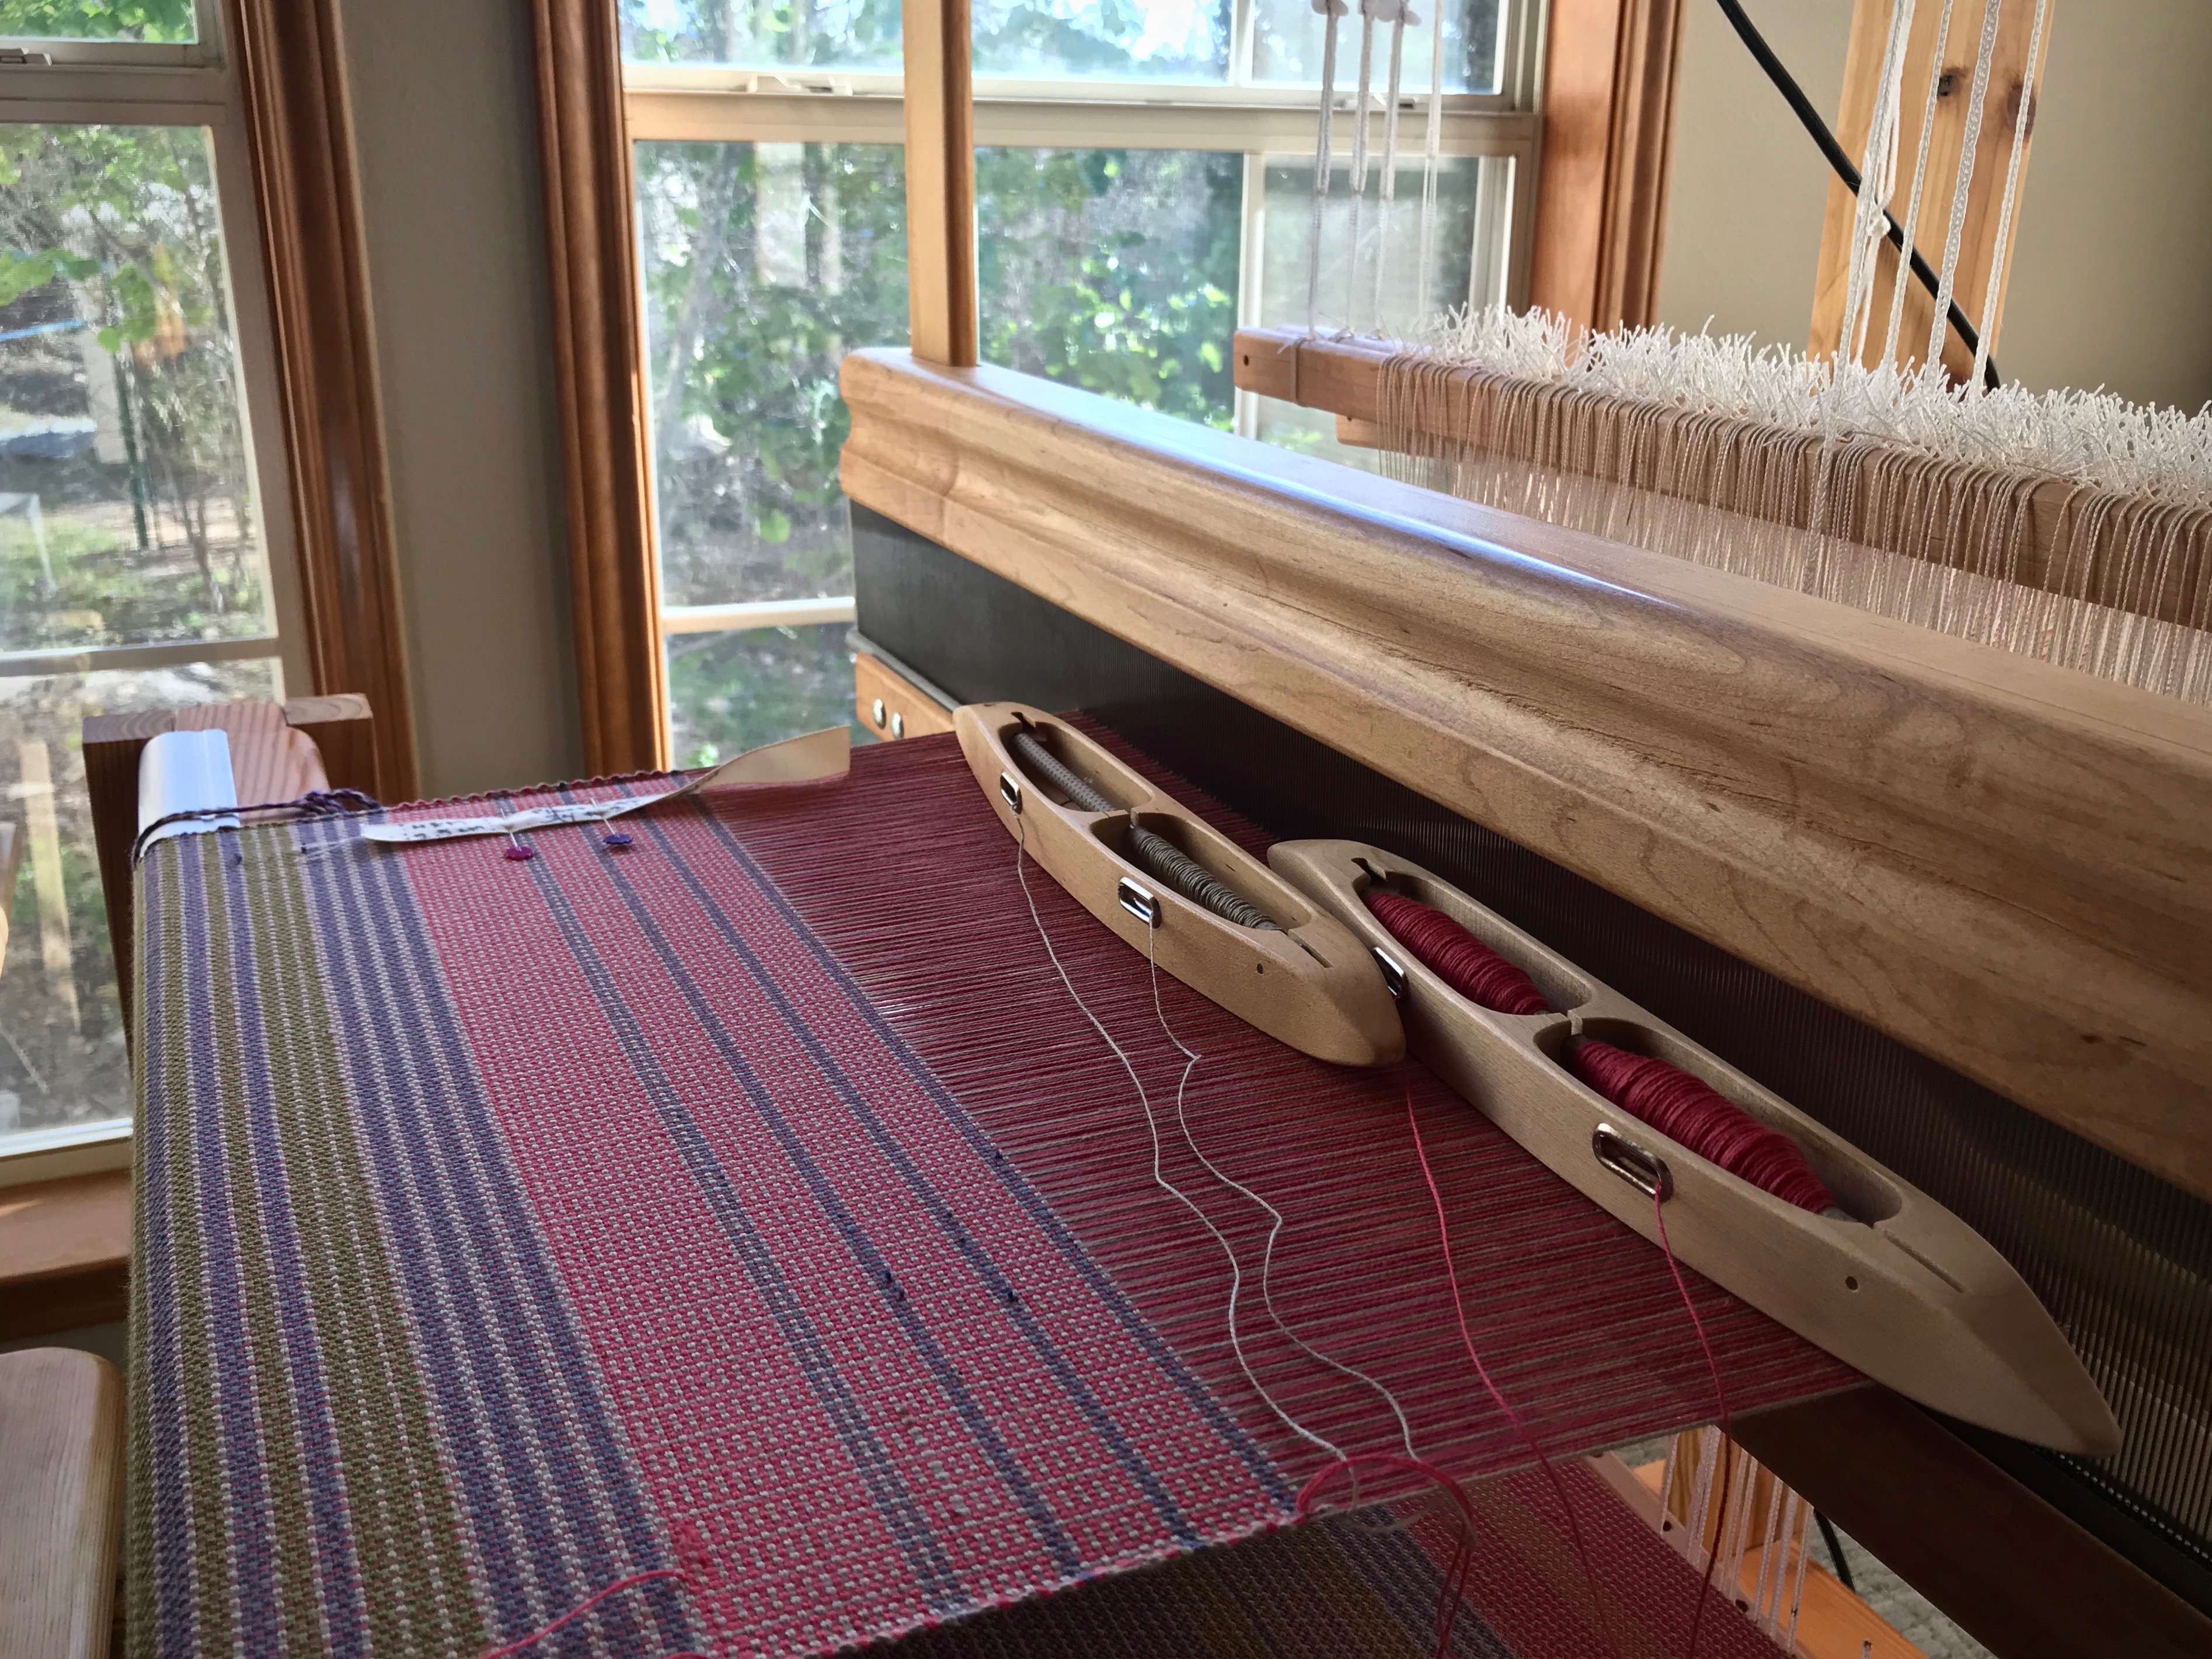
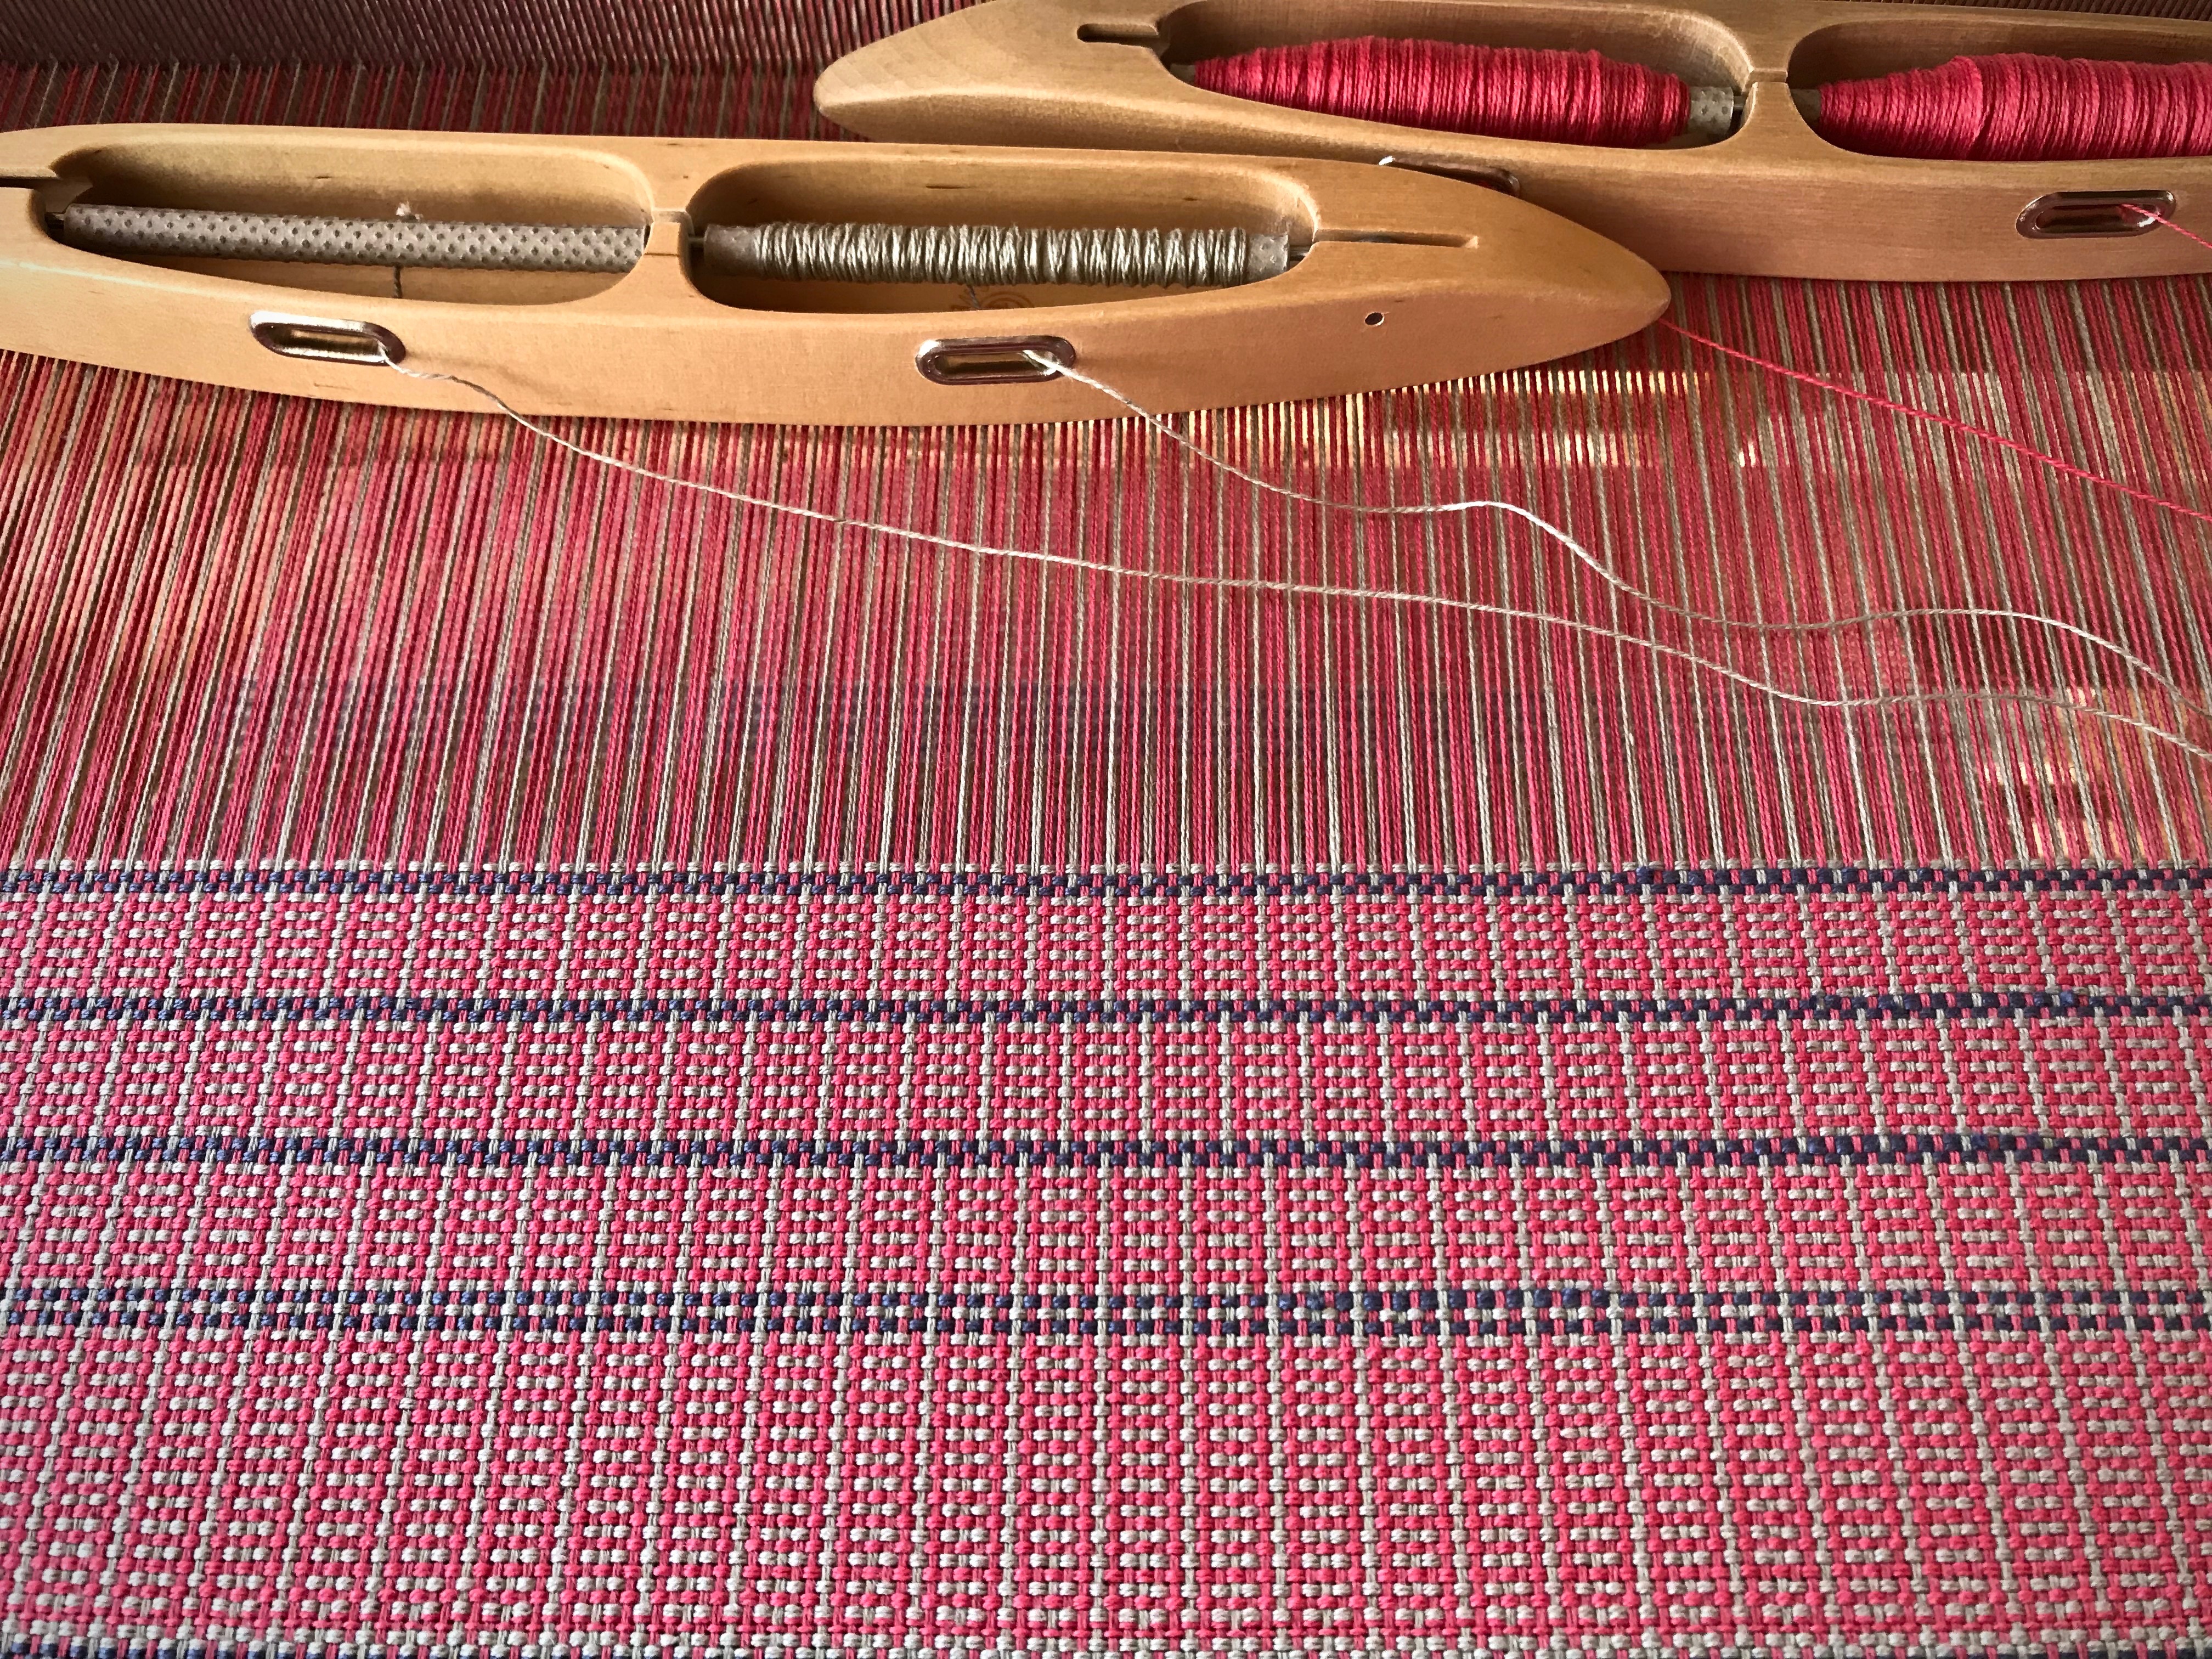
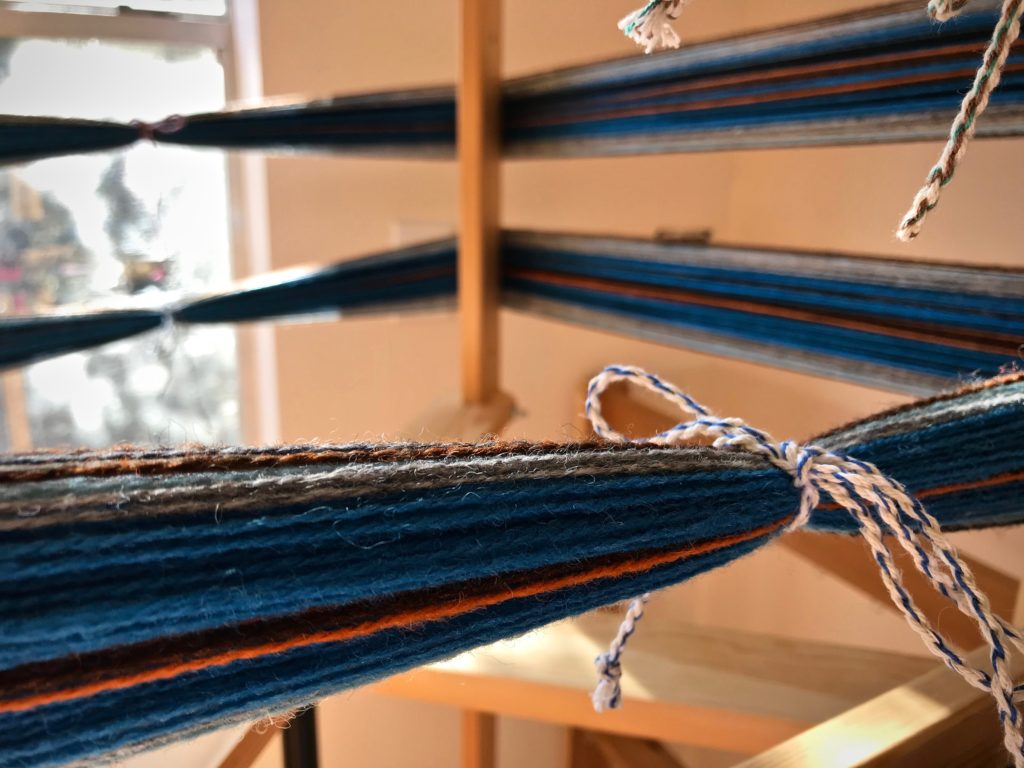
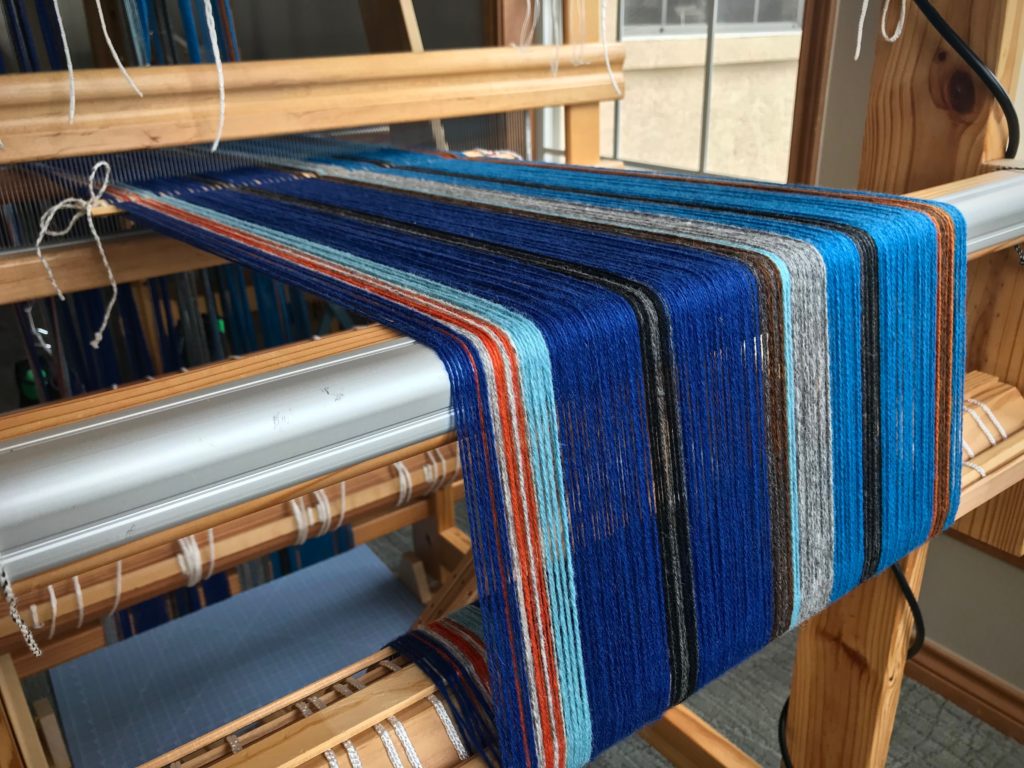
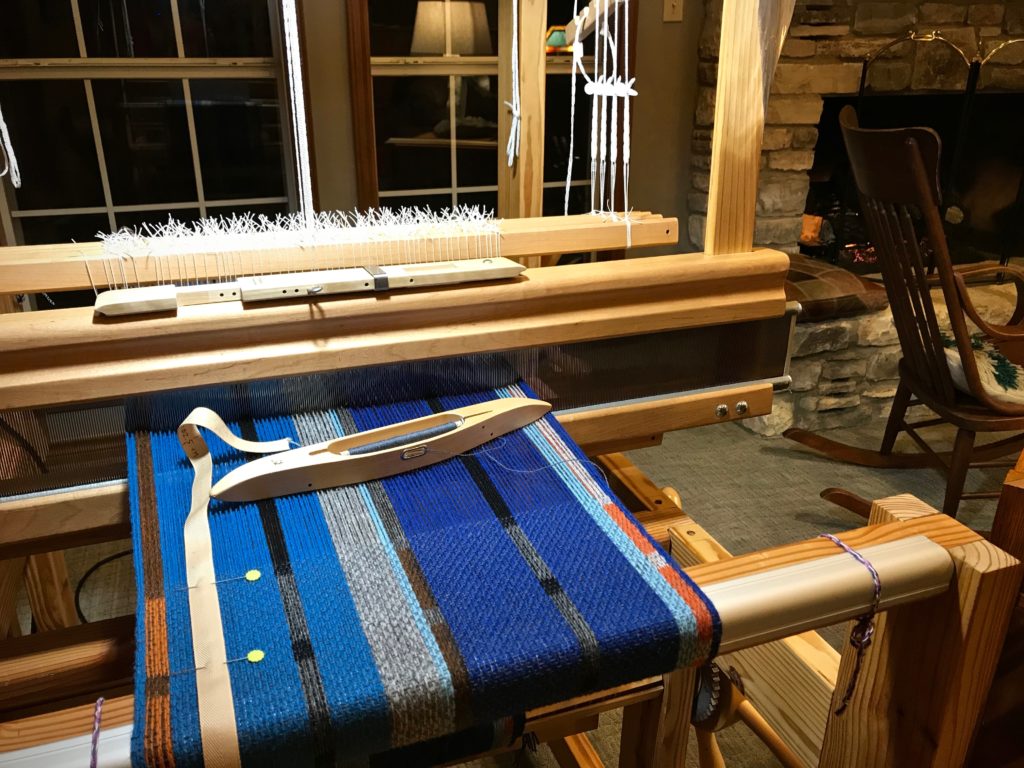
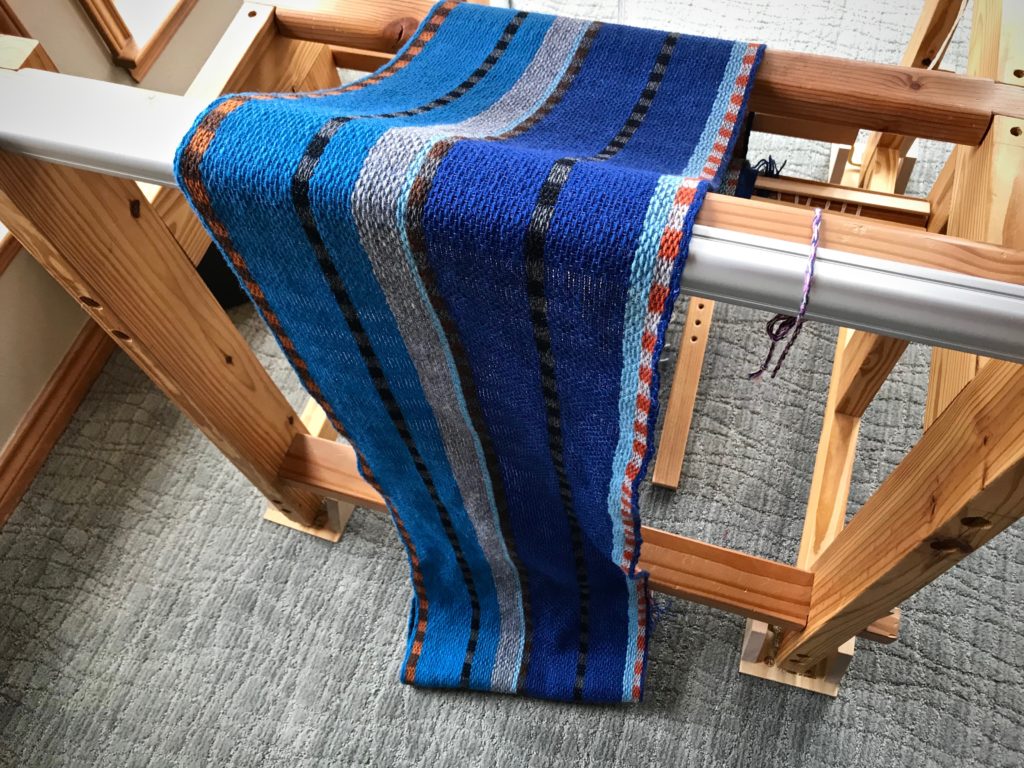
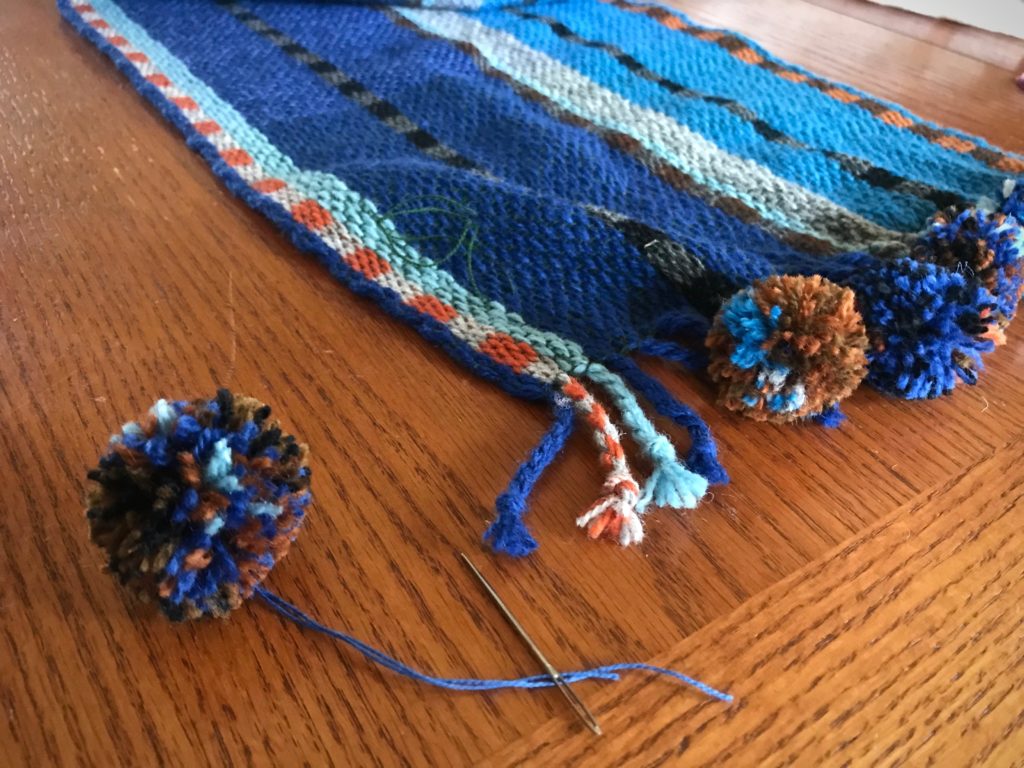
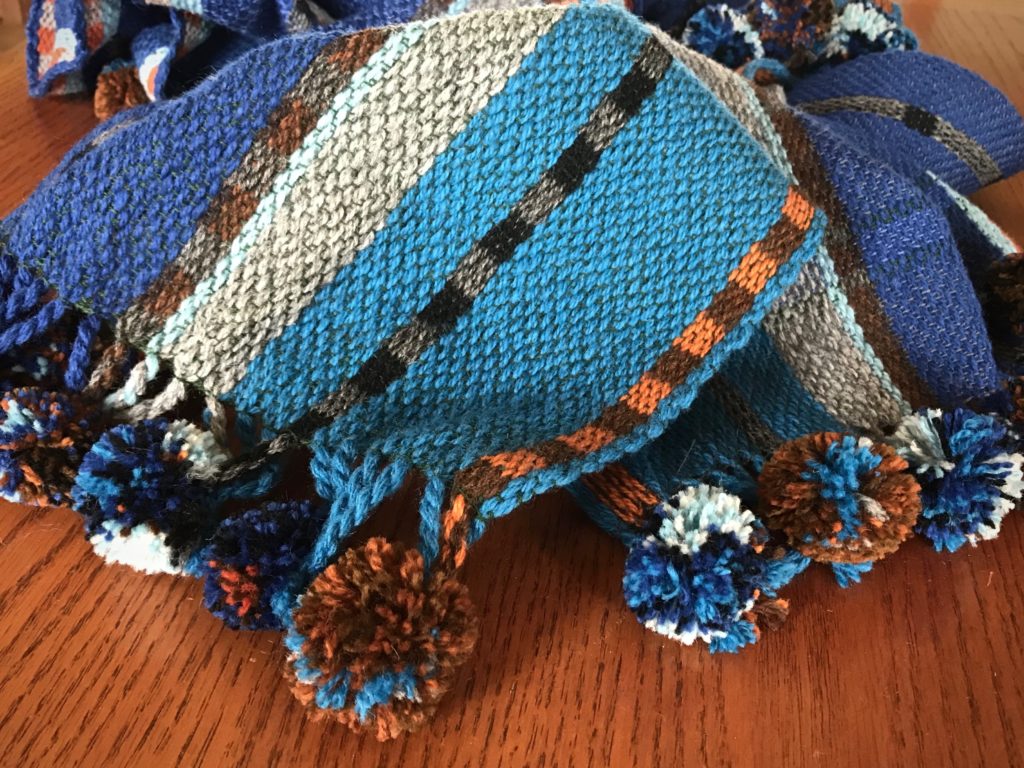
You could say I finished these scarves too late. Winter in Texas has come and gone. But I prefer to think of it as considerably early. When cool weather comes back around in a few months, I’ll be ready. I began with the draft for the lovely Stardust scarf, designed by Mona Nielsen, published in Happy Weaving, from VävMagasinet, p.74. I simply substituted the yarn and colors in the book with what I had on hand.

New warp on warping reel for winter scarves.
Warp is mostly 6/2 Tuna wool, with some 7.5/2 Brage wool included.
Stripes on the back beam. What a lovely sight!
Made with yarn on hand. This means that additional stripes have been added to the plan.
Weaving by the fire in the middle of winter.
Weaving by the fire in the middle of winter. Mora 20/2, a fine wool, is used for weft.
Two new wool scarves coming off the loom!
Two scarves coming off the loom.
Fringe twisting.
Fringes are cut and twisted.

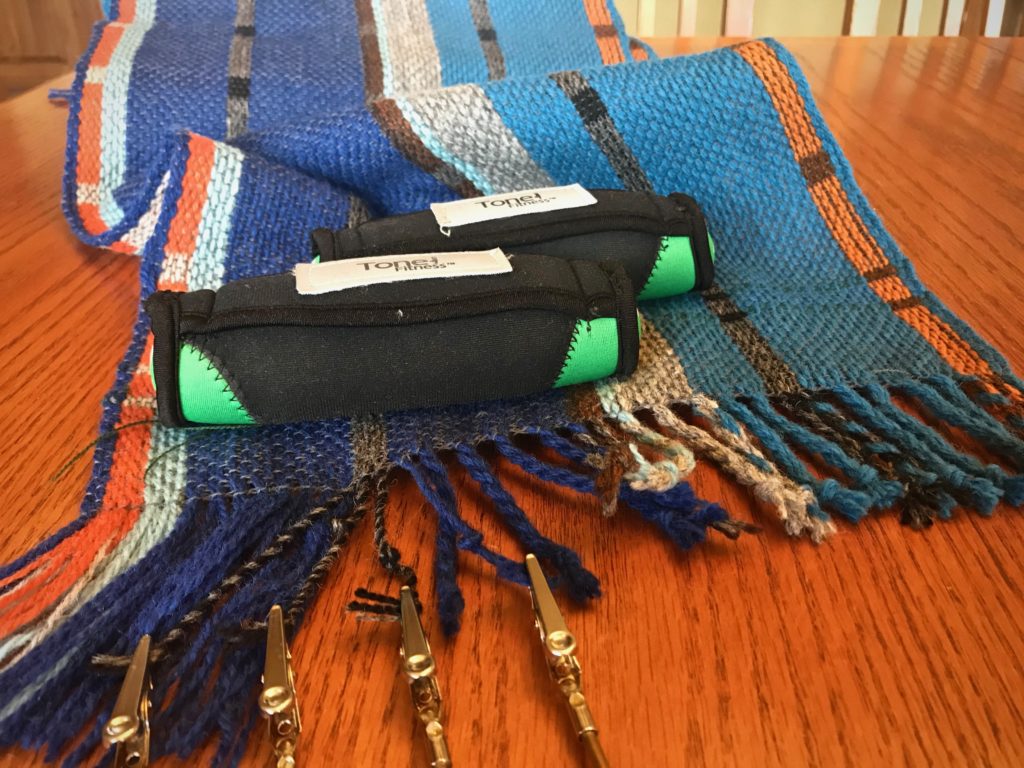
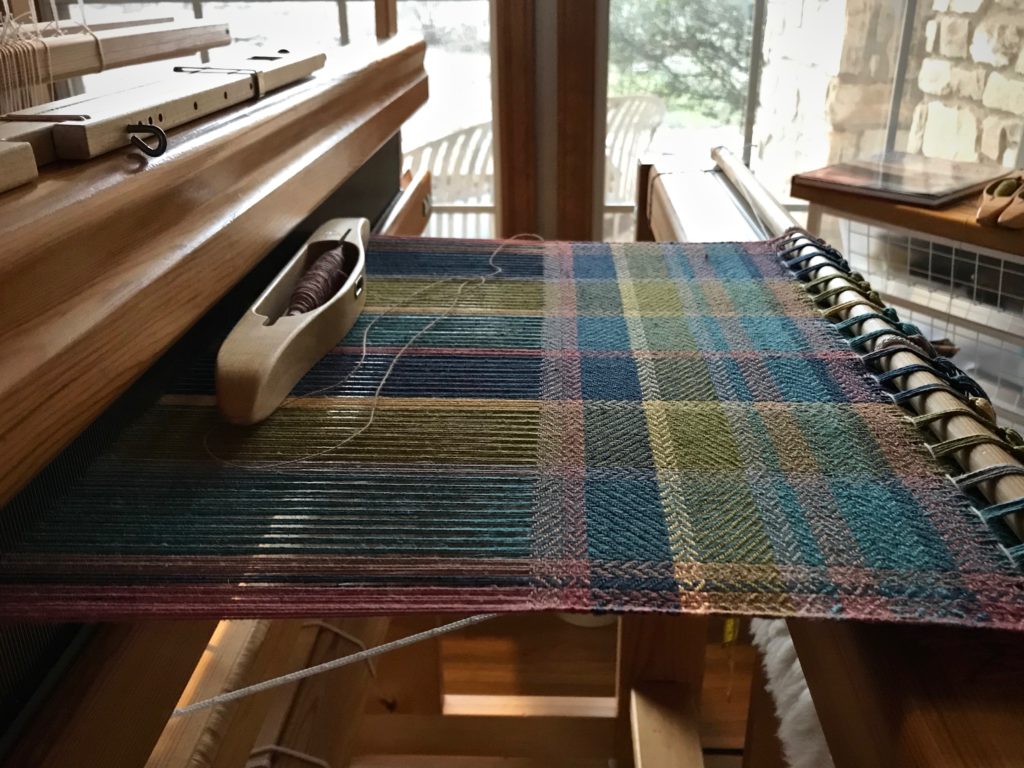
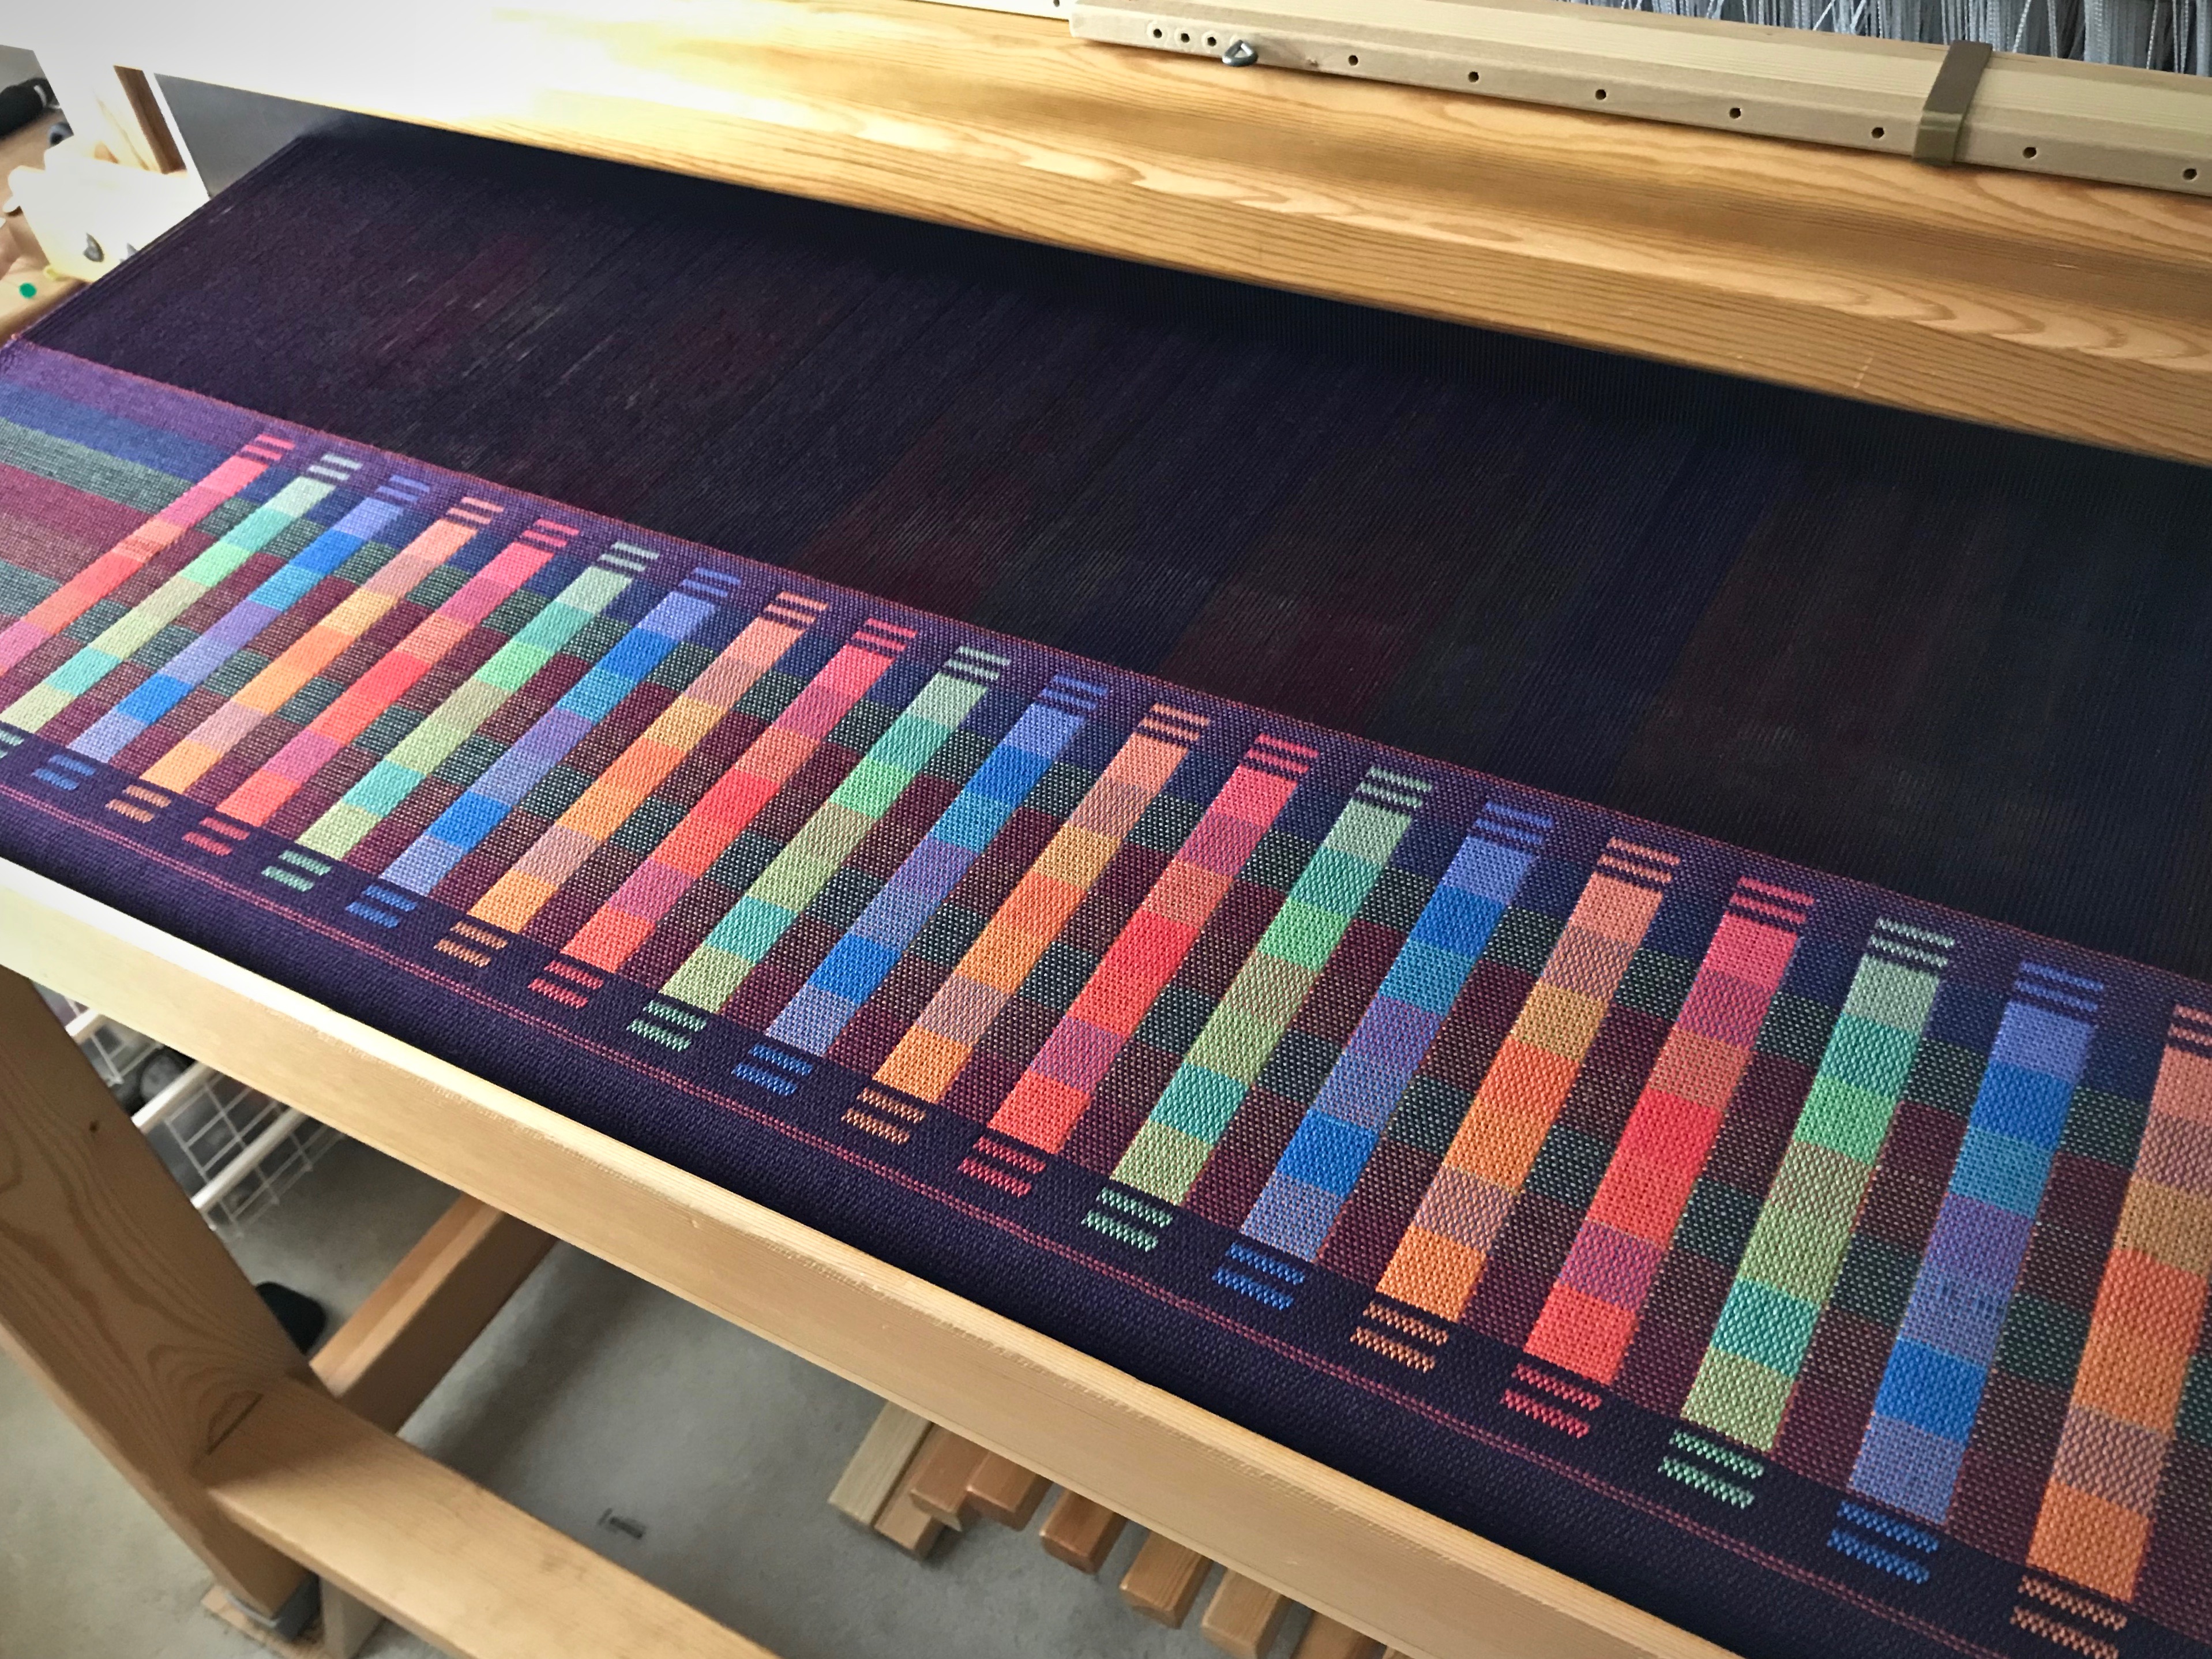
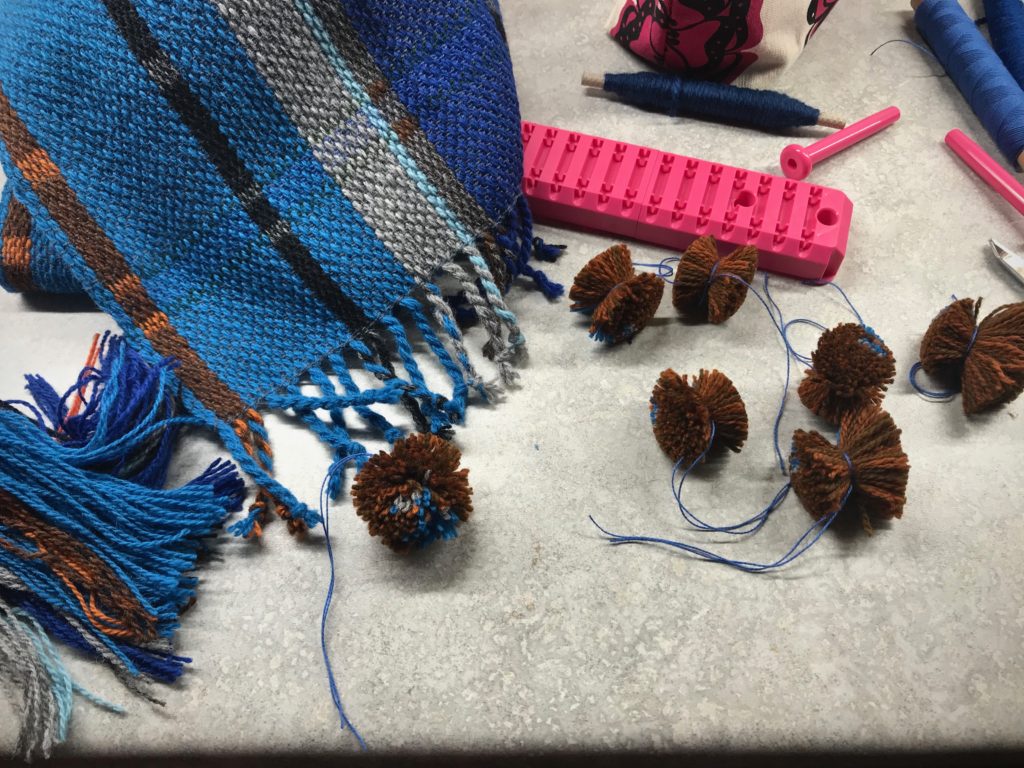
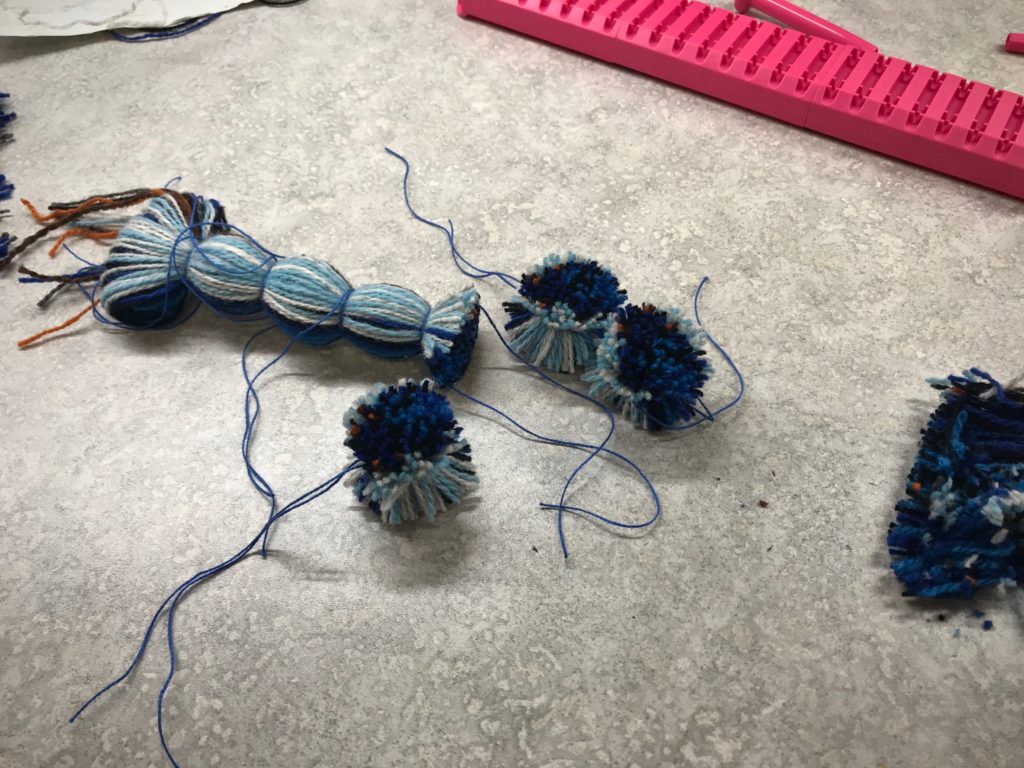
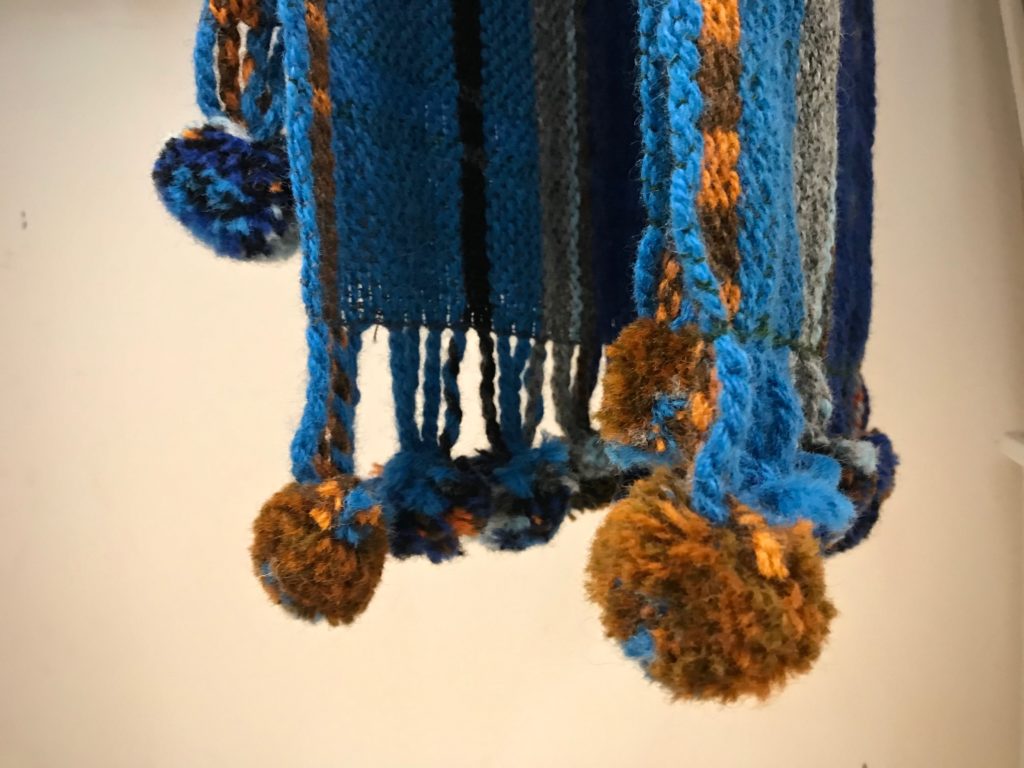
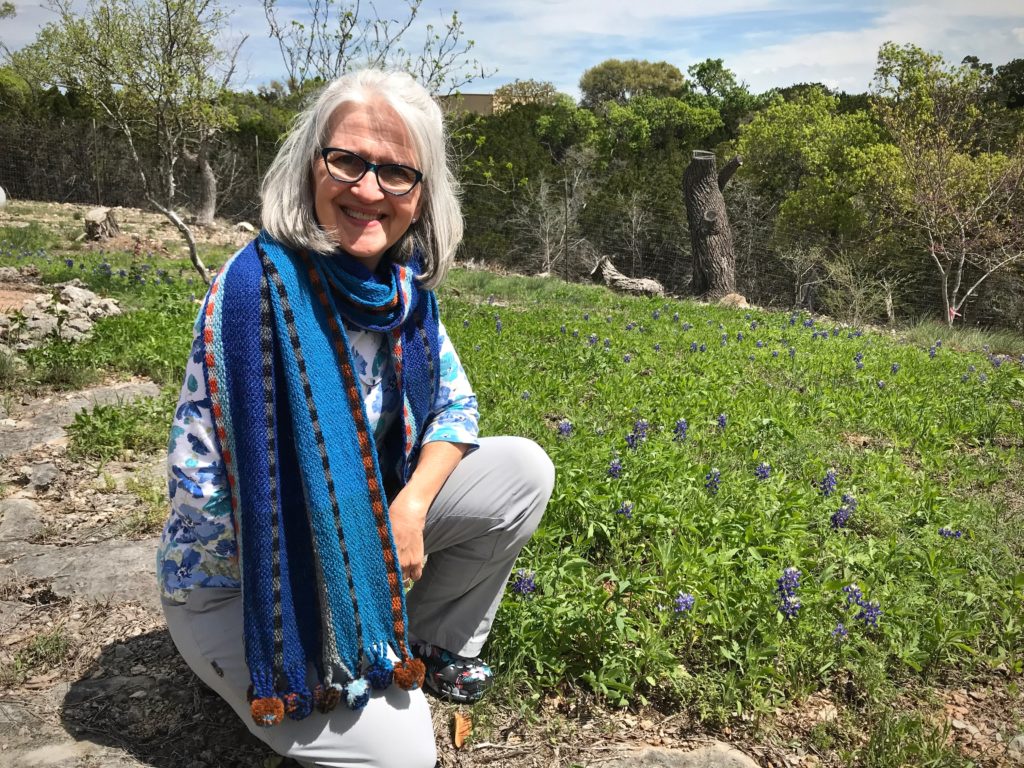
The scarves are delightful, but the icing on the cake is the addition of fluffy, furry pompoms, an embellishment with youthful flair. And that is exactly what I will put on at the first sign of autumn chill.

Making pompoms to embellish the handwoven scarf.
Some of the thrums are used in making pompoms.
With the Pom and Tassel Maker by Red Heart I can make seven pompoms at a time.
With the Pom and Tassel Maker by Red Heart I can make seven pompoms at a time. I wrapped the yarn around 100 times, making full and thick pompoms.
Each furry ball is shaped and trimmed.
Each furry ball is shaped and trimmed. I used 8/2 cotton for the 12″ tie around the center of the pompoms.
Adding pompom embellishments to the scarf.
Each pompom is stitched to 3 – 4 twisted fringes. Seven pompoms at each end of the scarf.
Handwoven scarves with pompoms!
Now, the scarves are ready for wet finishing. Notice how you can see the separate strands of yarn in the pompoms before they are washed.
Handwoven scarves with pompoms, hanging to dry.
Scarves have been washed by hand in warm water in a large sink, with Eucalan delicate wash. I purposely gave them as much agitation as I could by hand. They are hanging to dry. Notice how the pompoms have slightly felted, making them even more soft and furry.
Winter scarf amid spring bluebonnets in Texas hill country.

Some things are certain. The sun will rise tomorrow. The seasons will follow their schedule. The faithfulness of the Lord our God will never end.

May you dress in youthful flair.

Warmly,
Karen

Tried and True: Designing Handwoven Towels

How do you come up with a design for standout hand towels? Sometimes it’s nice to start with someone else’s ideas. There is a gorgeous wool throw, designed by Anna Svenstedt, in Favorite Scandinavian Projects To Weave: 45 Stylish Designs for the Modern Home, by Tina Ignell. This Colorful Throw—Reverse Twill makes a perfect template for designing eye-catching hand towels.

New handwoven towels.
Warp chains with seven colors of 22/2 cottolin for standout hand towels.

Decisions:

  • Colors – a set of seven colors, to be used in warp and weft
  • Fiber – 22/2 cottolin for warp and weft
  • Reed and sett50/10 metric reed, 10 ends per centimeter (~ 12-dent reed, 24 ends per inch)
  • Finished size of towel – 39.5 cm x 63 cm (15.5” x 24.5”)
  • Number of towels – 2 pairs of towels = 4 total
  • Spacing of warp stripes – add two more narrow stripes at each selvedge to balance the pattern

These decisions enable me to prepare a project plan, make calculations, and write a new weaving draft.

New handwoven towels.
Testing, testing…

When the loom is dressed, the design process continues as I begin weaving a sample section. This is where I decide what weft colors to use, the spacing of weft stripes, and specific treadling patterns. I add these notes to my project sheet, which I keep at the loom as my weaving roadmap.

Measuring for weft stripes.
I place my measuring twill tape along the reed to mark the spacing of the warp stripes. I will use that same spacing for weft stripes to make plaid towels.
Testing colors and patterns.
Sample weaving to try out colors, stripe spacing, and treadling patterns. And, simply to practice this broken reverse twill treadling, which requires concentration.
First towel starts after the red cutting line.

These hand towels are a preview. If they turn out as hoped, I may have to make some bath towels to match.

May your designs stand out.

Happy Weaving,
Karen

Weaving Some Simple Borders

I need to free up this little loom in order to put on a different warp that has a deadline. So, now that I have returned from my travels, my attention is going to these towels. My friend is letting me weave this lovely cottolin warp that she got at Vavstuga.

Simple border stripe in first towel of the Vavstuga towel kit.
Simple border stripe in first towel. Straight twill.
Cottolin warp and 8/1 tow linen weft.
Point twill on four shafts.
Point twill on four shafts. Three horizontal stripes made with half-bleached tow linen weft.

Straight twill, point twill, broken twill, and now “rick-rack.” And after that, a couple towels in plain weave. Everyone who weaves this Vavstuga towel kit and follows the instructions will end up with the same six towels. True? Not necessarily. I like to step off the expected path. That is why I vary the weft and include some type of simple border design on each towel.

Loom with a view. Texas Hill Country.
Three colors of 8/1 tow linen sit on the little blue table as choices for weft. Half-bleached, Unbleached, and Bronze.
Broken twill for a cottolin towel.
Changed the tie-up to broken twill, which allows me to keep a simple straight treadling pattern. Dashed weft pattern for the border stripe is produced by alternating the bronze linen weft with the half-bleached linen weft.
Color-blocked towel uses three neutral weft colors.
Long wavy vertical lines give the appearance of rick-rack. Again, I changed the tie-up to keep the simple straight treadling pattern. I use all three weft colors in this color-blocked towel.
Cottolin towels with 8/1 tow linen weft.
Plain weave, with four shafts and two treadles. The main body of the towel uses the unbleached linen weft. Two picks of half-bleached linen are sandwiched between several rows of bronze linen weft.

There is a wide path that is crowded with many people. It’s the common and expected way of life. It’s where you stay if you want to fit in with everyone else. But if you search for it, you’ll find an uncommon path. It’s narrow; and few find it. It’s the path of life that is found in Jesus Christ. Stand in the narrow path. That is where your unique features will show up as border designs that set you apart as a cherished child of God.

May you be set apart.

Happy weaving,
Karen

Glorious Weft Leftovers

I didn’t know it could look like this. The pleasant color interaction is astounding! Had I known, I may have woven the whole throw in this manner. This is the end of the warp, after 16 centimeters for the sample, 166 centimeters for the throw, and 50 centimeters for the lap blanket.

Double weave throw on the loom.
For the lap blanket I am spacing the blocks differently than for the throw. The deep plum weft has narrow and wider stripes that separate the squares into groups of three.

An ending sample is a perfect opportunity to use up weft left on the quills, and even some quills of 8/2 cotton left over from other projects. When the dark plum quill empties, others colors take its place. I put the colors one right after the other, without the dark plum separating them into squares. The fabric image that appears in front of me is mesmerizing!

Double weave sample on the loom. May be my favorite sample yet!
Softer color transitions are made by eliminating the deep plum weft stripes between colors.

Double weave sample. Karen Isenhower

Cutting off! Double weave in 8/2 cotton.
Back of fabric highlights the warp stripes, with deep plum squares. Now, for the finishing work!

Image. What we do with what we know contributes to the image of who we are. When we trust in Christ, who is the image of the invisible God, our image is renovated. We are renewed in our knowledge, aligning our image with God. What a magnificent thought! How differently we might live if we only knew how glorious the outcome will be. The Grand Weaver turns our leftover weft into his astounding masterpiece.

May you find glorious surprises in your leftover threads.

Happy weaving,
Karen

Almost Like Weaving Outdoors

I am practically outdoors in the middle of trees when I’m weaving. It’s refreshing to weave between corner windows. That’s how it is with the little loom at our Texas hill country home. I have windows beside my other looms, too. But this is different. Here, I have windows beside me and in front of me.

Color and weave plain weave placemats on the loom.
Corner windows for weaving pleasure. Color-and-weave plain weave placemats on the little loom.

Nature is resplendent with ornamentation and flourishes that influence my weaving. Colors, patterns, shading, and playful surprises. They work their way into my thinking and planning. Aren’t the Creator’s designs amazing?! So, to be surrounded by all that inspiration while weaving raises the enjoyment at the loom all the more.

Indian Paintbrush in Texas hill country.
Colors.

Texas hill country Algerita.
Patterns.

Prickly Pear Cactus in bloom in Texas hill country.
Shading.

Barrel cactus in bloom in Texas hill country.
Playful surprises.

Color and weave plainweave placemats.
Color – variation, pattern – color and weave, shading – two-pick stripes, playful surprise – offset warp stripes.

It is refreshing to experience the enjoyment of nature. We need that. Our minds need refreshing, too. Our minds can be freshened up. When we grow in the knowledge of God—who he is, what he is like, and what he wants—our minds are refreshed and renewed. It’s a breath of fresh air for our thinking. Like weaving out in the middle of the trees.

May you be refreshed.

Happy Weaving,
Karen