Tried and True: Five Steps for Rag Rug Selvedges and a Quick Tip Video

What do you look for in a handwoven rag rug? How do you detect quality of craftsmanship? I look at the selvedges. First thing. I look for selvedges that are nice and tight, and that have a uniform twist at the edge. A few simple steps, consistently practiced, produce the kind of quality you can see and feel. It’s one more reason I find delight in weaving rag rugs.

Rag rug selvedges. Short quick tip video.
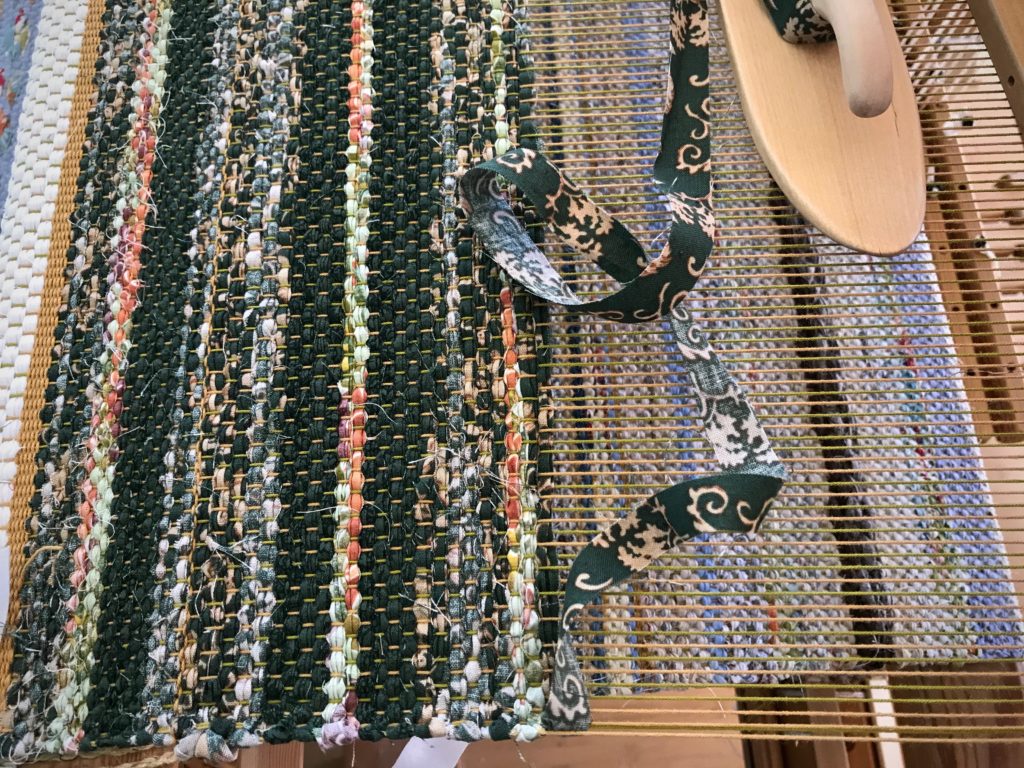
Rag rug selvedges. Weft is snugly wrapped around the selvedge warp ends.

Five Steps for Firm Selvedges on a Rag Rug

  1. Throw the shuttle, leaving a loop of the fabric-strip weft at the selvedge.
  2. Hold the weft out taut, and turn the weft under twice at the selvedge.
  3. Untwist the weft in the shed, straightening it, as needed.
  4. Pull the weft tight against the selvedge.
  5. Position the weft in the shed and beat it in.
Weaving a rag rug. Tutorial video of a quick tip.
Beater swings forward to beat in the weft with its just-formed firm and tidy selvedge.
Filming a short video on weaving rag rug selvedges.
Set up for filming the short tutorial. My husband does the filming and proves his patience through several retakes.

Watch this Quick Tip video for a short demonstration.

Rag rug on the loom. Tutorial about selvedges.

May the quality of your work be the first thing noticed.

Happy Weaving,
Karen

Rosepath Unlimited

This seems unreal, like pulling an item right out of my imagination and touching it with my hands. It is exhilarating to watch a concept sketch develop into a tangible rag rug on the loom. Even though I enjoy designing at the loom, I relish the challenge of preparing a design in advance. In order to make a workable sketch I must study, think, and explore. It’s in this process that I realize the design options are limitless for rosepath rag rugs. This compels me to keep pressing in to learn and explore even more.

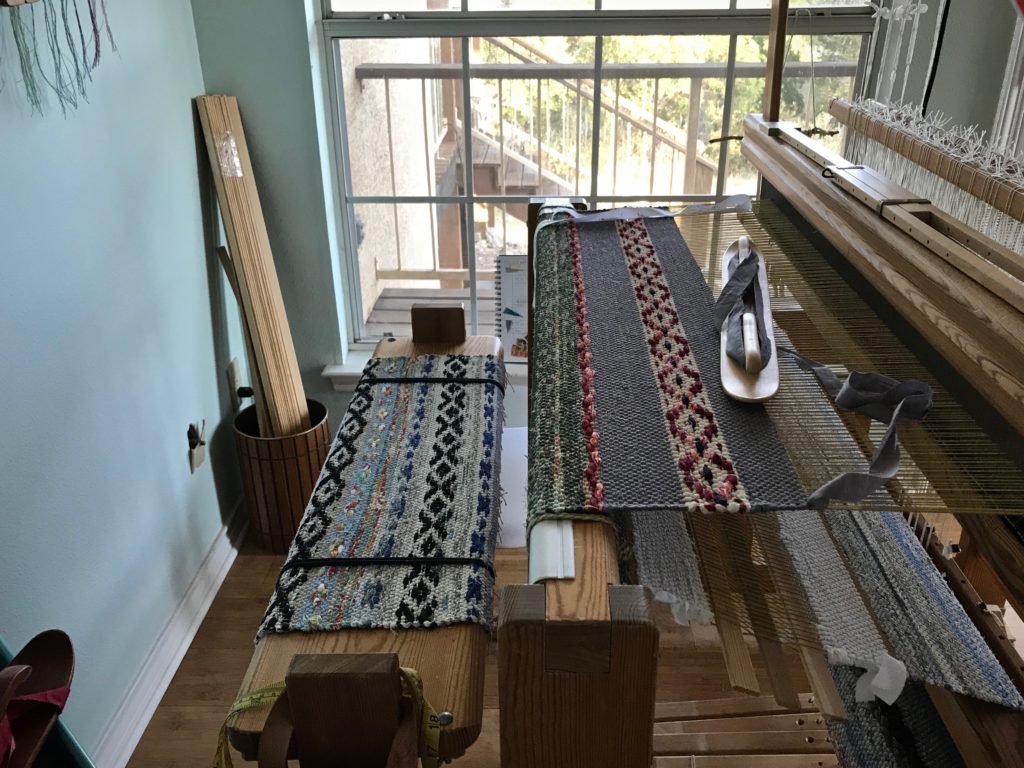
Beginning a new rag rug.
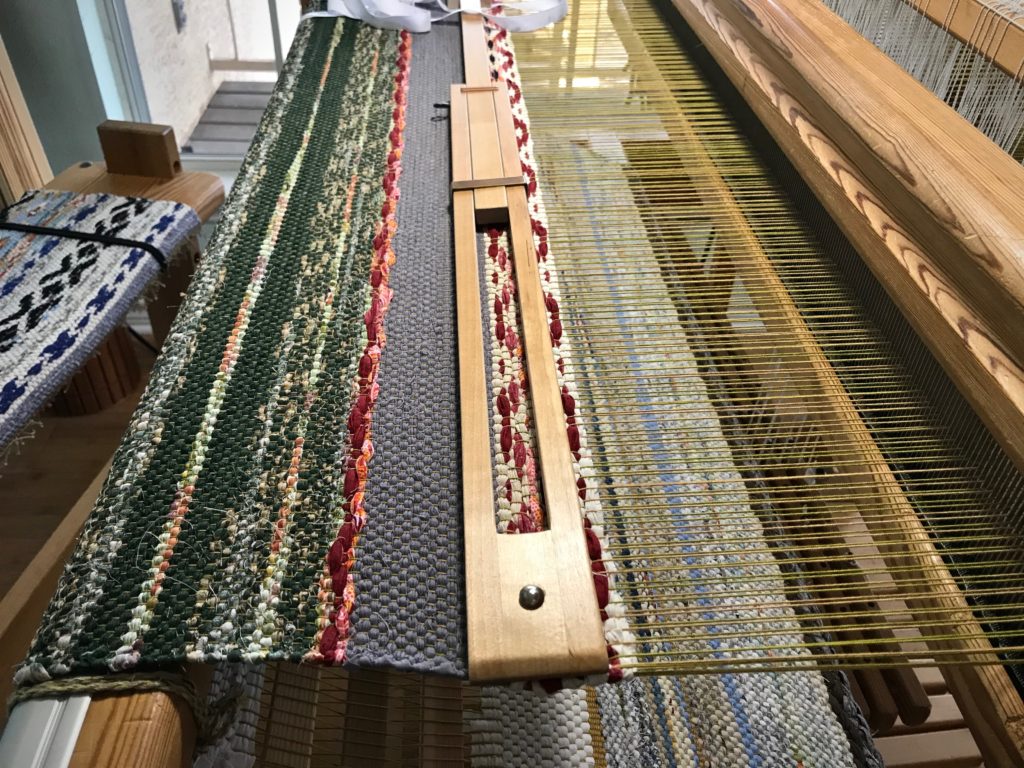
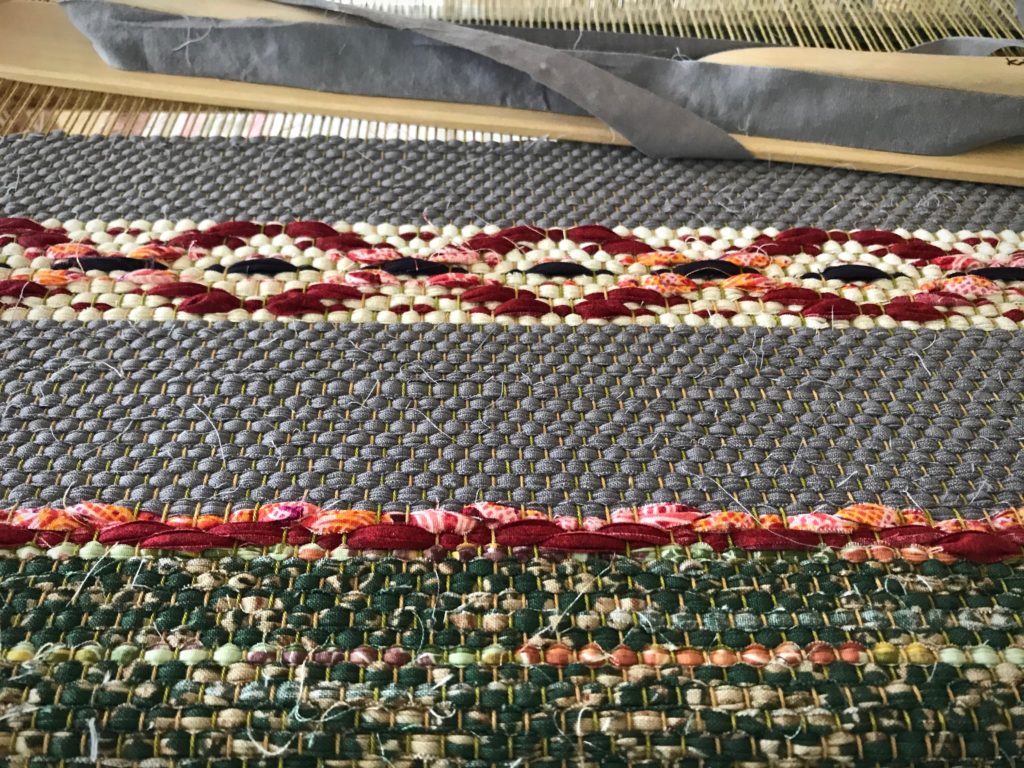
Hem, woven with narrow strips, follows the gold warp thread header. First wide border of the rug uses an assortment of green fabric strips.

The concept sketch is a scaled-down map of the rosepath rag rug. Each square on the gridded paper represents 6 centimeters. The sketch shows me which fabrics to use where, and specifies the placement of each design element—borders, plain weave, rosepath diamonds, dashes and dots of specific colors, etc. I add notes to the page as I weave, like specific treadling sequences and measurements, so that I can mirror them on the second half of the rug.

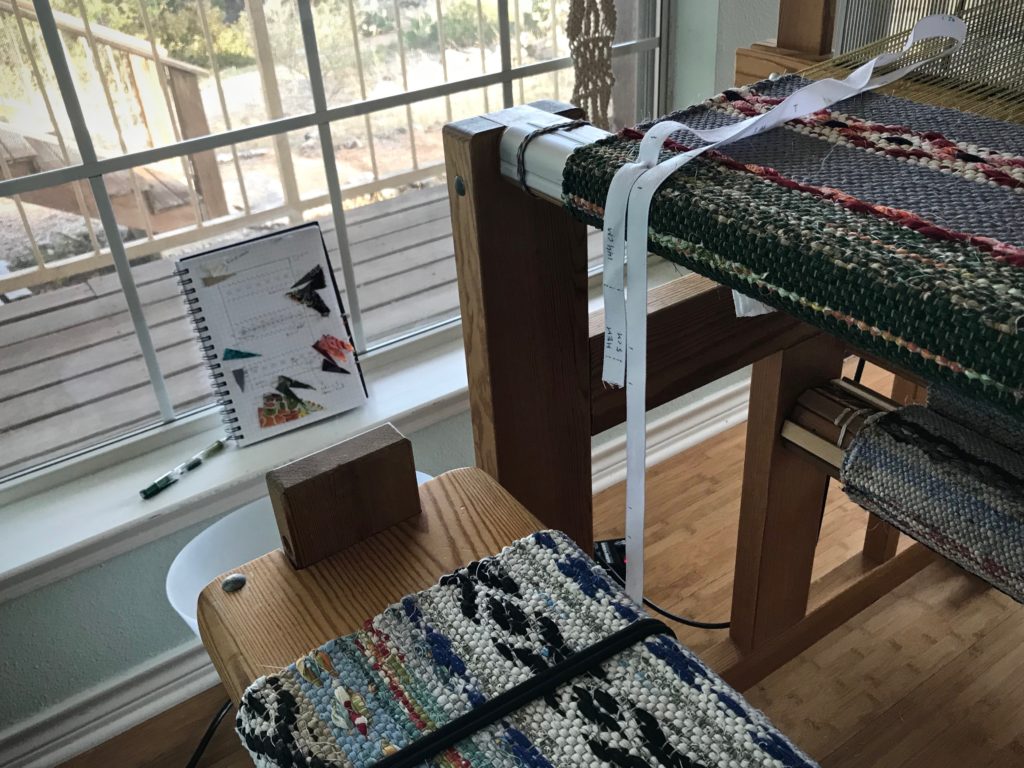
Concept sketch by the loom is my roadmap for weaving the details.
Concept sketch sits at the windowsill by my loom. I use it as a roadmap for weaving the details.
Weaving rag rugs with a temple. Always!!
Stretched-out temple is a necessity when I weave rag rugs. The wooden Glimåkra temple is my favorite because I can place it near the fell without risk of damaging the beater. This makes it possible to move the temple frequently, adding to weaving consistency.
Designing a rosepath rag rug.
Deep purple “dots” at the center of the rosepath diamonds serve as accents among these colors for a Texas hill country home.

Nothing can measure the greatness of the Lord. His greatness is truly limitless. Greatness is compelling. We step closer to search the unsearchable, and know the unknowable. God reveals himself, sketch after sketch, until we finally realize that we need all eternity to fully know him.

Rosepath rag rug - My favorite thing to weave!
Satisfaction of watching a concept sketch become a tangible rag rug.

May your concepts become tangible.

Happy Weaving,
Karen

Most Unusual Tapestry Tool

Suddenly, I am able to see the tapestry on the loom from a distant vantage point. Aha! I can see that the left shoulder of Lucia is nicely defined, and that her shoulder appears to be in front of the turquoise rabbit hutch. What I am not able to discern up close becomes crystal clear from a distance. I have an unusual tool in the basket at my loom bench that gives me this advantage. Binoculars! I use them whenever I want to get a better sense of the overall context, color, and definition of what I am weaving in the tapestry. By peering through the WRONG side of the binoculars I am able to view the tapestry as if from a great distance. It is just the help I need to keep pursuing this mystery of weaving wool butterflies on a linen warp to make a recognizable, memorable image.

Pictorial tapestry in progress.
Each row is a new adventure.
Pictorial tapestry on the Glimakra Standard loom.
Photo image of the complete scene sits in the windowsill by my loom. I frequently refer to the photo as I weave.
Binoculars - unusual tool at the weaving loom.
I wish I could show you what I can see through the wrong end of the binoculars. It always surprises me how the image is clearly shaped at a distance.
Weaving a picture of my grandchildren.
Skin tones blend for the area of Lucia’s neck that is coming into focus. Before long, I will get to play with her flyaway hair.
Weaving a pictorial tapestry of my grandchildren.
Greater distance from the tapestry provides more clarity of context. But still, we only get to see the slice of the image that is in view on the loom. It takes faith and patience for the rest.

May you gain the perspective you need.

Blessings,
Karen

Process Review: Leftover Linen Waffle Weave Washcloths

This is the kind of weaving results that makes me giggle like a child. Waffle weave is one of those things I have been intrigued about for some time, and have wanted to give it a try. Will it really buckle up into waffled wrinkles? Will linen do that? Will it be even better than I expect? Yes, yes, and YES. Talk about transformation!

Using linen thrums for weft.
Taken from thrums, each length of thread is added with a square knot, which makes for slow quill winding. And slow weaving, as I untie each knot that comes along, and overlap weft tails in the shed.
Made with linen leftovers. Weft tails cover the surface.
Shaggy thick blue linen weft tails cover the surface.

Everything in these waffle weave washcloths is linen that has been leftover from previous projects. The tail end of linen tubes, quills that didn’t quite get used up, thrums, and threading missteps that gave me skinny warp chains of several meters. The warp is 16/2 linen, but the weft is everything from fine linen threads, to bundles of threads, to coarse linen rug warp. I discovered, as you will see, that the thicker the weft, the more pronounced the wrinkles. The thickest wefts have given me delightful accordion pleats.

Waffle weave washcloths made entirely of leftover linen.
Wet-finished linen waffle weave has a surprisingly soft hand. After hemming, I am trimming the weft tails to 1/4″, leaving a hint that this is made of leftovers.

Please enjoy this process video of the making of leftover linen waffle weave washcloths! Watch to the end to see the squishiness of this unusual cloth.

Don’t think that this is the end of waffle weave. I am already thinking of all the interesting possibilities…

May your best wrinkles make you giggle.

Happy Happy Weaving,
Karen

Yarn Is My Paint

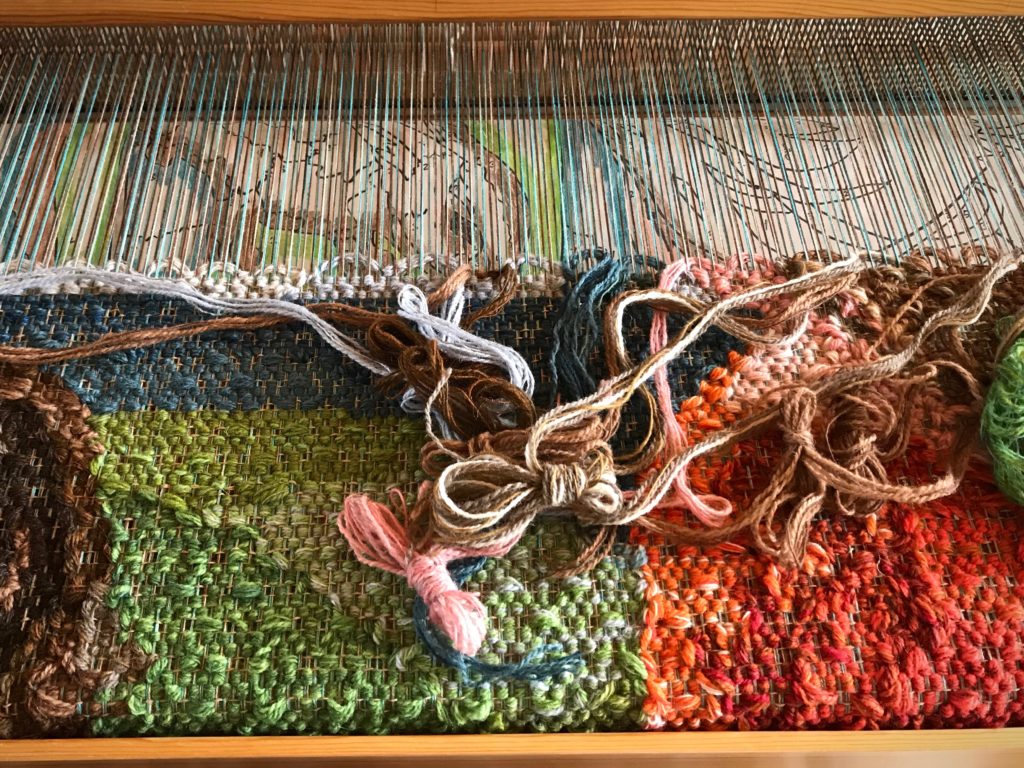
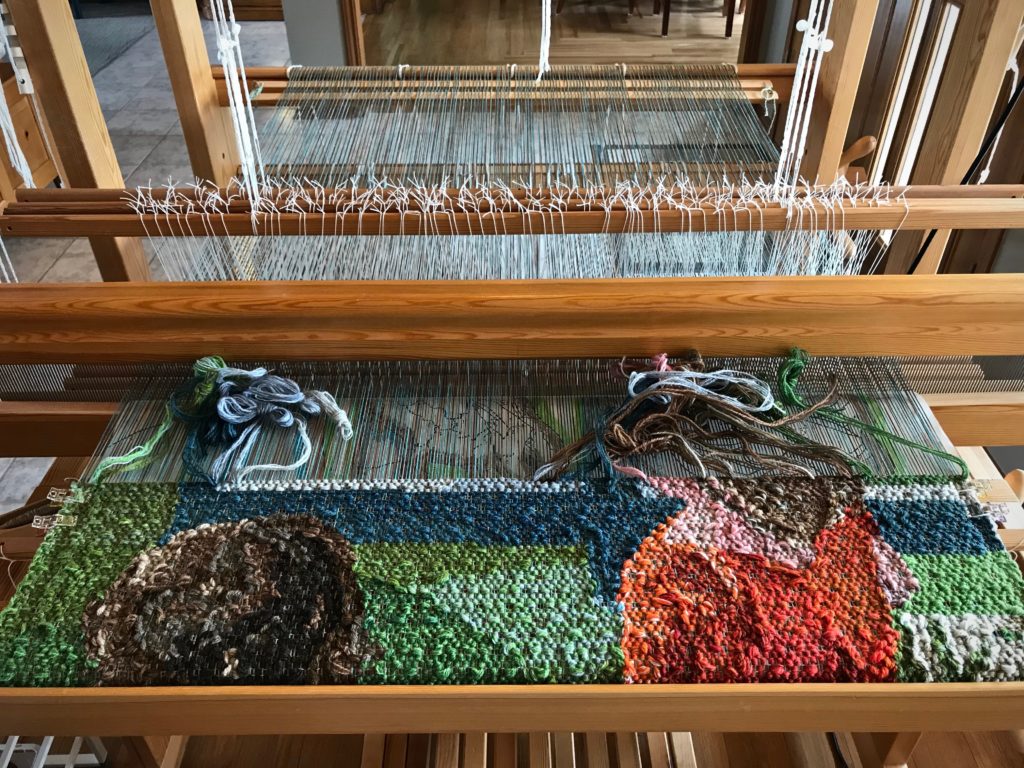
The best thing about weaving a pictorial tapestry? Having a cartoon to follow, with row-by-row definition. This Siblings tapestry has its joys and challenges. It is a joy to weave Ari’s hair, as if I get to comb his locks into place. At the same time, it’s a challenge to see up close what can only be recognized at a distance. Lucia’s shirt is a joy to weave because of the bright colors and distinct shading. But what a challenge to get the right value of turquoise for the leg of the rabbit hutch in relation to the value of orange in Lucia’s left shoulder.

Five different shades of butterflies for this hair.
Ari’s hair has butterflies in five different shades of brown. Sometimes while handling the yarn, it almost seems like real hair. And I reminisce about my sisters and I braiding each others’ hair way back when.
Color decisions in a pictorial tapestry.
Trying to find the right hue for the turquoise rabbit hutch. Choosing a darker hue helps make Lucia’s shoulder appear closer than the hutch leg.

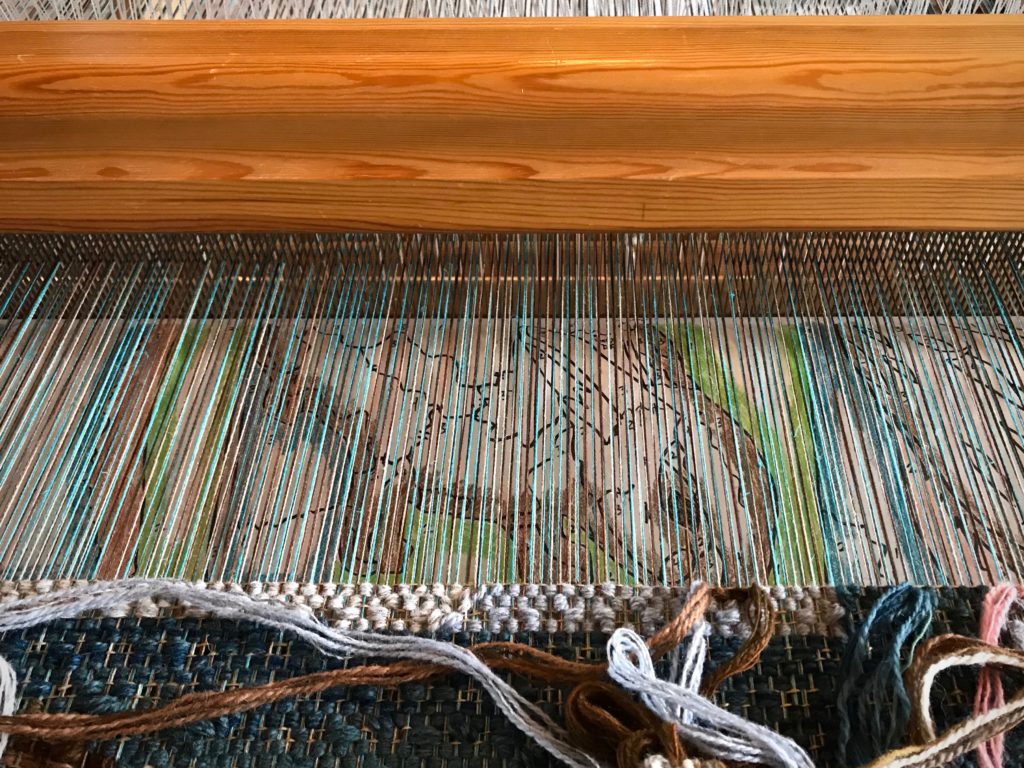
The yarn is my paint. I make decisions and adjustments as I see how the colors interact. Under the warp, of course, is my cartoon with all the details—outline, hues, value changes. That cartoon is constant, unchanging, and reassuring. It’s the key to this whole process.

Under the warp is the detailed cartoon.
Right under the warp is the detailed cartoon. Hues are lightly colored in with color pencil, and value distinctions are penciled in.
Siblings tapestry in progress. Glimakra Standard loom.
Right at halfway on the Siblings tapestry.

In the joys and challenges we face, we make decisions based on what we see. Take a look below the surface. Look through the warp to see the cartoon. True love is in the details. Jesus instructs and guides through his love. Constant, unchanging, and reassuring. It makes perfect sense to follow the Maker’s cartoon.

Cartoon under the tapestry.
Cartoon held in place with a suspended warping slat and some plastic quilter’s clips.

May you grow in love.

With joy,
Karen