Imagine Rag Rugs on the Drawloom

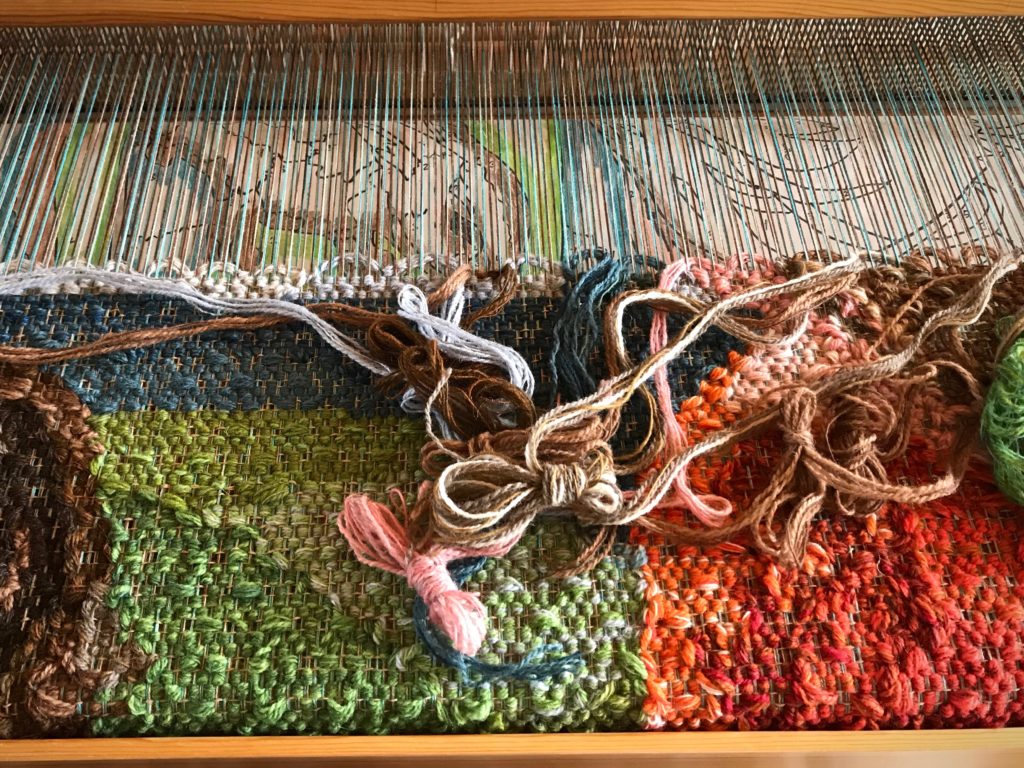
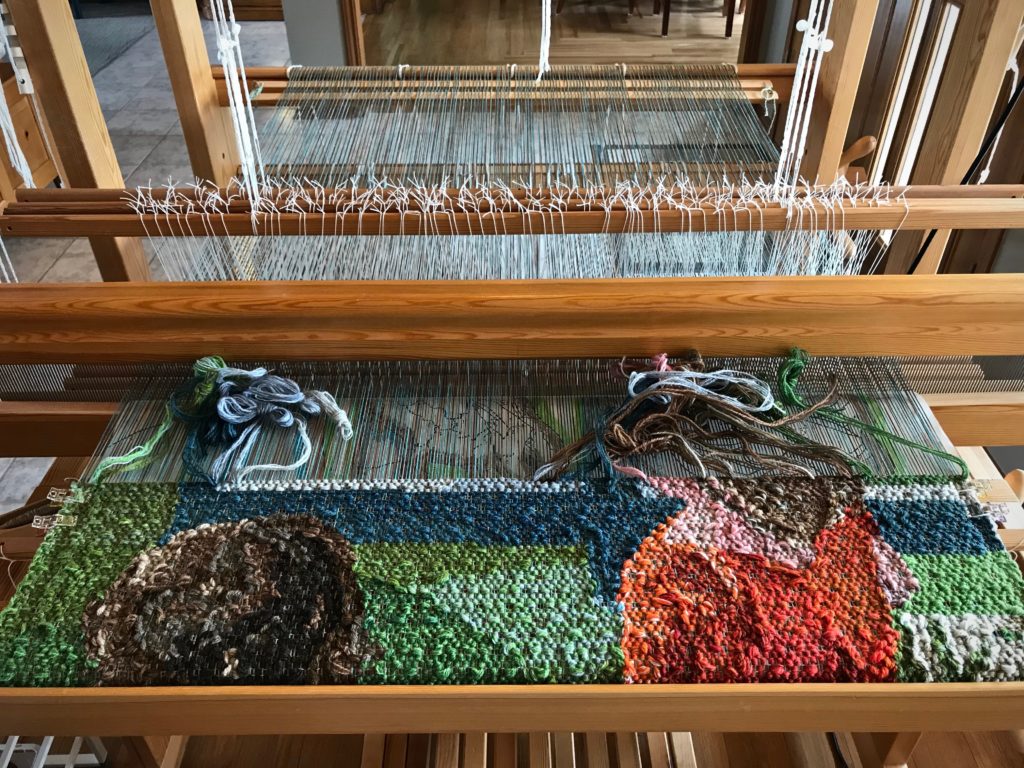
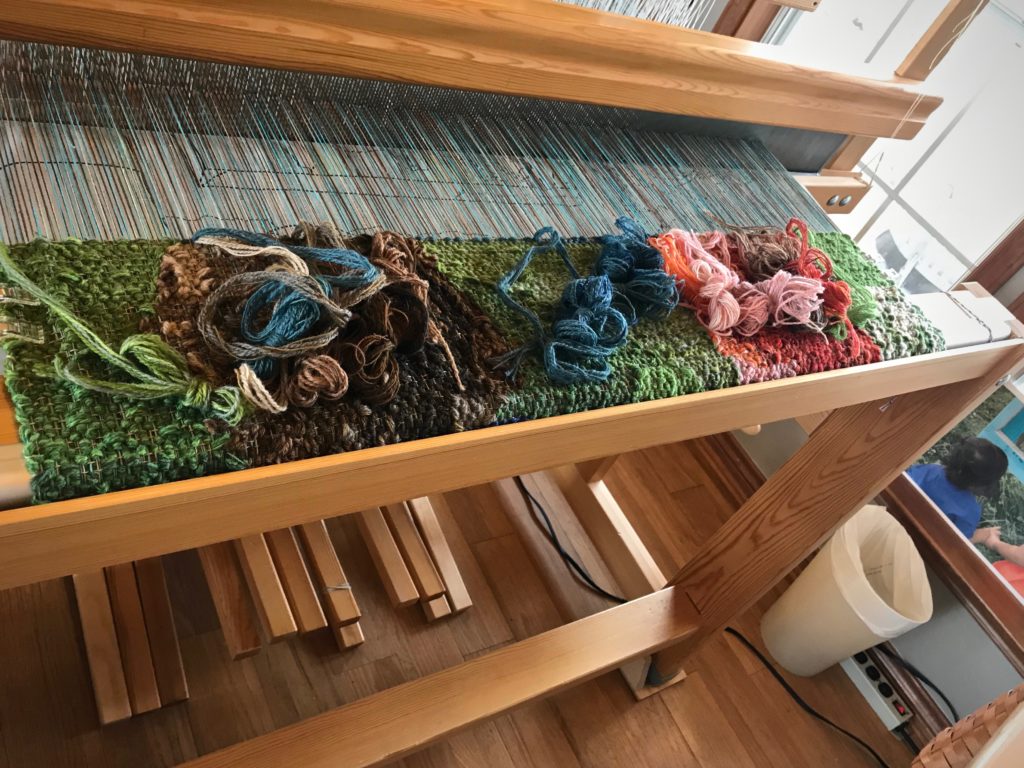
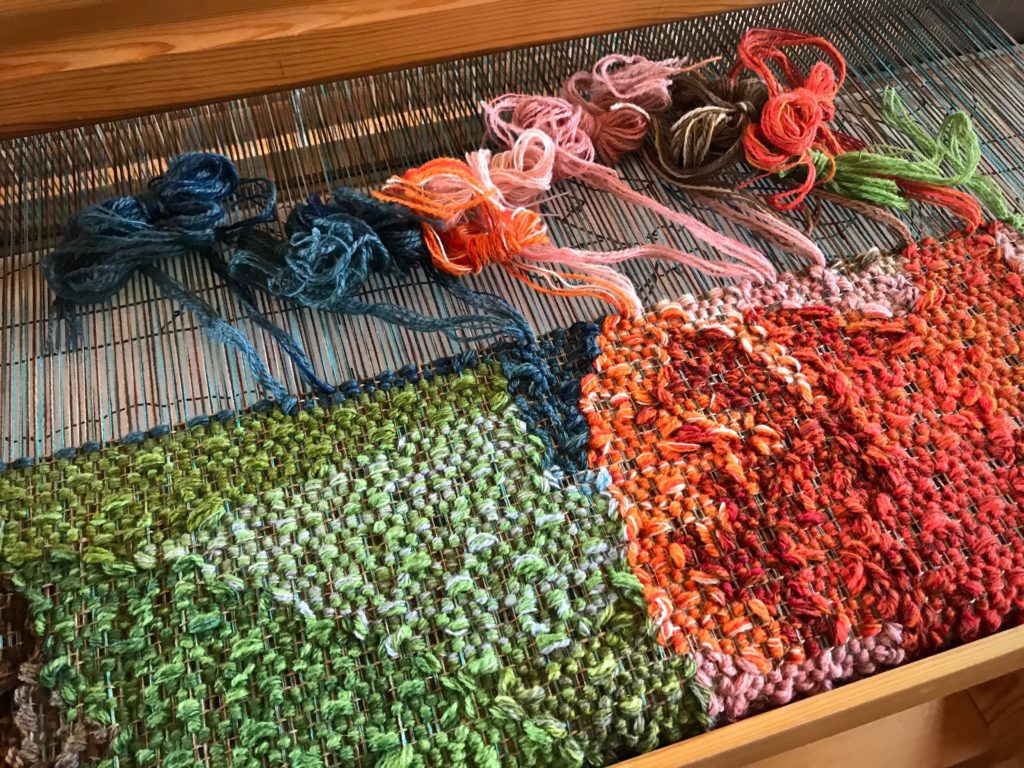
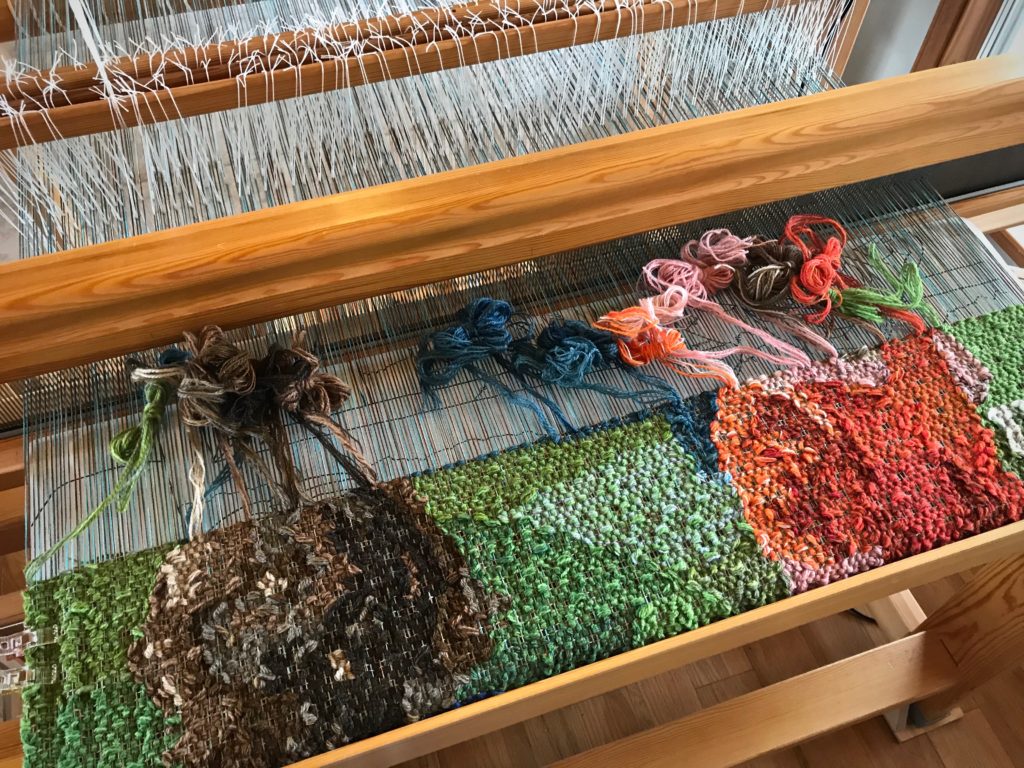
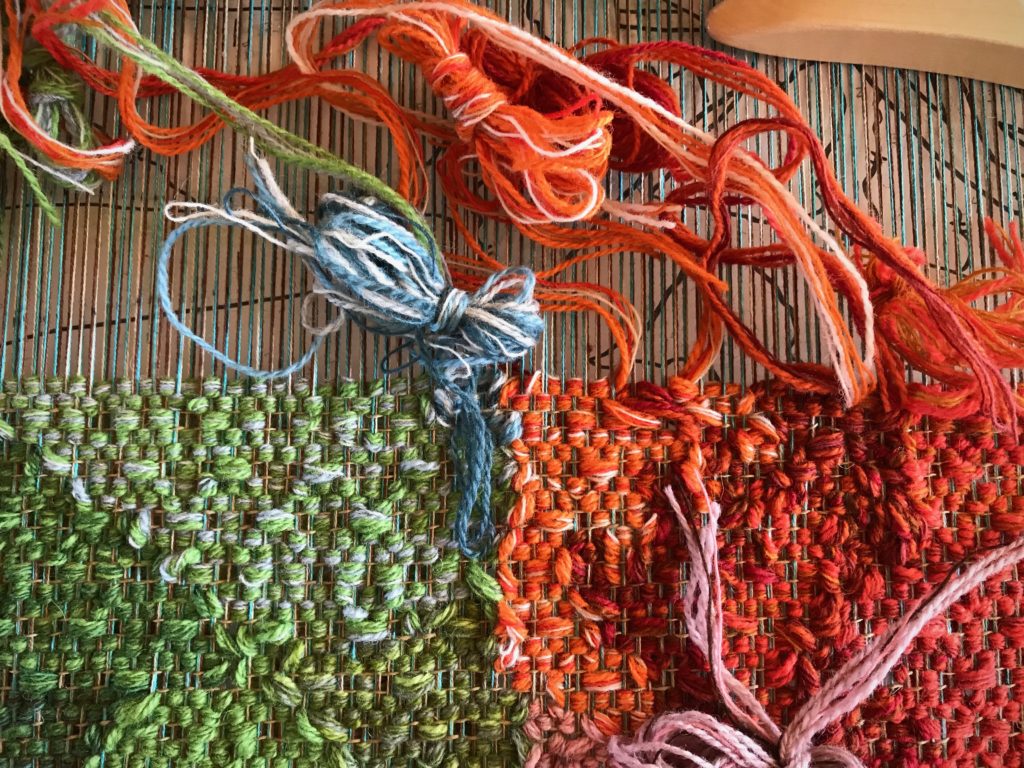
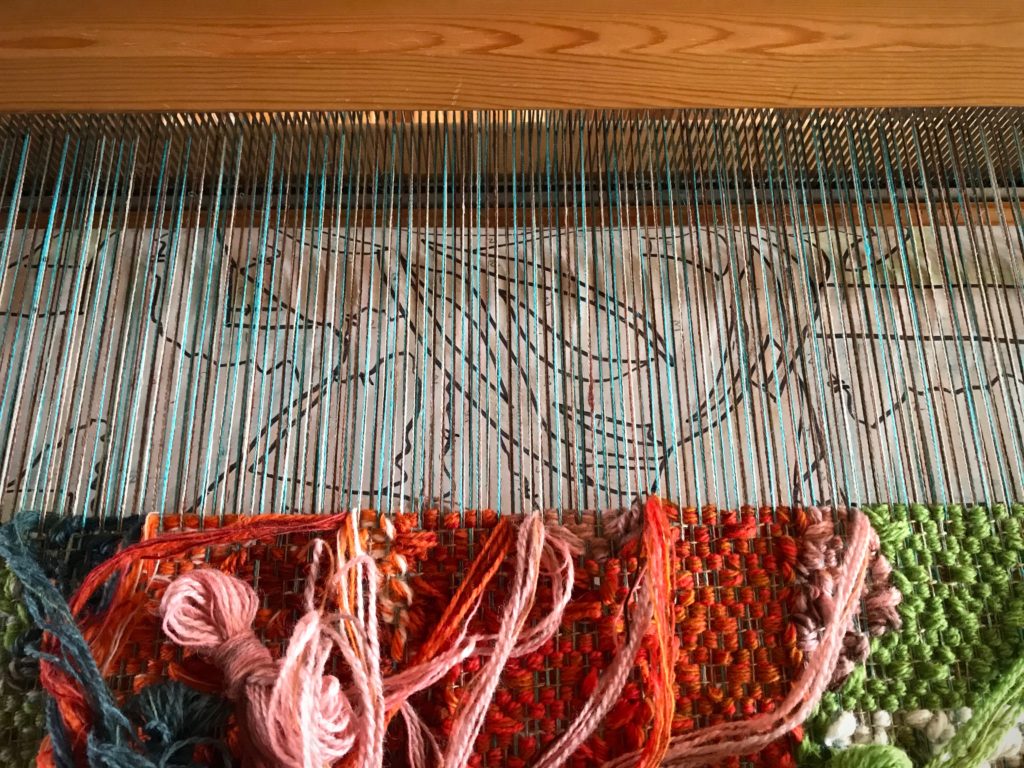
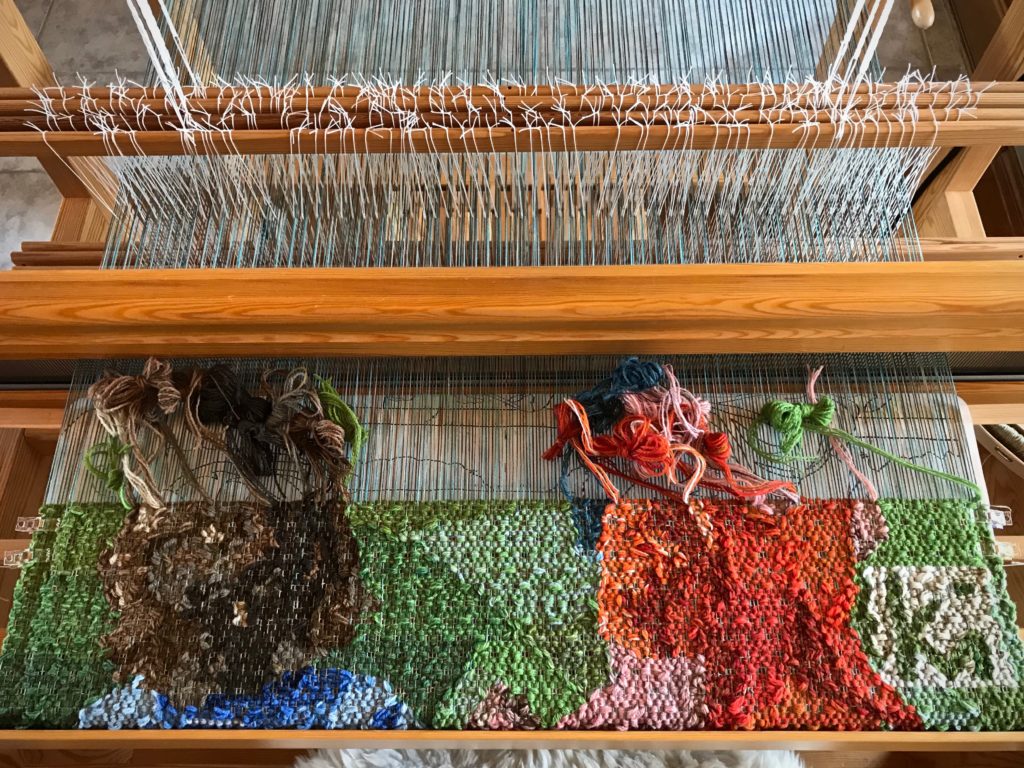
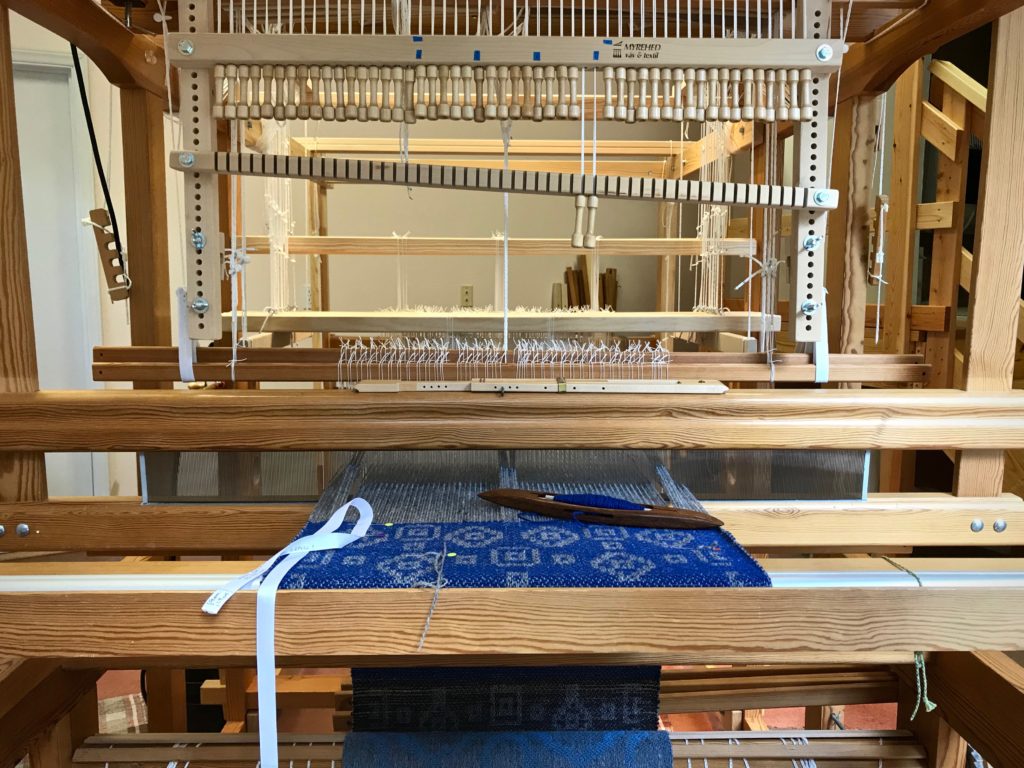
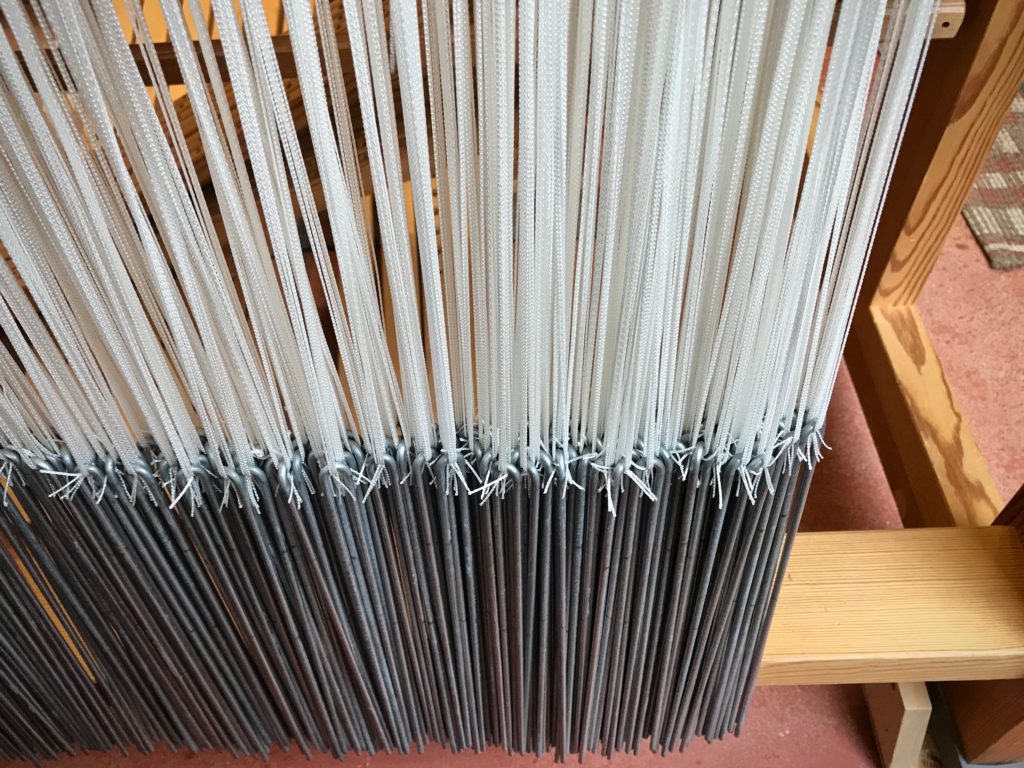
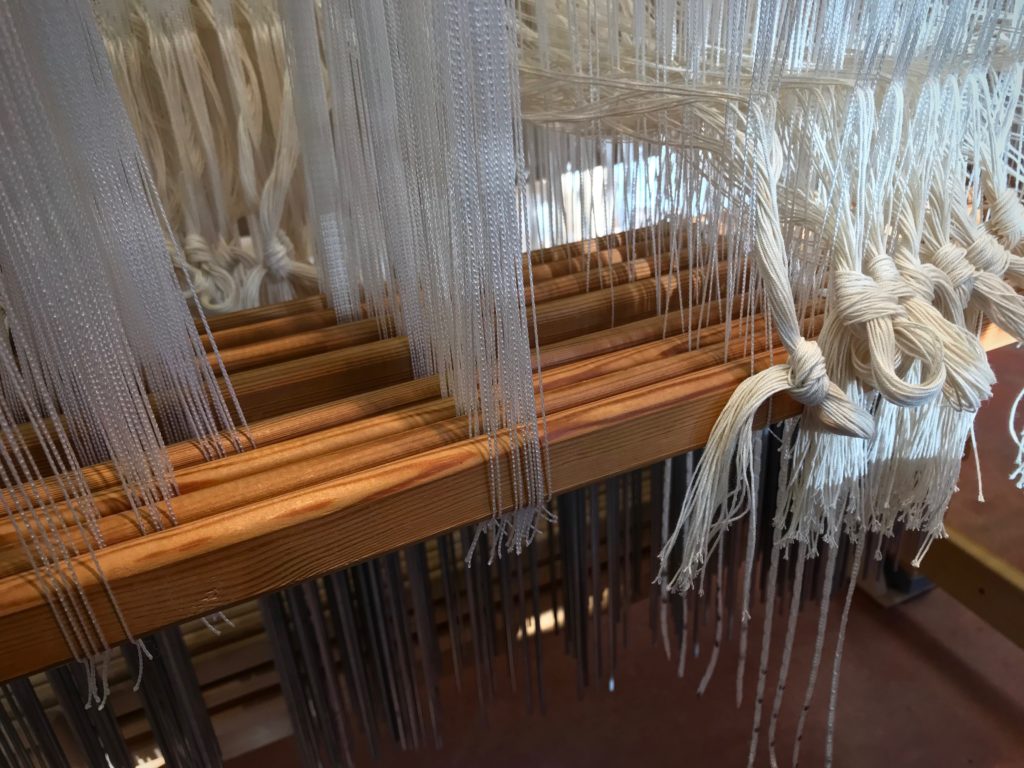
Rag rug weaving on the drawloom! I can only imagine the delight. In the meantime, the drawloom is getting dressed. It takes time to group the pattern heddles into units, add lingos, thread pattern shafts, thread eight ground shafts, sley the reed, move the ground shafts and pattern shafts to their positions, and tie on. After I finish all that I can think about adding all the single-unit draw cords and finish tying up. Whew!

Winding a warp for the next drawloom project.
Warping reel is in a corner of the drawloom studio. When not in use, the reel is folded up and pushed against the wall.
Warp chains of 12/6 cotton rug warp. Drawloom rag rugs!
Warp chains of 12/6 cotton rug warp.
Drawloom - rug warp is ready for threading.
Warp is beamed and ready for threading.

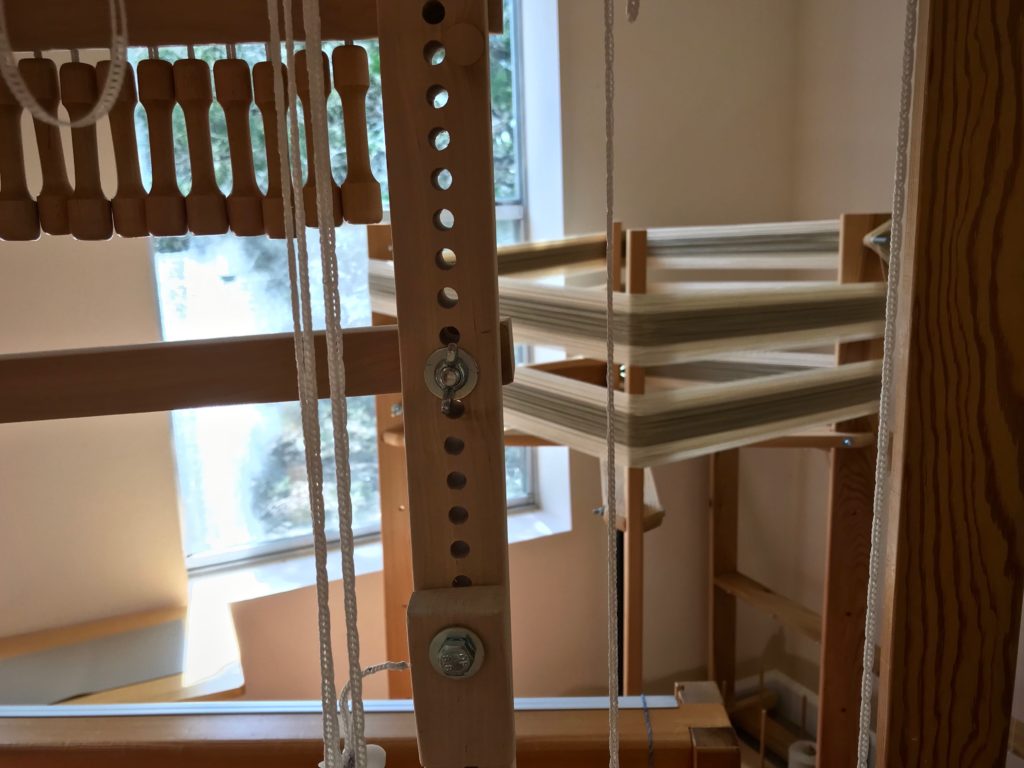
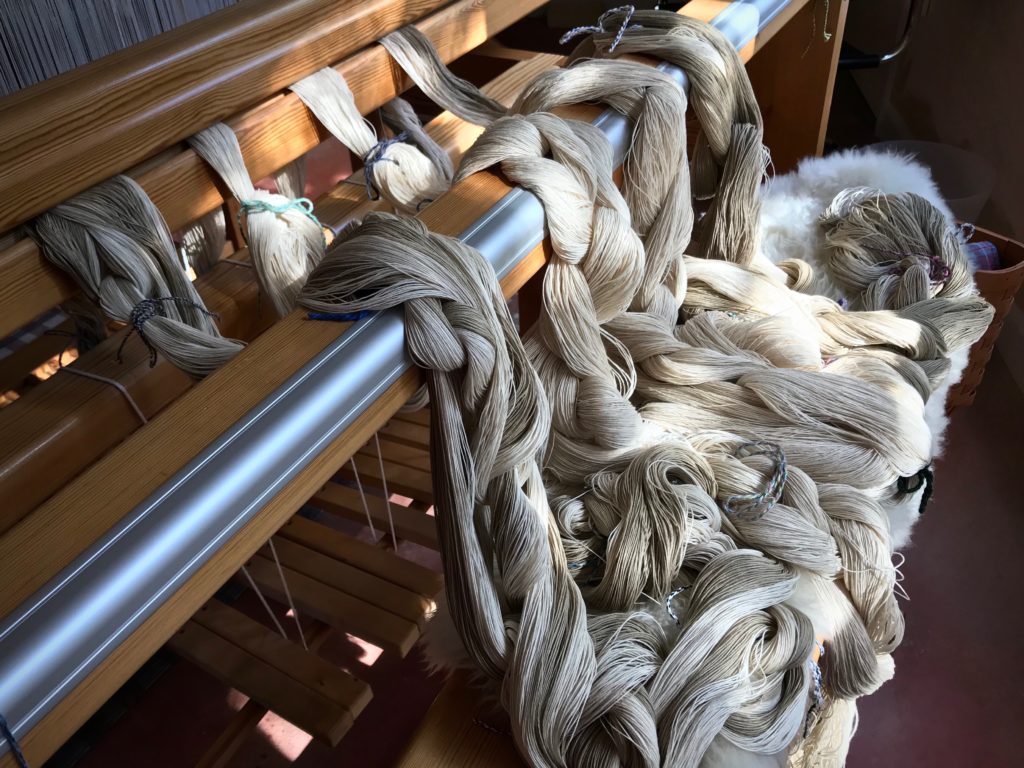
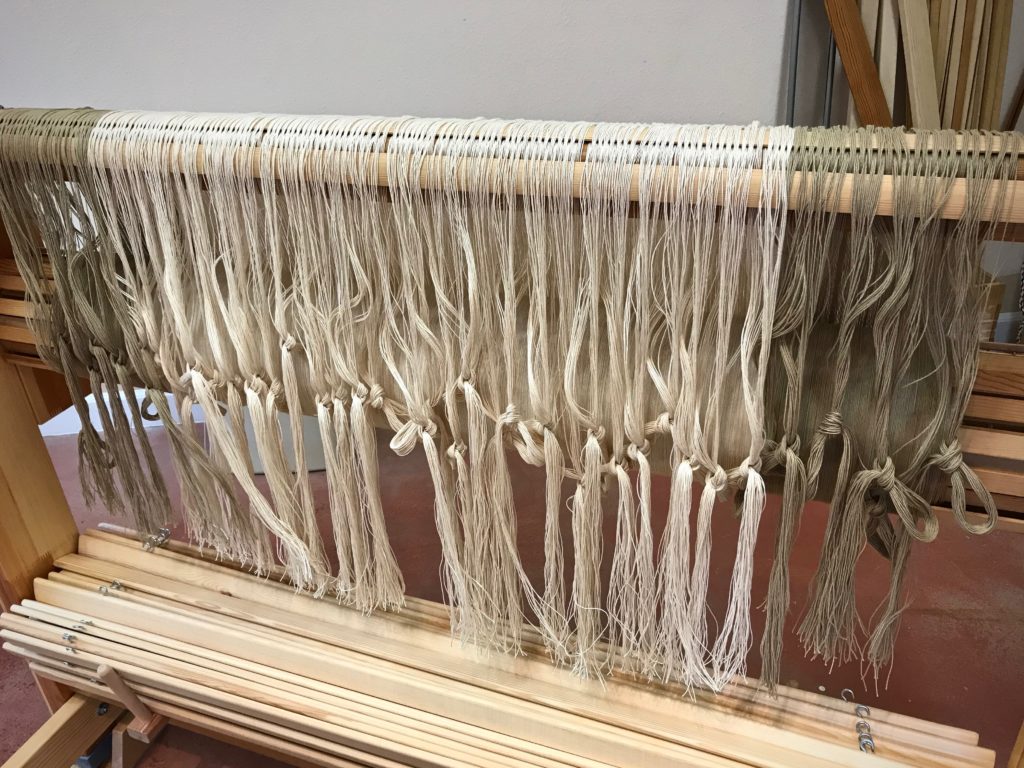
I became acquainted with the single-unit drawloom at Joanne Hall’s studio (see Drawlooms in Montana), but this is my first go at it on the drawloom in my studio. Because of the reward that awaits, I will gladly tackle all the tasks of dressing this loom. Weaving rag rugs on a drawloom will be phenomenal!

Pattern heddles and weights for prepping the drawloom.
Pattern heddles are hanging on the breast beam for grouping into pattern units. A lingo is hung on each unit.
Threading the drawloom.
Pattern heddles have been threaded. You can see the lingos hanging below. Ground heddles are now being threaded. Straight draw threading on eight ground shafts.

Joy sees hidden treasure. We go to great lengths to unearth high-value treasure. Jesus did this, seeing us as the reward. That’s what Christmas celebrates. Jesus left his splendor in heaven to come to earth as a baby. He entered this world and endured the worst because of the joy set before him. He did it all for the joy of having us in fellowship with God. We come to him and find that we are the Grand Weaver’s reward.

May your joy be full.

Joy to you,
Karen

Wary Weaving

Sugar Pie has been waiting in the wings. Now, his nose wriggles up to the fell line. The day that Ari and Lucia went with me to visit my neighbor, their attention went to the cute furry thing in the rabbit hutch. At first, the bunny was wary, but before long, Sugar Pie was nibbling carrot slivers from Lucia’s hand.

Beginning the bunny in the large pictorial tapestry.
First pick of brown for the bunny’s nose.

Now, I’m the wary one. The rabbit will make or break this tapestry. I made notes when I wove the rabbit on a narrow sample warp several weeks ago. With careful review of my notes, I am inching forward, giving attention to value contrasts that shape and define the animal. The good news is that when I reach the end of Sugar Pie’s soft, furry back, I will be at the tapestry’s finish line.

Color changes are outlined on the tapestry cartoon.
Color changes are outlined on the cartoon with colored pencil.
Pictorial tapestry in progress. "Siblings"
Ari and Lucia, two of my grandchildren, in a moment of childhood wonder. This tapestry tries to capture that wonder.

In trying times, our senses are heightened. Will we flourish, or merely squeak by? In all the confusion, where is clarity? In the chaos, where do we find calm? The Lord extends an open hand. The open hand is an invitation. Come and taste. Trust. Find deep satisfaction that reaches the soul. Courageously inch up to the greatest challenge of your life.

May you step into a worthwhile challenge.

With you,
Karen

Most Unusual Tapestry Tool

Suddenly, I am able to see the tapestry on the loom from a distant vantage point. Aha! I can see that the left shoulder of Lucia is nicely defined, and that her shoulder appears to be in front of the turquoise rabbit hutch. What I am not able to discern up close becomes crystal clear from a distance. I have an unusual tool in the basket at my loom bench that gives me this advantage. Binoculars! I use them whenever I want to get a better sense of the overall context, color, and definition of what I am weaving in the tapestry. By peering through the WRONG side of the binoculars I am able to view the tapestry as if from a great distance. It is just the help I need to keep pursuing this mystery of weaving wool butterflies on a linen warp to make a recognizable, memorable image.

Pictorial tapestry in progress.
Each row is a new adventure.
Pictorial tapestry on the Glimakra Standard loom.
Photo image of the complete scene sits in the windowsill by my loom. I frequently refer to the photo as I weave.
Binoculars - unusual tool at the weaving loom.
I wish I could show you what I can see through the wrong end of the binoculars. It always surprises me how the image is clearly shaped at a distance.
Weaving a picture of my grandchildren.
Skin tones blend for the area of Lucia’s neck that is coming into focus. Before long, I will get to play with her flyaway hair.
Weaving a pictorial tapestry of my grandchildren.
Greater distance from the tapestry provides more clarity of context. But still, we only get to see the slice of the image that is in view on the loom. It takes faith and patience for the rest.

May you gain the perspective you need.

Blessings,
Karen

Yarn Is My Paint

The best thing about weaving a pictorial tapestry? Having a cartoon to follow, with row-by-row definition. This Siblings tapestry has its joys and challenges. It is a joy to weave Ari’s hair, as if I get to comb his locks into place. At the same time, it’s a challenge to see up close what can only be recognized at a distance. Lucia’s shirt is a joy to weave because of the bright colors and distinct shading. But what a challenge to get the right value of turquoise for the leg of the rabbit hutch in relation to the value of orange in Lucia’s left shoulder.

Five different shades of butterflies for this hair.
Ari’s hair has butterflies in five different shades of brown. Sometimes while handling the yarn, it almost seems like real hair. And I reminisce about my sisters and I braiding each others’ hair way back when.
Color decisions in a pictorial tapestry.
Trying to find the right hue for the turquoise rabbit hutch. Choosing a darker hue helps make Lucia’s shoulder appear closer than the hutch leg.

The yarn is my paint. I make decisions and adjustments as I see how the colors interact. Under the warp, of course, is my cartoon with all the details—outline, hues, value changes. That cartoon is constant, unchanging, and reassuring. It’s the key to this whole process.

Under the warp is the detailed cartoon.
Right under the warp is the detailed cartoon. Hues are lightly colored in with color pencil, and value distinctions are penciled in.
Siblings tapestry in progress. Glimakra Standard loom.
Right at halfway on the Siblings tapestry.

In the joys and challenges we face, we make decisions based on what we see. Take a look below the surface. Look through the warp to see the cartoon. True love is in the details. Jesus instructs and guides through his love. Constant, unchanging, and reassuring. It makes perfect sense to follow the Maker’s cartoon.

Cartoon under the tapestry.
Cartoon held in place with a suspended warping slat and some plastic quilter’s clips.

May you grow in love.

With joy,
Karen

Process Review: Drawloom Jewels

It is exciting when Maverick walks by. Although he never comes in my drawloom studio, he does stop for a moment to look my way. You’ll see him in the slideshow video below. But what happens inside the studio is even more exciting, especially when it’s time for cutting off!

Drawloom with 16 pattern shafts.
Drawloom, set up with sixteen pattern shafts. I graph out the designs in Excel on my computer. Then, I print out the gridded pattern to use at the loom. I keep my place in the pattern with a magnet and magnet board made for cross-stitch embroidery.

This is Tuna wool, so I expect some shrinkage, but how much? I take careful measurements before and after wet finishing. Besides the main piece of fabric that I’m using for a garment, I have two sample pieces. I can experiment with the samples before wet finishing my garment fabric.

Here are my findings:
Sample 1. Hand wash and air dry.

10% shrinkage in width; 13% shrinkage in length.

Sample 2. Machine wash (3 minutes agitation on a gentle cycle, with a short spin) and machine dry (low setting) till damp, finish with air drying.

13% shrinkage in width; 14% shrinkage in length.

~How to do the shrinkage calculations~
First measurement (on the loom) minus the second measurement (after washing and drying) equals the difference. The difference divided by the first measurement equals the percentage difference.
For example, 50 cm – 43.5 cm = 6.5; 6.5 / 50 = 0.13; 13% shrinkage.

The first sample fabric is softer than the unwashed fabric, but not as soft as I’d like. The second sample fabric is beautifully soft, like a nice warm sweater. So, with confidence, I wet finish the garment fabric—with great results. It’s perfect for the fall/winter vest that I’ll soon be wearing, made from this fabric!

Wool garment fabric from a drawloom.
Like a sweater, this soft fabric will be comfortable to wear.
Making a pattern for handwoven garment fabric.
Muslin pattern for a simple vest. First, I’ll make a vest out of a wool throw, woven on my rigid heddle loom ages ago. Then, I will cut into the new drawloom fabric, with confidence about the fit.

Enjoy this photo show of the drawloom process.

May you enjoy the process you’re in.

Happy Weaving,
Karen