Warp Stripes and Surprises

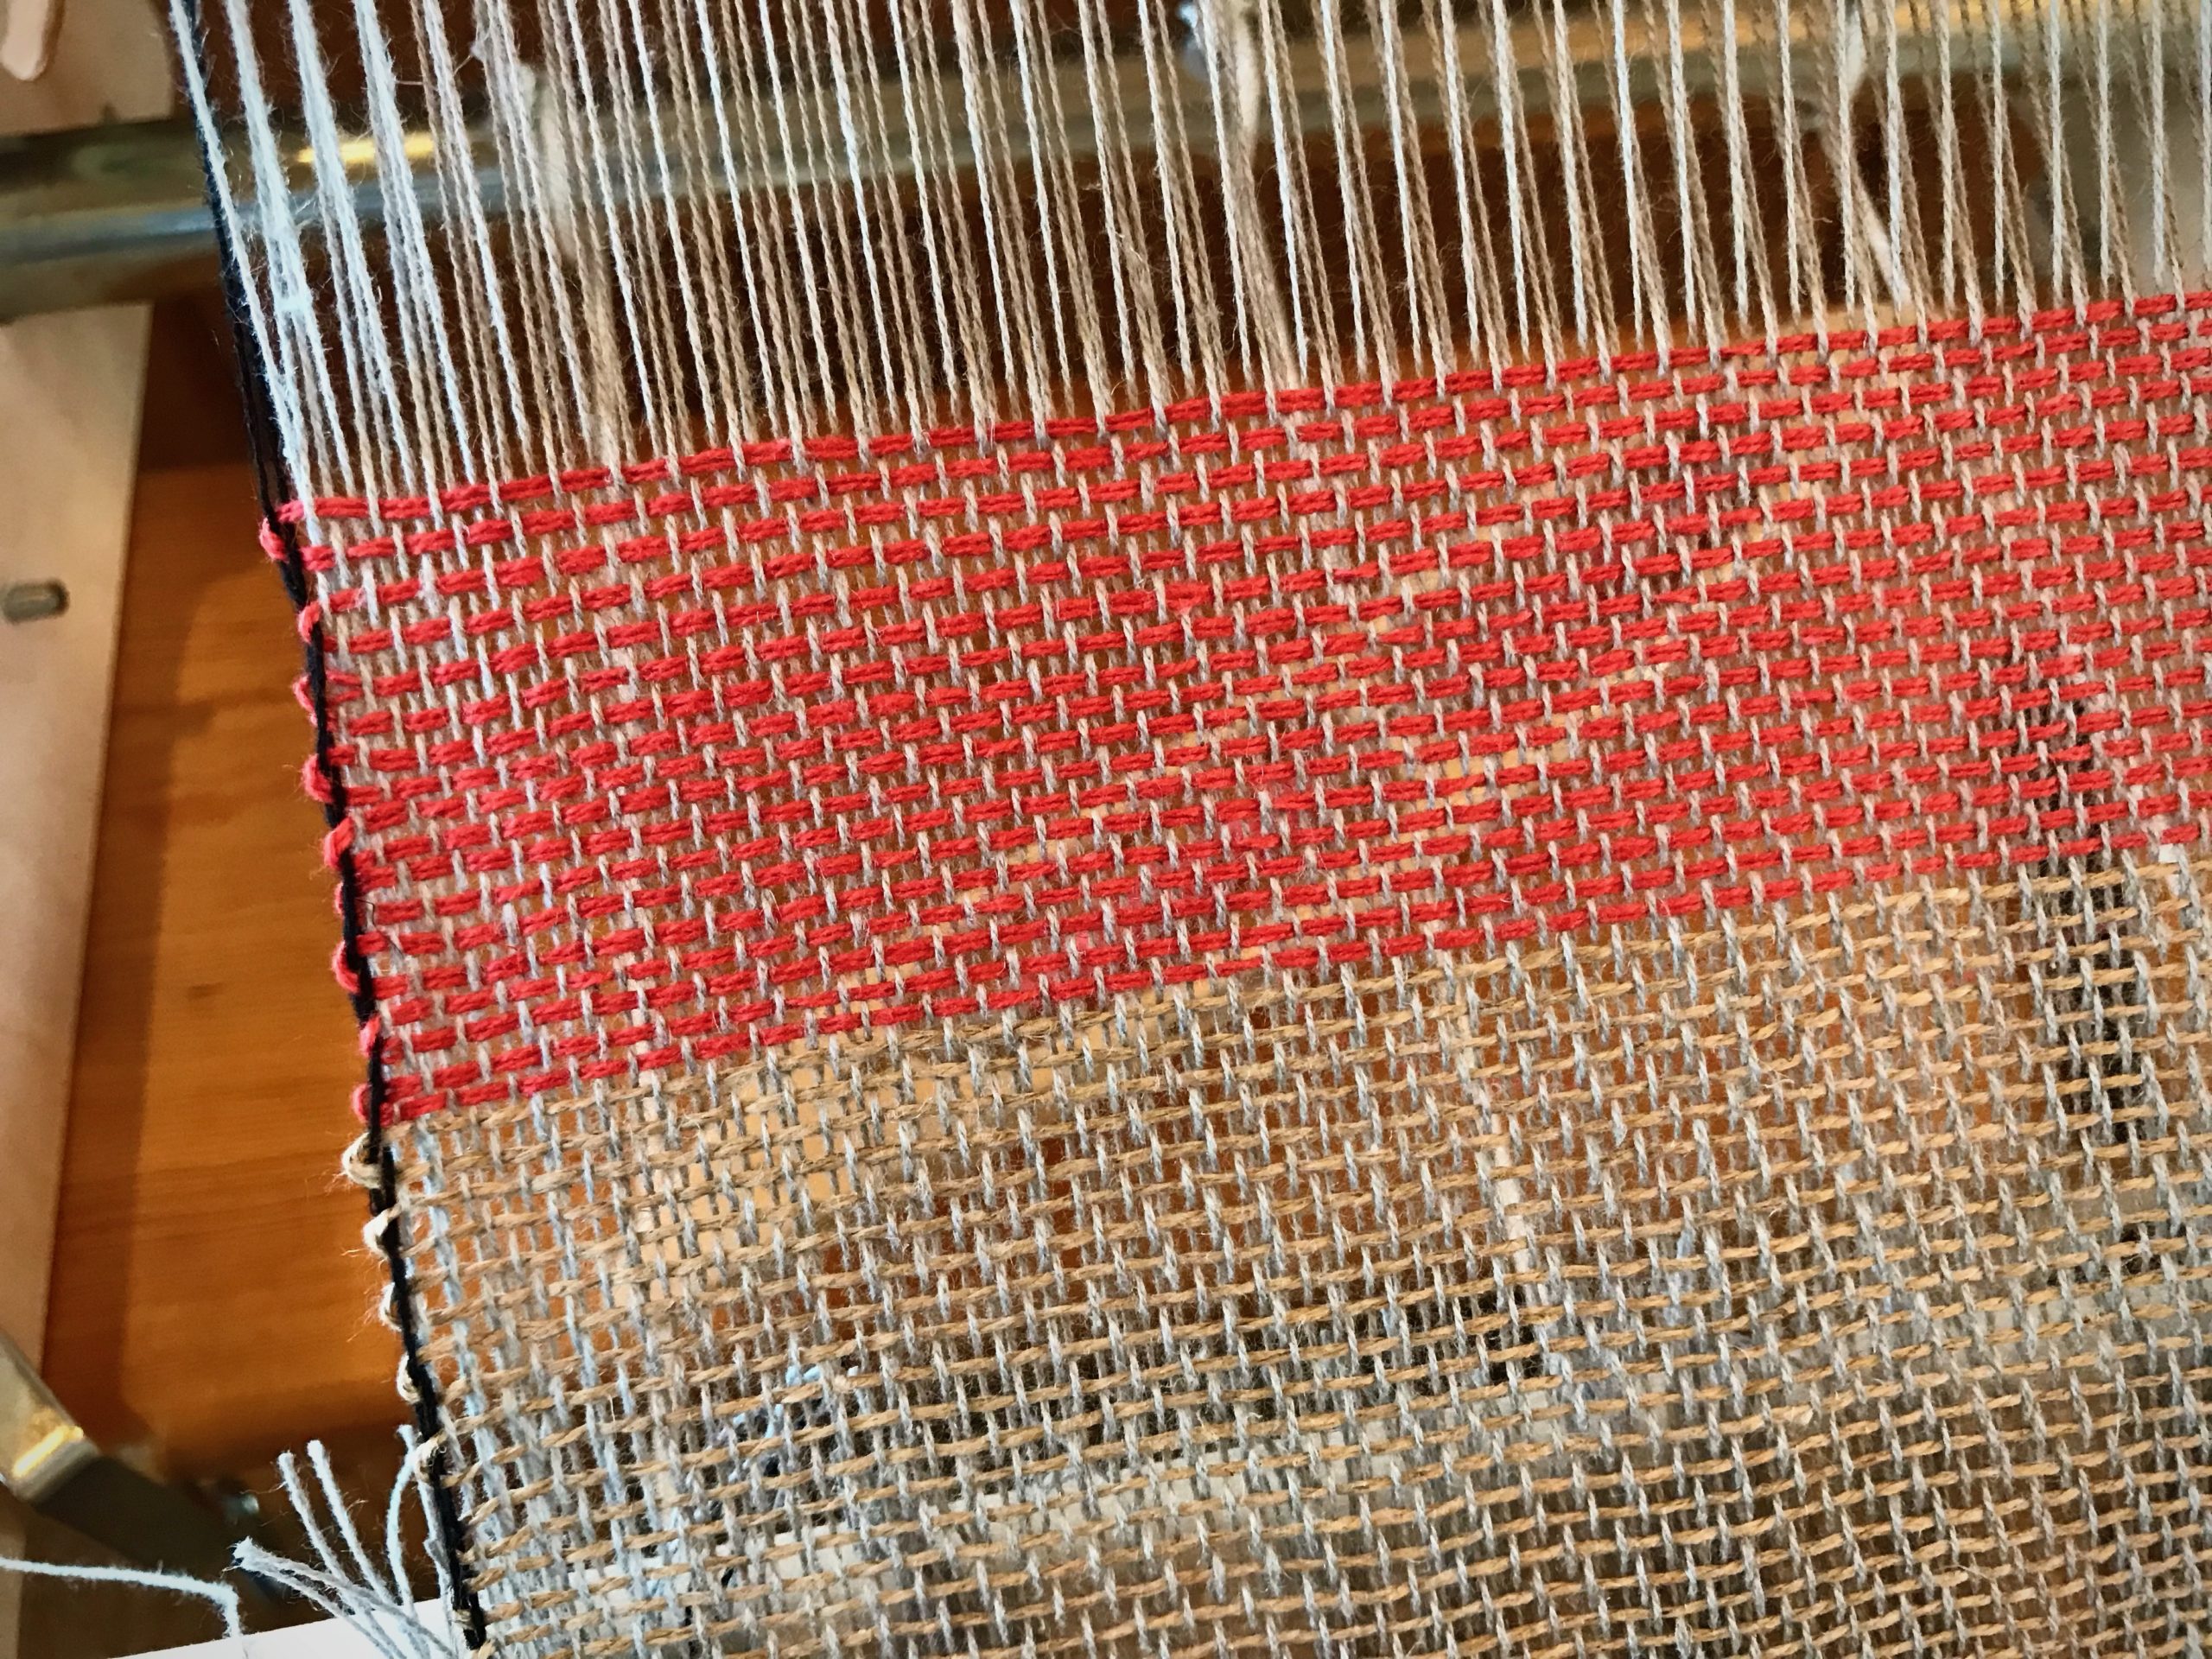
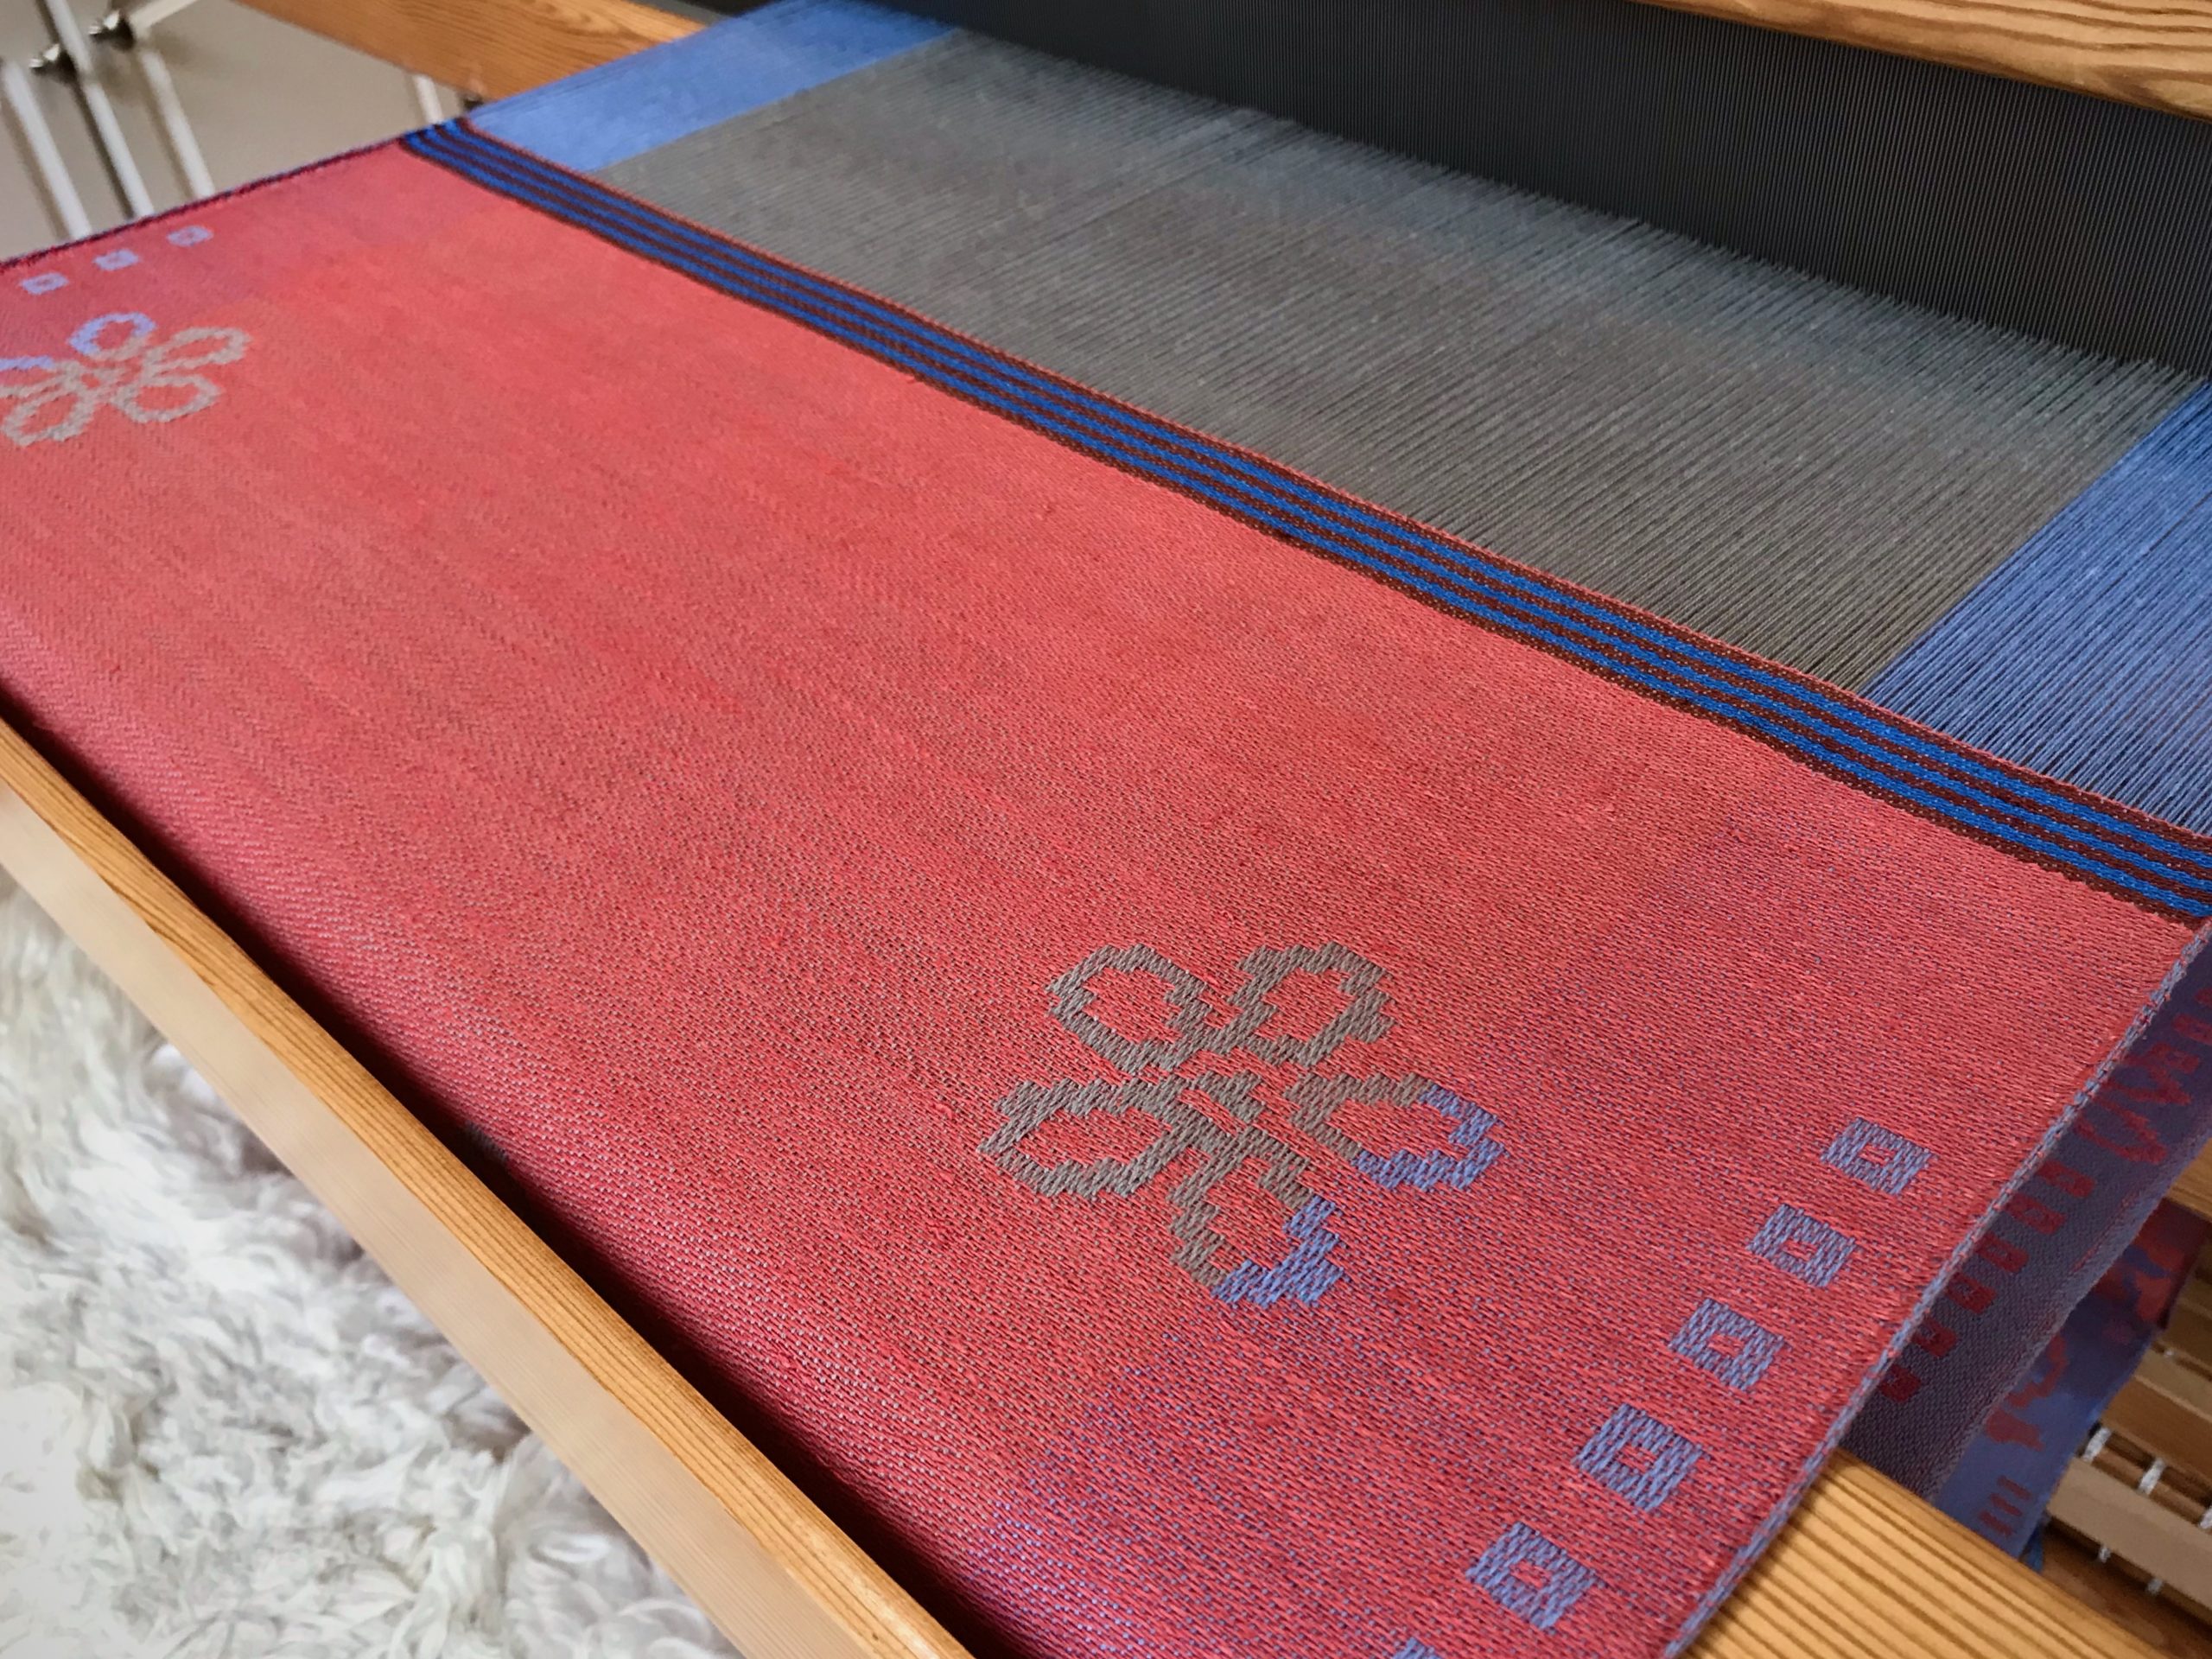
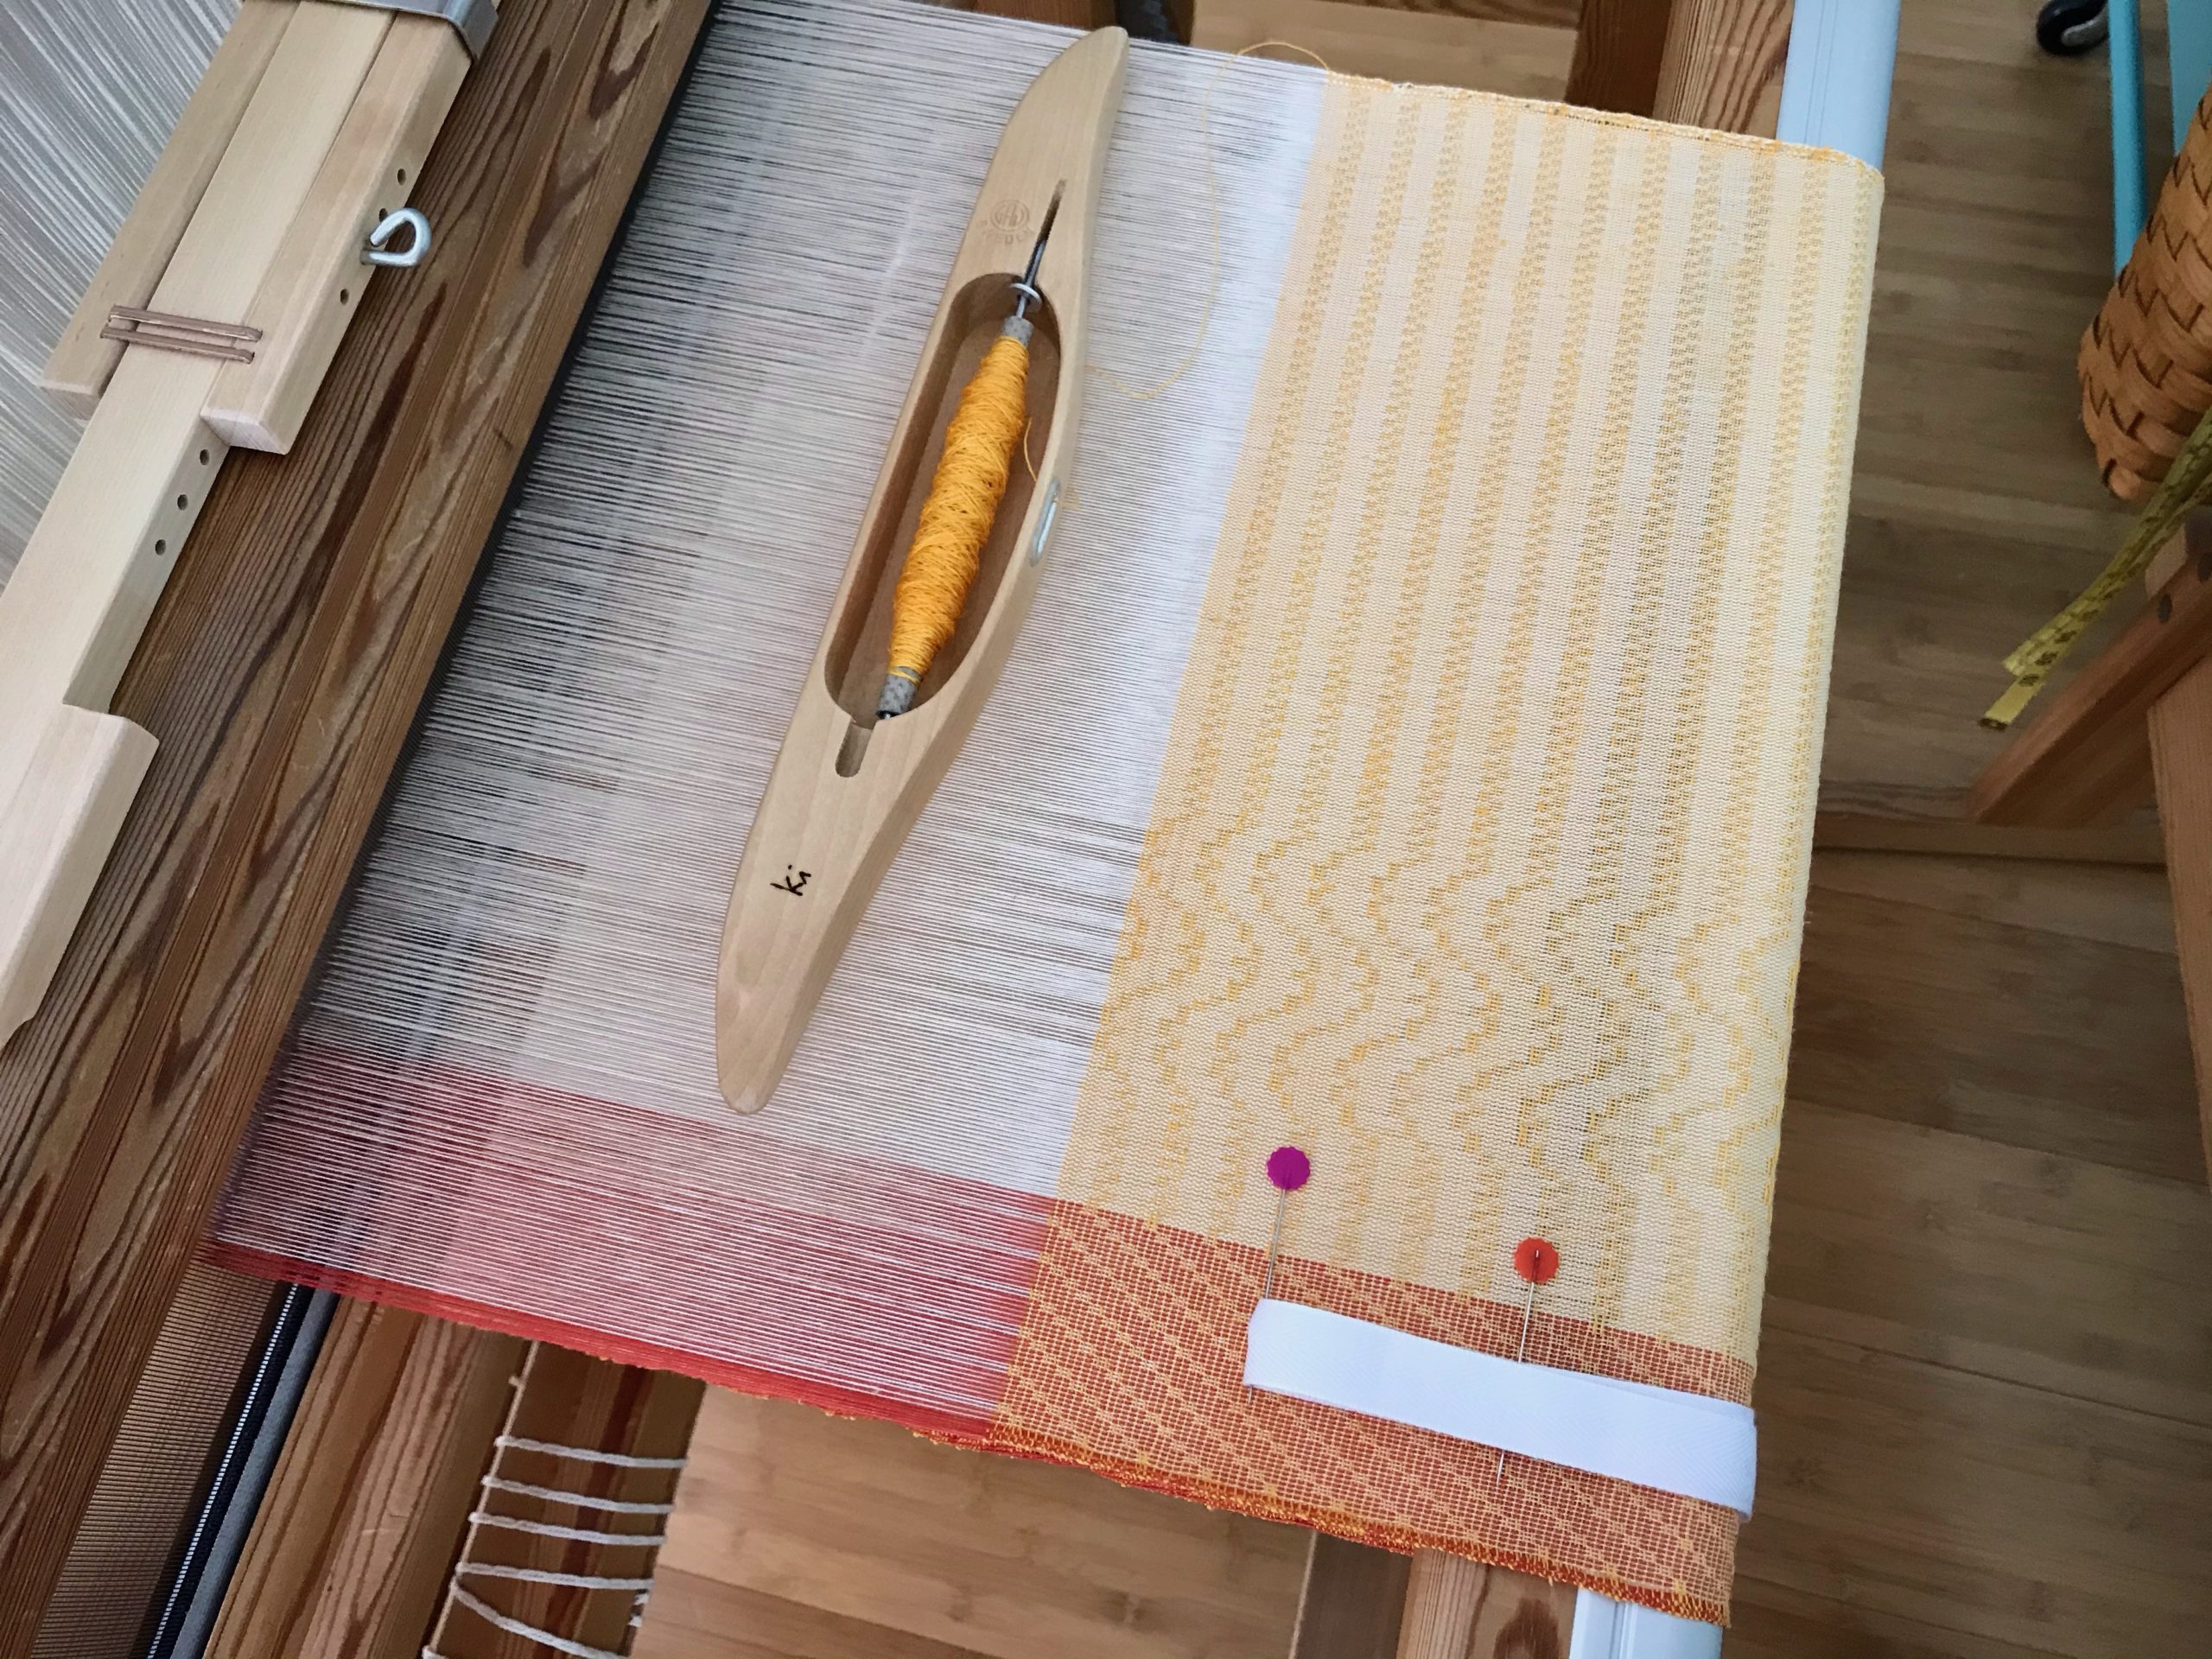
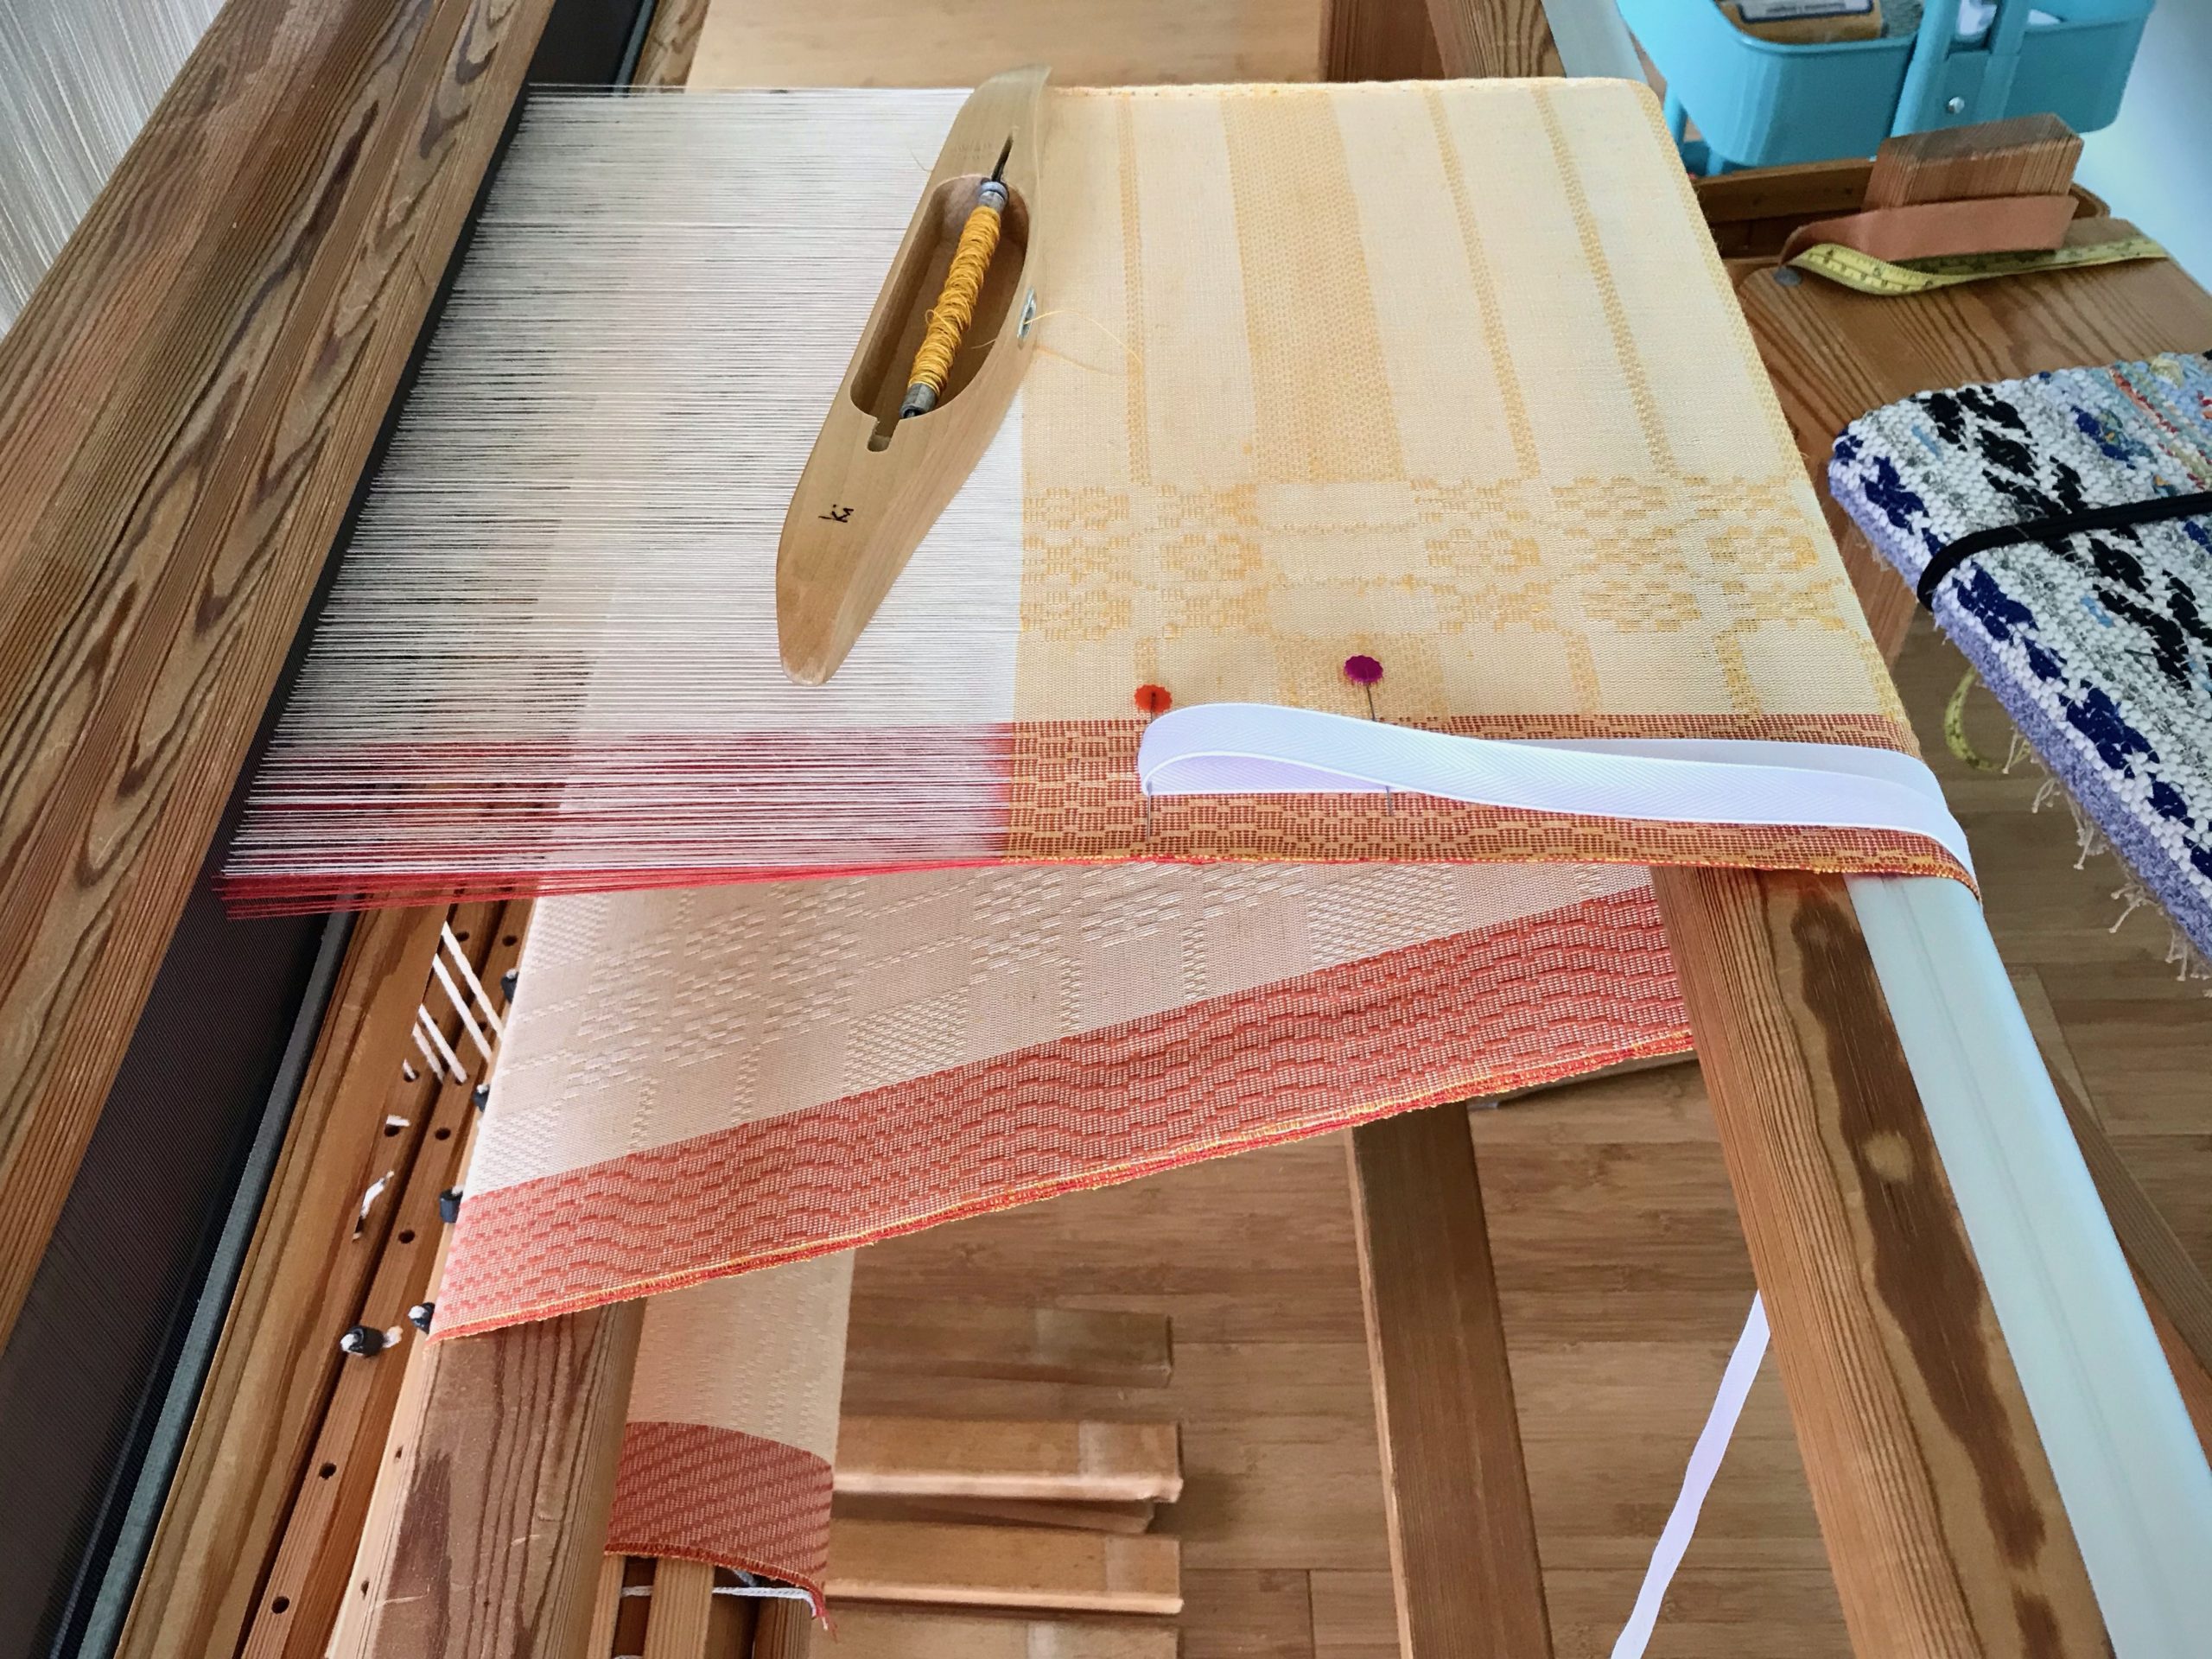
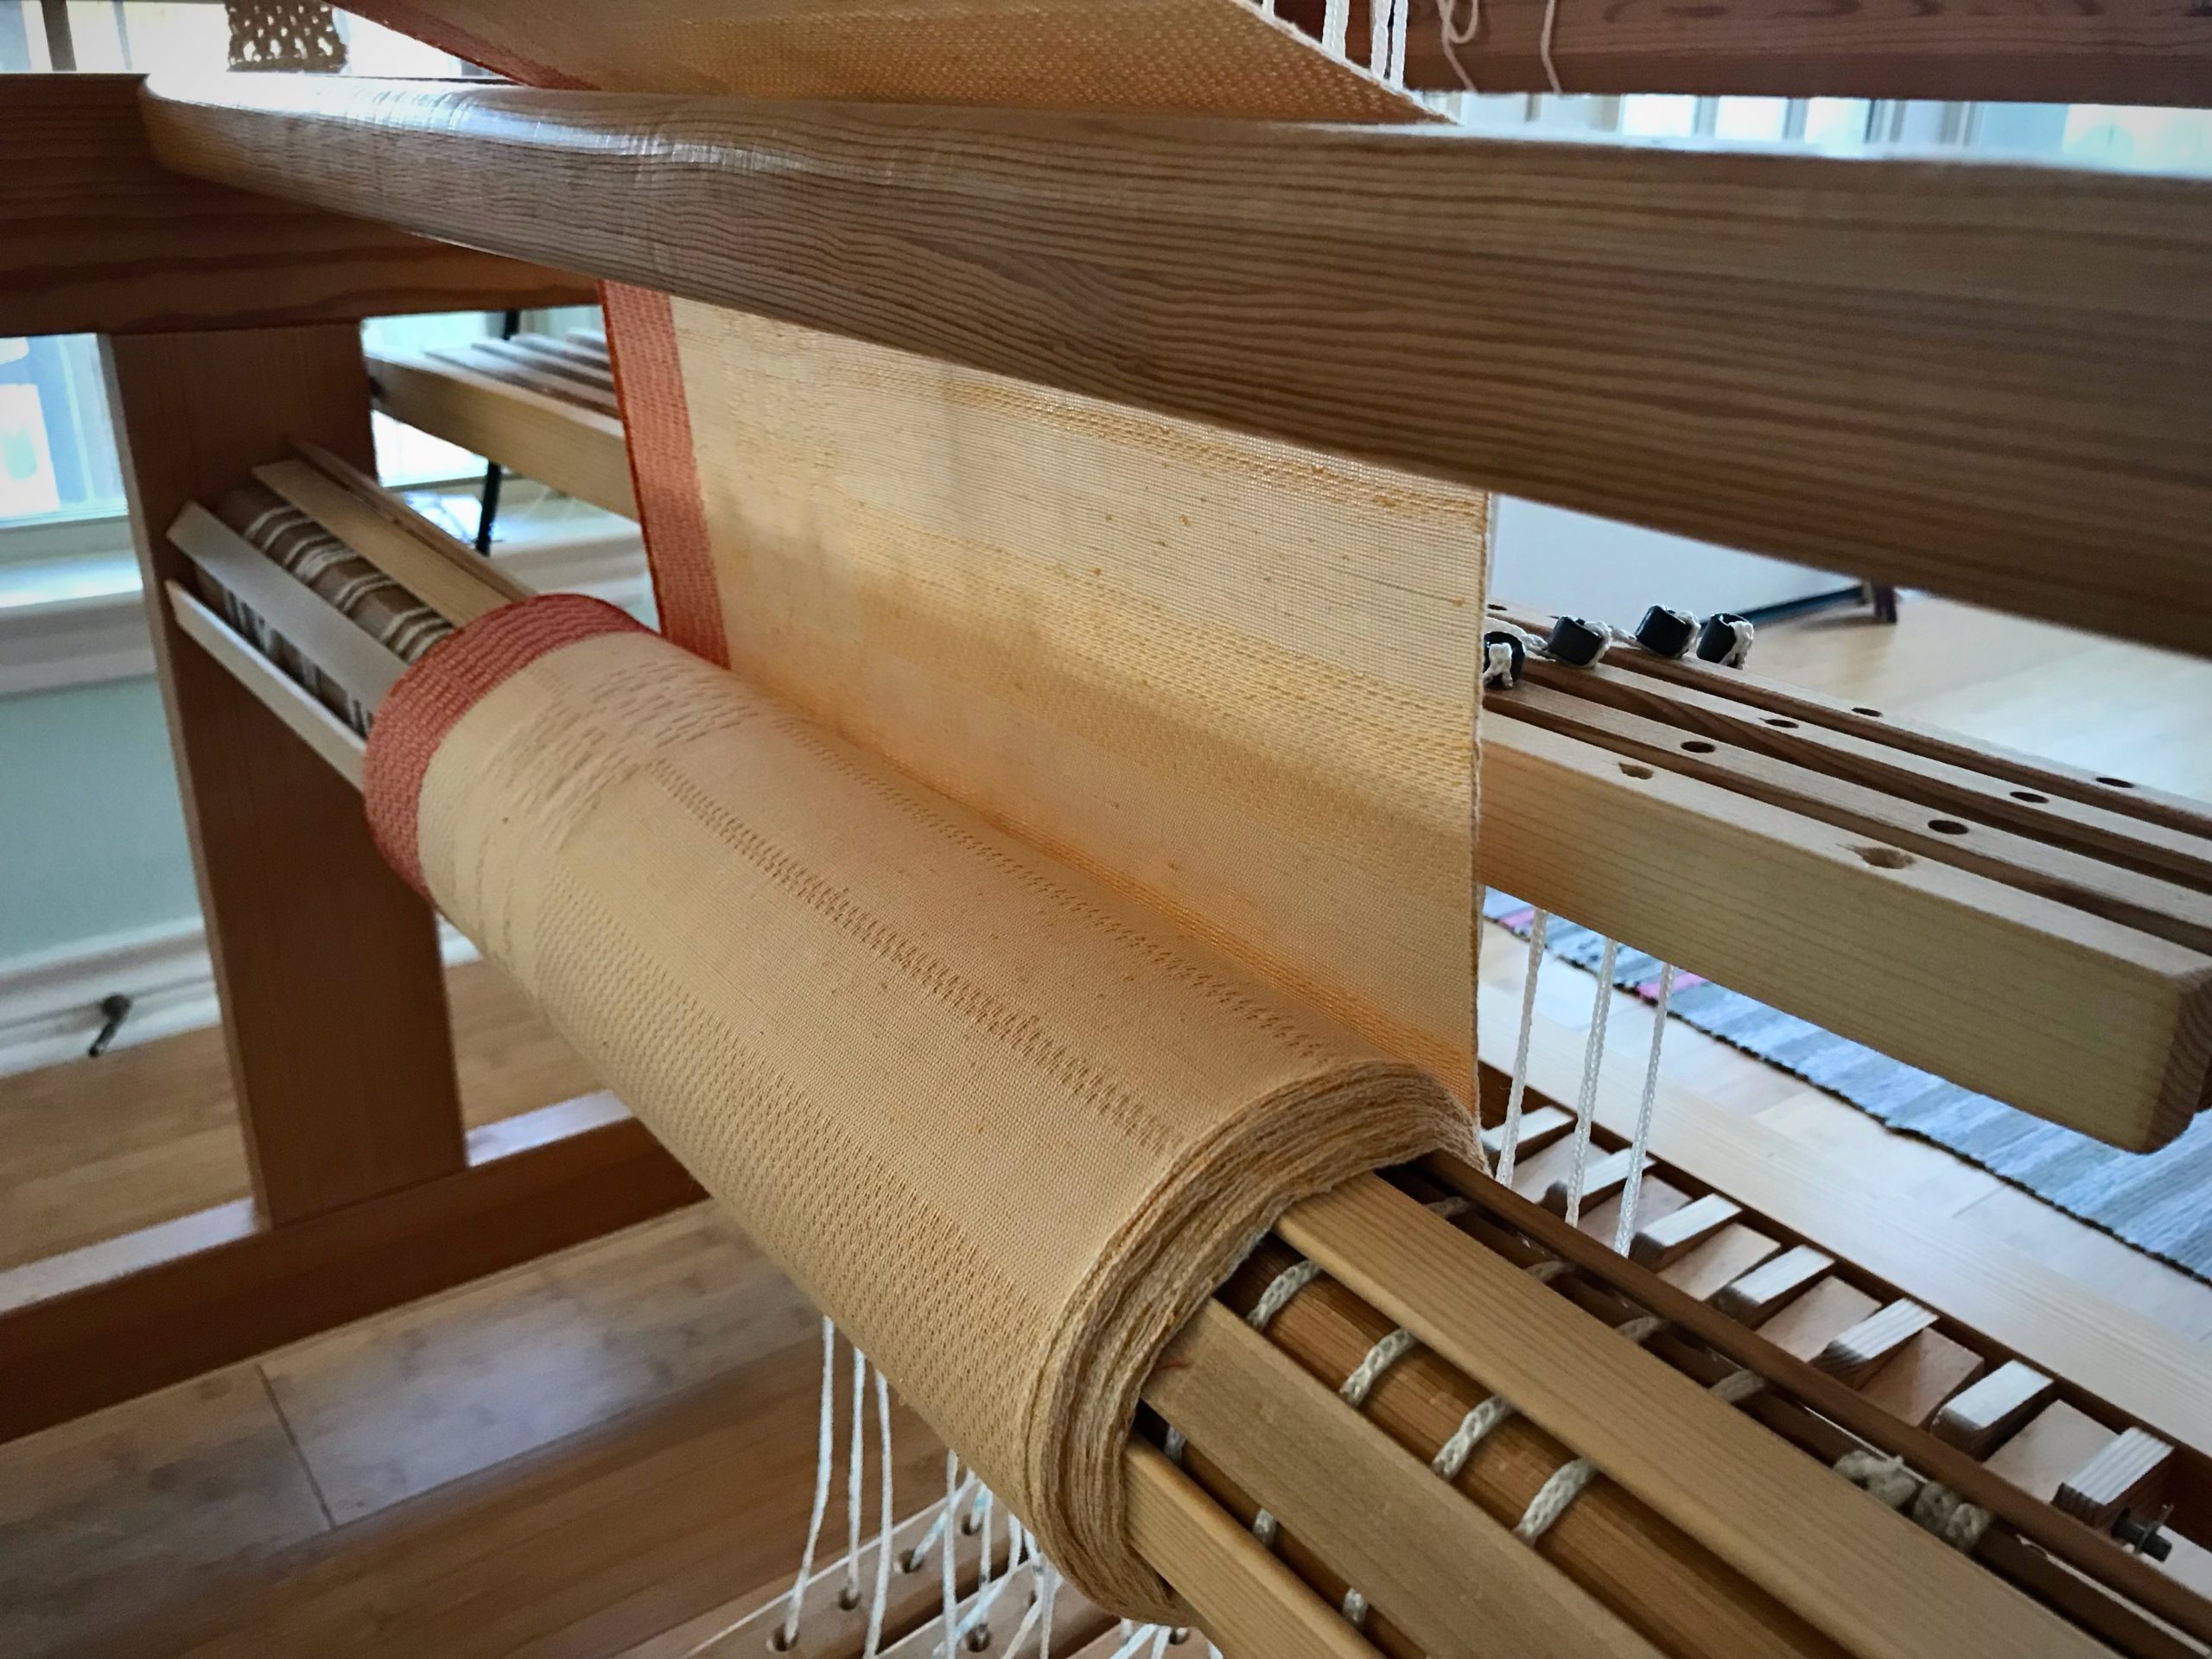
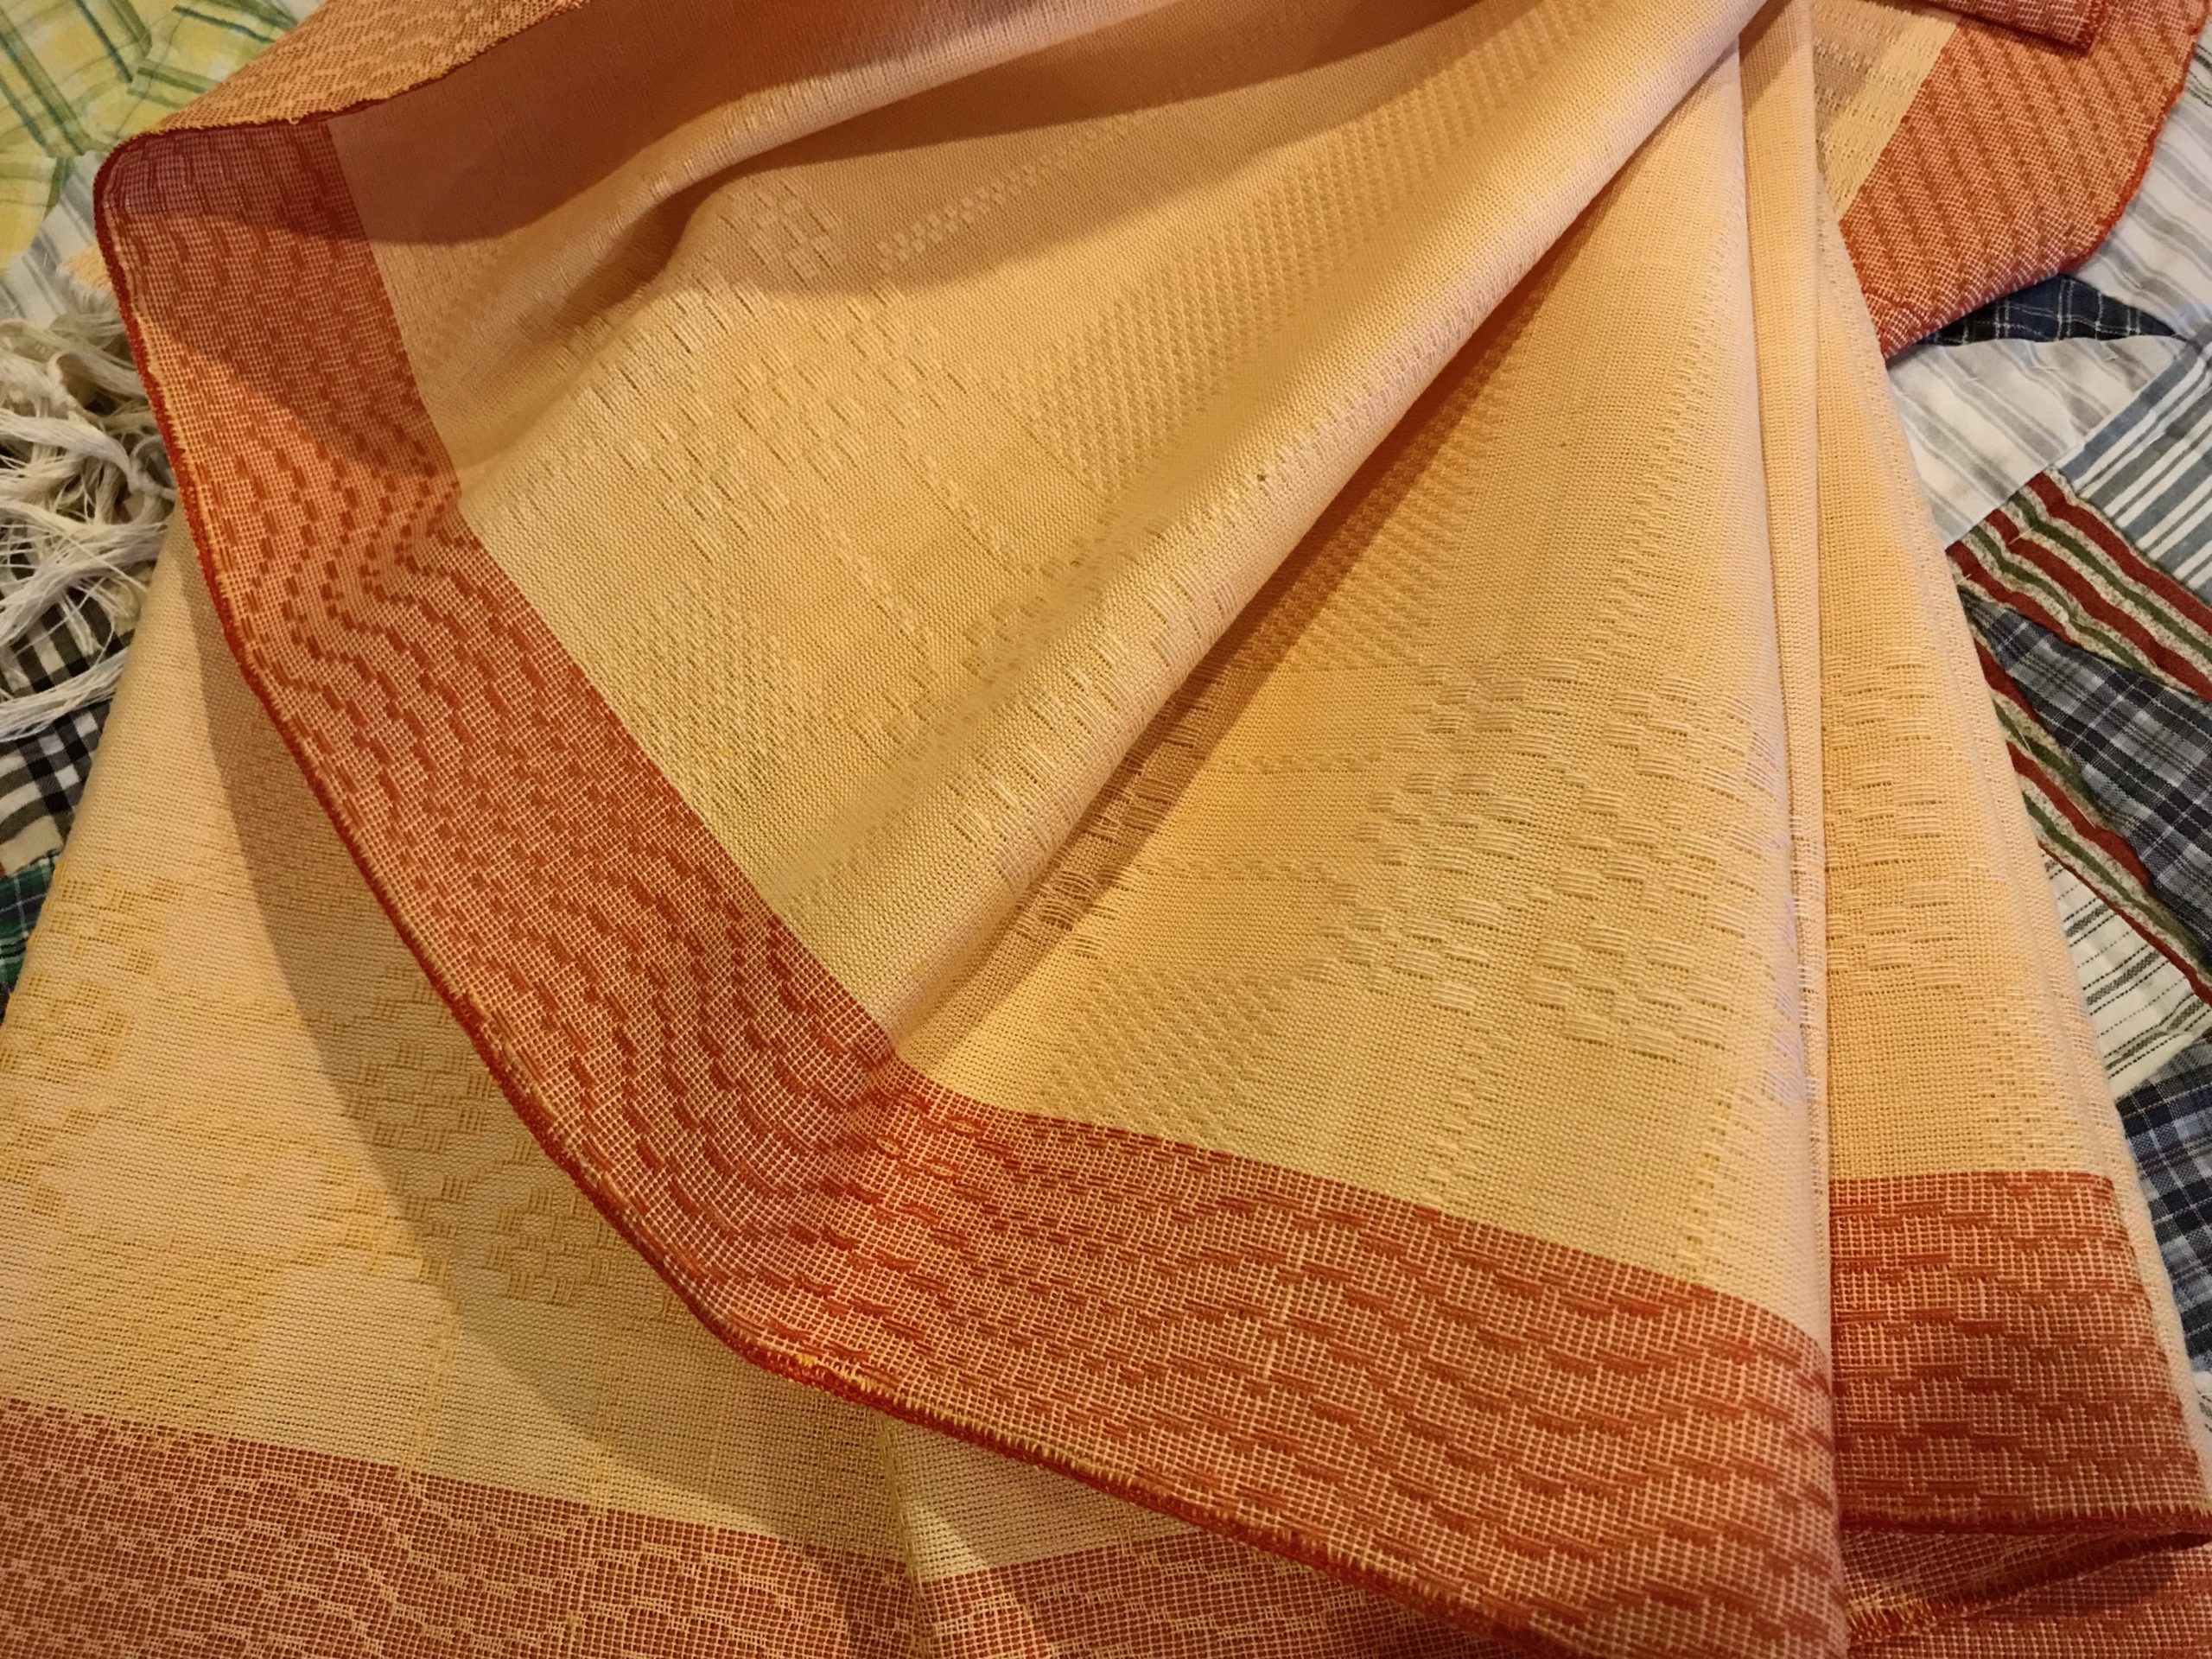
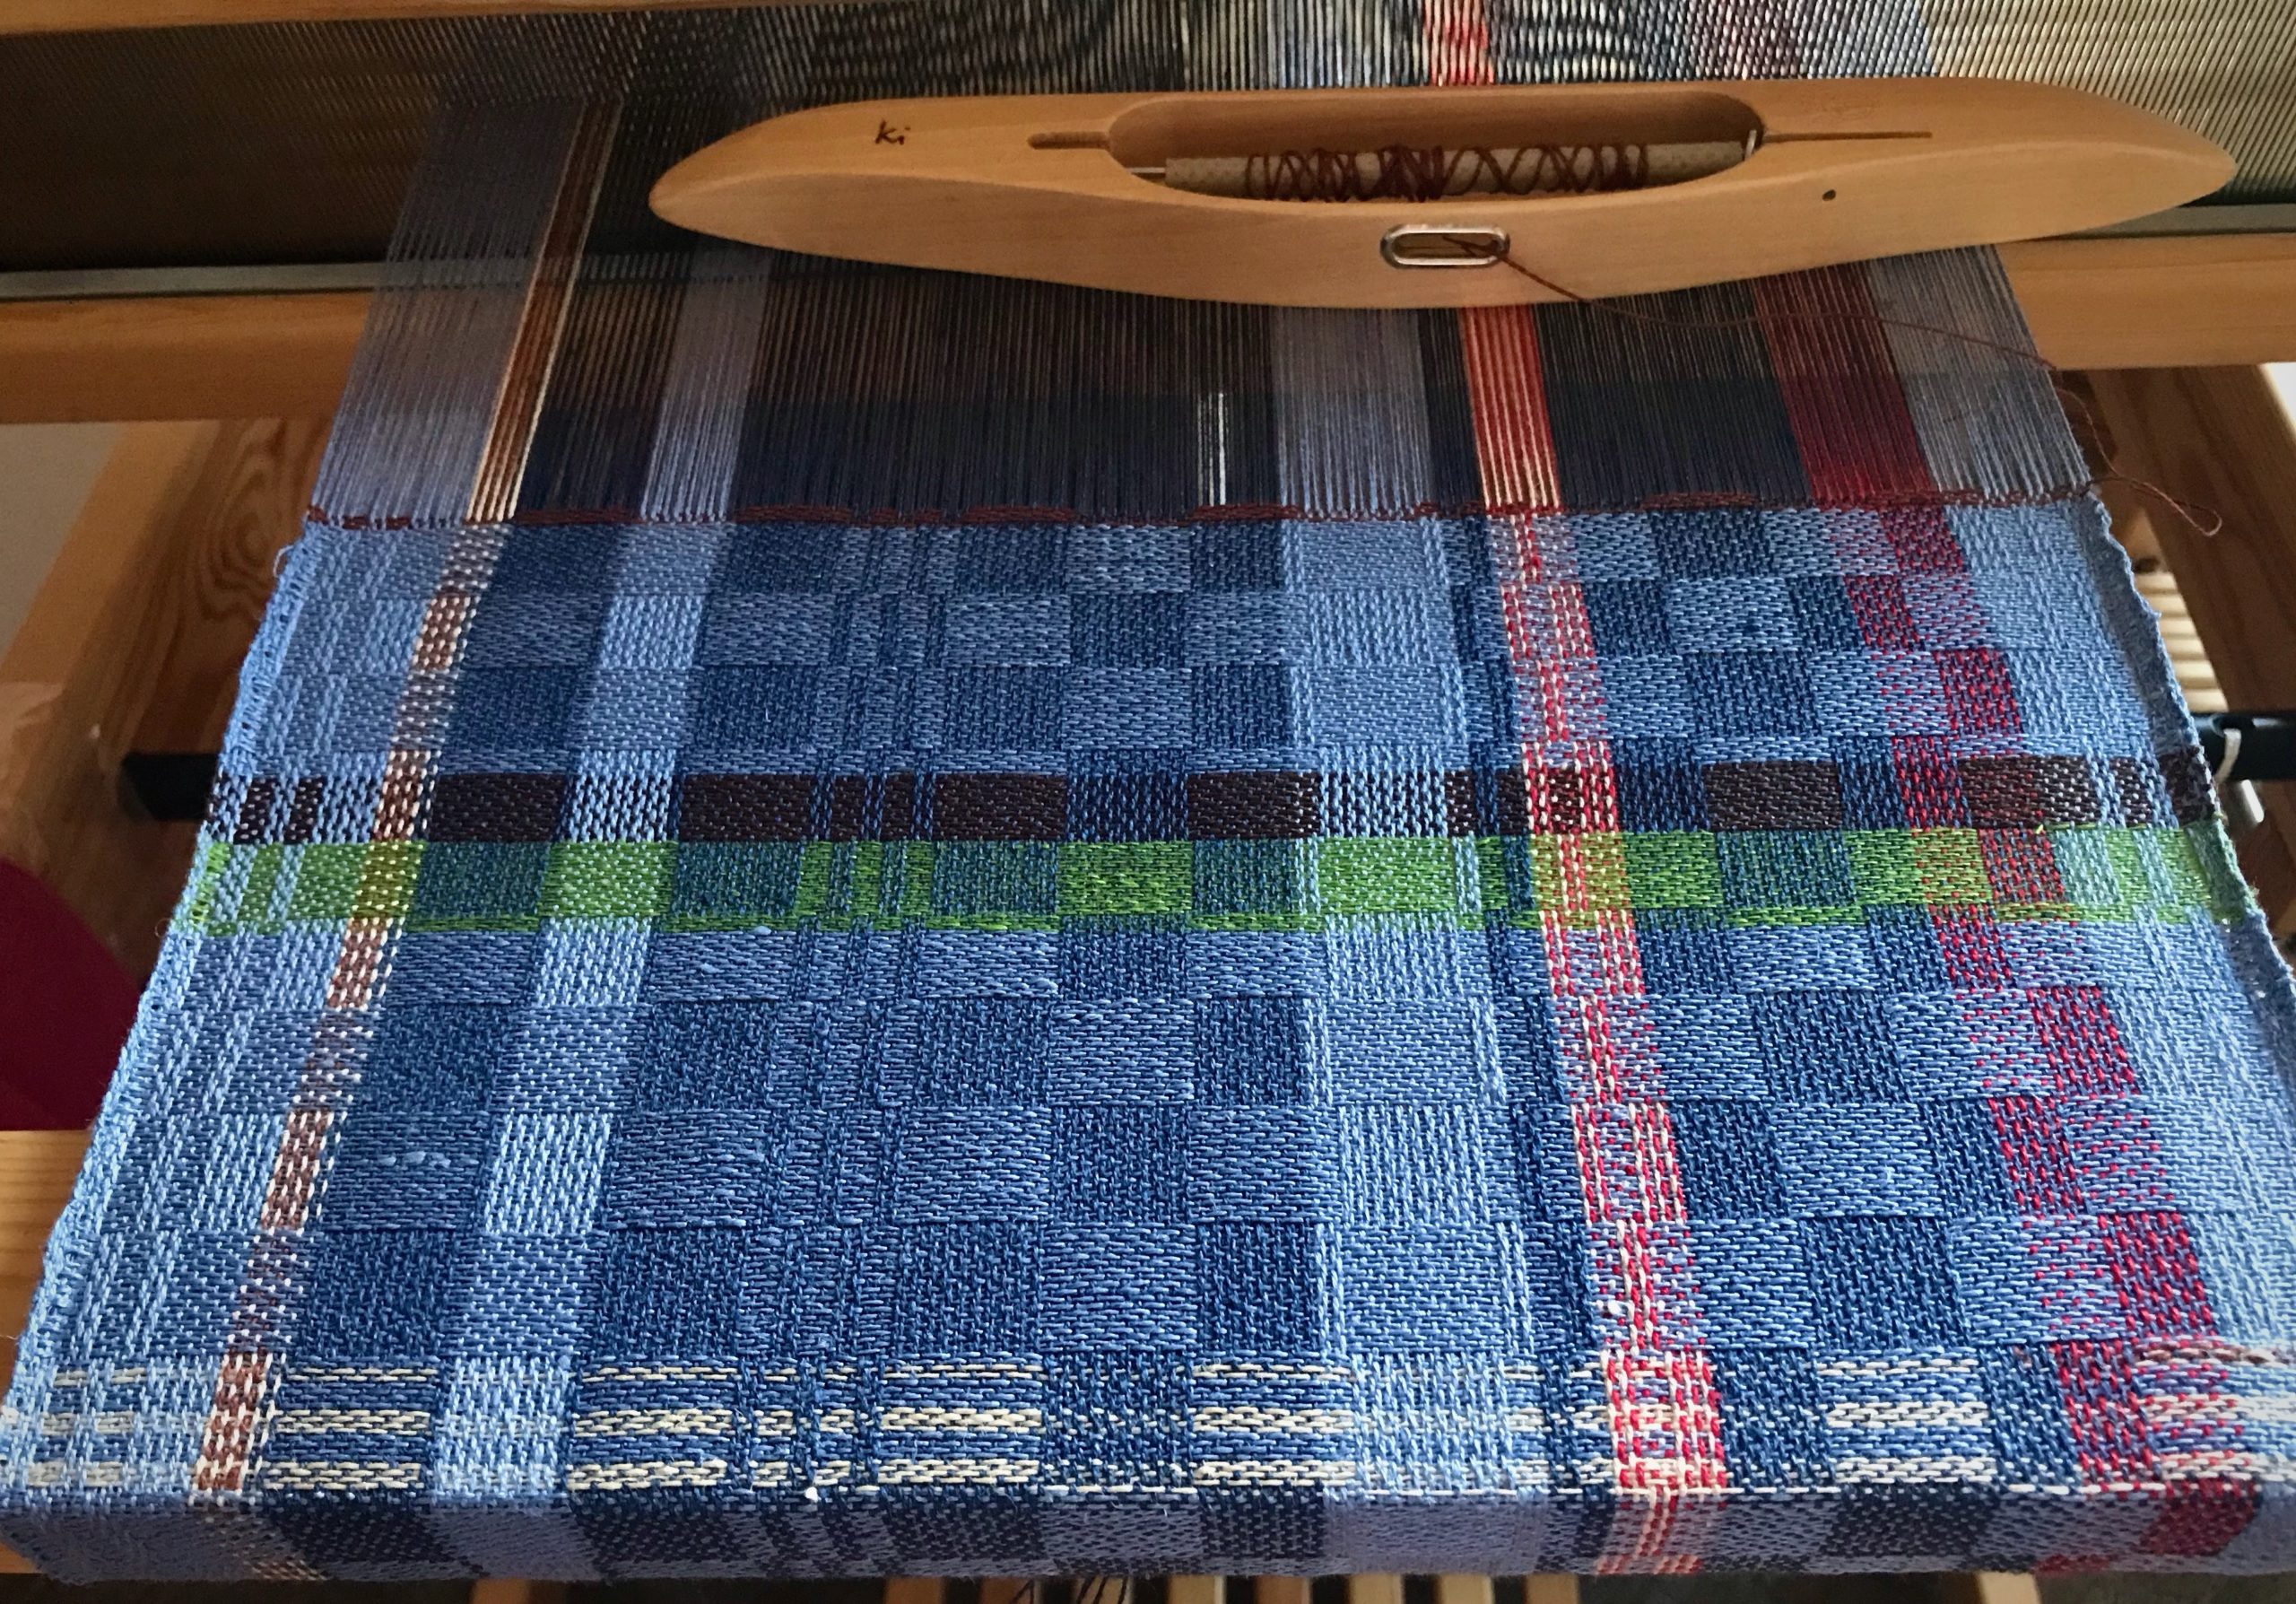
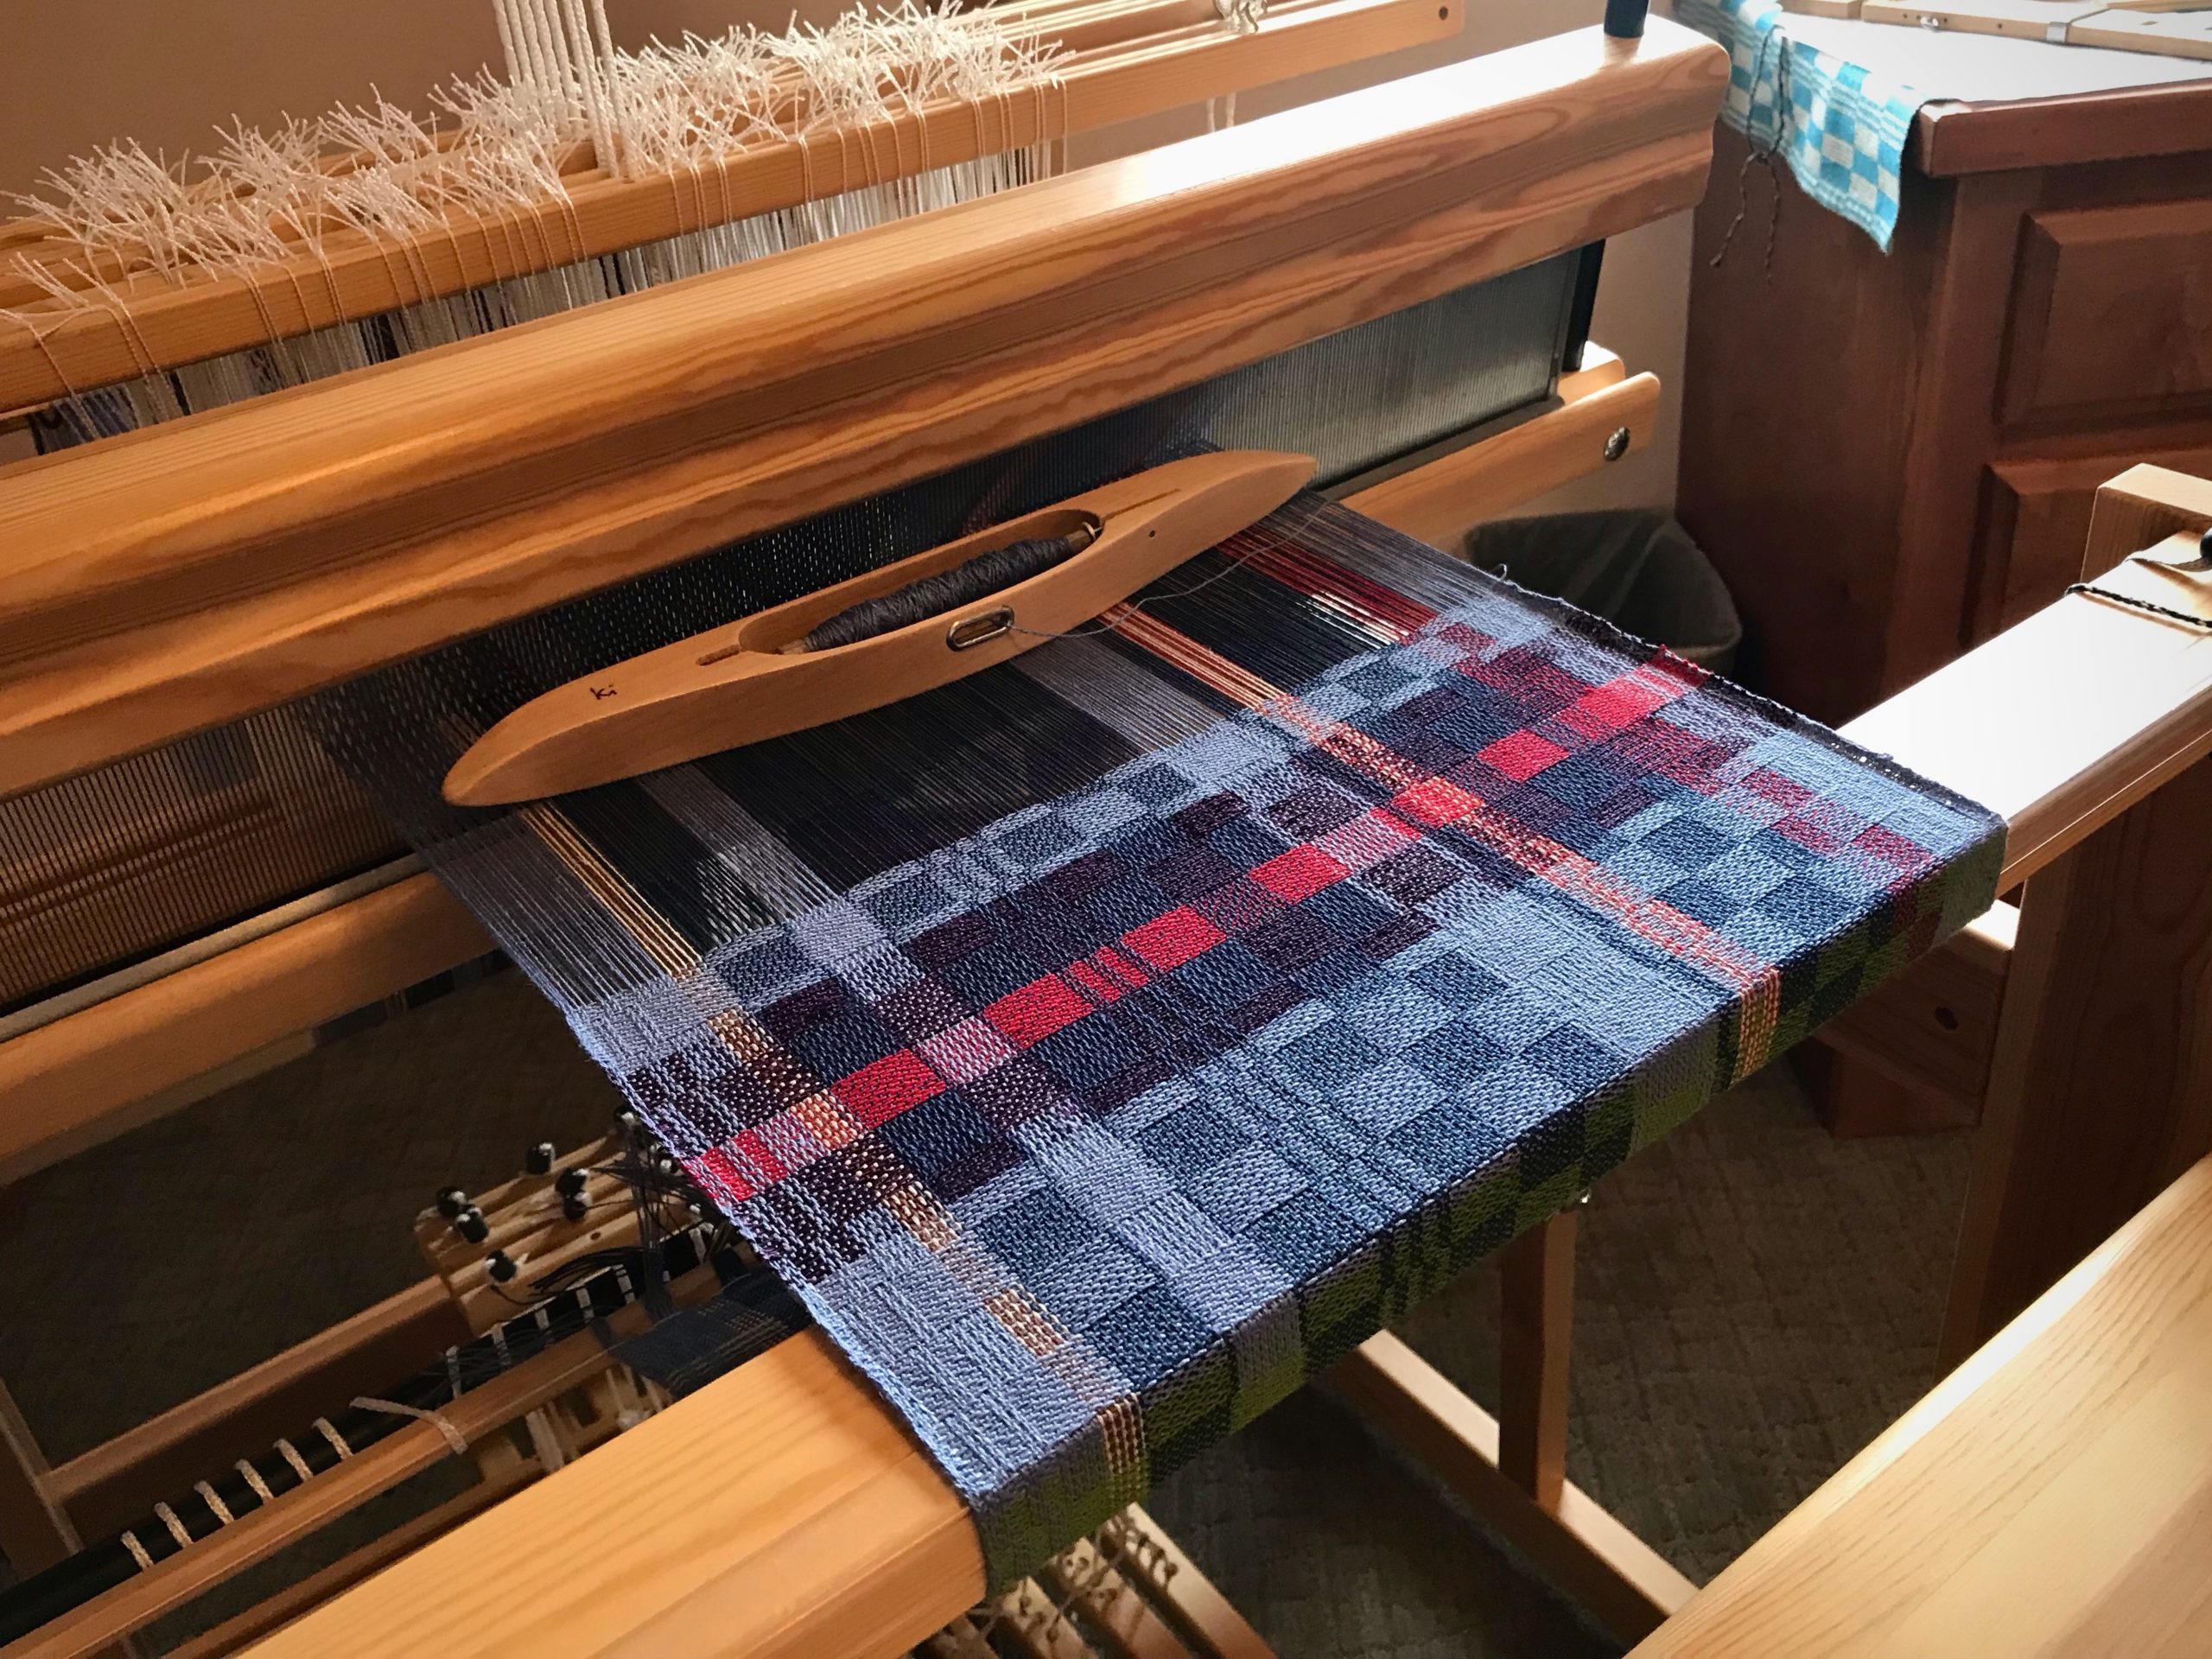
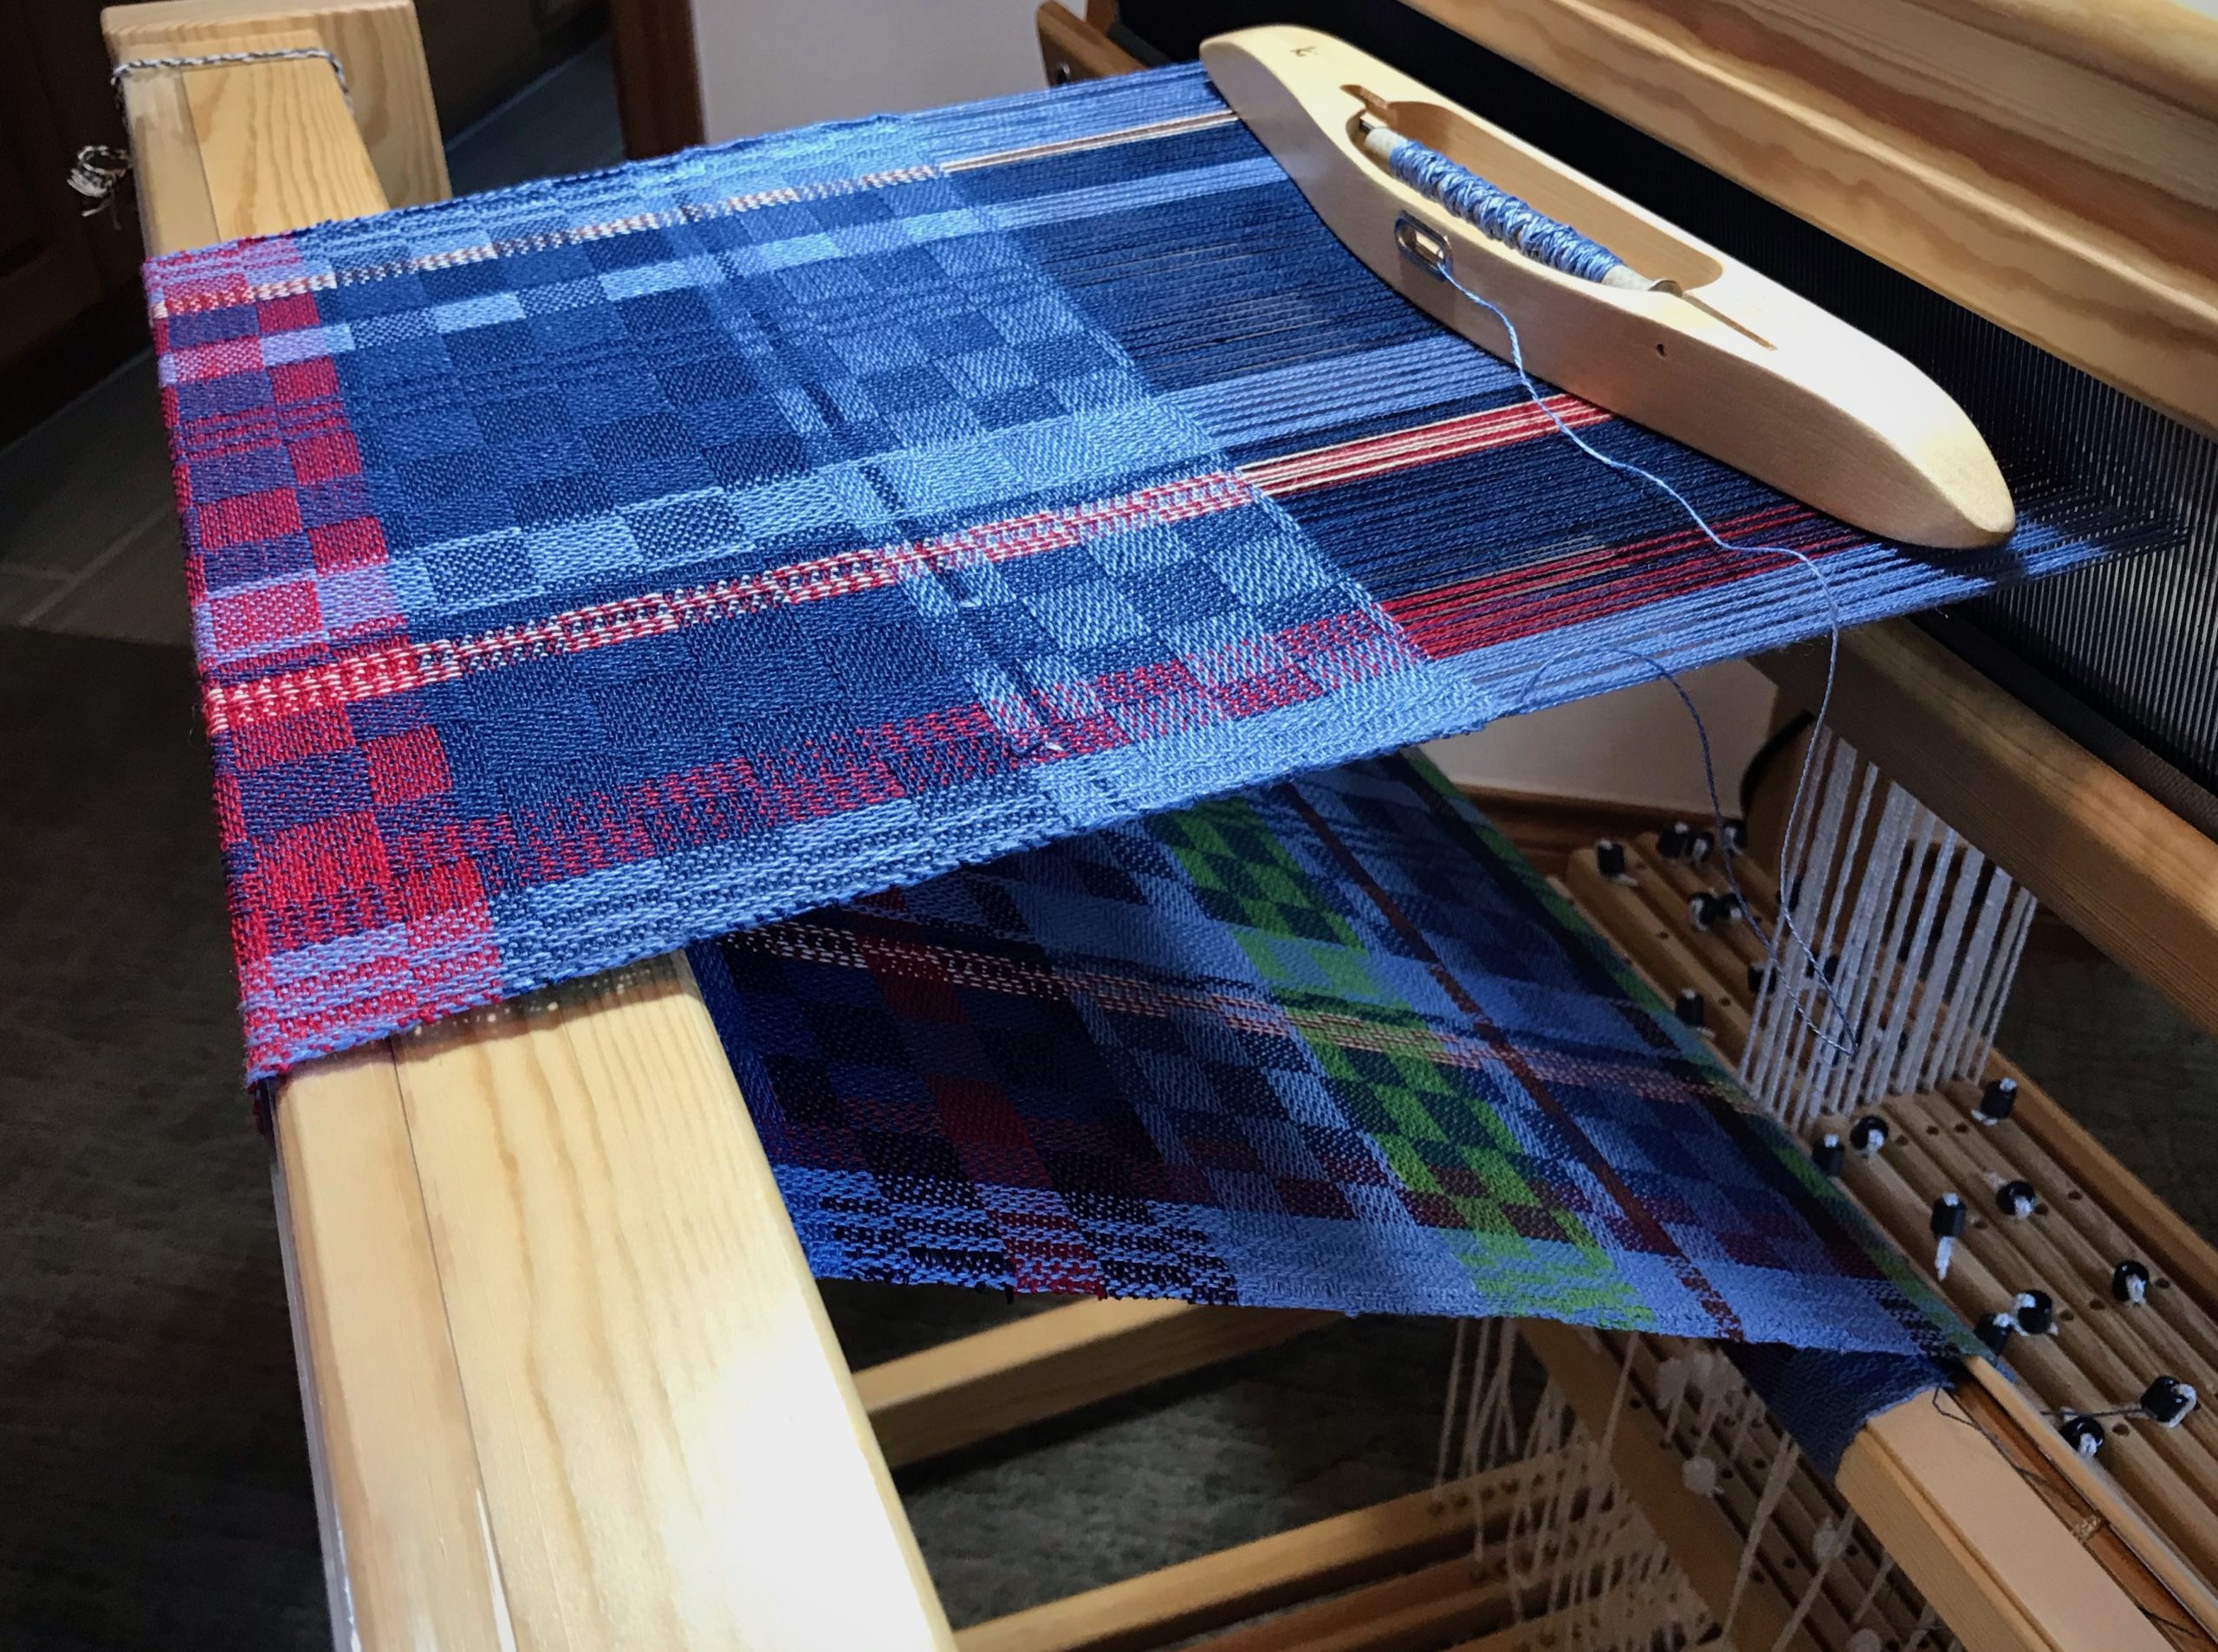
Even through random warp stripes you can see an ordered pattern in the cloth. Linen sitting on the shelf is begging to be used, even though the tubes are partly emptied. So, why not make some linen wash cloths to use every day?

Glimakra Julia Countermarch, 8 shafts.
I wound the warp, not in threading units, but in random sections of color, trying to empty as many partially-used tubes of linen as possible. Eight shafts on the Julia Countermarch loom. 16/2 linen, 10 ends per cm, 32 cm width in the reed.

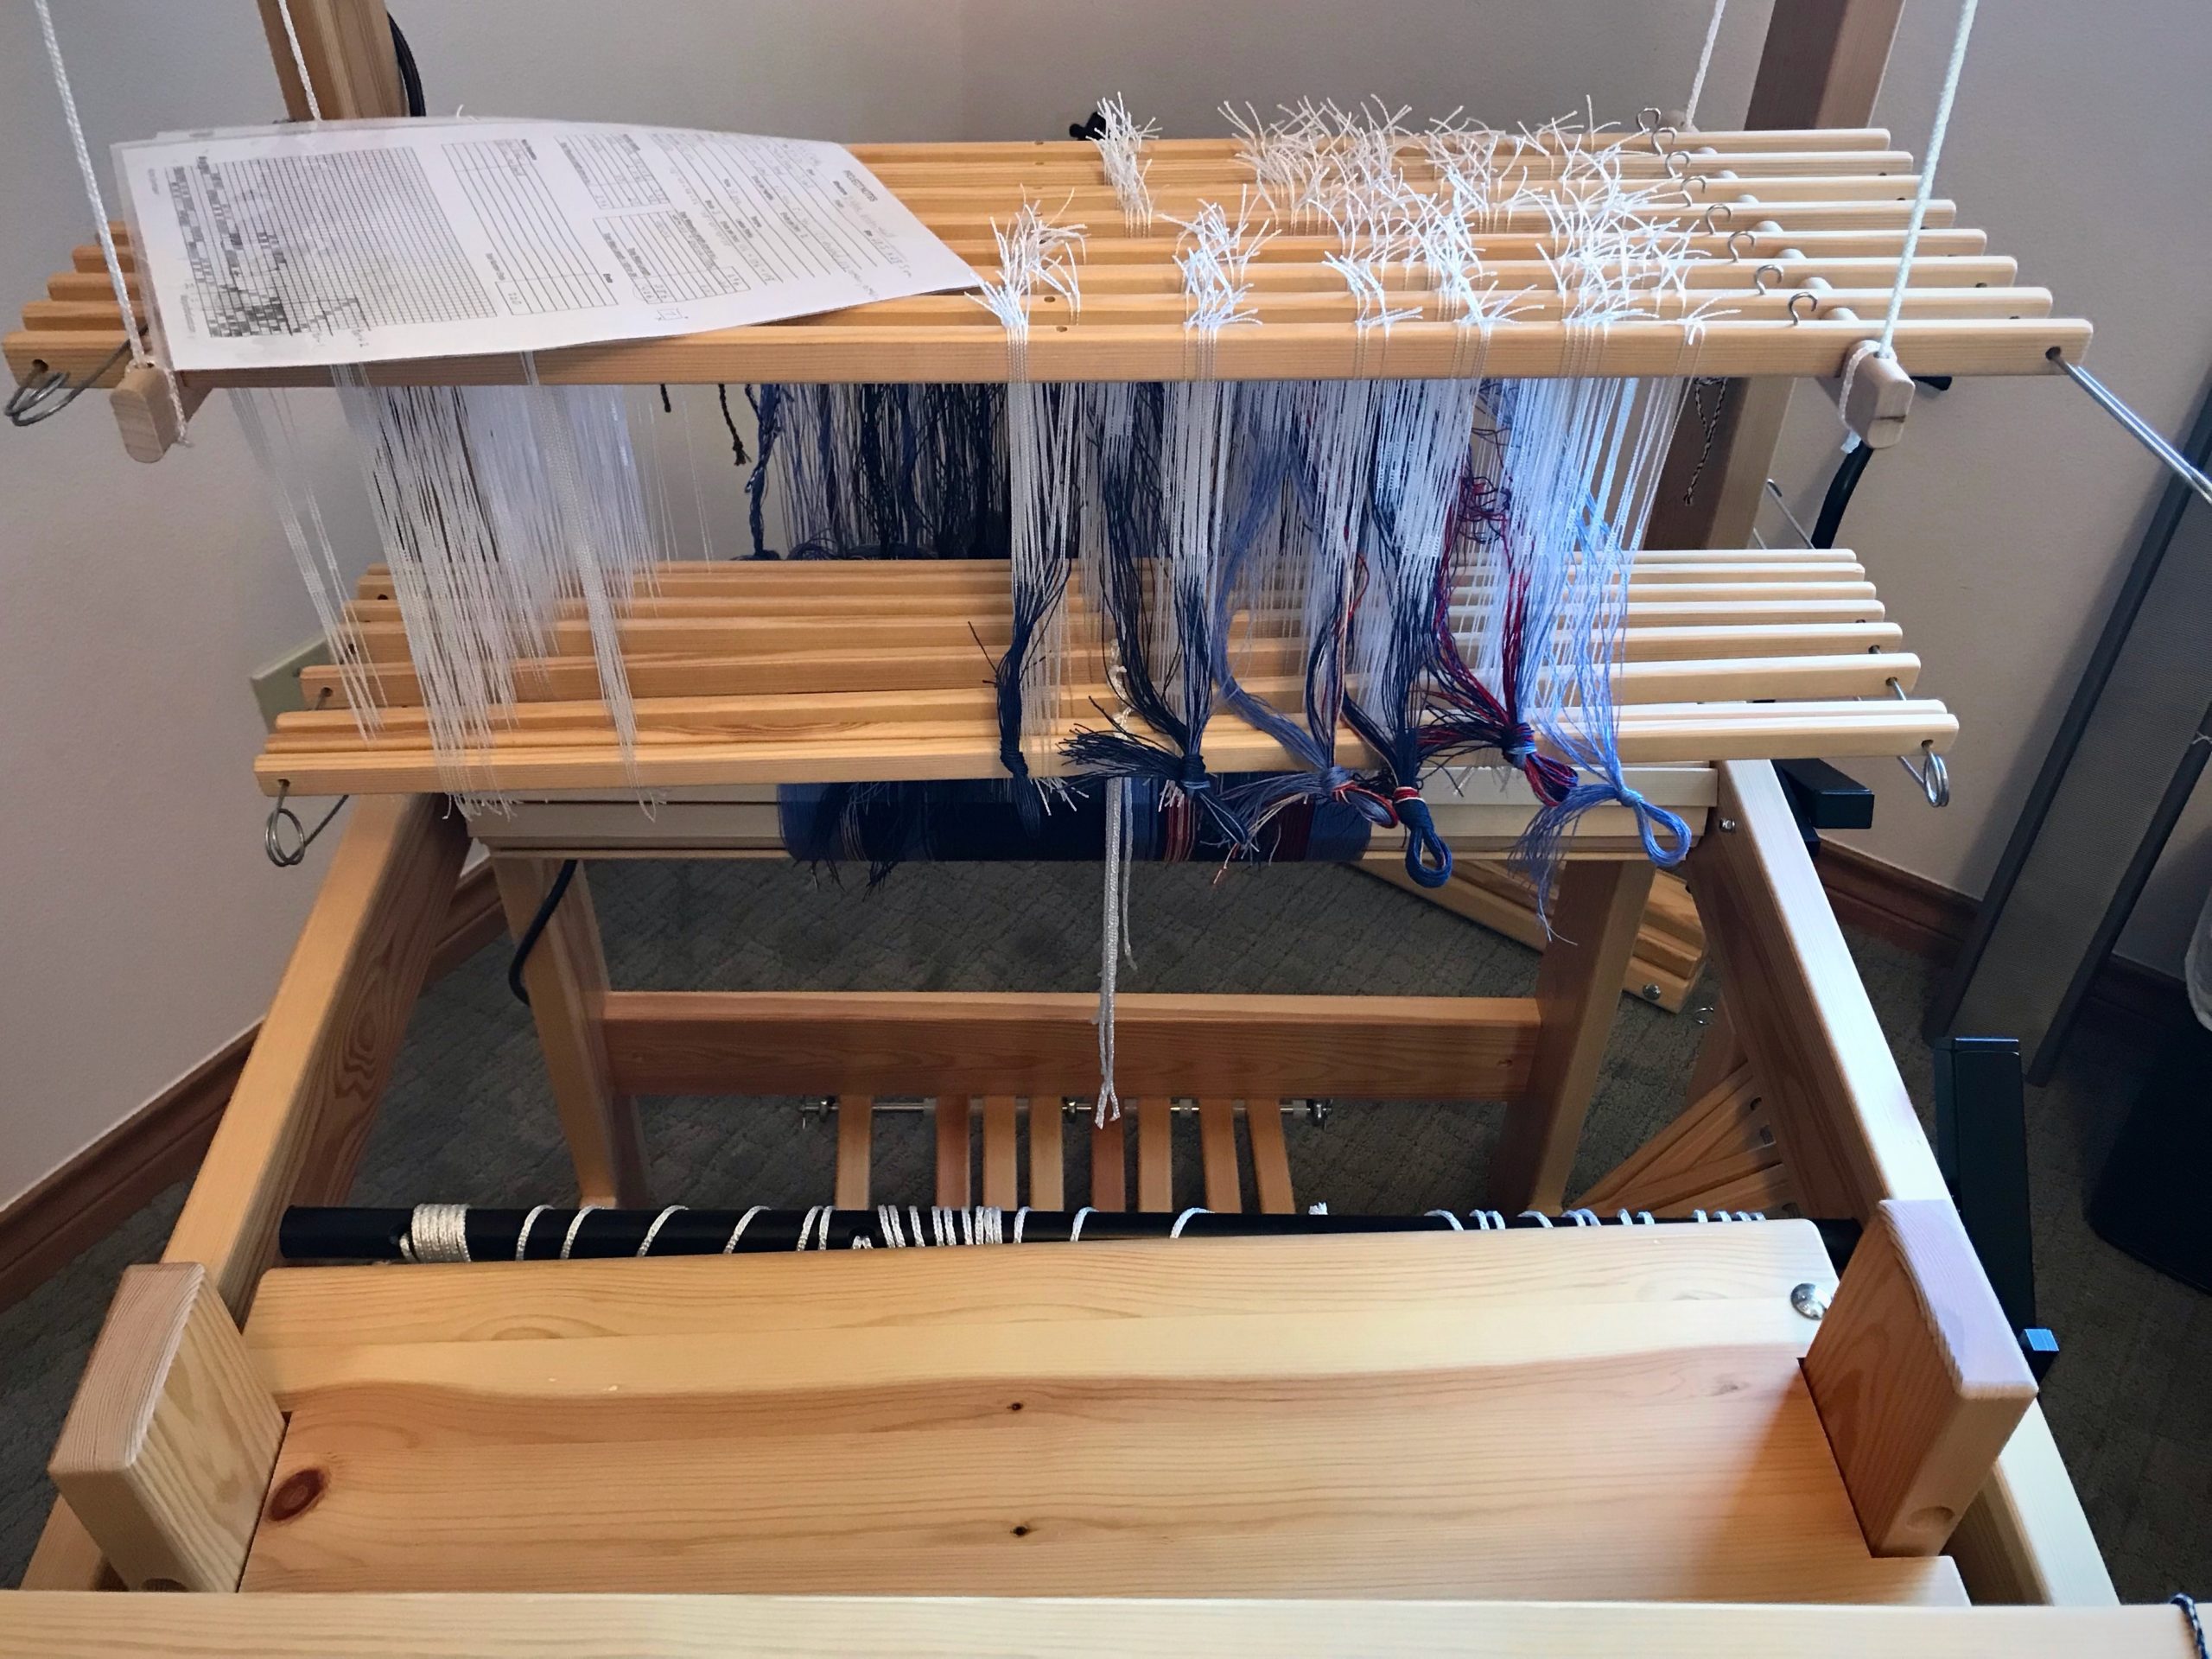
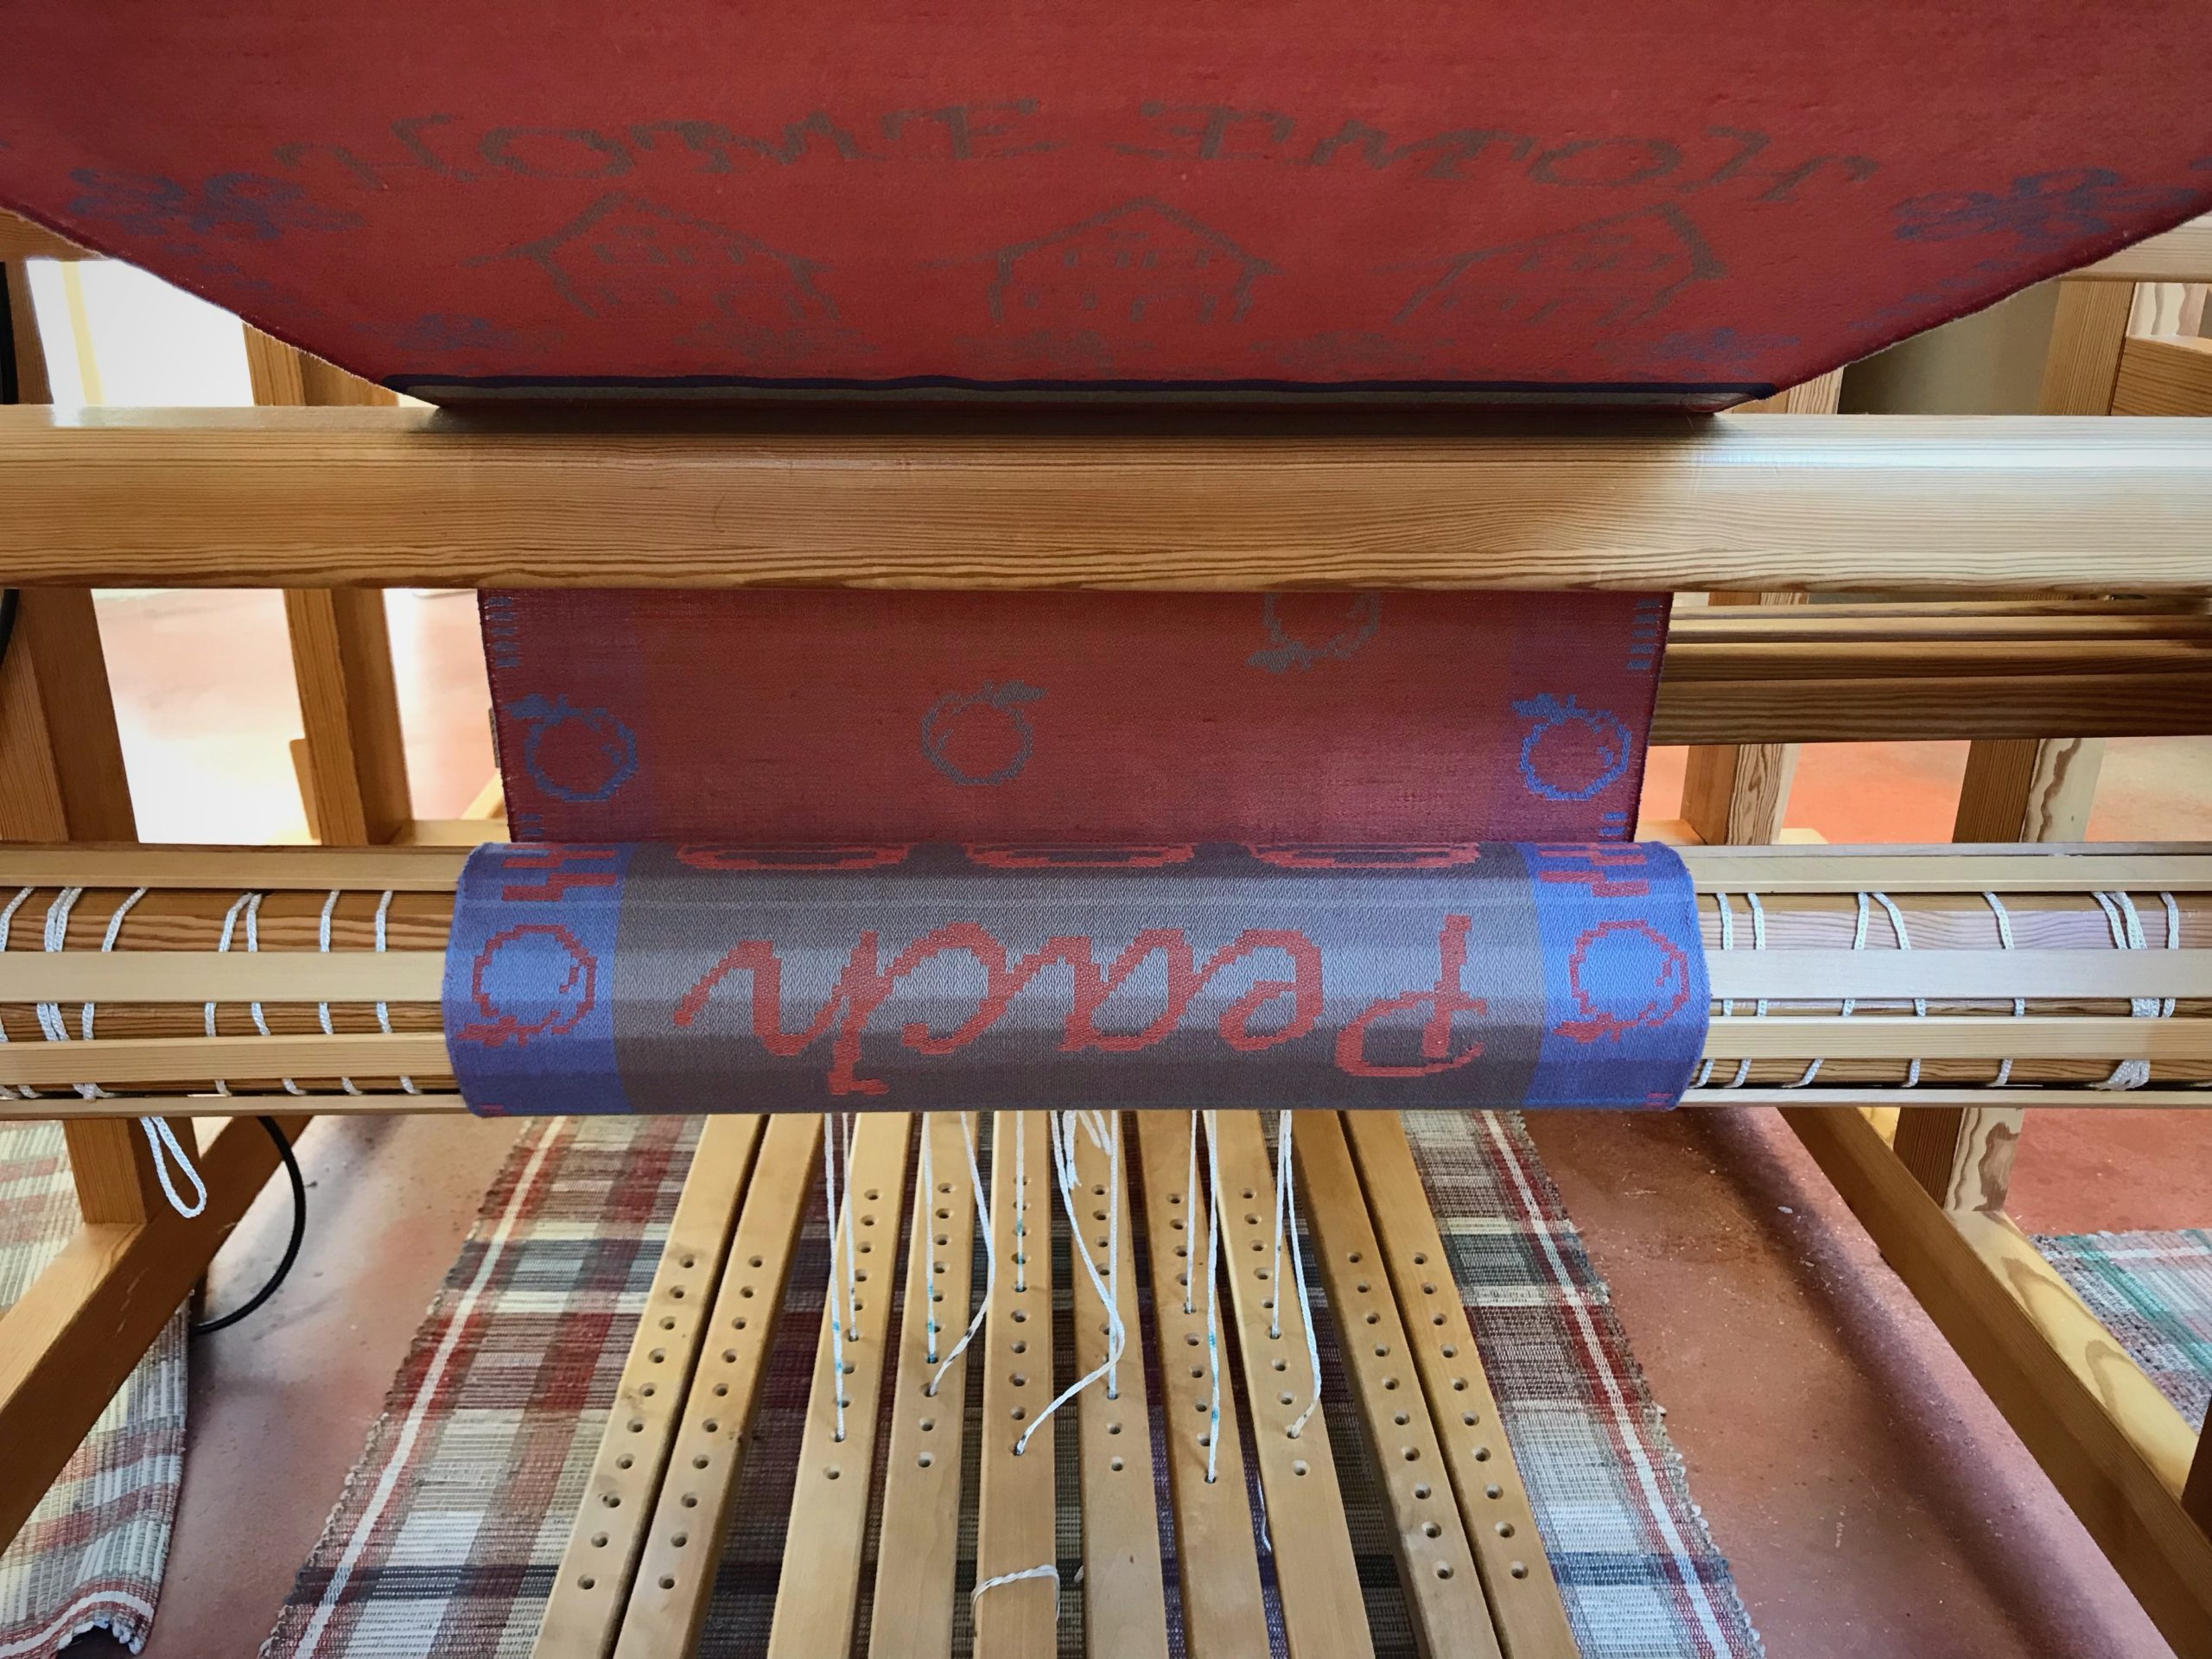
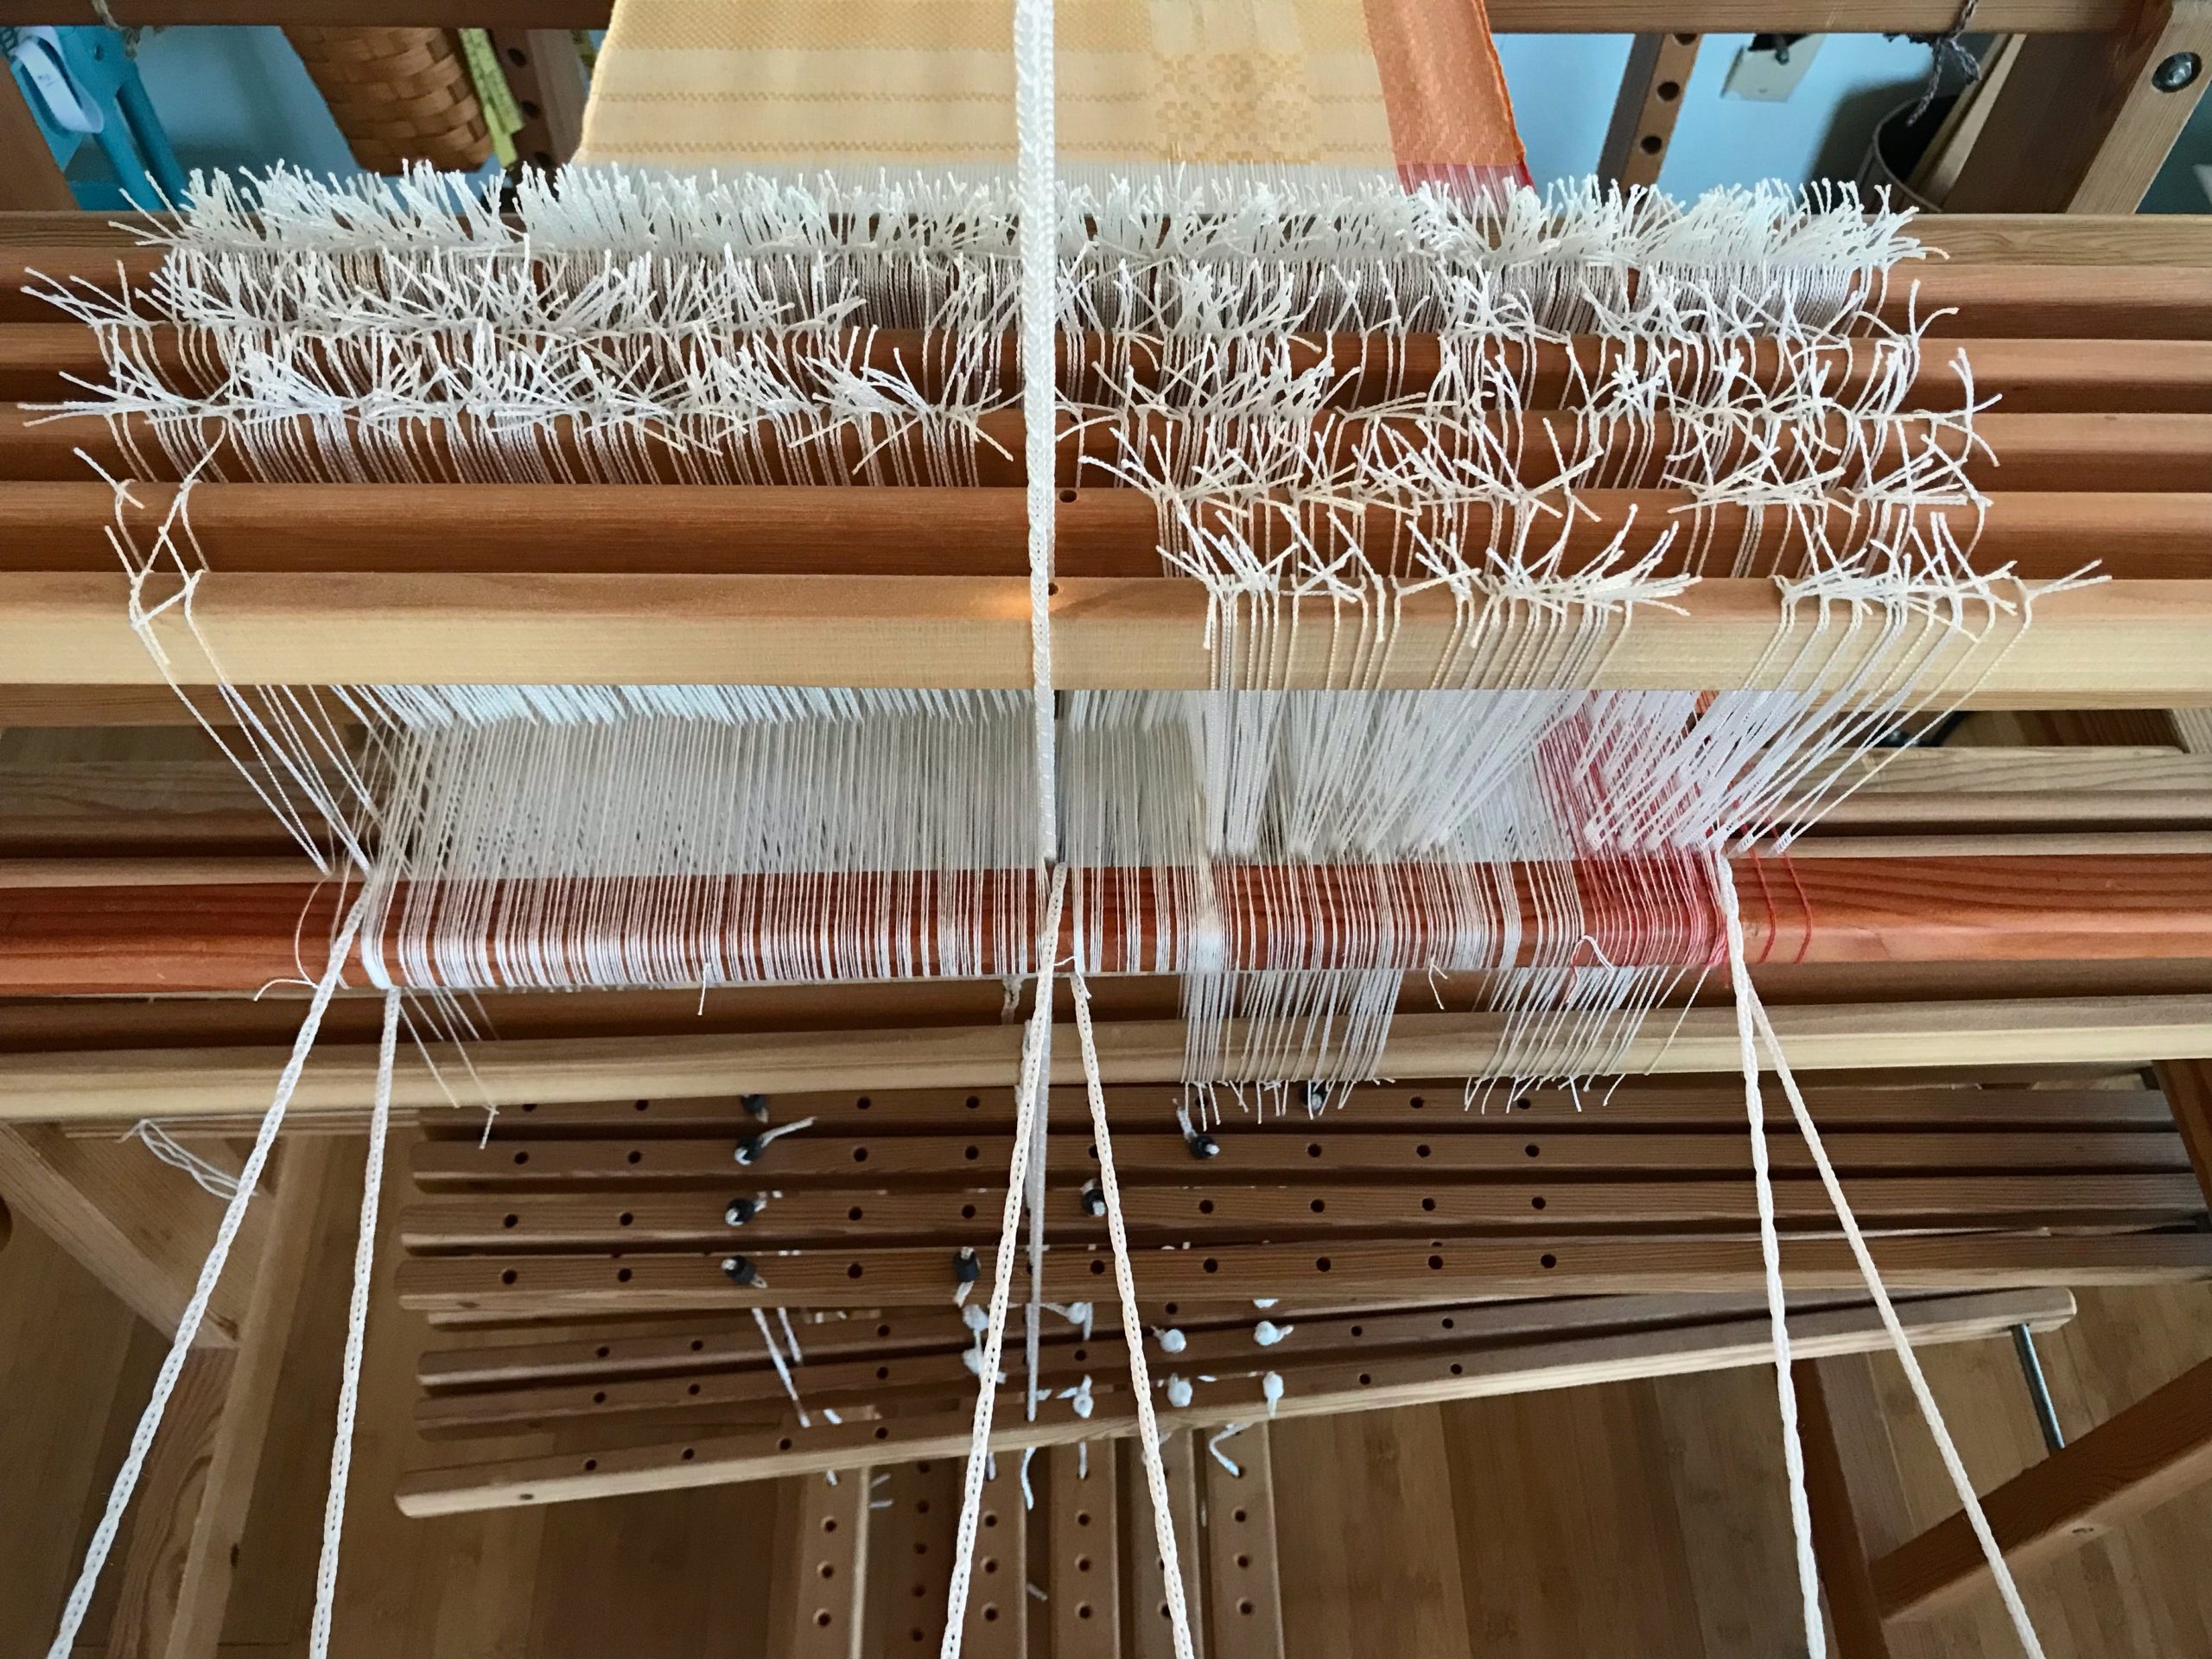
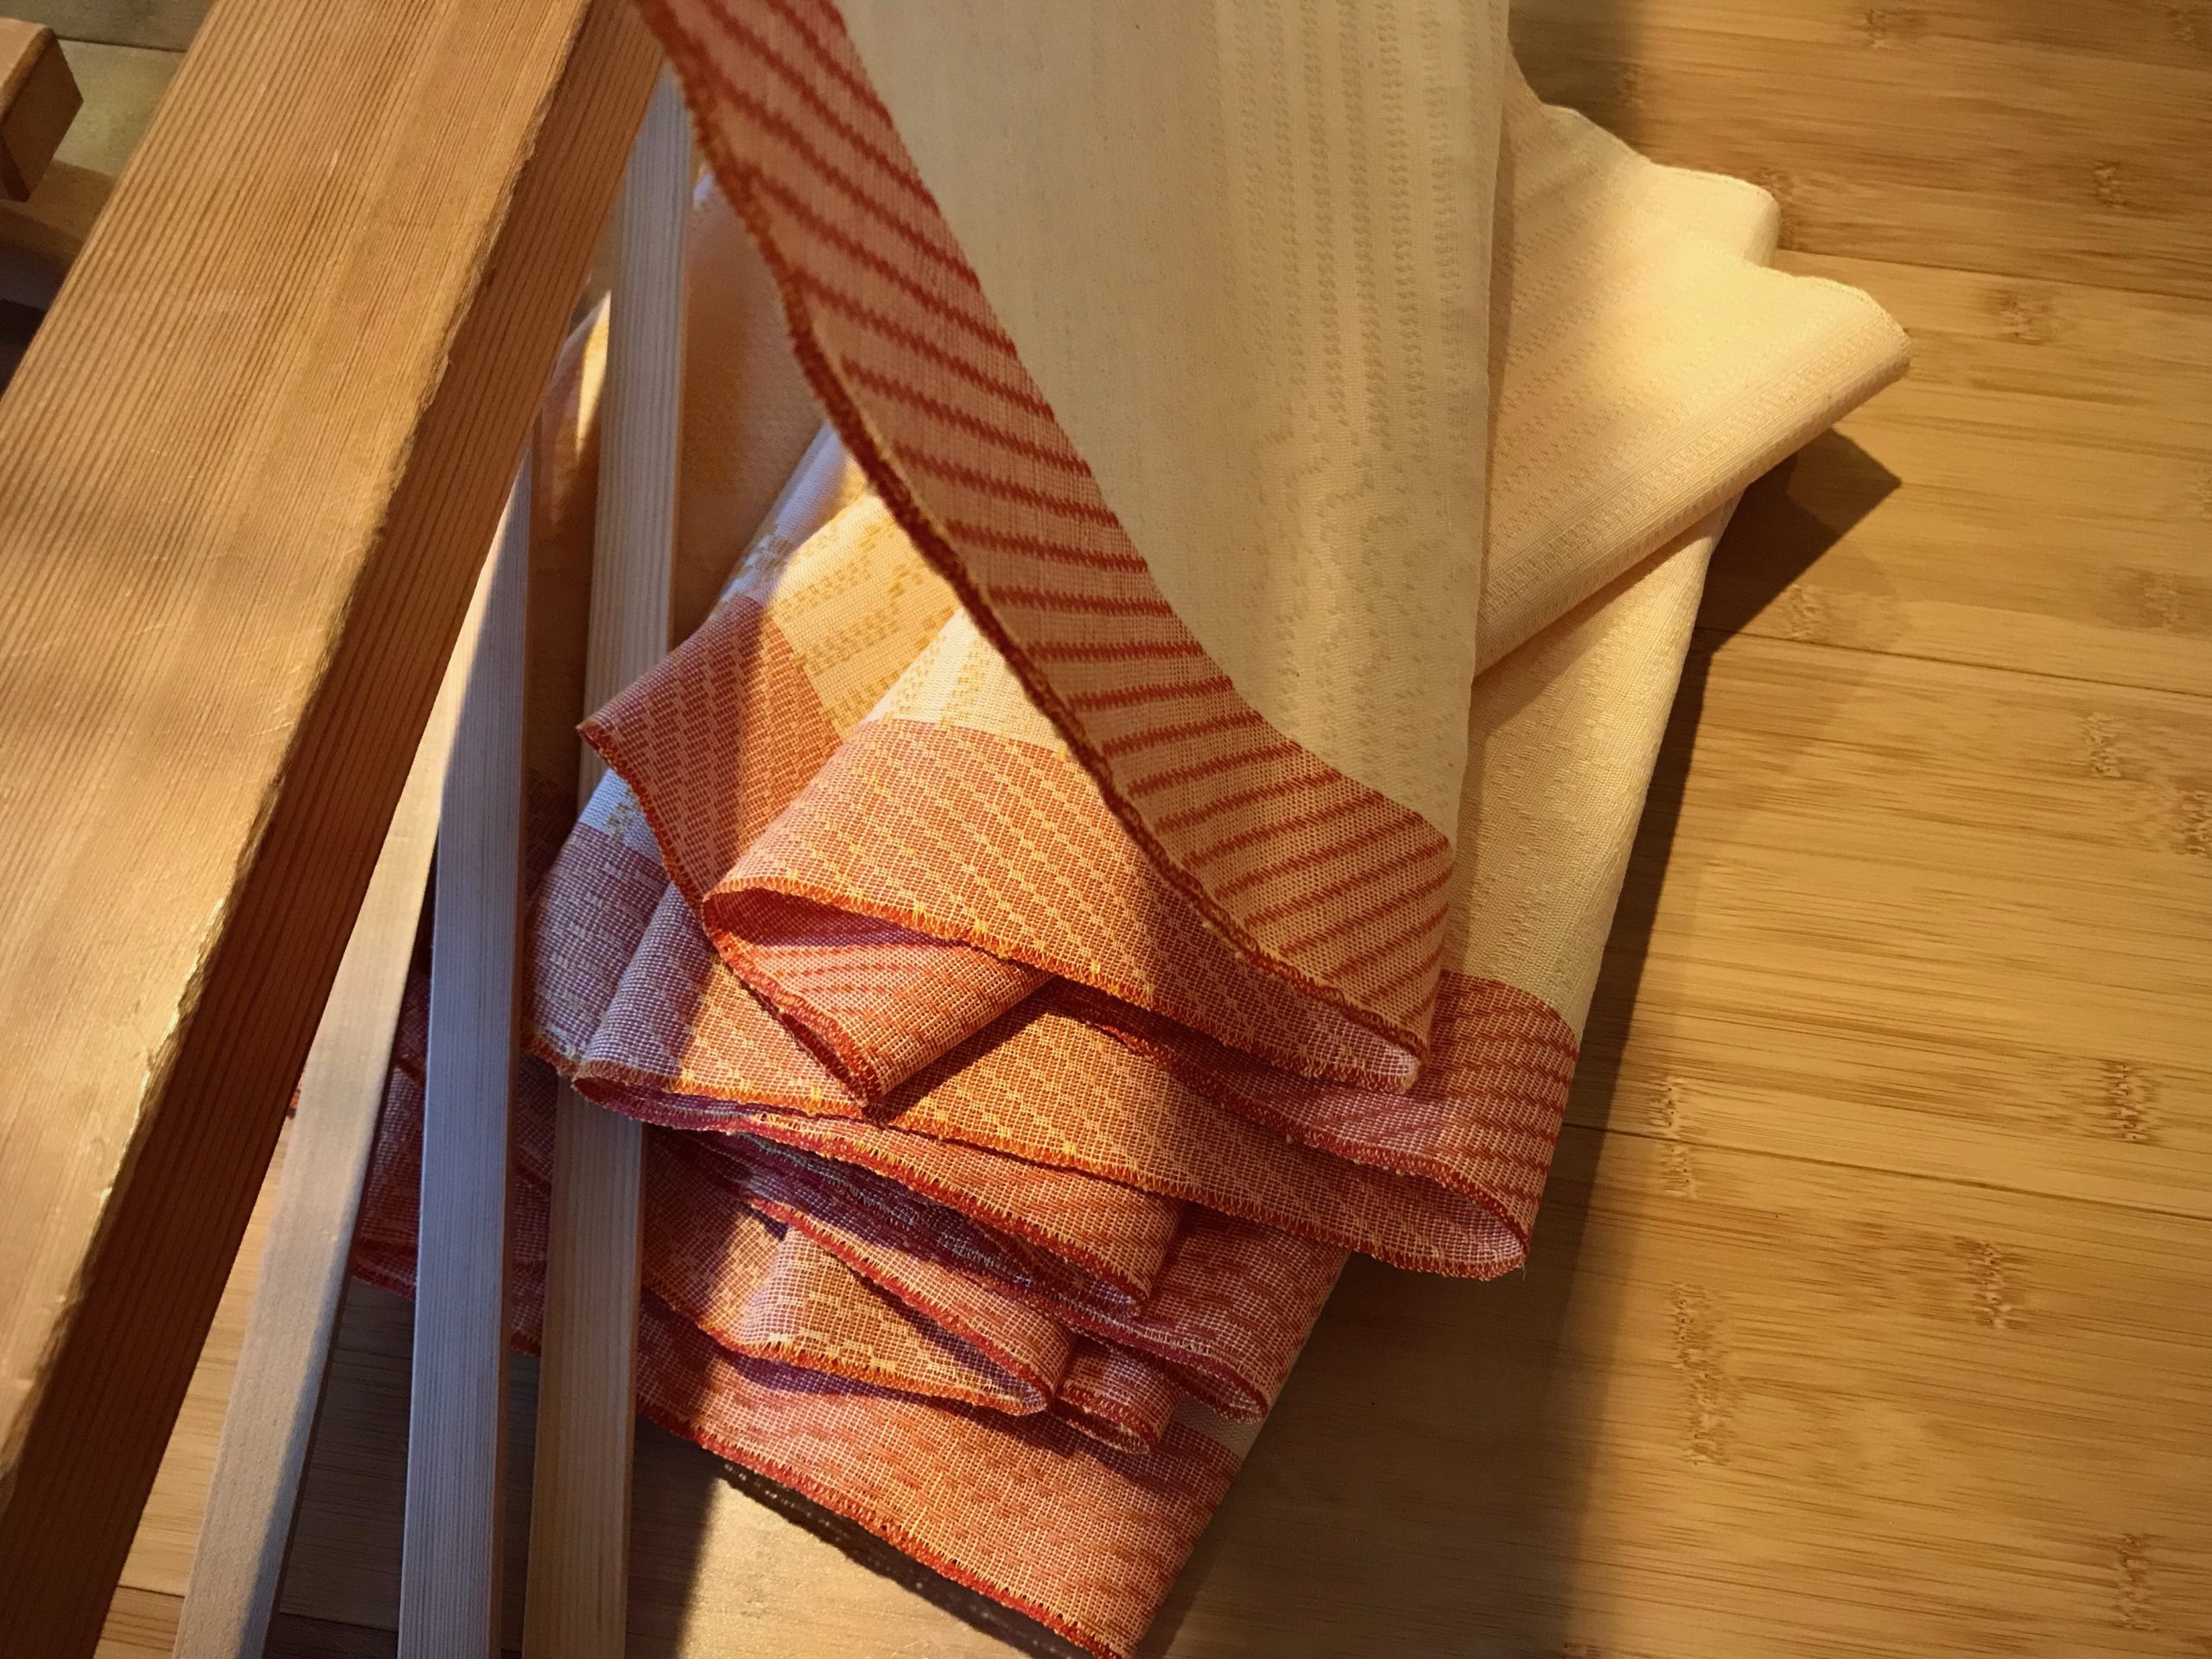
The weave structure is a classic two-block broken twill, symmetrically threaded across the warp. The asymmetry of the warp stripes is out of sync with the precise threading symmetry in the block weave structure. And, asymmetrical patches of weft are out of step with a strict treadling sequence. The chaos of leftover-linen warp and weft threads has me holding my breath, wondering how this will turn out. Yet, as I weave, the surprise after surprise that appears on the loom fills me with delight. These humble linen wash cloths will yield textile pleasure for years to come.

Humble linen wash cloths on the loom.
Red and white threads alternate in one of the warp stripes.
Glimakra Julia with 8 shafts.
Weft threads include 16/2 linen, 16/1 linen, doubled 16/1 linen, and 6/1 tow linen.
Explosion of color!
This is a fine way to use up quills from previous projects that still have a little linen on them, as well as using up the very tail end of a few tubes of linen.

The Grand Weaver breaks through chaos to reveal his beautiful plan. Despite the hardships we endure in this world, the structure threaded into the Grand Weaver’s fabric holds it all together. He brings our random stripes of emptiness into harmony with his project plan. We find continual delight as we see the surprising glory of his master plan. Jesus, with his deliberate stripes, comes to wash us clean.

May you find beauty wherever you look.

Happily Weaving,
Karen

Process Review: Unboxing Siru

Steve and I assembled another loom recently. This 40 cm (15 3/4”) Glimakra Siru Rigid Heddle Loom is going camping with me. It folds and opens effortlessly, even with a warp on it. The Siru loom has built-in support for two heddles. This gives me the perfect excuse to dip my toes into two-heddle weaving on the rigid heddle loom.

Assembling a new Glimakra Siru RH loom.
Glimåkra Siru Rigid Heddle Loom in the box. Do I see a little dinosaur? …or is that a pony?
Weaving with 2 heddles on rigid heddle loom.
First project is a three-shaft twill, using 2 heddles. Warp is 22/2 cottolin. I am trying an assortment of linen, cotton, and cottolin wefts, with single threads and doubled threads. Everyone wants to know what I am making… Answer – Nothing in particular, I’m just weaving for fun.

As with any loom assembly, Steve and I first lay out all the parts and pieces, putting like things and sizes together. We then mark off the supply list in the instructions to make sure no parts are missing. That prep work simplifies the whole assembly process. The written instructions that come with the loom are sparse, but I found this online video that shows clear assembly steps for the Siru: Siru Assembly

I am impressed with the Siru for its sturdy construction, ease of folding, and smoothly operating ratchets. I will write more on two-heddle weaving on the rigid heddle loom in the future, as I gain experience…

And here is our one-minute version of assembling and weaving on the Glimåkra Siru Rigid Heddle Loom:

May you put your parts and pieces in order.

Happy Travel Weaving,
Karen

Tried and True: Shuttle Shuffle

Some of the monksbelt flowers have a different color for the three center picks. The new color is only temporary, so I simply carry the first weft color up the side for that short distance.

How to shuffle shuttles.
Monksbelt with six colors of 6/1 Fårö pattern weft and three colors of 16/2 cotton ground weft.

More than one shuttle doesn’t necessarily mean more difficult. Everything runs a little smoother when there is an efficient exchange of shuttles between your hands.

Monksbelt flower garden.

How to Handle the Exchange of Shuttles

  1. For this example, the temporary weft starts from the left and goes to the right. Weave the first pick of the temporary weft, catching the shuttle with your right hand. (If the first pick of the temporary weft goes from right to left, reverse the right hand/left hand instructions, here and following.)
  2. Transfer the shuttle with the temporary weft (active weft) to your left hand.
  3. With your right hand pick up the shuttle that has the weft that will be carried up the side (inactive weft). Bring the shuttle all the way around the active weft and then lay the shuttle down again.
  4. Transfer the shuttle with active weft back to your right hand and continue weaving.
  5. Follow steps 2 – 4 until the section with temporary weft is finished.
  6. Tuck in the tail of the temporary weft and continue weaving with the weft that has been carried up the side.

Here’s a short demo:

May your shuttle exchanges go smoothly.

Happy Weaving,
Karen

On Drawloom Time

As much as I tried to look under the warp to see it, I could not get a decent view of the reverse side of the fabric. Until now. I am overjoyed to see that this gray and blue warp is even better than I had imagined. As the first towel on the warp rounds the cloth beam I see a silver-like glimmer behind the cursive “Peach,” and shiny blue loveliness at the borders.

Whimsical flowers woven on the drawloom.
Conclusion of Towel Number Two. This is when I can finally look at the cloth beam to clearly see the reverse side of Towel Number One.

Yet, this is but a fleeting glimpse. Oh, drawloom, you make me wait sooo long to see what I have woven. In that waiting, I continue to weave, content with the process. The towels that will result will last a very long time. That makes every minute at the loom time well spent.

Anticipation! Seeing the reverse side of what's woven on the drawloom!
First towel wraps around the cloth beam, revealing the silver and blue side that was underneath while weaving.

We work and work for things that are temporary. Even the most spectacular drawloom-woven towels wear out eventually. God has placed eternity in our hearts. We know there’s more to life that these fleeting days. Eternity gives meaning for today. The full scope of what God is doing is beyond our here-and-now comprehension. But at times, when we are given a glimpse into his wondrous mysteries, we are assured that eternity with him will far surpass our brightest imaginations.

May your days be full of meaning.

Happy Weaving,
Karen

Miss Fit and I

This is the moment Miss Fit and I have been waiting for! We have come to the beginning of the end of the real tiered skirt. Or, maybe I should say it’s the end of the beginning, since weaving is just the beginning of this skirt. My next step is to finish the fabric: find and repair errors, wash, dry, press. And then, on to construction: detail studies, measure, cut, gather, sew seams. And lastly, of course, I will find an occasion to wear the summery subtly-patterned huckaback skirt, even if summer has already slipped into hiding until next year.

New 24/2 cotton warp.
Beaming the 24/2 cotton warp on my 100 cm Glimåkra Ideal Countermarch loom.
Weaving fabric for a tiered skirt.
Fabric for the first tier of a three-tiered skirt. 16/1 linen weft.
Weaving fabric for a 3-tiered skirt.
Fabric for the second and third tiers of the skirt. Classic pattern in five-shaft huckaback.
Cloth beam on the Glimakra Ideal loom.
Cloth beam fills with skirt fabric as I near the end of the warp.
Weave until there's nothing left to weave!
Weave until there is nothing left to weave. That’s my motto.
Fabric for a handwoven skirt.
Cutting off as dusk hits the windows.
Handwoven fabric for a 3-tiered skirt!
First view off the loom is always a special moment. Love at first sight!
Handwoven skirt fabric.
Miss Fit is modeling a preliminary muslin of the tiered skirt. I will do some detail studies with small pieces of the handwoven fabric, and then make a final muslin before sewing the “real” tiered skirt.
Handwoven fabric for a tiered skirt.
Detail of skirt fabric.

May you see your ideas take shape.

Miss Fit’s double,
Karen