Jubilation Bath Towels are completed, just in time for Christmas! They go with the Jubilation Hand Towels I wove earlier this year, named with my father in mind. (See Process Review: Jubilation Hand Towels.) Nothing deterred my father from deep abiding joy. These bath towels are a tribute, as well, to my husband’s patience. He requested handwoven bath towels a few years ago. Laughably, my first eager attempt resulted in towels scratchy enough to be used as sandpaper back scratchers. Now, finally, we have absorbent and soft handwoven cottolin bath towels suitable for my Prince Charming.
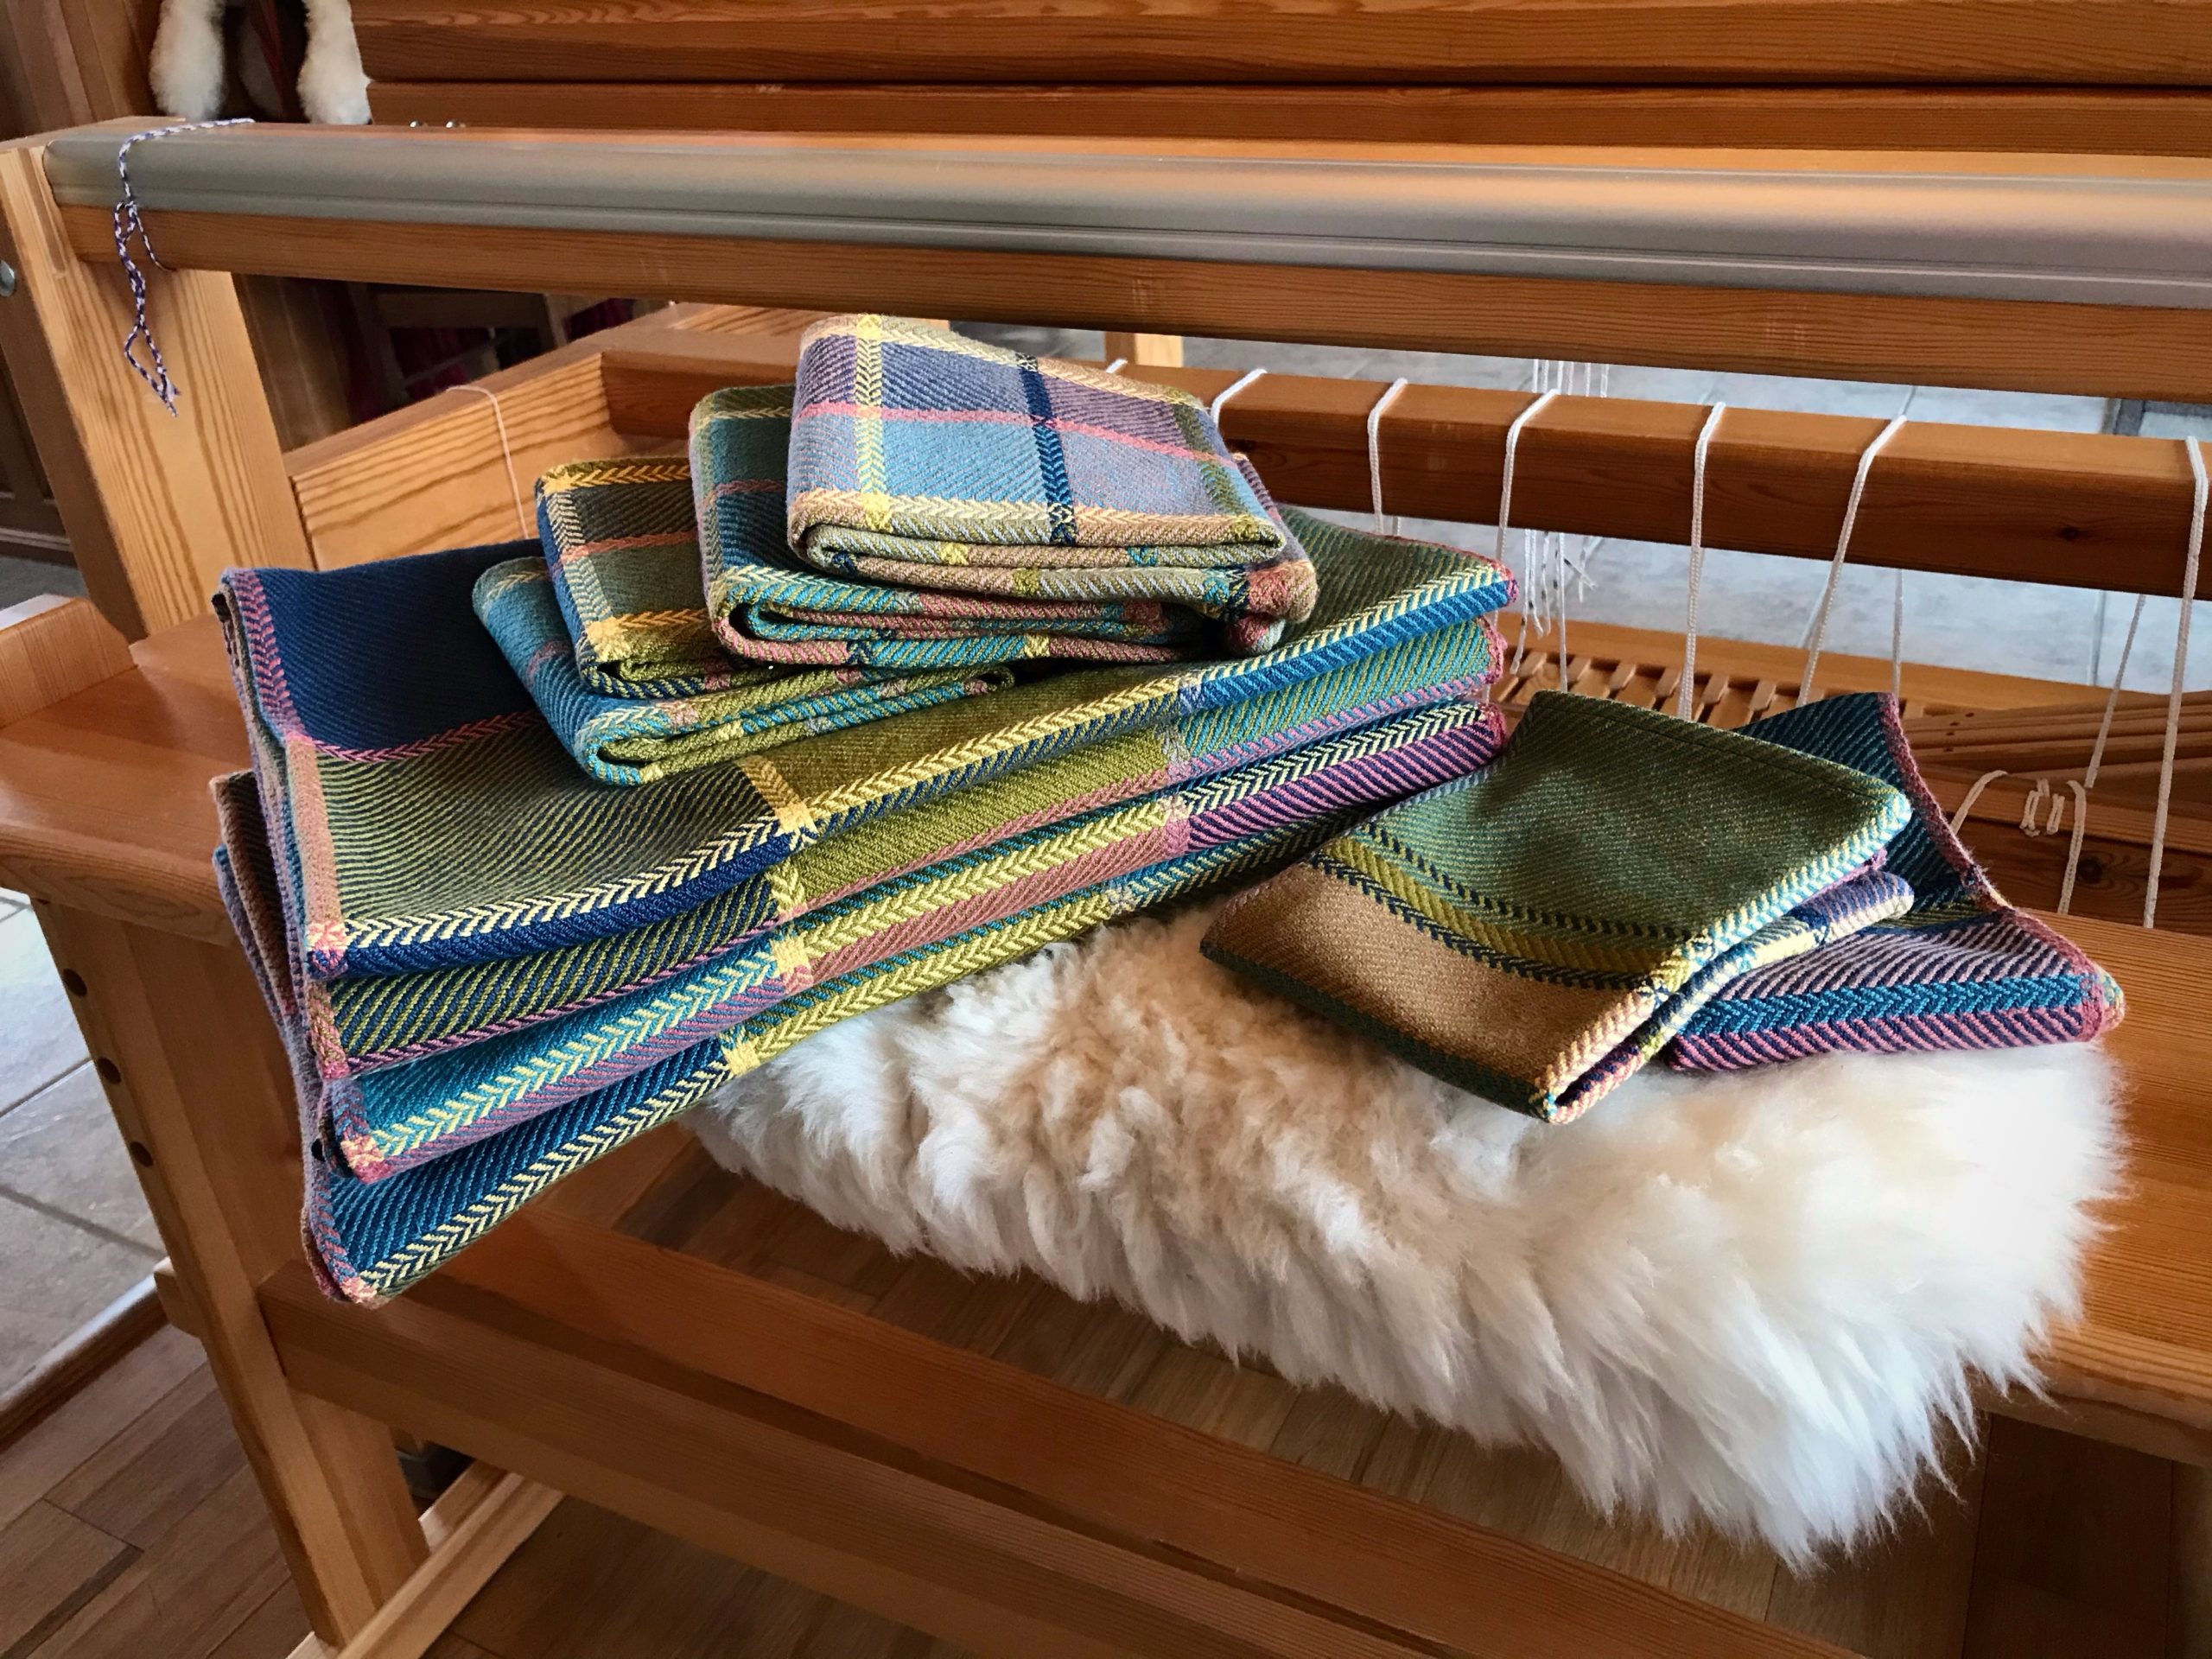
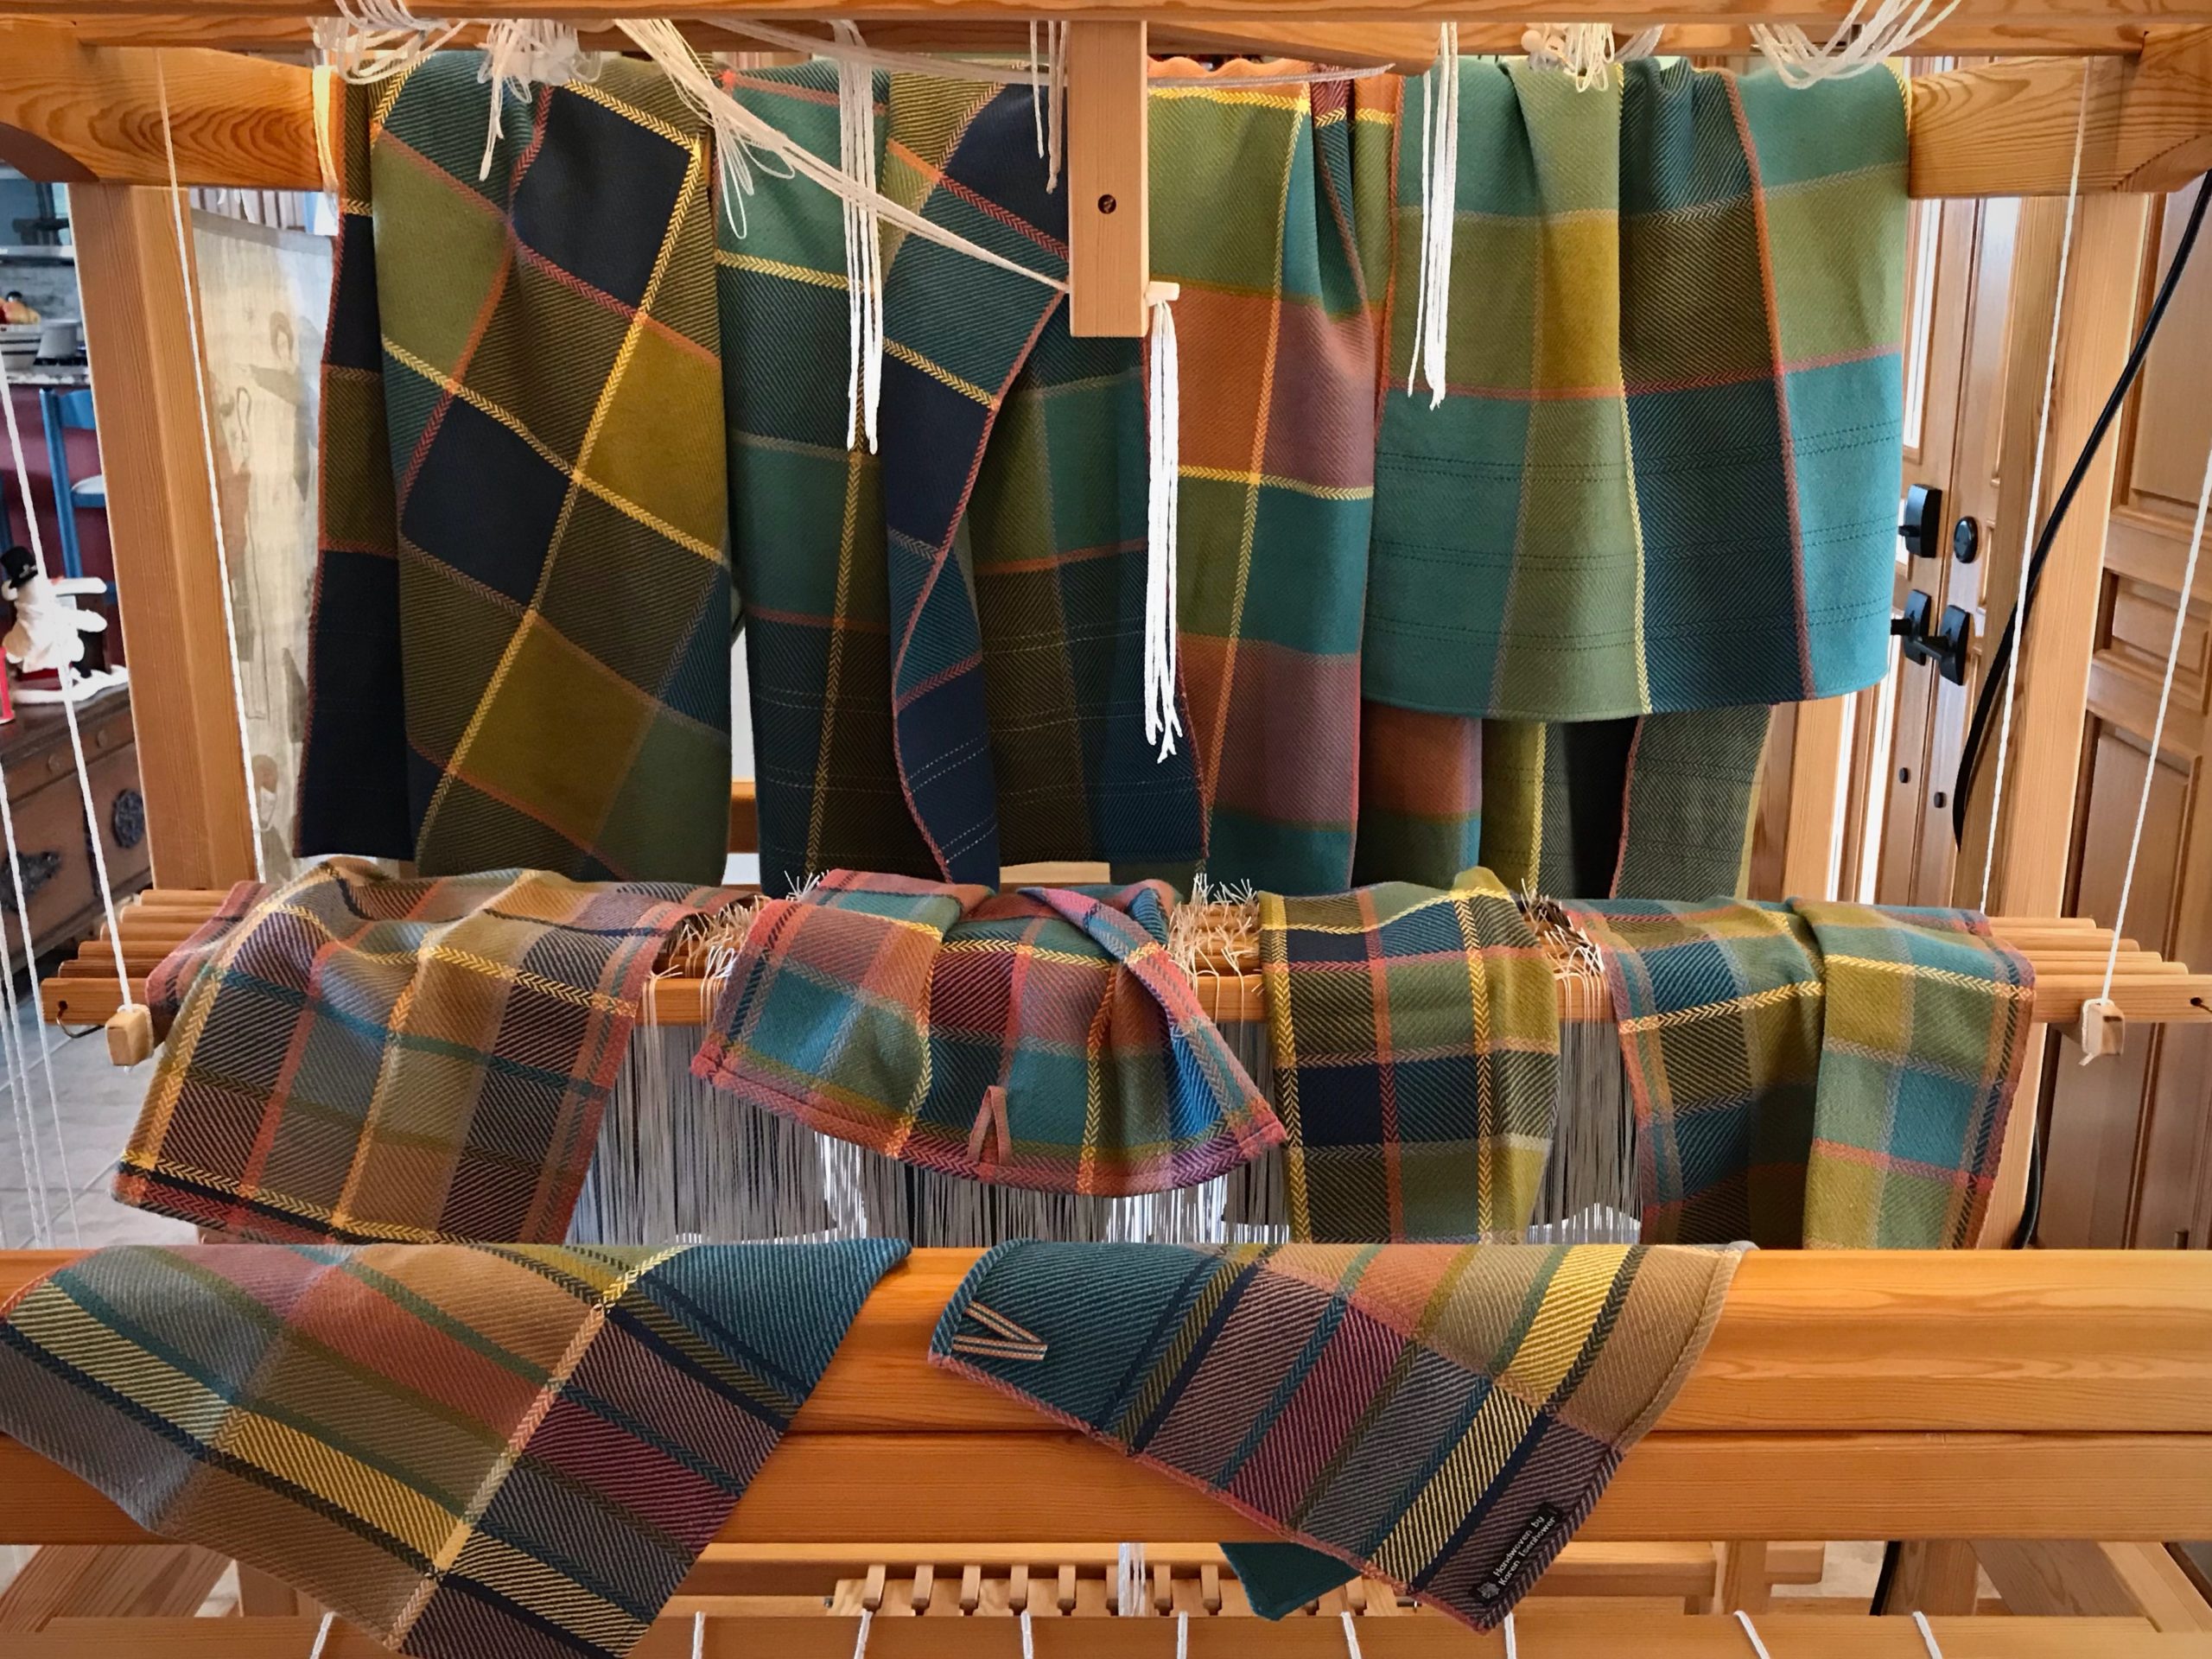
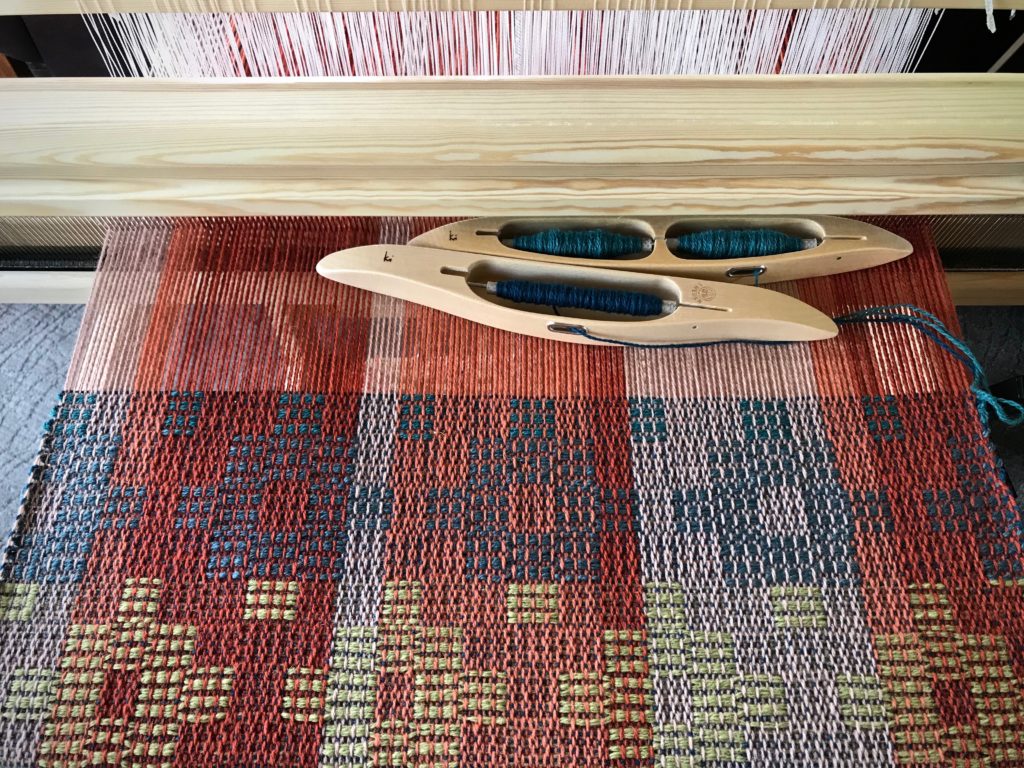
Jubilation Bath Set. Four bath towels, four hand towels, two wash cloths. Cottolin warp and weft. Six-shaft broken and reverse twill.
Don’t you love it when the end of the warp yields bonus results? Just enough warp to make a pair of wash cloths, in which every one of the seven colors of quills was emptied. Hurrah!
Cottolin bath towel set, soft and absorbent. All quills were emptied off in the final length of warp, making colorful wash cloths.
Enjoy the start-to-finish process with me in this slideshow video:
My weaving history includes very fine threads all the way to heavy-duty rug warps. As a result, I have acquired a wide selection of reeds over time. All five of my looms have beaters that will accommodate any length or height of reed. When I plan a project, one of the first things I consider is whether I have the size reed that is needed. To keep my reeds organized, I need two things. One, a simple method to manage the reeds I have, tracking the reeds as they go in and out of use. Two, a place to store all the reeds, arranged in order by dents per cm and dents per inch.
Reed Organization
Reed Inventory
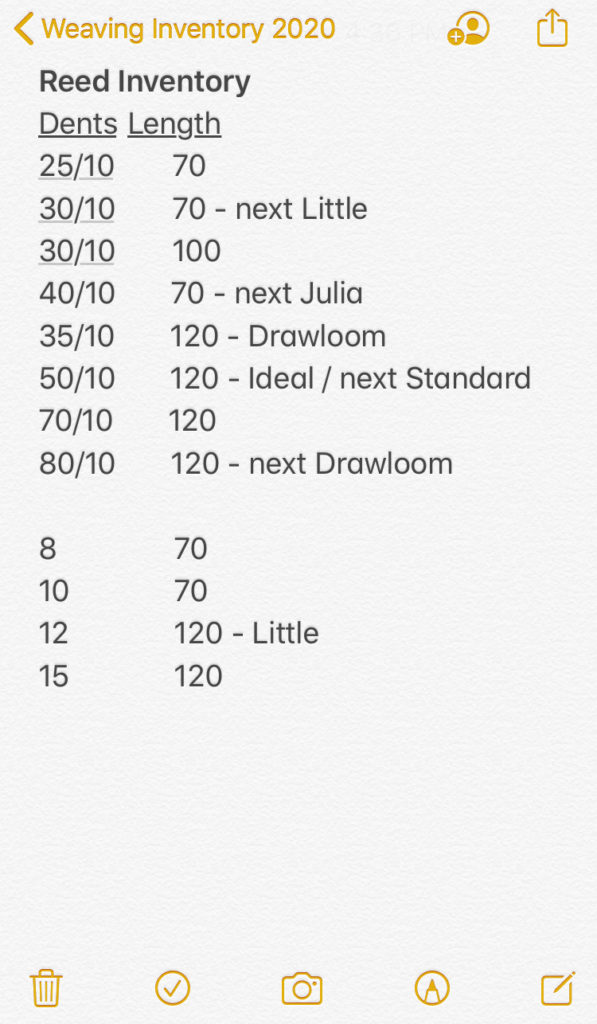
I keep a list in my Notes app on my phone with the sizes and lengths of reeds that I have. If a reed is in use, I note which loom. If a reed will be needed for a planned project, I also note that. As soon as I remove a reed from the beater at the end of a project, I put the reed away and update my Reed Inventory list.
Sample Reed Inventory note. When I am planning, I look at the note on my phone to see what reeds I have that are available. “Next” reserves the reed for the loom that needs it next.
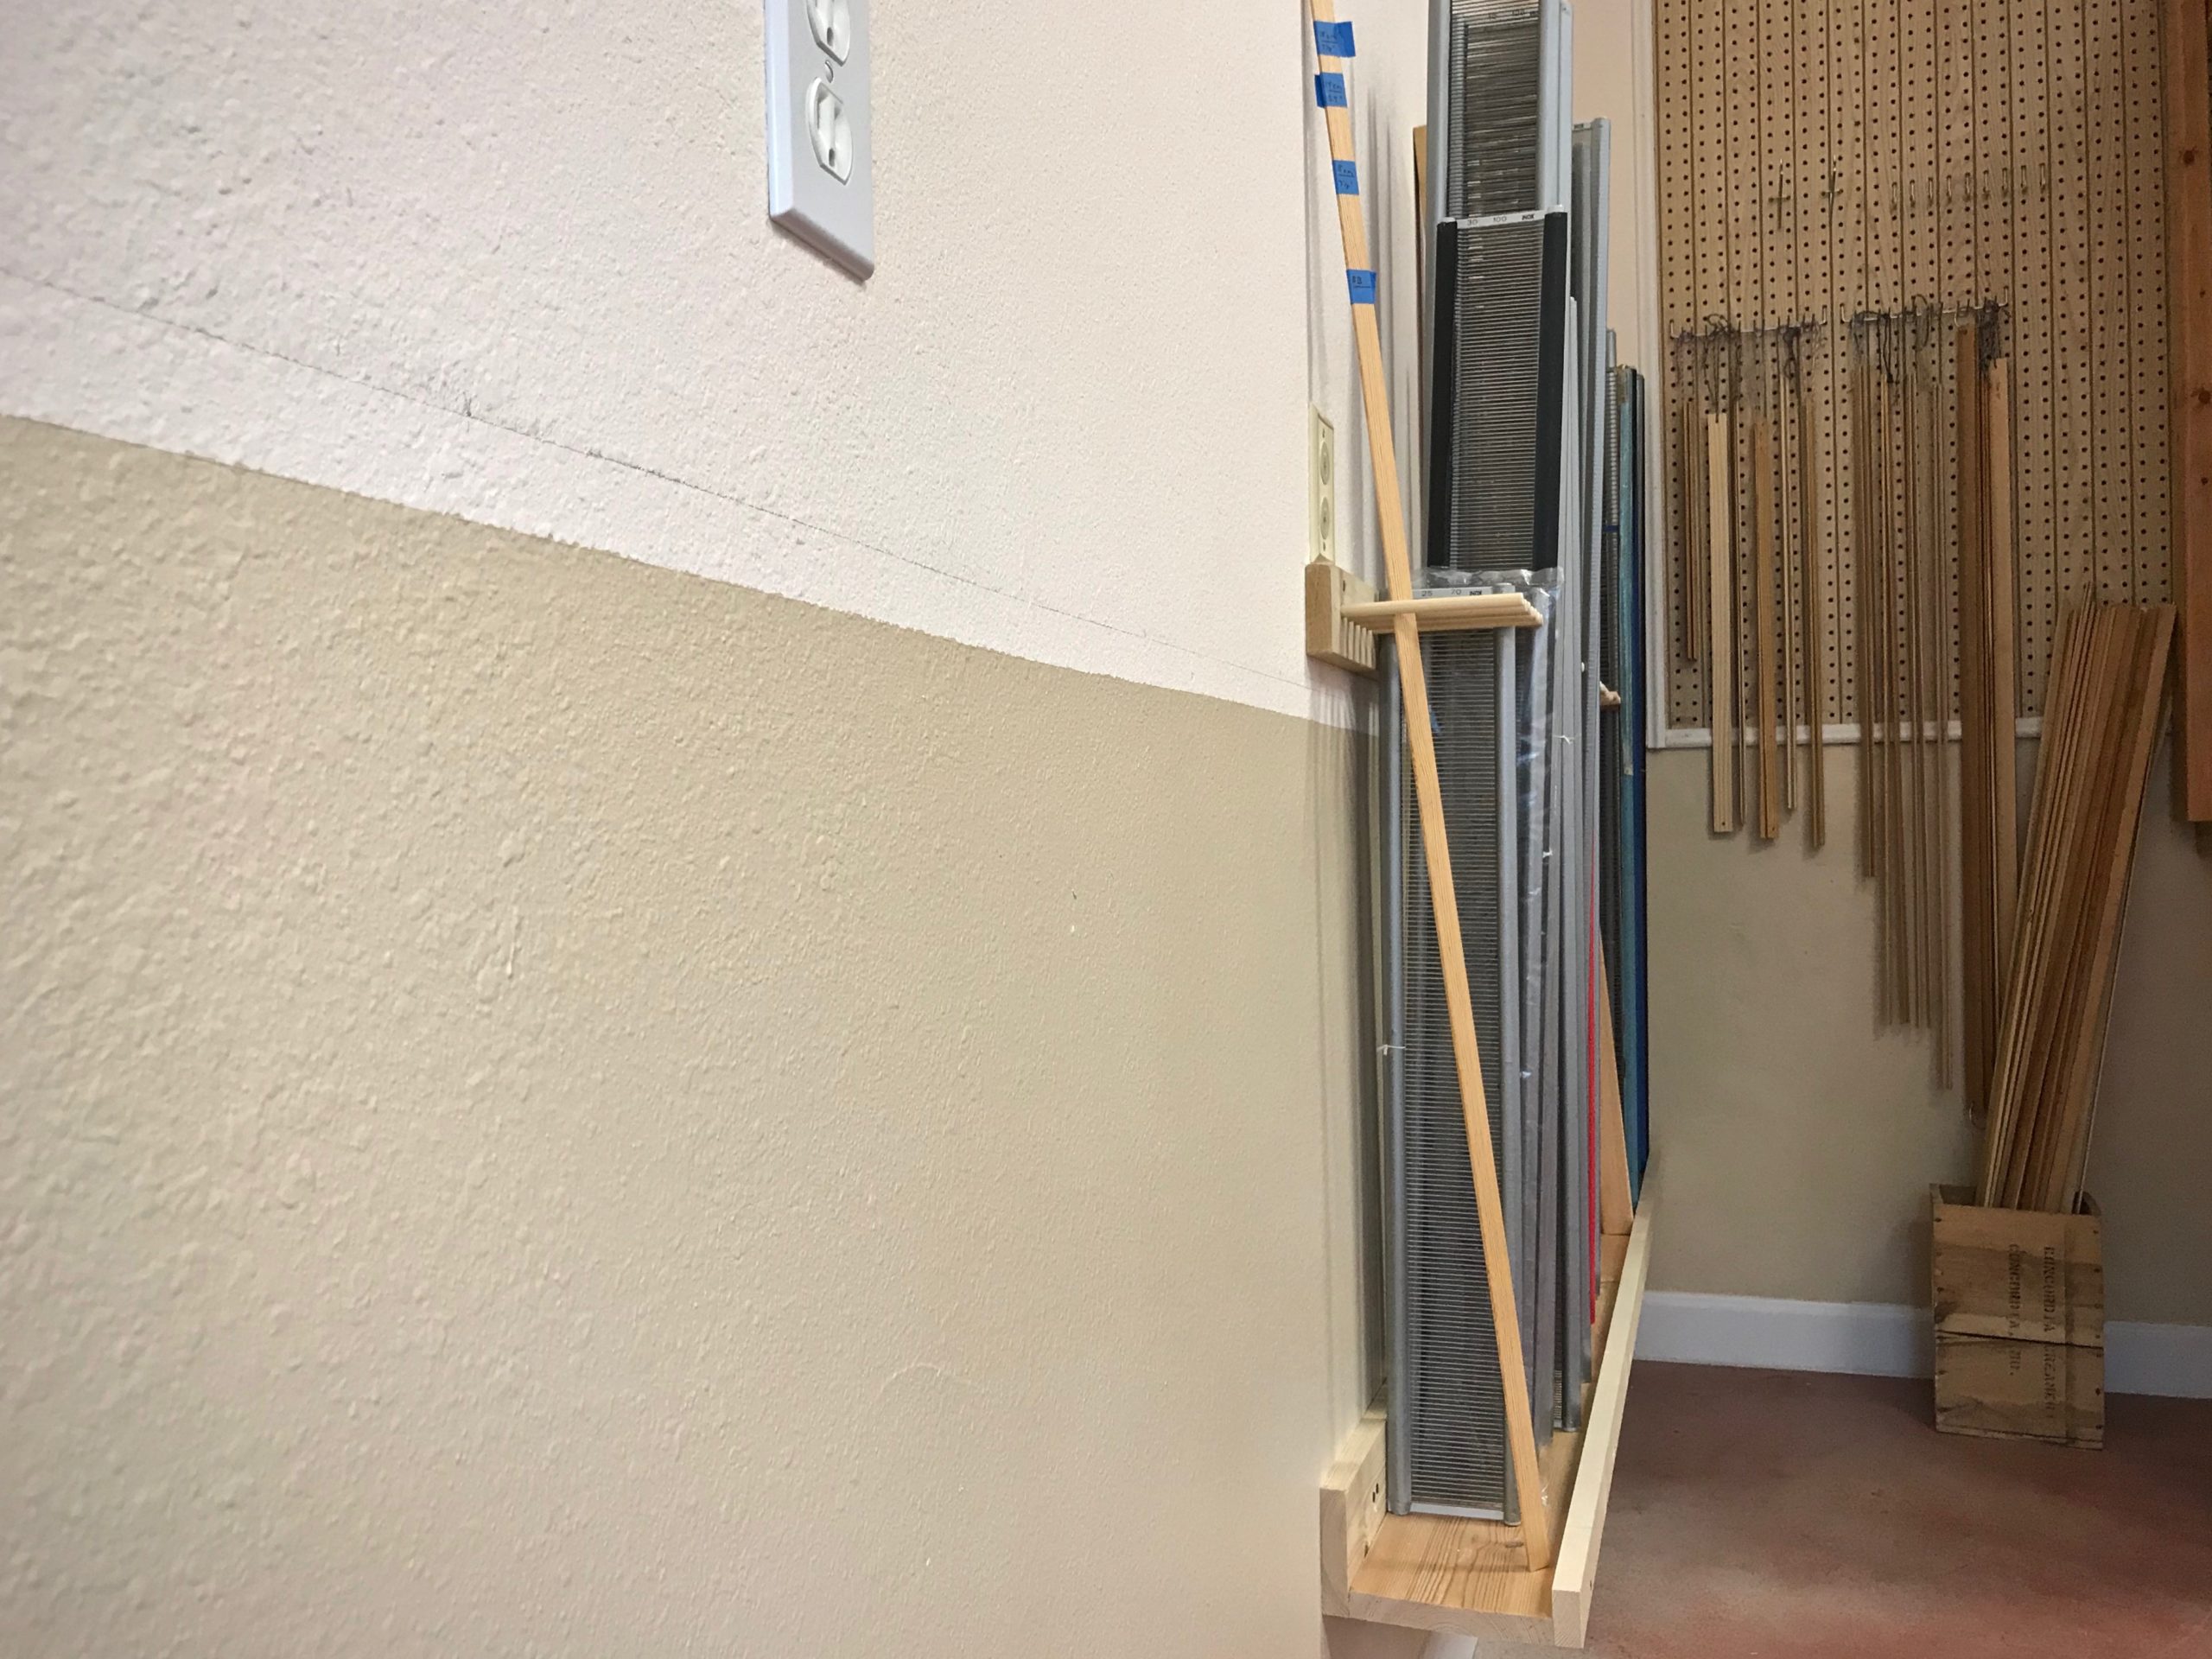
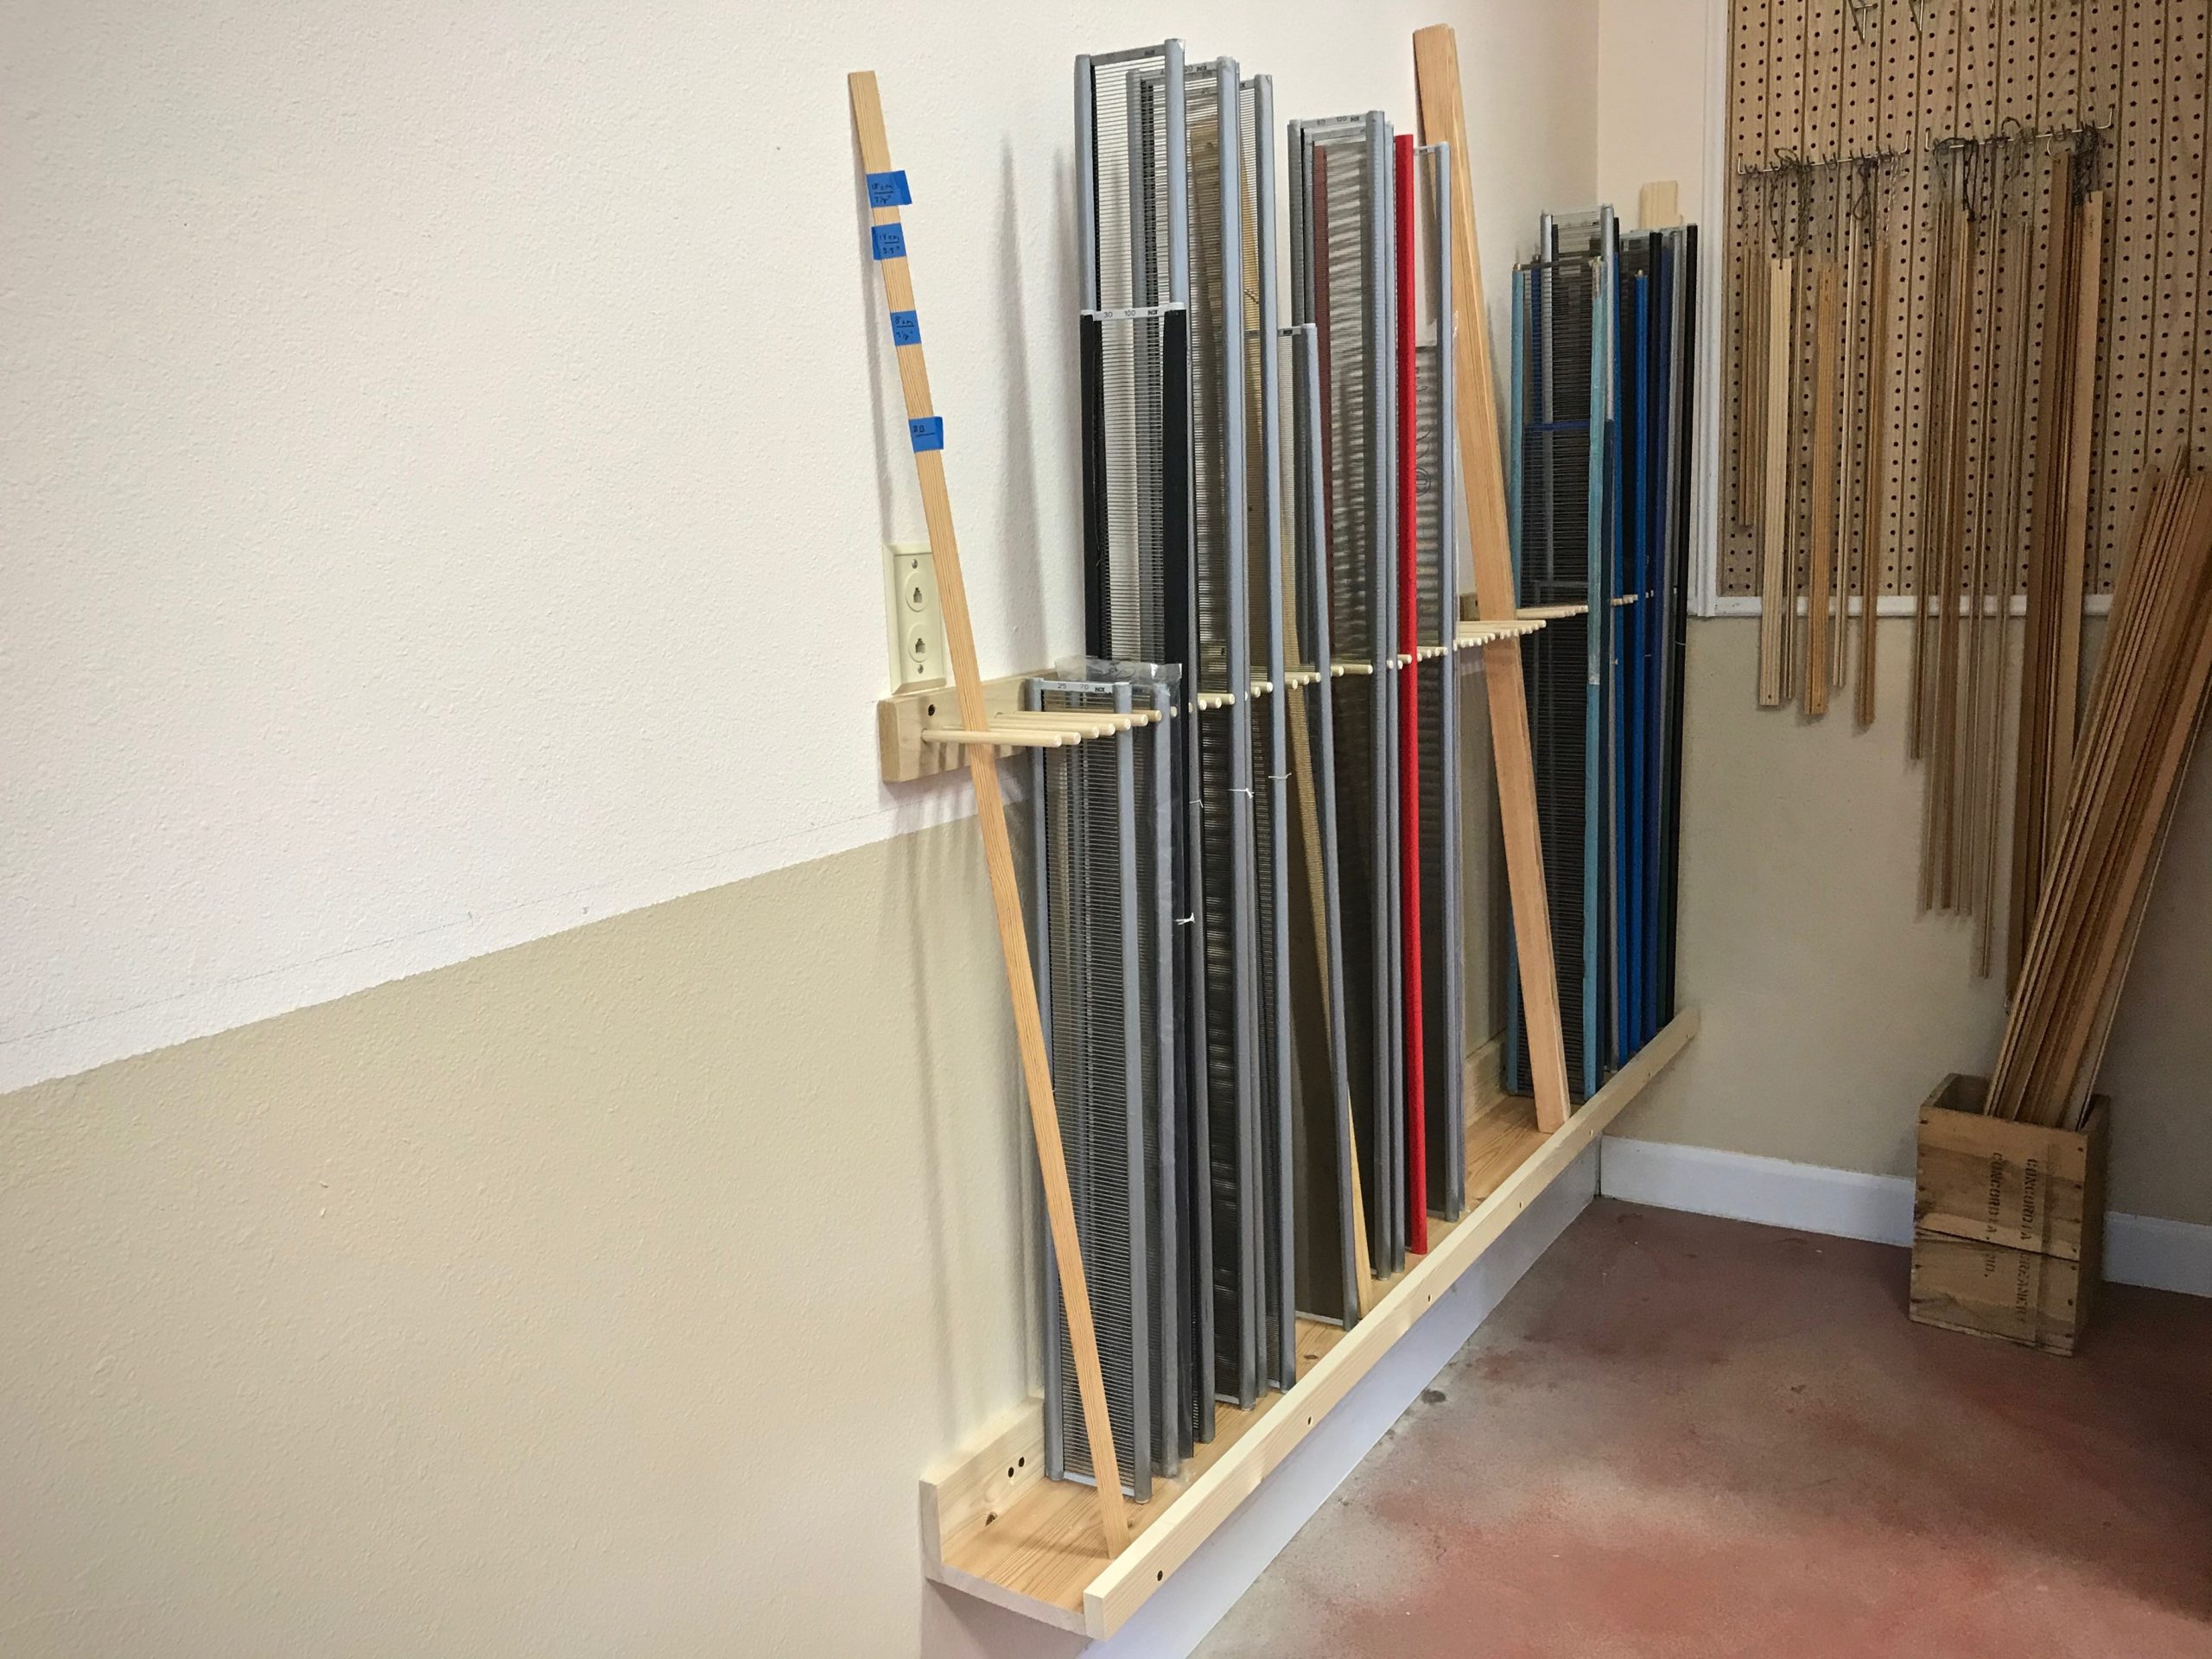
Reed Holder
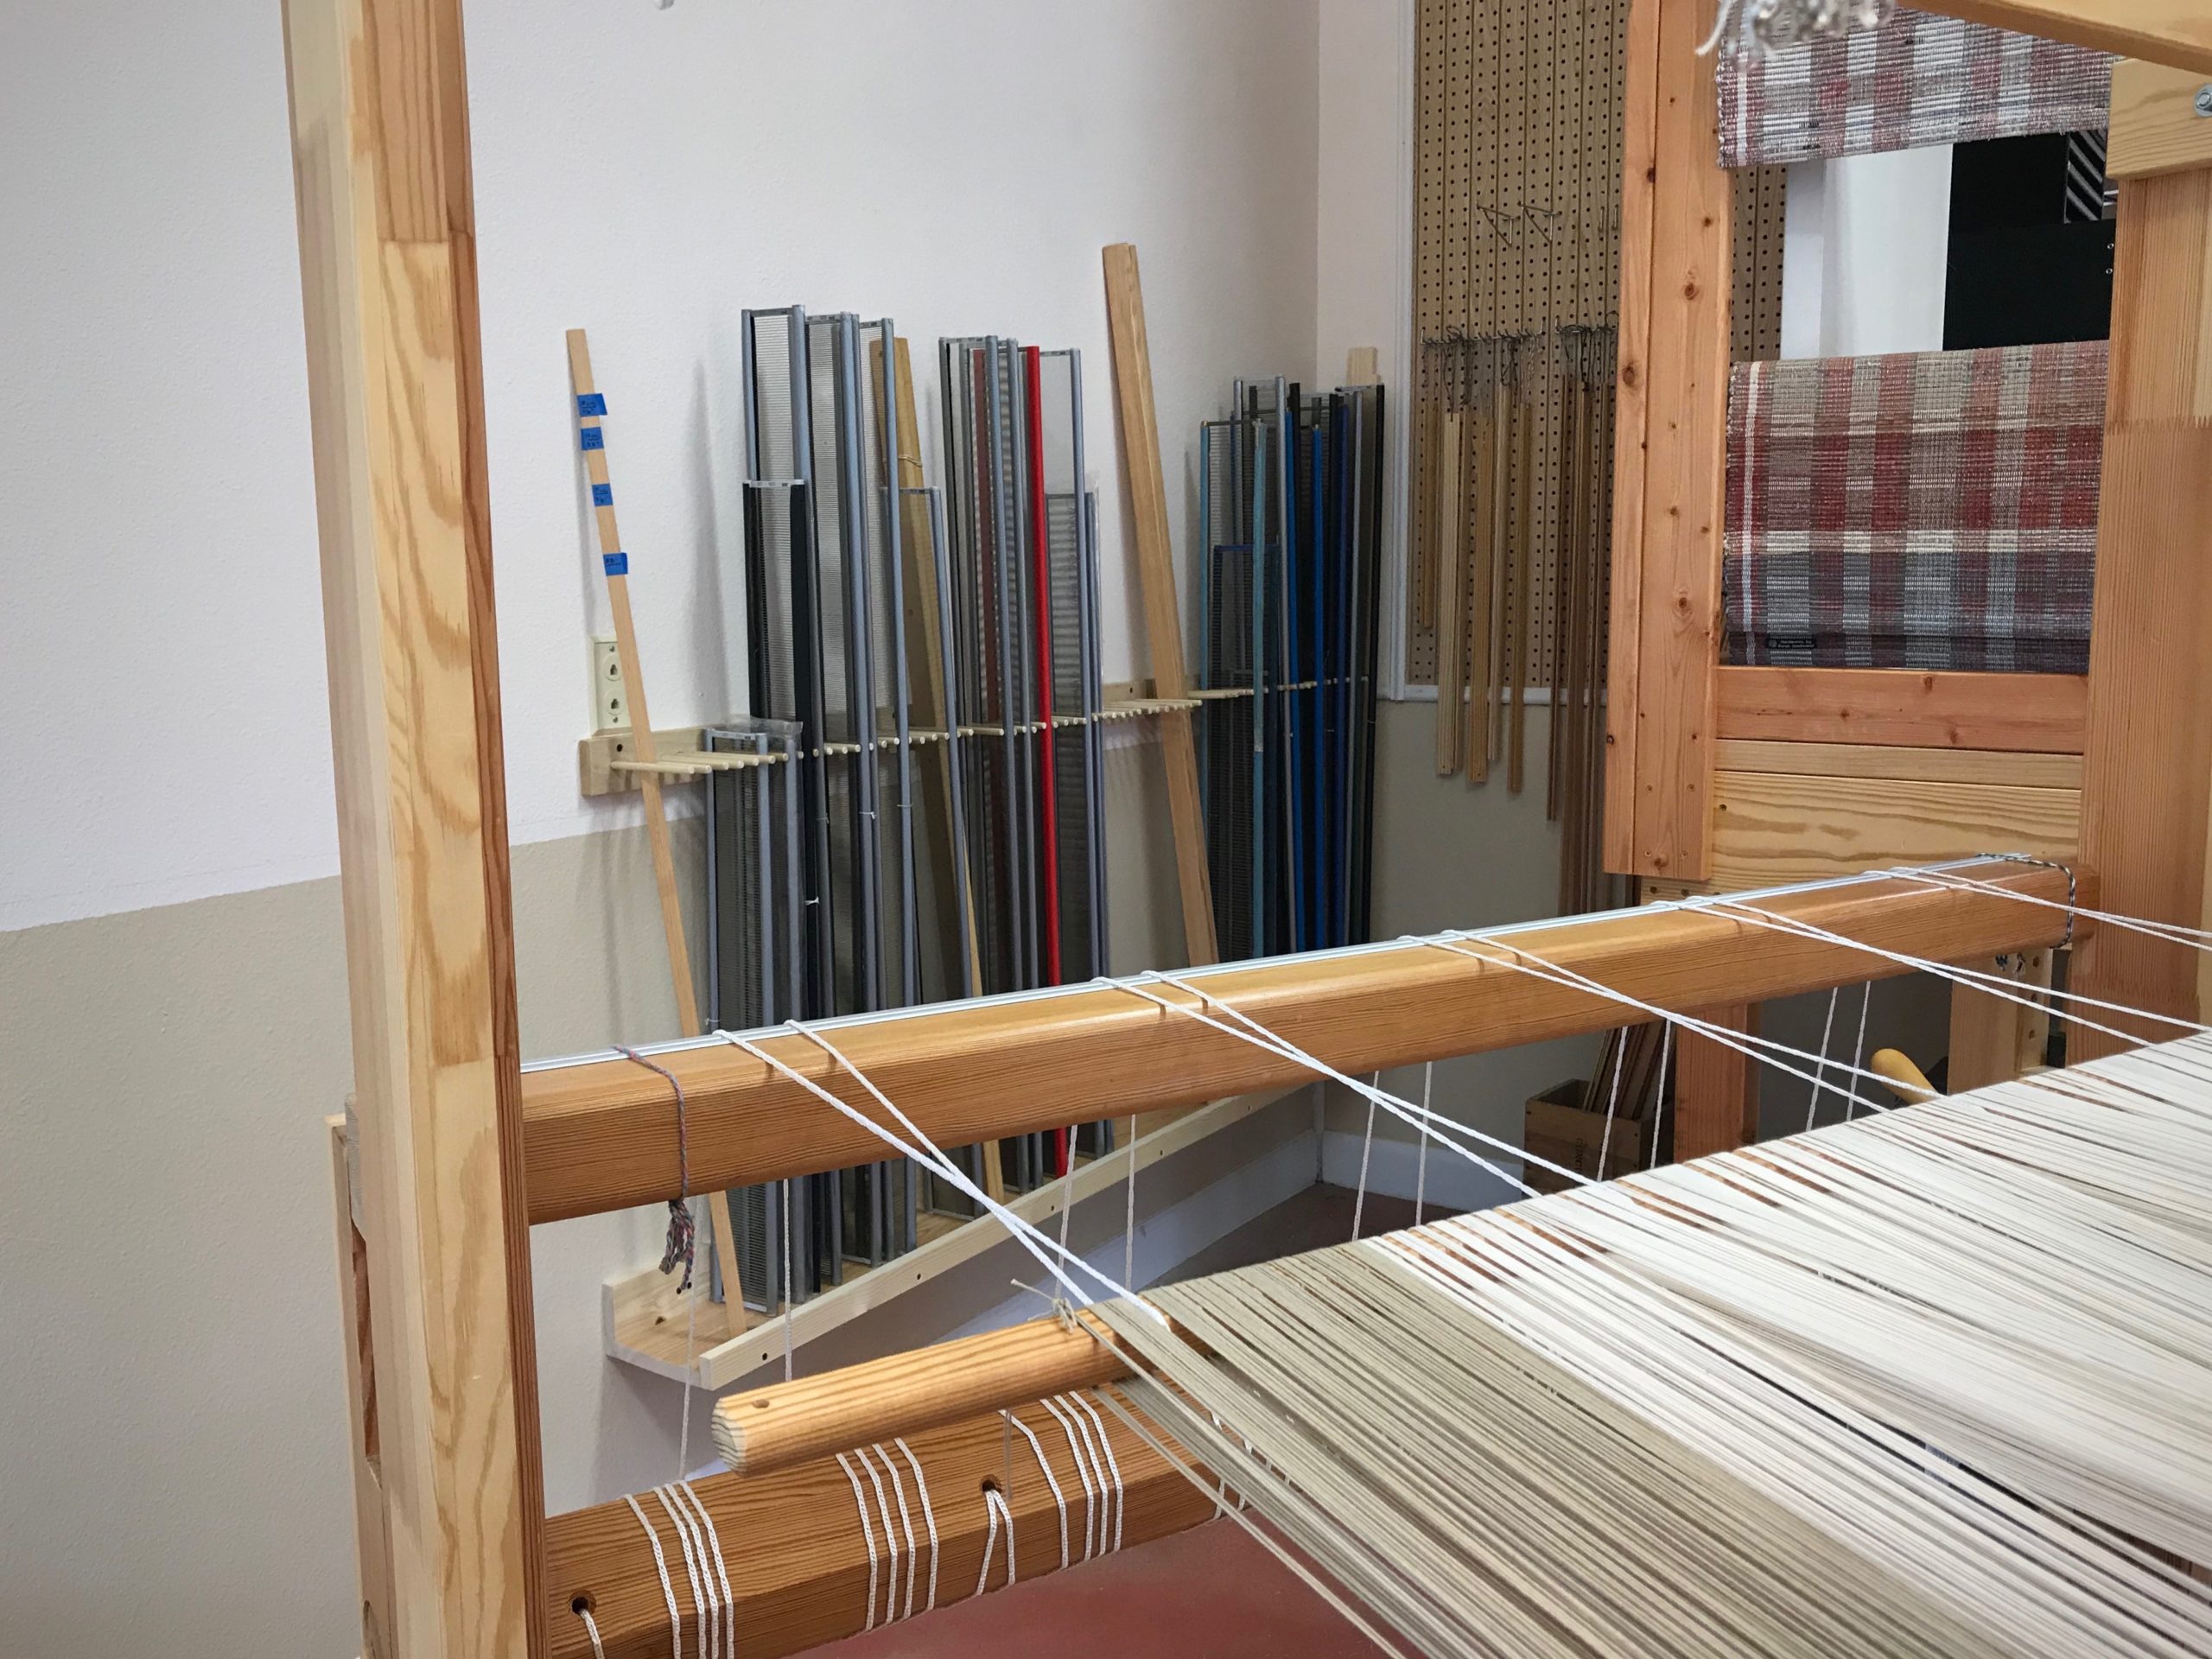
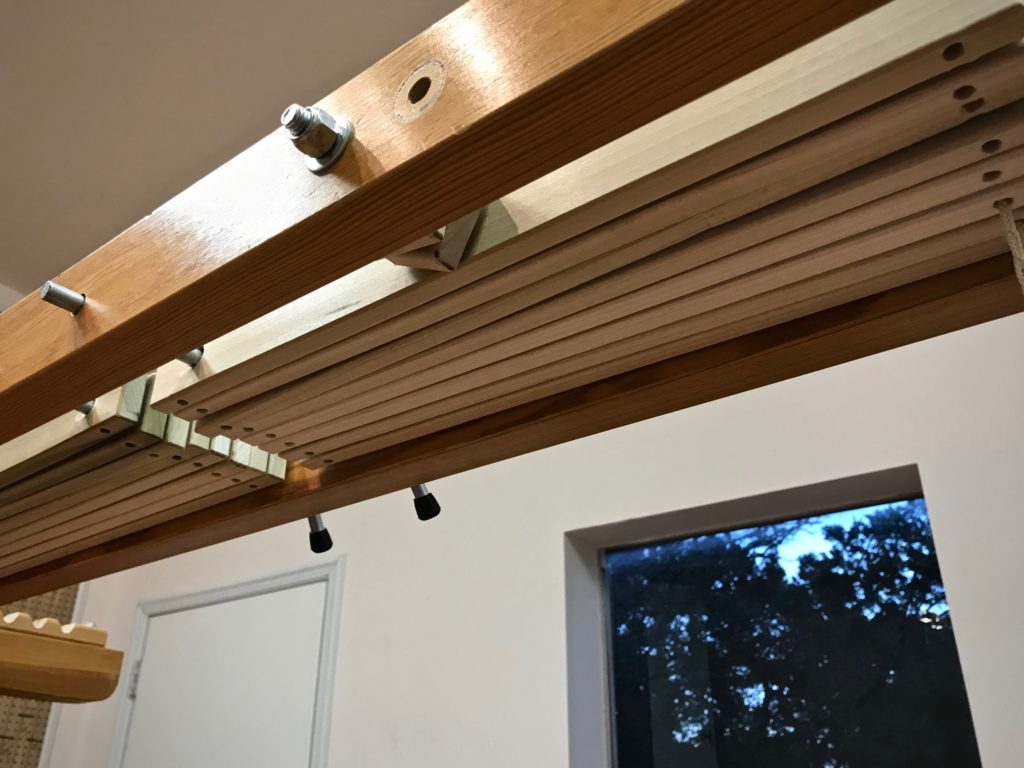
Steve created a storage solution for my reeds. The holder goes along the back wall of my drawloom studio for about six feet. Here are the details, using nominal board sizes. The reeds sit on a 1” x 6” board at the base, which is supported against the wall by a 1” x 4” board. The base, with a 1” x 2” lip, sits about 12” off the ground. The reed dividers are 3/8” x 5 3/4” dowels that are sunk into a 1” x 3” board that is attached to the wall, which sets the dowels about 27” above the base.
Reed holder is fastened to the wall behind the drawloom. (Notice that the drawloom rag rug warp has come over the back beam…)The dowels are placed at a height that will hold even my shortest reeds.Reeds are in order by dent size. Metric reeds are separate from those with dents per inch.
If you would like a PDF copy of Steve’s diagram that shows all the dimensions, click HERE to send me an email request.
May you have a place for everything, and everything in it’s place.
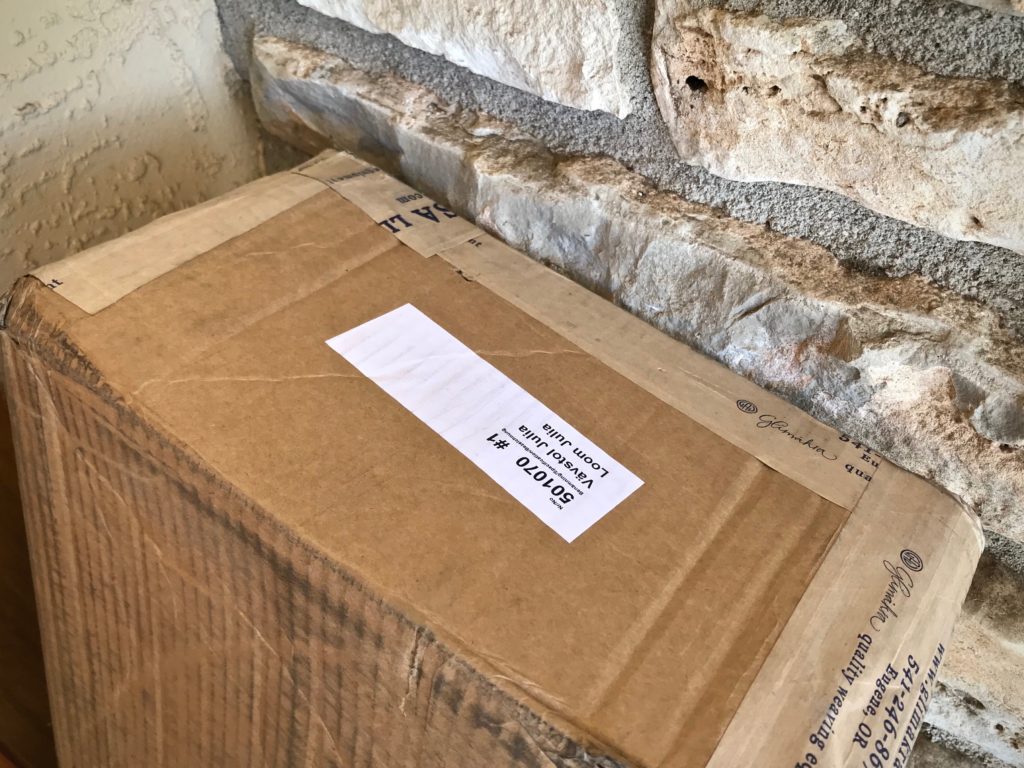
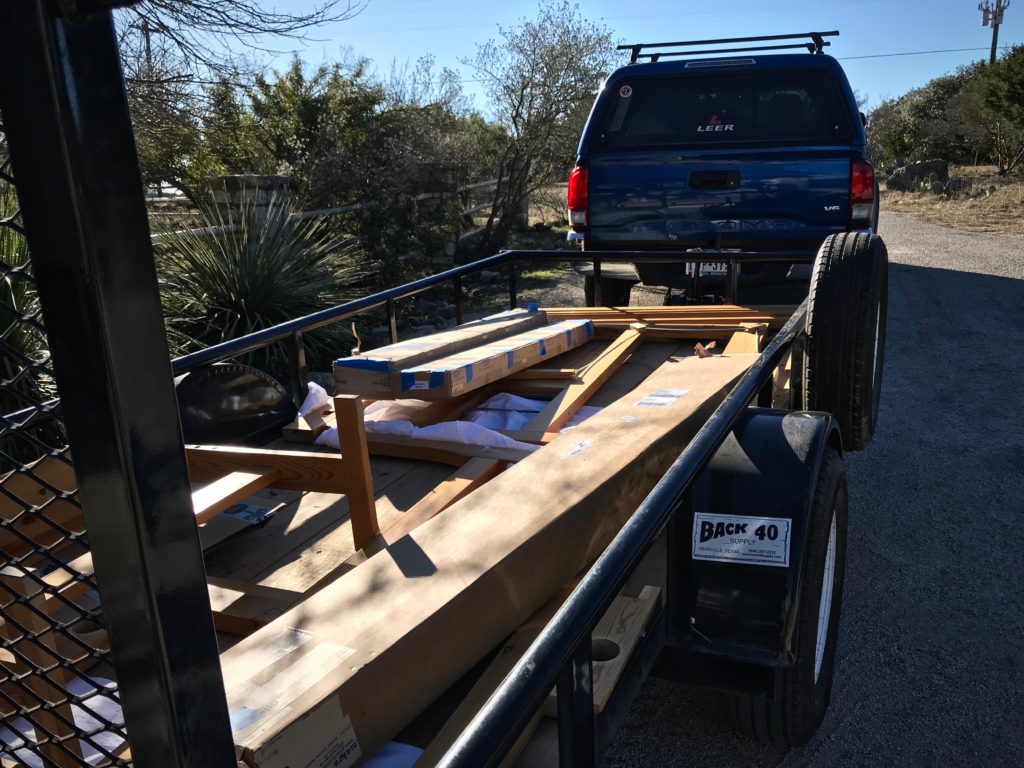
My family of looms just welcomed a new little sister—Julia! This 8-shaftcountermarch is Glimåkra’s smallest floor loom. I dressed the loom right away in 6/2 Tuna wool for 4-shaft Jämtlandsdräll to try out the loom. So far, so good. An 8-shaft project using 20/2 Mora wool is up next. Would you believe this is my new portable loom? Surprisingly, the Julia fits in the back of our vehicle, without disassembling. This is the loom you can expect to see with me at future workshops.
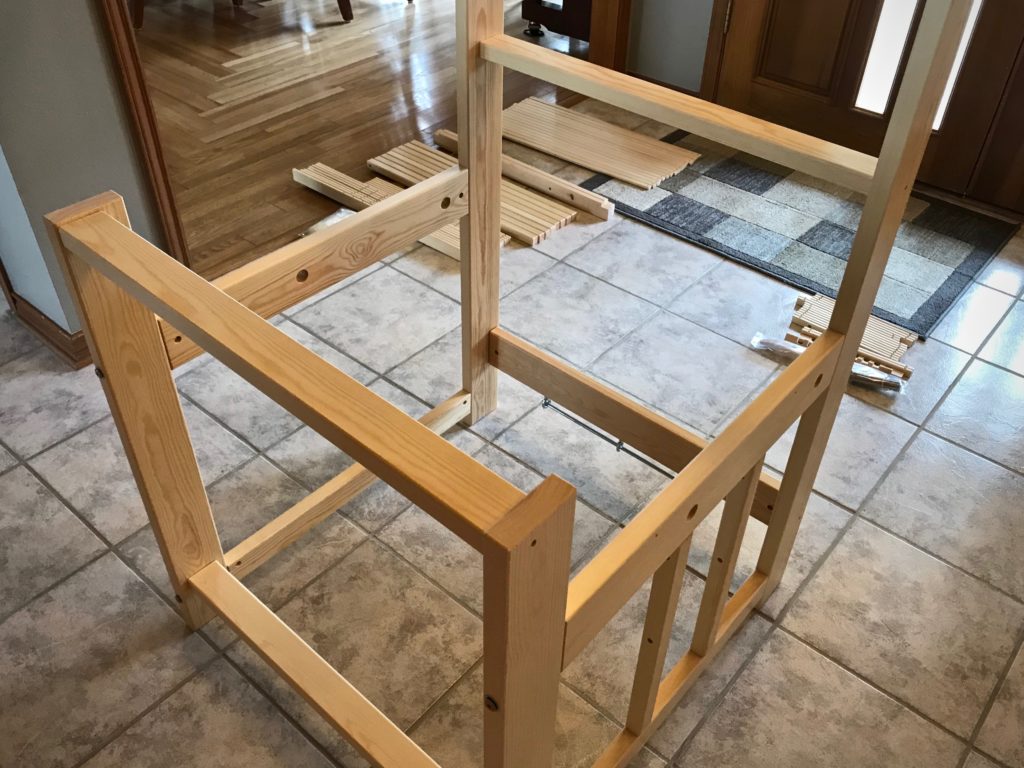
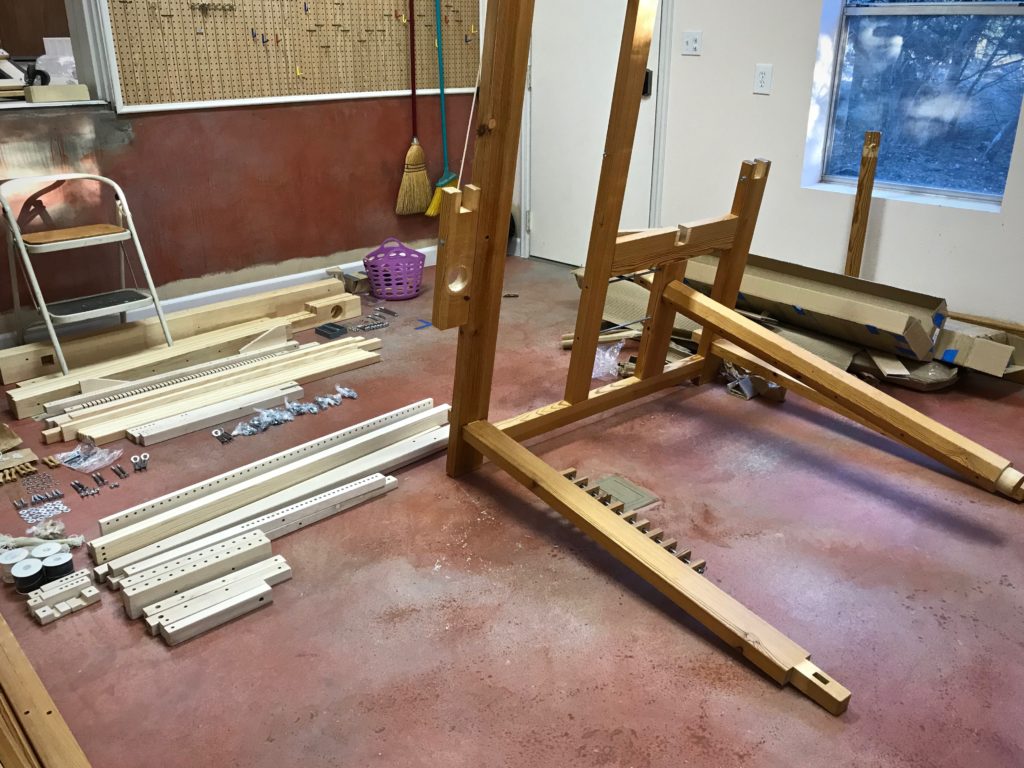
One of the boxes delivered to my front door.Loom assembly in our foyer.
My Julia Observations:
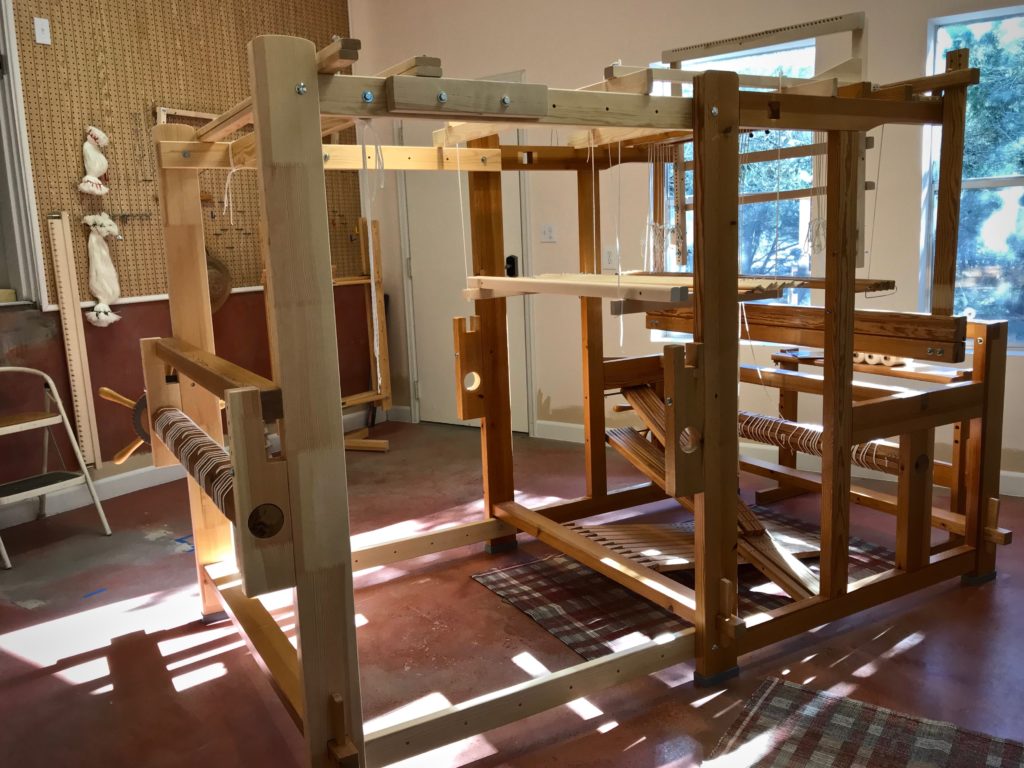
It goes together like you’d expect from a Glimåkra. Instructions are minimal, and quality is high. It’s a well-designed puzzle.
The assembled loom is easy to move around to gain space needed for warping, or simply to change location for any reason.
The breast beam is not removable like it is on my other Glimåkra looms, which makes it a stretch to thread the heddles from the front. However, by hanging the shaft bars from the beater cradle at the very front I can thread the heddles without back strain. (Or, if you are petite and don’t mind climbing over the side, you can put the bench in the loom for threading.)
Tying uplamms and treadles is not much different than it is for my Ideal. Everything is well within reach from the front. It helps to take the lamms off the loom to put in the treadle cords, and then put the lamms back on the loom. With one extra person available, it is entirely feasible to elevate the loom on paint cans, upside-down buckets, or a small table to make tie-ups easier, but I didn’t find it necessary to do that.
Loom that Steve built sits near the windows in our living room. Julia sits nearby. Sister looms.Glimåkra Standard sits by the windows at the front of the living room. Julia sits a few steps away. Loom sisters.
Weaving on the Julia is a delight, as it is with my other countermarch looms. Everything works. With four shafts, the sheds are impeccable.
The bench adjusts to the right height.
The hanging beater is well balanced, sturdy, and has a good solid feel. I can move the beater back several times before needing to advance the warp.
I thought the narrower treadles might prove annoying, but I’ve been able to adjust quickly. After weaving a short while, I forget about the treadle size.
Steve is the loom assembler in our family. I stand by and give a hand when needed. I hope you can feel our excitement as you watch this short video of us discovering what’s in the boxes and figuring out how it all goes together.
May you enjoy the puzzles that come to your doorstep.
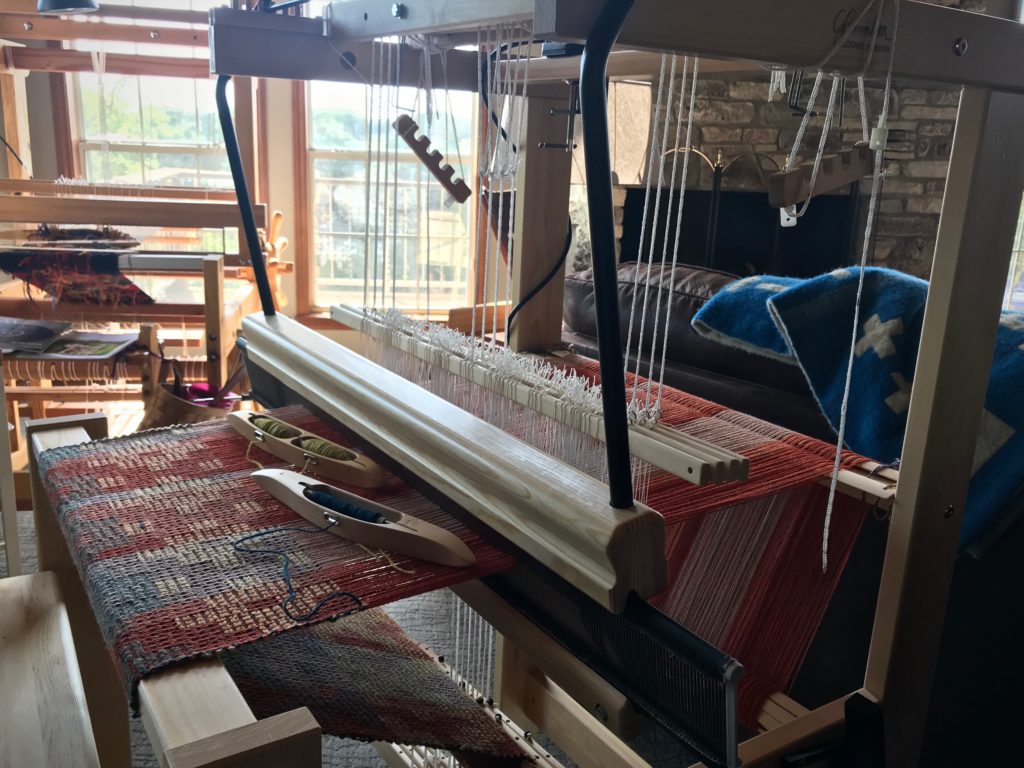
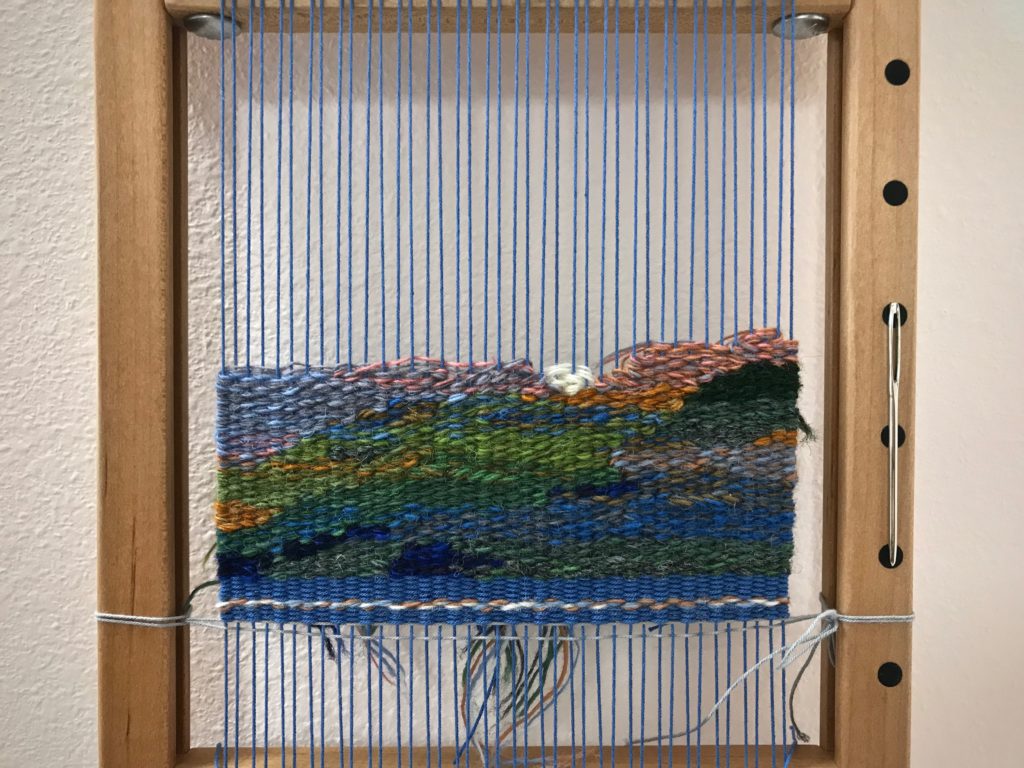
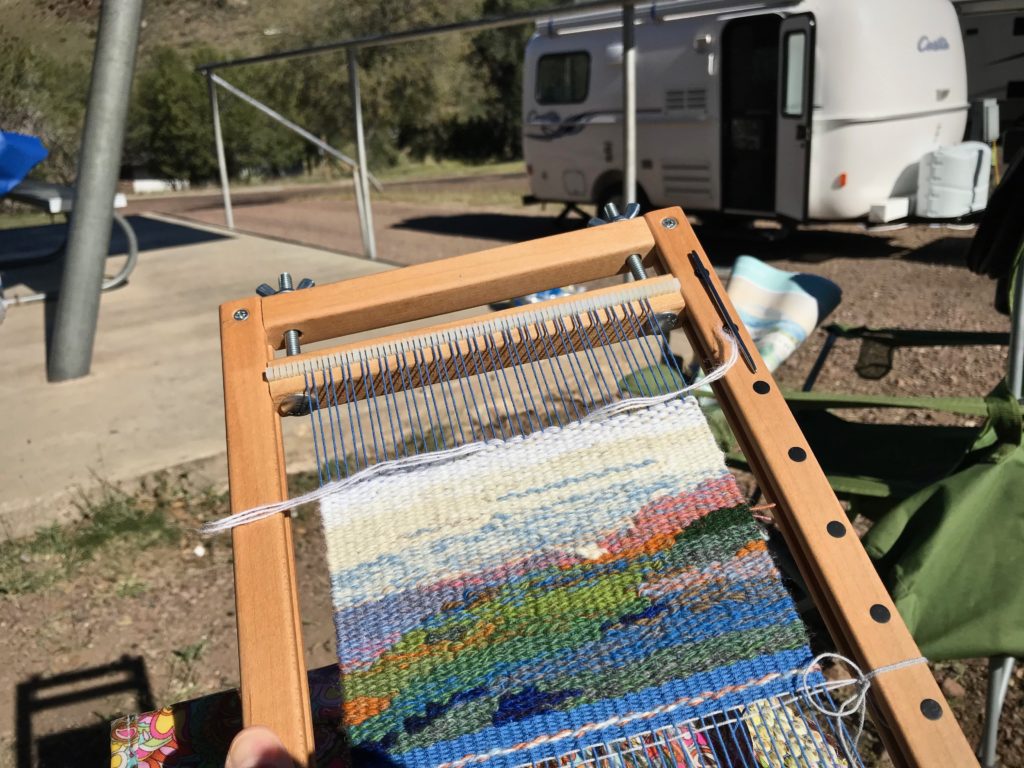
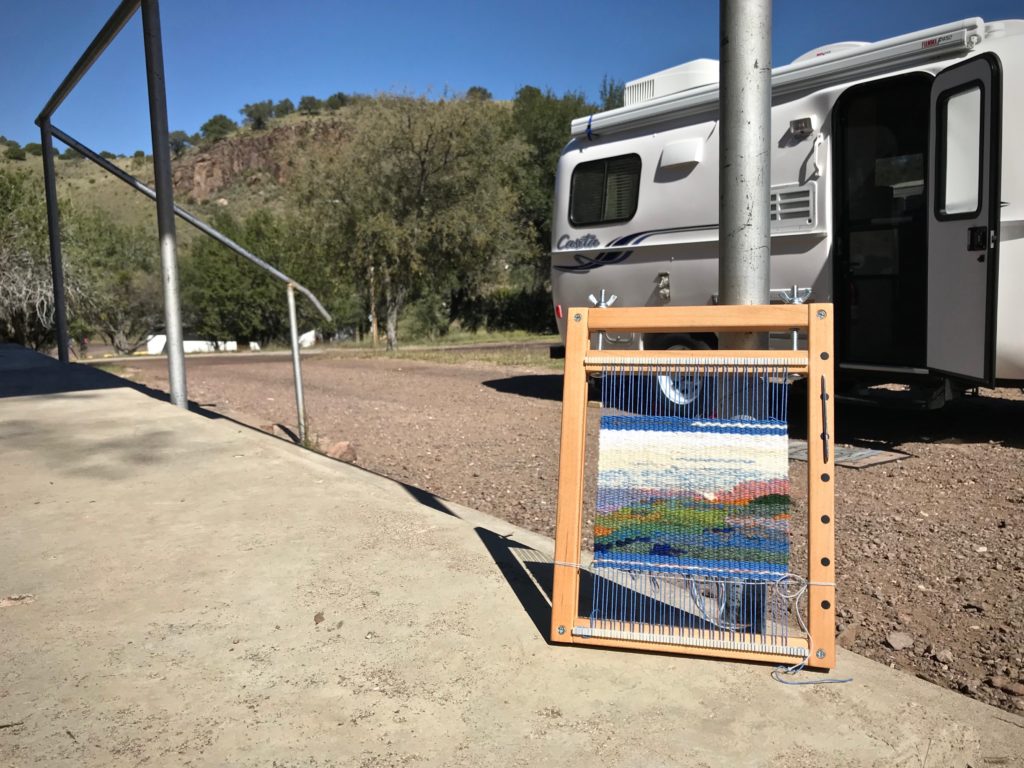
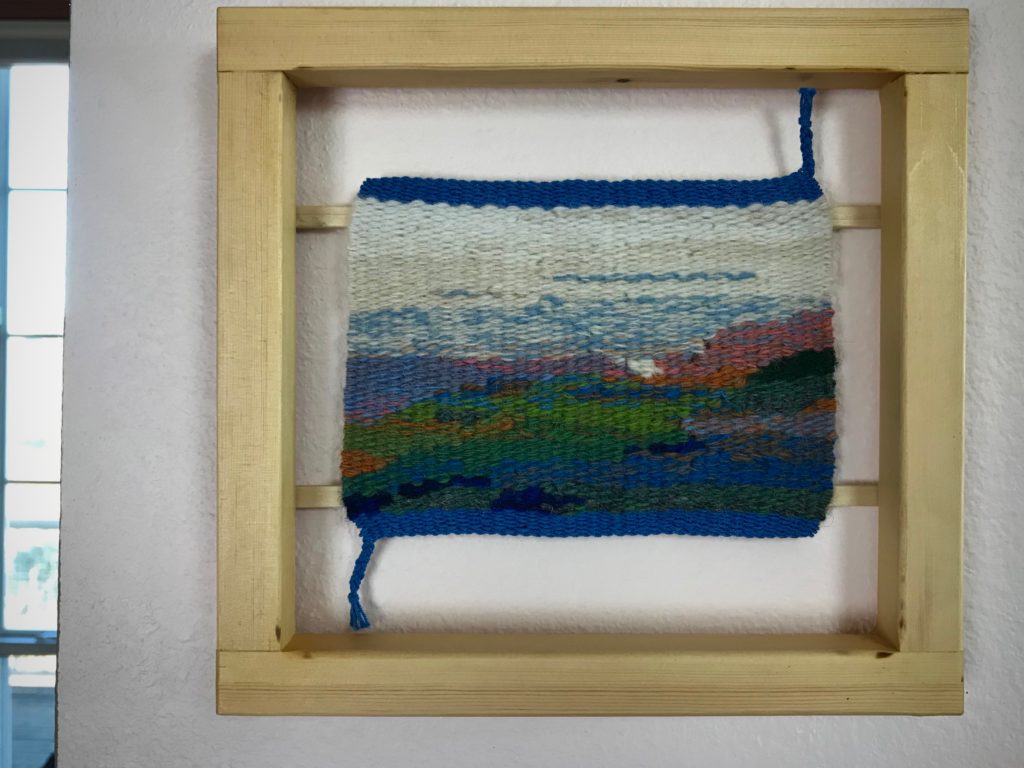
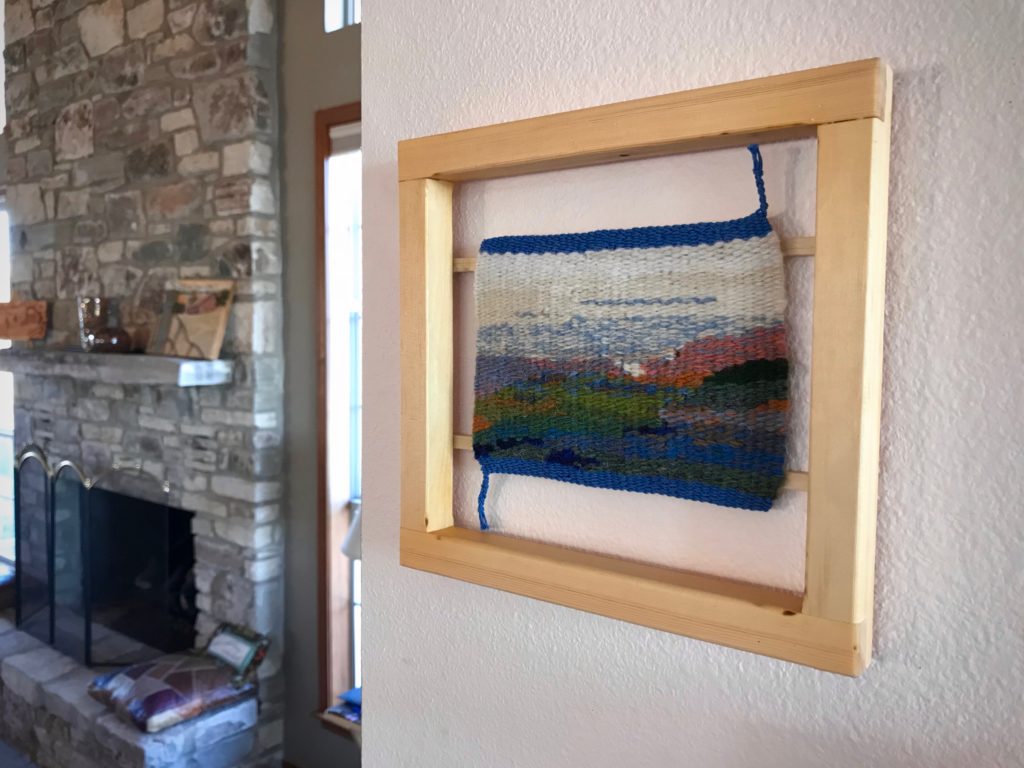
The Park ranger had told Steve and me that if we were willing to drive six more rugged miles we would witness a spectacular overview of the Fresno Canyon that few people get to see. This is an opportunity we wouldn’t dare miss. And the park ranger was right. Oh, what a view! From this high point above the valley the view is phenomenal! I welled up with emotion as I looked over the glorious beauty of God’s creation.
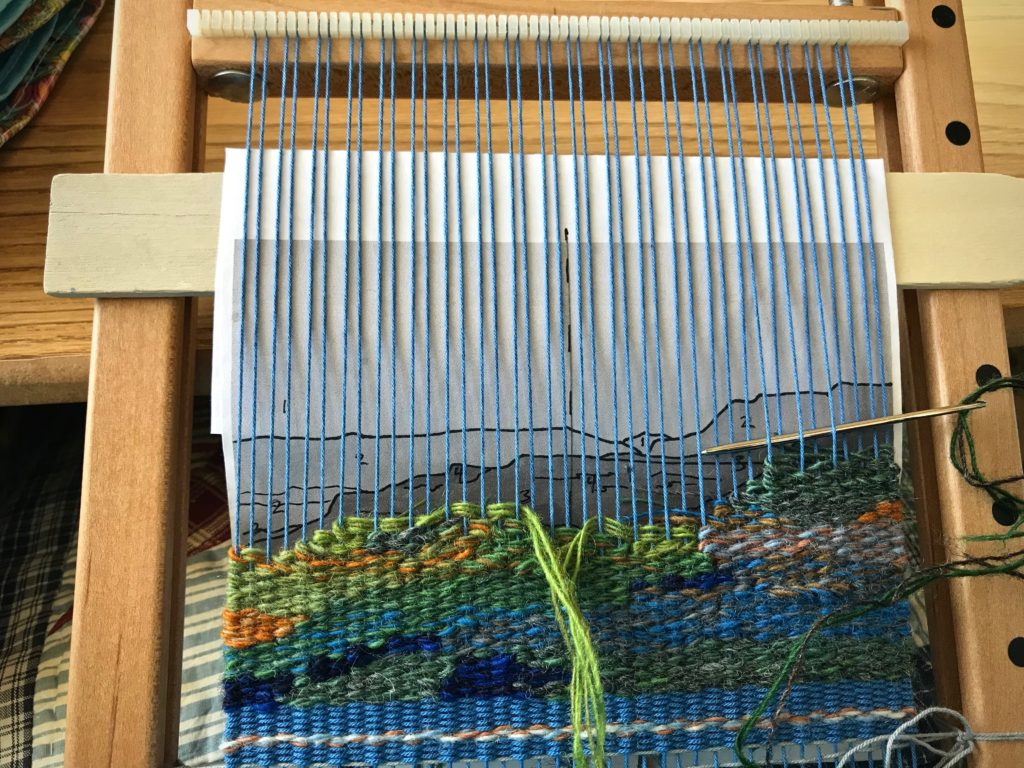
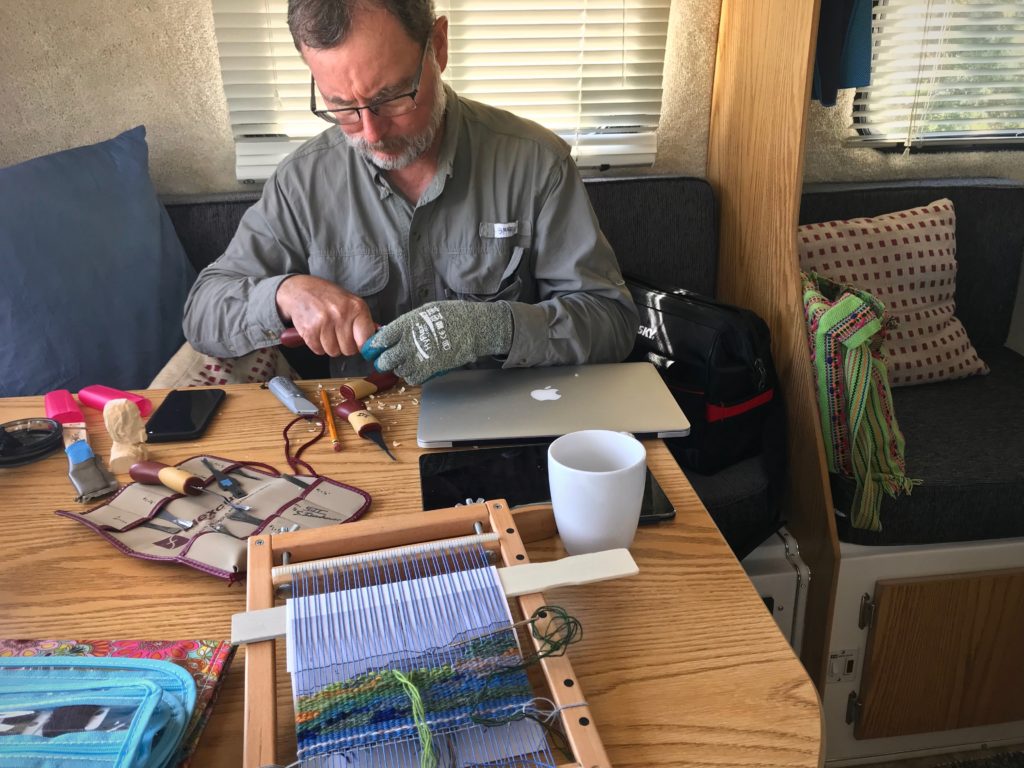
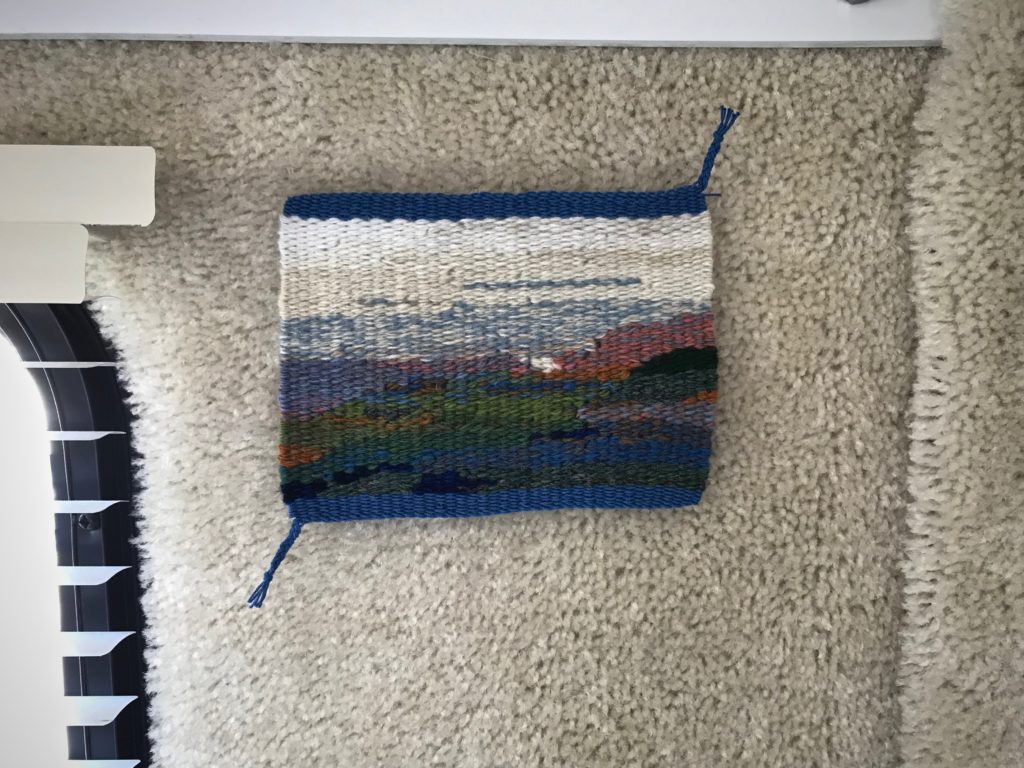
The memory of that scene is in this small tapestry. Most of my small-tapestry weaving happens when we travel, where we make even more memories, which I store up in my heart. I pull from these stored treasures to weave tapestries that reawaken the fond memories.
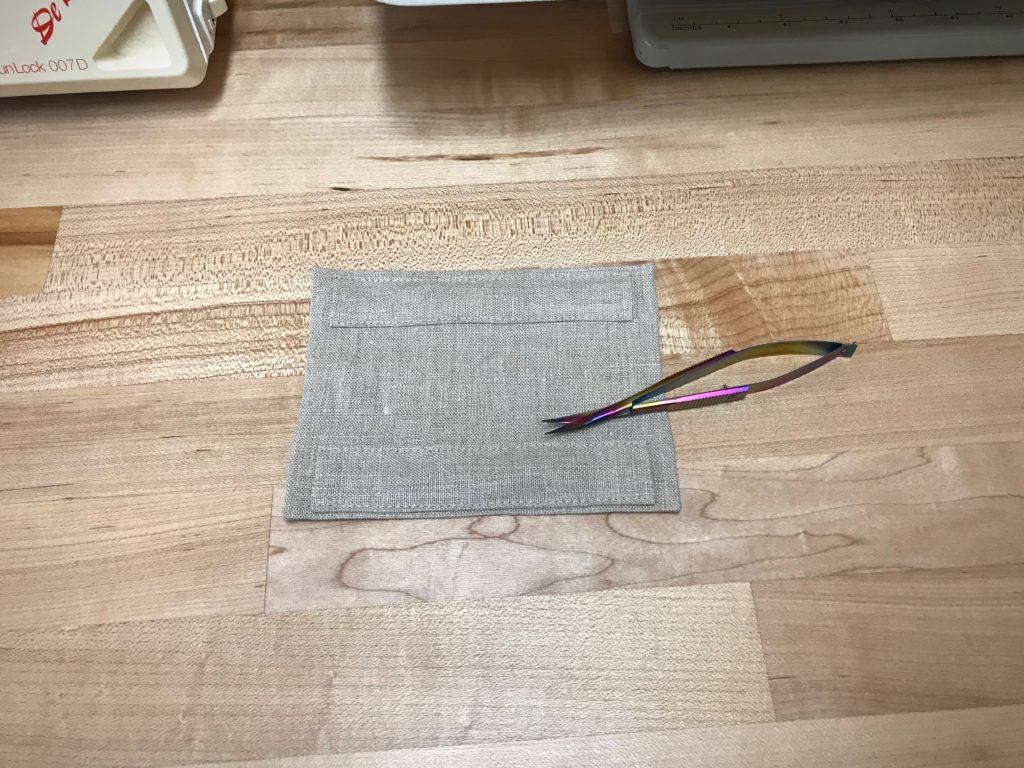
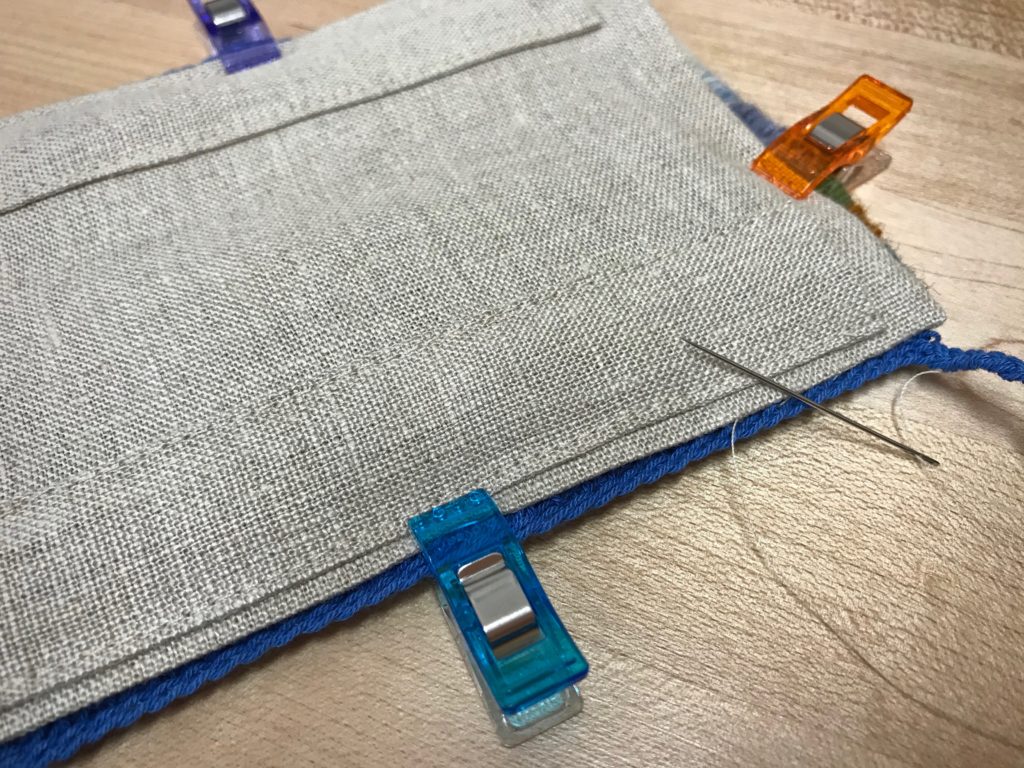
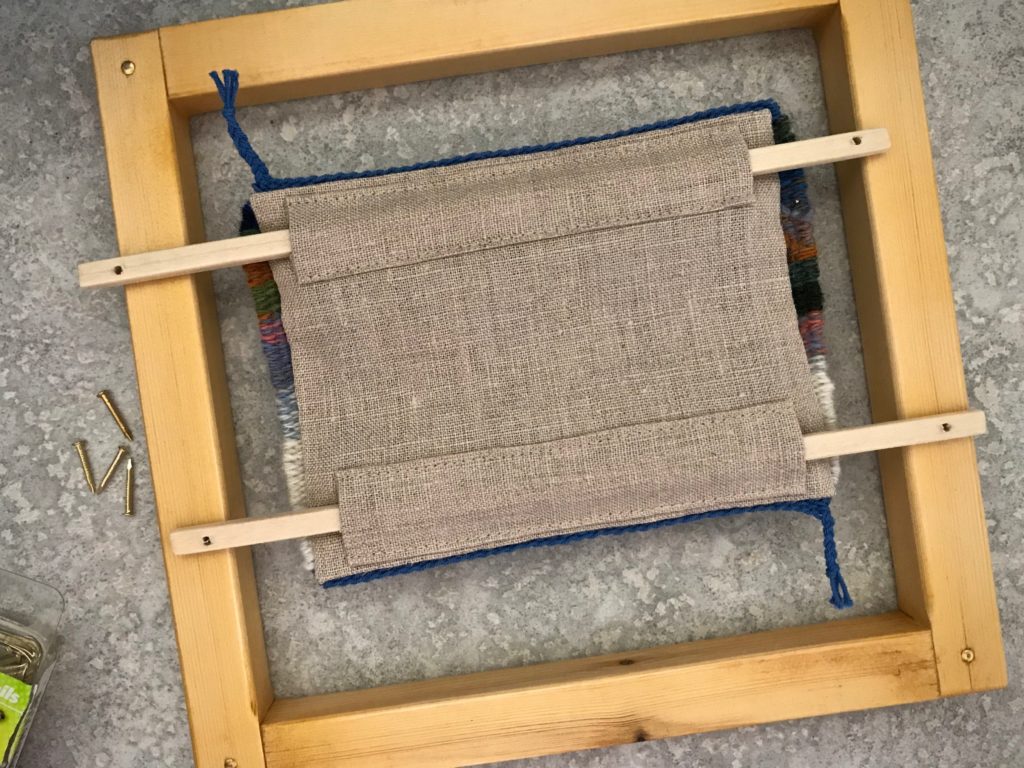
Fresno Canyon photo printed in black and white is used for the cartoon. Instead of an exact picture of the image, I aim for a representation of the memory, expressed with color.During a brief rainstorm while at Caprock Canyons State Park, Steve and I relax in the Casita with our handcrafts. Wood carving and tapestry weaving.Warp is blue 12/6 cotton. Weft is triple strands of 6/1 Fårö wool. I use the tapestry needle to weave.Weaving in the sunshine at Davis Mountains State Park after returning from a hike.Finished weaving one Texas landscape while enjoying another.Warp ends are woven and braided.Linen is cut to size and pressed. Narrow rod sleeves are sewn into place.Linen backing is hand-stitched to the back of the small tapestry.Steve designed a simple frame for the small tapestry.Finished Fresno Canyon tapestry. A treasured memory kept and framed.
All the looms are bare right now. Four empty, quiet looms. But they won’t be quiet for long. I have thread/yarn and plans ready for each loom. I hear a rumbling as the looms begin to wake up. Before long, the weaving rhythm will be fully awakened in this place!
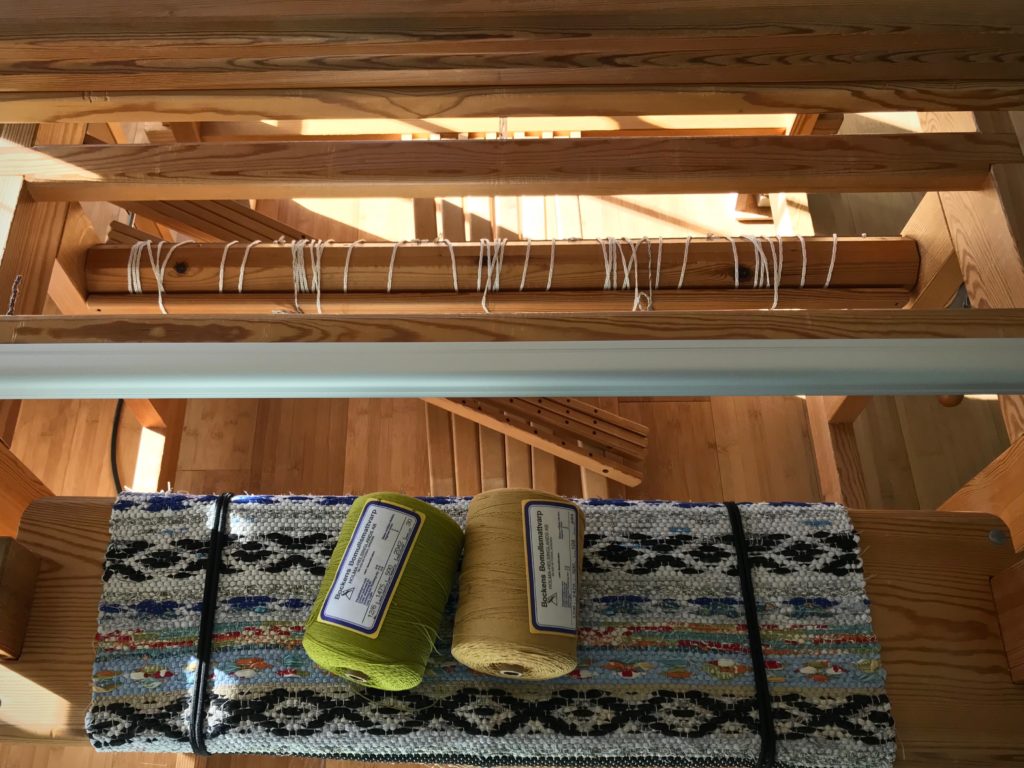
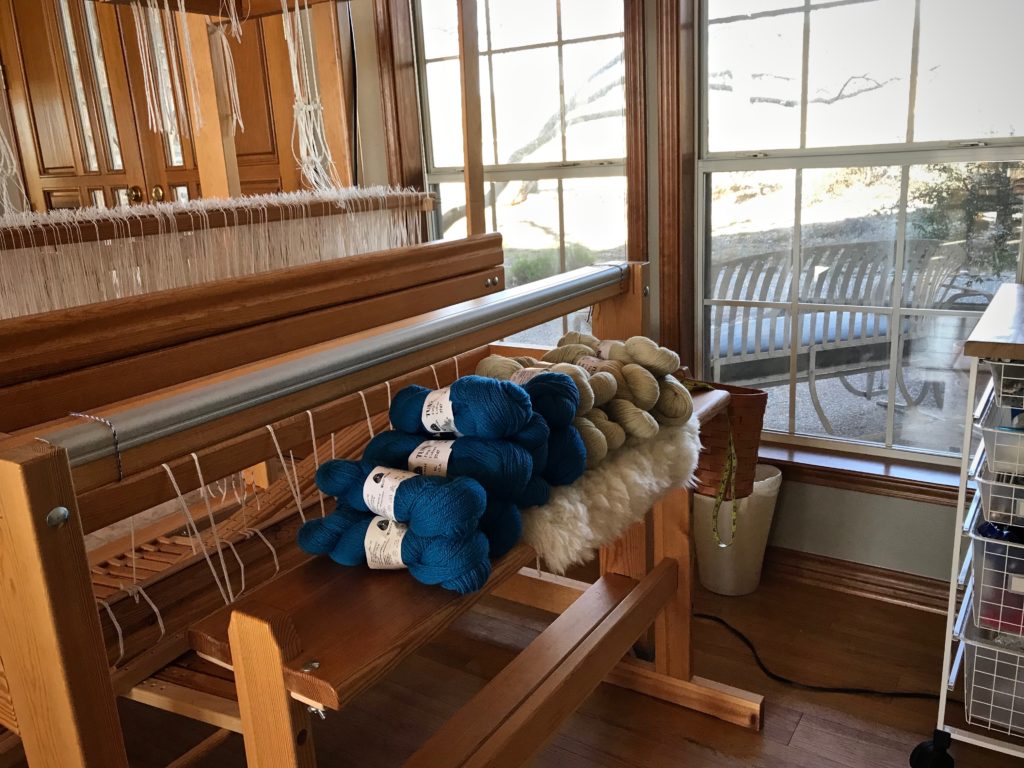
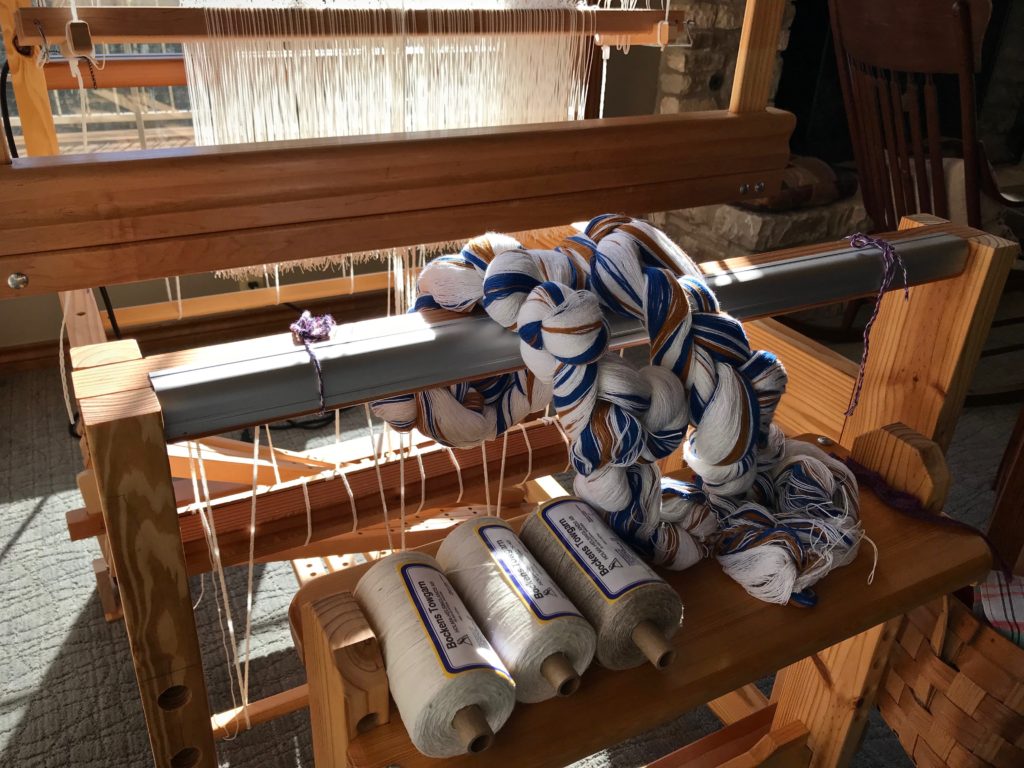
Glimakra 100cm Ideal countermarch loom has moved into the spot vacated by my recently-acquired Glimakra Standard 120cm countermarch loom that we have moved to a new location. 12/6 cotton rug warp in Pear and Brass for Rosepath rag rugs.Glimakra 120cm Standard countermarch loom in its favored position in our home. This loom has not been moved. 6/2 Tuna wool in Lapis Lazuli and Almond for a 12-shaftdouble weave blanket.Handbuilt little 70cm countermarch loom in its perfect little corner by the windows. Pre-wound warp from Vavstuga (Mary’s Towel Kit) that my dear friend Elisabeth is letting me weave. 22/2 Cottolin in Sapphire and Yellow Ochre for towels.Glimakra 120cm Standard countermarch loom…in pieces. We are moving the newest loom in the family to a room that is next to Steve’s carving workshop.Glimakra Standard horizontal countermarch loom is being reassembled in its new Drawloom Studio! The drawloom boxes have been opened and parts sorted and organized. Let the fun begin! The room is undergoing some renovations, too.Draw attachment frame obstructs the jacks in the horizontal countermarch on the 120cm Standard loom. So Steve made all new horizontal jacks for the countermarch. Loom has an extension added at the back. We put it at its fully extended length to make sure it fits in this room. It does!Glimakra Standard with Myrehed Combination Drawloom–Shaft draw system and single unit draw system. Unbleached 16/2 cotton for I-don’t-know-what-yet. But I will soon! Book pictured is Drawloom Weaving, An introduction to warping and weaving on a drawloom by Joanne Hall.