Kuvikas and Taqueté

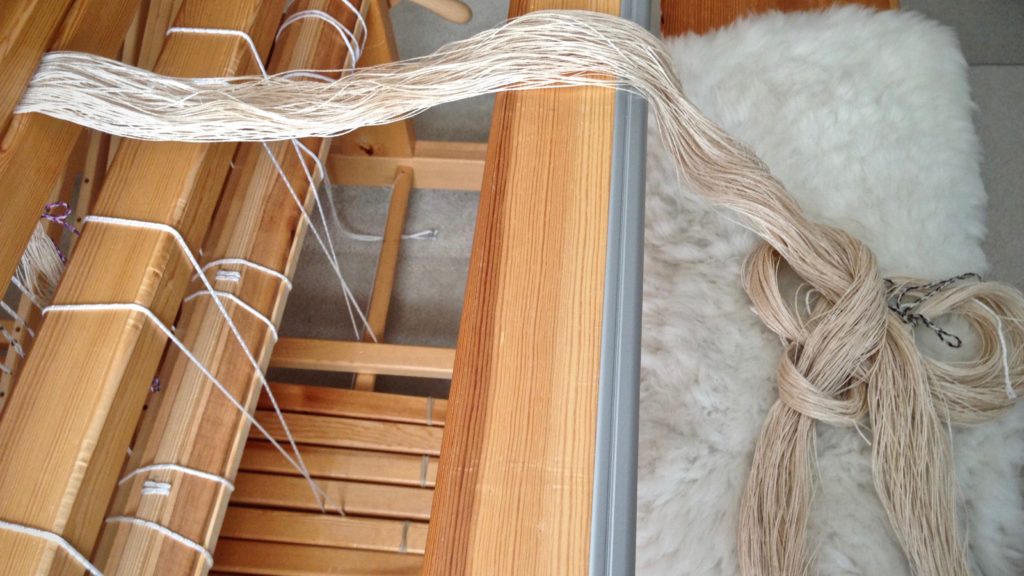
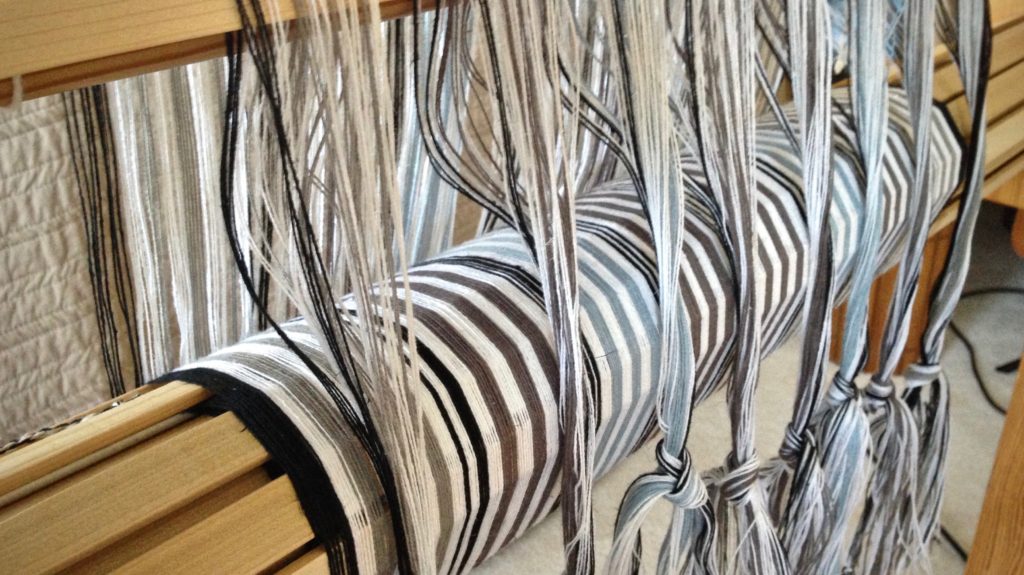
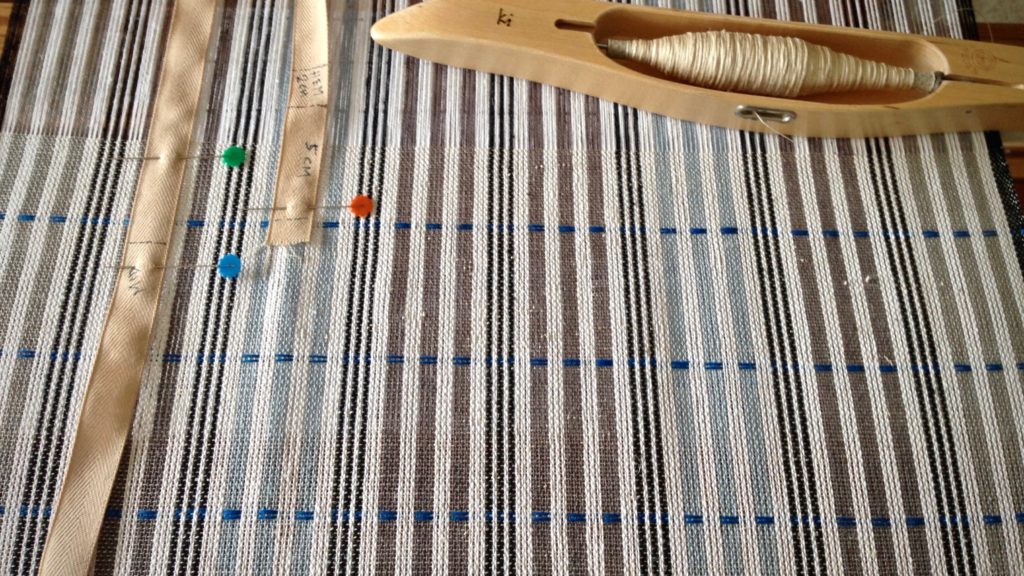
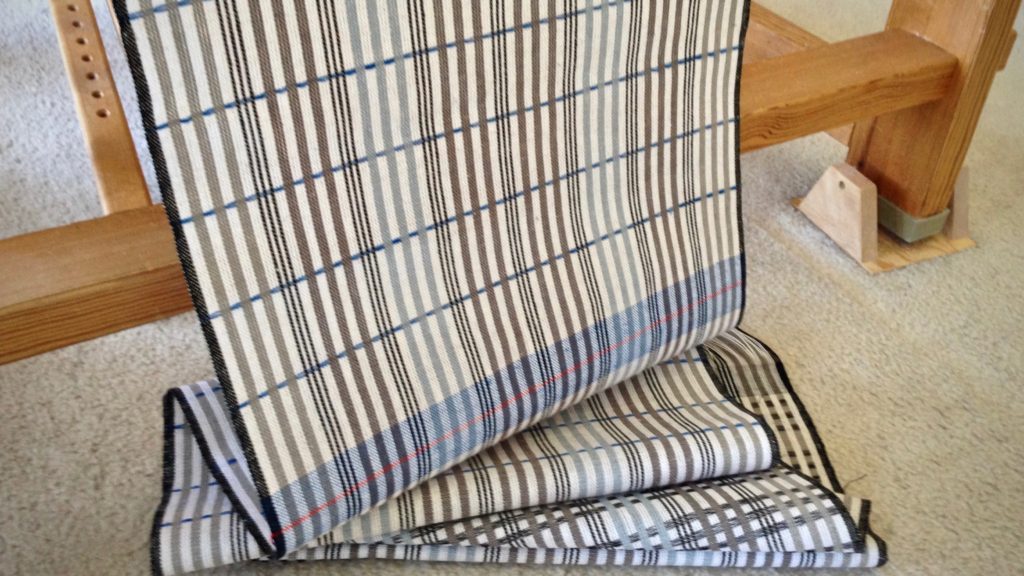
Kuvikas and taqueté. There are always new things to try. I’m back to eight shafts. This Glimåkra loom is highly adaptable. It is no problem to set up the loom for a new project. You may have guessed that I like to switch it up. Four shafts or eight shafts, two treadles or ten. And, change the tie-up, too. I don’t mind. With this project, I am going to change the treadle tie-up again at the midway point, switching from kuvikas to taqueté.
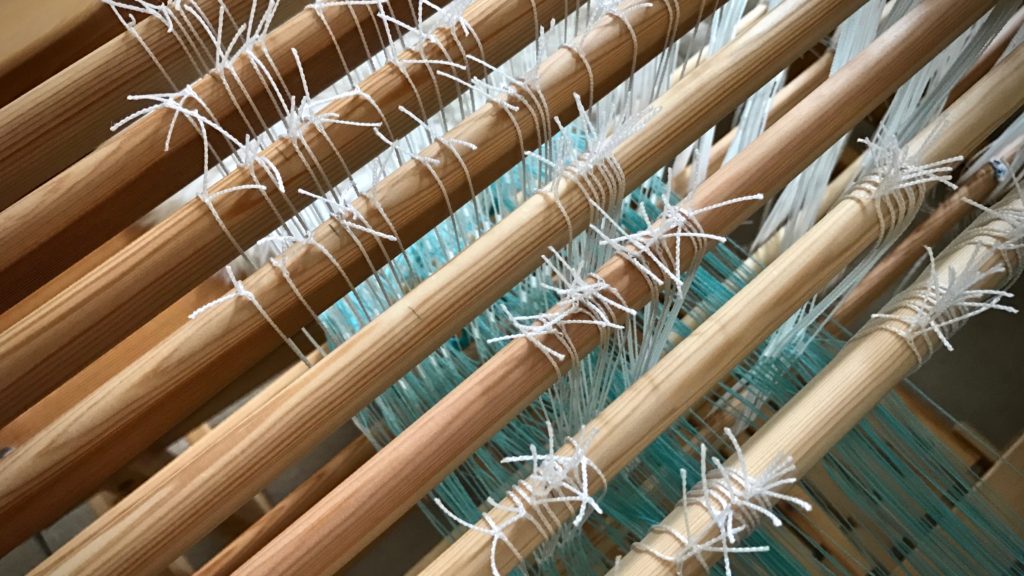
Threading eight shafts on my Glimakra Standard loom.
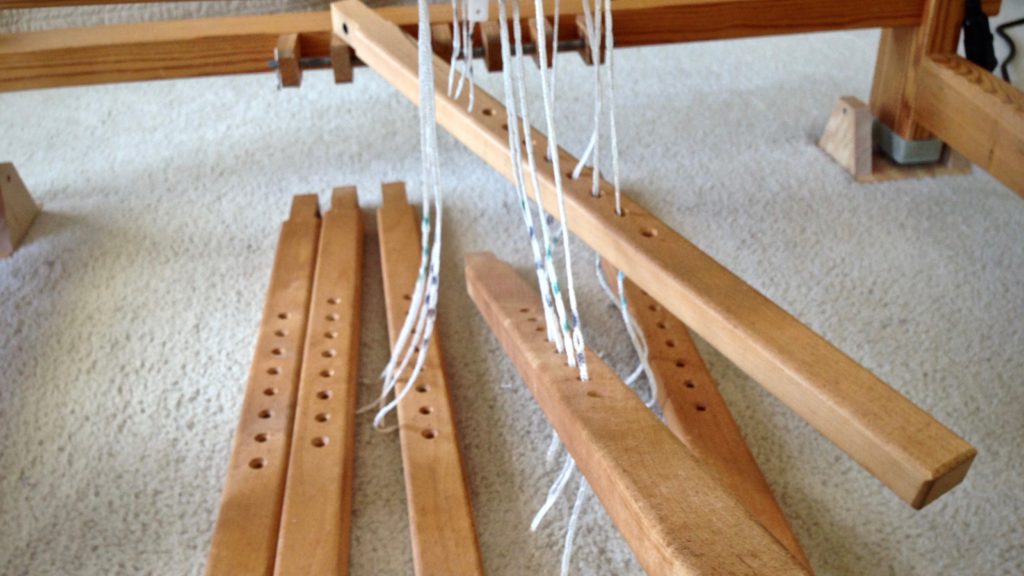
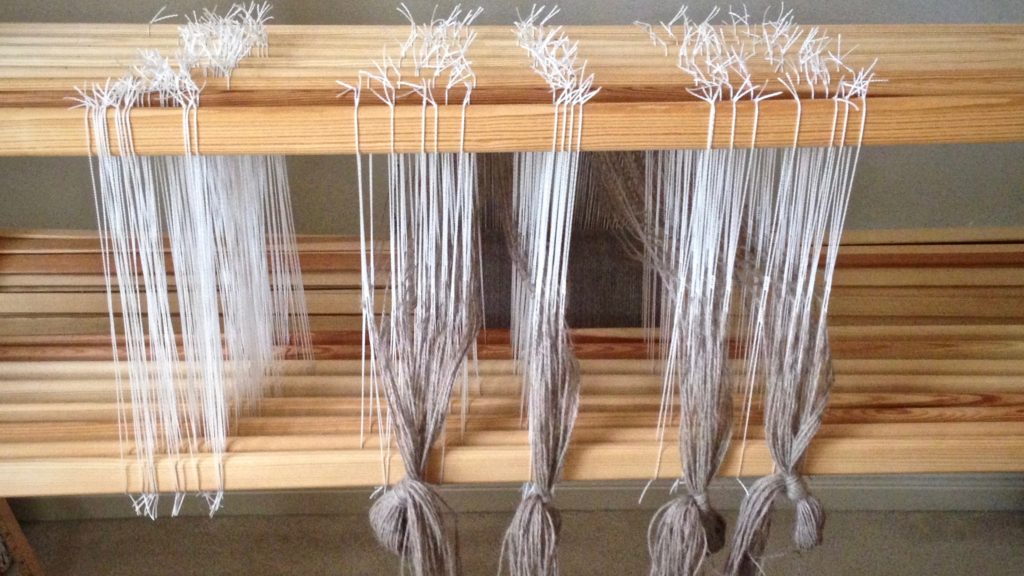
Threading eight shafts. Four pairs of shaft bars have been added to switch from a four-shaft project to an eight-shaft project. Four additional upper lamms and lower lamms have also been added to the loom.

If you know and practice the basics, it’s not frightening to try new weave structures. Every new experience builds on what I’ve learned before. I can trust the system of weaving that I’ve been taught, and that I practice with every project. It makes sense.
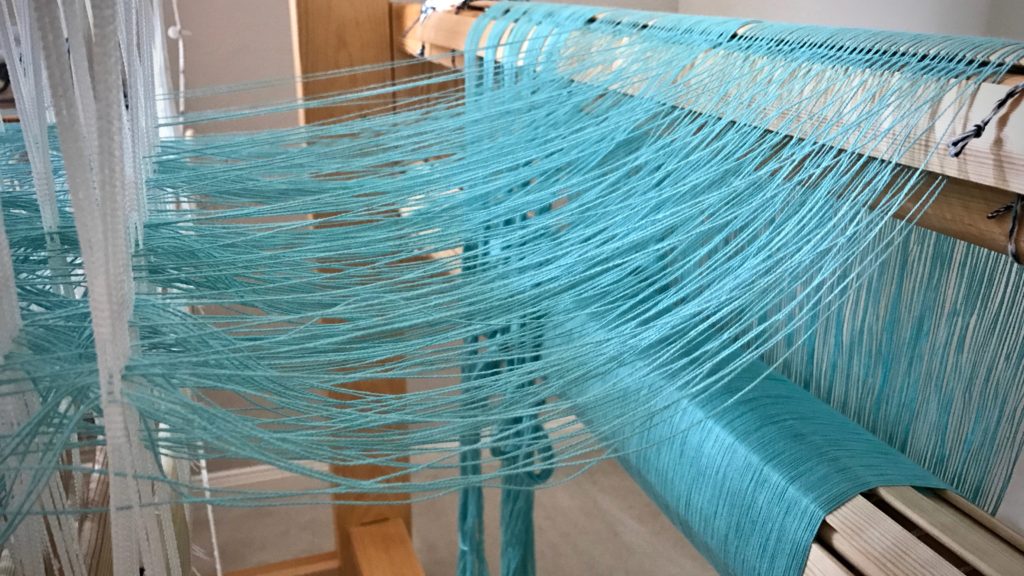
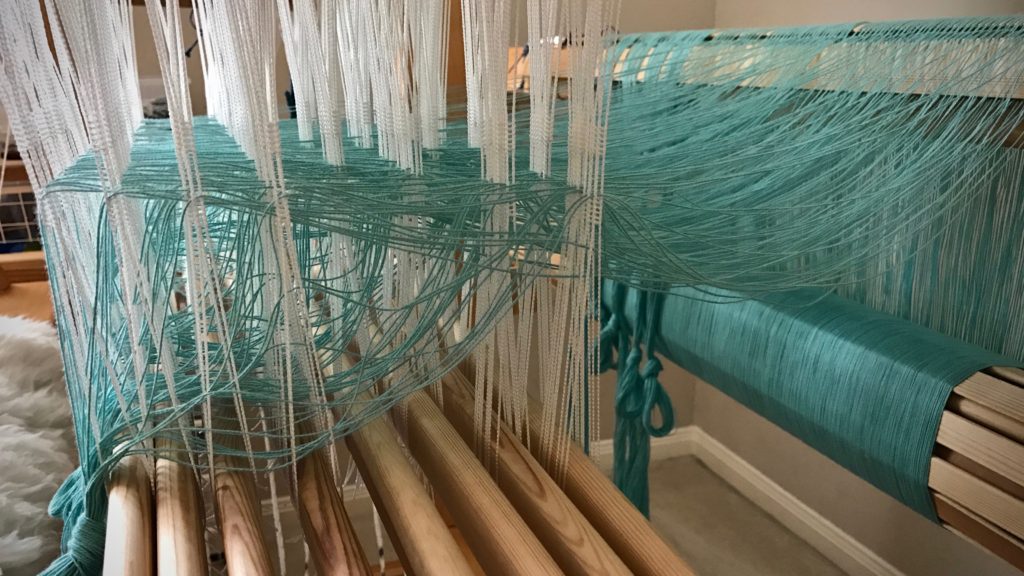
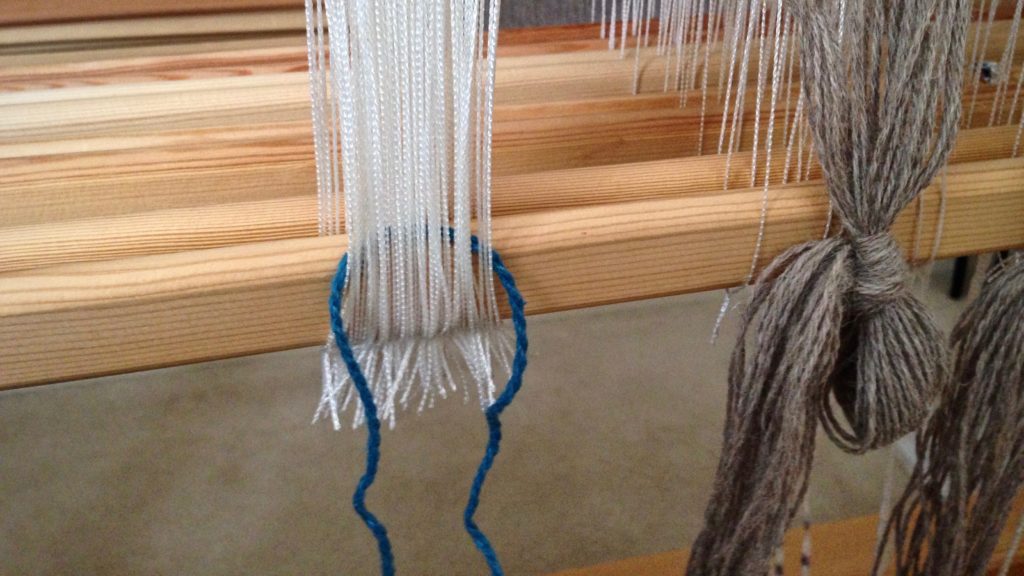
Aquamarine cotton. Threading my Glimakra Standard loom.
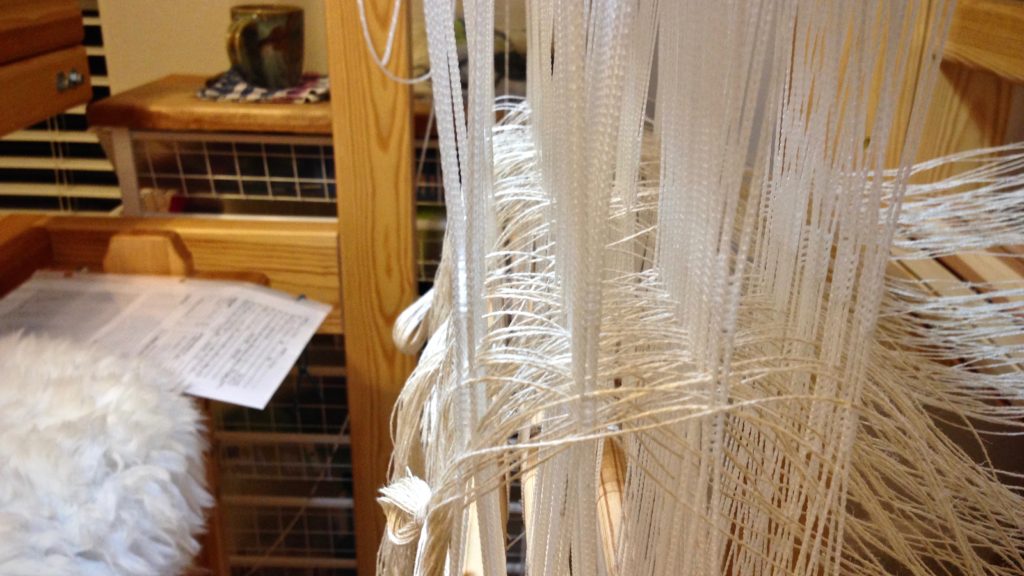
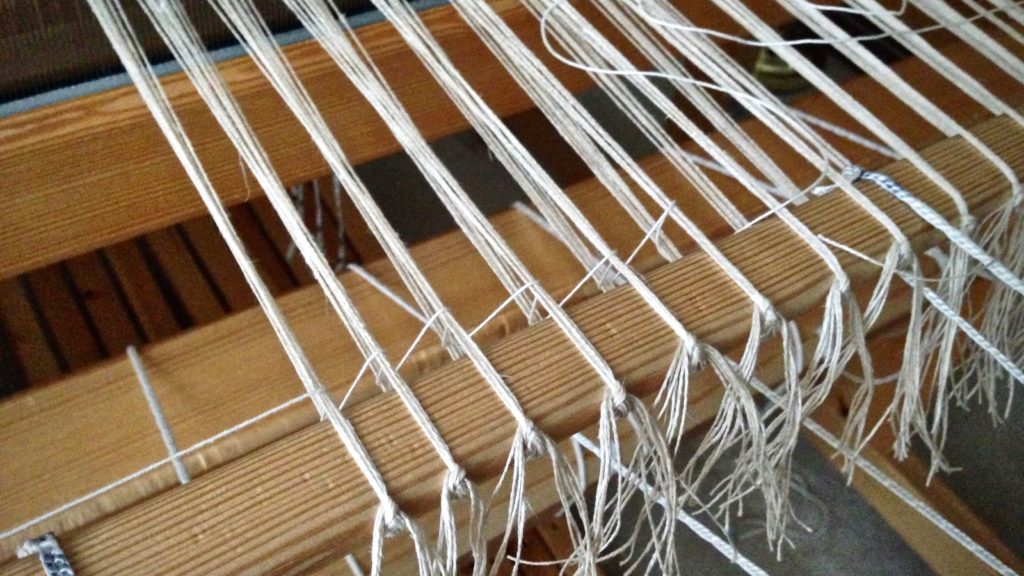
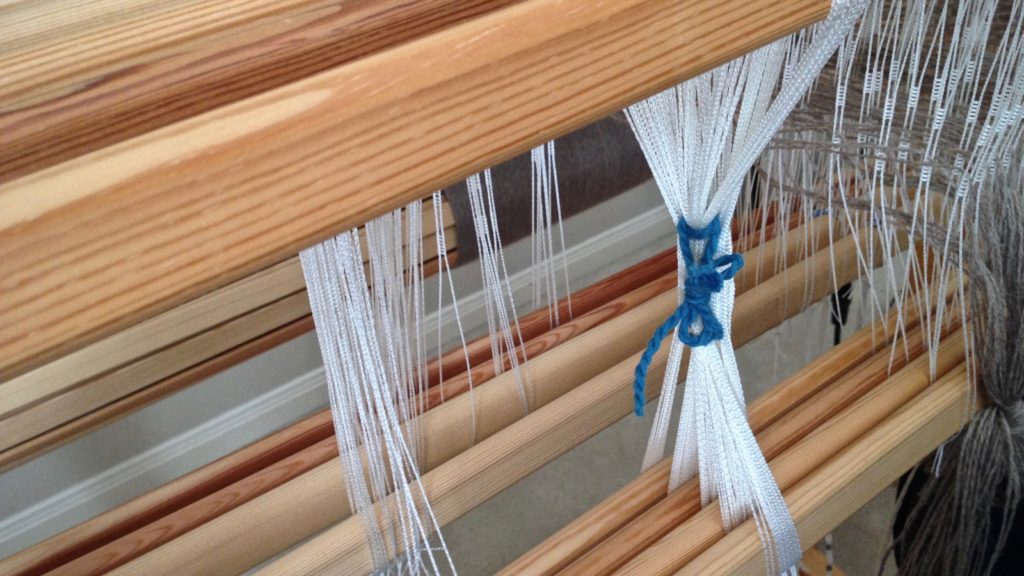
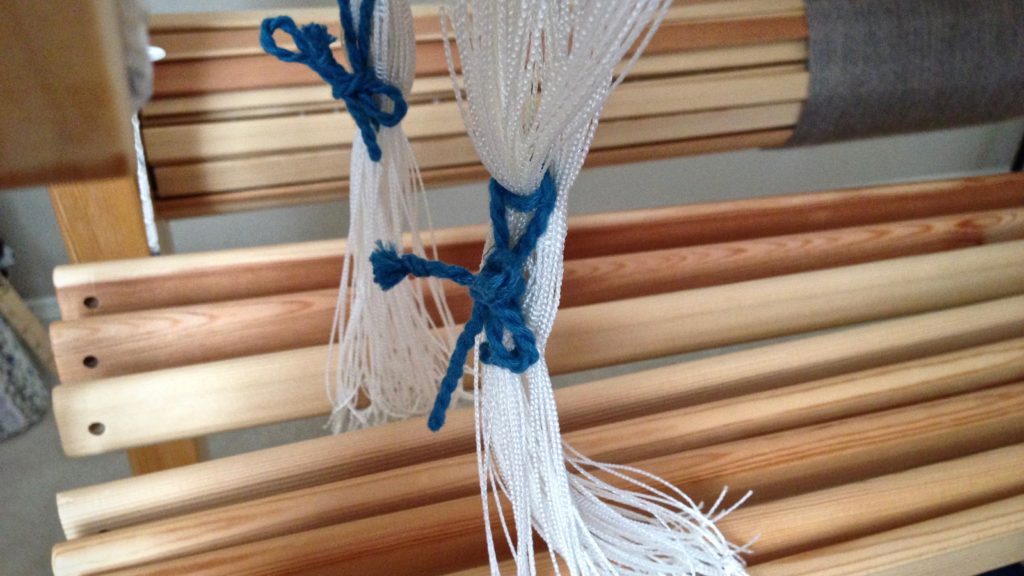
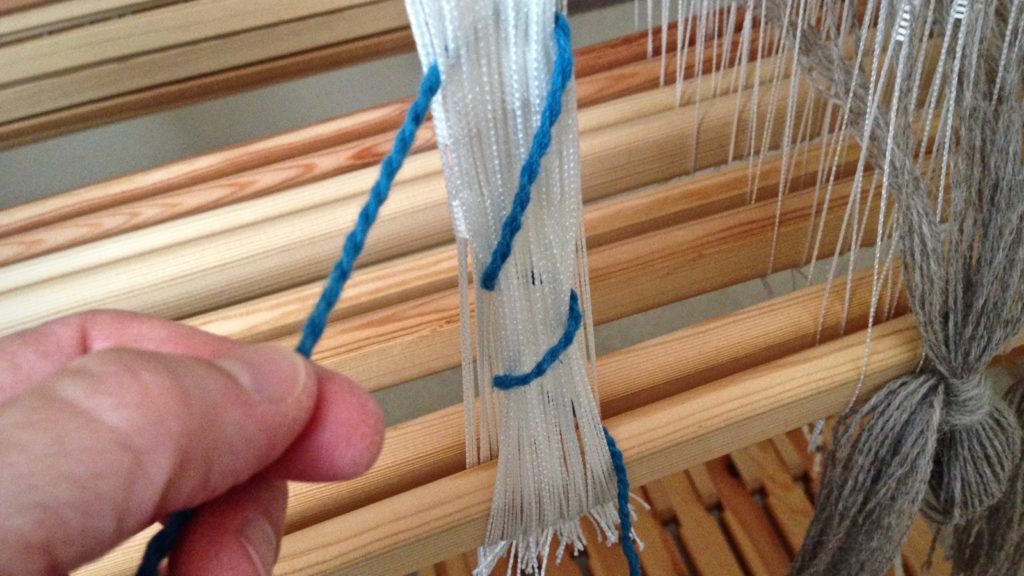
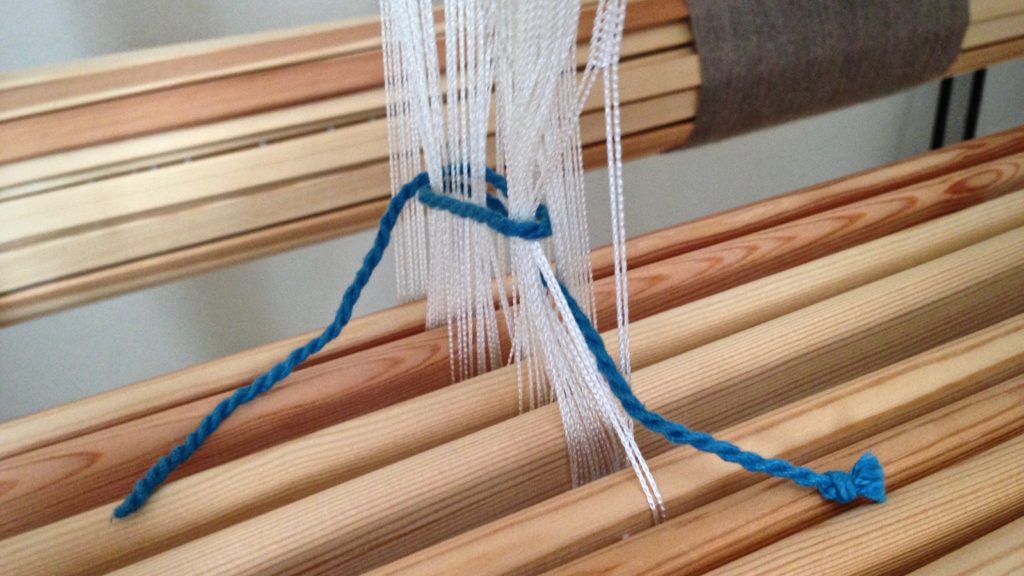
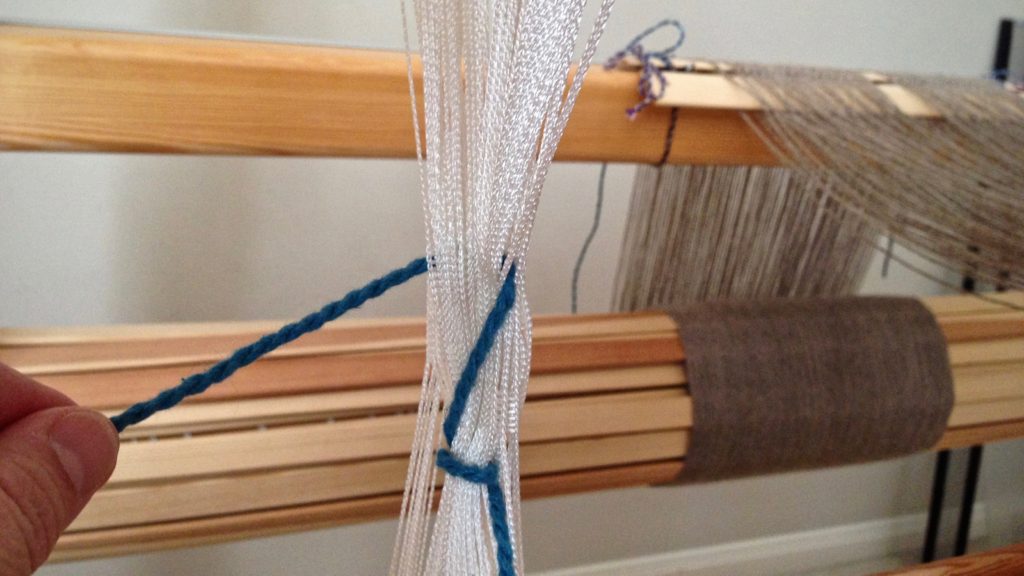
After the warp is beamed, the warp ends are tied with an overhand knot into groups, according to the threading pattern. In this case, 48 ends are in each group. Counting the ends into groups helps eliminate, or at least reduce, threading errors.
Threading eight shafts for kuvikas and taqueté.
Complex, but not complicated. Warp ends are inserted into specific heddles to set up the loom for a particular type of cloth. Very systematic.

Don’t be afraid. The Lord not only teaches us his ways–his system, but offers us his strength while we learn. I can trust him for that. Trust replaces fear. I don’t have to find my own way, or guess. The system works. It makes sense. I learn to weave, and live, one step at a time, with freedom to enjoy the process.

May you rise above your fears.

All the best,
Karen

Quiet Friday: Cartoon House Cartoon

The fascinating thing about weaving a transparency is that it feels like color-by-number with yarn. There are similarities to tapestry weaving, for sure. But this seems ten times faster. I found it to be engaging and fun! I echo what my transparency-weaving friend says when it’s time to stop and do something else, “Just one more row…”

Linen warp chain awaits beaming.
Warp chain of 16/2 golden bleached linen, before beaming the warp.
Threading heddles in the Glimakra Standard. Coffee and notes at hand.
Threading heddles in my little playhouse, with project notes by my side, and a cup of coffee on the side cart.
Adding the leveling string to a linen warp.
Leveling string is added with extra care so that abrasion of the linen warp is kept to a minimum.
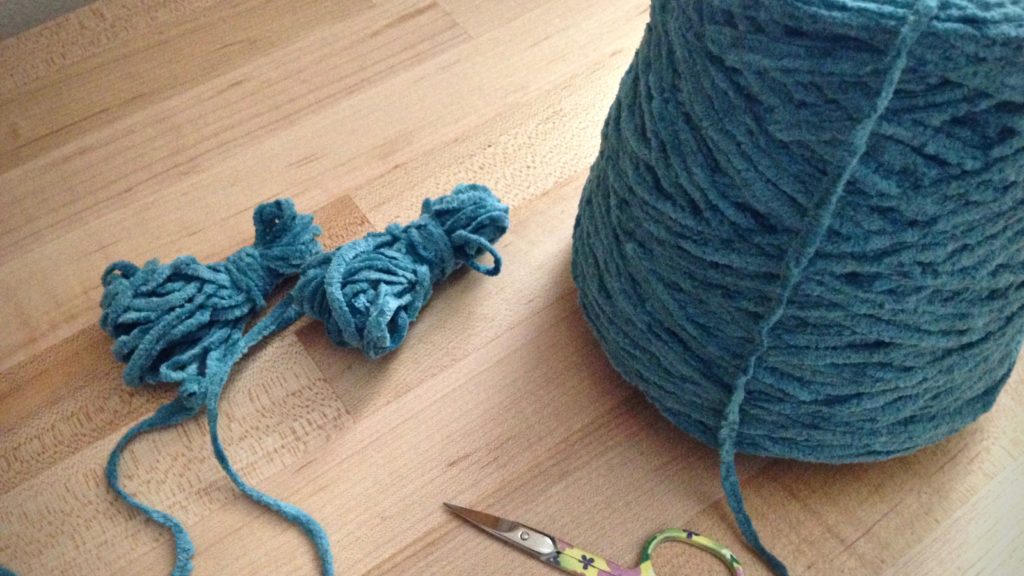
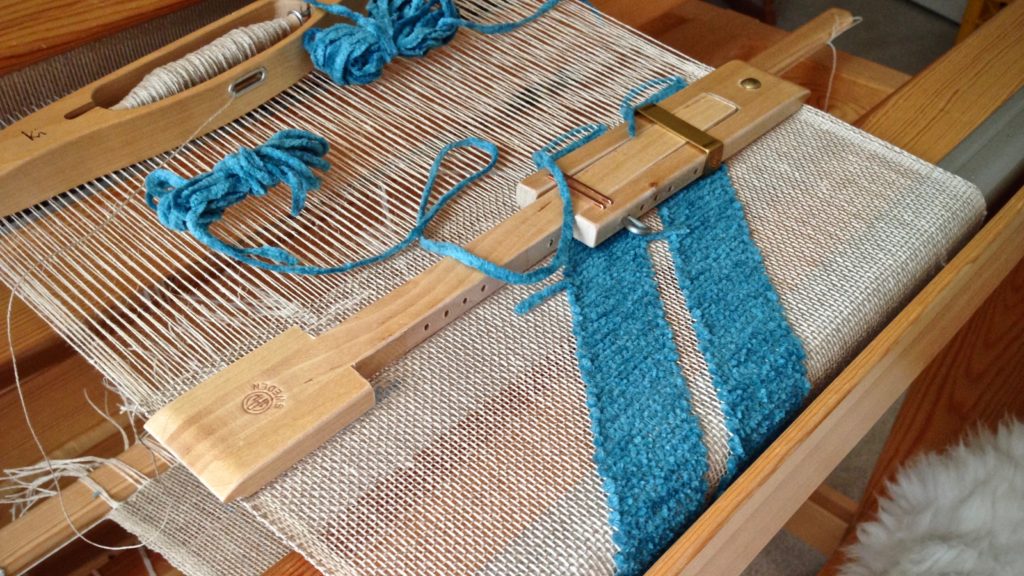
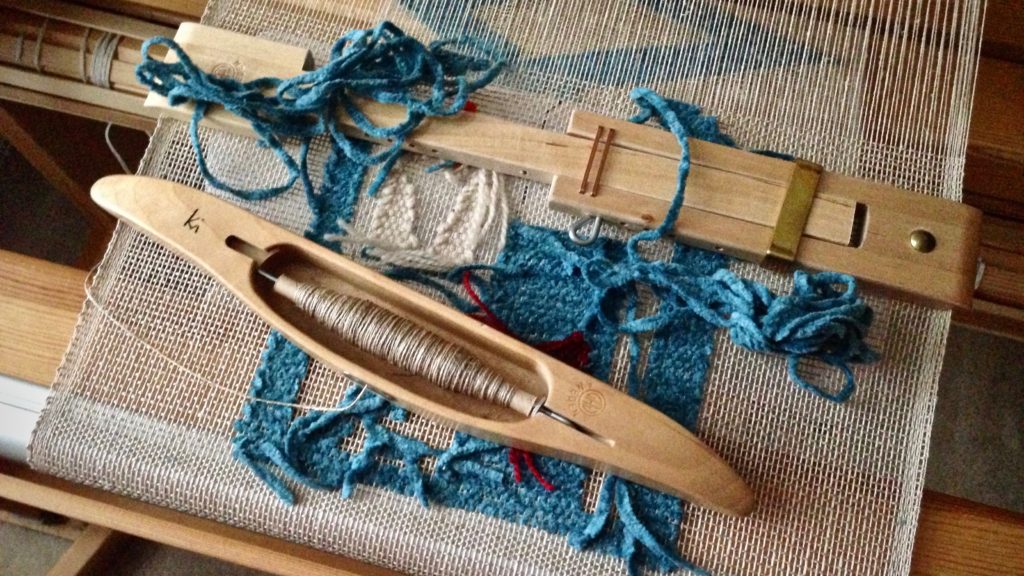
Butterflies are made from the hefty cotton chenille yarn.
Weaving a transparency. Glimakra Standard loom.
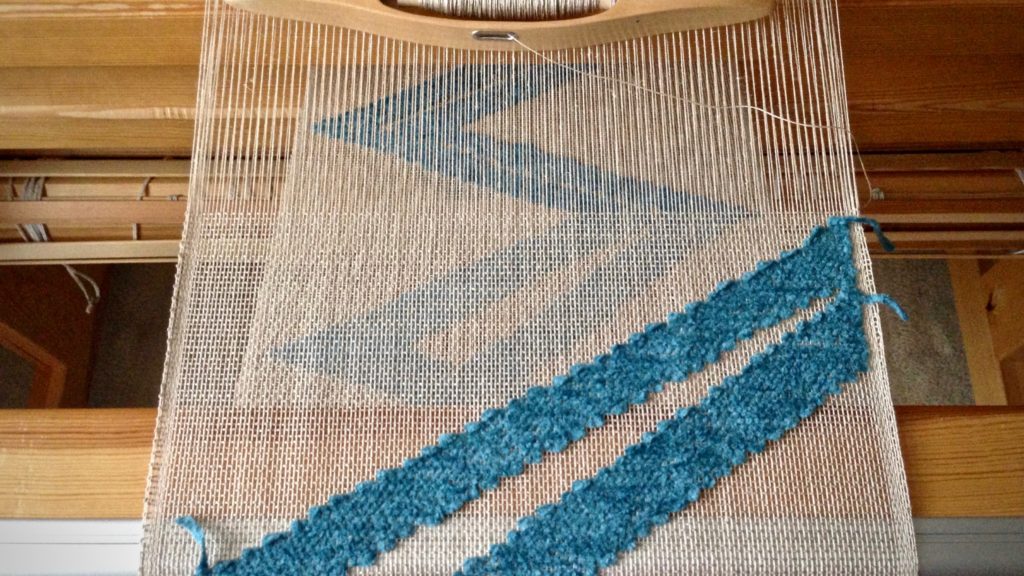
Weaving without a cartoon. I am counting warp ends to keep the pattern angle consistent.
Transparency weaving on the loom, with buckram cartoon.
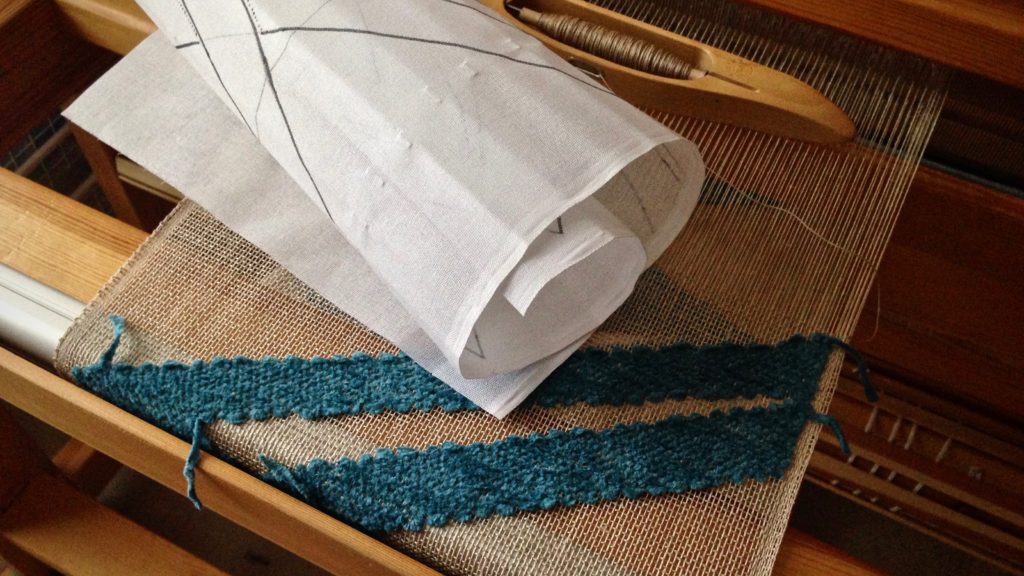
Cartoon has been added. The pattern weft follows the lines drawn on the buckram cartoon, which is pinned in place.
Cartoon removed at the end of the transparency weaving.
Cartoon is removed.
Ending a woven transparency.
Now, for the end of the warp…

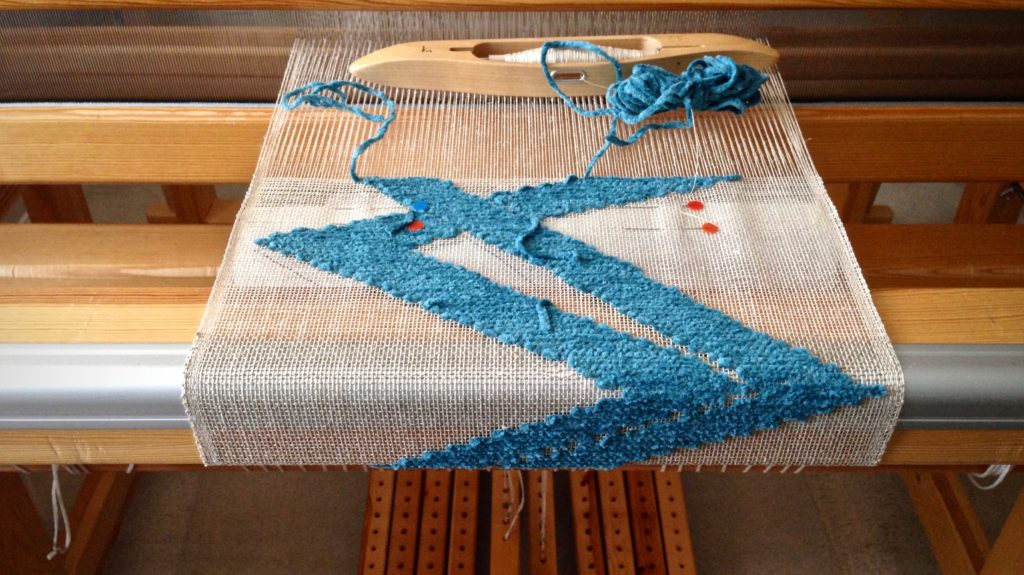
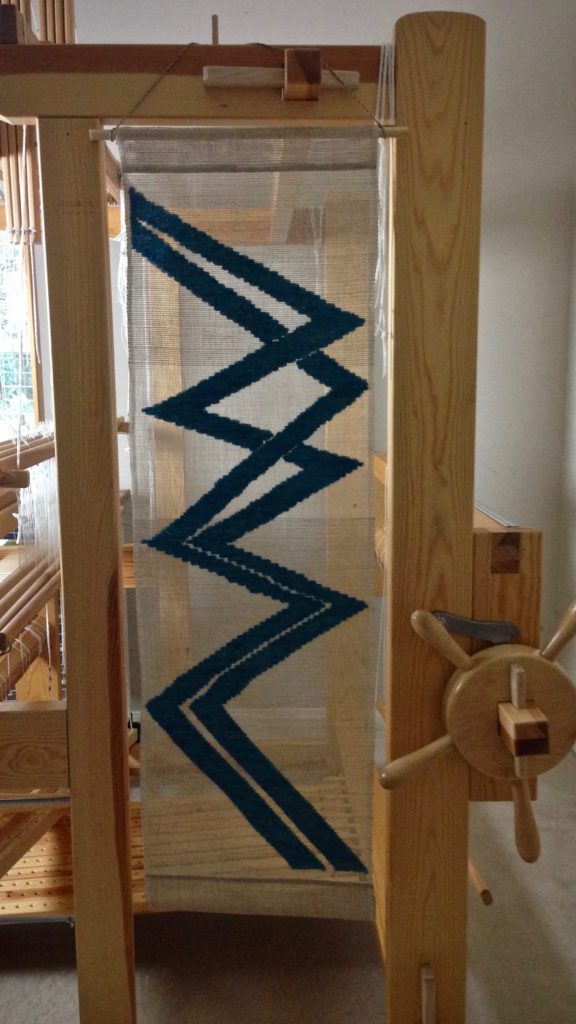
New transparency, ready for hanging!

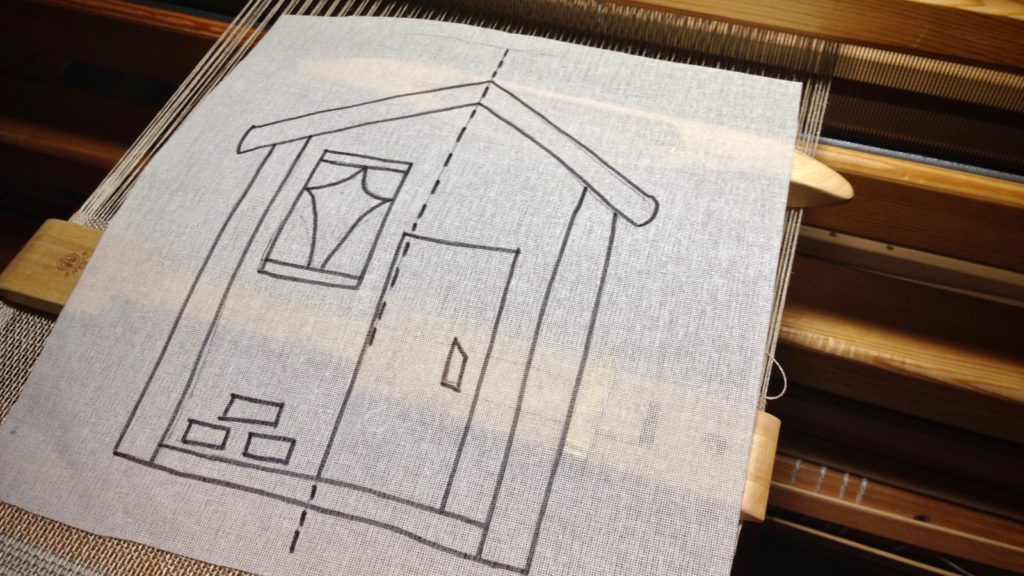
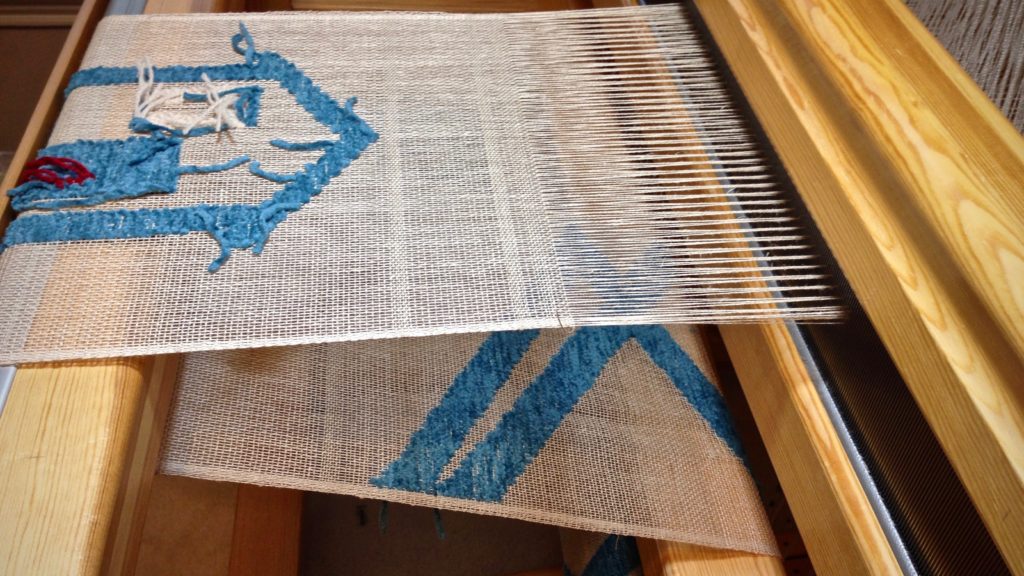
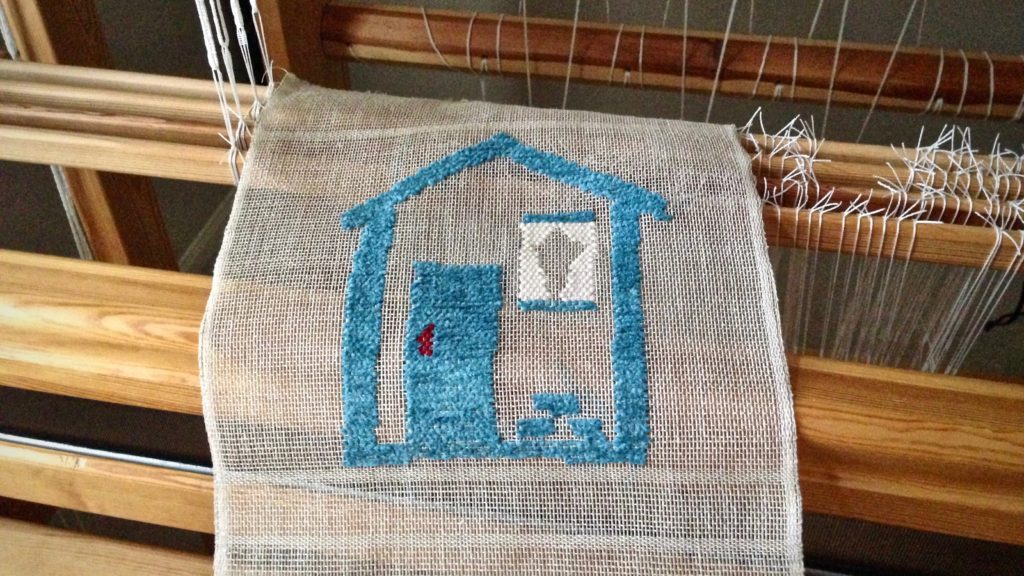
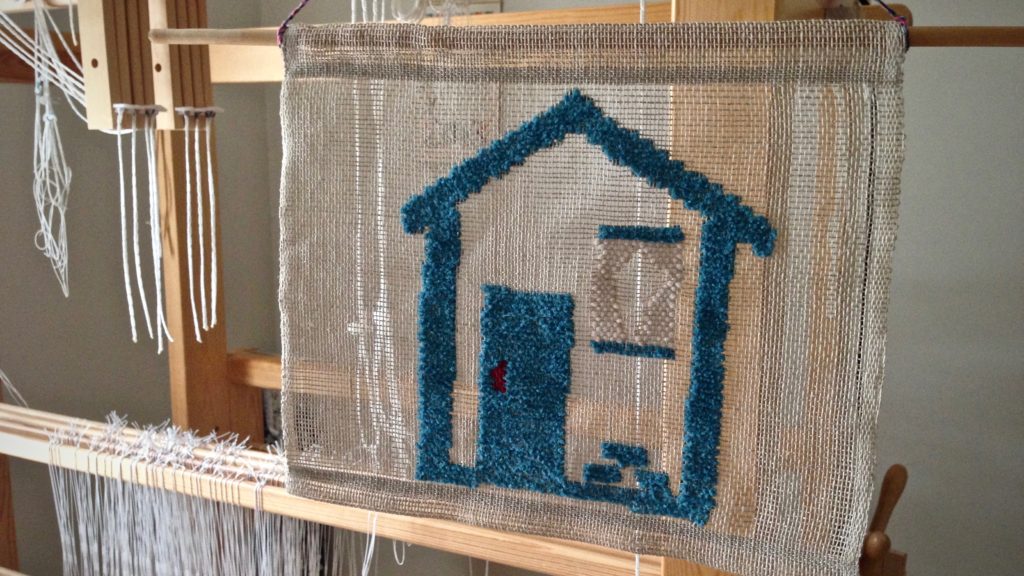
After the main transparency with the zigzags, I had room to play on the remaining warp. I made another cartoon–a “cartoon” house. This gave me a chance to use a few more yarn butterflies, without it being overwhelming. Home. Sweet. Home.

Cartoon for playtime at the end of the warp. Transparency weaving.
“Cartoon” house cartoon. Ready for playtime at the end of the warp.
Weaving a small transparency. Cartoon House.
With several butterflies going at once, the transparency weaving gets even more interesting!
Transparency weaving. Linen warp and weft. Cotton chenille pattern weft.
Now, the actual end of the warp is here.
Cartoon house just off the loom!
Cartoon house just off the loom.
Welcome home! Transparency weaving. Karen Isenhower
Welcome home! Home. Sweet. Home.

May you enjoy the fascination of learning something new.

Happy Weaving,
Karen
Quiet Friday: Plattväv Towels and Thanksgiving Prayer

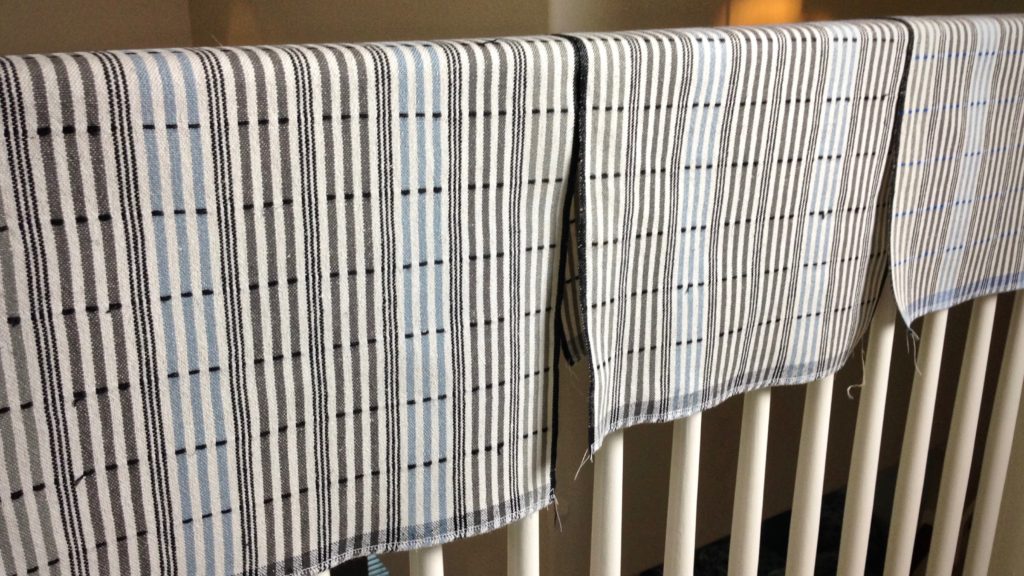
Start to finish, the plattväv towels have been a handweaver’s joy. Narrow stripes on the warp beam are strangely invigorating. Does it take extra effort to wind a warp with many stripes? Yes–cut off one color and tie on a new color, over and over. But when the loom is dressed and ready to go, the weaving is a breeze. Being cottolin, the warp is fully compliant; and with a little care, the linen weft becomes a weaver’s friend. Plattväv, the icing on the cake, gives me a simple pattern weft that dresses up these plain weave towels. (And, yes, I am in the process of developing a kit for these plattväv towels.)

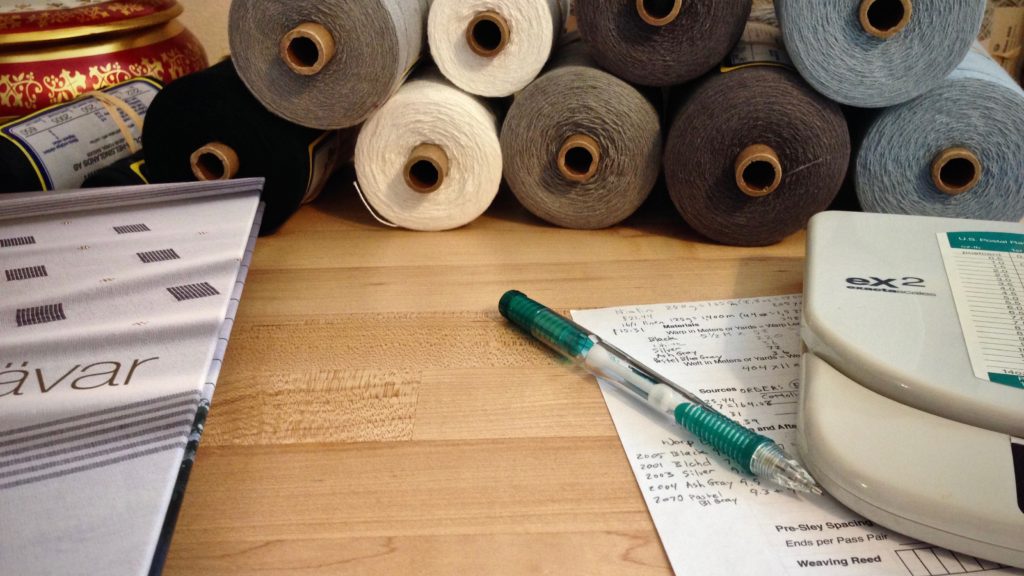
Planning handwoven towels.

Cottolin warp with counting cord.

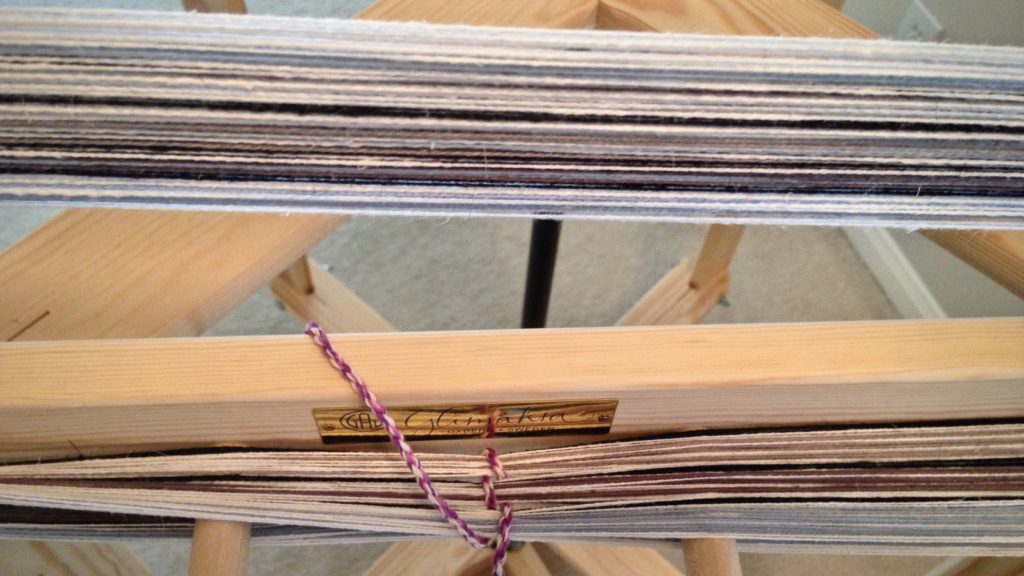
Striped warp for plattväv towels.

Threading the loom for plattväv towels.

Tying up treadles the easy way.

Weft auditions for plattväv towels.

Plattväv towels on the loom, with linen weft.

Plattväv towels on the loom. Karen Isenhower
Blue linen pattern weft.

Beautiful blue linen pattern weft.

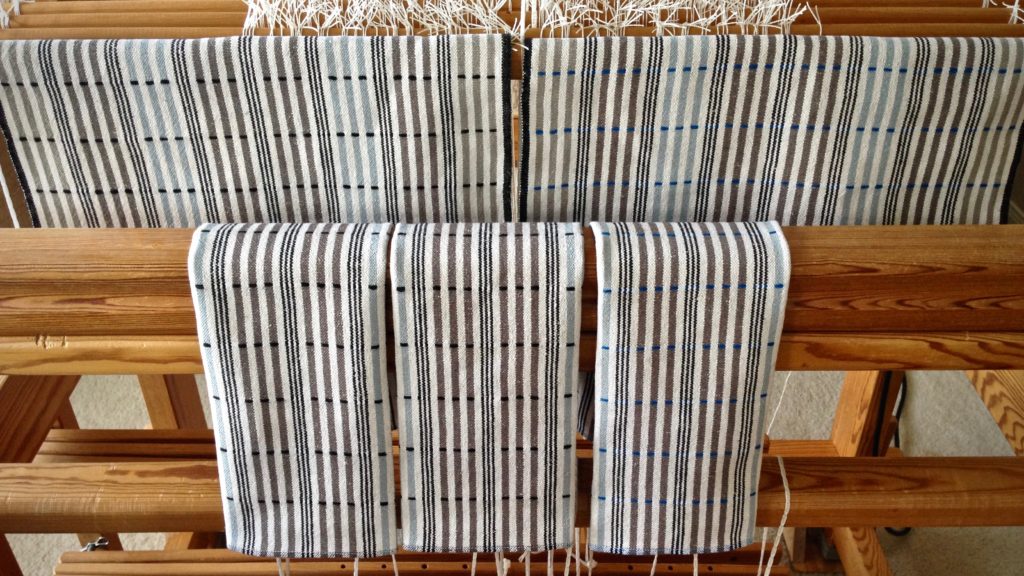
Plattväv towels coming off the loom!

Off the loom and ready for trimming threads.

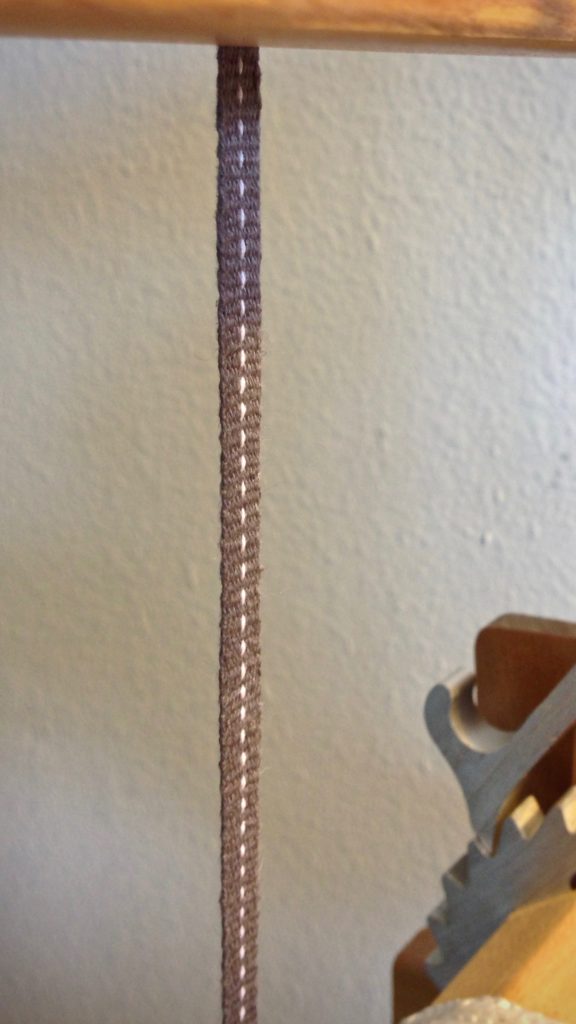
Band loom weaving.

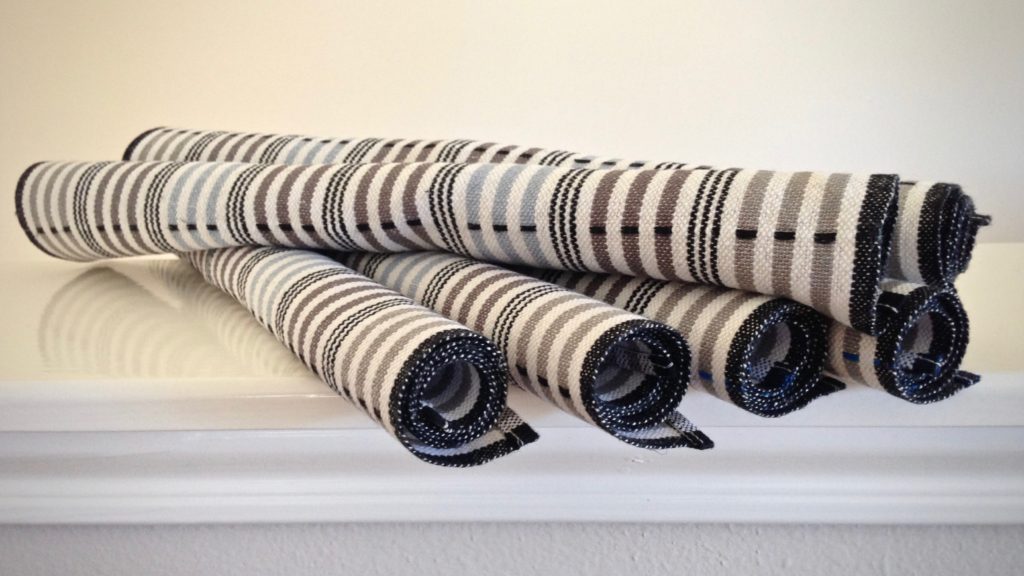
Plattväv towels ready to roll!

Plattväv towels. Karen Isenhower

The joy of weaving is a blessing, as is the joy of friendships across the miles. Thank you for walking this journey with me.

Thanksgiving prayer: Thank you, Lord, for everything.

May you overflow with blessings and reasons for giving thanks.

Thankful for you,
Karen

Tools Day: Texsolv Heddle Round Up

The great thing about Texsolv heddles is that they are easy to move around. If you know how to tie them together, it is simple to add heddles, remove heddles, or switch heddles to different shafts. When I’m getting ready to thread the loom, I get my box of bundled heddles and put it on the cart right beside the loom. Then, I can easily add heddles if needed. And when threading is finished, I tie any unused heddles into bundles and put them in the heddle box, ready for the next project.

Threading complete for alpaca scarves. Texsolv heddles.

Tie Texsolv Heddle Bundles on One Shaft

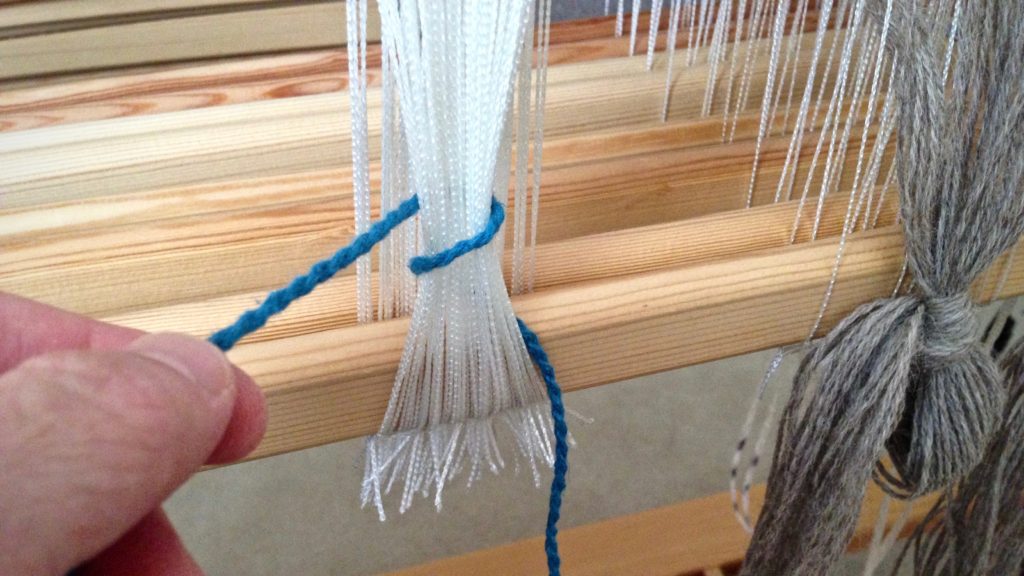
  • Step 1 Take a cord (I use my choke tie cords) through the heddles below the heddle eyes.

How to remove Texsolv heddles. Tutorial

  • Step 2 Wrap the cord one time around, below the heddle eyes.

Removing Texsolv heddles. How to --

  • Step 3 Cross diagonally up with the cord, and take the cord through the heddles above the heddle eyes.

How to tie up Texsolv heddles.

  • Step 4 Wrap the cord one time around, above the heddle eyes.

Tying up Texsolv heddles to remove them.

  • Step 5 Join the two ends of the cord with a bow knot.

Removing Texsolv heddles after threading is complete.


Tie Texsolv Heddle Bundles on More than One Shaft

  • Step 1 Take the cord through the heddles below the heddle eyes, right to left, one shaft at a time, front shaft to back shaft.

Removing Texsolv heddles from multiple shafts.

  • Step 2 Take the end of the cord from the back shaft, and wrap the cord around one time through the heddles, below the heddle eyes, right to left, one shaft at a time, front shaft to back shaft.

Removing Texsolv heddles from multiple shafts.

  • Step 3 Cross diagonally up with the cord, and take the cord through the heddles above the heddle eyes, from right to left, one shaft at a time, front shaft to back shaft.

How to remove Texsolv heddles. Tutorial

  • Steps 4 & 5  Wrap the cord one time around, above the heddle eyes, from right to left, one shaft at a time, front shaft to back shaft. Join the two ends of the cord with a bow knot.

Removing Texsolv heddles. How to --


Remove Heddles from Shafts

  • Step 1 Remove shaft pin from the lower shafts, and slip the bottom of the heddles off the shafts. Replace the shaft pin.

Removing Texsolv heddles.

  • Step 2 Remove shaft pin from the upper shafts, and slip the top of the heddles off the shafts. Replace the shaft pin.

Texsolv heddles are easy to move around!

  • Step 3 Place tied heddle bundles in the heddle box. Put the box away, ready for the next project.

Texsolv heddles ready for the next project!

May you always have enough heddles when and where you need them.

Loom dressing,
Karen

Those Little Heddle Eyes

Threading heddles on eight shafts requires a different approach than my usual four-shaft routine ( You Can Prevent Threading Errors). With four shafts, the heddles fit nicely between my five fingers. I would need nine fingers on my hand to thread eight shafts in the same manner. The important thing is that every warp end gets inserted through the correct heddle. I have to position my loom bench and adjust the height of the shafts. I need to be able to see and feel the heddle eyes …all the way to the back shafts. I take the warp ends in strict order, as they lay in the lease sticks, and insert each one through the correct heddle.
Threading eight shafts. Glimakra Standard loom.
Warp ends, threaded in pairs, go through heddle eyes in a specific order.
Threading an eight-shaft block twill.
Threading is complete for this eight-shaft block twill.
It can be a struggle to find that little heddle eye on the first shaft, way at the back, but you keep at it until you find it. Temptation is a trap, and we all get caught. There is a way out. All the warp ends have a way out…through the heddles. Look for the exit that God provides. And then run through it. You’ll find yourself in the right place at the right time. And the need for explanations and excuses is gone. With the warp threading completed, we know our Grand Weaver is ready to weave something marvelous.
May your threading errors be few.
Love,
Karen