Process Review: Dressing the Drawloom the Second Time

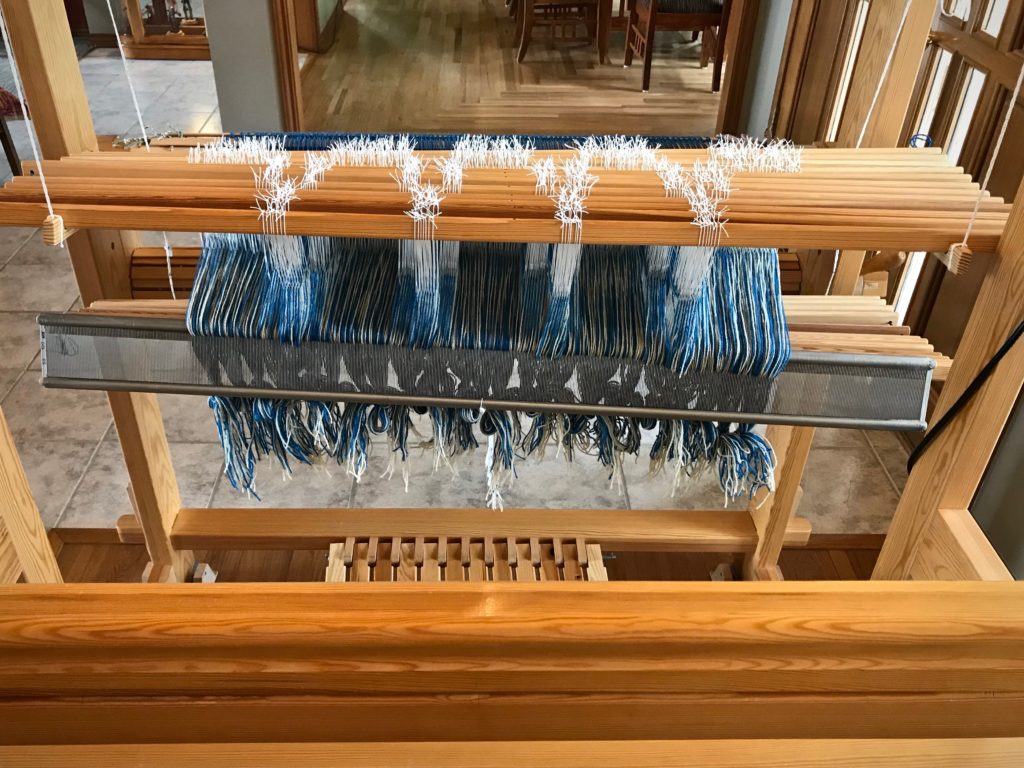
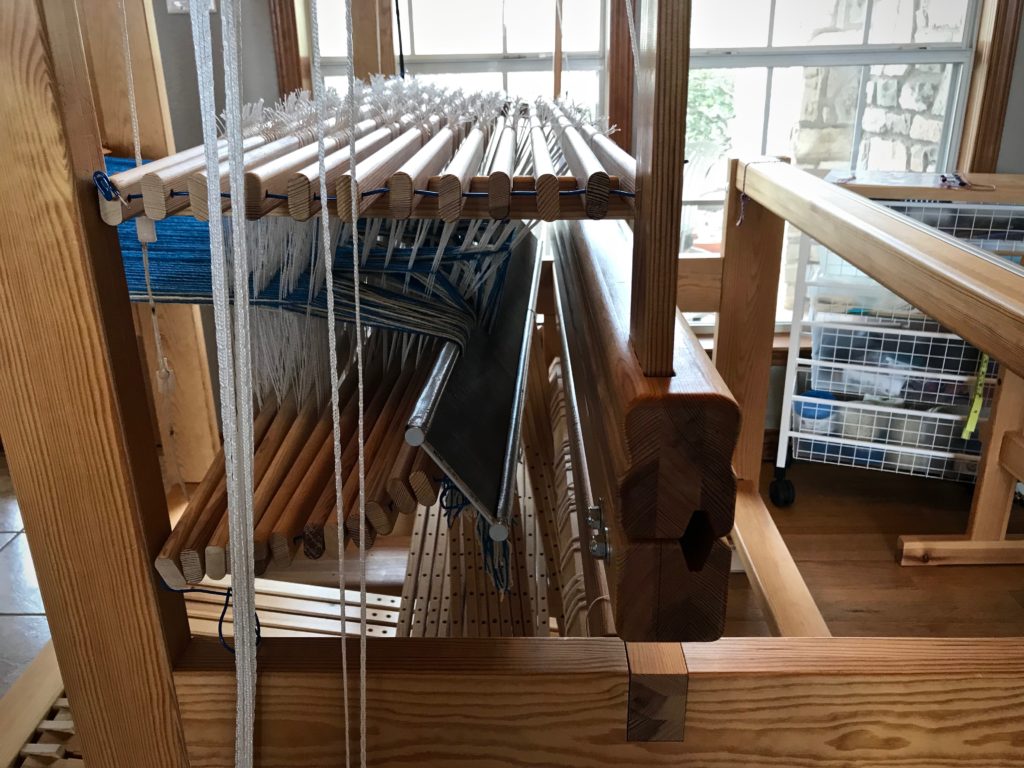
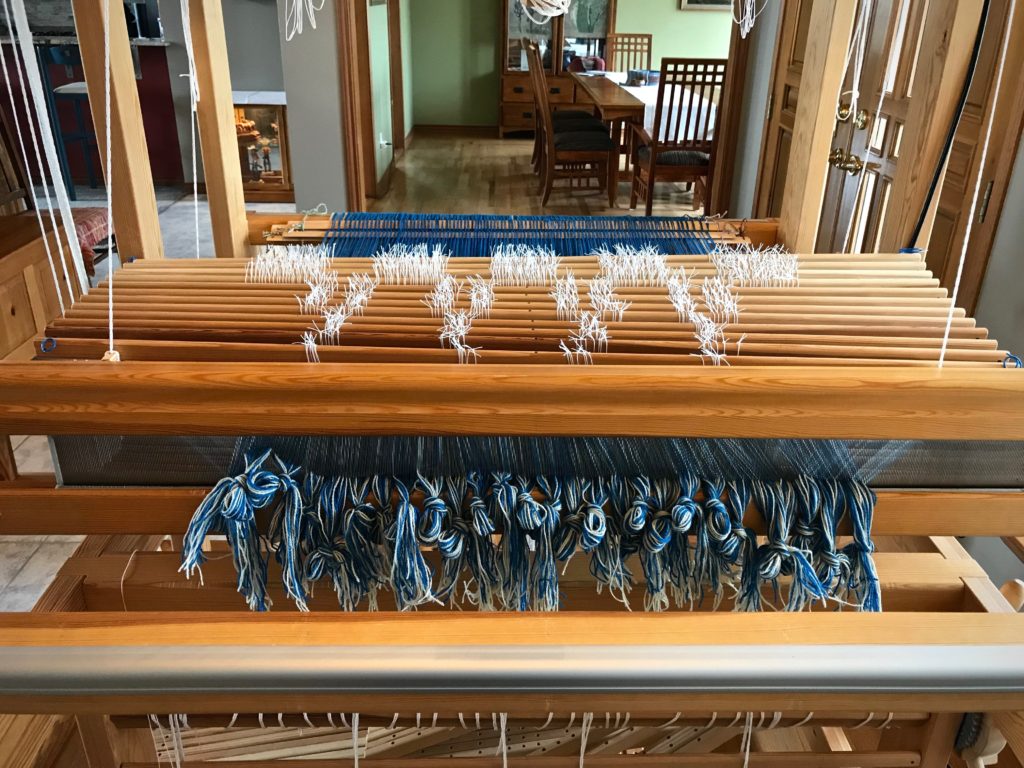
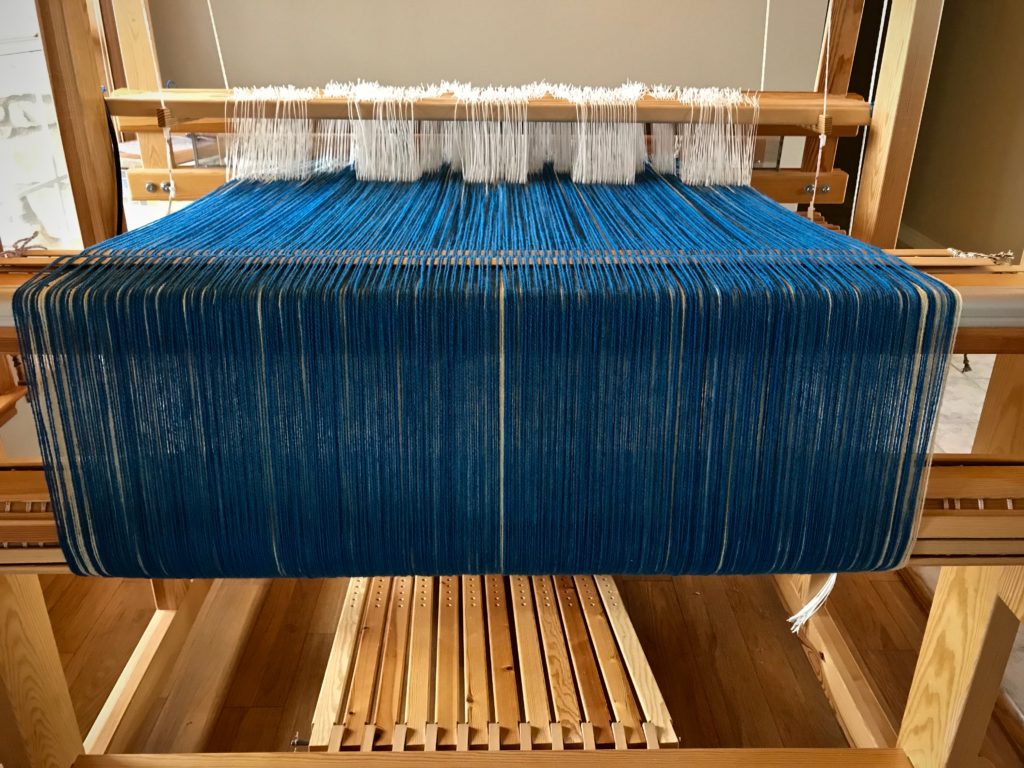
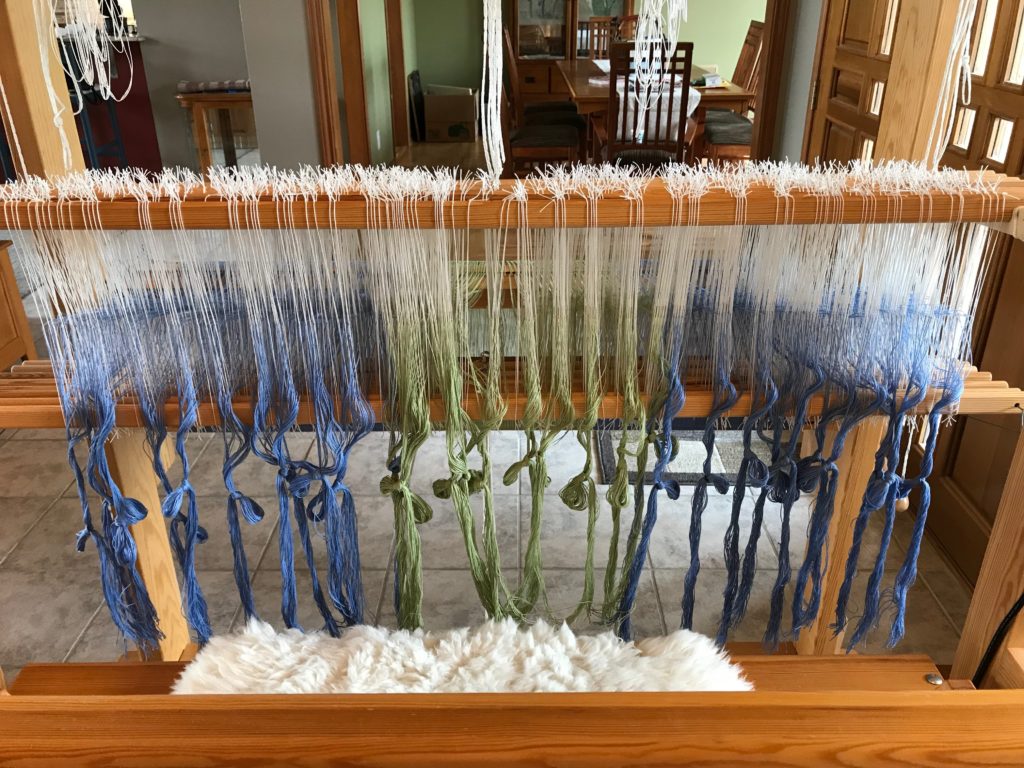
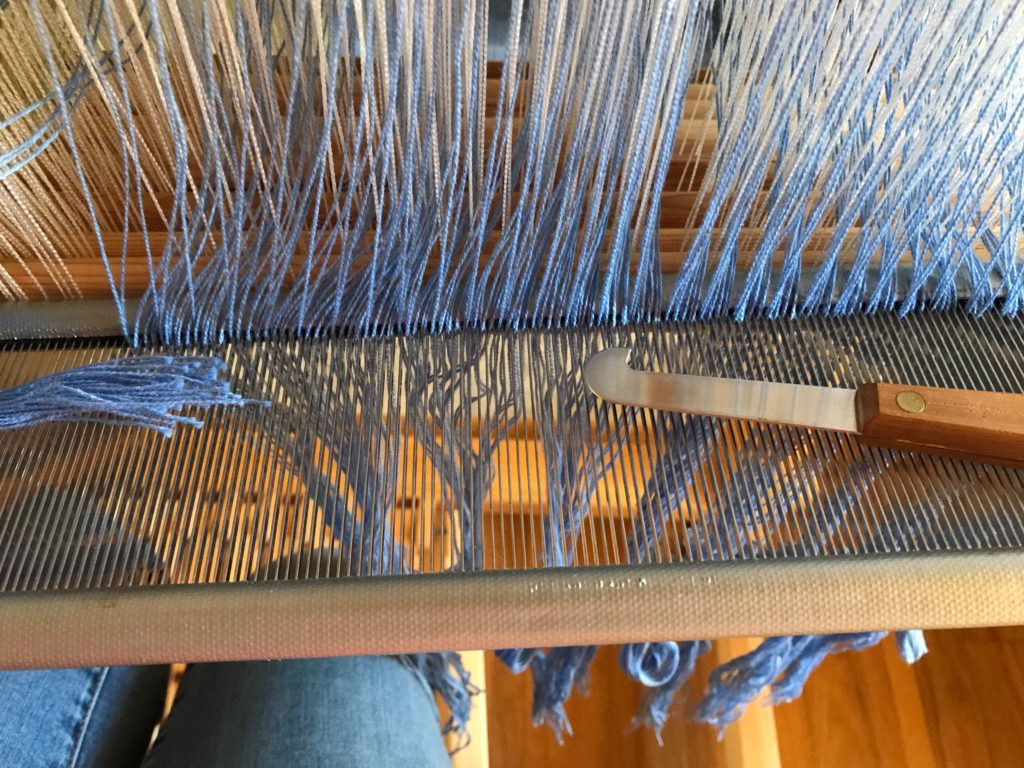
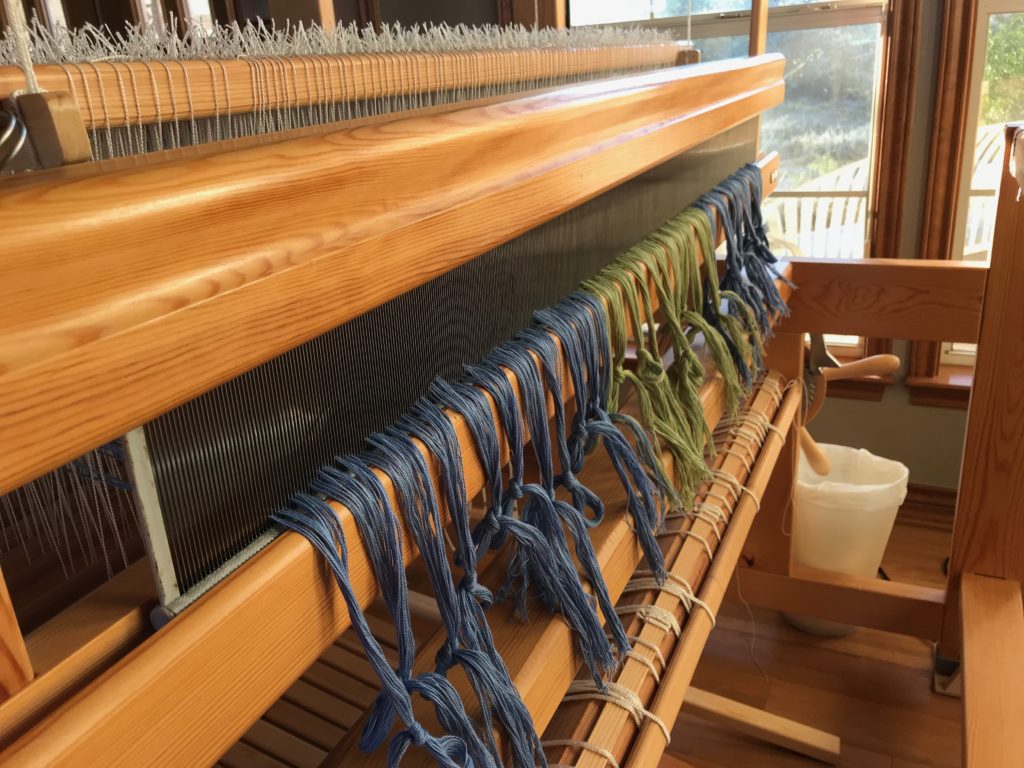
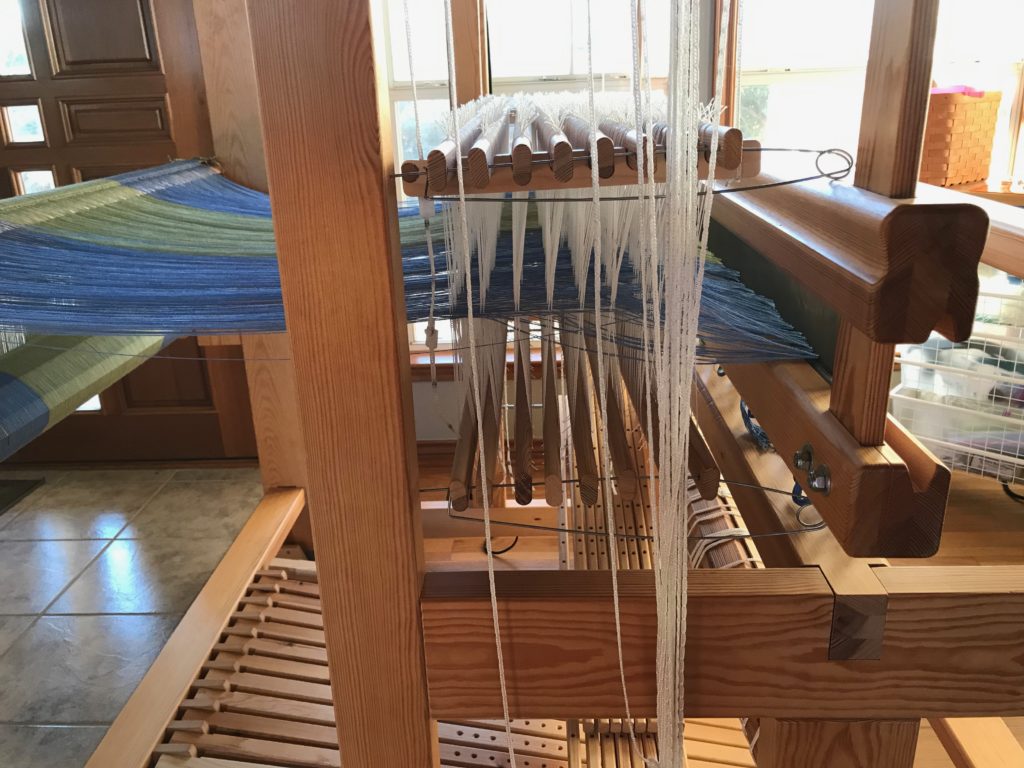
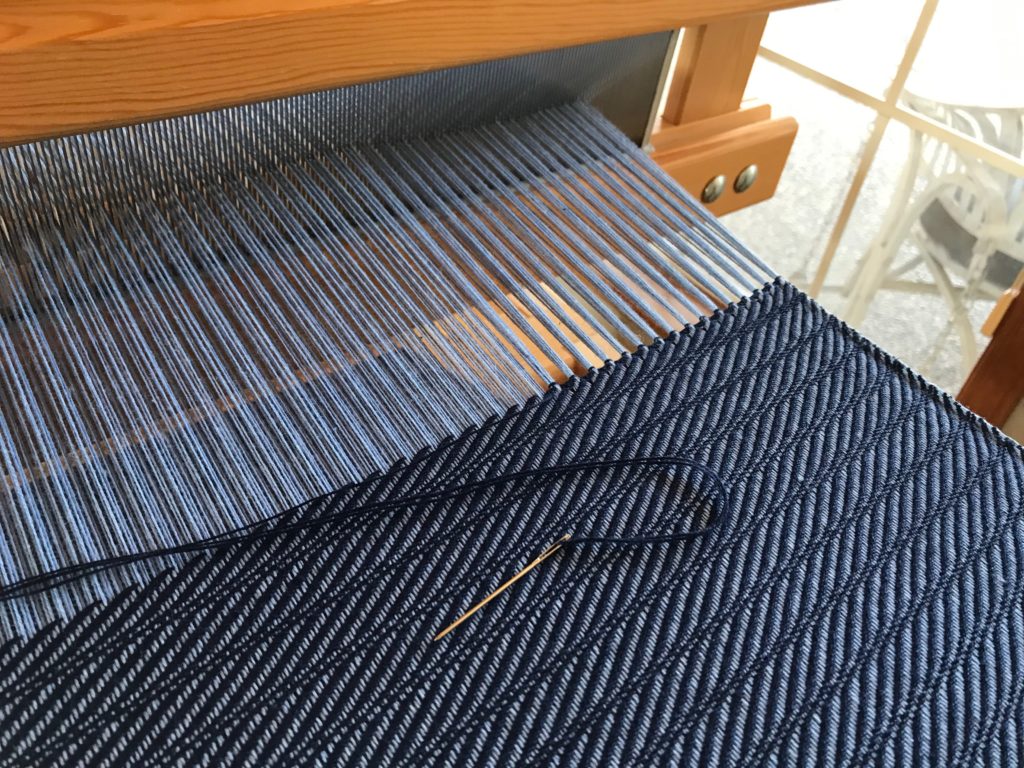
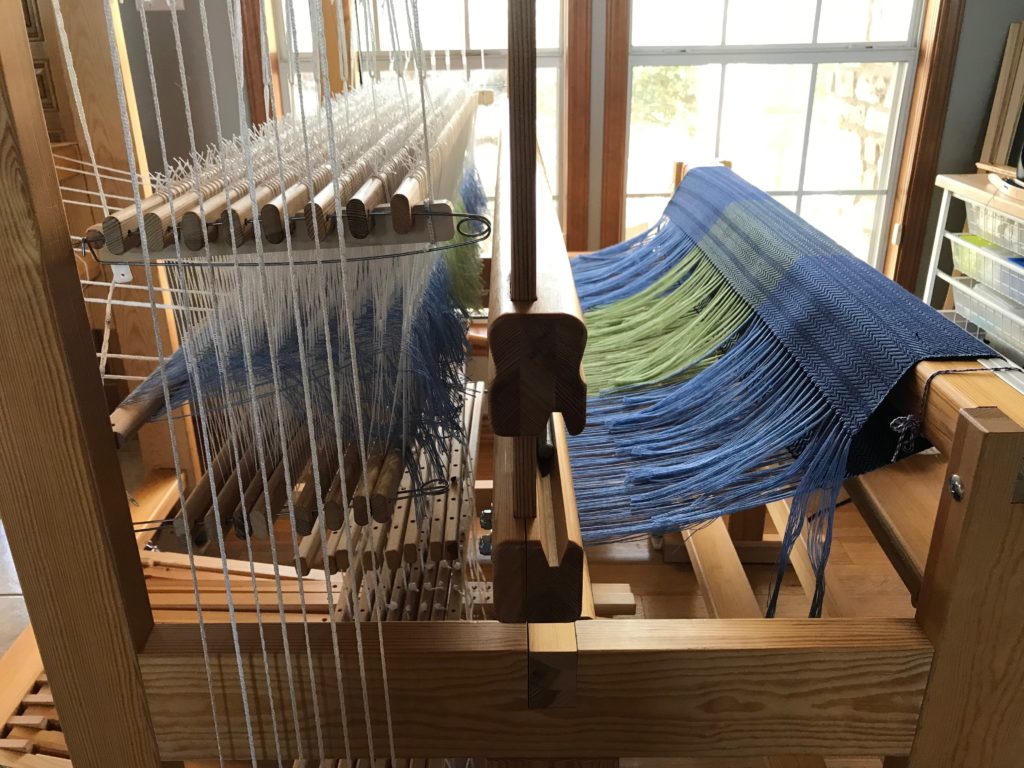
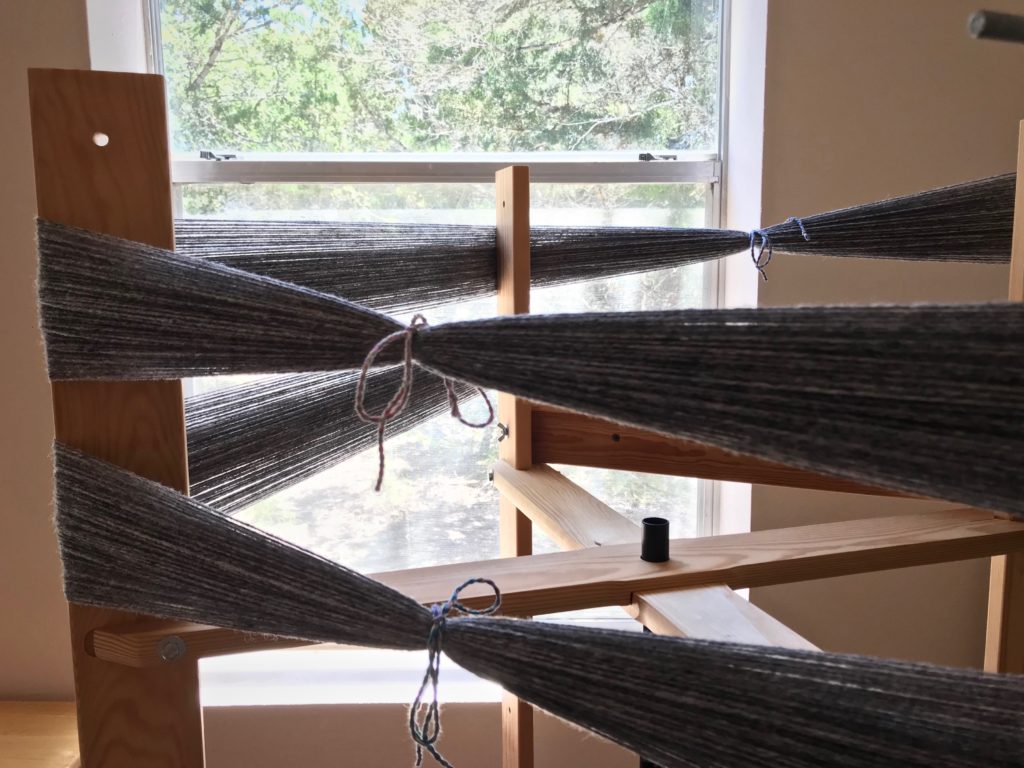
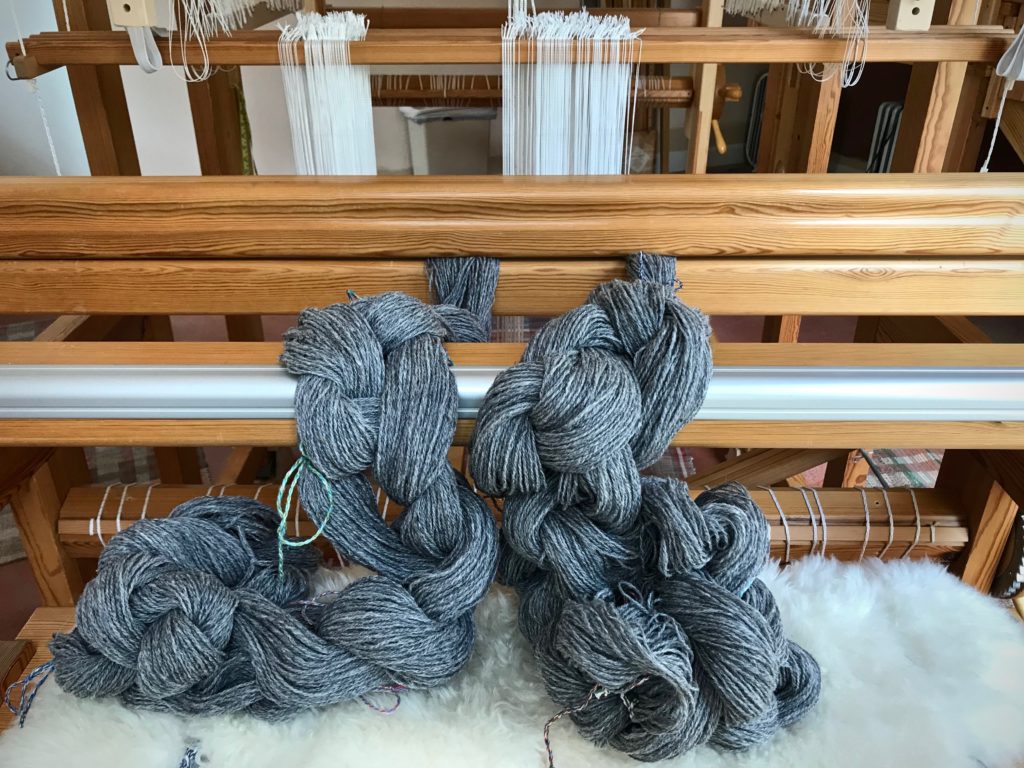
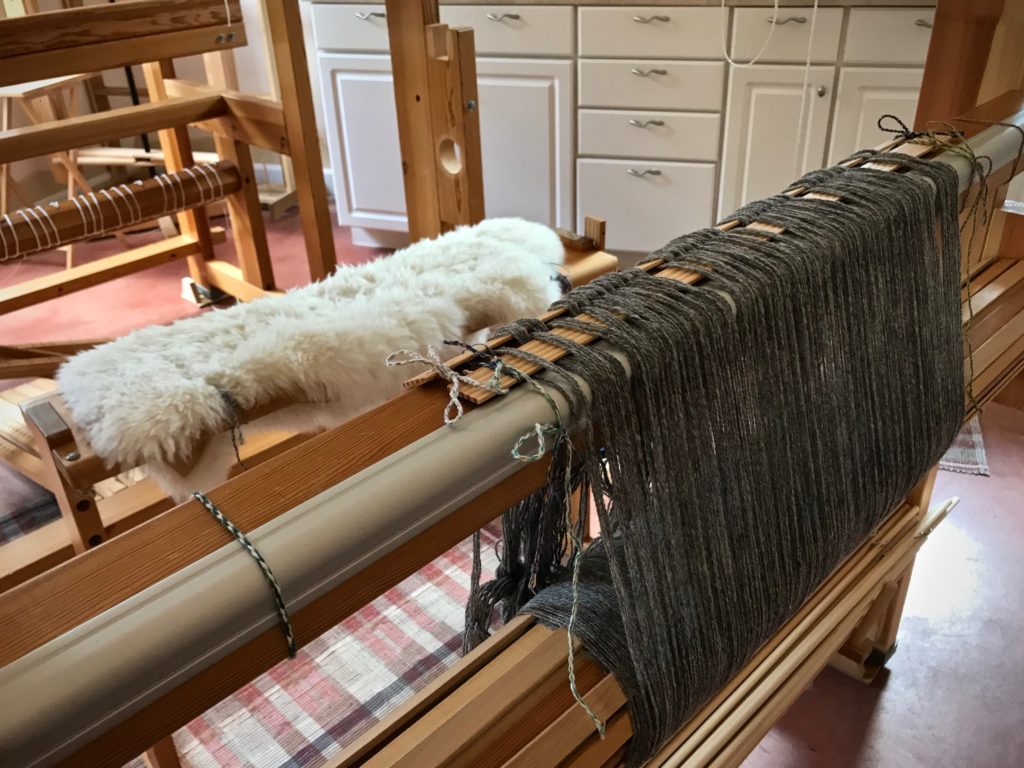
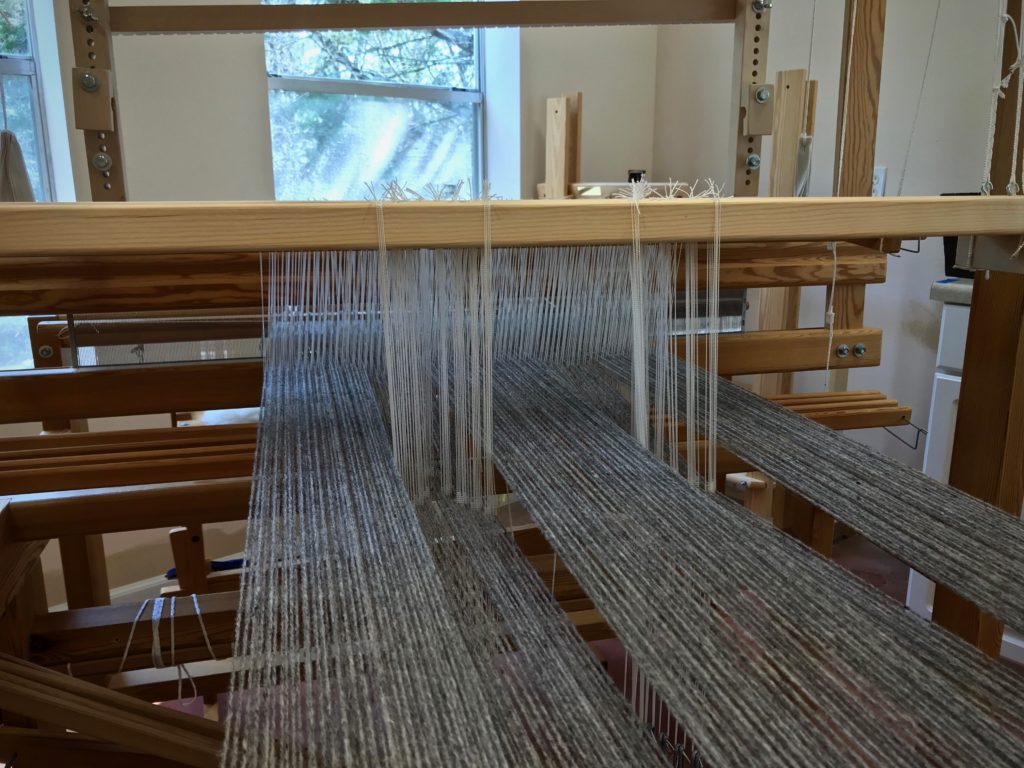
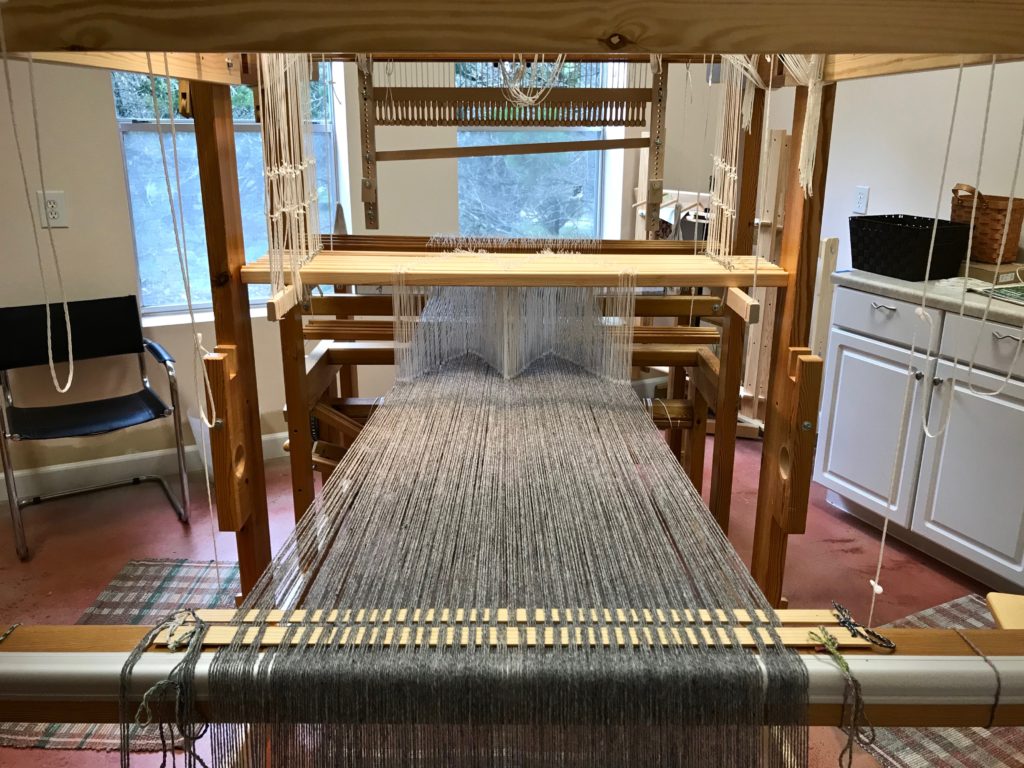
Dressing the drawloom the second time is easier than the first time. No slip ups or confusion. Just smoothly moving from one step to the next. (Read to the end to see what to expect for July.)

Winding skeins of wool yarn into balls.

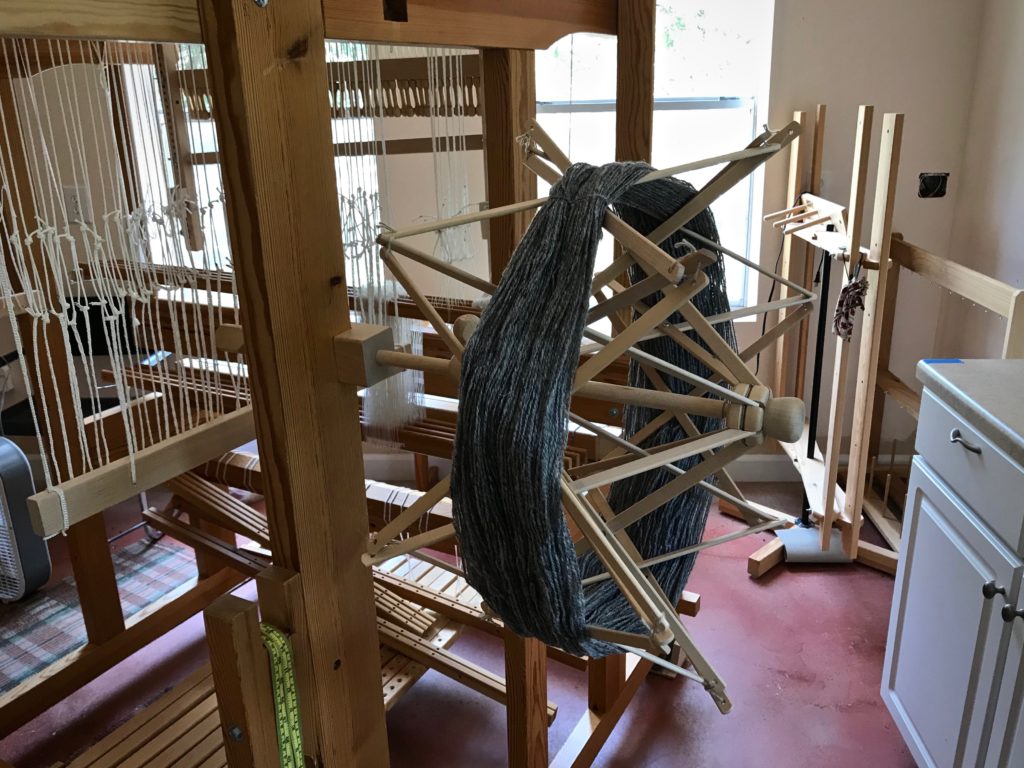
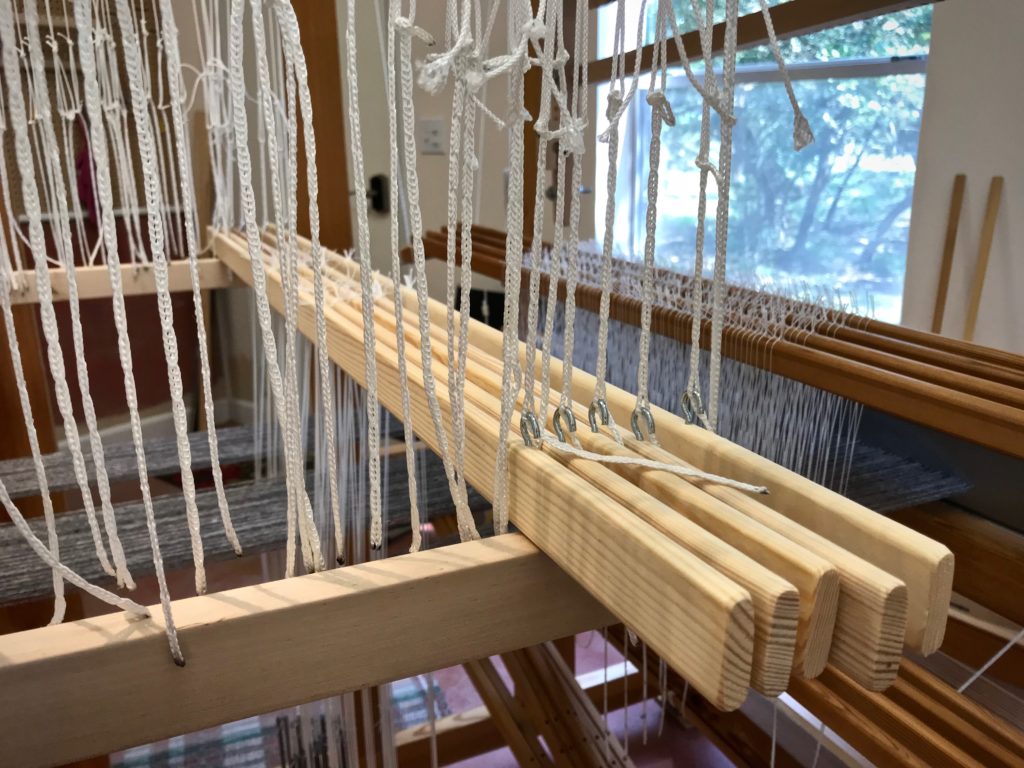
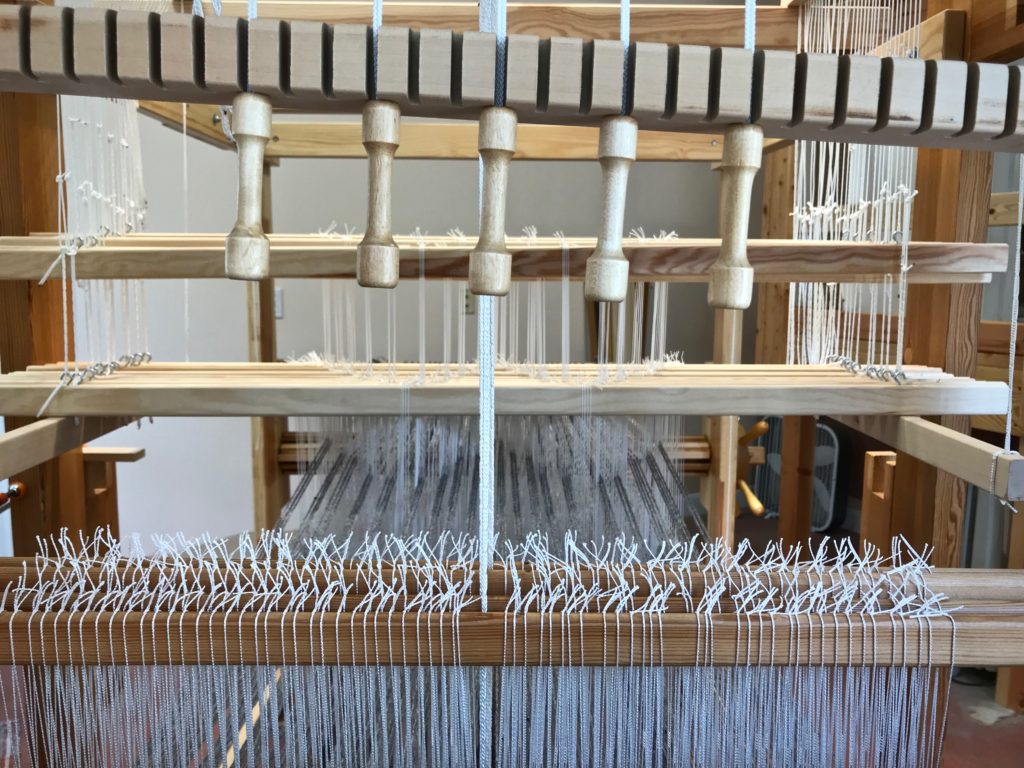
With my first drawloom warp the most challenging part was distributing the pattern shafts. (See Q and A with Joanne Hall and Drawloom Dressing.) This time something clicked and the light bulb turned on. Instead of blindly following steps, I now understand what I am doing, and why. And I am having fun in the process!

Winding warp on the warping reel.
Winding the warp on the warping reel, making two bouts.
Big fat wool warp chains.
Warp chains of 6/2 Tuna wool, ready to dress the loom.
Ready to thread pattern heddles.
After beaming the warp, the loom bench is moved to the back of the loom for threading heddles. Pattern heddles first, and then, ground heddles.
Sleying the reed on the drawloom.
With the reed sleyed, it’s time to return the ground shafts to the front of the loom and put the reed in the beater.
Leveling string is doing its job!
Warp is tied on, and the leveling string is doing its job.
Distributing pattern shafts on the drawloom.
Inkle band serves to separate pattern heddles as I distribute the pattern shafts.
Adding pattern shafts to the drawloom.
Pattern shafts are resting nicely on the pattern shaft holders. Their little hooks grab the Texsolv that connects them to the draw cords and handles.
Dressing the drawloom!
Pointed threading can be seen in the arrangement of the heddles on the pattern shafts.
Dressing the drawloom!
Drawloom setup is complete except for tying up the treadles. Treadle tie-ups on a drawloom are refreshingly simple.
Testing pattern sheds on the drawloom.
Testing pattern sheds by pulling some of the draw handles. After a few small adjustments, she’s ready to weave!
Wool on the drawloom.
First sample. 6/2 Tuna wool warp and weft, 4-shaft broken twill on the ground shafts, sett is 5.5 ends per cm, 16 pattern shafts with 1 extra shaft for the edges.

Friends, It’s that time again, when Warped for Good is put on pause for the month of July.

Thank you for sharing in this journey with me!

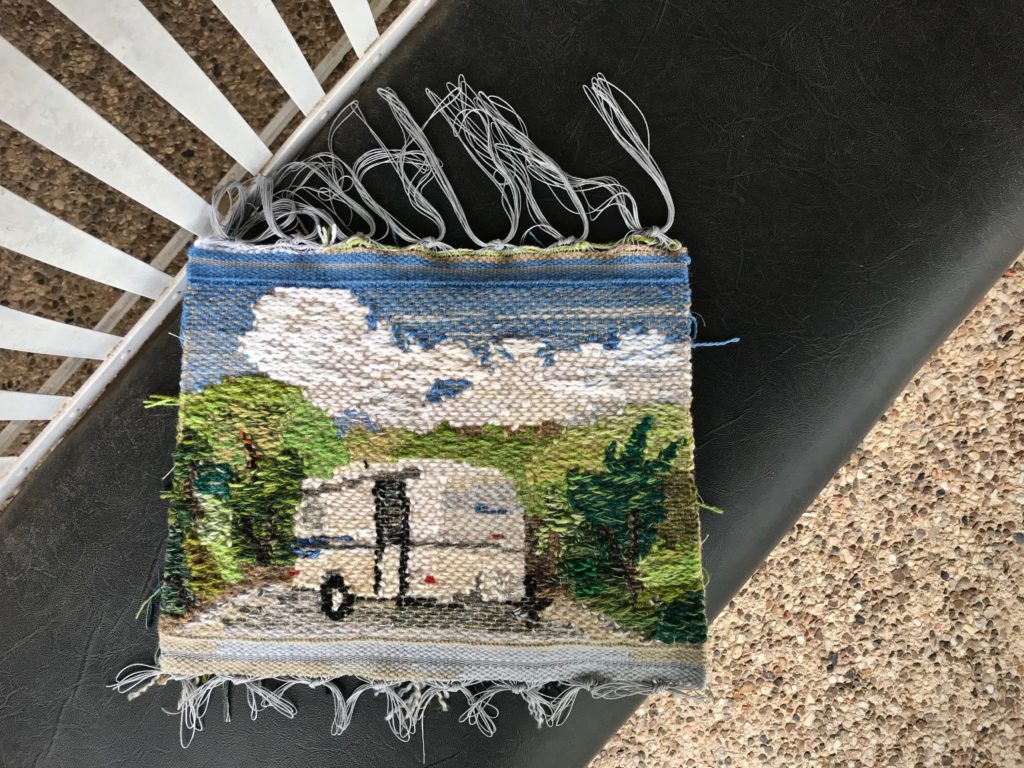
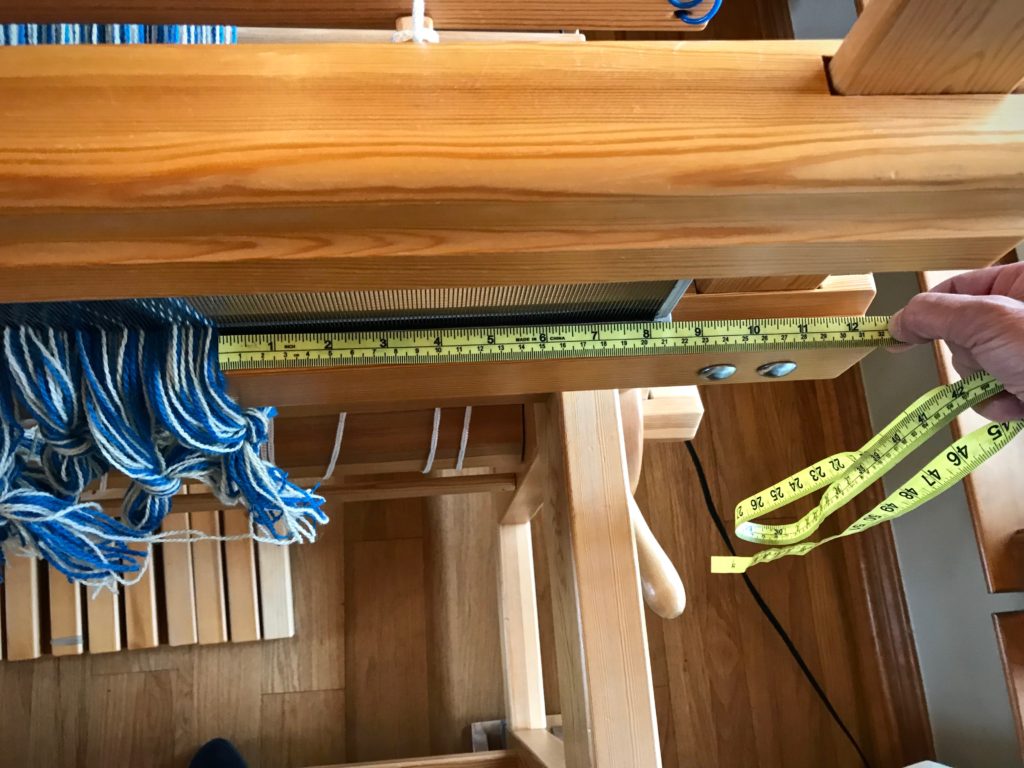
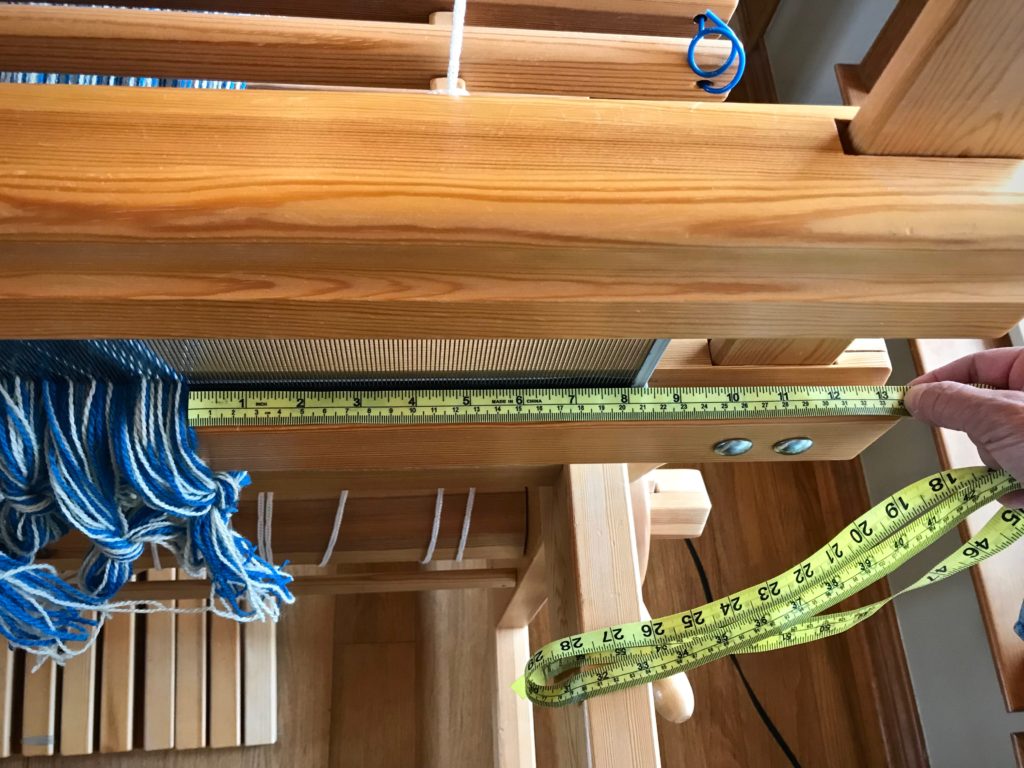
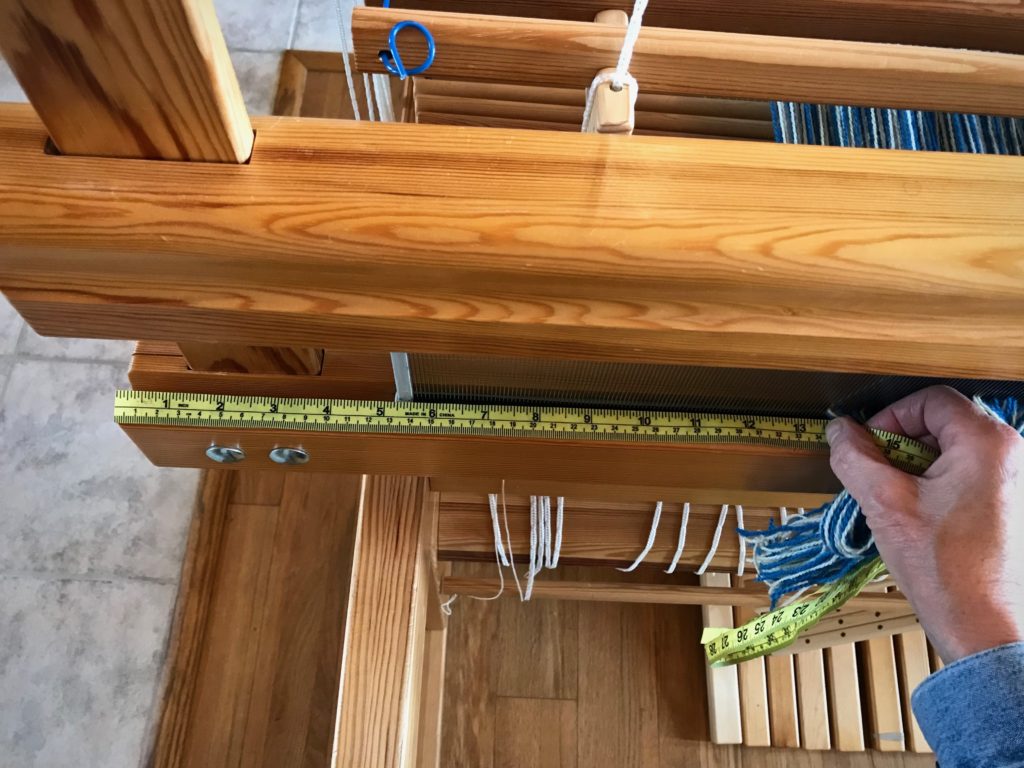
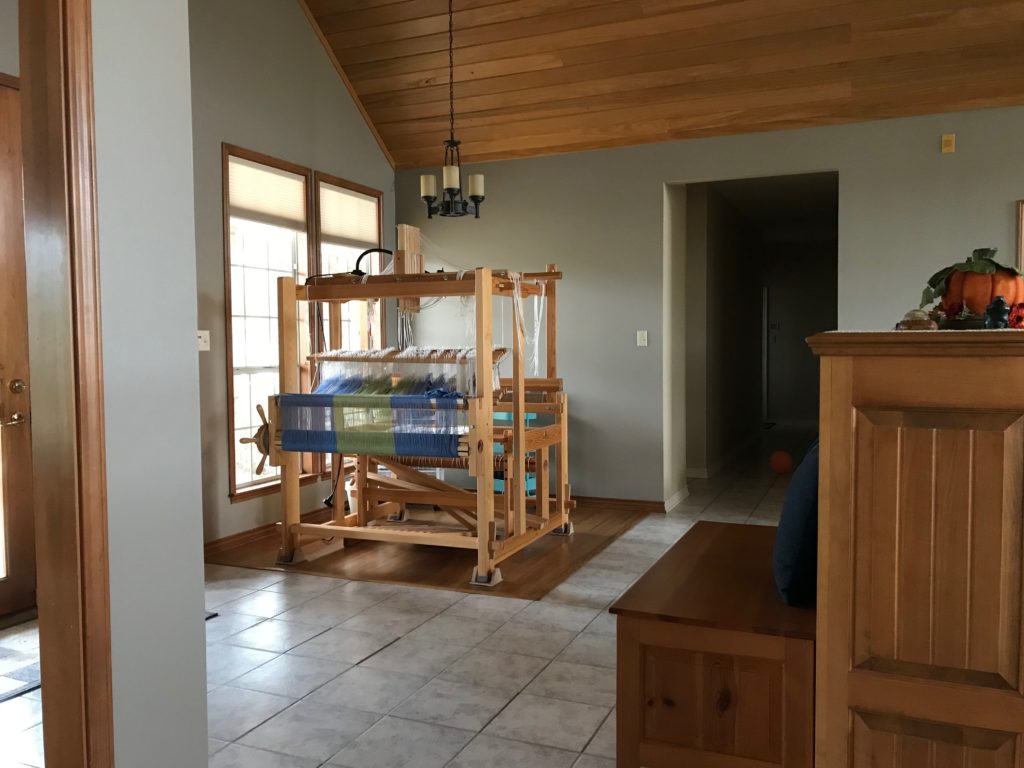
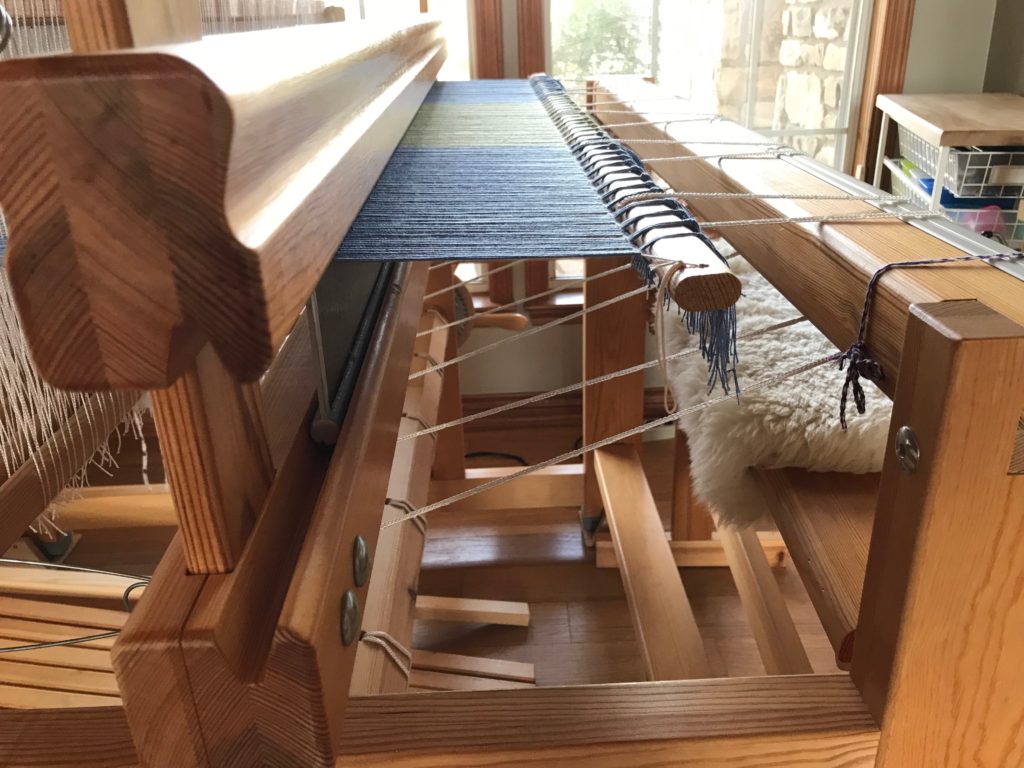
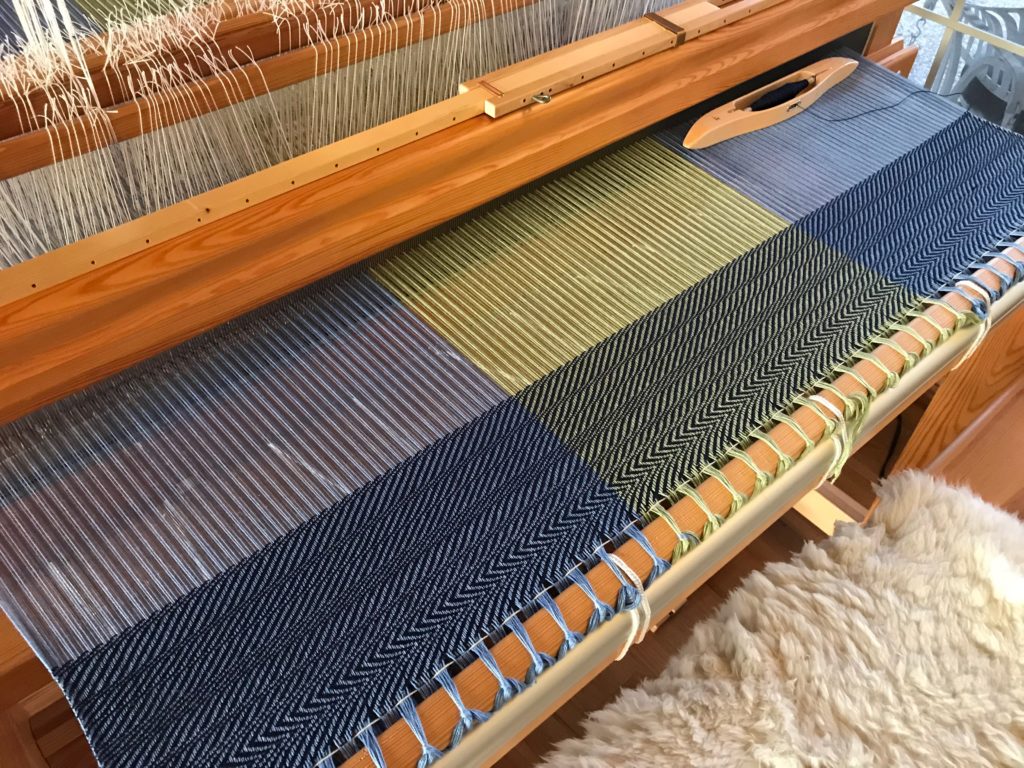
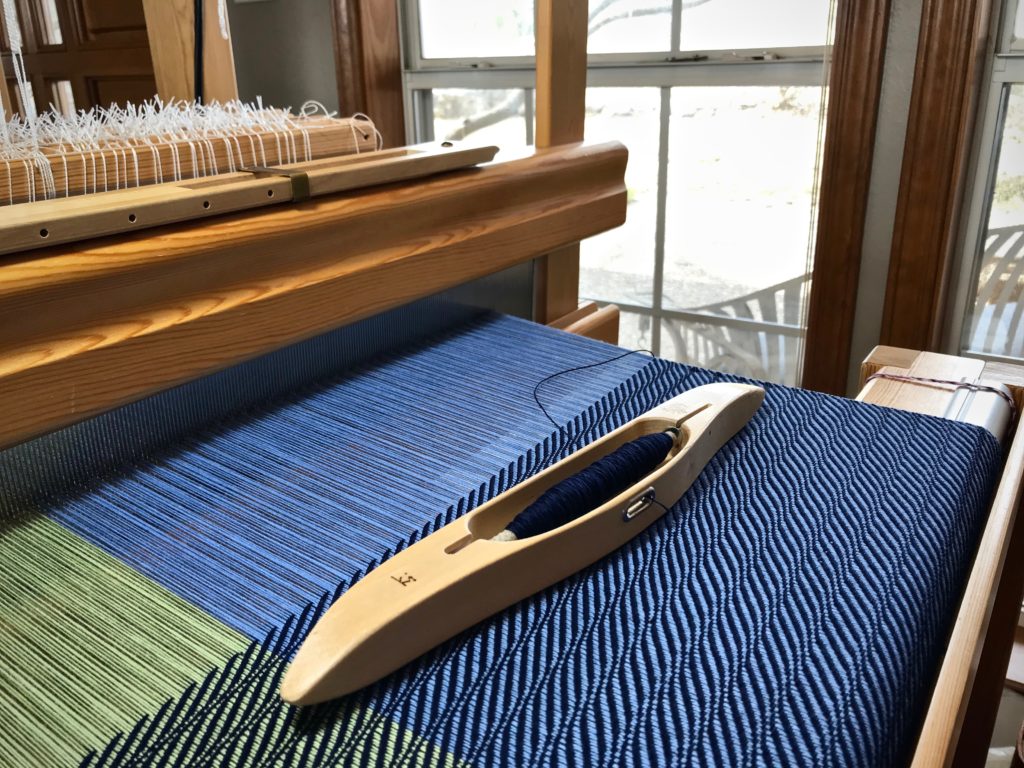
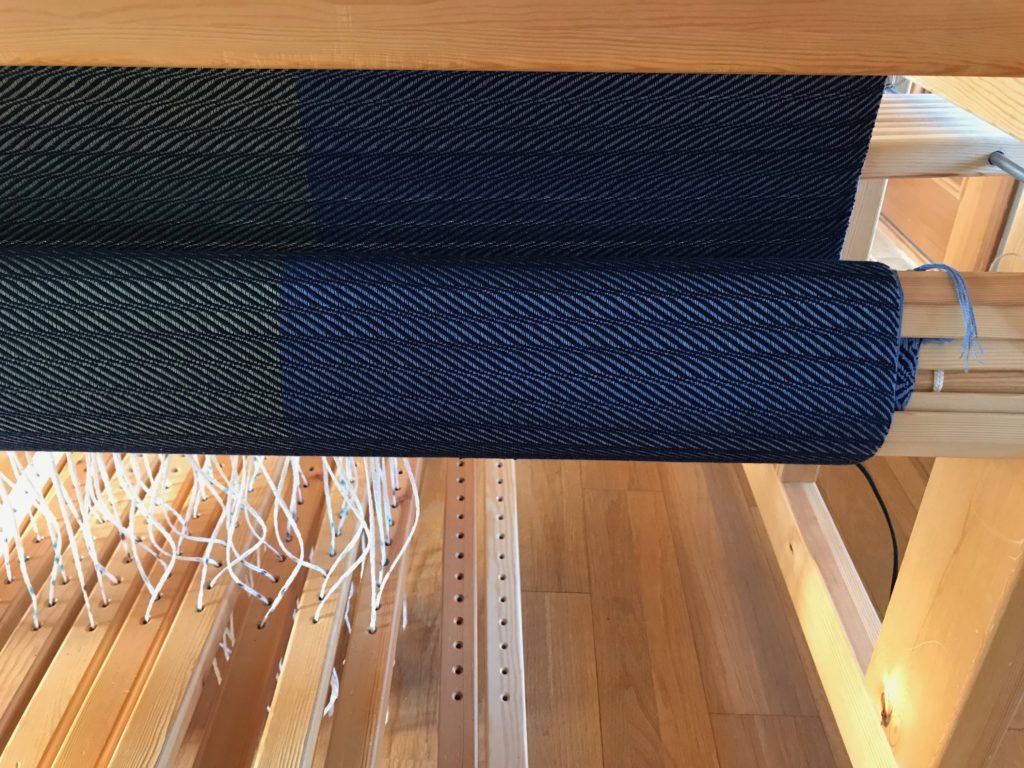
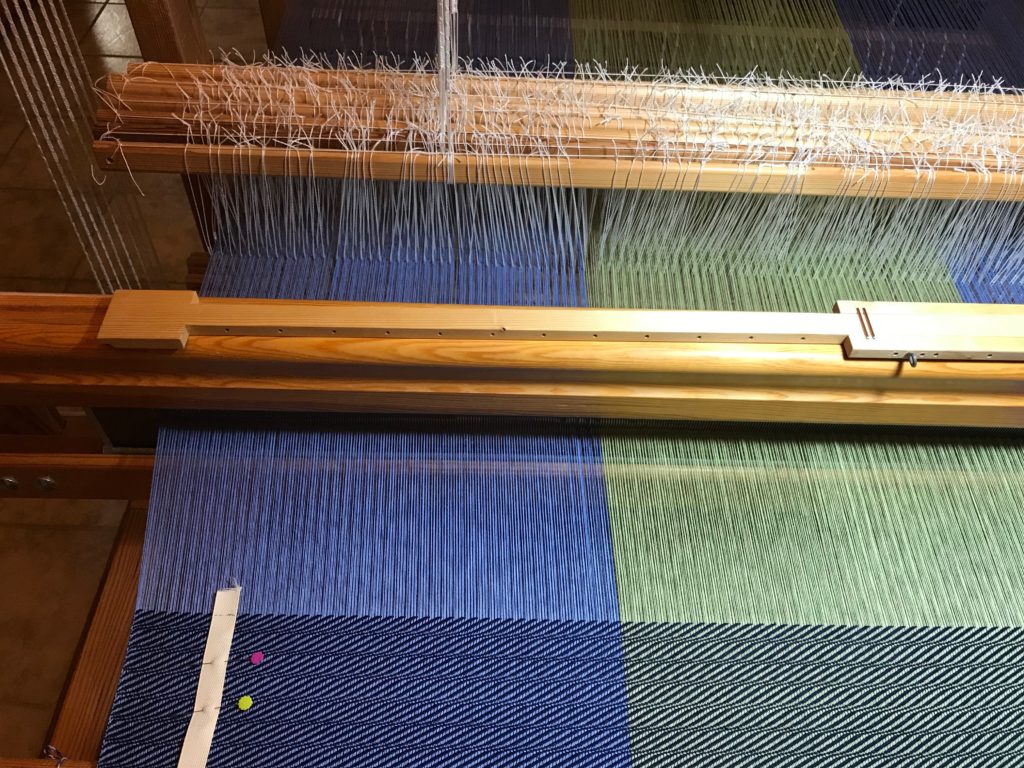
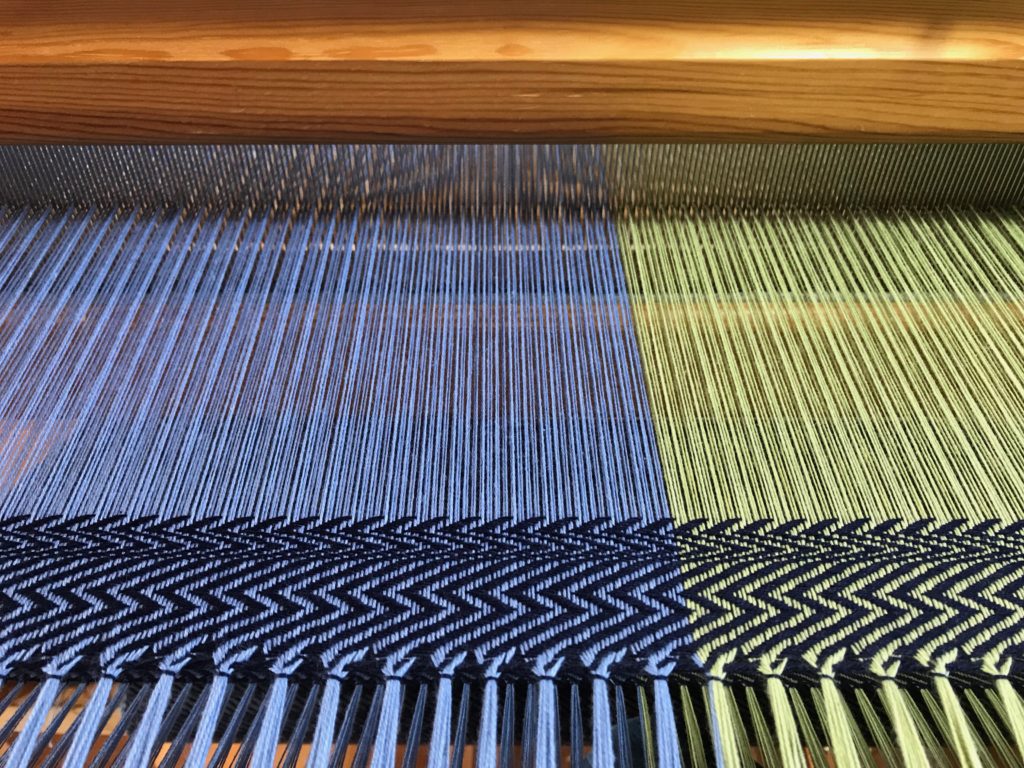
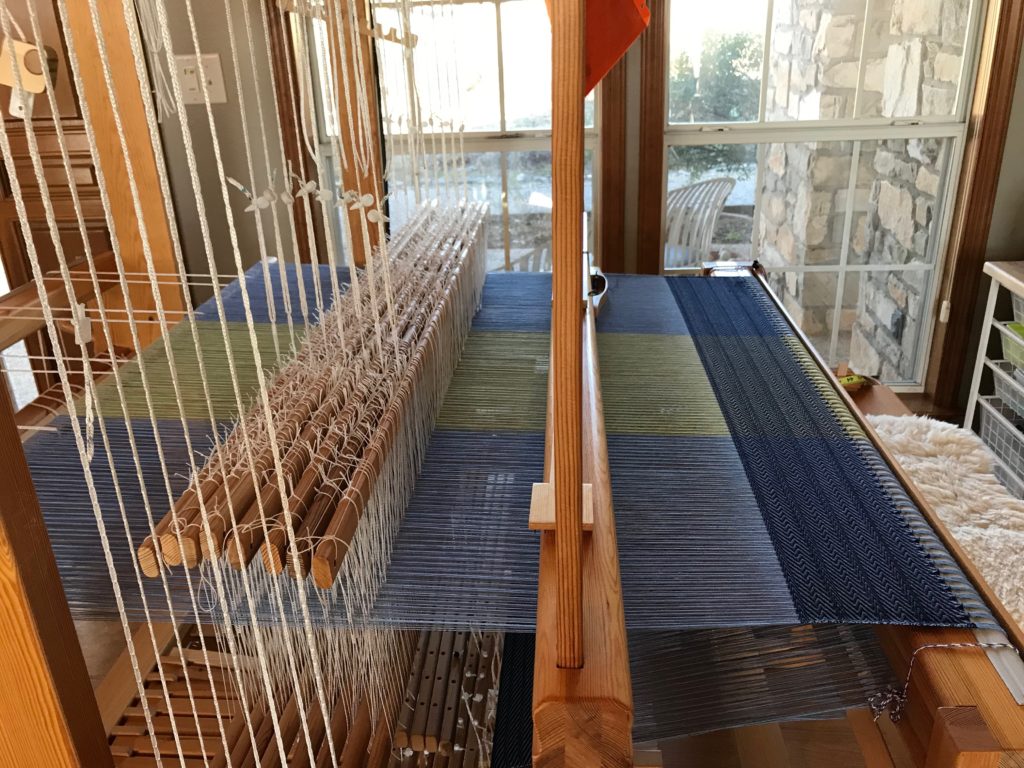
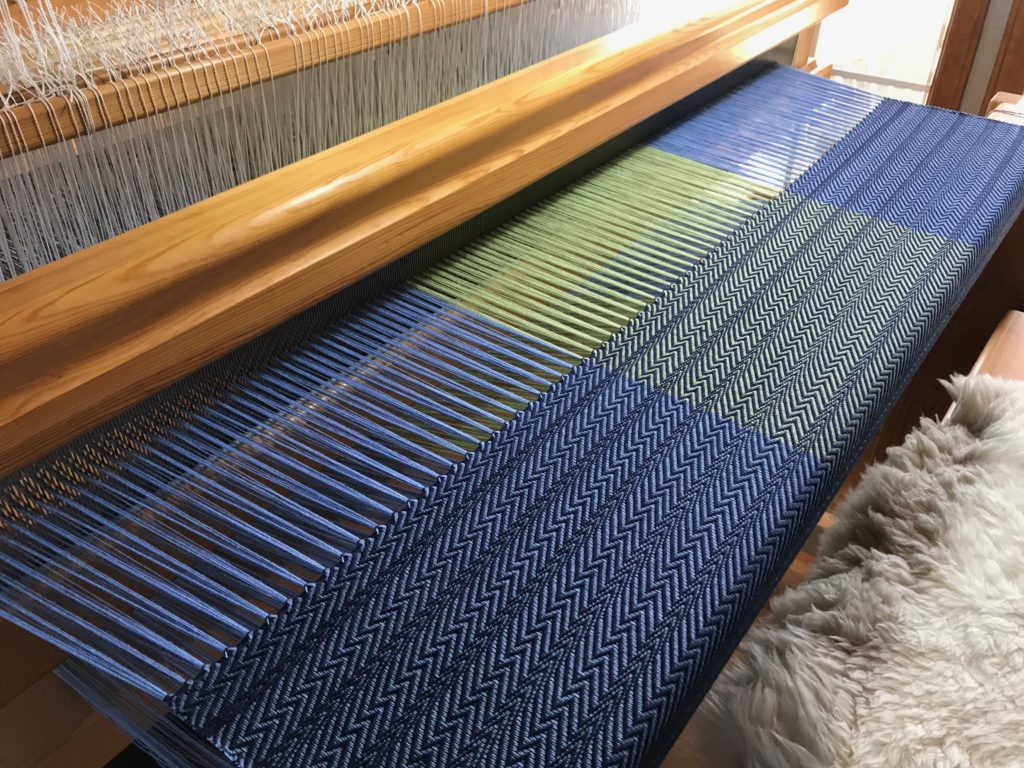
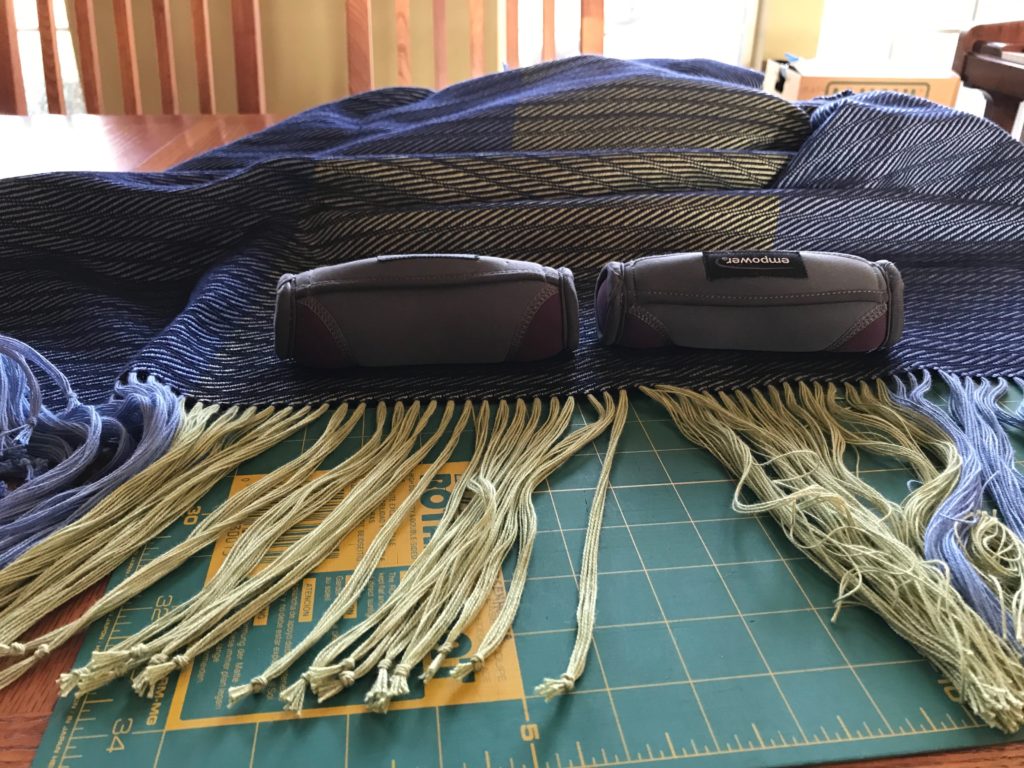
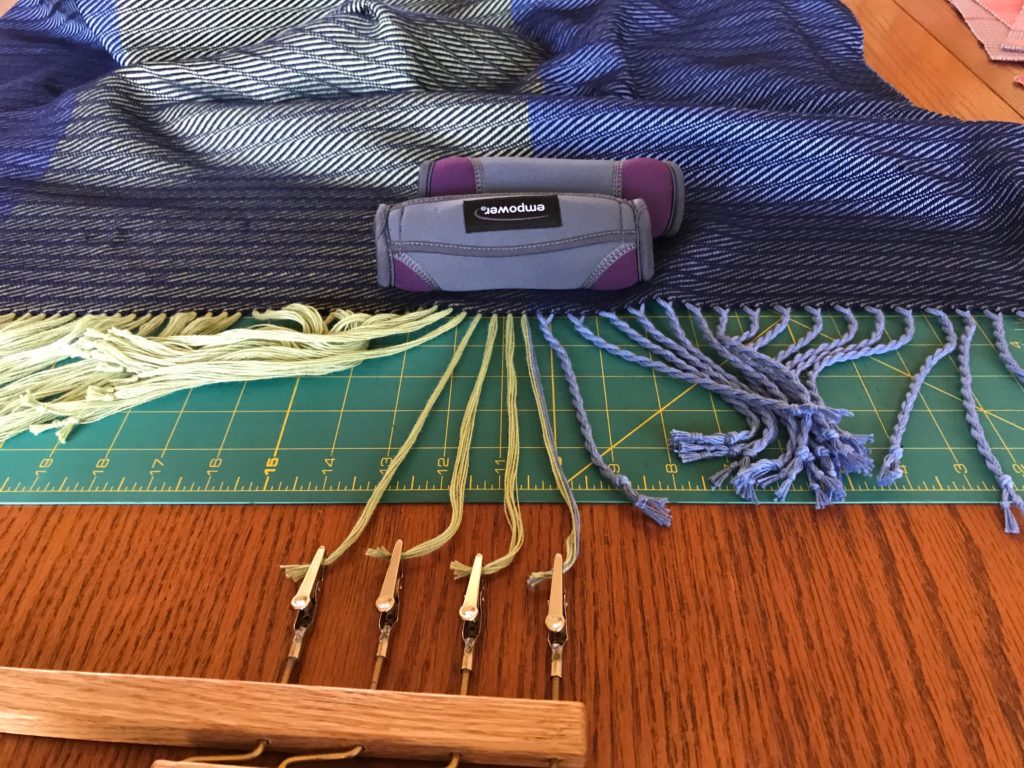
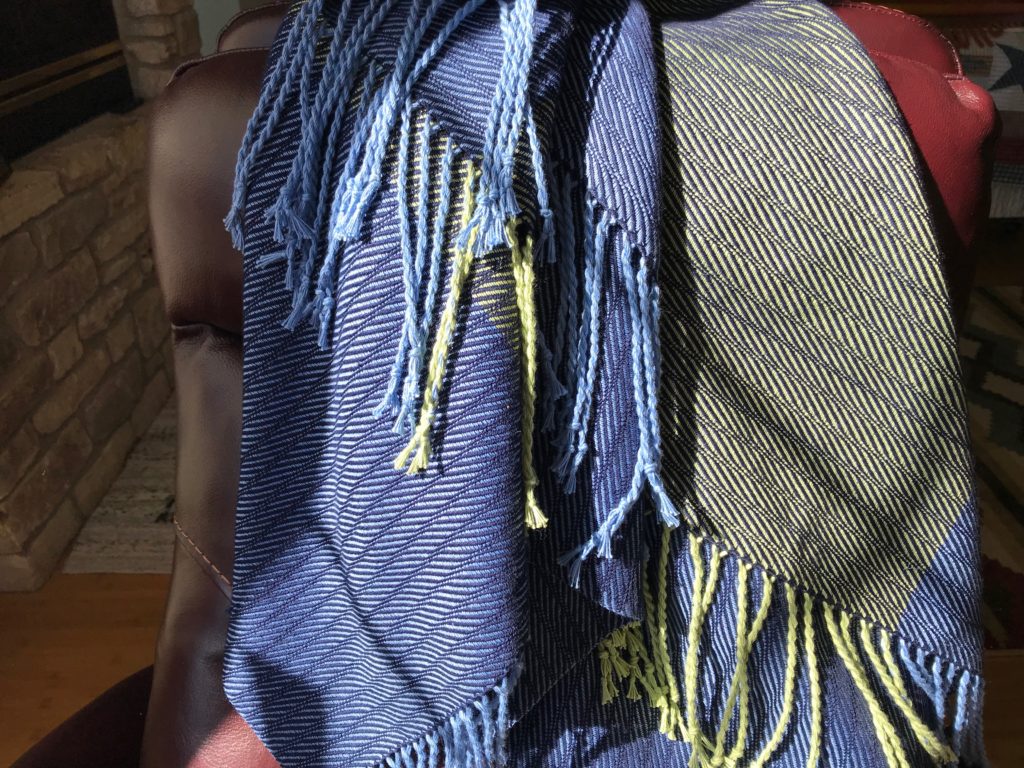
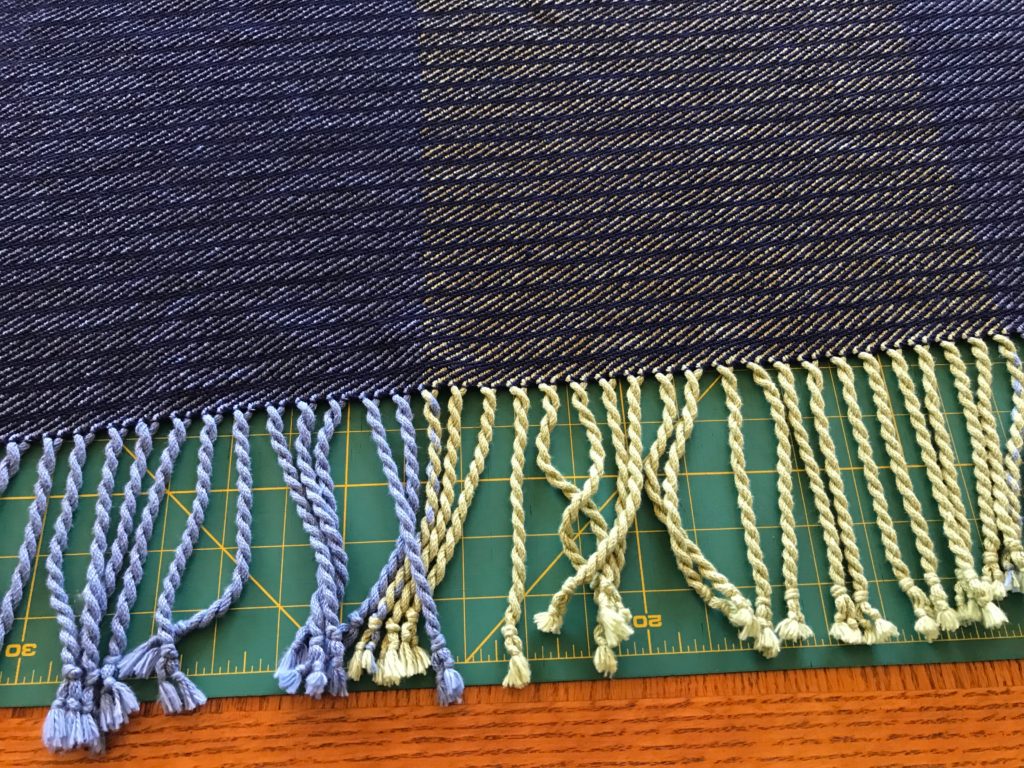
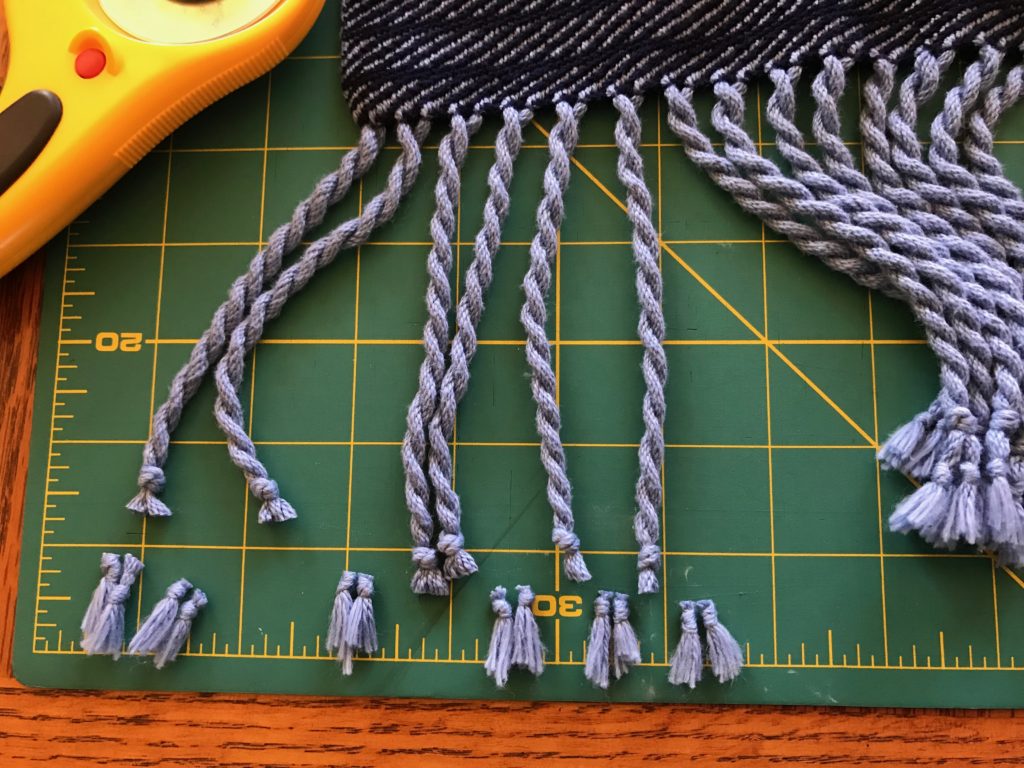
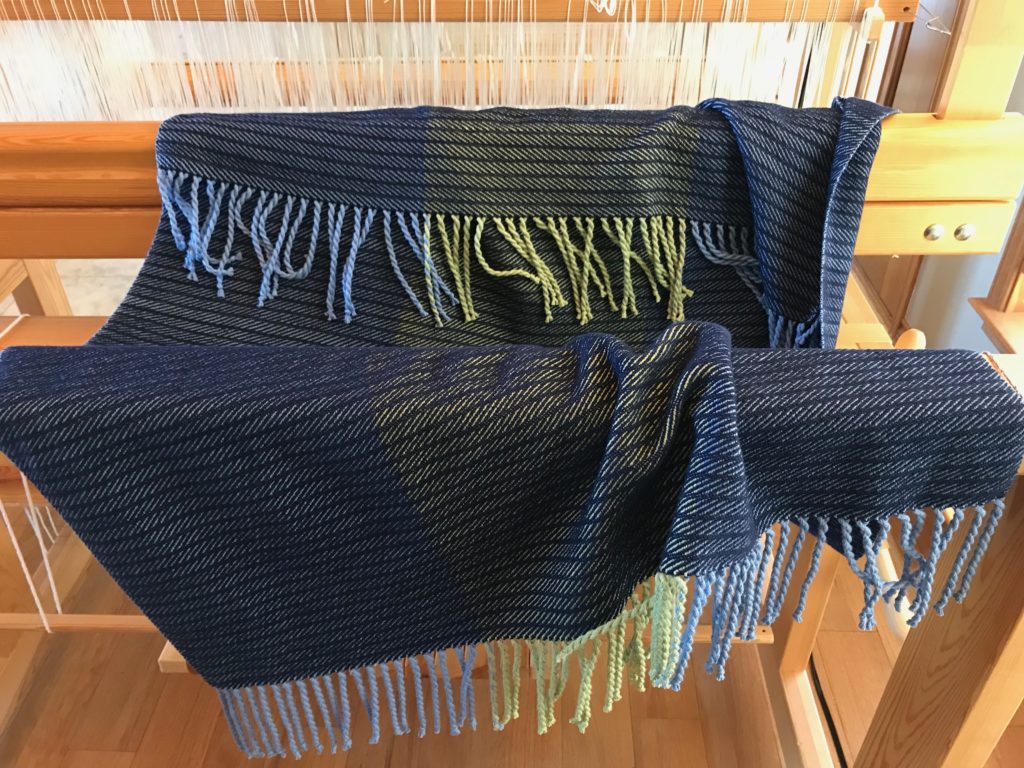
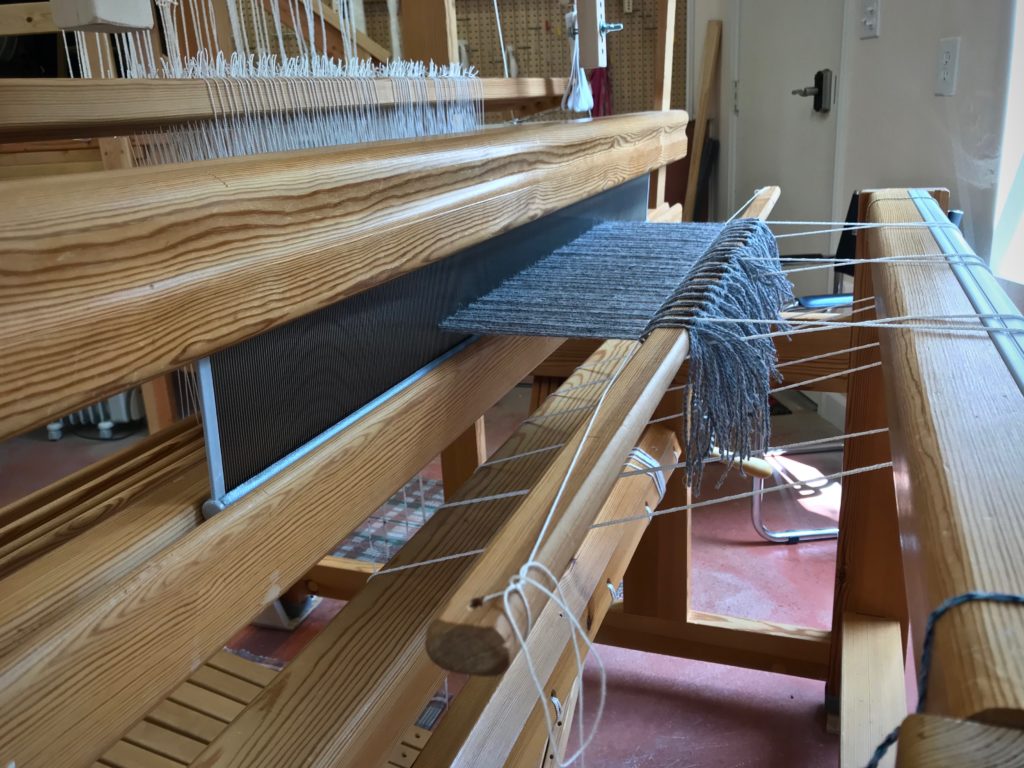
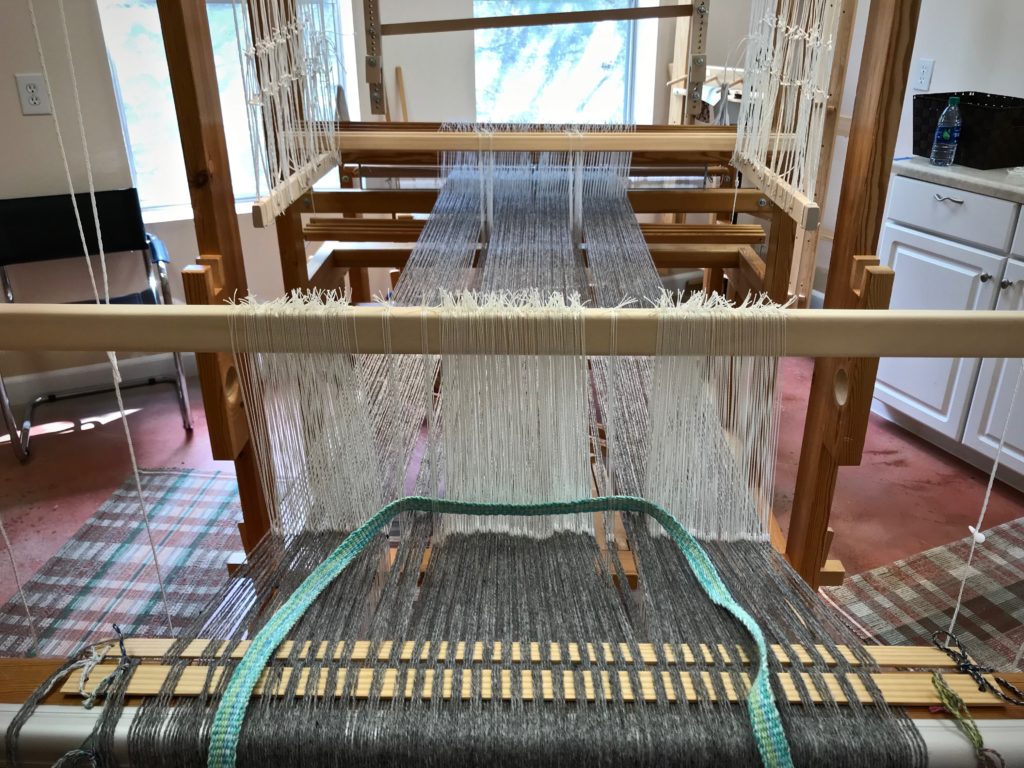
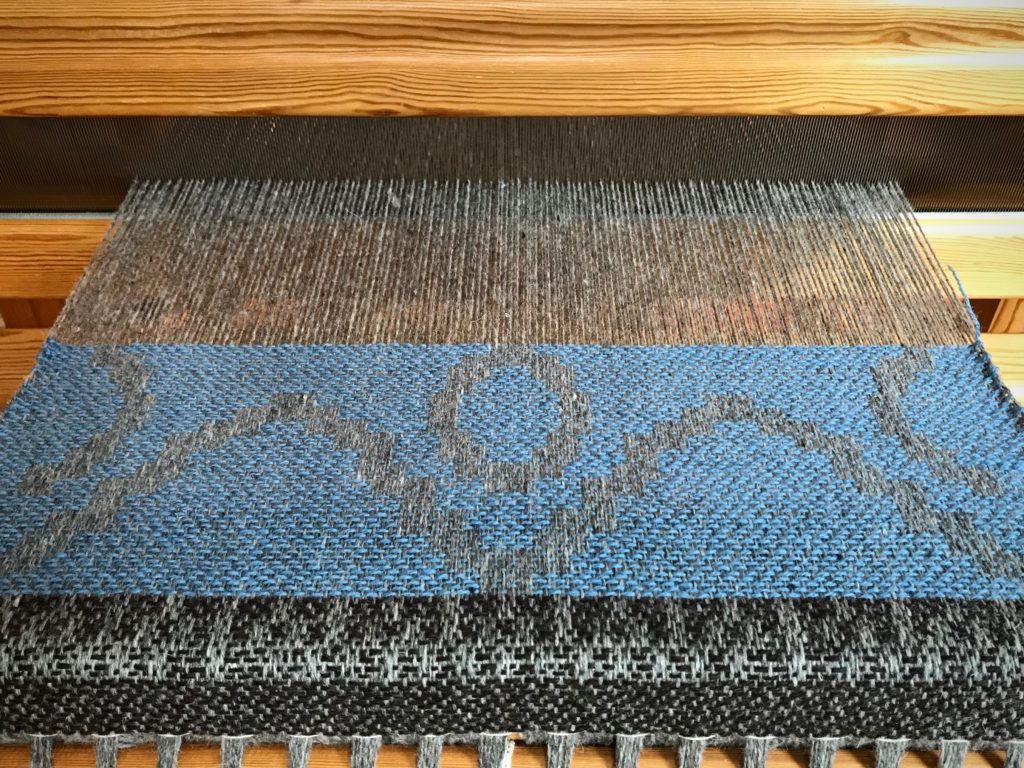
What’s on my looms: I am near the end of the blue double weave blanket on the Standard, and I am planning a new pictorial tapestry for that loom. The drawloom is dressed and in motion. And the Ideal loom is still sitting ready for rosepath rag rugs. Also, Steve and I have a Casita trip planned that will include some leisurely backstrap band weaving.

What’s on your loom right now? Share with us in the comments.

See you the first Tuesday of August! (In the meantime catch me over on Instagram @celloweaver.)

May your second times be better than your first times.

Keep on Weaving,
Karen

Process Review: Casita Tapestry

This little Casita travel trailer is a good symbol of the retirement phase for Steve and me. I started the tapestry a few months before our move to Texas hill country, in anticipation of our new adventures. And then, the day after Steve retired we went to Rice, Texas and drove away with our new Casita La Perlita (Little Pearl), as if to say, “Let the adventure begin!”

Just off the loom - "La Perlita" Casita tapestry.
Just off the loom, La Perlita Casita. 37 cm x 26 cm (14 1/2″ x 10 1/4″)

Enjoy the Casita tapestry review.

May your adventures come at just the right time.

Happy journeying,
Karen

Process Review: First Drawloom Warp

There are two questions I hear most often. 1. How long did it take? 2. What is it going to be? These are hard questions to answer. I admit that I stumble around to find satisfying answers. 1. How long? Hours and hours. 2. Cloth. It is going to be cloth. What will the cloth be used for? I don’t know. But when I need a little something with a pretty design, I’ll know where to find it. There are two finished pieces, though, from this first drawloom warp: the Heart-Shaped Baskets table runner (adapted from a pattern in Damask and Opphämta, by Lillemor Johansson), and a small opphämta table topper that I designed on the loom. The rest are samplers, experiments, tests, and just plain fun making-of-cloth. Oh, and I wondered if I could take the thrums and make a square braid…just for the fun of it.

First warp on my drawloom. Success!
Opphämta piece on the left, with Fårö wool pattern weft. Heart-Shaped Baskets runner on the right, with red 16/2 cotton pattern weft. Ten pattern shafts.

I will let the pictures tell the story of this first drawloom warp.

May you have plenty of things to make just for fun.

Happy Weaving,
Karen

Tried and True: Center the Reed

Eleven hours and thirty-six minutes into this project, the starting line for weaving is just around the corner. Wind the warp, and beam it. Thread the heddles. Sley the reed. Unlock the back beam ratchet. Move the countermarch to the front of the loom. … Pause when you think about moving the twelve shafts and the reed forward with the countermarch. Reach. Wiggle. Pull. Wiggle. Pull some more. Got it. Now, put the reed in the beater. Relax? Almost, but not yet.

Time to move the whole shebang forward.
Reed is sleyed, so reed support cords have been removed. Time to move the whole shebang forward.
Ready to insert the reed into the beater.
Plastic-coated wire is threaded through the ends of the shaft bars because I don’t have shaft pins long enough for twelve shafts. After coaxing and wiggling the mass of shafts forward, with the countermarch above them, I am ready to insert the reed into the beater.
Basics: How to center the reed.
As I put the reed in the beater I make sure all of the ends are free, and not trapped in the beater’s grip.

We must not forget to center the reed. I center the reed just as soon as the reed is in the beater.

How to Center the Reed

(We are actually centering the warp that is in the reed.)

Supplies needed: Tape measure (or string)

1. Using the tape measure, measure from the right edge of the warp in the reed to the outer edge of the beater on the right-hand side. Hold the tape measure with your fingers marking the measurement.

Center the reed.


2. Holding that measurement, place the tape measure at the left edge of the warp in the reed stretching out toward the outer edge of the beater on the left-hand side.

How to center the reed.


3. Note the difference in measurement between the right side and left side. Move the reed in the beater to center.


4. Repeat the first two steps until the measurements are the same on both sides.

Centering the reed.
Tips for centering the reed in the beater.
Reed is centered.

Now you can relax. Enjoy the moment, because you are that much closer to seeing fabric take shape!

May you enjoy the process you’re in.

Patiently,
Karen

Process Review: Comfy Throw With Fringe

This throw has fringe. It seems appropriate for a homestyle cotton wrap. Fringe says comfortable, casual, and playful. I do not mind the time it takes to twist the threads to make this tactile edging. It’s a satifying close to a worthwhile project. After all, who can resist running their fingers through soft twisted fringes?

Finished handwoven cotton throw.
Knots on the ends of the fringes are trimmed off after washing and drying the throw.

Reminisce with me through the start-to-finish process of making this eight-shaft undulating twill throw for my lovely daughter-in-law Lindsay.

Beaming the warp.
Dressing the Great Room loom.
Heddles are threaded.
Sleying the reed on Glimakra Standard.
Ready to tie on.
Eight shafts.
All tied on.
Testing, testing...
Eight-shaft undulating twill in 8/2 cotton.
Cloth beam is filling!
Weave to the end mark.
Hemstitching at the end of the cotton throw.
Playing with pattern. 8-shaft twill.
End of warp is near.
8-shaft twill. Fun with patterns.
Cutting off!
Getting ready to twist fringe.
Twisting fringe on cotton throw.
Before wet finishing.
After wet-finishing.
Trimming off the knots at the end of fringes.
Finished 8-shaft twill cotton throw. With fringe!

May you have plenty of fringe benefits.

Happy Weaving,
Karen