Charted Territory on the Drawloom

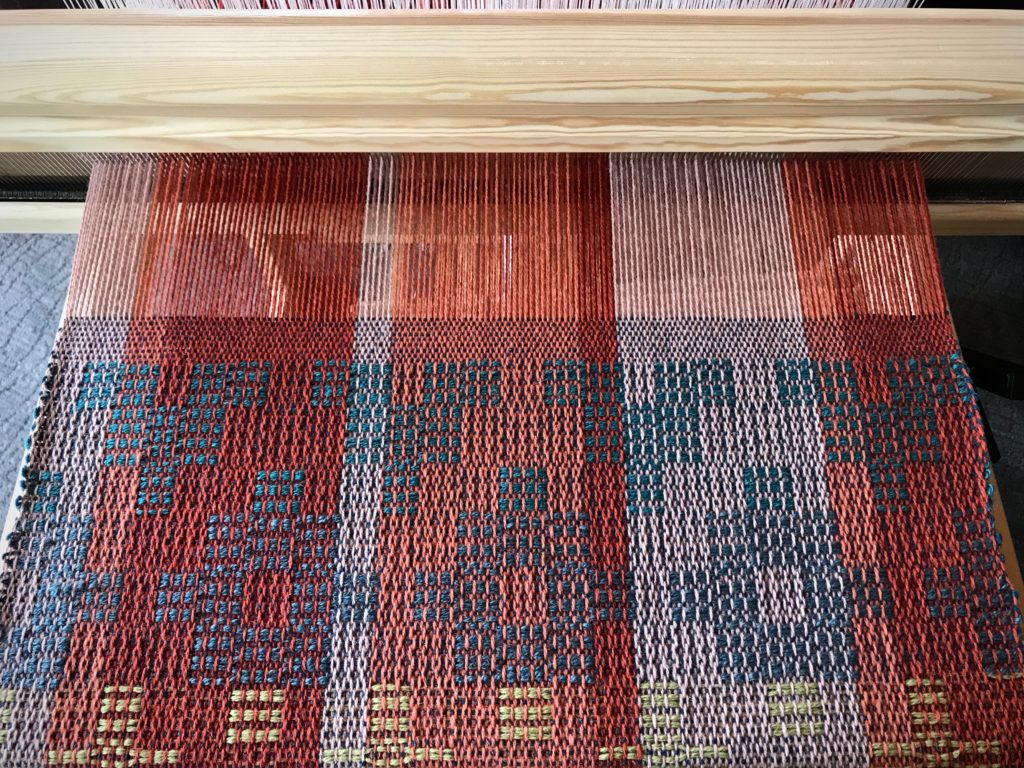
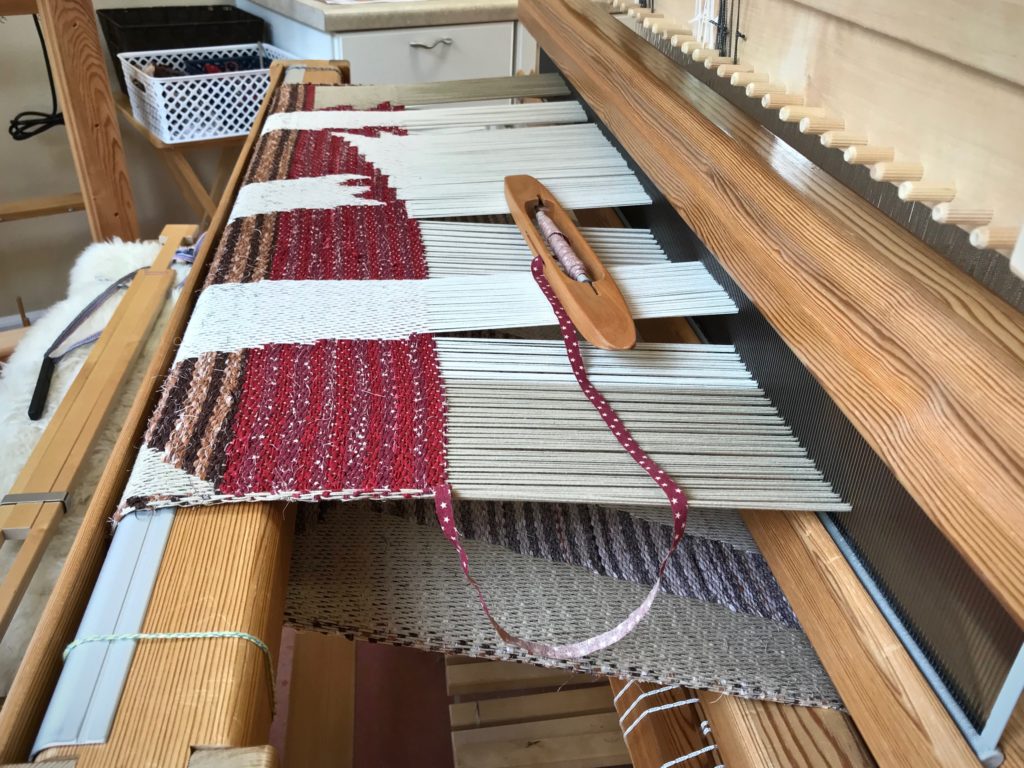
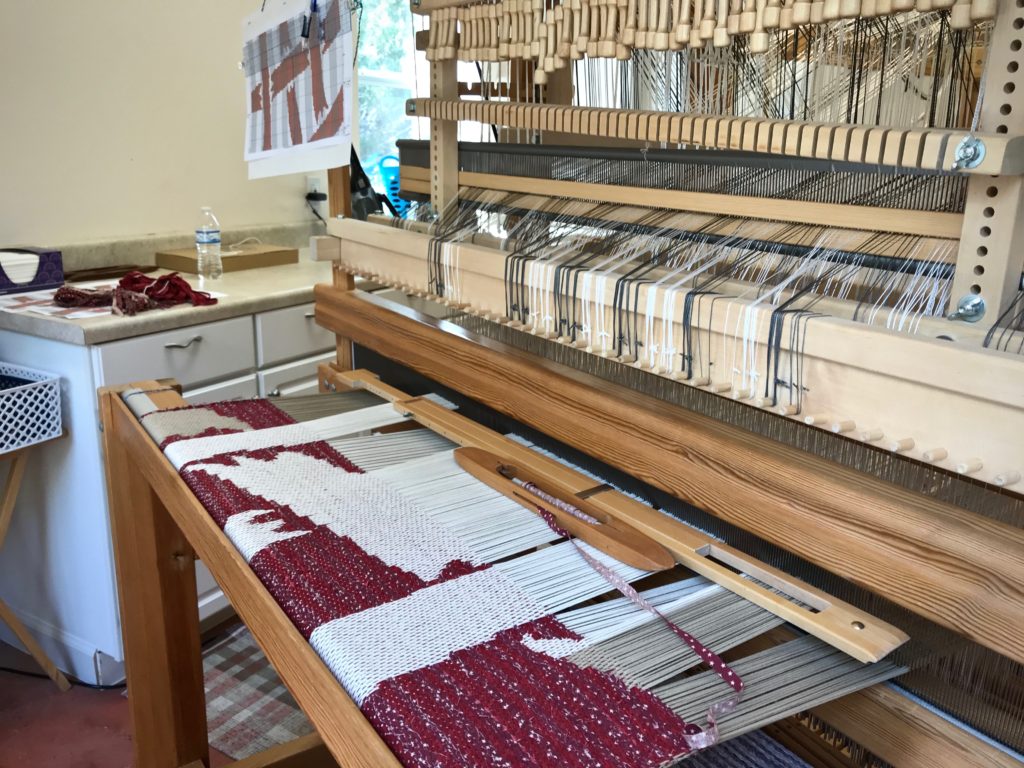
The chart that hangs at the left side of the beater gives a glimpse of the overall design of this rag rug. It’s the second page of a three-page chart. It’s not easy to make sense of the design on the loom, seeing only a small slice of the big picture. I am eager to see the whole project woven, to see how it aligns with the design I’ve imagined.

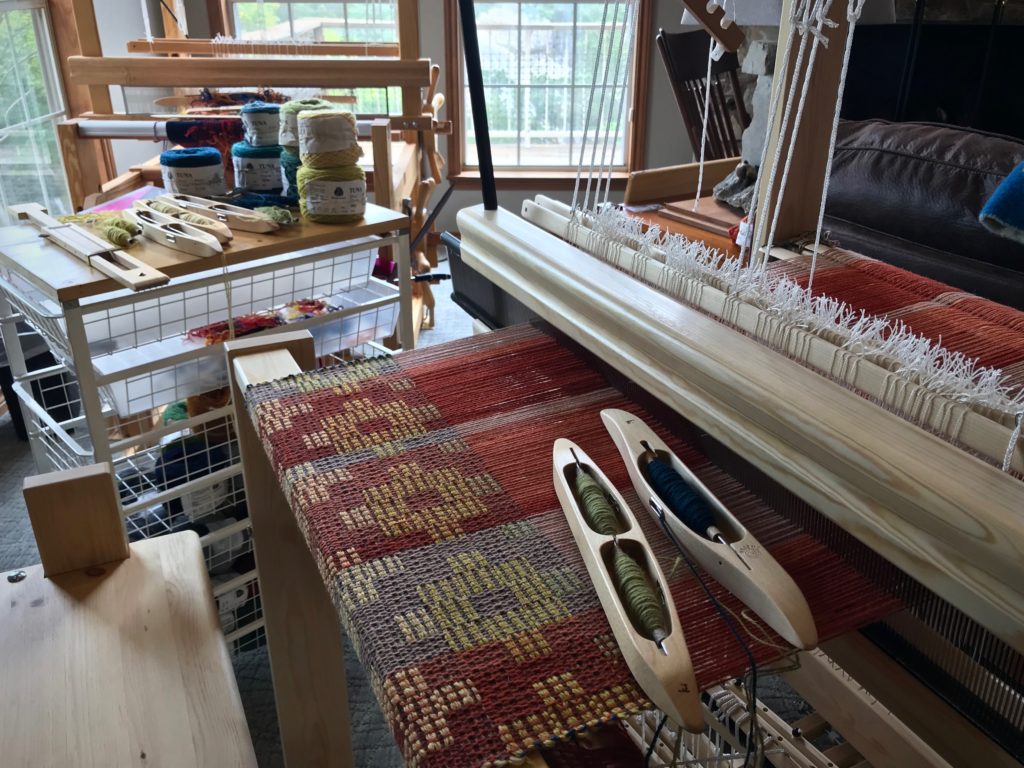
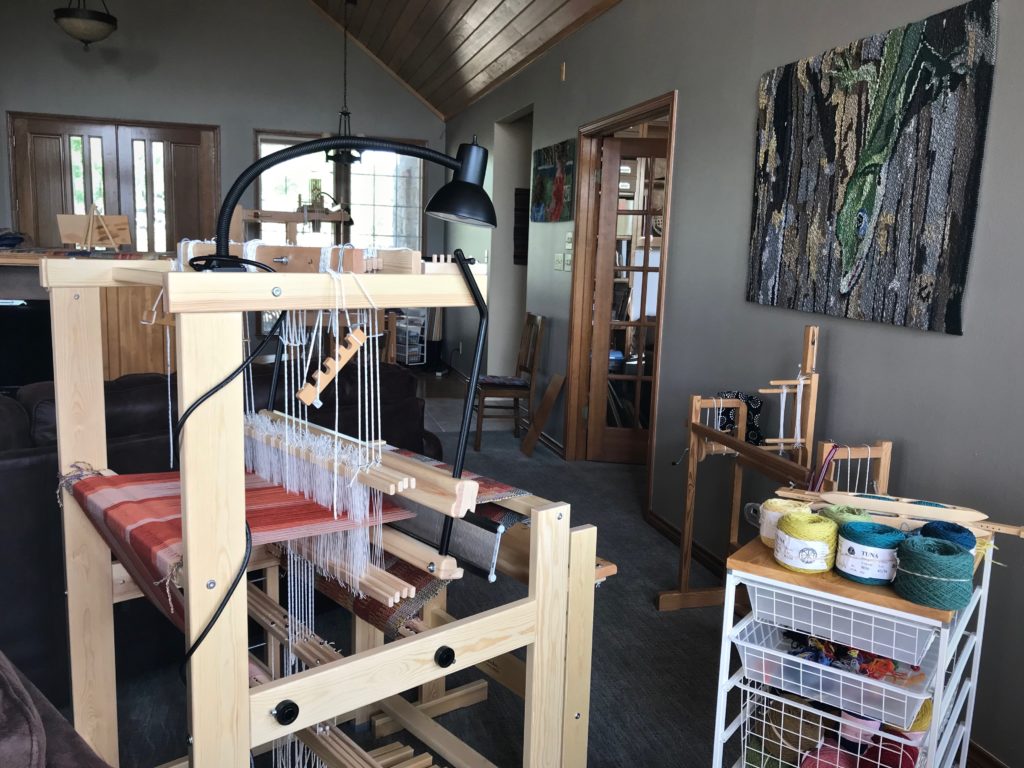
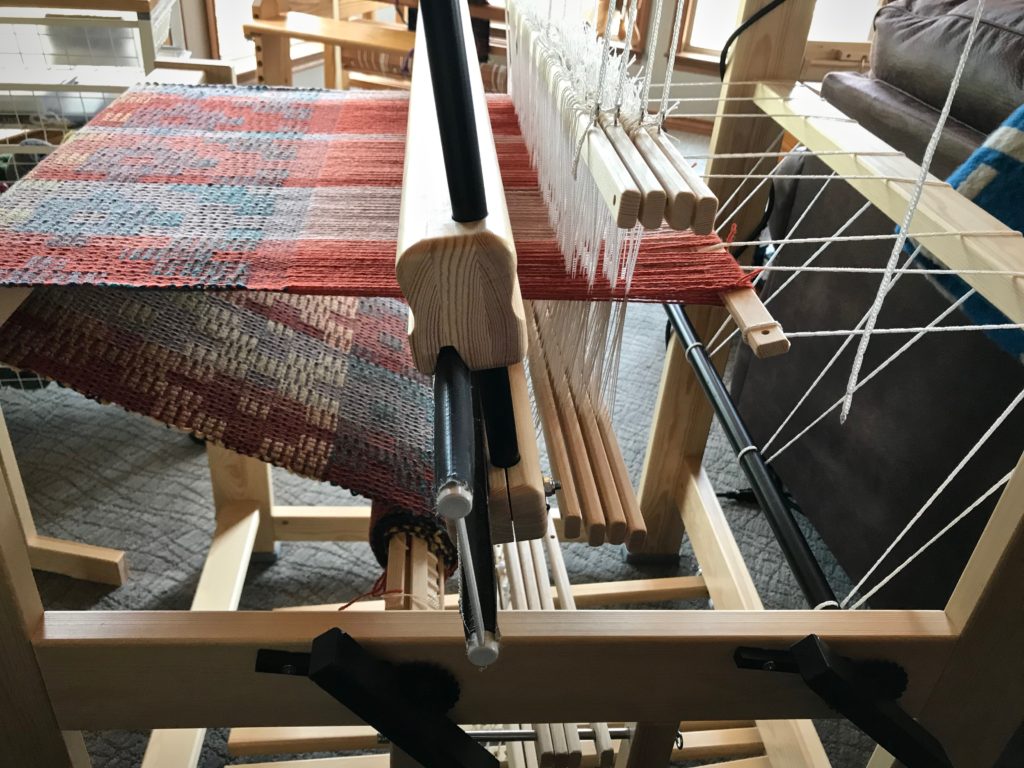
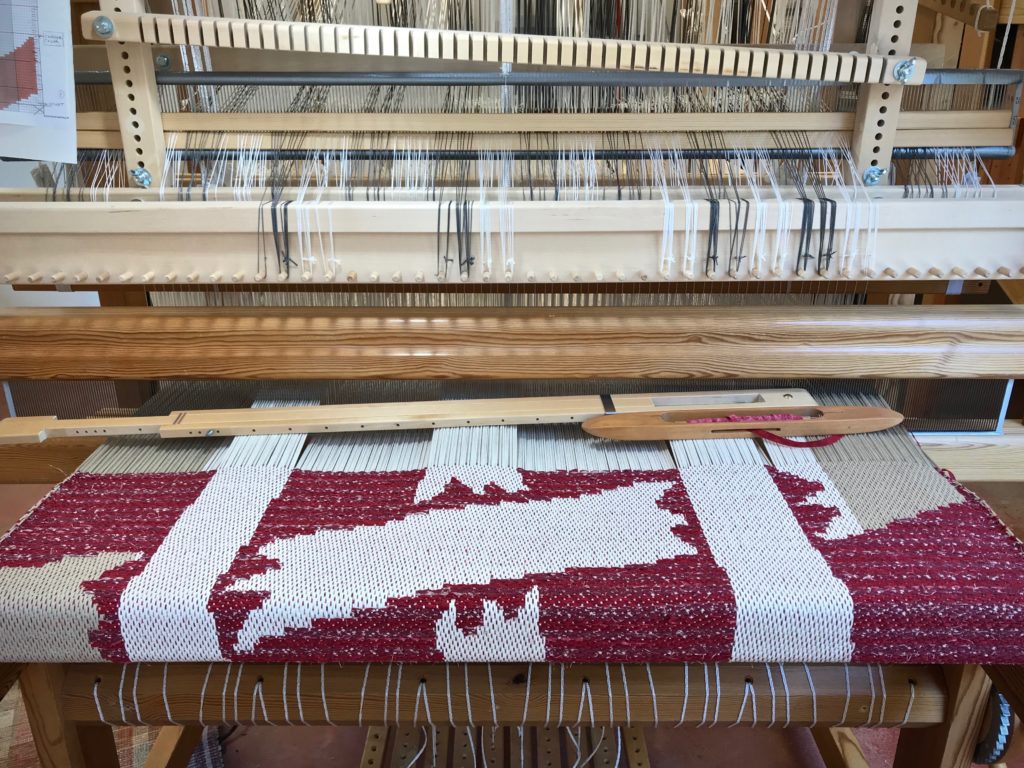
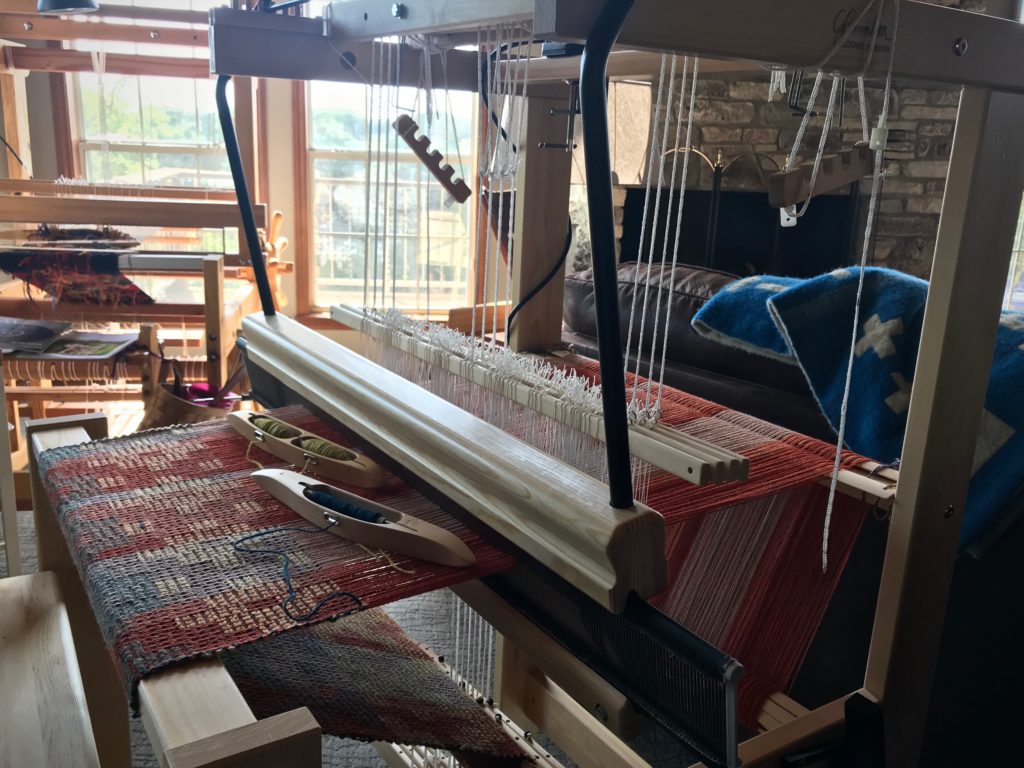
Drawloom rag rug on the loom.
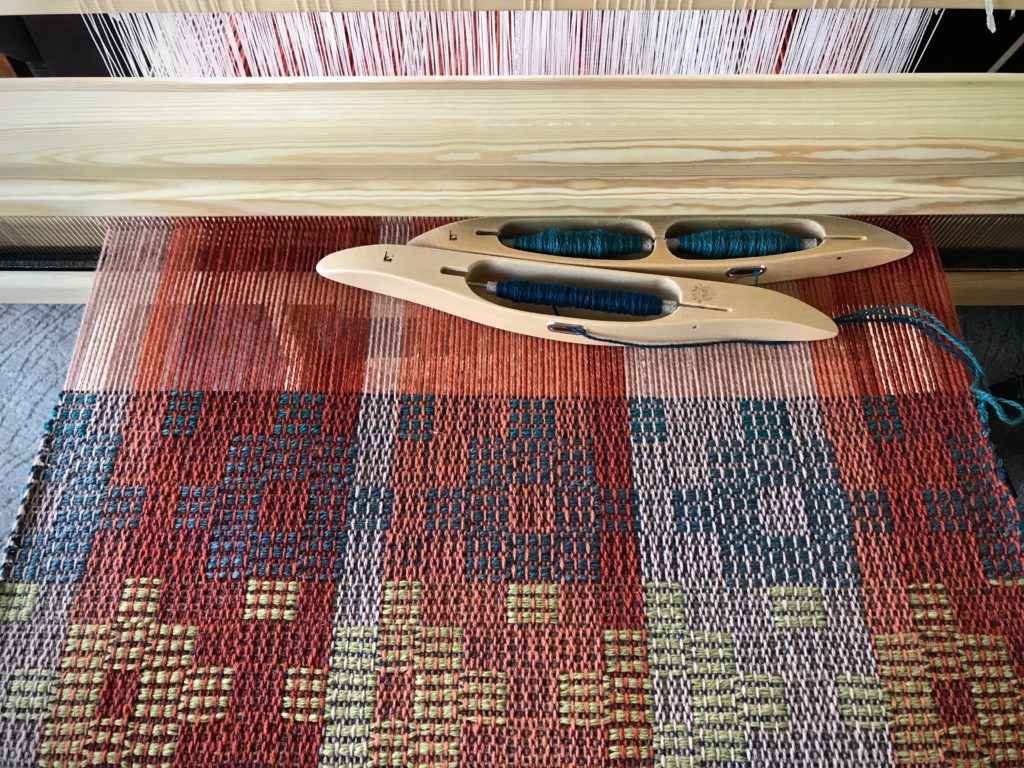
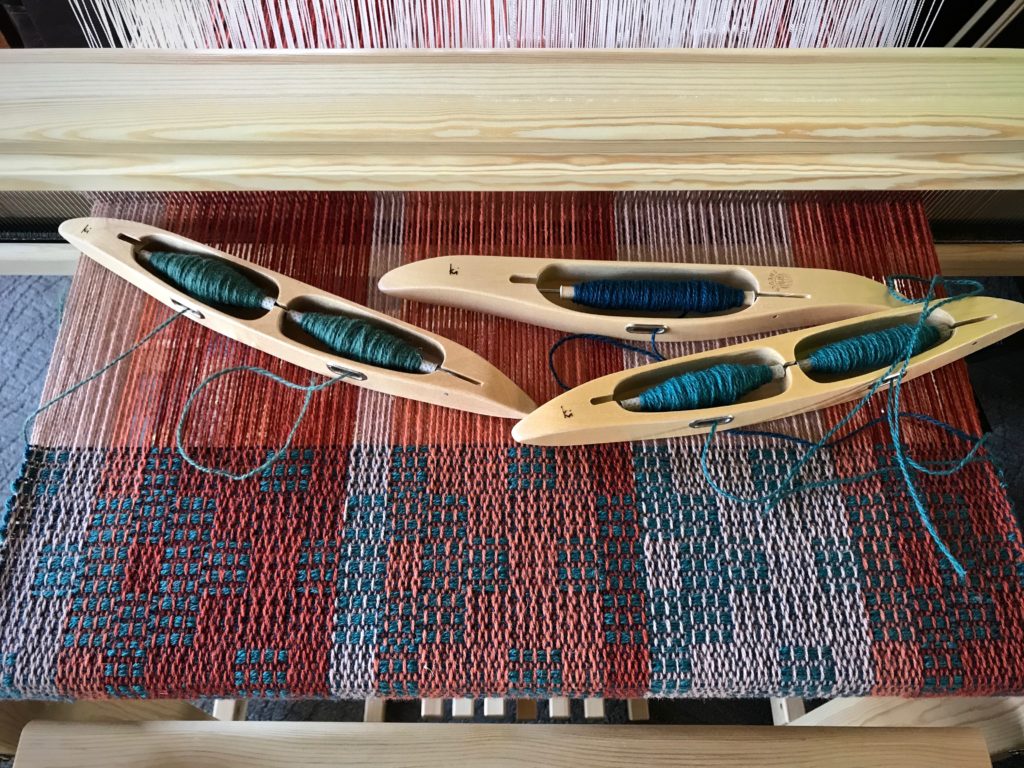
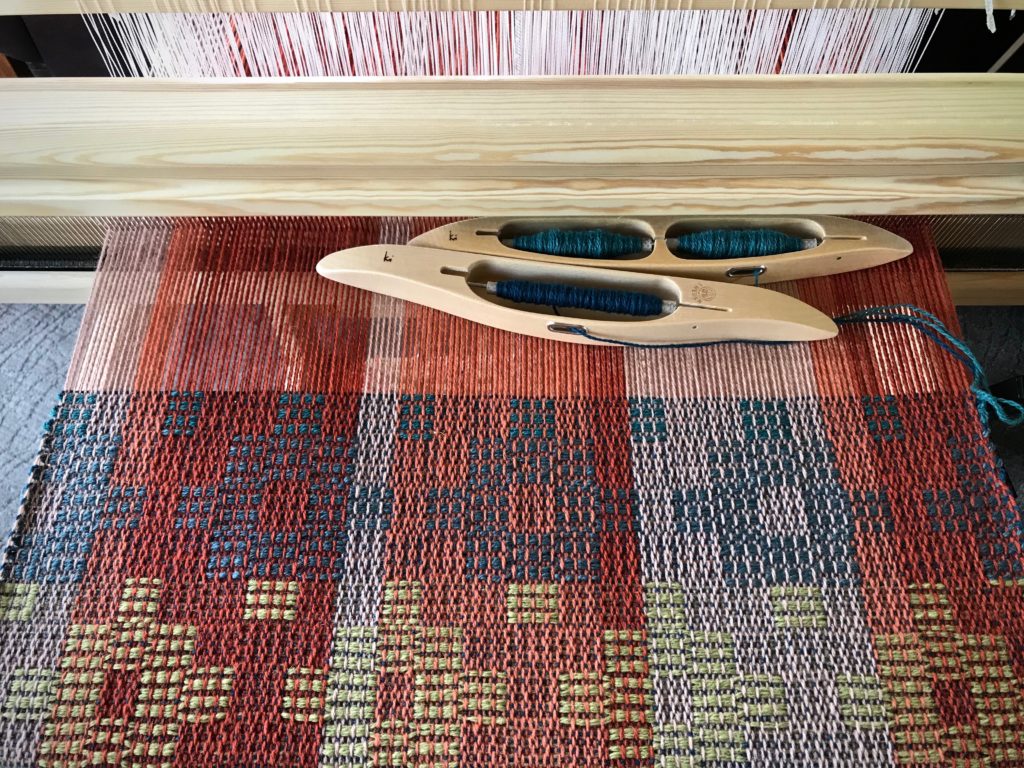
First color block of the rug was brown. The second color block is red. Two different red fabrics alternate.
Following a chart for the single-unit drawloom.
Chart hangs at the left side of the loom. A transparent ruler is clipped to the chart. I move the ruler up, row by row, to keep my place on the chart. Single-unit draw cords that are pulled are held in place along the hook bar just above the beater.

I drew the design in MacStitch, a cross-stitch design program. Then, I imported the gridded image into Photo Affinity to add vertical shaded stripes to match the 10 white-/10 black-cord arrangement of single-unit draw cords on the loom. Lastly, I printed the enlarged chart to use as my guide at the loom.

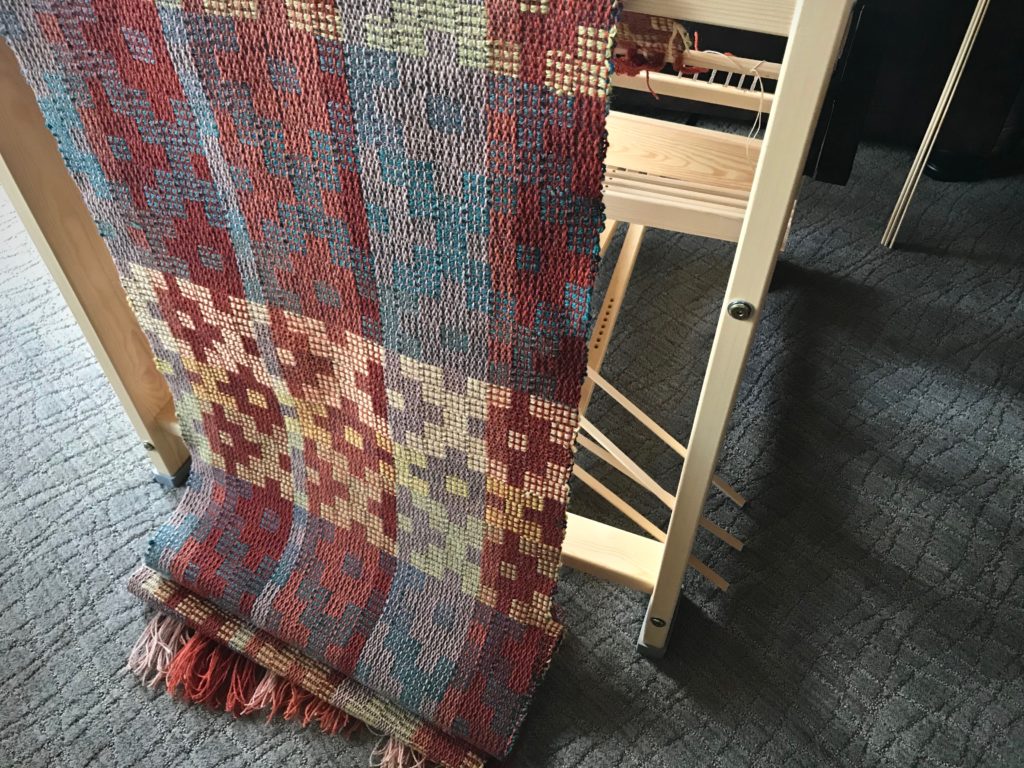
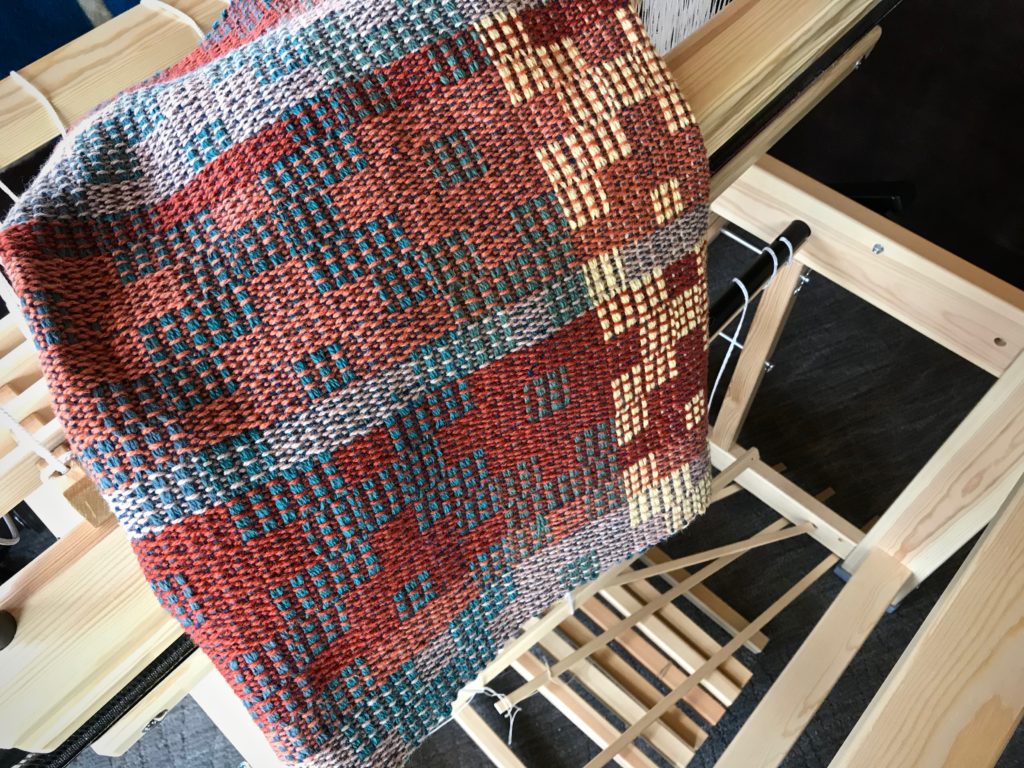
Drawloom rag rug in the making.

How does our present slice of life fit into the overall plan? Only God knows. But one thing is certain. The Grand Weaver has a purpose for your life. It’s a purpose that he will fulfill. You and I are the work of his hands, work that he will not abandon. Yes, we make our plans. The truth is, our best plan is that which aligns with the design he has imagined.

May you get a glimpse of your life’s design.

On purpose,
Karen

My New Glimåkra Julia Loom

My family of looms just welcomed a new little sister—Julia! This 8-shaft countermarch is Glimåkra’s smallest floor loom. I dressed the loom right away in 6/2 Tuna wool for 4-shaft Jämtlandsdräll to try out the loom. So far, so good. An 8-shaft project using 20/2 Mora wool is up next. Would you believe this is my new portable loom? Surprisingly, the Julia fits in the back of our vehicle, without disassembling. This is the loom you can expect to see with me at future workshops.

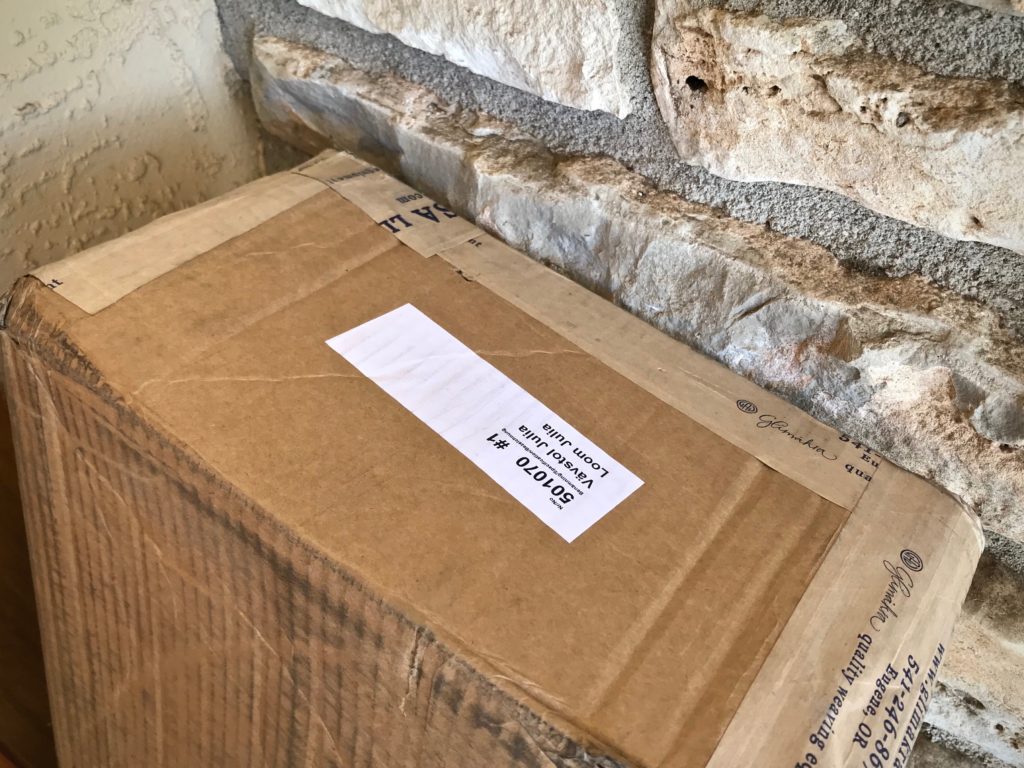
My new Glimakra Julia Loom delivered!
One of the boxes delivered to my front door.
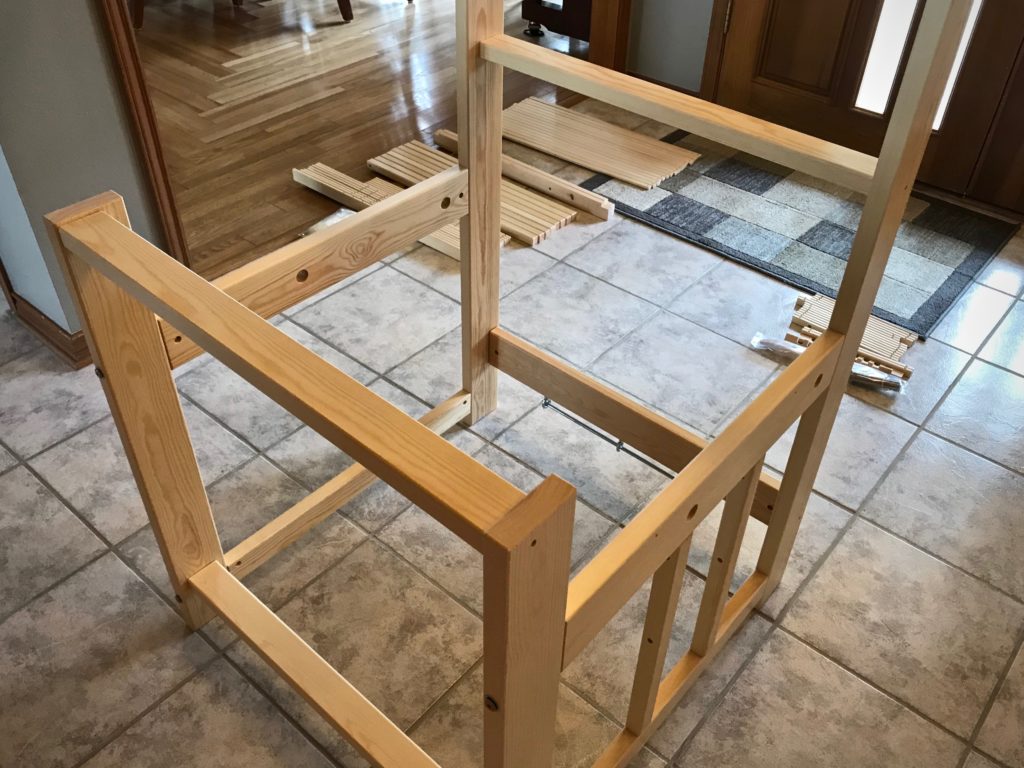
Assembling my new Glimakra Julia loom!
Loom assembly in our foyer.

My Julia Observations:

  • It goes together like you’d expect from a Glimåkra. Instructions are minimal, and quality is high. It’s a well-designed puzzle.
  • The assembled loom is easy to move around to gain space needed for warping, or simply to change location for any reason.
  • The breast beam is not removable like it is on my other Glimåkra looms, which makes it a stretch to thread the heddles from the front. However, by hanging the shaft bars from the beater cradle at the very front I can thread the heddles without back strain. (Or, if you are petite and don’t mind climbing over the side, you can put the bench in the loom for threading.)
  • Tying up lamms and treadles is not much different than it is for my Ideal. Everything is well within reach from the front. It helps to take the lamms off the loom to put in the treadle cords, and then put the lamms back on the loom. With one extra person available, it is entirely feasible to elevate the loom on paint cans, upside-down buckets, or a small table to make tie-ups easier, but I didn’t find it necessary to do that.
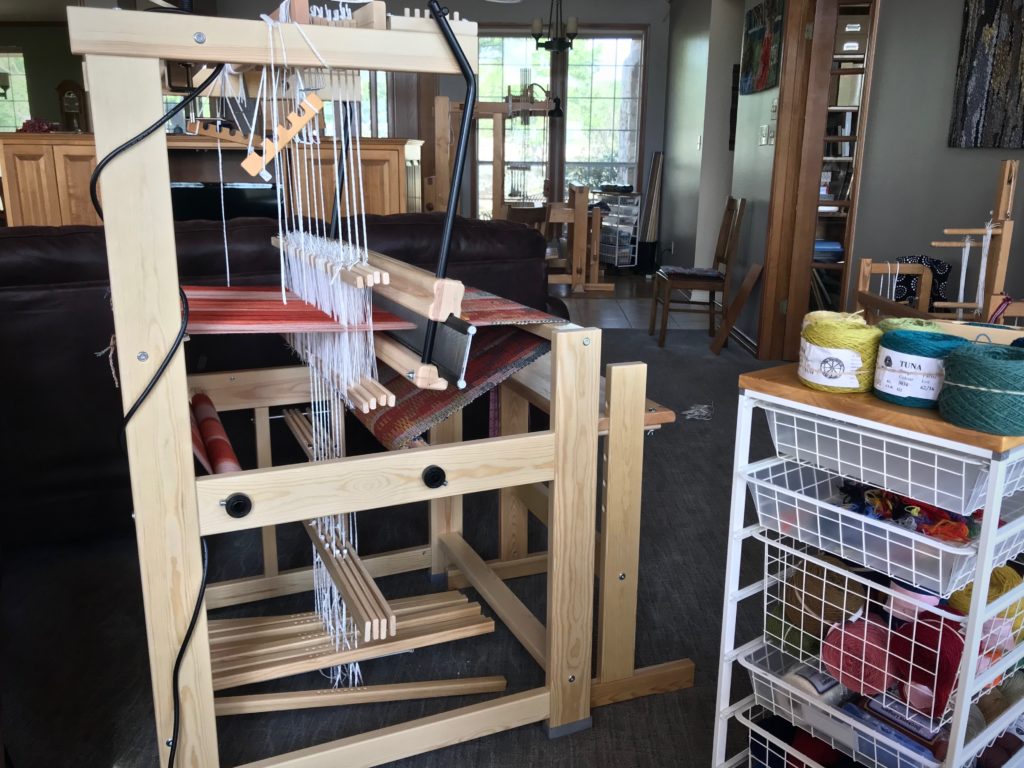
Swedish loom corner in the living room. New Glimakra Julia.
Loom that Steve built sits near the windows in our living room. Julia sits nearby. Sister looms.
Glimåkra Standard and Glimåkra Julia in the living room.
Glimåkra Standard sits by the windows at the front of the living room. Julia sits a few steps away. Loom sisters.
  • Weaving on the Julia is a delight, as it is with my other countermarch looms. Everything works. With four shafts, the sheds are impeccable.
  • The bench adjusts to the right height.
  • The hanging beater is well balanced, sturdy, and has a good solid feel. I can move the beater back several times before needing to advance the warp.
  • I thought the narrower treadles might prove annoying, but I’ve been able to adjust quickly. After weaving a short while, I forget about the treadle size.
Jämtlandsdräll in Tuna wool.
Double-bobbin shuttle for the pattern weft, and new boat shuttle that came with the loom for the ground weave weft. All 6/2 Tuna wool. Jämtlandsdräll.

Steve is the loom assembler in our family. I stand by and give a hand when needed. I hope you can feel our excitement as you watch this short video of us discovering what’s in the boxes and figuring out how it all goes together.

May you enjoy the puzzles that come to your doorstep.

Happy Weaving,
Karen

It Is Going to Be All White

I am getting ready for Christmas. When I was a little girl, my Aunt Helen made a Christmas tree skirt for our family. It was a simple white felt skirt, with added colorful felt silhouettes depicting Christ’s Nativity. I want to reproduce that Christmas tree skirt using handwoven fabric. This fabric on the Ideal loom will be the base of the skirt. I will use some of my myriad handwoven fabric remnants for the colorful Nativity appliqué.

Weaving wool fabric for a Christmas tree skirt.
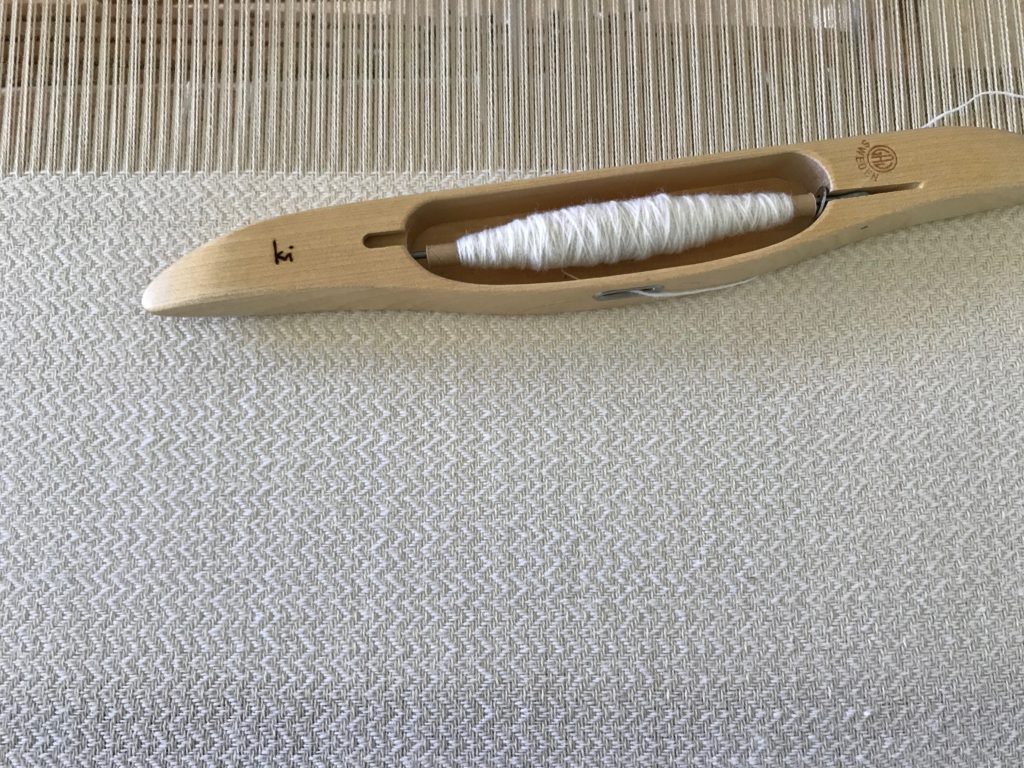
Möbelåtta warp on the right, and Fårö weft on the left.
Fabric for Christmas tree skirt.
Temple in place for consistent beat and tidy selvedges.

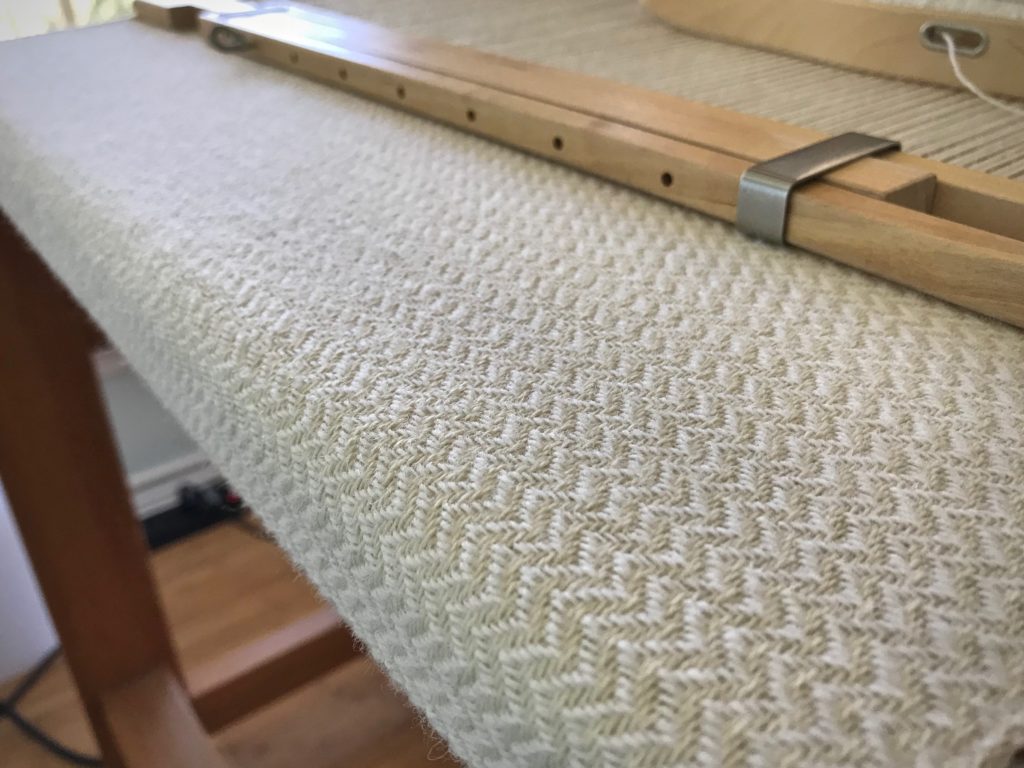
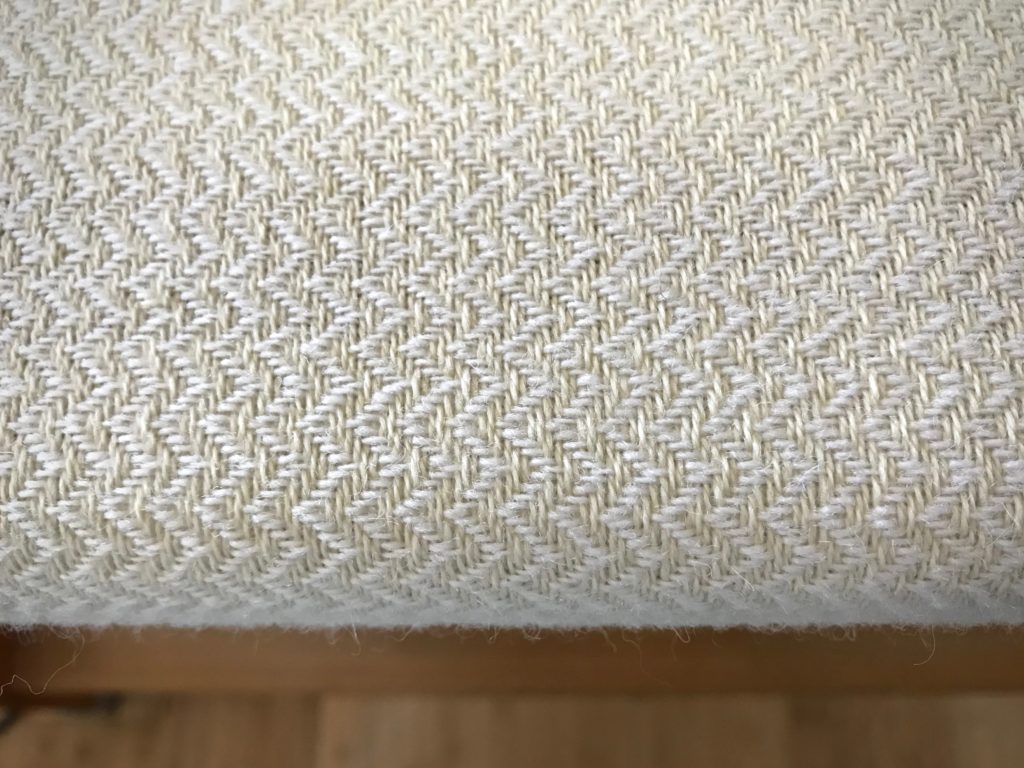
The warp is unbleached 8/2 Möbelåtta wool. The weft is bleached 6/1 Fårö wool. The 6-shaft point twill fabric is delightful. Perfect for what I have in mind. It is peaceful, soothing, restful, and calm. You can see that everything is going to be all white.

Wool fabric for Christmas tree skirt.
Six-shaft point twill.
Fabric for Christmas tree skirt.
In anticipation of Christmas.

There is a time for color, action, and noise. But we also need a time for serenity, stillness, and quiet reflection. Going alone to sit in the Lord’s presence gives us just that. It is there that we can pour out our heart in prayer. The Lord meets us where we are when we pray. And He tells the trusting heart that everything is going to be all right.

May your heart be at rest.

With you,
Karen

PS Floating Selvedges. Last week I asked if you could tell which one of these four towels was woven without floating selvedges. (1 – 4, with the towel on top as #1.) See Process Review: Jubilation Hand Towels

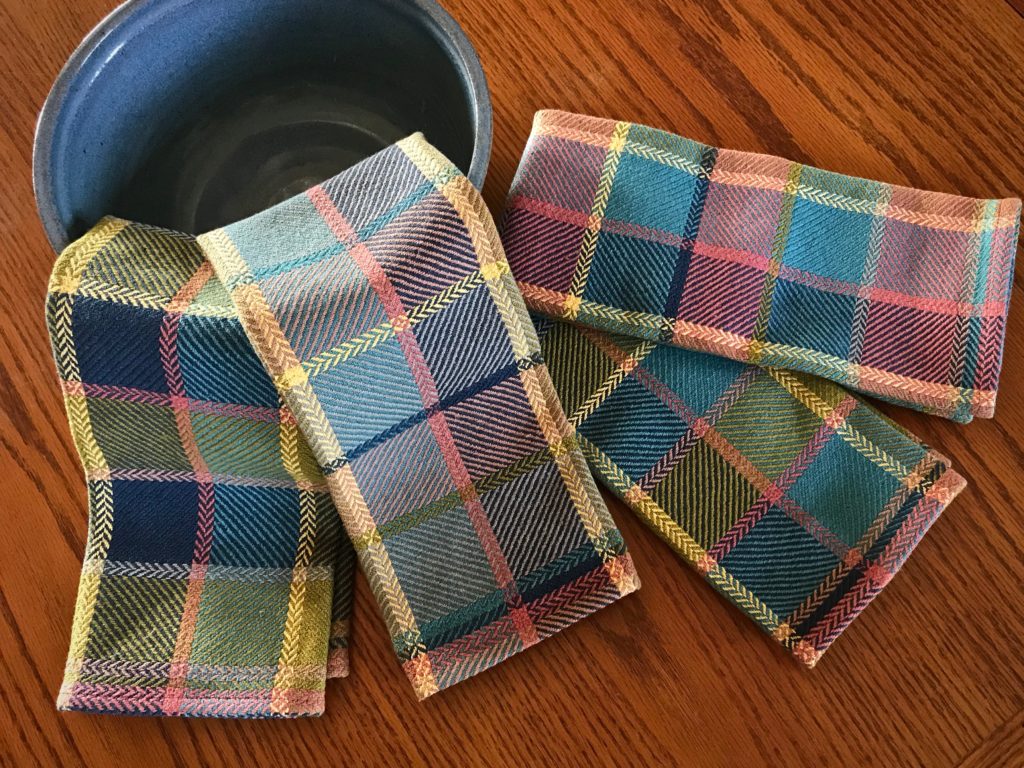
Four new handwoven towels.
Three of the four towels were woven with floating selvedges.

The towel that was woven without floating selvedges is the same towel that received the most votes. Towel #2!

It seems counterintuitive that weaving twill structures without floating selvedges could produce a pleasing edge. But most of the time the small floats that appear at the edge are inconsequential, especially after wet finishing. (By the way, I am weaving the white point twill mentioned above without floating selvedges, as well.)

Thank you for your wonderful participation!

Process Review: Jubilation Hand Towels

These towels make me think of my father. He was a brilliant architect. As an architect’s daughter, I learned to appreciate the interaction of structure, design, and color. This fabric has it all! These towels are also an expression of joy, a prominent aspect of my dad’s personality. If you could create a tangible article of jubilation, this would be it.

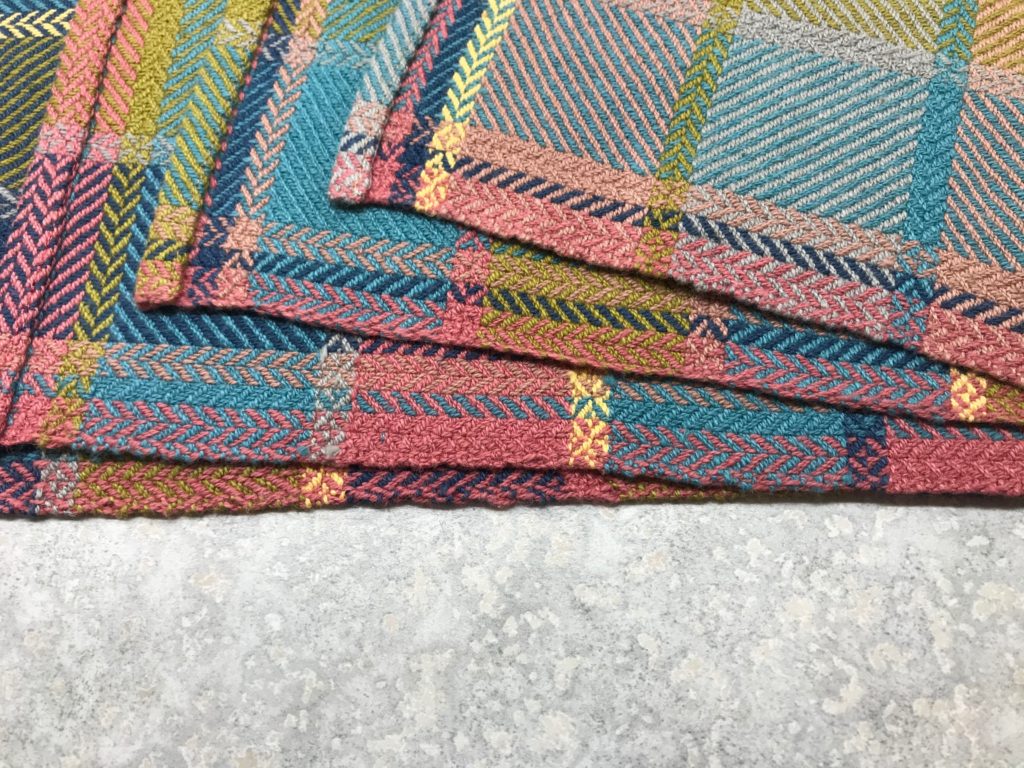
Broken and reverse twill structure. Handwoven towels.
Broken and reverse twill structure. Using all the same colors, each towel has a different sequence of weft color order.

After weaving three towels, I eliminated the floating selvedges. Which one of the four towels do you think was woven without floating selvedges? Leave your answer in the comments. (1 – 4, with the towel on top as #1.)

Four new handwoven towels.
Three of the four towels were woven with floating selvedges.

Here’s a short slideshow video that shows the process from start to finish:

Jubilation bath towels are up next on the Glimåkra Standard!

May your jubilation rub off on your family and friends.

Happy Weaving,
Karen

Stony Creek Drawloom Rag Rug

I have woven umpteen rag rugs. But never one like this! Eight-shaft satin on the single-unit drawloom brings its own challenges, from managing draw cords to getting a decent shed. Add rag weaving to the mix and we have a whole new experience!

Cutting off drawloom rag rug.
Cutting off in 1-inch sections to make it easy to tie back on for the second rug on the warp.

Finishing has its own set of new challenges. My go-to method of tying knots to secure warp ends is unwieldy in this instance because the threads are extremely dense. By quietly doing some detail studies on a sample, I find a way to finish this unusual rug: Secure the ends with the serger. Then, sew two rows of straight stitches on the sewing machine for added security. Sew a narrow bound hem using some of the fabric that was used as weft in the rug. Steam press to finish.

Drawloom rag rug finishing details.
Serger cuts off the ends as it overlocks the edge. I pull out the scrap header little by little just ahead of the serger needles and blade.
Finishing drawloom rag rug - steps.
Two rows of straight stitching.
Bound hem on a drawloom rag rug.
Lightweight woven fusible interfacing backs the fabric used for the narrow bound hem.
My Grandma's thimble.
My Grandma’s thimble helps me hand stitch the back side of the bound hems.
Drawloom rag rug finished!
Finished and pressed.
Stony Creek Rag Rug woven on single-unit drawloom! (Design by Kerstin Åsling-Sundberg)
Dream come true! Stony Creek Rag Rug (Design by Kerstin Åsling-Sundberg)

I have another rag rug to weave on this warp. It will still be a challenge. With what I’ve learned, though, I’m anticipating a satisfying weaving and finishing experience.

We know what to do in normal circumstances. It’s in unusual times that we fall into dismay. Private time with Jesus turns confidential fears to confident faith. He treats our challenges like personal detail studies, showing us the way forward. His grace enables us to conquer the next challenge with confident faith.

May your confidence grow.

With faith,
Karen