Tools Day: Countermarch Loom Pros and Con

When my long-held dream of weaving on a floor loom became a possibility, I started my journey with questions. What are the pros and cons of the different types of looms? After considerable research, a winner emerged—the Swedish countermarch loom!

Pros and Con of Countermarch Looms
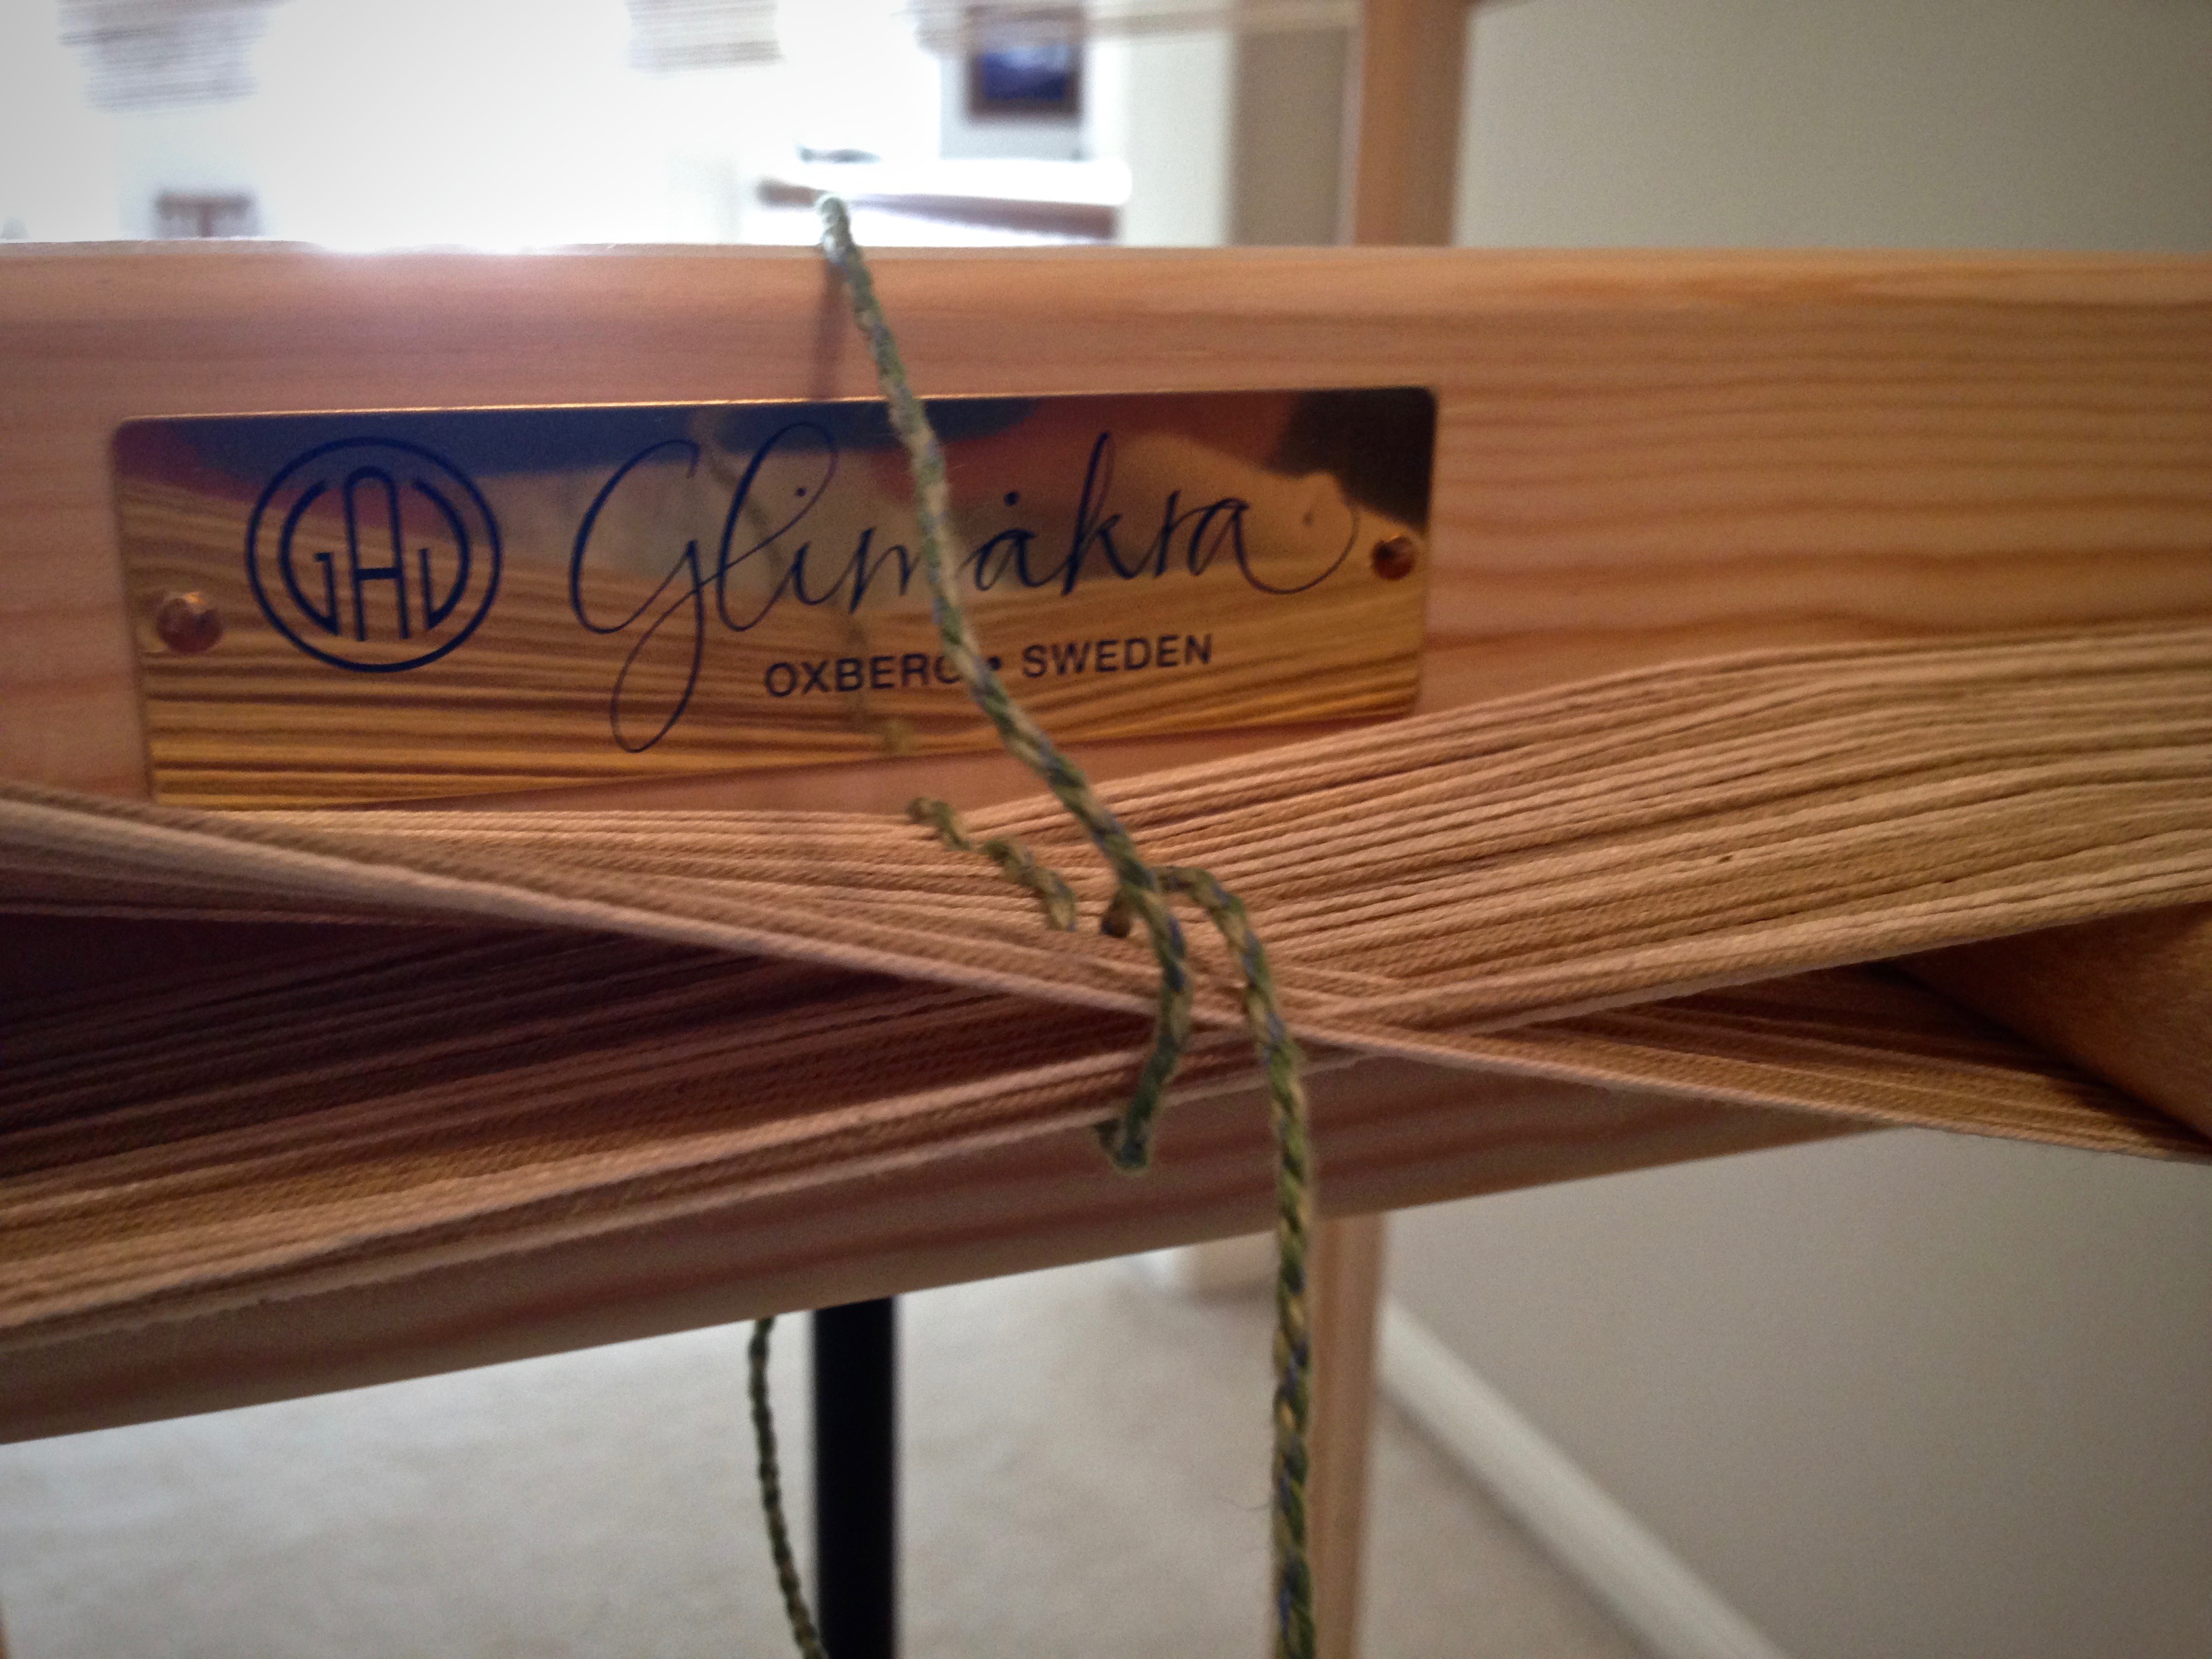
(My experience is with Glimåkra. Other countermarch looms may differ.)

Pros

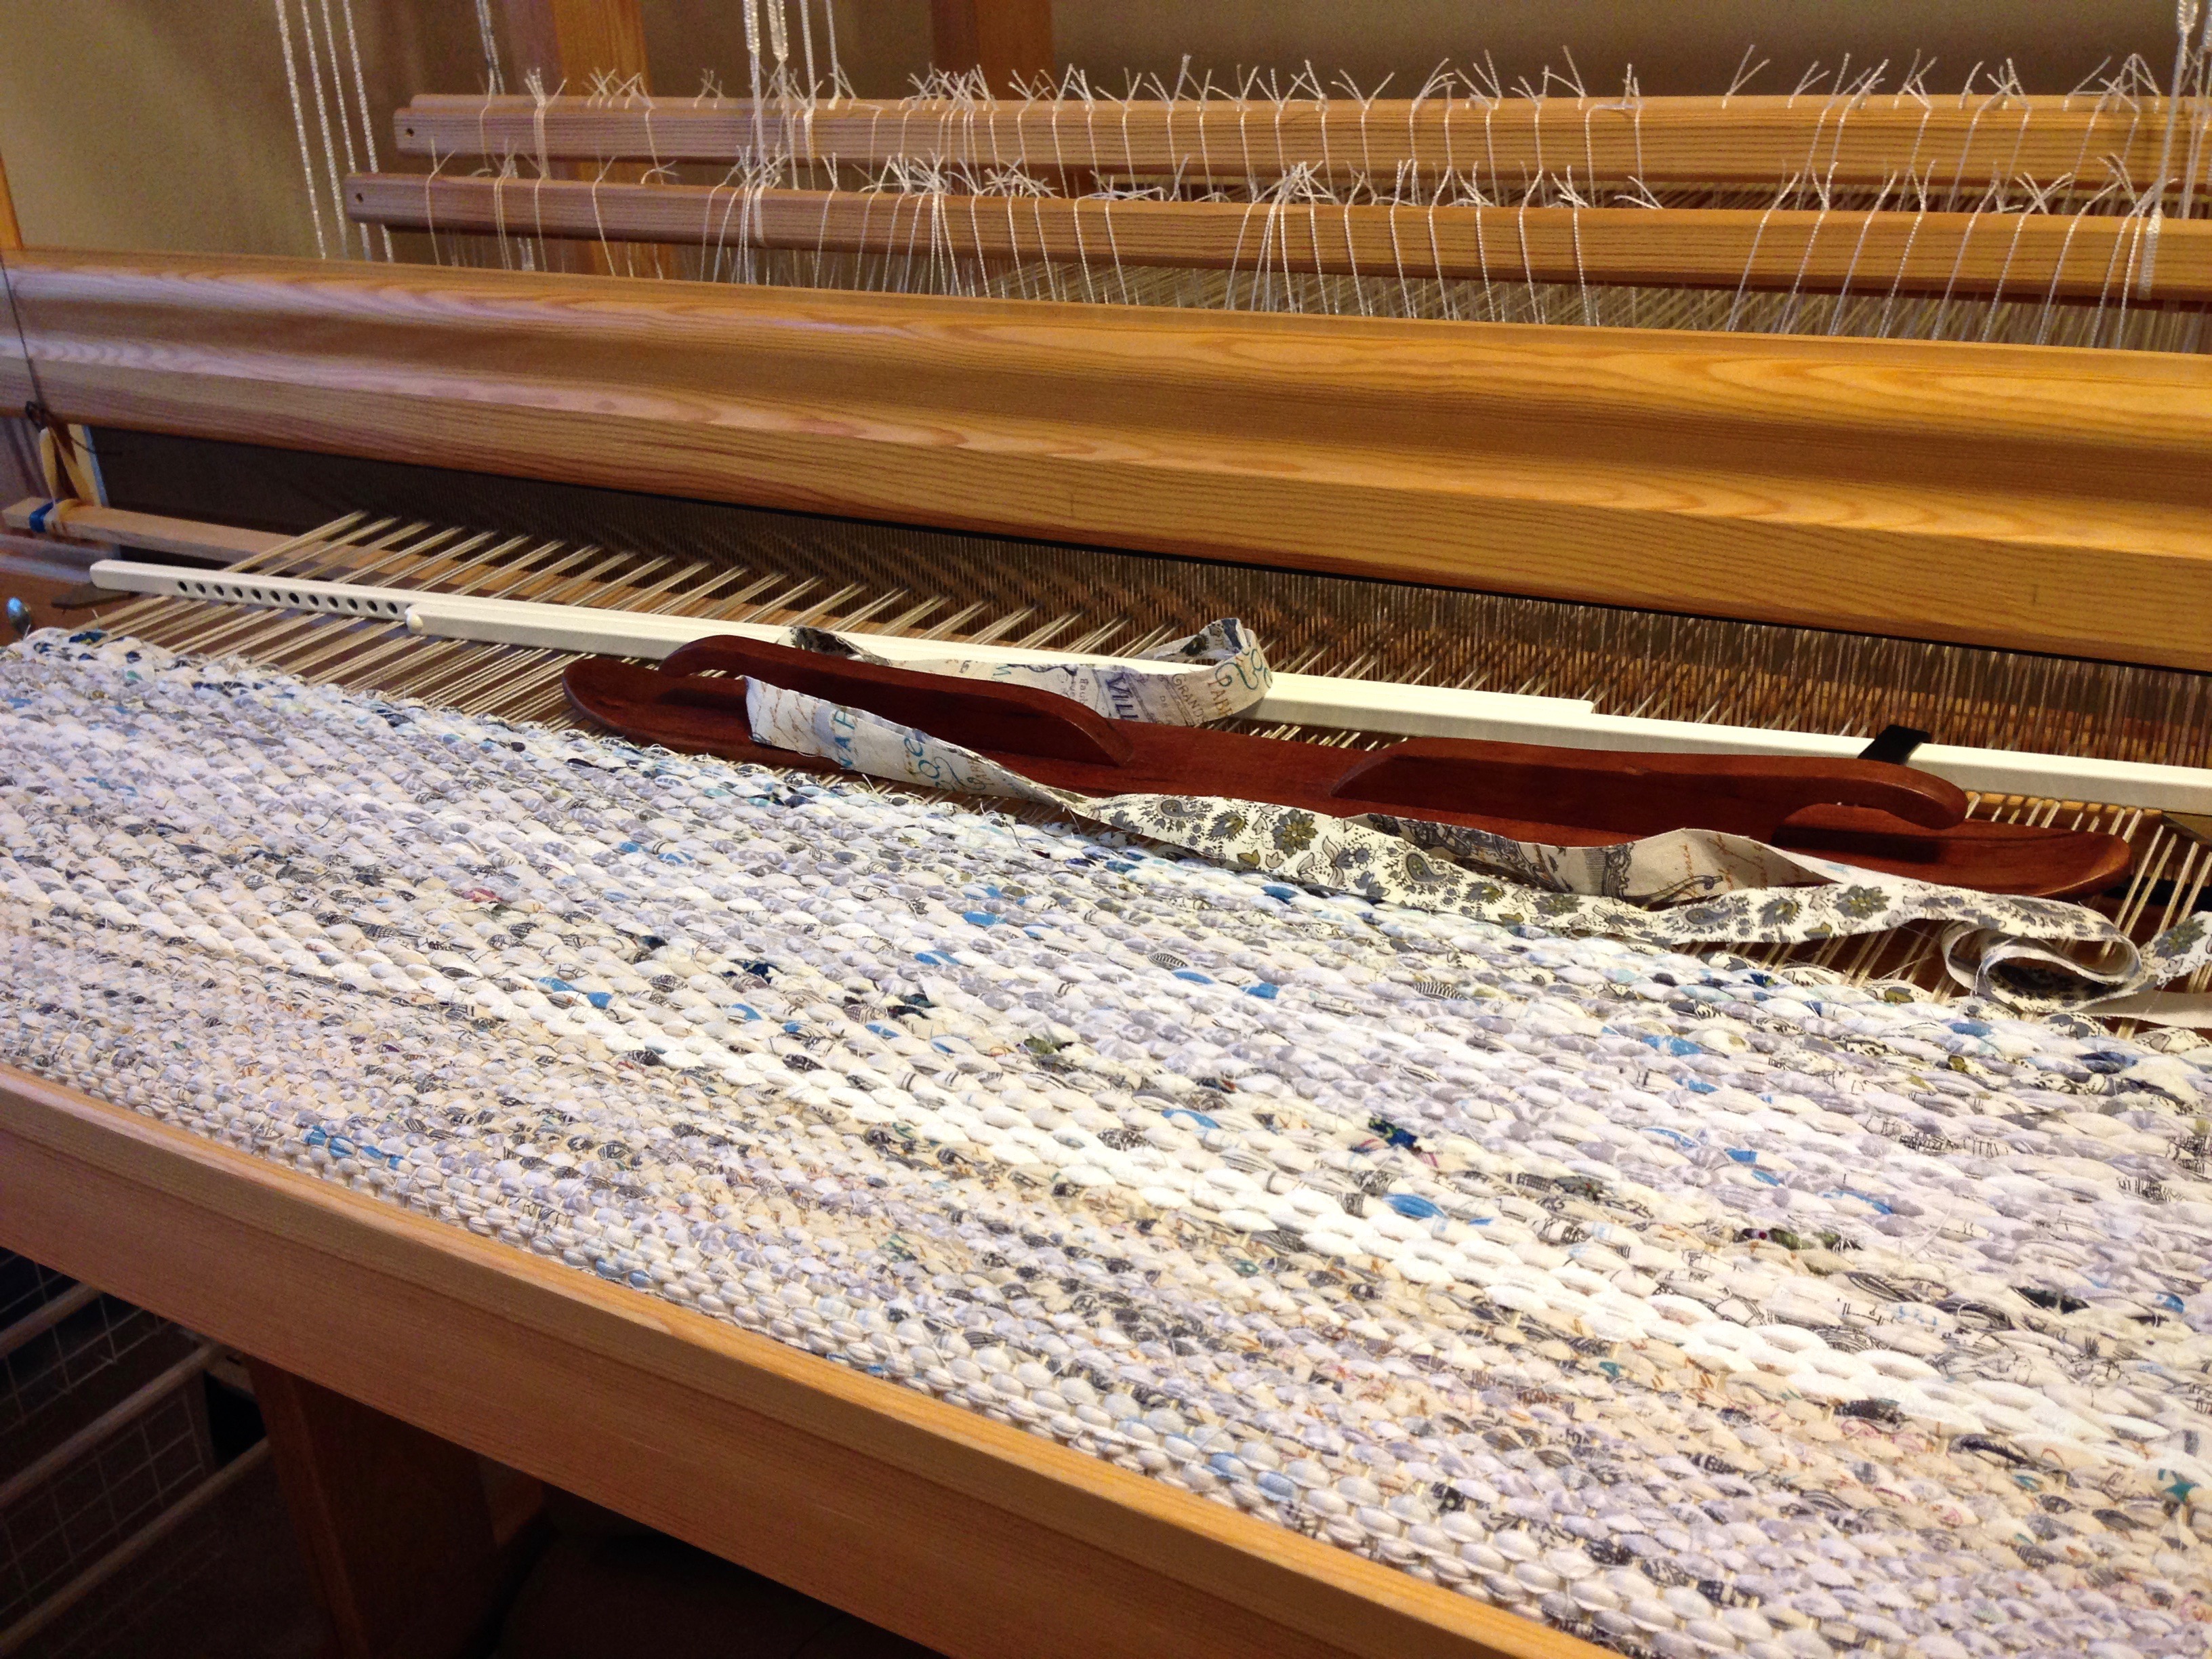
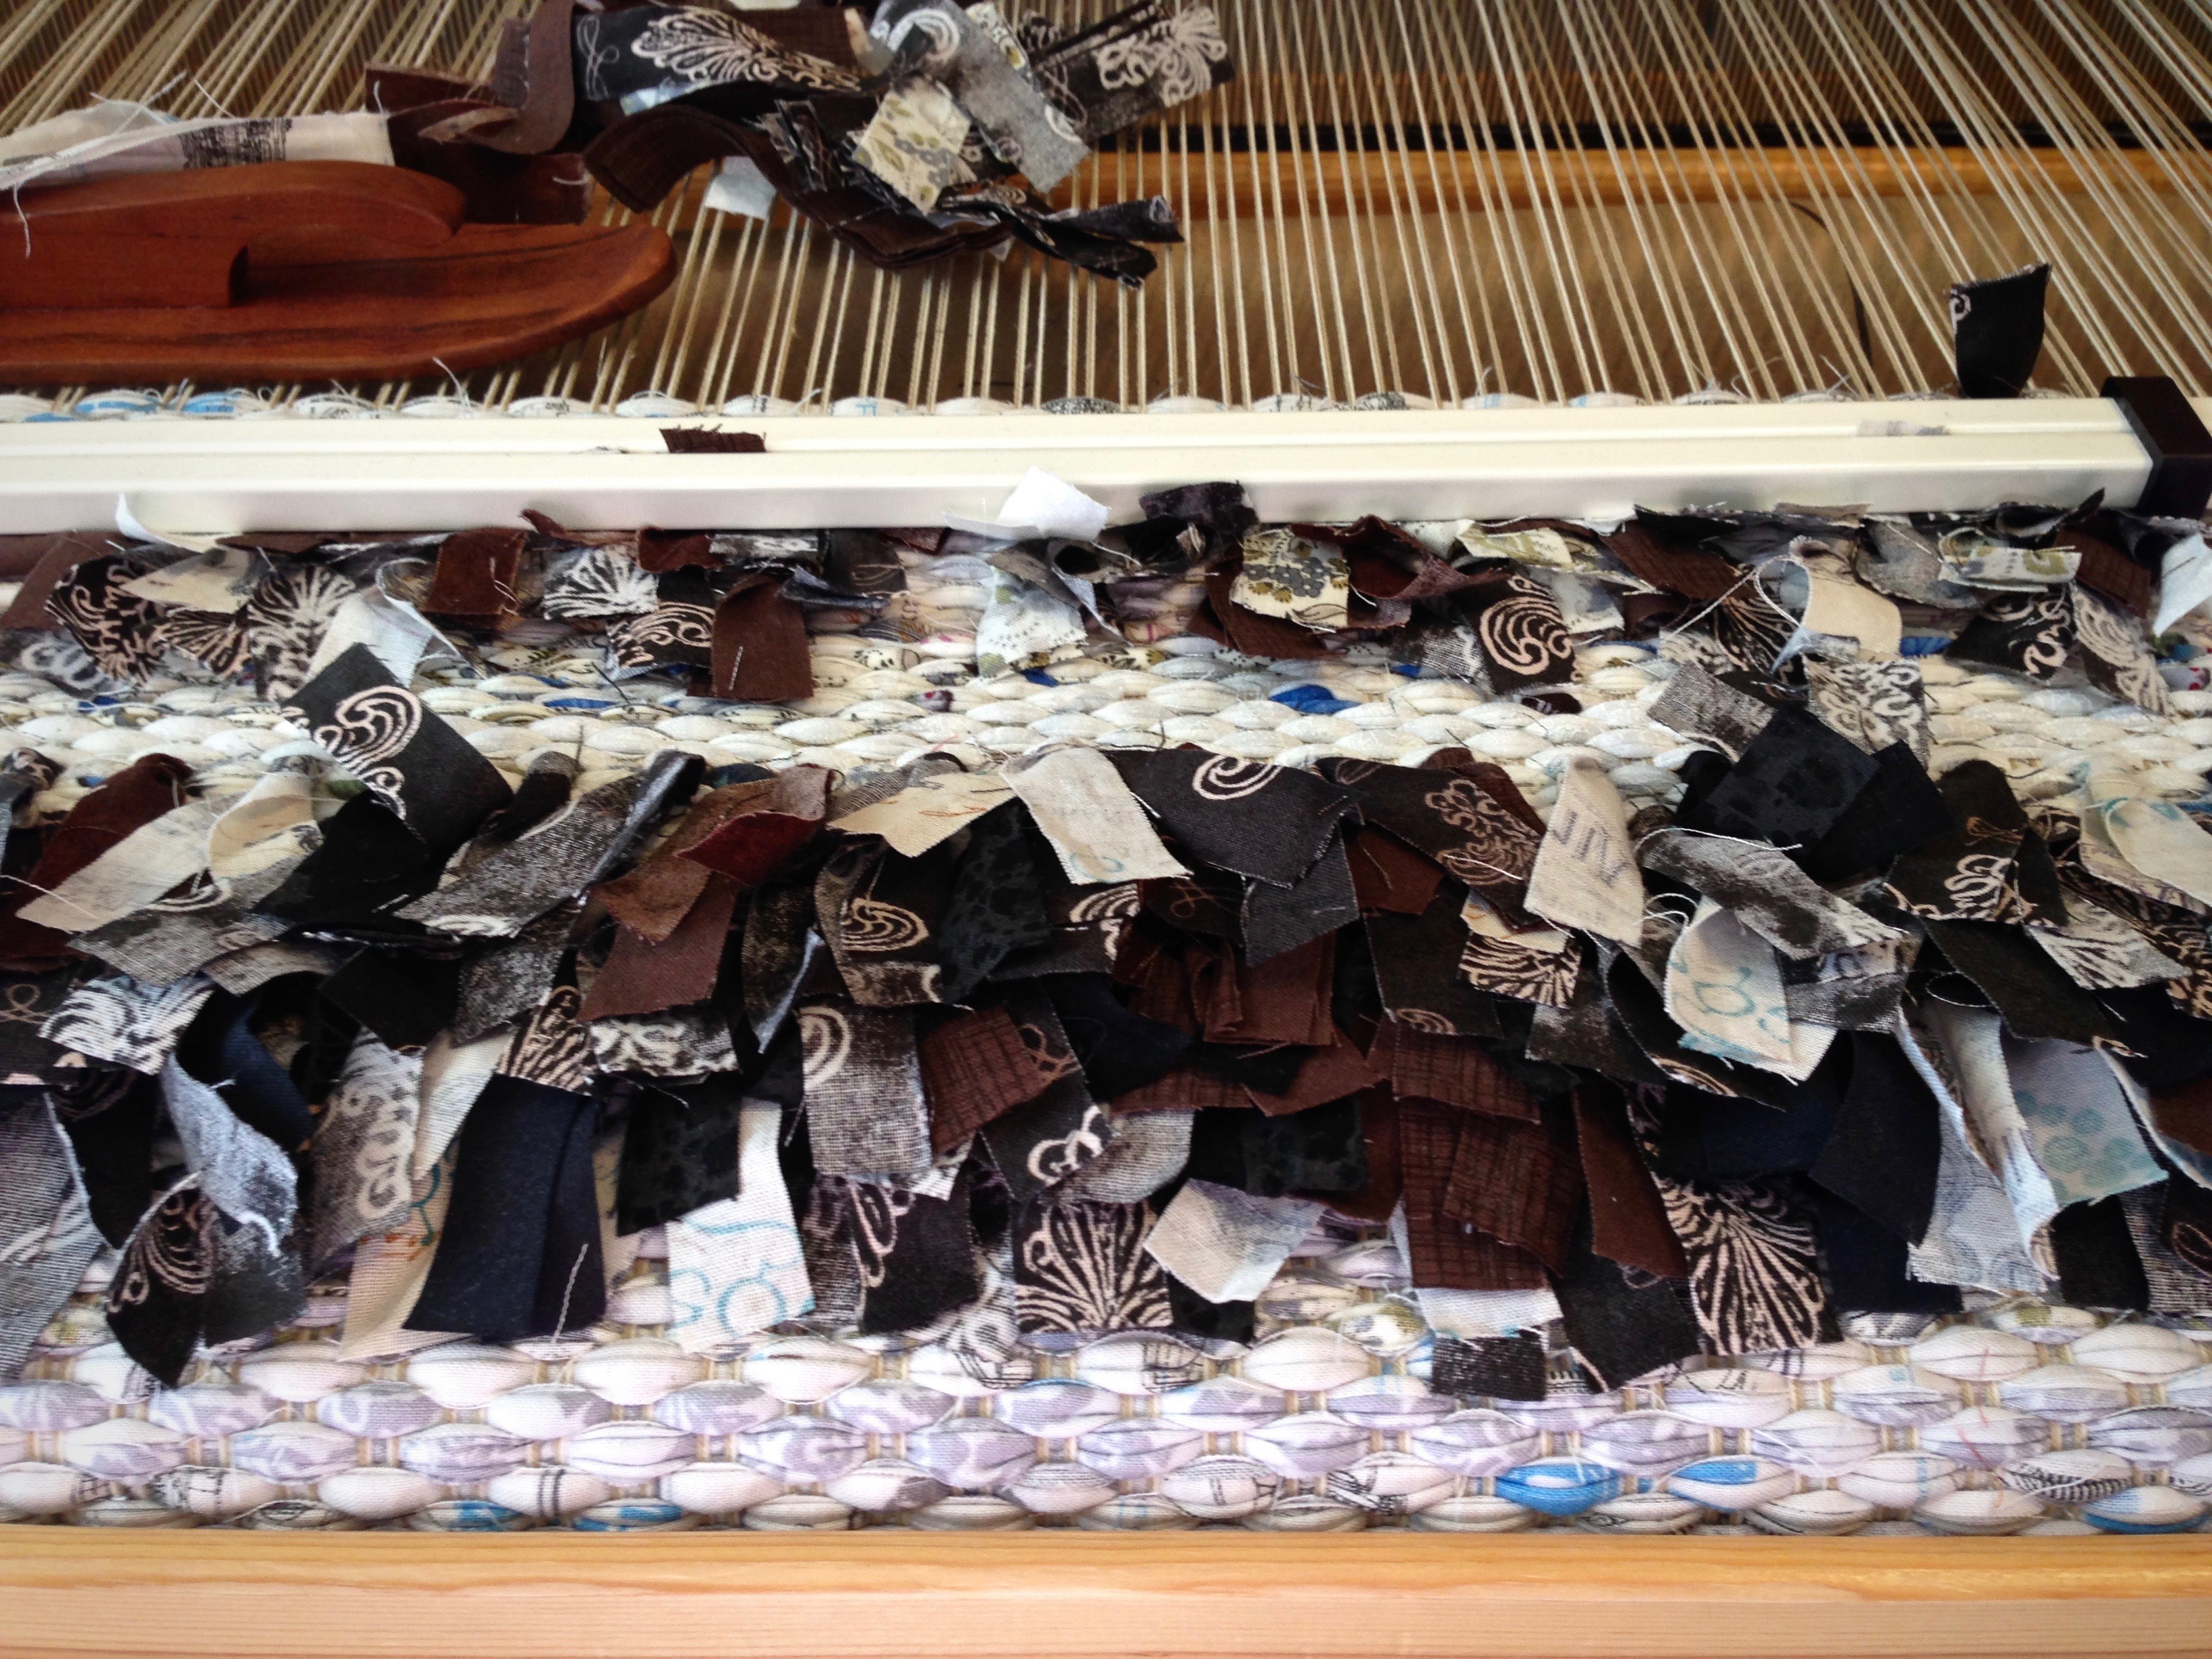
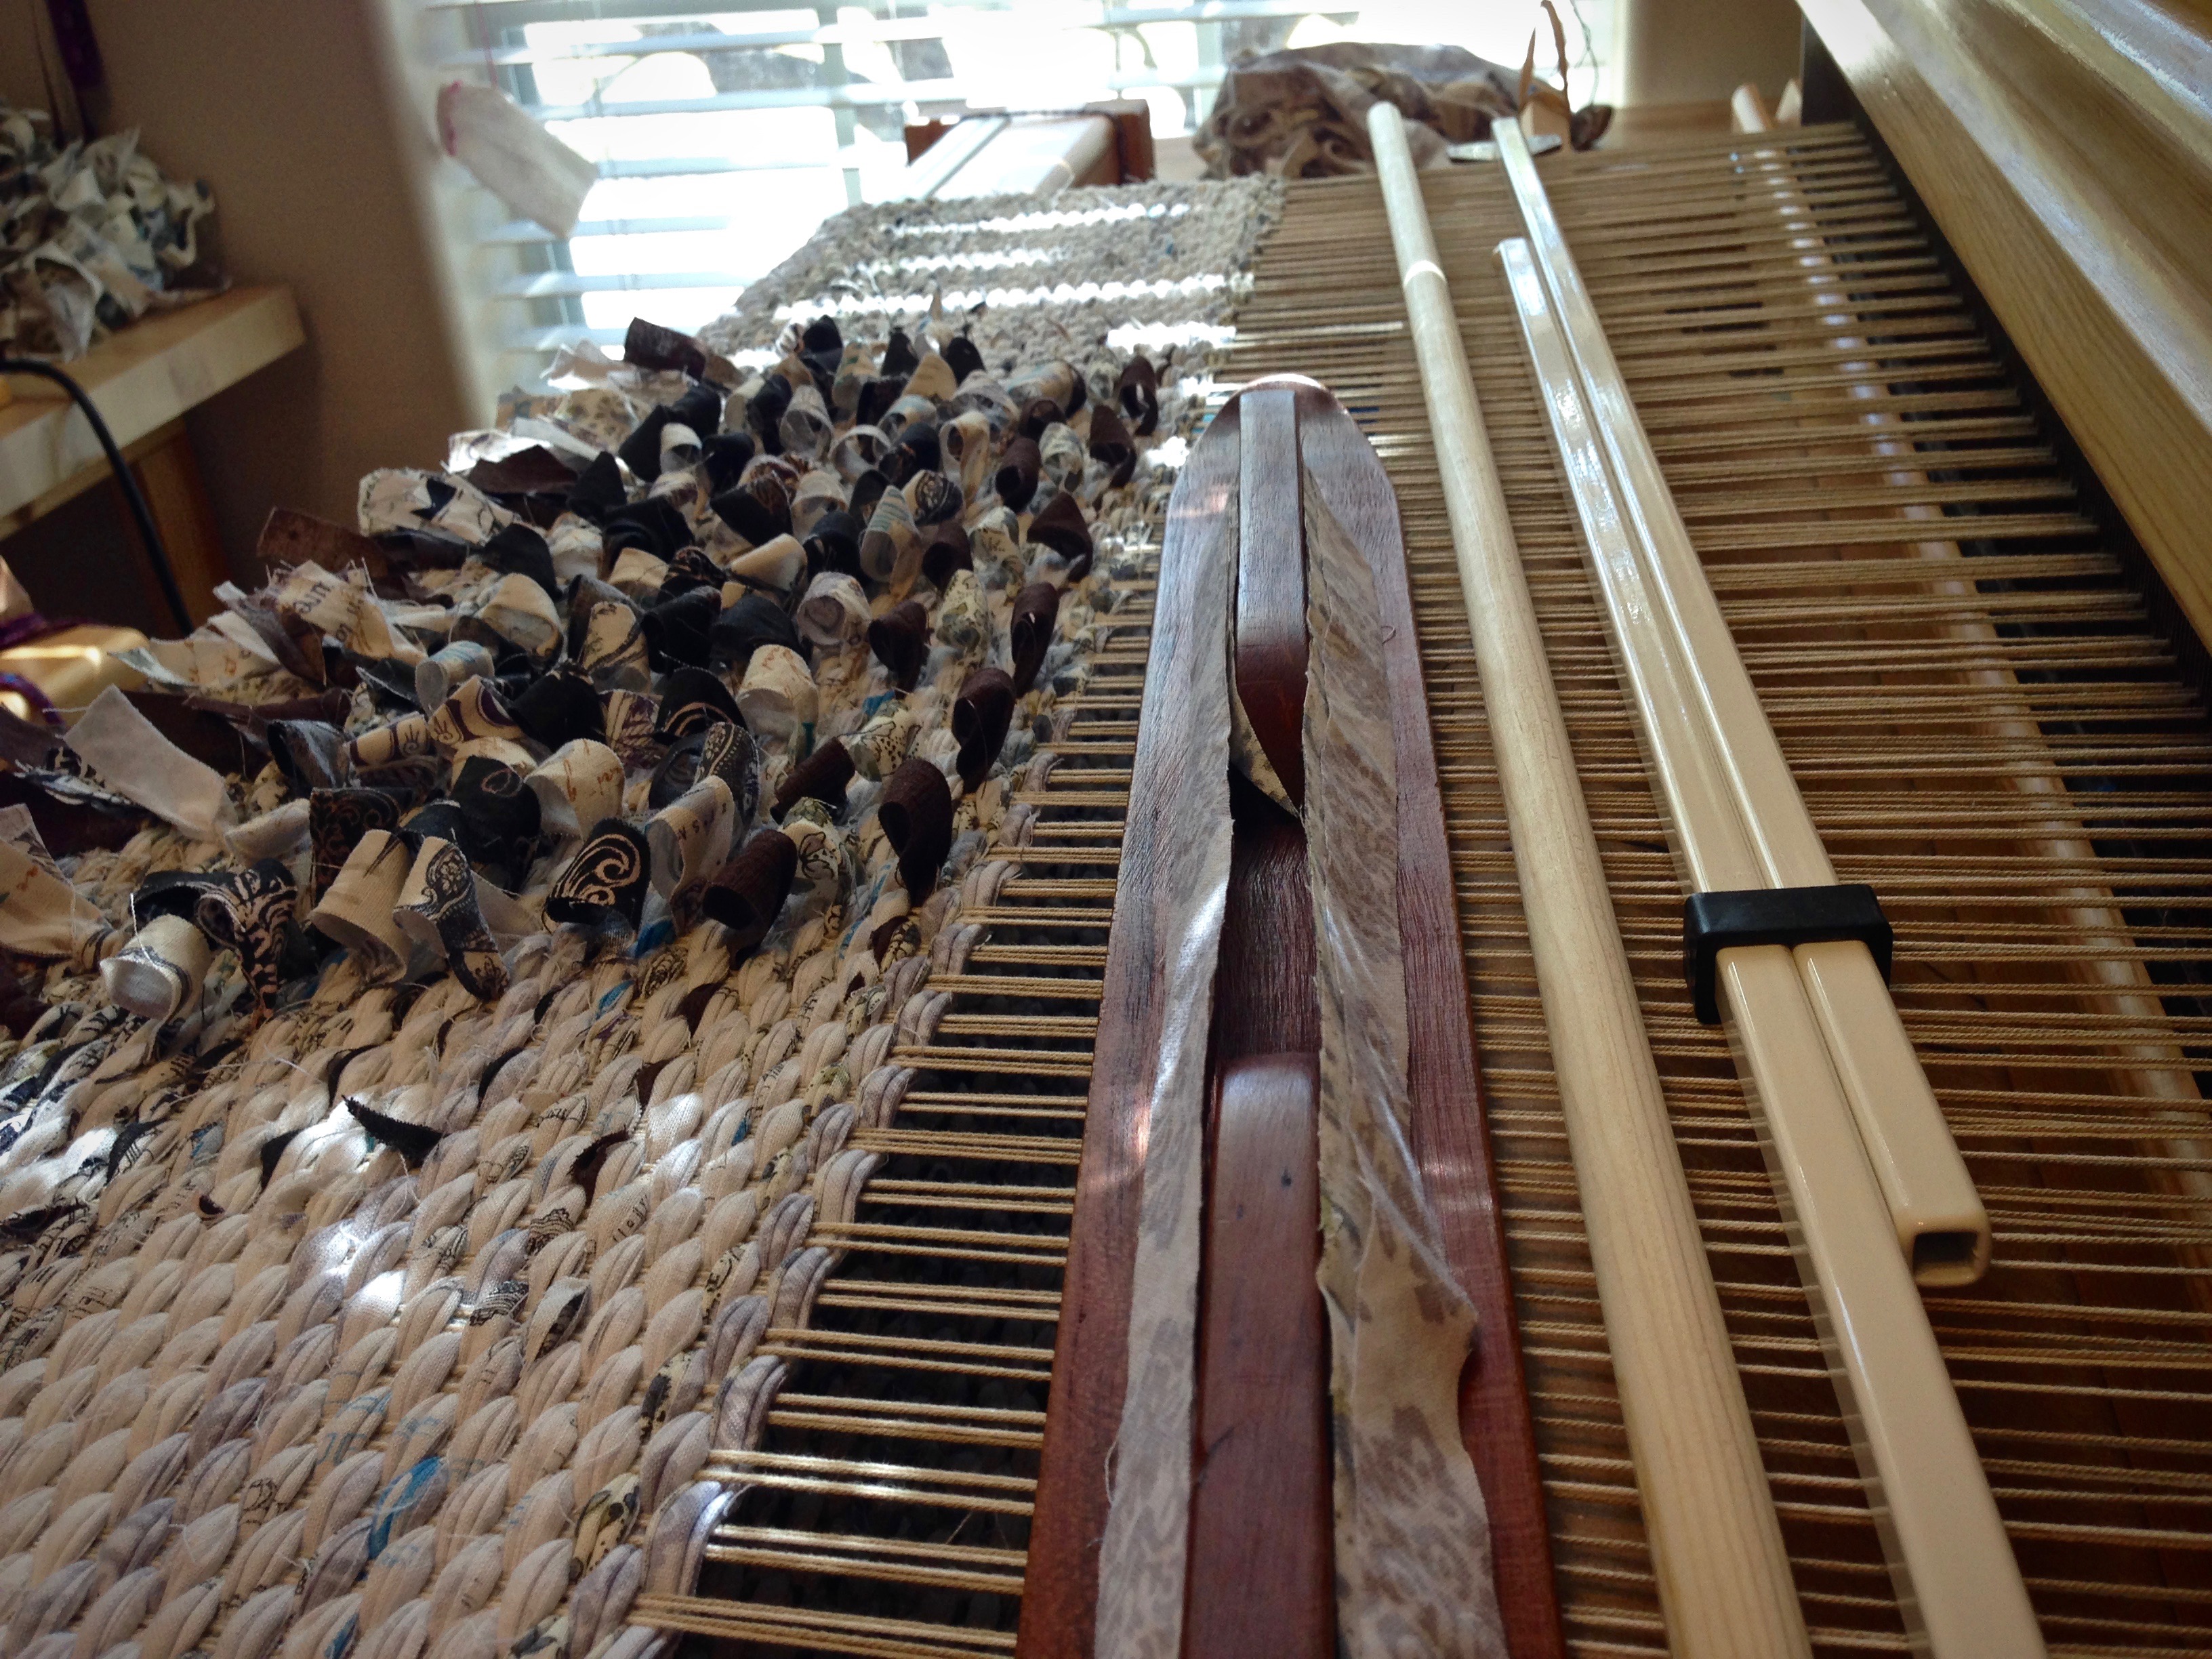
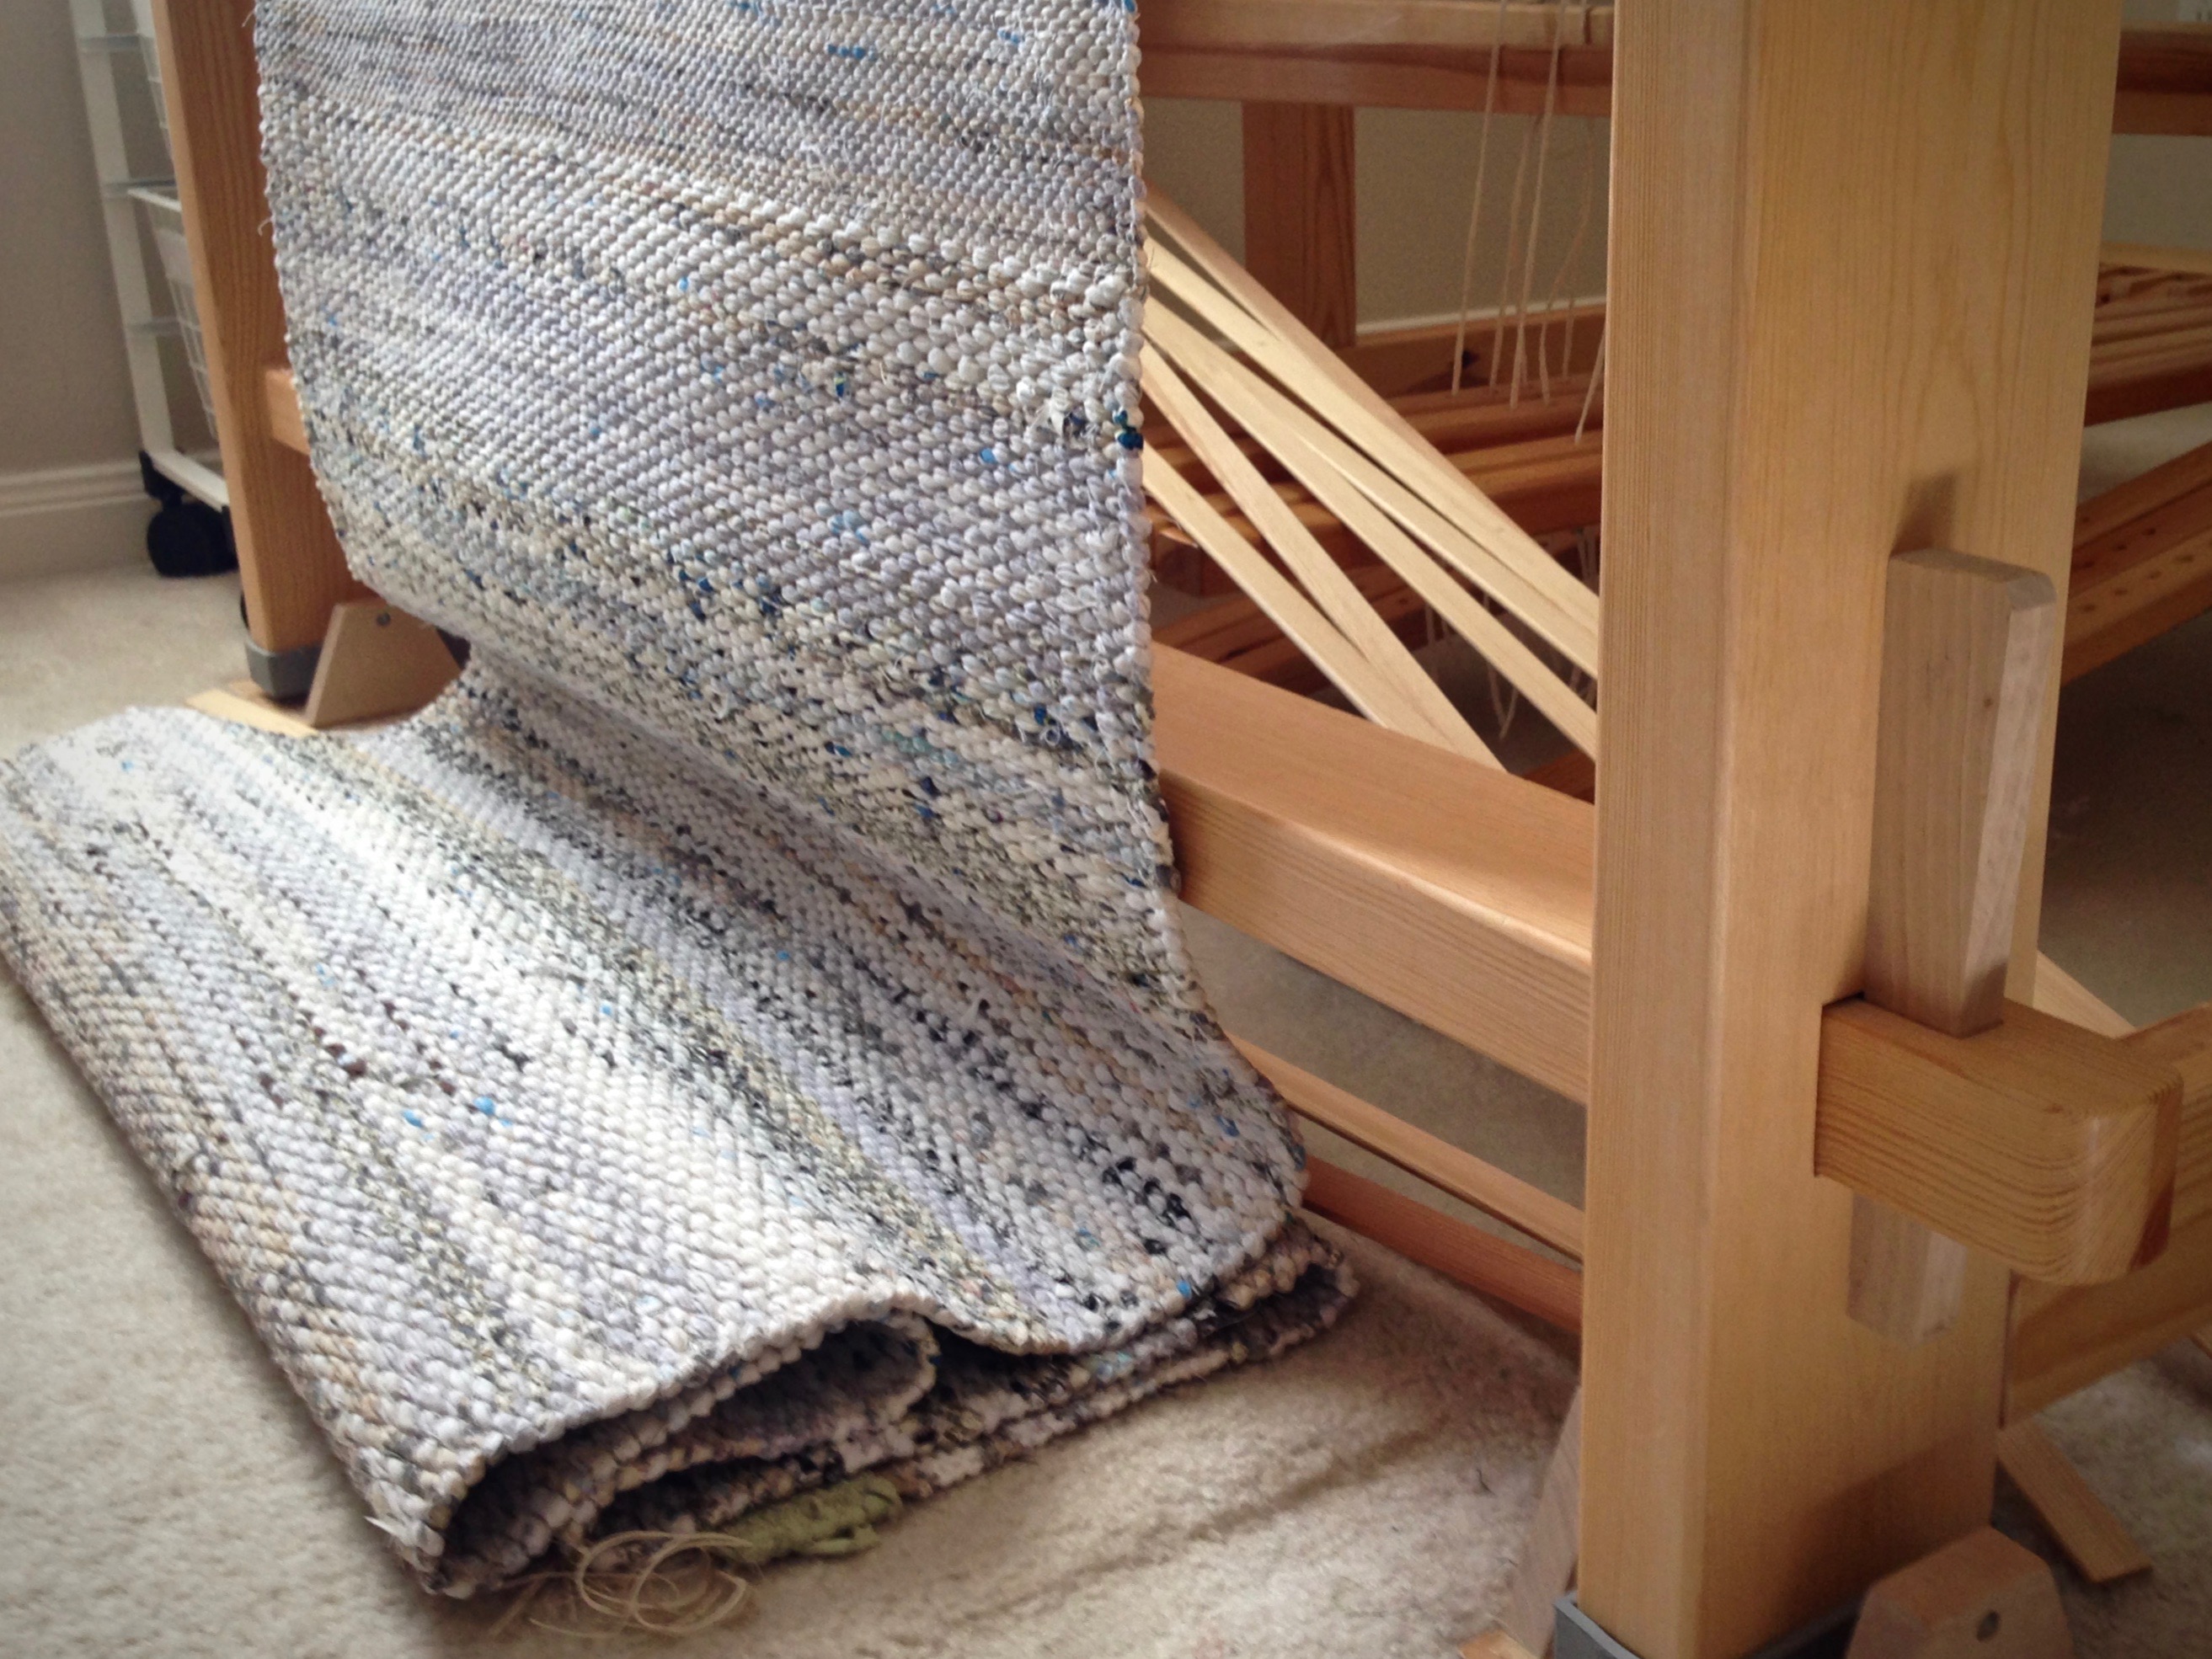
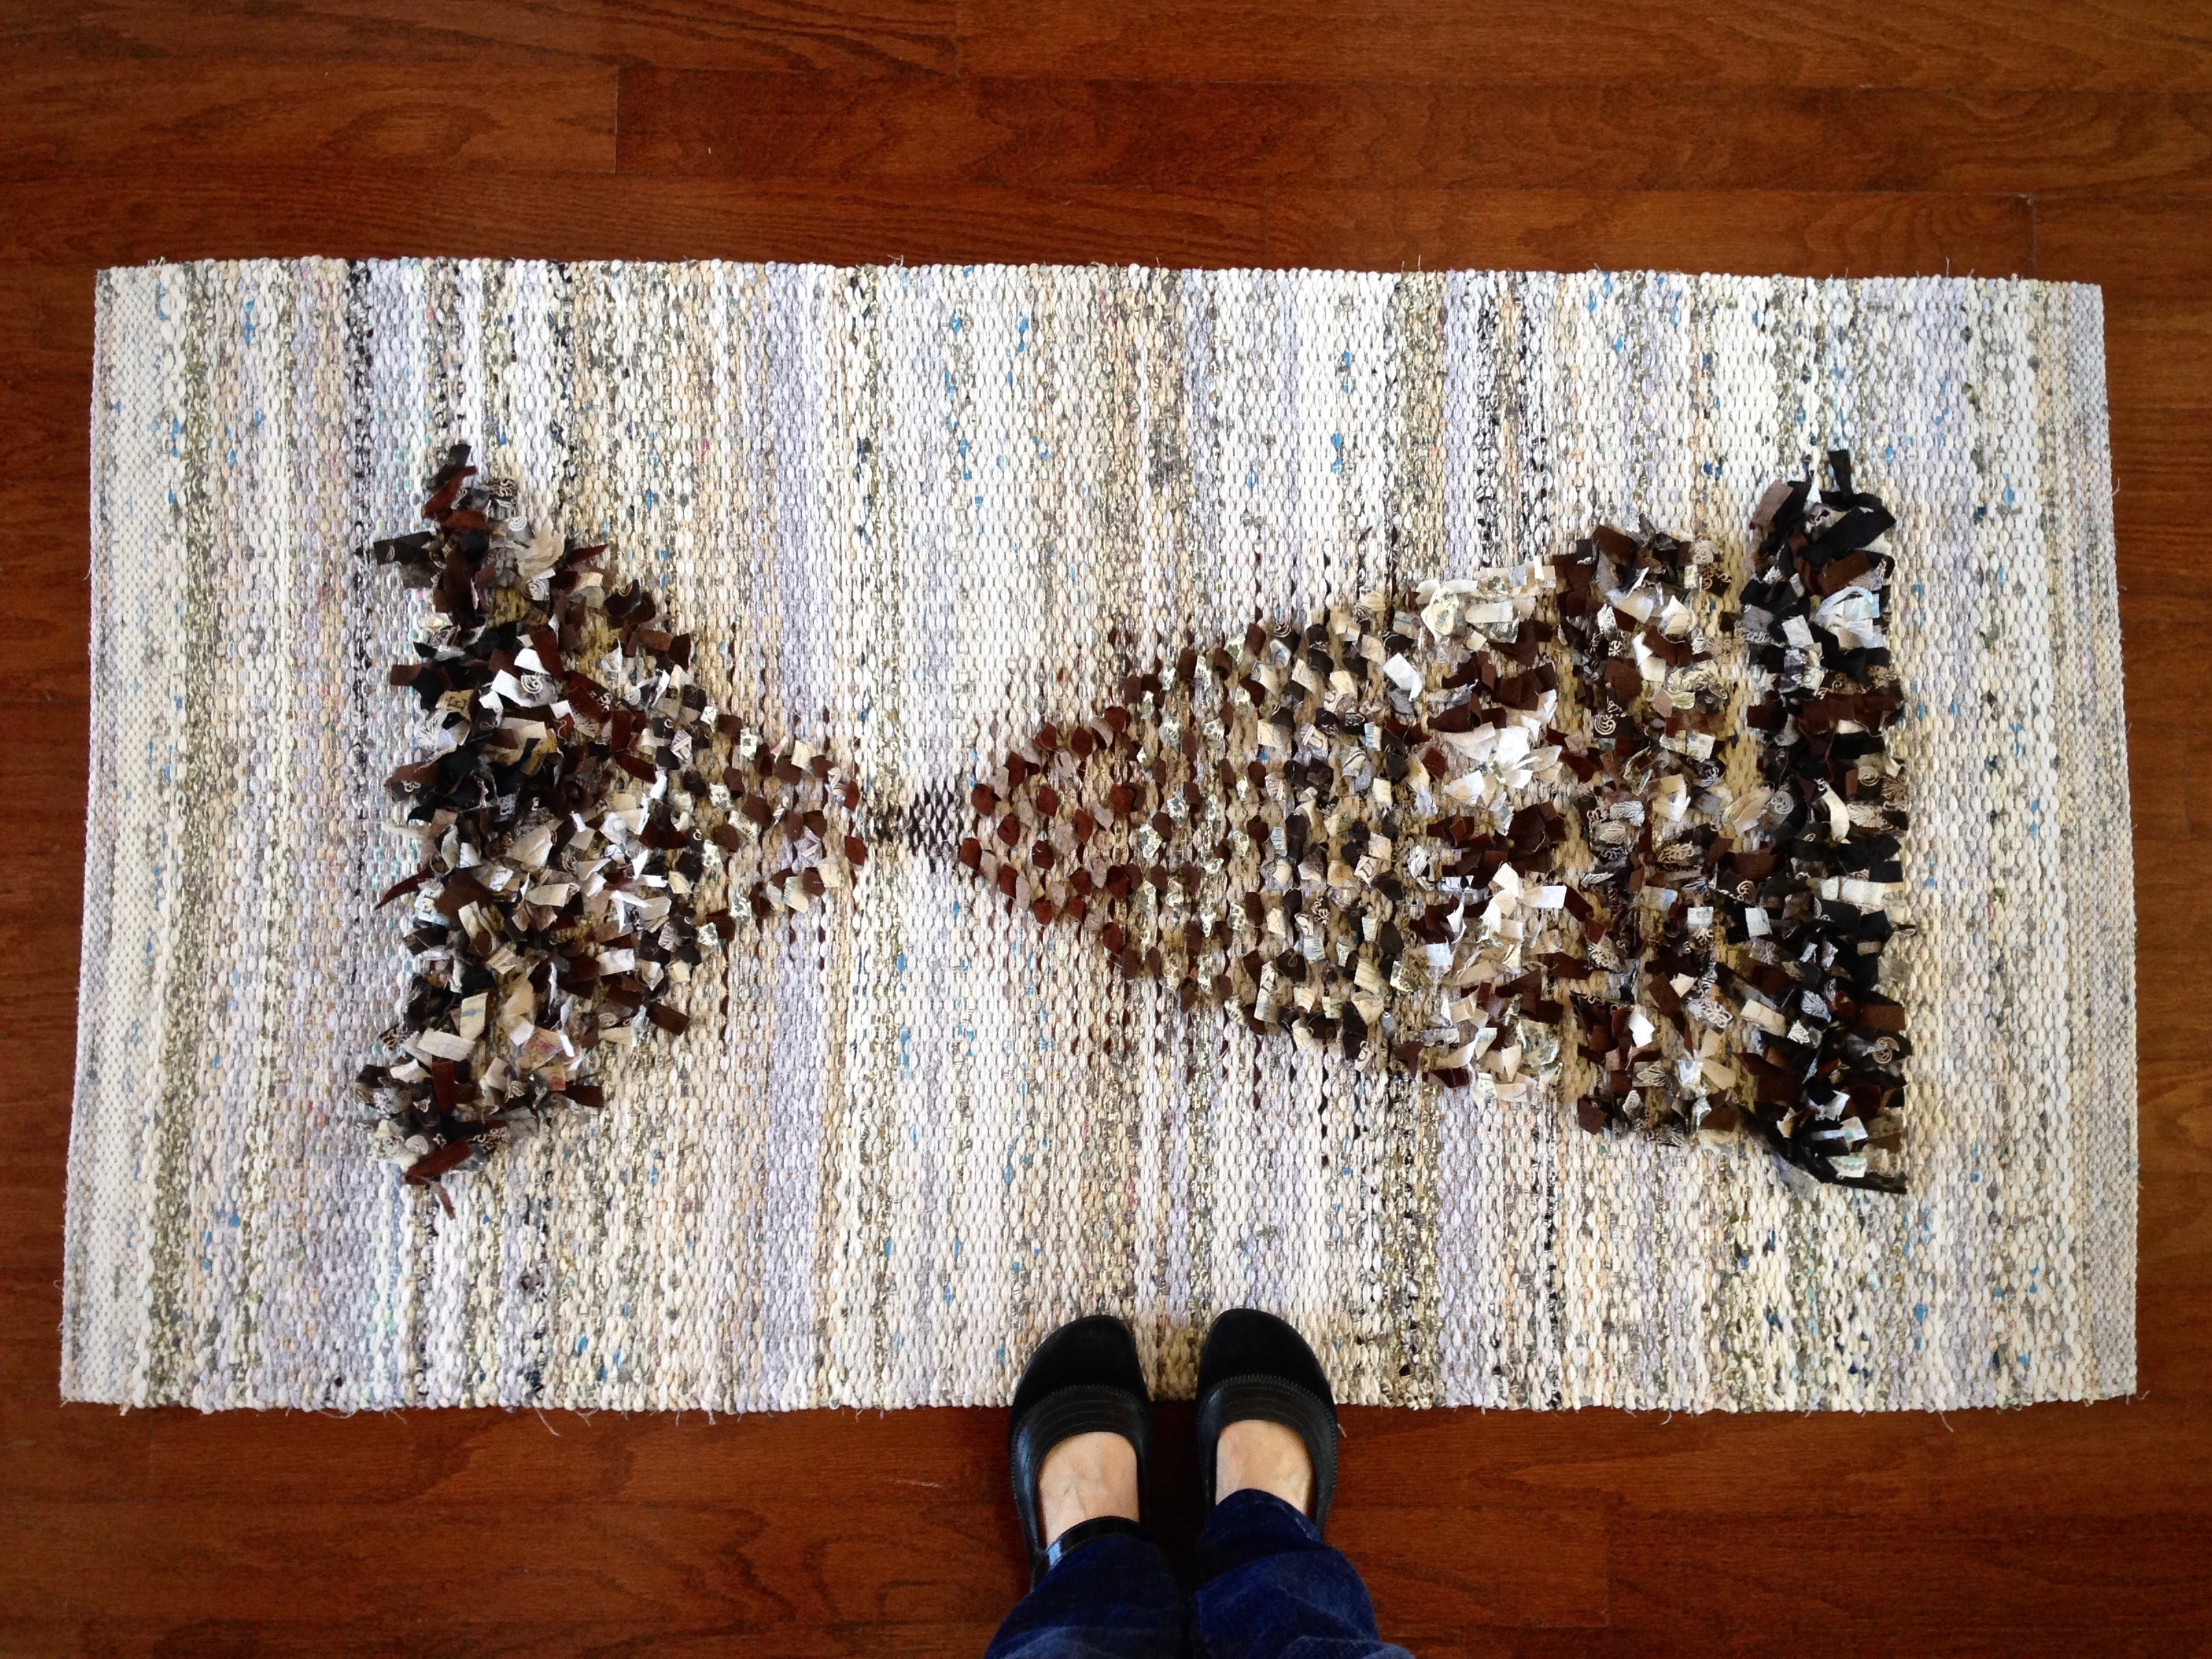
  • Weave anything. Rag rugs to lace-weight fabric.
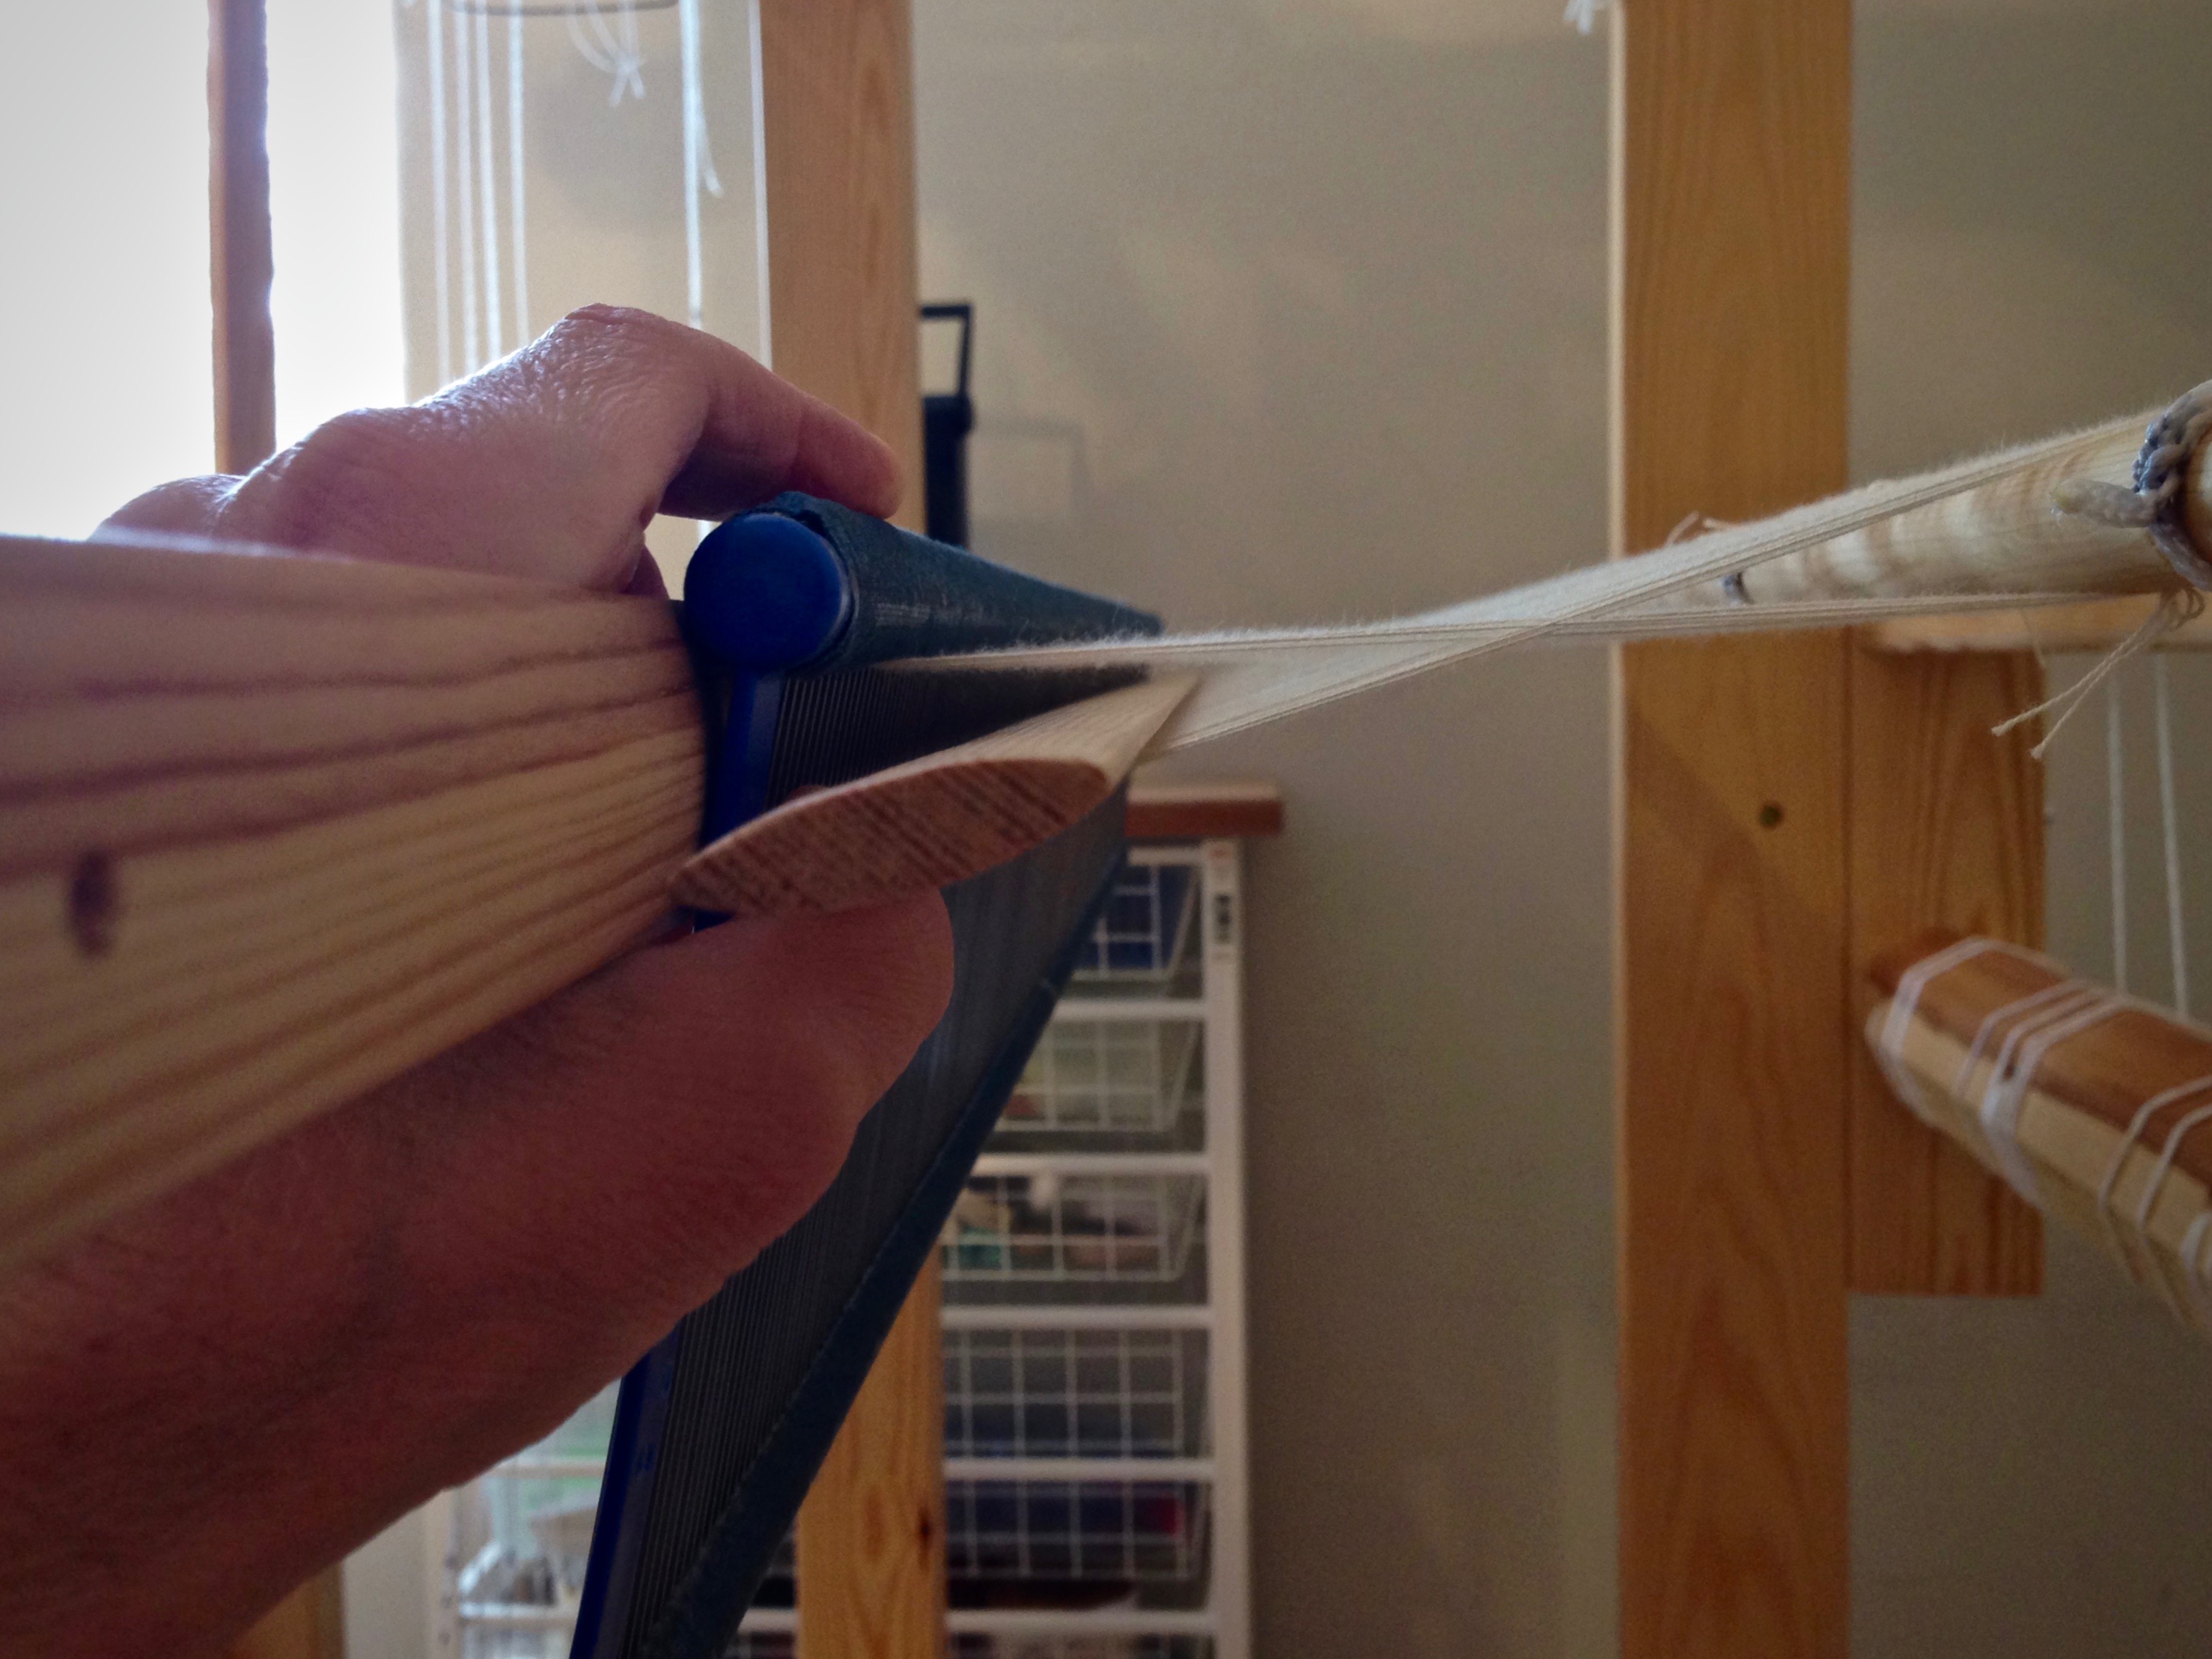
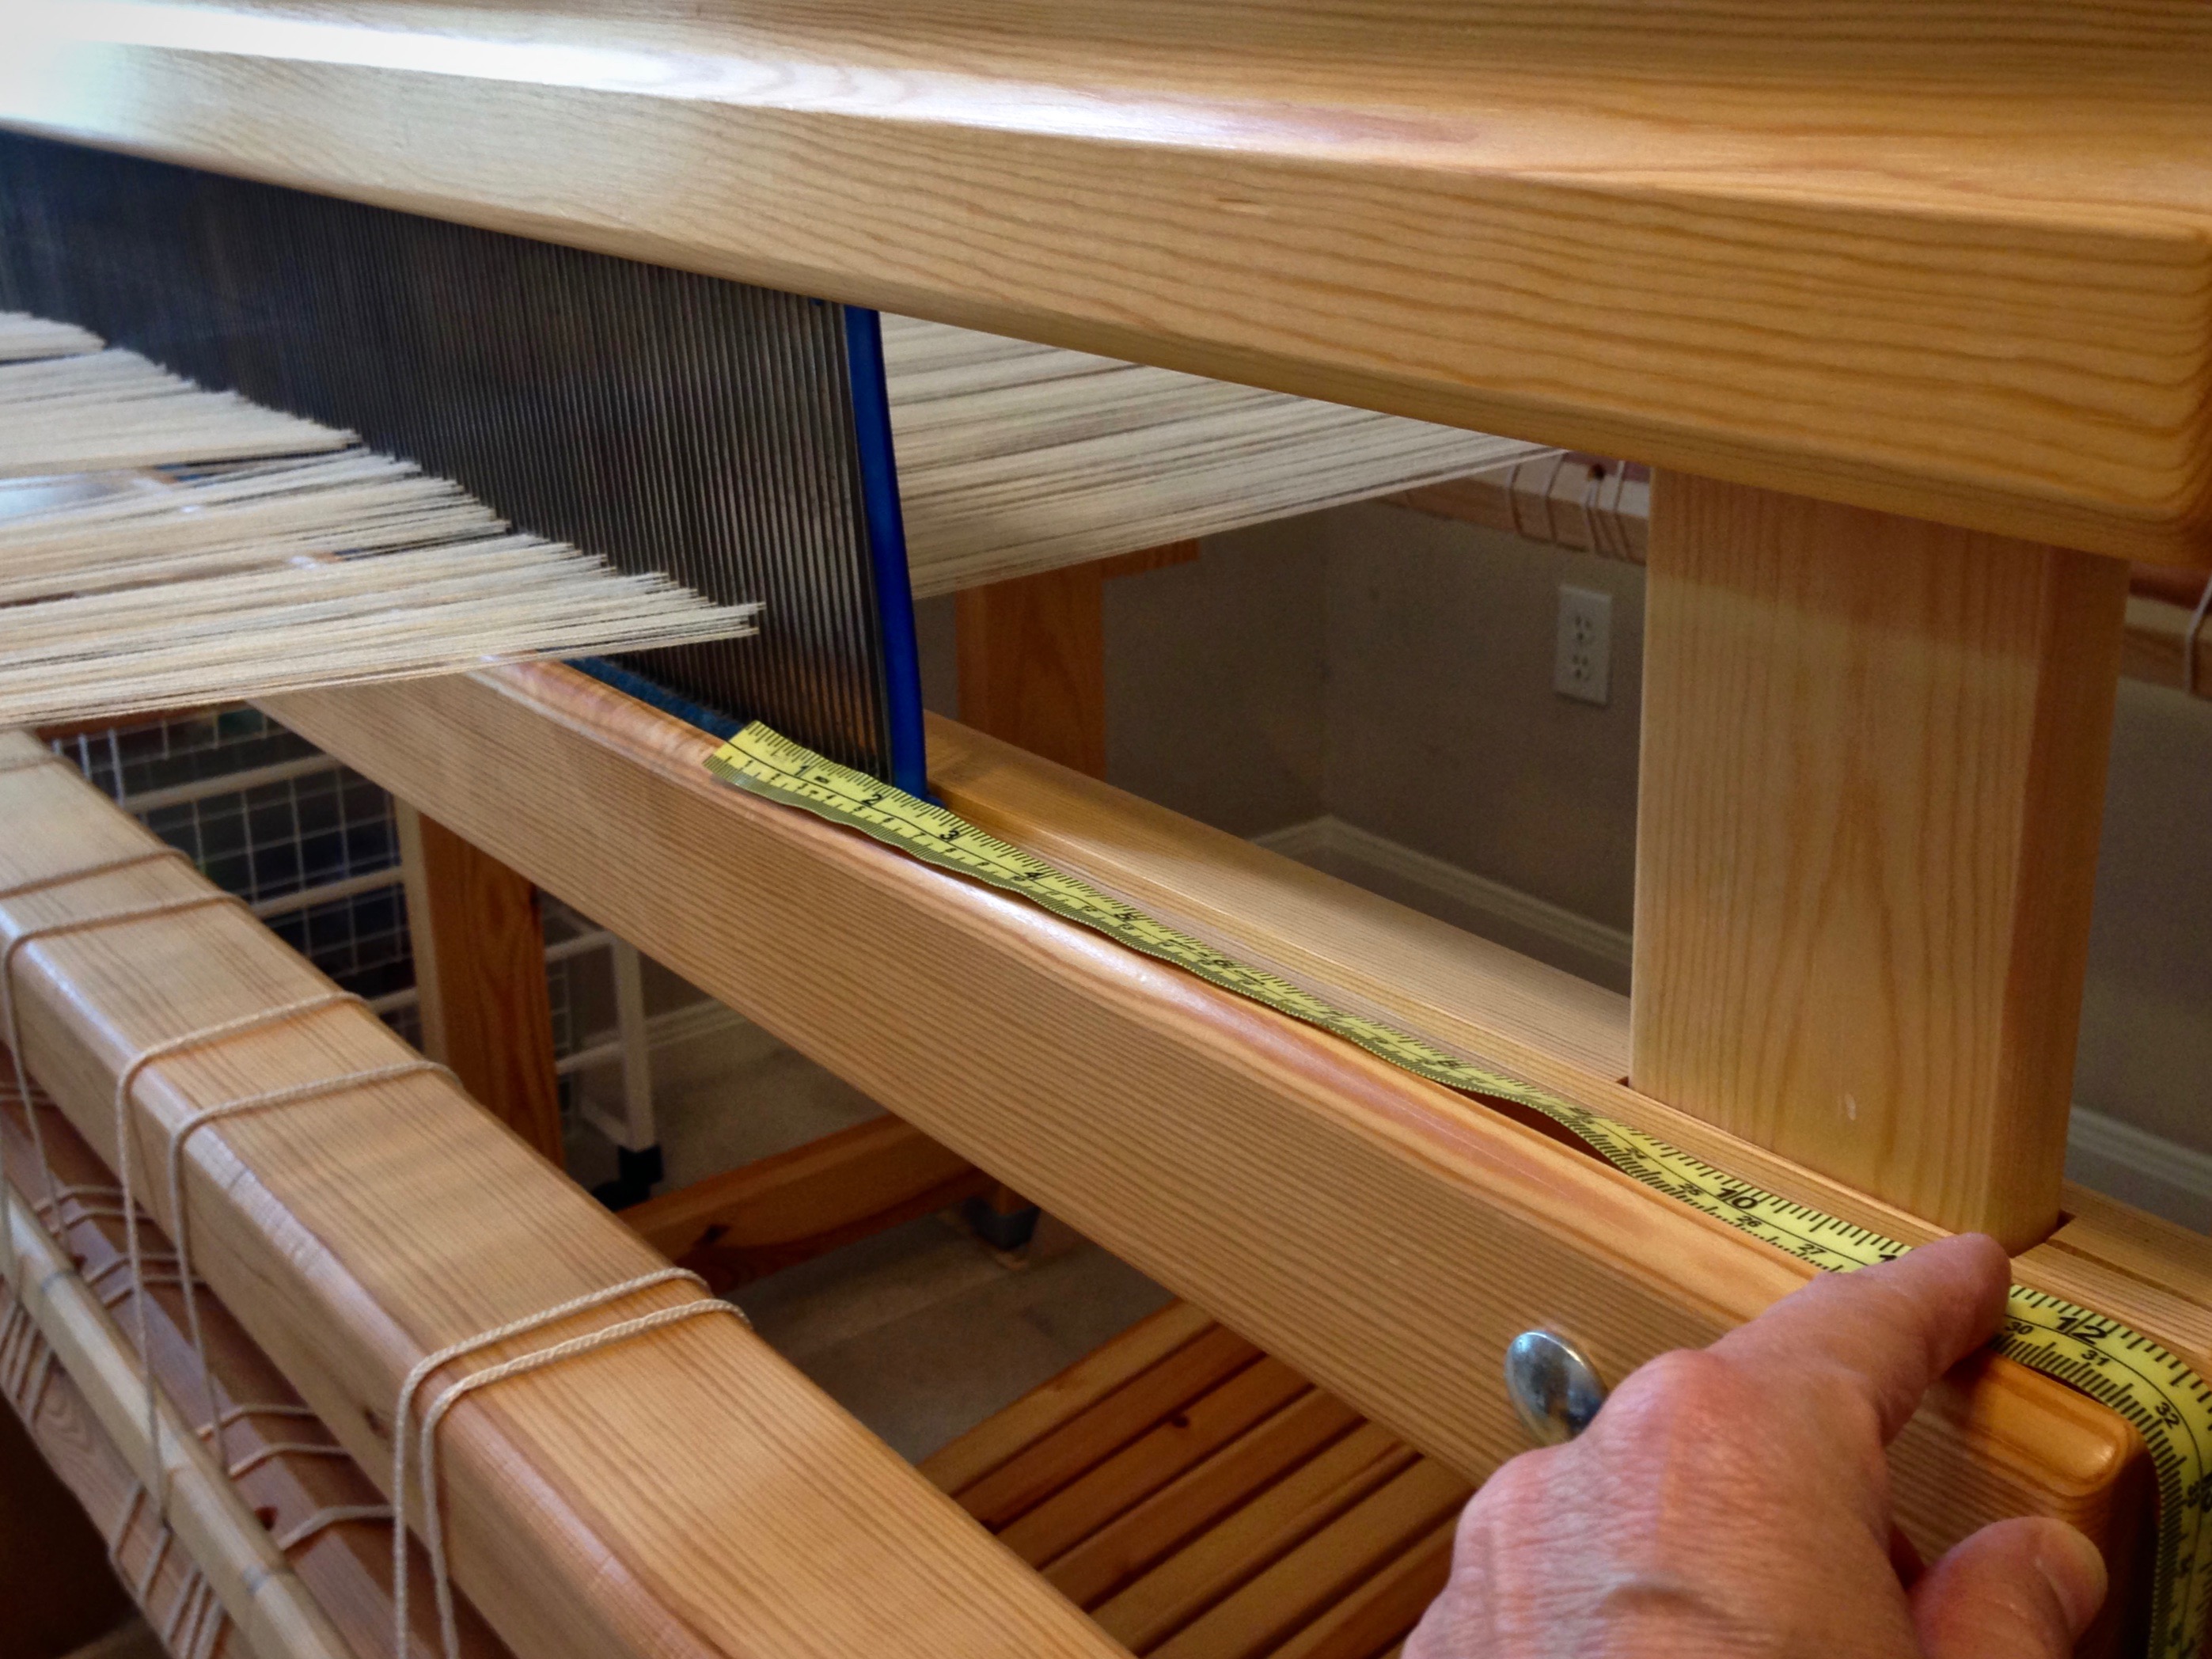
  • Hanging beater. Swinging beater has momentum that enables a firm beat. No strain to shoulders, arms, or wrists. Asset for weaving rag rugs, and superb control for cloth with an open weave. Beater placement is adjustable, making it possible to weave longer before advancing the warp.
  • Rear-hinged treadles. Pressing treadles is effortless, no matter how many shafts. No strain on back, legs, knees, or ankles, even with robust weaving. Because treadles are close to each other, I press correct treadles with sock- or bare-footed ease…without having to watch my feet. Ample foot rest makes it easy to trade feet when using many treadles.
  • Clean shed. Stepping on a treadle raises and lowers shafts at the same time, so a great shed is not only possible, but usual.
Horizontal countermarch. Info about CM looms.
Glimåkra Ideal with horizontal countermarch. The cords from the countermarch jacks at the top of the loom go straight down through the warp to the lower lamms. The lower lamms connected to treadles cause shafts to lift when a treadle is depressed.
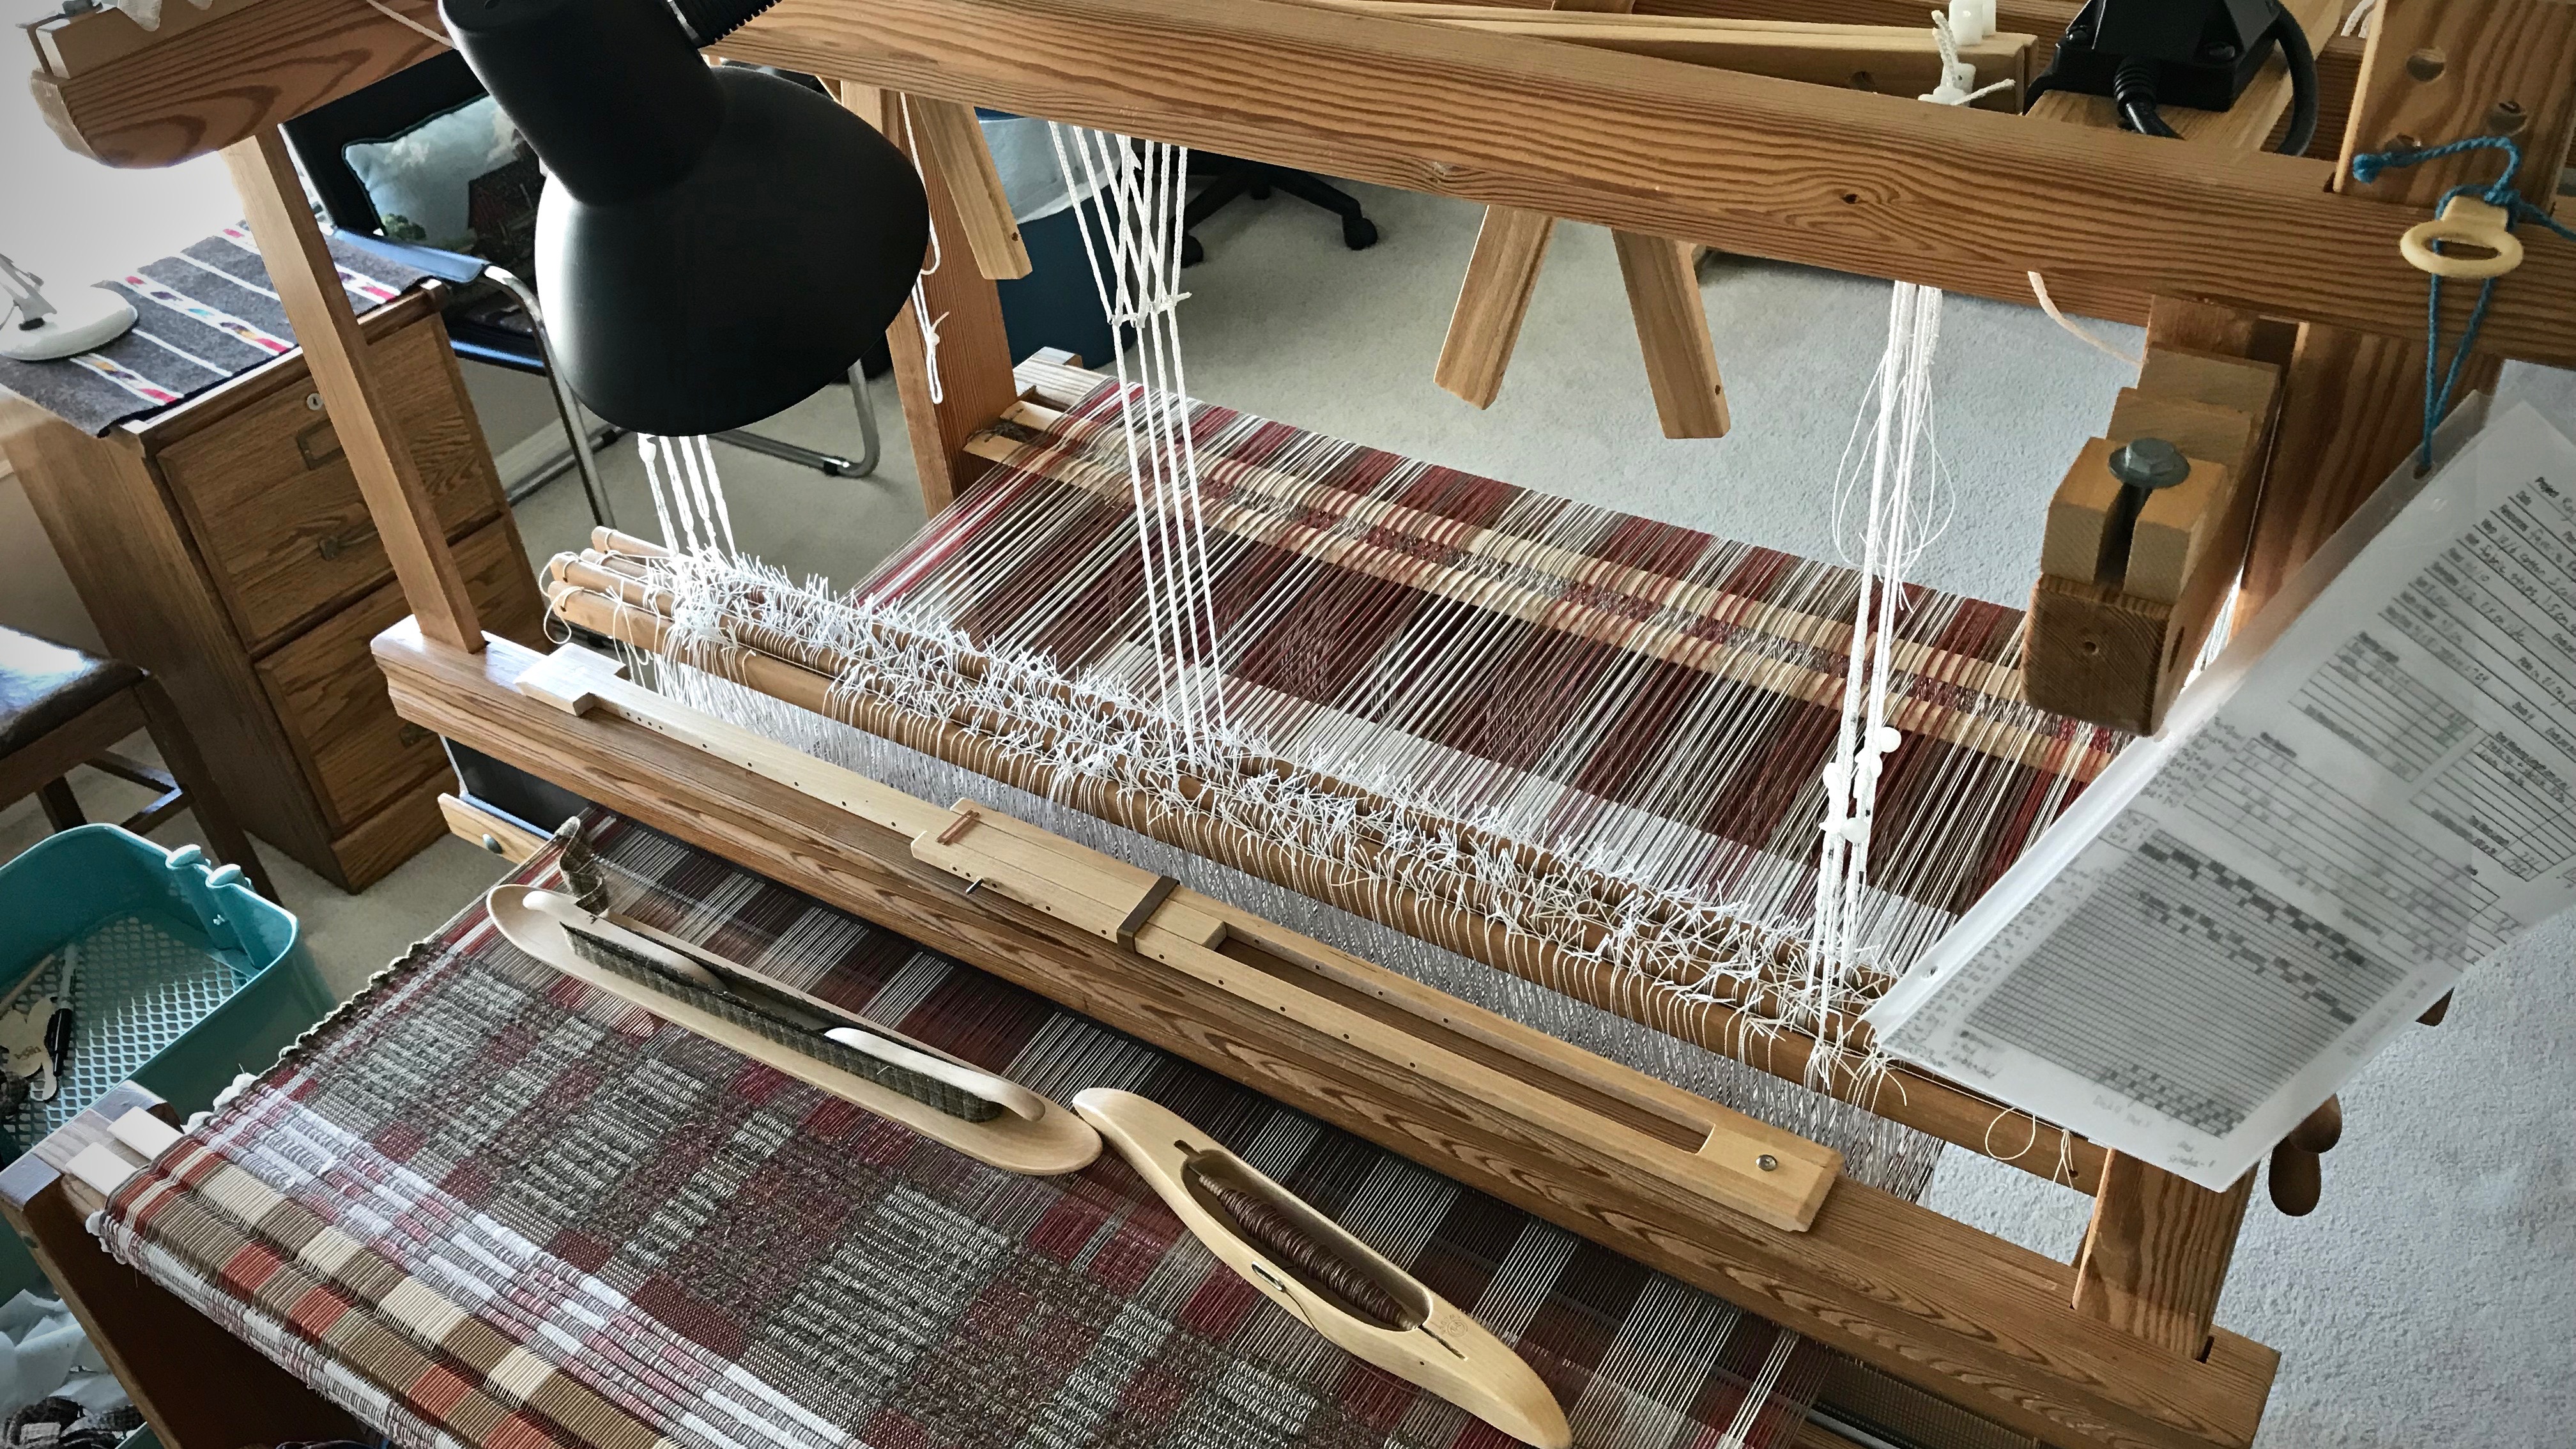
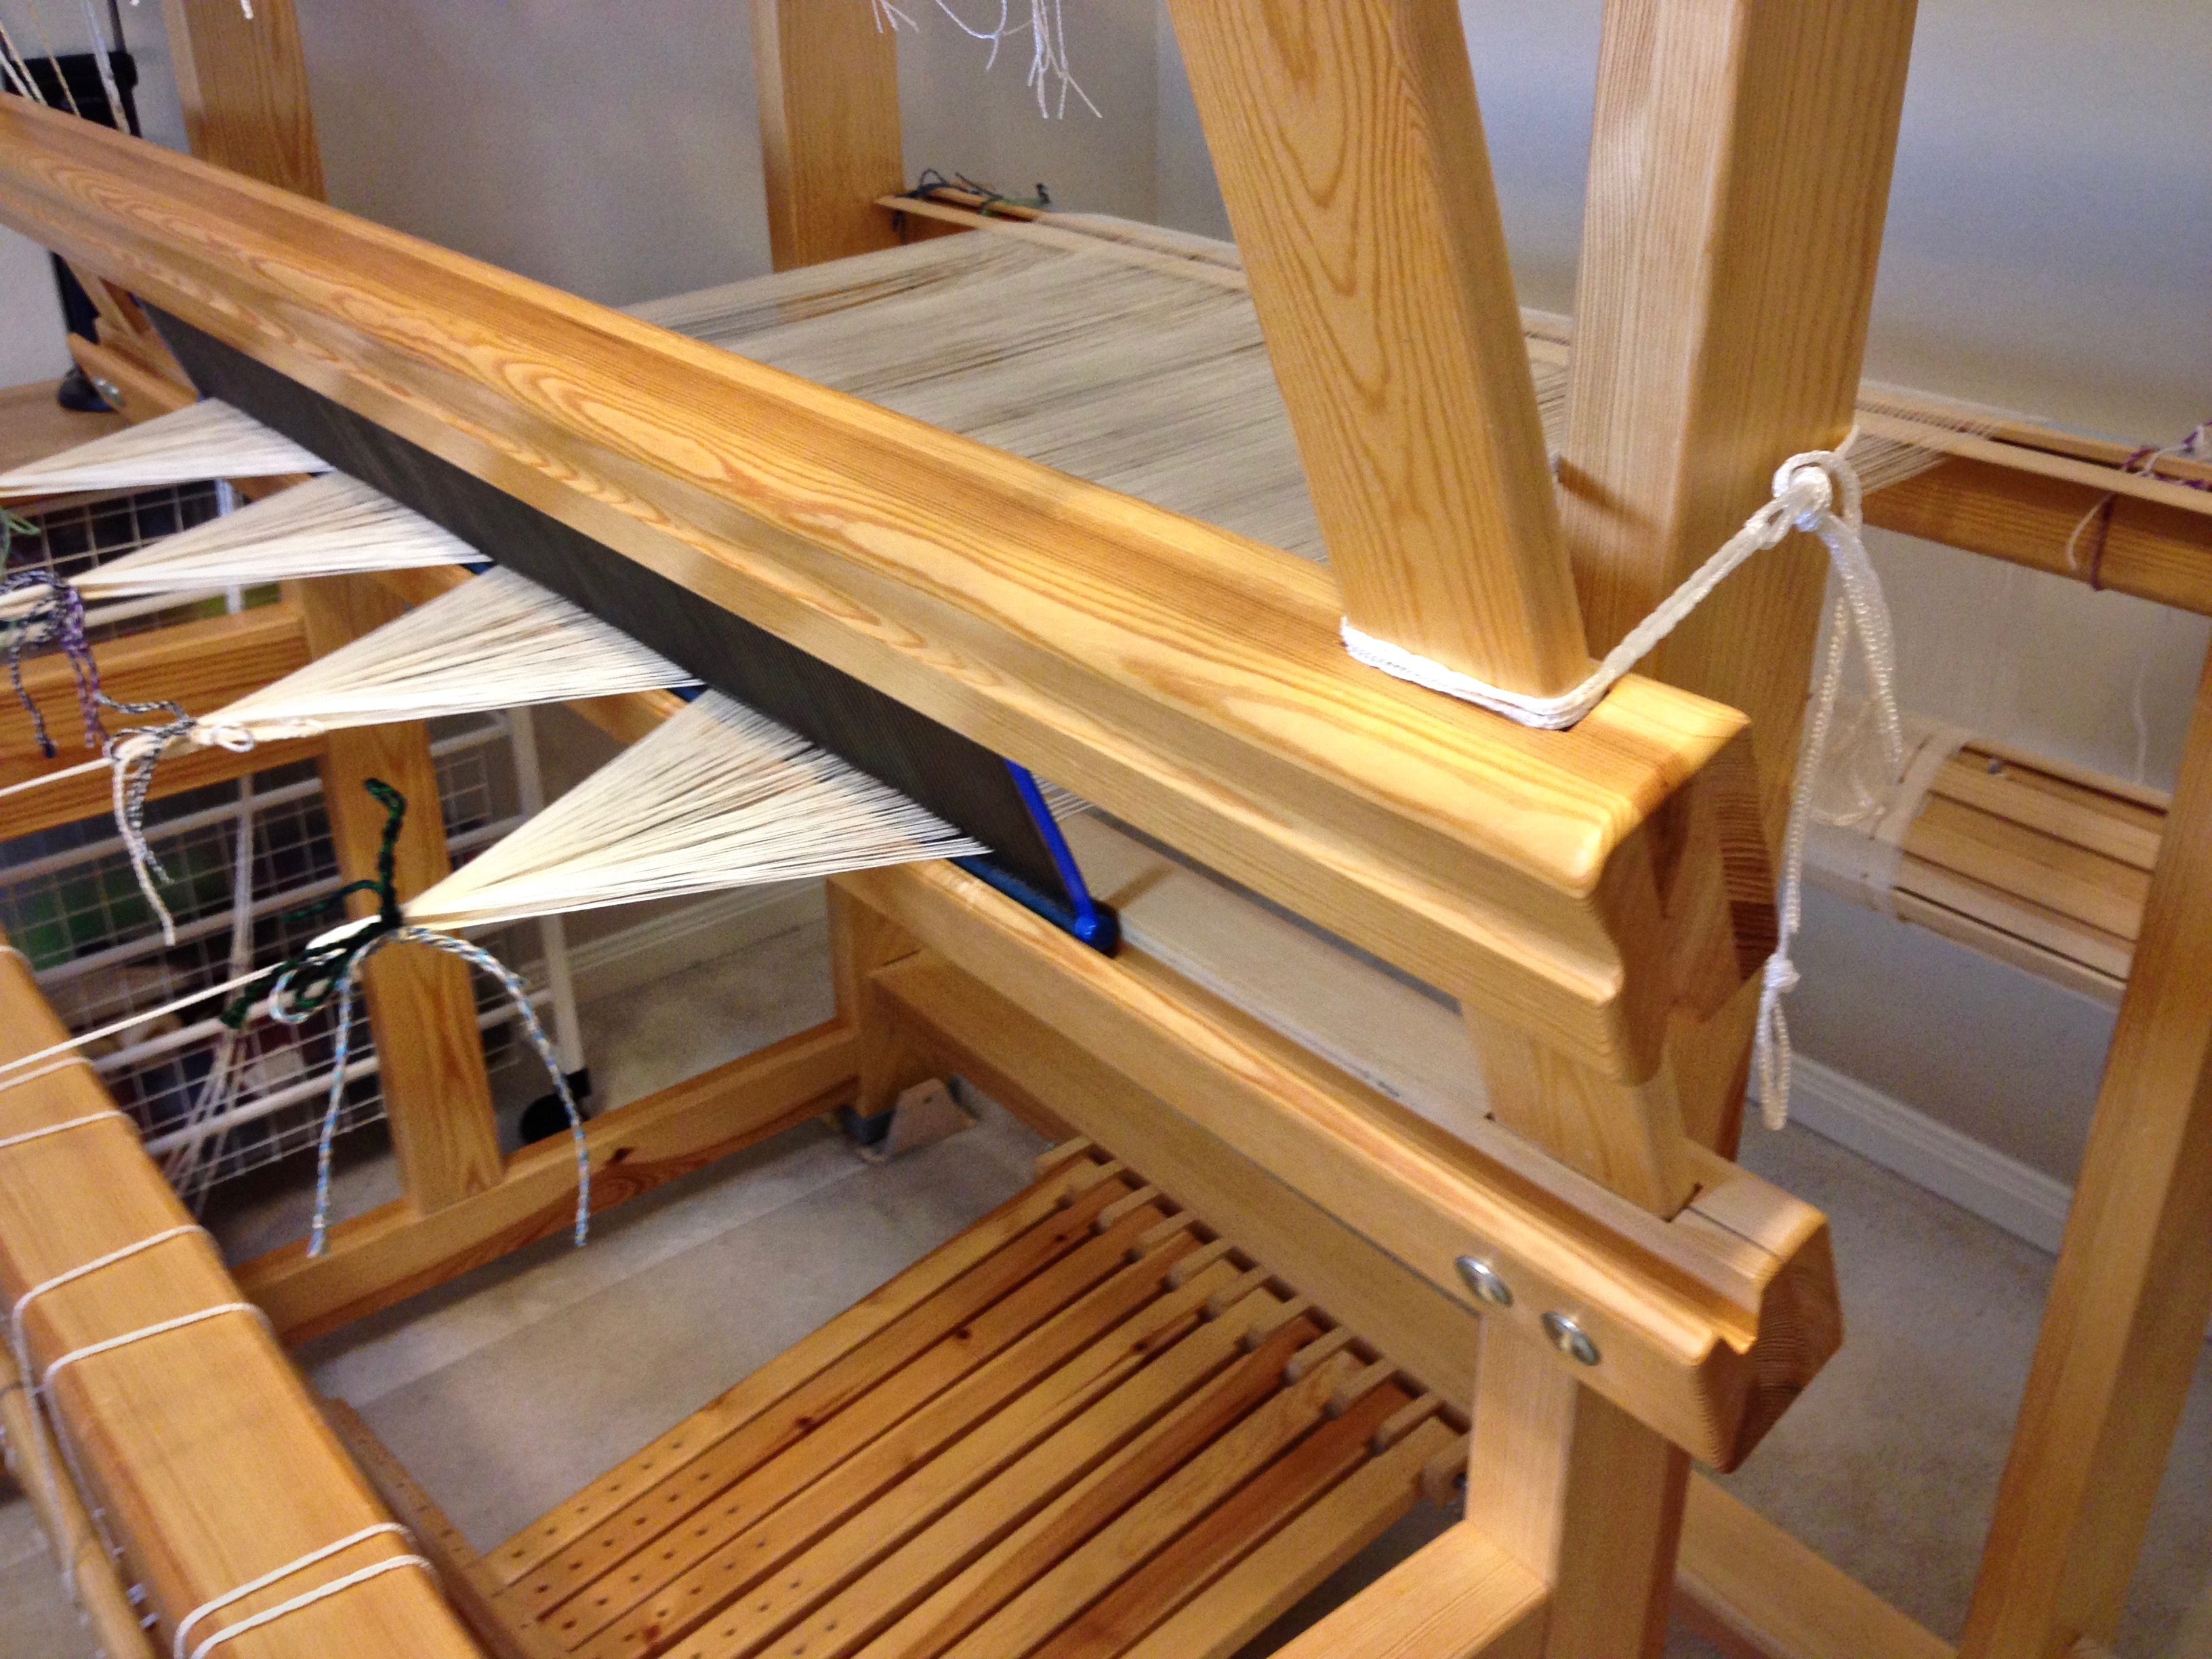
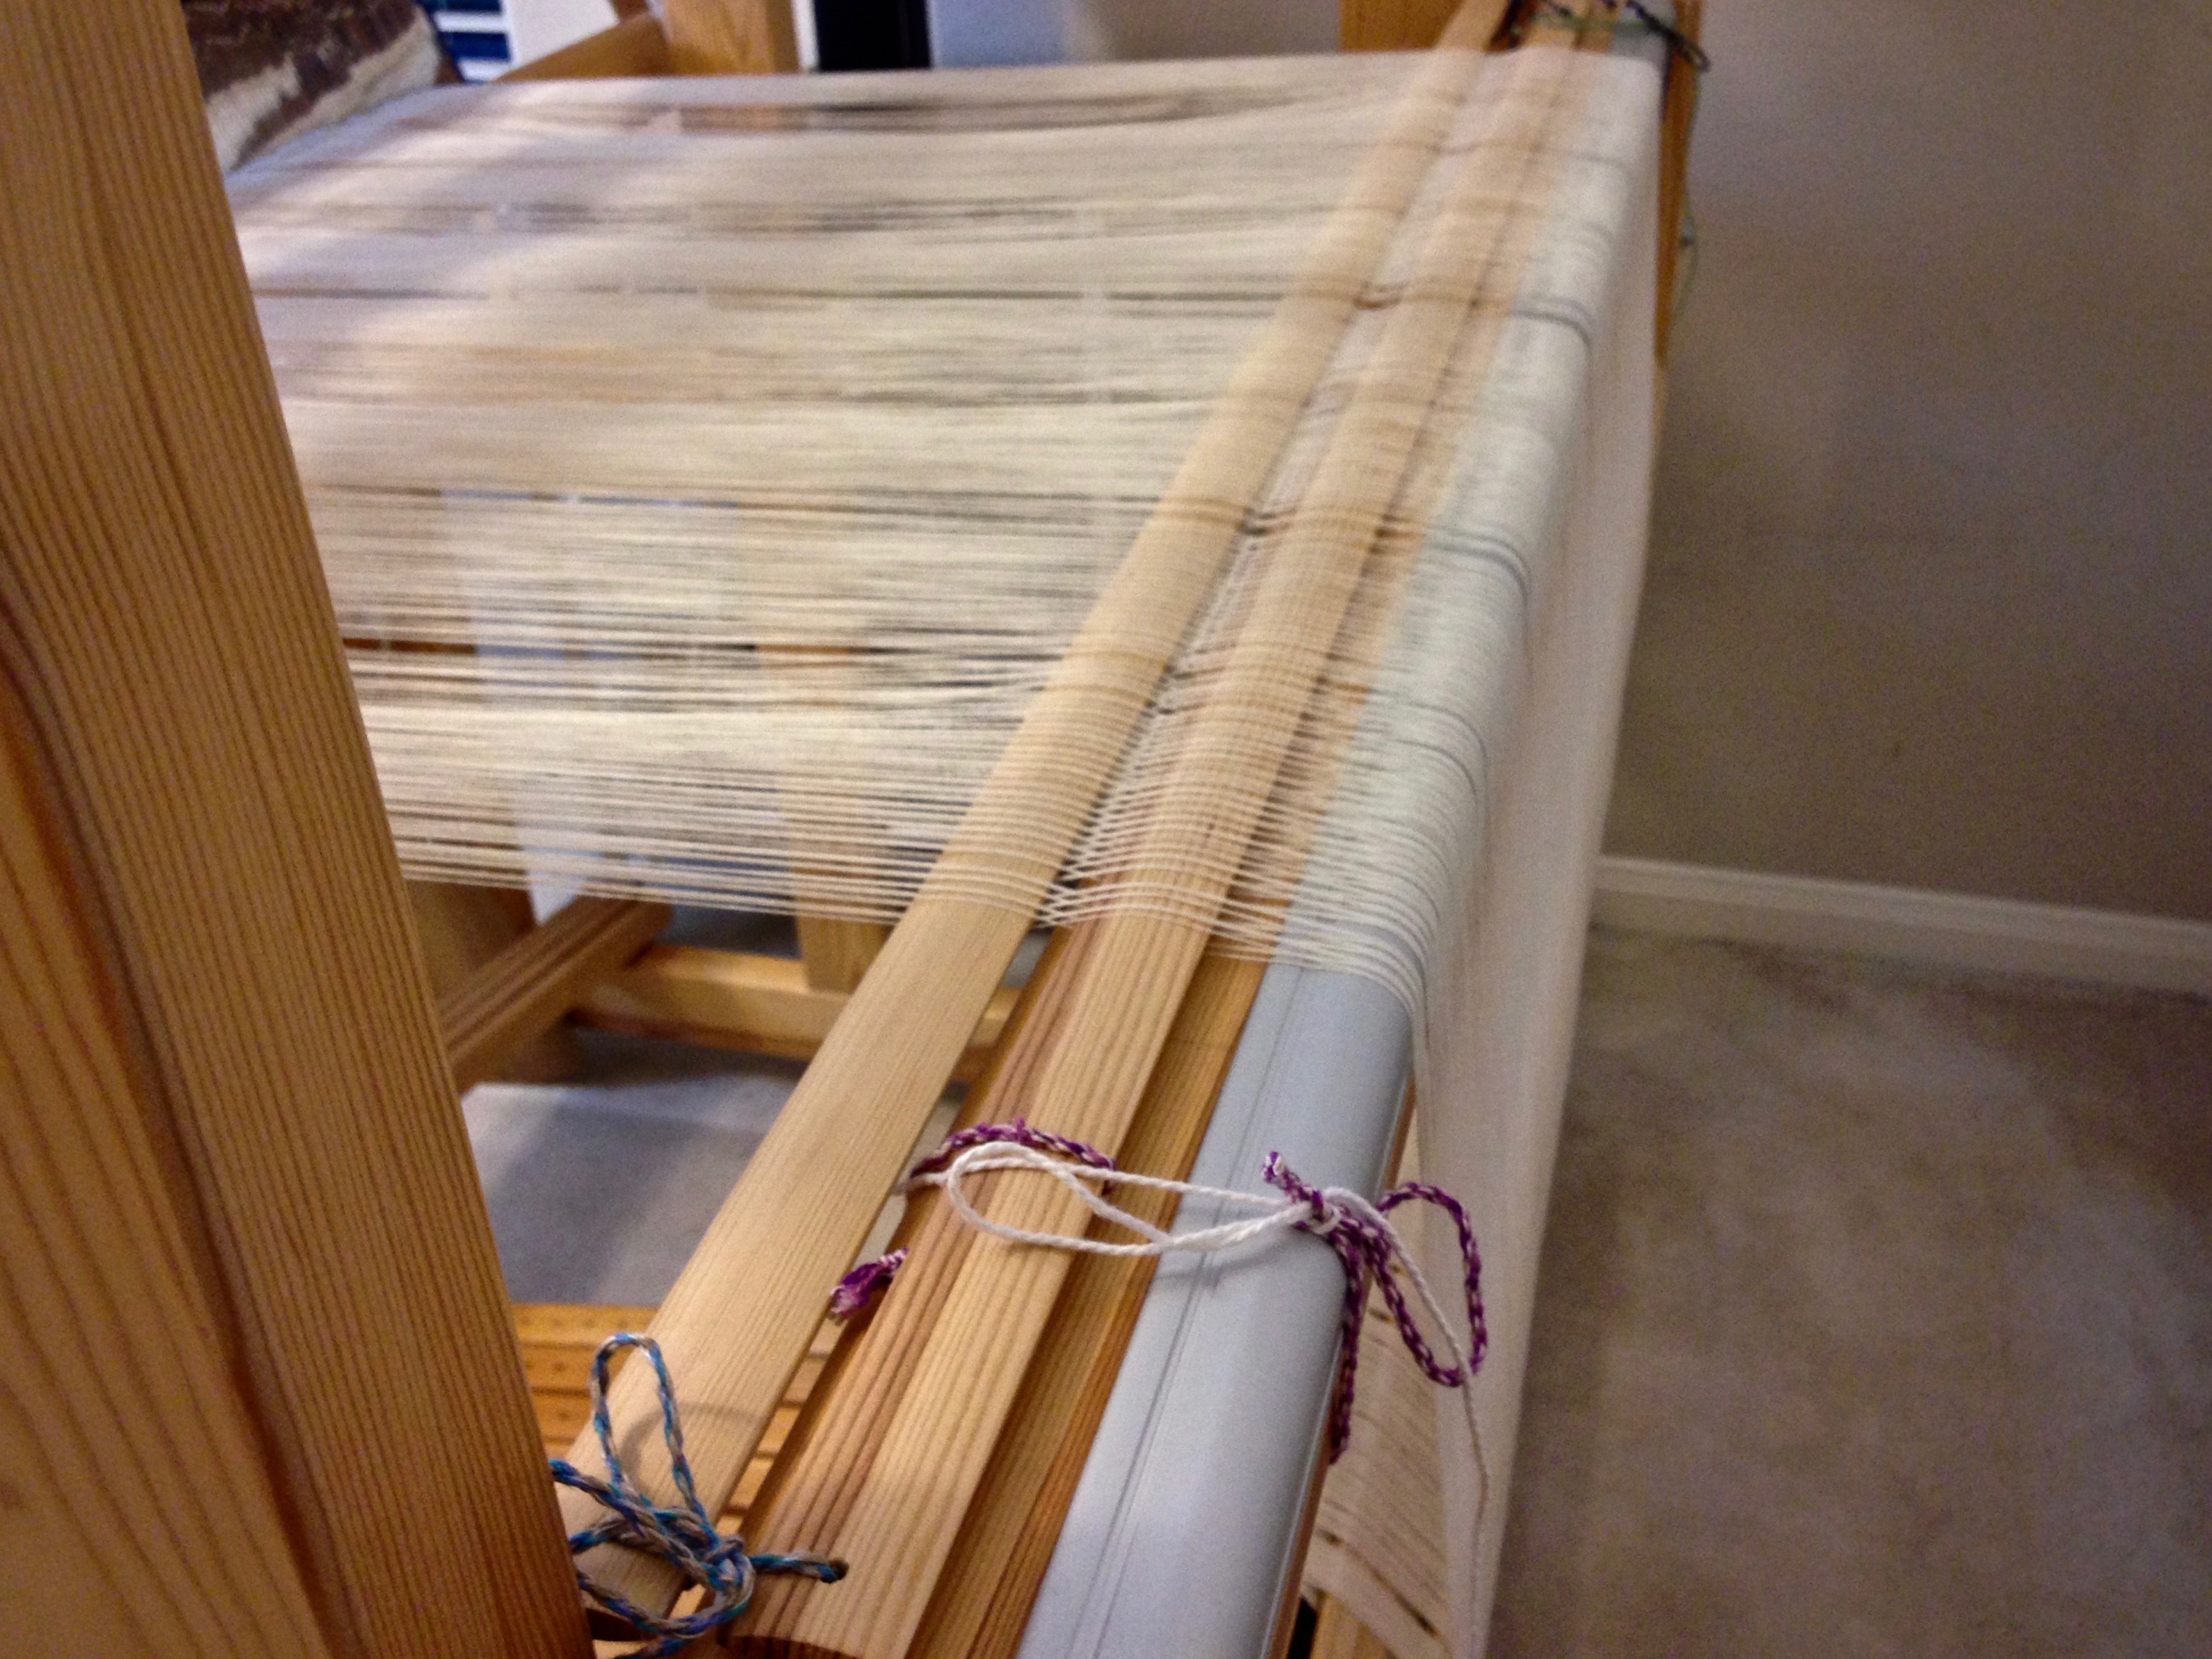
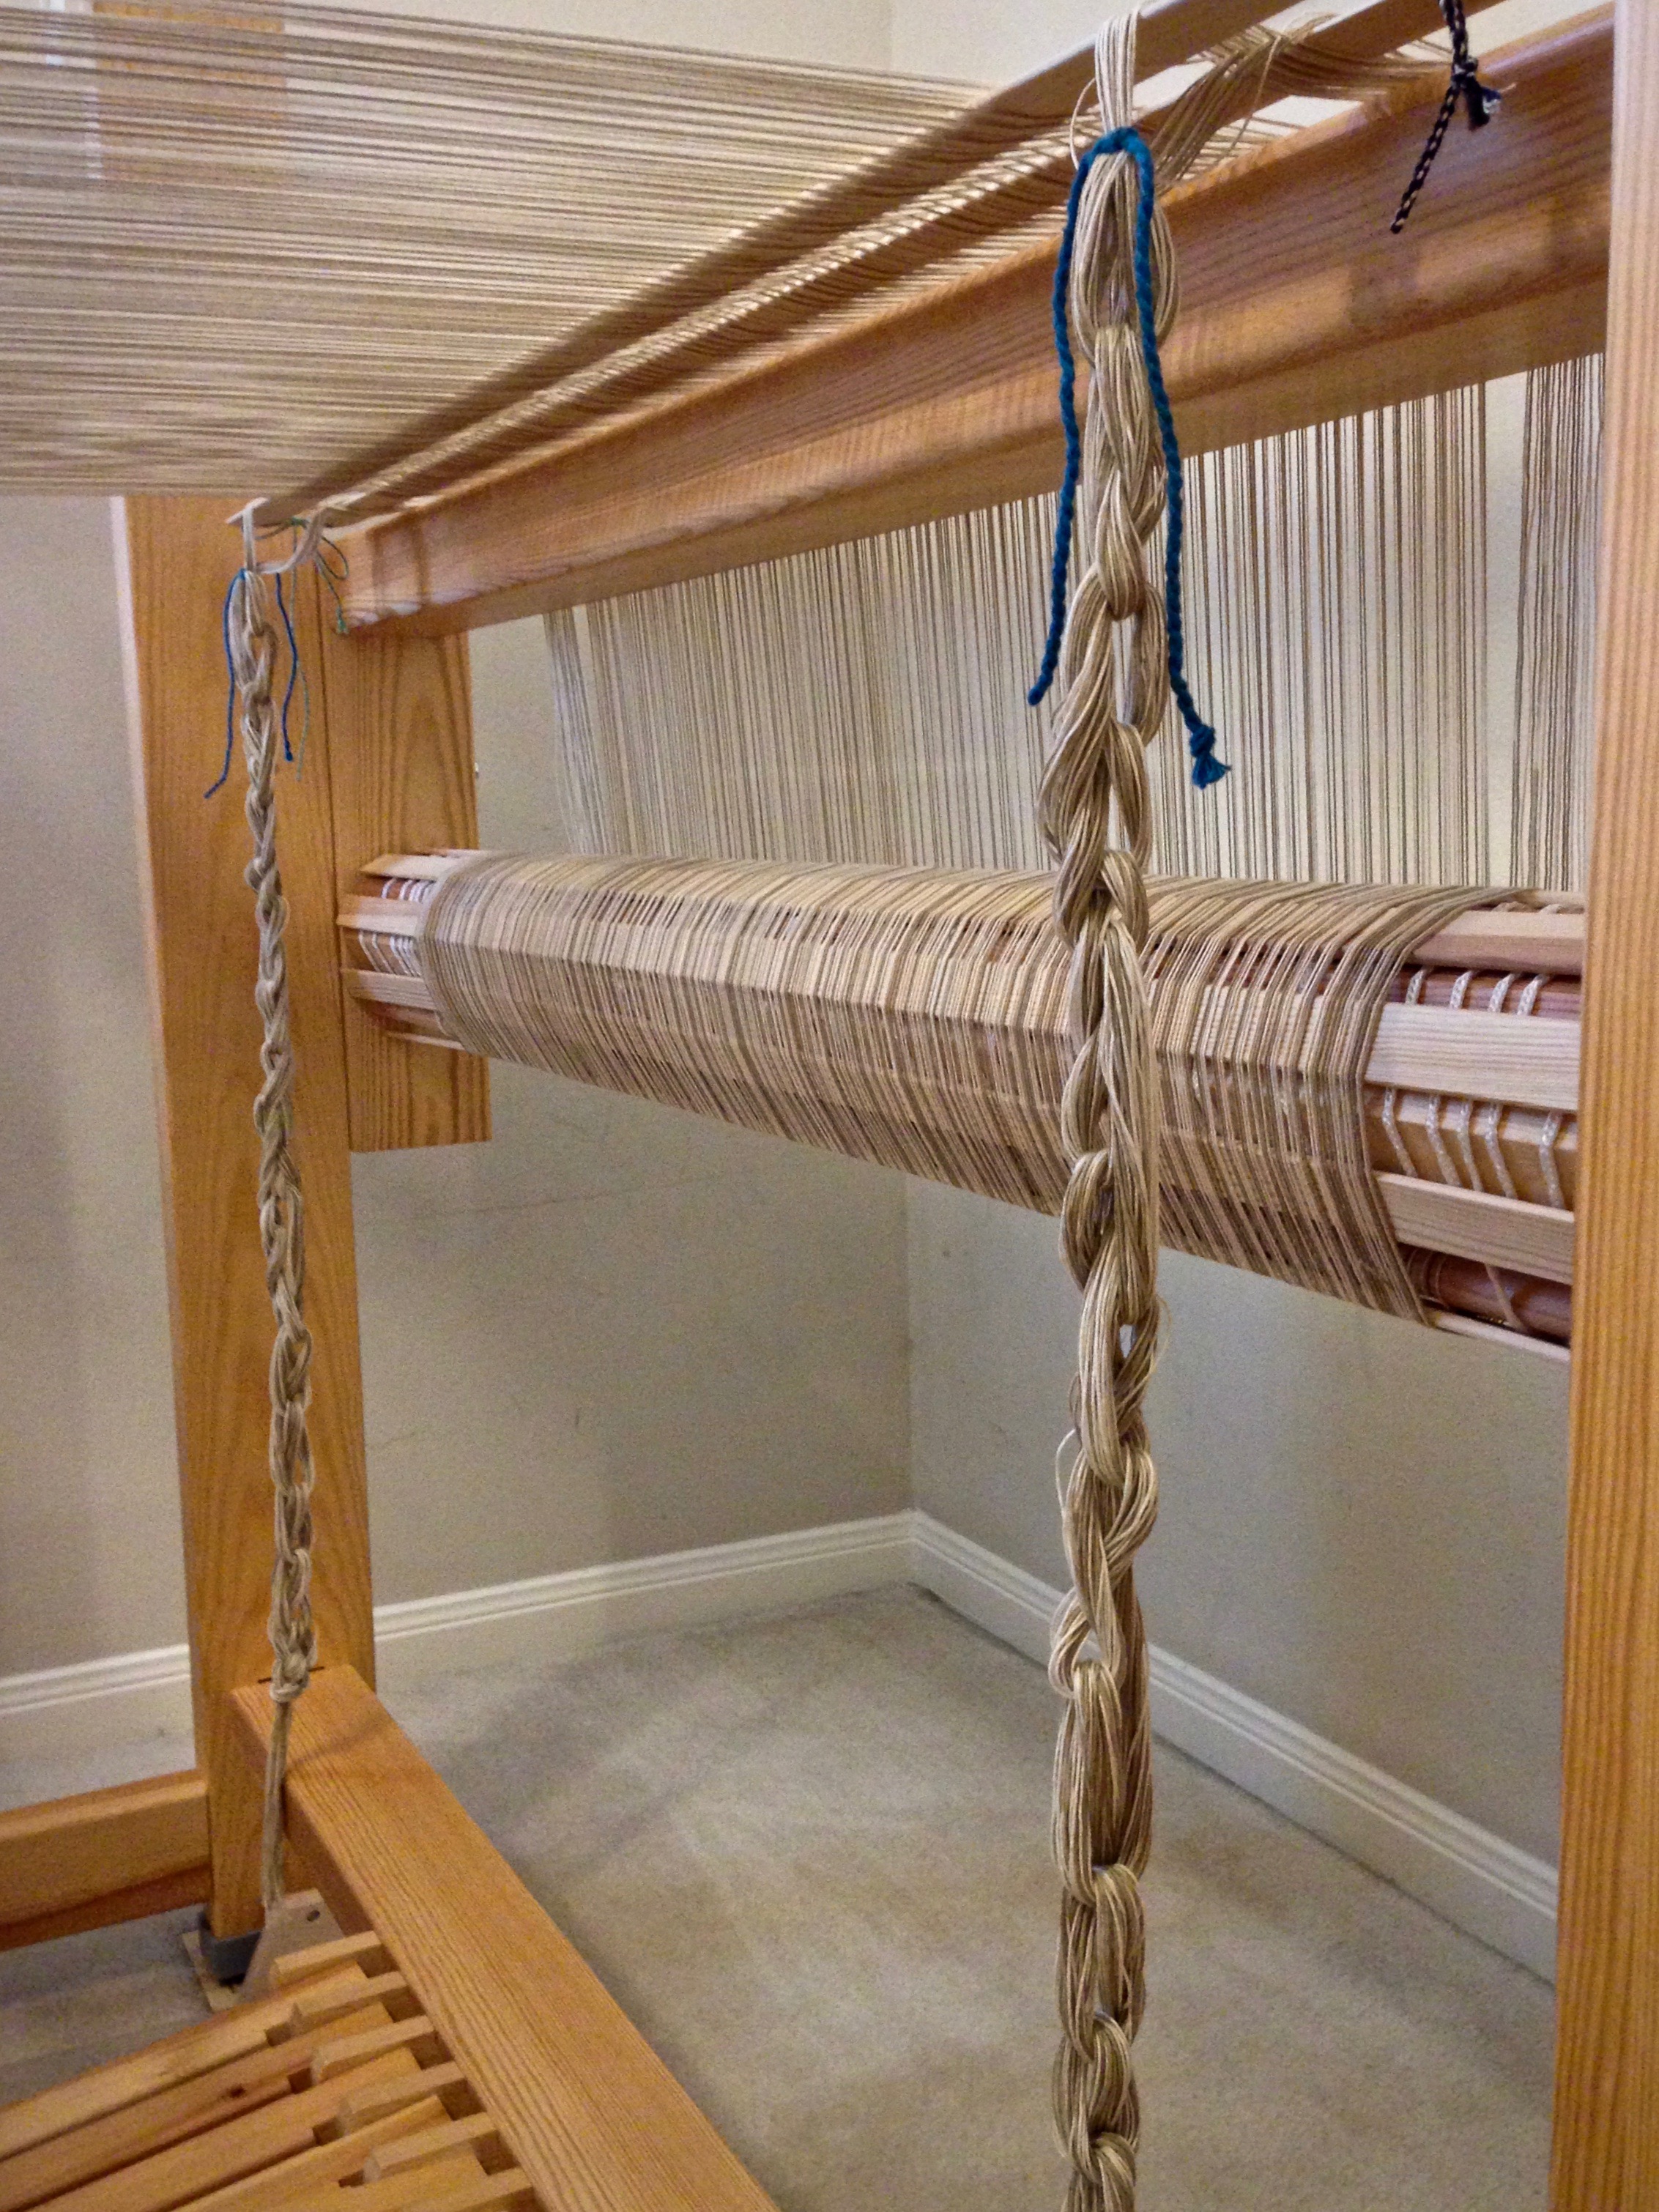
  • Even warp tension. Because shafts are both raised and lowered, tension is equal on raised and lowered warp ends. Even warp tension is good for all types of weaving. This even tension makes a tight warp possible. Perfect for linen, and for rugs.
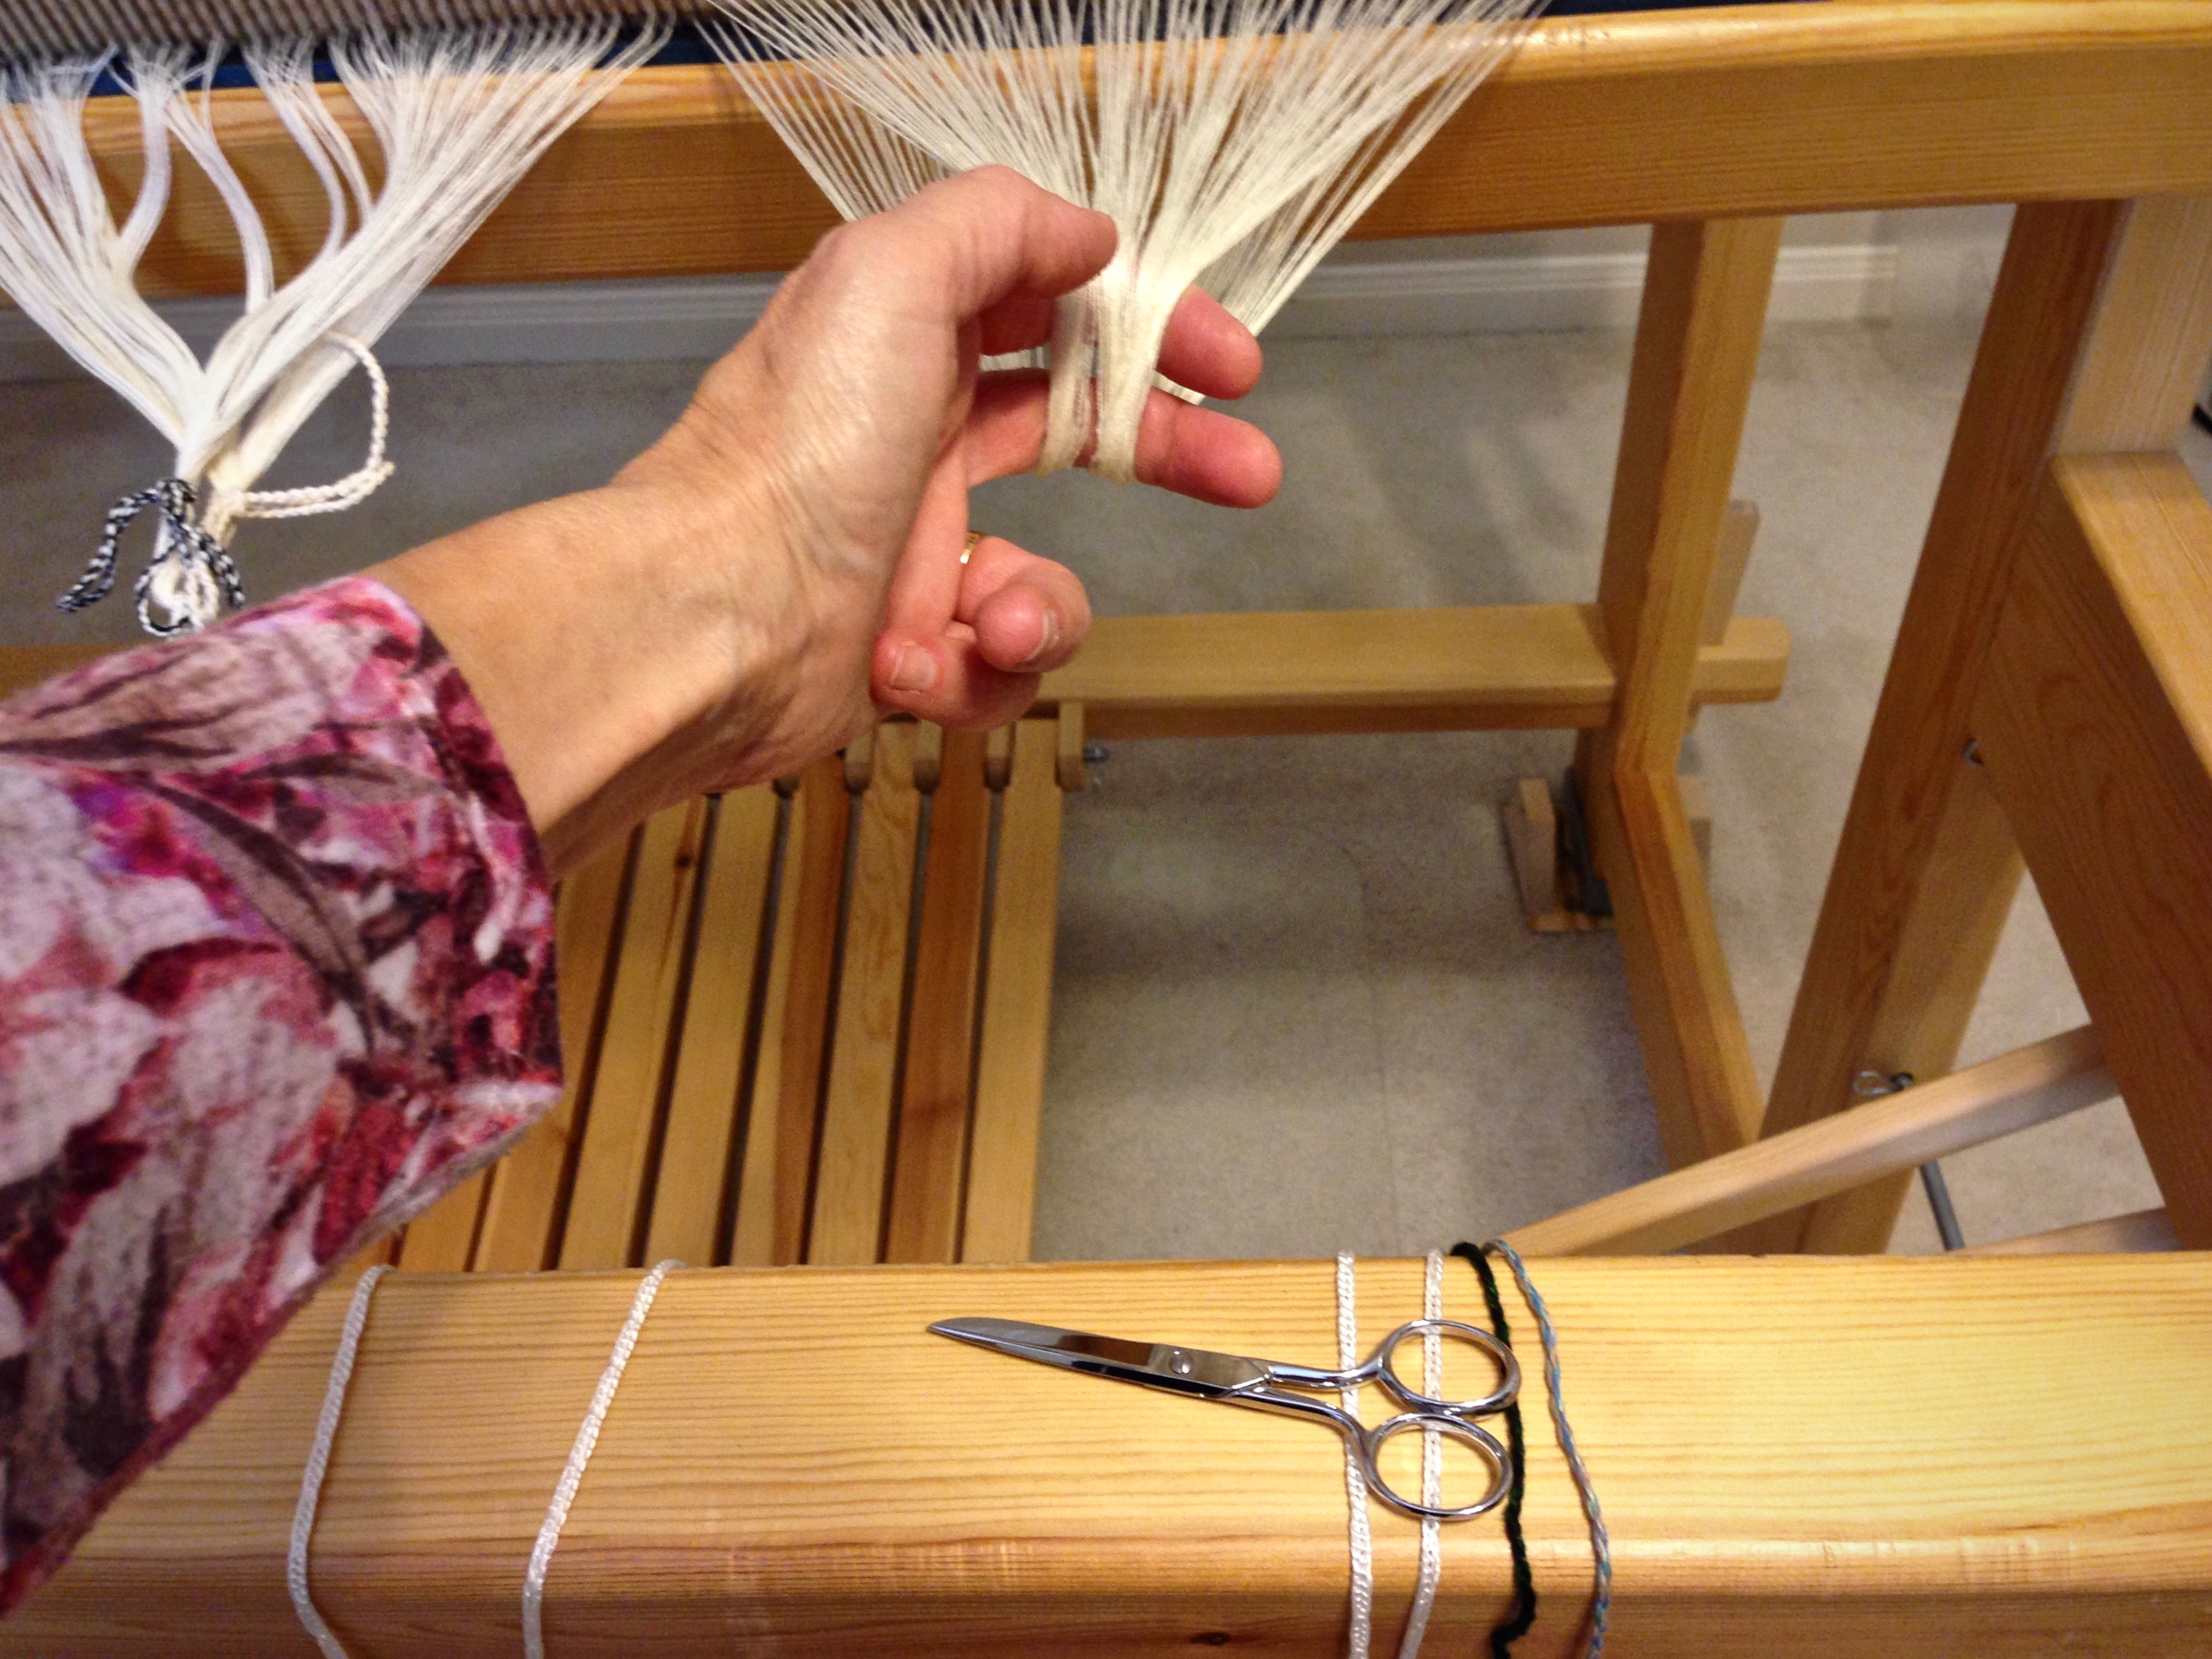
Vertical Countermarch Loom - info about CM
Gimåkra Standard loom with vertical countermarch. Cords from the countermarch jacks go over the side of the loom to the lower lamms below. The upper lamms (not pictured) attached to treadles cause shafts to sink when a treadle is depressed.
Threading ease of countermarch looms.
Bench sits in the loom for threading heddles. I call this my little playhouse.
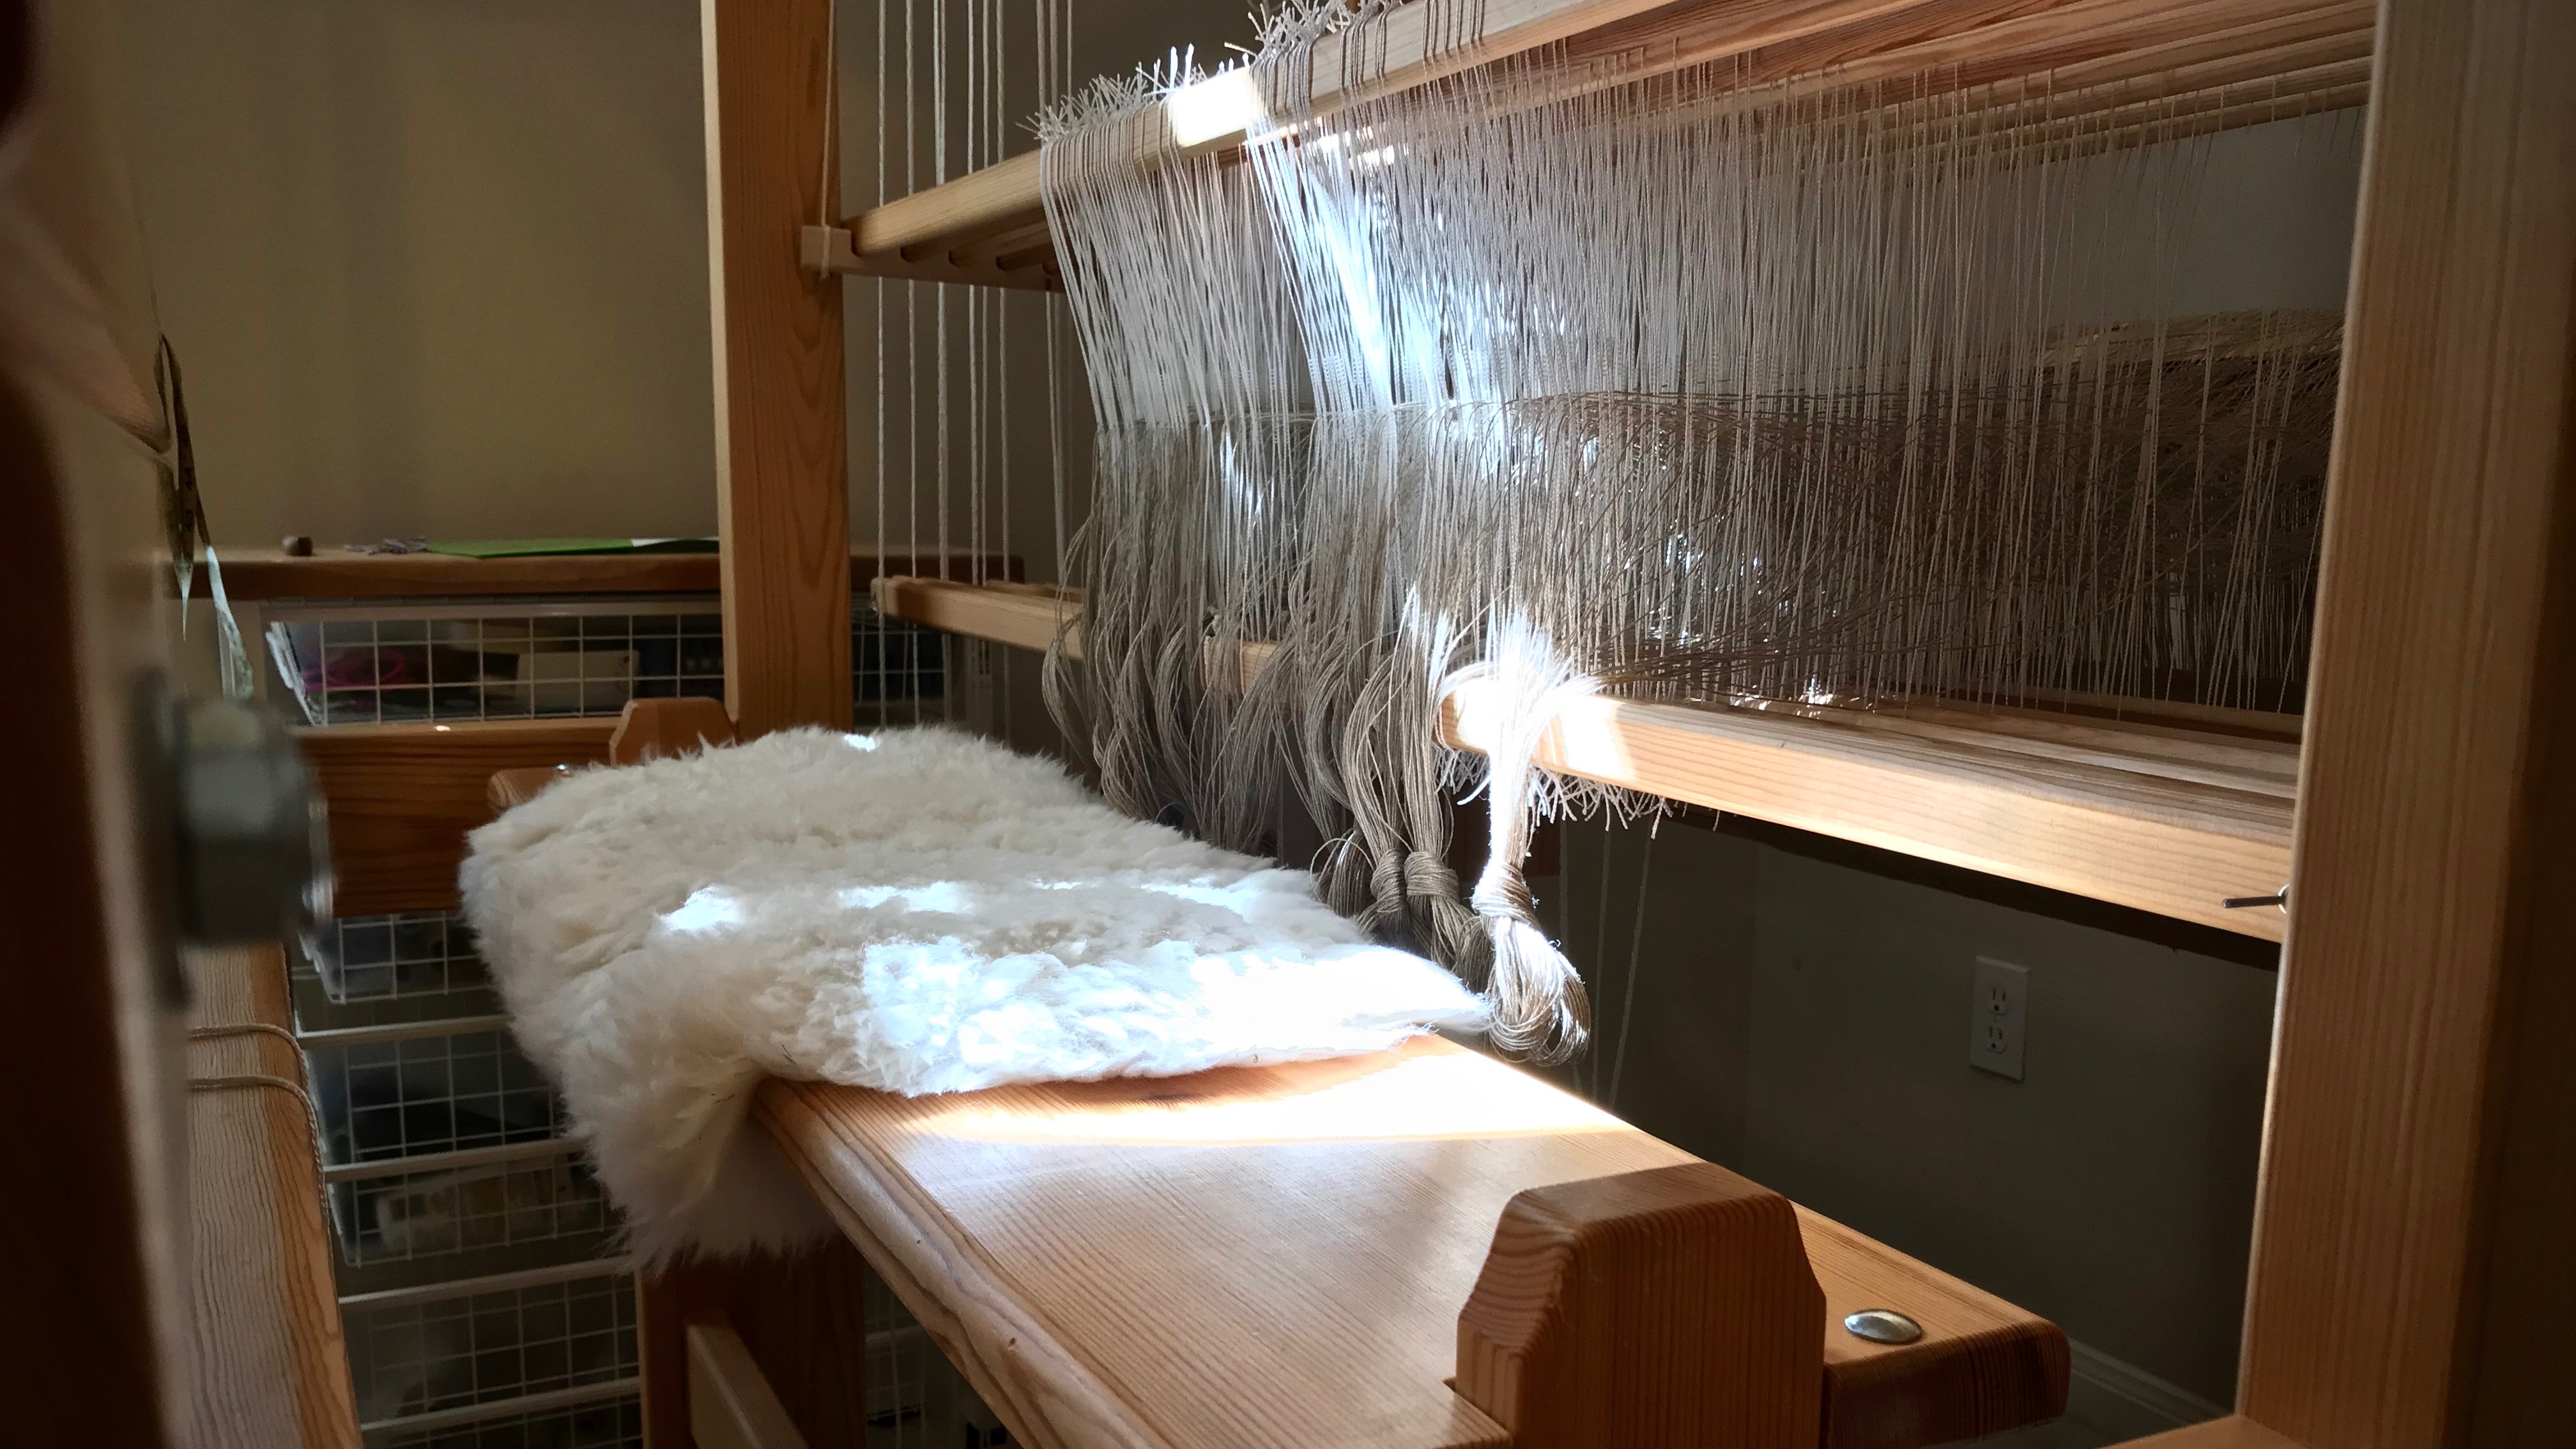
  • Texsolv heddles. Heddles can be easily added or removed from shafts (shafts are also easily added or removed). Quiet. Easy to thread.
  • Perfect fit. A petite person like me can weave on a large loom (my Standard is 47”/120cm) as comfortably as someone with longer arms and legs. Able to sit in upright posture for weaving.
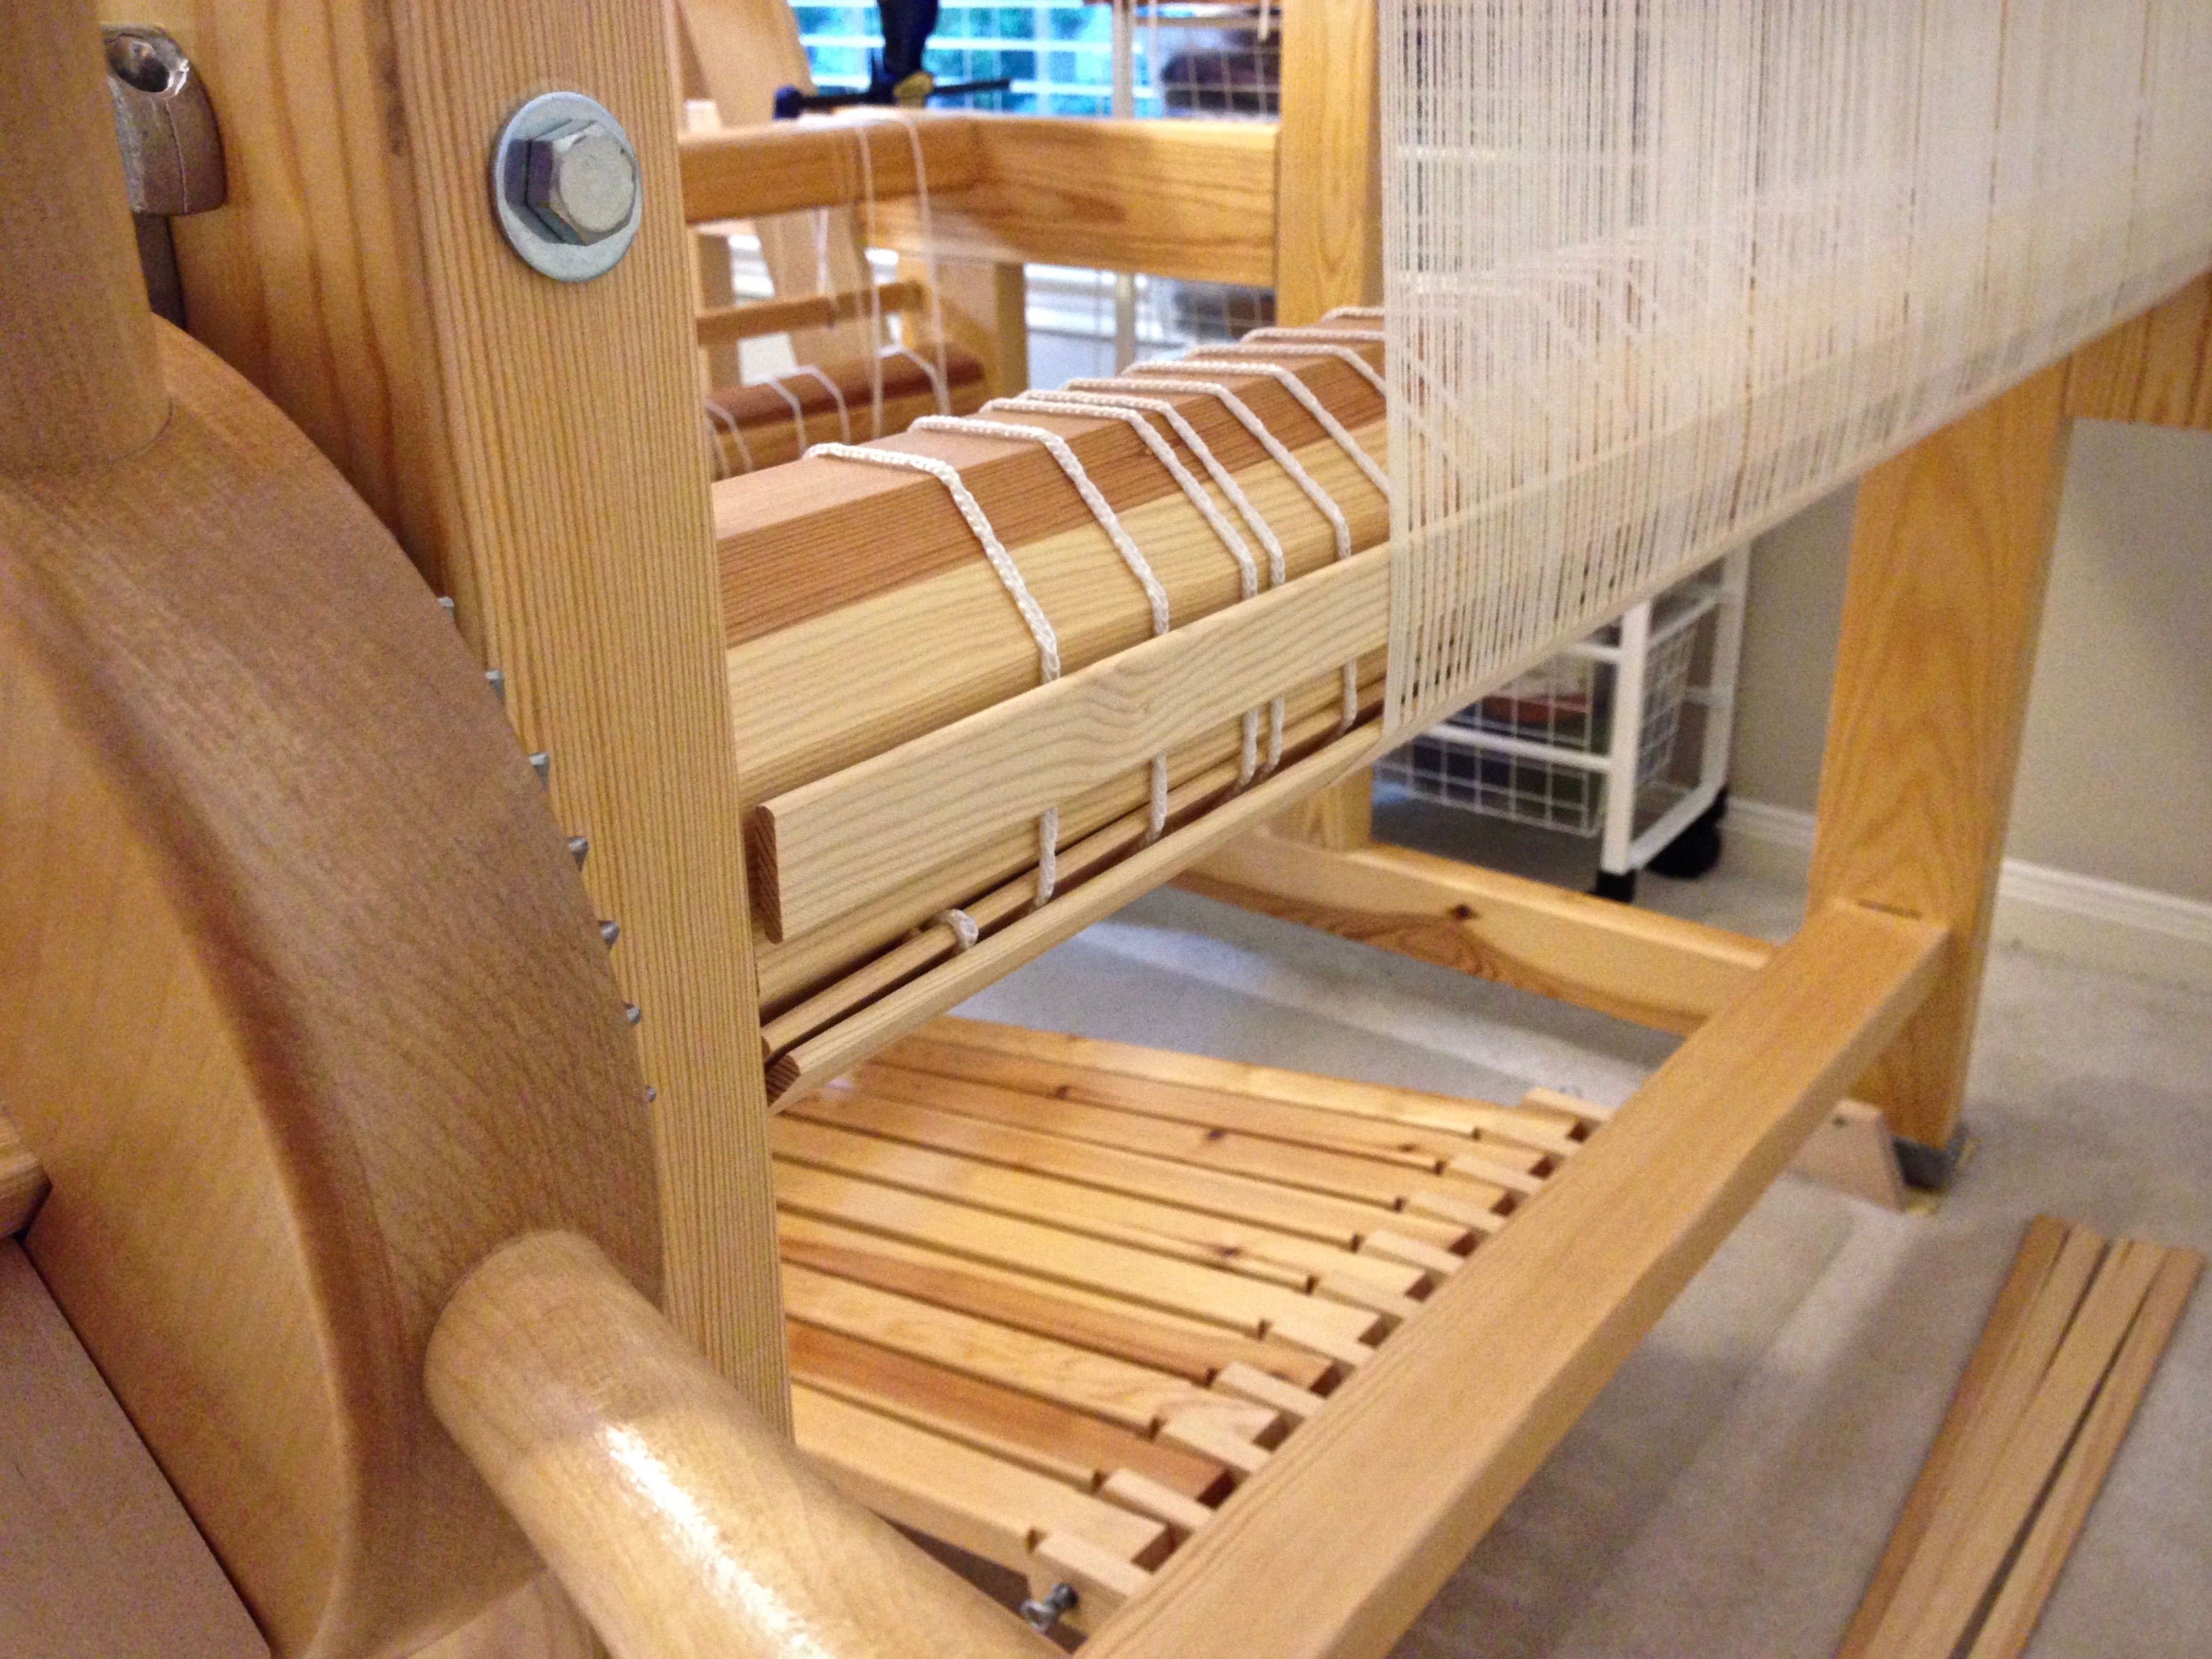
  • Wooden. The loom is primarily wood. Bonus if you appreciate natural beauty of wood. Held together with wooden wedges and a few bolts. No screws or wing nuts.
  • Scandinavian clarity. Because of the Swedish loom, I adopt Swedish weaving practices and have an interest in traditional Scandinavian textiles. The loom fits the style. Streamlined design, precision, systematic and logical processes, and beauty with function.

Con

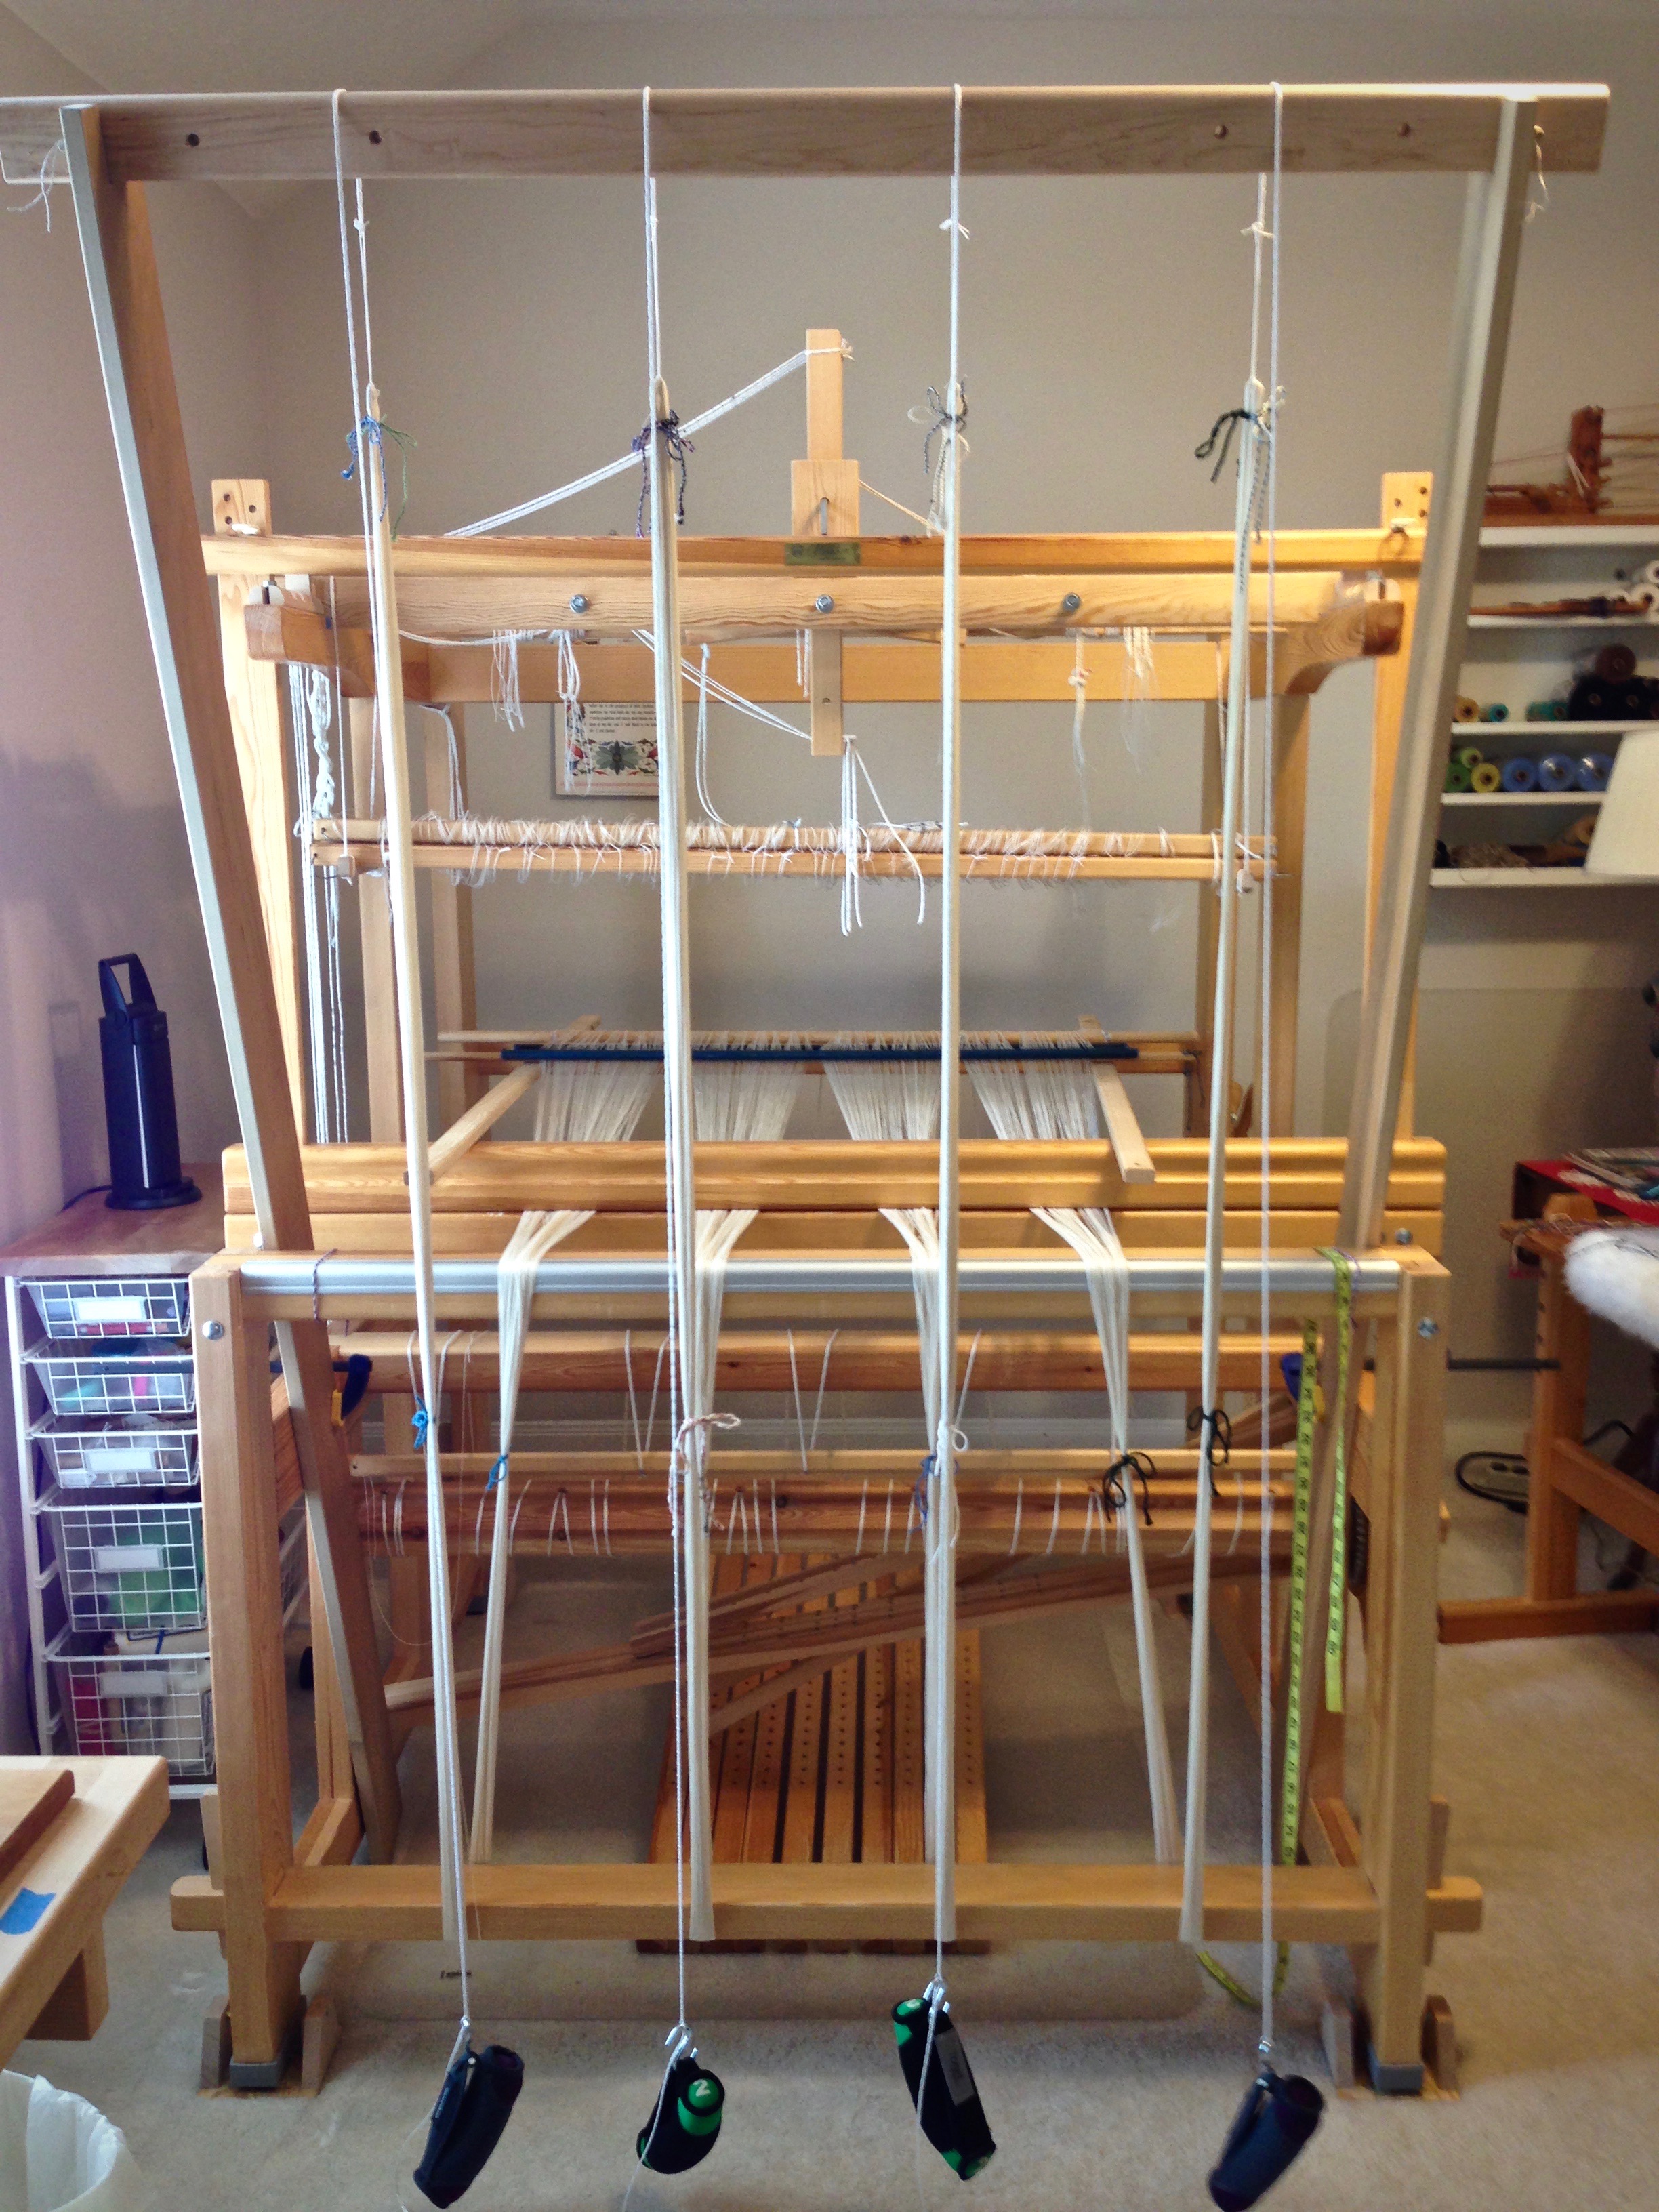
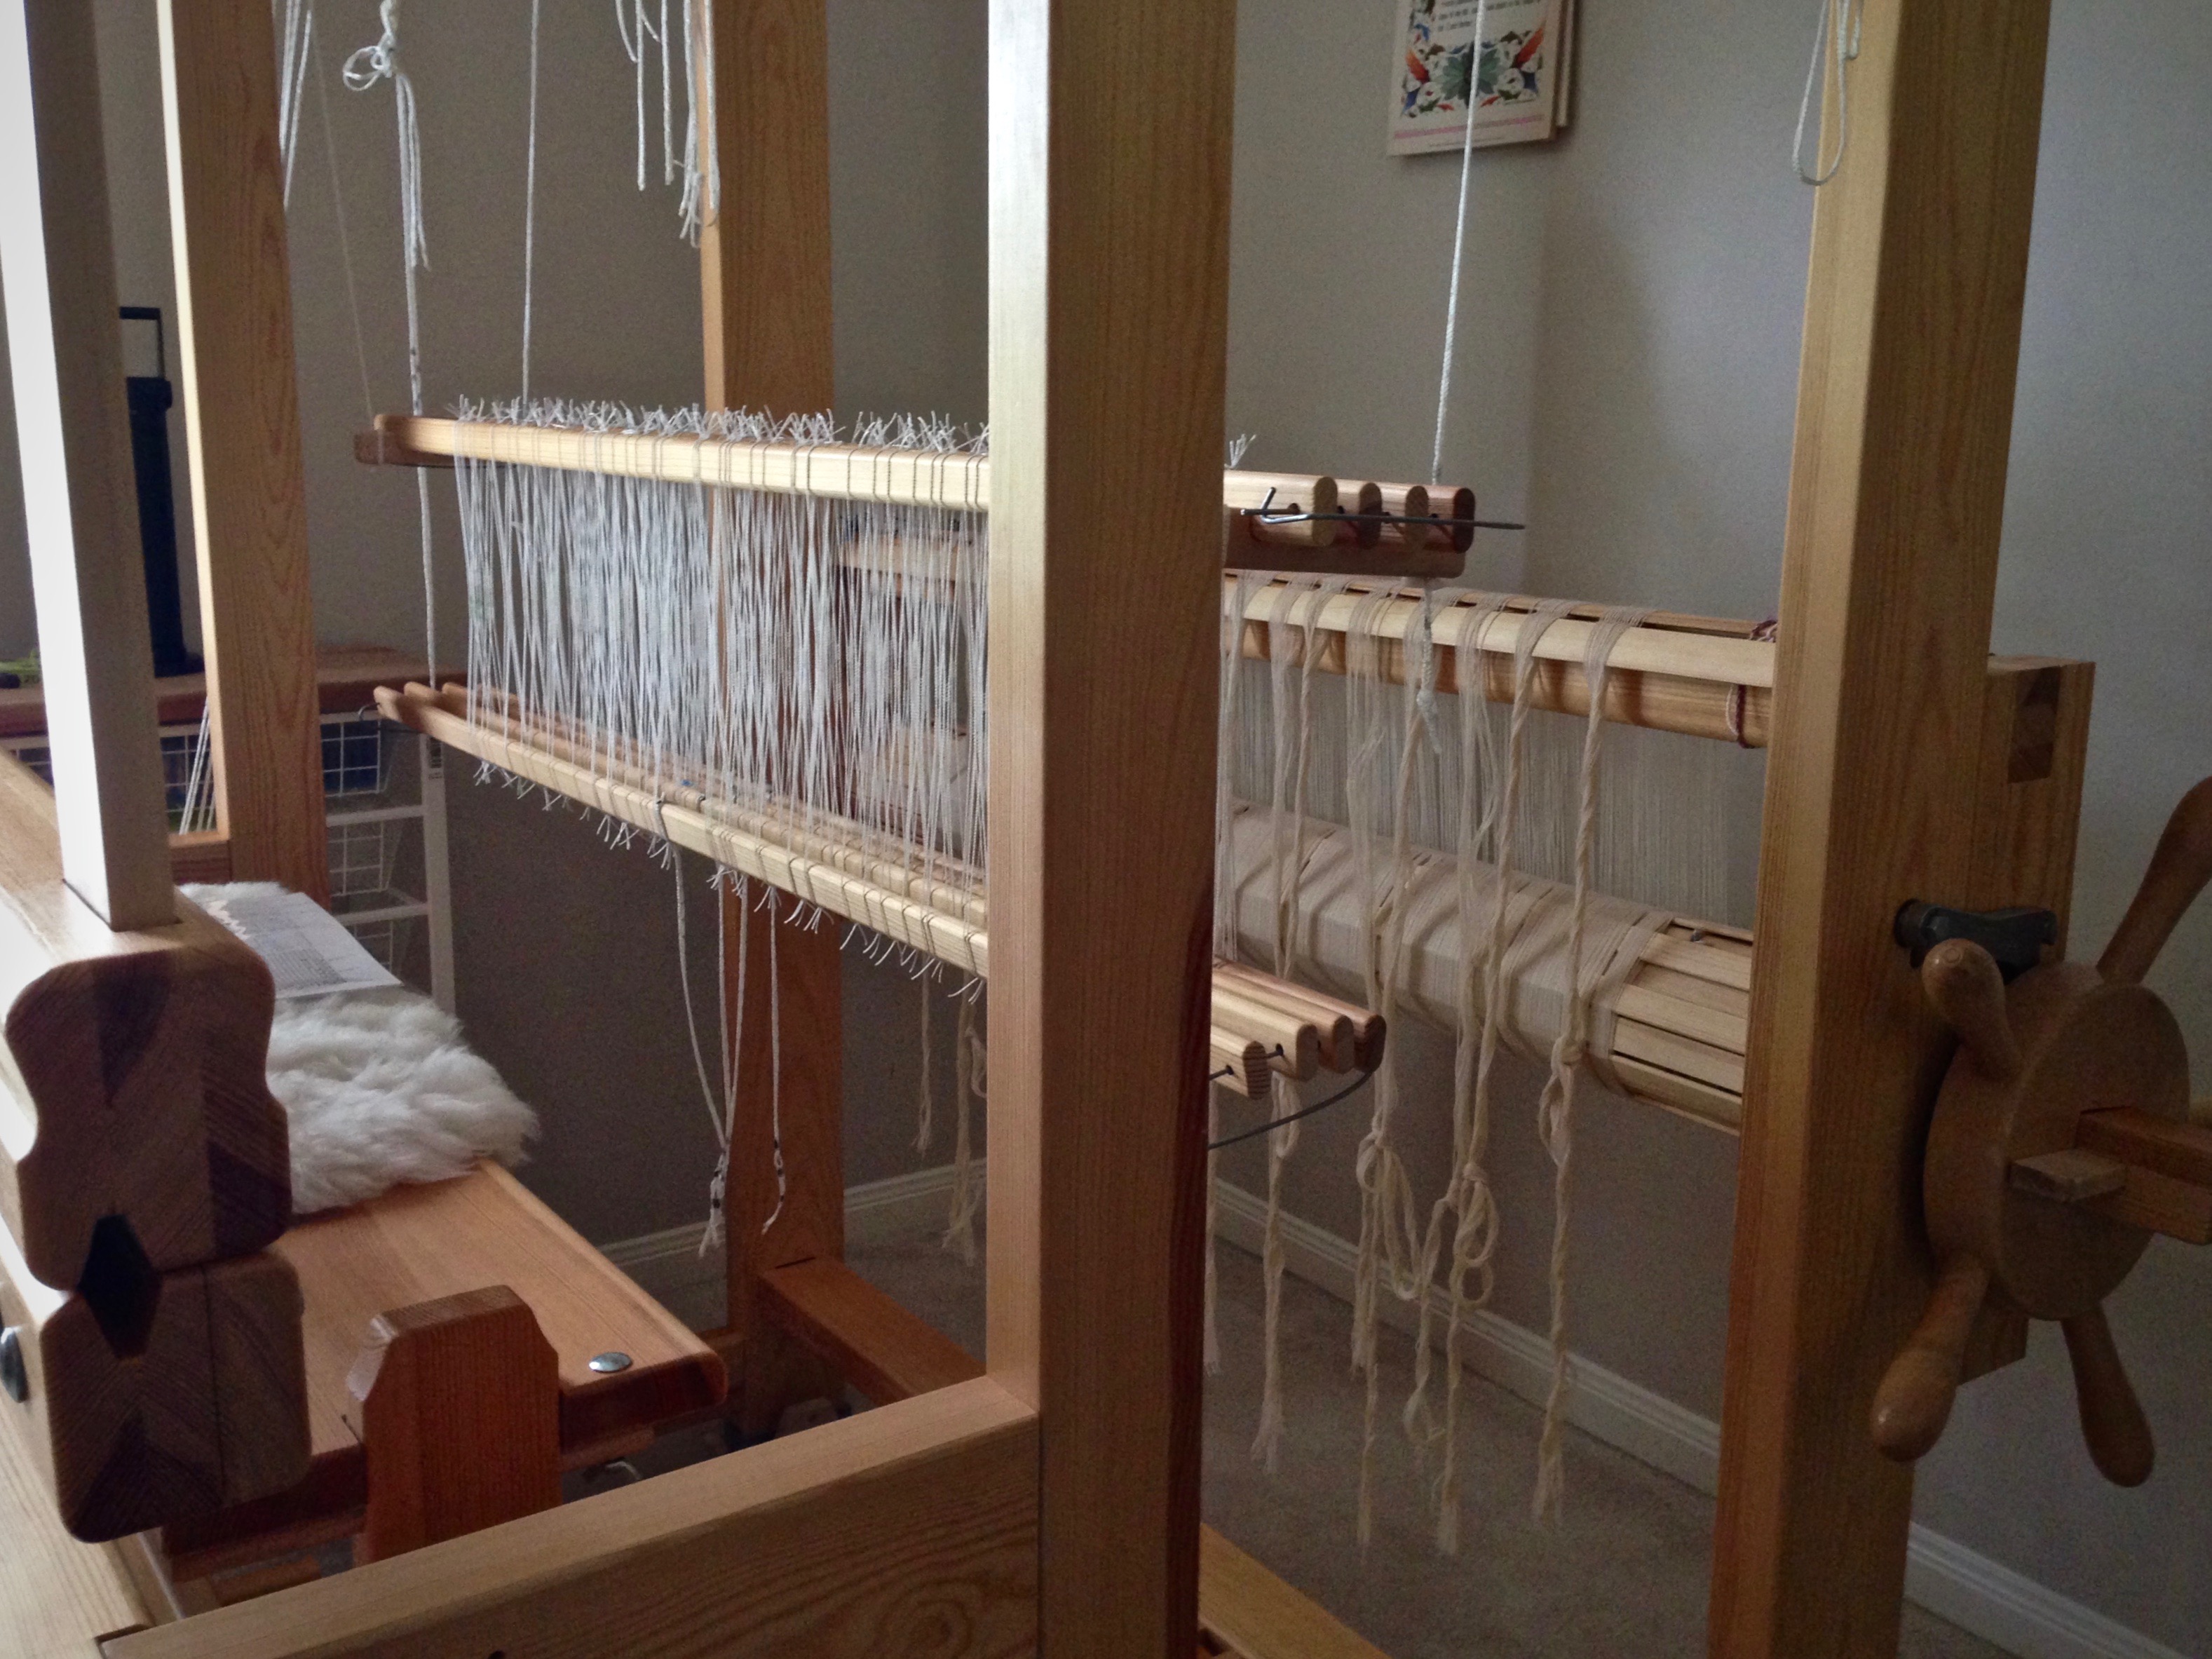
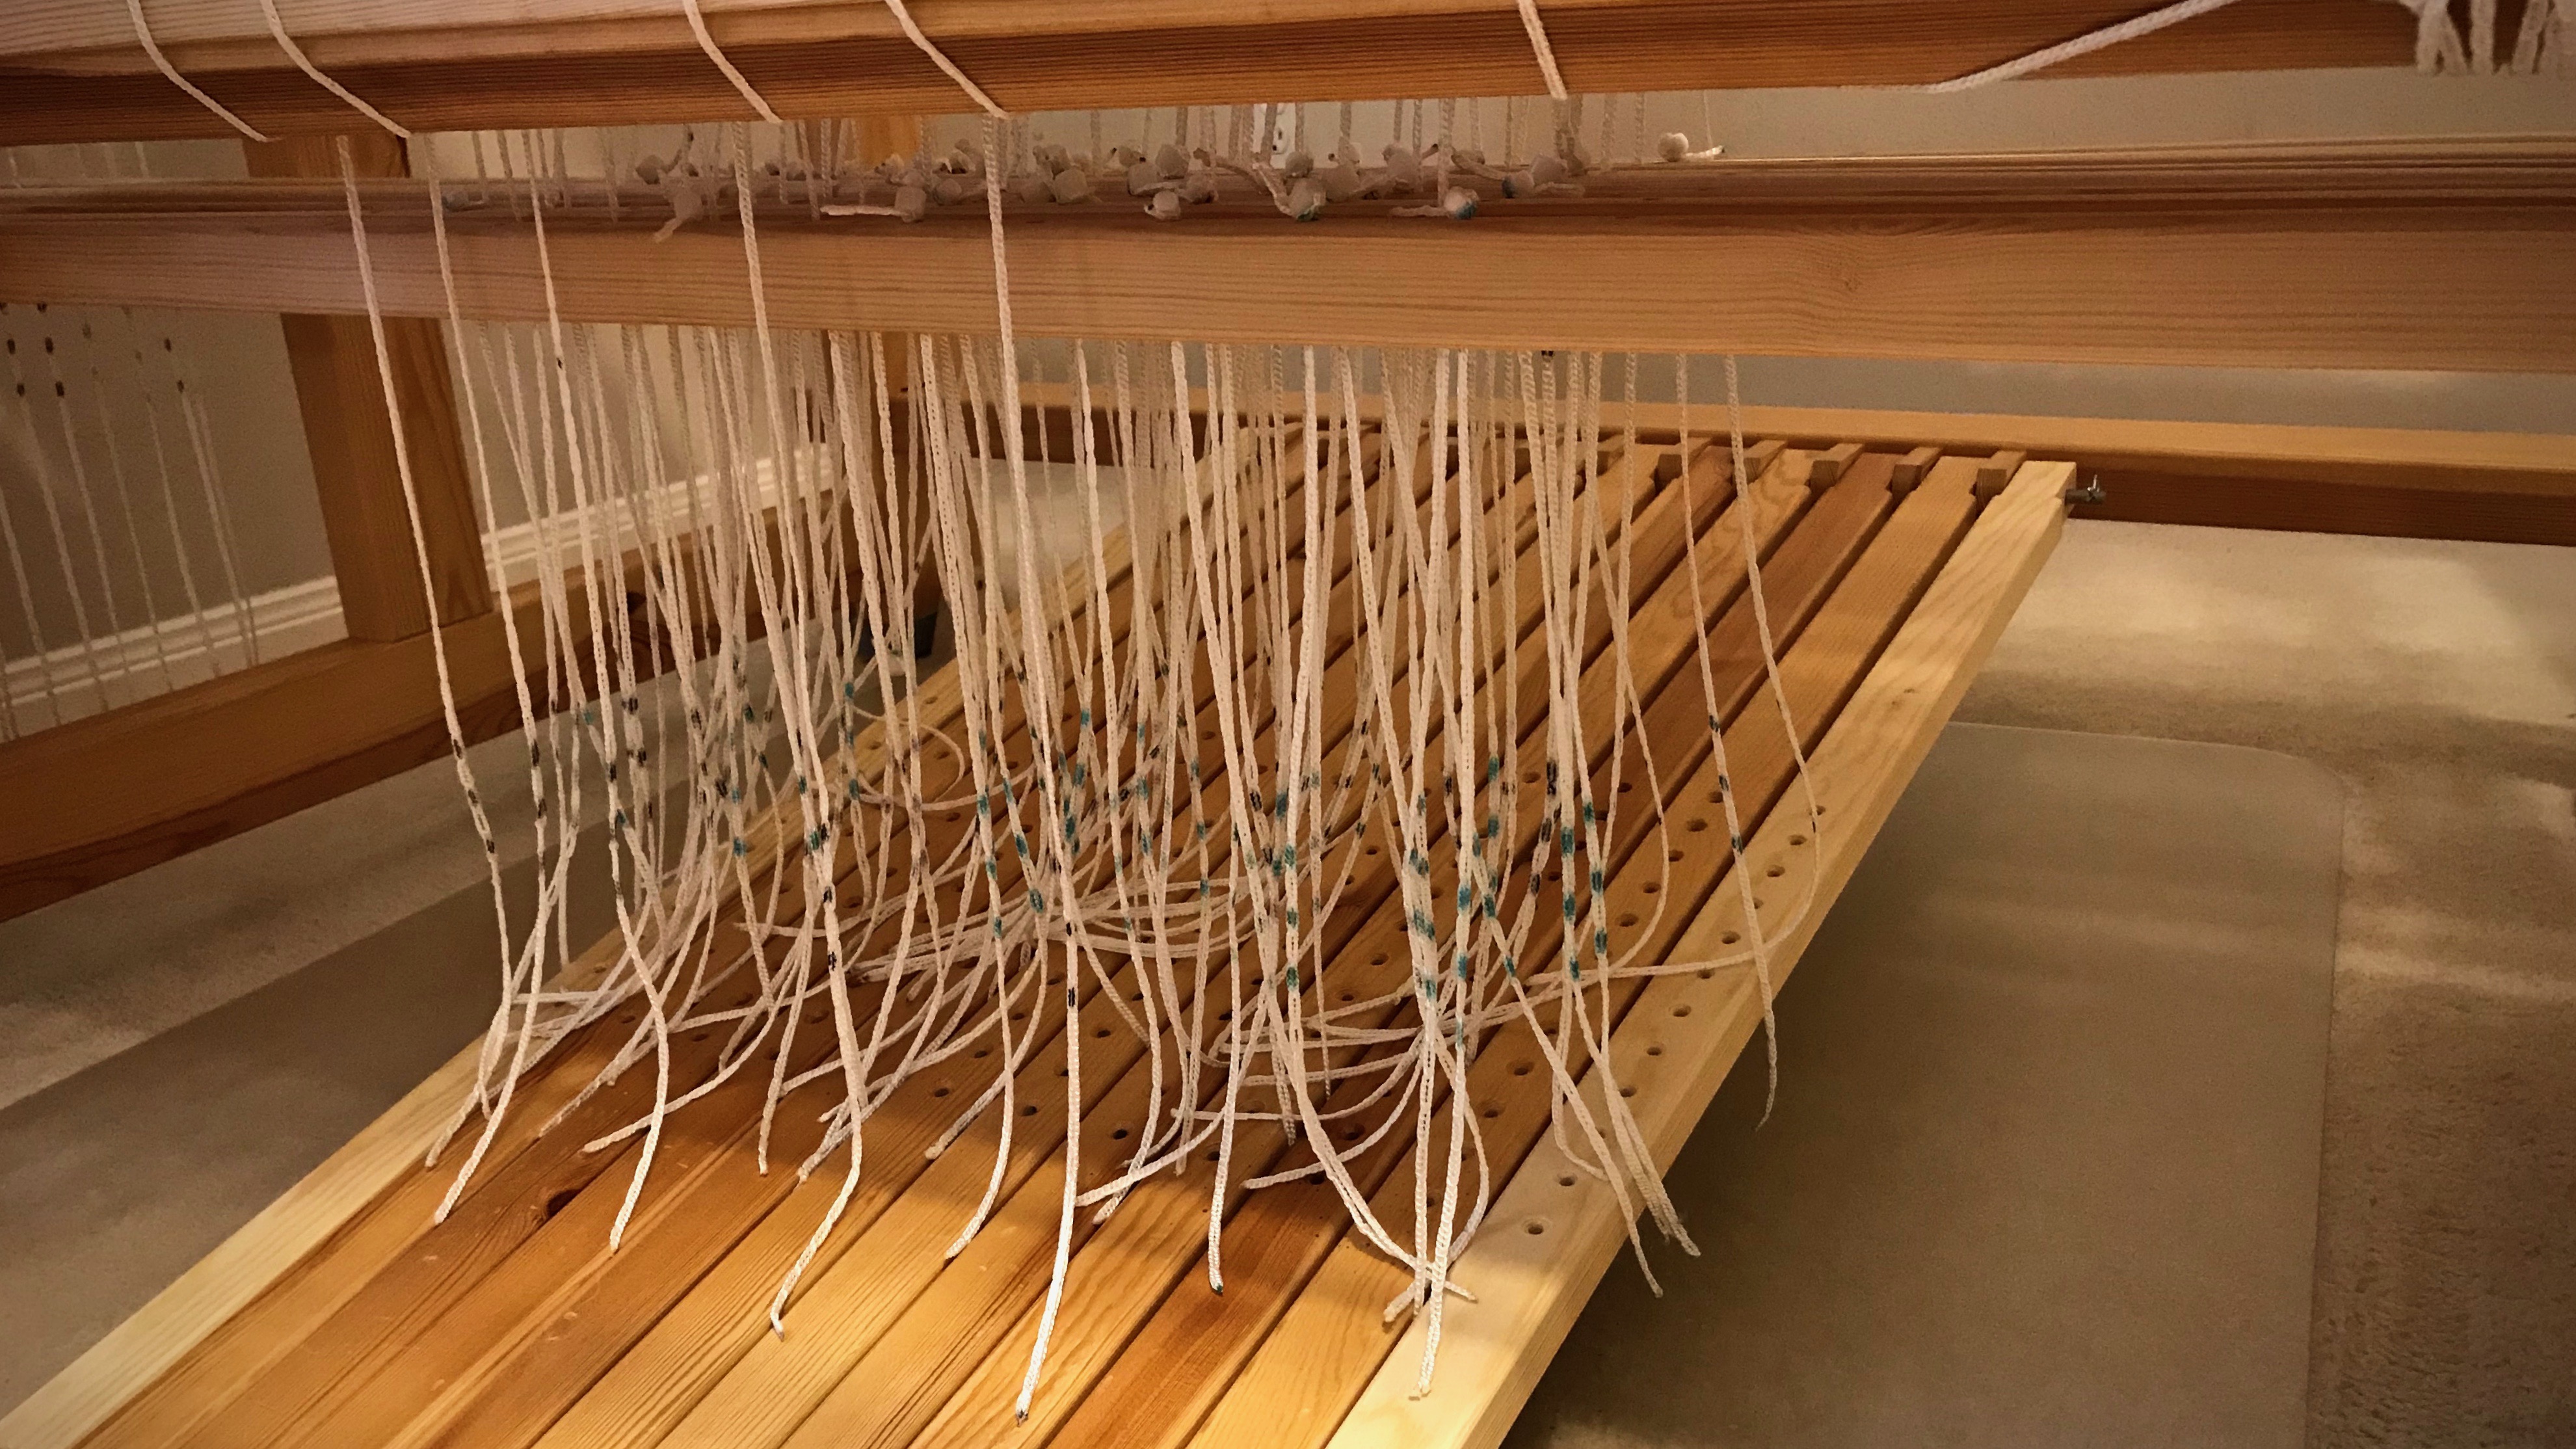
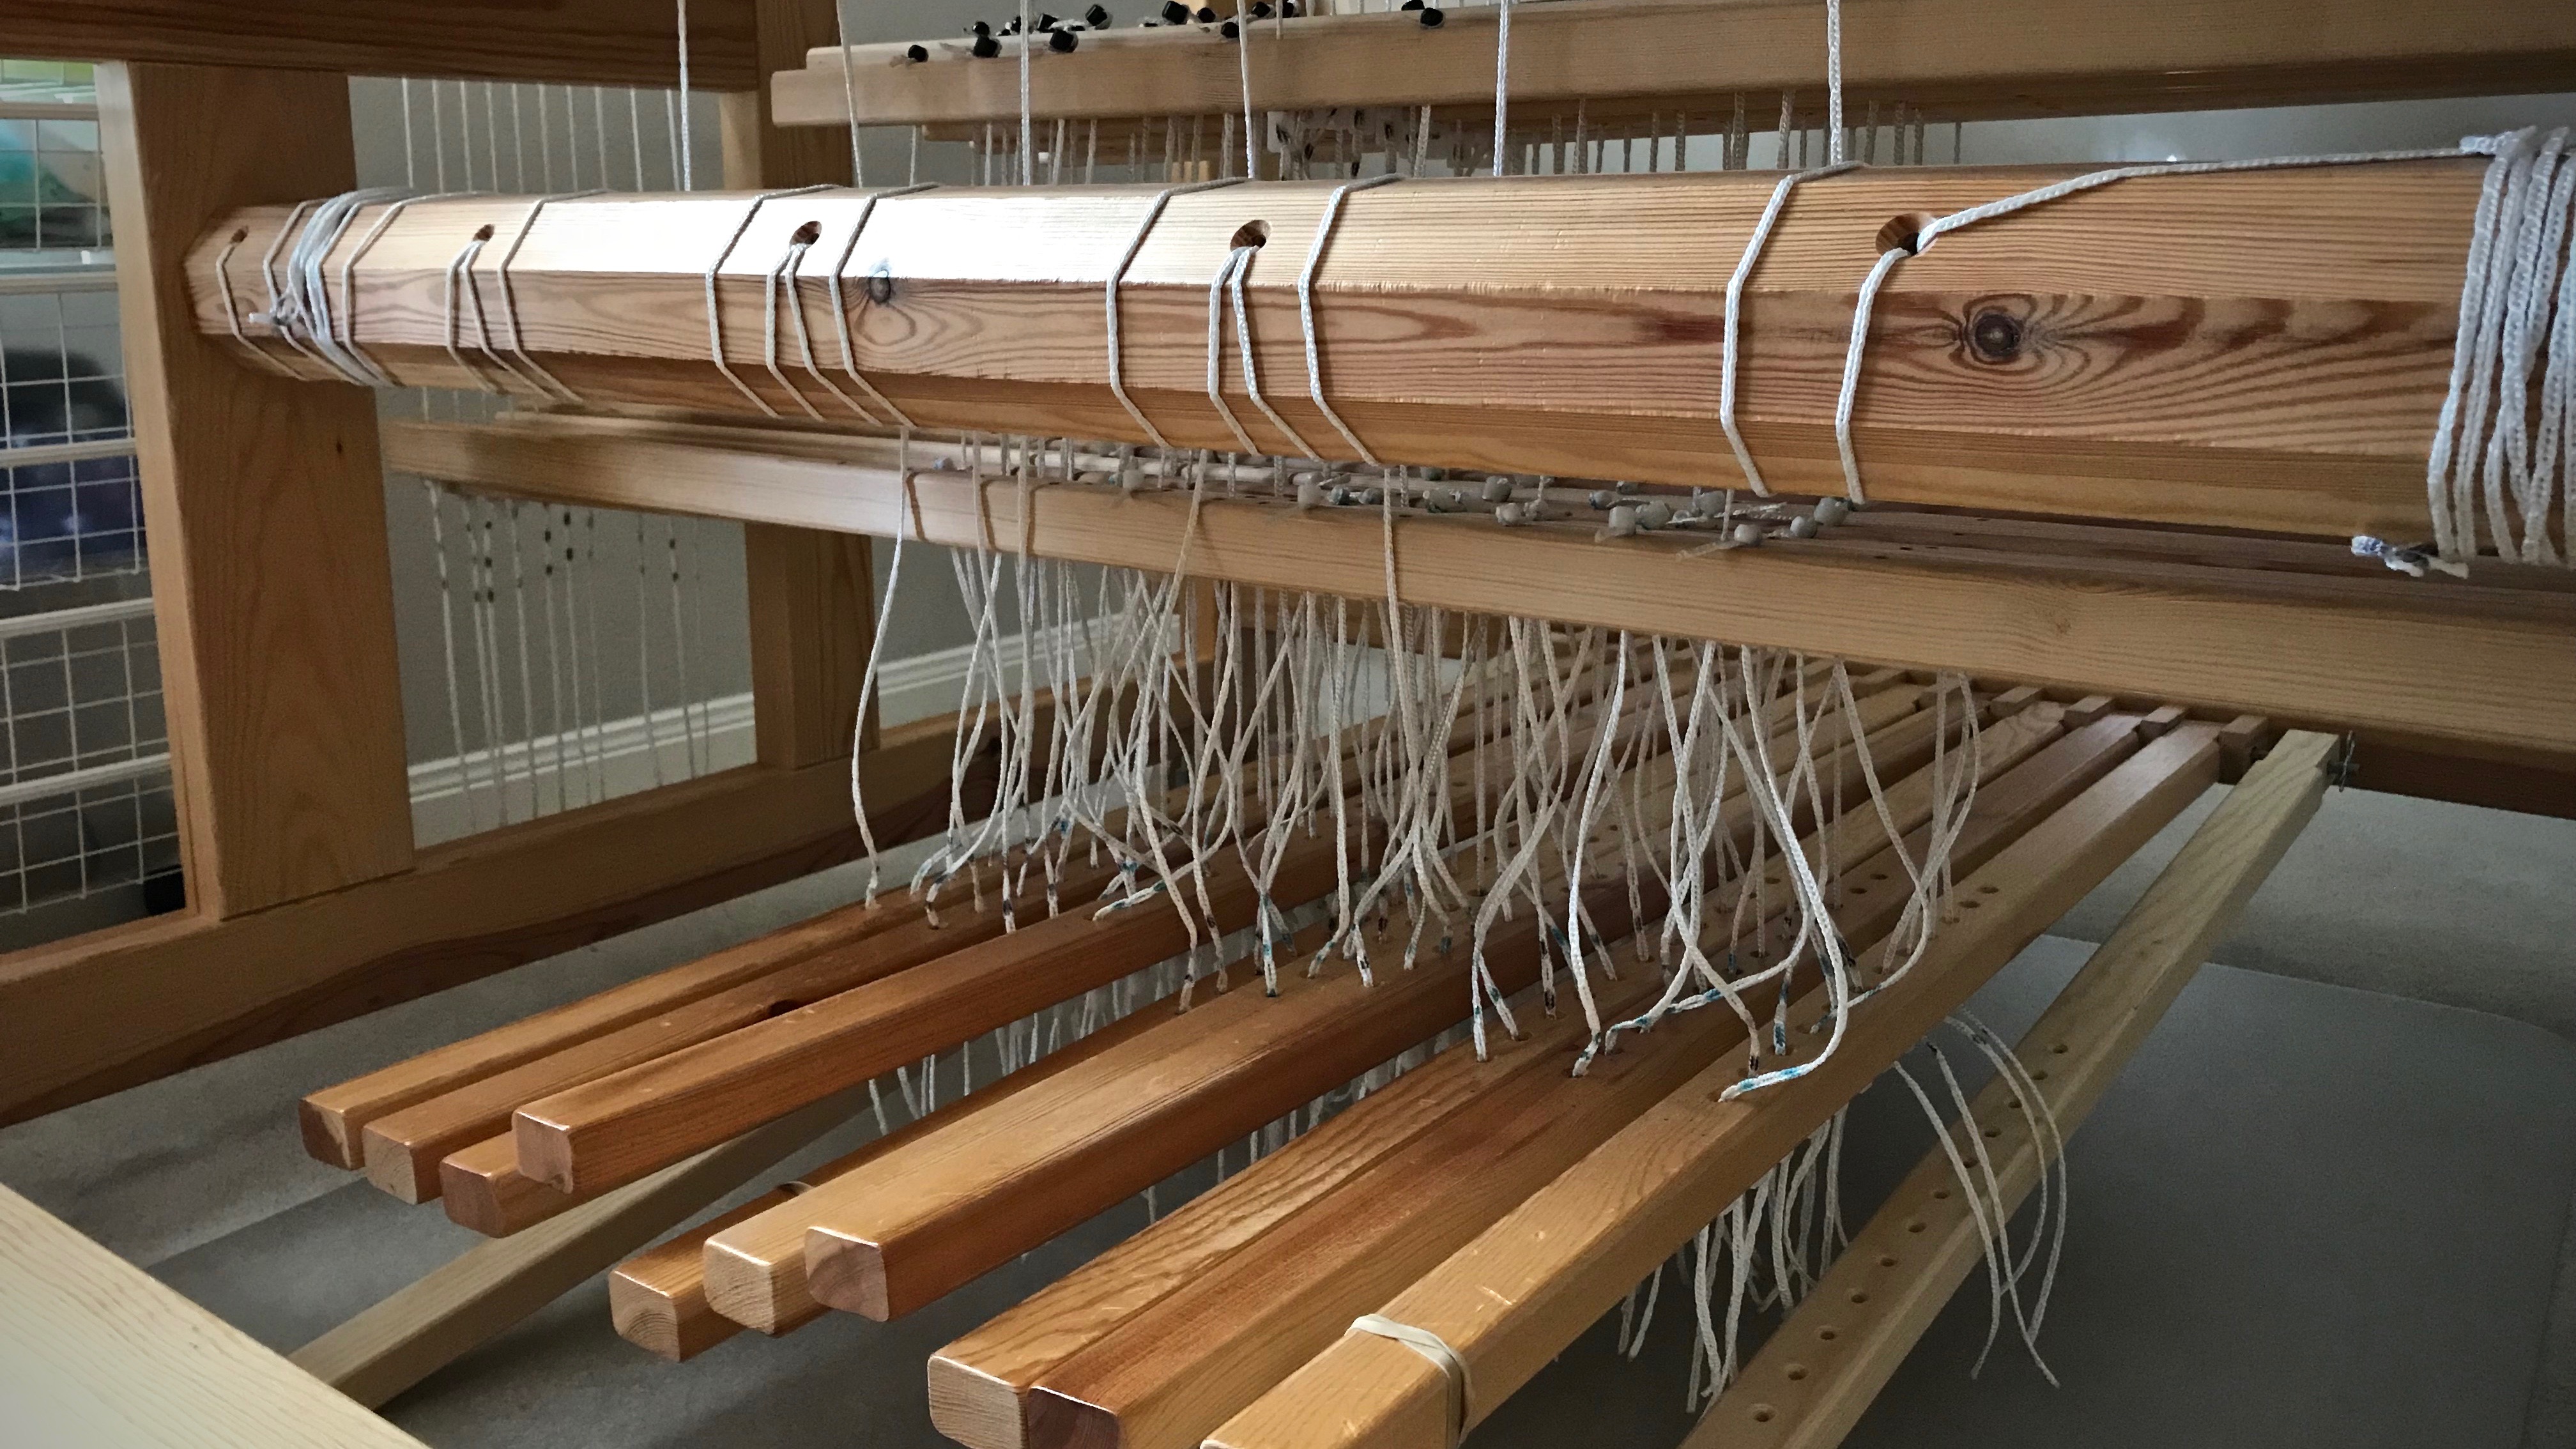
  • Treadle tie-ups. Shafts are connected to upper lamms and lower lamms. Treadle cords with a bead at one end are hung in the lamms. Lamms are then attached to treadles. Treadle tie-ups normally fall under the Pros category, because this is what enables the loom to have the clean shed it’s known for. But since I just finished tying up ten shafts to ten treadles (that’s 100 treadle cords), this is my least favorite part right now. 😉 (The weaving pleasure more than makes up for it, though.)
Countermarch treadle cords. Pros and cons.
One hundred treadle cords hang from upper and lower lamms. The only thing left is to attach all the cords to treadles. 😉
Treadle cords for 10 shafts! 5-shaft satin coming up!
Treadle cords are attached. Little anchor pins lock each cord into position under the treadle. After a few adjustments, the shed on each treadle is good. The loom is dressed! Five-shaft satin dräll coming up!

Conclusion:
When I weave on my Glimåkra Standard countermarch loom, I am soaring like an eagle. I’m sailing with the spinnaker up. I am a pipe organ maestro. I am dreaming while fully awake. This is everything I imagined weaving could be, only better.

Countermarch looms - pros and con.
Testing weft options. Gorgeous handcrafted damask shuttle, Chechen wood, made by Moberg Tools. Five-shaft satin dräll–a weaver’s dream.

For more in-depth information about countermarch looms, comparisons of looms, and other fantastic resources, see articles written by Joanne Hall, found at Glimåkra USA.

May you live your dream.

Very Happy Weaving,
Karen

Keep Threading Those Heddles

It will be worth it. 896 threads through these heddles, and then two ends per dent in the reed. This is the necessary dressing of the loom. I do it nine minutes, thirty-five minutes, and twenty-two minutes at a time. I do not accomplish it in one sitting. After accumulating almost five hours of threading, I’m ready to sley the reed.

Threading heddles.
Colored threads are 16/2 cotton, thicker than the 24/2 unbleached cotton threads.
Threading Heddles
Checking for threading errors before tying the group of ends into a loose slip knot.

It is easy to lose concentration when there are so many ends. The M’s and O’s threading has just enough variation in it to make me wonder if I did keep it all in the correct sequence. We will find out. The threading, correct or not, is always revealed as the fabric is woven.

Texsolv heddles of four shafts. Glimåkra Ideal.
Texsolv heddles on four shafts, threaded. Glimåkra Ideal.
Sley the reed. Glimåkra Ideal.
Two ends per dent are sleyed in this 22.5-dent-per-inch reed.

What is faith? Faith is putting your trust in something you have good reason to think is true. Stand firm, immovable, in your trust in the Lord. You put threads in the heddles because you have good reason to think these threads will become fabric. Don’t quit. Keep coming back to it. Be strong in faith. And do it from a framework of love. Your framework is always revealed in the cloth of your life.

May you stay strong.

Happy threading,
Karen

New Warp Comes Alive

Put on a new warp as soon as possible. That’s my philosophy. A weaving loom should not stay bare. I am ready to begin a stack of rep weave mug rugs (my local weaving group is making them for an upcoming conference).

Cottolin warp on the warping reel.
Cottolin warp seems to light up on the warping reel. The colors become more vibrant when lined up together.

A new warp comes alive as I wind the threads on the warping reel. It is a picture of possibility! Every warp has a beginning and an end. Beginning a new warp on the loom is always exciting. And when I come near the end, I often wish I could weave a little longer.

Cottolin warp chain with vibrant colors!
Warp chain is ready for dressing the Glimåkra Ideal loom.
Pre-sleying the reed for rep weave mug rugs.
Lease sticks are in place under the reed, held up by two support sticks, and the warp has been pre-sleyed. Next step is to set up the warping trapeze.

Have you considered the warp as a metaphor for a life’s span? It is measured out in advance, with a certain type of fabric in mind. The setts, patterns, and structures vary. But they are all meant to be woven. Weft passes are like days and years. For a time, it seems like it will never end. And then, you see the tie-on bar coming over the back beam. You’re reminded that this warp is temporary. We all have this in common: We are mortal. Time is a precious gift. Every pass of the weft is a reminder of our Grand Weaver’s loving attentiveness to complete the weaving he began.

May you enjoy the gift of time.

Happy Weaving,
Karen

Quiet Friday: Warping Back to Front with Confidence

“Put on many short warps.” This was the best piece of advice I received as a new weaver! Repeated practice of the back-to-front warping steps accelerated my confidence at the loom. If I can get it on the loom, surely I can weave it, right? When you are comfortable dressing the loom, you start feeling like a “real” handweaver. And before you know it, you are planning, designing, and weaving. And having the time of your life!

Tips for Preparing the Warp for Beaming

  • Wind the warp with two (or more) threads, separated by your fingers to keep them from twisting. This virtually eliminates tangles during the warping process.
  • Wind multiple bouts, when needed. The rule of thumb I use is to stay under 200 ends or 10 inches. Smaller bouts equalize the tension across the width of the warp.
  • Tie tight choke ties about every yard or meter along the warp before chaining it. This keeps the warp ends from shifting.
  • Keep the warp under constant, even tension. Threads can get into trouble if you let them relax.

Warping Back to Front

1 Lay warp chains across the breast beam, and through the beater, with the lease cross of each warp chain on the other side of the beater.

Warp chains ready for warping the loom back to front.

2 Raise the shafts out of the way, and place support sticks over the beater and the back beam to hold the lease sticks and the pre-sley reed. Thread the lease sticks through the cross of each chain. Lease sticks in the picture are being tied together.

Tying lease sticks during warping process. B2F warping explained.

3 Use tape measure and reed hook to mark the starting dent for pre-sleying the reed.

Pre-sleying the reed in back to front warping.

4 Divide warp into sections corresponding to the cords on the back tie-on bar. Insert the tie-on bar through the loops that form at the end of the warp.

Insert tie-on bar while warping back to front.

5 Install the warping trapeze at the front of the loom, or use another method to extend the warp and weight it. Texsolv cord is connected to the end of each warp chain to extend the length. (This is a 3.5 meter warp–not long enough to go over the trapeze cross bar.) Weights are suspended from the texsolv cords with S-hooks.

Adjusting the warp on the warping trapeze.

6 Transfer the lease sticks from in front of the reed to behind the reed. This is a gutsy way of transferring lease sticks. (Please don’t try this method unless you read about it first in Becky Ashenden’s book, noted below.)

Transferring lease sticks like this takes guts!

7 Straighten out each warp end from the reed to the back tie-on bar.

Winding on a new warp. Back to front warping pics.

8 Place the reed in the beater. Center the reed in the beater.

Placing the reed in the beater.

9 Remove choke ties between the beater and the trapeze cross bar, but do not remove choke ties from the very end of the warp. Starting at the reed, separate each warp bout in the middle.

Warping trapeze in use for warping Glimakra Standard.

10 After sliding lease sticks toward the reed, wind the warp onto the beam. Place a warping slat on each flat side of the warp beam for one revolution. (Octagonal beam uses eight sticks.) Advance weight at the front of the loom as needed. After two additional revolutions of the beam, add warping slats for one revolution again. Continue this pattern as beaming progresses.

Warping slats during beaming. Beaming tutorial.

11 Tie beater back to allow a little more warp to be wound on.

Finishing up beaming the warp.

12 Tie lease sticks to the back beam. Do not forget this step!

Tie the lease sticks to the back beam before cutting the ends.

If you missed step 12, do it now, or you will be yelling for help as you try to hold the cut ends with one hand while trying to keep the lease sticks from slipping out with your other hand. I speak from experience.

13 Loop the end of the warp chain around your hand, and then remove the remaining choke ties. Cut the loop.

Cutting ends after beaming the warp.

14 Remove a group of warp threads from the reed and tie in a loose slipknot. Continue across the warp. Remove the reed.

New warp of 16/2 cotton for monksbelt on weft rep.

15 Use the threading draft to count the warp ends into threading groups, tying each grouping with a slipknot.

Grouping warp ends before threading.

16 Adjust the loom for threading. For this Glimåkra Standard loom, I move the countermarch assembly to the back of the loom, put the bench in the “playhouse,” and lower the shafts for threading.

Bench "in" the loom for threading. Glimakra Standard.

For more thorough instructions about warping your loom, please consult these excellent resources:

  • Dress Your Loom The Vävstuga Way, A Bench-Side Photo Guide, by Becky Ashenden
  • Learning to Warp Your Loom, by Joanne Hall
  • The Big Book of Weaving, by Laila Lundell

May you find yourself beaming, inside and out.

Resurrection blessings,
Karen

Quiet Friday: Rya Rag Rug

I wasn’t happy with a simple “X” for the design area, but I struggled to come up with something better for this rug. And then, Steve and I went to the symphony. There, on the floor, in the long hallway, was the inspiration I needed for the pattern design on this rug!

Design inspiration for a rug.
Design inspiration is found on the floor on the way to the symphony.

Despite all that went wrong from the start, and how many things I had to undo and do over, I must tell you that I really did enjoy weaving this rug. The rya knots and loops made it fun and interesting. And this unique fluffy rug will always remind me of that sweet symphony date with my honey, when he patiently waited as I pulled out my iPhone to snap a few shots of the floor. Now that’s love.

Counting warp ends on the warping reel.
Dressing the loom starts with pre-sleying the reed.
Ski shuttle and temple for making large rag rug.
Ski shuttle holds doubled weft–fabric cut into 3/4″-wide strips.
Cutting fabric strips for rya knots.
Three different lengths of fabric strips are used for making the rya knots.
Placing rya knots in large rag rug.
Adding more rya knots.
Large rag rug with rya knots and loops.
Loops are made with the help of a wooden dowel.
Rag rug with inlay, using a brown paper cartoon under the warp.
Brown paper cartoon under the warp has the outline for the pattern. Lines on the cartoon, showing where to change the inlay technique, are inked onto the warp as a guide.
Making loops on a rag rug. Fun!
Making loops.
Extra warp width after re-sleying the reed.
After weaving a sample at the very beginning, I re-sleyed the reed, spreading the warp ends further apart. Excess warp ends, because of the increased width, are chained on both sides. Future band loom warps?
Another do-over.
Don’t ask. Almost finished weaving, and another do-over happened.
Cutting off!! Time to celebrate!!
Cutting off! Time to celebrate!!
Handwoven rag rug with rya knots and loops.
Sculpted inlay appearance is achieved by graduated lengths of the rya strips and heights of the loops.

Rag rug with rya and loops. Karen Isenhower

May your design inspiration come from unanticipated places.

Love,
Karen