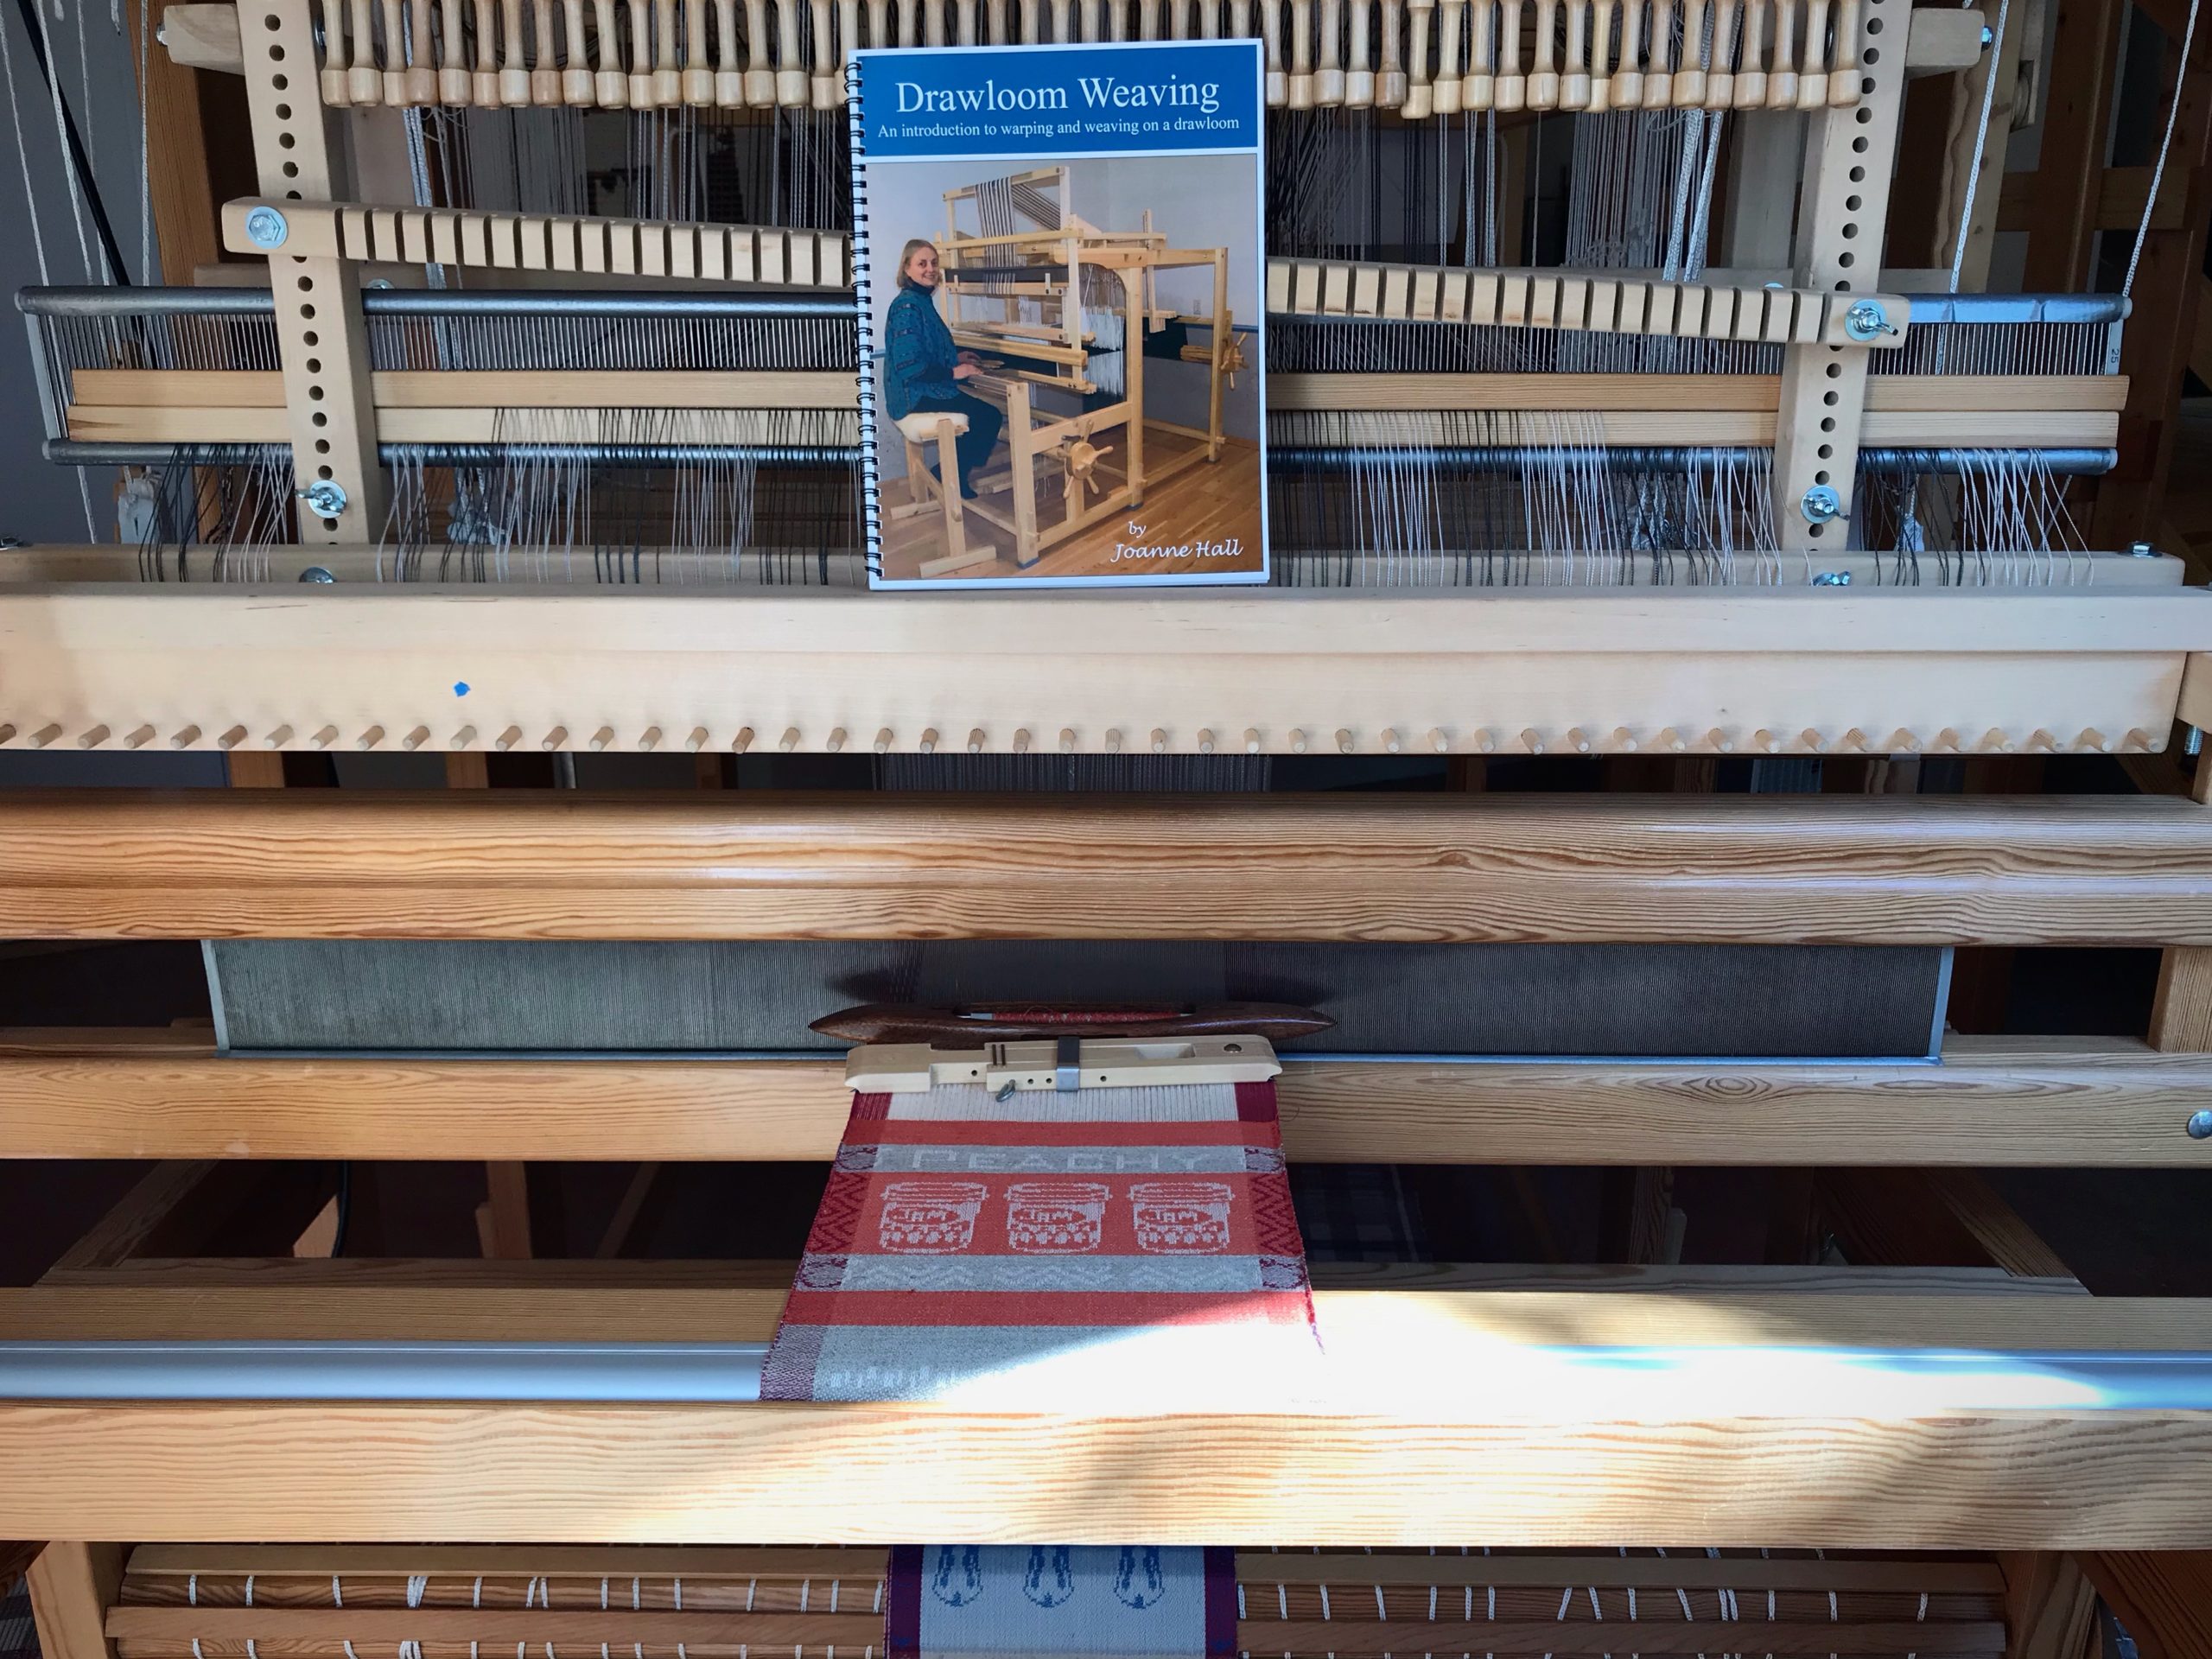
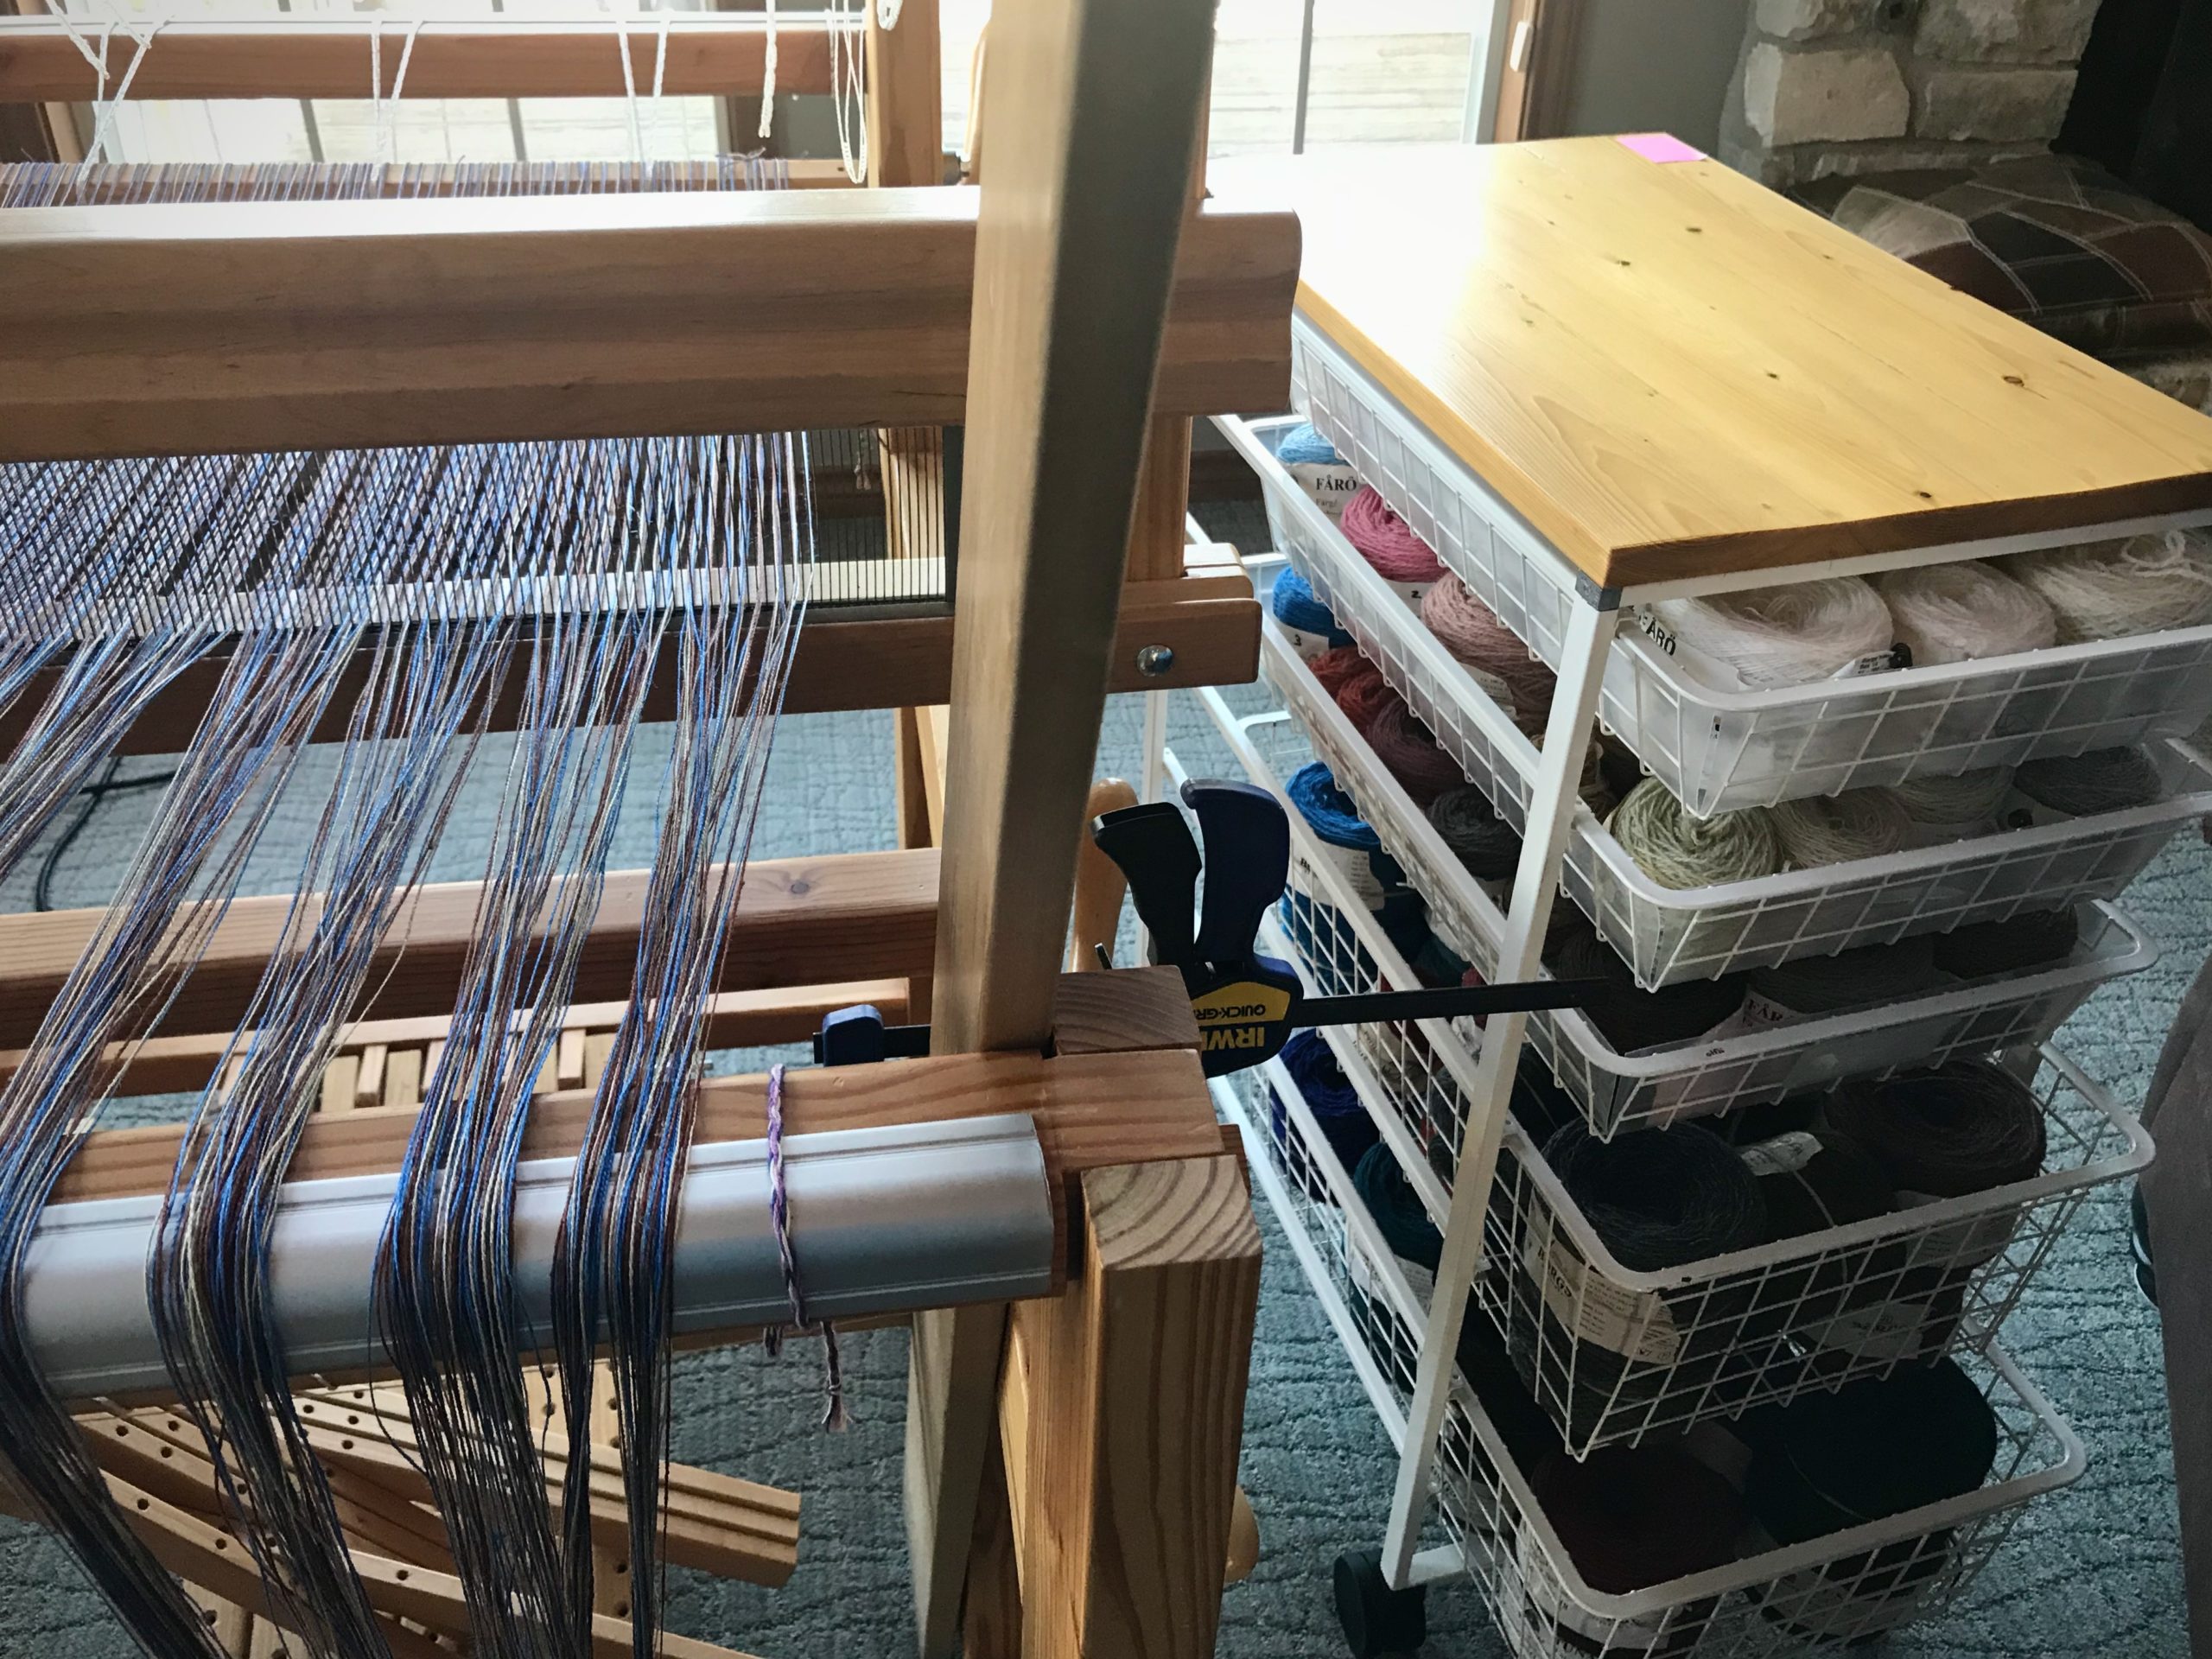
“With so many looms, how do you decide what to weave every day?,” I was asked. The answer lies in my Weaving Rhythm. I have five floor looms. I happily aspire to meet the challenge of keeping all of them active.
Glossary
Weaving Rhythm ~ A pattern created across time, through a regular succession of weaving-related tasks.
Arrange individual tasks to keep each loom consistently moving forward in the weaving continuum.
Weaving Continuum ~ The cycle for each loom that is continually repeated.
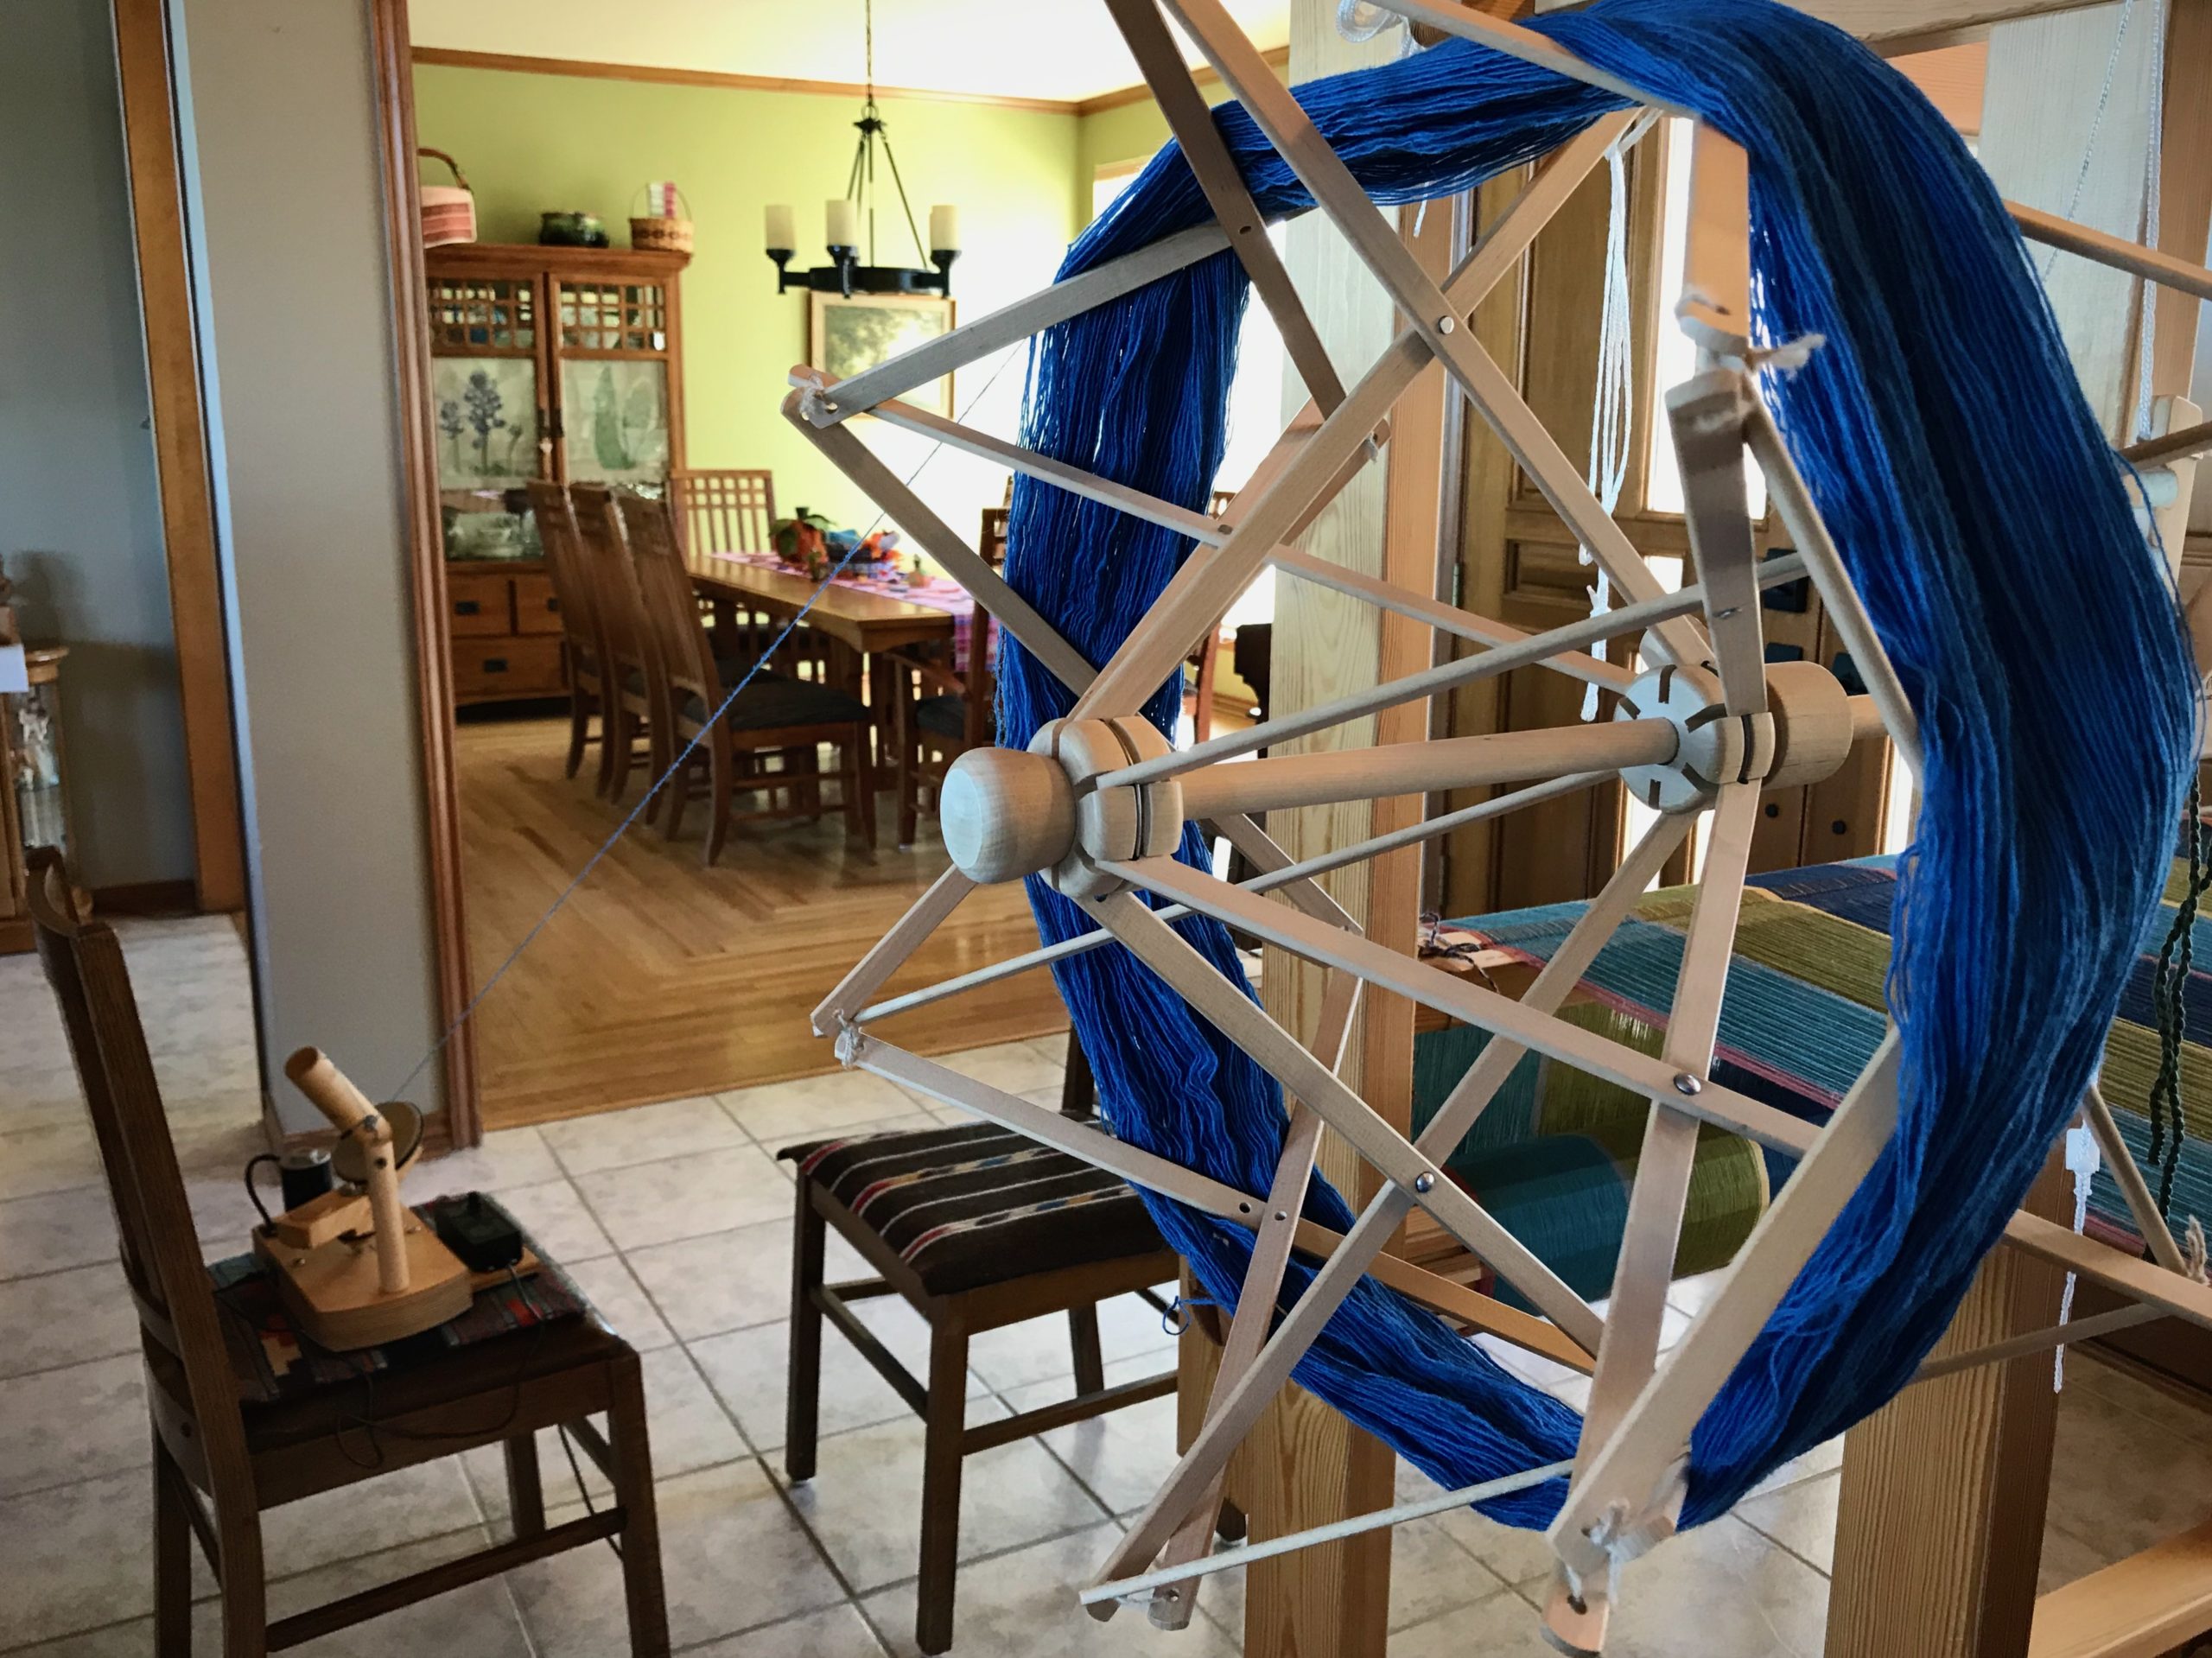
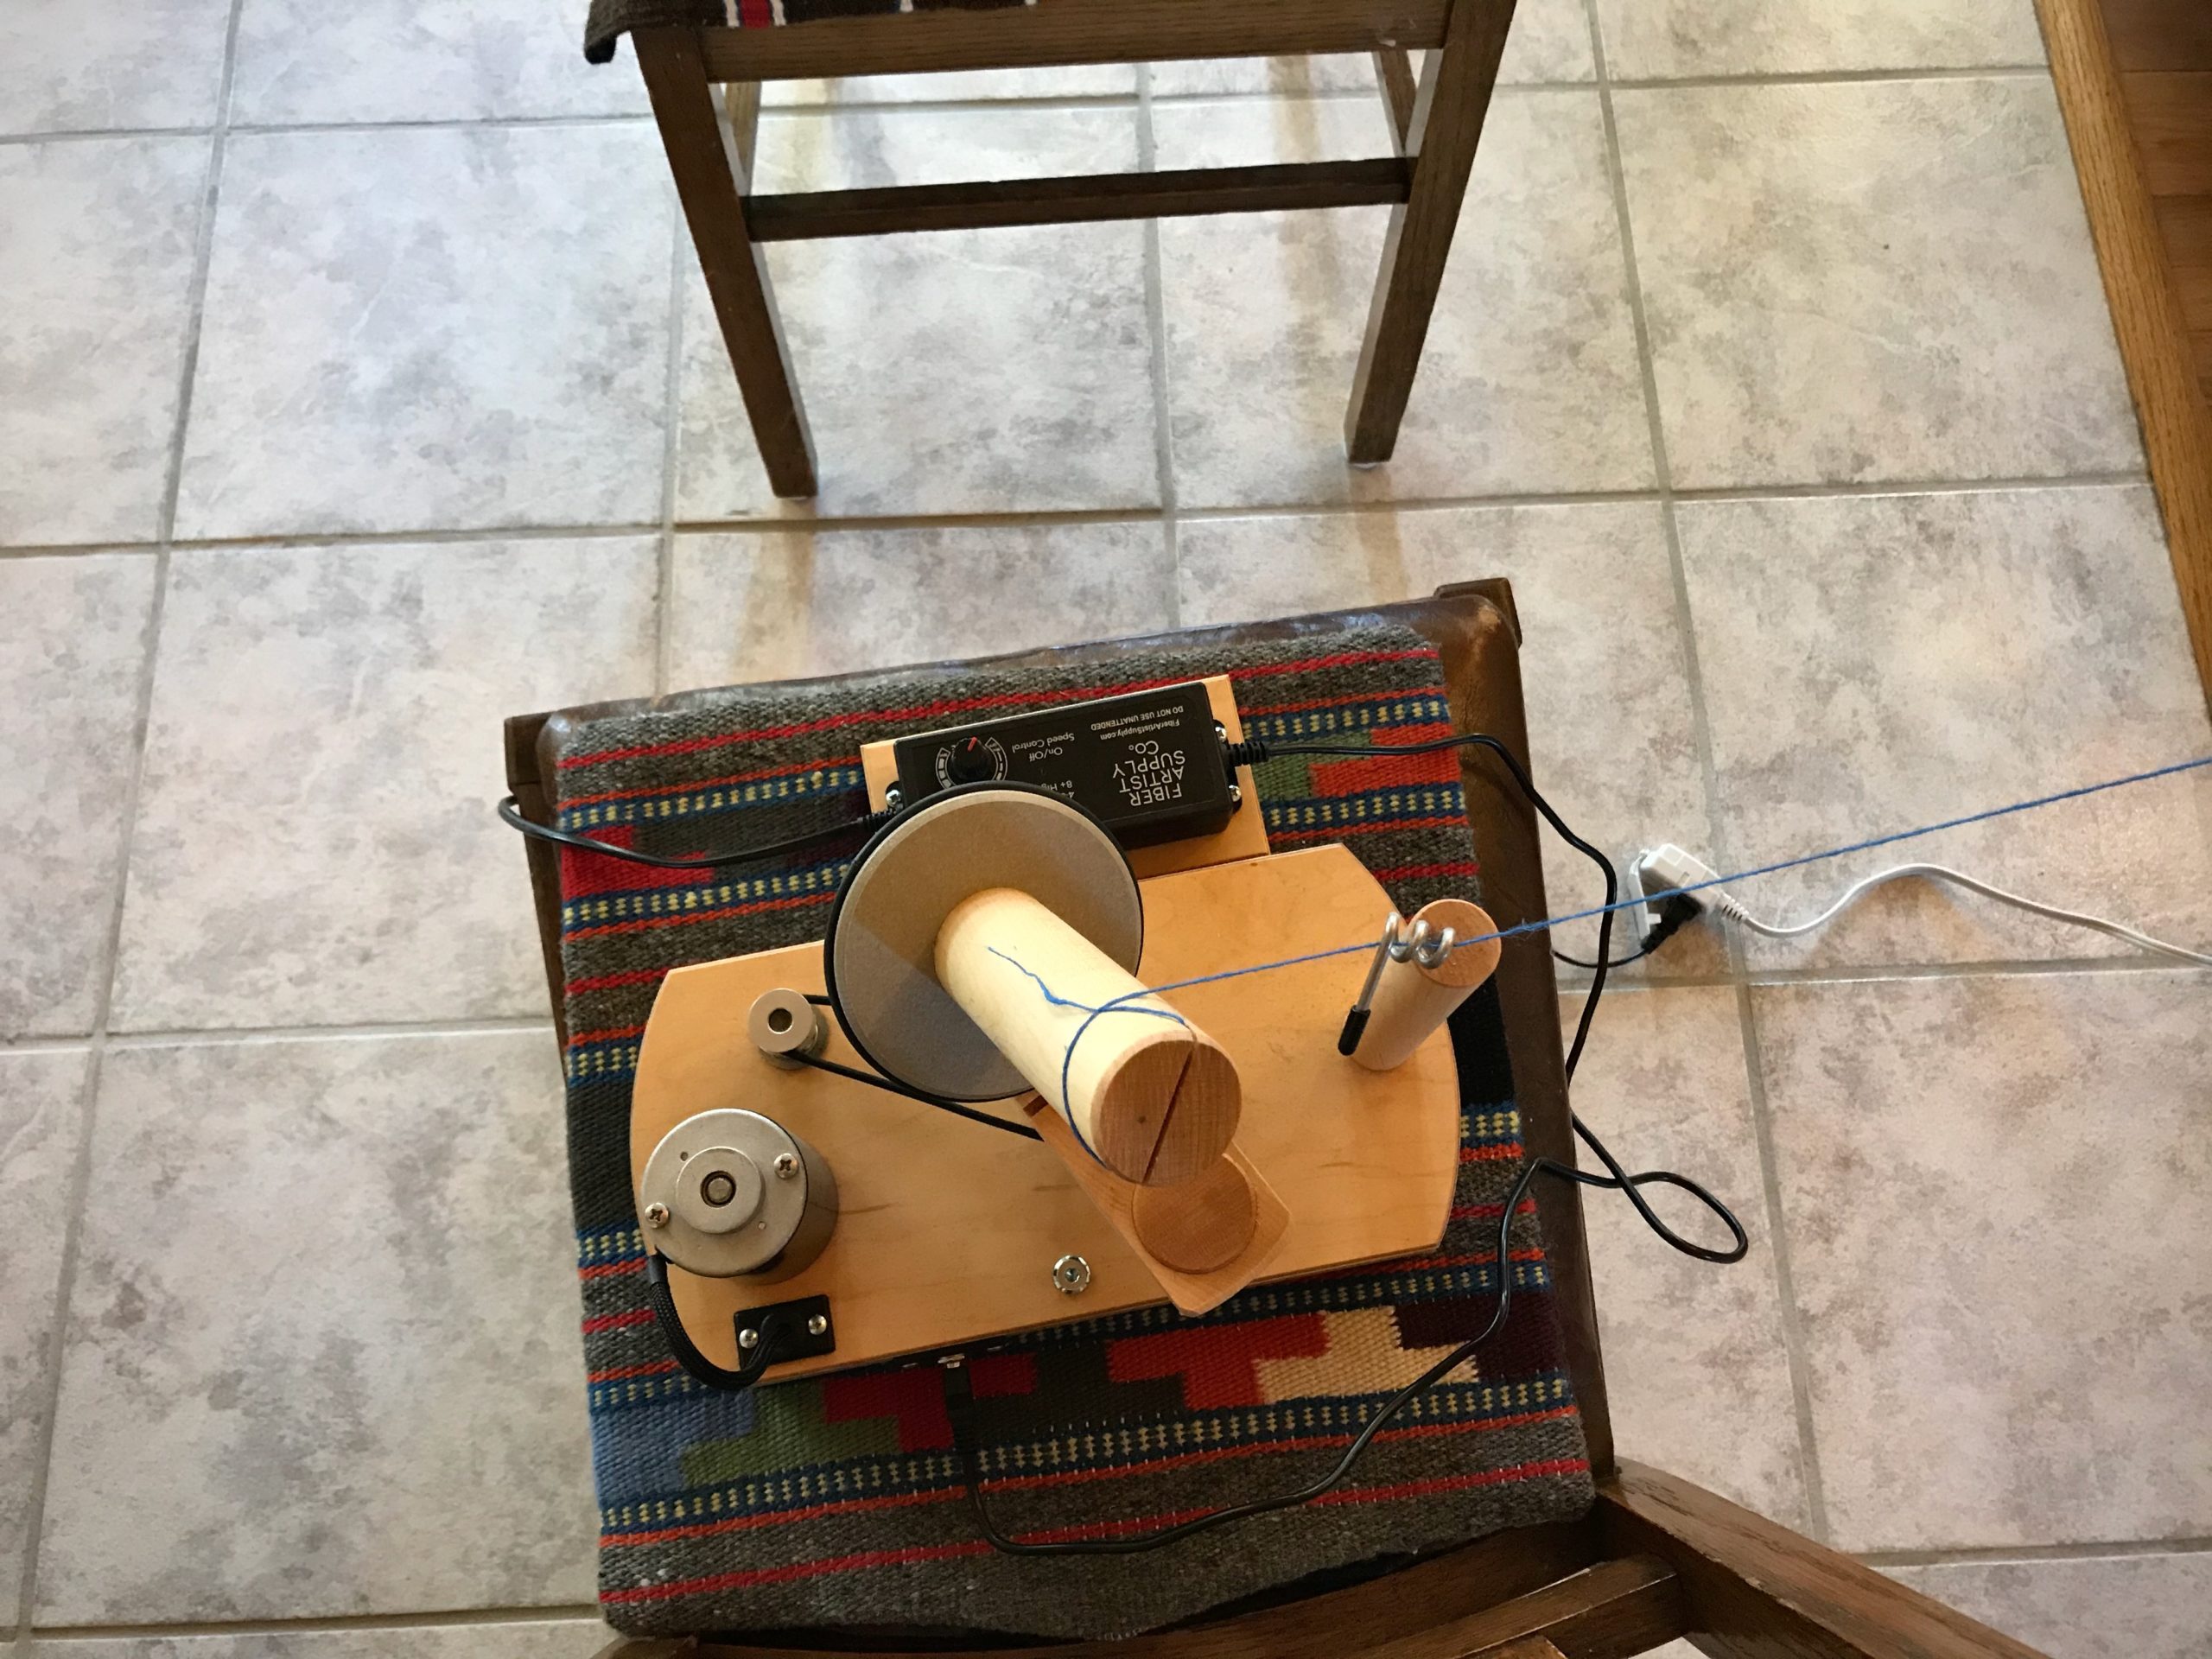
When the first few centimeters are woven on a new project, begin planning the next project. When finishing is completed for the current project, wind a new warp and dress the loom for the next project.
First Things First ~ Prioritize daily tasks to maintain the Weaving Rhythm.
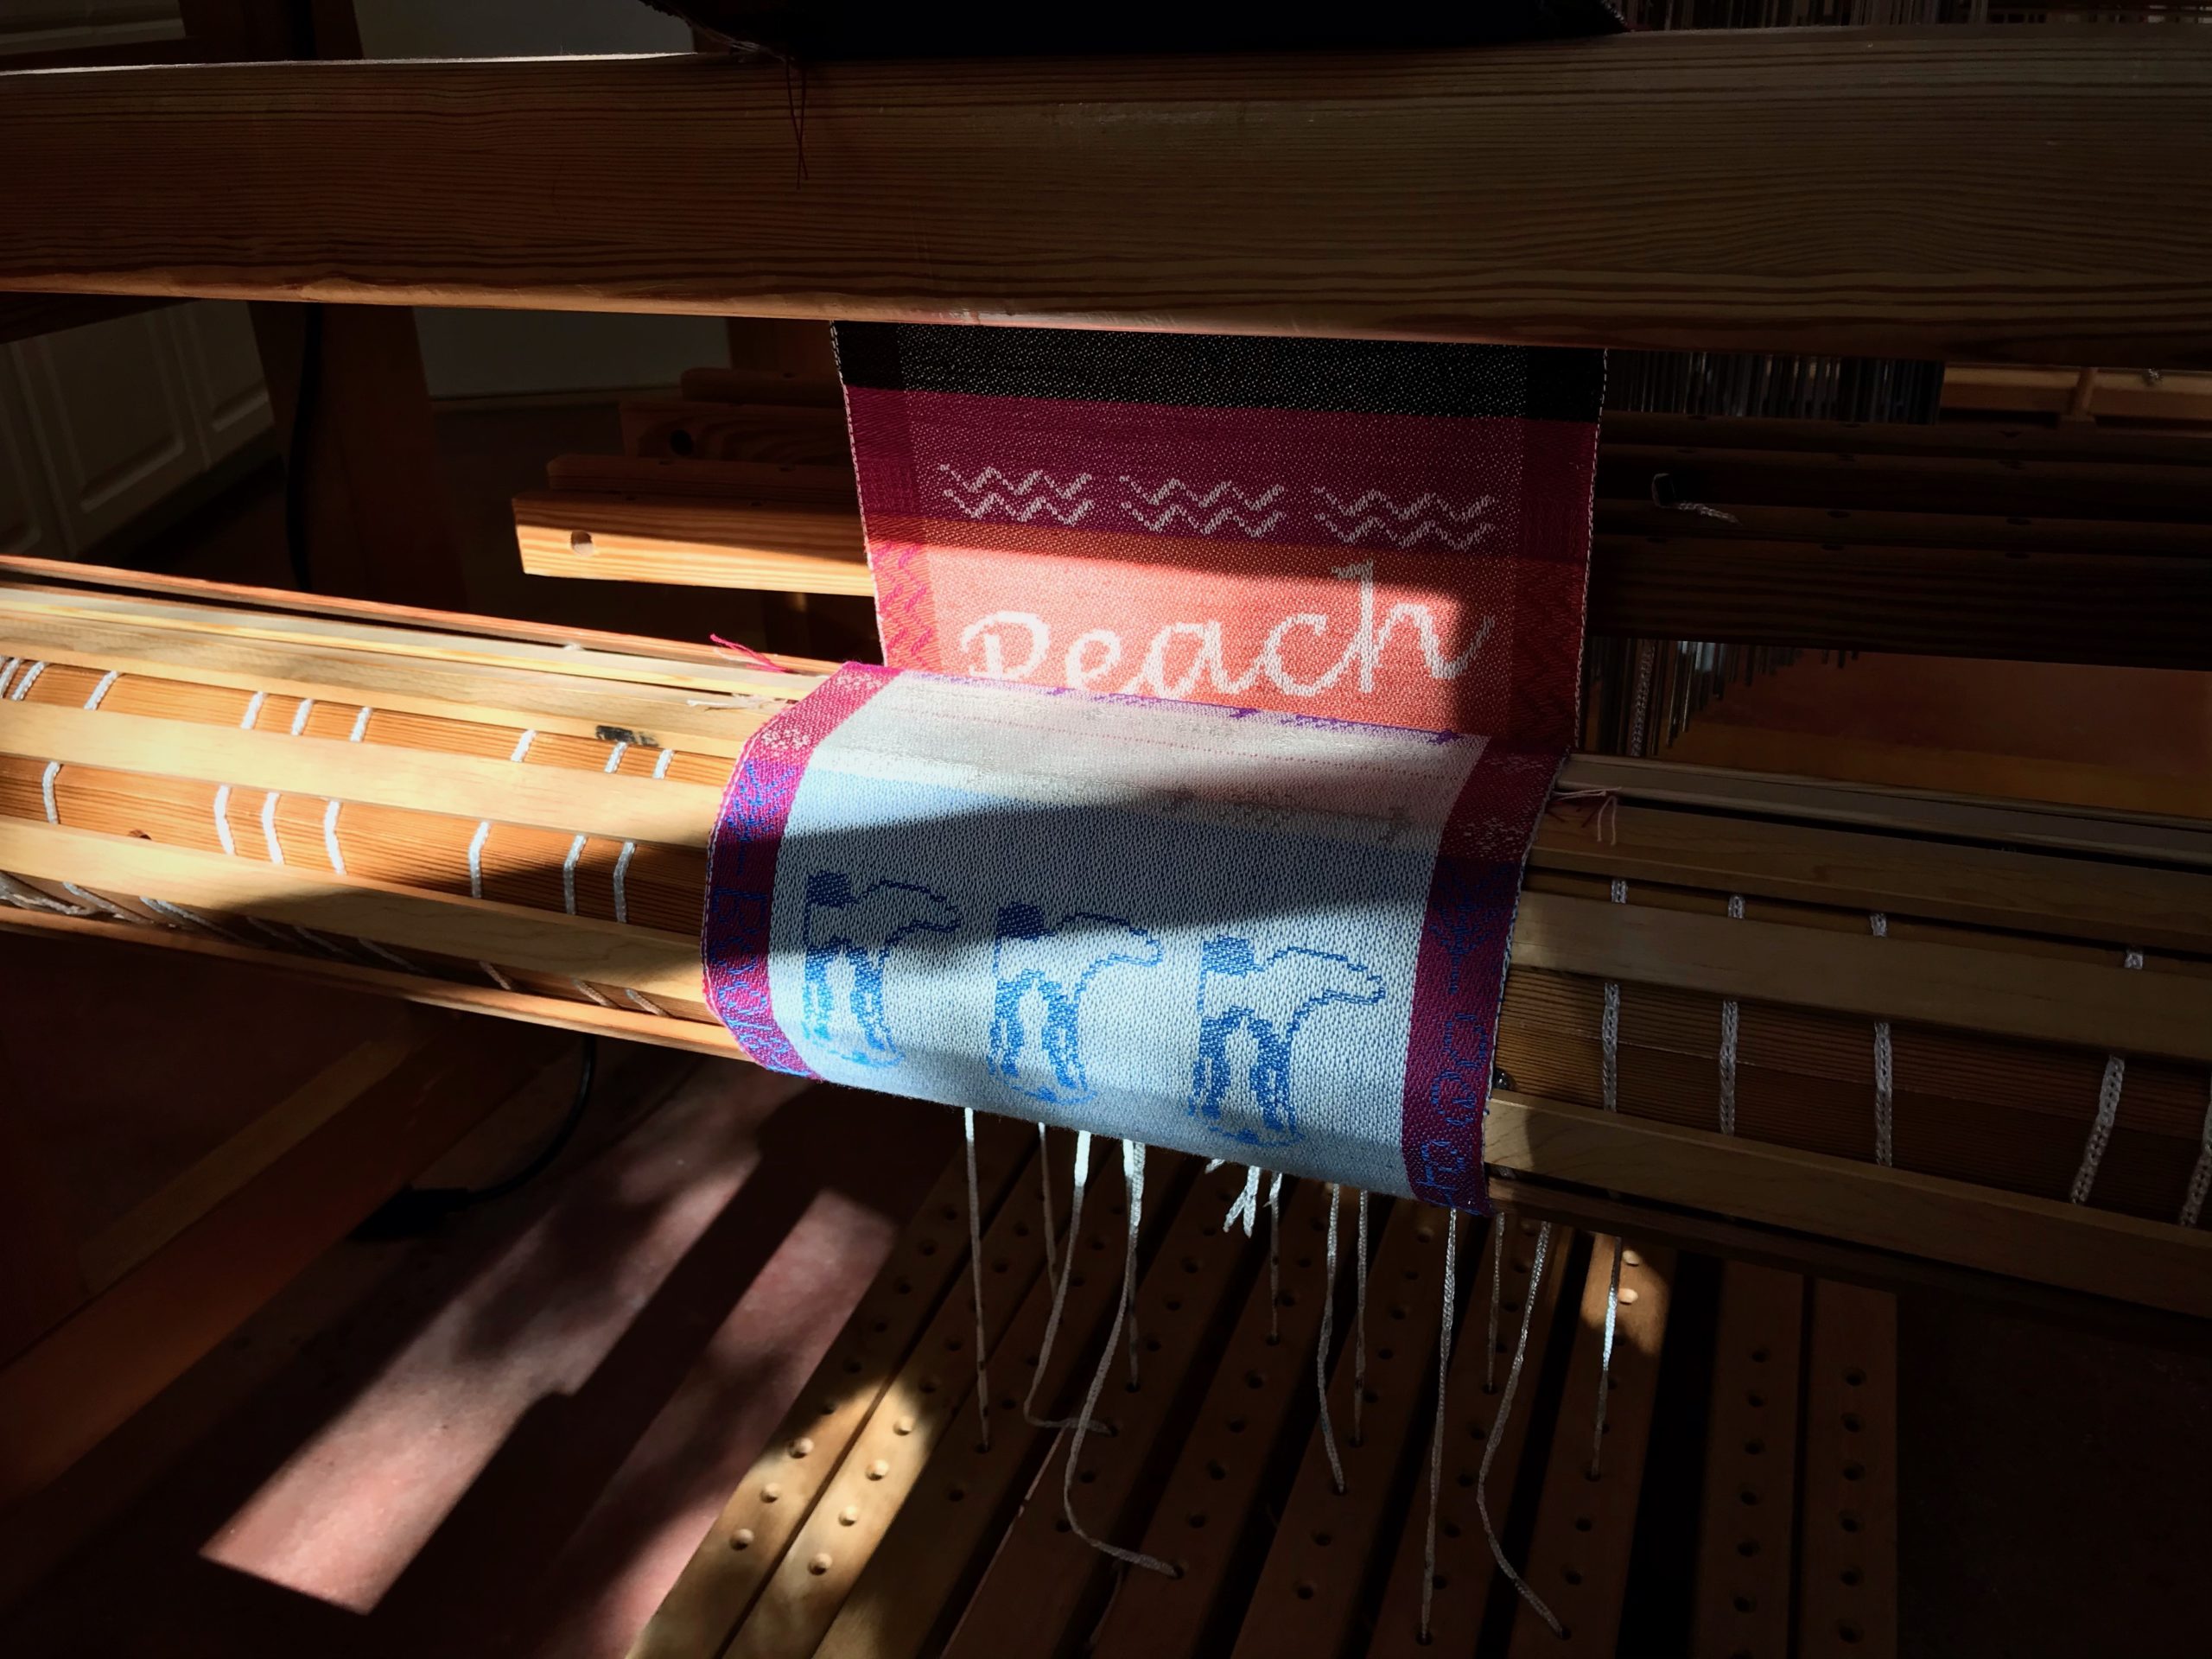
- Finishing
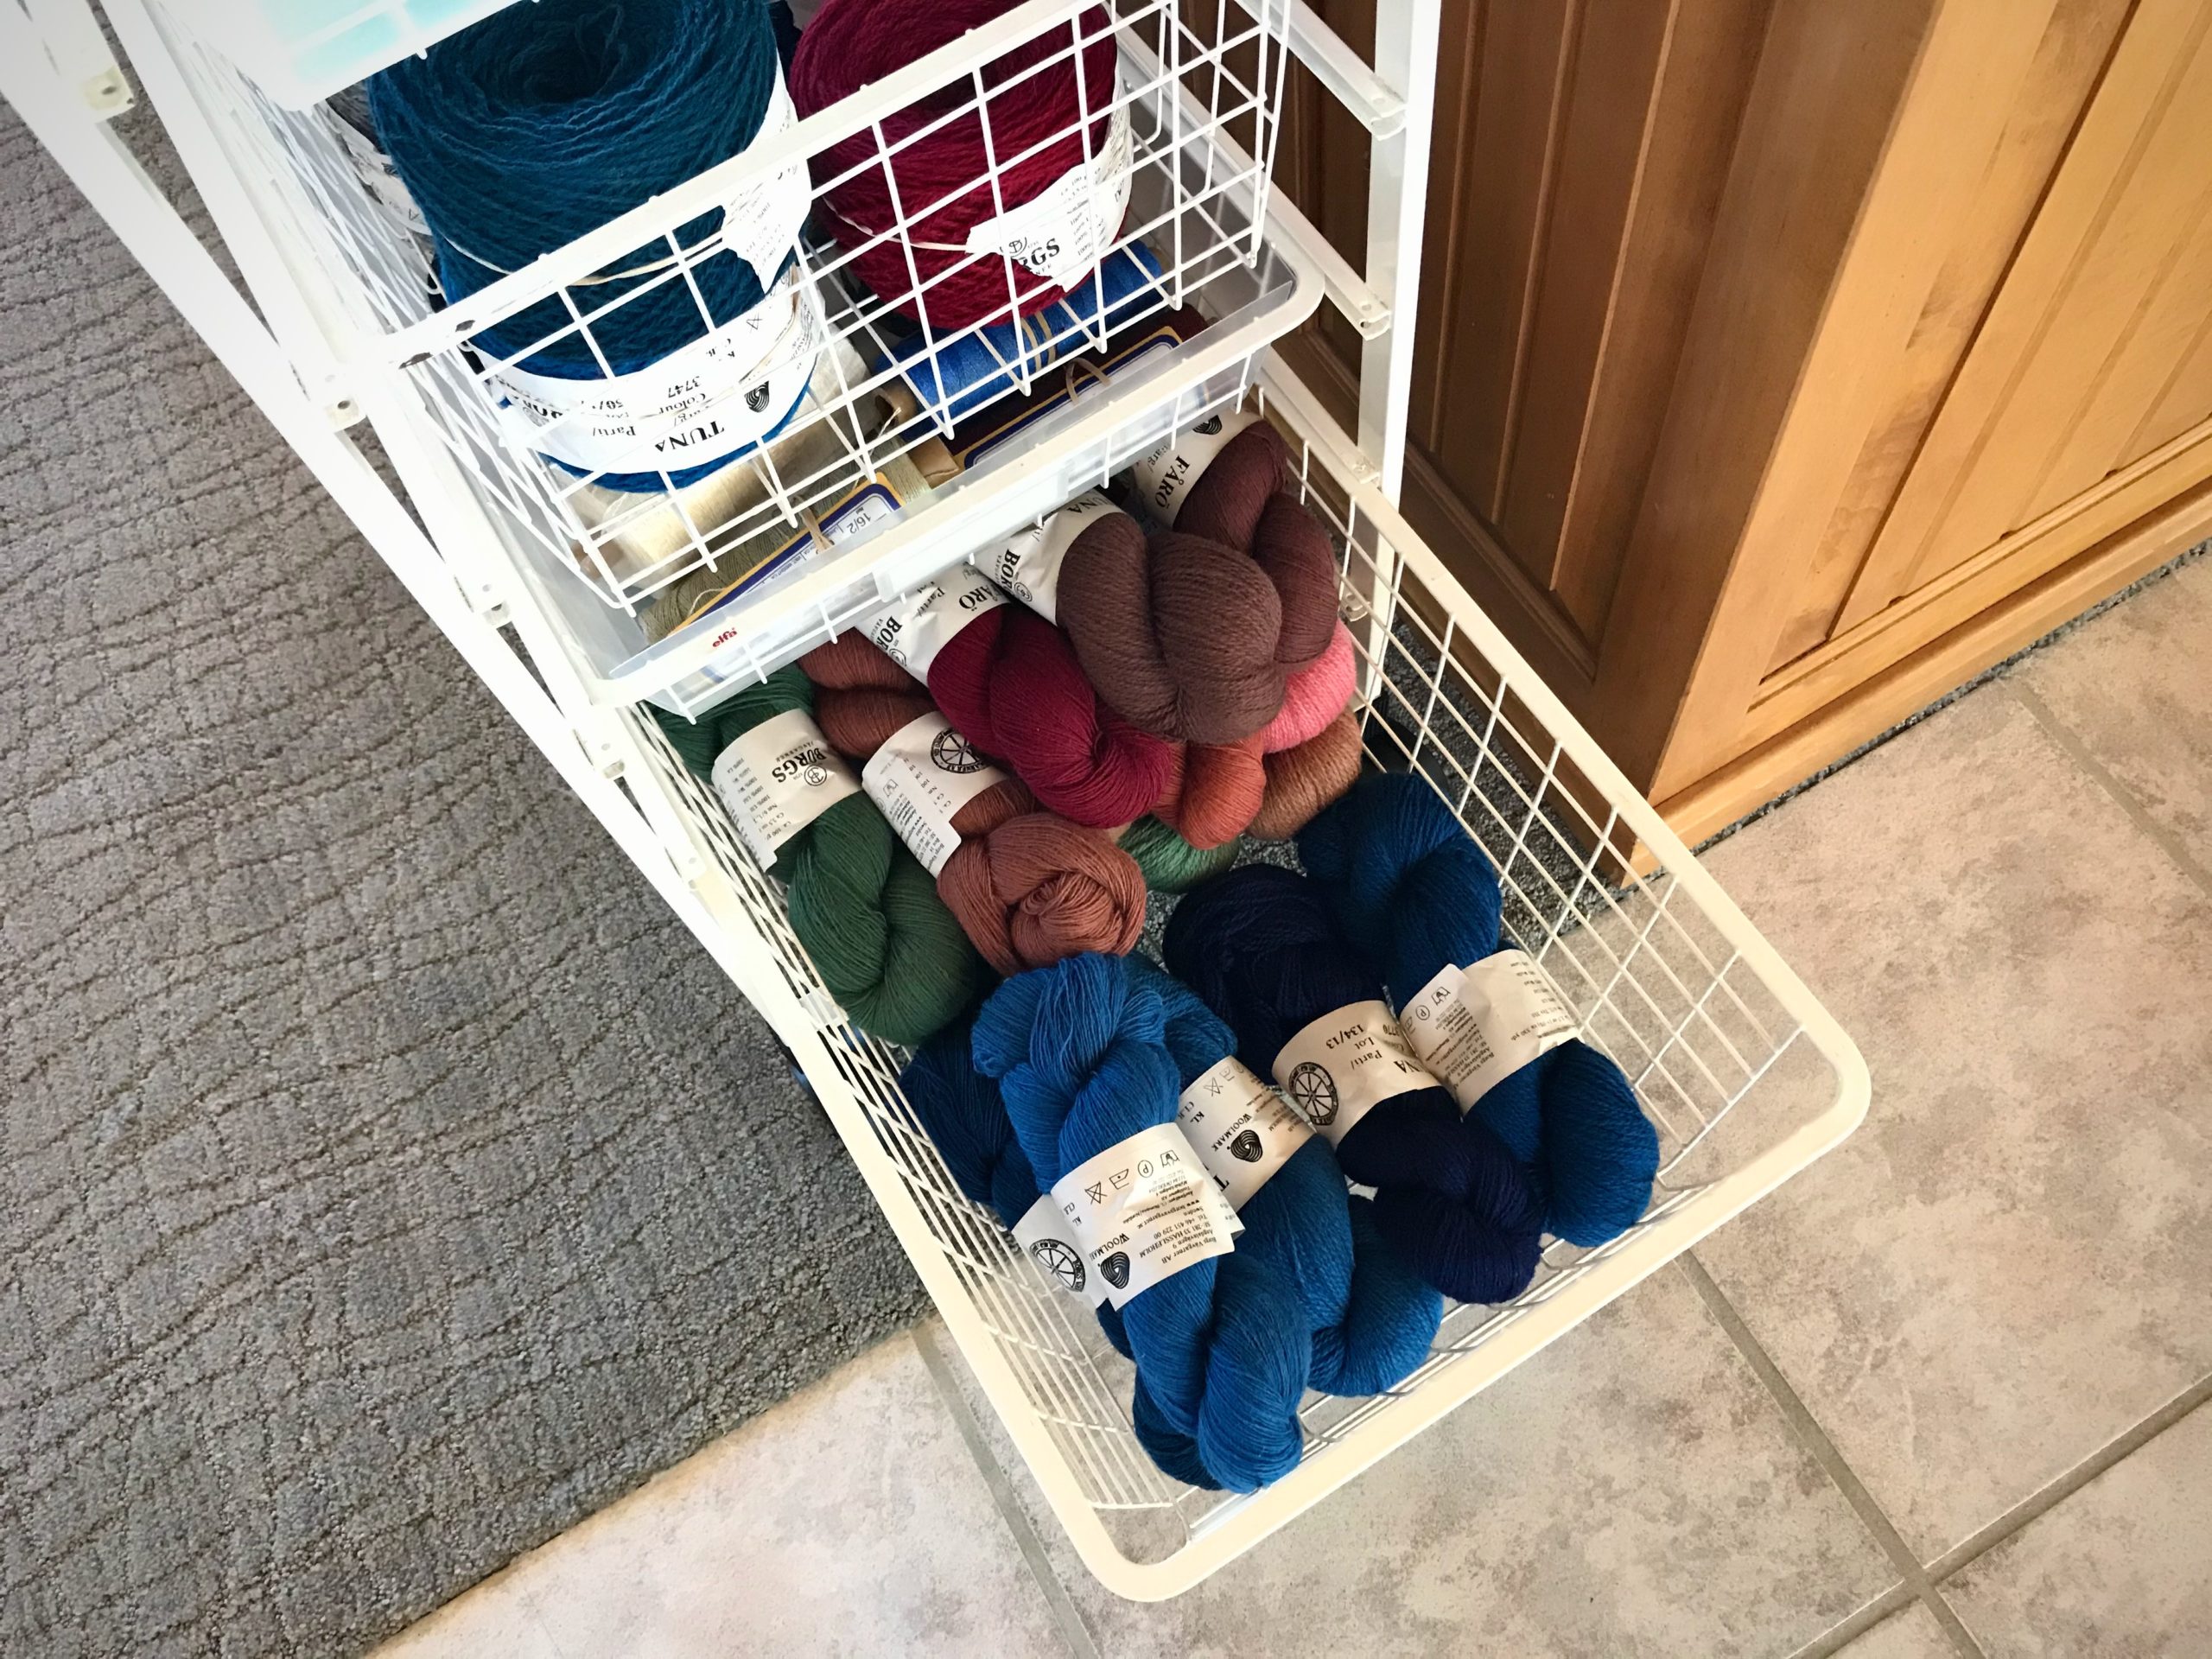
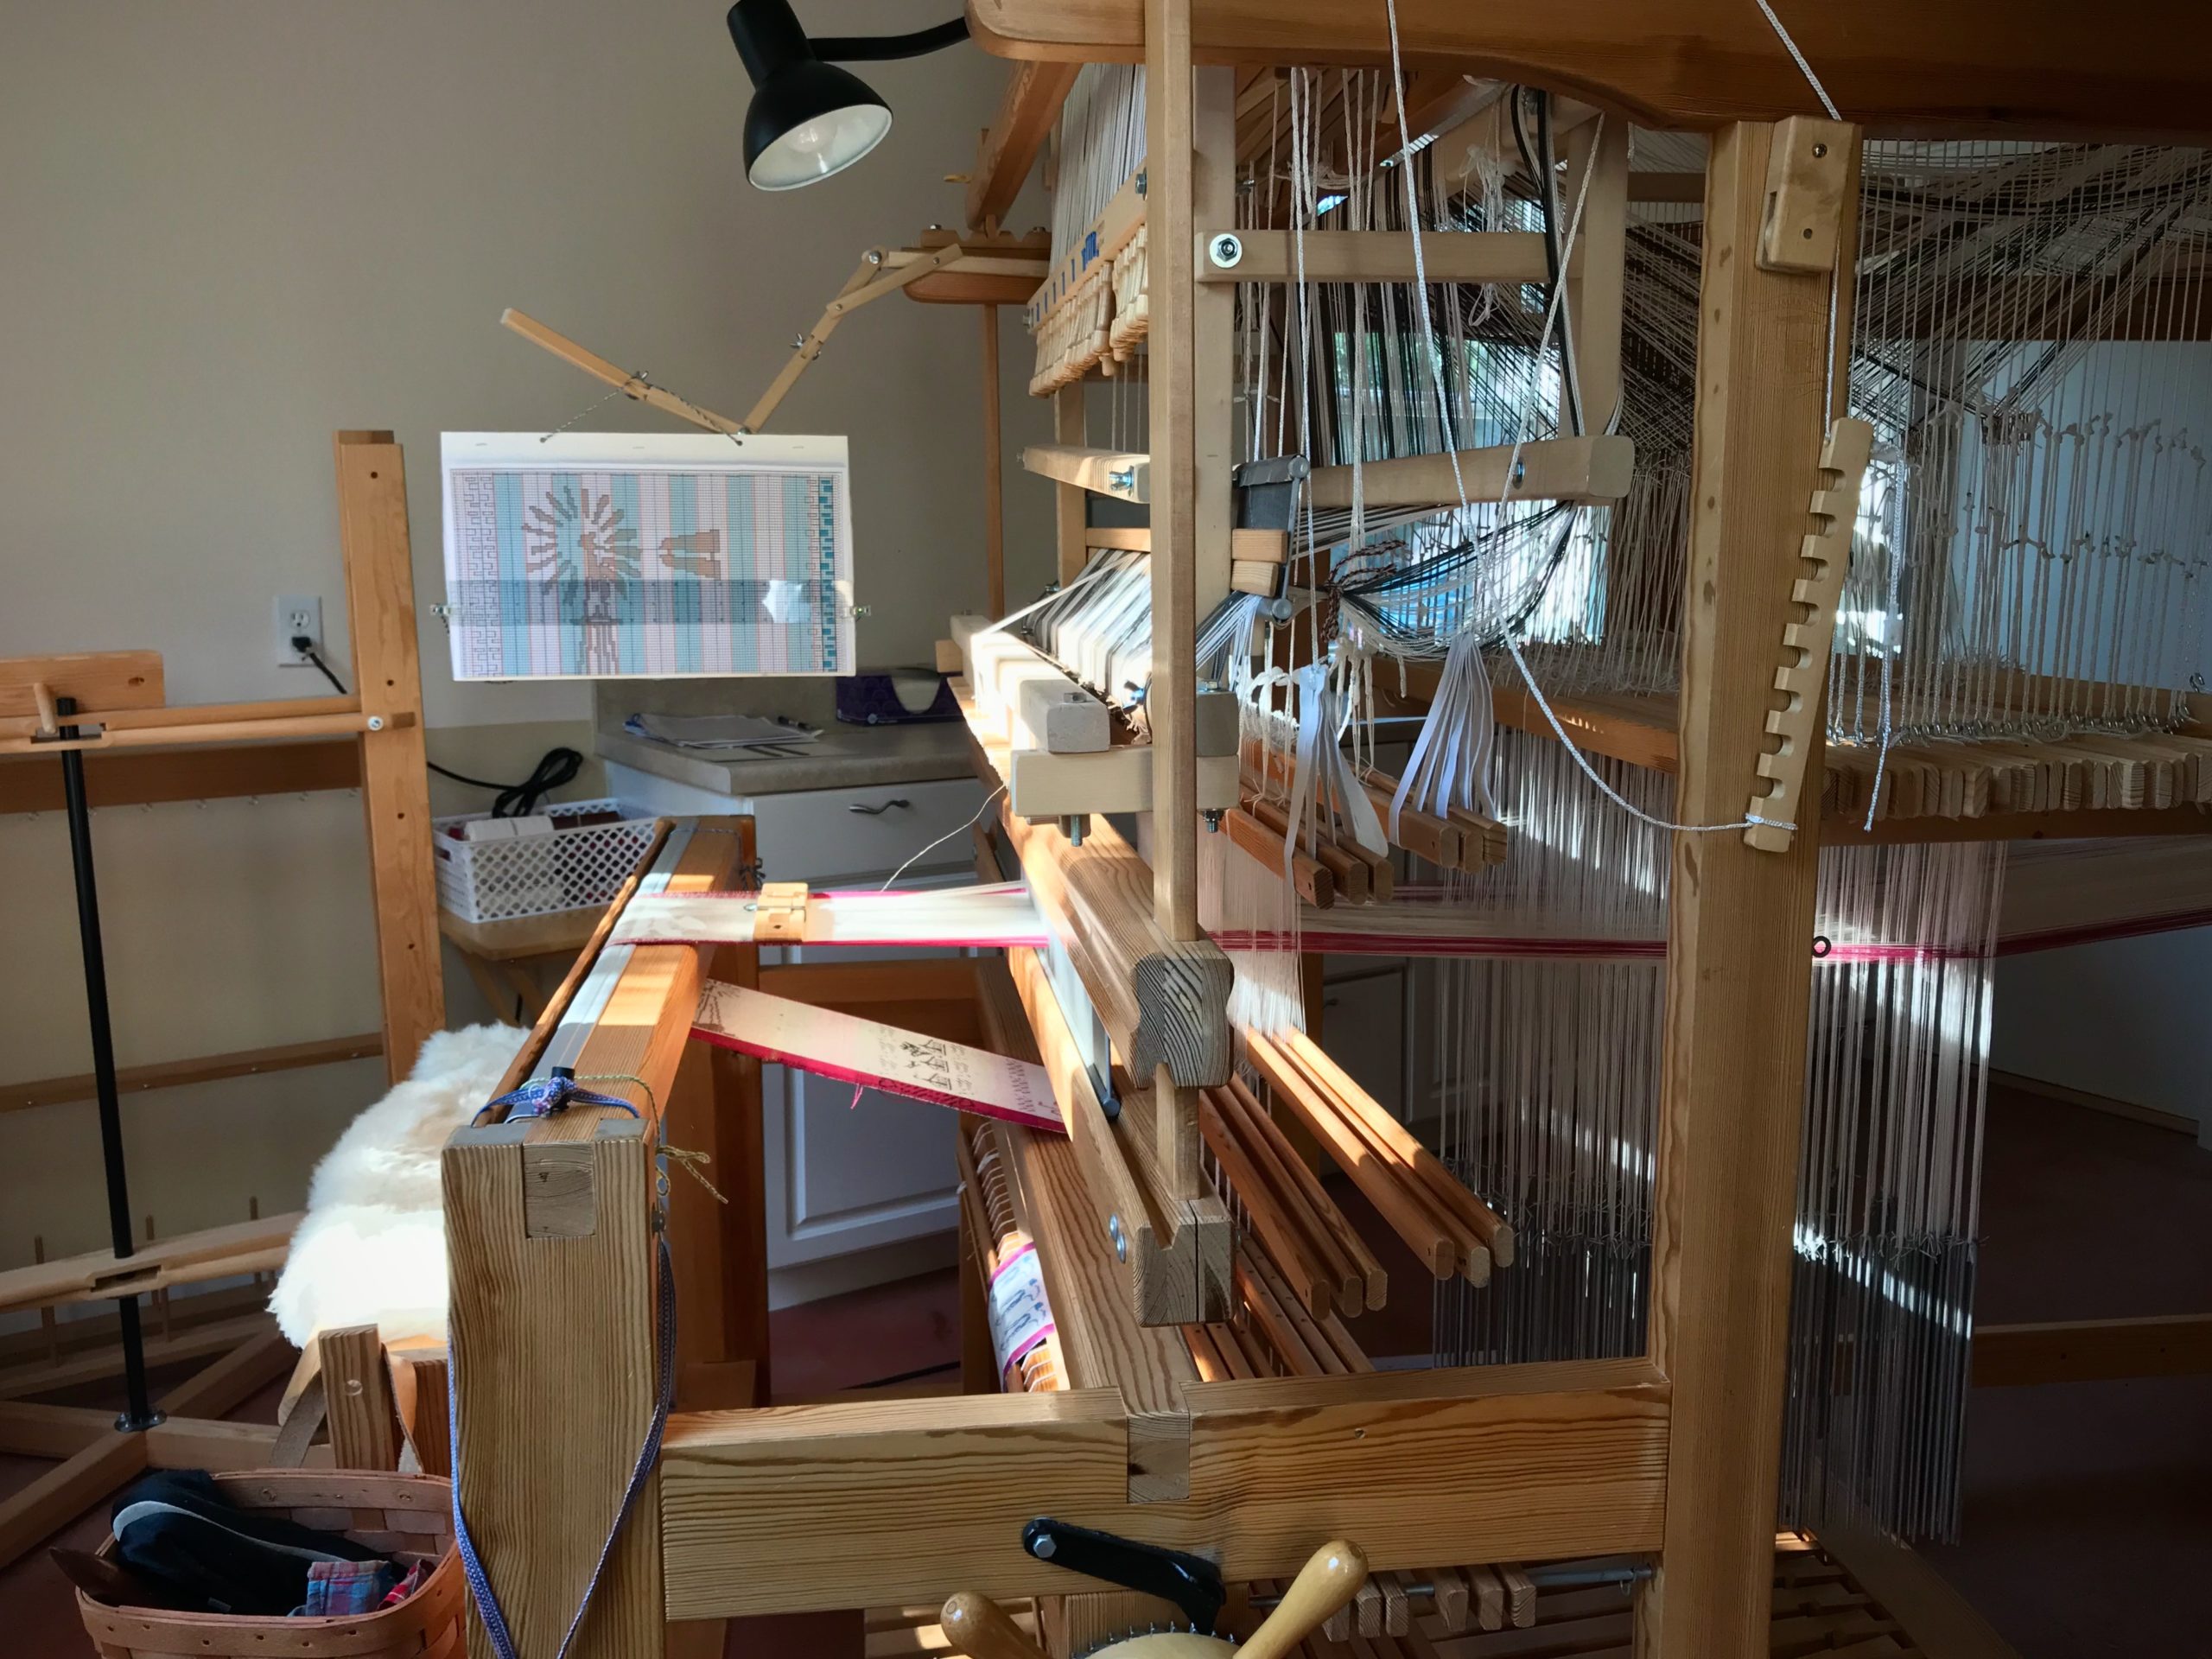
- Dressing
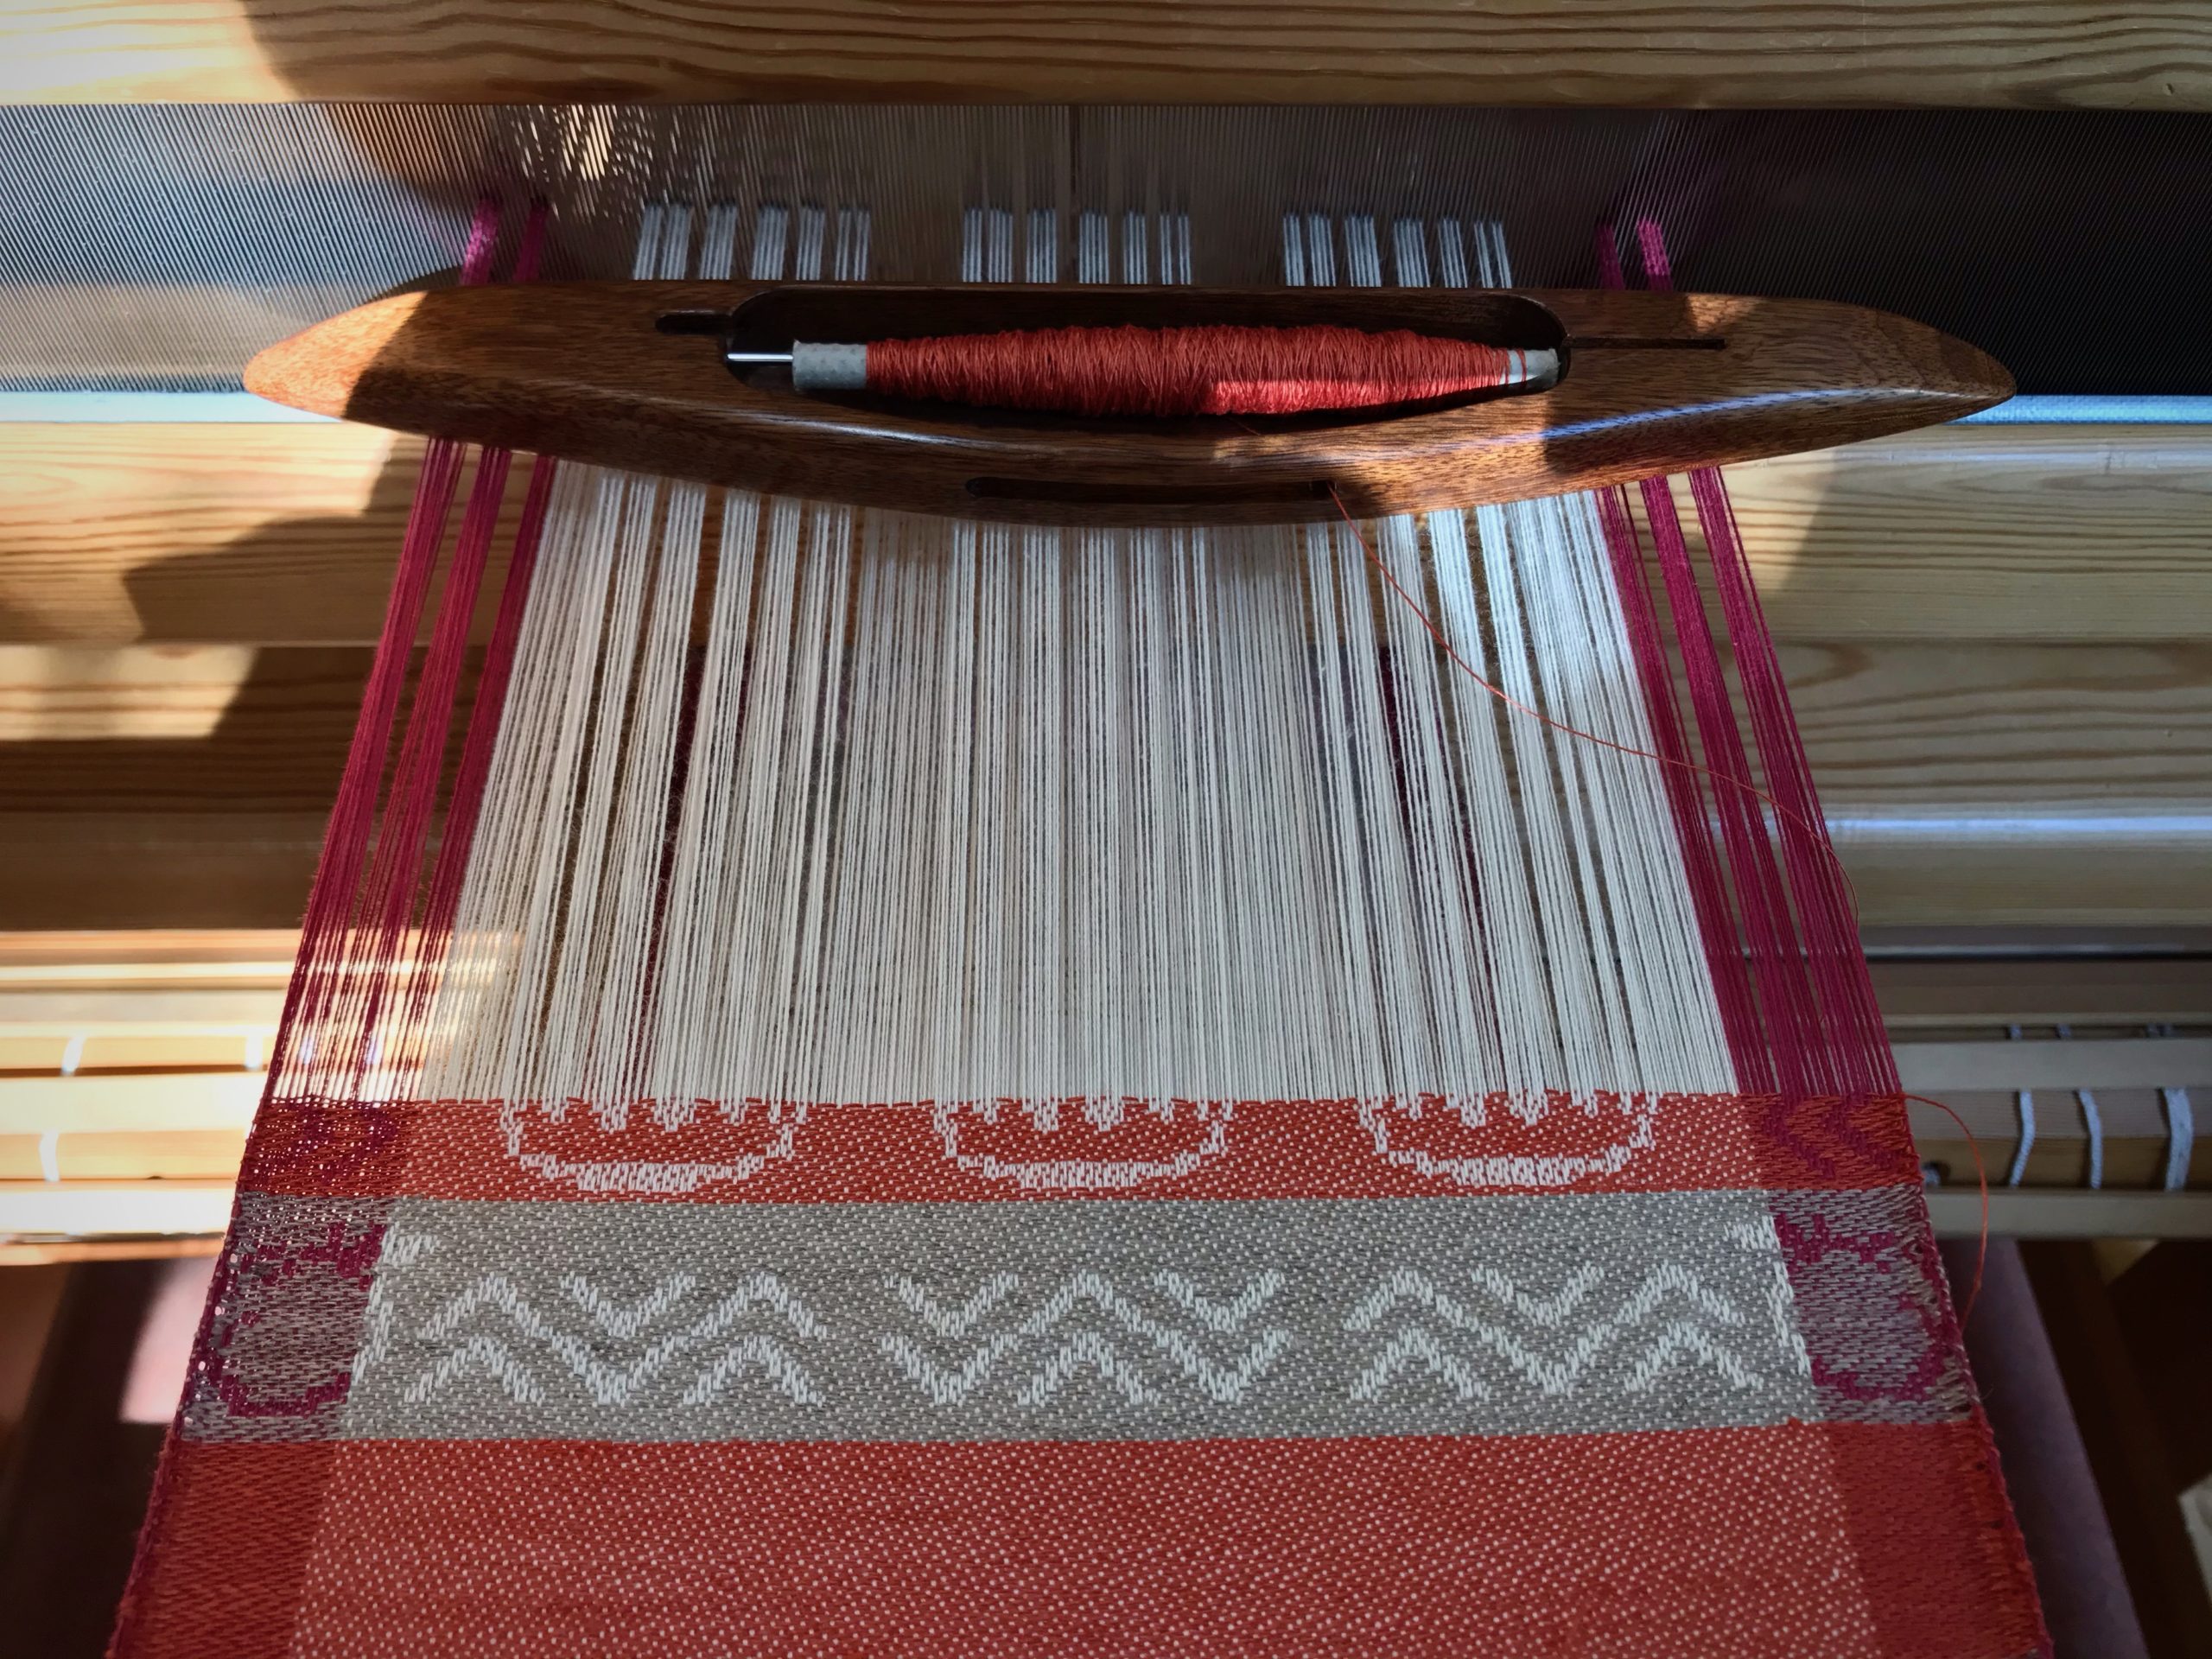
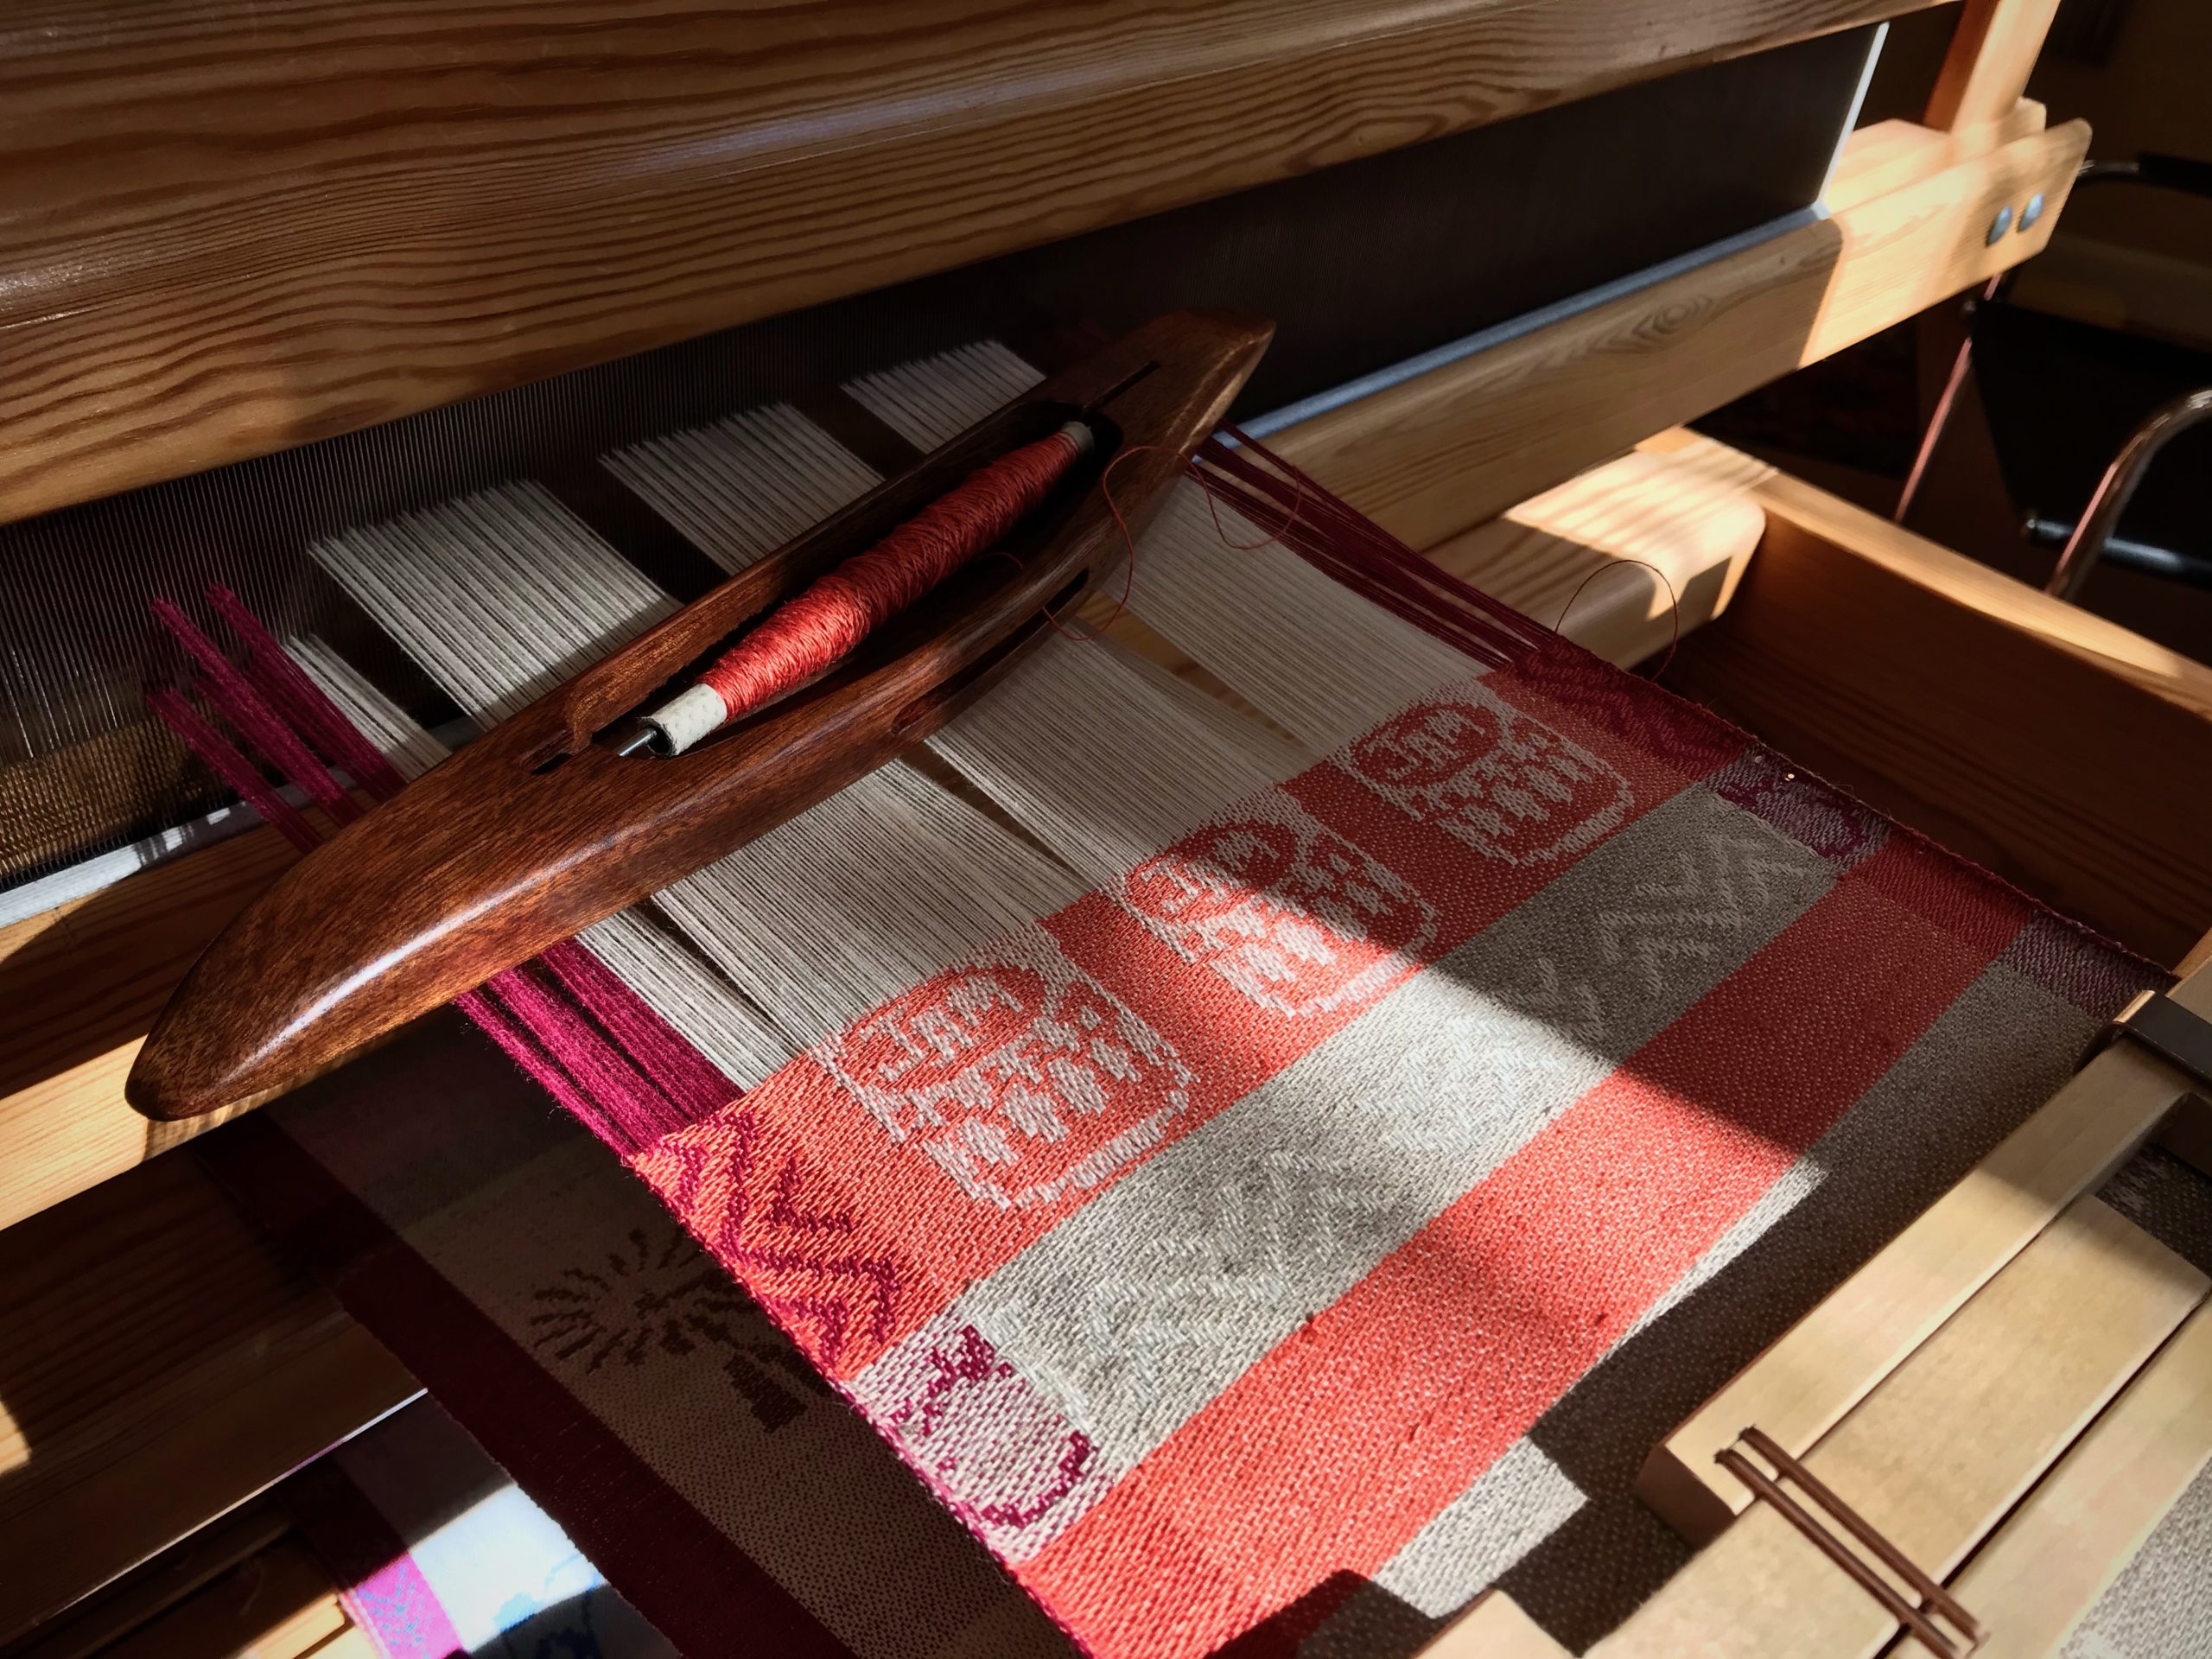
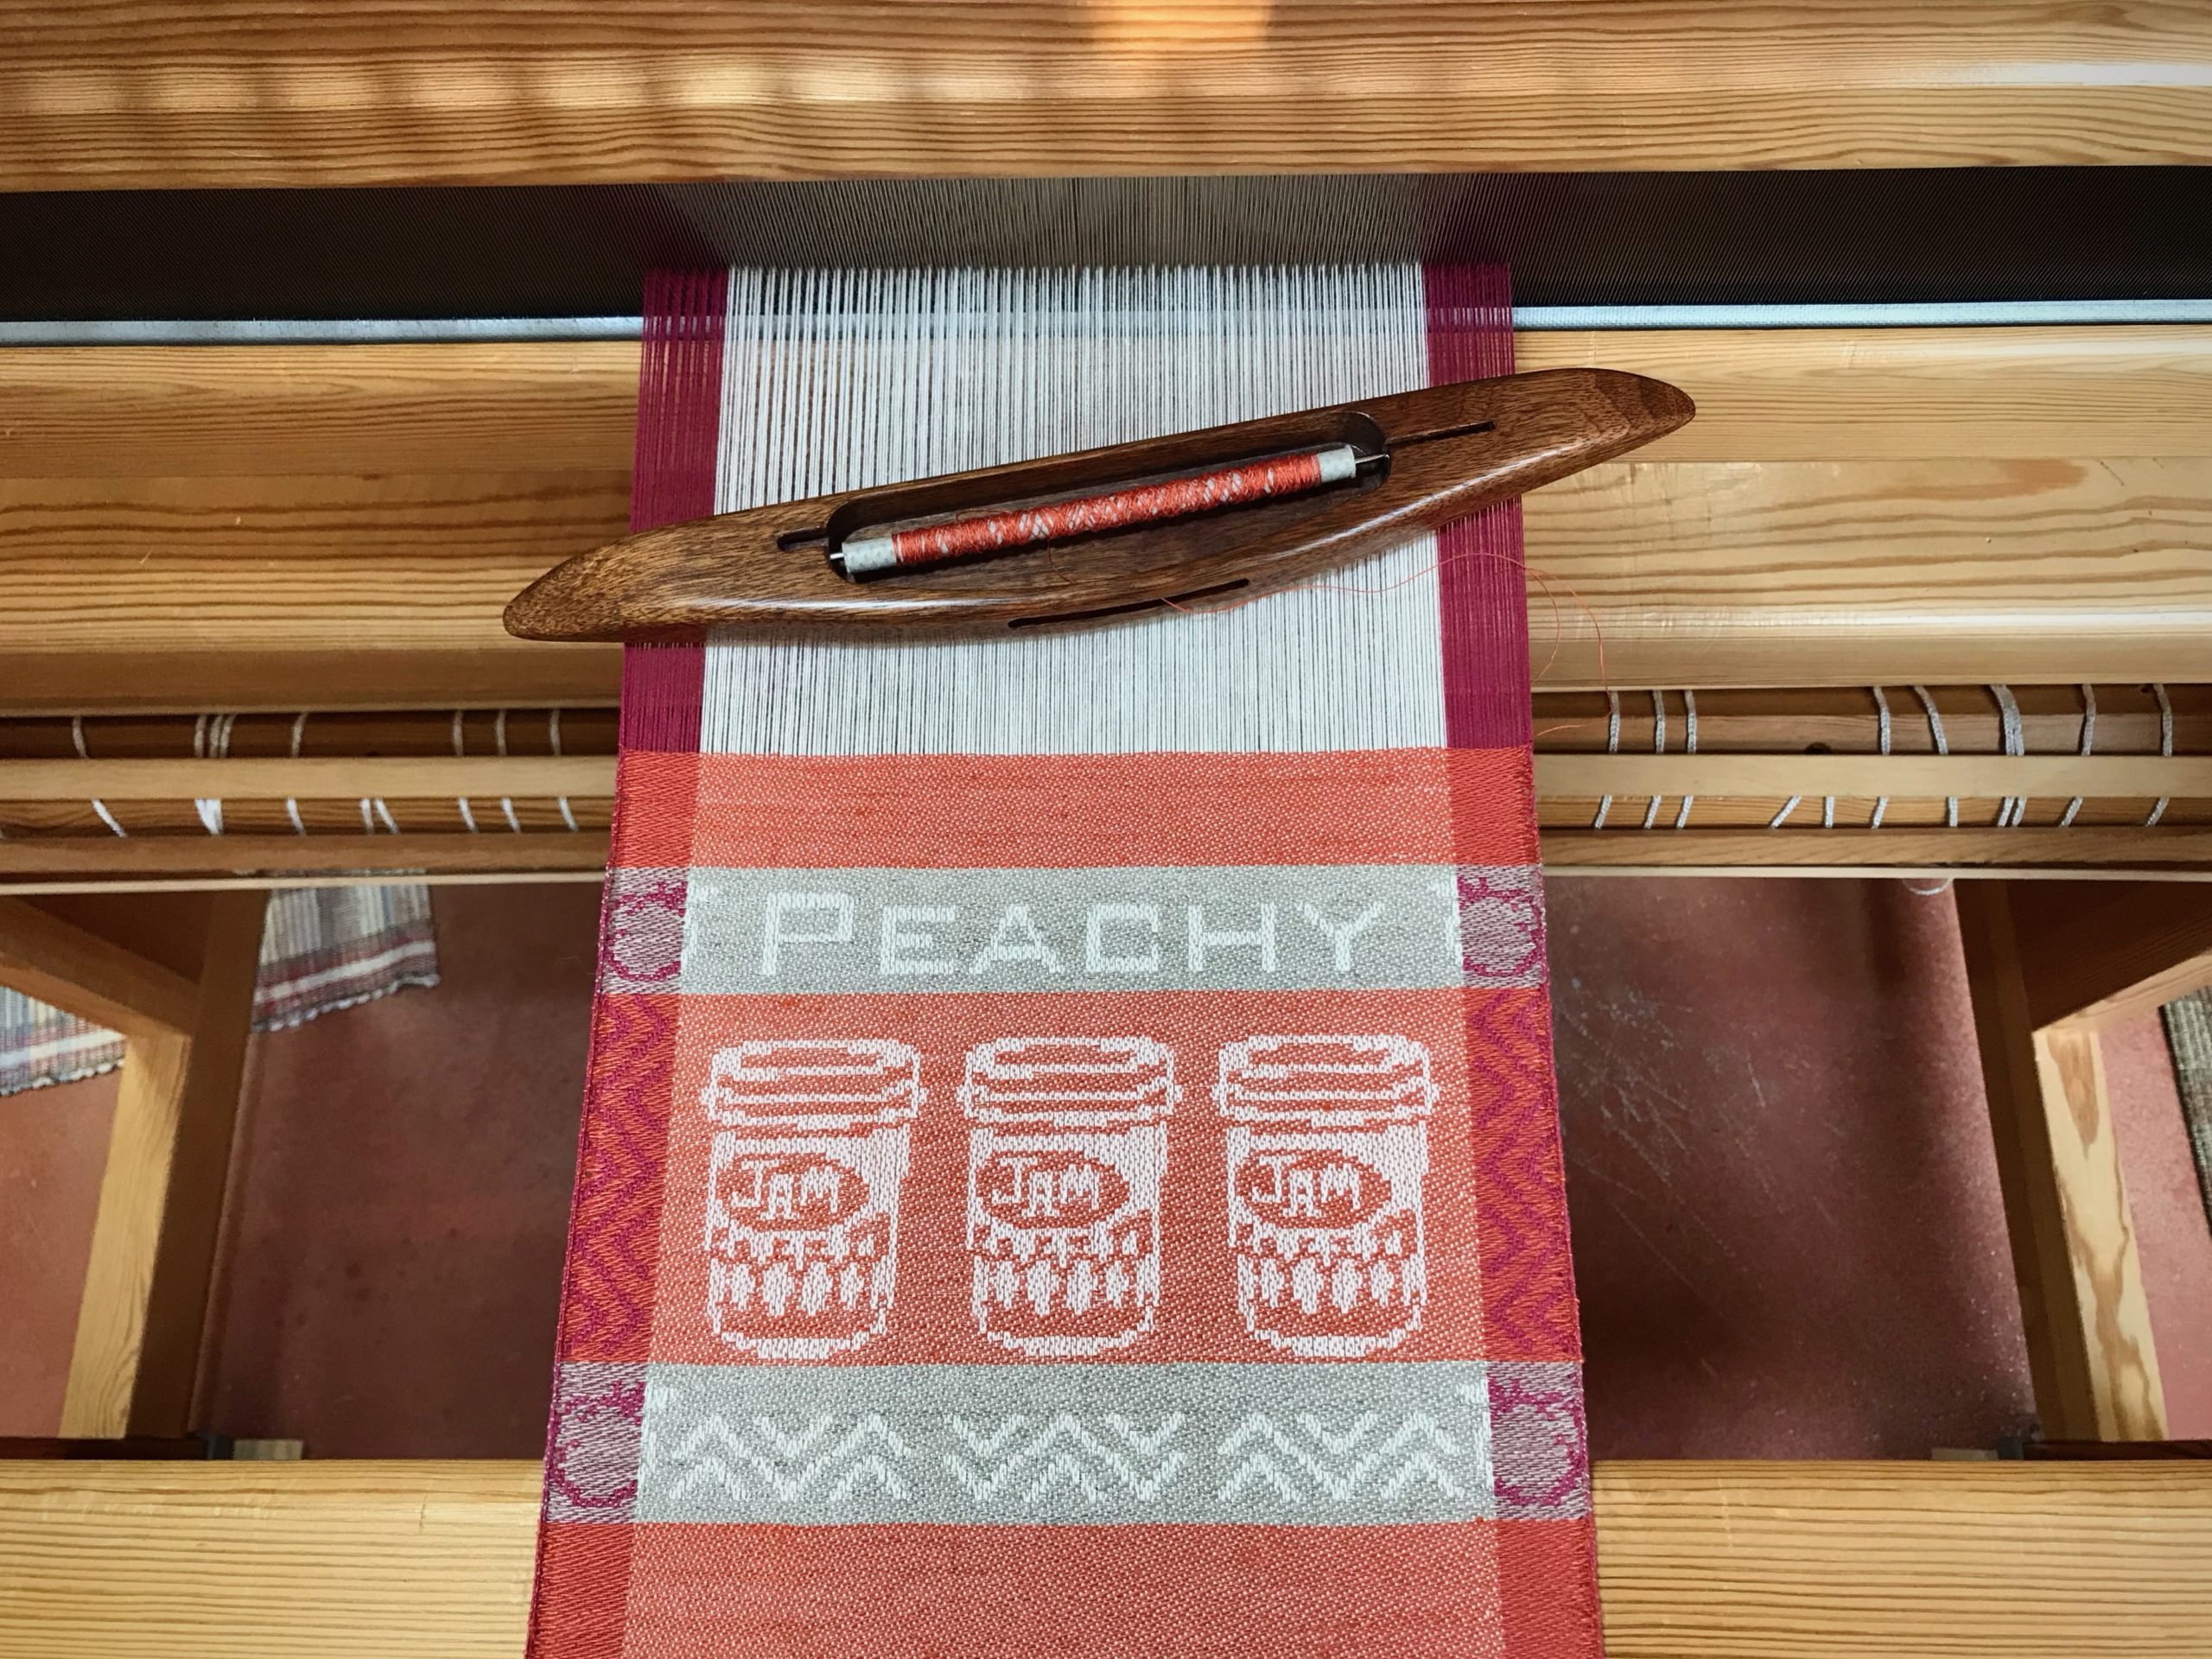
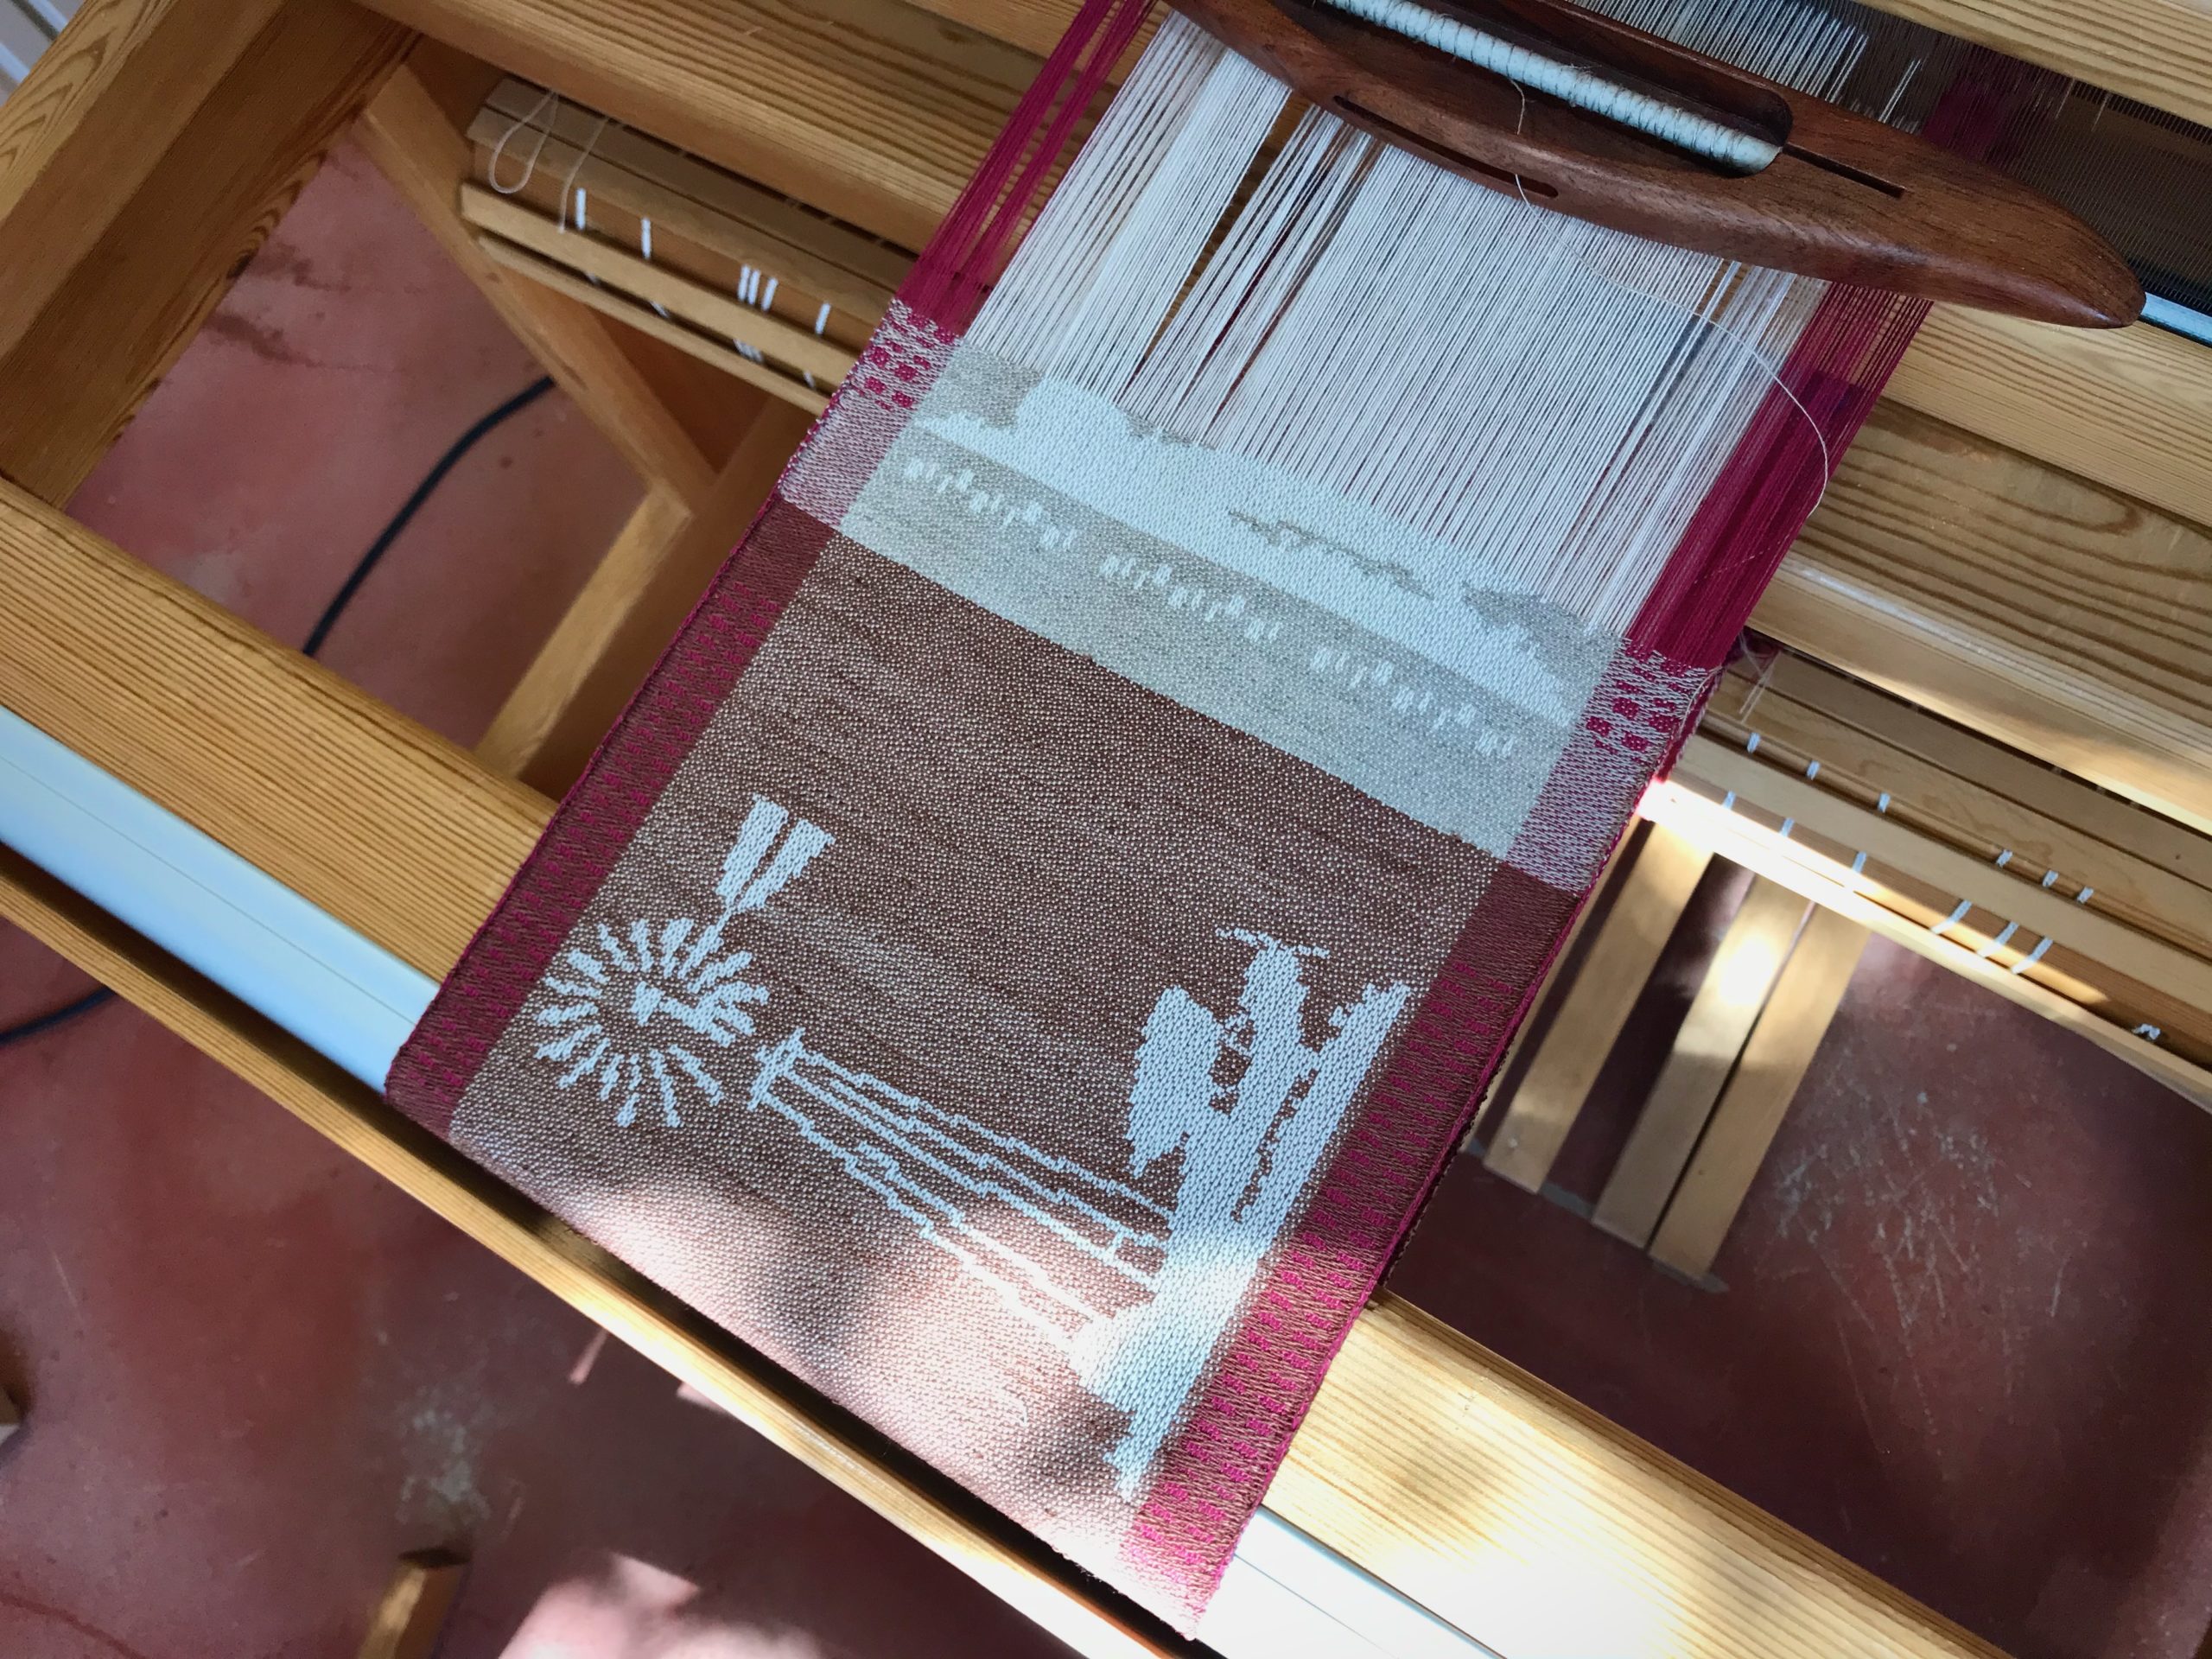
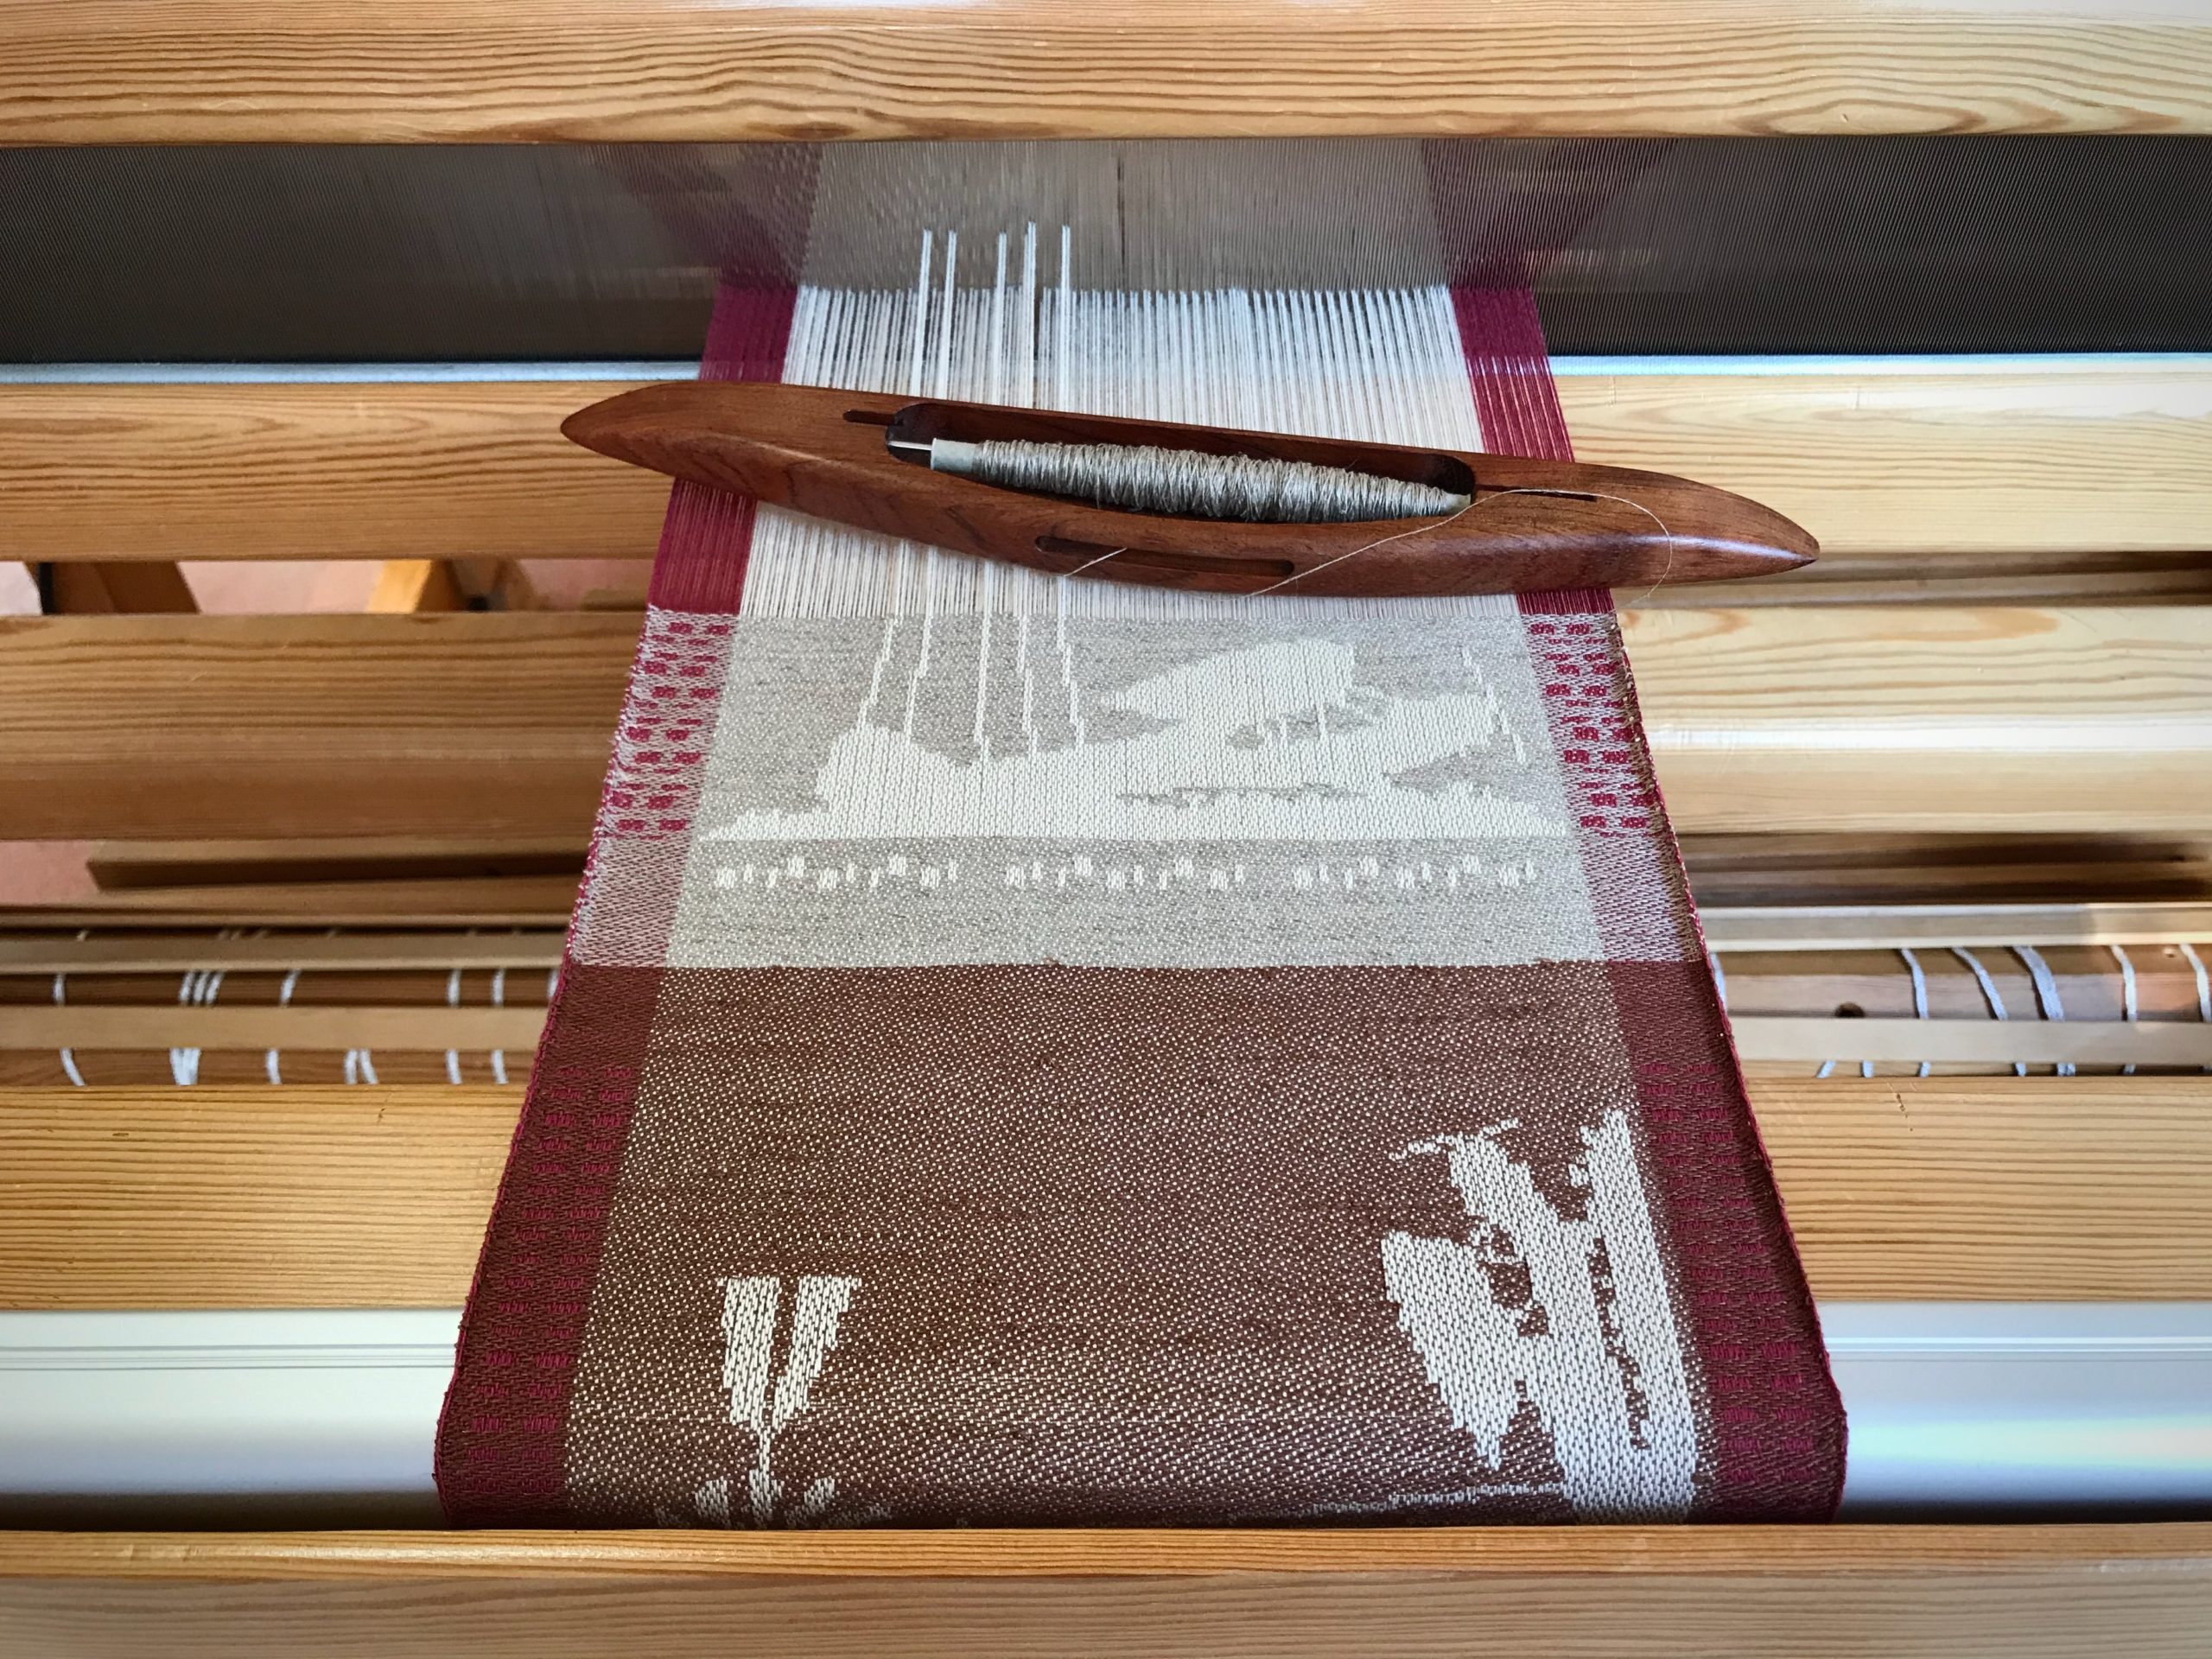
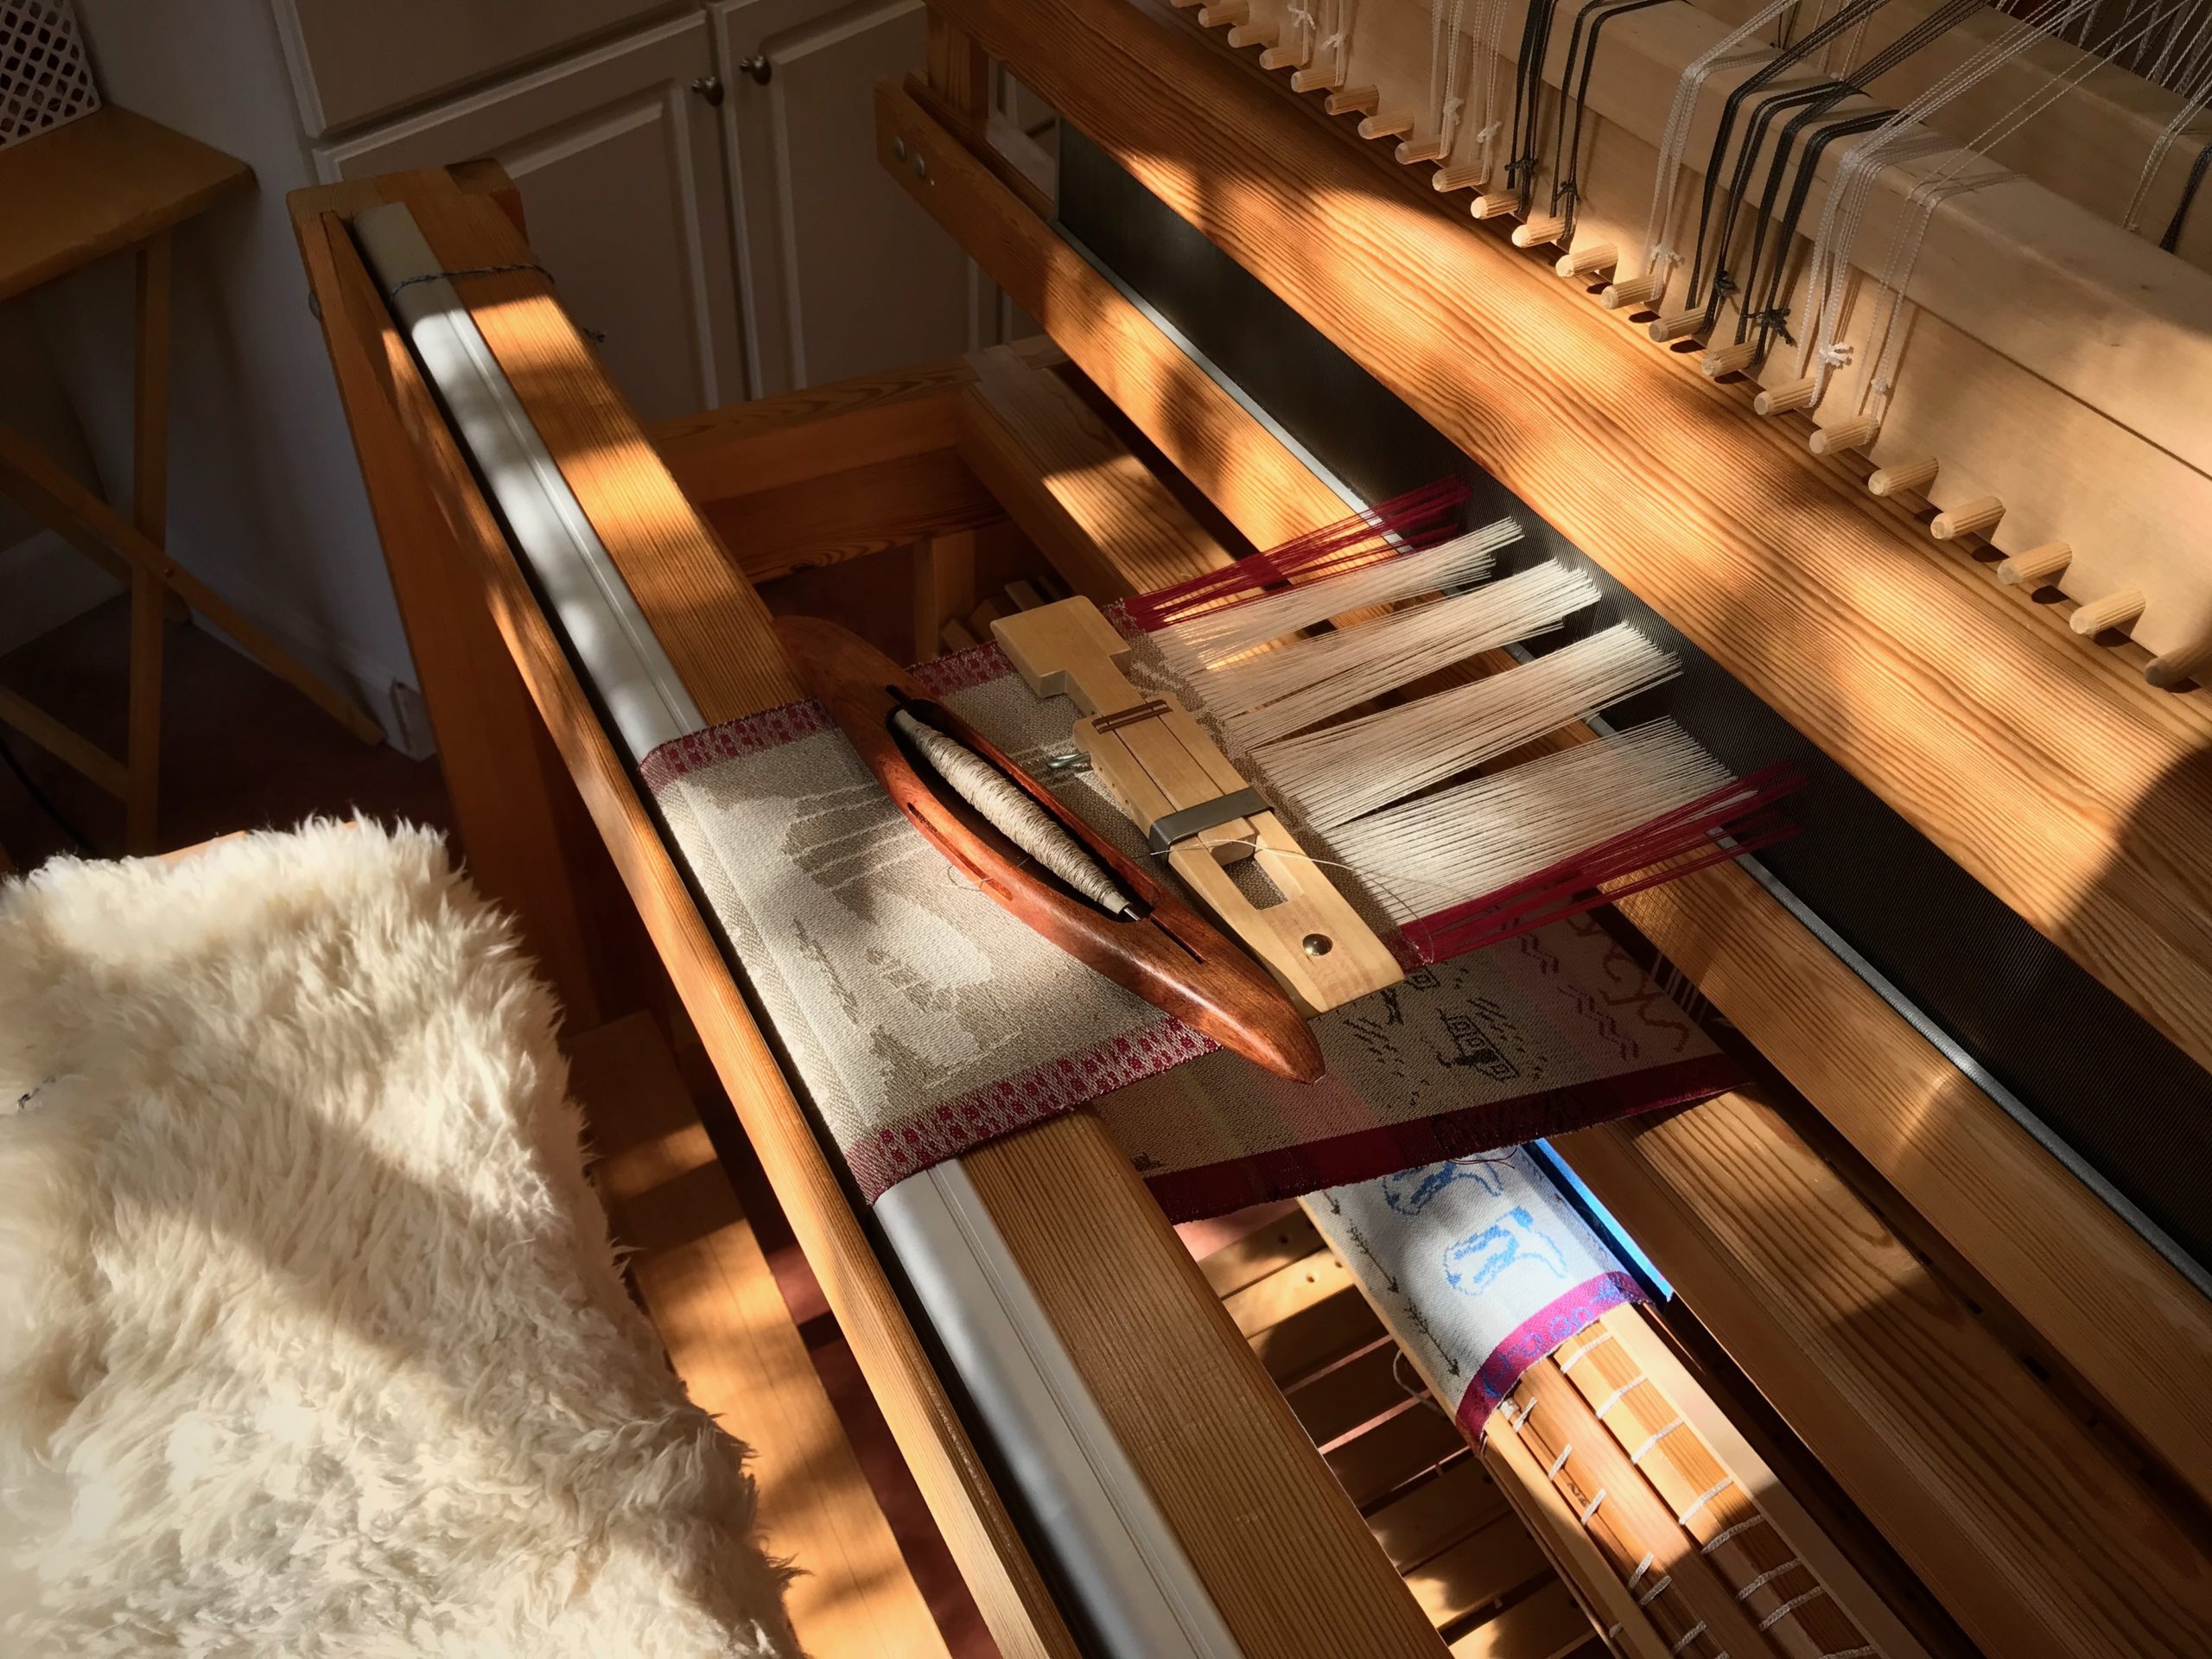
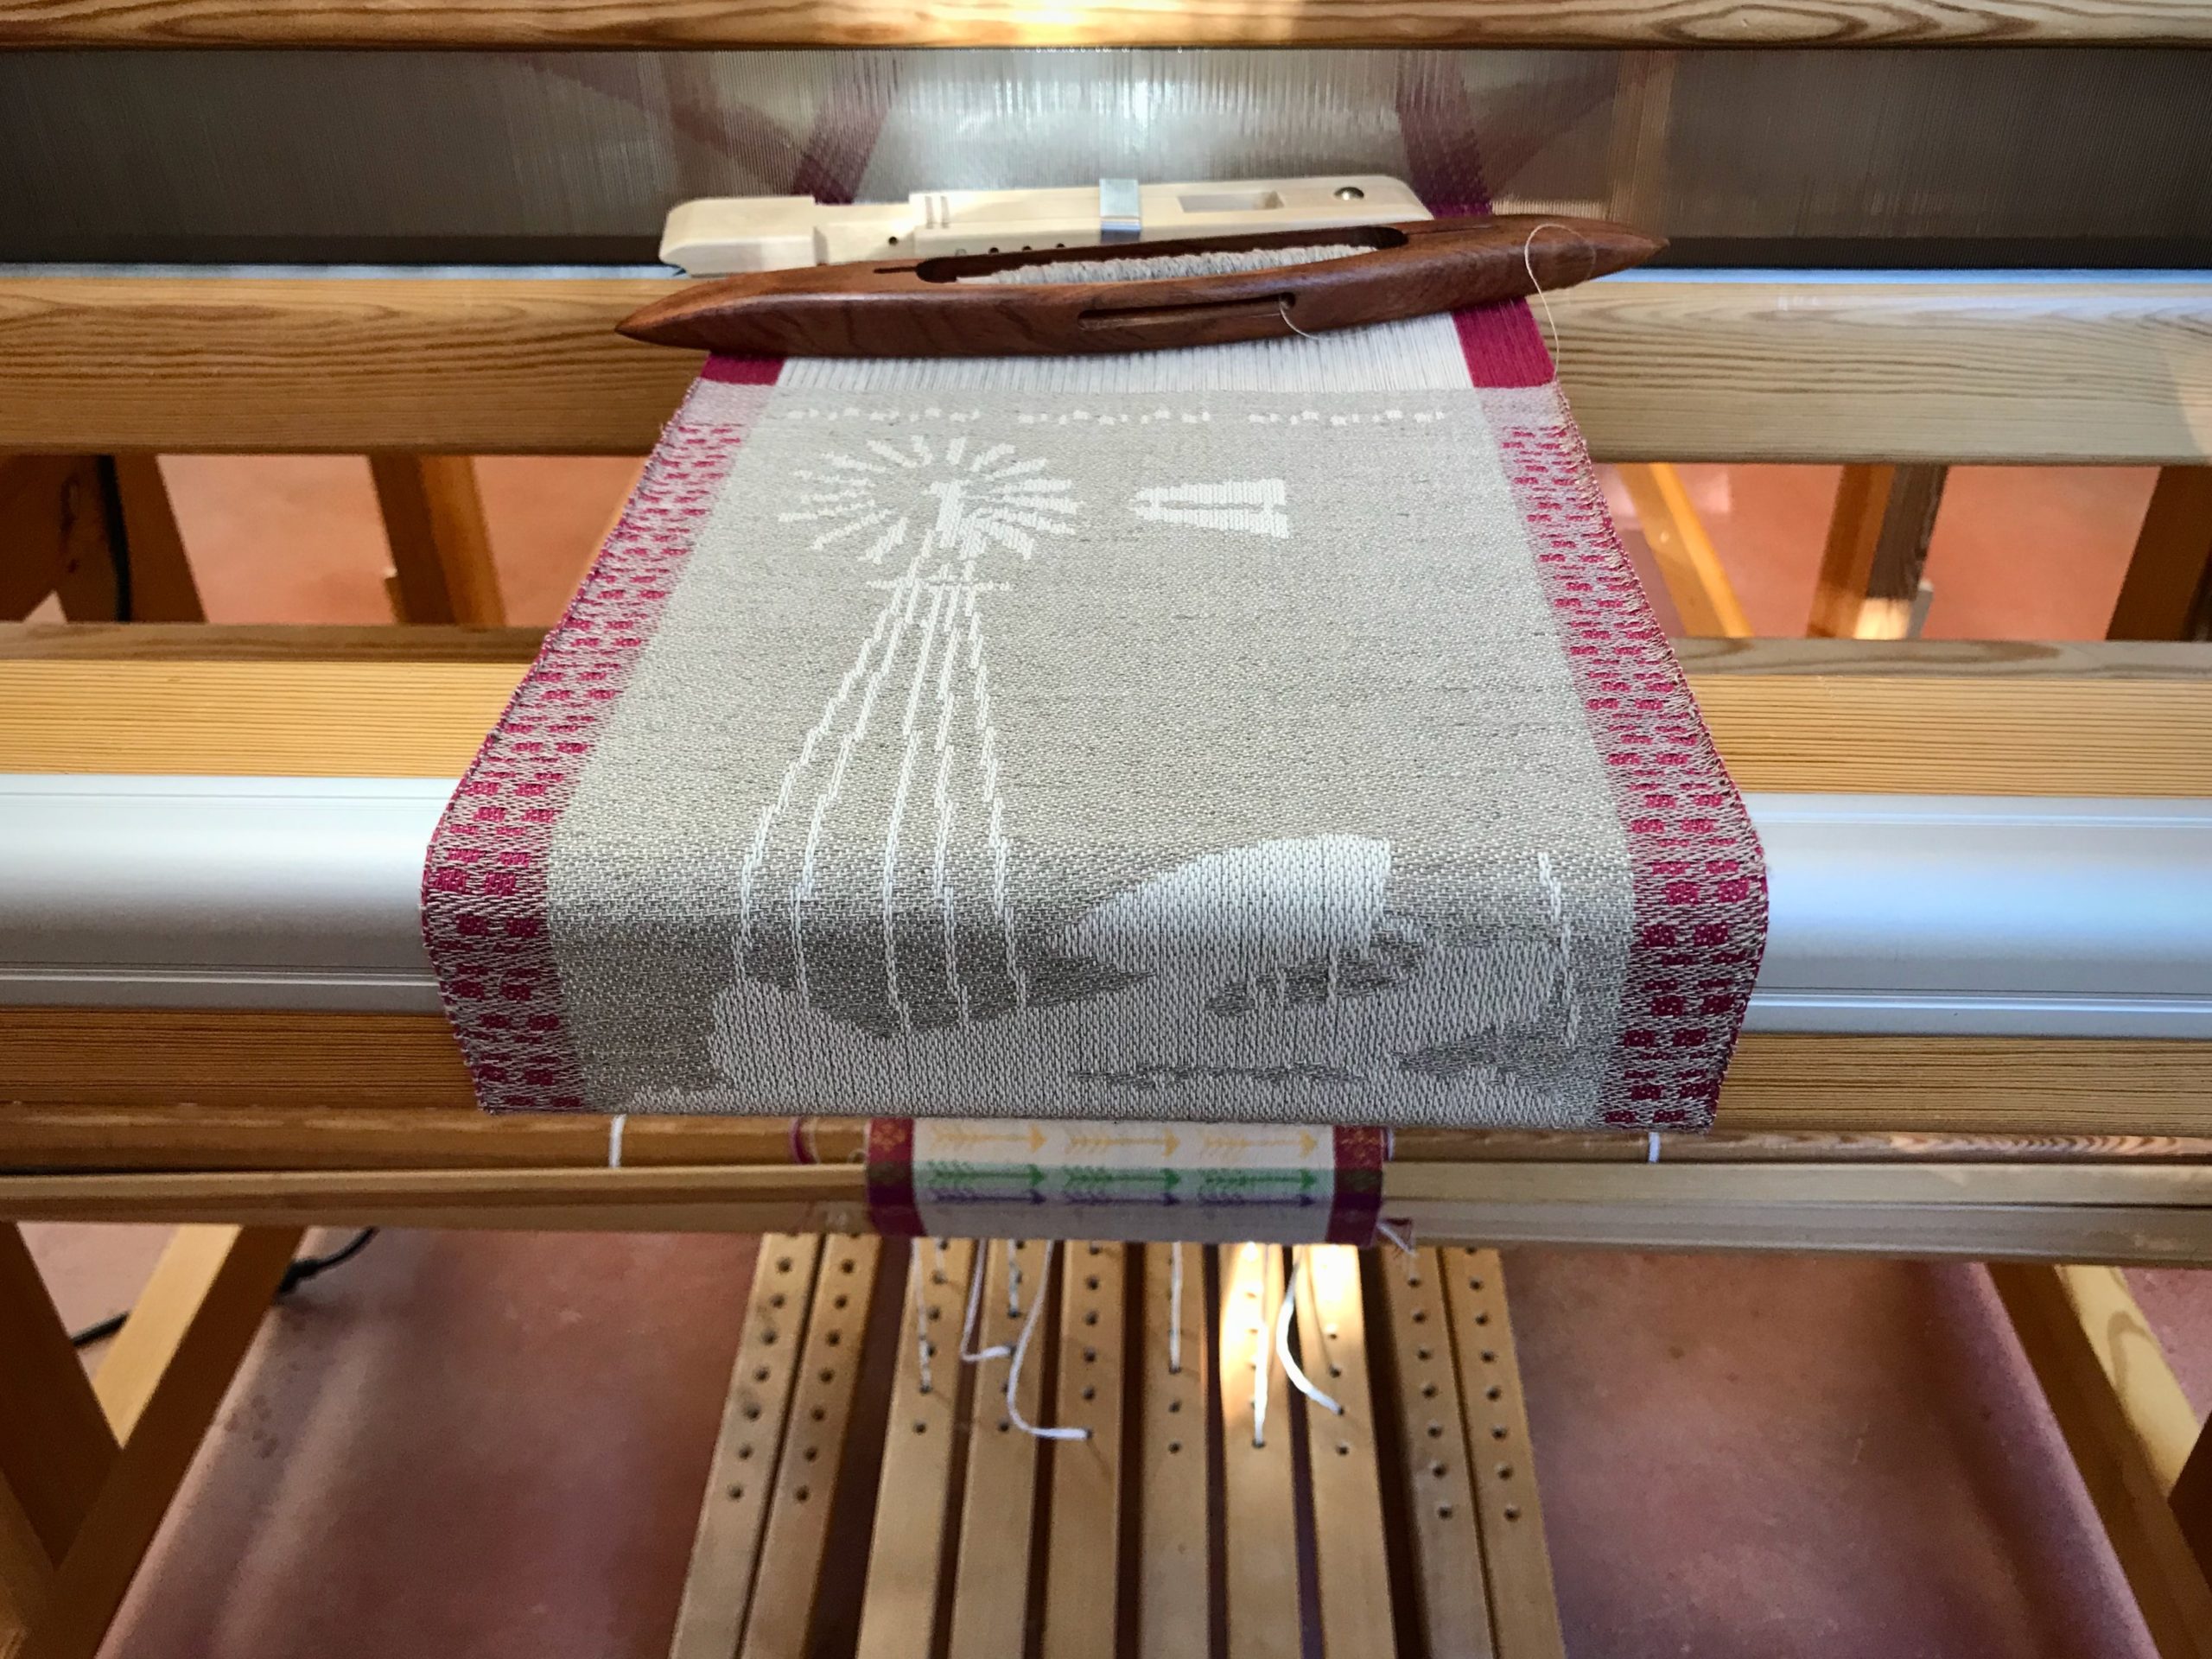
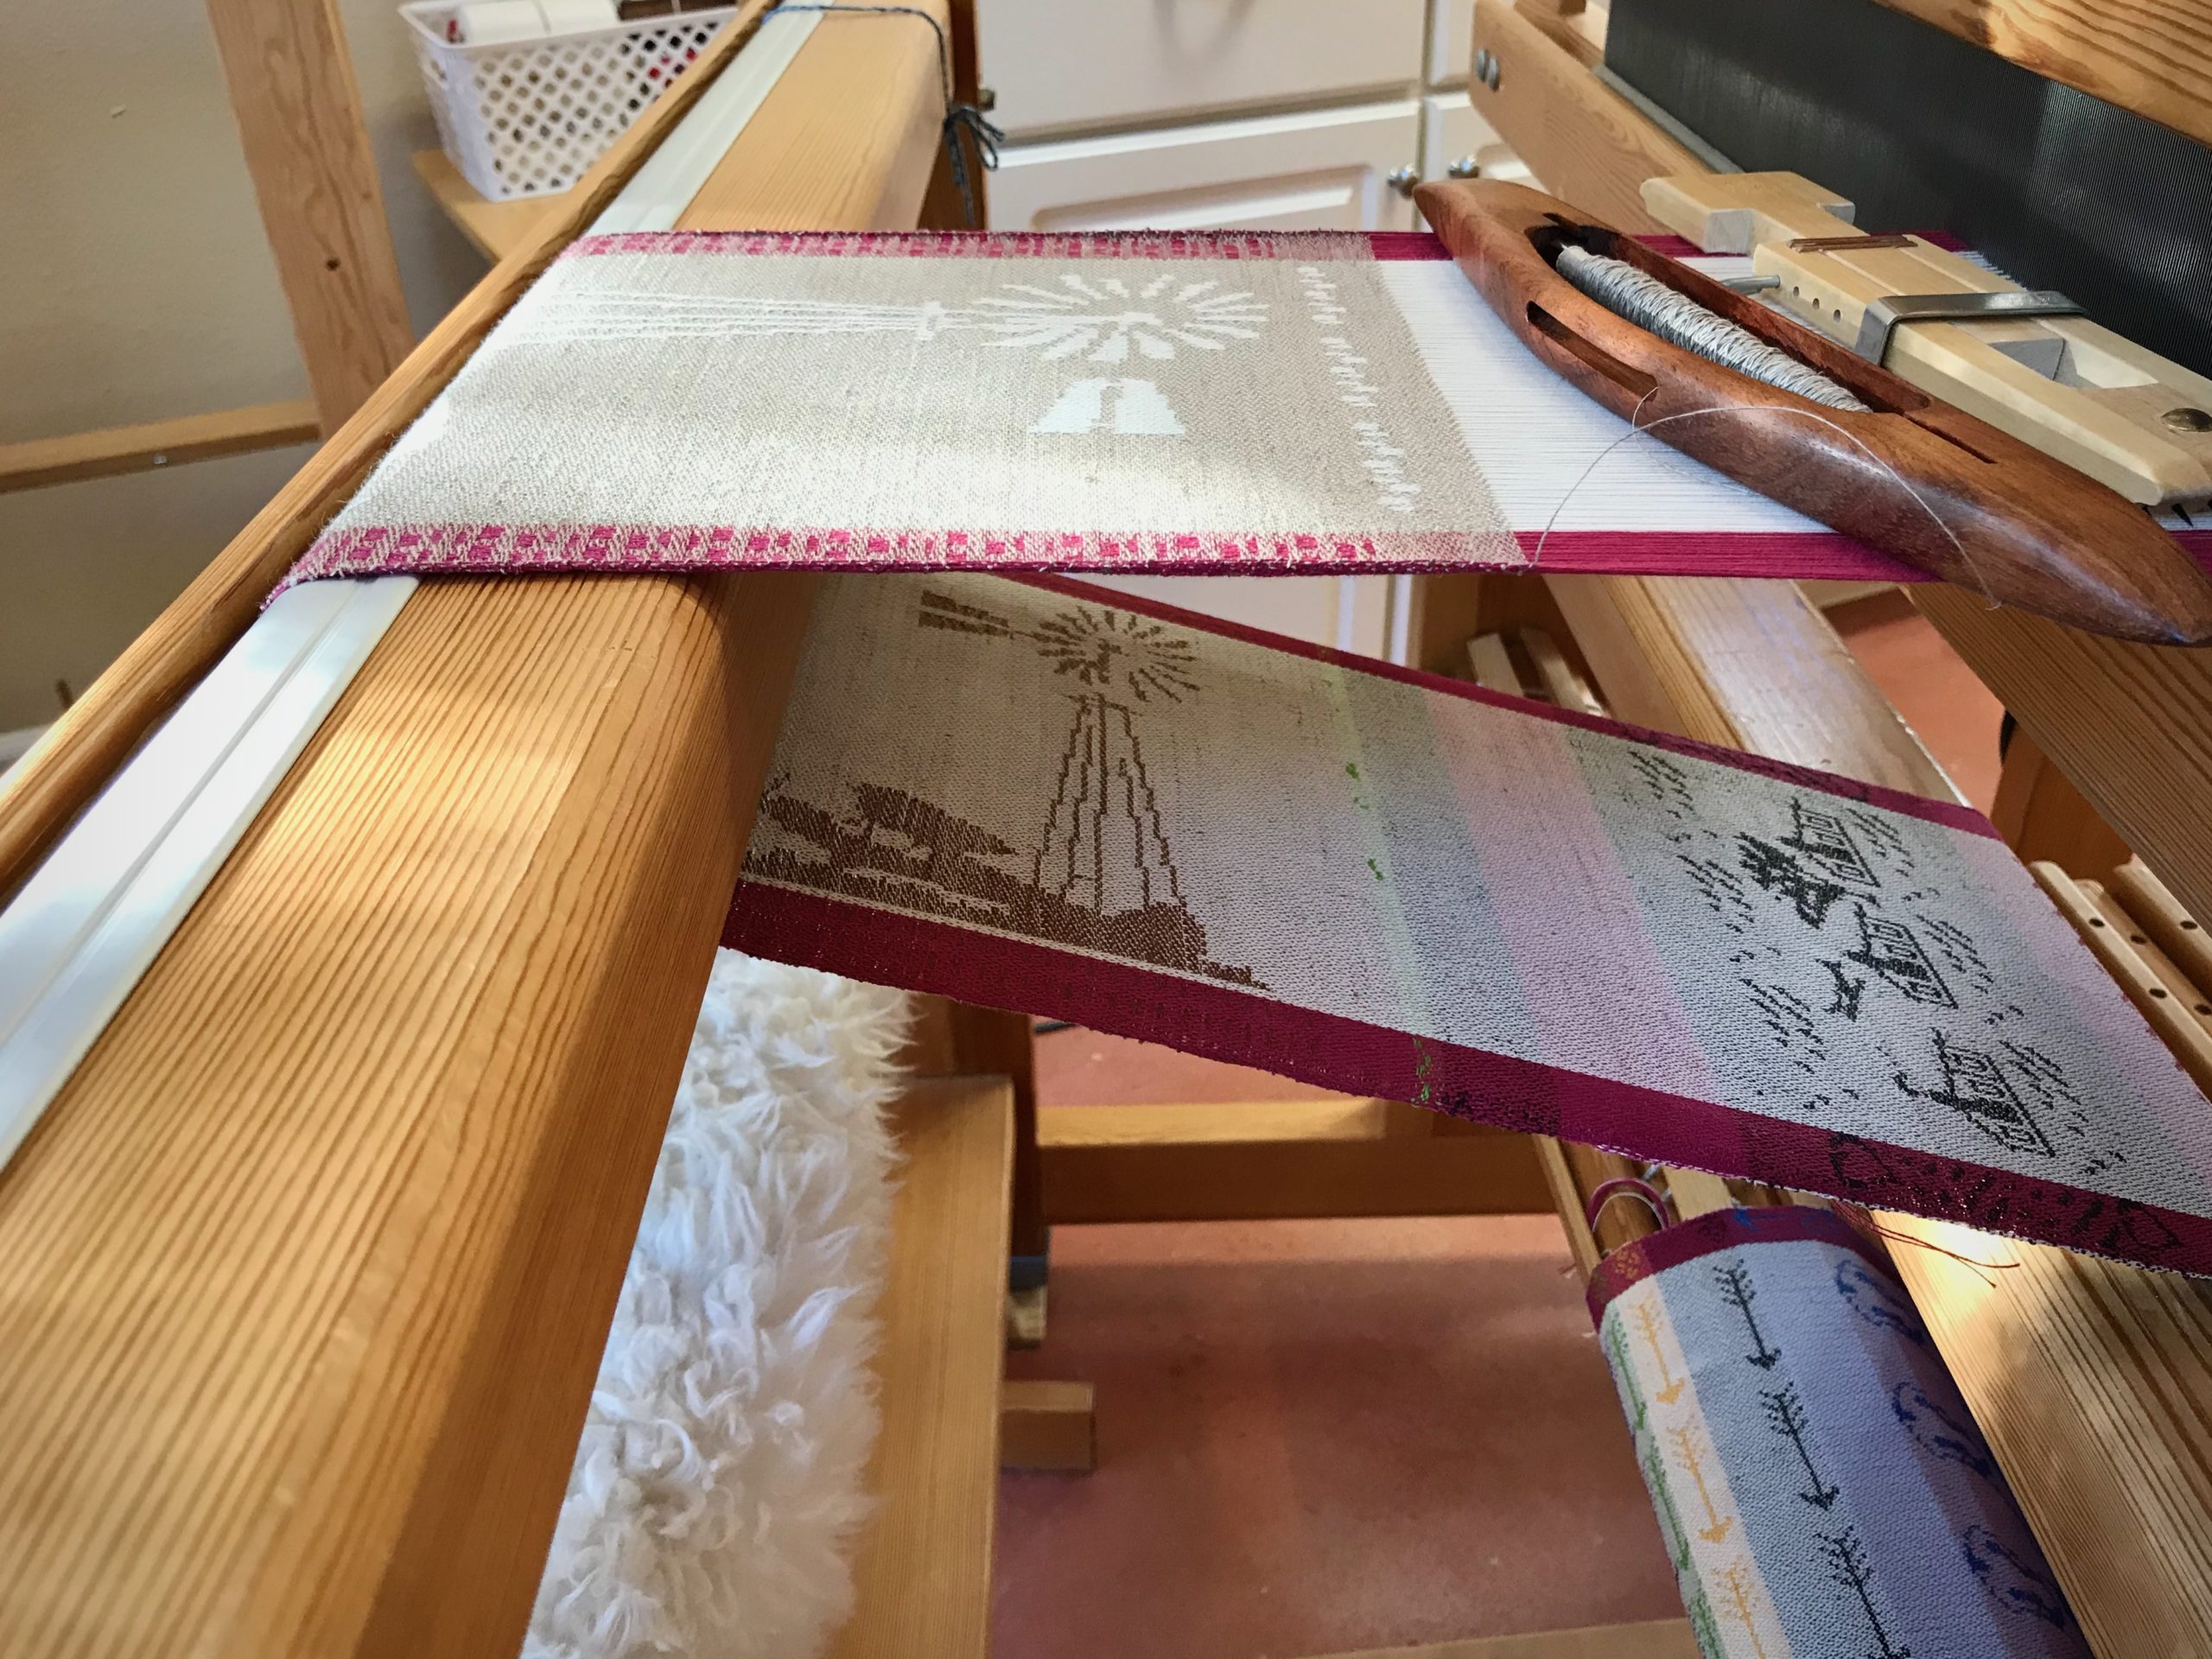
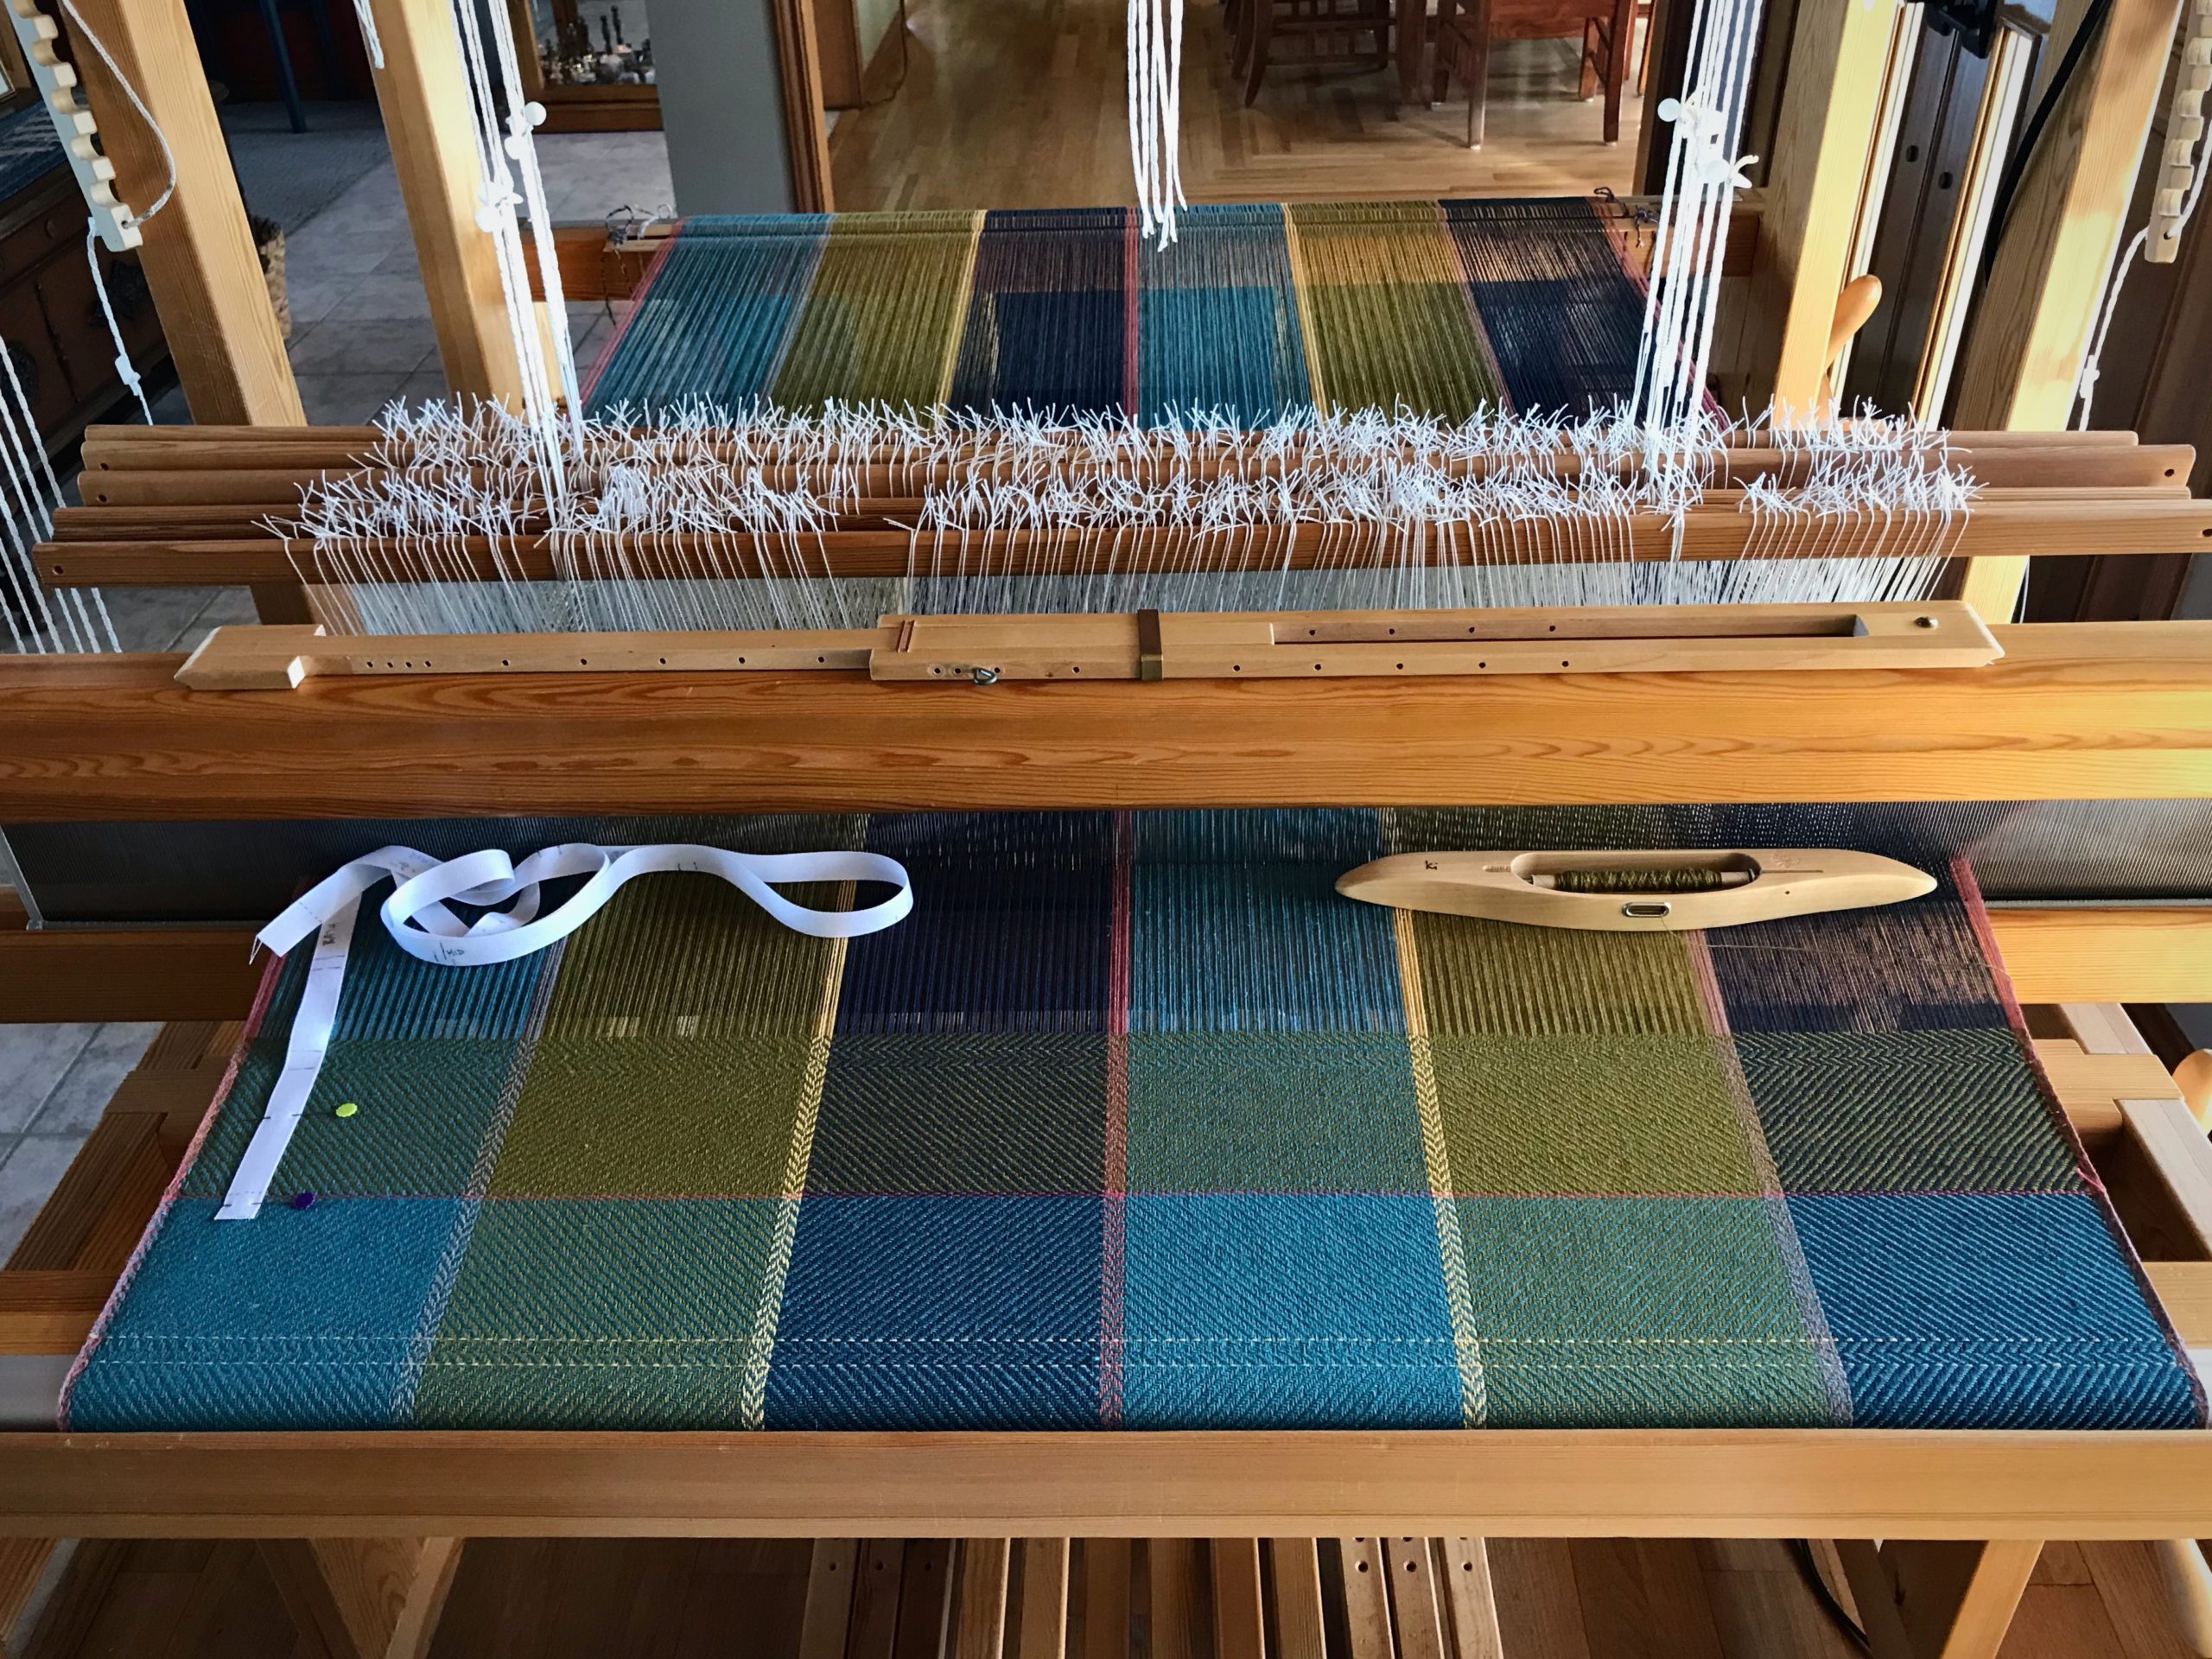
- Weaving
Do some finishing work first. Do some loom-dressing tasks next. The reward, then, is sitting at one of the dressed looms and freely weaving for the pleasure of it.

Give Thanks ~ Live with a thankful heart.
Every day I thank the Lord for granting me the joy of being in this handweaving journey. And I thank him for bringing friends like you along with me.
May you always give thanks.
With a grateful heart,
Karen