Single-Unit Boldness

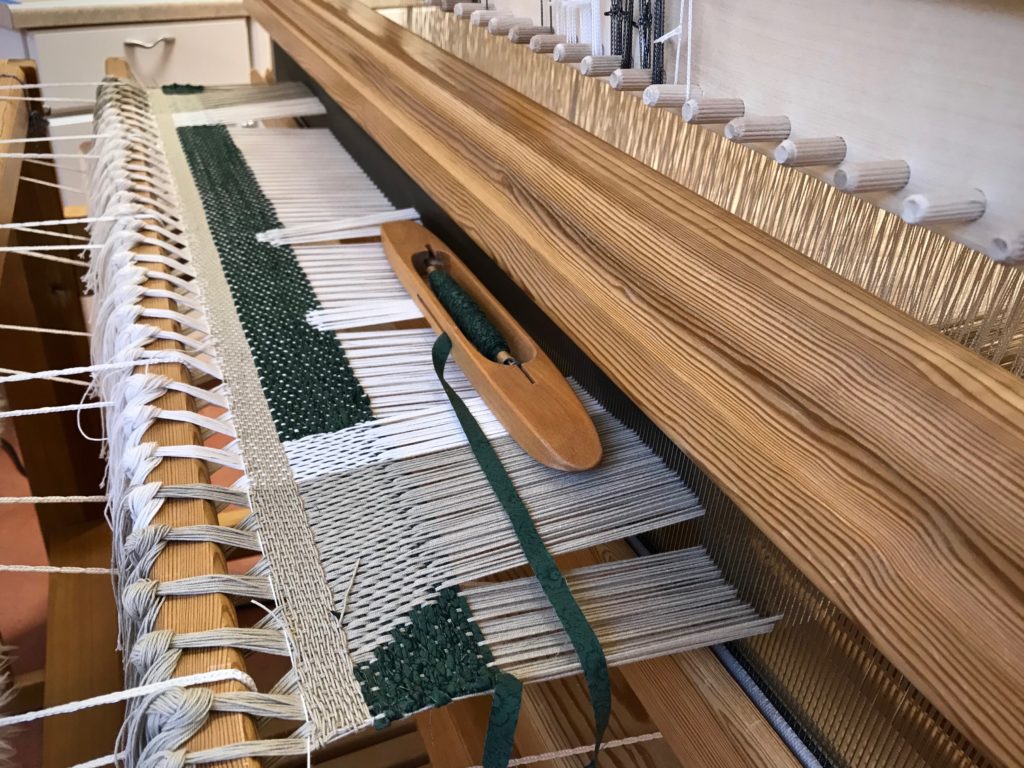
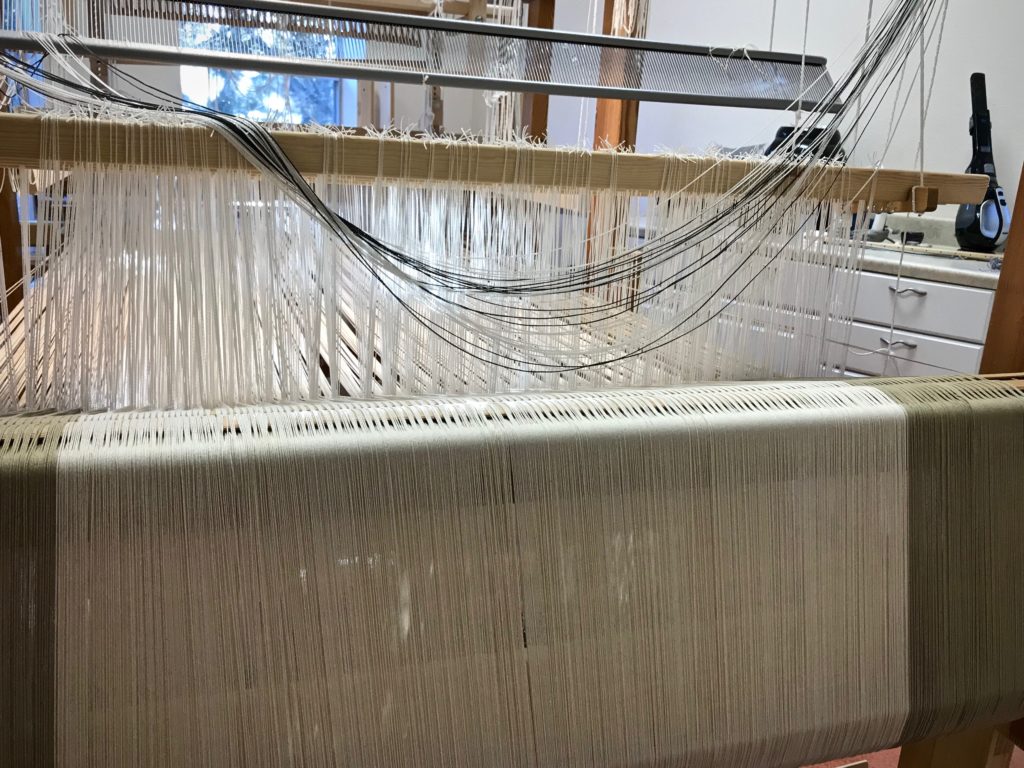
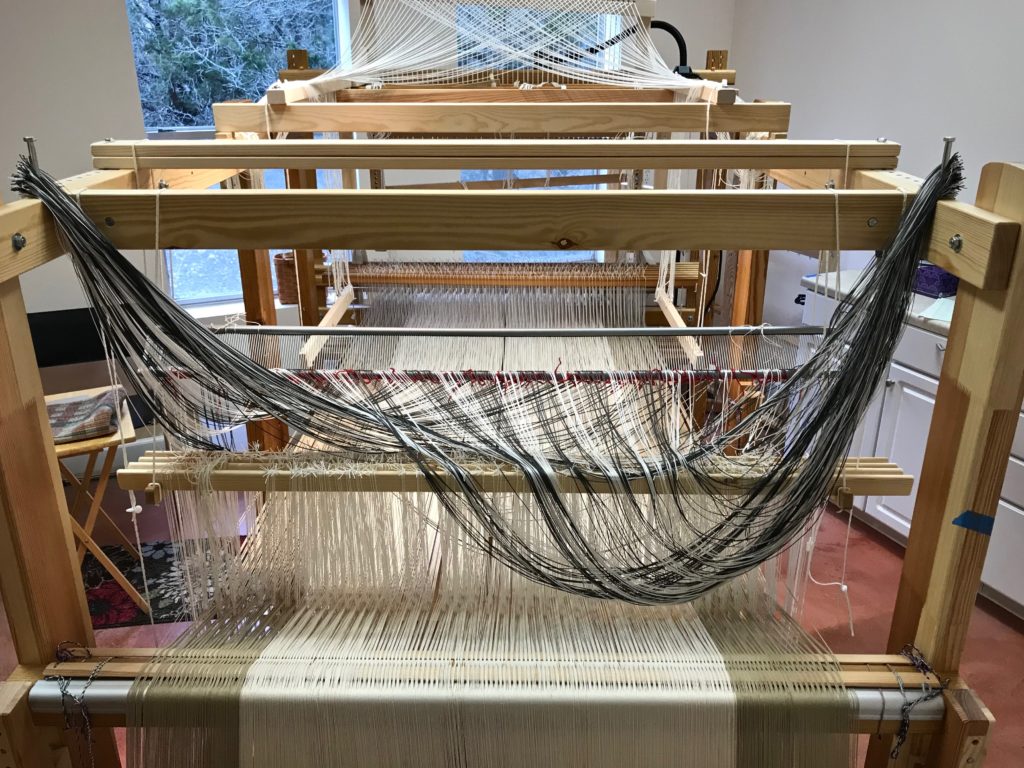
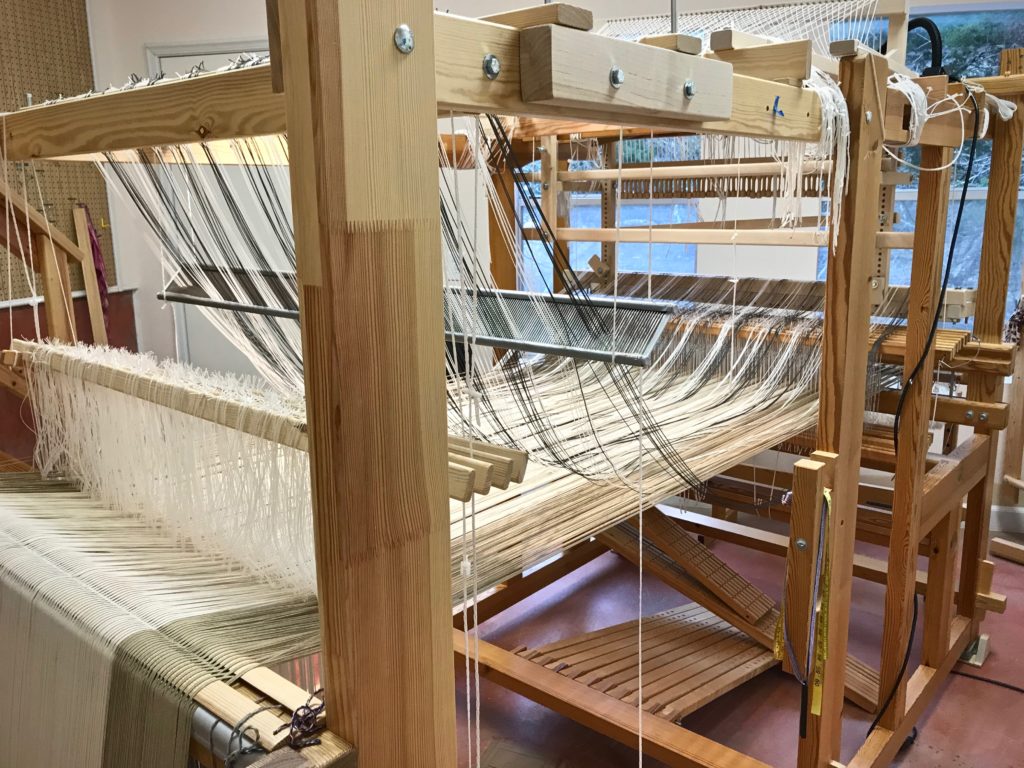
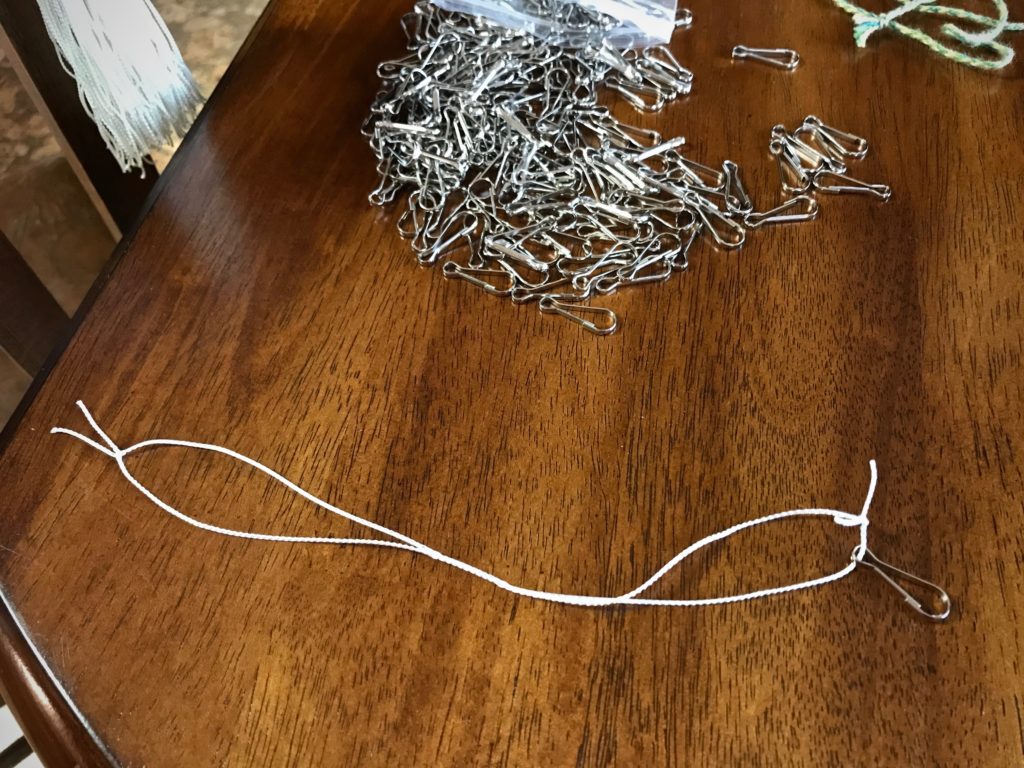
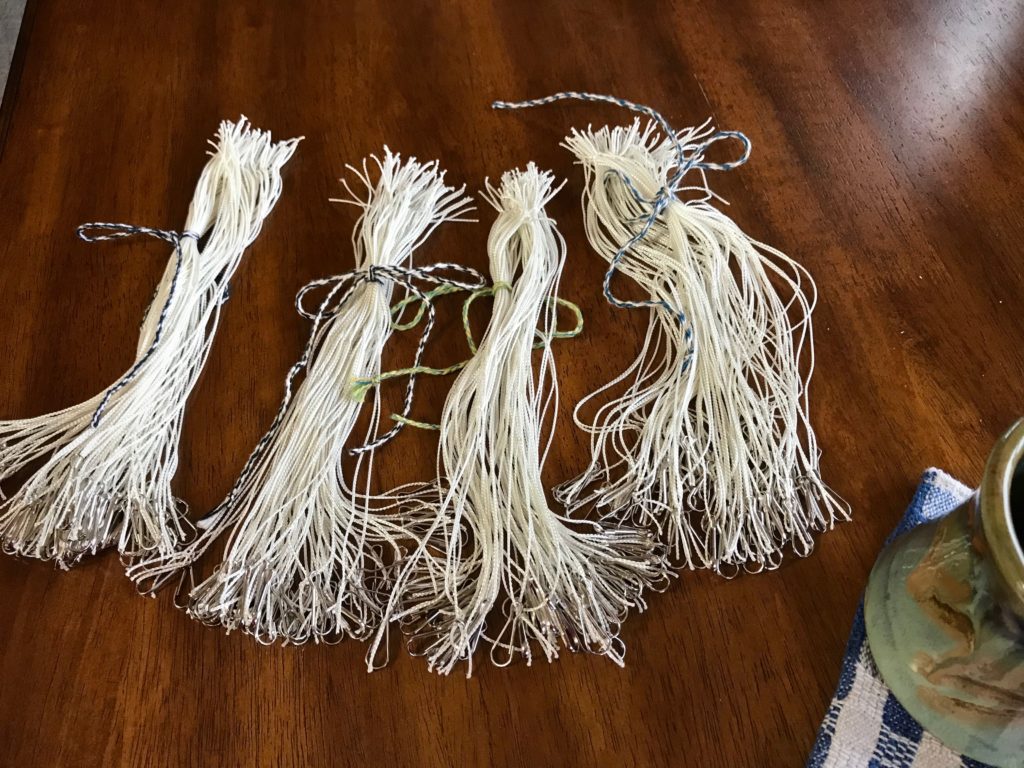
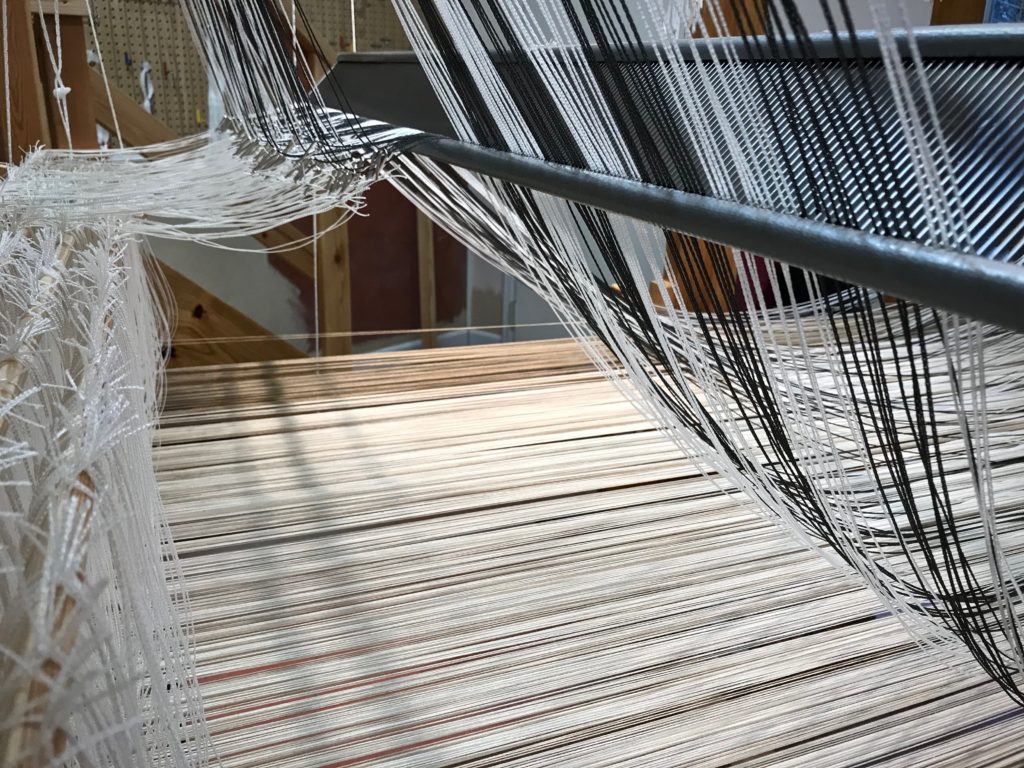
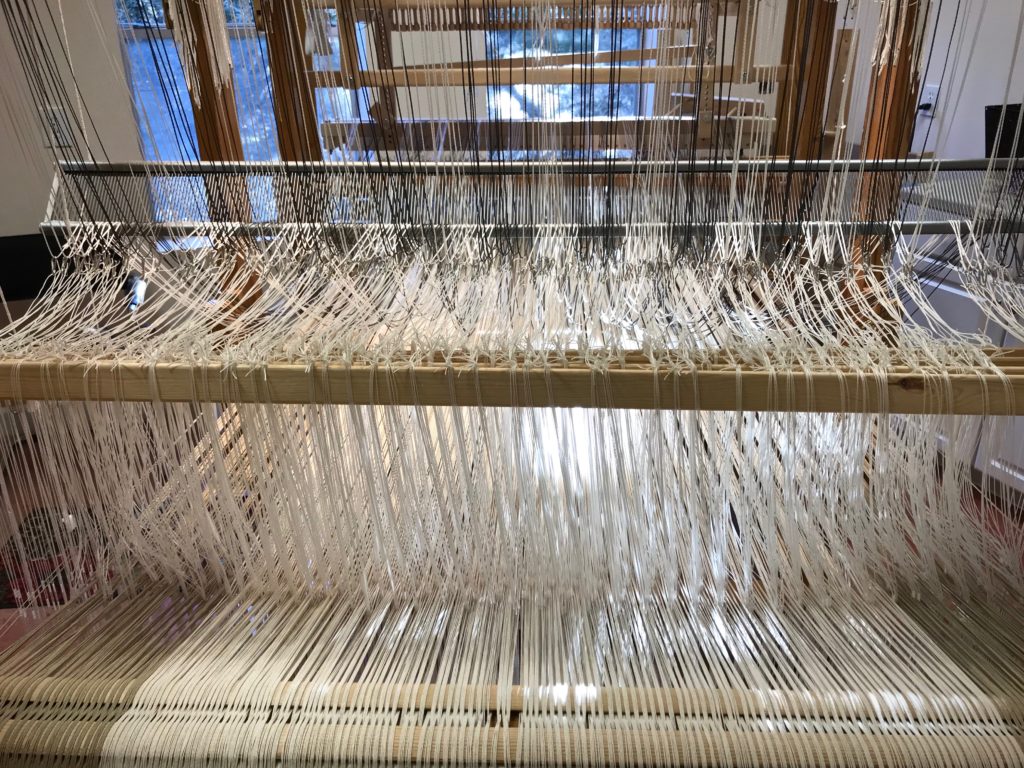
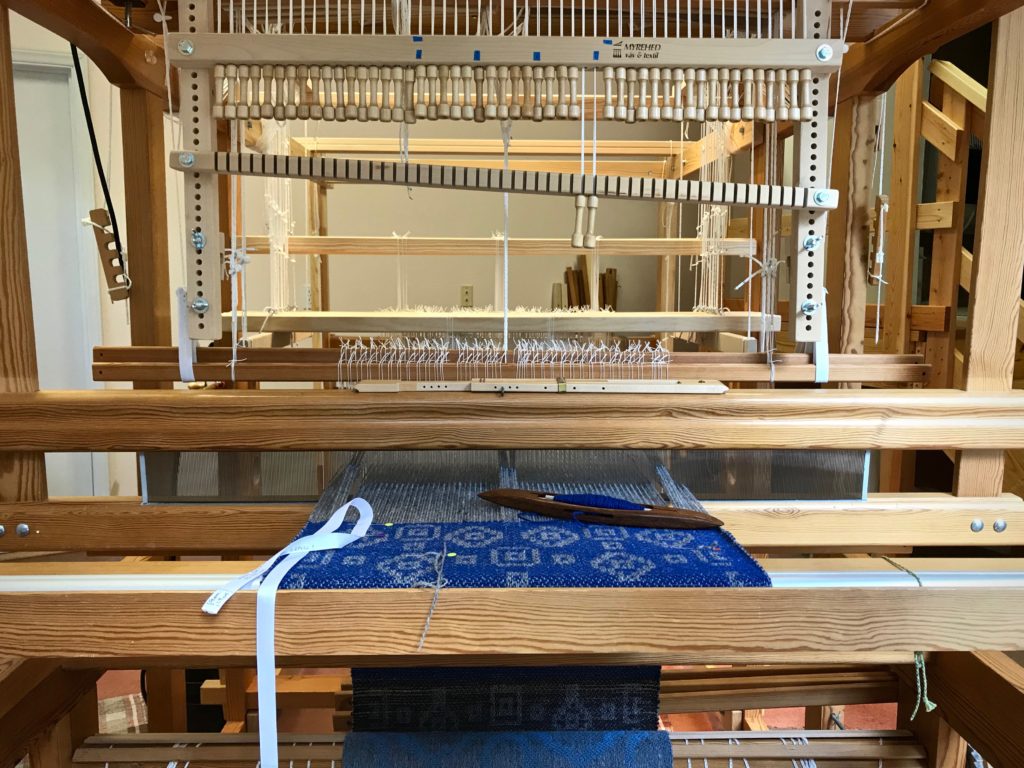
Doing something bold is a dramatic way to end the year. I have added 200 single-unit draw cords to the drawloom. The bold thing is that I am using lanyard clips. This changes the usual process of setting up the draw cords, so I’m making some of it up as I go.

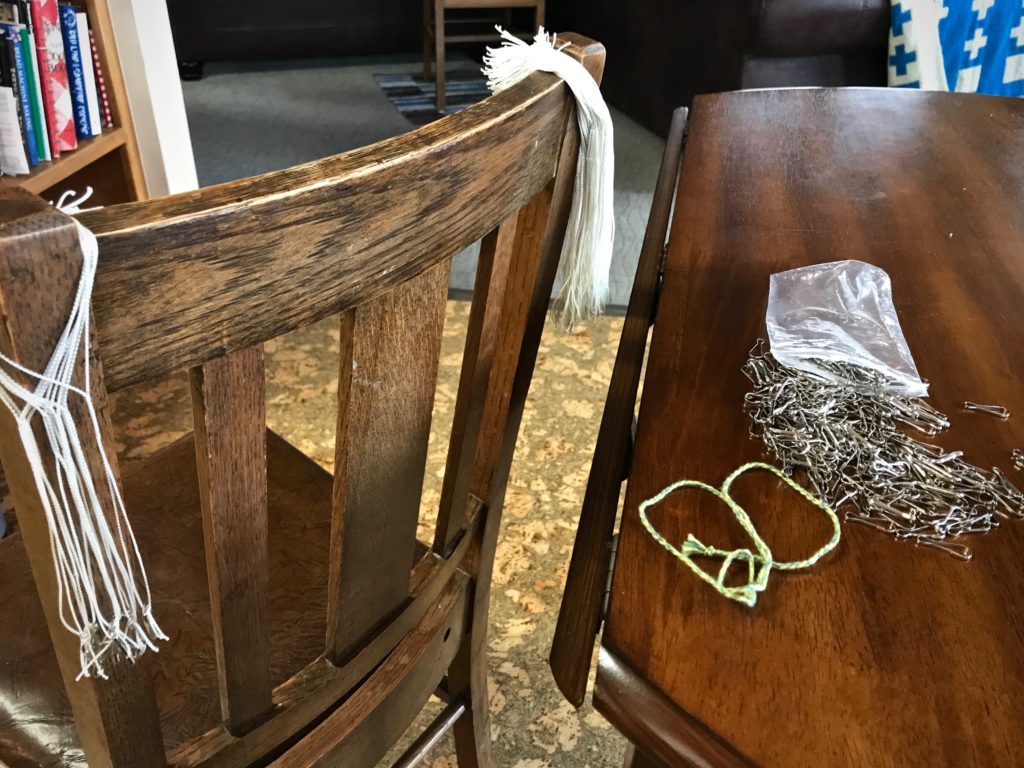
First, I sleyed the cords through the single-unit reed (used for spacing the draw cords). Next, I put a one-inch lanyard clip on every lift heddle. Now, one at a time, in order, I attach a lift heddle to a pattern unit, and then clip the lift heddle to the draw cord. Repeat 200 times. (I picked up the clever tip about lanyard clips online from Su Butler, who has, admittedly, a different type of drawloom setup than what I have.)

When this drawloom rag rug project is finished, I should be able to unclip the draw cords from the pattern units, leave the draw cords in place on the loom, and start fresh for the next project. Progress through the new year will reveal whether this bold action is a good idea…or not.

Journey in Pictures:

Setting up single-unit draw cords.
Setting up single-unit draw cords on the drawloom.
Getting set up for the drawloom.
Lift heddles and lanyard clips.
Lift heddles for the single-unit drawloom.
Attaching lift heddles to single-unit draw cords.
Single-unit reed is sleyed.
Lanyard clips on the drawloom. Process pics.
Placing the single-unit reed on the drawloom.
Pattern heddles in position. Drawloom process pics.
Setting up single-unit draw cords.
Drawloom almost ready for weaving! Process pics.

May you take a bold step into the new year.

In with the new,
Karen

Process Review: Fresno Canyon Small Tapestry

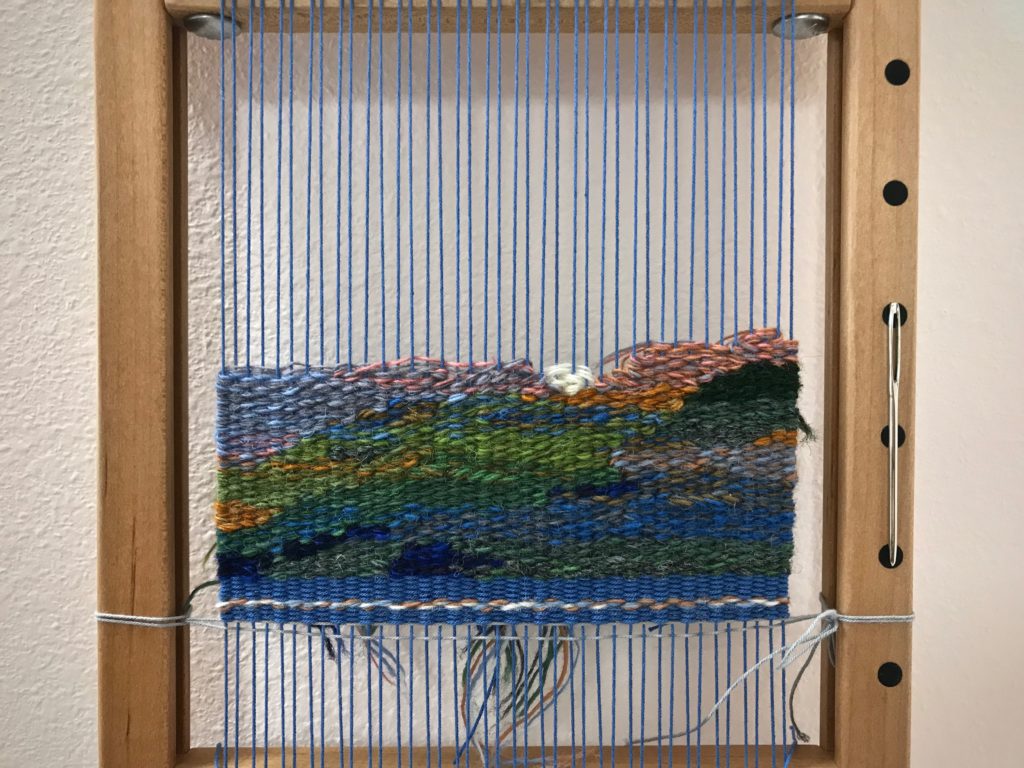
The Park ranger had told Steve and me that if we were willing to drive six more rugged miles we would witness a spectacular overview of the Fresno Canyon that few people get to see. This is an opportunity we wouldn’t dare miss. And the park ranger was right. Oh, what a view! From this high point above the valley the view is phenomenal! I welled up with emotion as I looked over the glorious beauty of God’s creation.

The memory of that scene is in this small tapestry. Most of my small-tapestry weaving happens when we travel, where we make even more memories, which I store up in my heart. I pull from these stored treasures to weave tapestries that reawaken the fond memories.

Landscape - woven small tapestry.
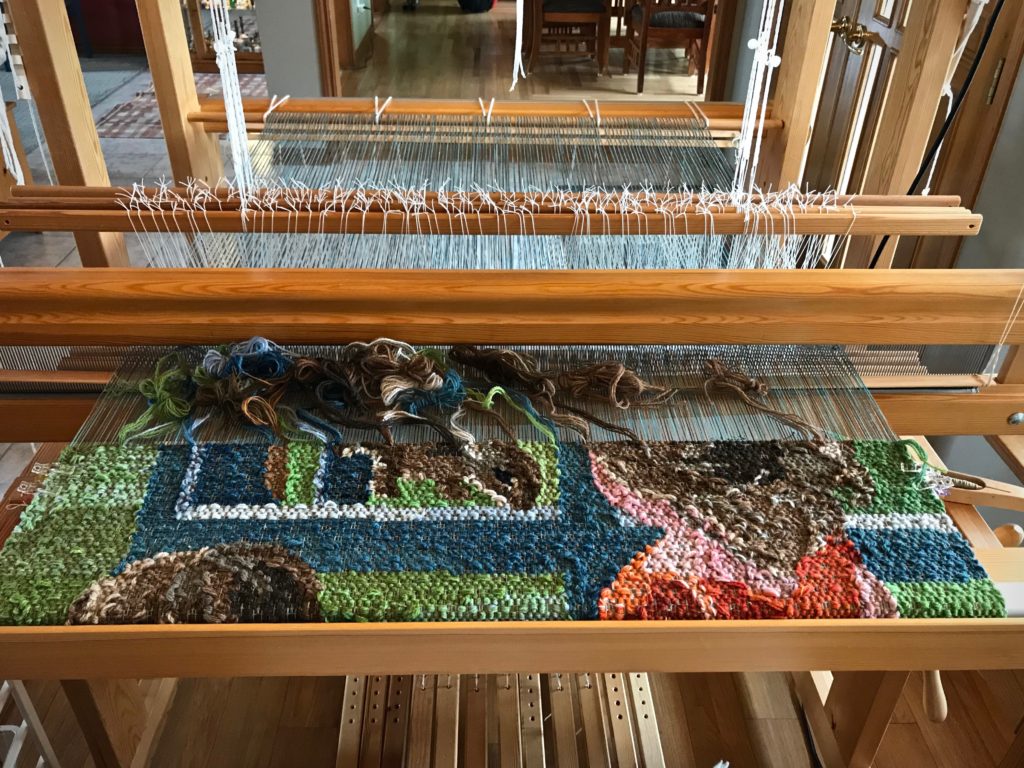
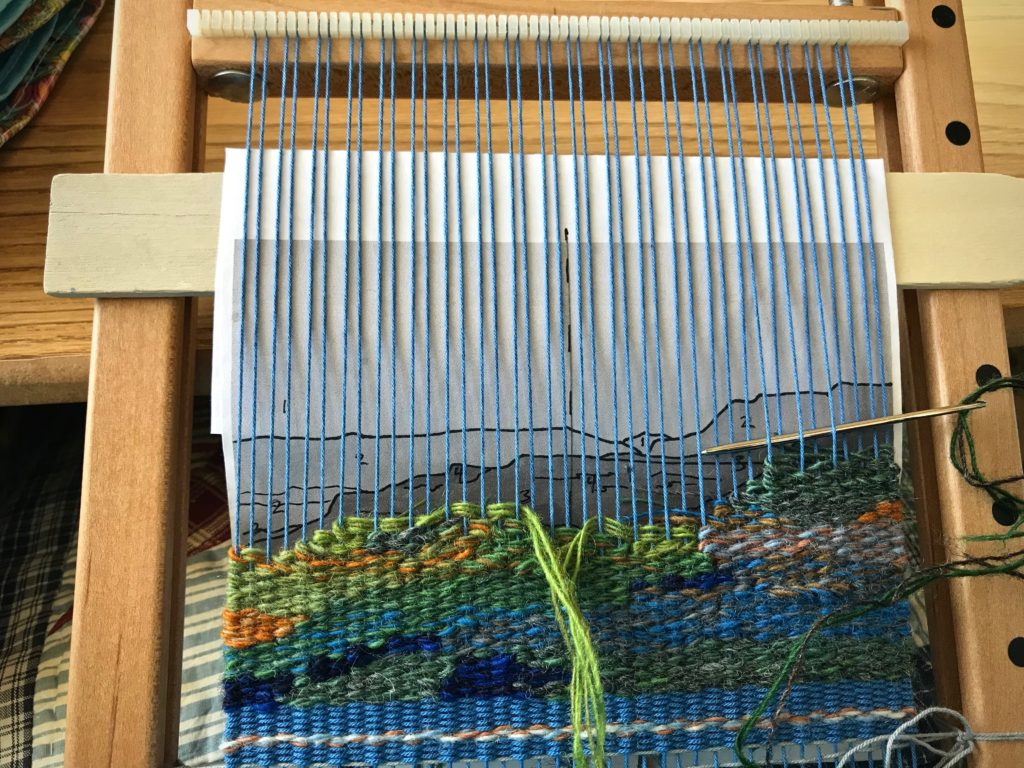
Fresno Canyon photo printed in black and white is used for the cartoon. Instead of an exact picture of the image, I aim for a representation of the memory, expressed with color.
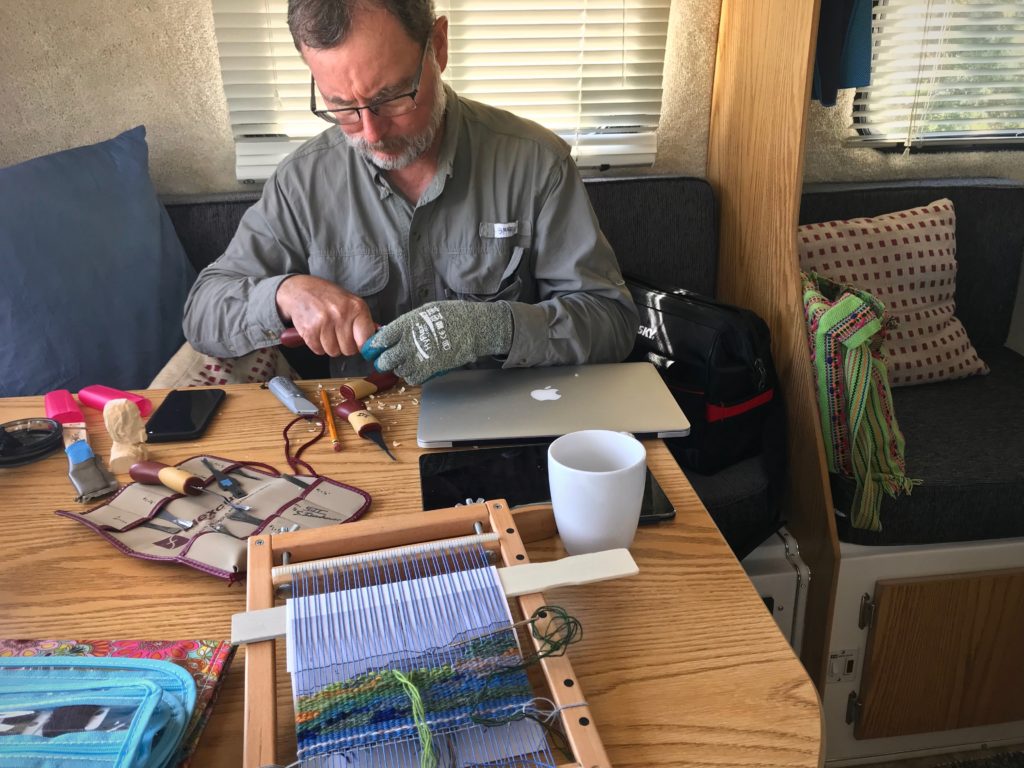
Relaxing in the Casita travel trailer. Wood carving and tapestry weaving.
During a brief rainstorm while at Caprock Canyons State Park, Steve and I relax in the Casita with our handcrafts. Wood carving and tapestry weaving.
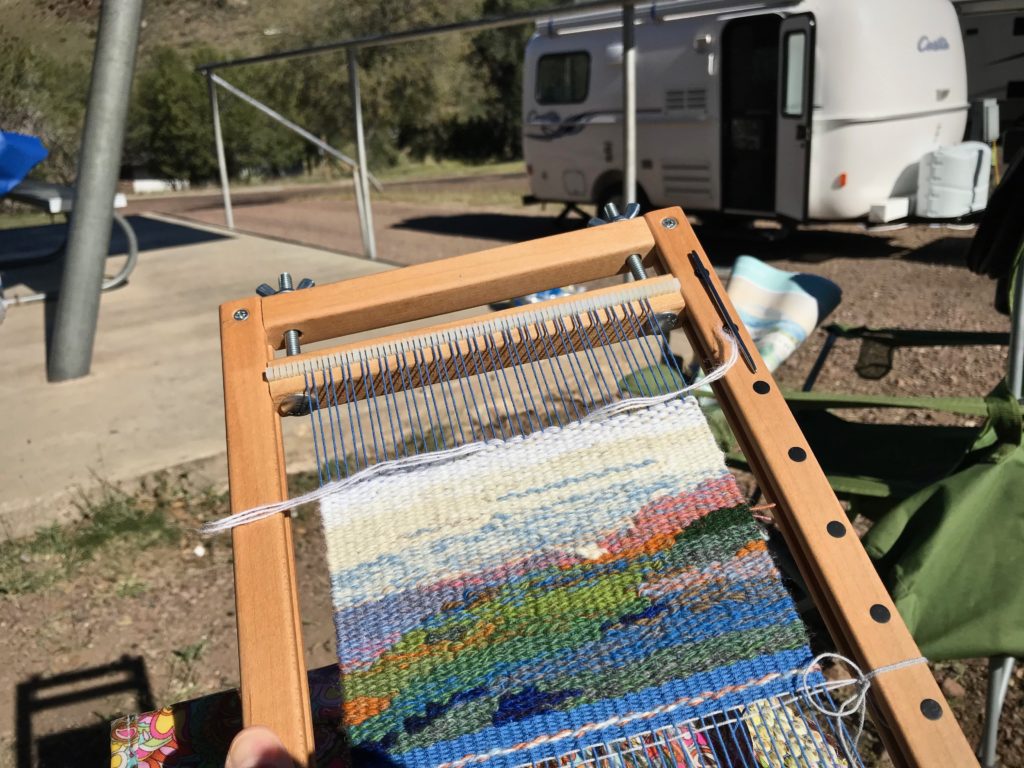
Small tapestry in progress.
Warp is blue 12/6 cotton. Weft is triple strands of 6/1 Fårö wool. I use the tapestry needle to weave.
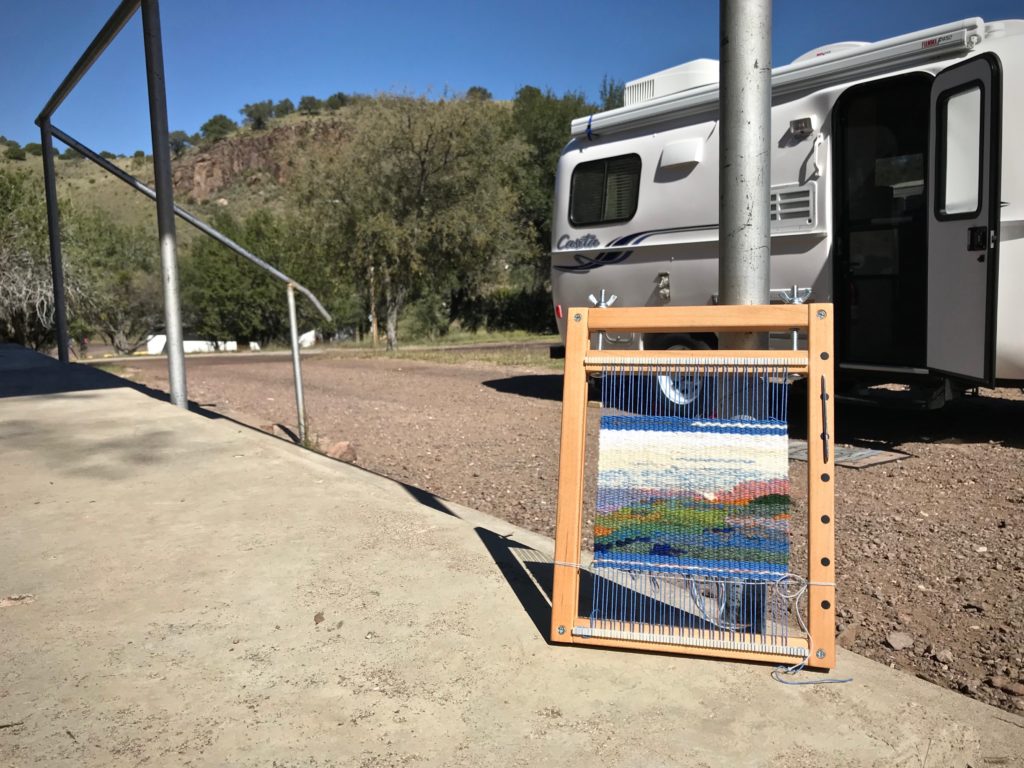
Weaving in the sunshine on a camping trip.
Weaving in the sunshine at Davis Mountains State Park after returning from a hike.
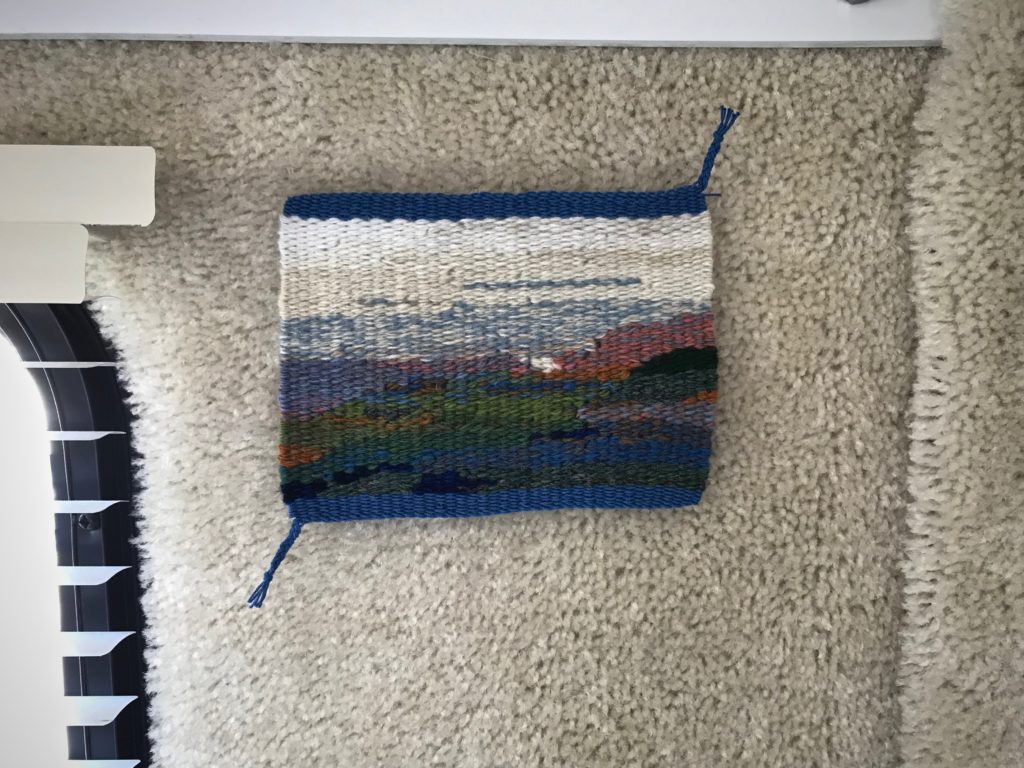
Small tapestry of a Texas landscape.
Finished weaving one Texas landscape while enjoying another.
Small tapestry with finished and braided edges.
Warp ends are woven and braided.
Linen backing for mounting a small tapestry weaving.
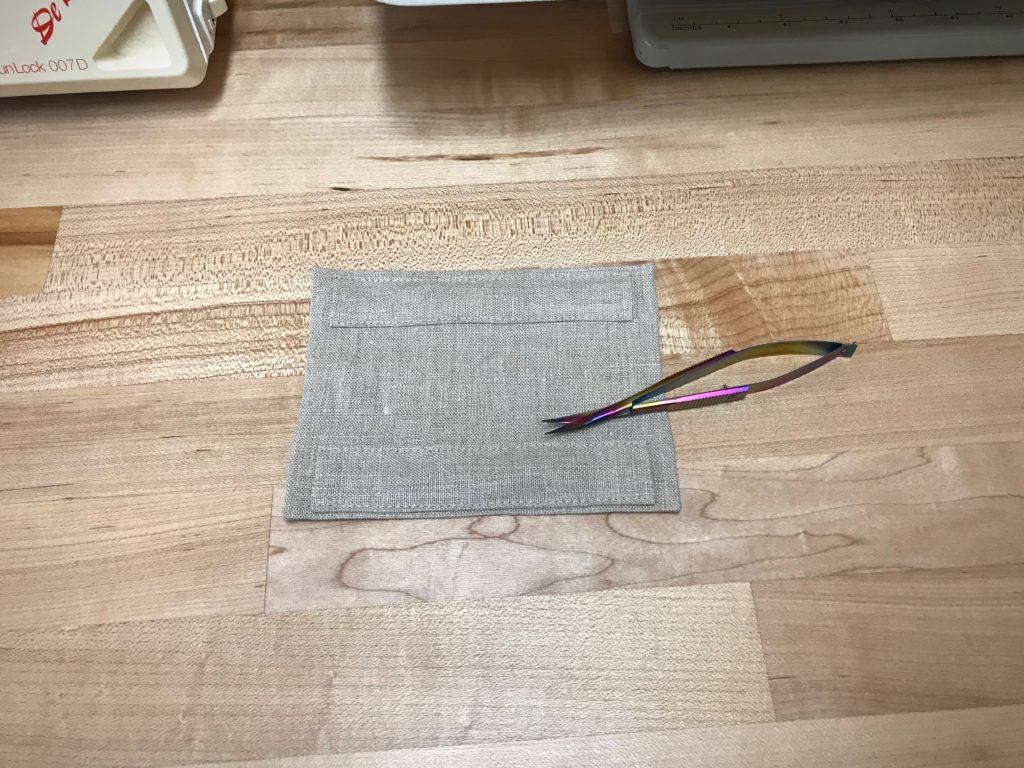
Linen is cut to size and pressed. Narrow rod sleeves are sewn into place.
Backing a small tapestry for framing.
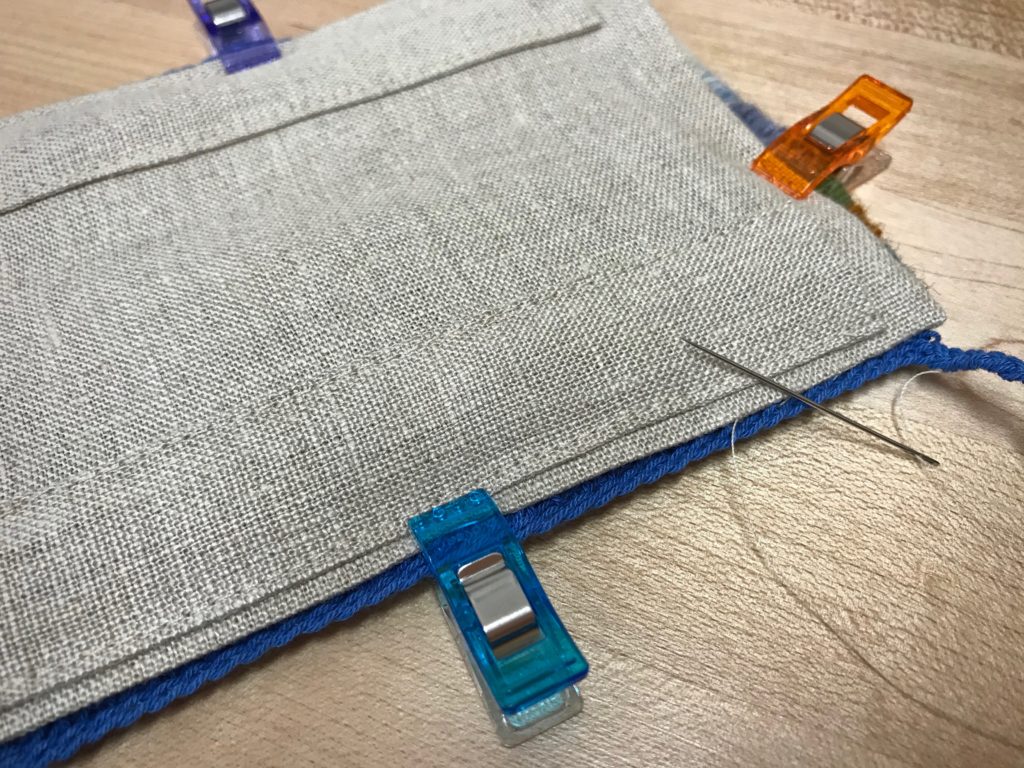
Linen backing is hand-stitched to the back of the small tapestry.
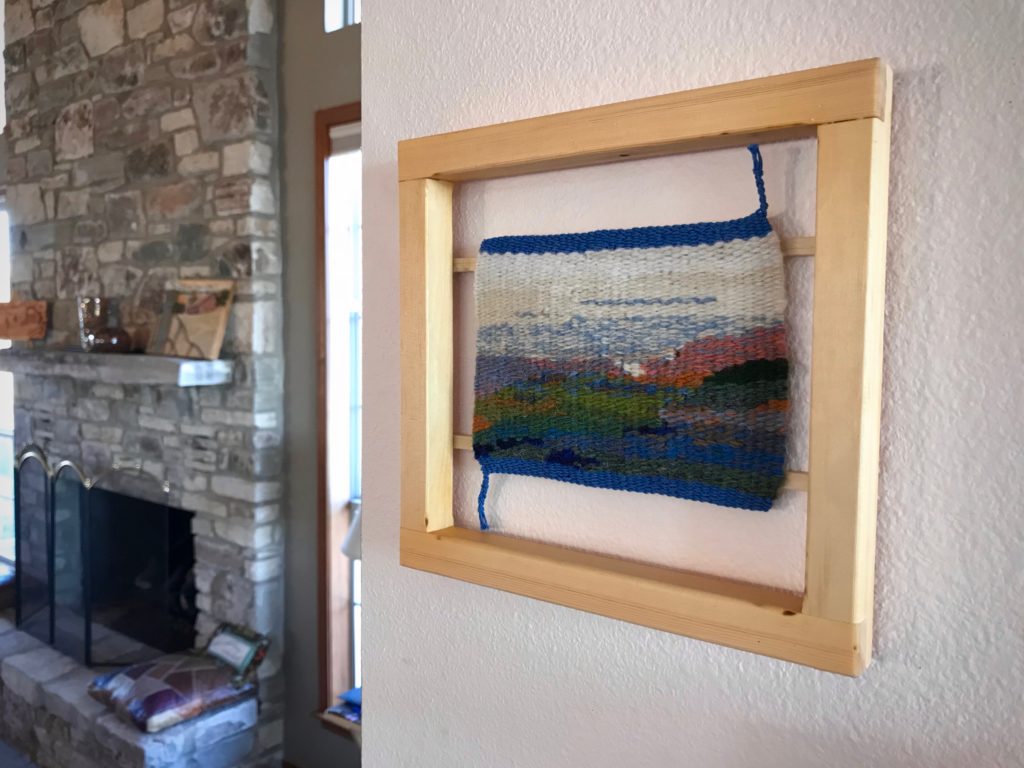
Simple frame for a small tapestry.
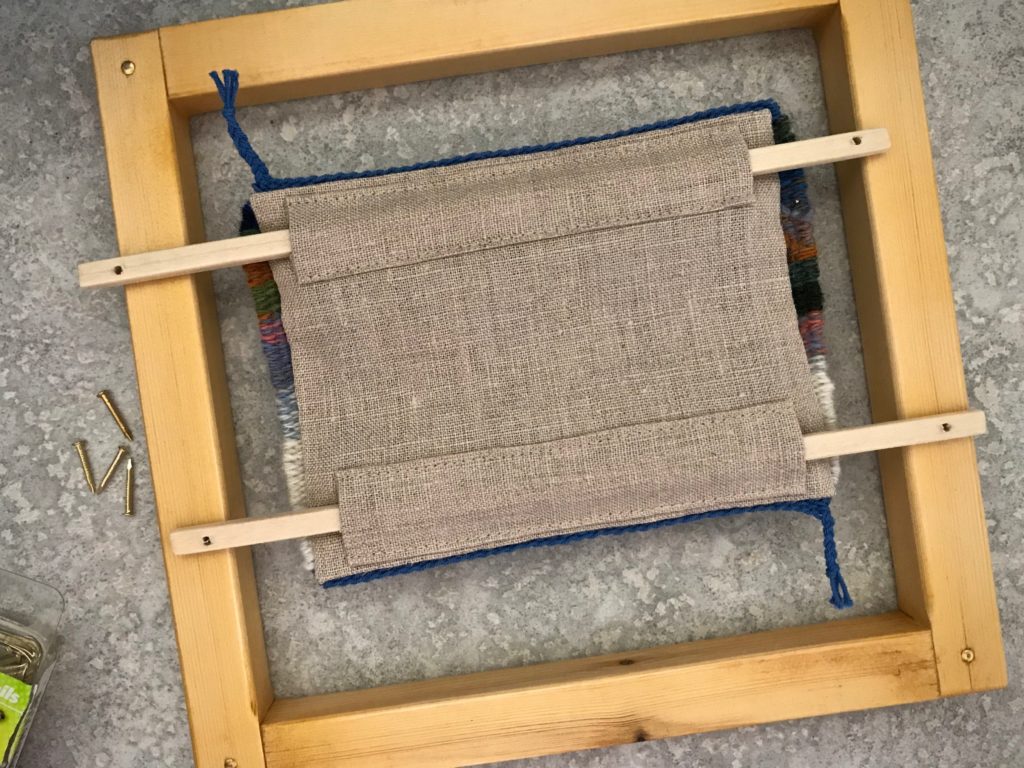
Steve designed a simple frame for the small tapestry.
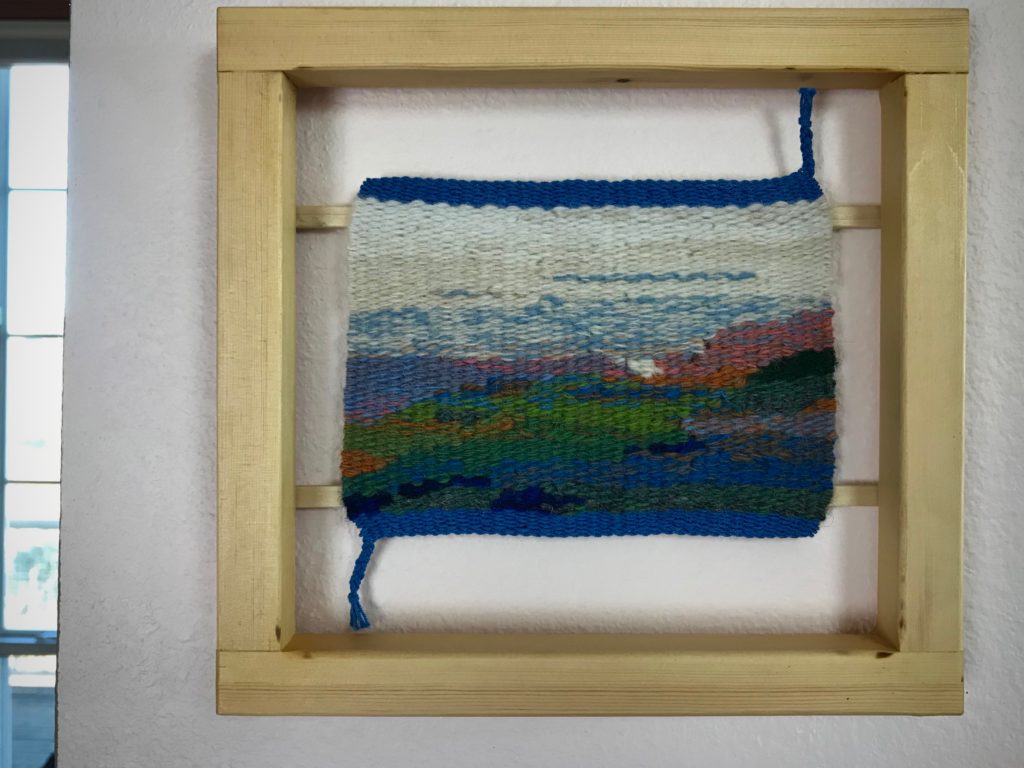
Finished Fresno Canyon tapestry.
Finished Fresno Canyon tapestry. A treasured memory kept and framed.
Texas landscape small tapestry - framed.

May your memories become treasures.

Thankful for you! Happy Thanksgiving,
Karen

Process Review: Leftover Linen Waffle Weave Washcloths

This is the kind of weaving results that makes me giggle like a child. Waffle weave is one of those things I have been intrigued about for some time, and have wanted to give it a try. Will it really buckle up into waffled wrinkles? Will linen do that? Will it be even better than I expect? Yes, yes, and YES. Talk about transformation!

Using linen thrums for weft.
Taken from thrums, each length of thread is added with a square knot, which makes for slow quill winding. And slow weaving, as I untie each knot that comes along, and overlap weft tails in the shed.
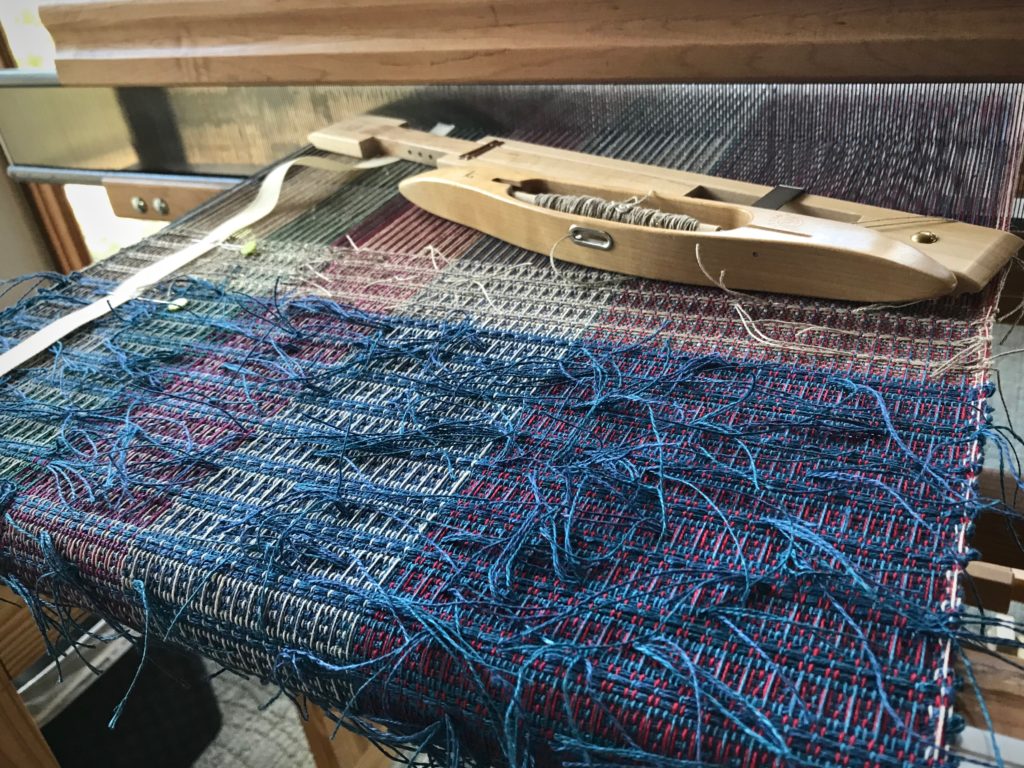
Made with linen leftovers. Weft tails cover the surface.
Shaggy thick blue linen weft tails cover the surface.

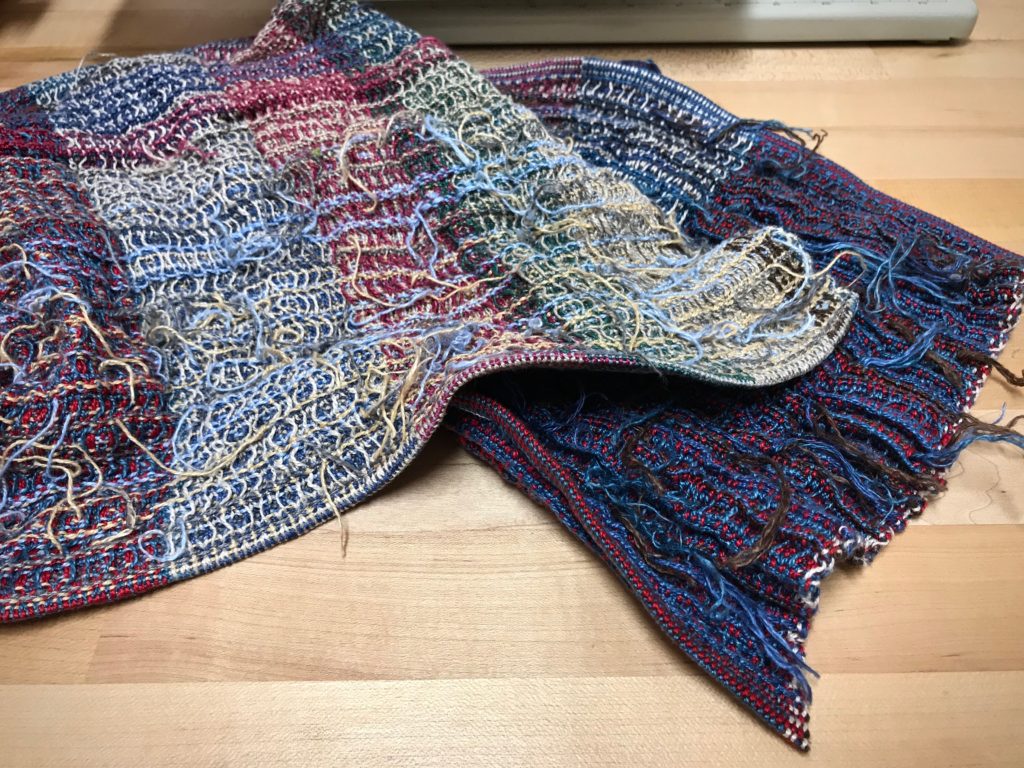
Everything in these waffle weave washcloths is linen that has been leftover from previous projects. The tail end of linen tubes, quills that didn’t quite get used up, thrums, and threading missteps that gave me skinny warp chains of several meters. The warp is 16/2 linen, but the weft is everything from fine linen threads, to bundles of threads, to coarse linen rug warp. I discovered, as you will see, that the thicker the weft, the more pronounced the wrinkles. The thickest wefts have given me delightful accordion pleats.

Waffle weave washcloths made entirely of leftover linen.
Wet-finished linen waffle weave has a surprisingly soft hand. After hemming, I am trimming the weft tails to 1/4″, leaving a hint that this is made of leftovers.

Please enjoy this process video of the making of leftover linen waffle weave washcloths! Watch to the end to see the squishiness of this unusual cloth.

Don’t think that this is the end of waffle weave. I am already thinking of all the interesting possibilities…

May your best wrinkles make you giggle.

Happy Happy Weaving,
Karen

Process Review: Drawloom Jewels

It is exciting when Maverick walks by. Although he never comes in my drawloom studio, he does stop for a moment to look my way. You’ll see him in the slideshow video below. But what happens inside the studio is even more exciting, especially when it’s time for cutting off!

Drawloom with 16 pattern shafts.
Drawloom, set up with sixteen pattern shafts. I graph out the designs in Excel on my computer. Then, I print out the gridded pattern to use at the loom. I keep my place in the pattern with a magnet and magnet board made for cross-stitch embroidery.

This is Tuna wool, so I expect some shrinkage, but how much? I take careful measurements before and after wet finishing. Besides the main piece of fabric that I’m using for a garment, I have two sample pieces. I can experiment with the samples before wet finishing my garment fabric.

Here are my findings:
Sample 1. Hand wash and air dry.

10% shrinkage in width; 13% shrinkage in length.

Sample 2. Machine wash (3 minutes agitation on a gentle cycle, with a short spin) and machine dry (low setting) till damp, finish with air drying.

13% shrinkage in width; 14% shrinkage in length.

~How to do the shrinkage calculations~
First measurement (on the loom) minus the second measurement (after washing and drying) equals the difference. The difference divided by the first measurement equals the percentage difference.
For example, 50 cm – 43.5 cm = 6.5; 6.5 / 50 = 0.13; 13% shrinkage.

The first sample fabric is softer than the unwashed fabric, but not as soft as I’d like. The second sample fabric is beautifully soft, like a nice warm sweater. So, with confidence, I wet finish the garment fabric—with great results. It’s perfect for the fall/winter vest that I’ll soon be wearing, made from this fabric!

Wool garment fabric from a drawloom.
Like a sweater, this soft fabric will be comfortable to wear.
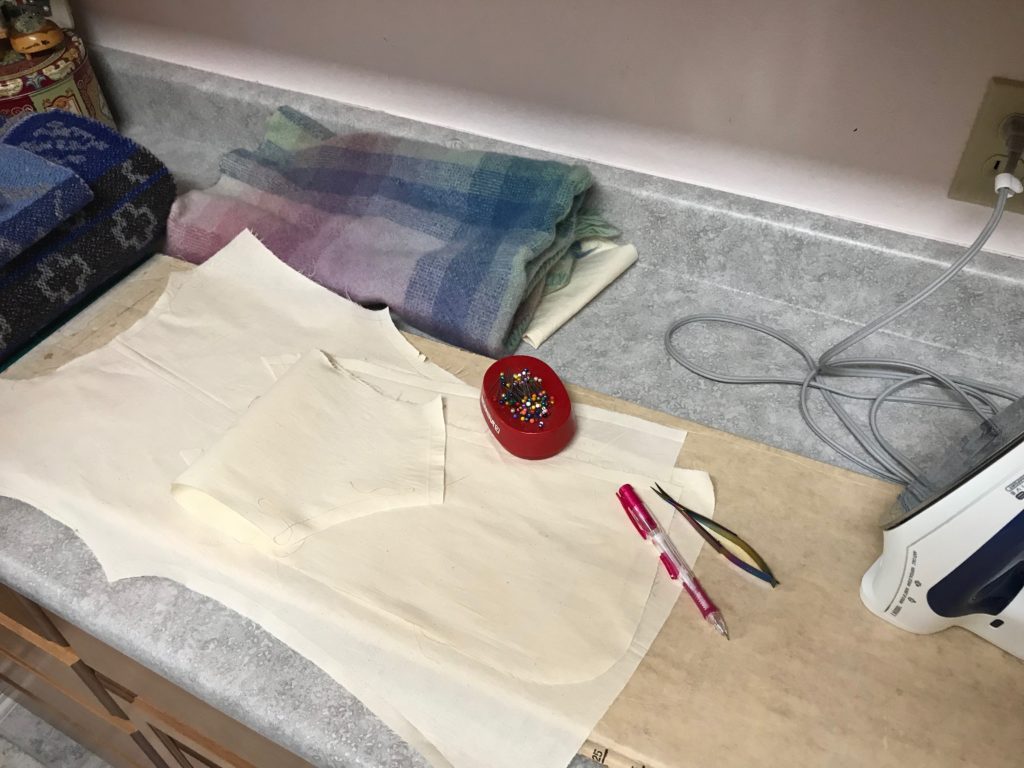
Making a pattern for handwoven garment fabric.
Muslin pattern for a simple vest. First, I’ll make a vest out of a wool throw, woven on my rigid heddle loom ages ago. Then, I will cut into the new drawloom fabric, with confidence about the fit.

Enjoy this photo show of the drawloom process.

May you enjoy the process you’re in.

Happy Weaving,
Karen

Weaving through The Big Book

It took me seven years of study, practice, and mistakes to complete this rigorous Swedish weaving curriculum! You have been with me through much of it right here. I’m talking about The Big Book of Weaving, by Laila Lundell. I made it through the book, sequentially, page by page, warp by warp. 43 warps in all! Remember the blue 12-shaft double-weave blanket I had on the loom in June? That is the final project in the book.

Handwoven double weave blanket. 12 shafts.
Double-weave wool fabric is ready for wet finishing, where it will be transformed into a soft, cozy blanket.

In the short video below, each completed project is presented in order in our Texas hill country home. Watch to the end to see the blue blanket in all its finished glory.

For nitty-gritty details, check out The Big Book of Weaving tab at the top of the page.

I. Secrets to success:

  • mindset of a student
  • determination
  • eyes on the goal
  • no option other than completion

One loom dedicated to the book.


II. Lessons learned:

  • technique
  • processes
  • planning
  • drafting
  • Swedish practices

Any mistake can be remedied.


III. Treasures gained:

  • patience
  • humility
  • endurance
  • focused attention
  • problem solving
  • creative freedom

Confidence.


IV. Prized perspectives:

  • new experiences
  • delight of dressing the loom
  • wonder of cloth-making
  • fresh ideas
  • joy of discovery
  • knowledge and understanding of the loom

Getting lost and absorbed in the whole process of weaving.

V. Favorite project: Old-Fashioned Weaving / Monksbelt (at 4:46 in the video)

Are we determined students of heavenly things? Oh, to know God’s will! Study what’s written, don’t lose heart, eyes on the prize, no option besides completion through Jesus Christ. One life dedicated to know him. Day by day, warp by warp, the Grand Weaver teaches us. We can know God’s will.

May you be a lifelong learner.

Happy Weaving to you,
Karen