Time to Weave

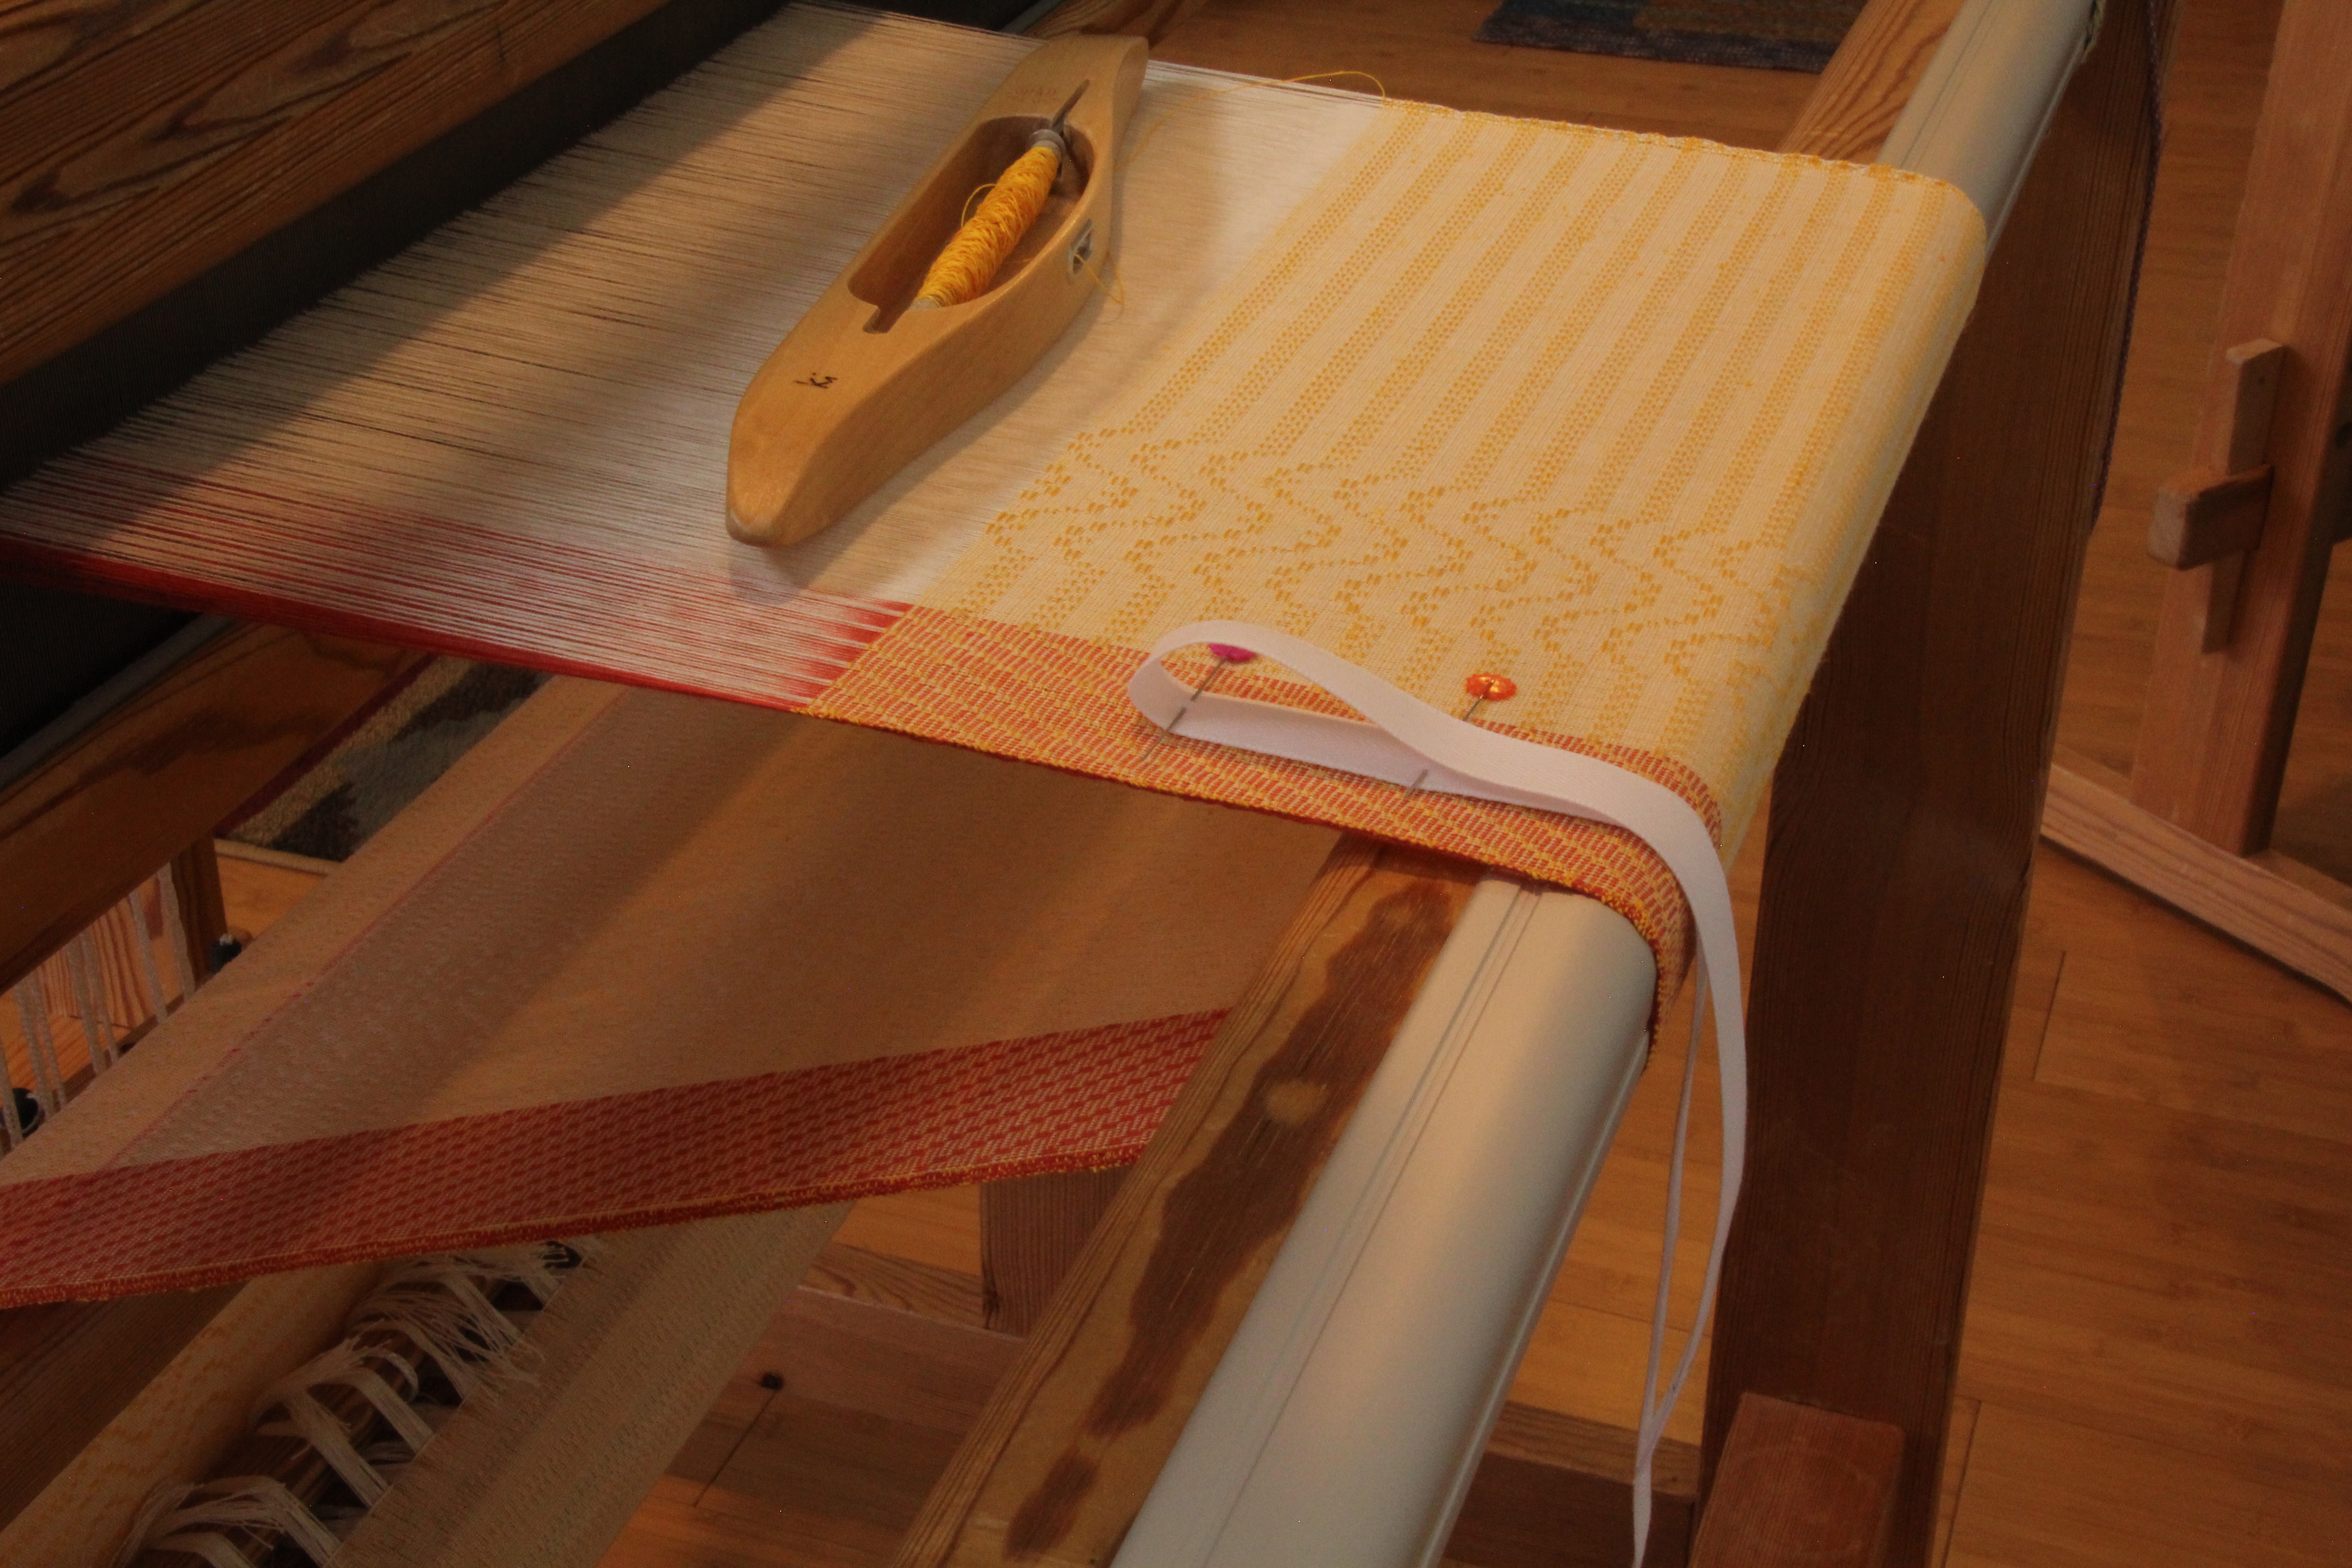
I would like to finish this skirt project in time to wear the skirt this summer. Huckaback (huck lace) is easy to weave, but it takes time. All I need is time.

Weaving fabric for a tiered skirt.
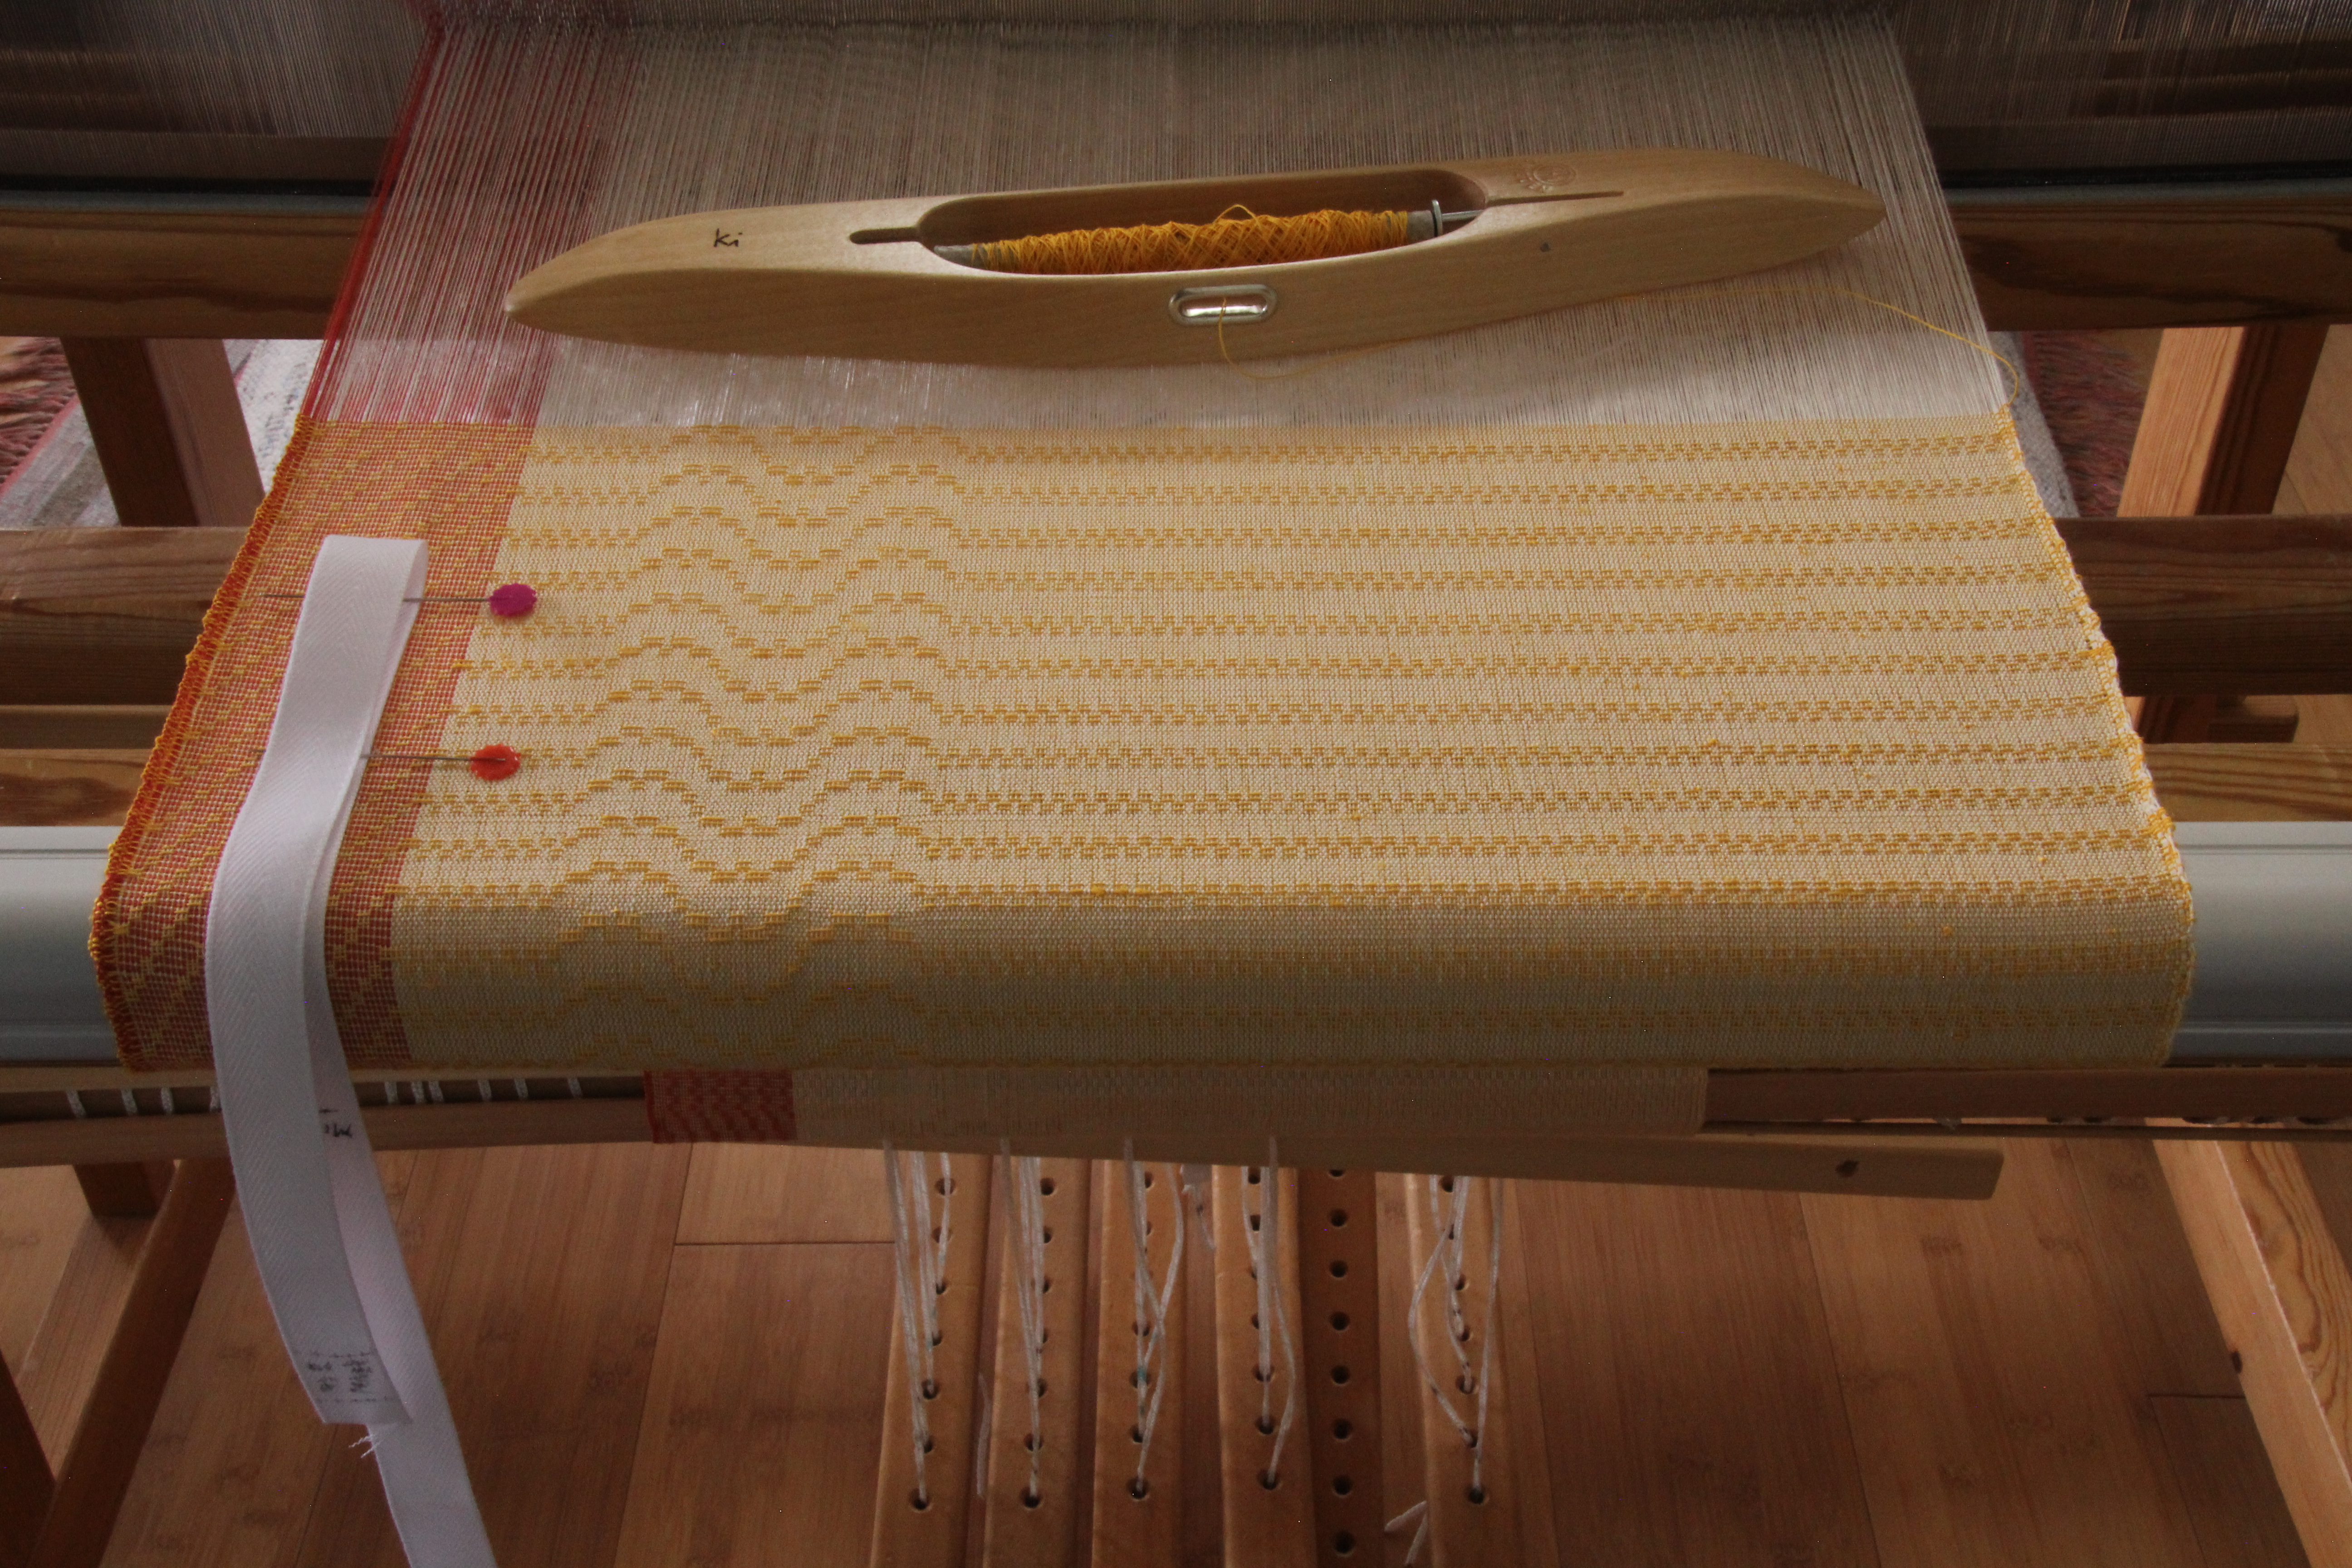
Huckaback with five shafts and five treadles on the Glimåkra Ideal.

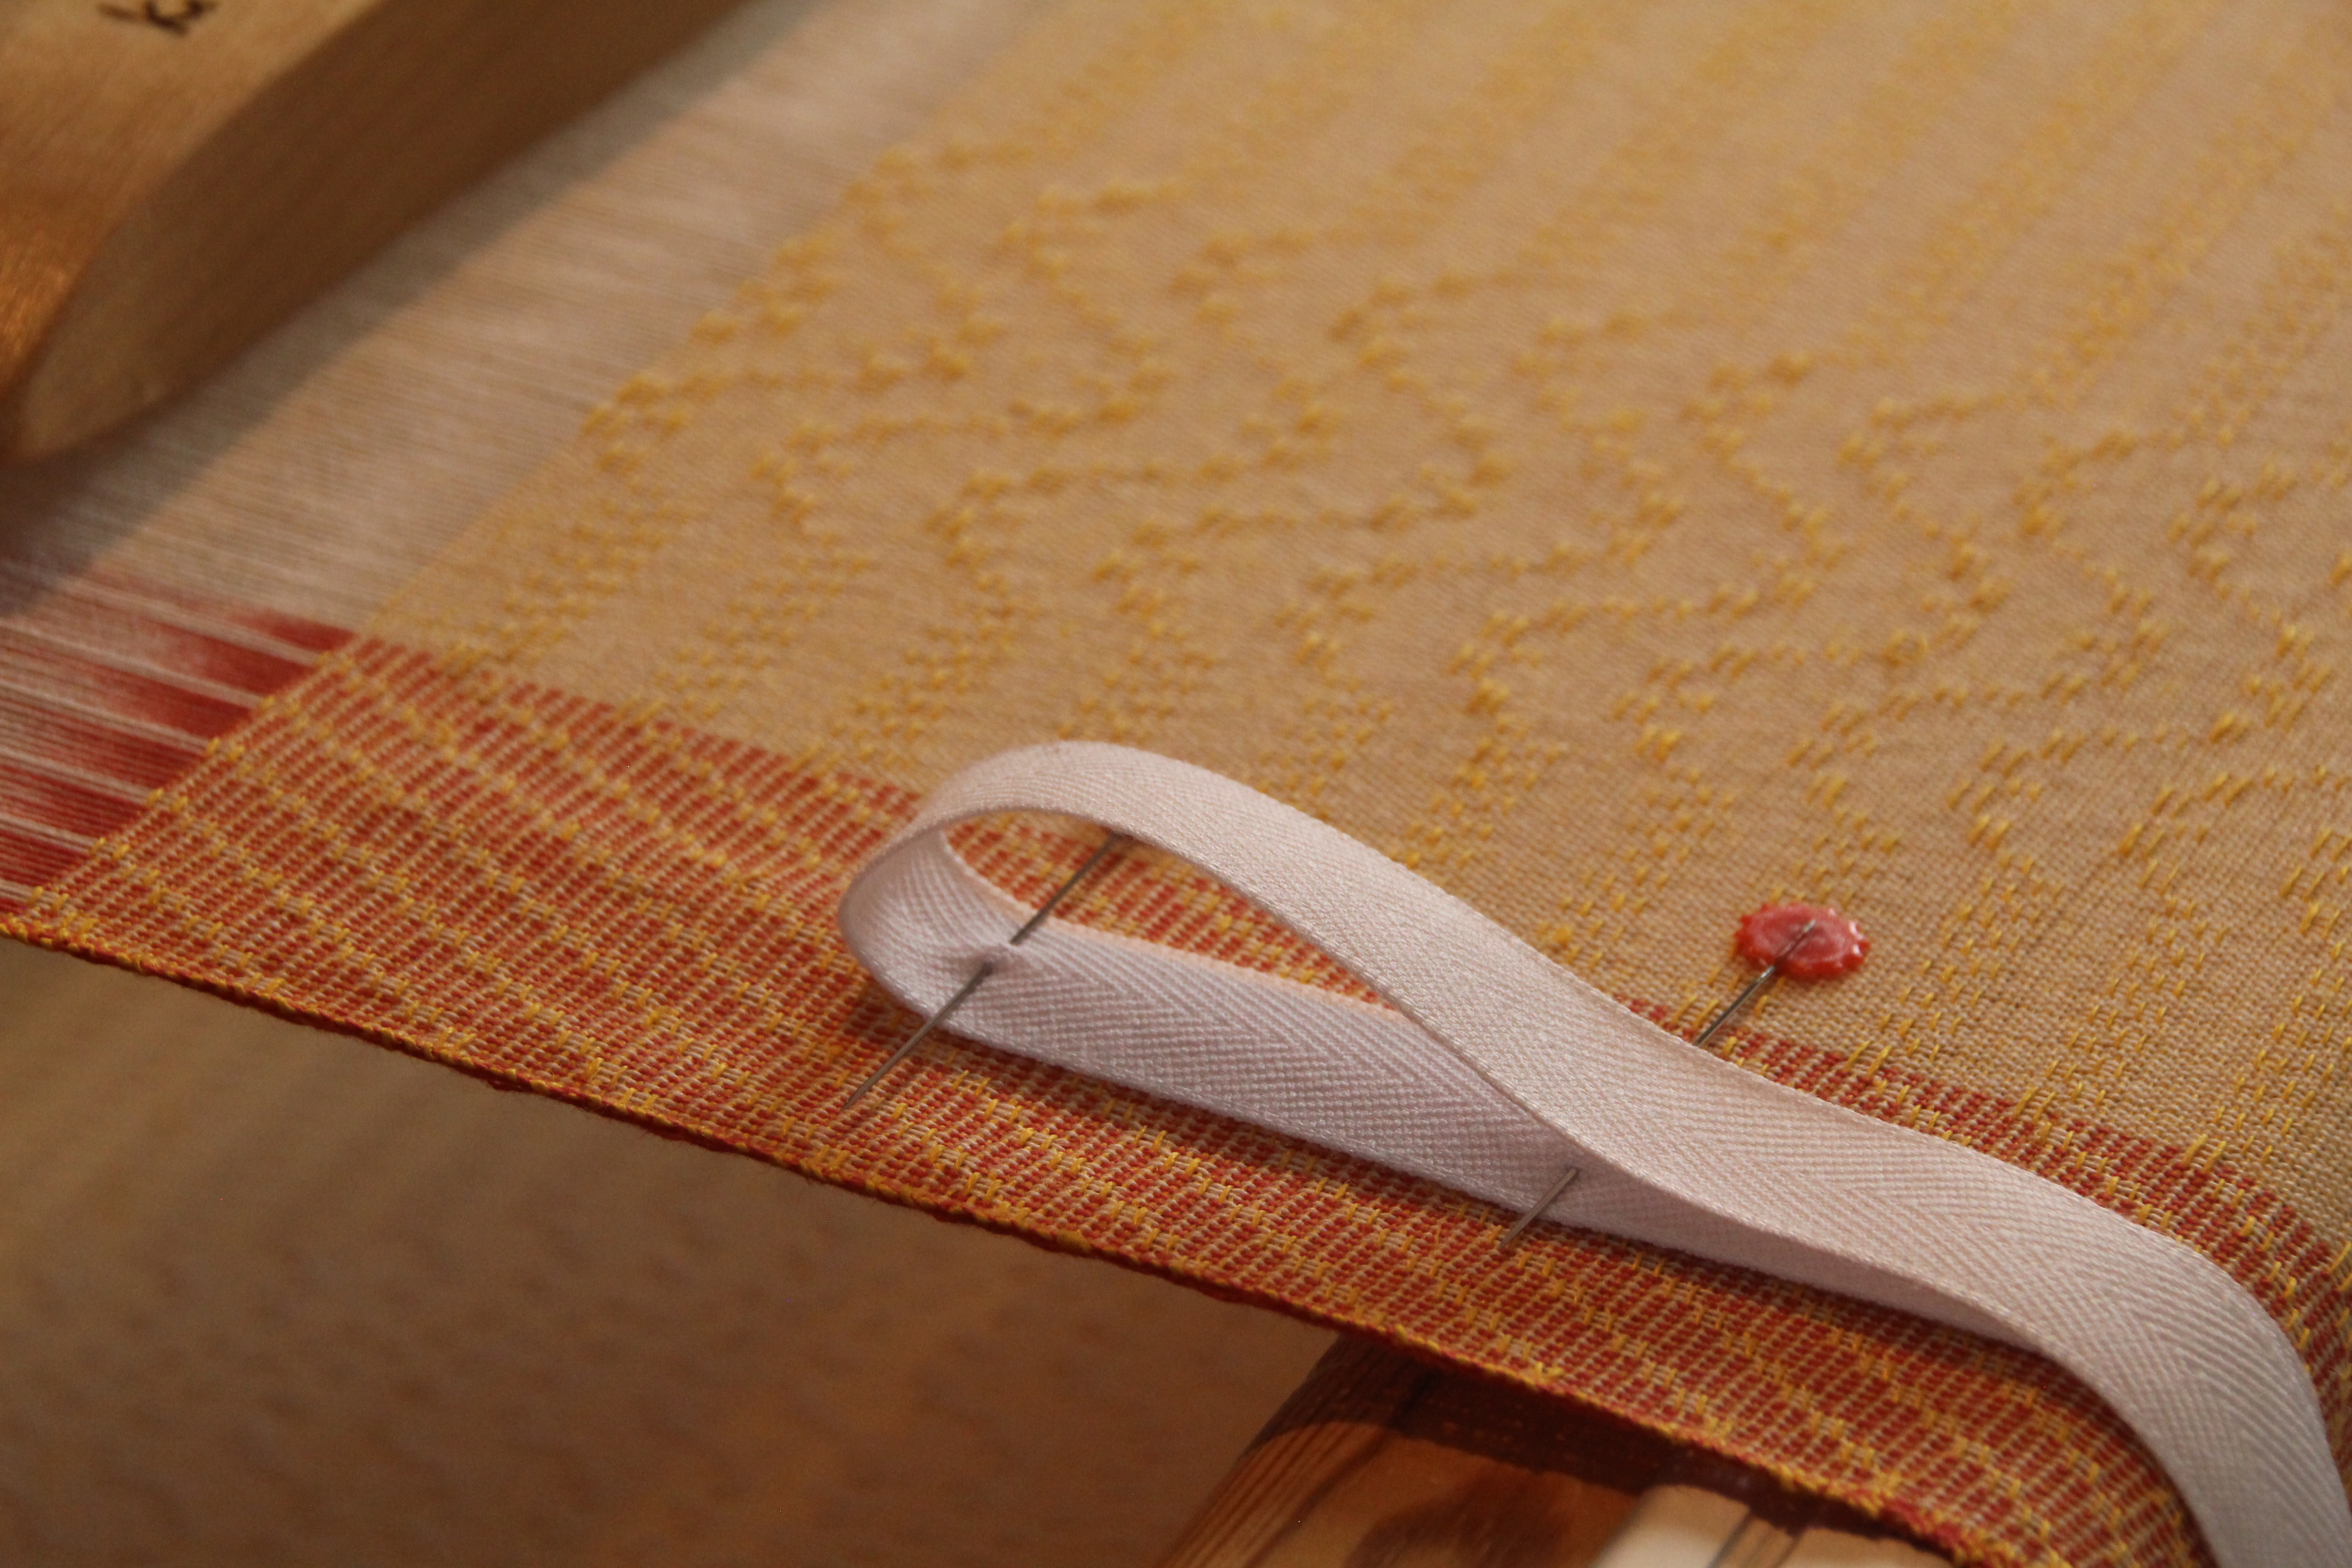
Linen weft threads pack in tighter and make better selvedges when they are dampened. I need a tight weave to square the pattern that is coming on the next two skirt tiers. And the edge of the skirt flounce is a selvedge that will be fully exposed, so tidy selvedges are a must. It takes a little bit of time to hold a damp cloth against the thread as I wind a quill, or to wrap a damp cloth around a quill that’s already wound. It’s worth it. In the scheme of things, that little bit of time is nothing…and everything.

Weaving fabric for a tiered skirt.
By dampening the 16/1 linen weft I am able to get a tight weave without having to beat as hard.
Linen weft in schoolbus yellow!
The edge with the poppy-thread border will be the lower edge of each tier on the three-tiered skirt. I’m paying special attention to the selvedge, and dampening the linen weft really helps!

We all have a little bit of time. Look at your hand. A lifespan is no longer than the width of your hand. A lifetime is one moment to God. Our life begins and ends in one breath of God. This little bit of time we have is nothing…and everything. This is how God loved us in our little bit of time: he gave his one and only Son, so that everyone who believes in him would not perish but have timeless life with him.

May you have a little bit of time.

With you,
Karen

Process Review: Combination Drawloom as a Playground

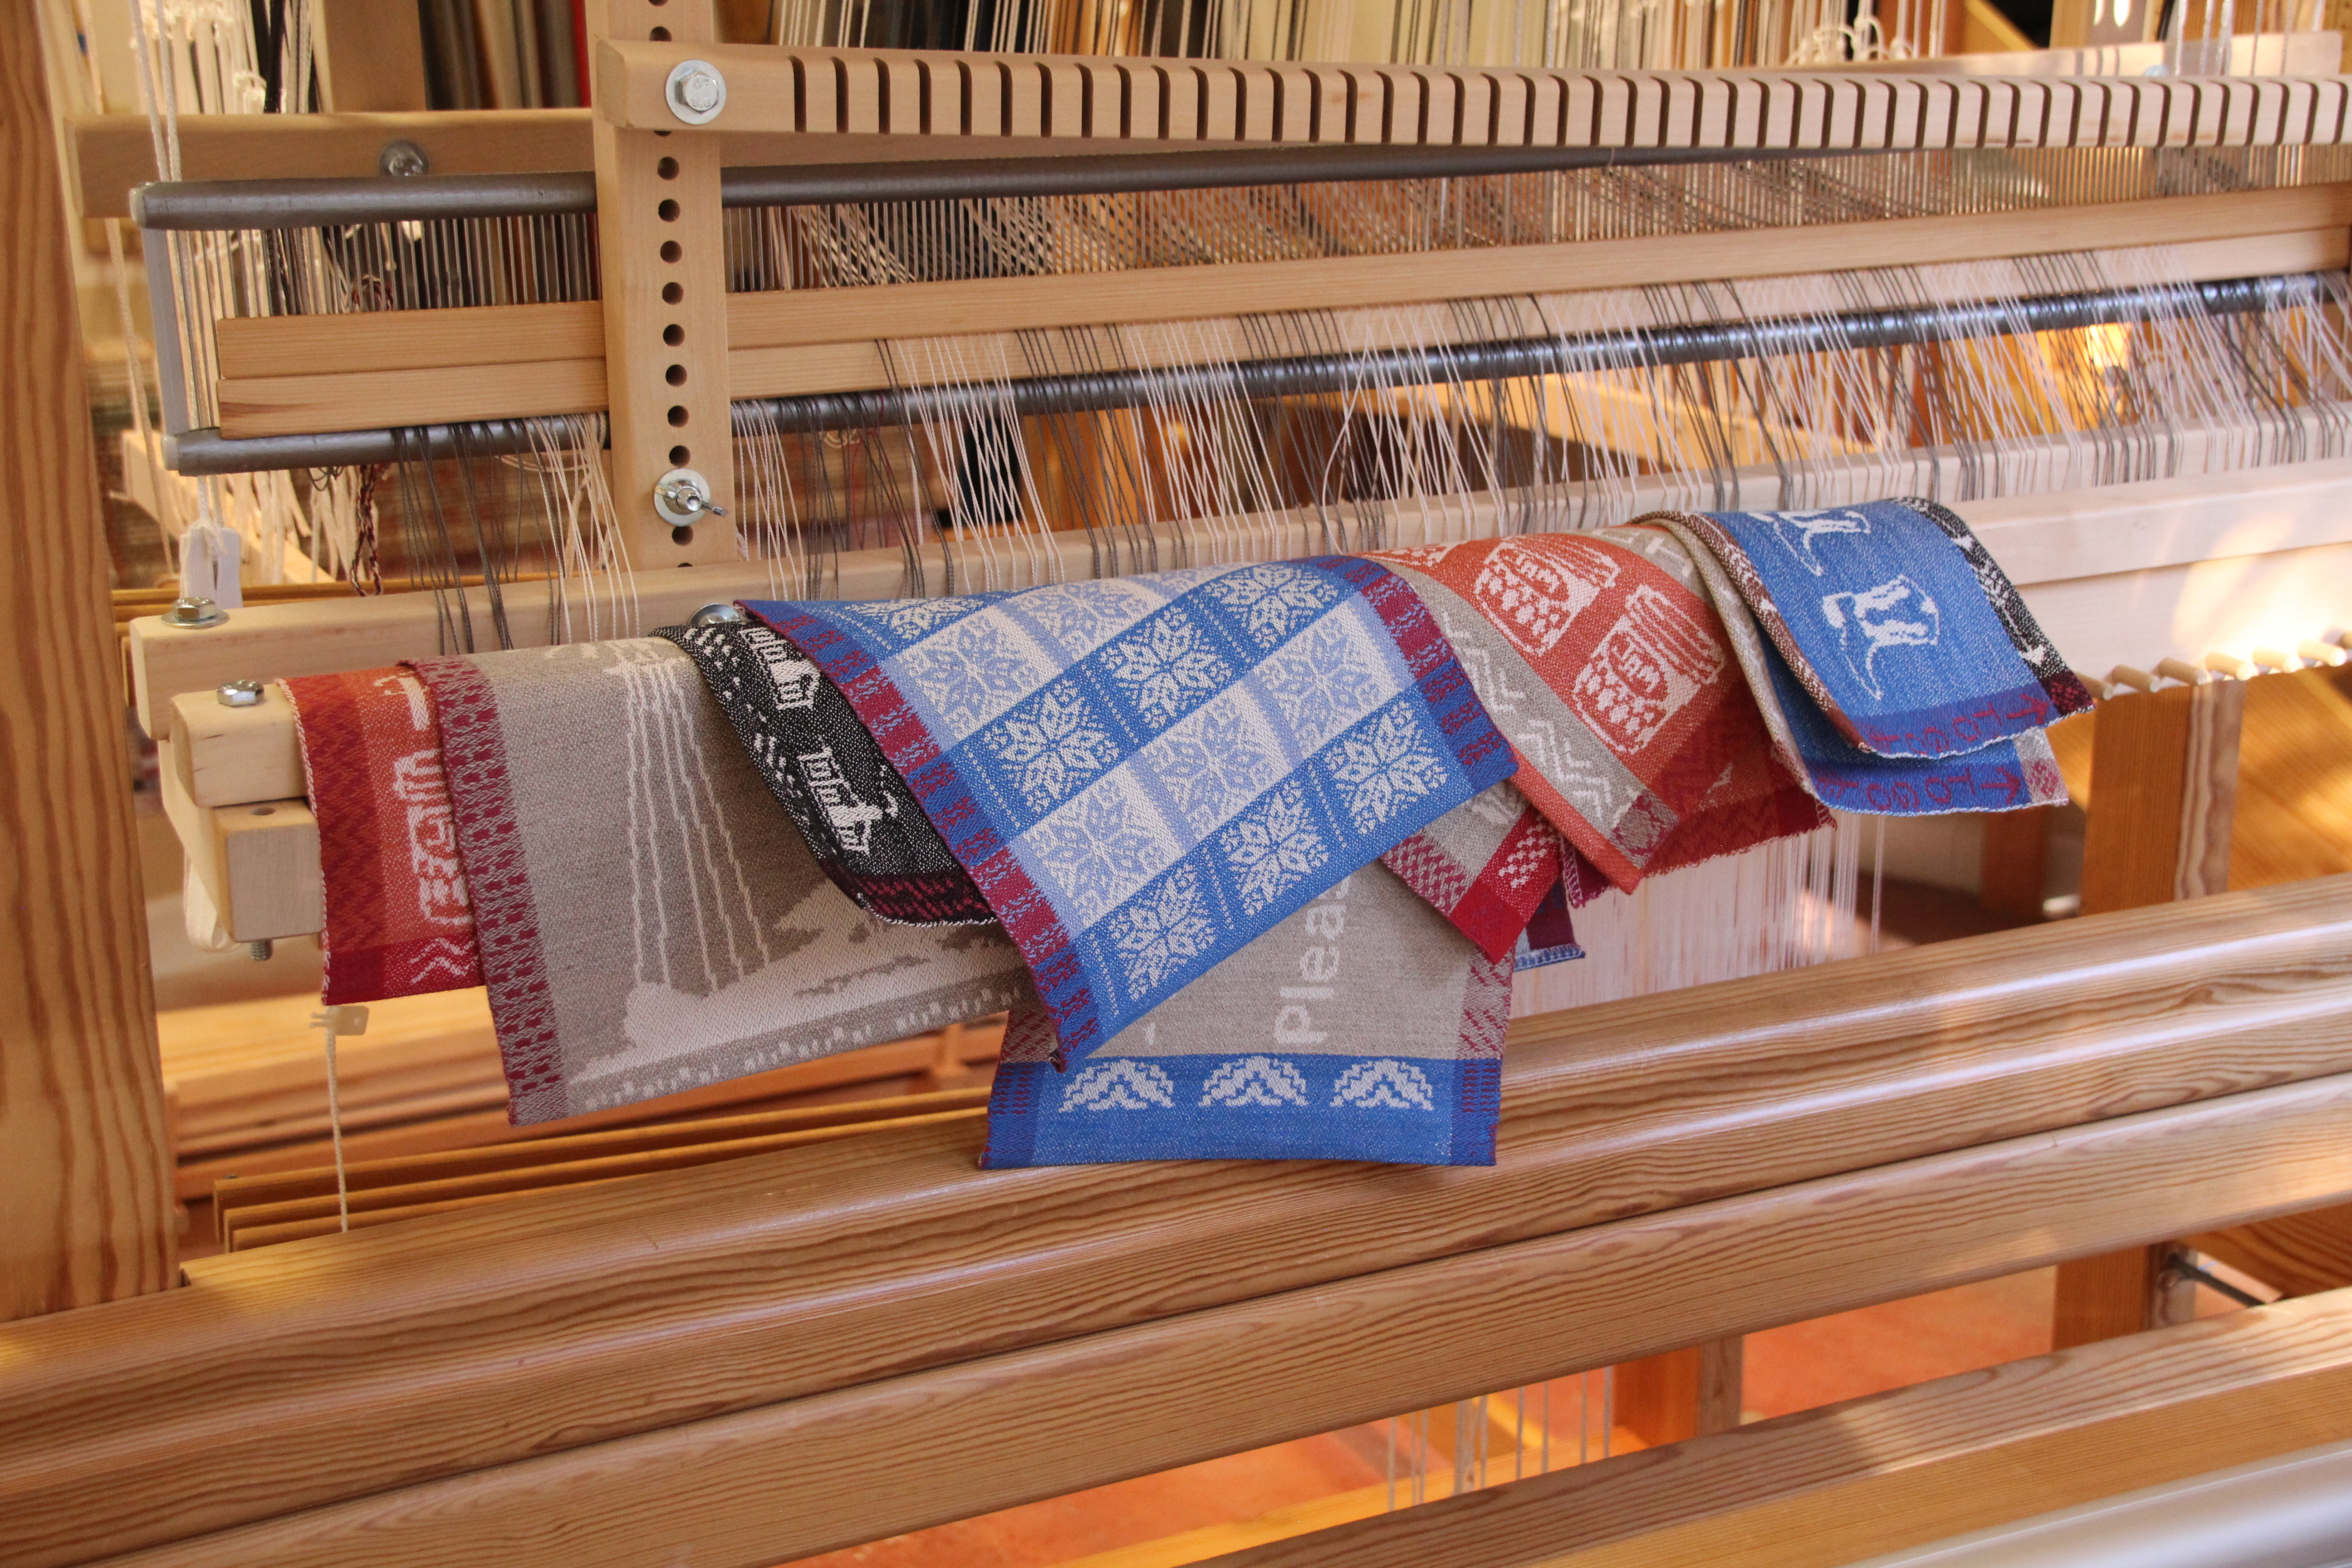
Aside from the two taildragger banners, the sign for our guest powder room, and the Christmas snowflake hanging, these are test pieces and samples. The combination drawloom is a playground for design ideas. Test pieces and samples are not meant for display. I do want them to be seen on occasion, however. (See Time Lapse: Windmill and Taildragger on the Drawloom.)

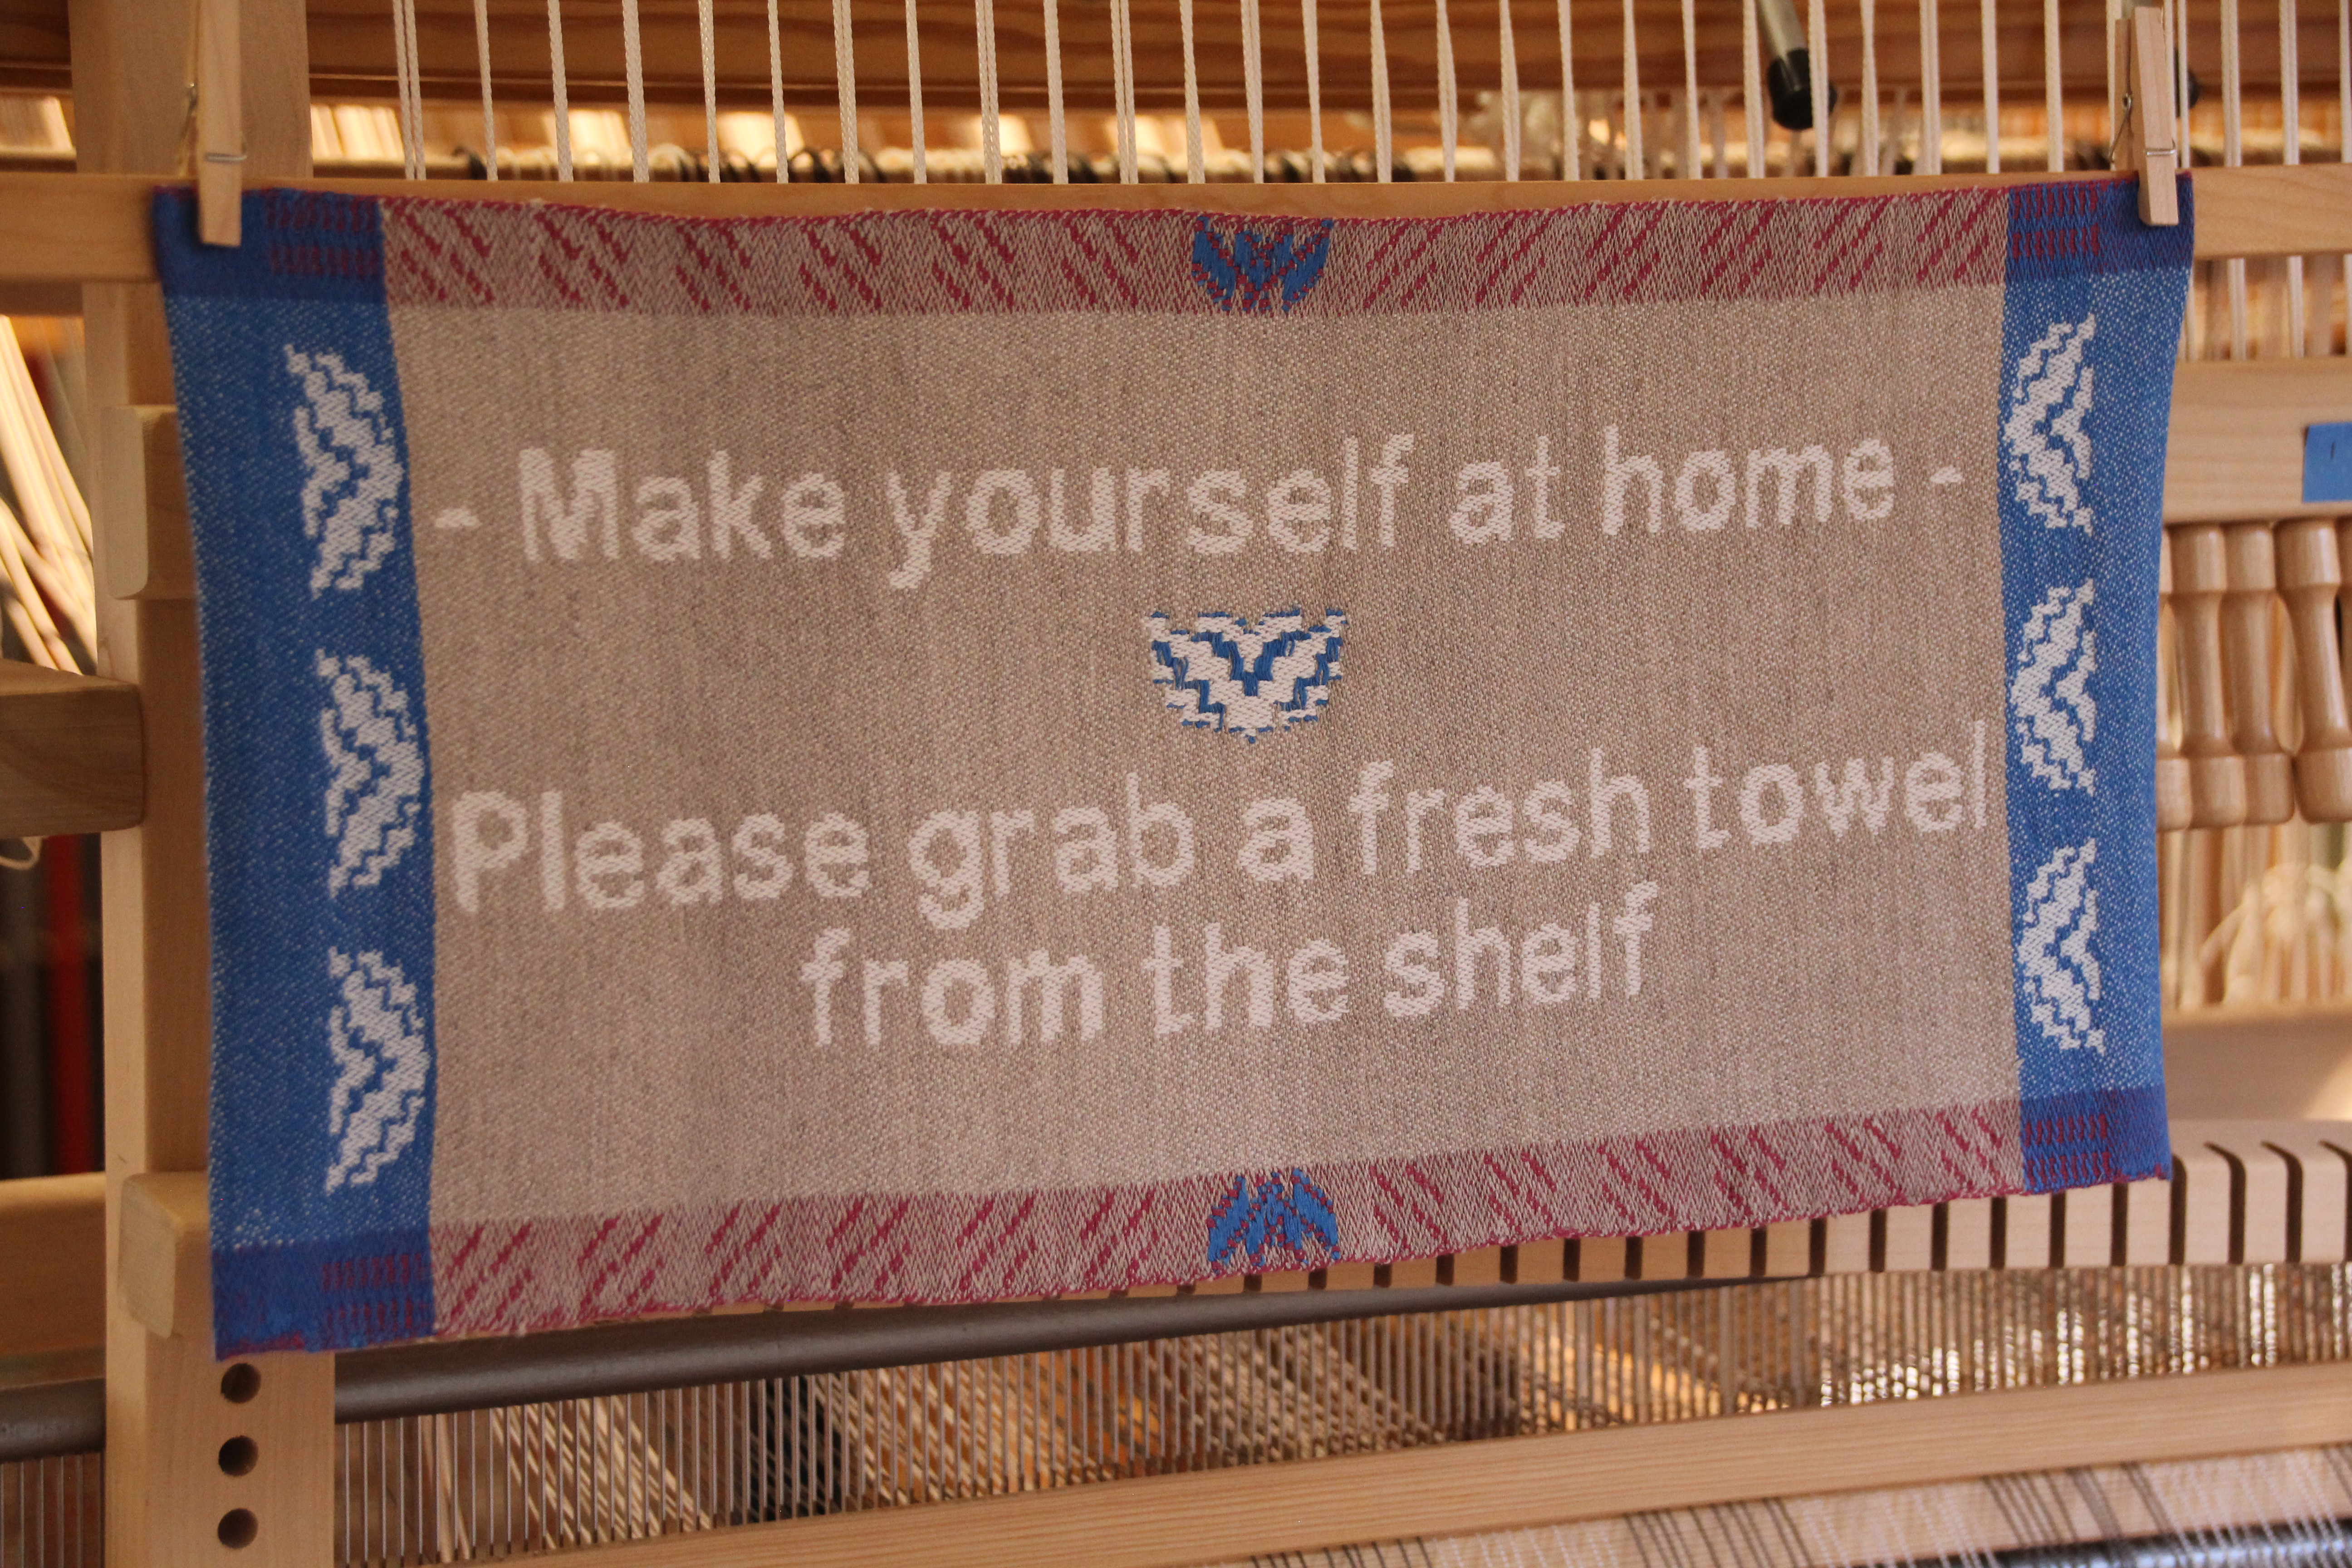
Drawloom sign for the powder room.
This is a sign to hang in our guest powder room near a stack of handwoven hand towels.
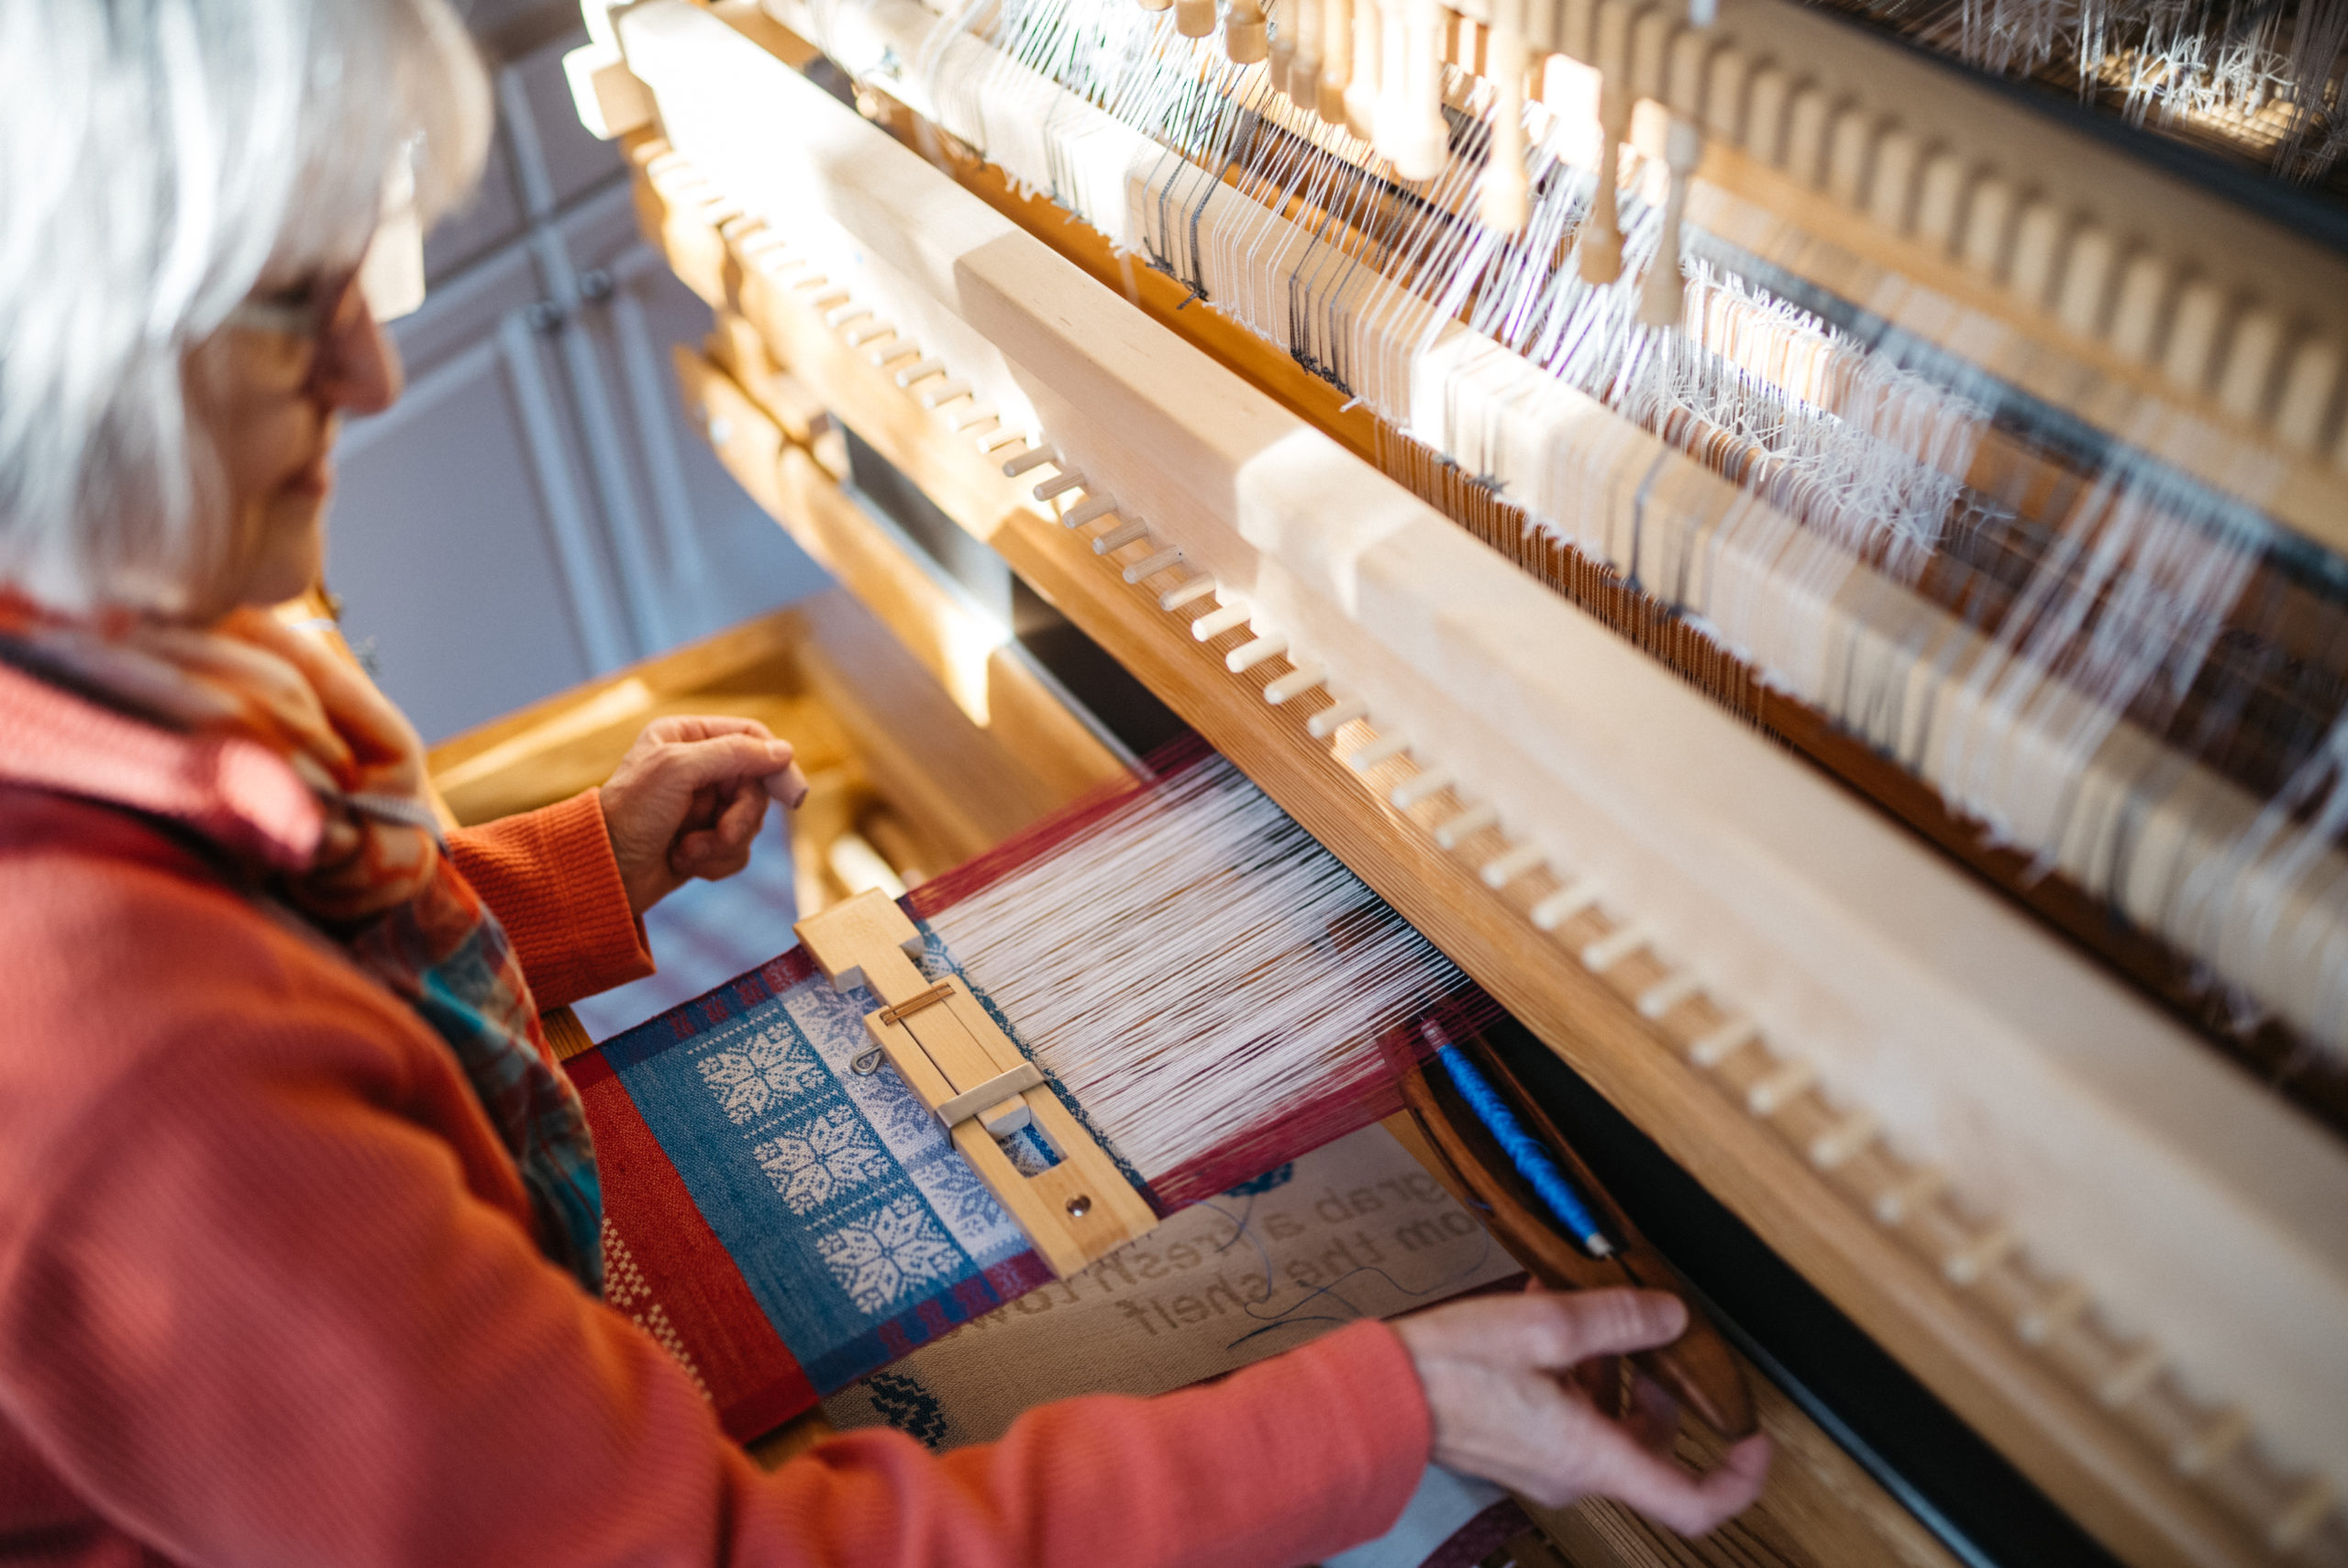
Shaft drawloom snowflakes/stars.
Snowflakes on the drawloom.

In the September, 2004 issue of Complex Weavers Journal, Jette Vandermeiden wrote about weaving small serviettes to place between her good dishes so they don’t scratch each other. That sparked the idea for me to use my learning experience with the Myrehed combination drawloom attachment to make these small pieces of cloth. The various designs will bring delight as they are uncovered, one by one, when we set the table in our home with the good dishes.

Fun with the Myrehed combo drawloom.
Drawloom playground results using the Myrehed combination attachment.

Enjoy this review of the process of setting up and weaving on this playground.

May you have not-so-hidden treasures in your home.

Cheerful Weaving,
Karen

Tried and True: Linen

Take a short stroll through our home and you will see and touch linen in all its superb versatility. Linen warp and weft speaks of elegance. Yet, this natural fiber is right at home with ordinary daily living. Linen, oh, how it sings!

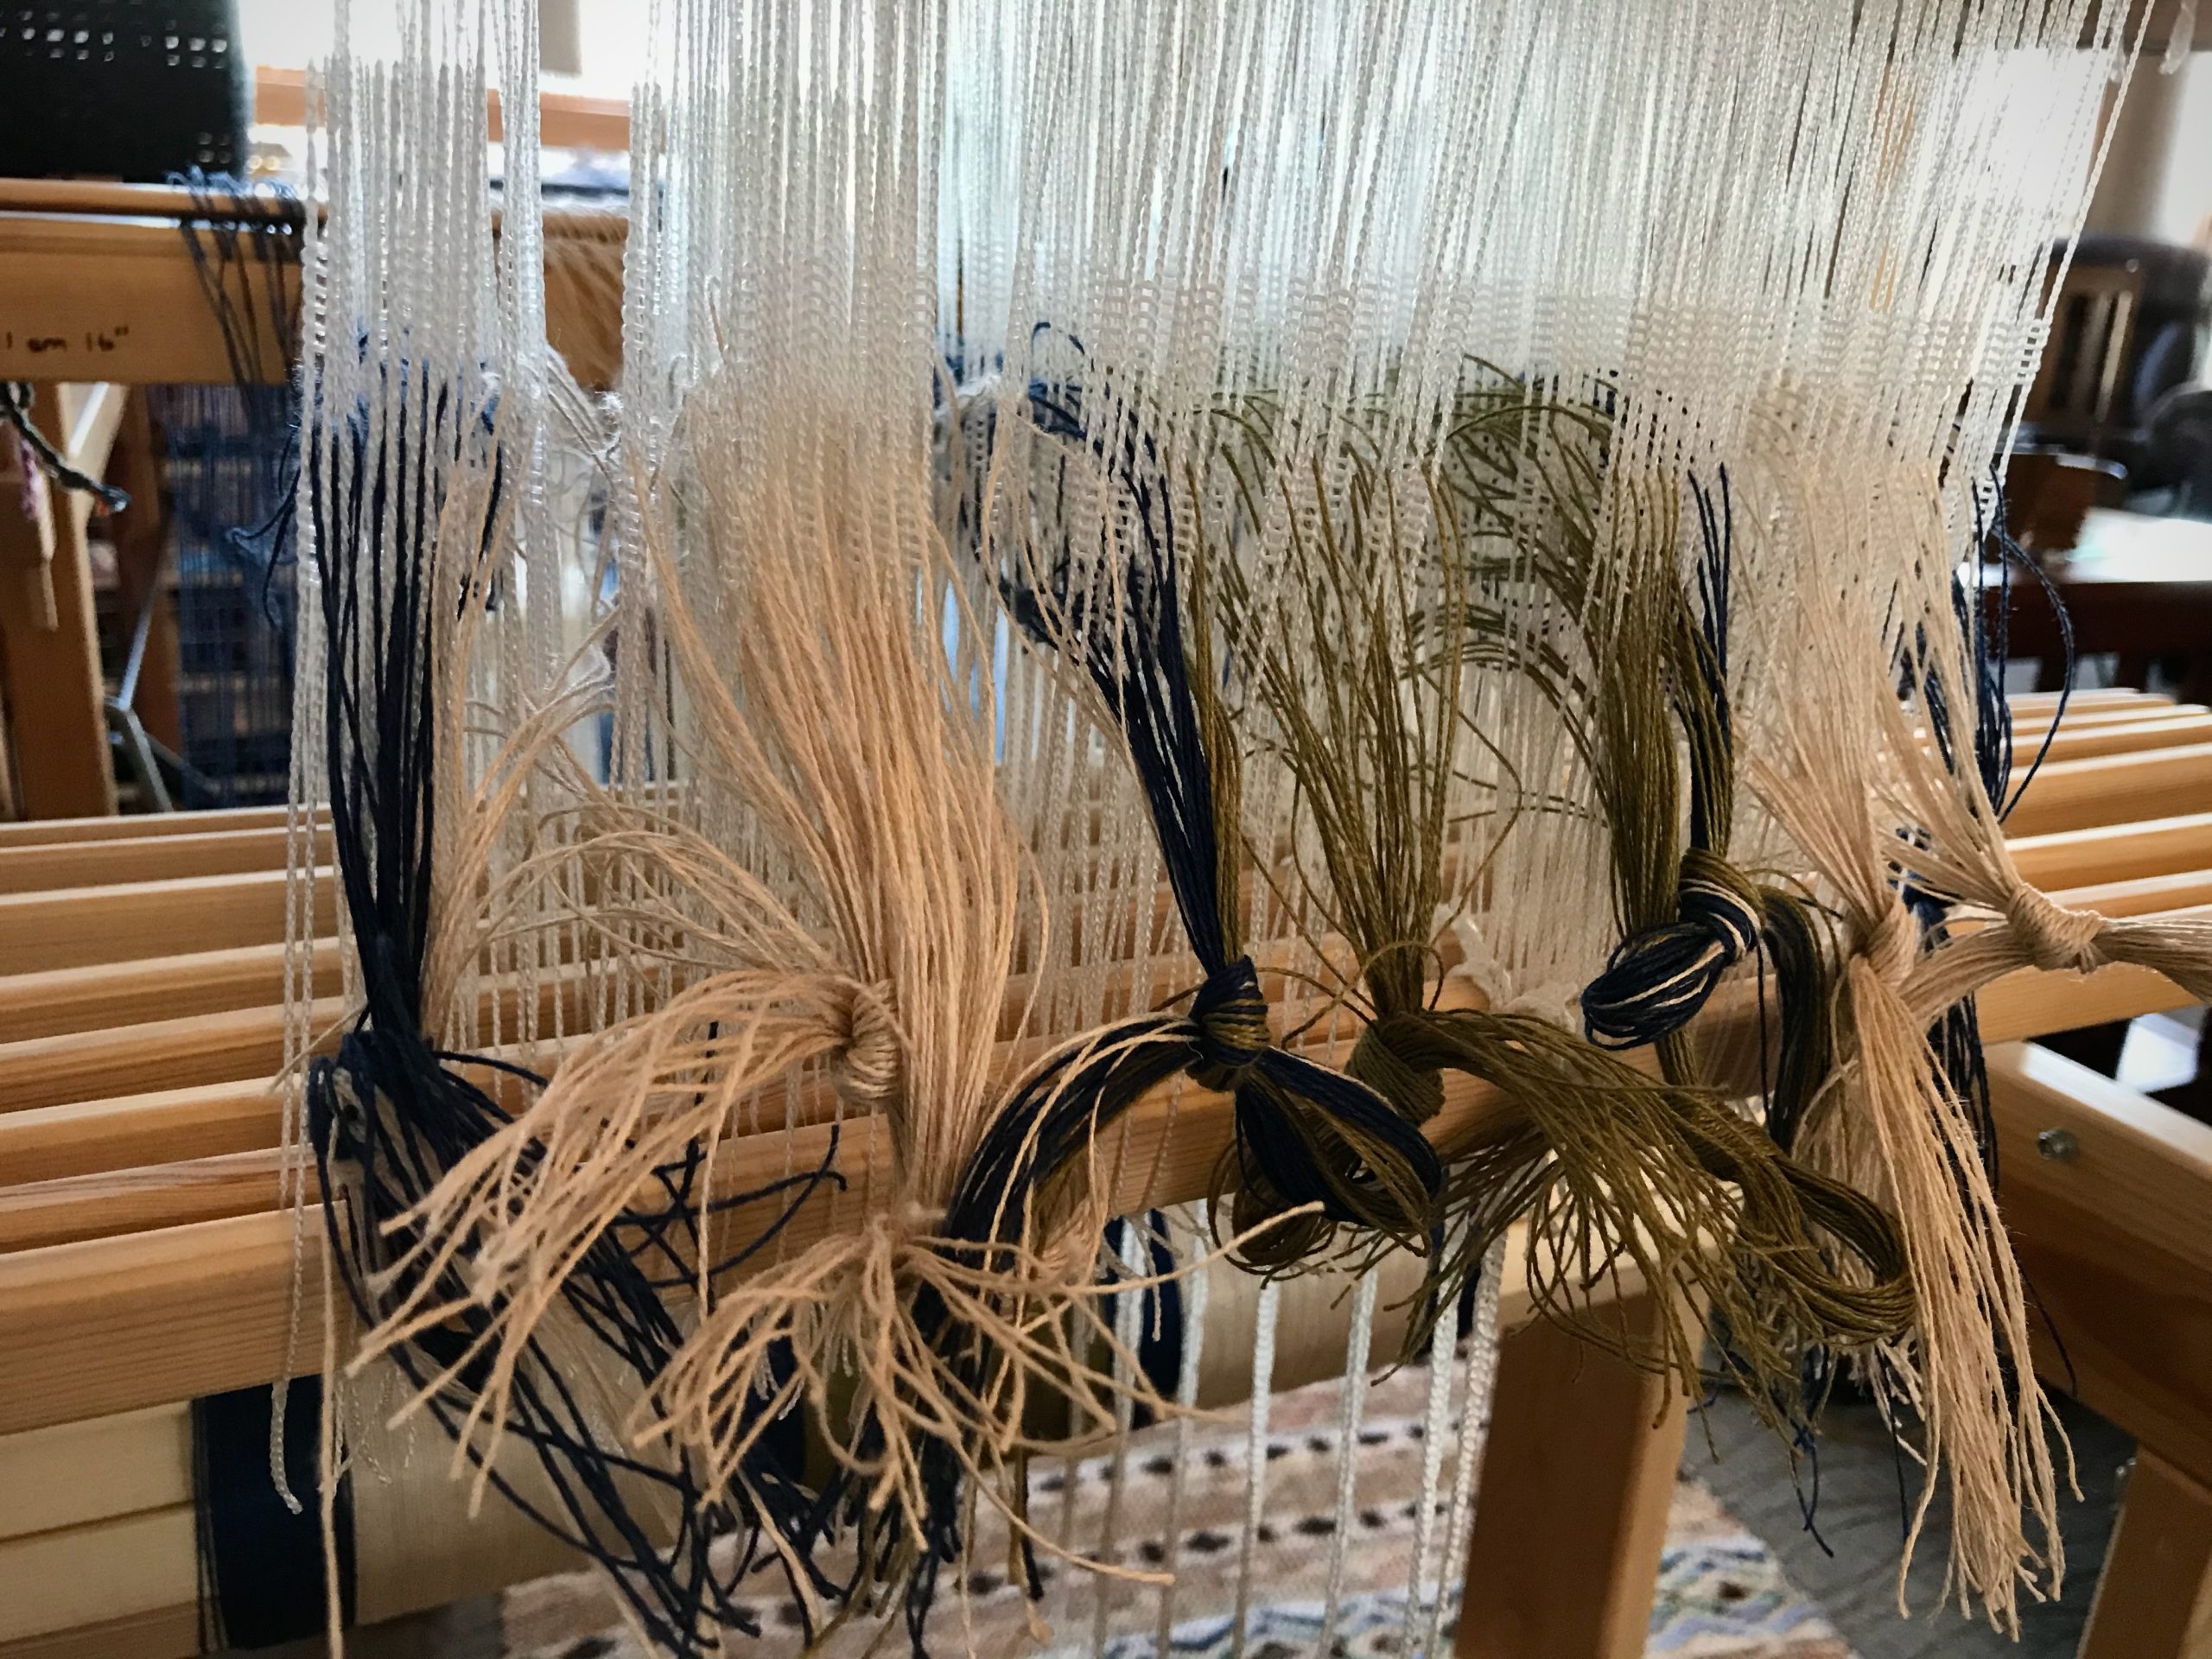
I am thrilled to be dressing the Julia now with 16/2 linen on eight shafts. We will have another linen highlight to grace our home—a table runner for our dining room table.

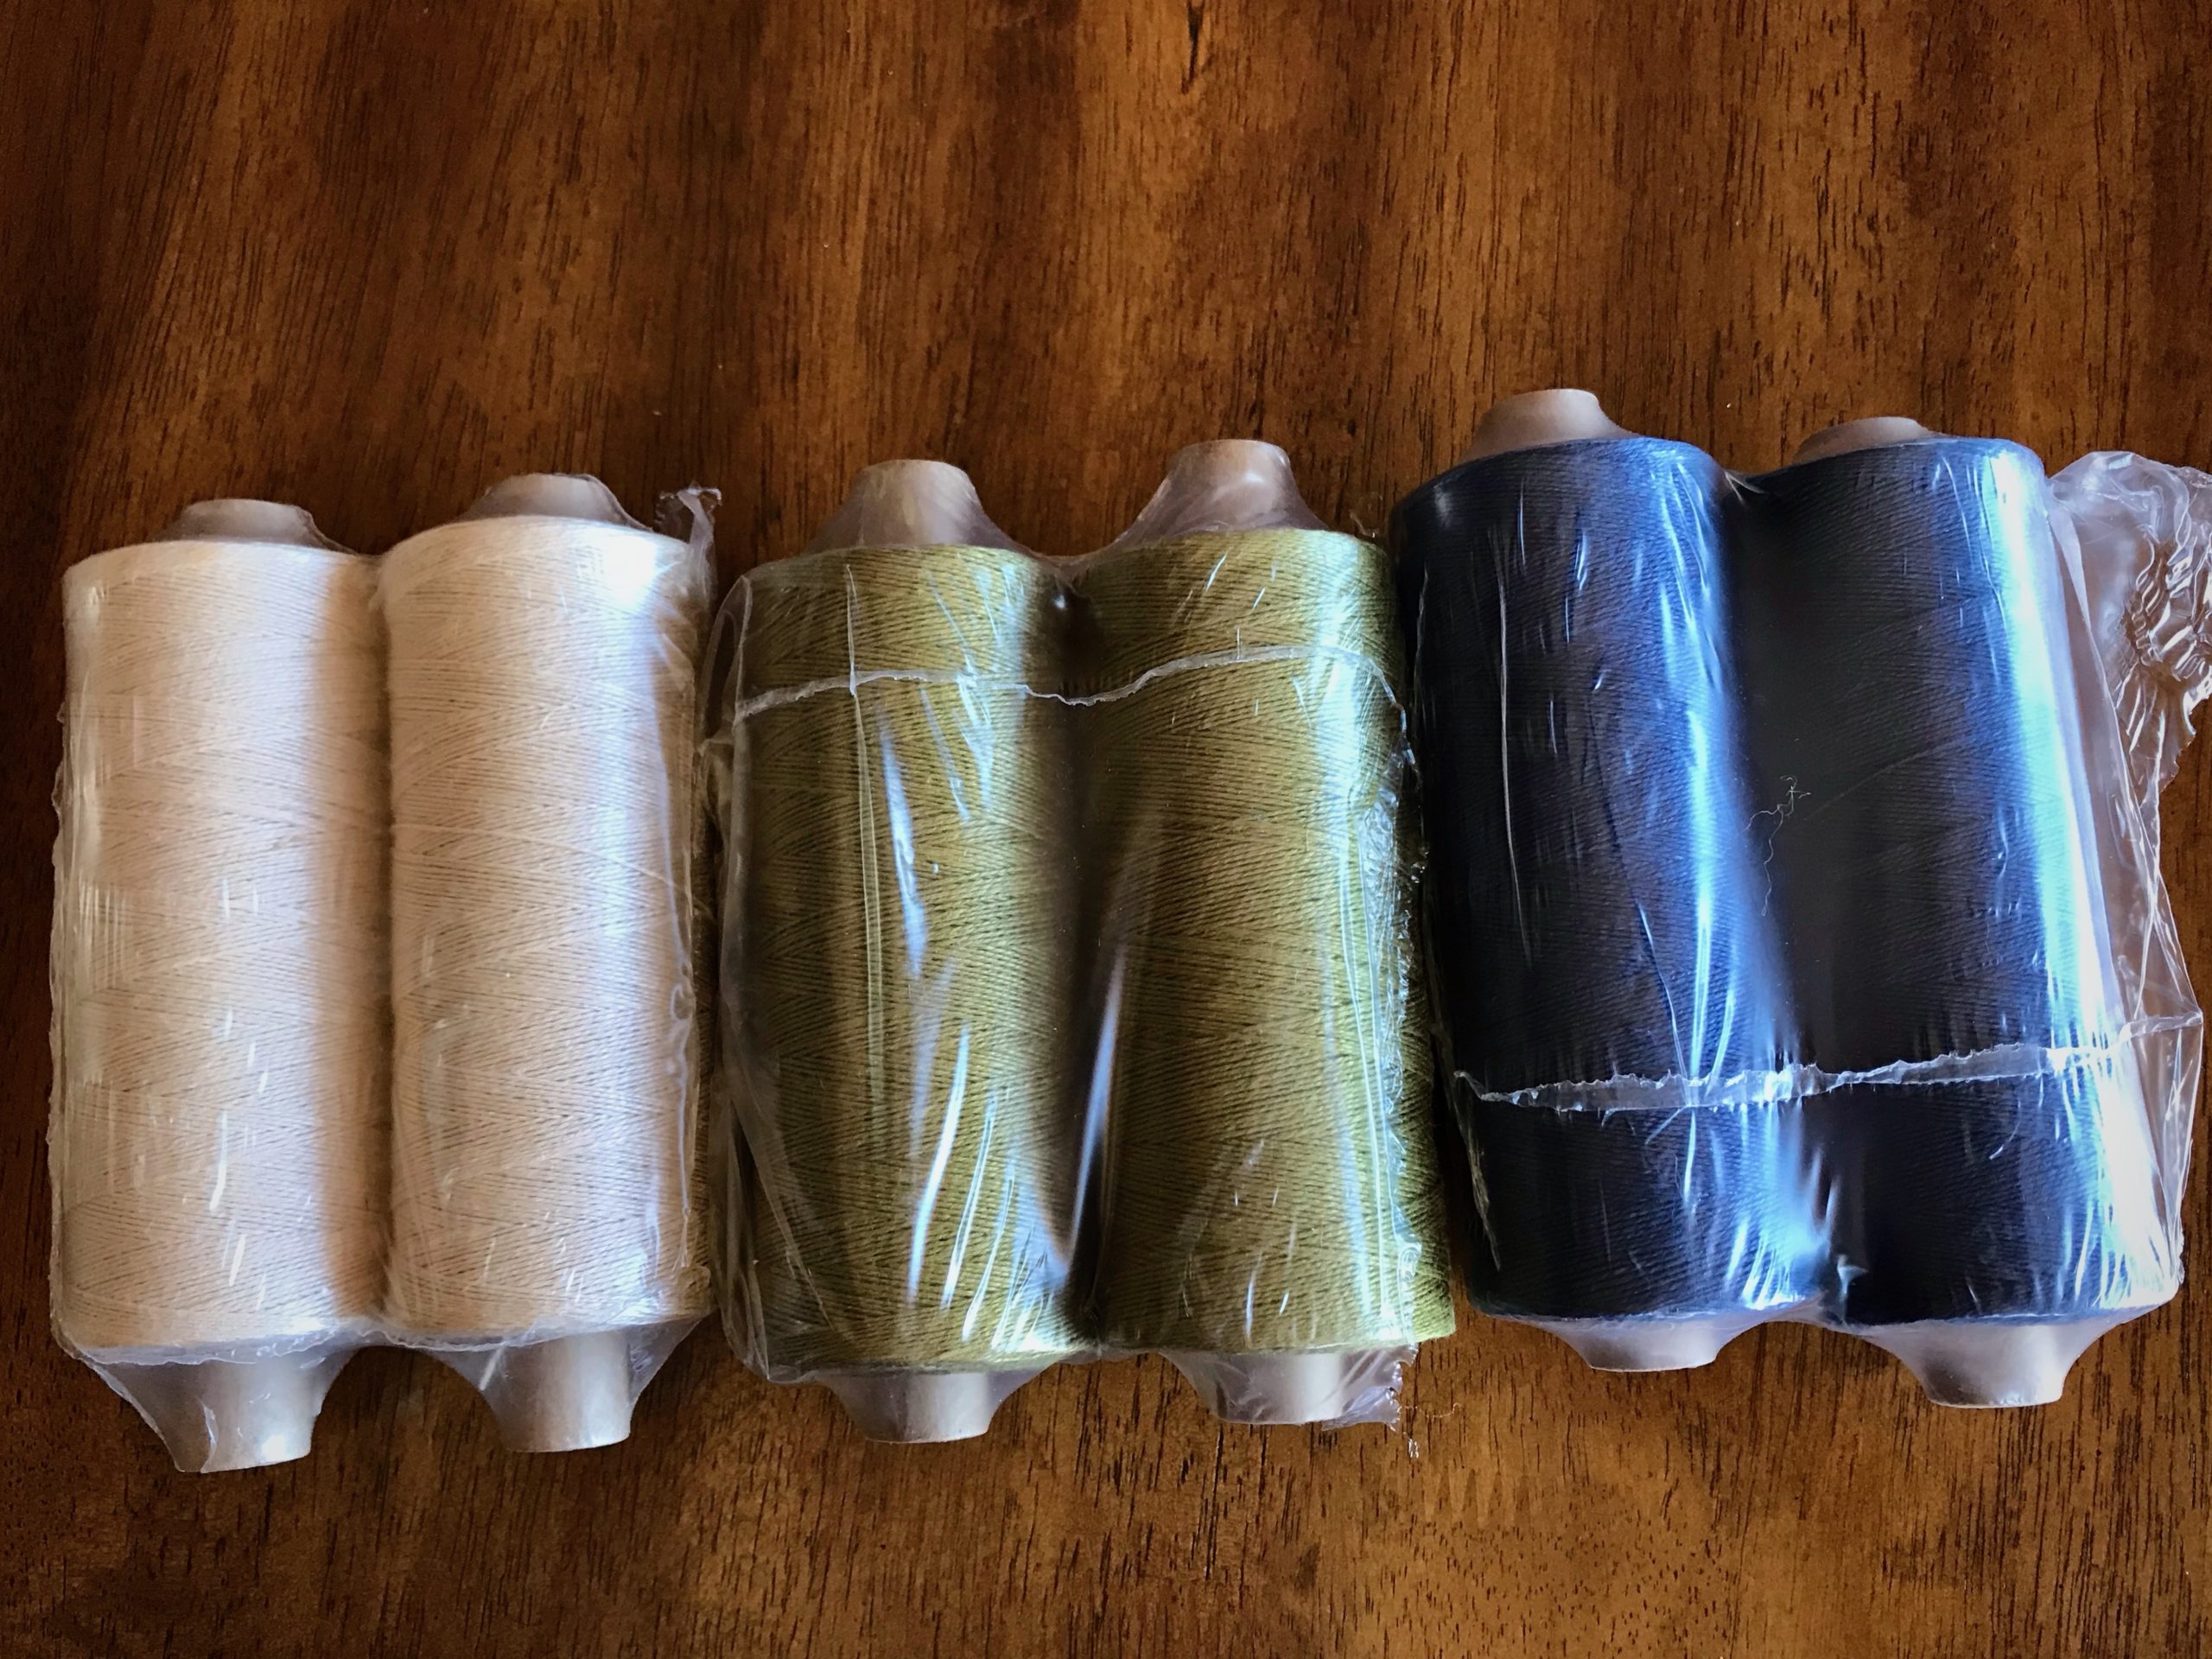
Bockens 16/2 line linen for a handwoven runner.
It is a happy day when new tubes of Bockens 16/2 line linen arrive at the door.
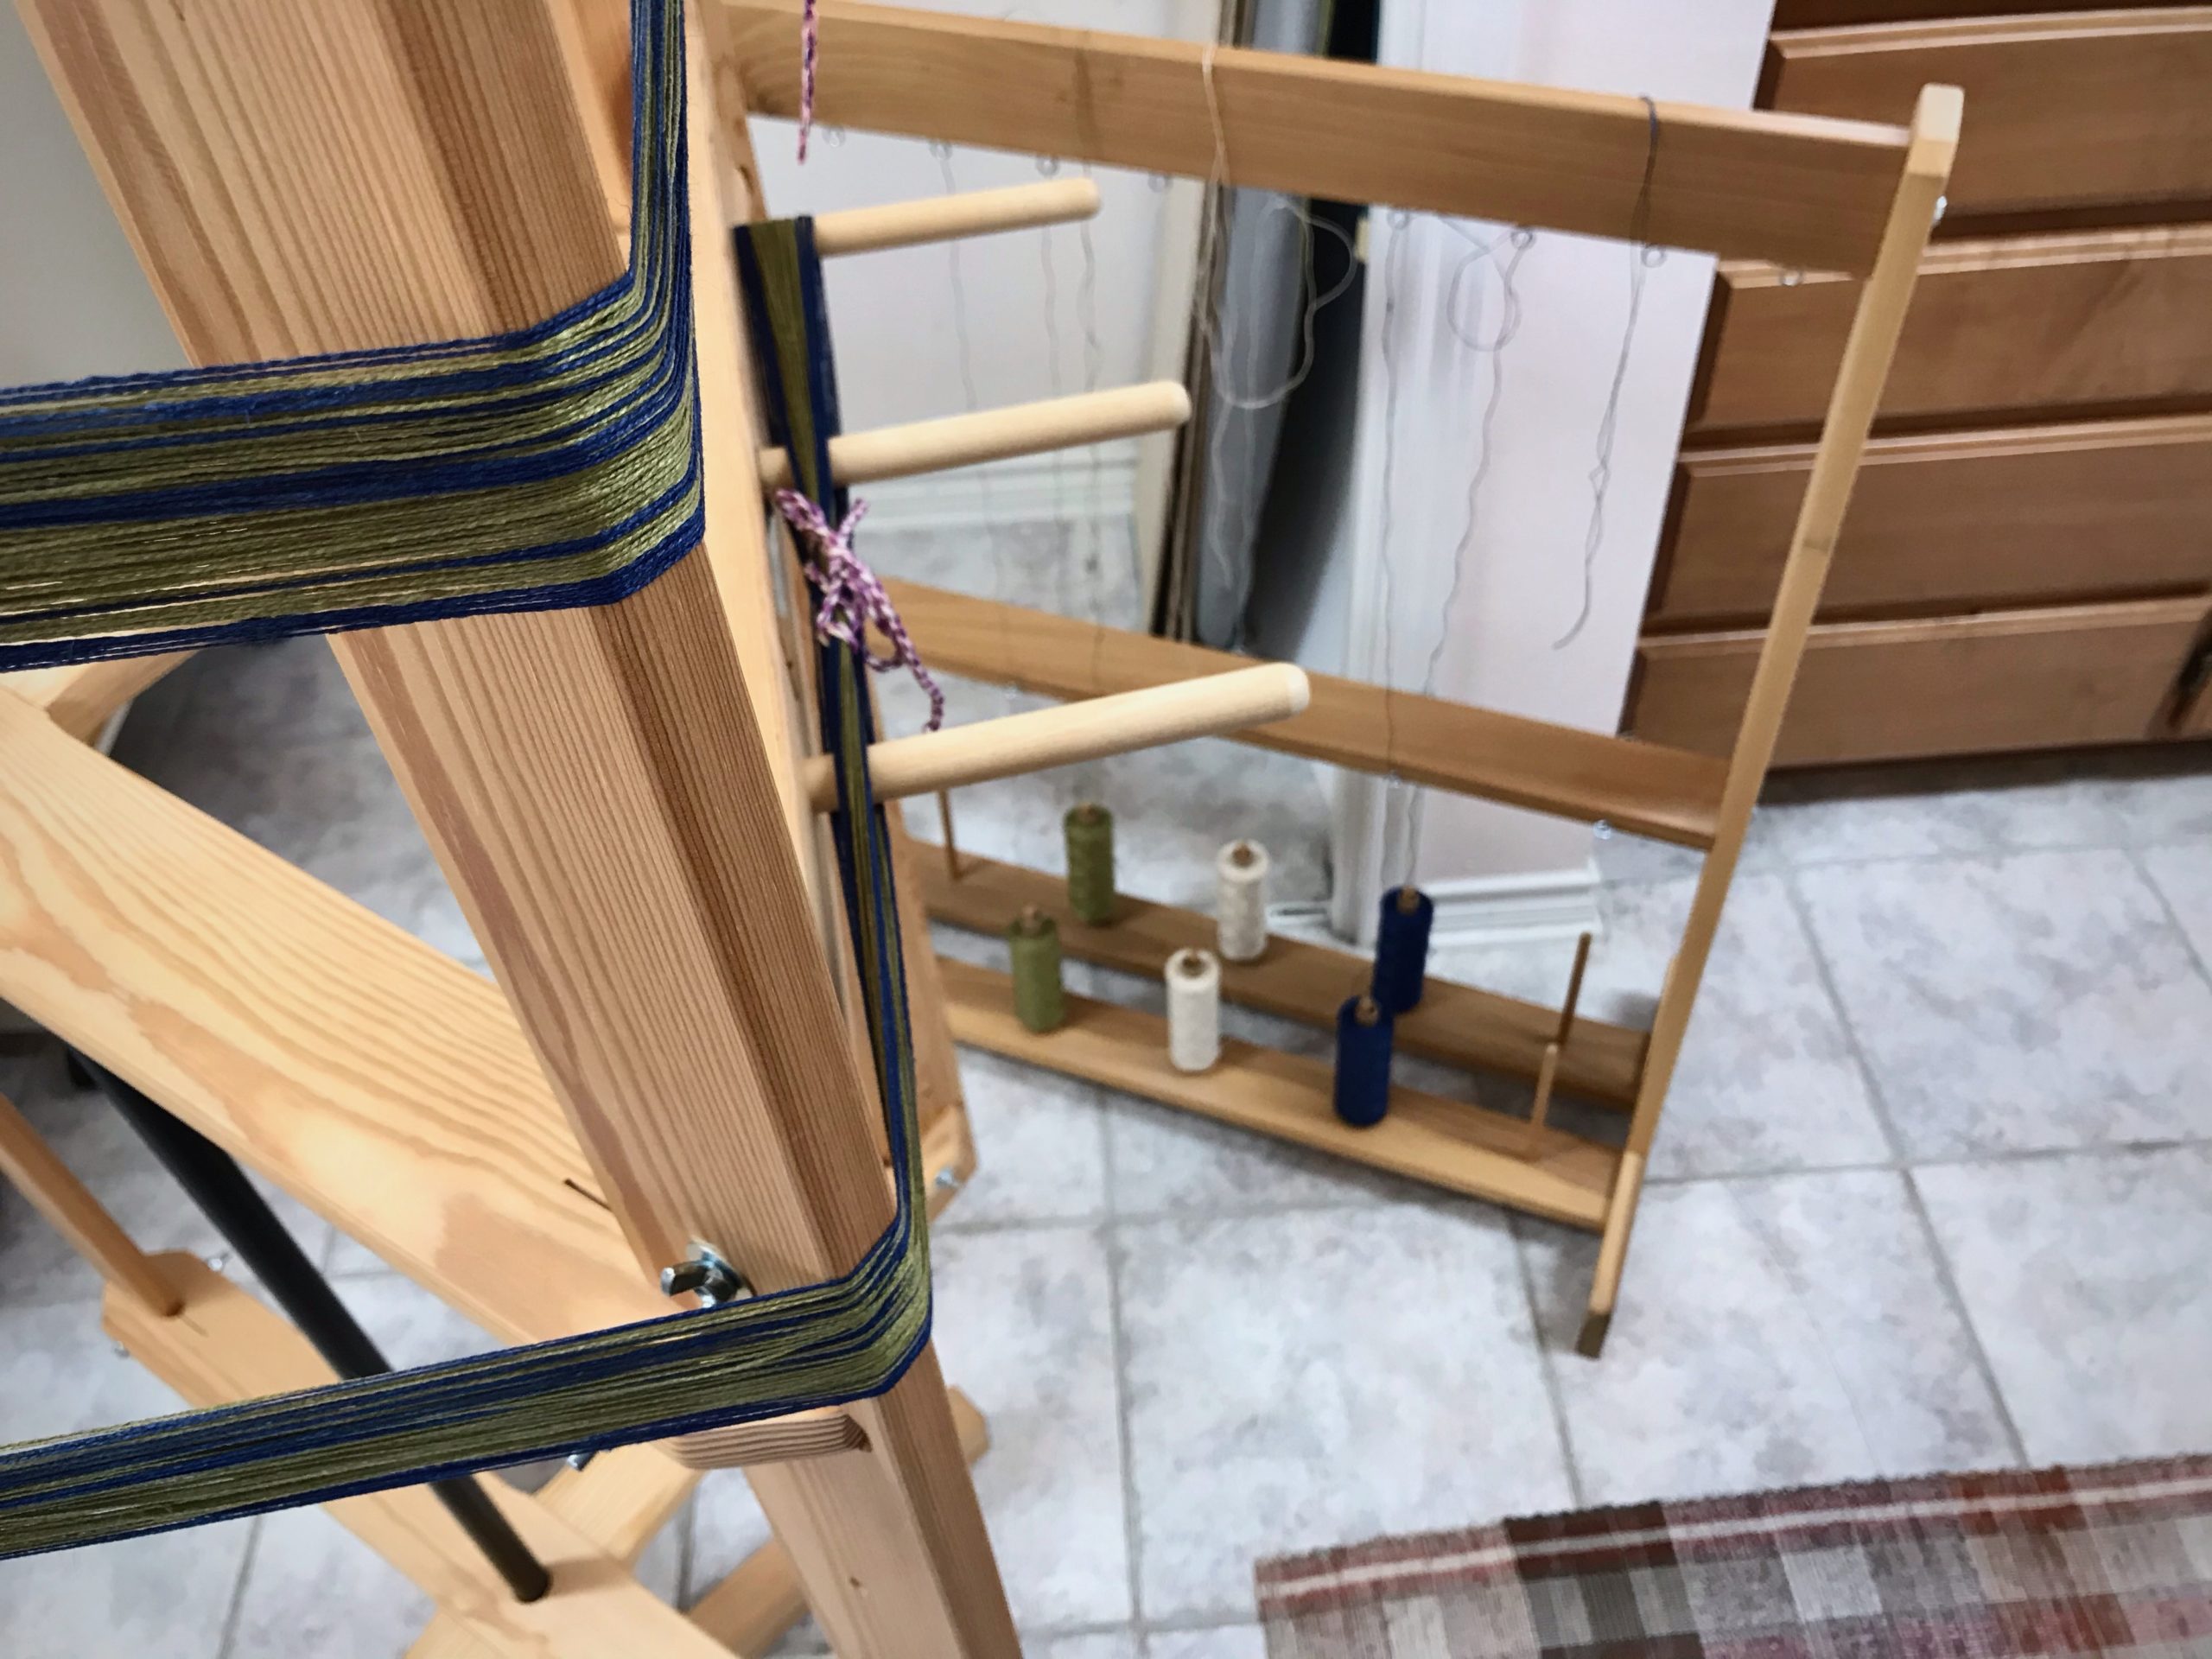
Making a linen warp.
Winding two threads together at a time on the warping reel.
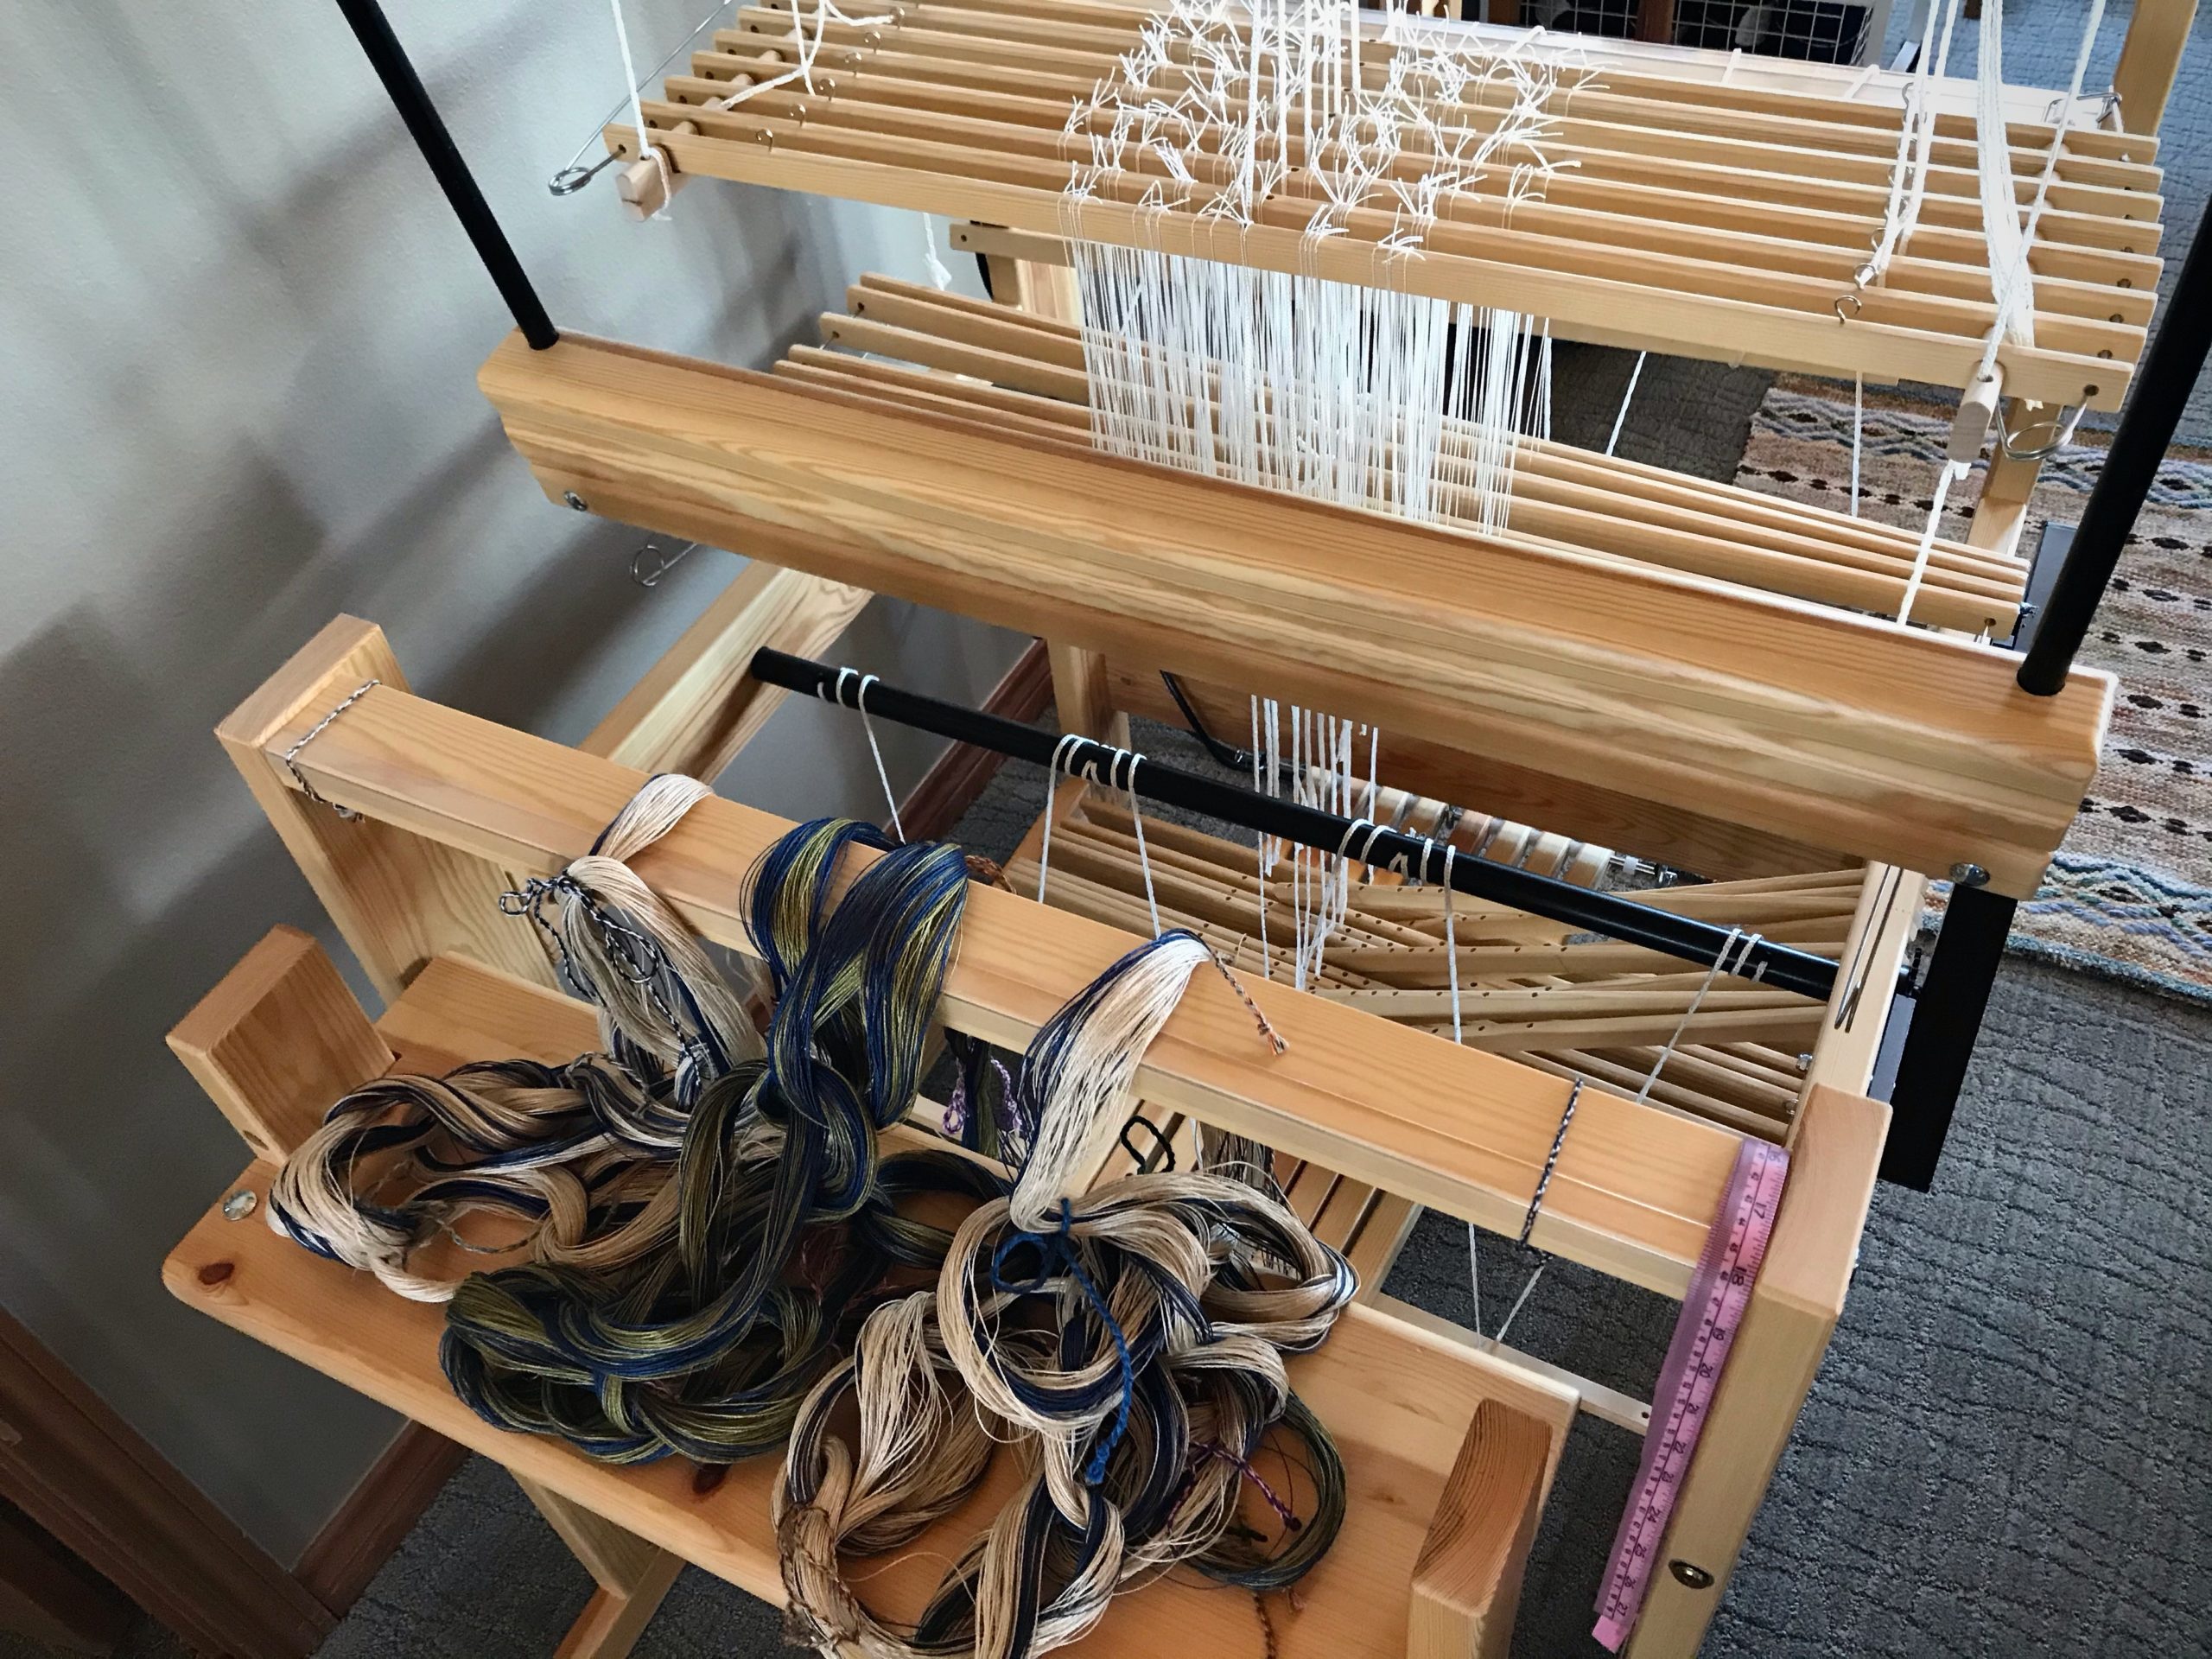
8-shaft Julia and linen warp.
Dividing the warp into three bouts makes it easier to spread and beam the warp with even tension across the warp.
Glimakra Julia 8-shafts. Glorious linen!
Golden bleached linen is a gorgeous backdrop for the olive center section and contrasting midnight blue borders.

Is there anything more vibrant than the sheen of linen saturated with color? And, have you noticed that plain unbleached linen is anything but plain? Linen fills both ends of the spectrum—glowing exuberant color and natural wrinkled humility. Linen, oh, how it sings! There’s always room for more music in the home.

May your home be filled with everyday elegance.

Happy Weaving,
Karen

Grace at the Loom

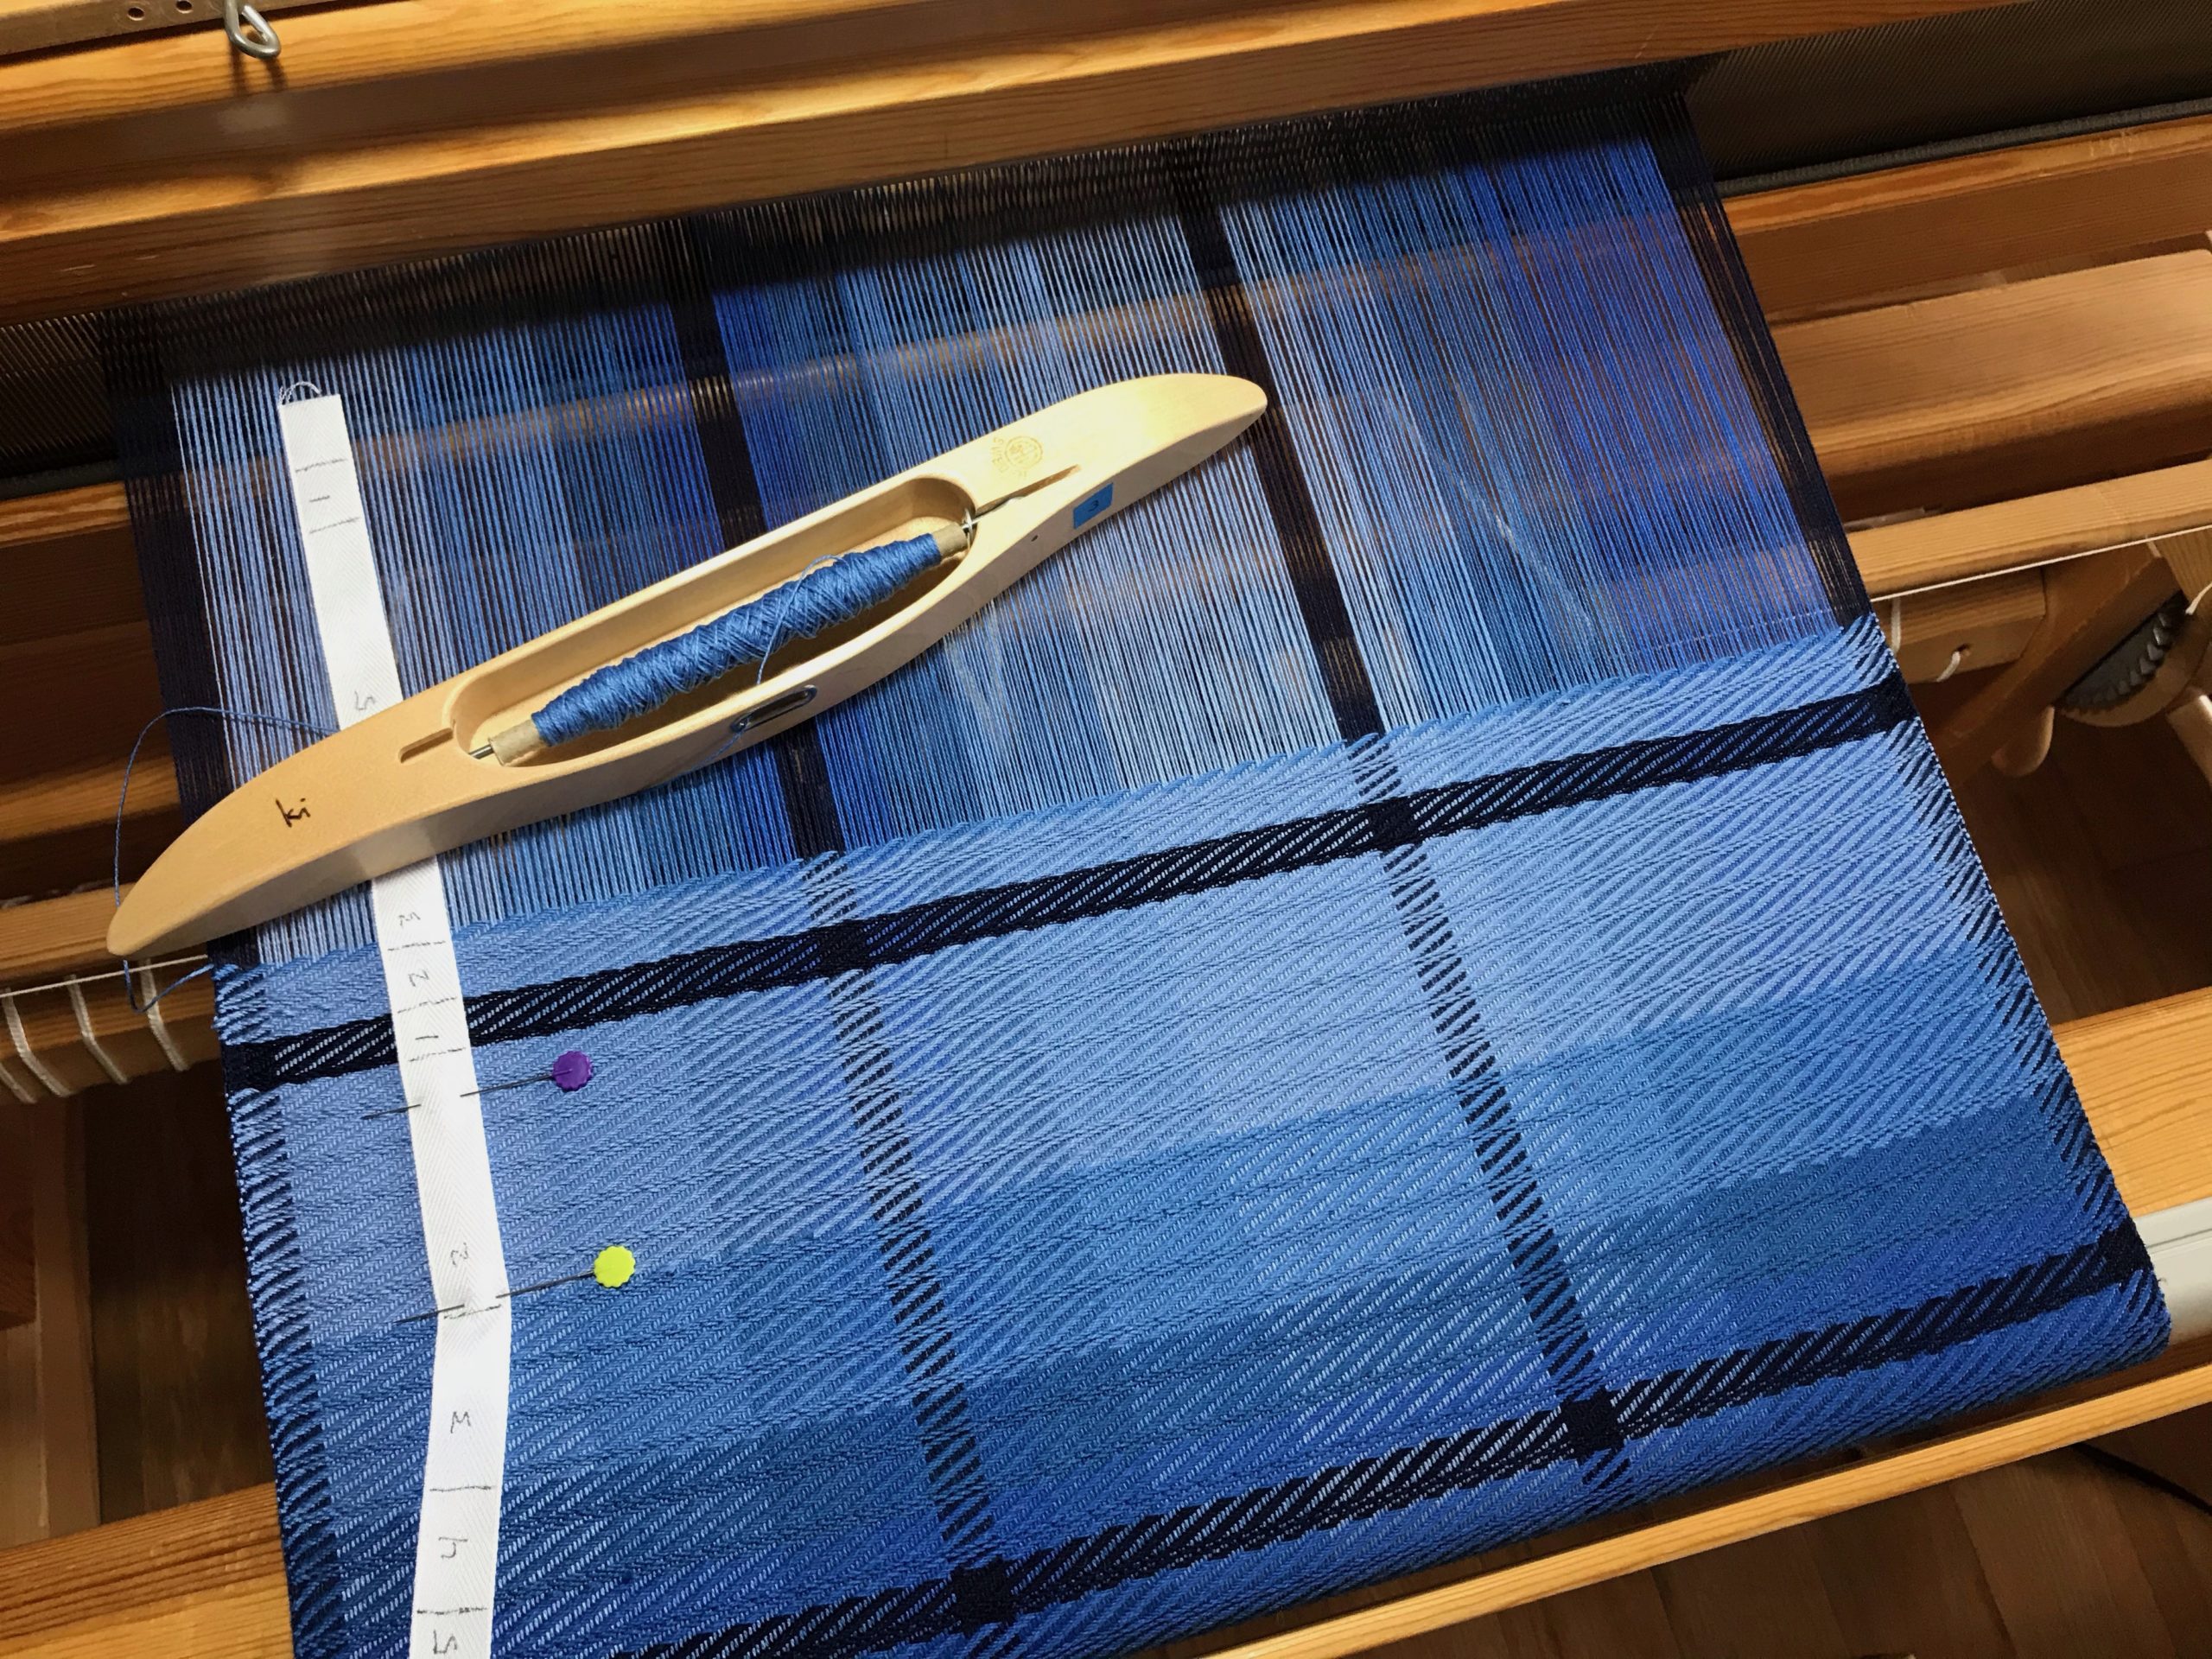
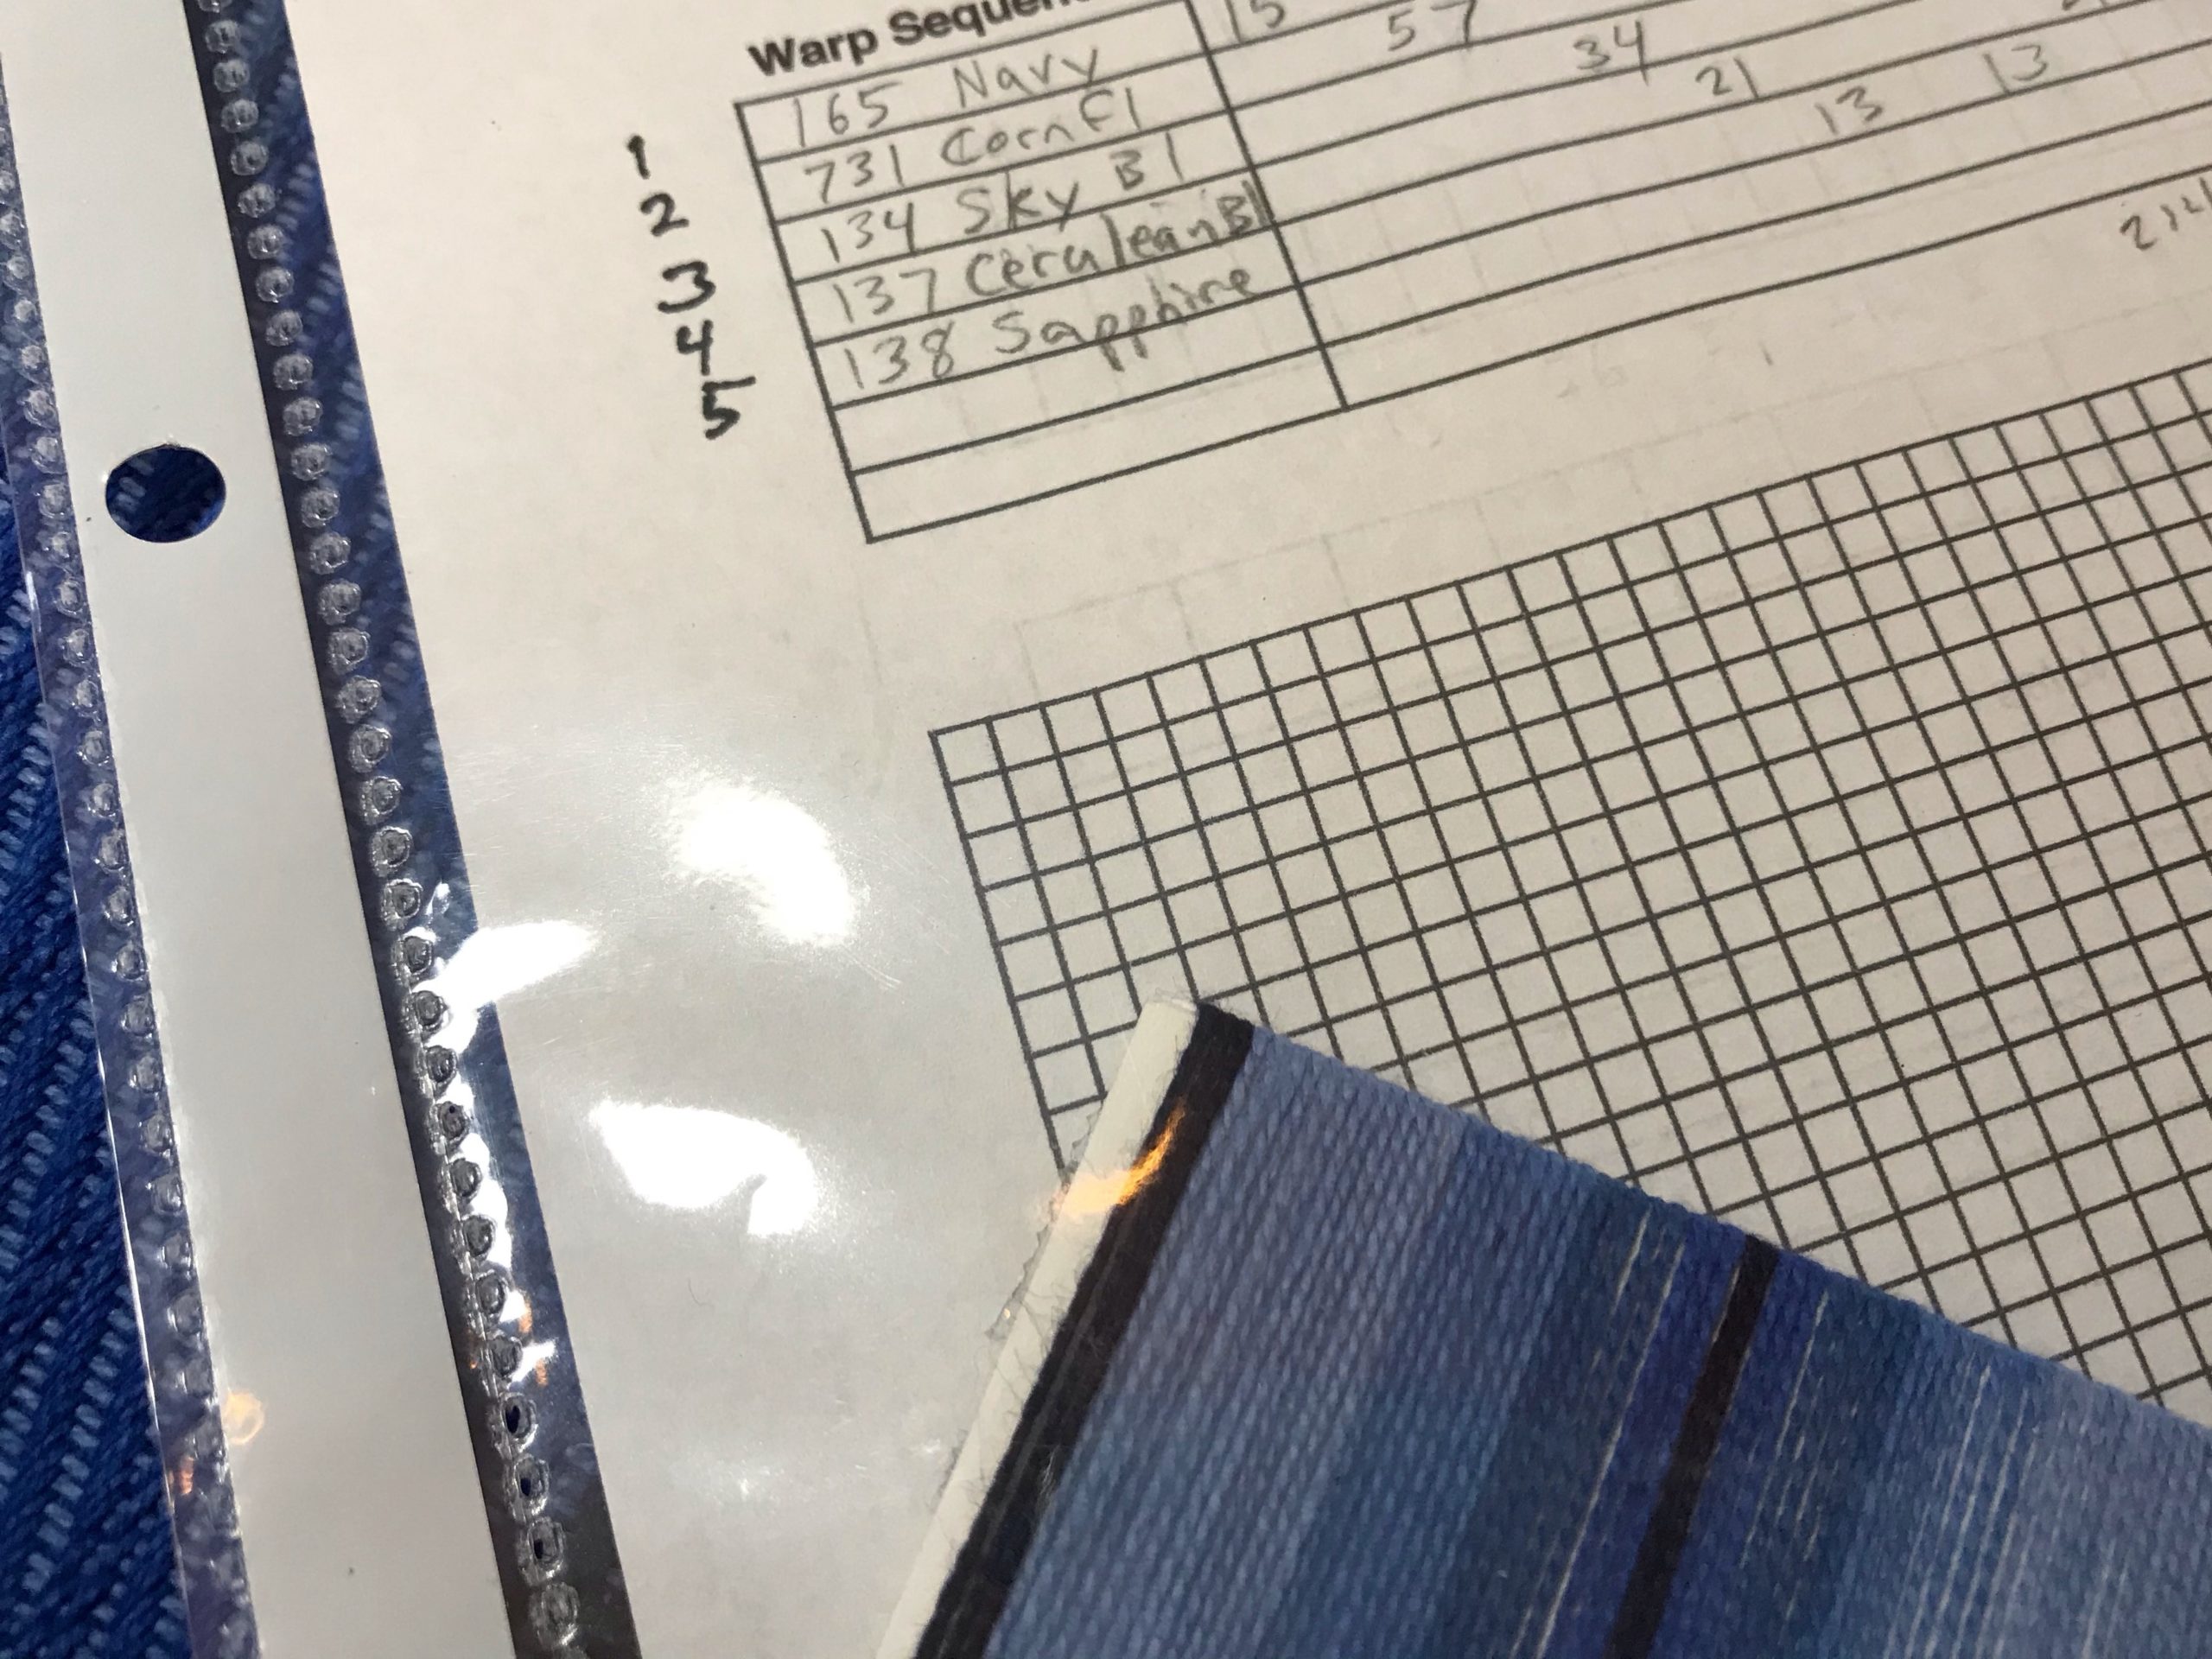
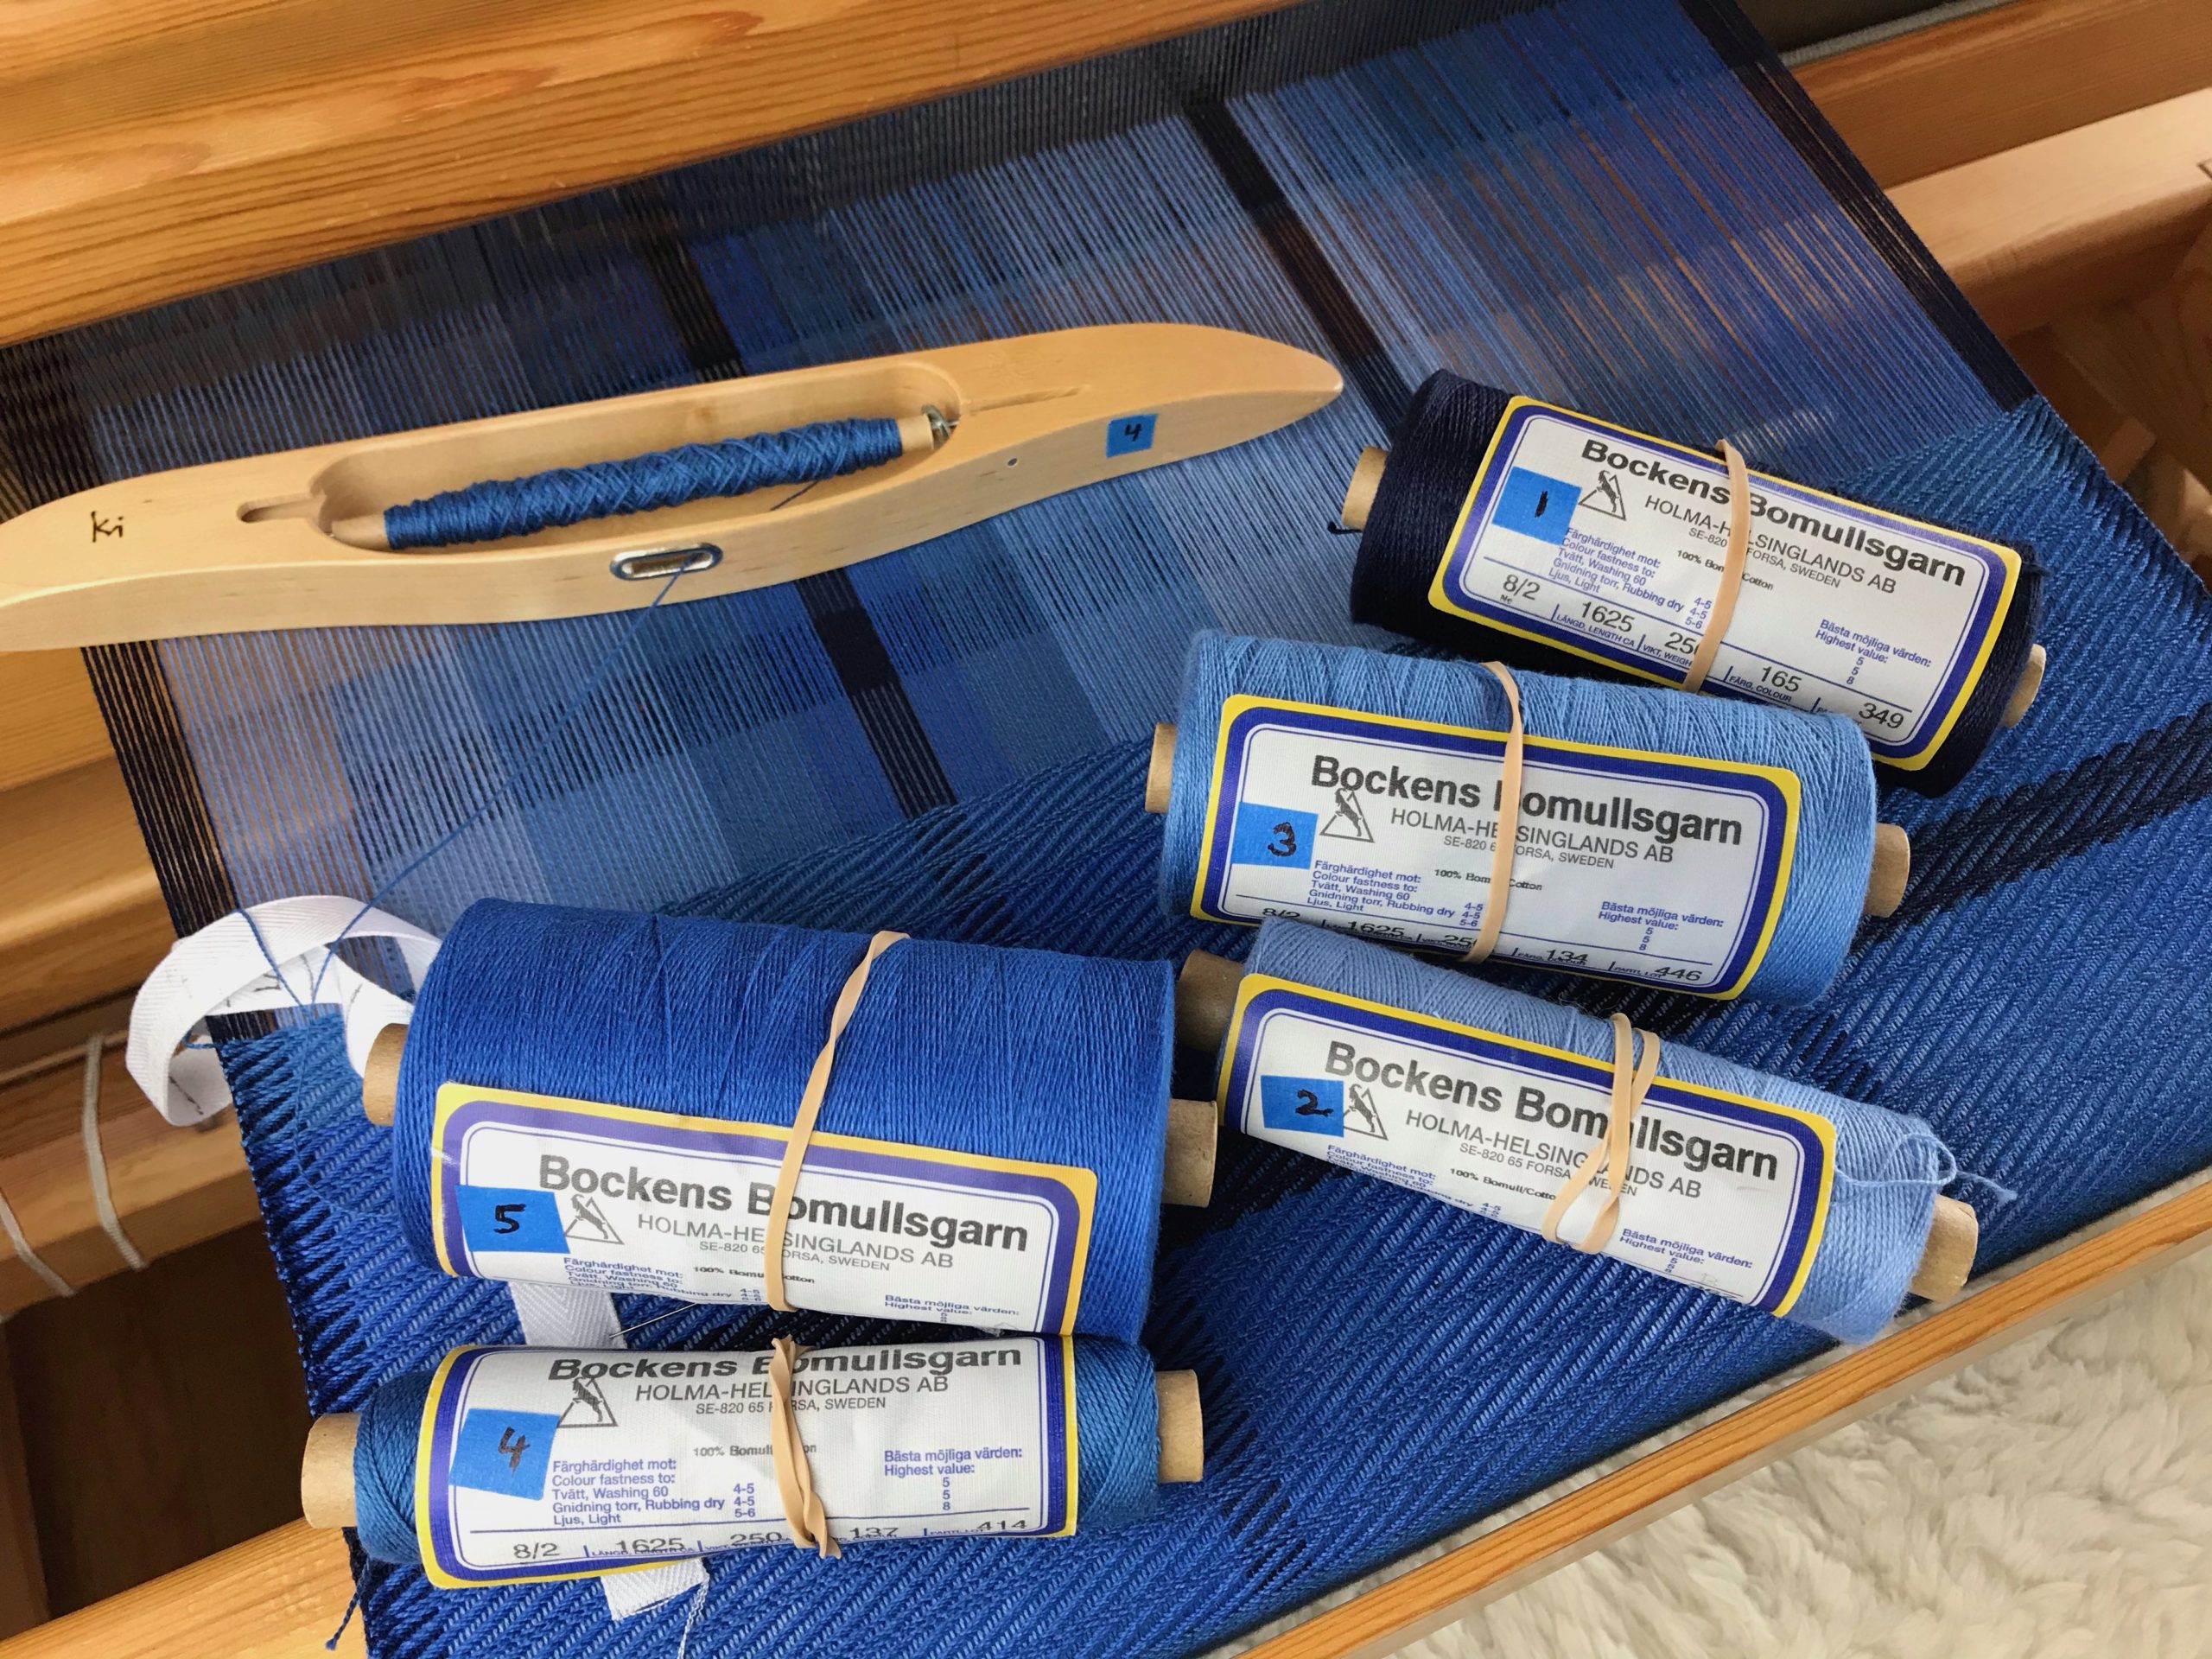
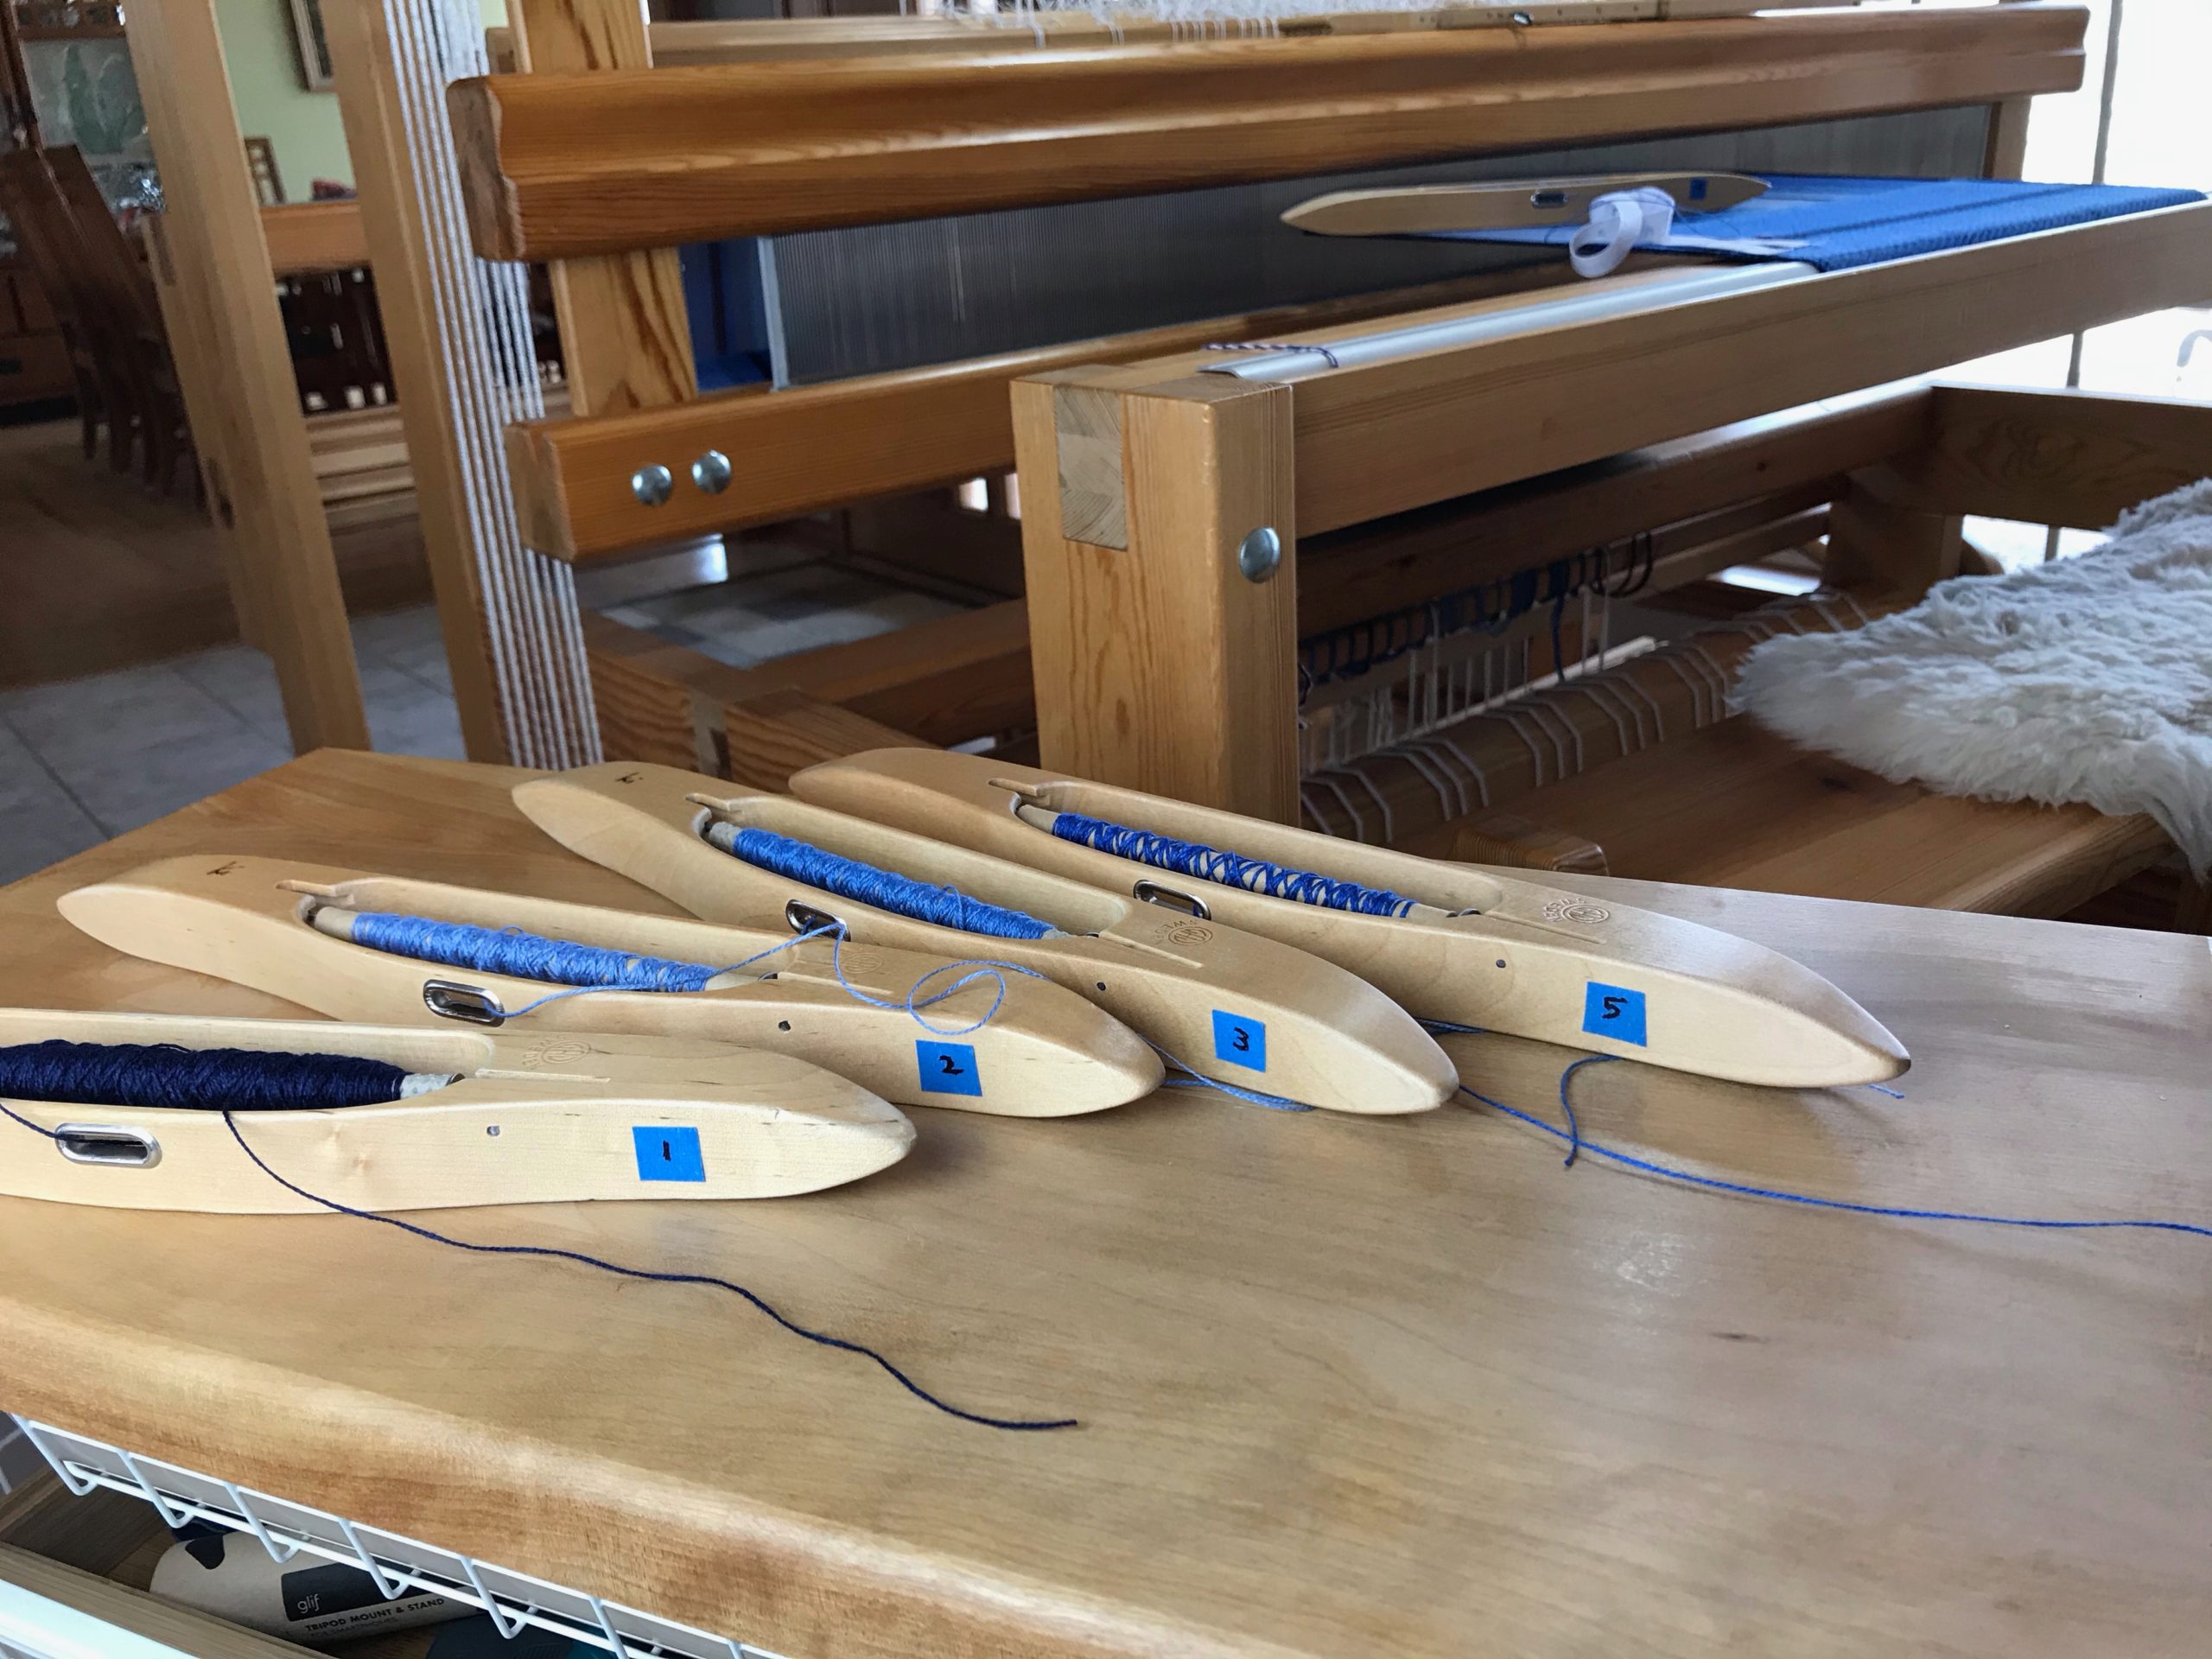
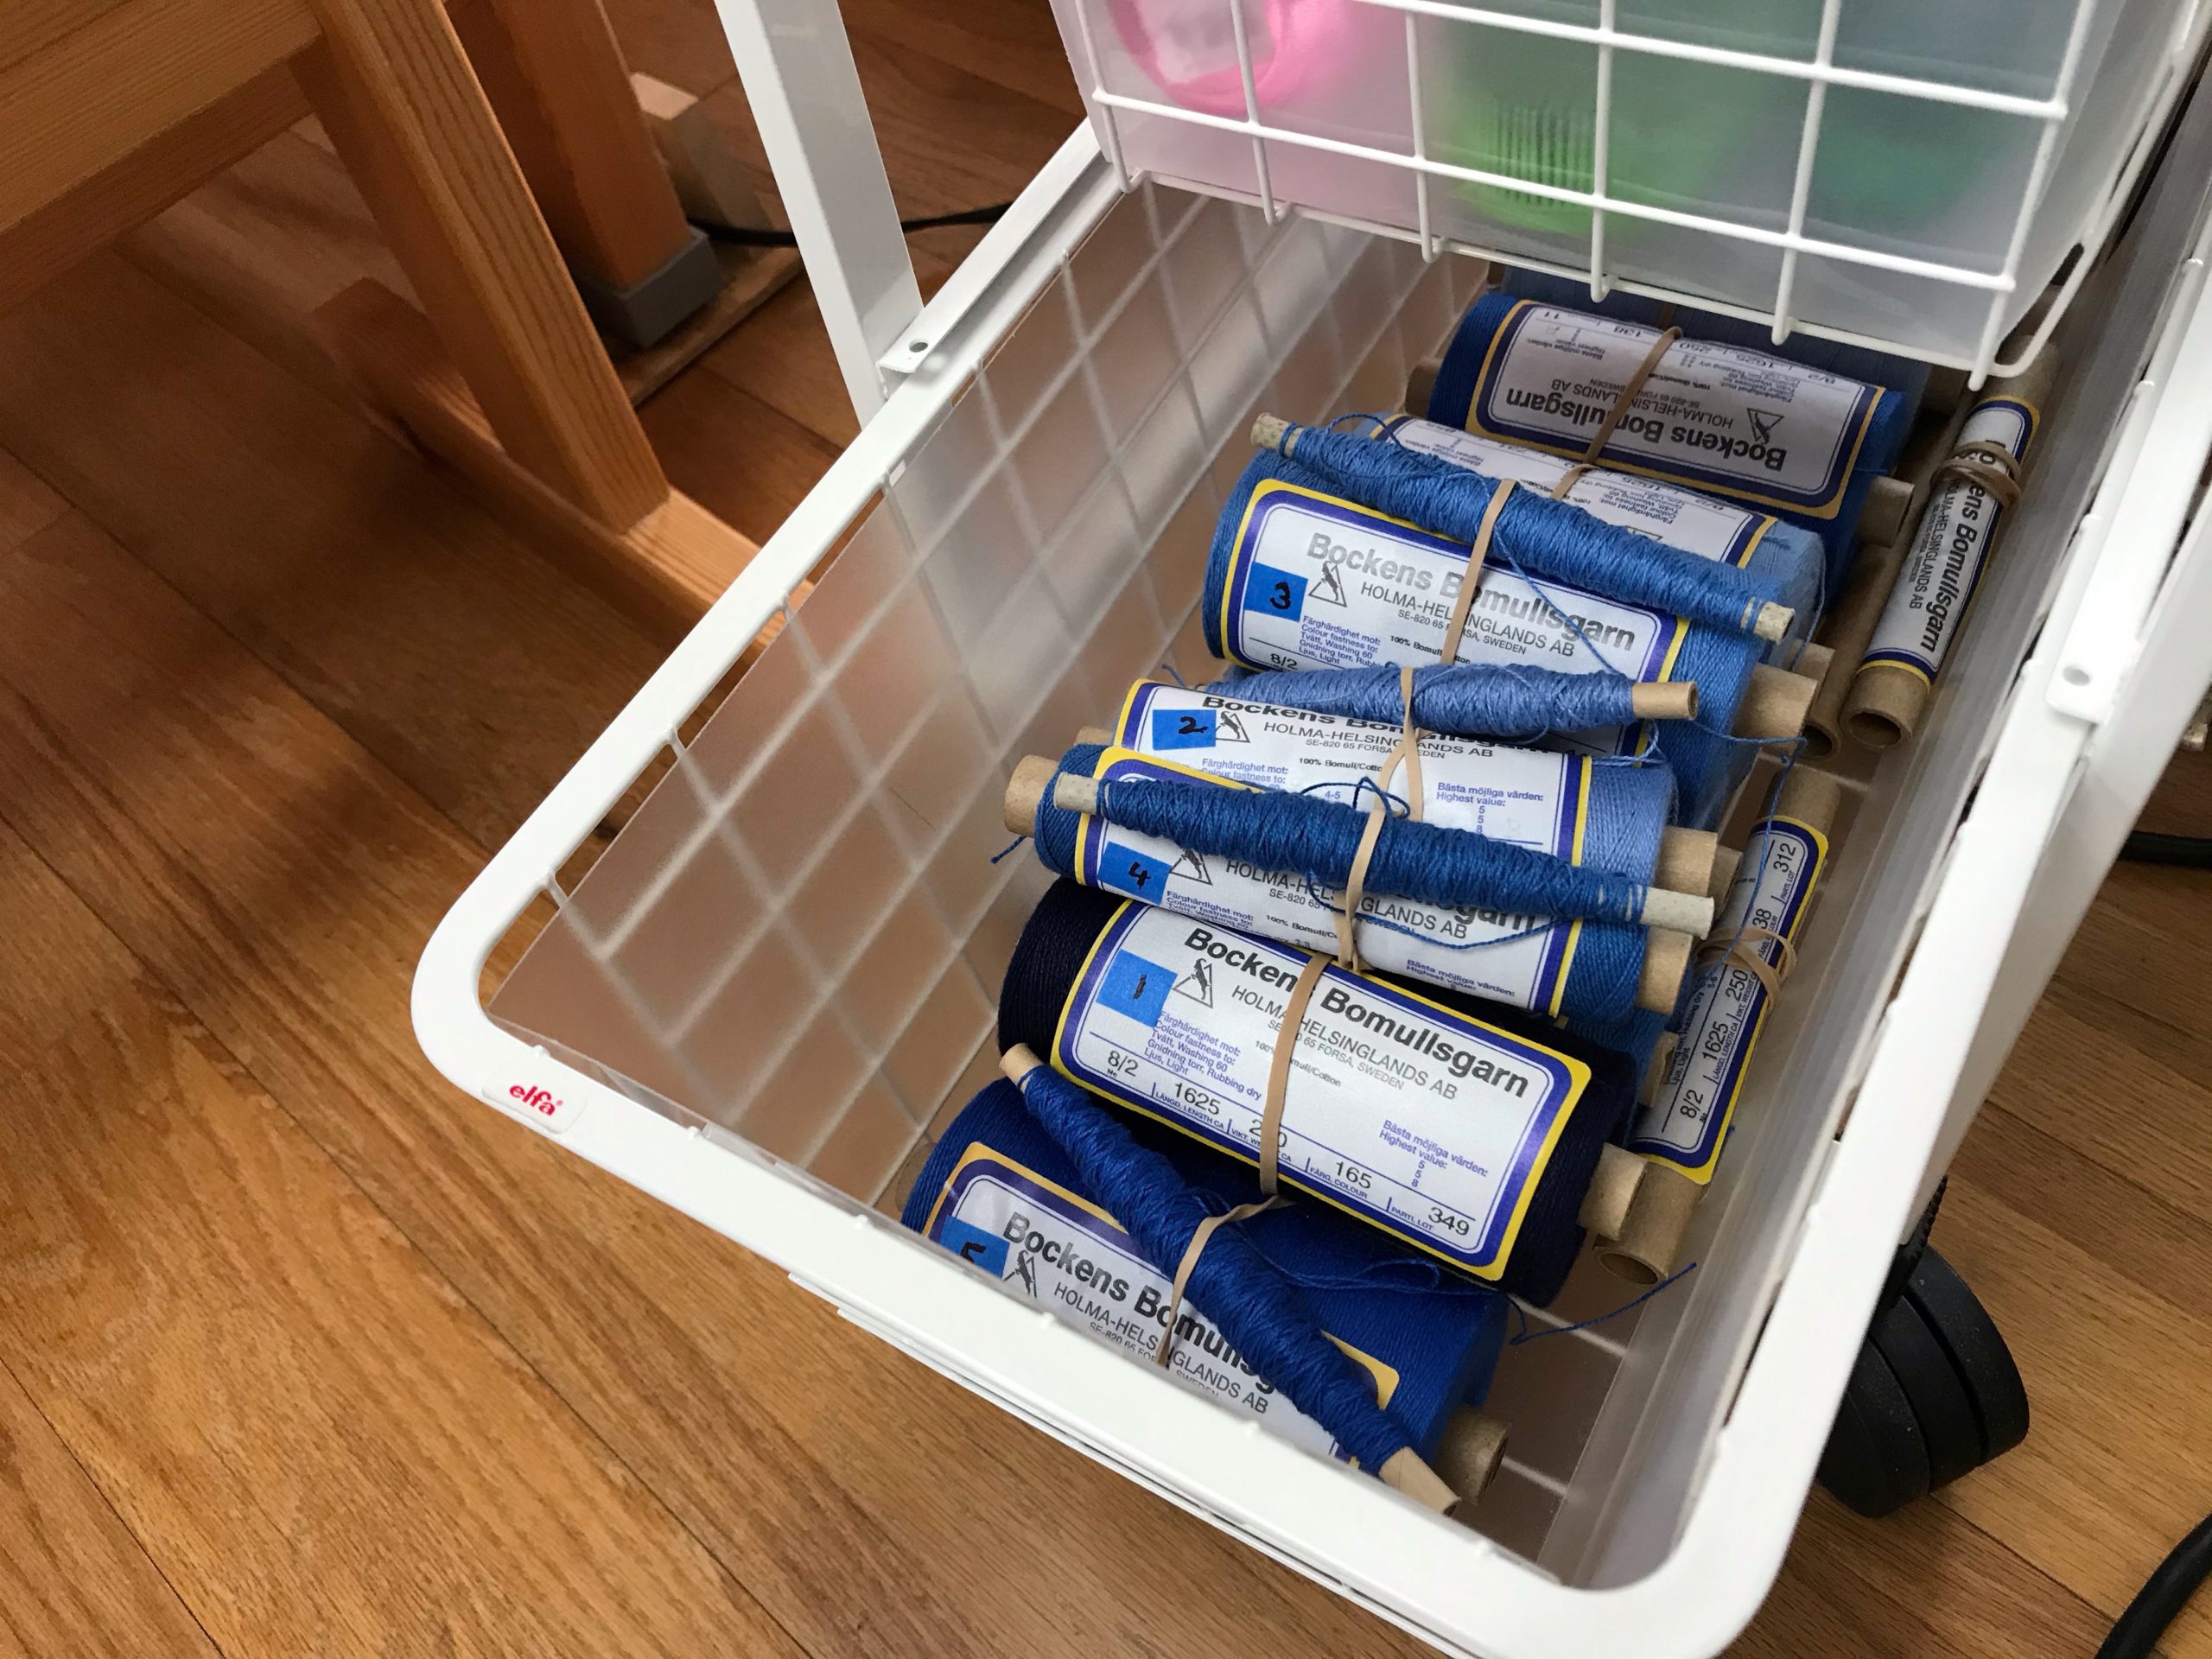
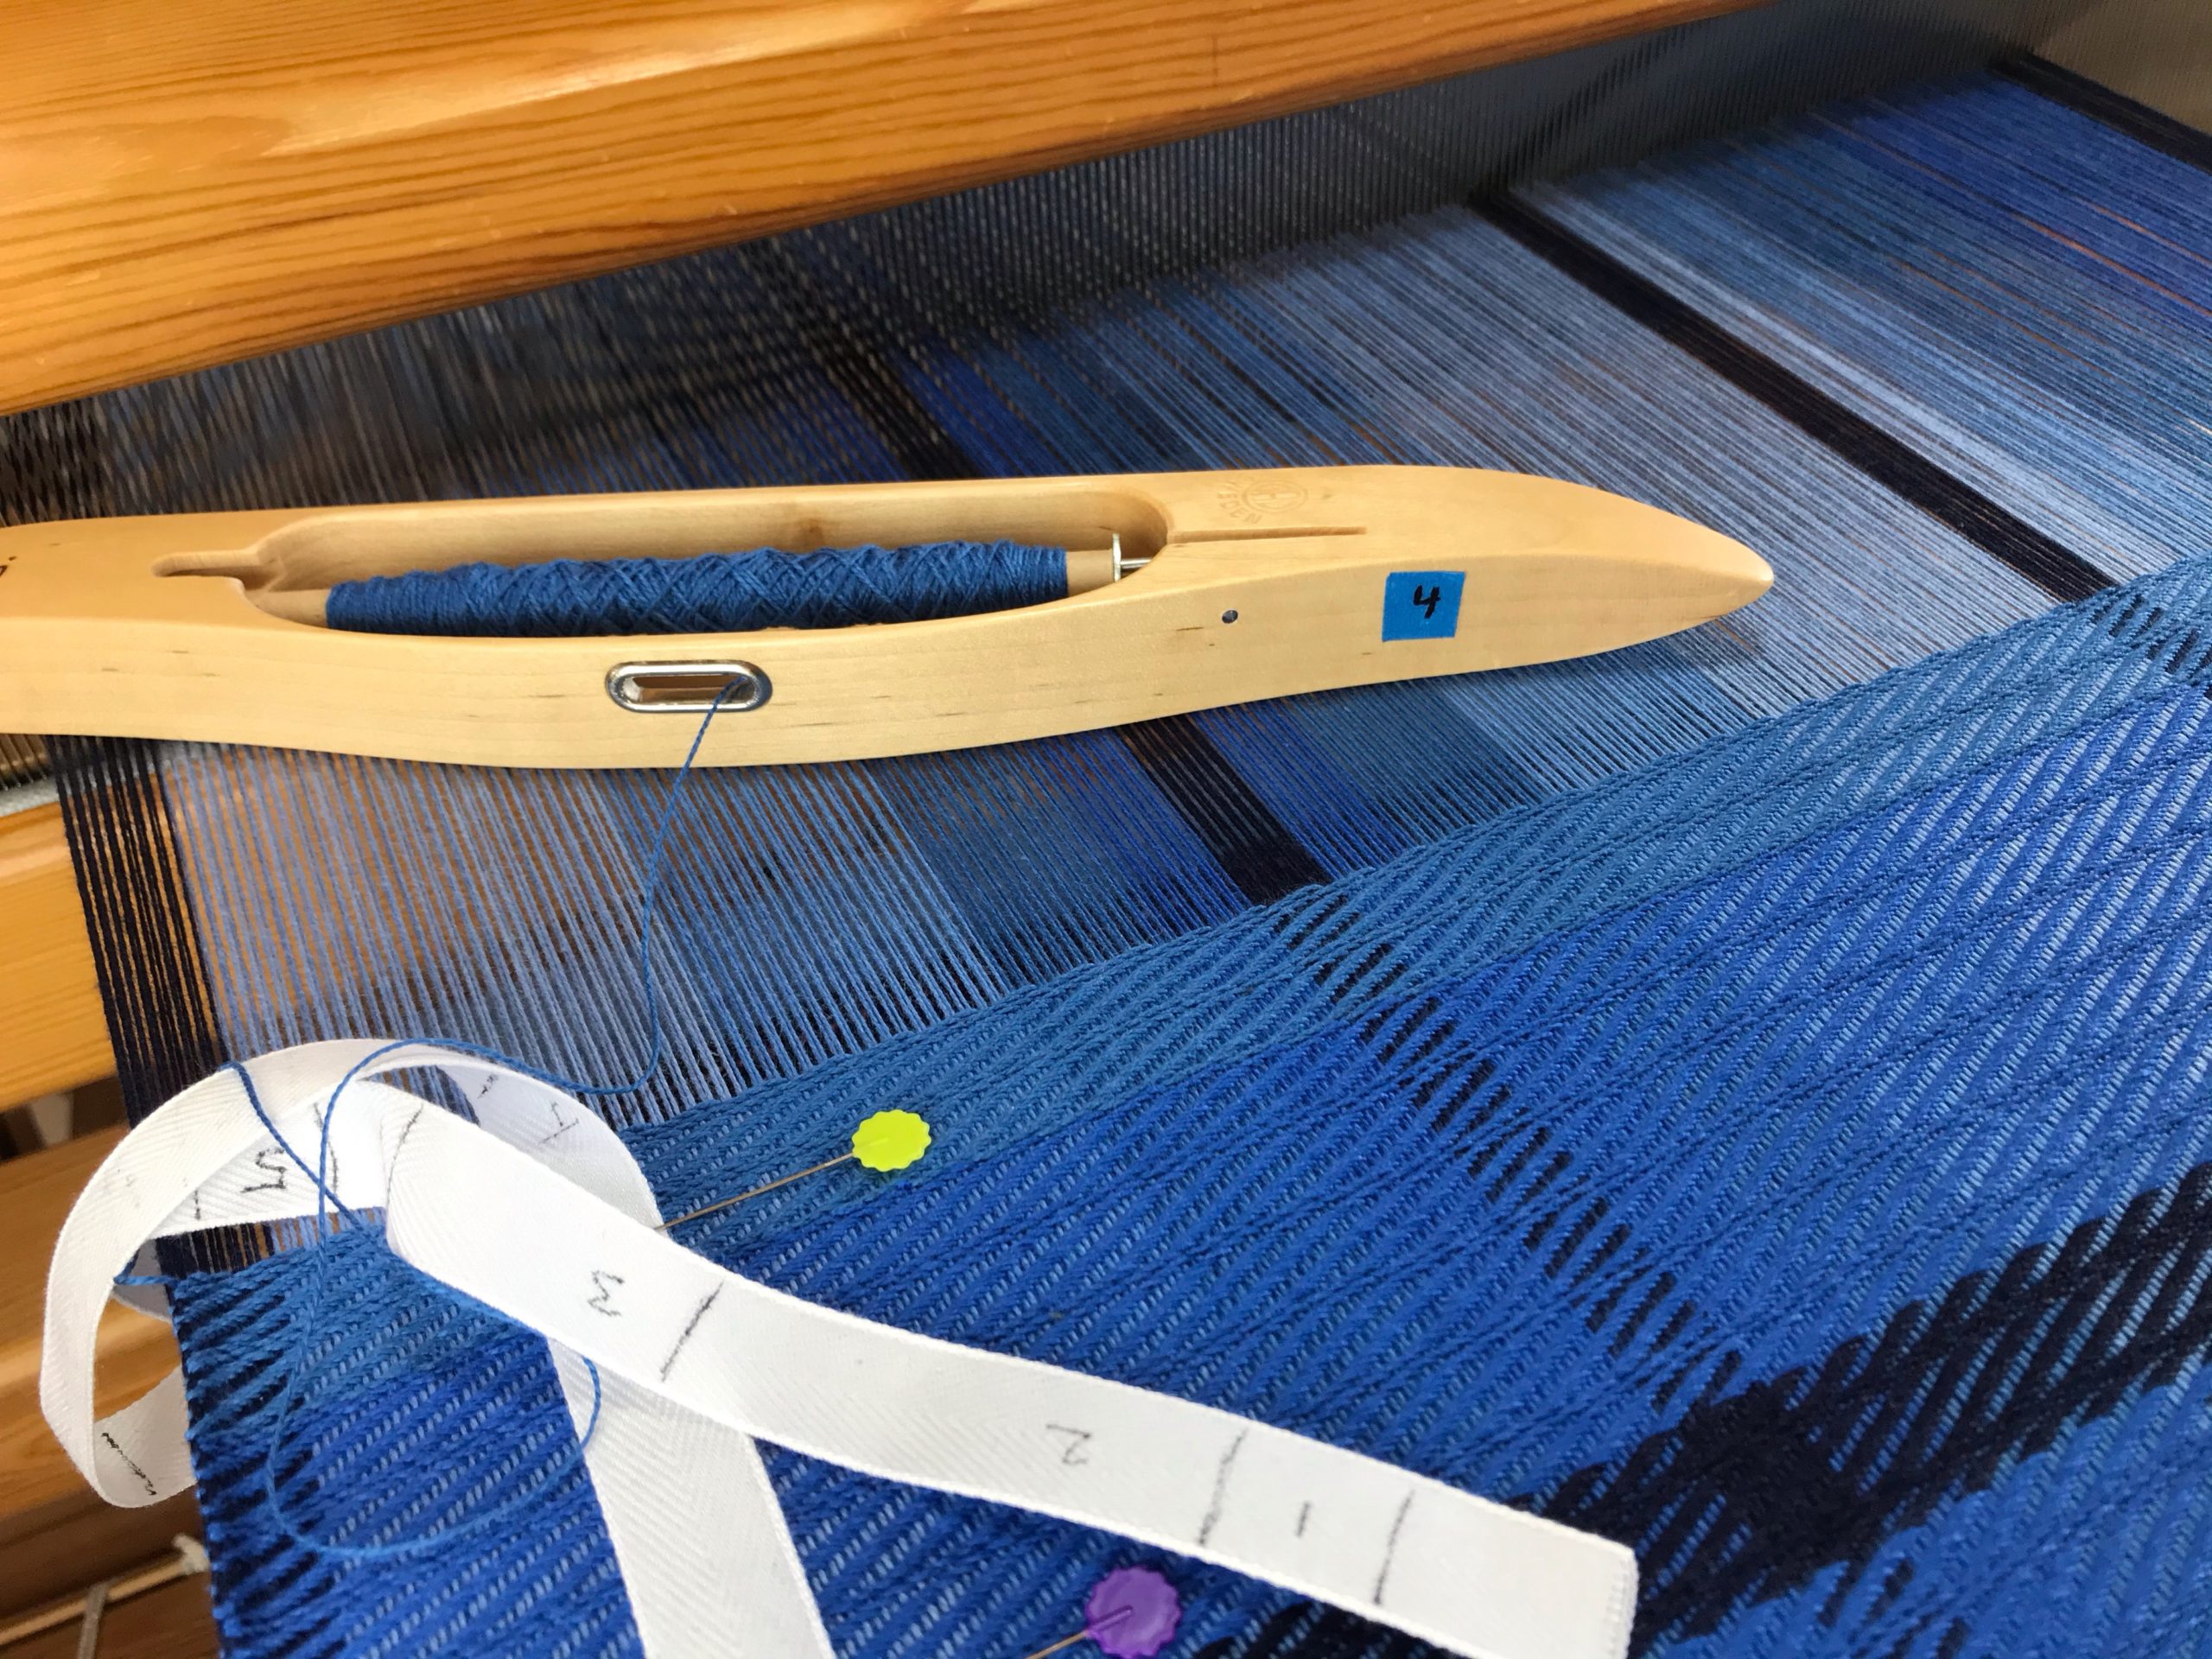
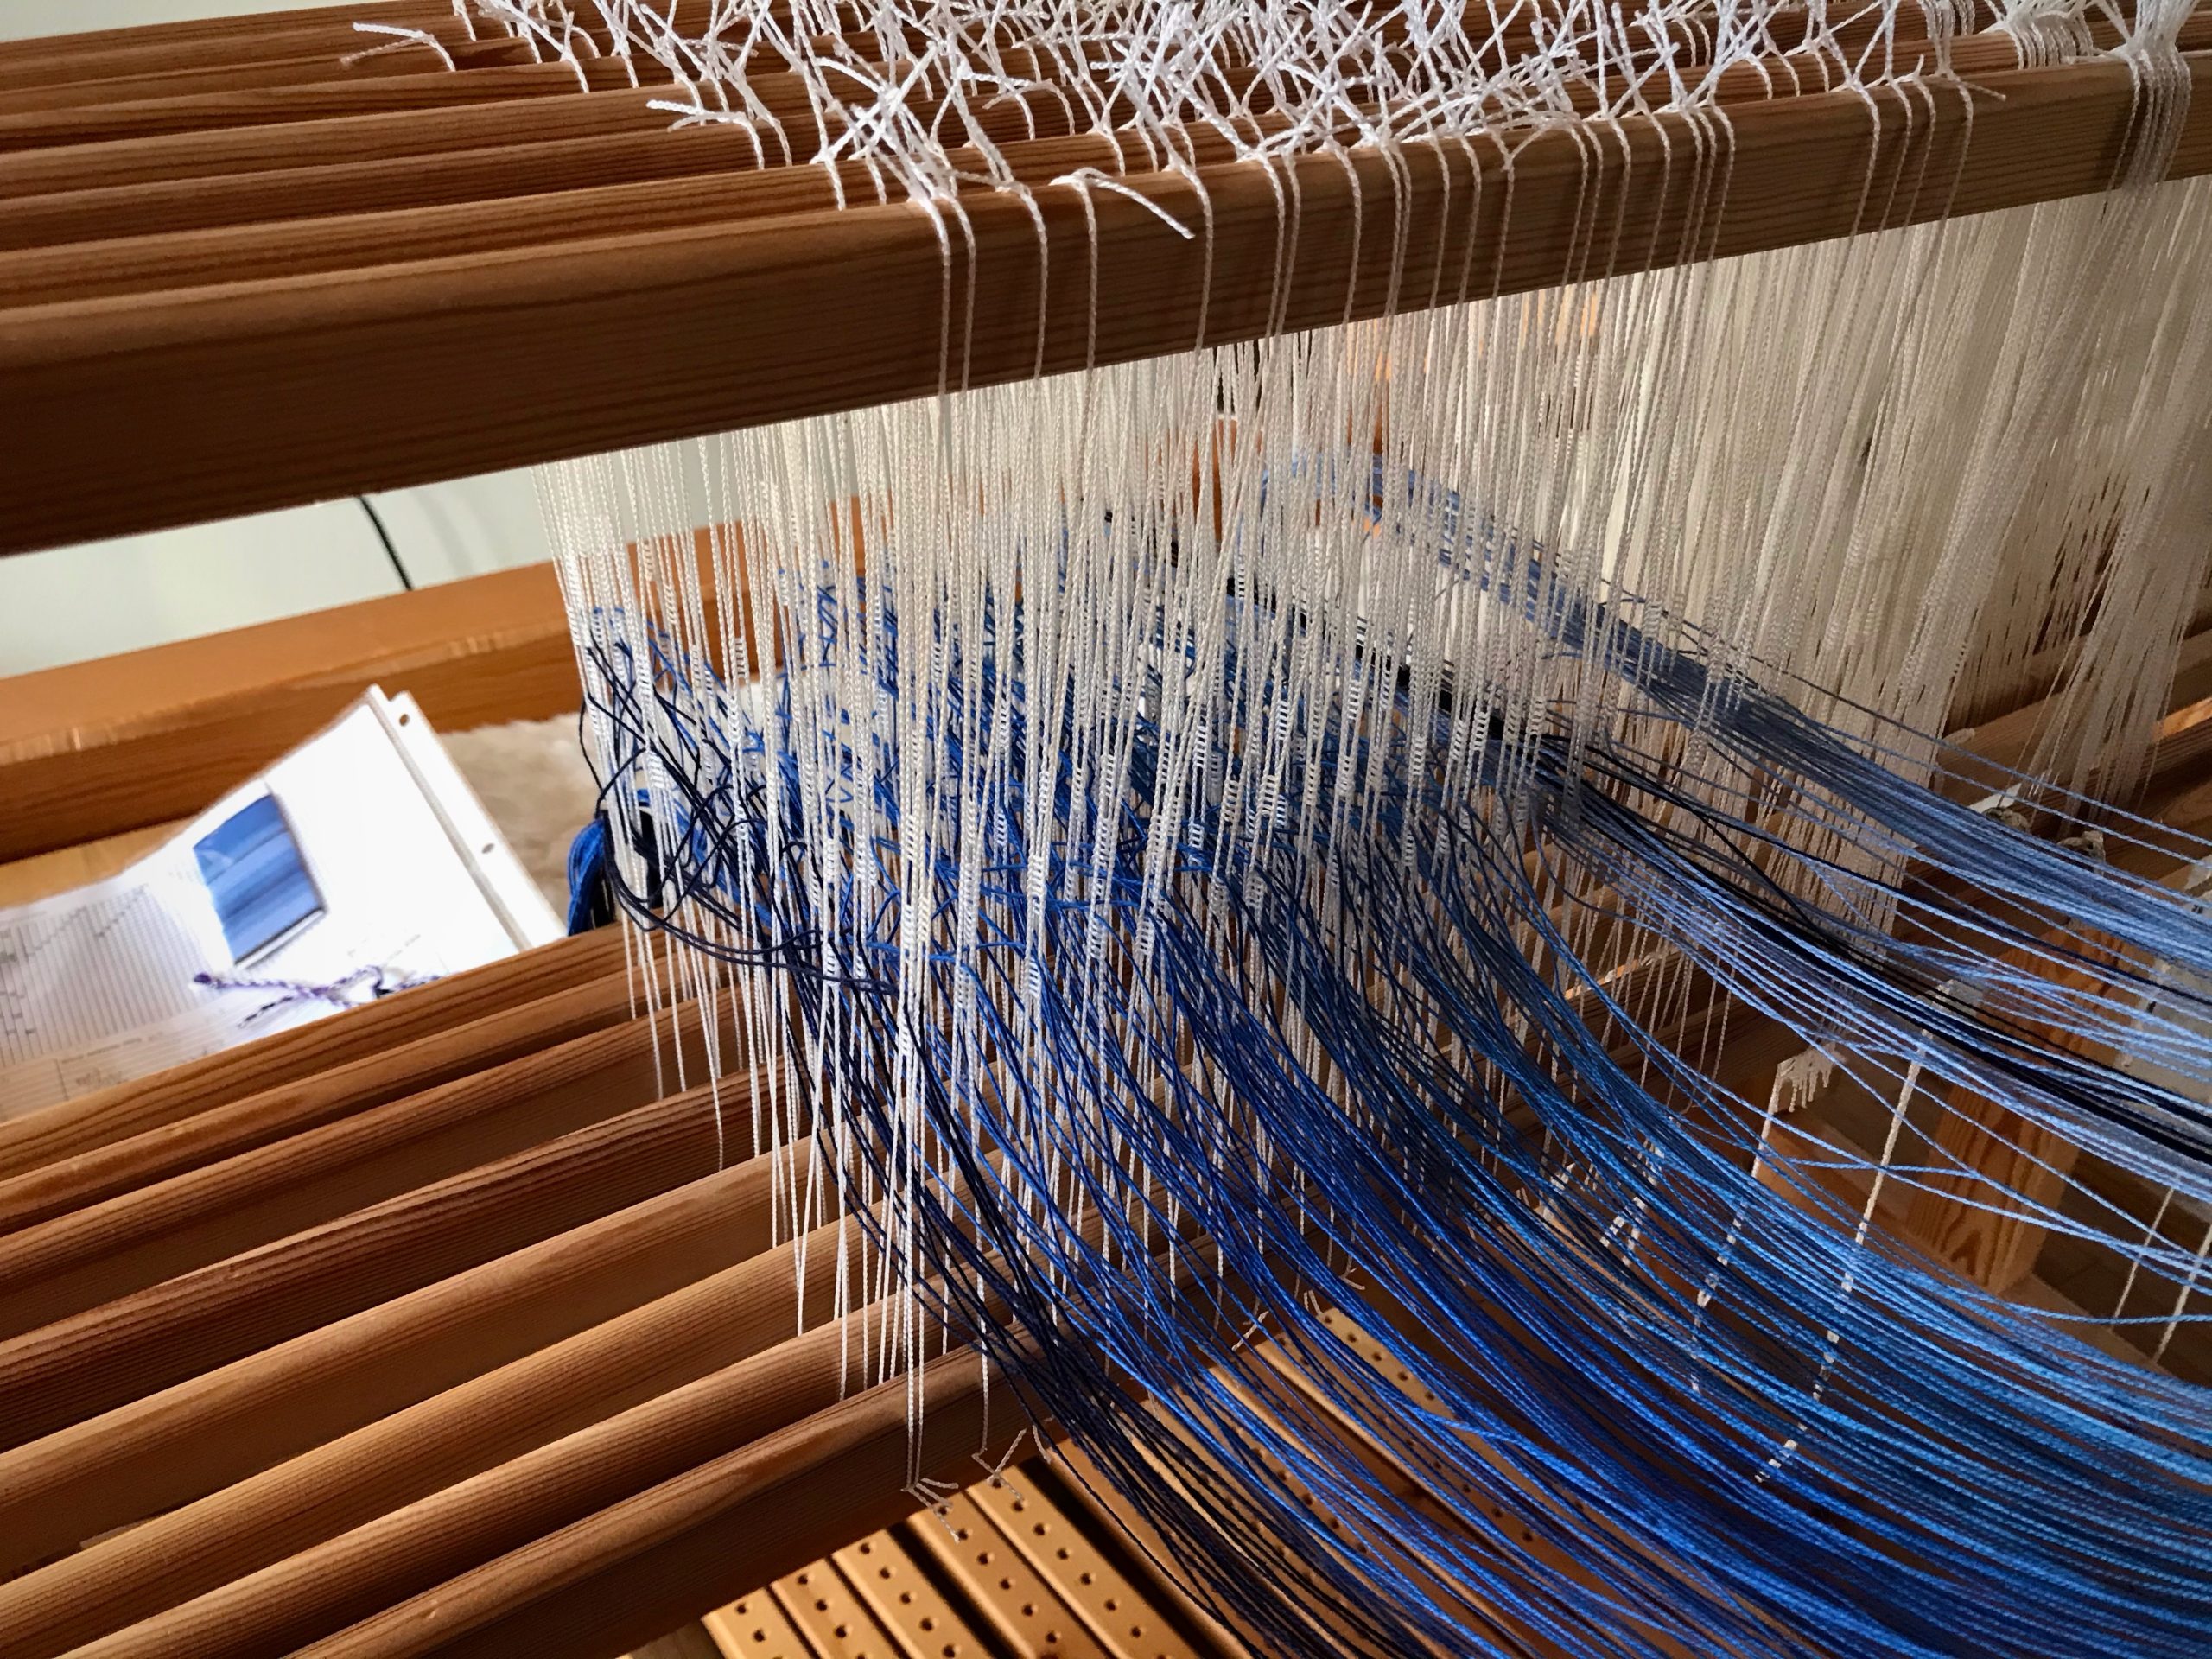
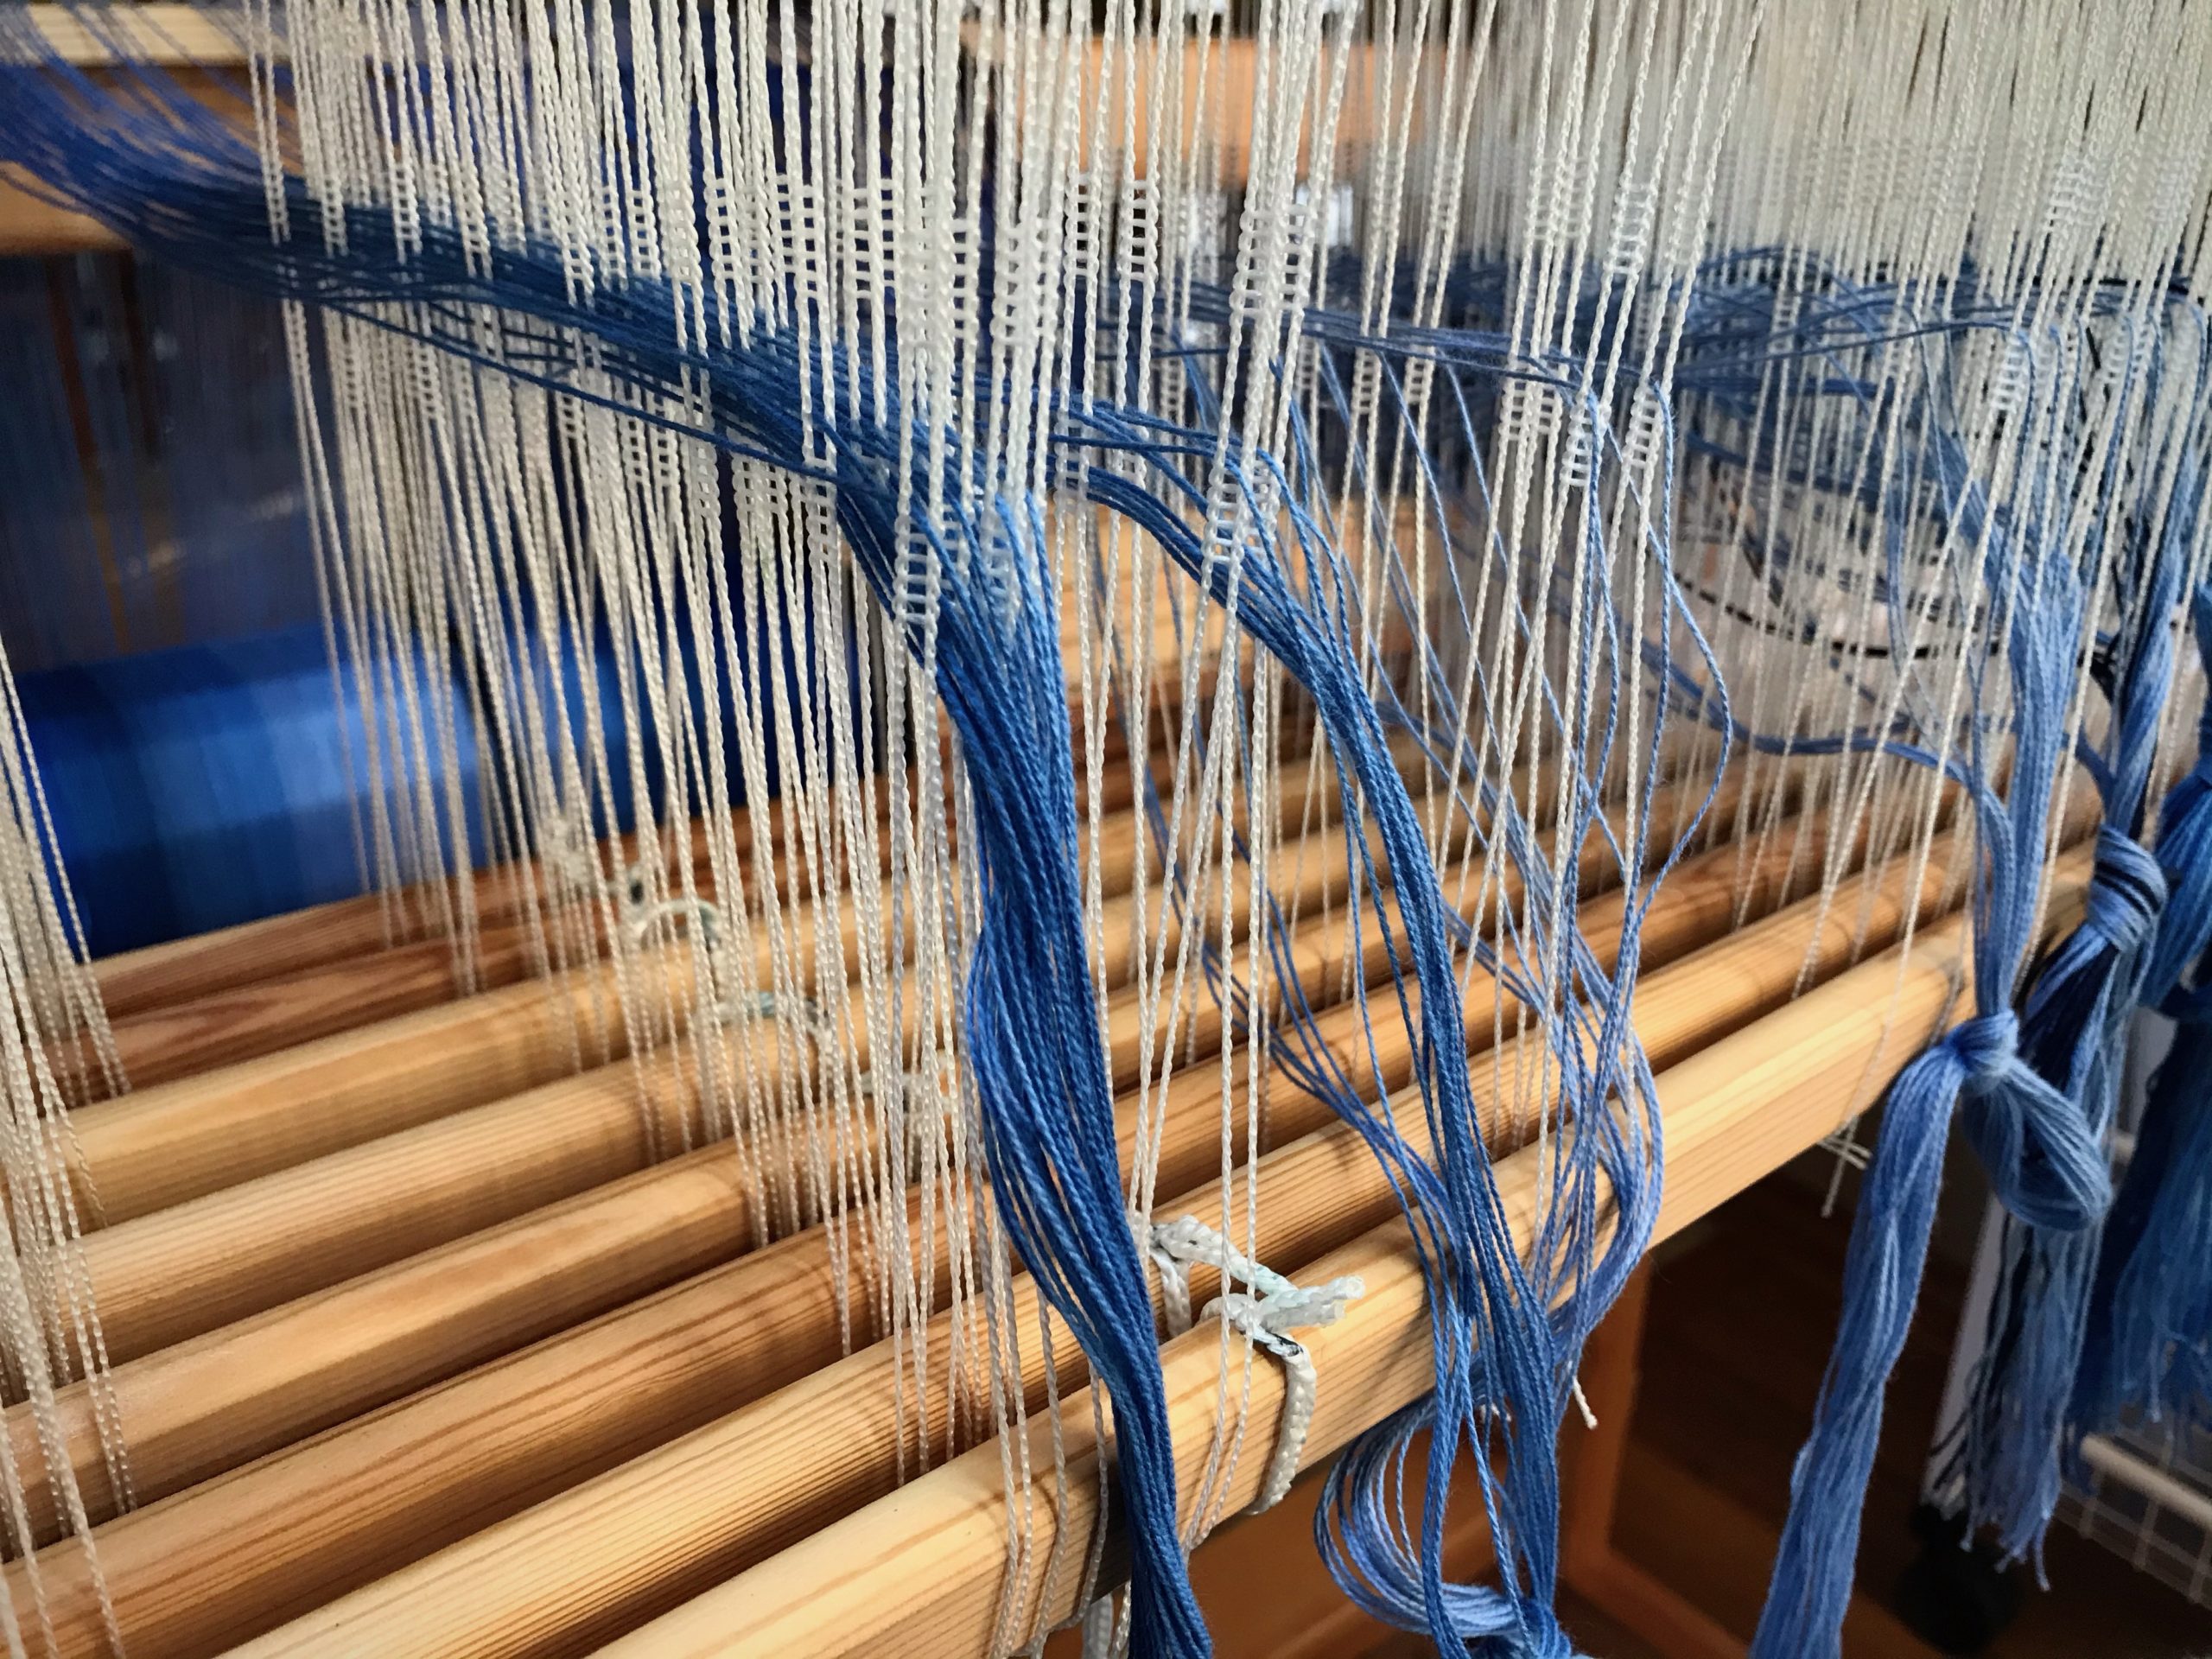
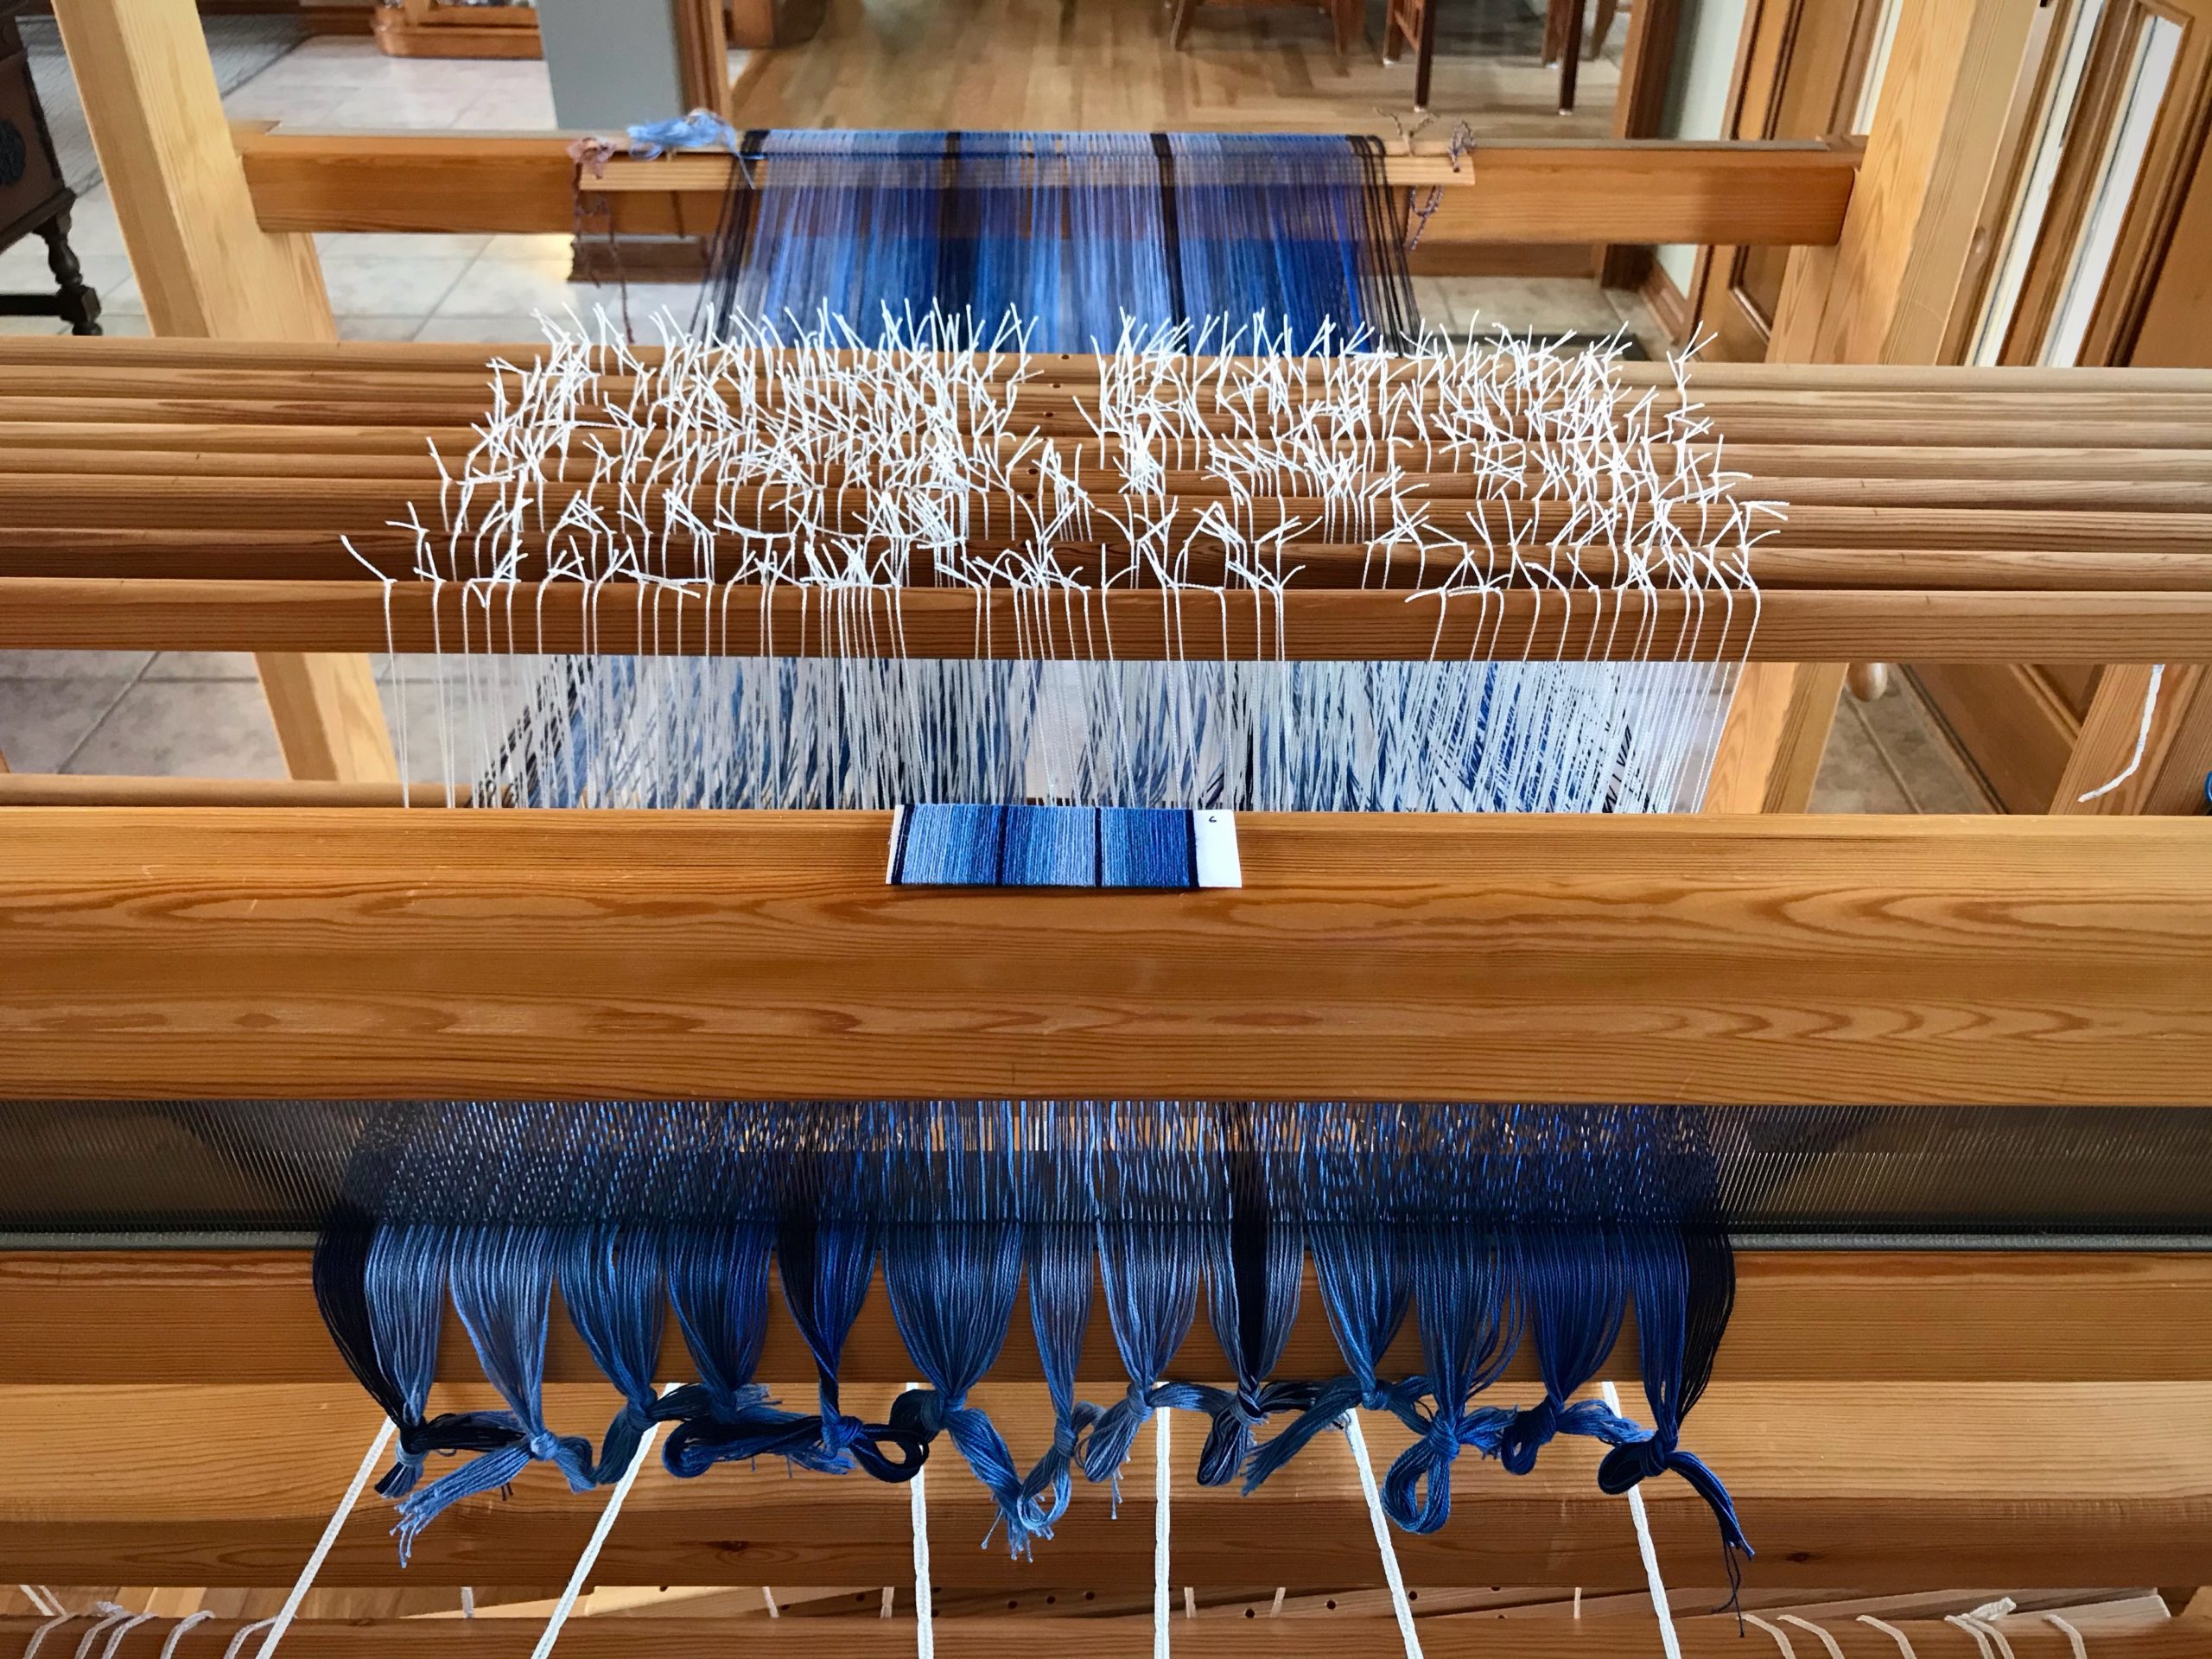
The blue threads for this project are delightful! Four shades of blue, from pale blue to sapphire, play across the warp, accented with navy blue stripes. Lucious 8/2 cotton is threaded in eight-shaft twill. The hand of the fabric will be well suited for the chair arm- and headrest- covers I have planned. This blue color sequence is the winning combination from the thread wrappings I showed you in October. (See Warp Sequence Planning.)

Threading heddles for 8-shaft twill.
Project notes sit with me on the loom bench.
Beautiful blue Bockens 8/2 cotton!
Beautiful warp beam gives a glimpse of how the blue flows together.

My warp planning had a calculation error. I went on my merry way, winding the warp, beaming the warp, and threading the heddles. Until, …Surprise! I have three extra ends left after all the heddles are threaded. Fortunately, there is grace at the loom. I pull the navy blue border threads and three light blue threads out of their heddles and re-thread the navy blue border stripe. The three light blue ends will hang off the back, unused. All is well.

Warp color sequence - blue, blue, blue, blue!
Three light blue ends sit on top of the lease stick tied to the back beam. These extra warp threads will hang off the back and stay out of the way of the warp being woven.

Grace is like that. We mess up, find and admit our wrong, and the Lord Jesus forgives, granting us a new start. When we are wrong we need grace. What about when others are wrong? When the errors of others affect us, what shall we do? Forgiveness is our only option. There is no good reason to hold those error threads and weave them into our fabric.

May you be a recipient of grace.

Your friend,
Karen

Tried and True: Slay – Sleigh – Sley

Slay the dragon. Ride the sleigh. Sley the reed. To succeed in these challenges, you must be prepared, pay attention, and make sure you’re on the right track. Here, I’m going to focus on sleying the reed with success. (For dragon slaying and sleigh riding challenges, I won’t be of much help.) Don’t miss the new video below with tips for sleying the reed.

Loom lighting makes a difference!
Shop light attached to top of loom provides good general lighting to all working areas of the loom. Smaller clip-on lamp provides directed light for detail work, like sleying a dense reed.
Clip-on lamp for detail work at the loom.
Even in a room filled with natural light, a focused bright light on the work area relieves eye strain and reduces errors.

First, make sure you have good lighting. I have a snake arm shop light attached to the top of my loom. (See Tools Day: Loom Lighting for more about loom lighting.) I also have a smaller clip-on gooseneck LED lamp, clipped onto my loom bench, that illuminates my specific working area. With a fine-dent reed, like this metric 100/10- (~ imperial 25-) dent reed, focused lighting makes a difference. It means seeing the dents instead of guessing.

Making a new video. Tips for sleying the reed.
Making a new video. Steve does the filming and I do the editing.

In this video, I share some tips for sleying the reed, with checkpoints to ensure success. (See Tools Day: Click Test for more about the “click test” mentioned in the video.)

May your dragons be few.

Yours truly,
Karen