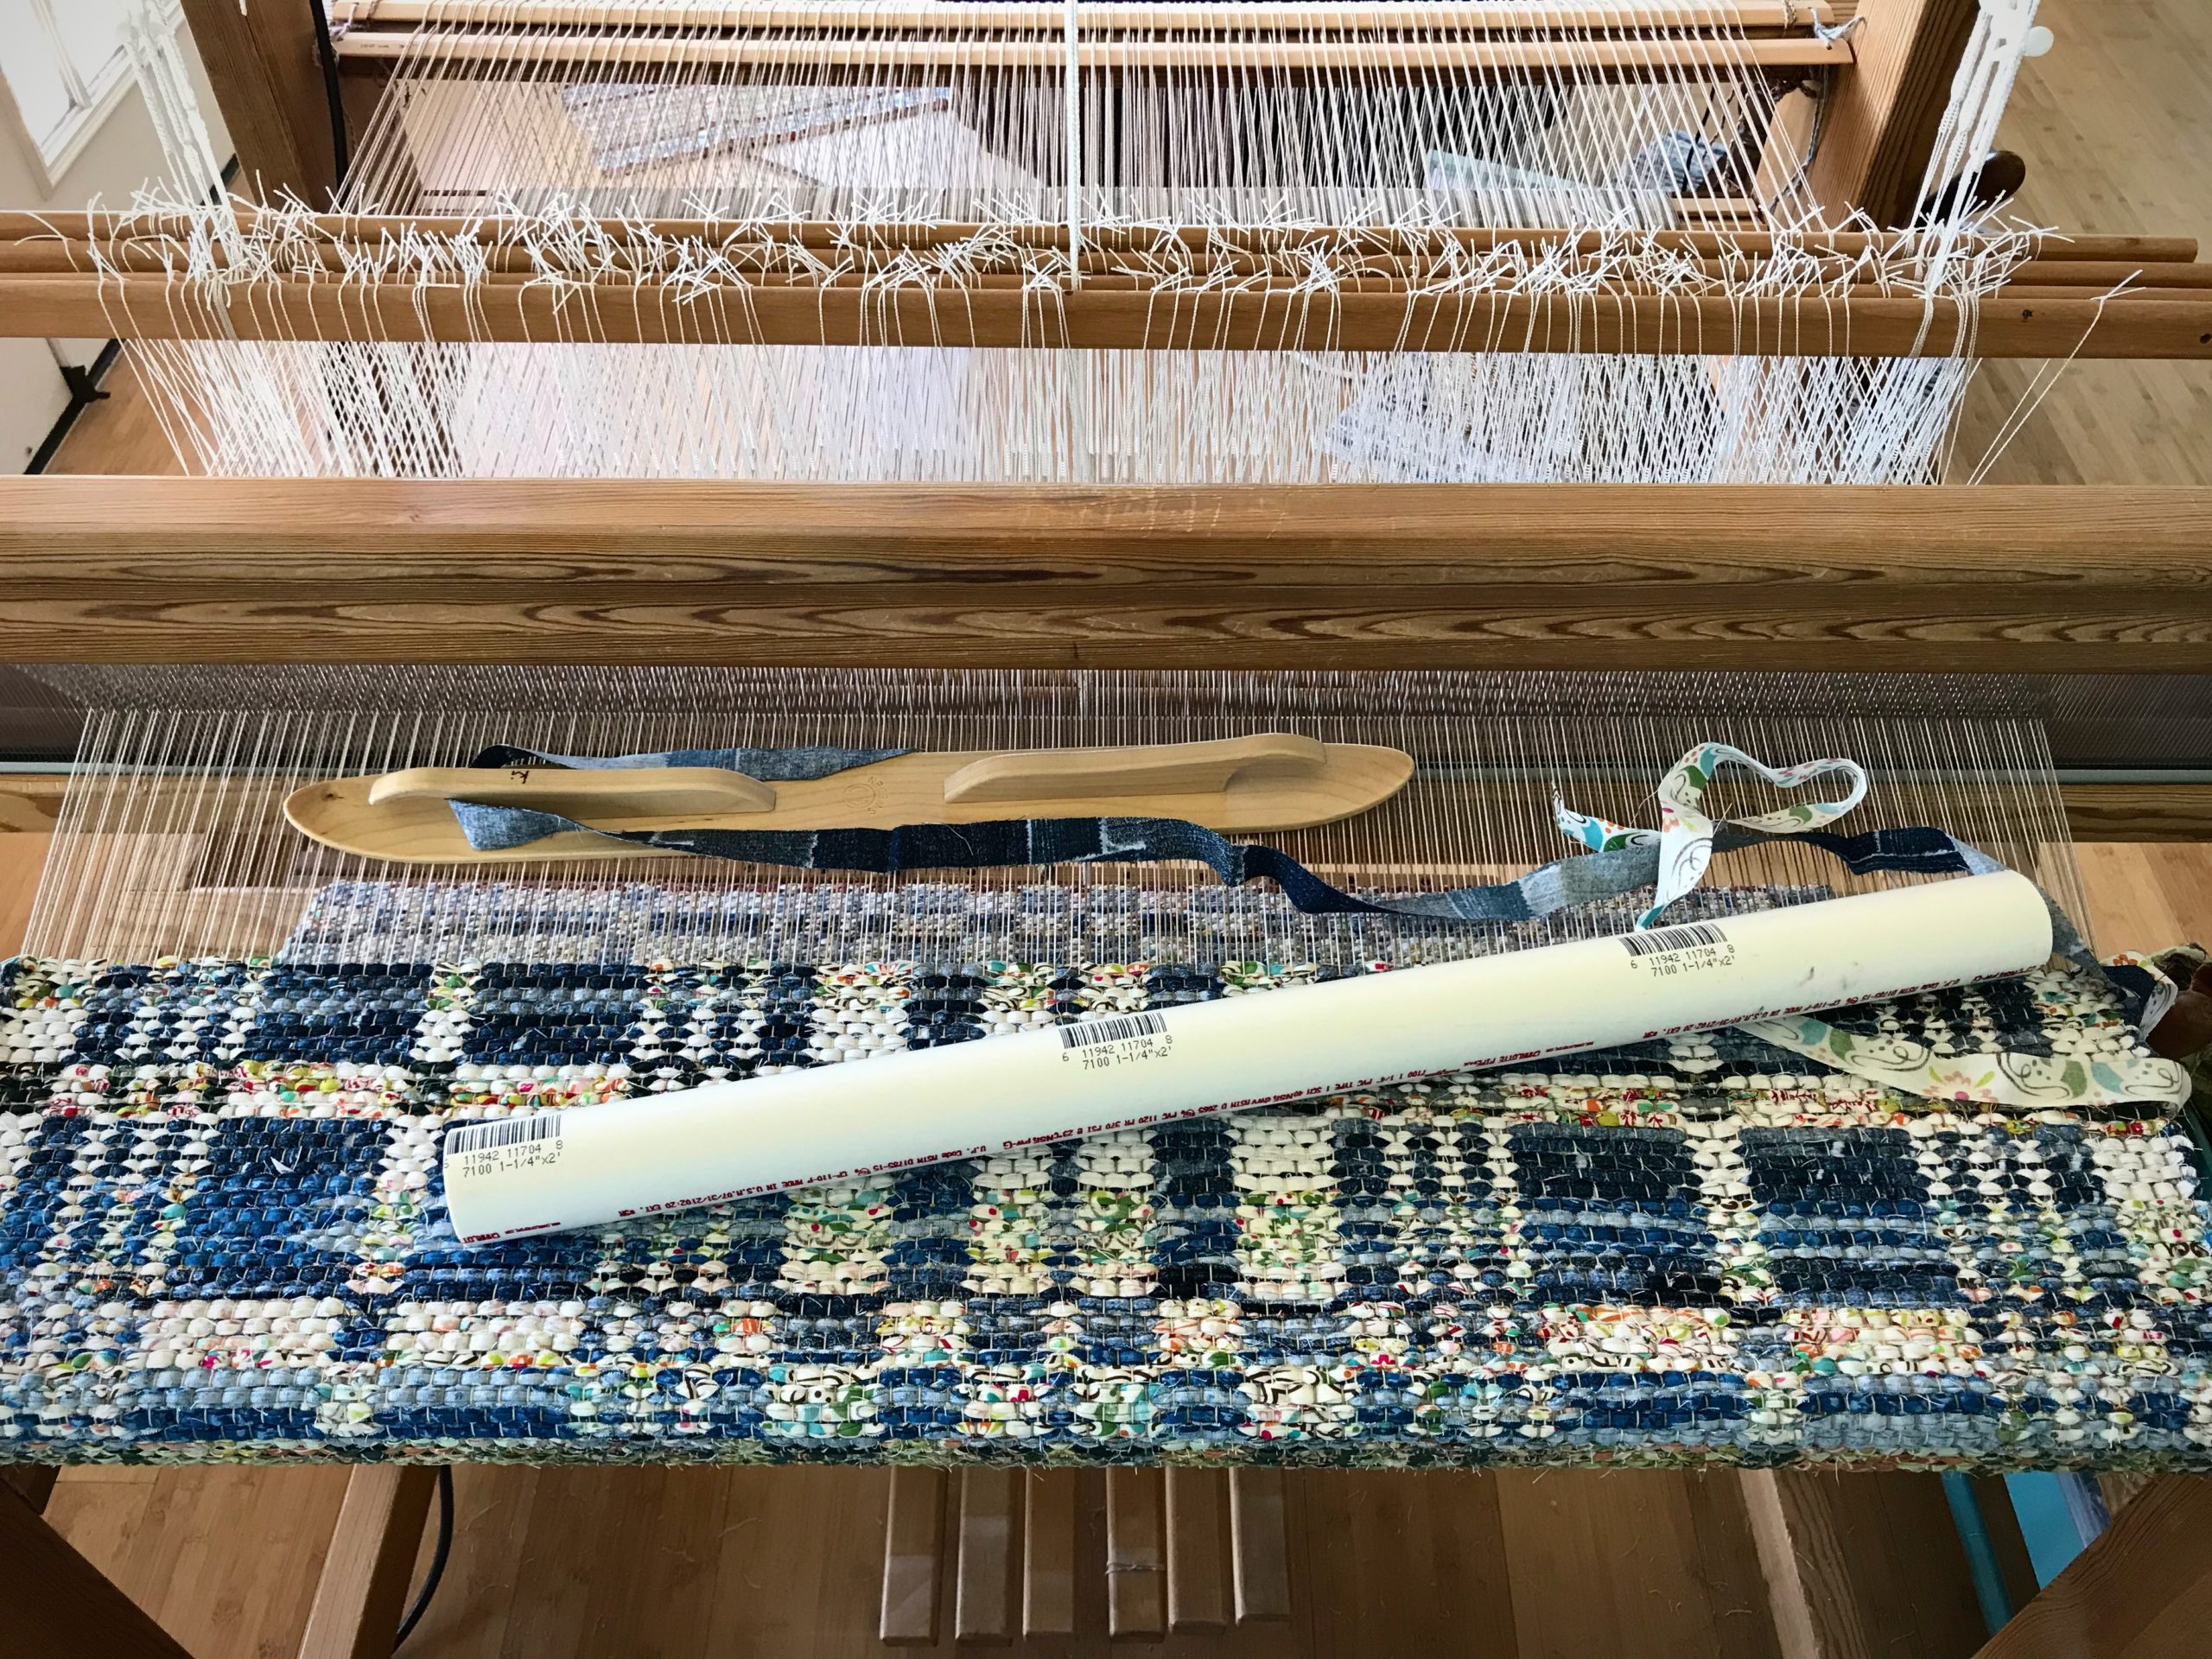
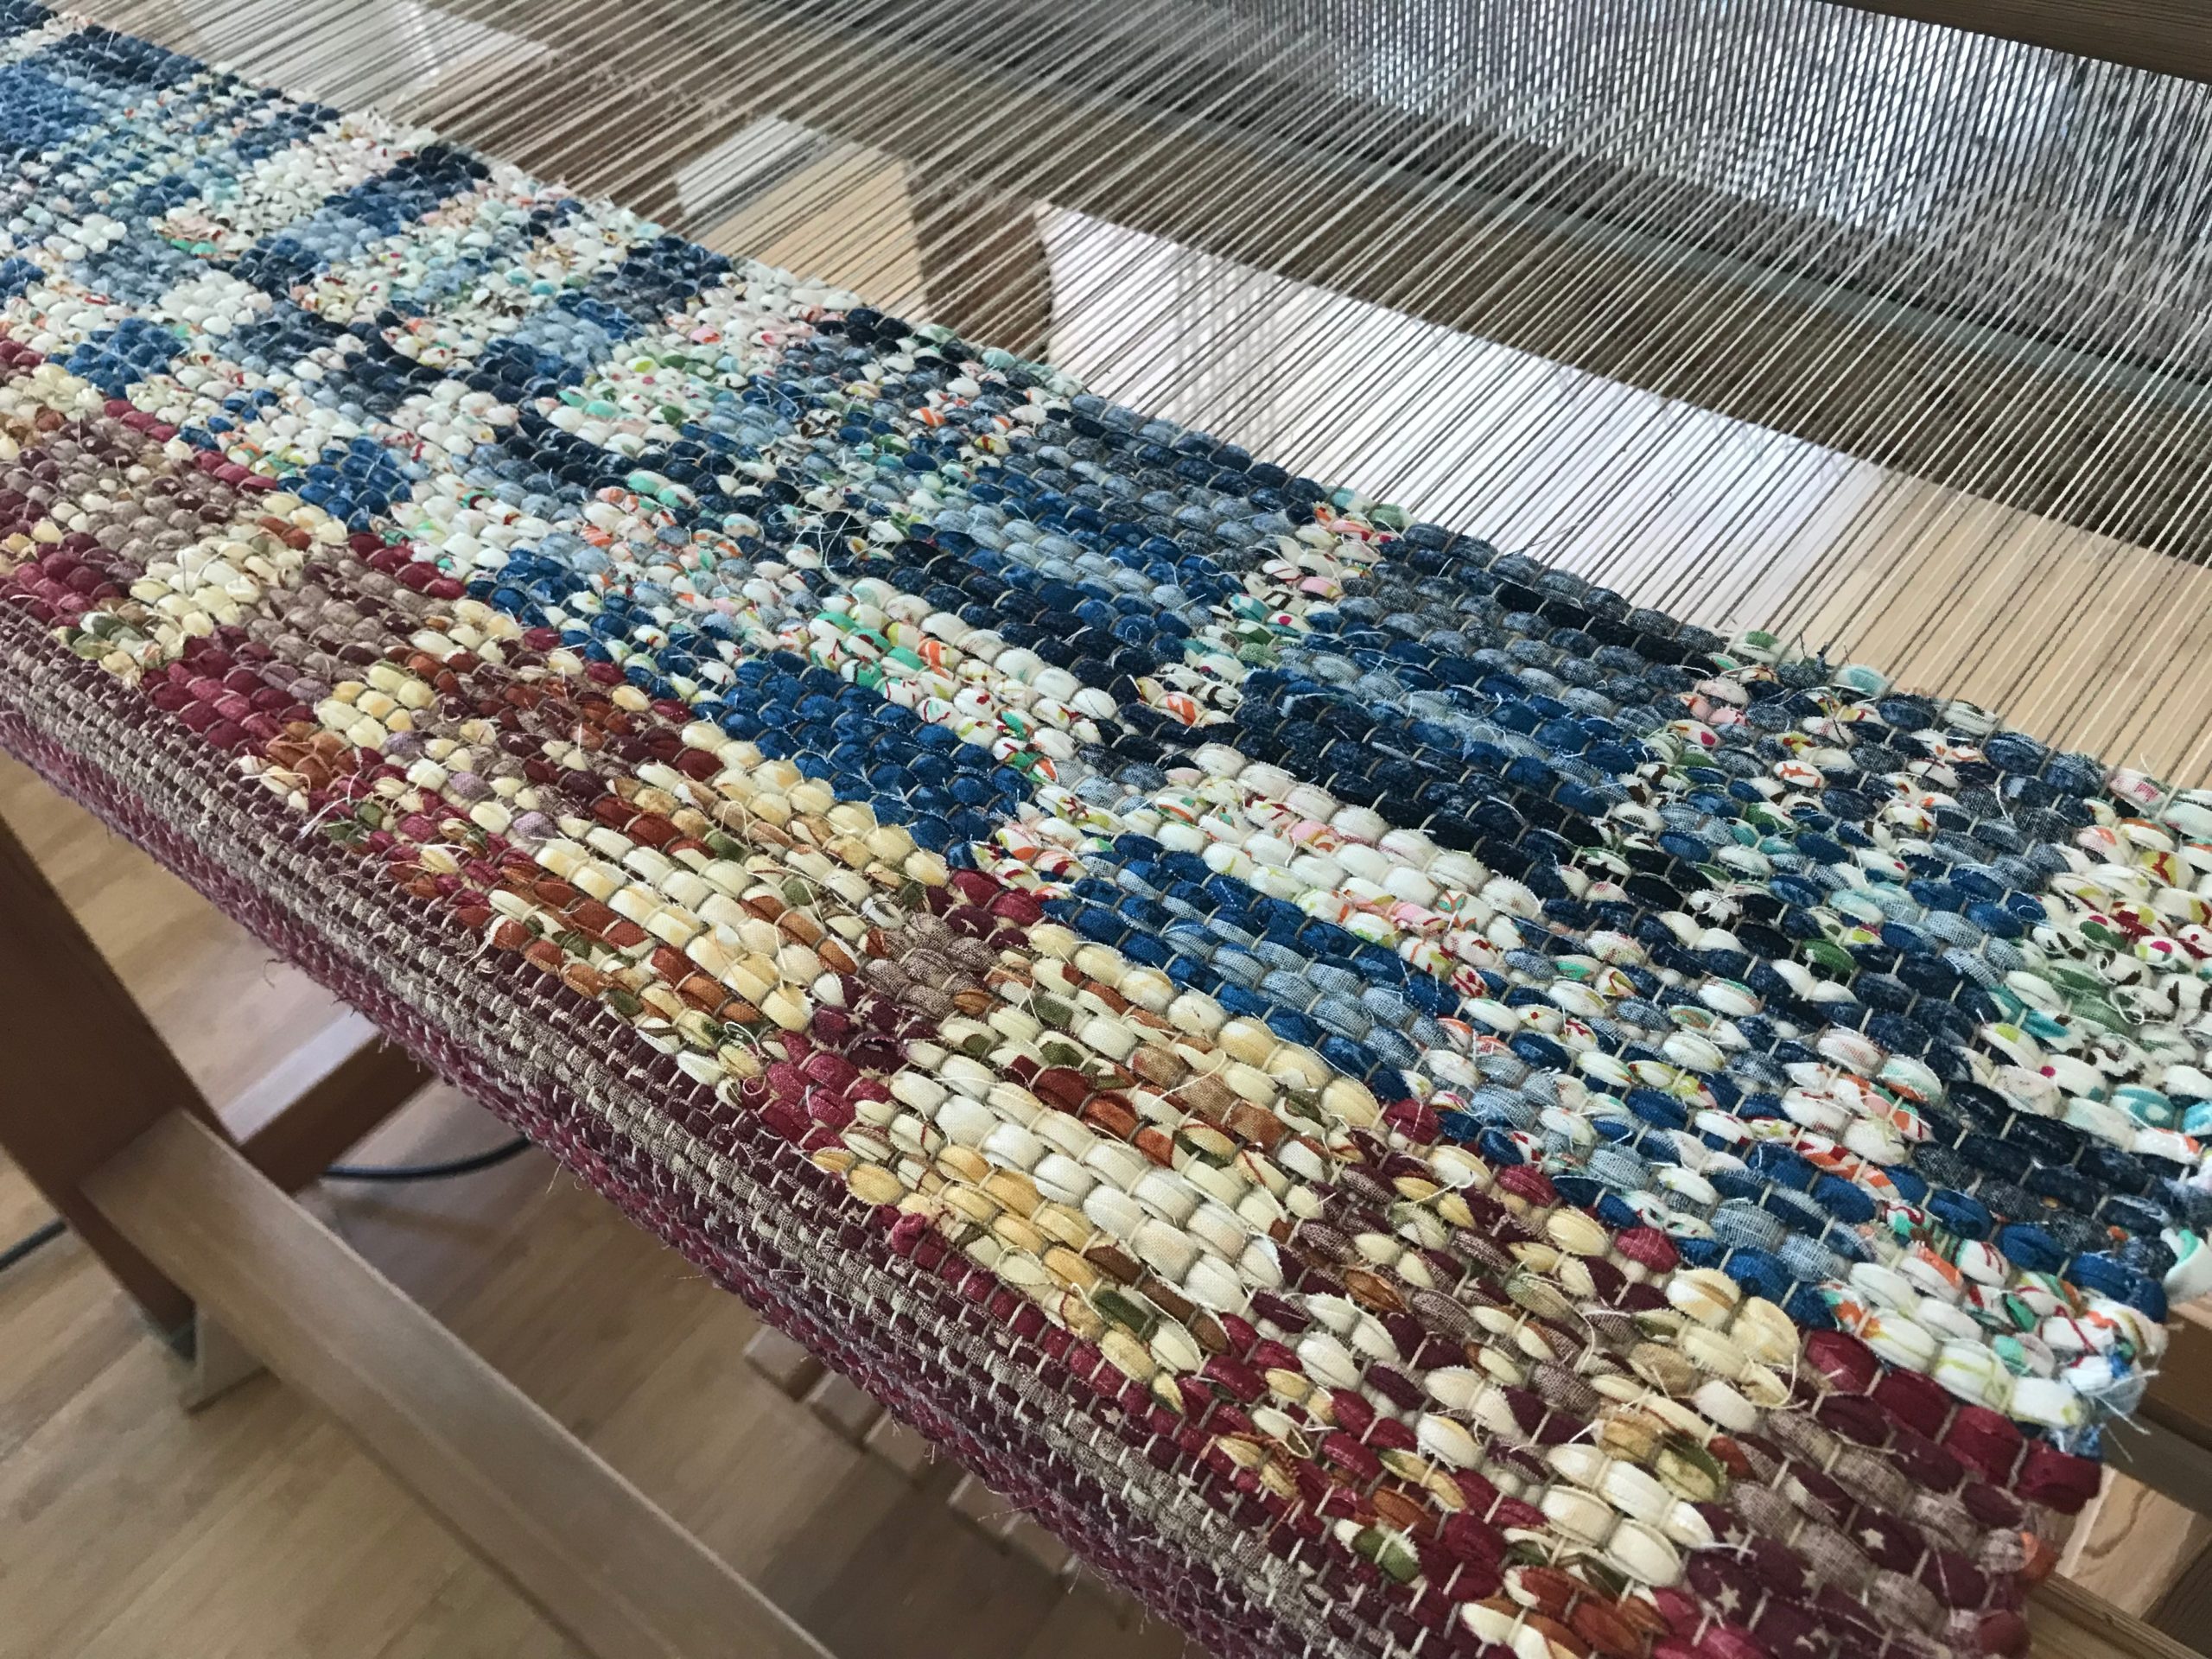
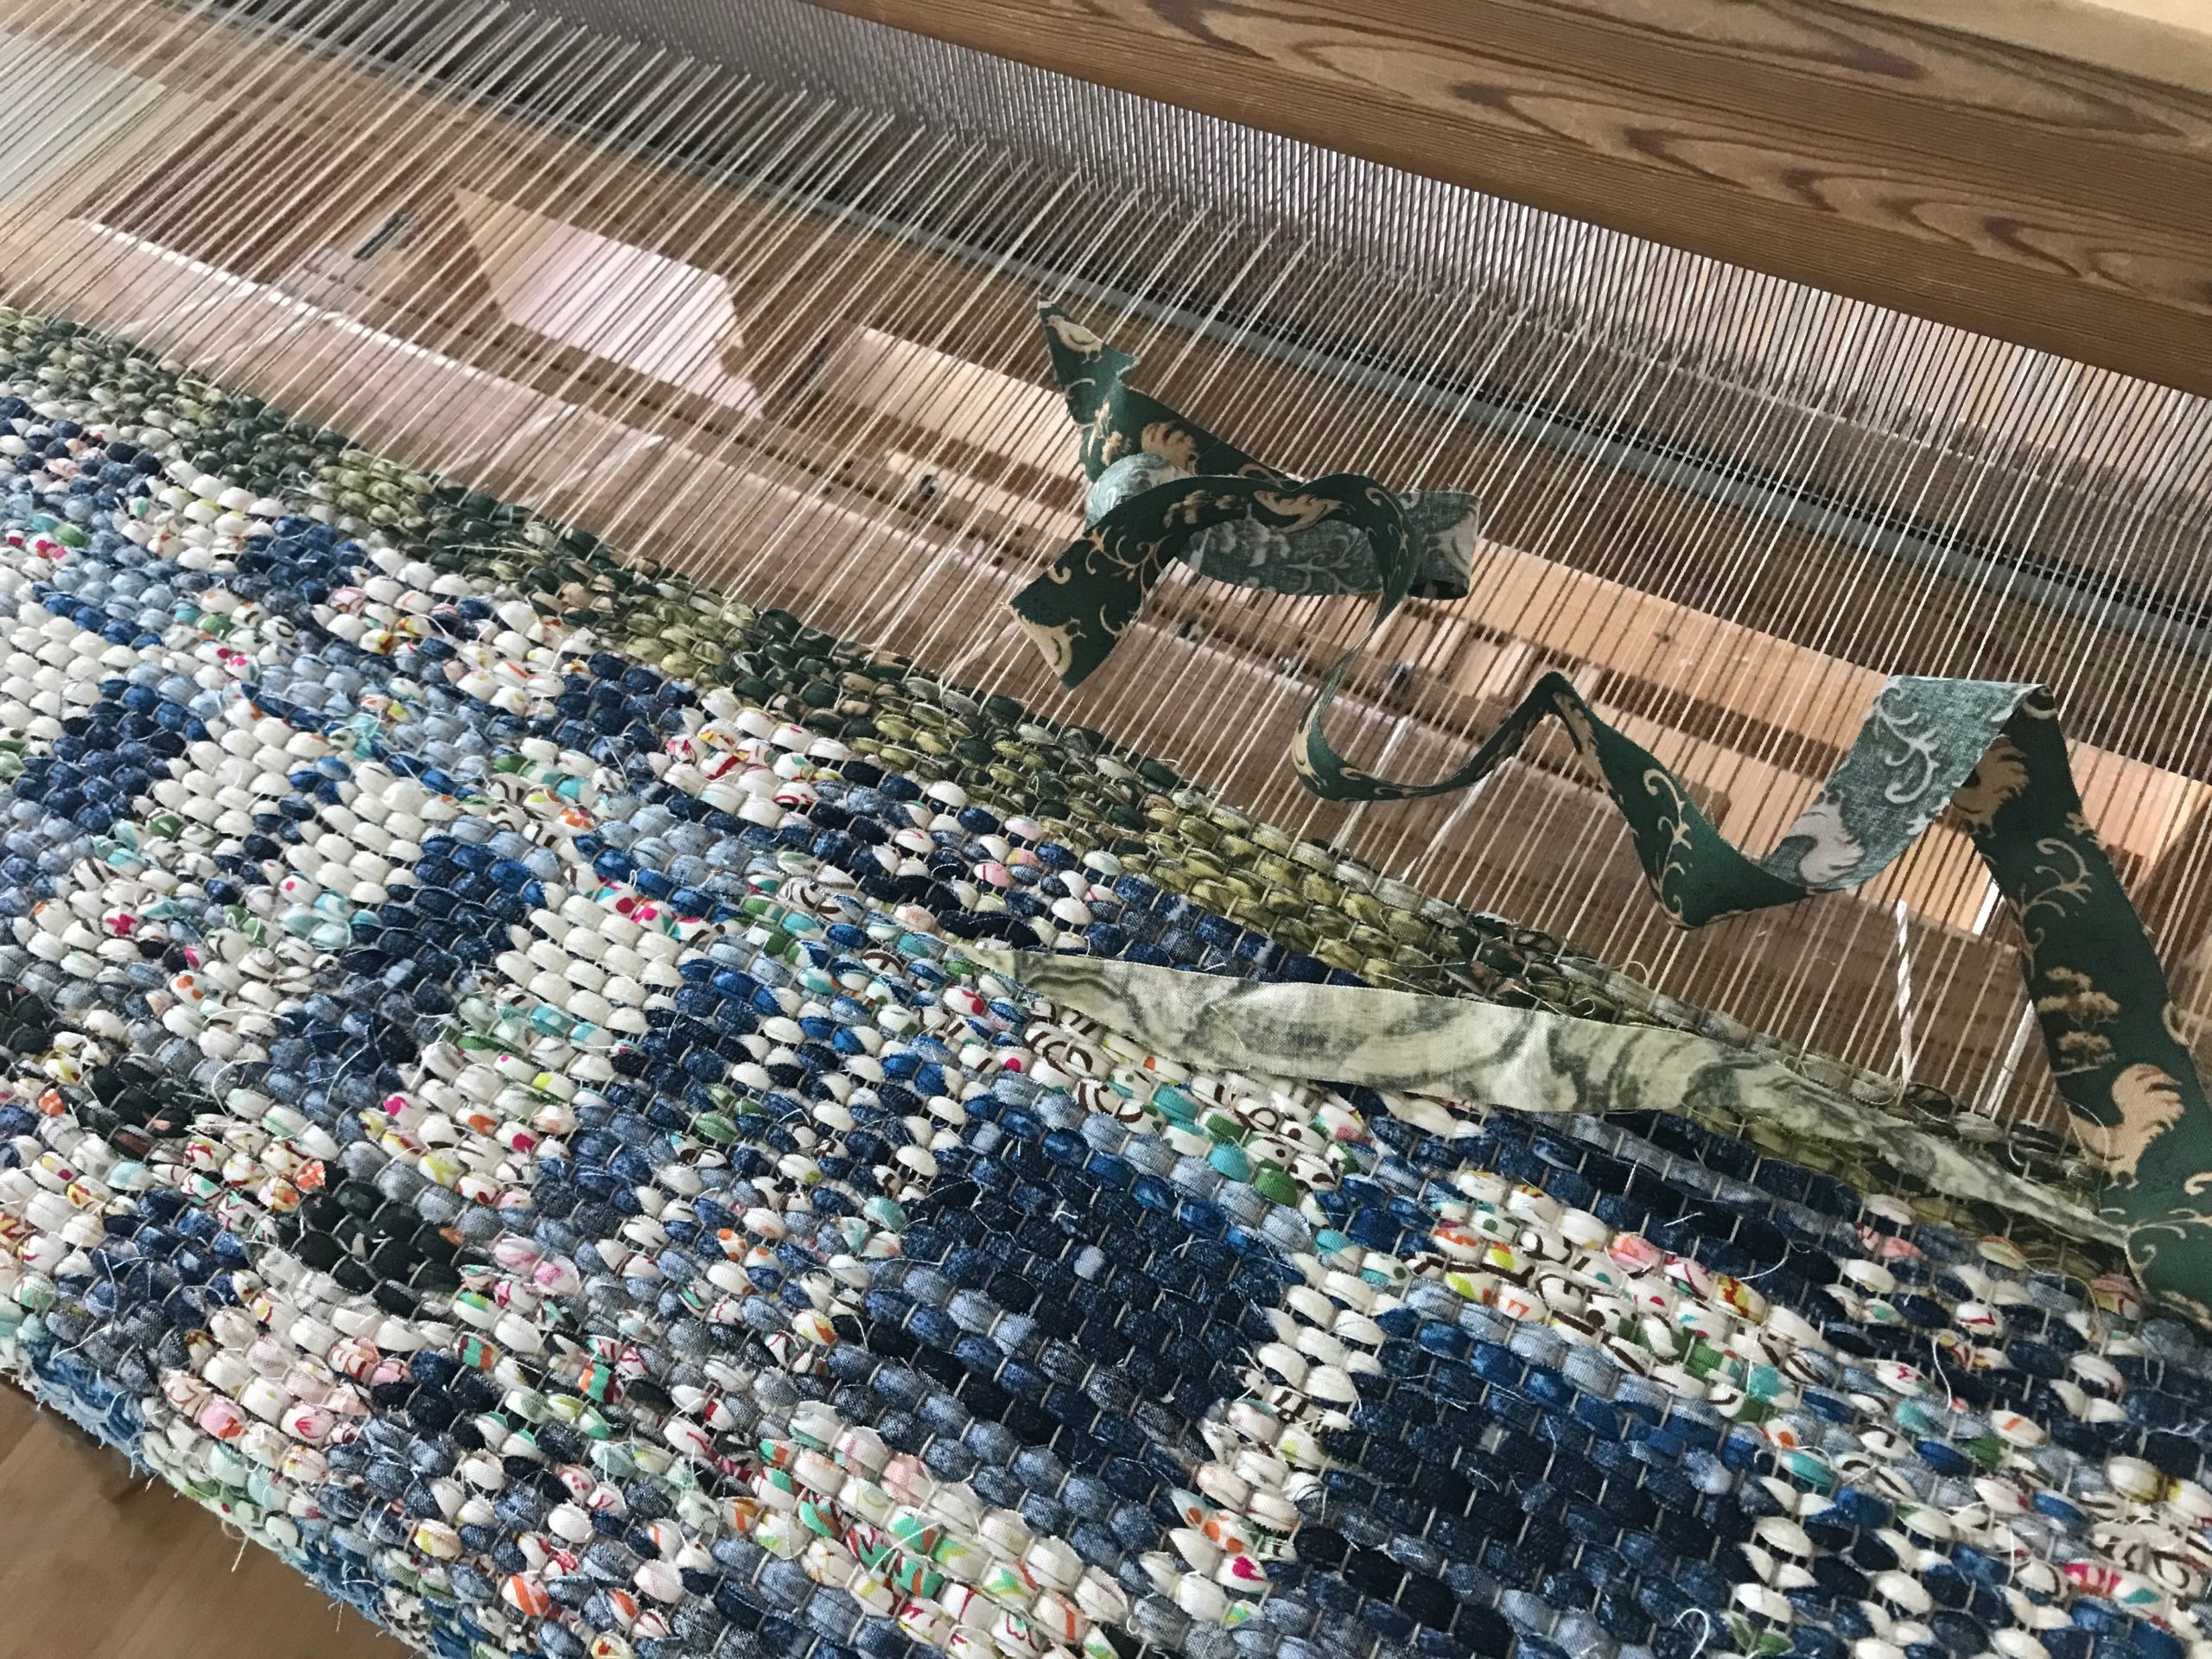
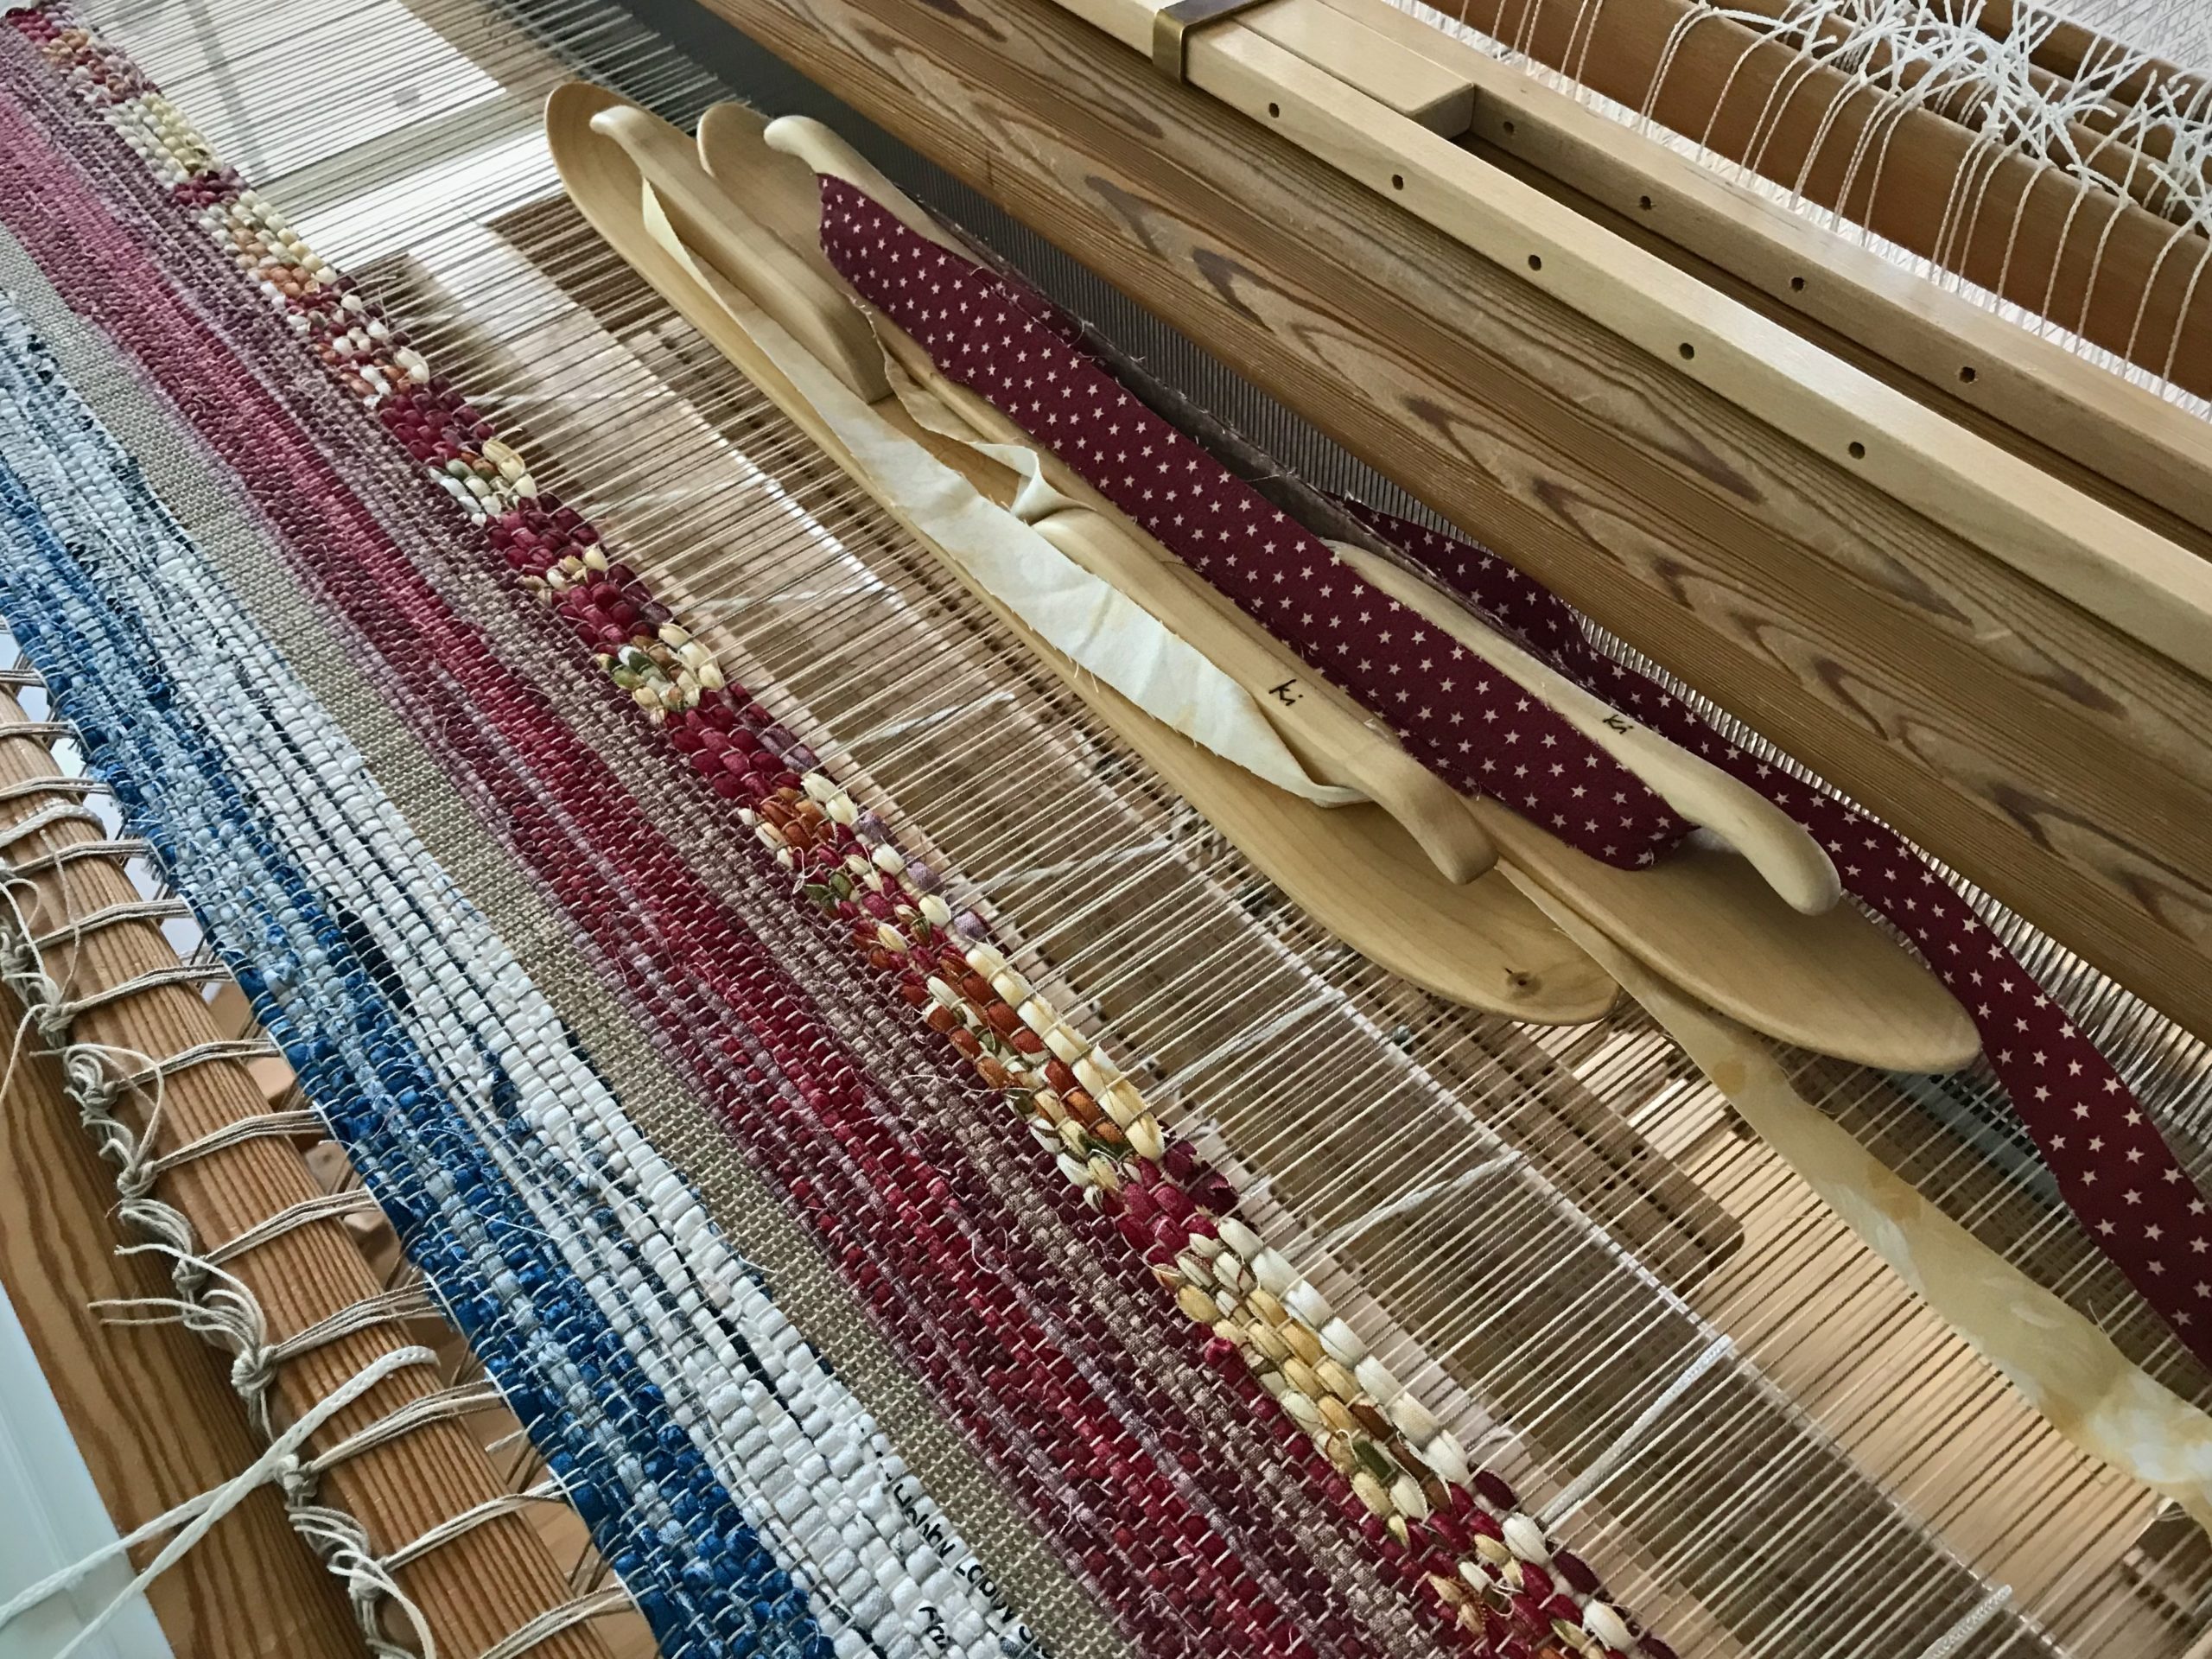
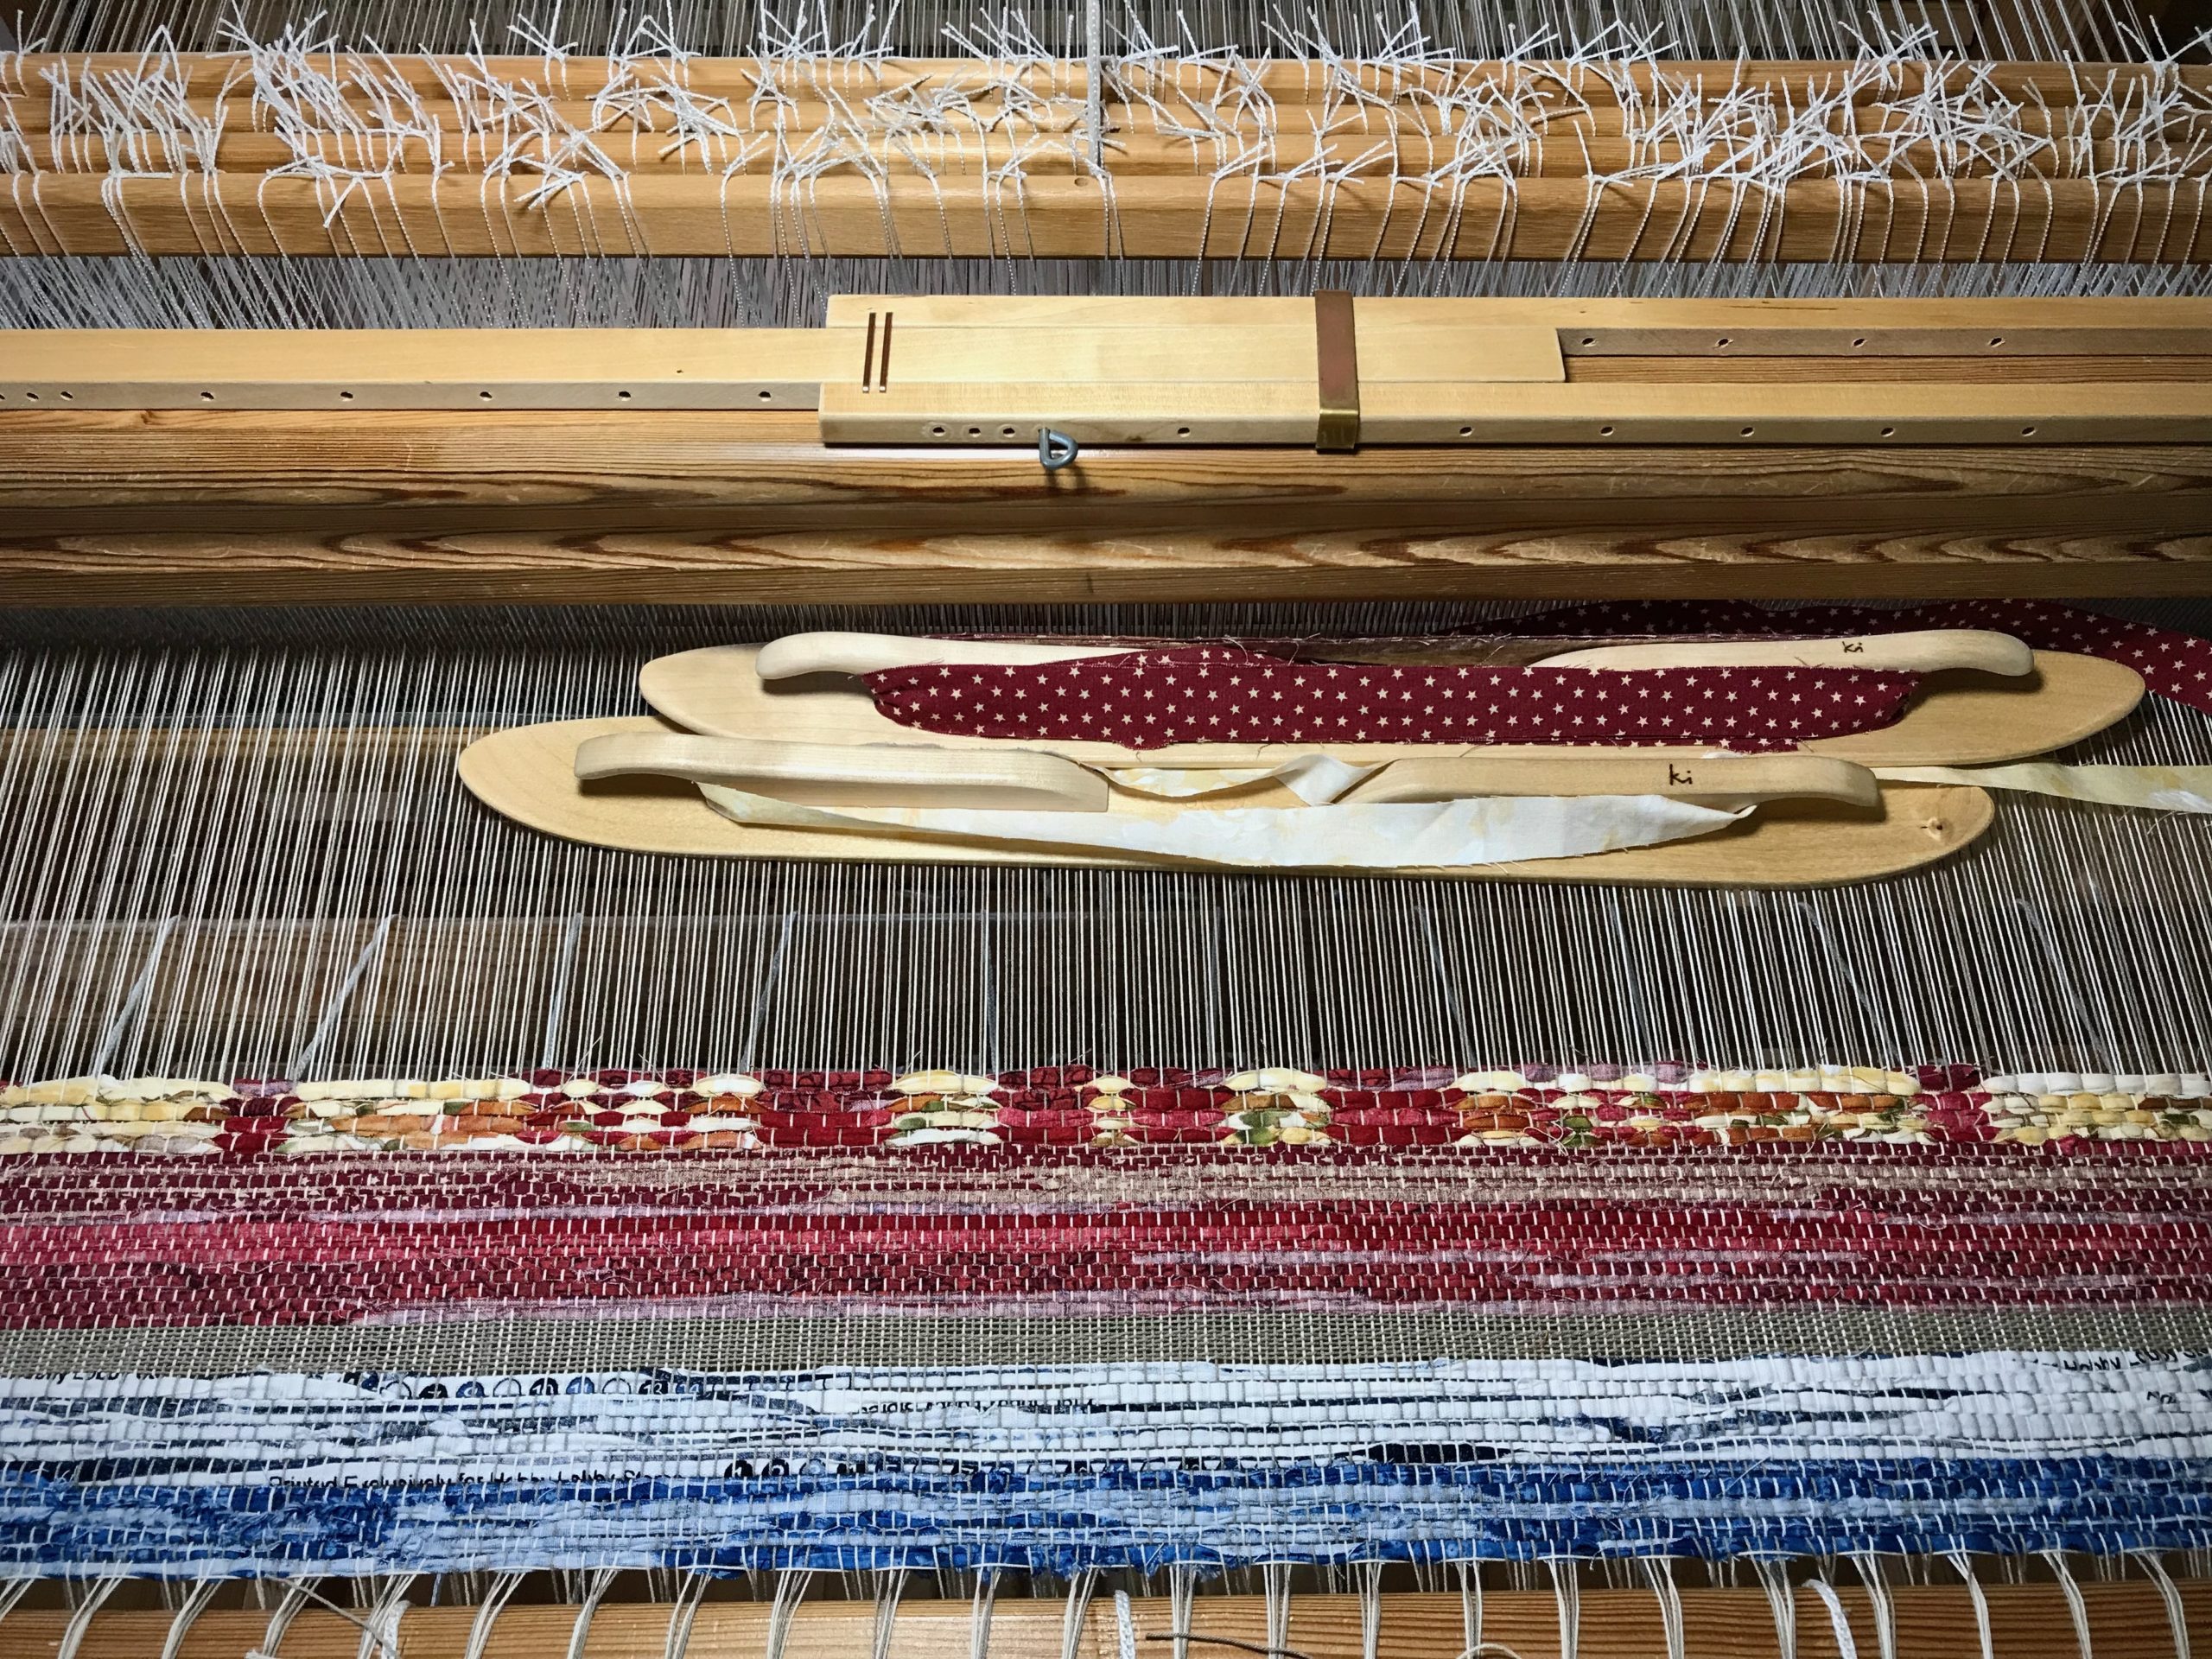
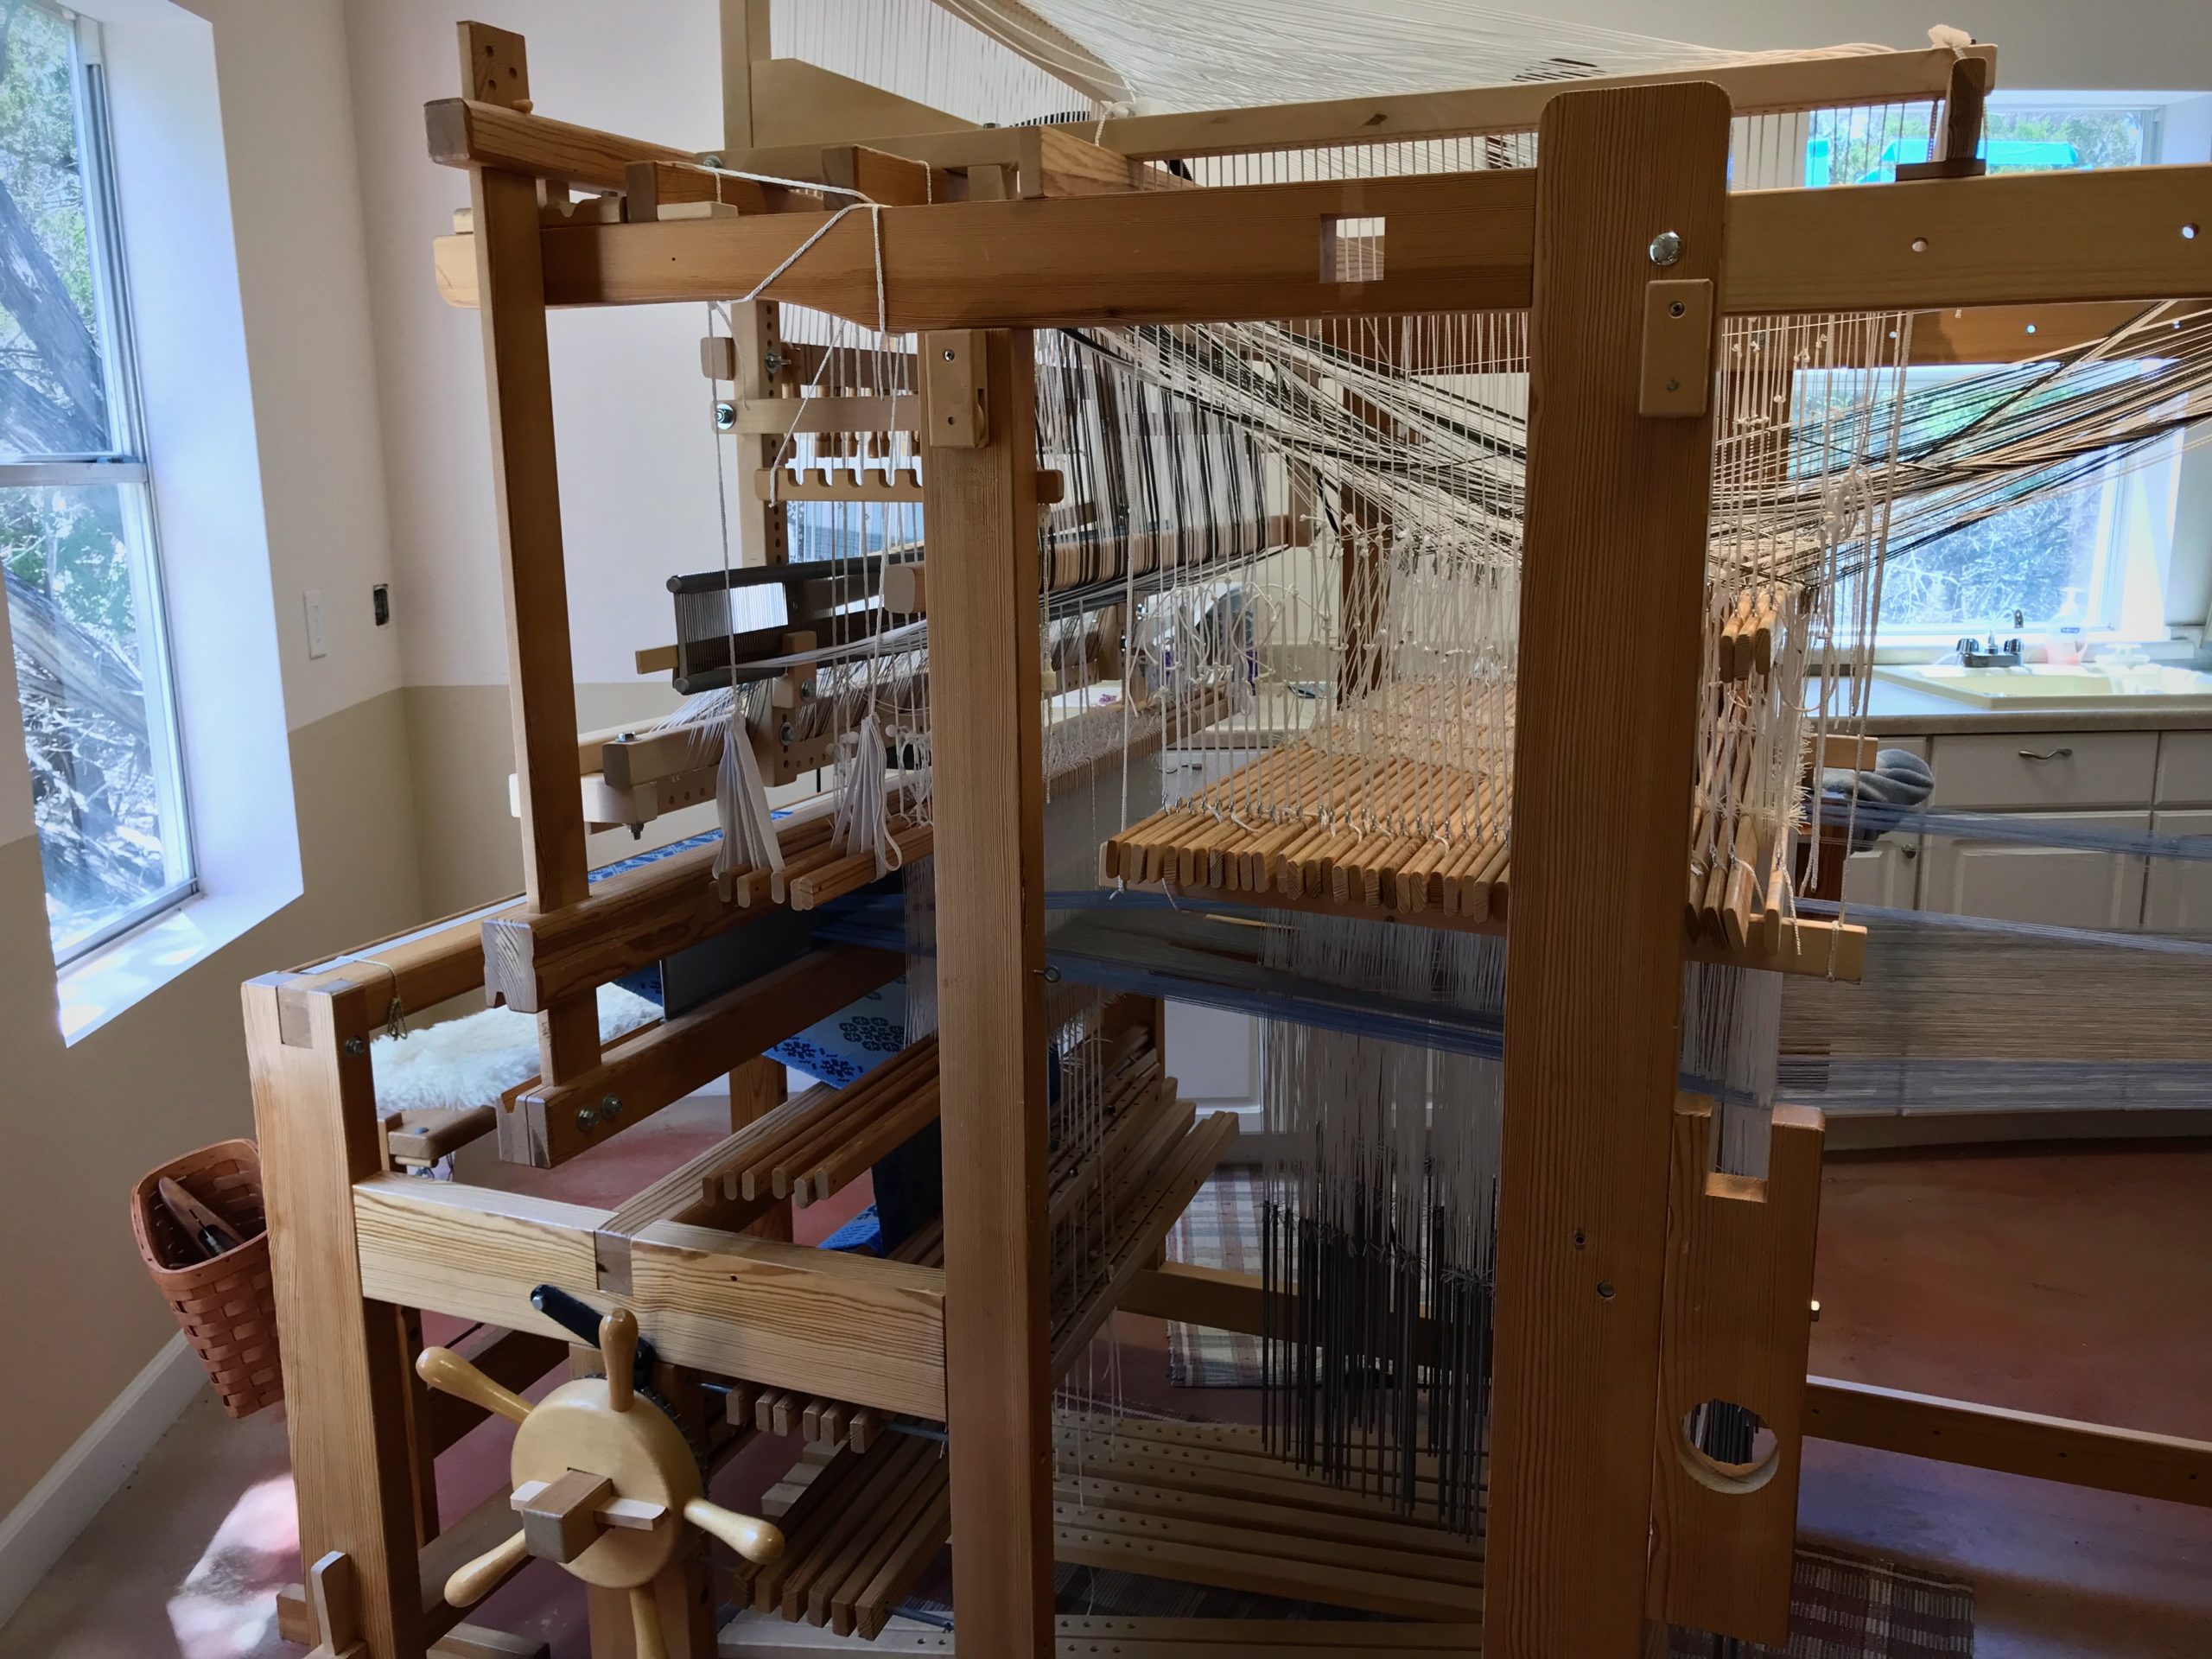
I am constantly improving my methods of operating the drawloom. I pull and release draw handles and draw cords, check for errors, and throw the shuttle for each unit of threads (six times per unit with the current setup). Everything is in order. And, while I’m actively absorbed with this mental and physical choreography, I experience freedom from every other care.

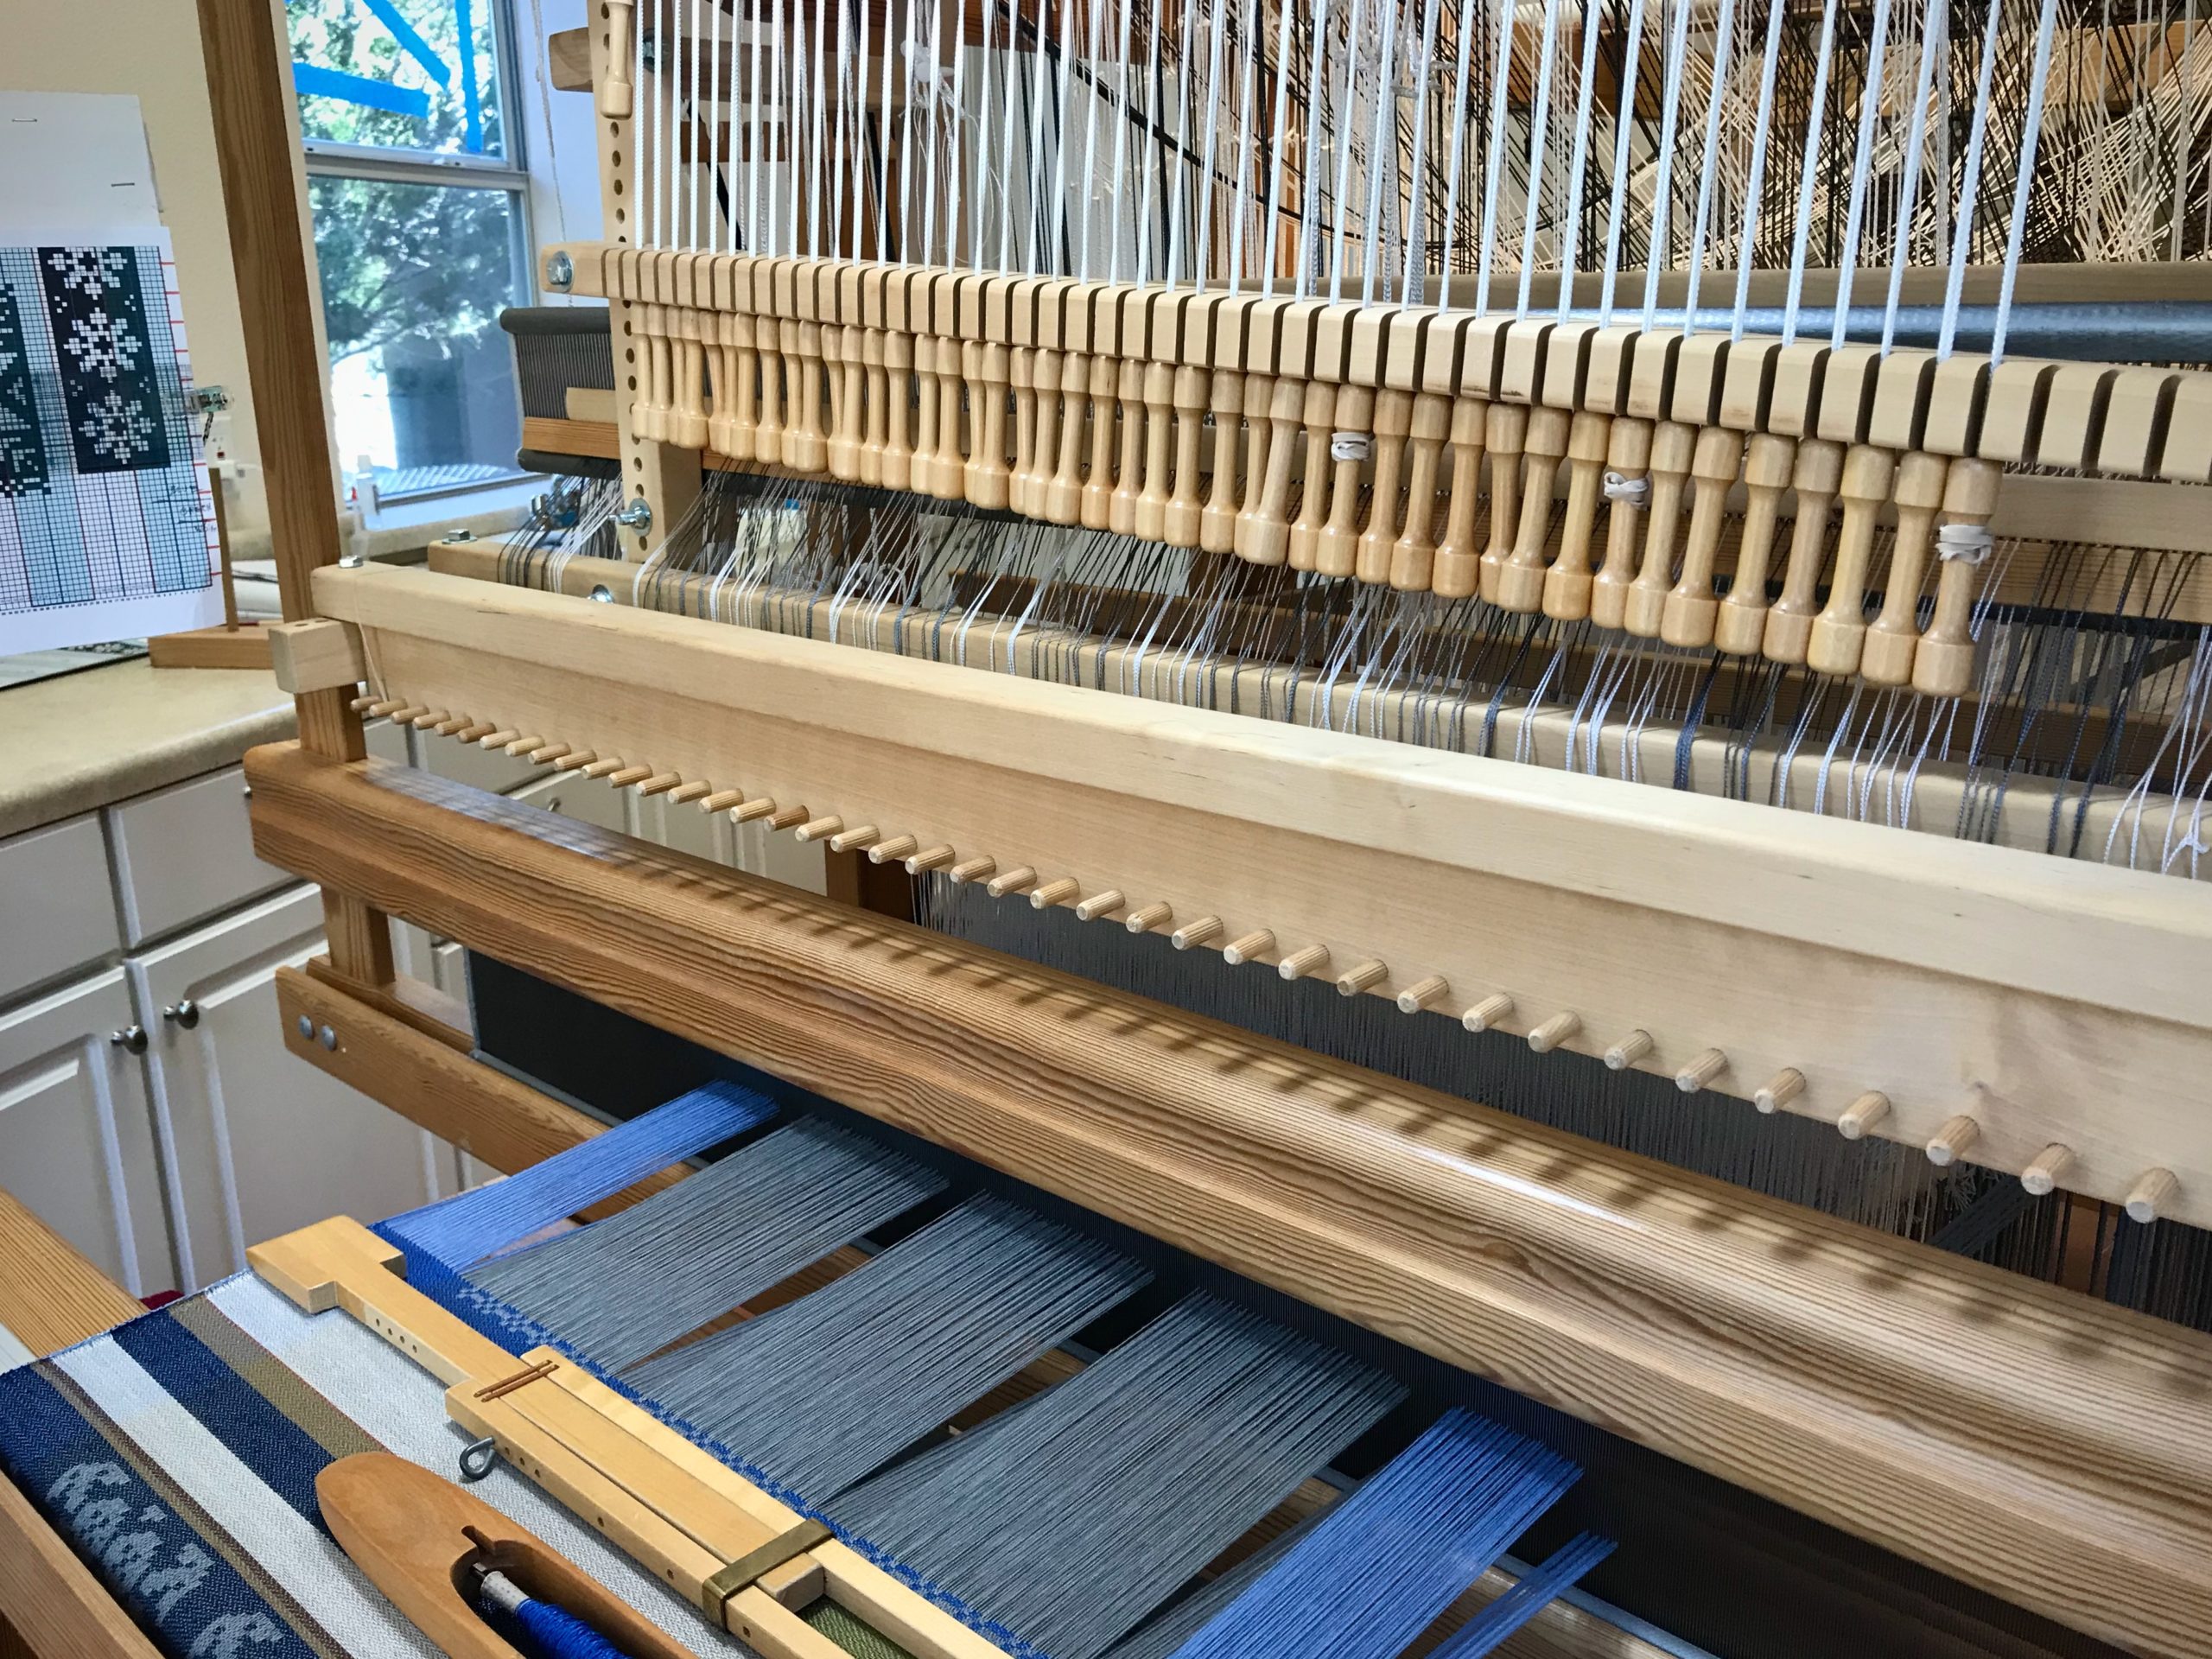
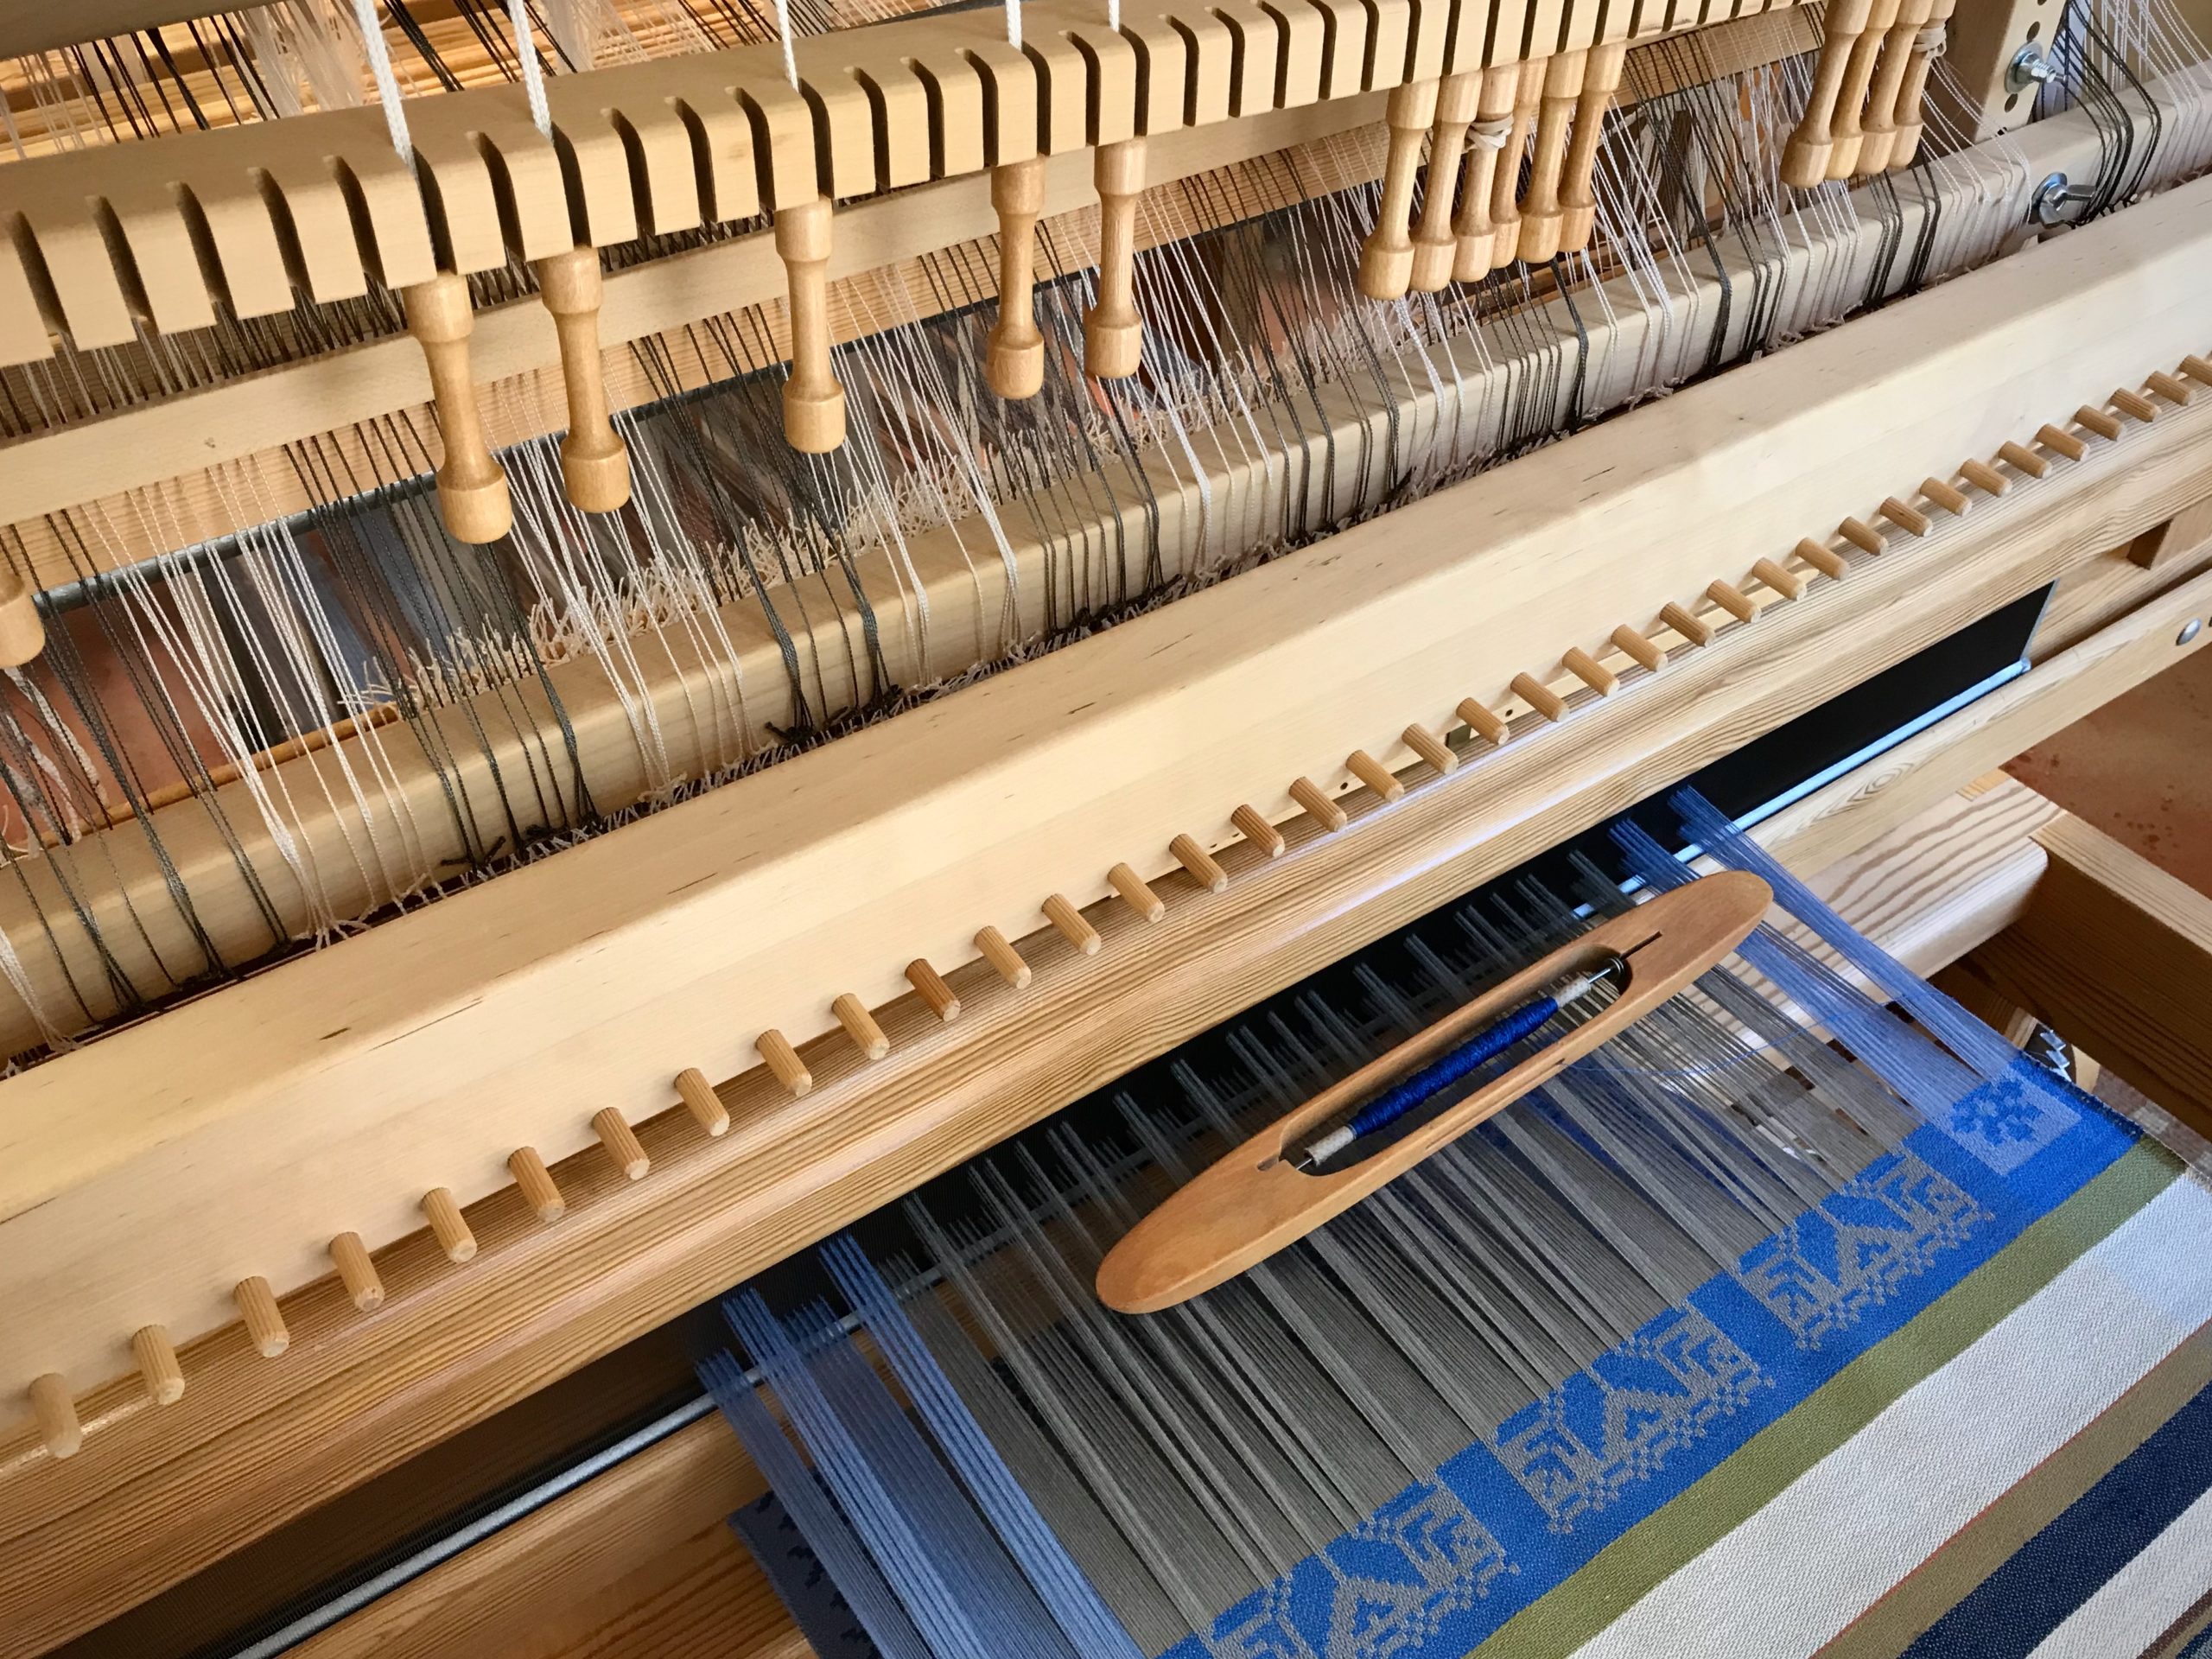
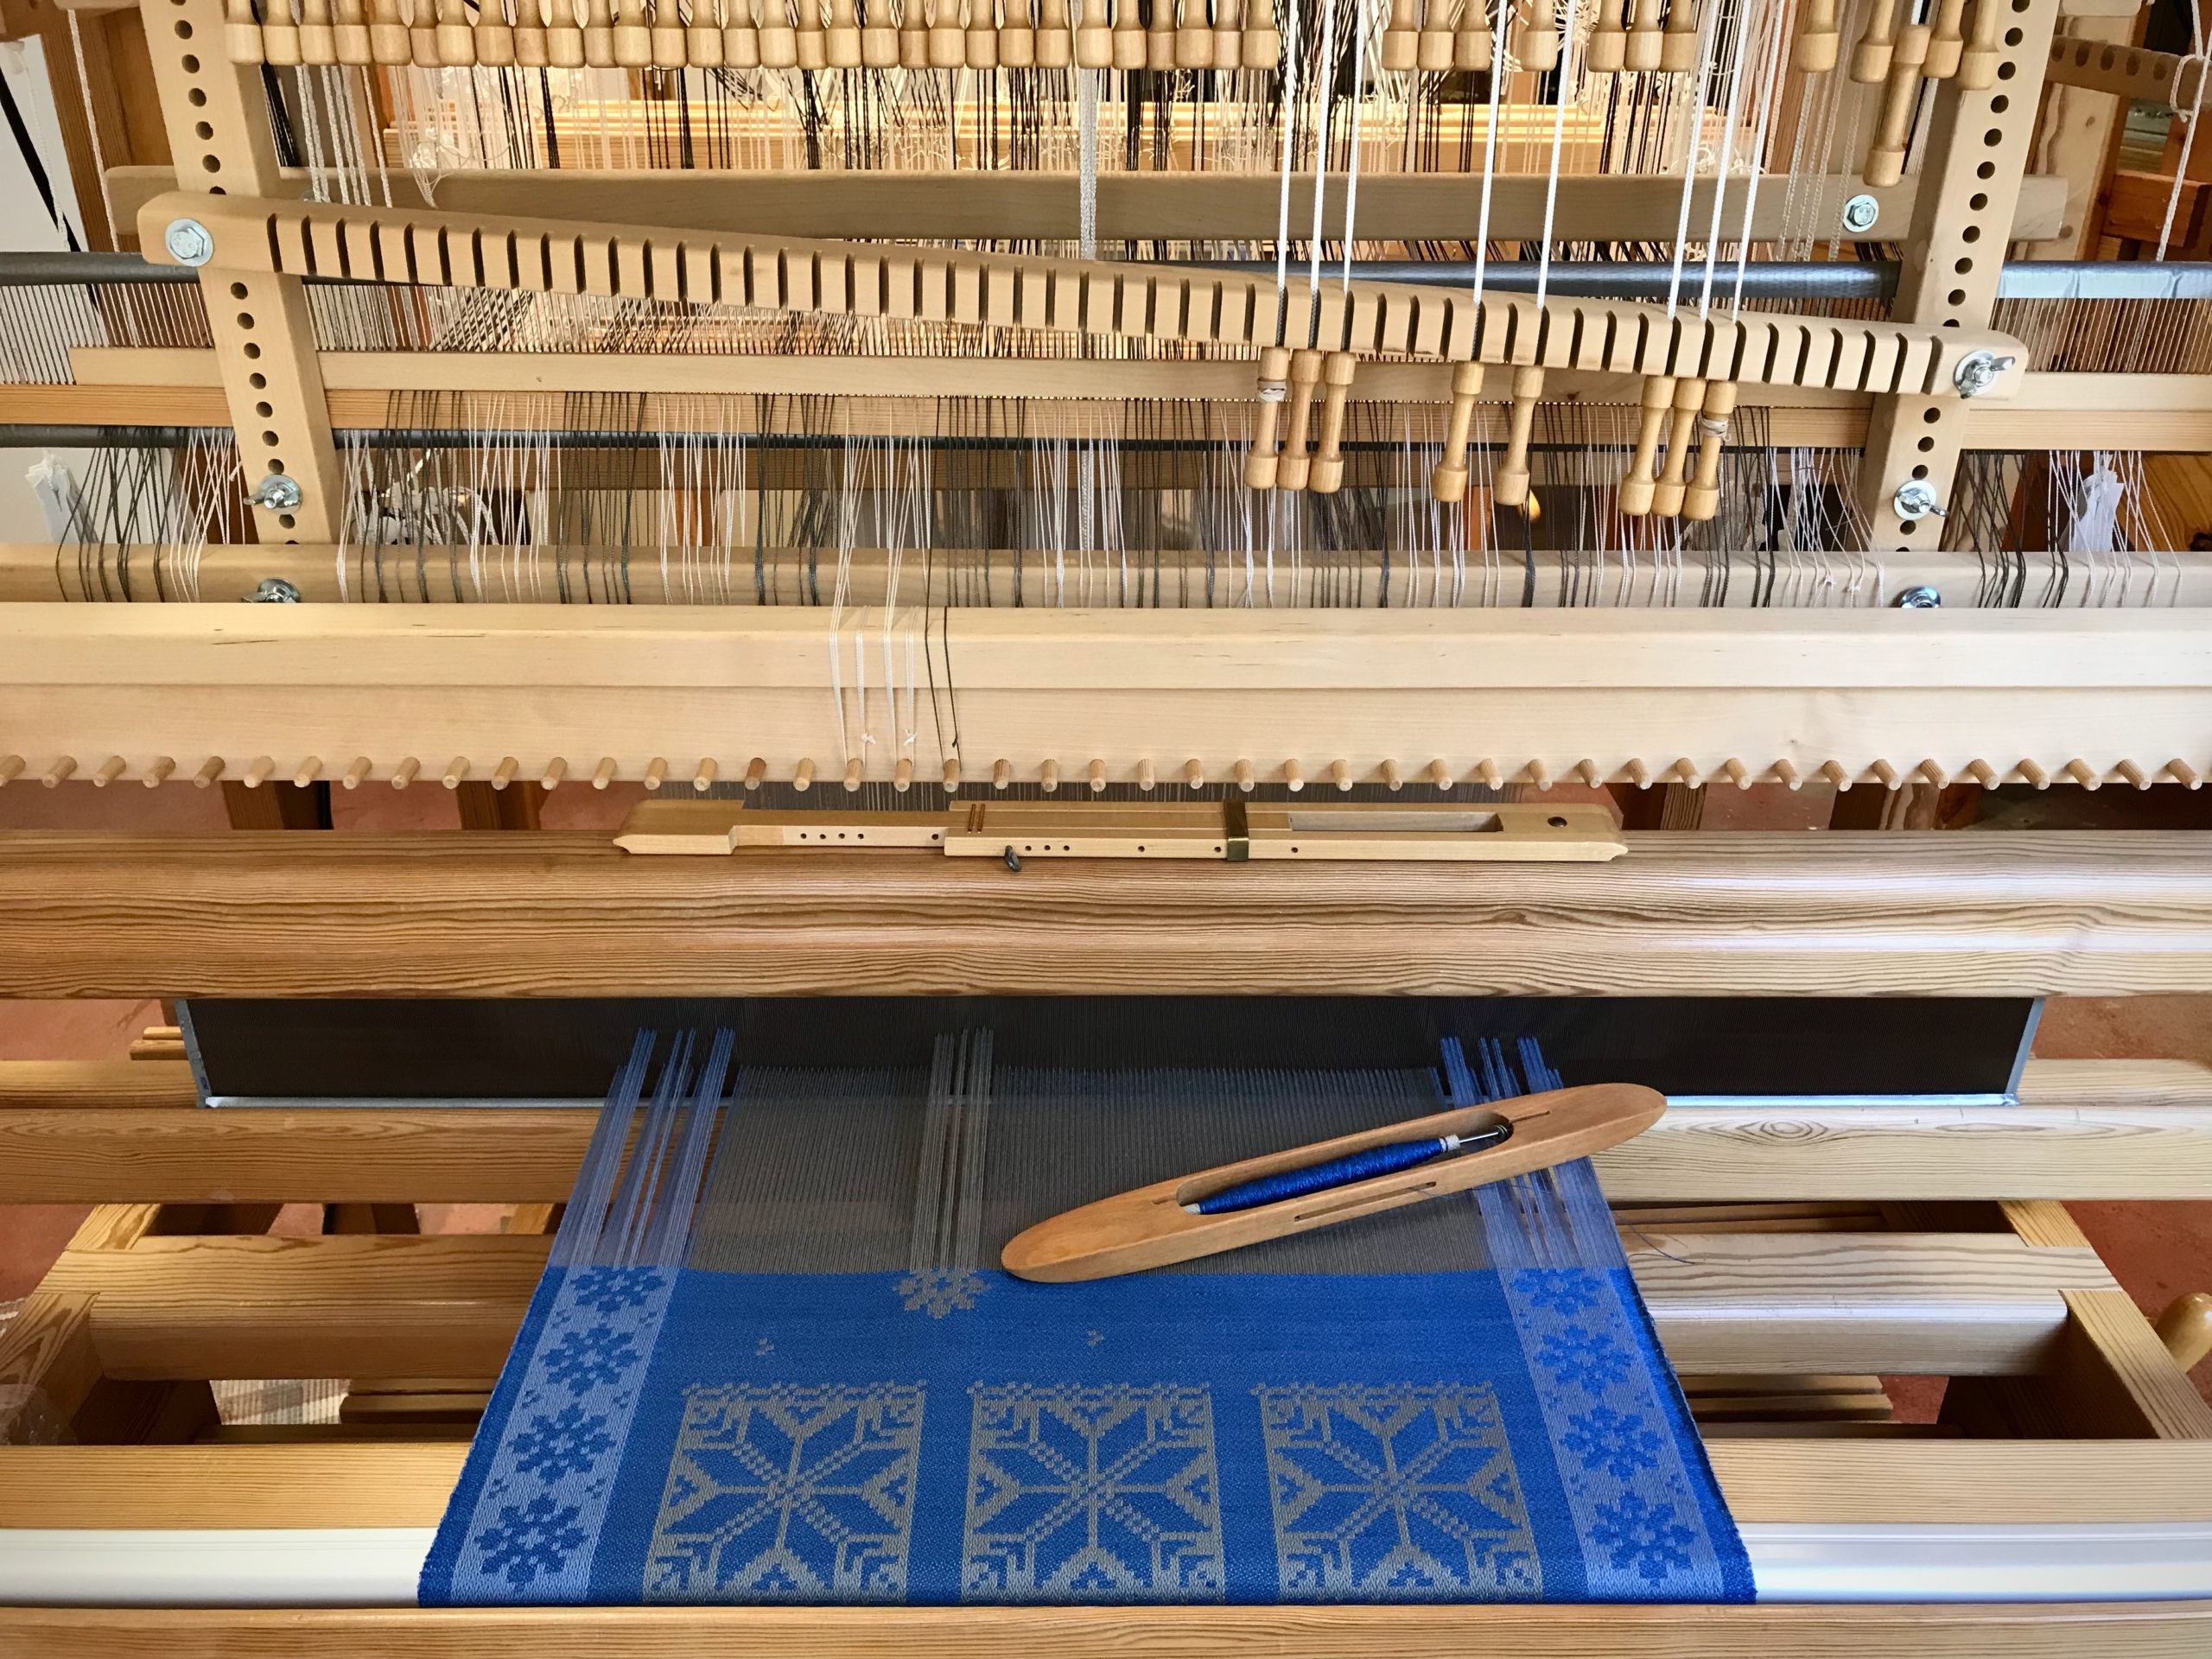
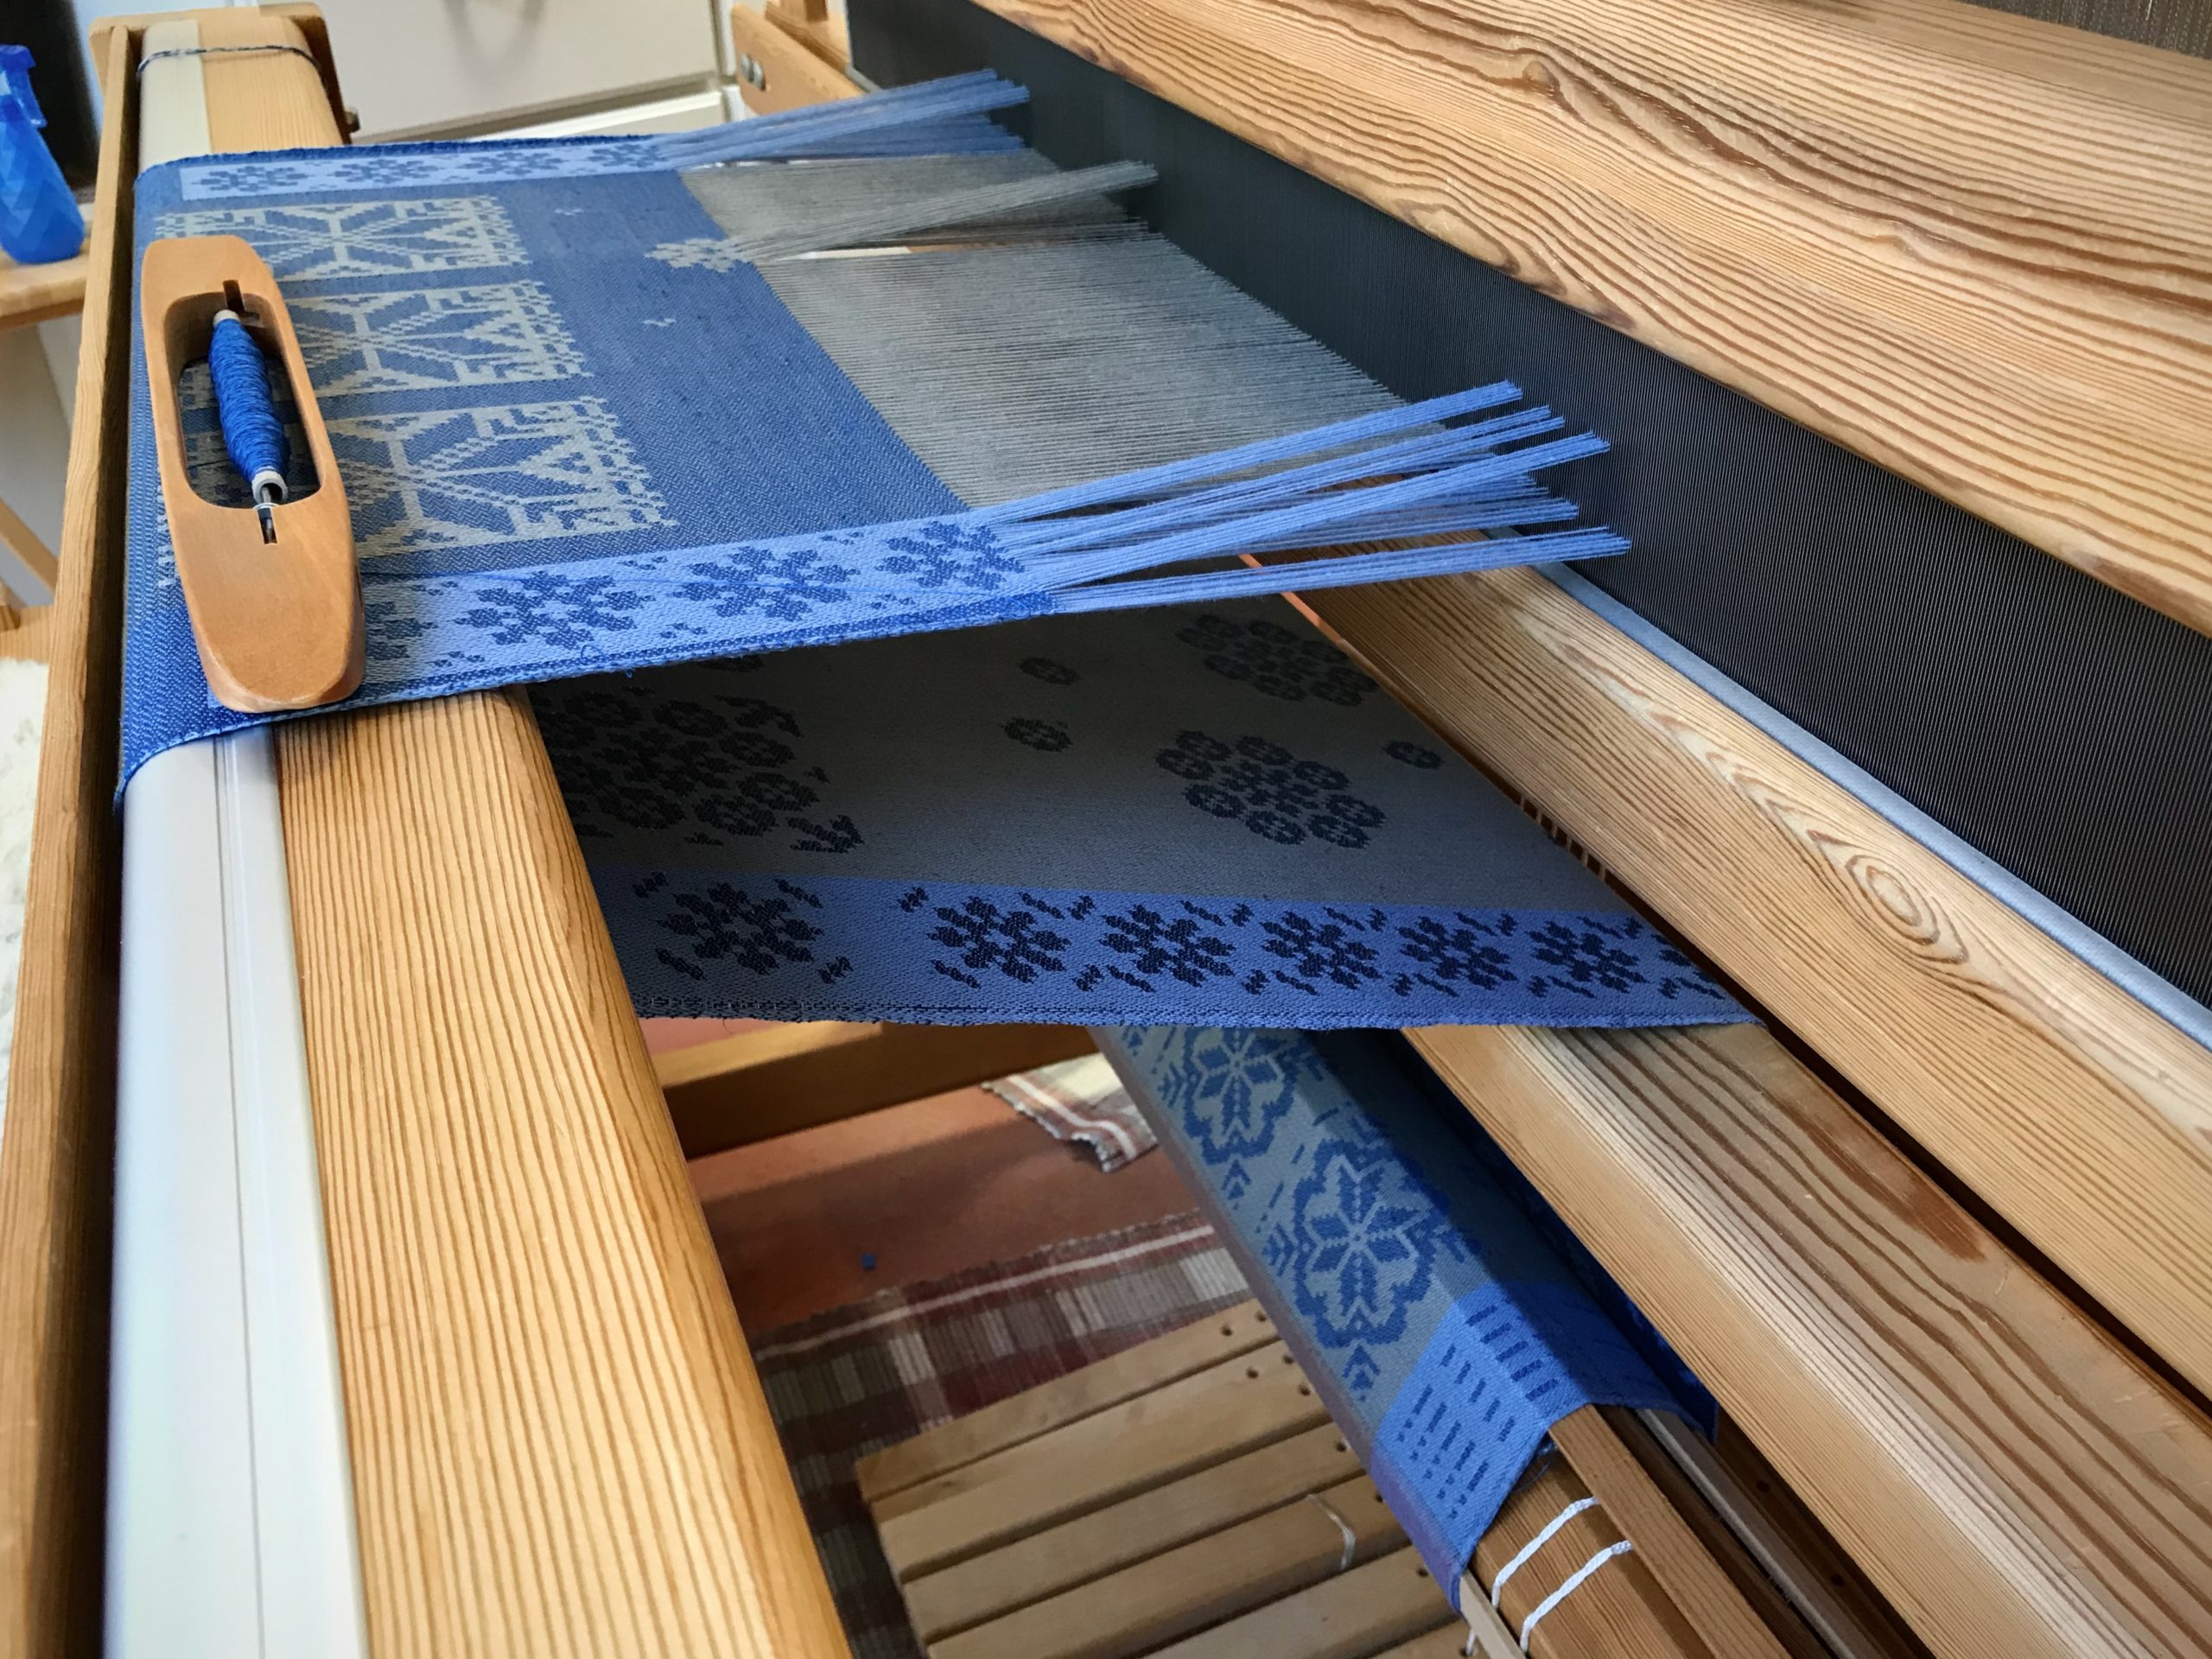
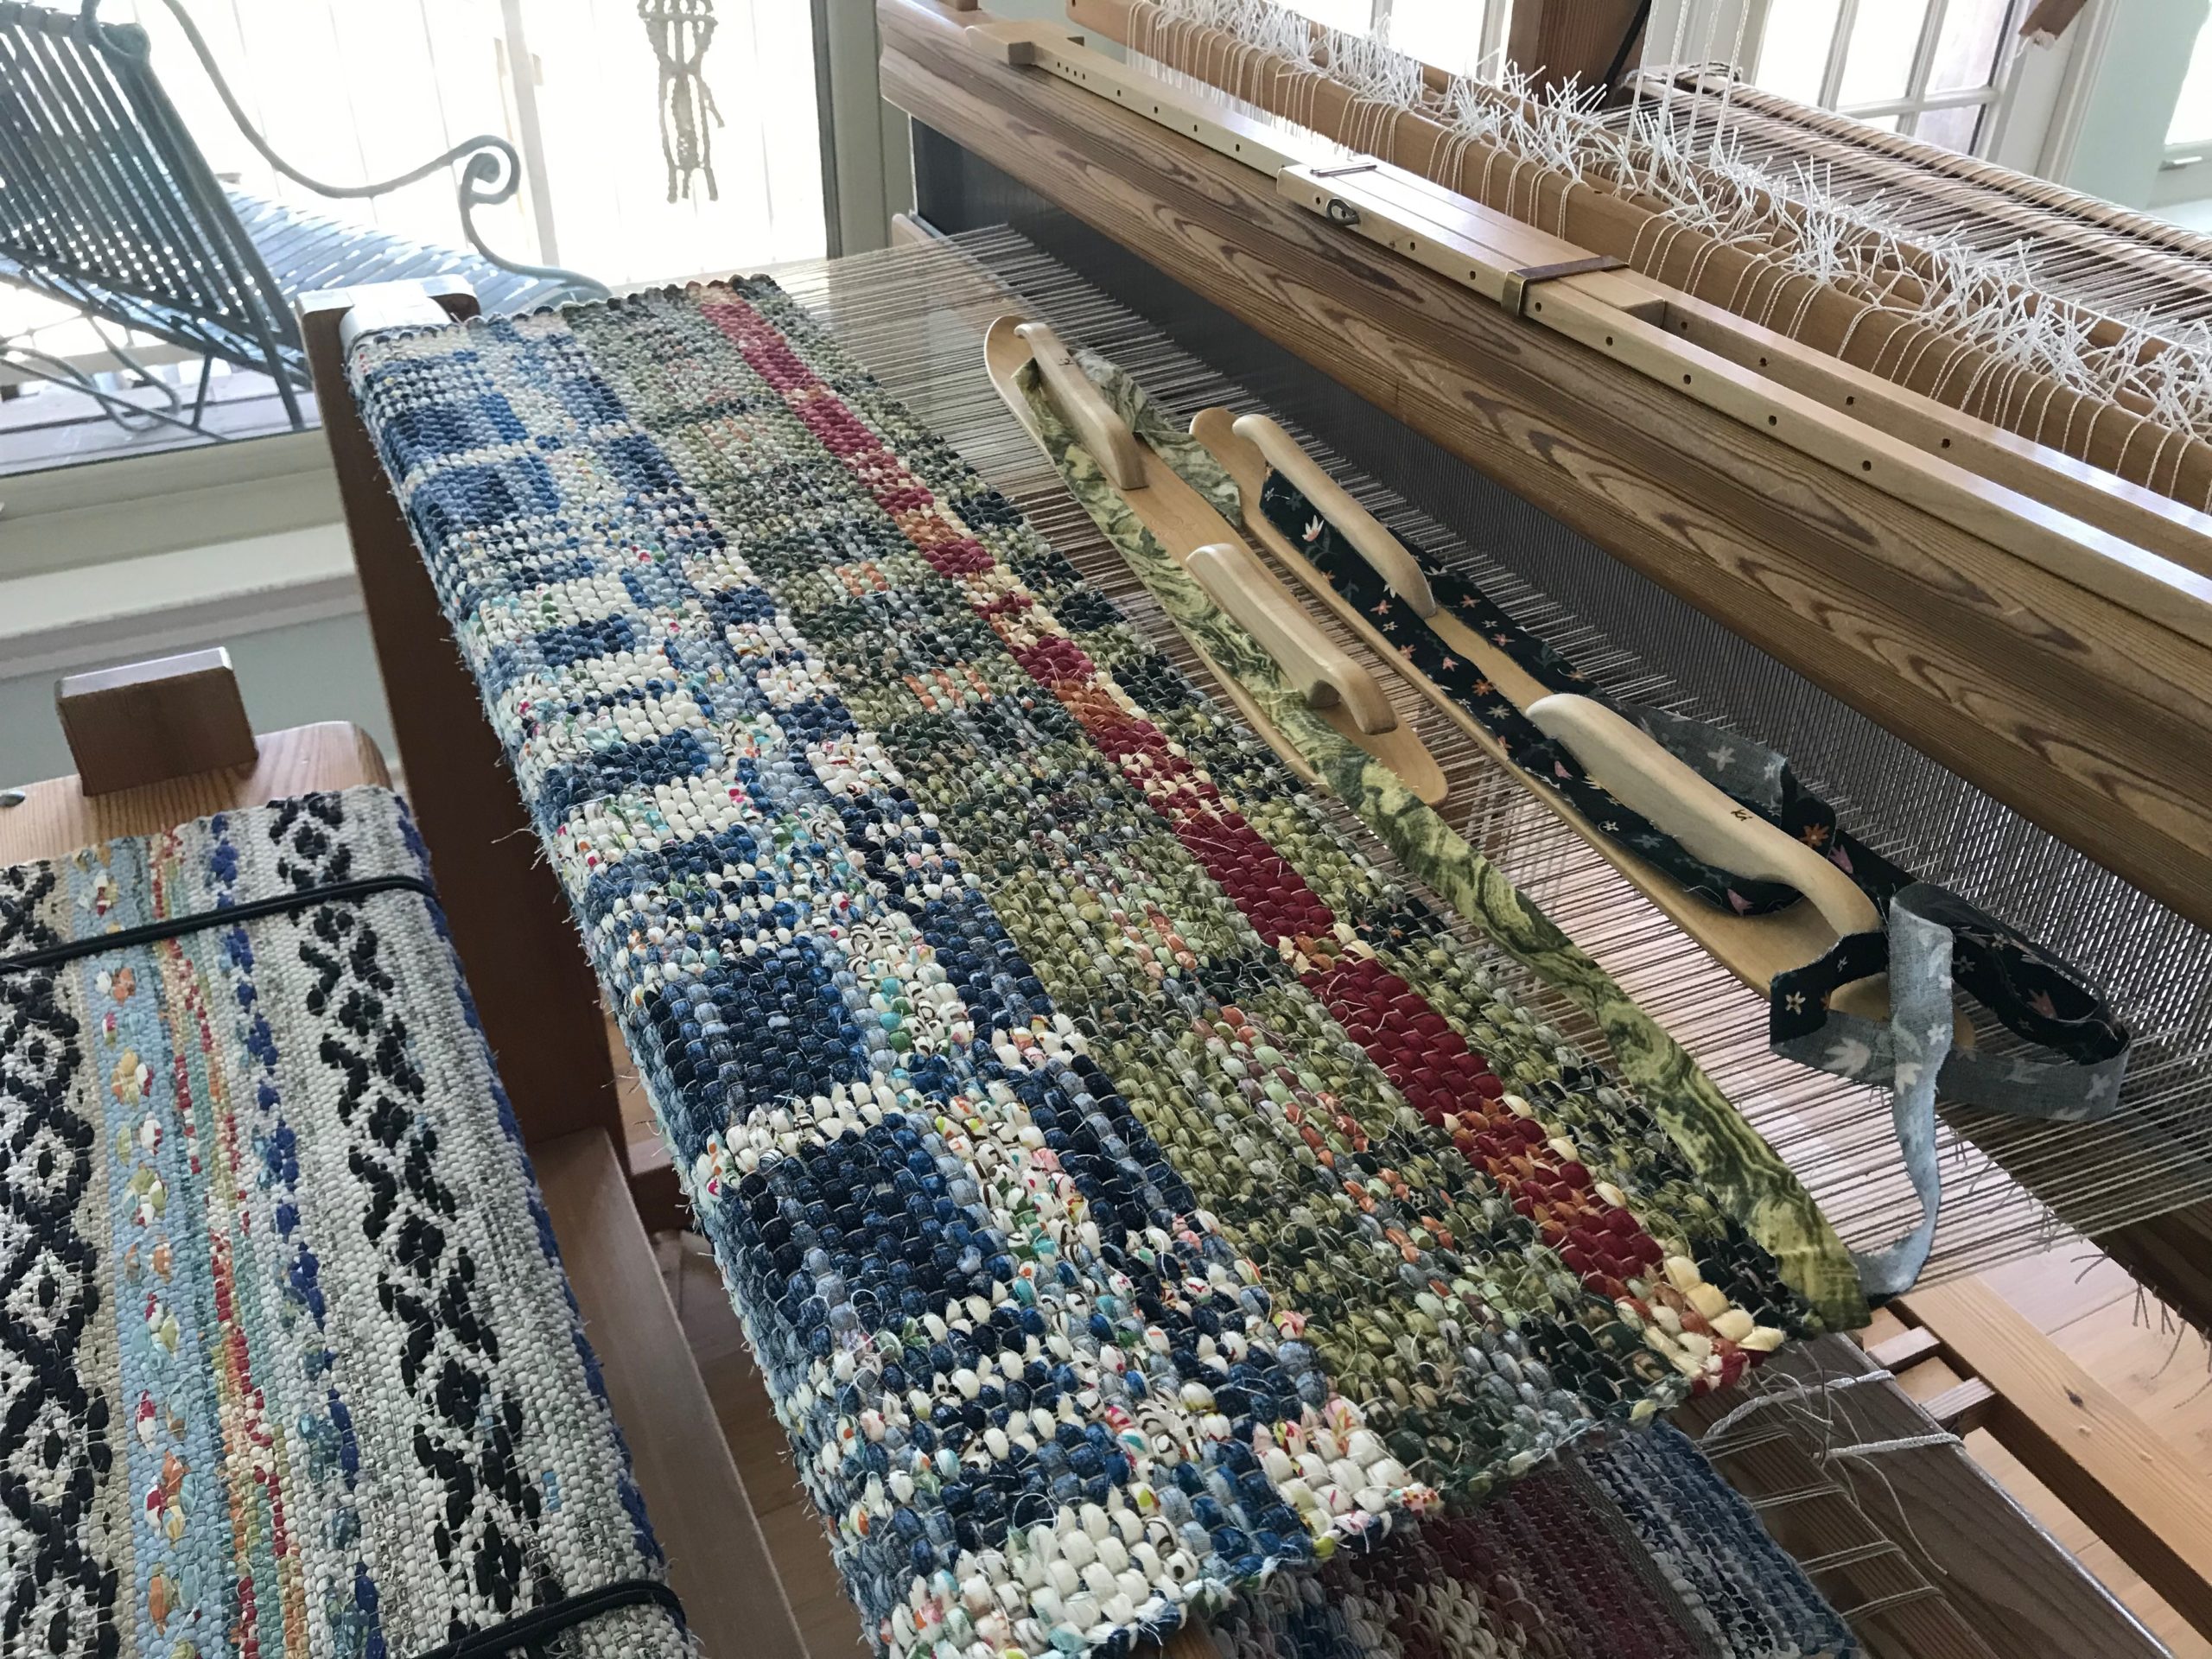
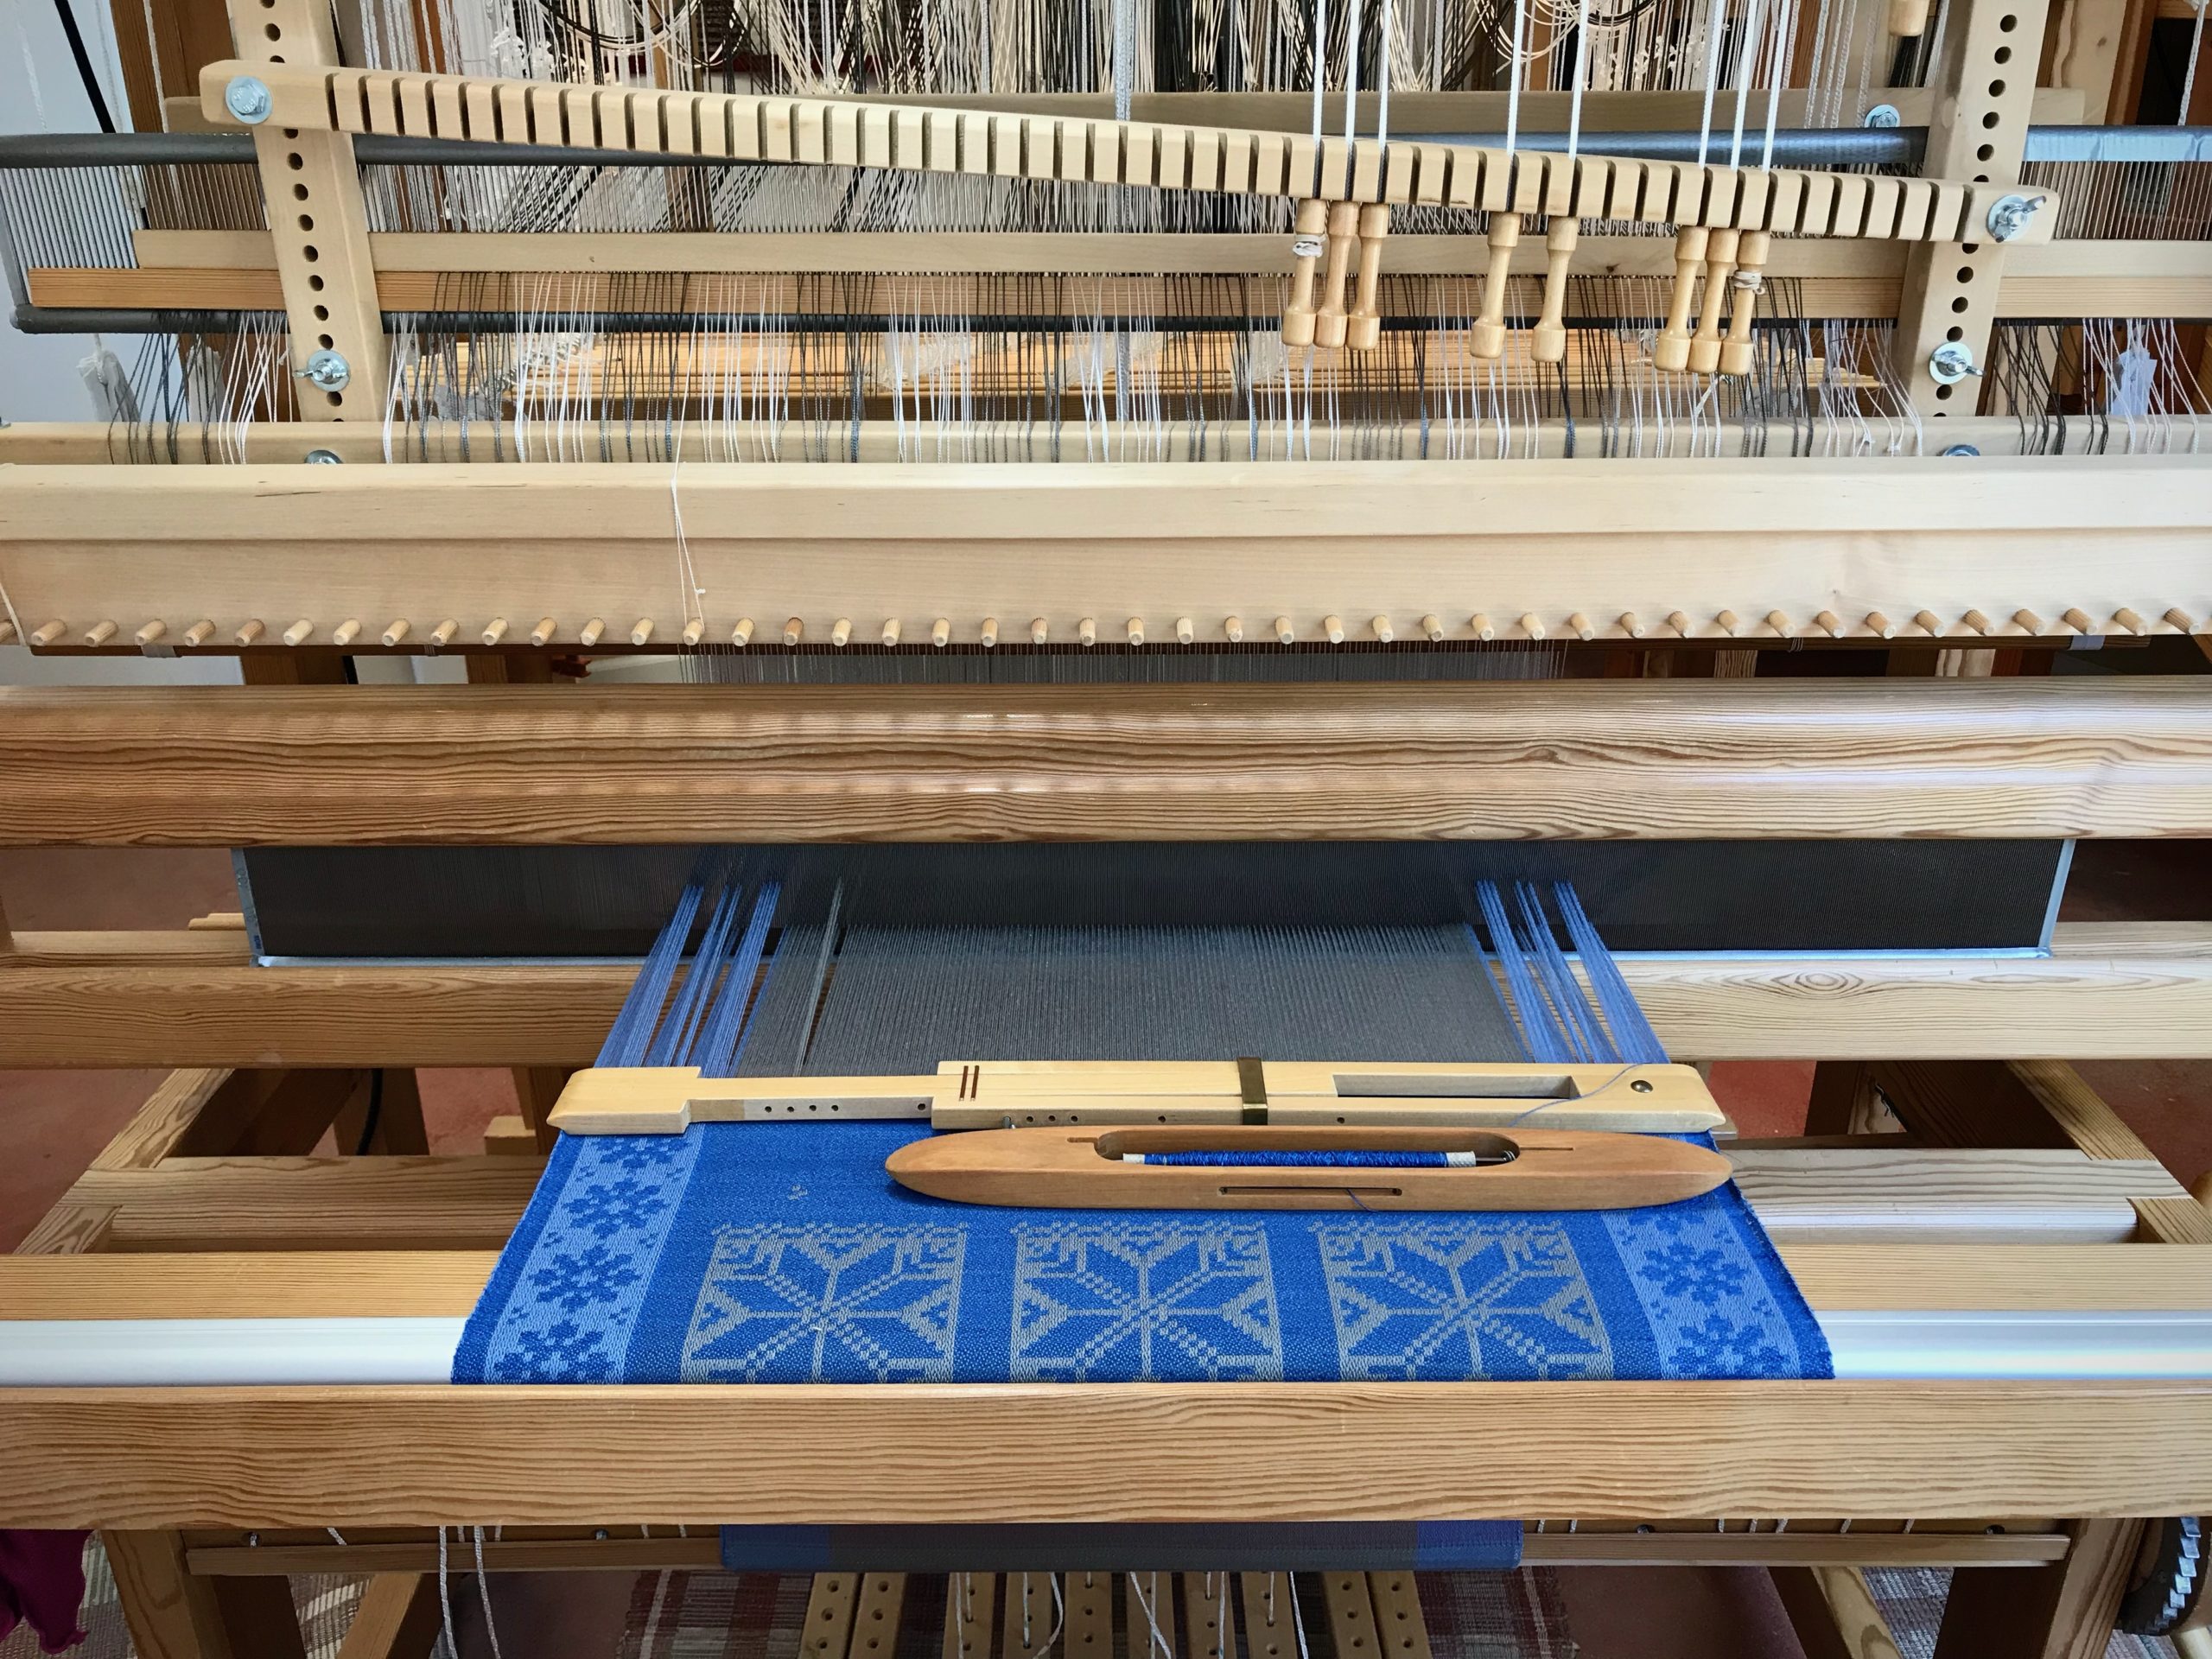
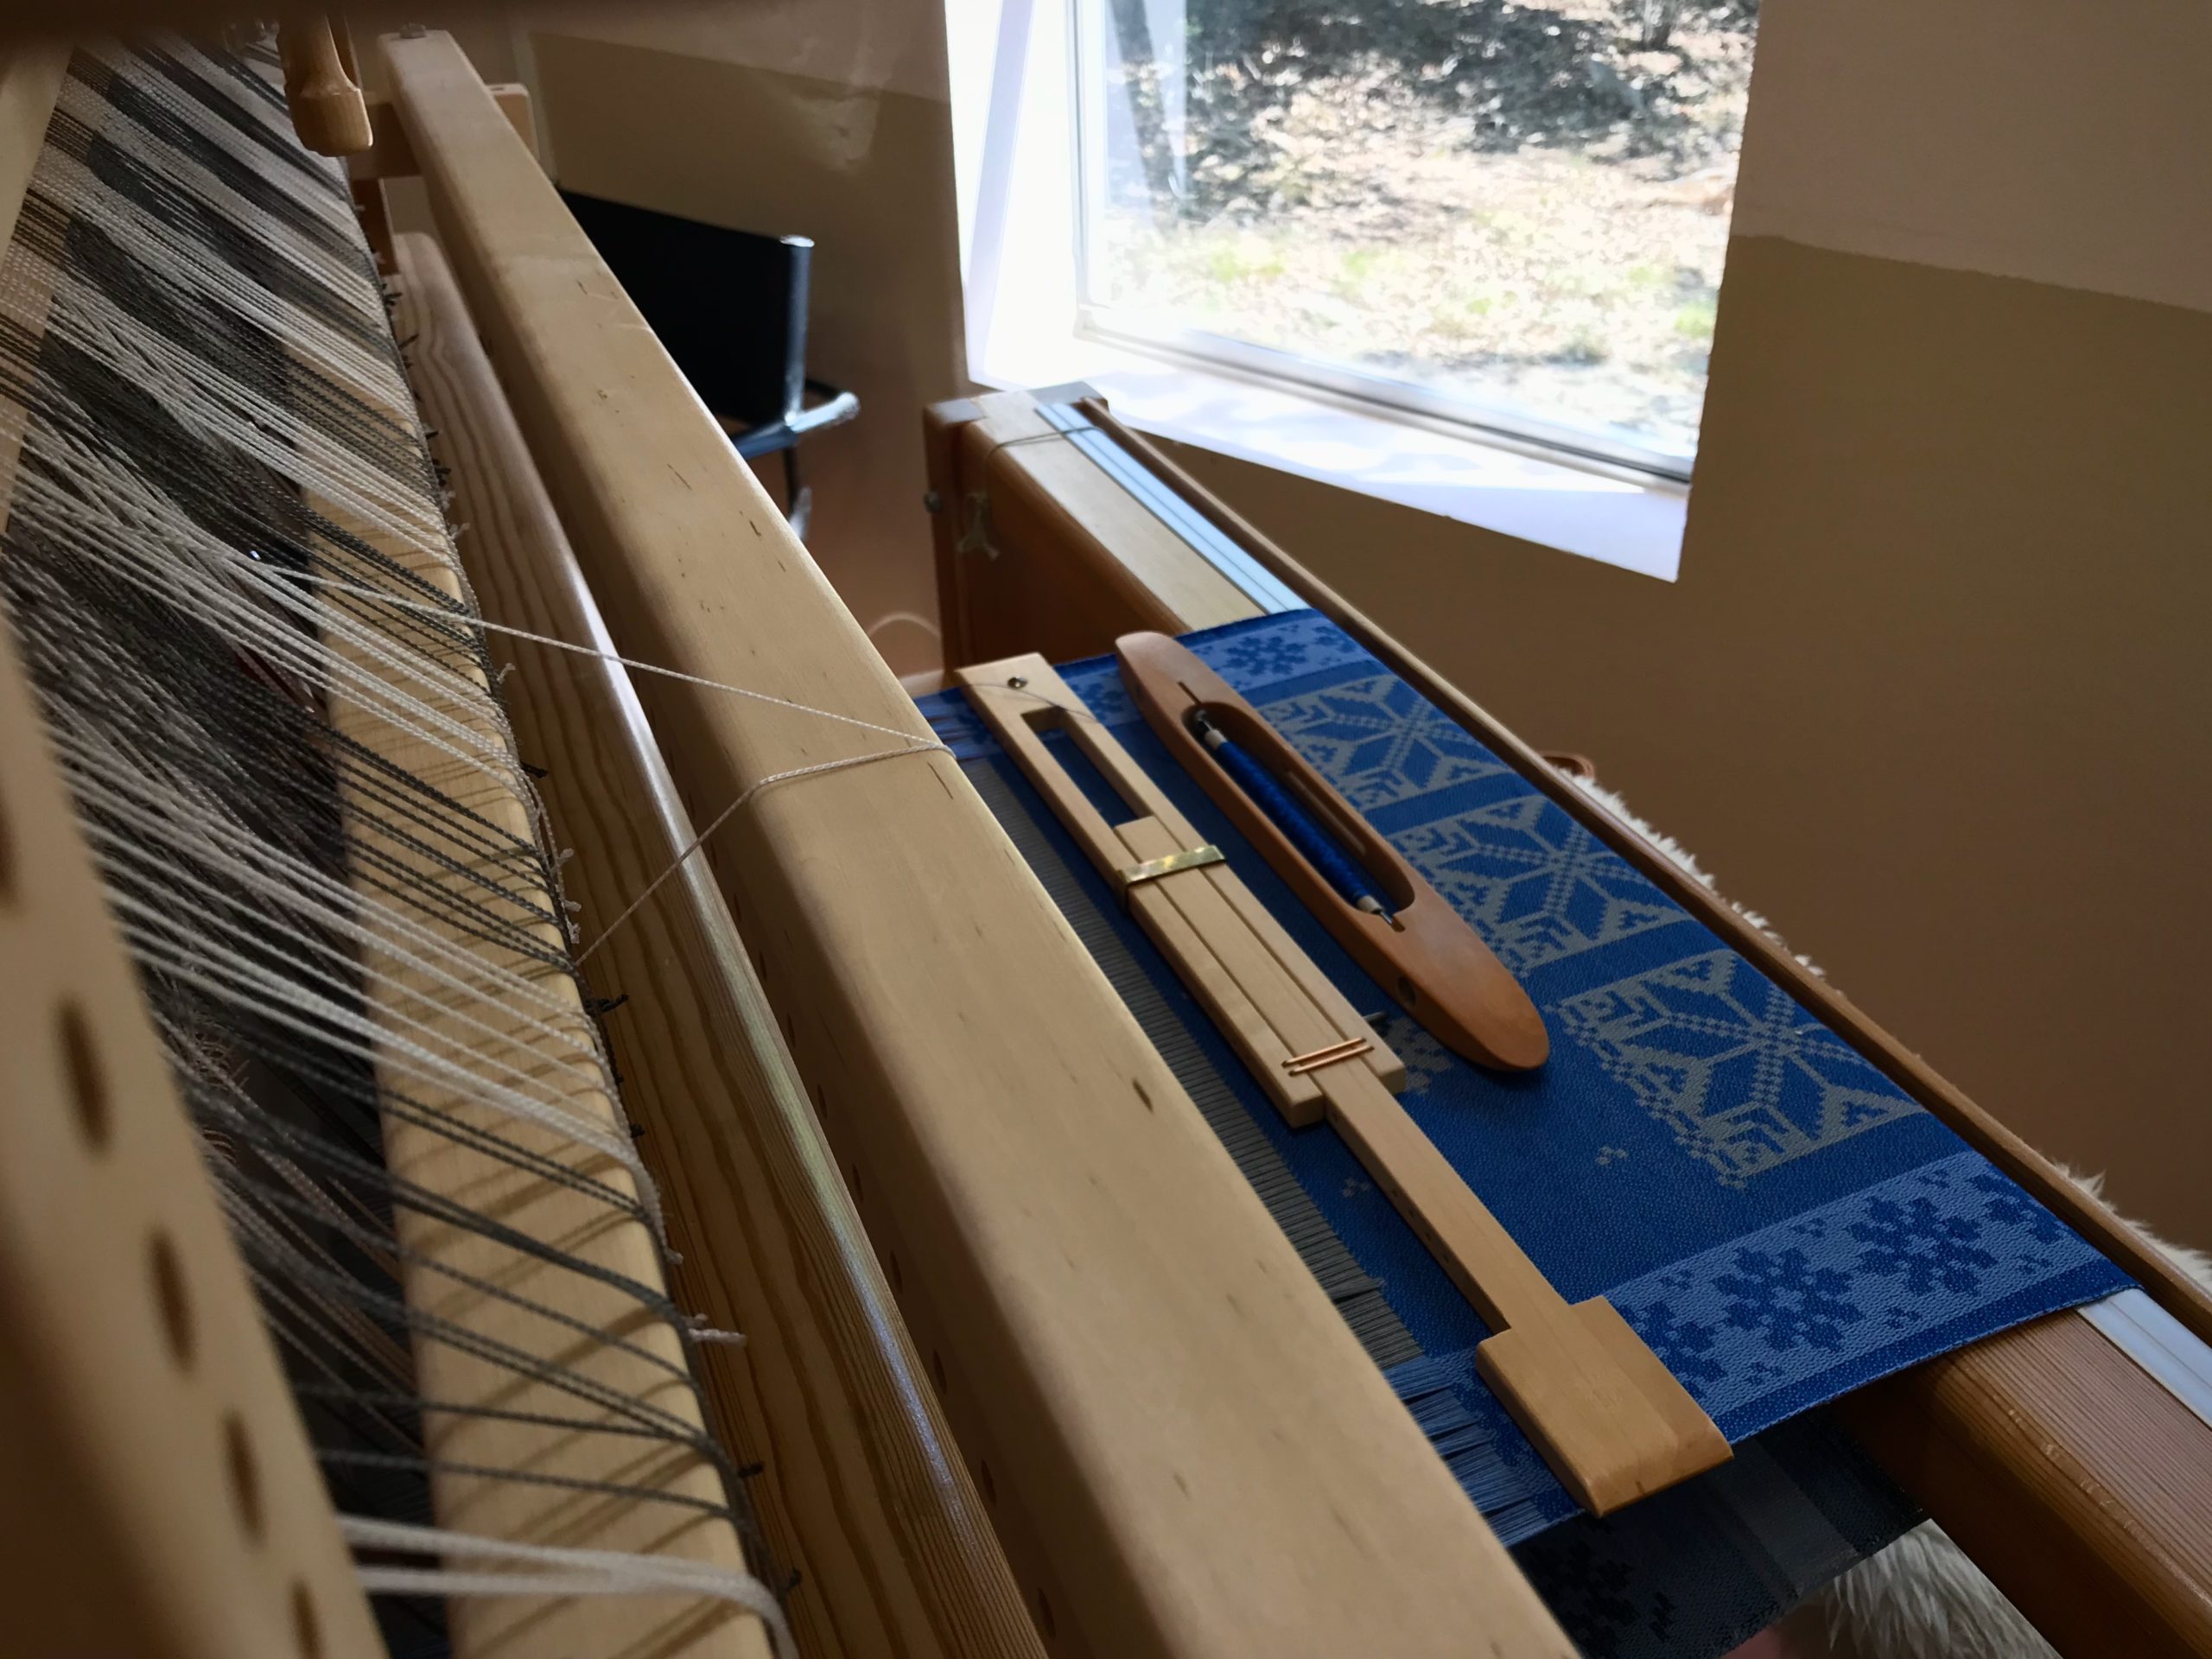
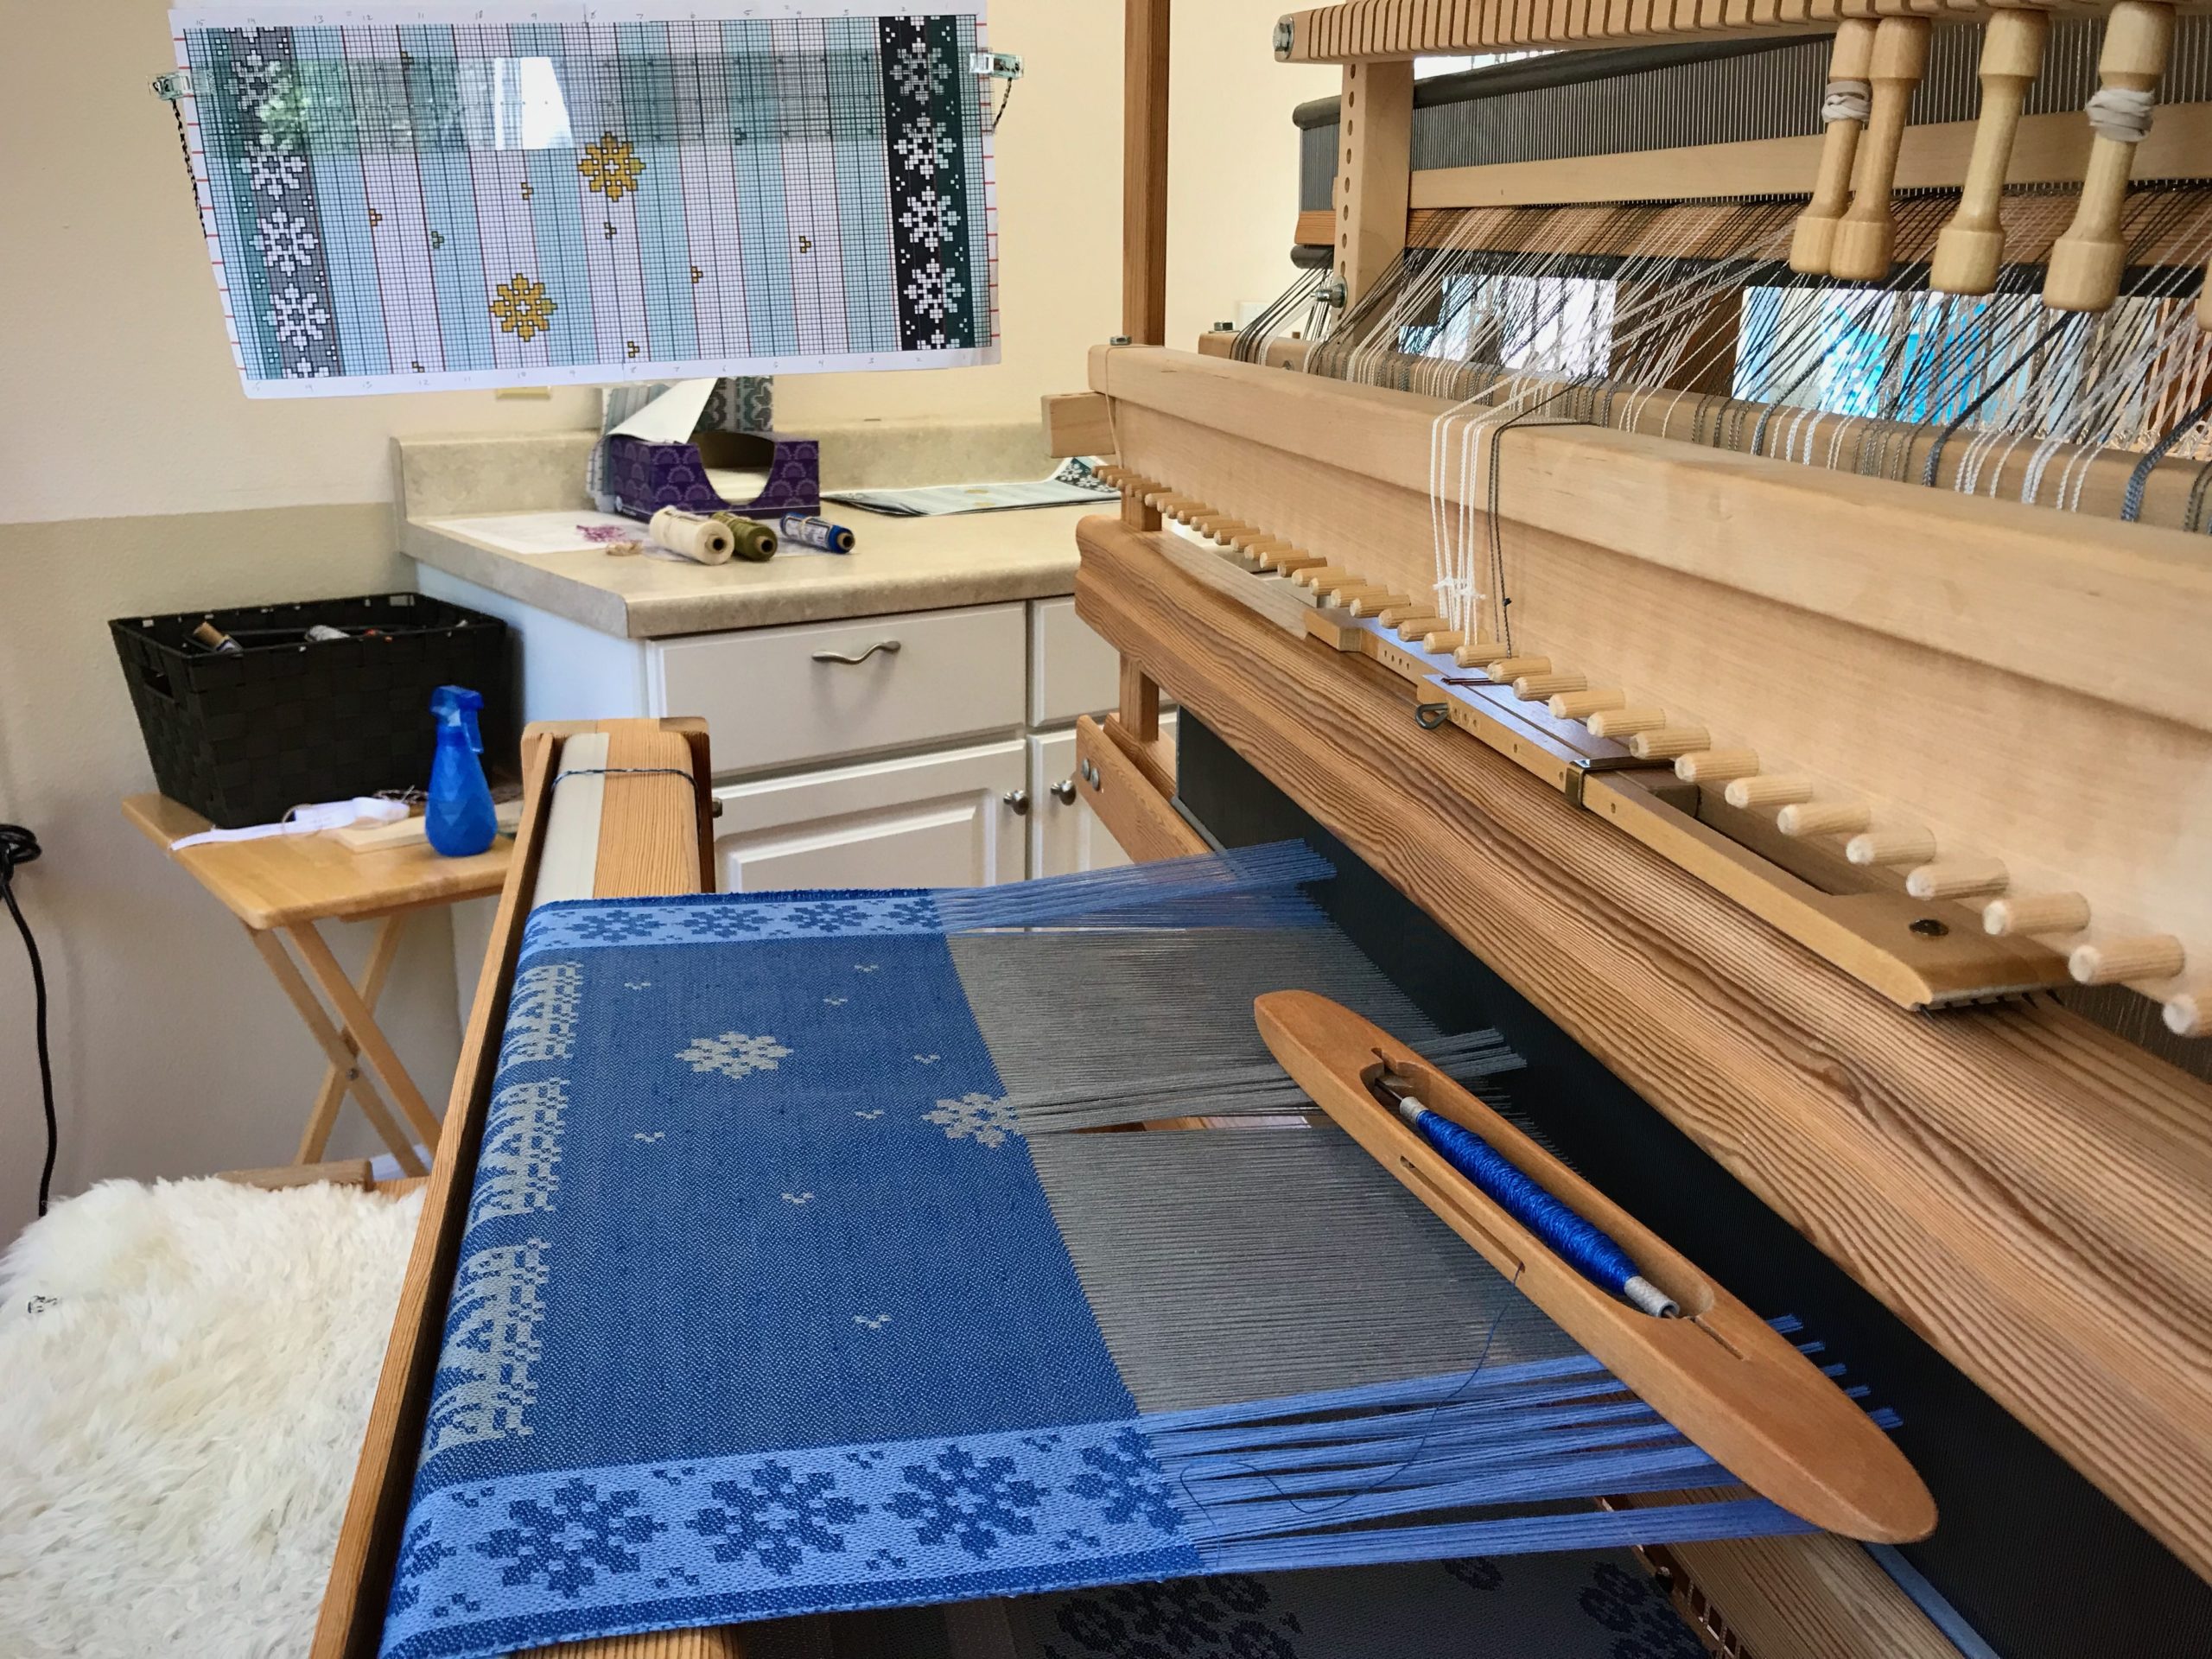
These snowflake patterns are delightful to weave. There is enough consistency with the border pattern shafts to make it simple. And there is enough (planned) random snowflakes using single units and pattern shafts to keep it engaging. All I have to do is follow the graphed chart. As I weave, the snowflakes emerge, as if by magic. But it’s not really magic, is it?
If you believe in Jesus you must walk with him. And as you do, you come to know the truth. Truth is found by walking in it. The pattern on the chart is true, and gives direction. The delight comes as we see the real-time results emerge in our own hearts. That’s freedom in its purest form.
May your search for truth bring freedom.
Happy Weaving,
Karen