Process Review: House and Home Towels

House is a structure. Home is an atmosphere—an atmosphere of love. Three young mothers have made their houses into homes. These are the mothers of my grandchildren, and I am giving a personalized towel to each of them. The combination drawloom is my favorite tool for an undertaking like this. (Be sure to watch the video/slideshow below to see the whole process!)
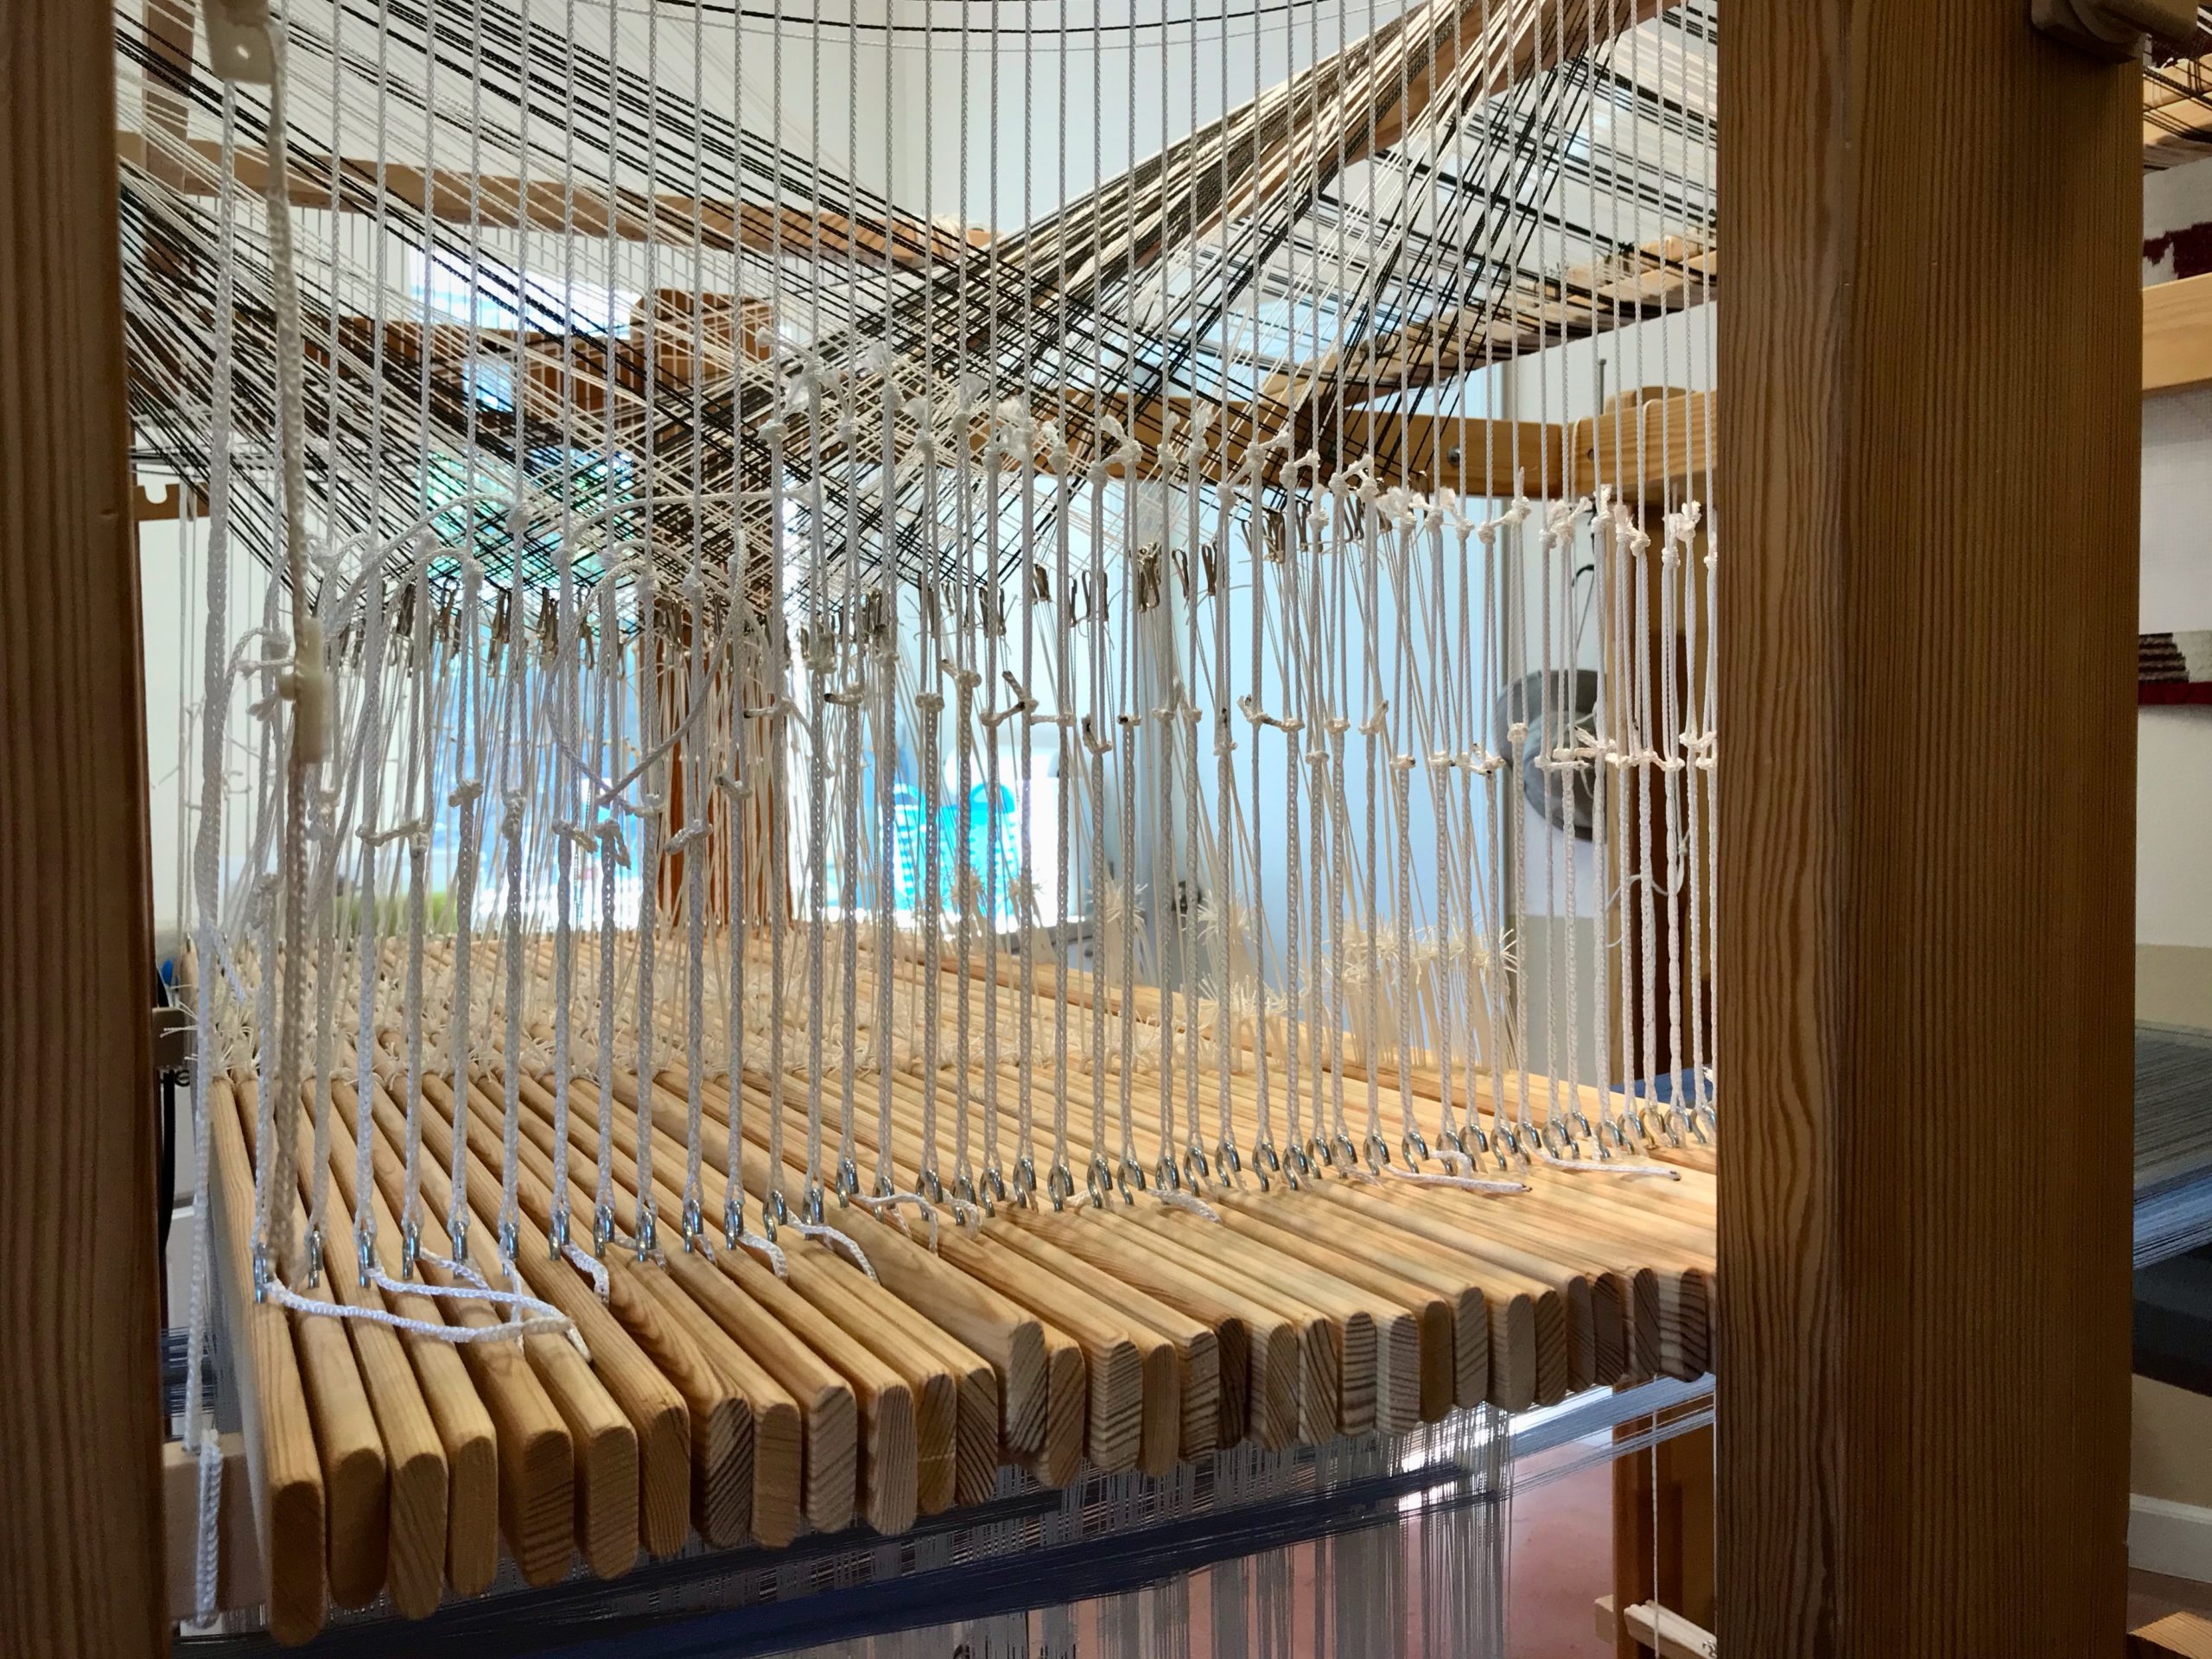
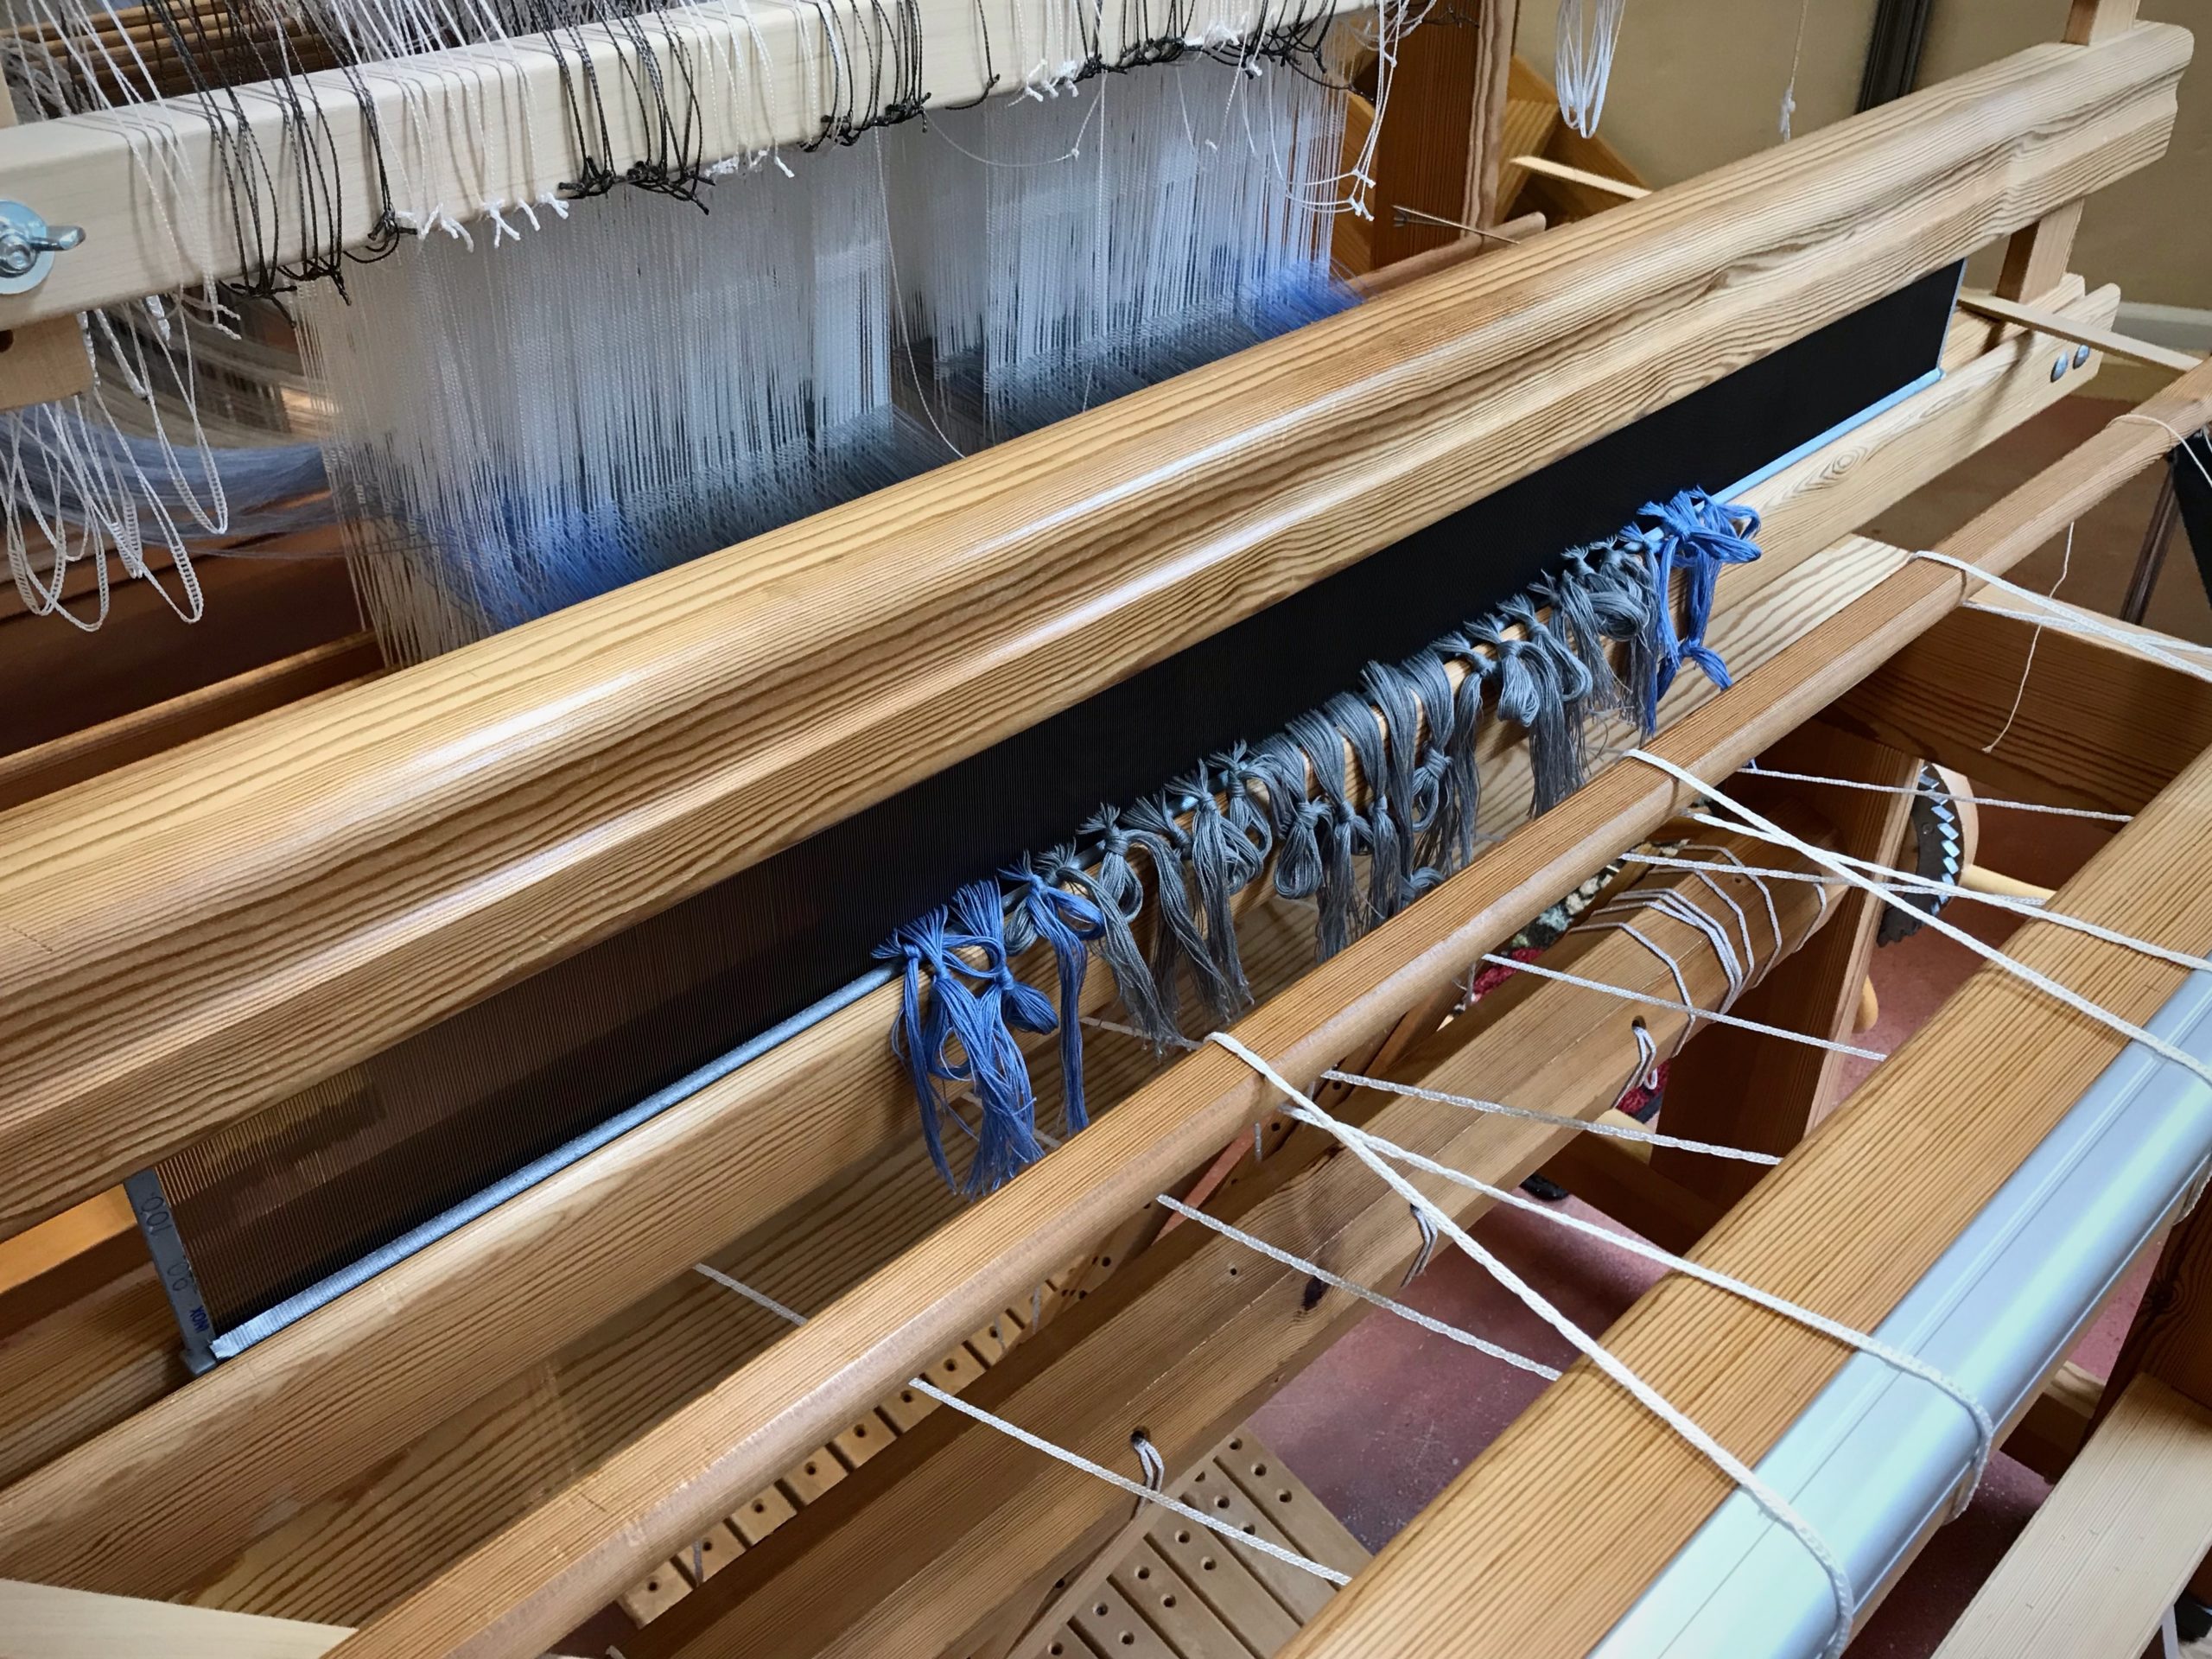
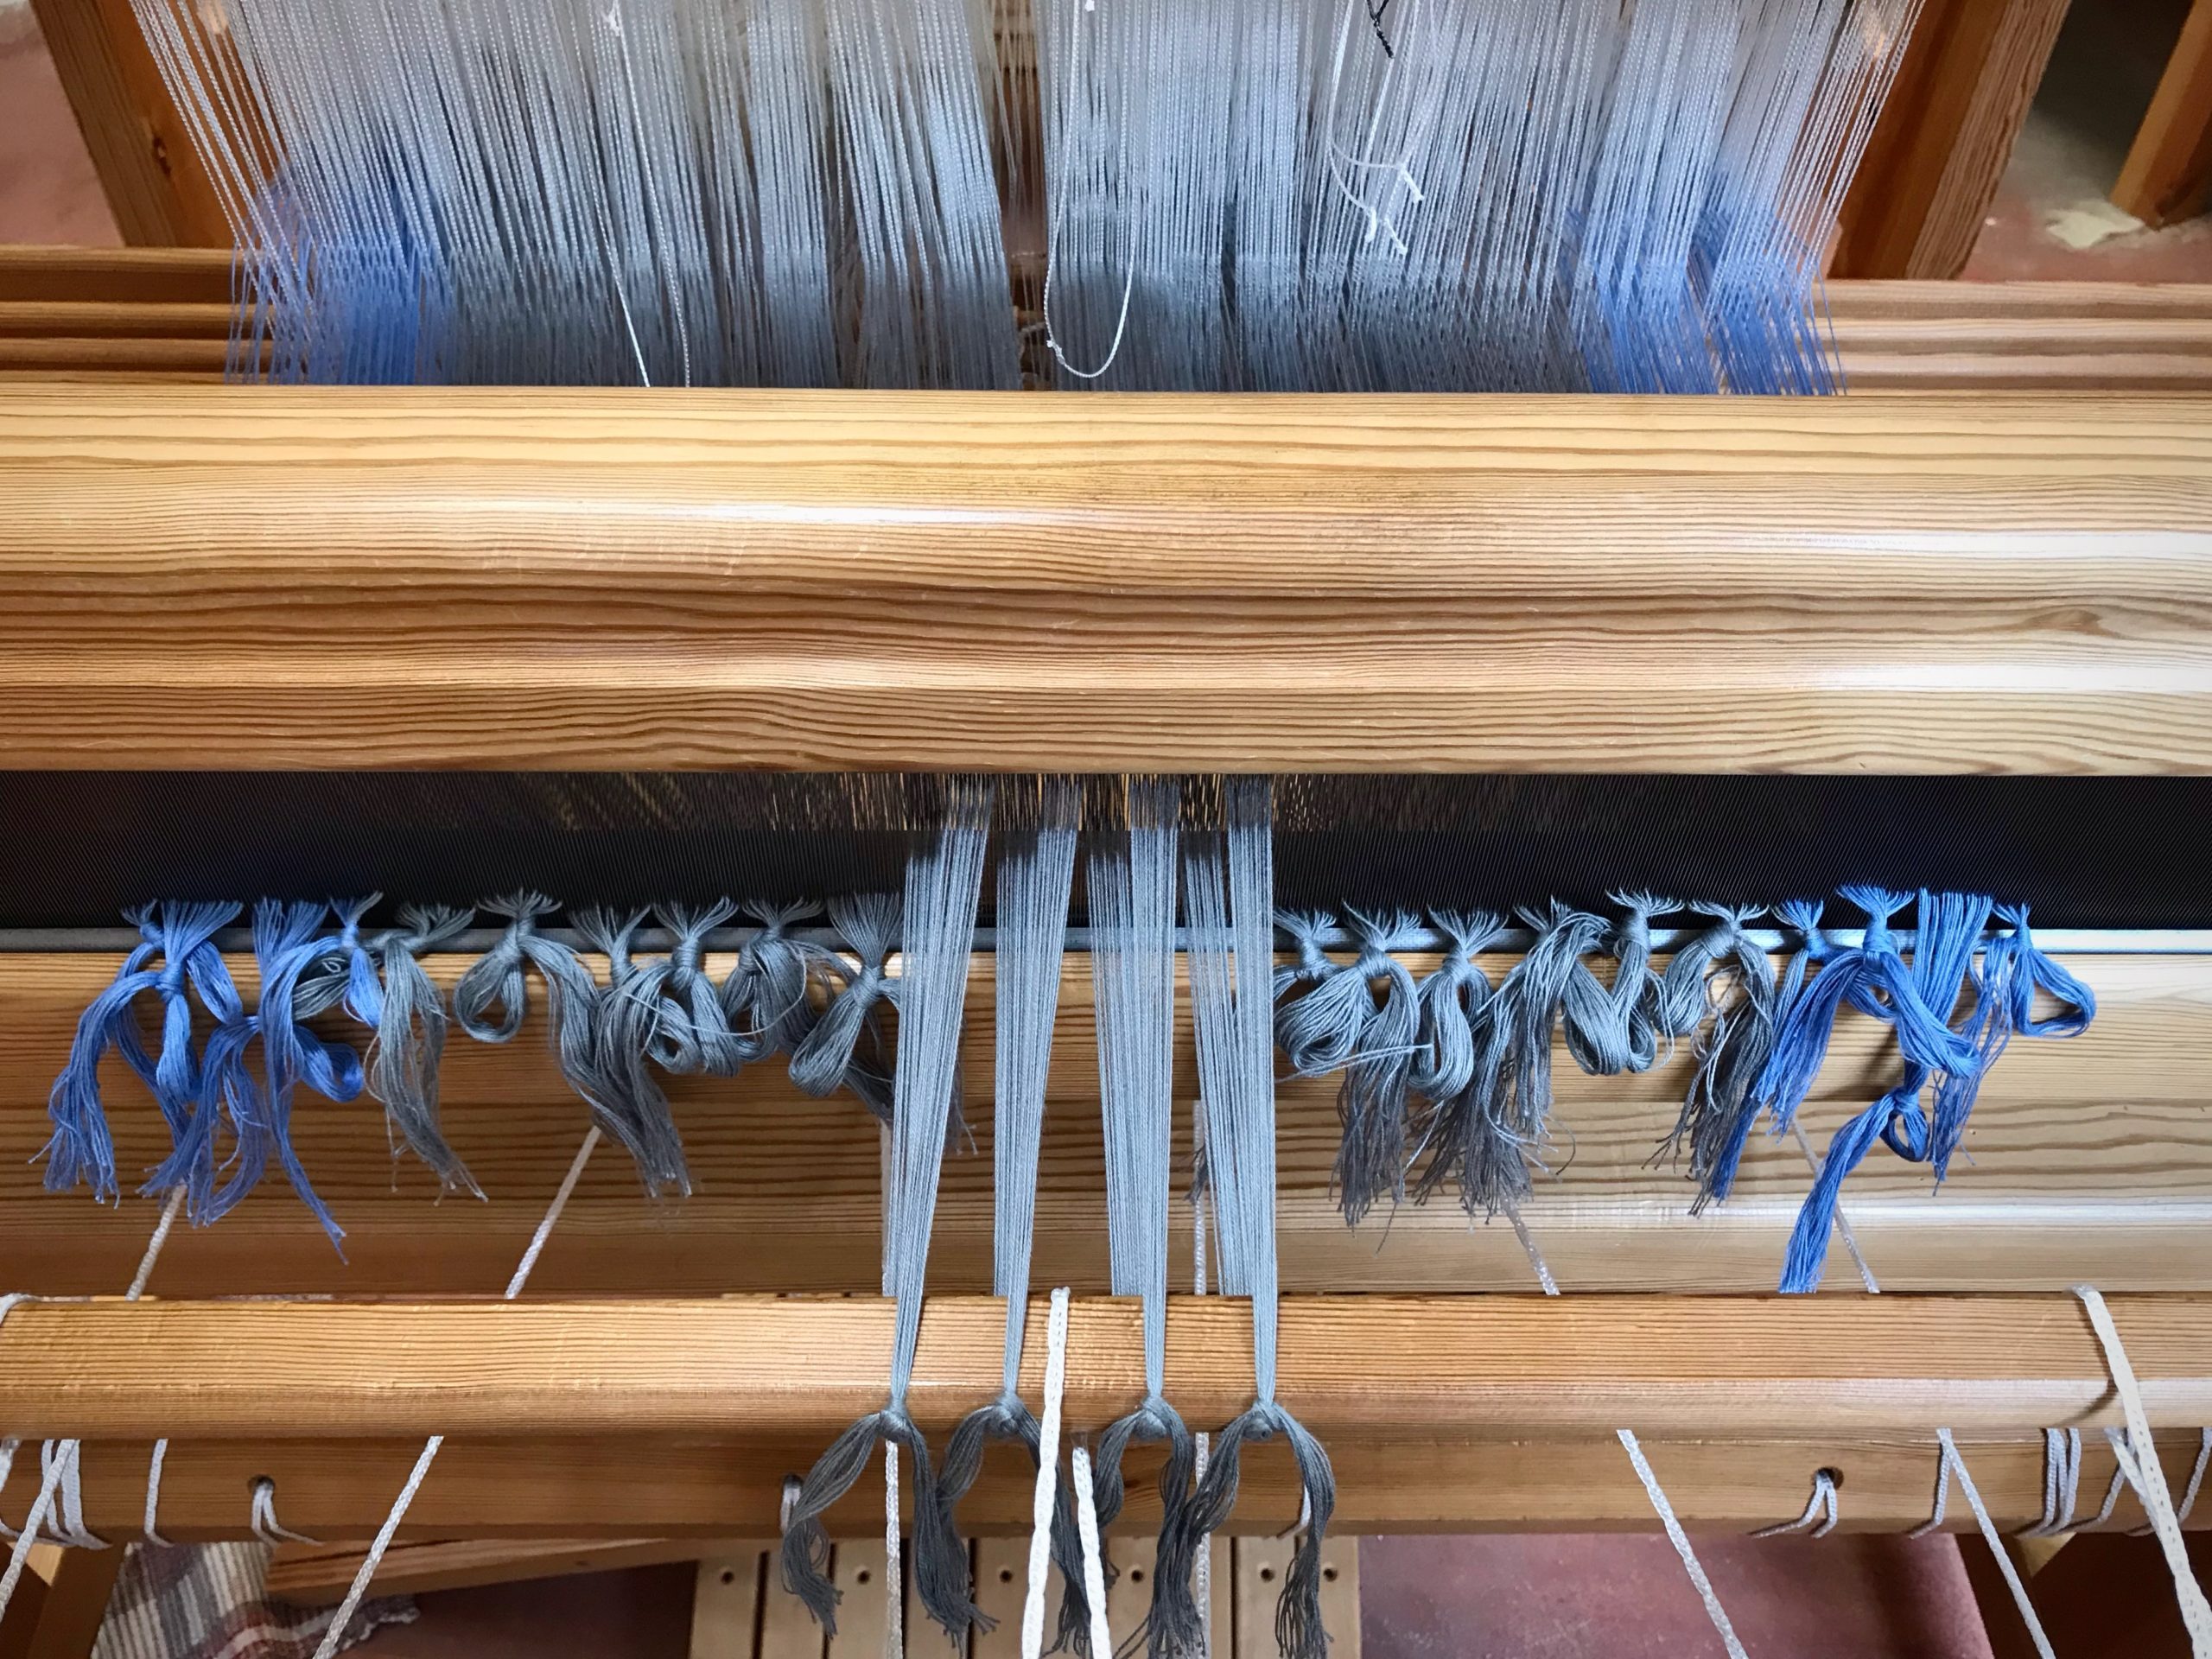
Myrehed Combination Drawloom, with 45 pattern shafts and 148 single units.
Glimåkra 120cm Standard Loom with Myrehed Combination Drawloom, using 45 pattern shafts and 148 single units.

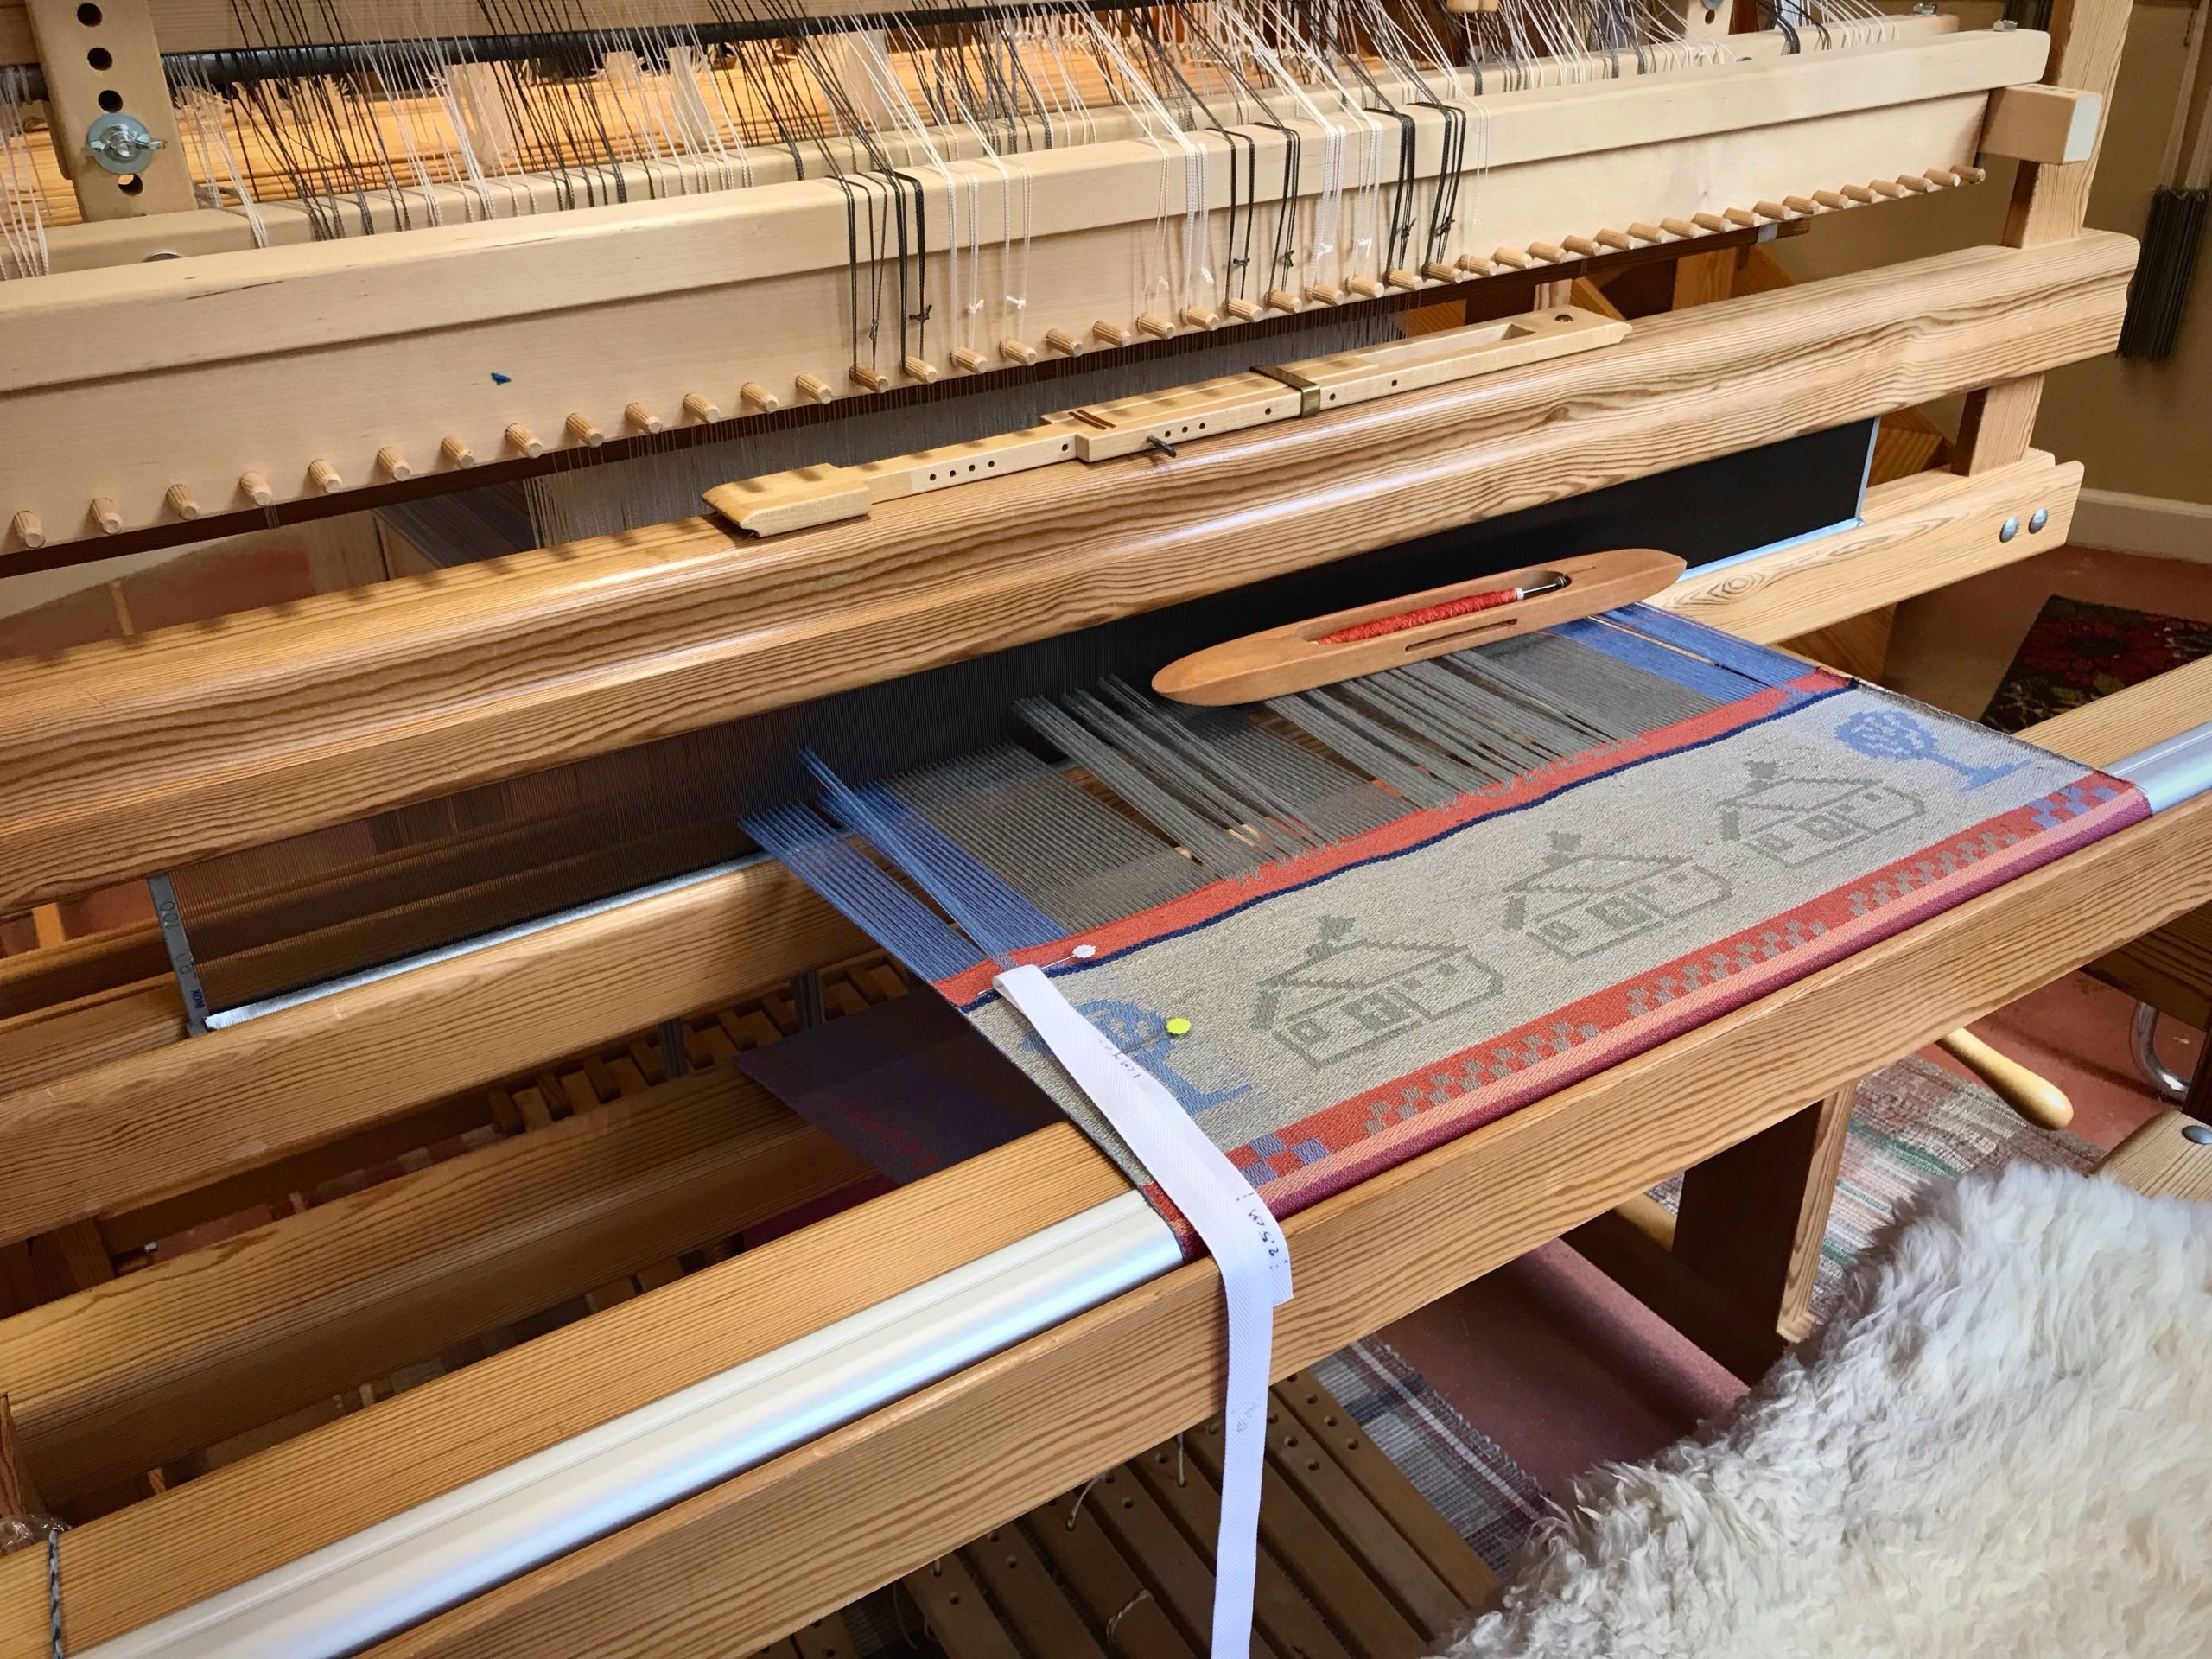
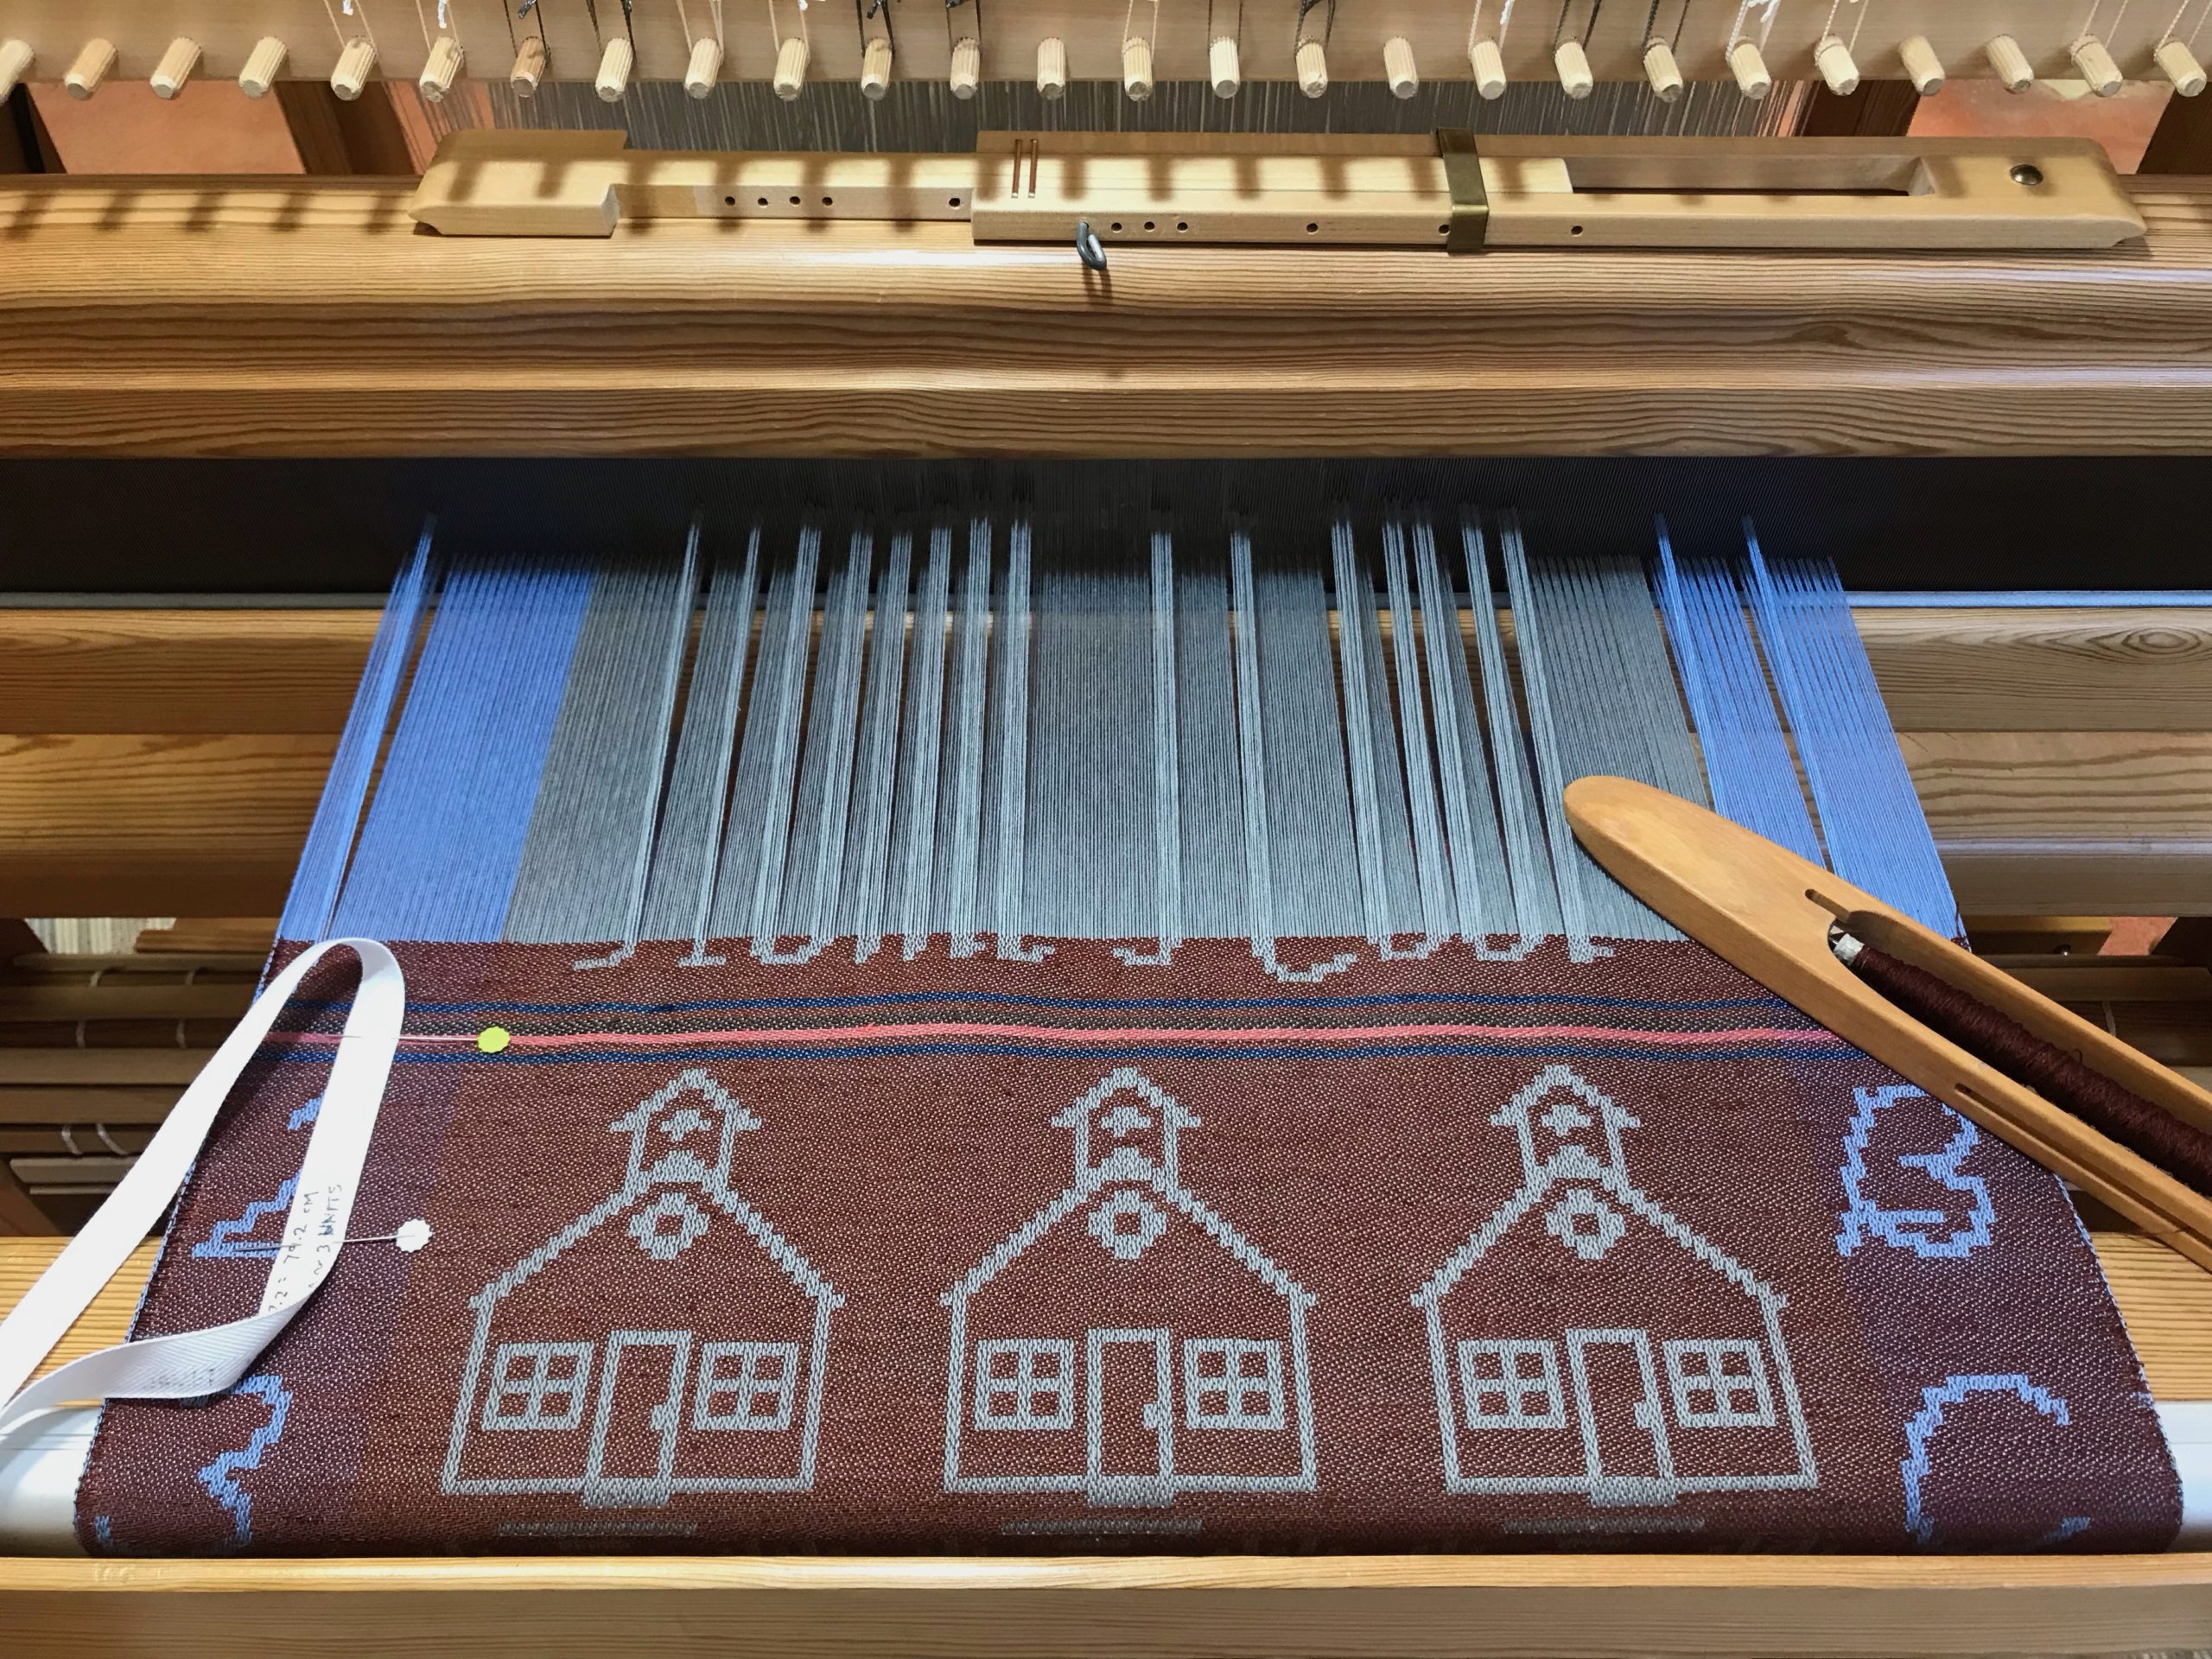
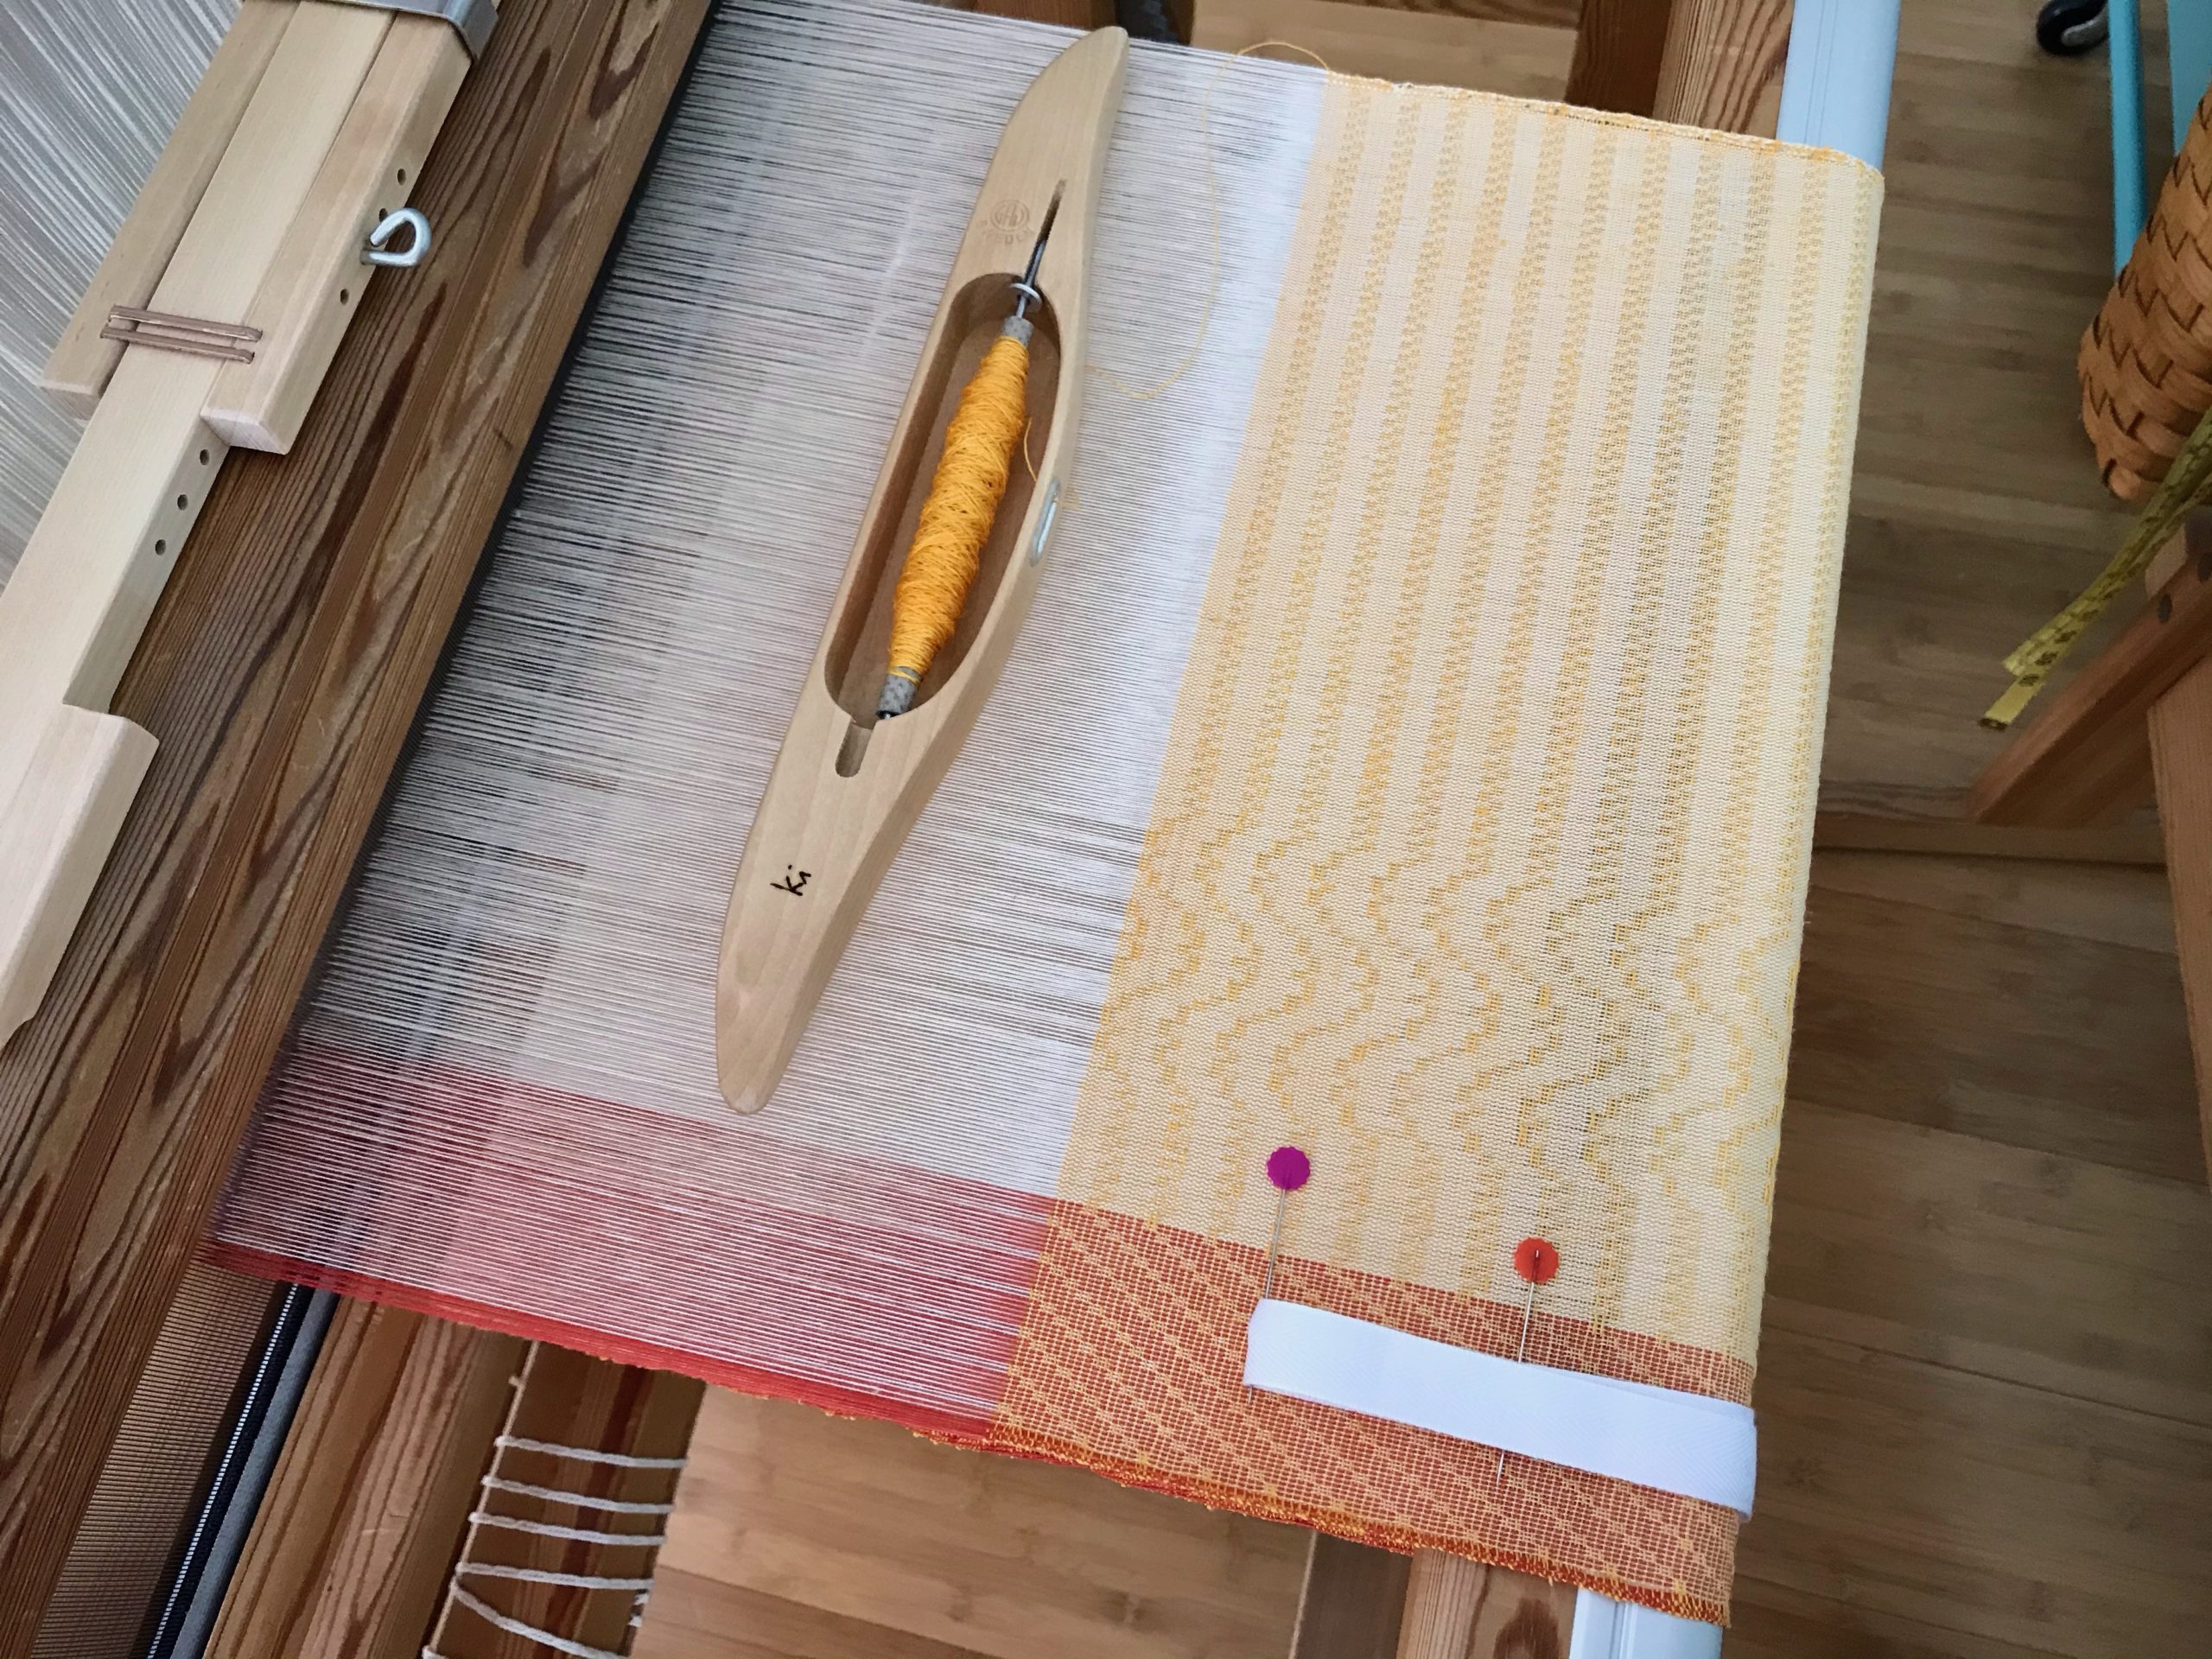
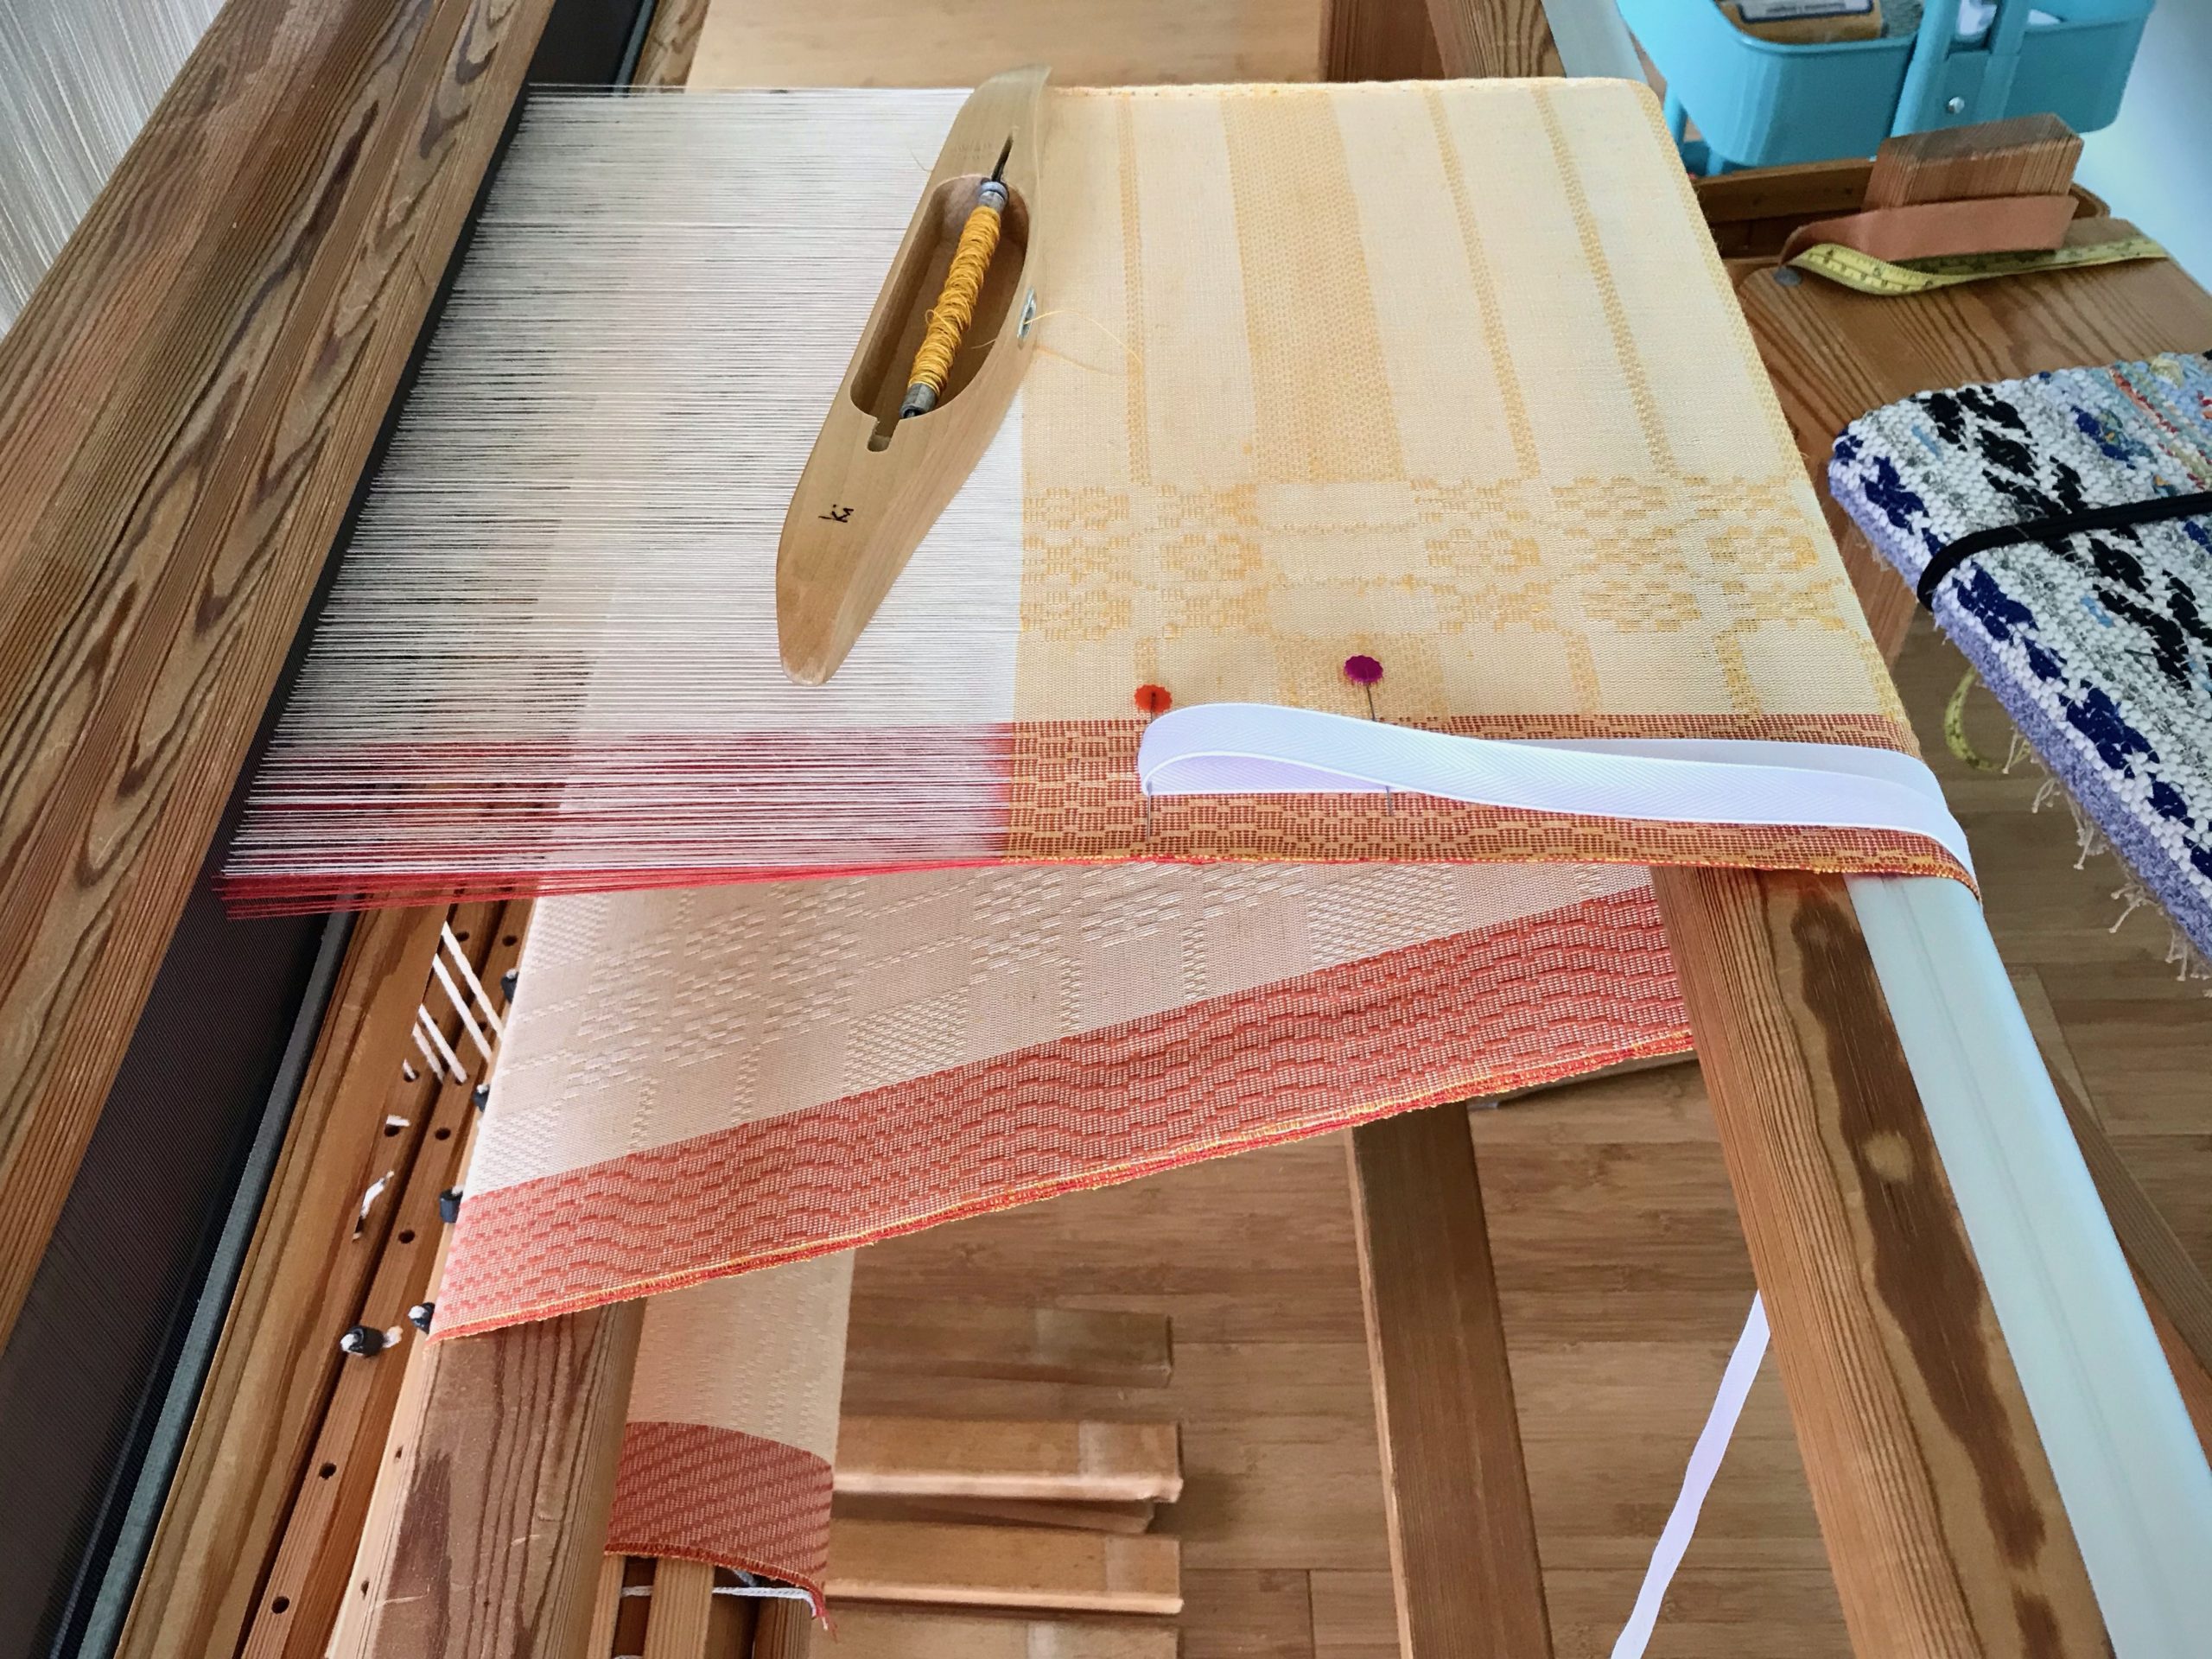
First up is the Peach Jam towel to hang in my house, where all the families come for flavors of home. Next is Melody’s towel, with a whimsical cottage as Home (which can be read from front or back). Marie’s towel copies the cover of one of her favorite books, The Wise Woman. And Lindsay, a homeschool mom, has a towel that shows the wordplay humor that her family enjoys, Home’s Cool. A house is for people; come on in. A home is for family; welcome home.
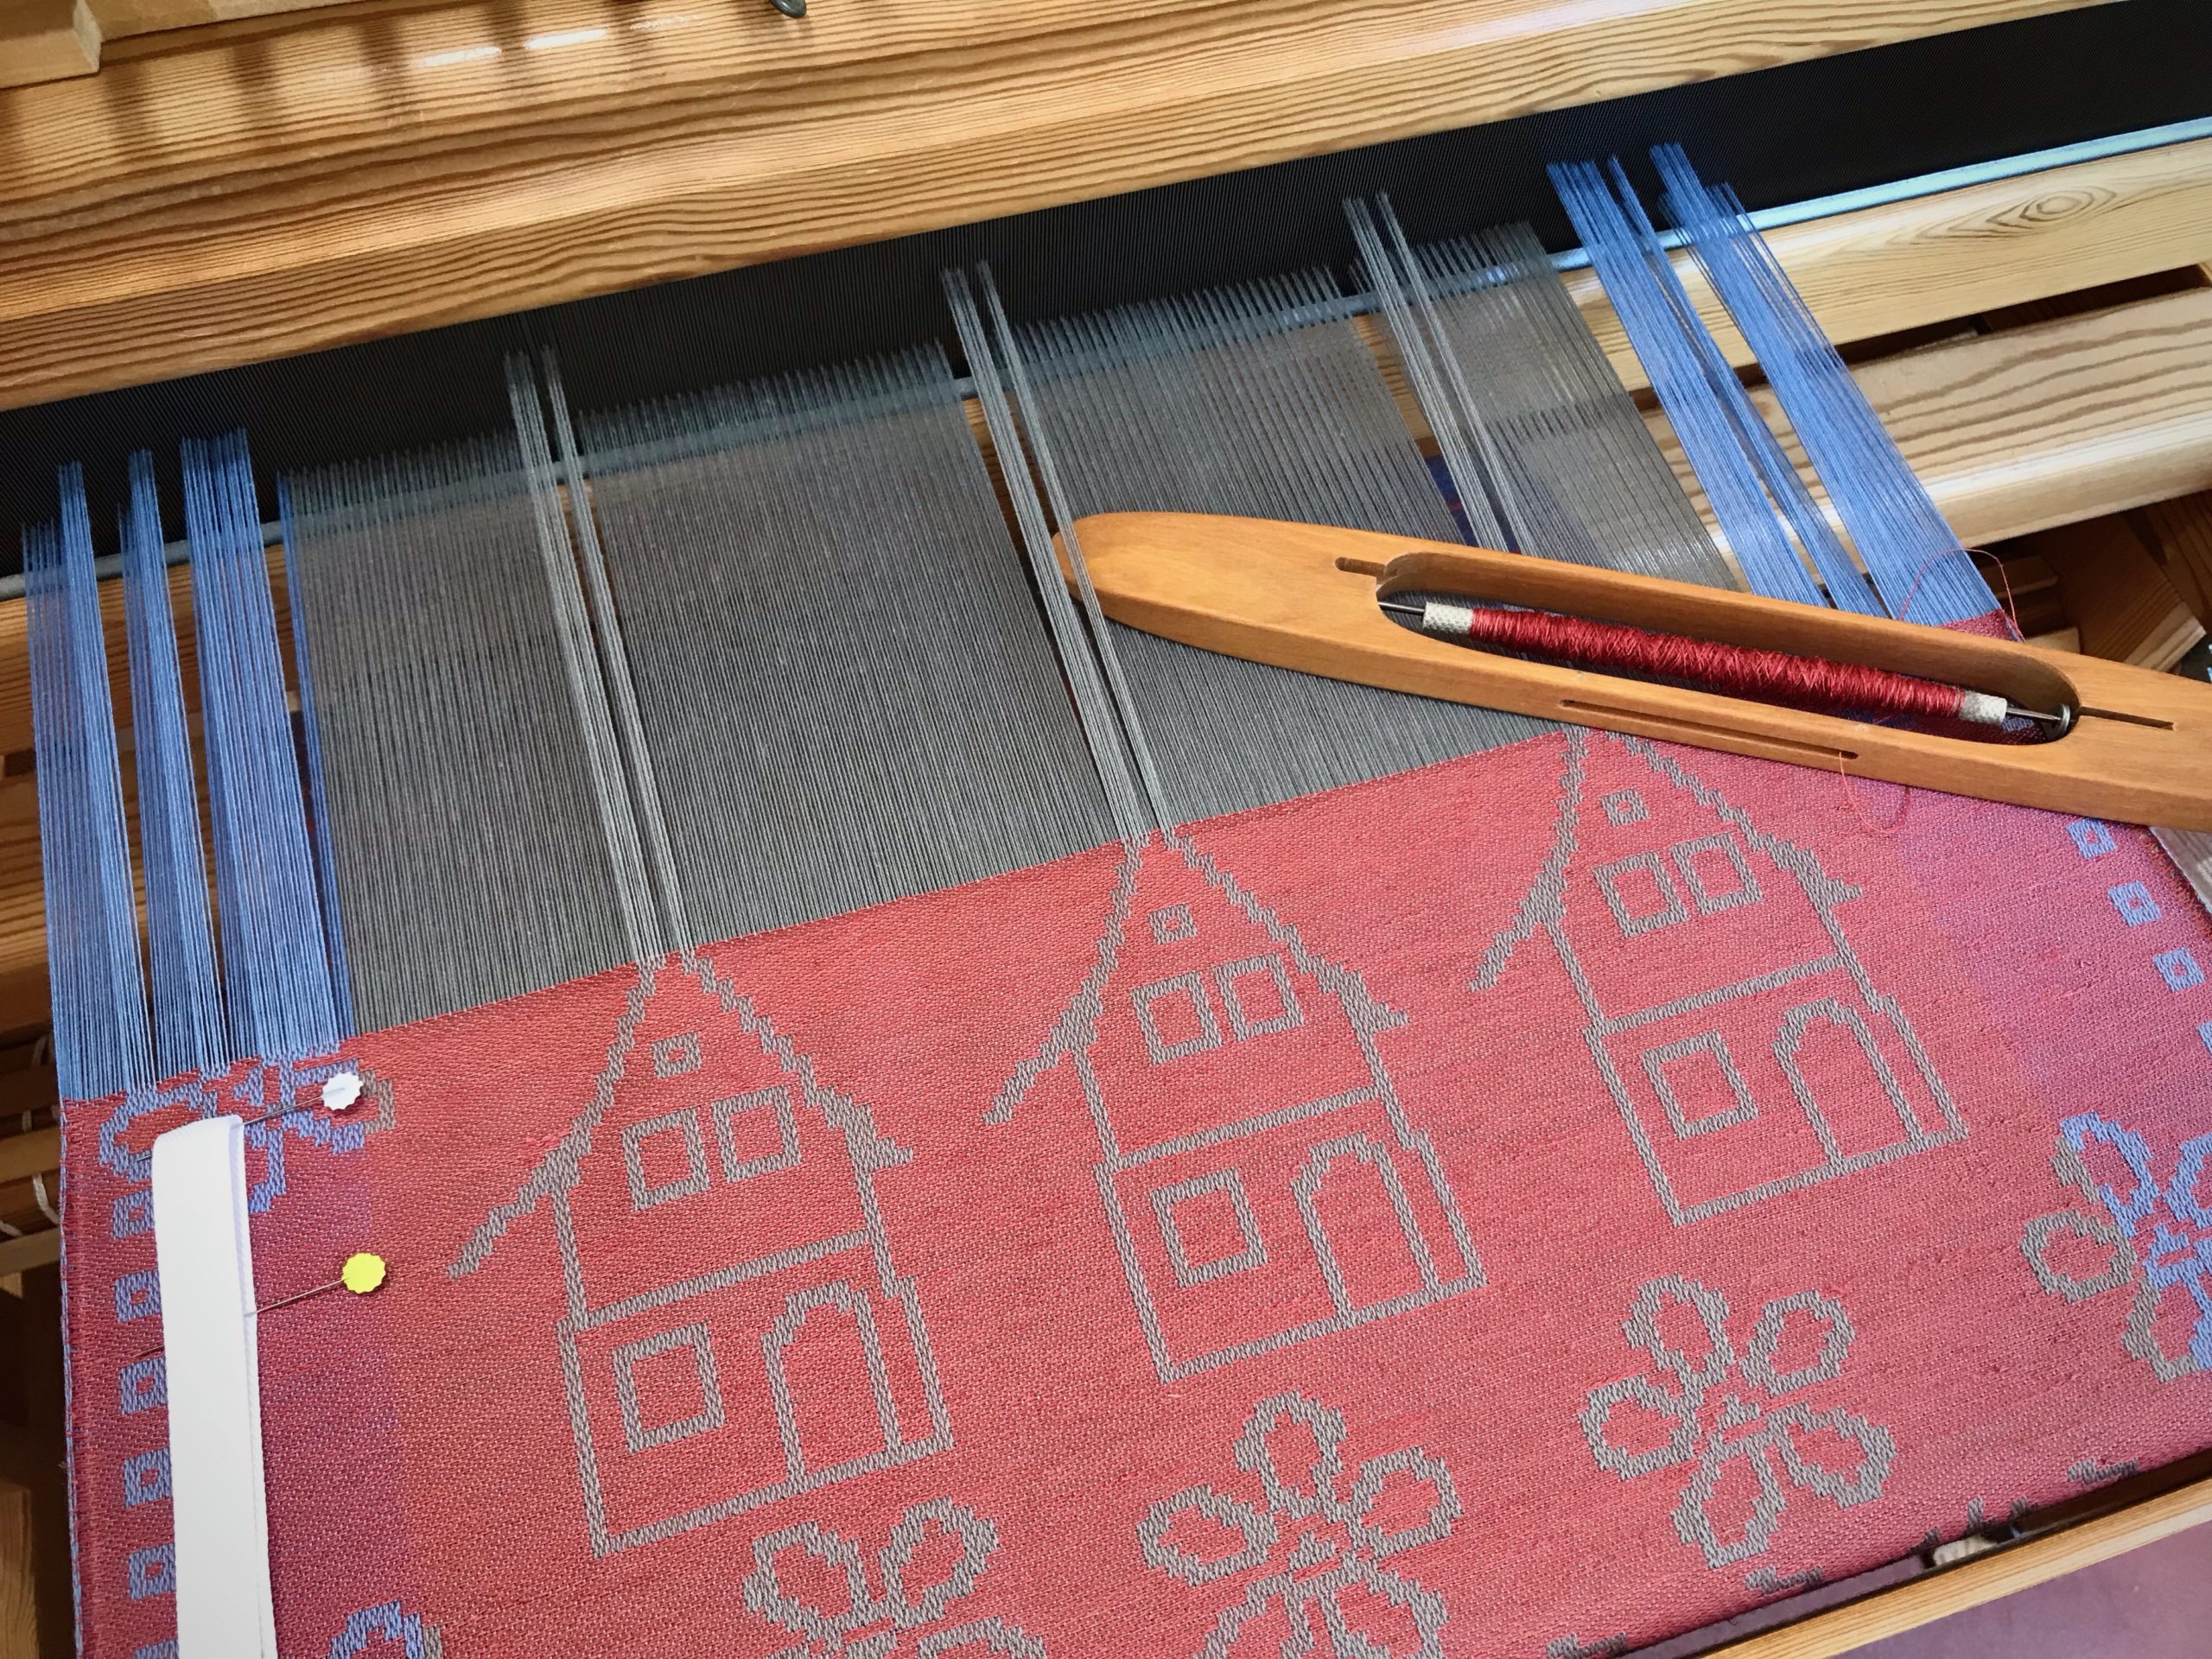
Weaving personalized towels on the drawloom.
Whimsical house with whimsical flowers makes a whimsical, joyful home! Single units form the flowers under the houses. Pattern shafts hold the thread units that are raised for the three houses and the side border little squares and flowers.
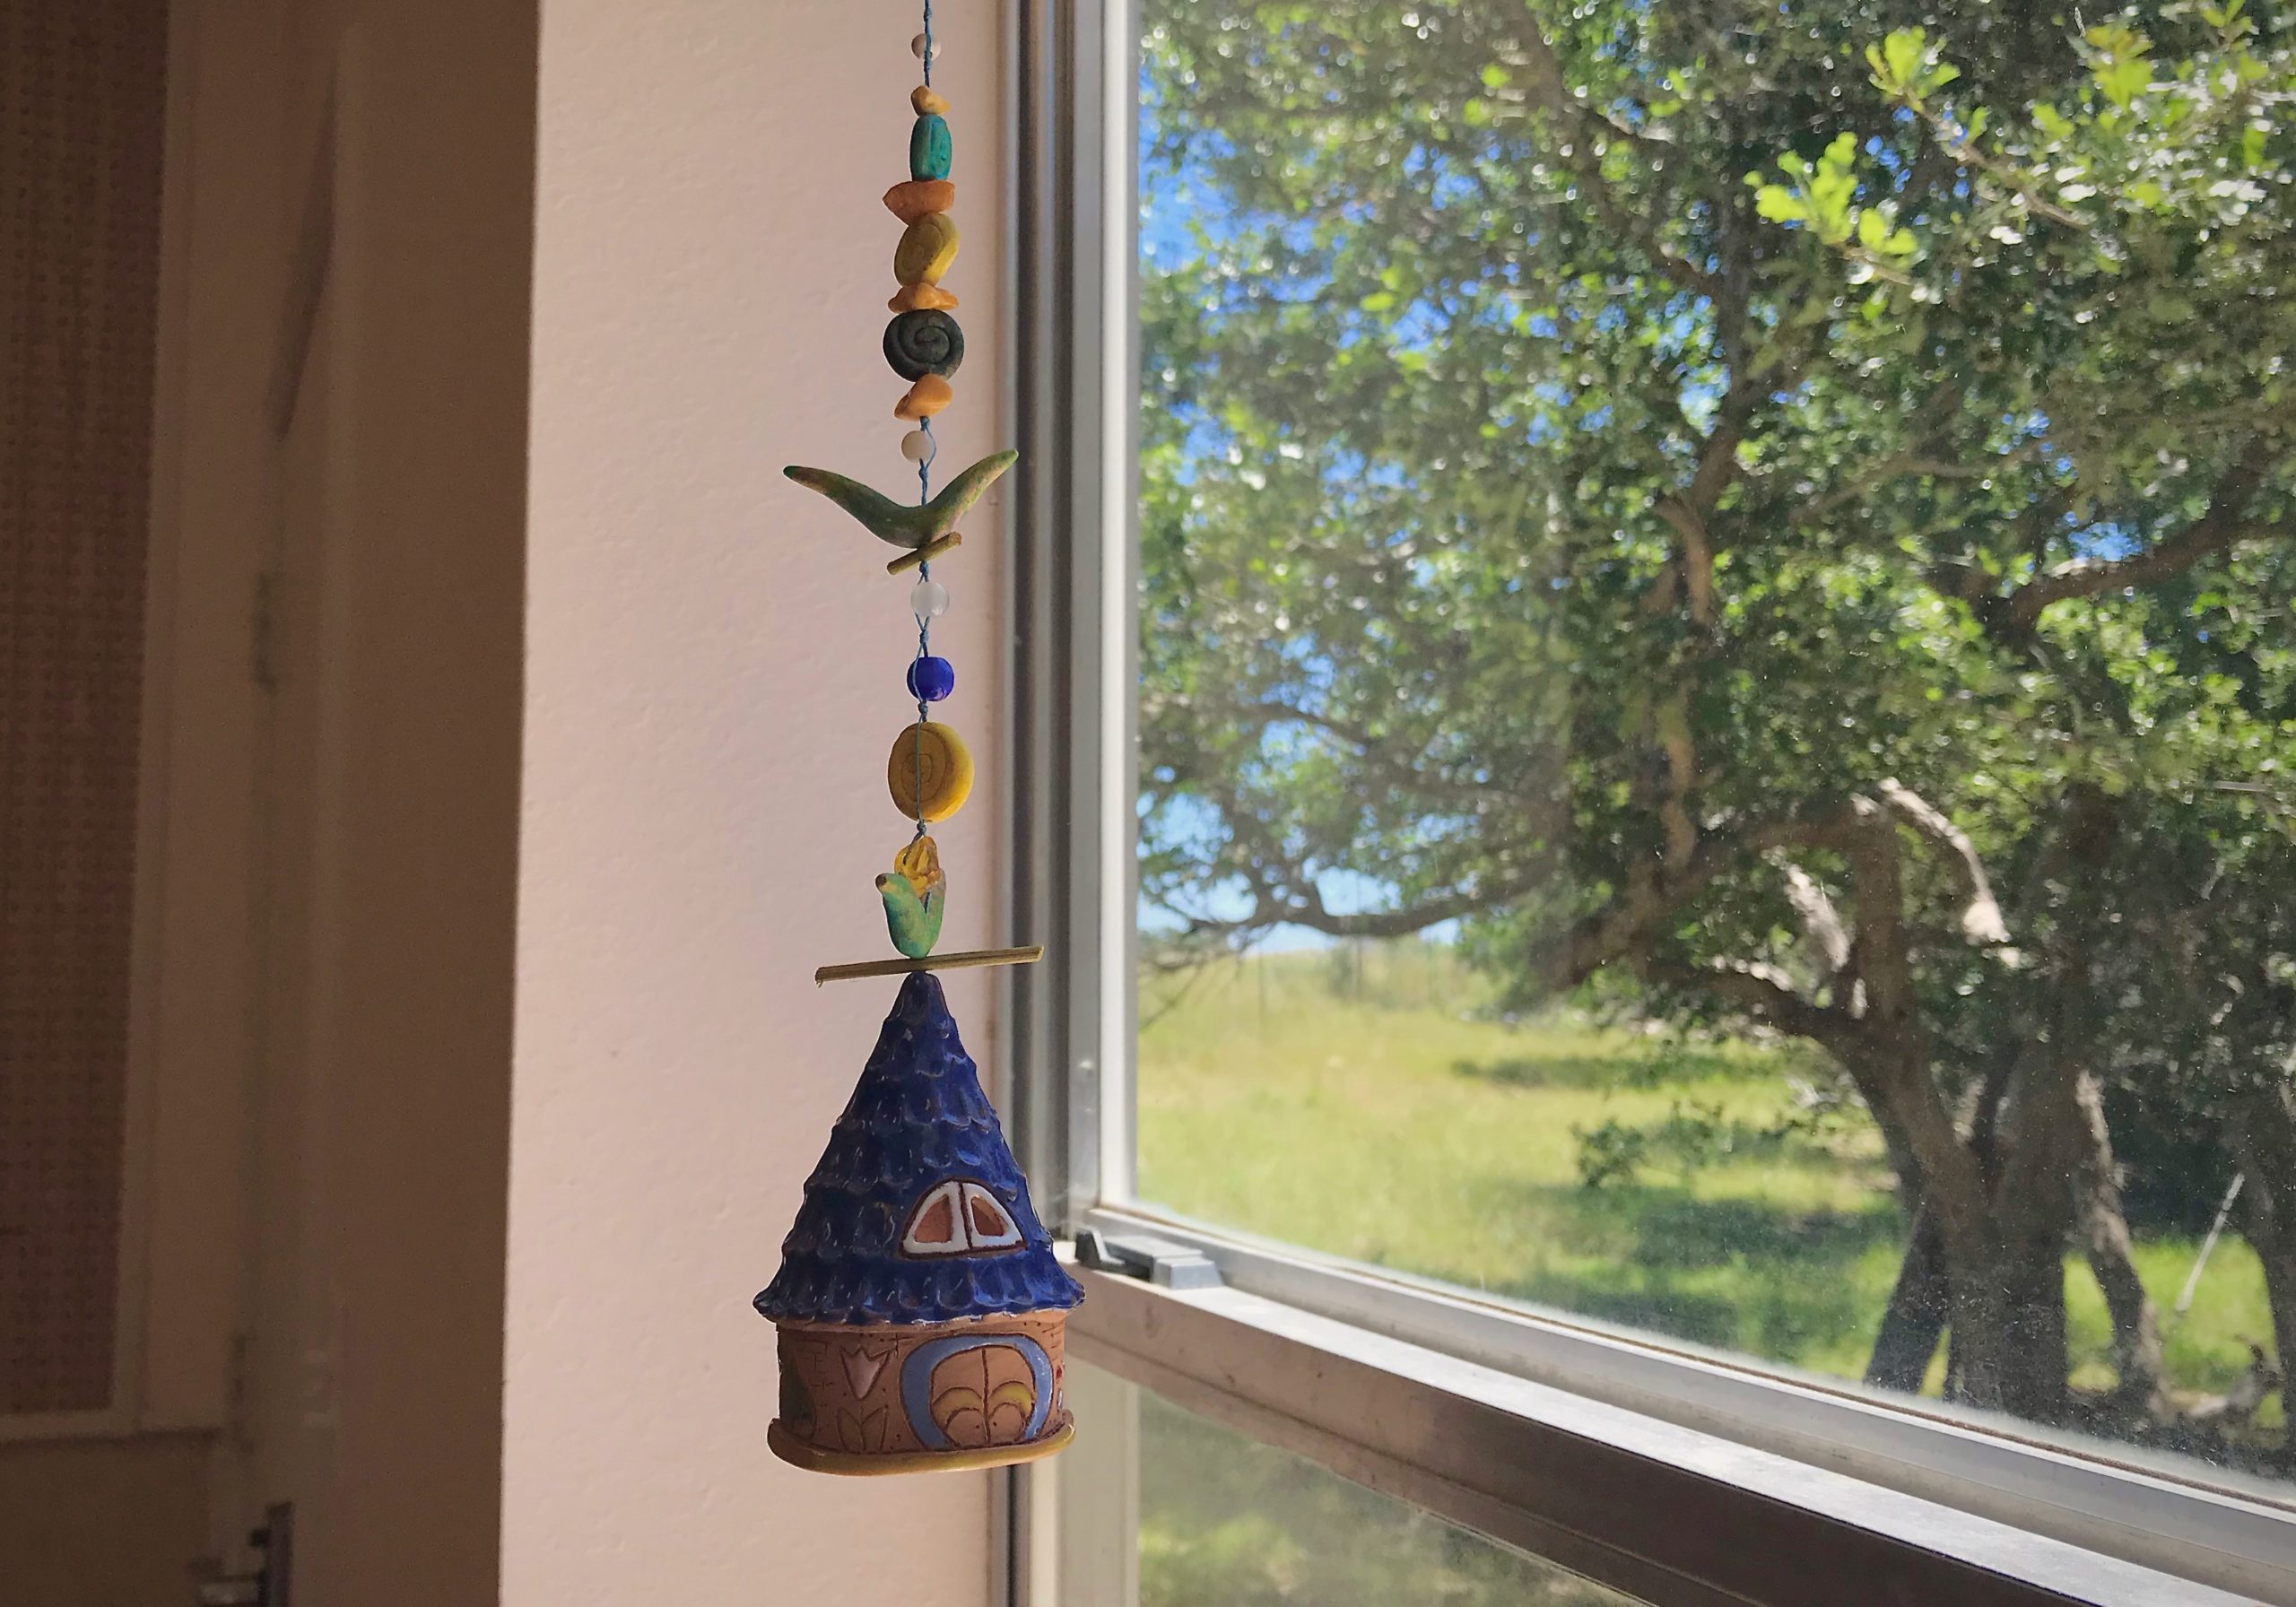
Ceramic bell from my trip to Germany. Whimsical house.
Melody’s towel design is derived from this ceramic bell that I brought home from my trip to Germany. Melody is especially fond of the bell, which hangs in my drawloom studio.
Drawloom - pattern shafts and single units.
Smoke rises from the chimney, and lush trees surround the home. There is evidence of a growing family here. Chances are, Mom and Dad are reading books by the fire. And seeds are being planted that will mature into living trees.
Drawloom - combination pattern shafts and single units.
Bells ring in the towers of the schoolhouses. Single units are used for the numbers and letters on the side borders, and for the words above the pattern-shaft schoolhouses.

Join me in watching the whole process, all the way to the finished towels (several months compressed into a few minutes):

May your house be a welcome home.

With affection,
Karen

Miss Fit and I

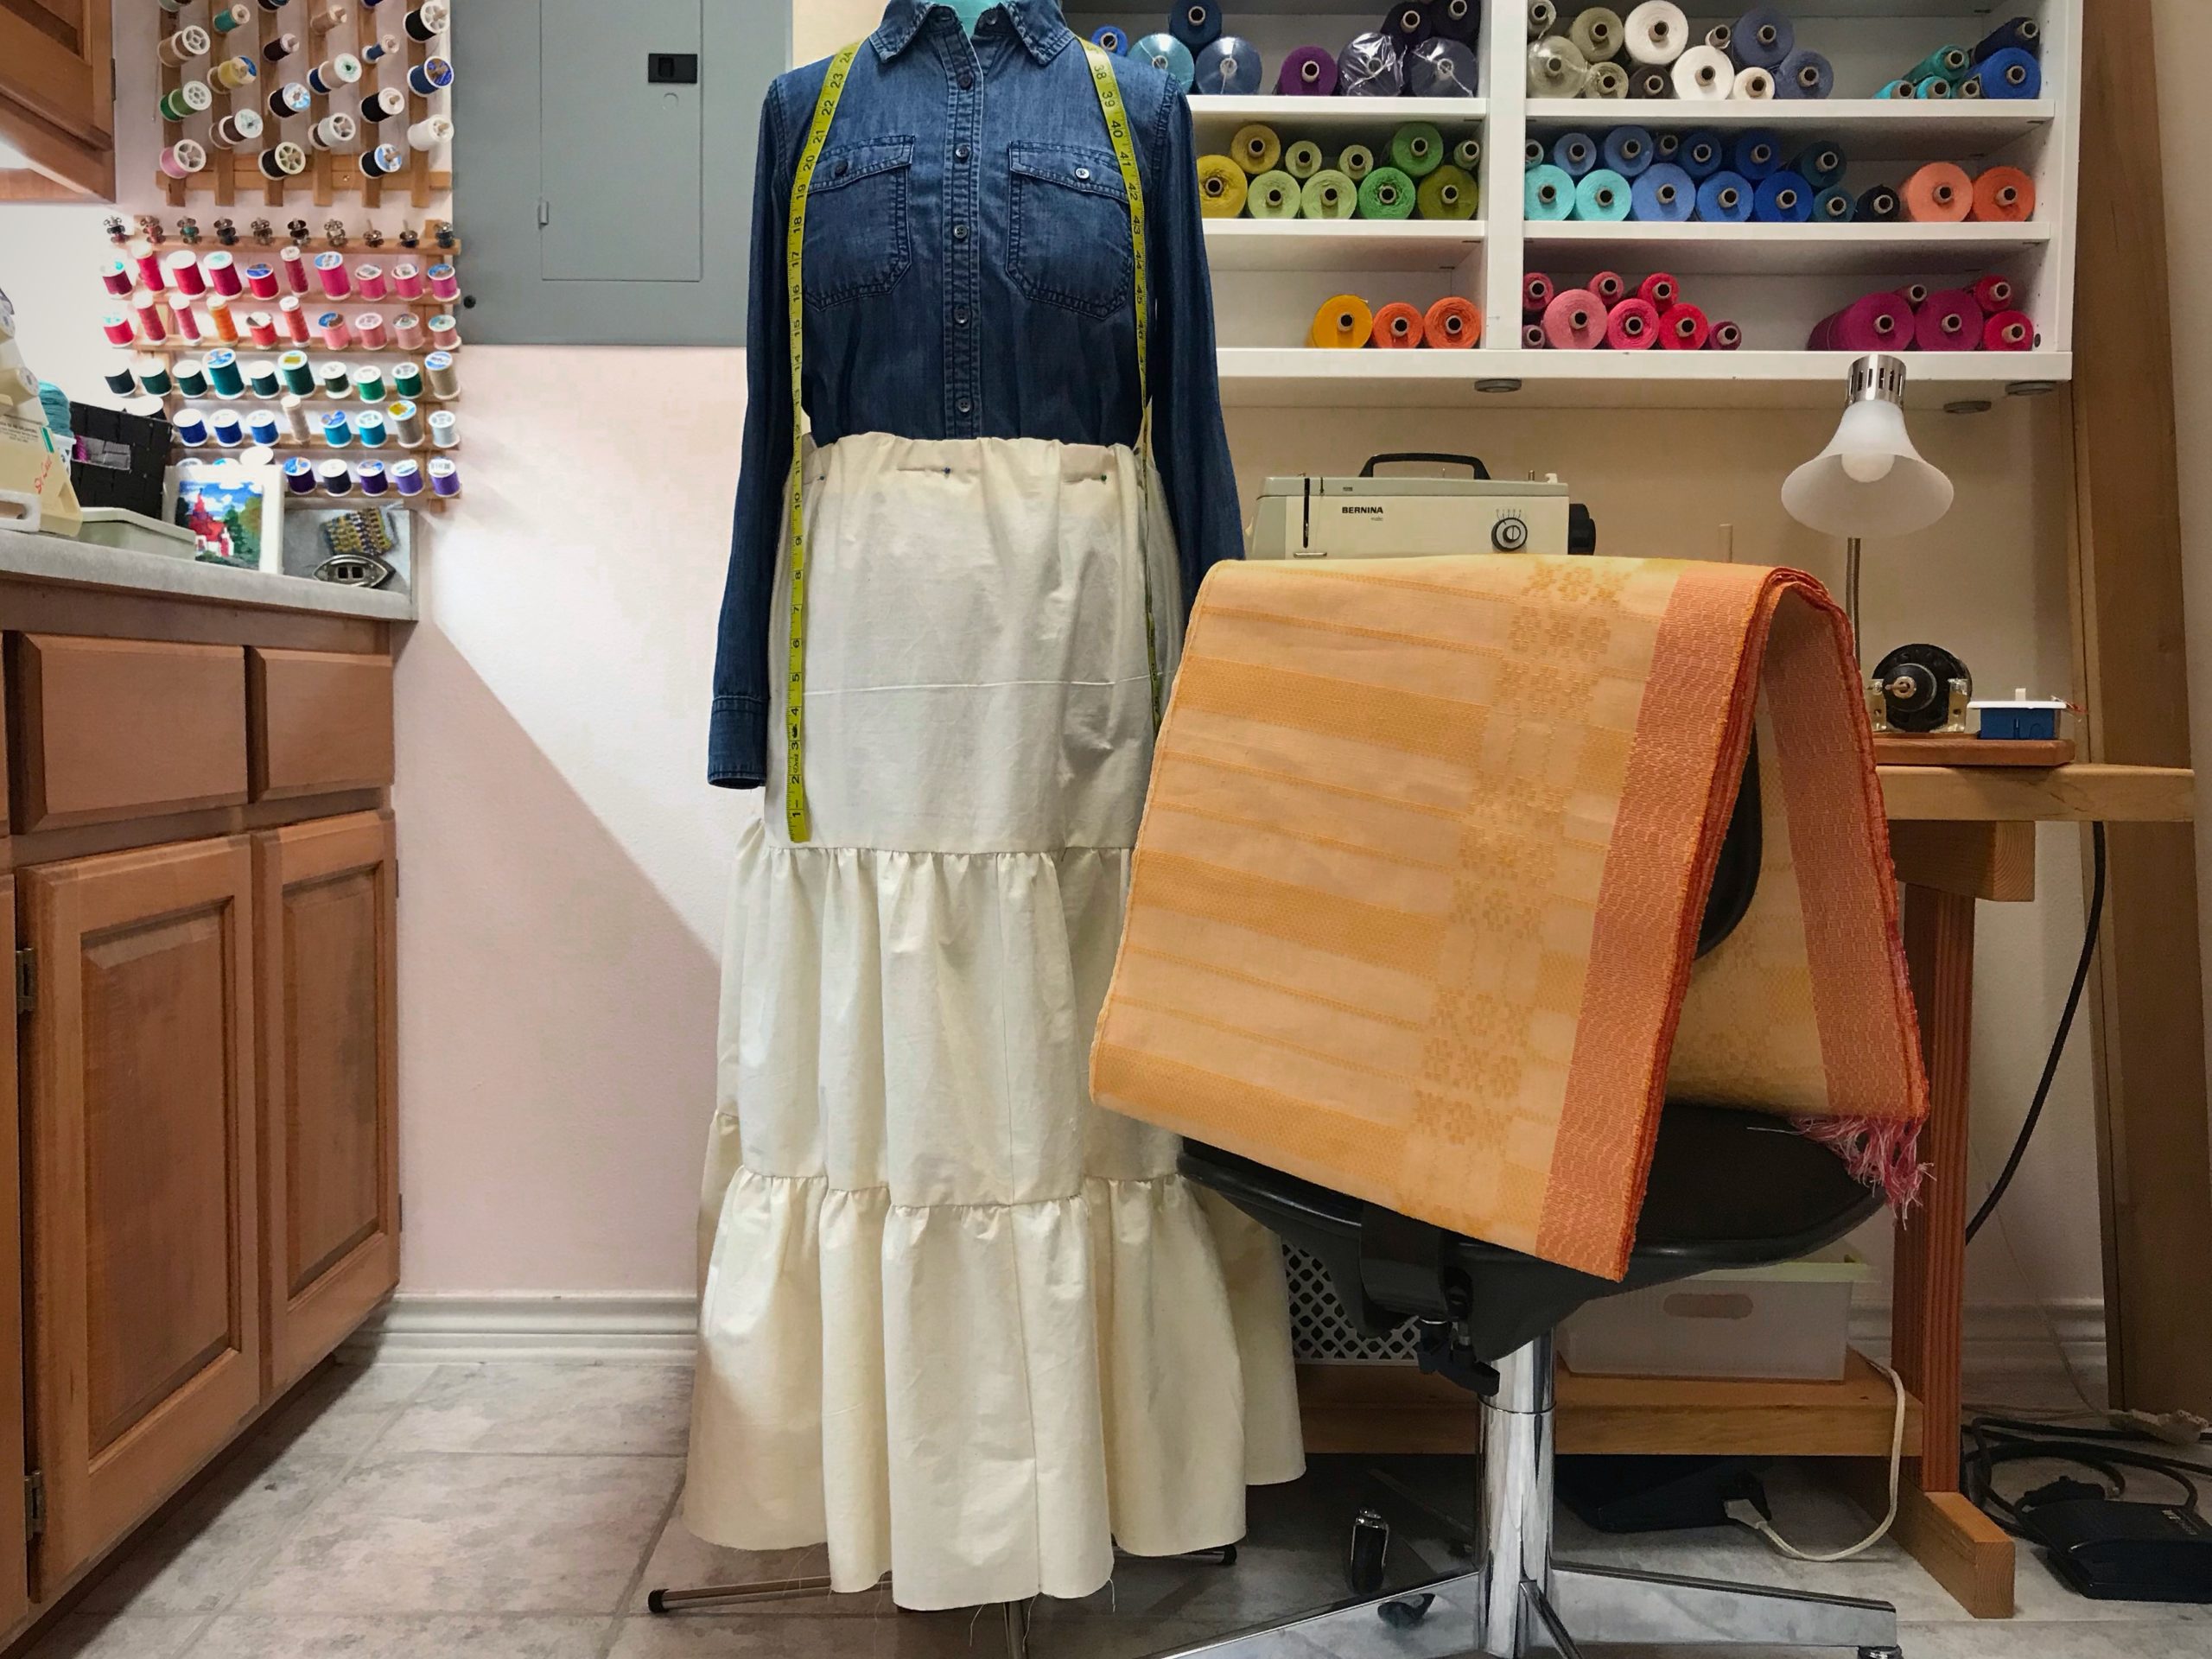
This is the moment Miss Fit and I have been waiting for! We have come to the beginning of the end of the real tiered skirt. Or, maybe I should say it’s the end of the beginning, since weaving is just the beginning of this skirt. My next step is to finish the fabric: find and repair errors, wash, dry, press. And then, on to construction: detail studies, measure, cut, gather, sew seams. And lastly, of course, I will find an occasion to wear the summery subtly-patterned huckaback skirt, even if summer has already slipped into hiding until next year.

New 24/2 cotton warp.
Beaming the 24/2 cotton warp on my 100 cm Glimåkra Ideal Countermarch loom.
Weaving fabric for a tiered skirt.
Fabric for the first tier of a three-tiered skirt. 16/1 linen weft.
Weaving fabric for a 3-tiered skirt.
Fabric for the second and third tiers of the skirt. Classic pattern in five-shaft huckaback.
Cloth beam on the Glimakra Ideal loom.
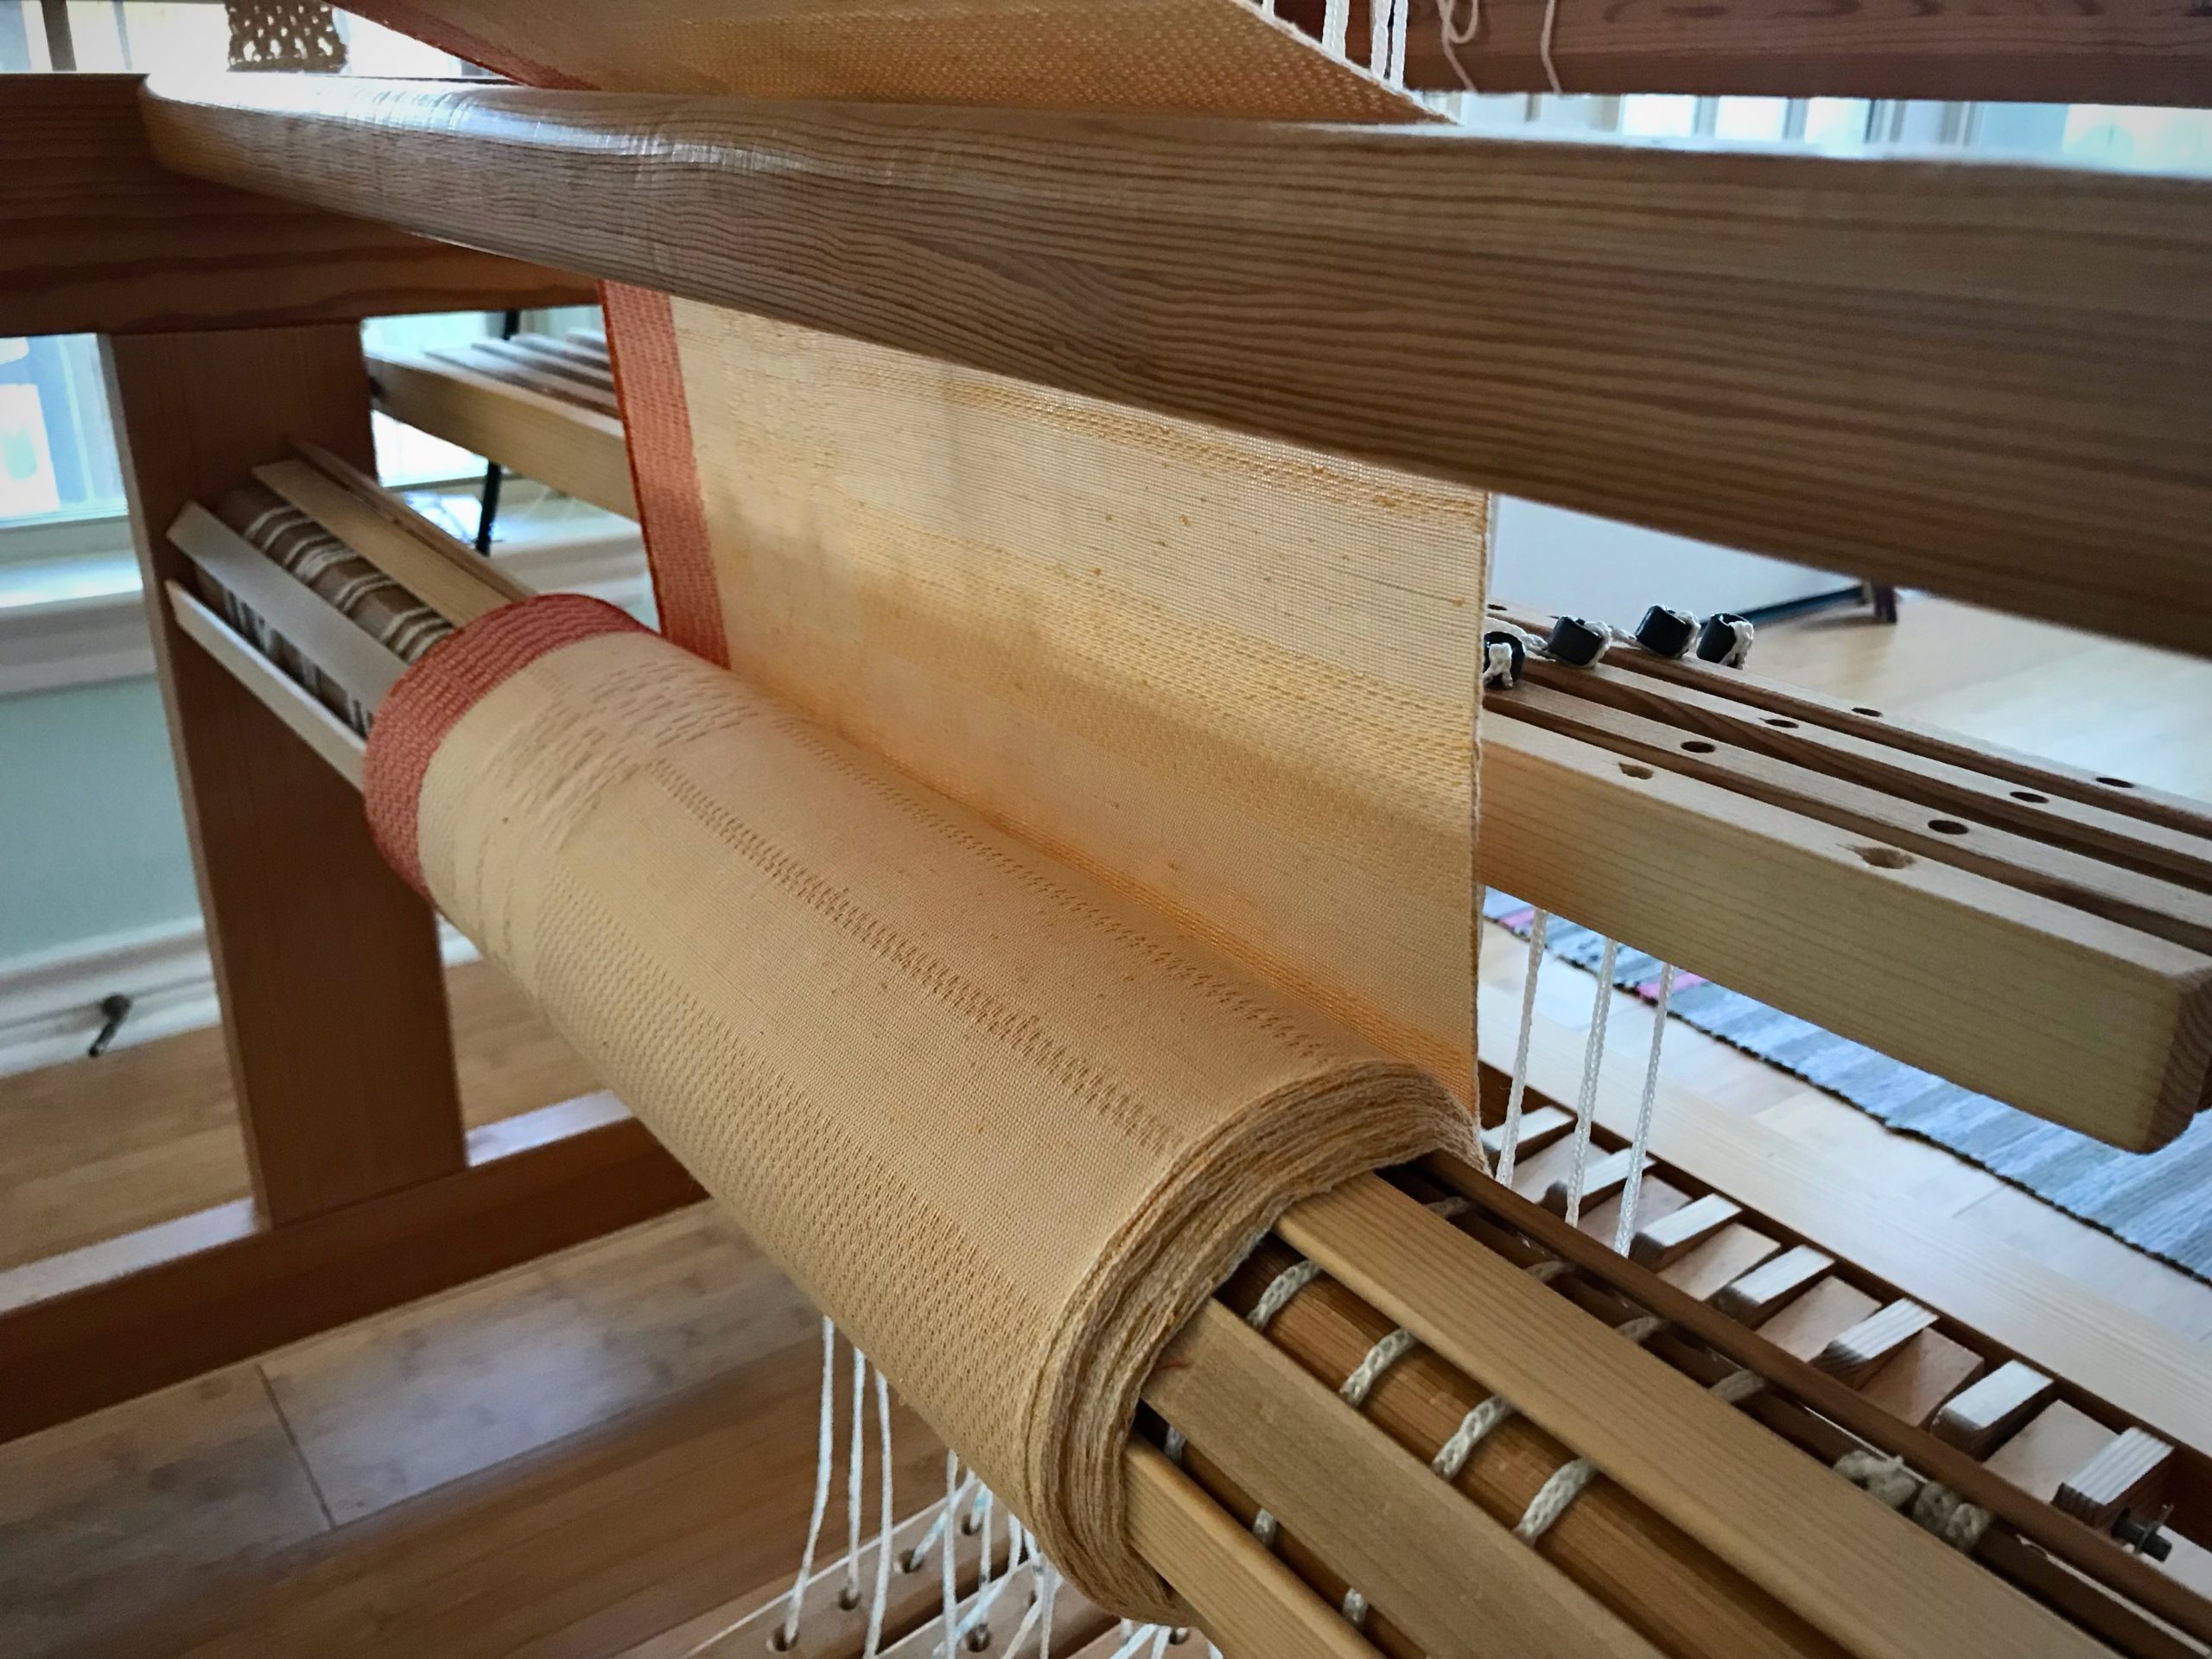
Cloth beam fills with skirt fabric as I near the end of the warp.
Weave until there's nothing left to weave!
Weave until there is nothing left to weave. That’s my motto.
Fabric for a handwoven skirt.
Cutting off as dusk hits the windows.
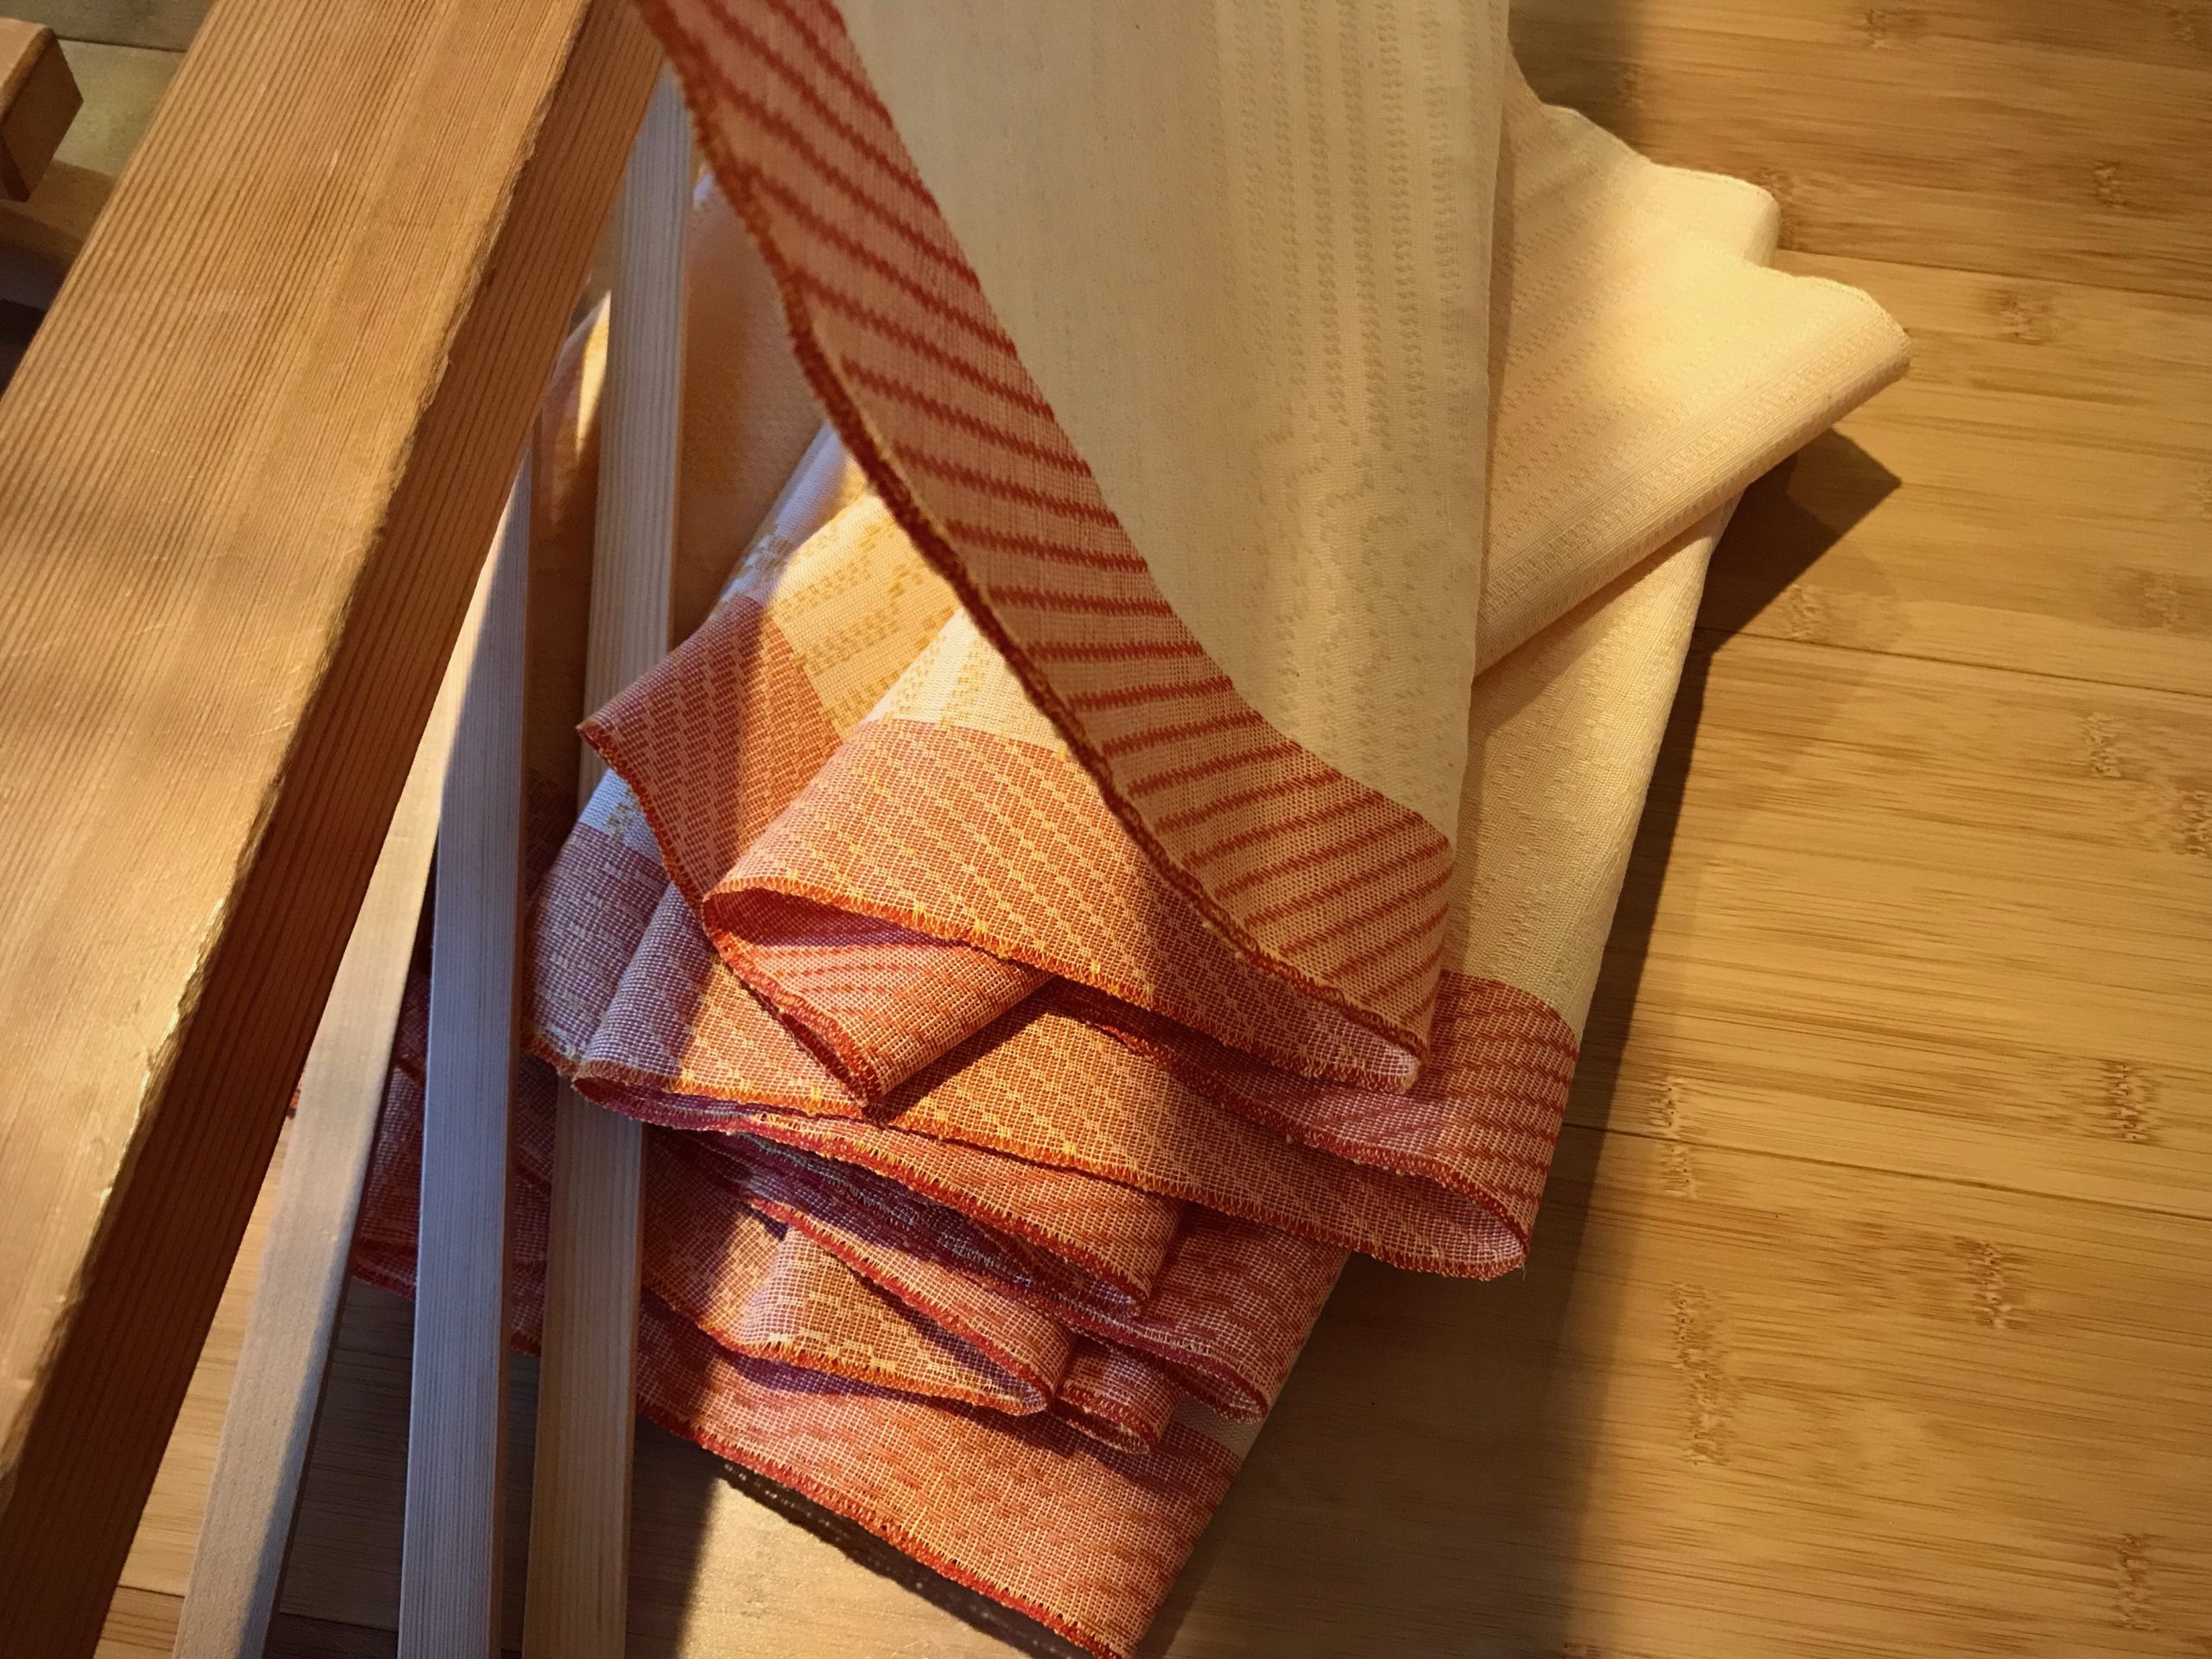
Handwoven fabric for a 3-tiered skirt!
First view off the loom is always a special moment. Love at first sight!
Handwoven skirt fabric.
Miss Fit is modeling a preliminary muslin of the tiered skirt. I will do some detail studies with small pieces of the handwoven fabric, and then make a final muslin before sewing the “real” tiered skirt.
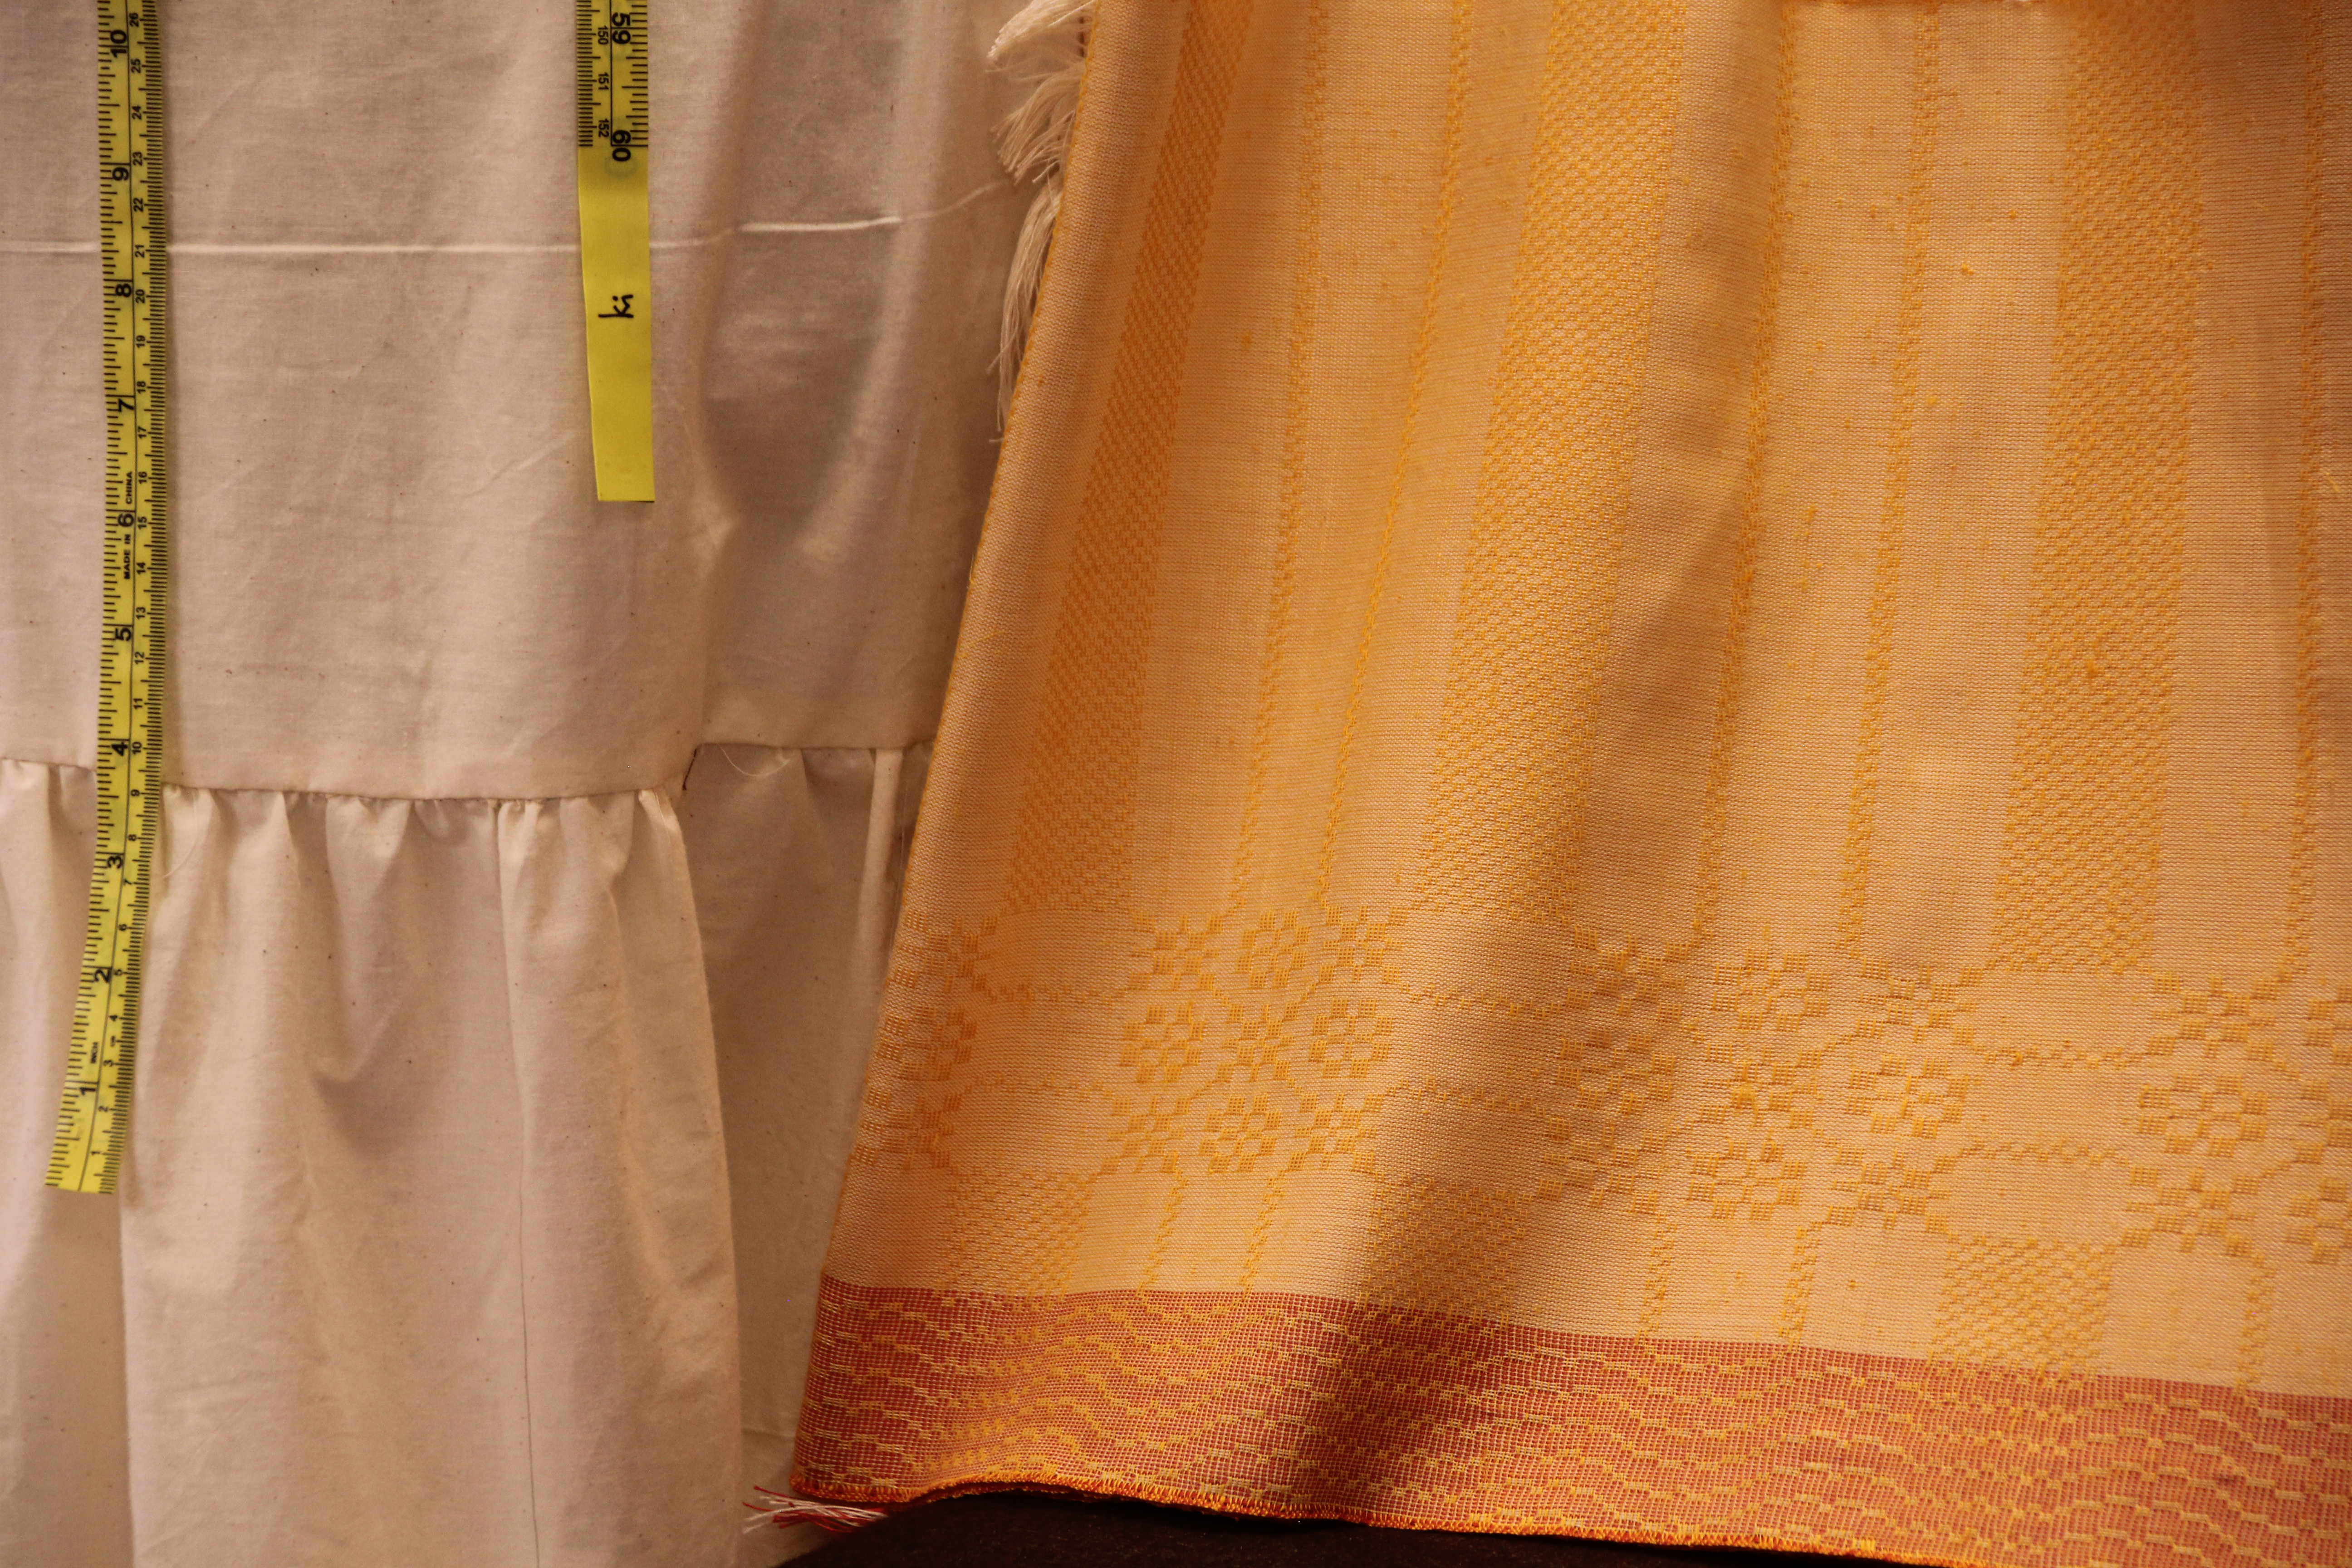
Handwoven fabric for a tiered skirt.
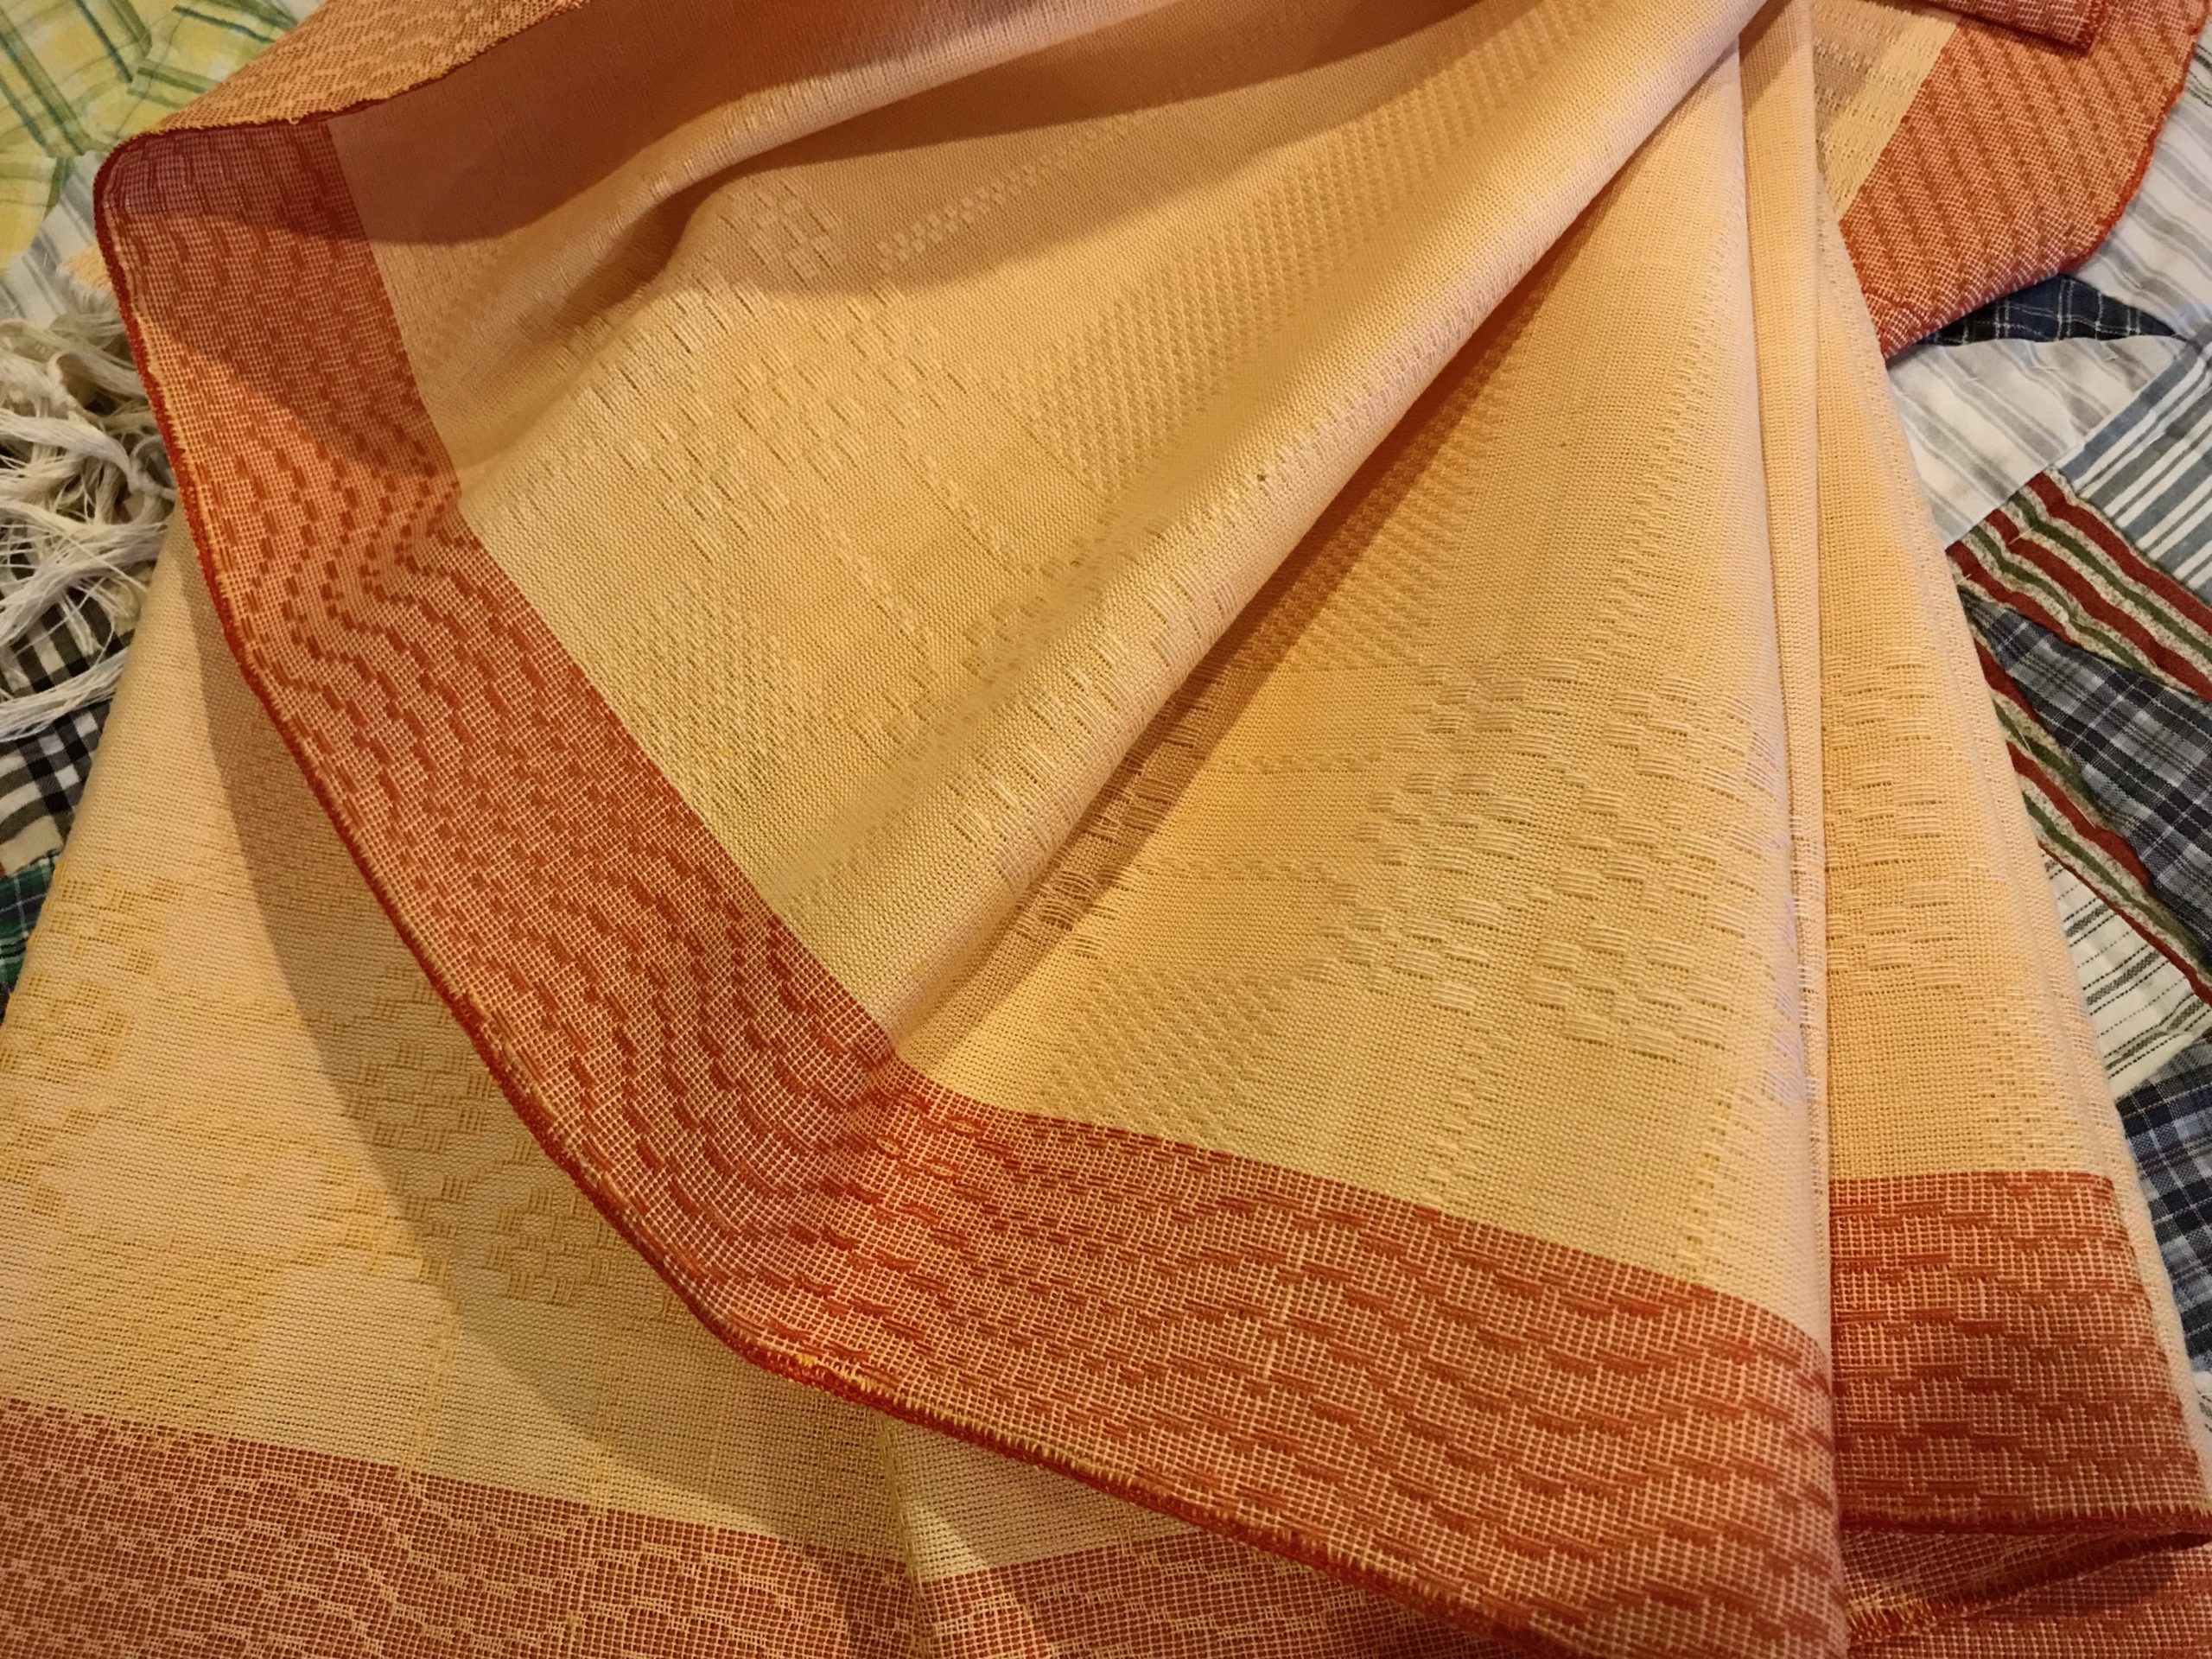
Detail of skirt fabric.

May you see your ideas take shape.

Miss Fit’s double,
Karen

Wild Dish Cloths

I like having a project on one of my looms that is within reach of any friend who drops by. This new warp on the Julia fits the bill. Since I am using up several nearly empty tubes of linen, I am giving this warp an irregular color sequence. That should be interesting in this very structured 8-shaft broken twill.

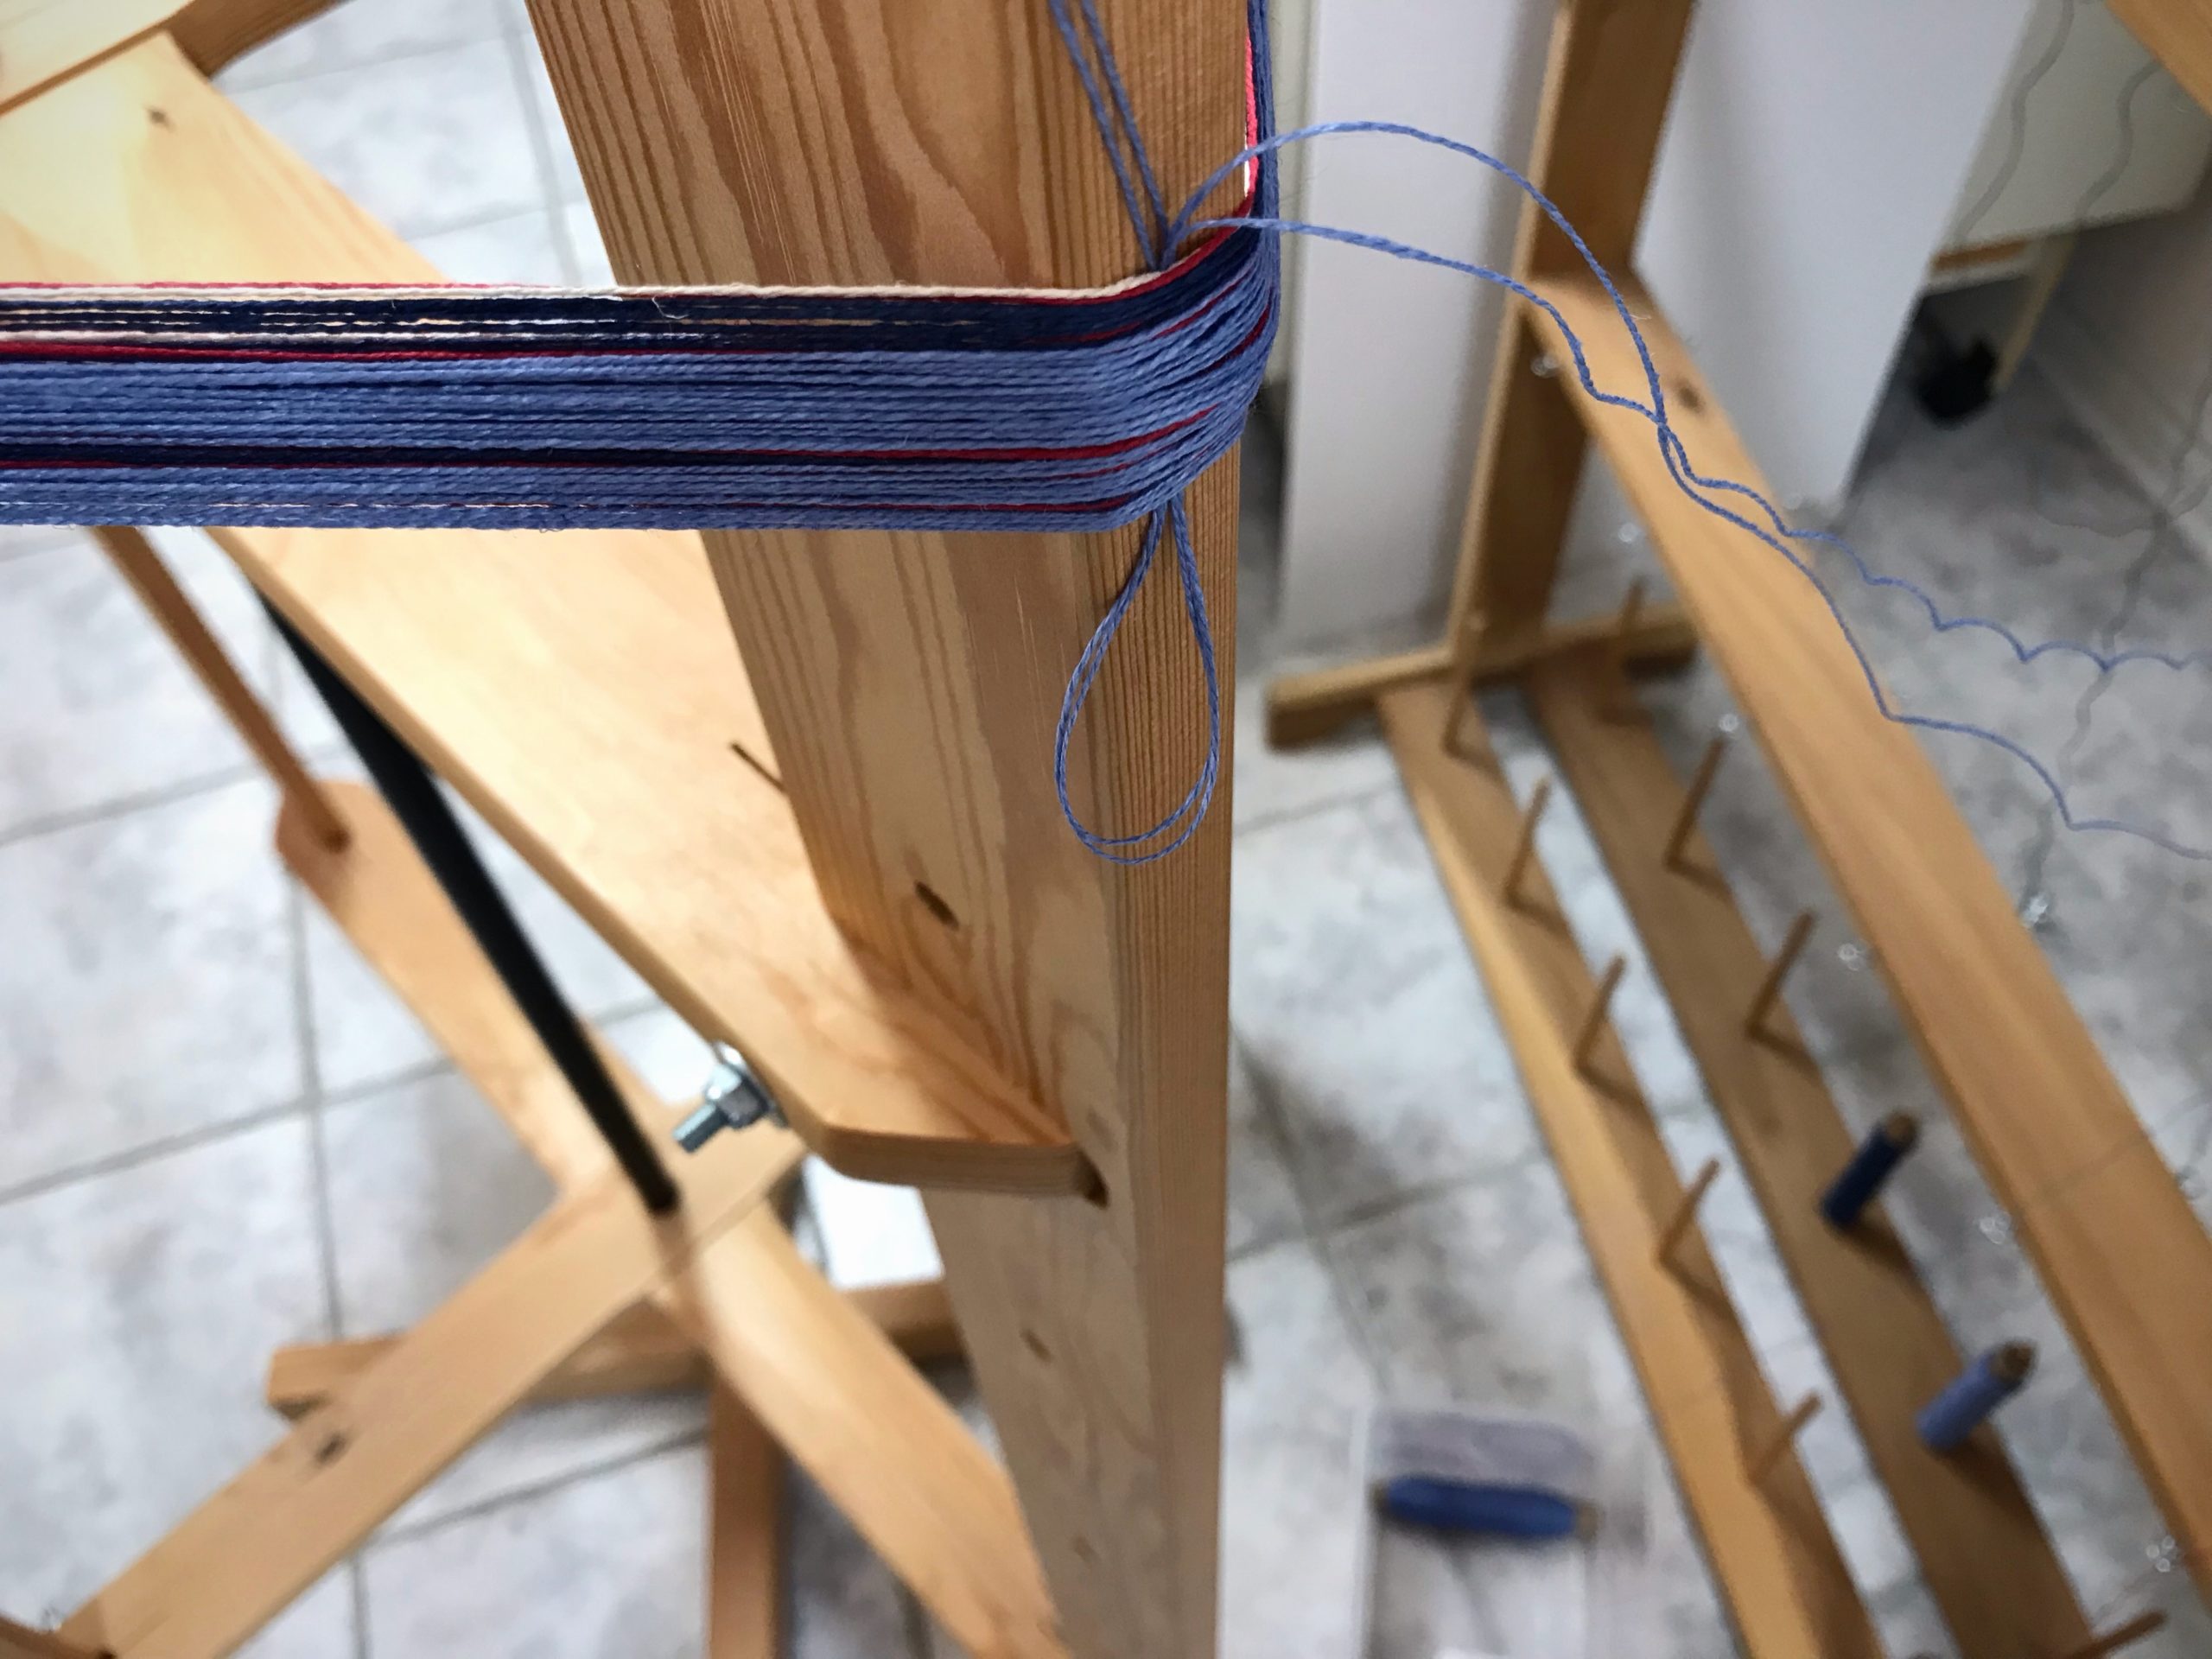
Glimakra warping reel, linen warp.
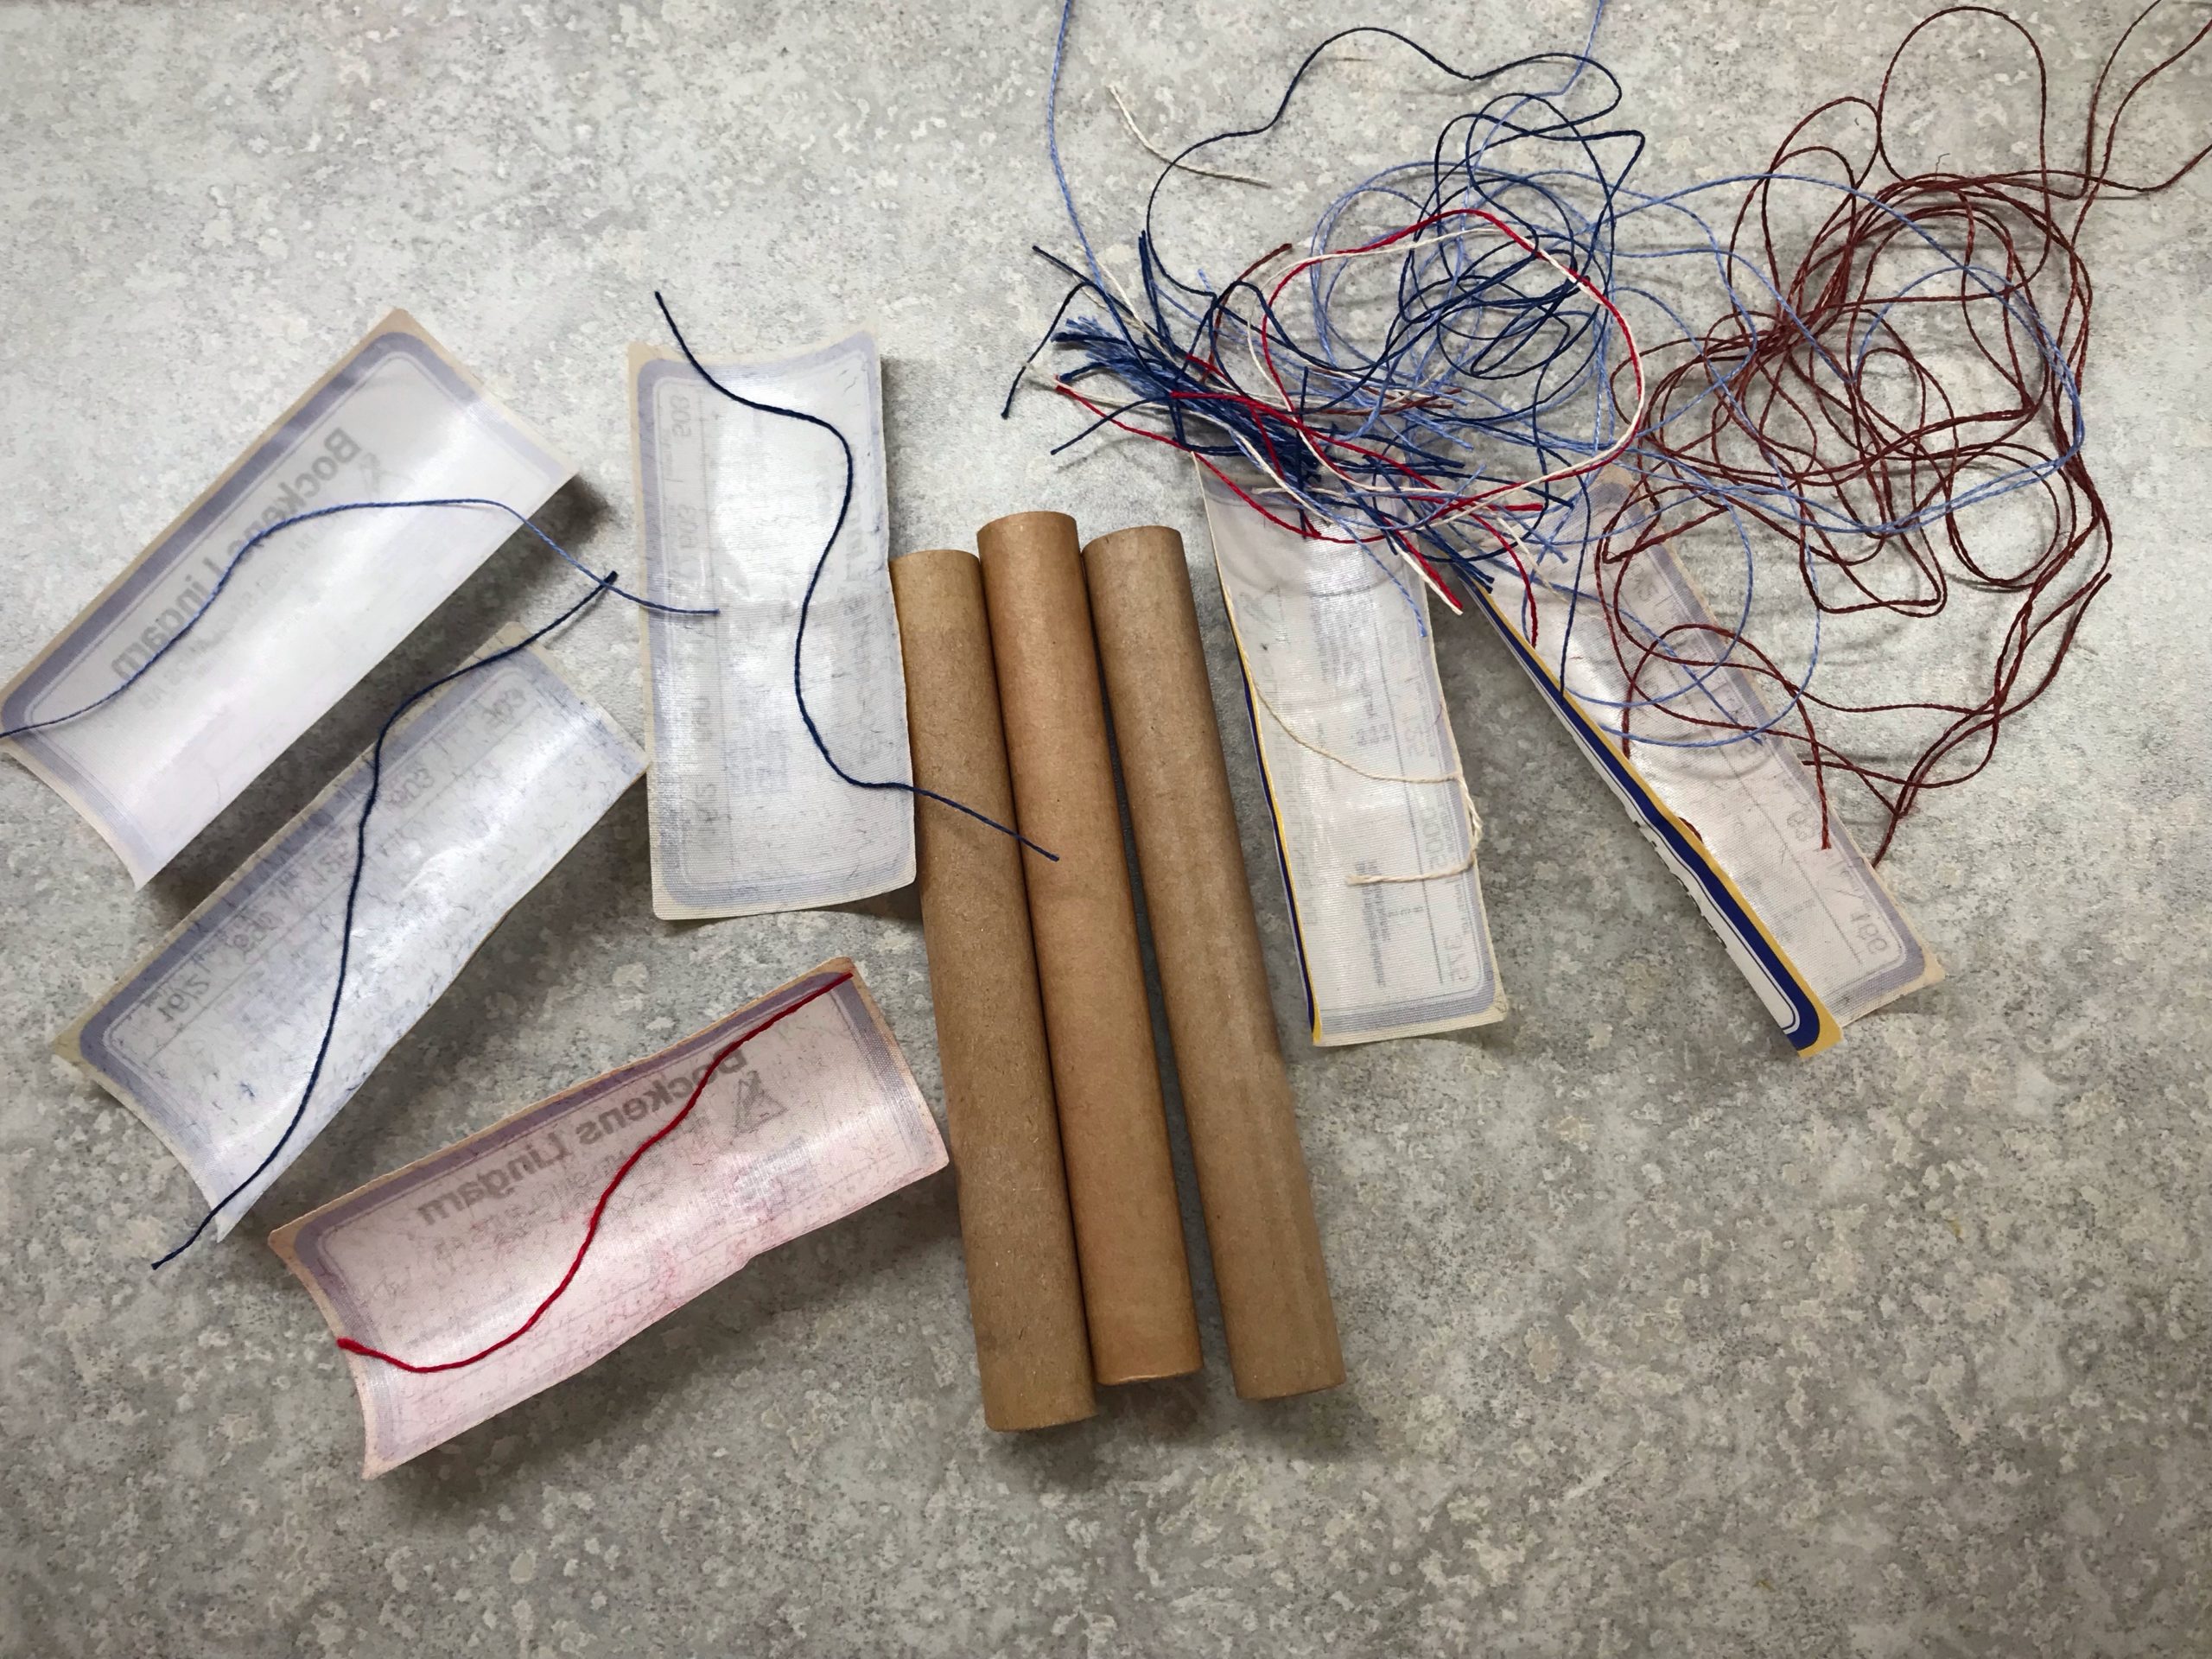
Emptying a few tubes of 16/2 linen.
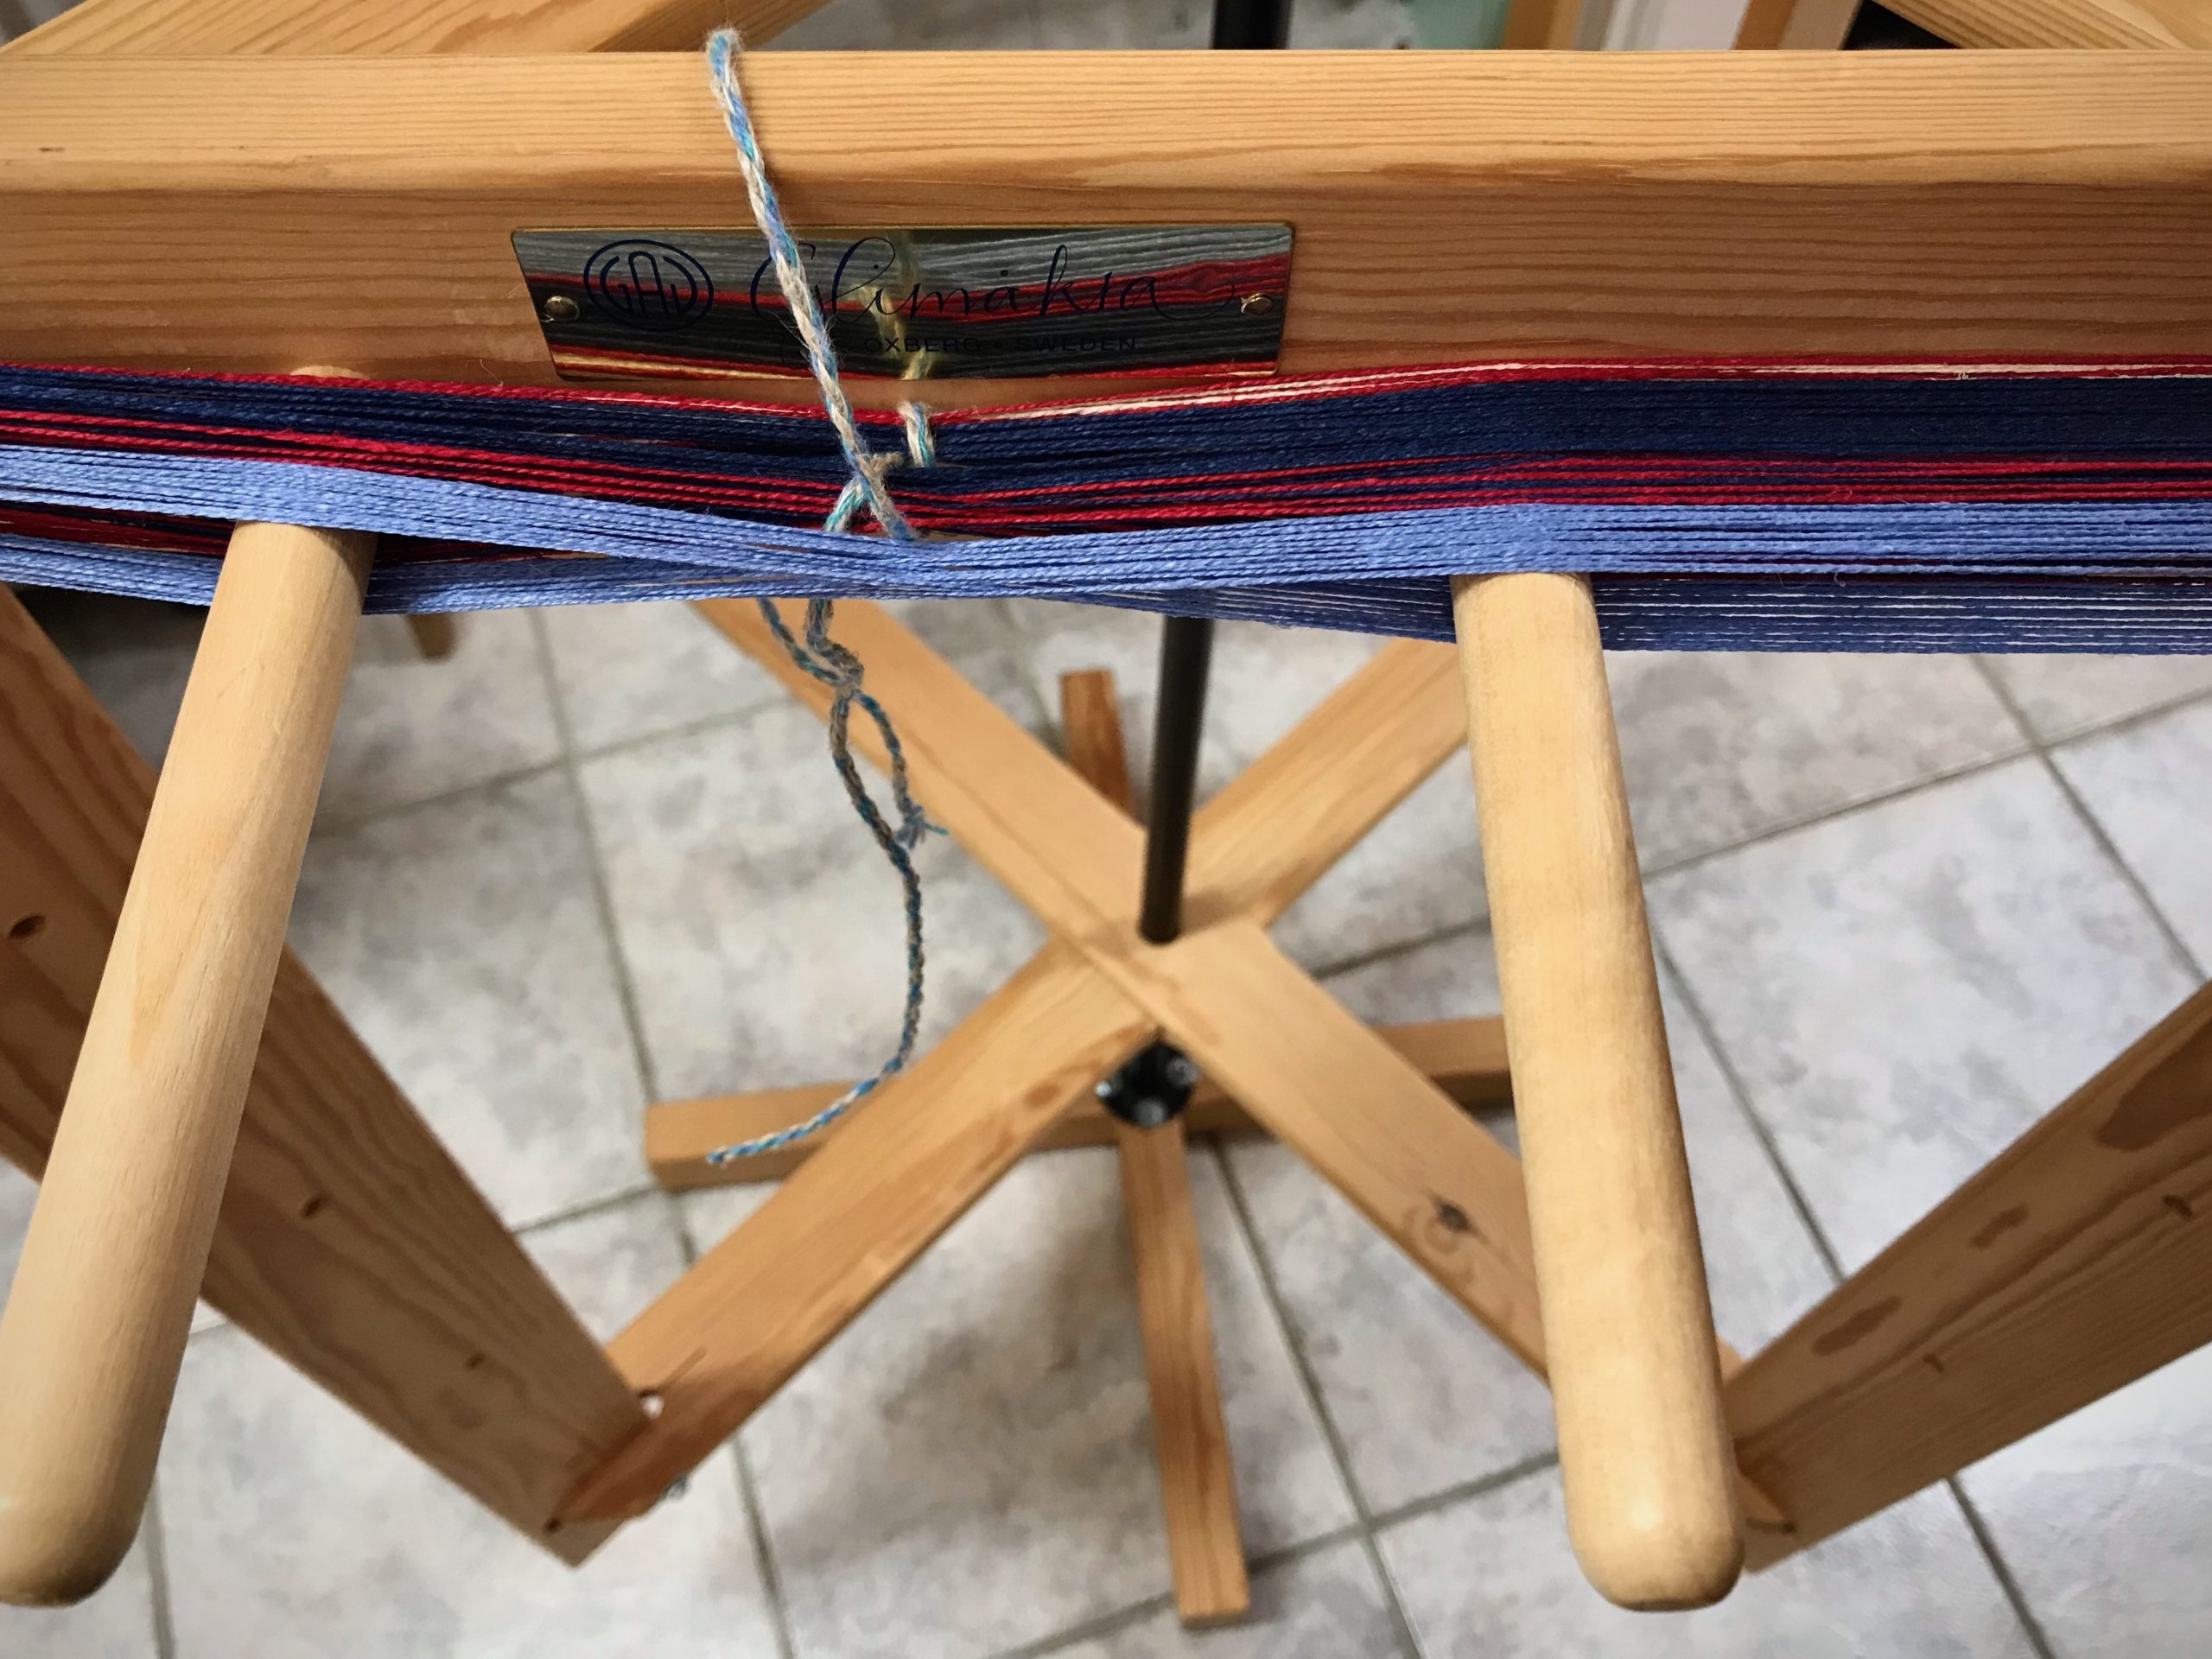
Glimakra warping reel, linen warp.
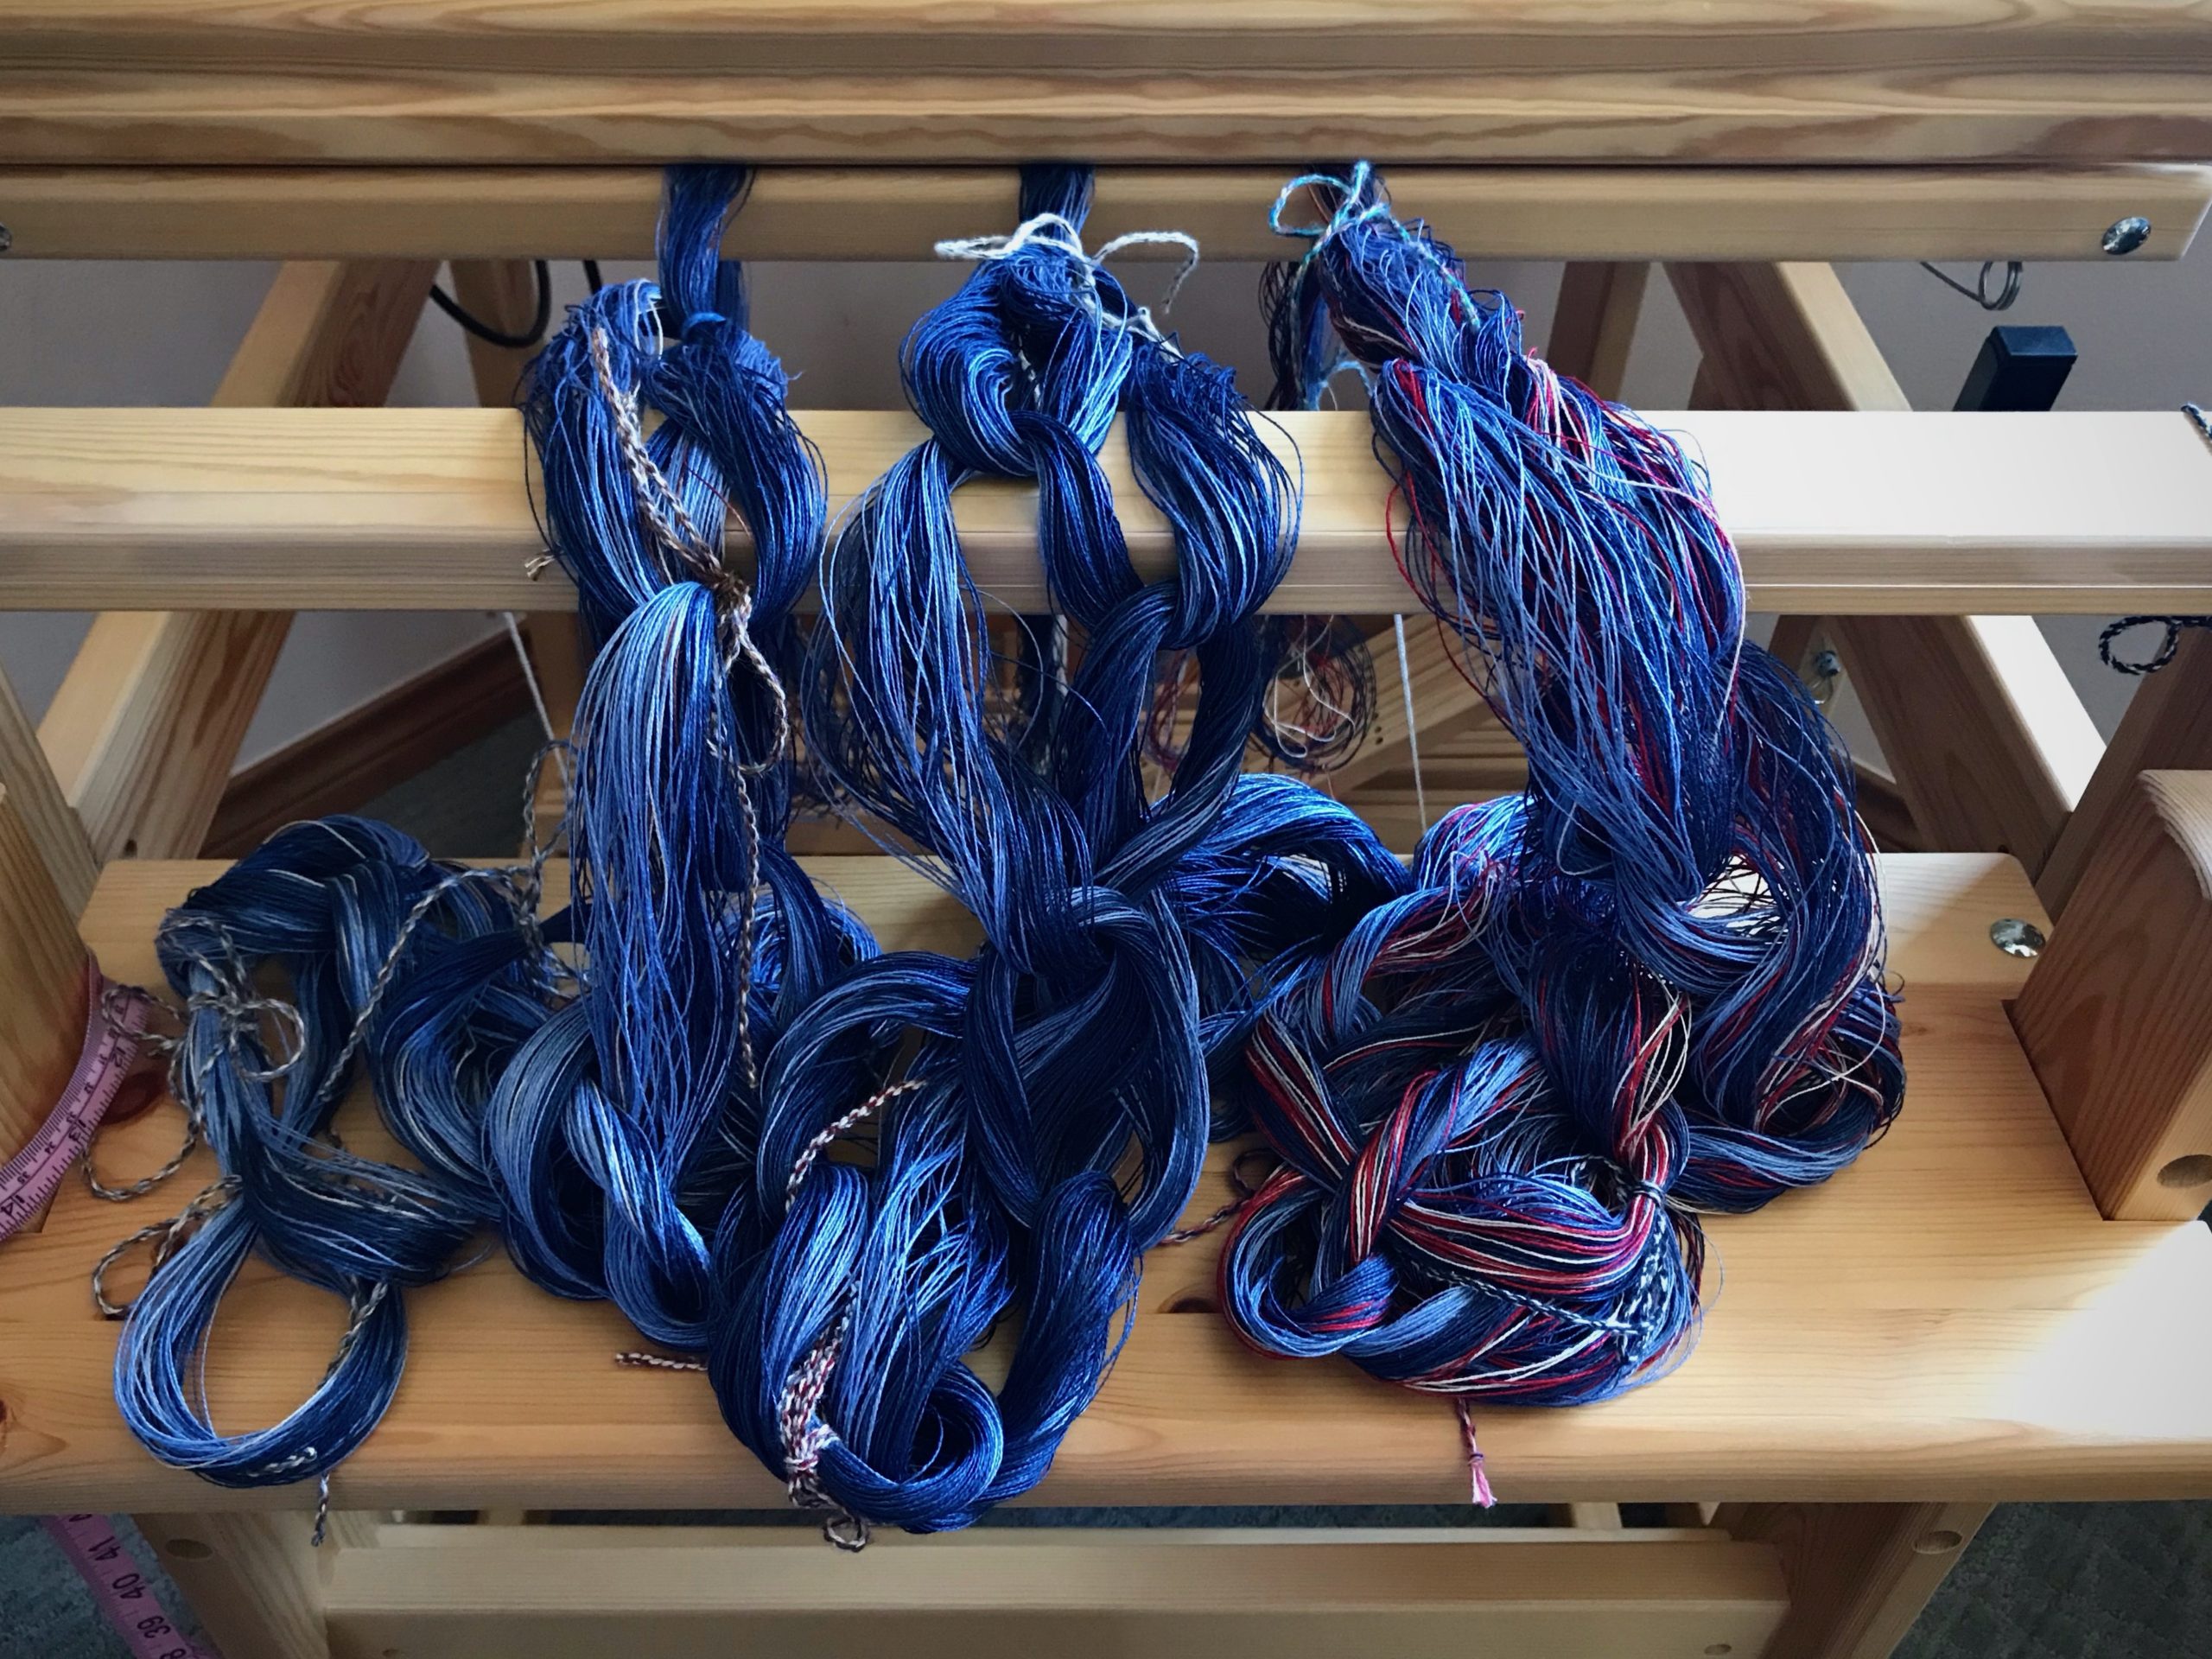
Irregular warp stripes are formed on the warping reel.
Finished off some linen! New linen warp.
Odds and ends of linen get used for cloth that will be used.

I am making dish cloths here. Linen dish cloths. Why not wash dishes with something interesting? I am eager to see what develops as I add weft colors. Anyone else who sits at this loom can choose their own mix of colors. I hope we get some wild combinations that bring a smile to the one whose hands are washing dishes.

Ready to weave some linen dish cloths.
Warp chains for some wild dish cloths.

God’s wisdom is a far reach for our human understanding. The complexity of his creation shows us how much we still don’t understand. How could we ever reach that far? Our best efforts are like irregularities in a well-structured cosmos. Good news! God put himself within our reach. He did it at his own expense—the cross of Christ. When we trust in Christ our wild threads are expertly woven into cloth that he can use. Some of our wild combinations probably make him smile.

May you grow in wisdom.

With wild threads,
Karen

Tried and True: Just in Case

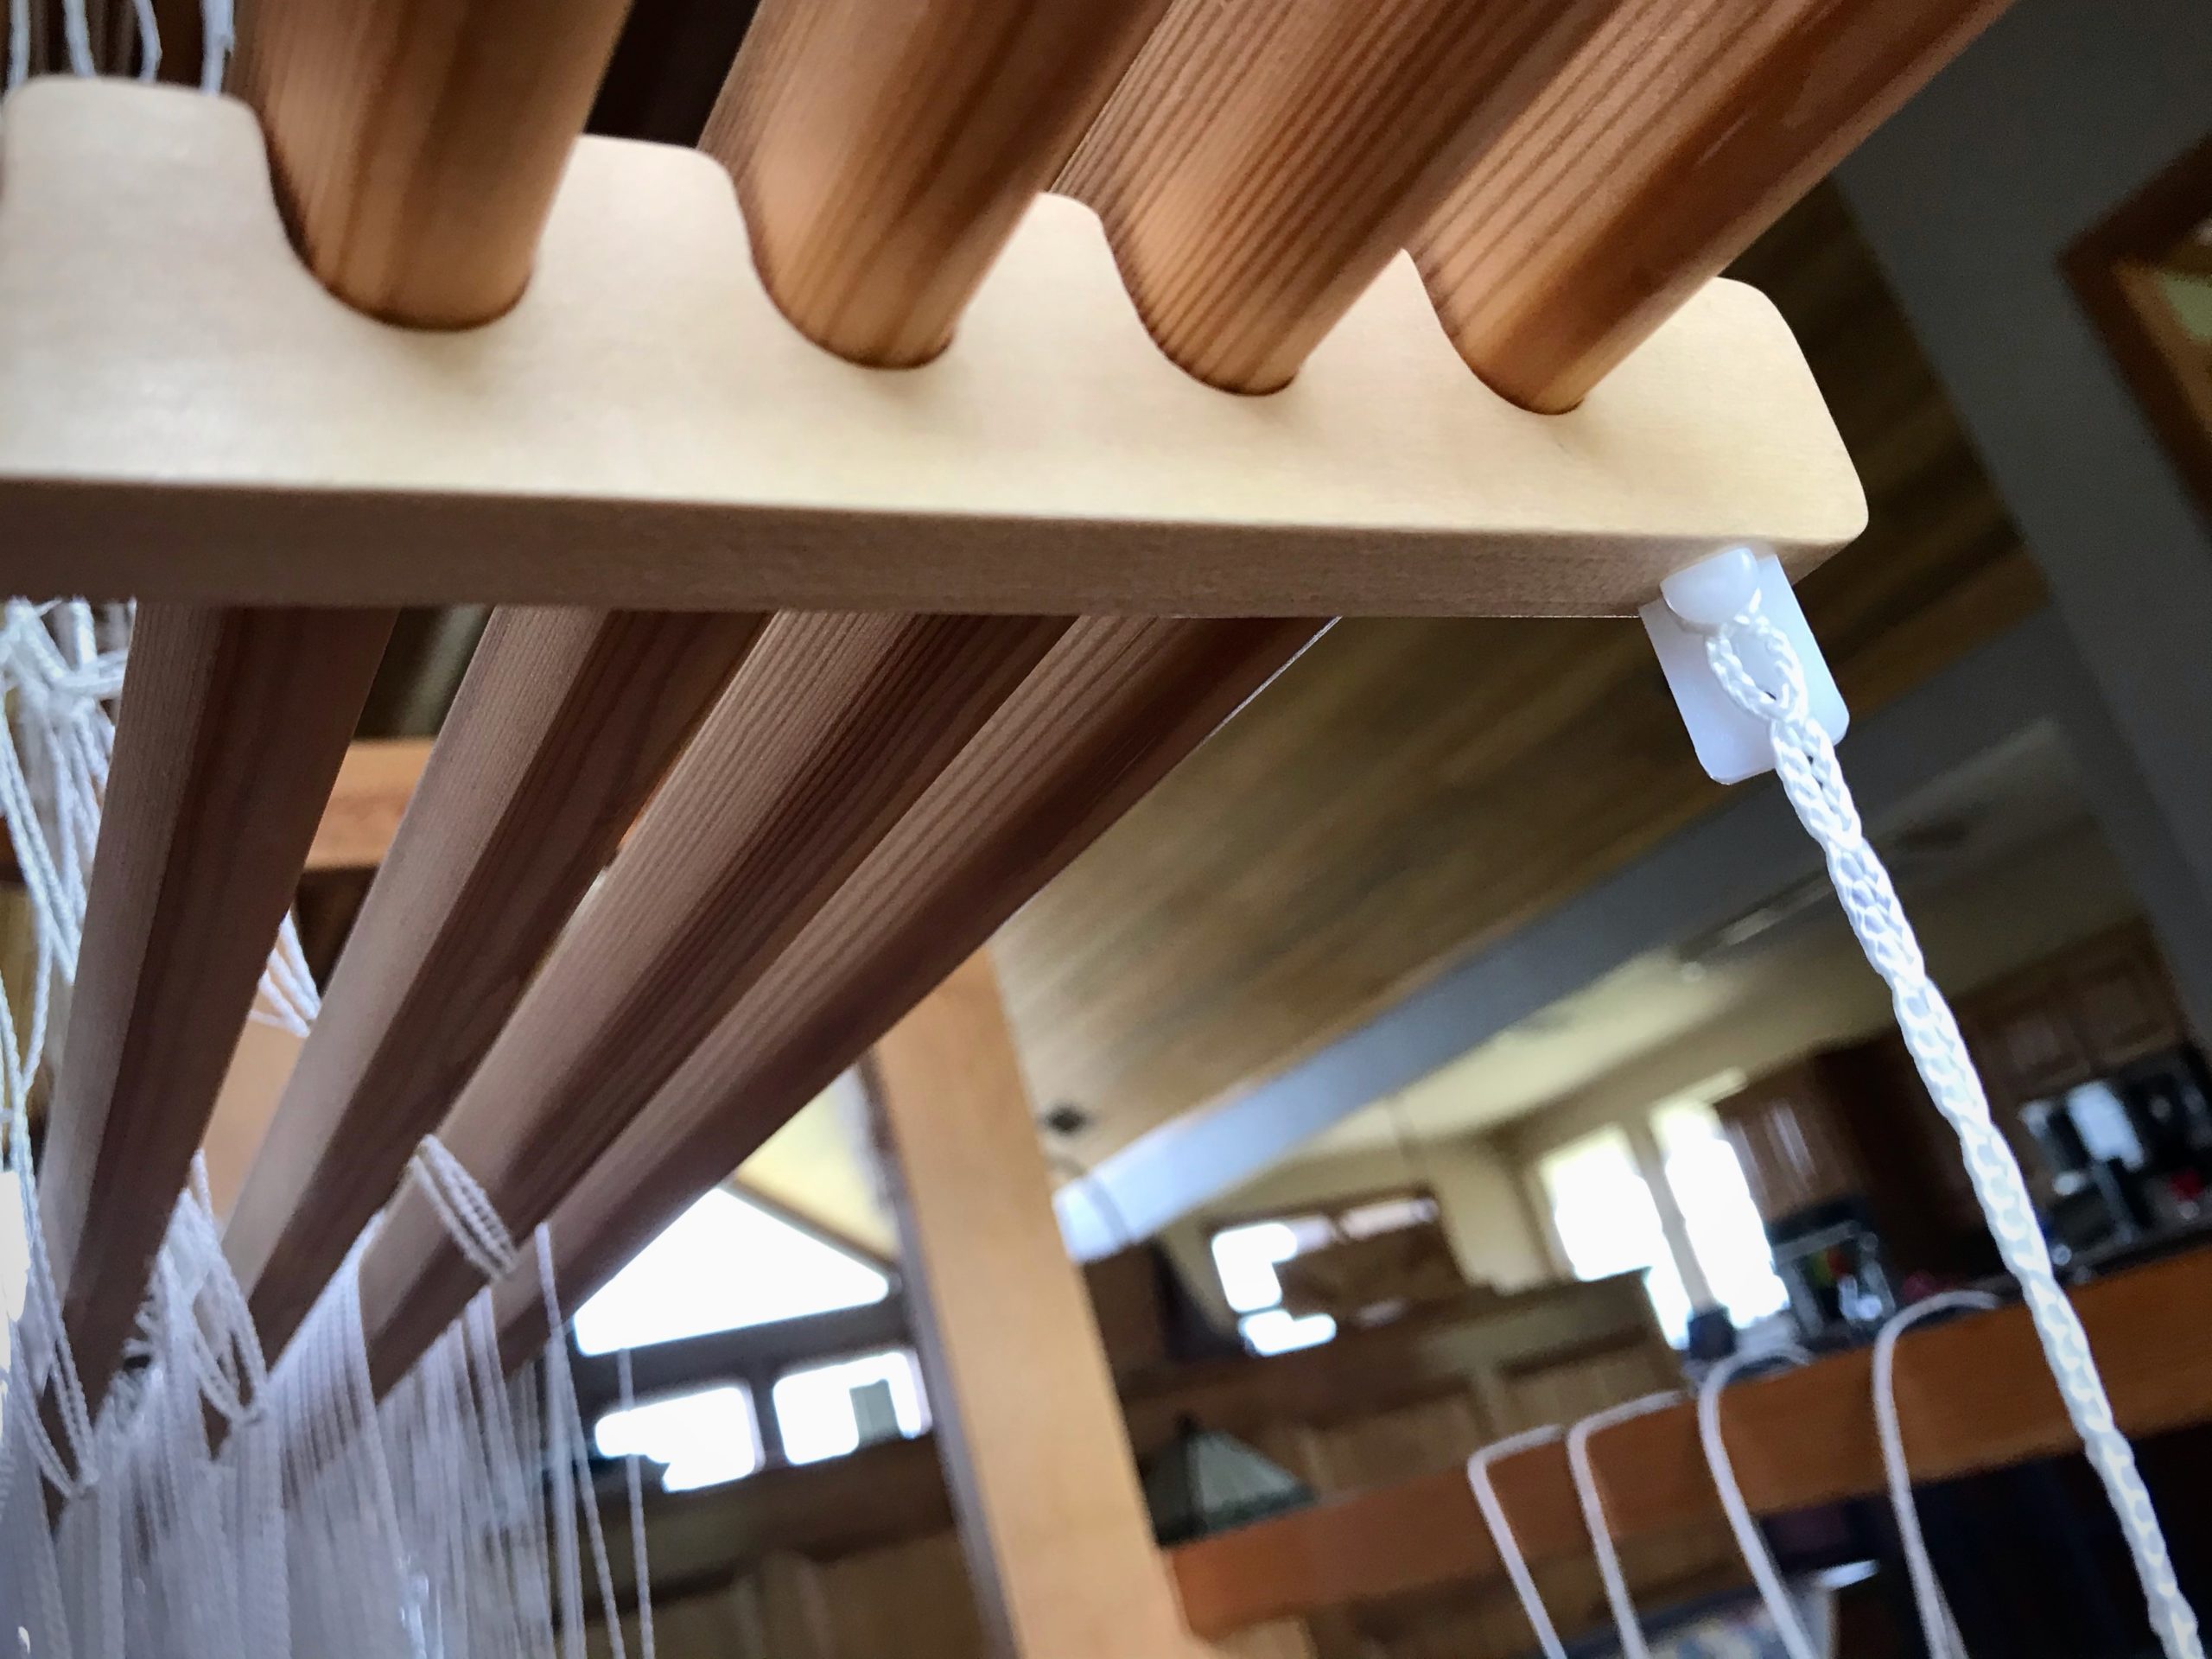
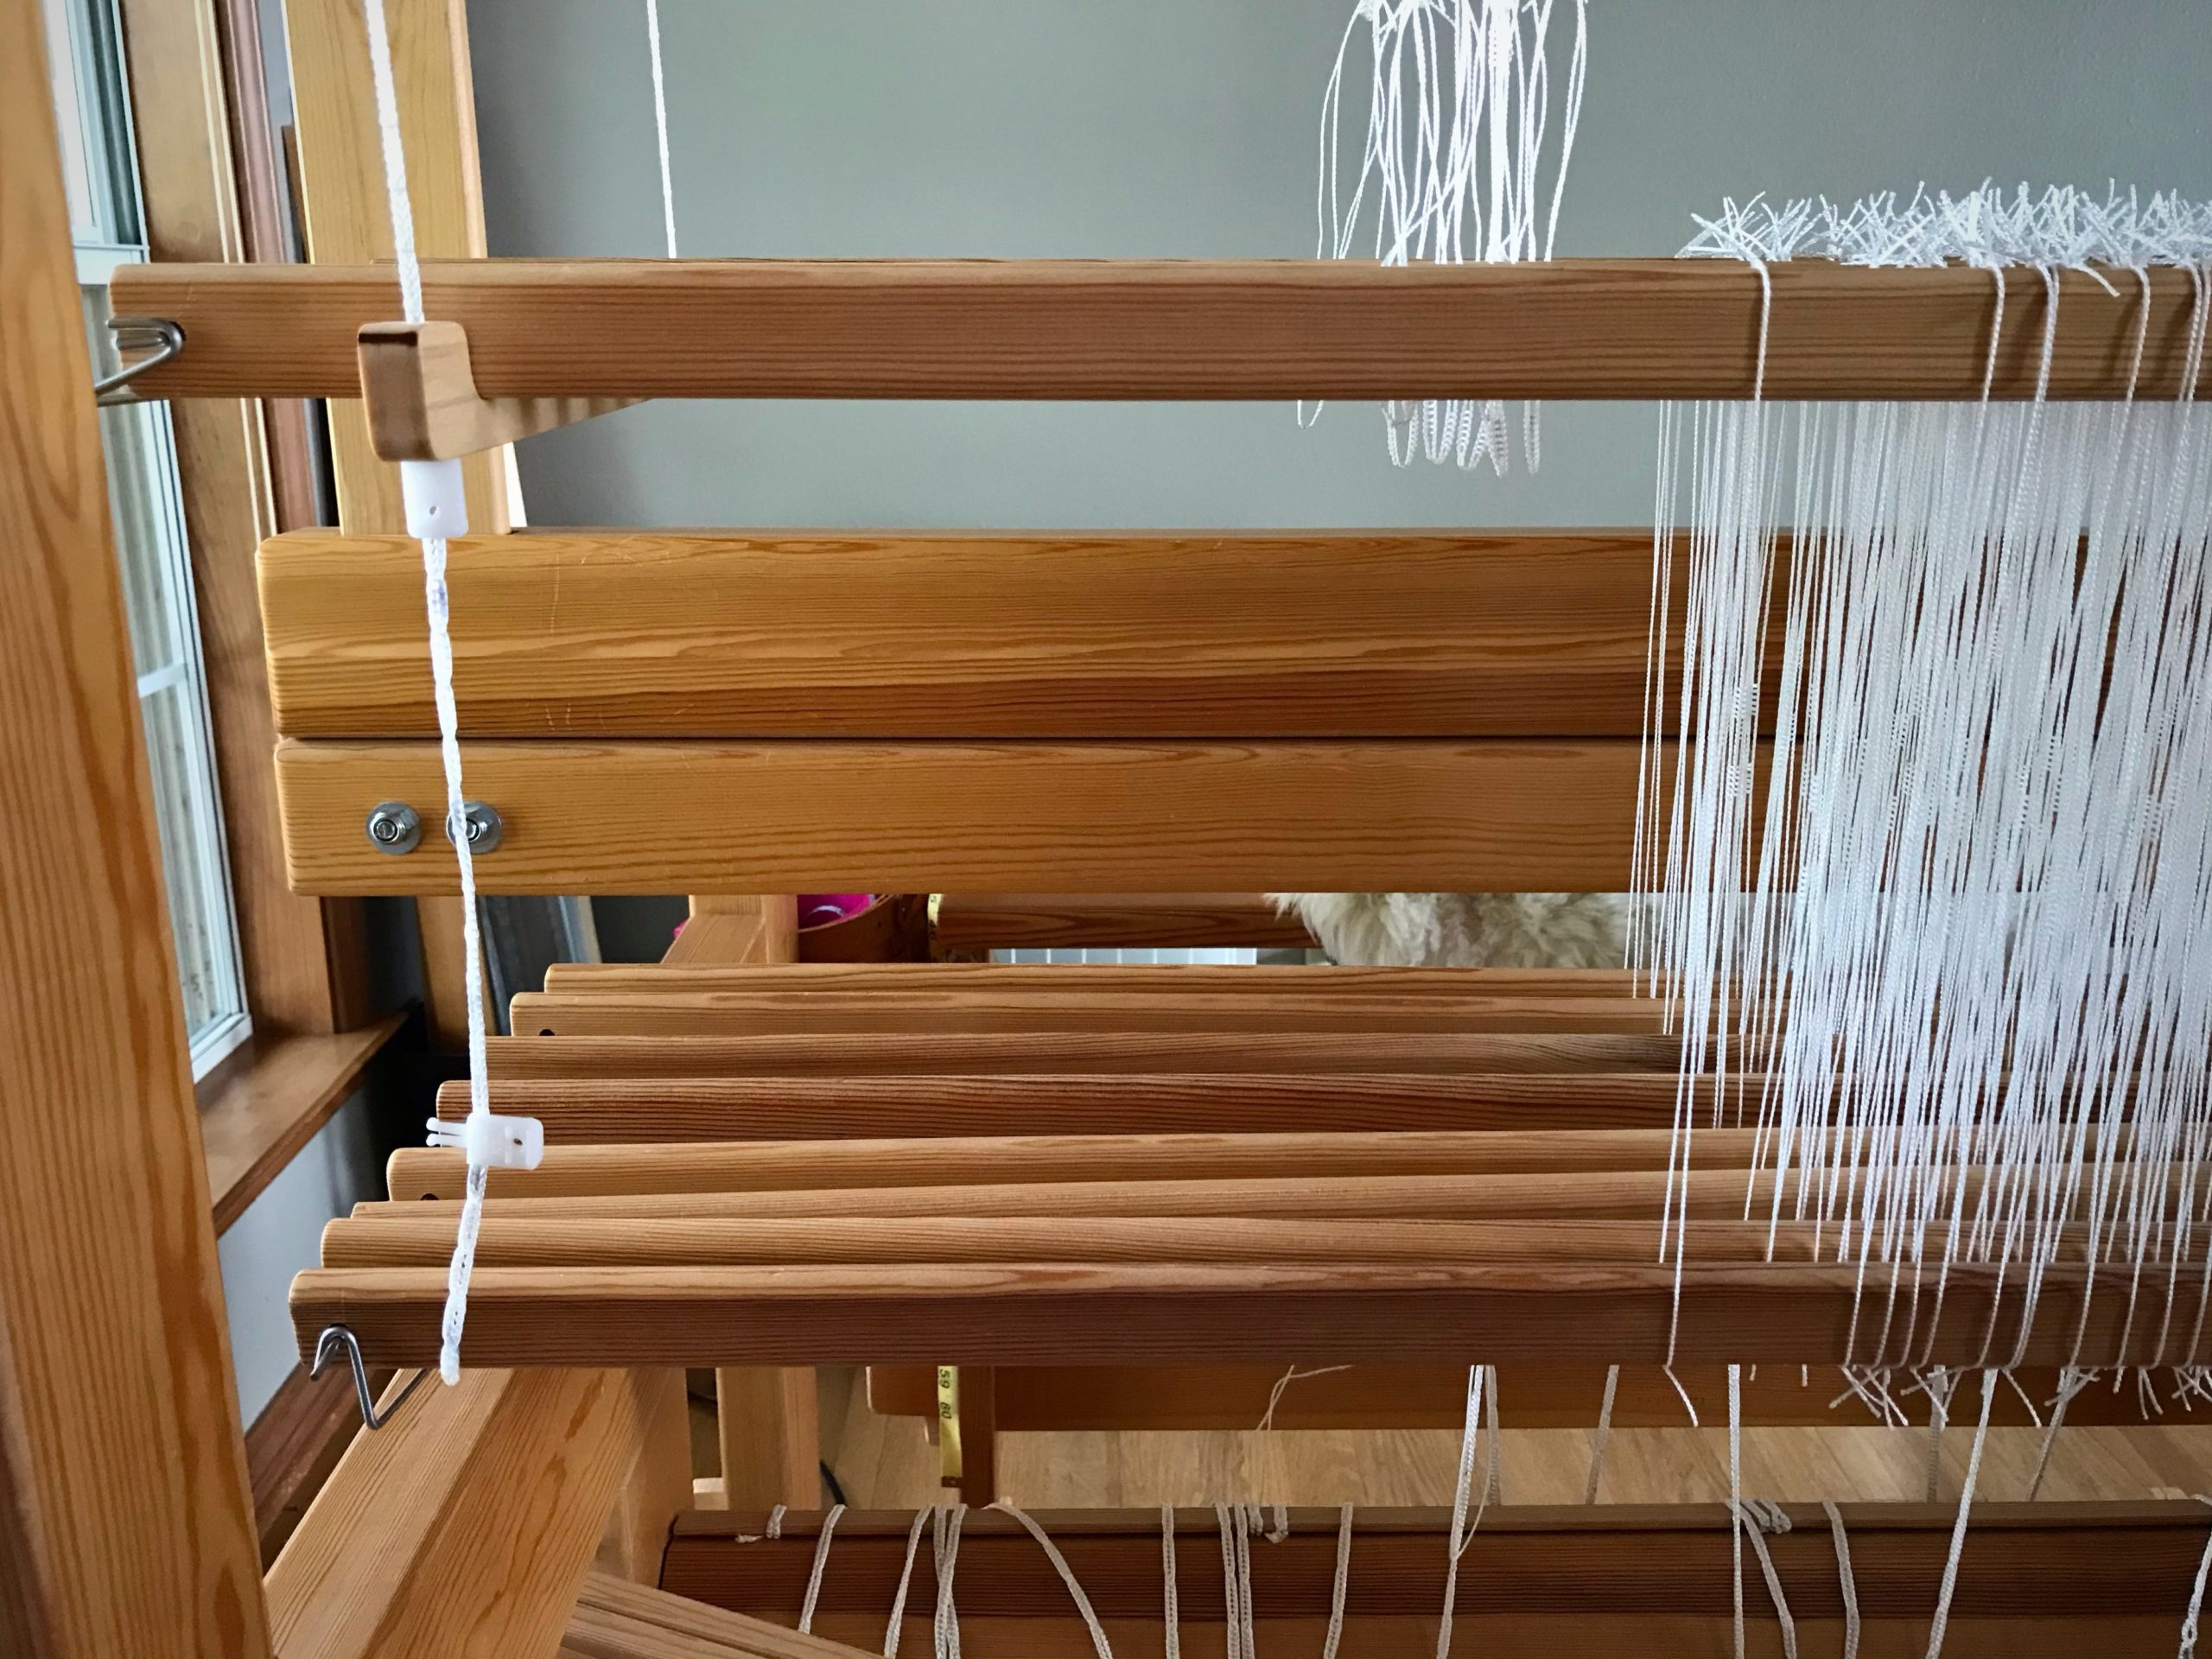
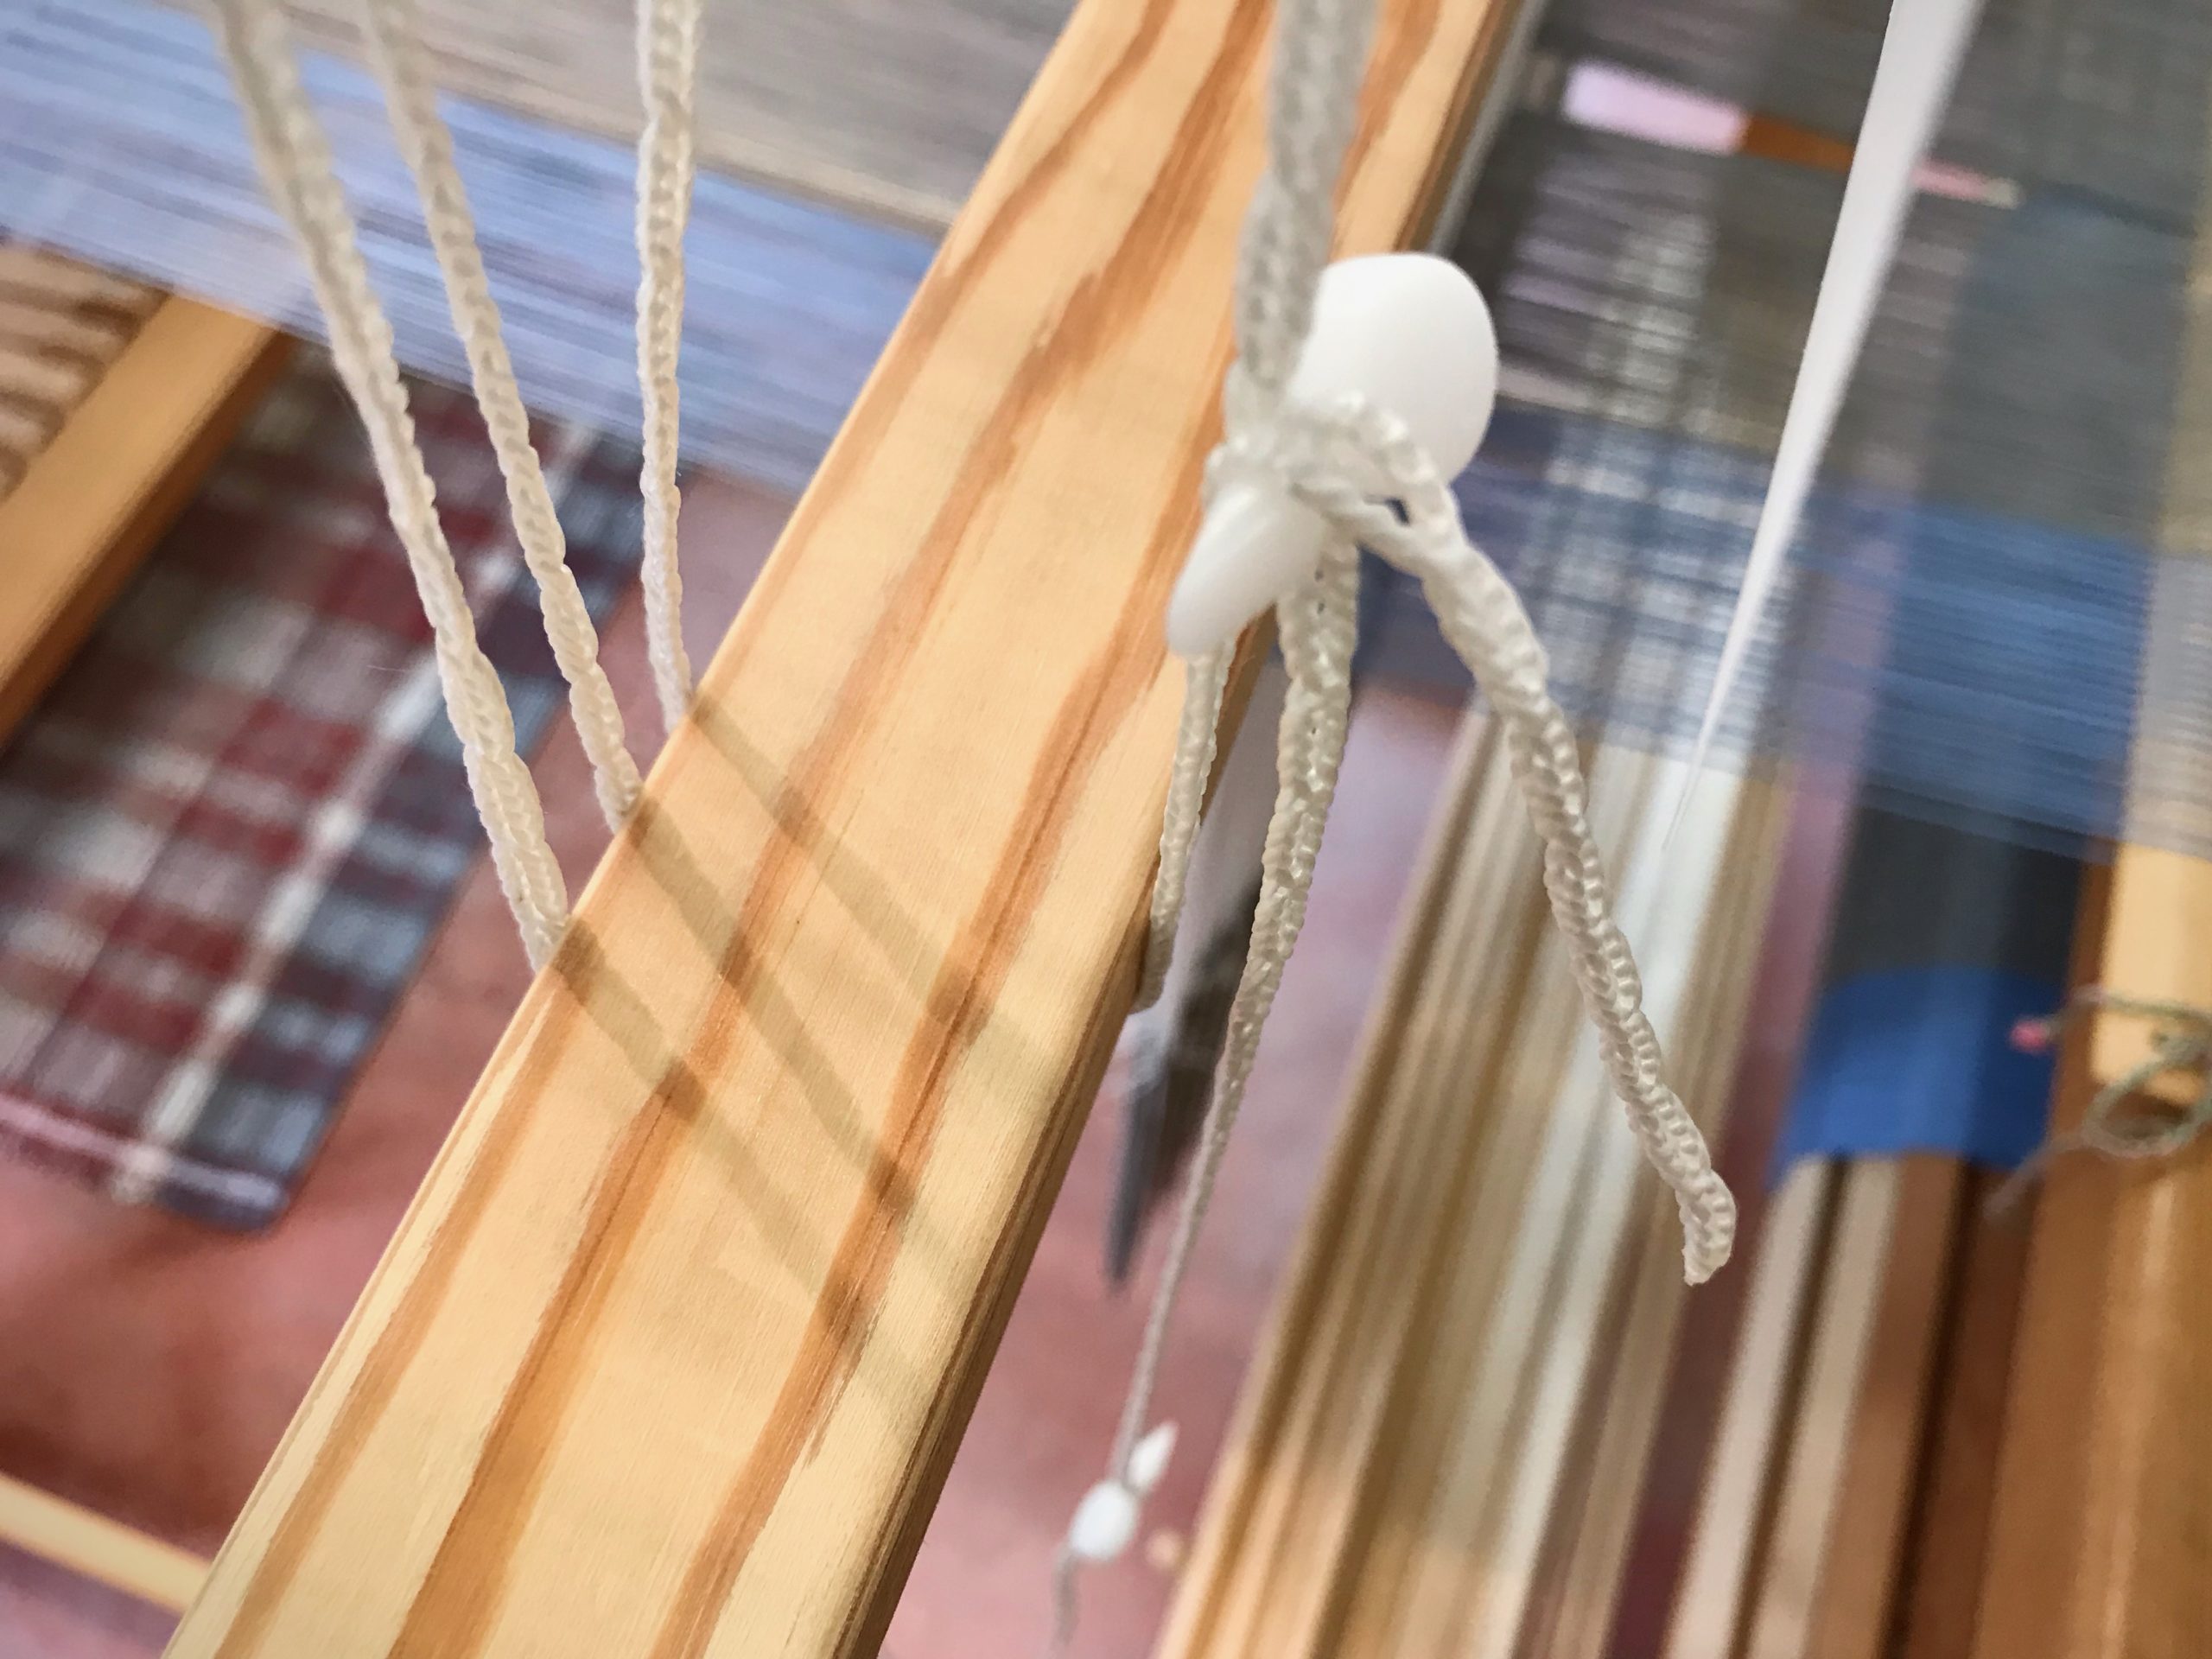
Texsolv cord is ingenious! It suspends shaft holders while I dress the loom. It also suspends the heddling bar during drawloom setup. A small anchor pin or arrow peg does the trick of holding everything together.

How to use Texsolv cord and anchor pins.
Anchor pin is buttoned through the Texsolv cord and placed into the hole at the bottom of the shaft holder.
Talking about Texsolv cord and arrow pins.
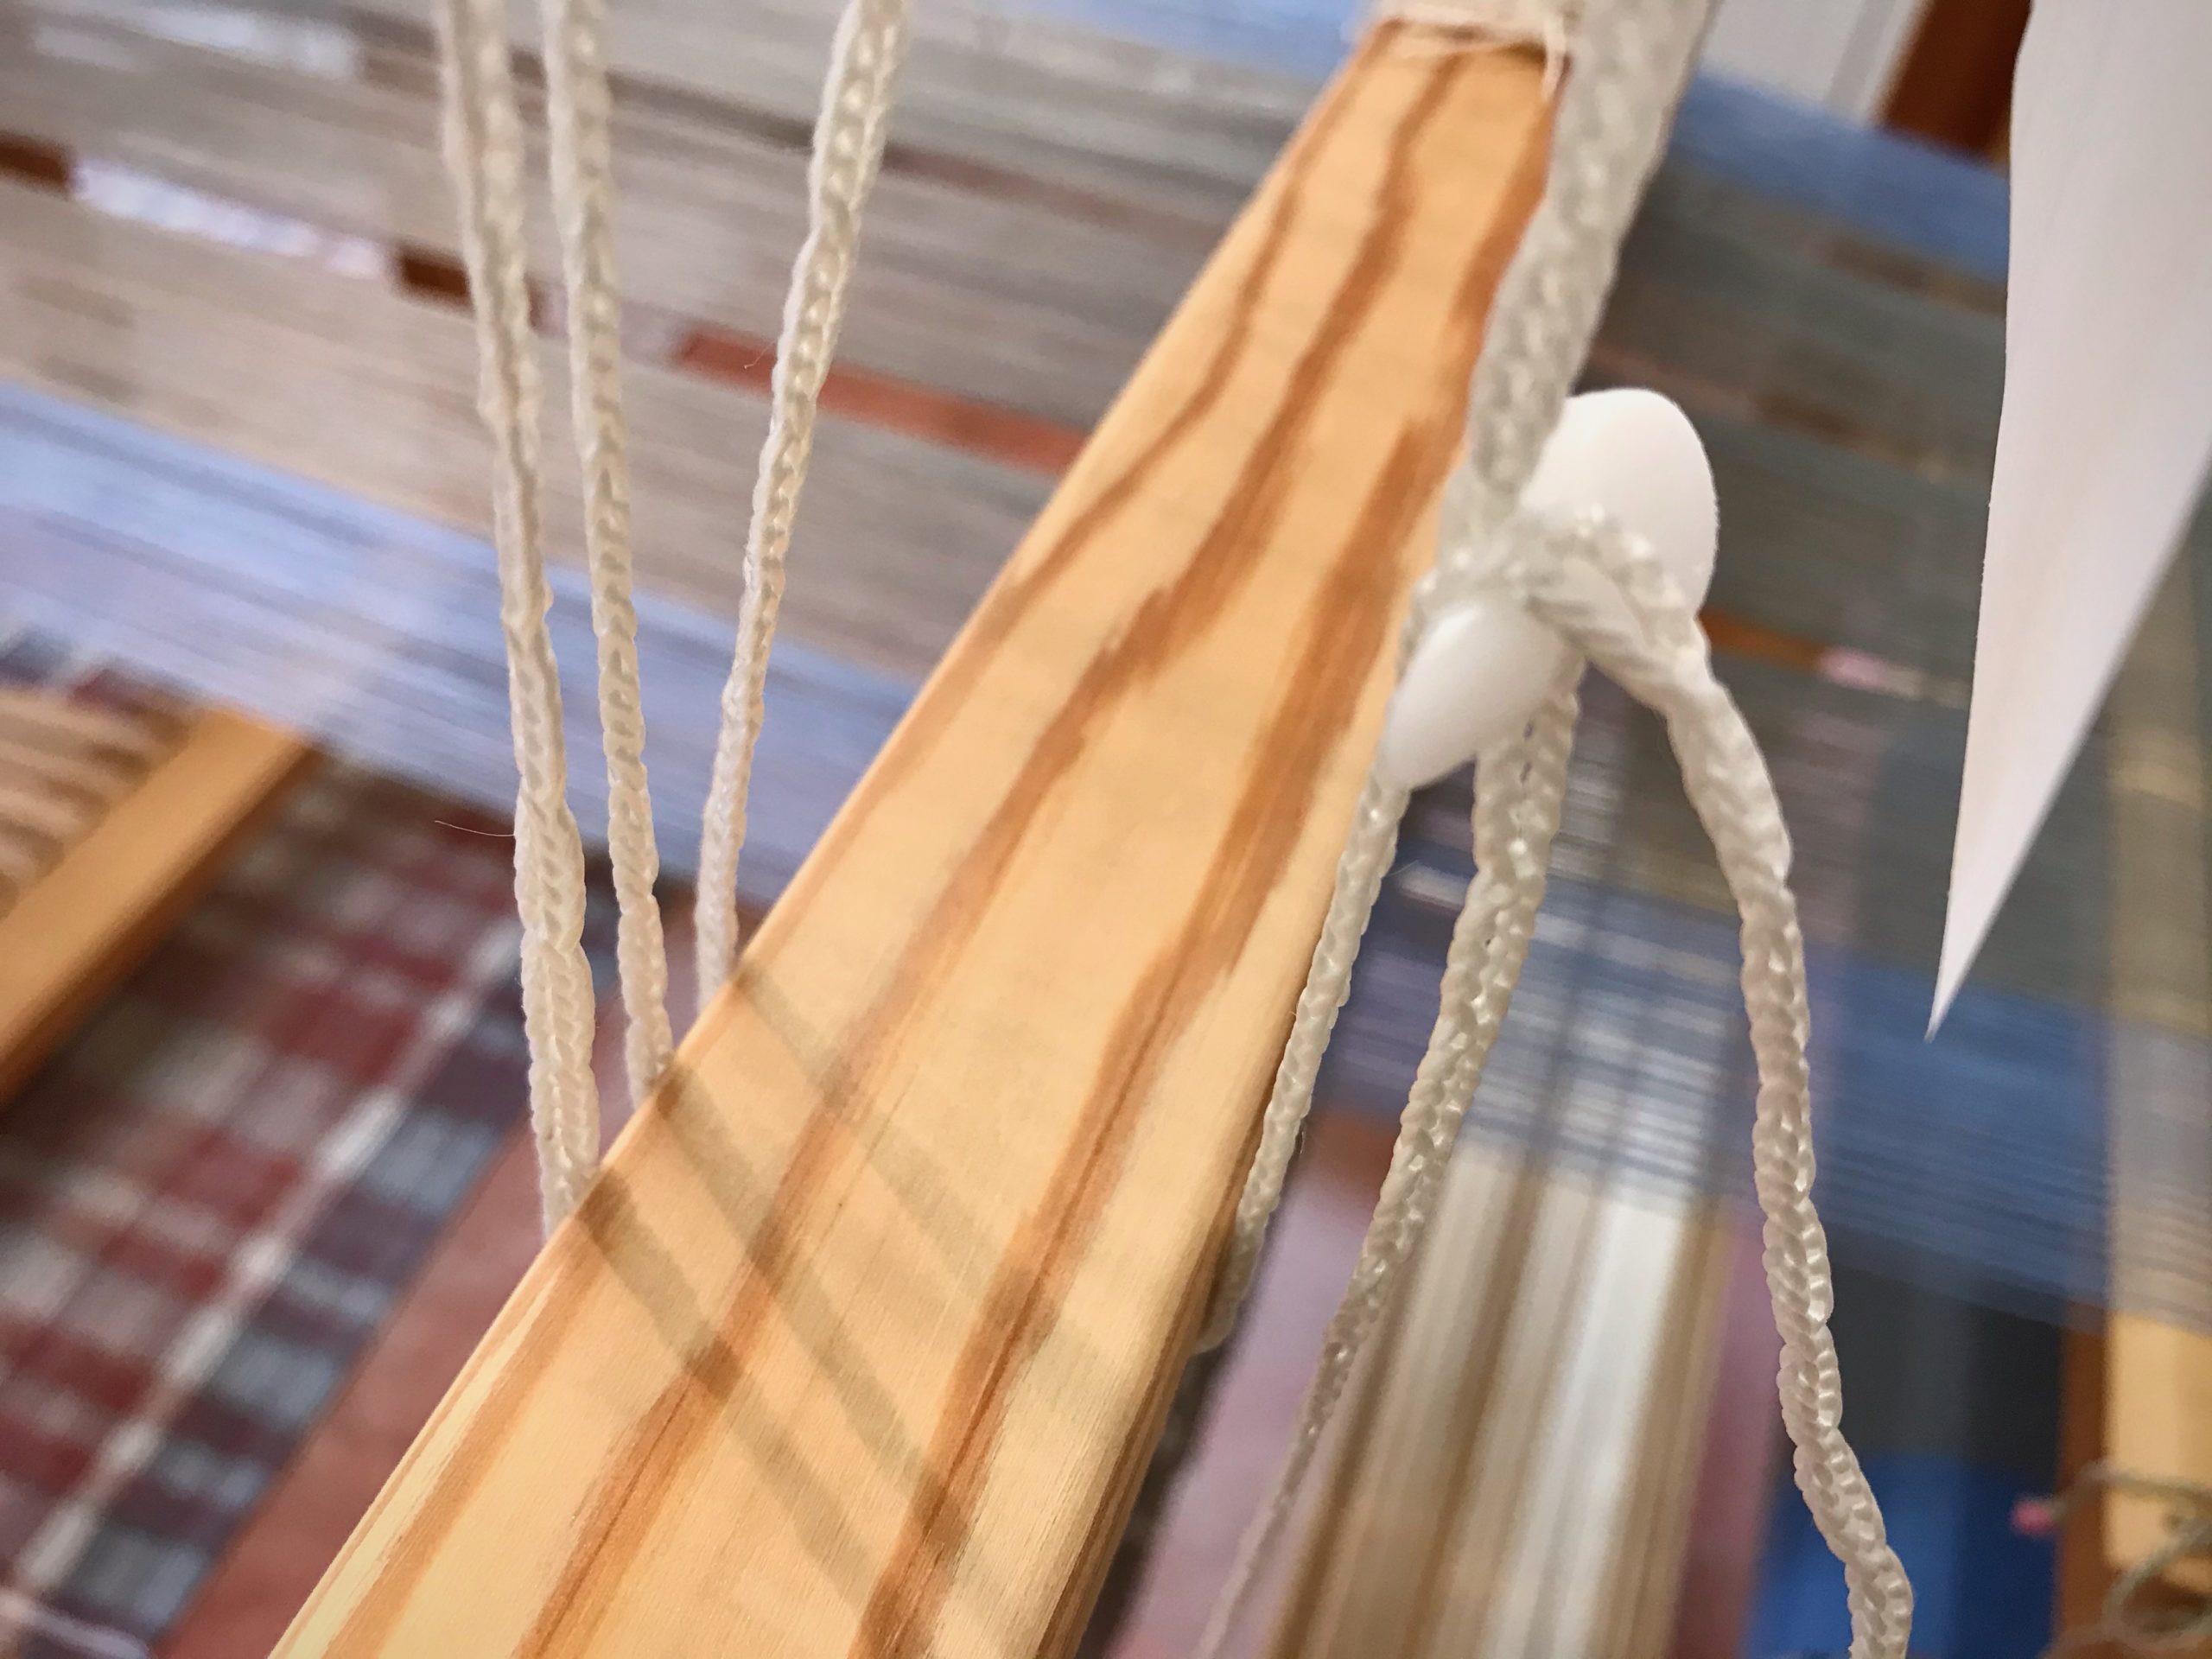
Thread one end of the Texsolv cord through a hole in the other end to make a loop. Insert an arrow peg through a hole to secure the loop.

But there is one potential hazard…

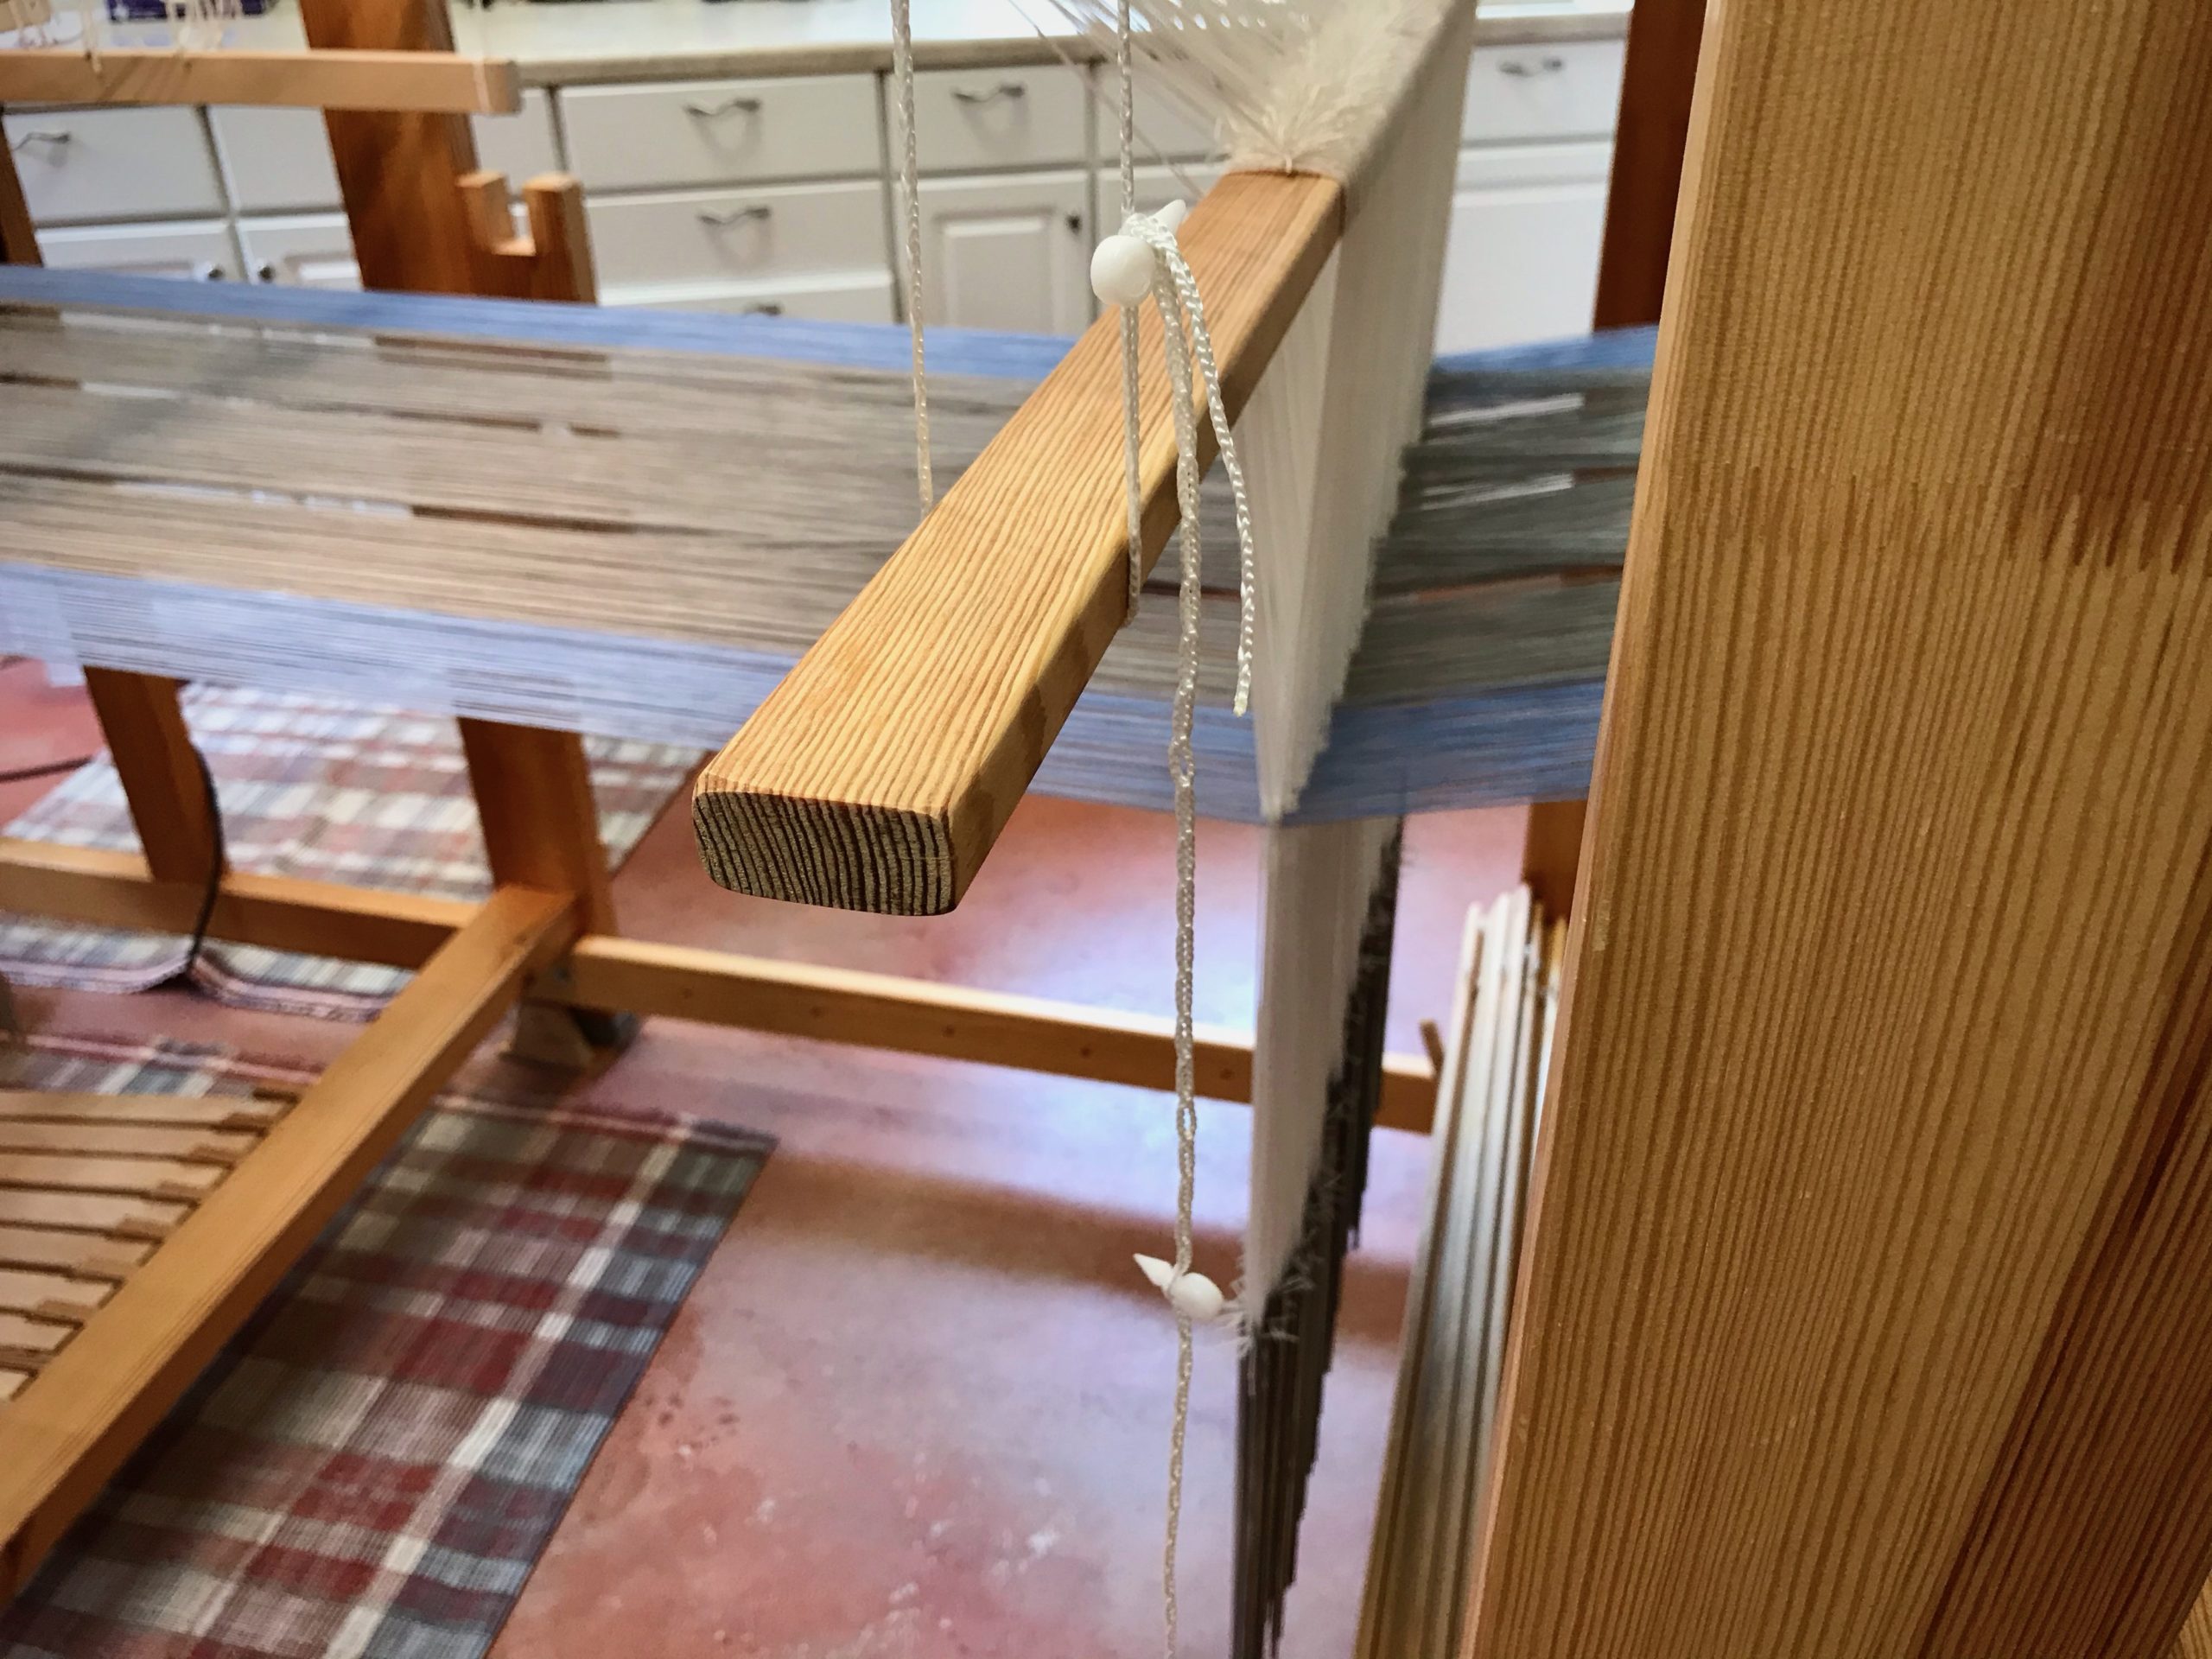
In order to adjust the height of the suspended heddling bar at the drawloom, I want to move the arrow peg. I hold one end of the bar while pulling the peg out of the Texsolv cord. That little peg fumbles out of my hand and drops to the floor. OOPS! I am left holding one end of the bar that has 148 threaded pattern heddles, weights included. Now what?! Alone in the room, I am now the sole support for that end of the heavy bar. The peg on the floor is out of reach.

Super Simple Tip of the Day

Always keep a spare anchor pin or arrow peg on the loose end of the Texsolv cord. Always.

Just in Case strategies.
Spare anchor pin stays on the shaft-holder cord. You do not want to be left holding a shaft holder with eight shafts if your anchor pin ever falls out of your hand…

The rest of the story…
When that pesky little arrow peg slips out of my hand I calmly take the spare peg that is there “just in case,” and secure the Texsolv loop that holds the heddling bar. No big deal, after all.

Strategies for Just in Case!
Spare arrow peg dangles below. Whew!
Tips for just in case!
Spare arrow peg is a life saver on the rare occasion it is needed. There is a significant amount of weight on that heddling bar.

May you be ready for anything, just in case.

Ready or not,
Karen

Sneak Out to the Drawloom

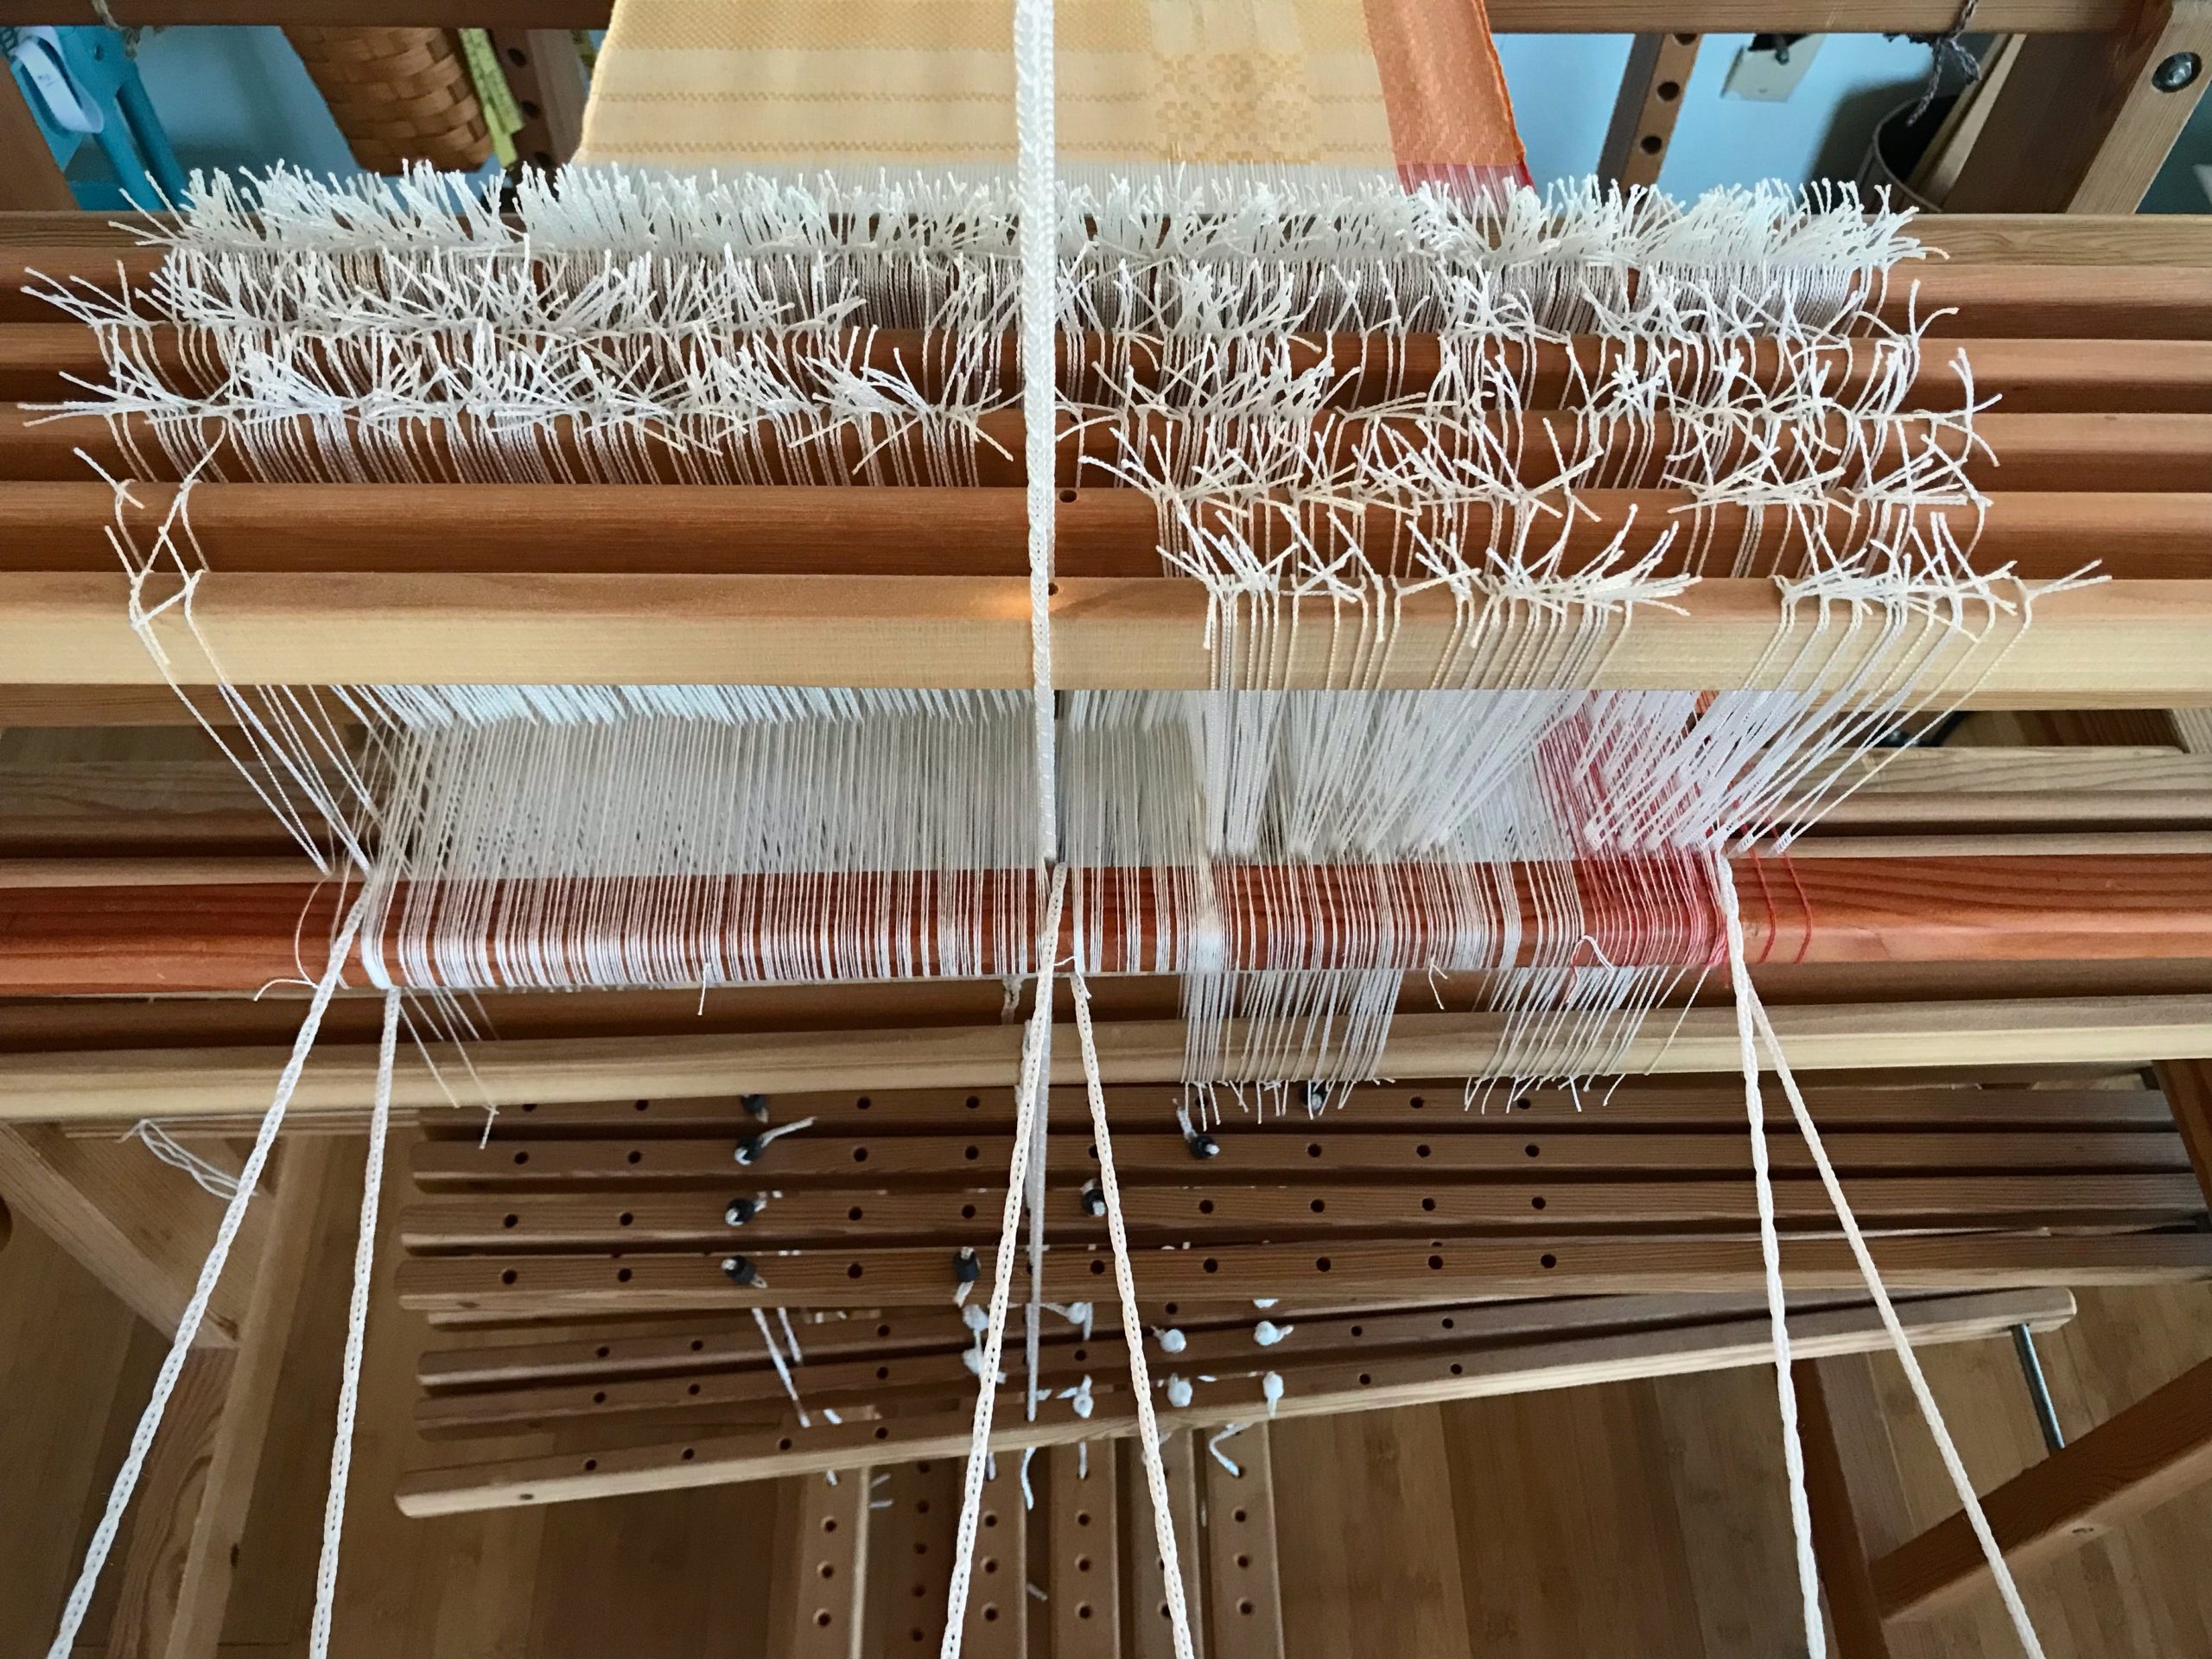
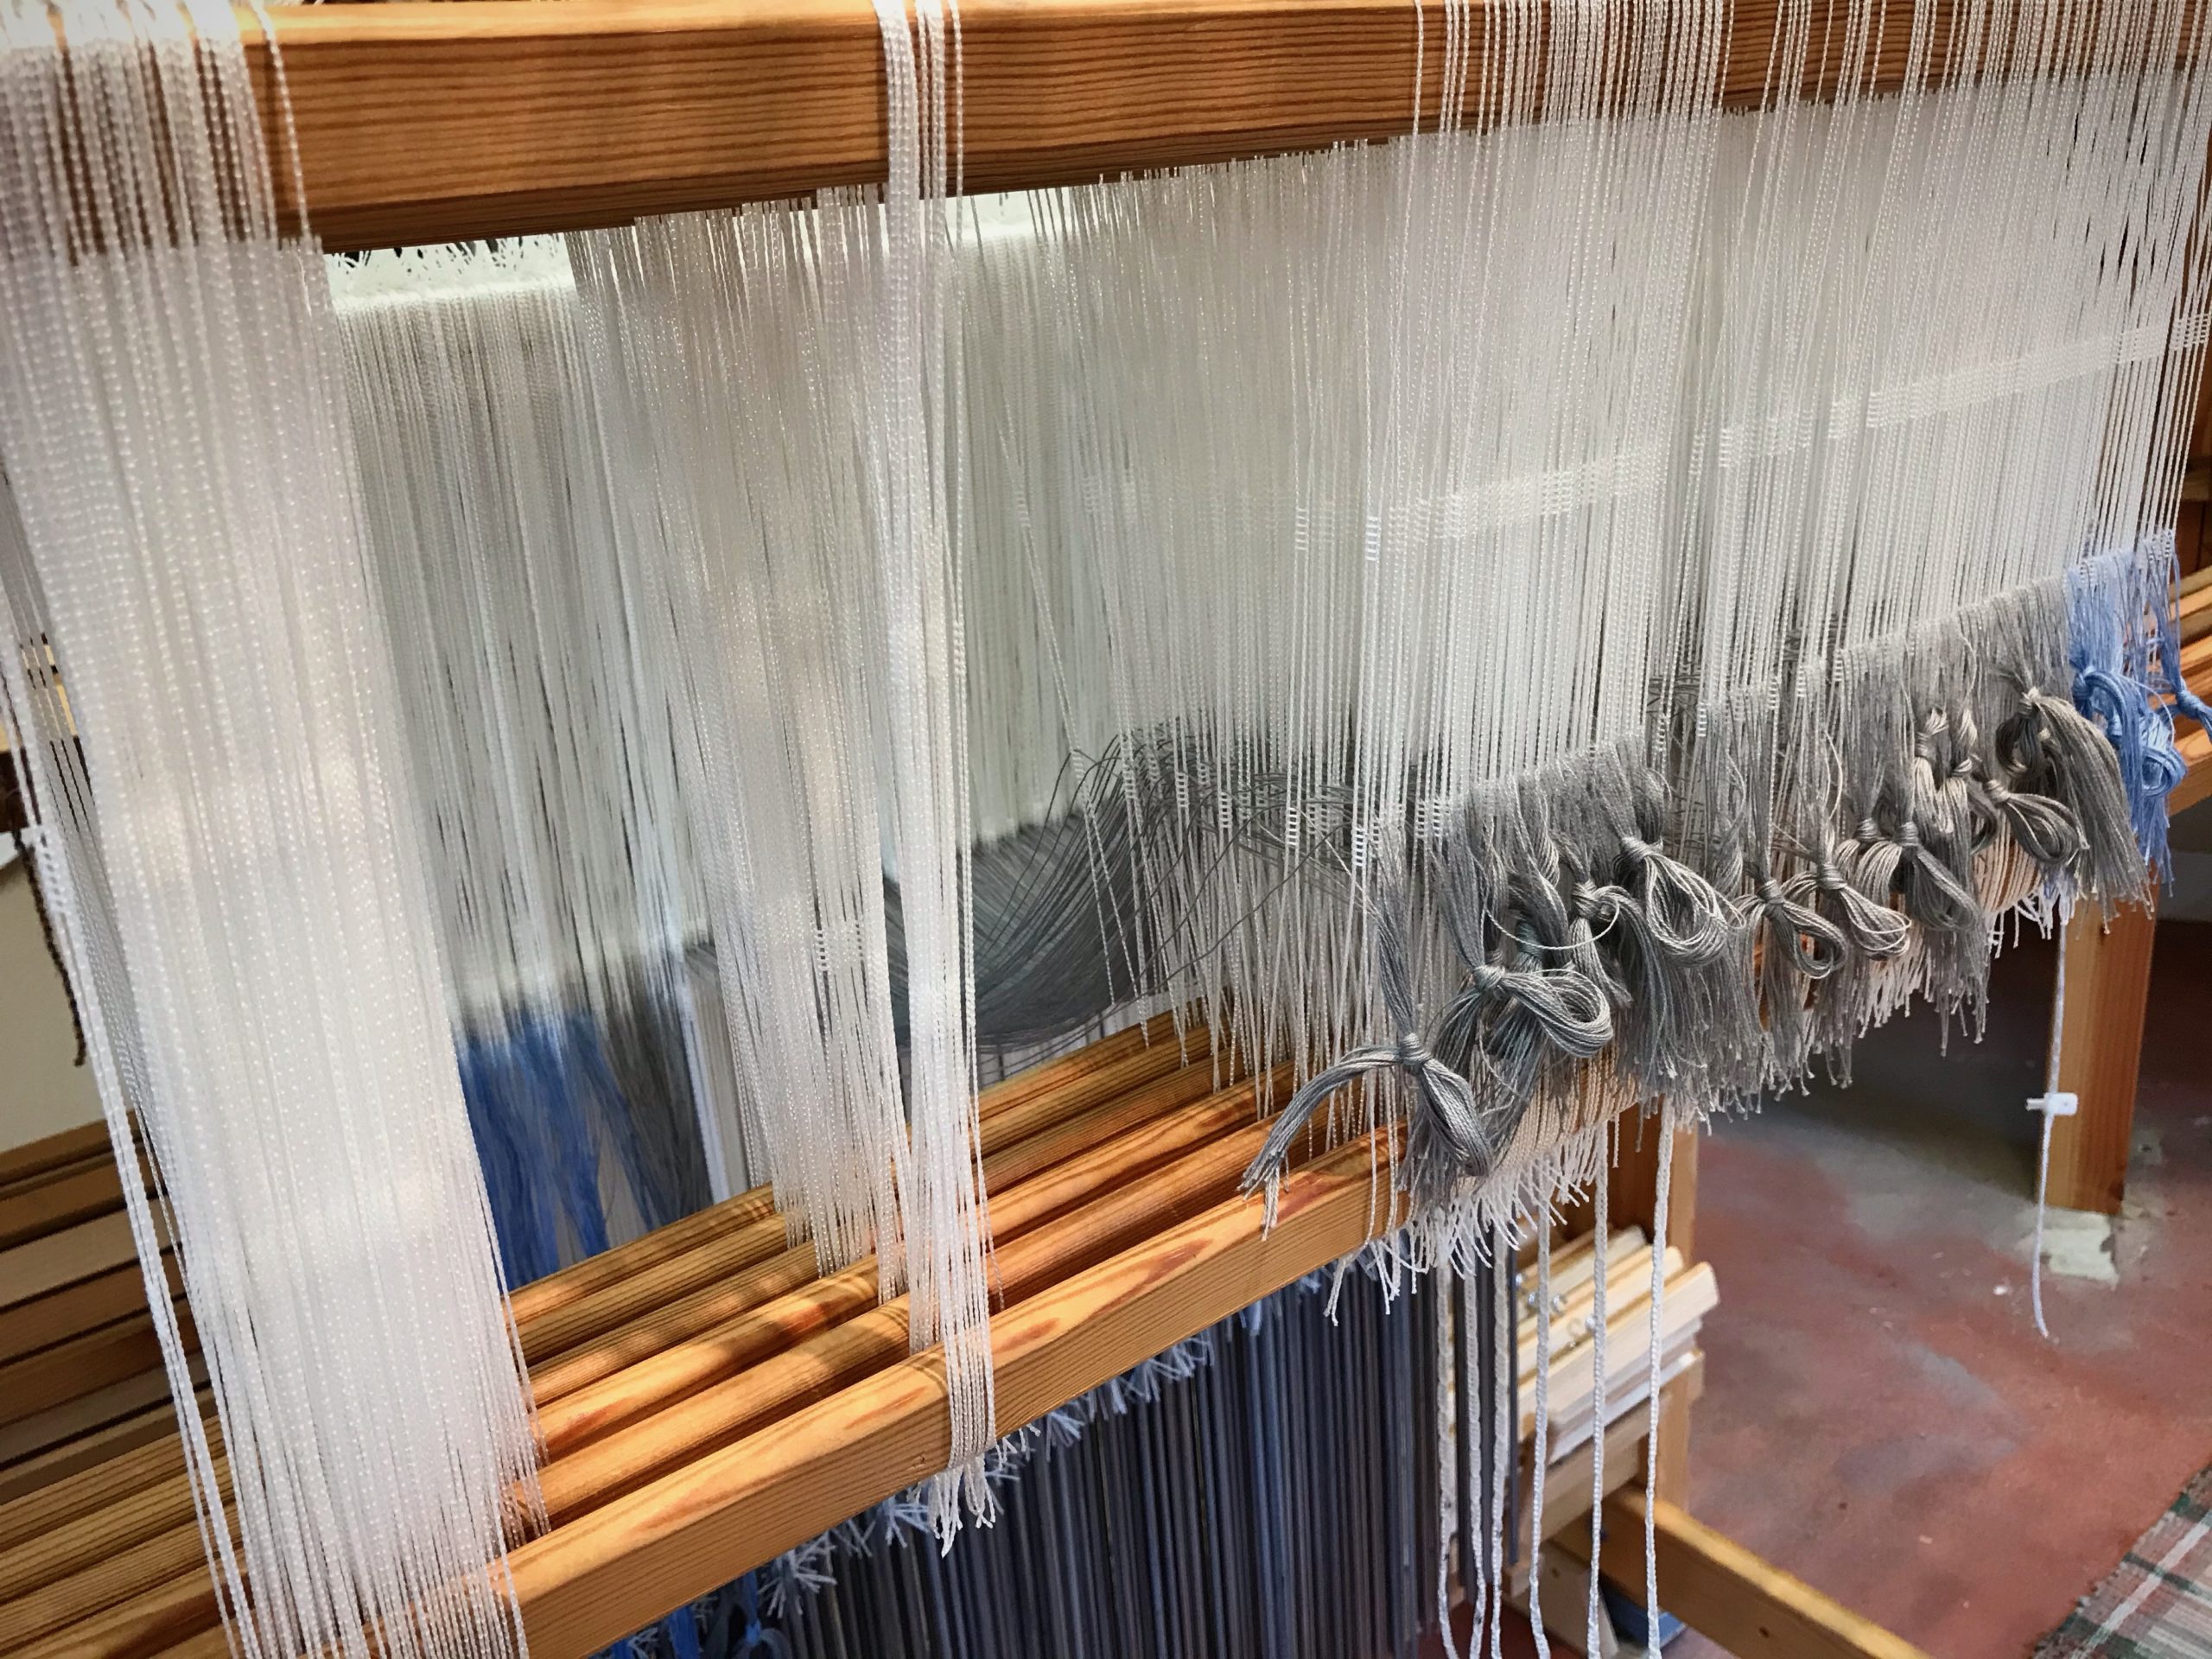
Two of my looms are getting the lion’s share of my attention right now. That doesn’t keep me from sneaking out to the drawloom, though, for an hour here, an hour there. Those hours add up. I have everything threaded and sleyed. The reed is in the beater now, and I’m tying on the warp.

Six ground shafts on the drawloom. Threading.
Pattern heddles have been threaded. Ground heddles are being threaded. 888 16/2 cotton ends on six ground shafts.
Getting ready to tie on the warp on the combo drawloom.
Moving the reed and threaded ground shafts to the front of the loom is tricky. Having a second pair of hands (Steve’s) definitely helps.

148 single unit lift heddles and 45 pattern shafts are waiting in the wings. I’m setting up the combination drawloom again for maximum flexibility in designing. That also means I’ll have abundant possibilities for weaving. Oh, what exuberant escapades await! This anticipation keeps me skipping down the path of preparation, ever so steadily, as I dream of entering that magical world of drawloom weaving once again.

Getting the drawloom ready to weave.
I like to tie all the ends into small sections (about 1 inch at the reed) first. Then I tie them on the front tie-on bar, starting right of center, and then alternate left, right, and so on.

There is a door into an invisible kingdom. You may have seen it as a child. The door to God’s invisible kingdom is open. With childlike trust we give our heart to Jesus and his kingdom comes alive. In the here and now, as our preparation continues, we are ever mindful of the abundant existence of the ever after. What exuberance awaits!

May you see like a child.

Happy Weaving,
Karen