Time Lapse: Windmill and Taildragger on the Drawloom

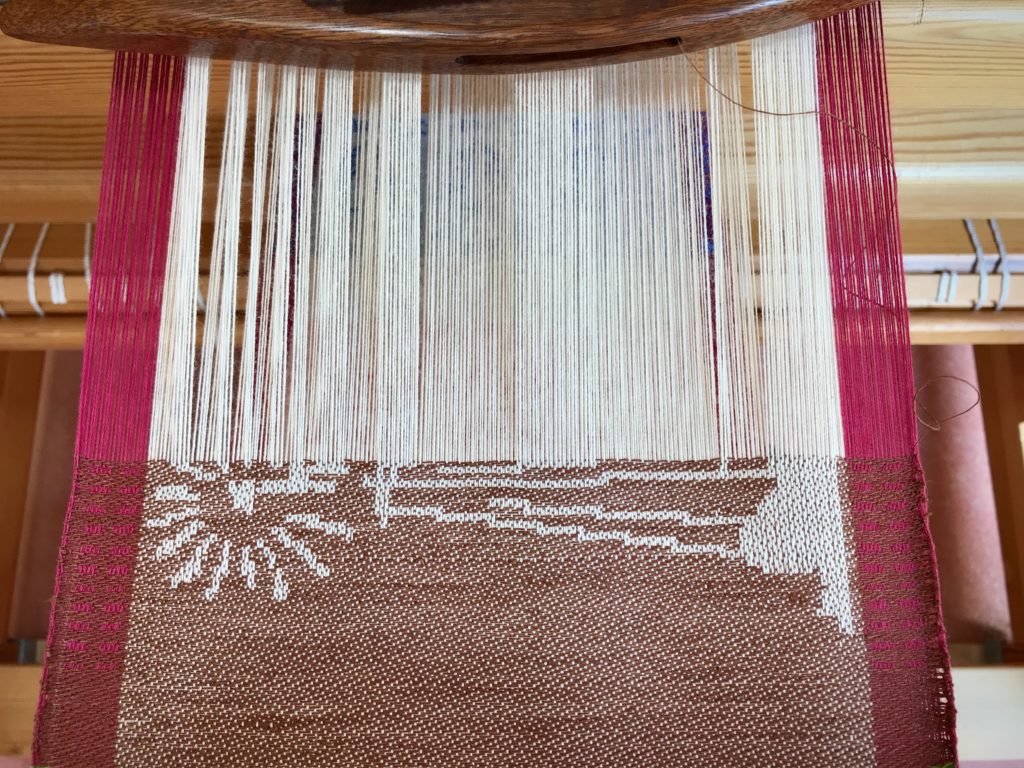
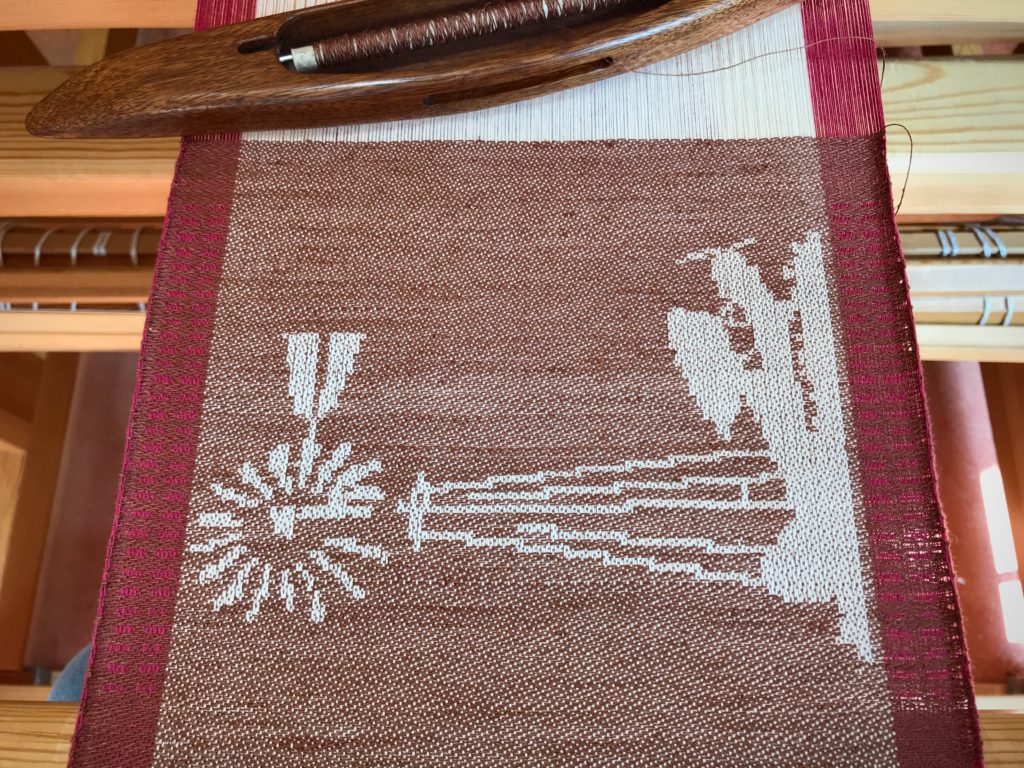
Come, look over my shoulder as I weave a windmill and taildragger image on the drawloom. The central design is woven using 103 single-unit draw cords. I have a simple motif for the borders that uses only three pattern shafts. In the video below, watch as the three draw handles for those pattern shafts appear and disappear throughout the weaving.
Drawloom weaving, with time-lapse video.
Draw cords are used to raise single units of threads to create the image, one row at a time.
Windmill and taildragger woven on the drawloom.
Woven from the side.

I recorded my weaving in time-lapse form so you can watch three hours of effort compressed into three-and-a-half minutes. In the video you will see my hand pulling the draw cords, and then touching all the pulled cords from right to left to double check my work. That double checking saved me from dreaded do-overs.
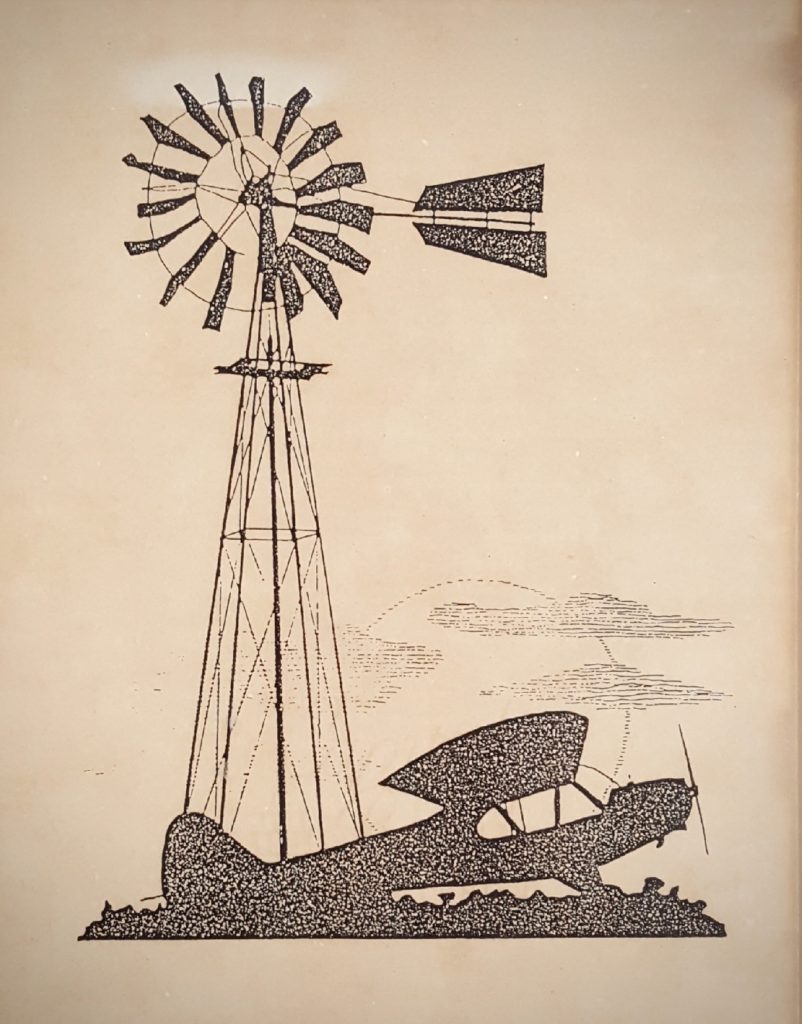
Windmill and Taildragger Silhouette from an old "Flying" magazine.

When our good friends, Jerry and Jan, saw my drawloom they brought this picture to my attention. — Forty years ago Jerry discovered the silhouetted windmill and airplane tucked away on a back page in an old issue of Flying magazine. Because of his affinity for airplanes and windmills he cut out the tiny picture and saved it. Years later, Jan found the picture and had it enlarged and framed. — After learning about my loom’s pictorial capability, Jerry and Jan wondered aloud if this special image could be woven on a drawloom…
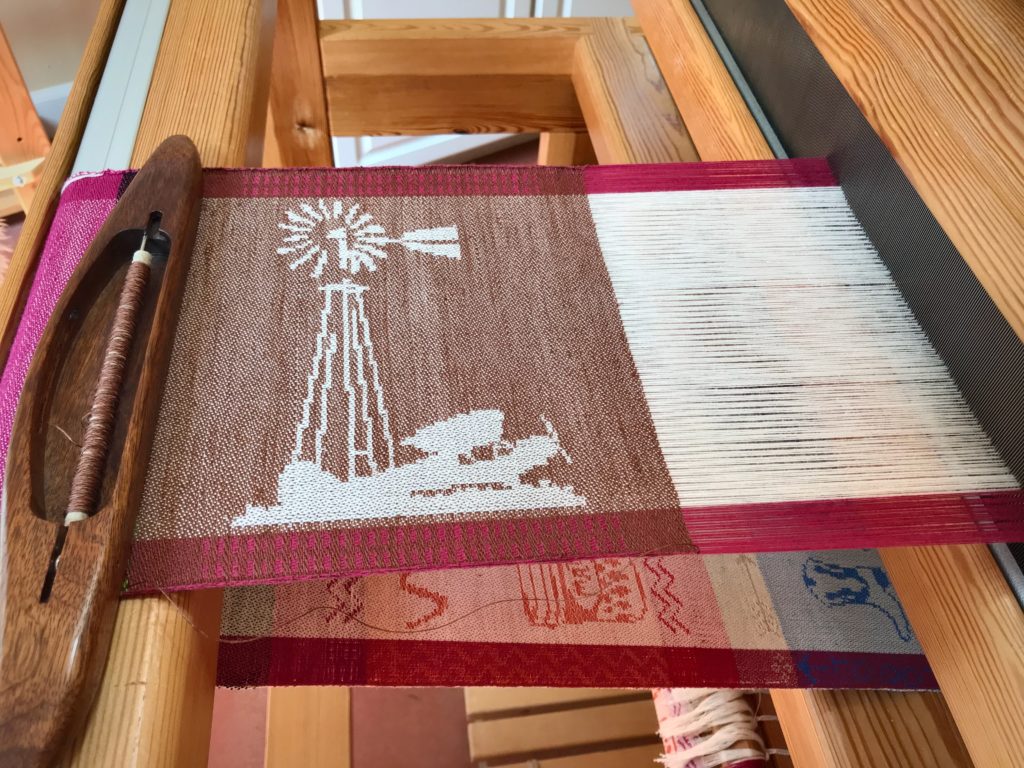
Windmill and Taildragger woven on the drawloom. With time-lapse video.

Enjoy the video, and hold on to your hat!

May you ride the wind.

Happy Weaving,
Karen

Home in Texas on the Drawloom

The sky is the limit! That is my conclusion after weaving a few designs using the Myrehed combination drawloom. The shaft draw and the single unit draw systems are combined on this ingenious apparatus that is attached to an otherwise ordinary loom. The shaft draw system enables me to weave repeated patterns. The single unit system enables non-repeat patterns. This narrow warp is my playground to do both.

Myrehed Combination drawloom - learning its potential.
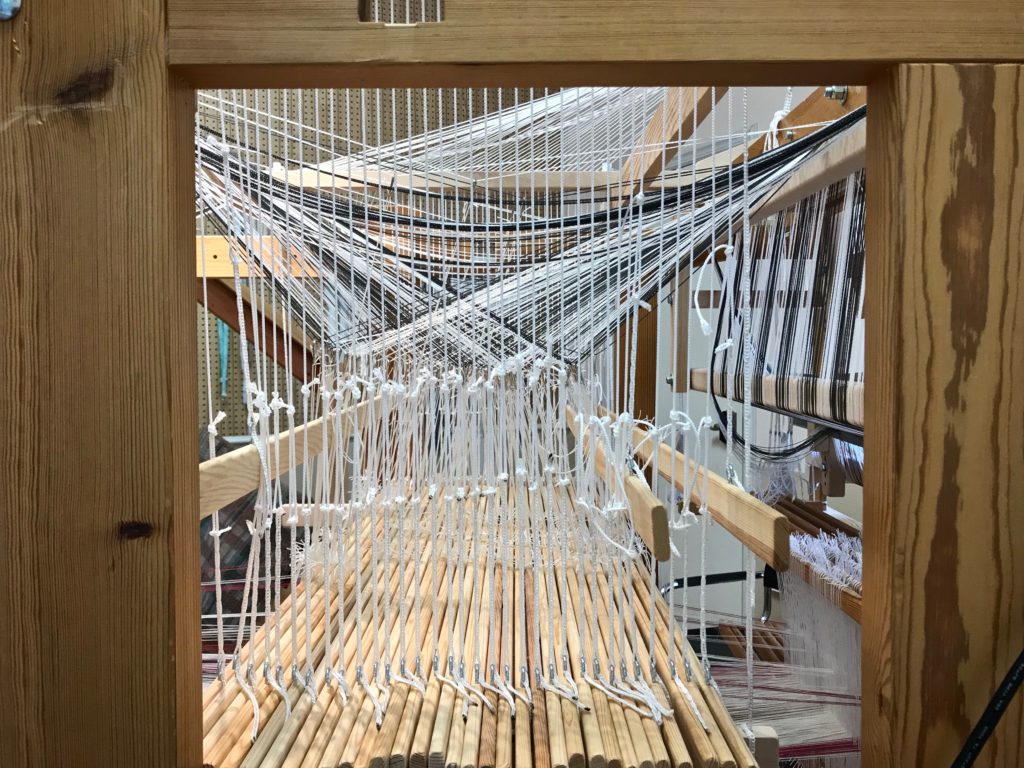
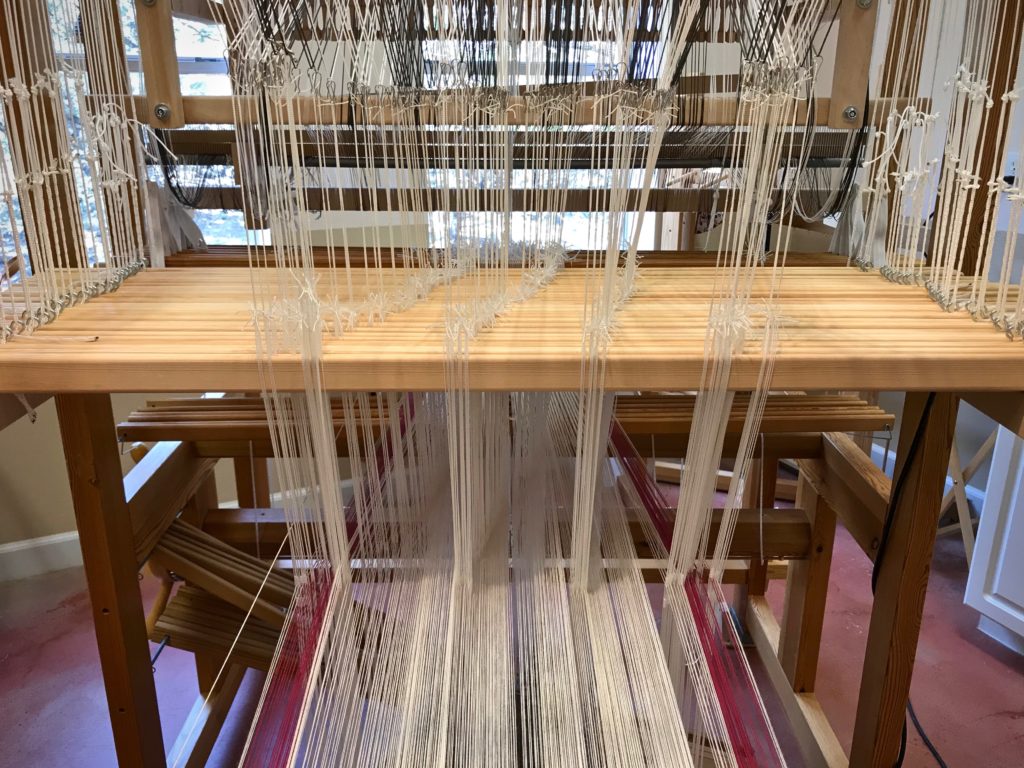
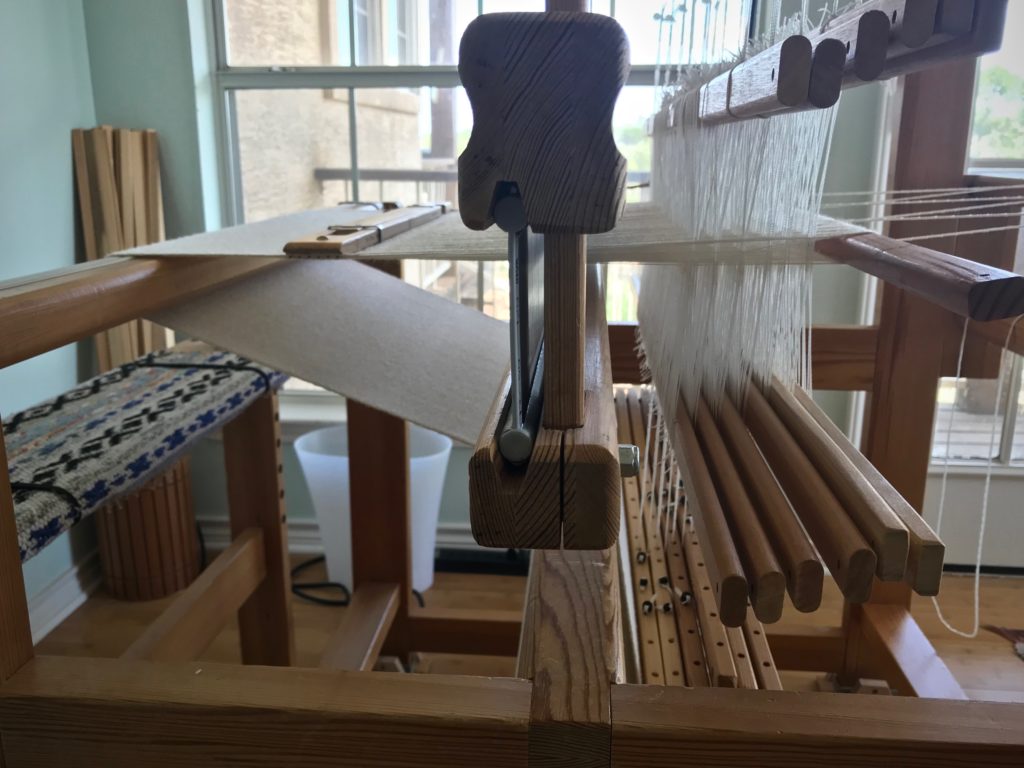
Pattern shafts (the wood bars) and single units (with black and white draw cords) are combined for this warp. 36 pattern shafts, including the X shaft. 132 single units.
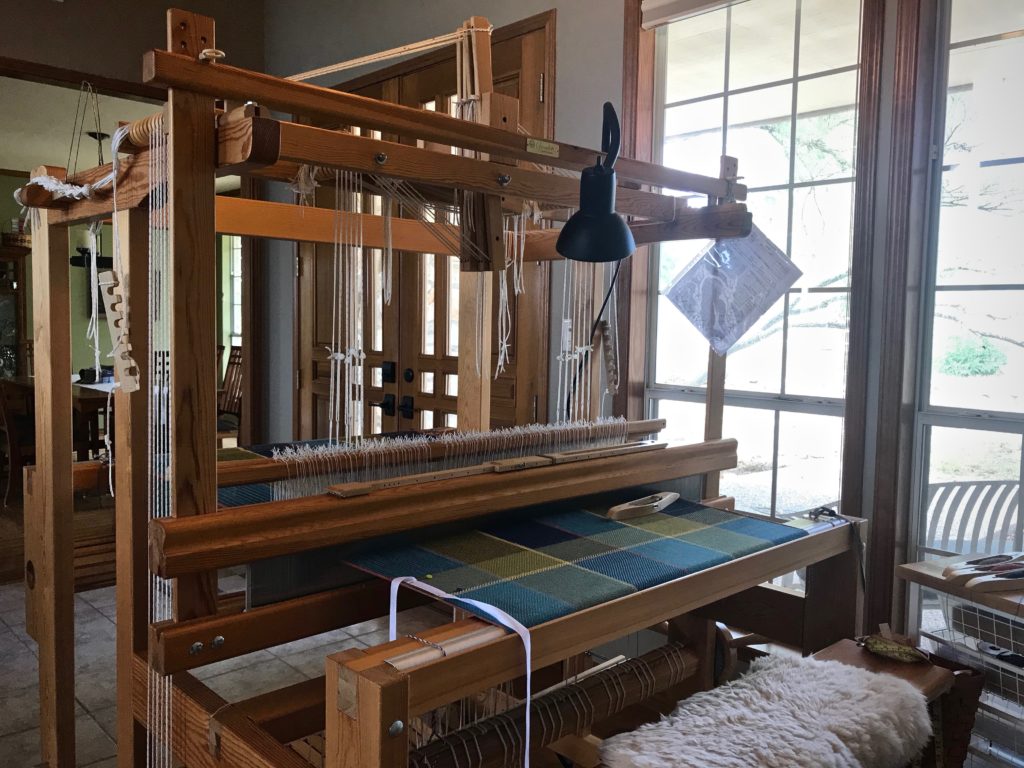
Setting up the Myrehed combination drawloom.
Central design area uses a repeat of 30 pattern shafts threaded in a straight draw. Side borders use a repeat of 5 pattern shafts. Lift heddles and lanyard clips on the single unit draw cords attach the draw cords to the all the individual units (single units) on the pattern shafts.

I use the computer to create designs. ”Home in Texas” shows the back of our house, with its massive stone chimney. The tree in the scene is a tracing of the oak tree that I pass as I walk up the hill to my drawloom studio. The airplane is a copy of the Mooney that our pilot friend took us in to fly over Enchanted Rock. I am delighted to discover that I can use a drawloom to bring features of personal meaning such as these to life.

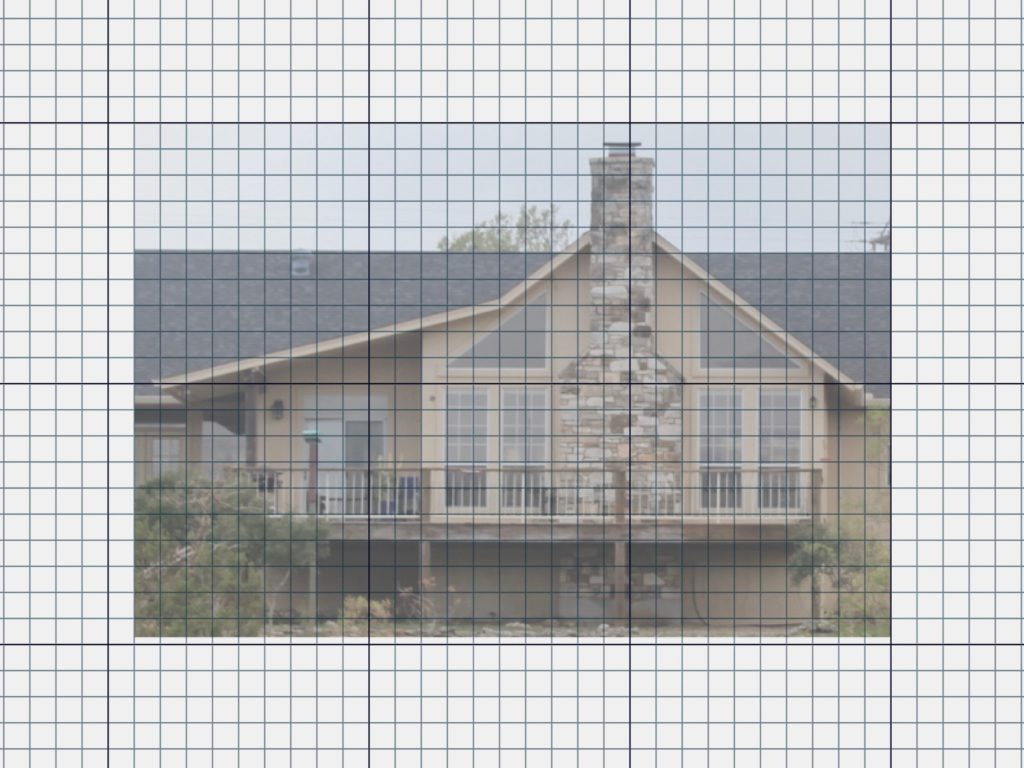
Making a gridded pattern for weaving on the drawloom.
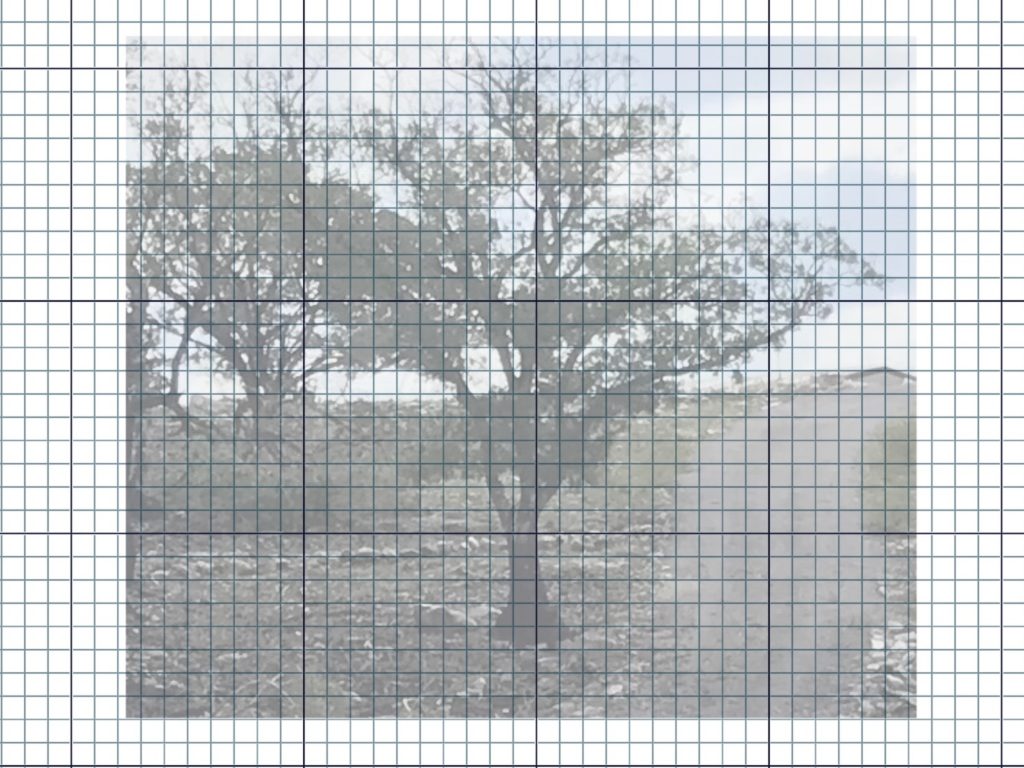
Photo of our back deck. Using Affinity Photo, I set up a grid on the page to represent 30 pattern shafts. I then import my photo onto the gridded page.
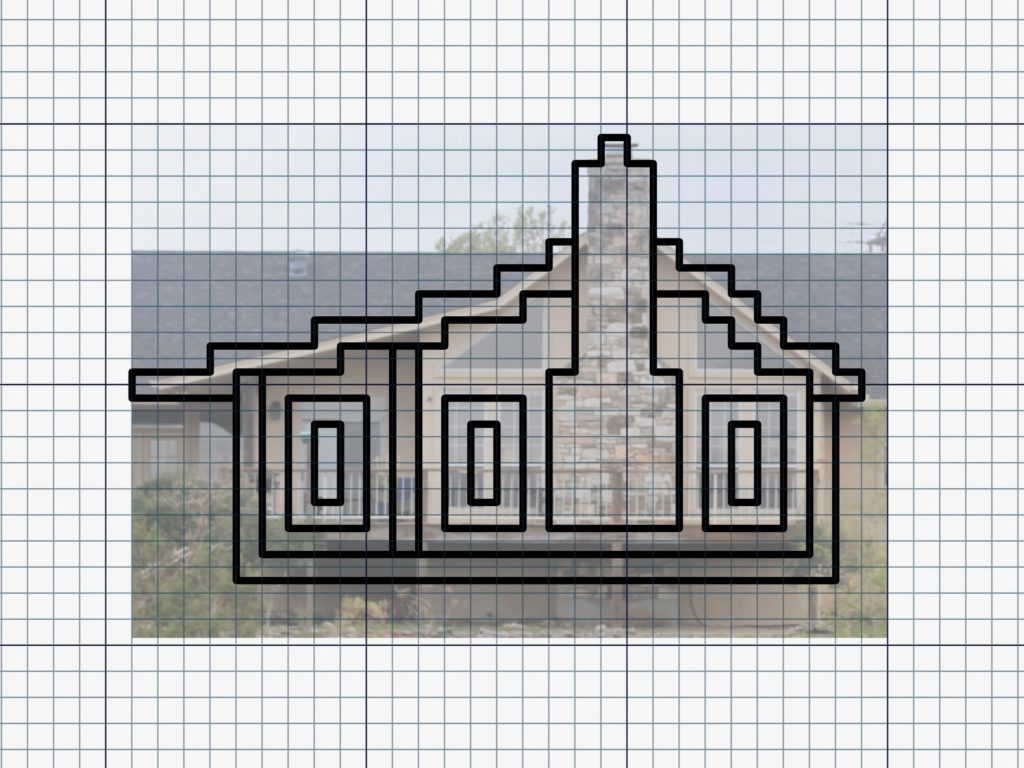
Creating a simple gridded pattern on the computer.
Simple outline is created and saved as a separate image. The filled-in outline becomes my drawloom pattern.
Creating gridded designs in Affinity Photo.
Oak tree that I pass on the hill up to my drawloom studio. After importing the photo, I adjust the opacity to fade the picture, which makes tracing easier.
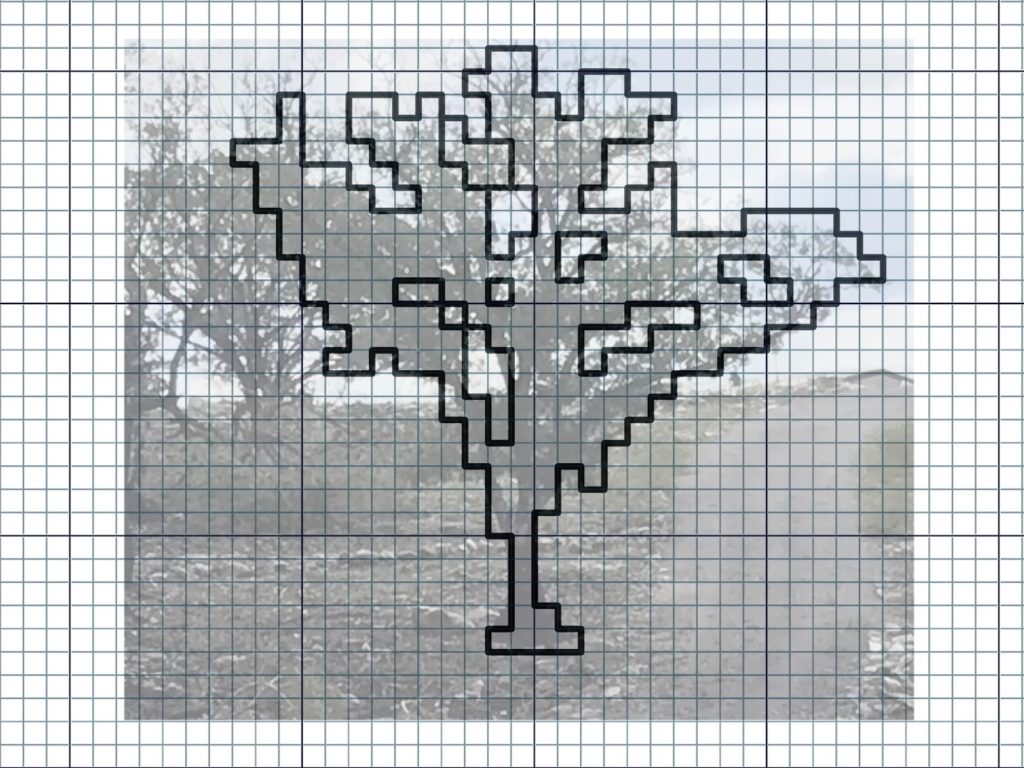
Tracing a tree in Affinity Photo to make a drawloom pattern.
I use a pen tool in Affinity Photo set at 3 pt to do the tracing. Now I can fill in the outline and copy and paste the image onto my chart that I will print and then use at the loom.
Drawloom weaving, using the Myrehed Combination.
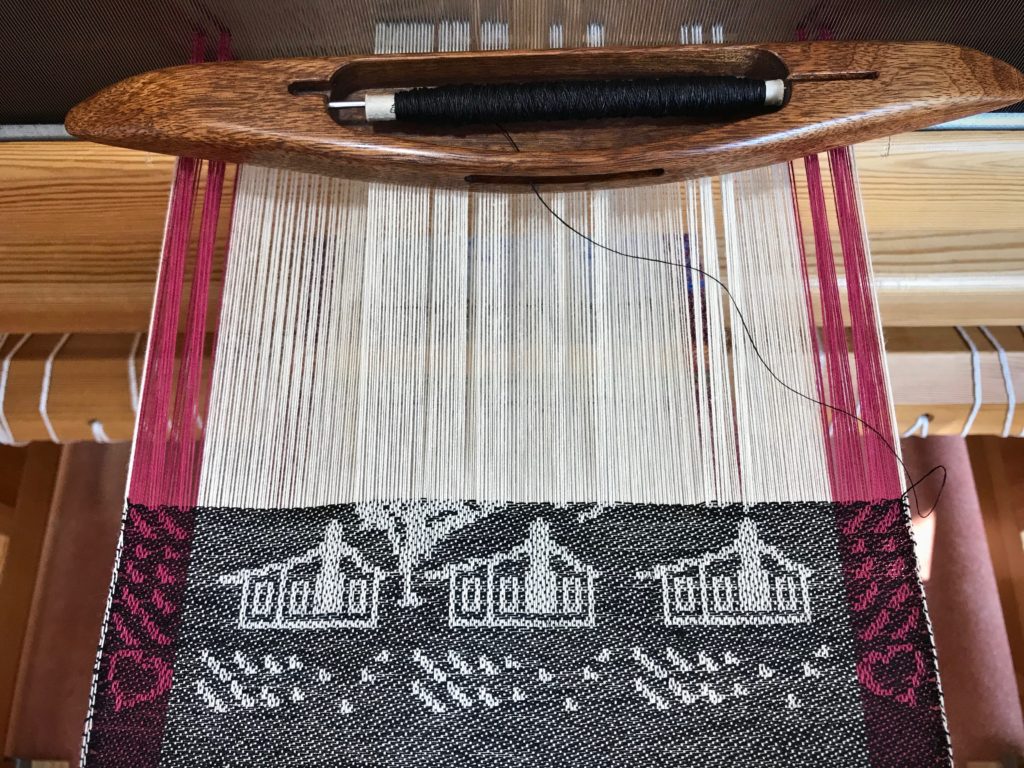
Houses are woven with 30 pattern shafts. The hearts in the corners and the added details above the houses use the single unit draw cords. The tree is beginning to appear between the two houses on the left.
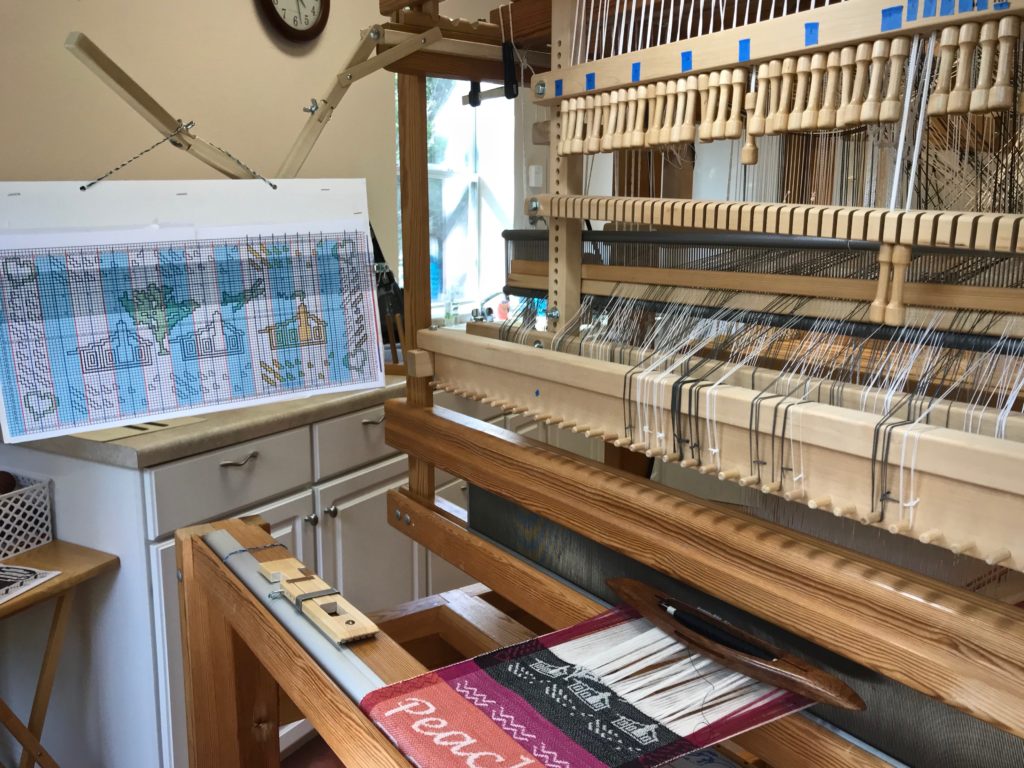
Myrehed Combination drawloom.
Two draw handles are pulled for the pattern on the side borders. Single unit draw cords are pulled and held in place on the hook bar above the beater.
Our Texas Home - woven on the drawloom.
Our Texas Home

The words of the Creator have life in them. It’s as if he puts his thoughts on the loom and weaves them into being. Let there be light! He speaks; and it is so. Listen closely. Hear the Grand Weaver say, Peace to you. And it is woven so. You are his workmanship, bringing his design to life.

Experimental warp on the drawloom.
More ideas are forming, even as this fabric begins to hug the cloth beam.

May your life reveal the Creator’s design.

Happy Weaving,
Karen

Tried and True: How Far Will Your Quill Go?

Do not overfill your quills. It may seem efficient to load the quill as much as possible so you can weave as far as possible. Like me, you may have to learn this the hard way. A too-chubby quill that has to be coaxed through the shed takes more time and effort than winding a few extra quills. So much for efficiency.

Cottolin bath towels on the Glimåkra Standard.
Cottolin bath towels on the Glimåkra Standard, in twill, broken twill, and reverse twill.

It helps to have an idea of how far the thread on a quill will go. With this information, you can wind a few in advance without ending up with an excess of wound quills at the end of your project. I like to have the next quill ready to go when I am weaving so that I can put the new quill in my shuttle and keep weaving with very little interruption. This is especially helpful when the treadling sequence is tricky, like with the reverse twill in every other large color block on these cottolin bath towels. 3-2-1-6-5-4

How to Estimate Weaving Distance for Filled Quills

1 Start a new quill, leaving a 4 – 5 cm tail on the surface of the cloth. Or, start a new quill at the beginning of a color change.

How to measure how far a quill will weave.
End of one thread. Ready for a new quill.
How to know how far a quill will weave. Tutorial.
With the threads overlapping in the shed, the tail of the thread on the new quill lies on the surface.

2 Weave until the quill has emptied. Leave a 4-5 cm tail on the surface of the cloth.

How to know how far a full quill will weave.
Quill has emptied. Tail is brought out to the surface of the cloth.

3 Replace the empty quill in the shuttle with a new quill and continue weaving 1 – 2 cm further.

4 Measure the distance from the first weft tail, or line of color change, to the second weft tail. Place a straight pin, in line with the first weft tail, directly under the second weft tail. Measure from the pin to the second weft tail. This is the approximate weaving distance you can expect to cover with a new quill. Notate the quill’s estimated weaving distance on your project notes for future reference.

Tutorial on how to know how many quills you need to wind.
Measure the woven distance.

5 Trim the weft tails close to the surface.

6 Increase accuracy by repeating the process three times, and then use the average as your quill’s estimated weaving distance.

The large color blocks on this bath towel are 14 cm long. A single full quill will weave 5 1/2 – 6 cm; therefore, I make sure I have 2 full quills, plus at least another half-filled quill before I start a new color block section. It’s nice to be able to leave my foot on the treadle while I change out quills, so I don’t lose my place.

Cottolin bath towels.

May your efforts prove to be efficient.

Happy Weaving,
Karen

Process Review: Christmas Tree Skirt Fabric

This is a Christmas tree skirt in the making. The next stage of this special project will include appliqué and embroidery. The embellished tree skirt should be complete by the time Steve and I put up our Christmas tree this year. This luscious white-on-white wool cloth is just the beginning. Some colorful handwoven remnants will tell the rest of the story. I’ll let you know when that part is finished…

At the very end, with the back tie-on bar right behind the shafts.
Back tie-on bar is right behind the shaft bars. The shed is compromised, but I am still able to squeeze my shuttle through to weave enough picks to empty my quill.
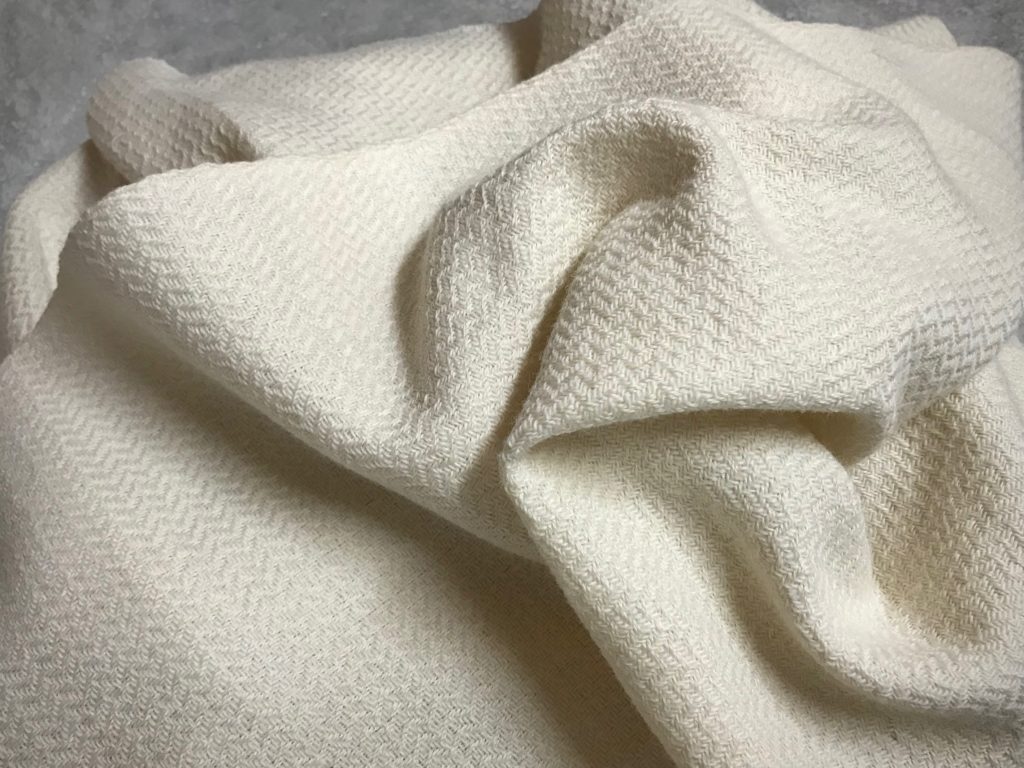
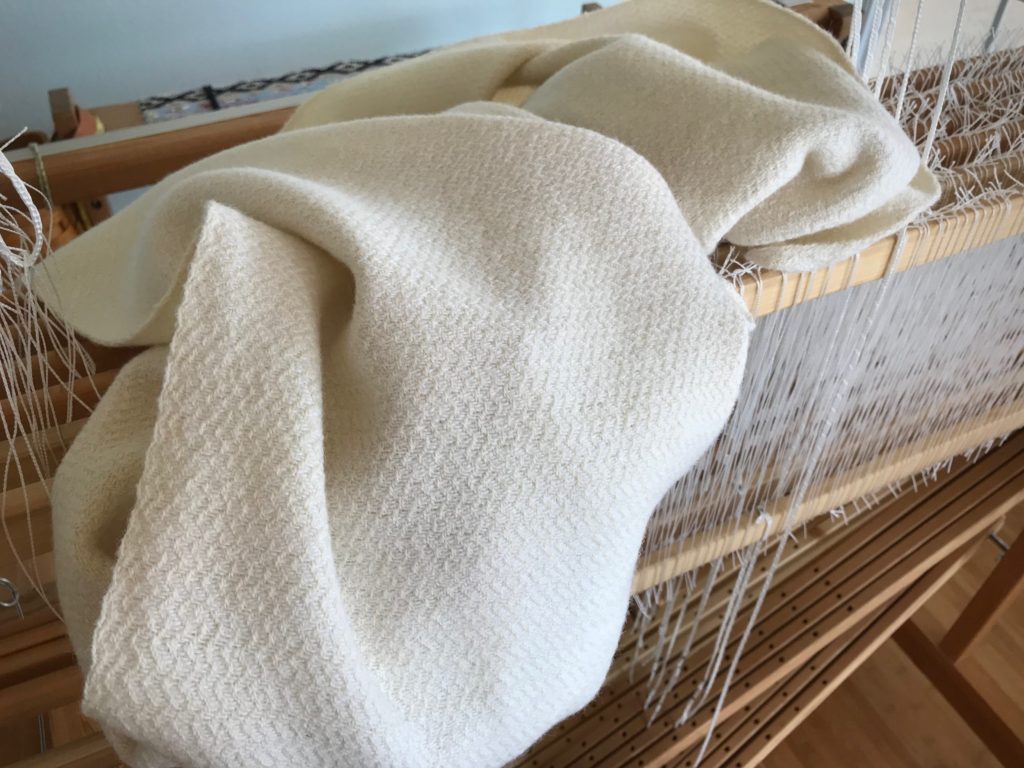
Just off the loom, unwashed handwoven wool fabric.
Just off the loom, unwashed. 8/1 Möbelåtta unbleached wool warp and 6/1 Fårö bleached wool weft.

I thoroughly enjoyed the one-shuttle monotone weaving. It was a quiet stream amid my other rambunctious color-filled looms.

Handwoven fabric for a Christmas tree skirt.
Wash on delicate cycle in the washing machine. Place in dryer on low heat for ten minutes. Air dry to finish. Snuggle.

Here’s a view into the process of making this cloth.

May your days be merry and bright…

Happy early Christmas,
Karen

Handwoven Detail Notes

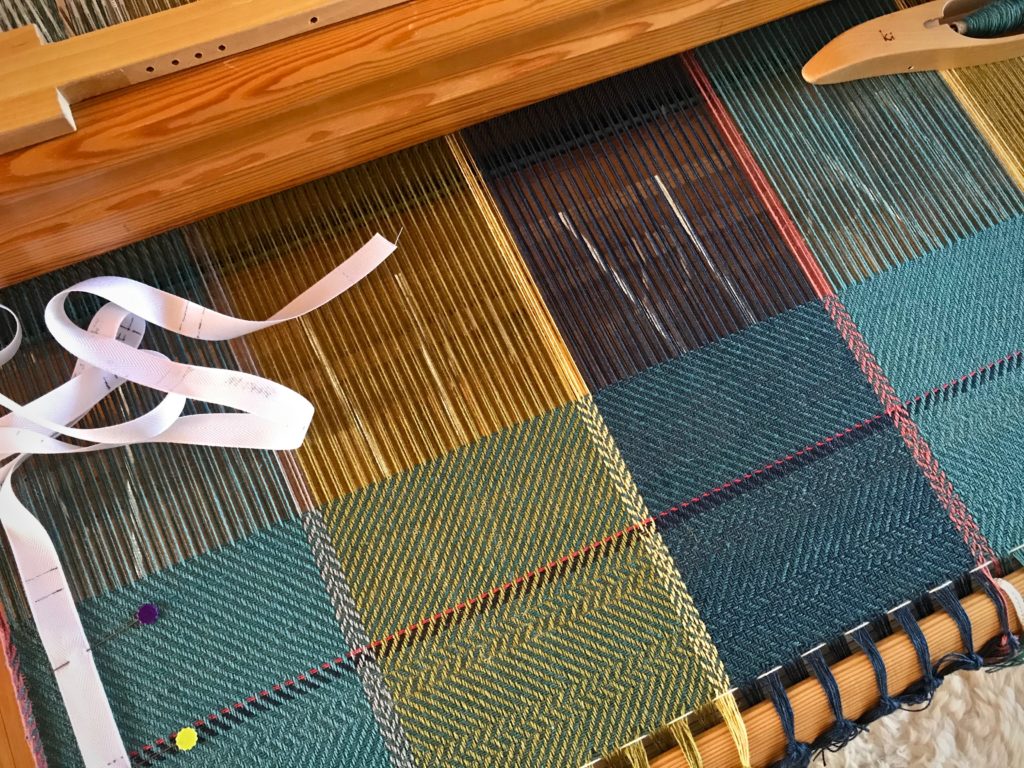
It is the smallest of details that set handwoven towels apart from ordinary towels. With that in mind, I am writing some detail notes in the margin of my project notes. Borders: Towel 1 – sea blue, apple green – contrast thread – ultramarine; Towel 2 – ultramarine, sea blue – contrast thread – maize; Towel 3 – apple green, ultramarine – contrast thread – sea blue; Towel 4 – dusty, sea blue – contrast thread – apple green.

Cottolin bath towels coming up!
Beaming the cottolin warp for bath towels.
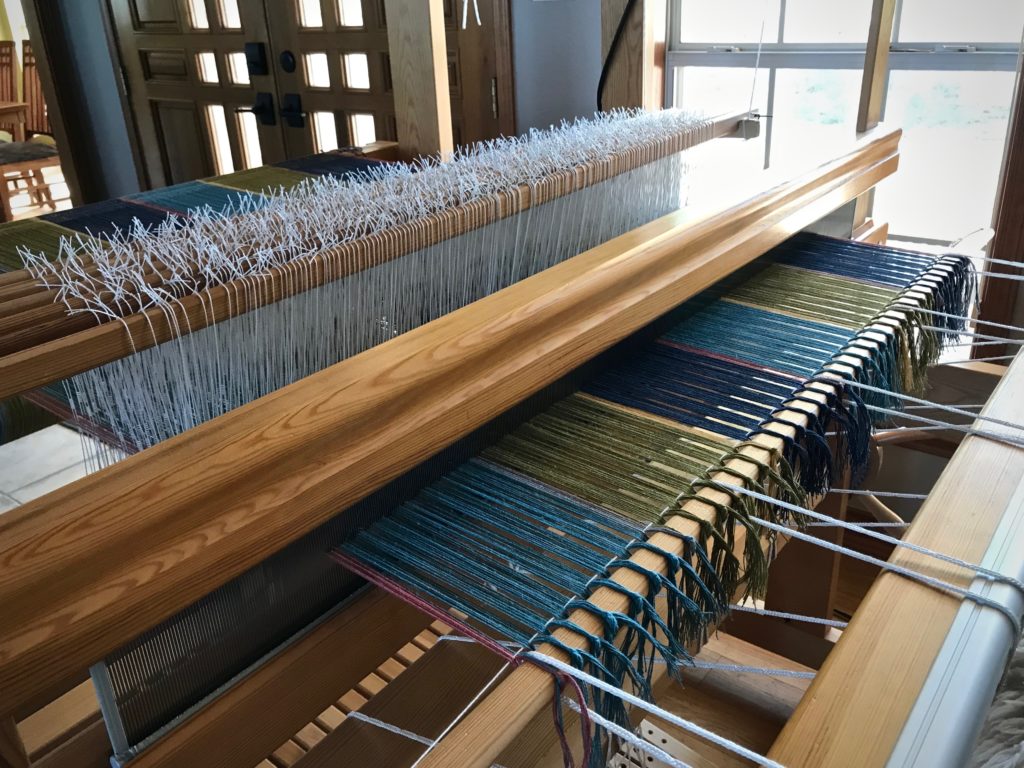
Warp is tied on and leveling string is attached.
Preparing to weave 7-color bath towels.
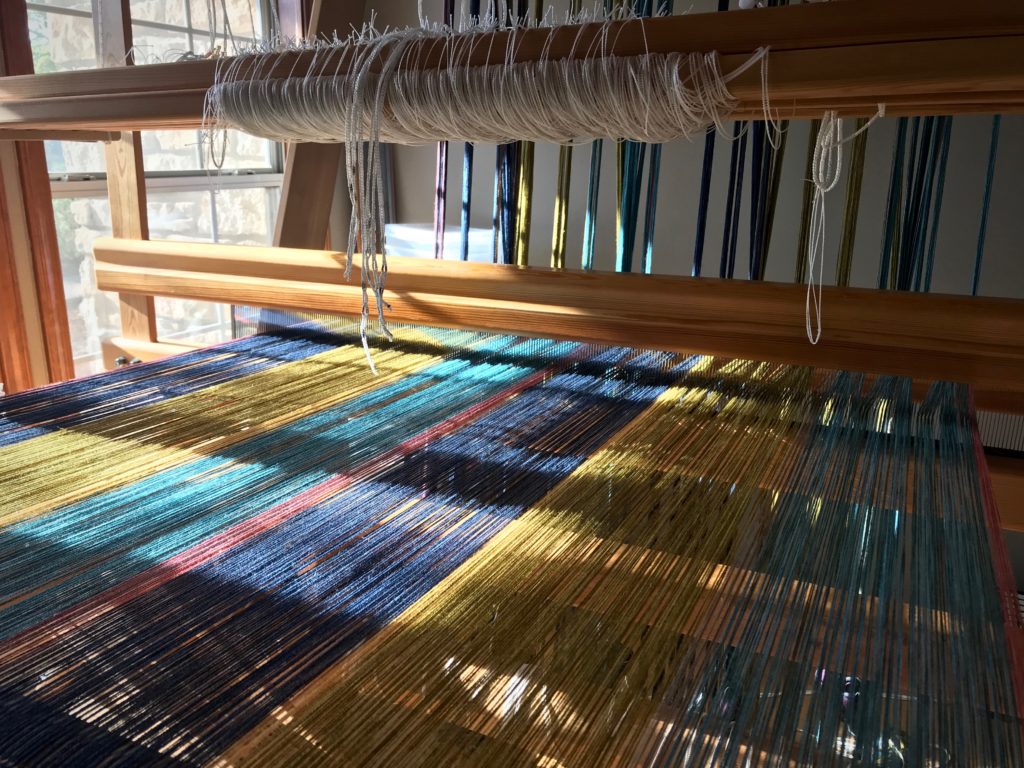
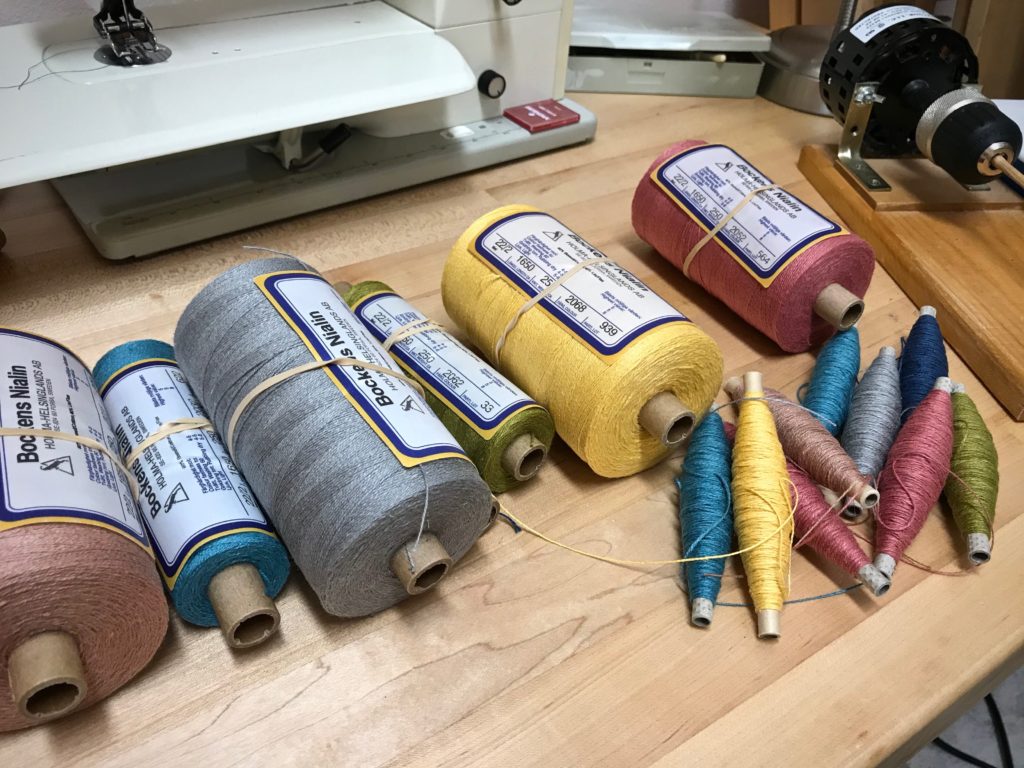
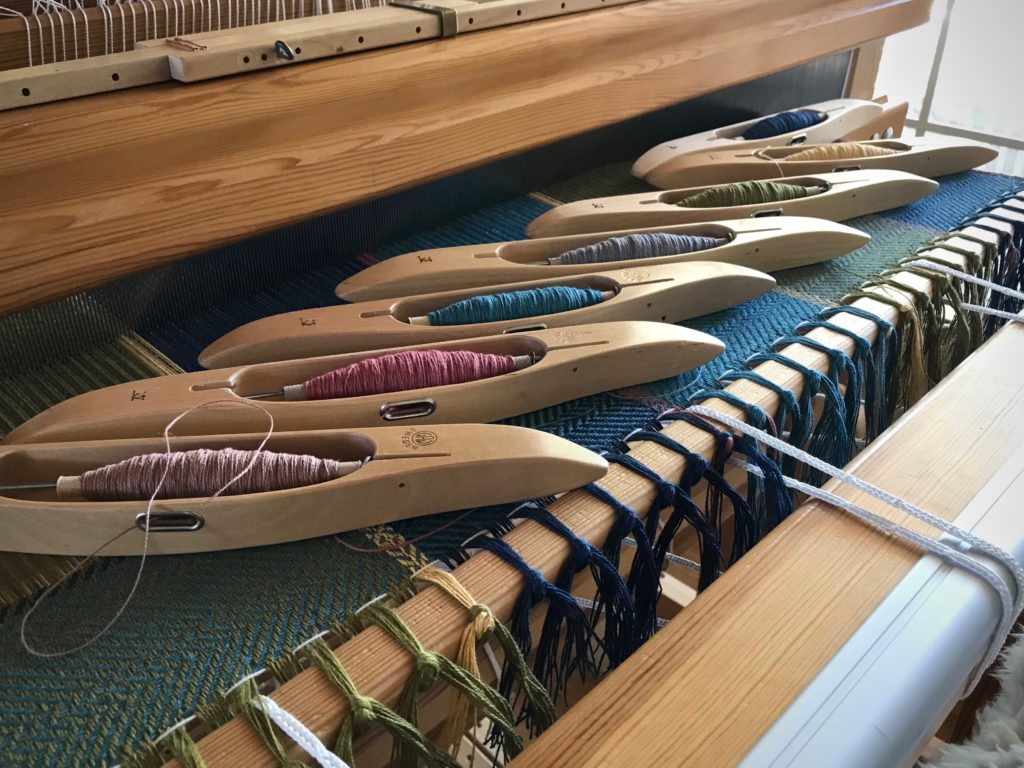
Seven different colors of wound quills. All seven colors are in each towel, warp and weft. The weft sequence varies with each towel.
Boat shuttles vie for the starting line, like in a regatta.
One boat shuttle for each color. This reminds me of sailing with my dad and my sisters. Boat captains would vie for the regatta starting line, shouting, “Starboard!”

There are seven colors of cottolin in the warp, and the same seven colors in the weft, just like the accompanying hand towels I completed in April. (See Process Review: Jubilation Hand Towels.) Narrow warp-wise and weft-wise stripes of broken twill produce interesting patterns in the cloth. The deep borders I am planning on the bath towels give me a chance to add simple details that only a handweaver can do.

White ribbon shows where to place details on the handwoven bath towel.
After weaving a short section to test the threading, I start the first towel. A red line, as always, denotes the cutting/starting line. I placed marks on the white ribbon at the left that show me where to place details along the length of the towel.
Simple handwoven details make all the difference.
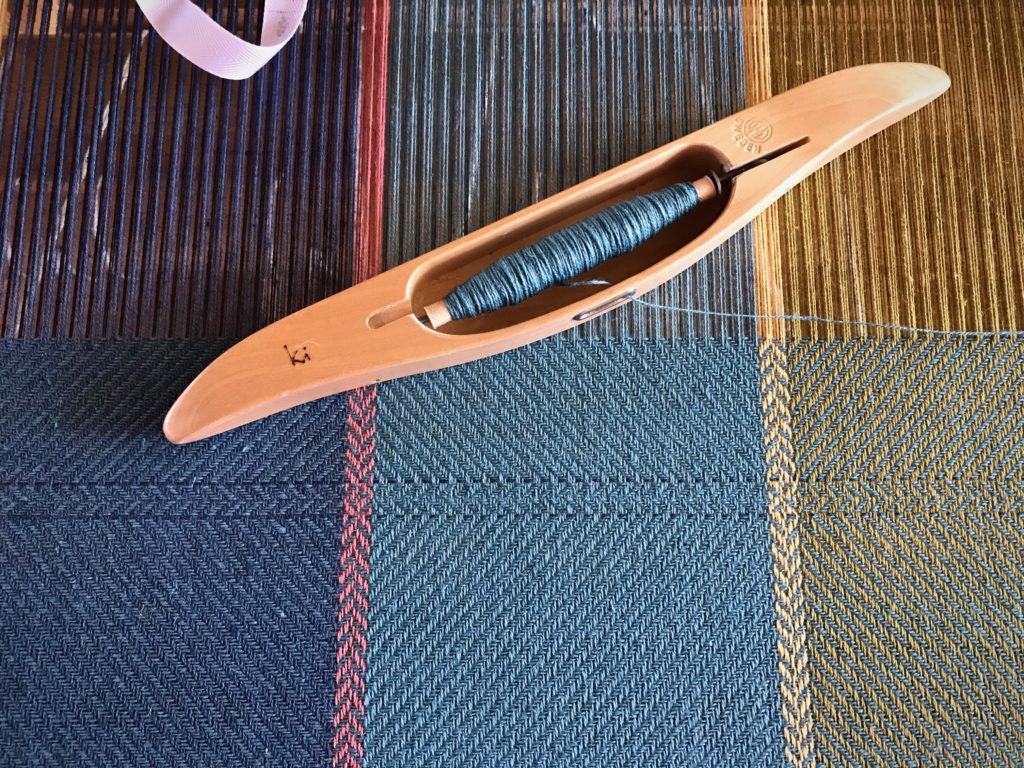
Single ultramarine thread is laid in with the sea blue to outline a change of treadling. A simple handwoven detail.

Have you ever identified a master craftsman by the specific details that show up in the hand-crafted article? In the same way, we can recognize our Maker’s hand through the magnificence of the details we see in each other. You are his masterpiece. Hand-written instructions guide the details. When we come to the Lord as our Maker and Redeemer, we find his hand-written details woven into our hearts, something only the Grand Weaver can do.

May you attend to the details.

Happy Weaving,
Karen