Process Review: Christmas Tree Skirt Fabric

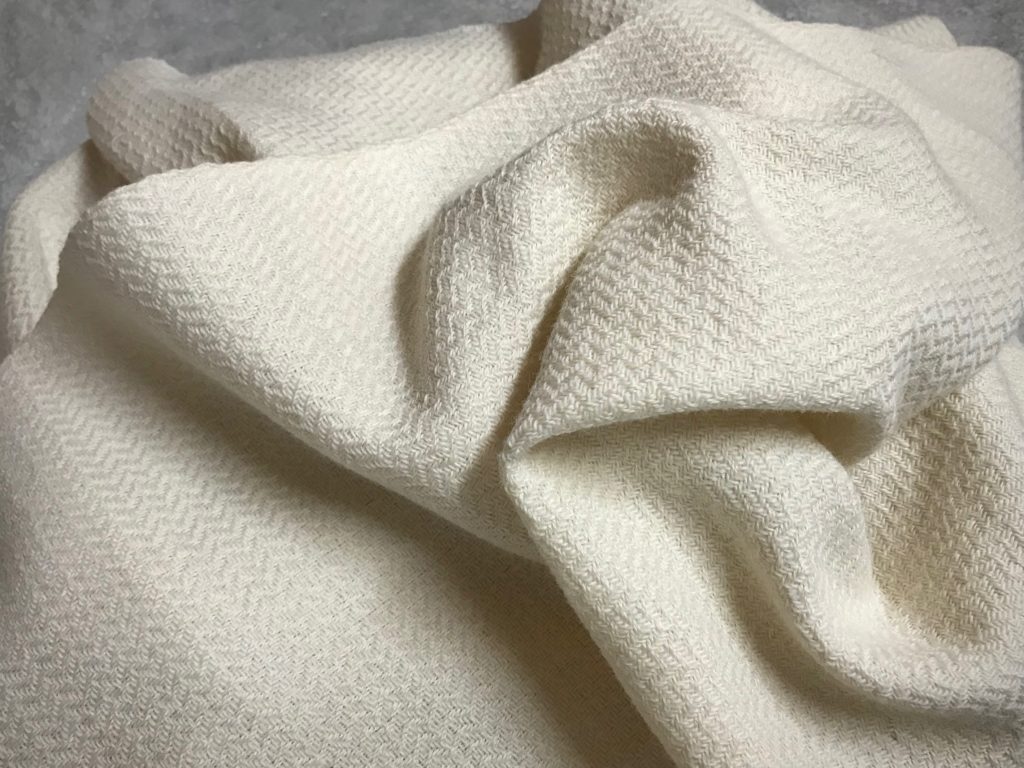
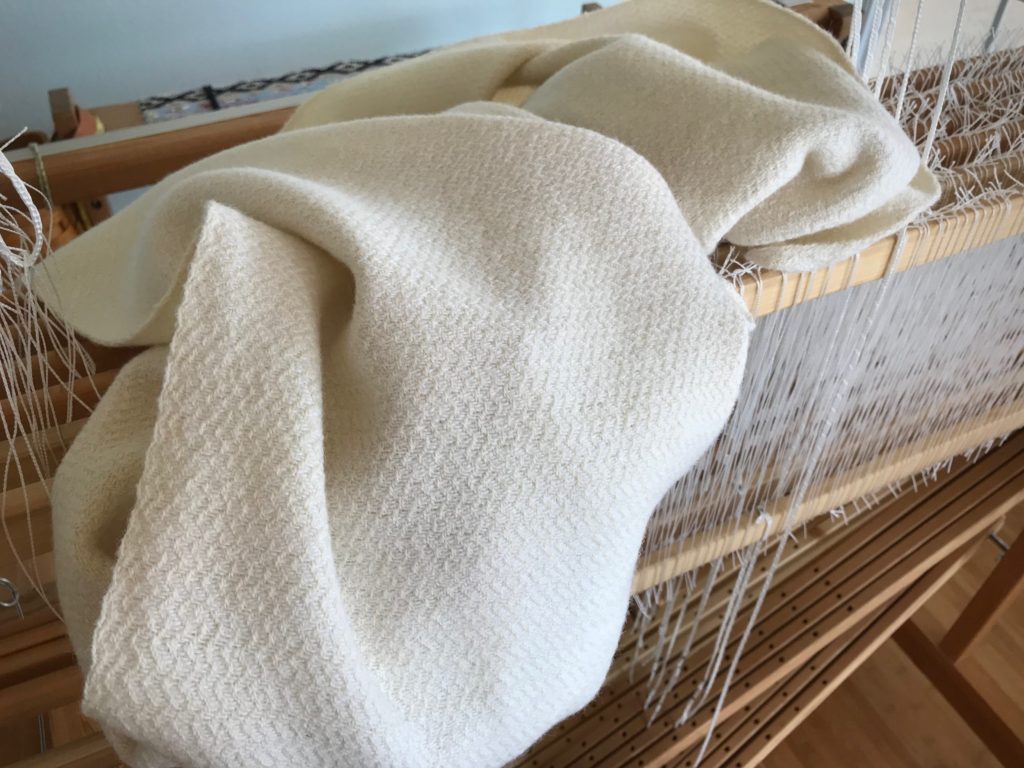
This is a Christmas tree skirt in the making. The next stage of this special project will include appliqué and embroidery. The embellished tree skirt should be complete by the time Steve and I put up our Christmas tree this year. This luscious white-on-white wool cloth is just the beginning. Some colorful handwoven remnants will tell the rest of the story. I’ll let you know when that part is finished…

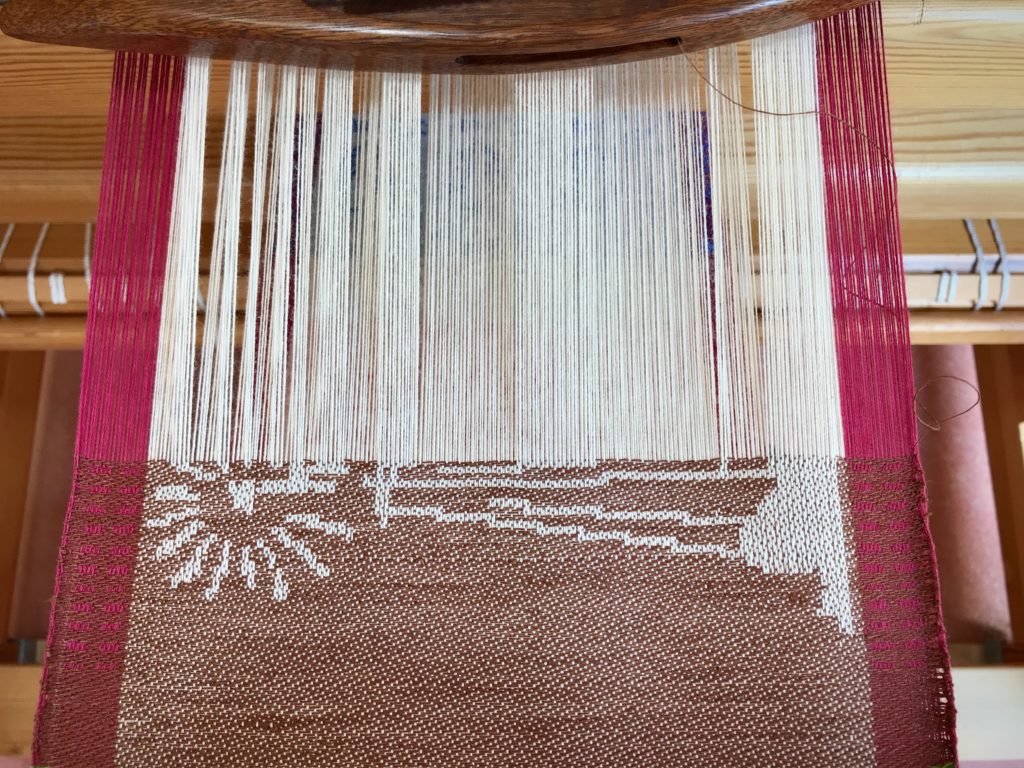
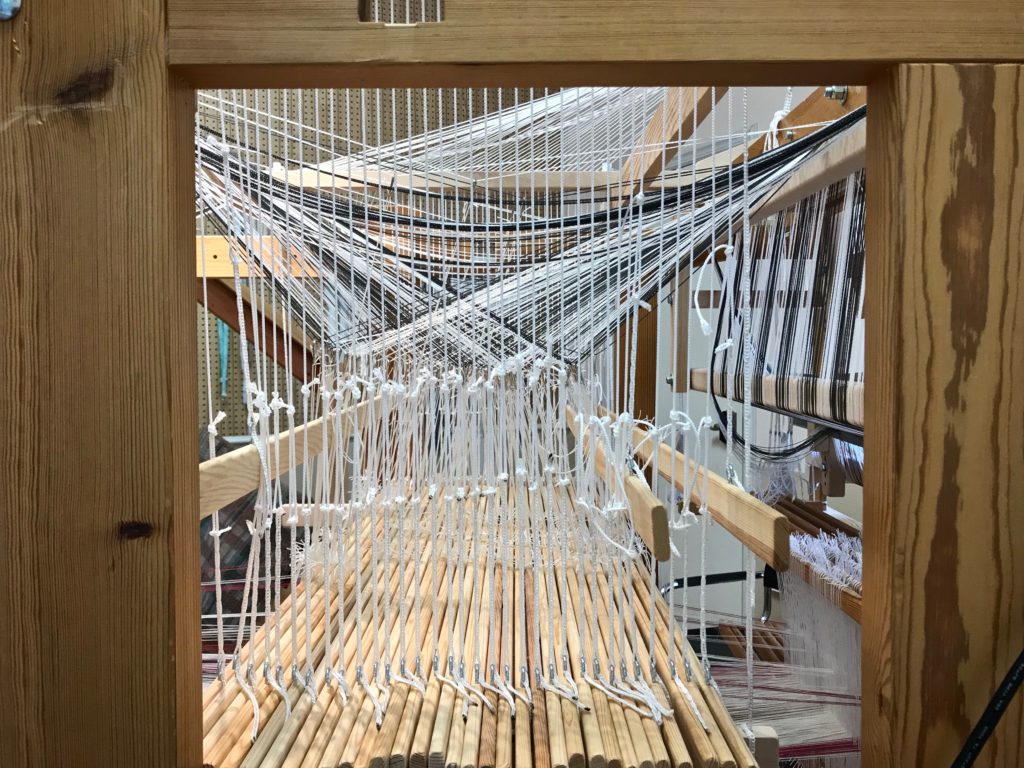
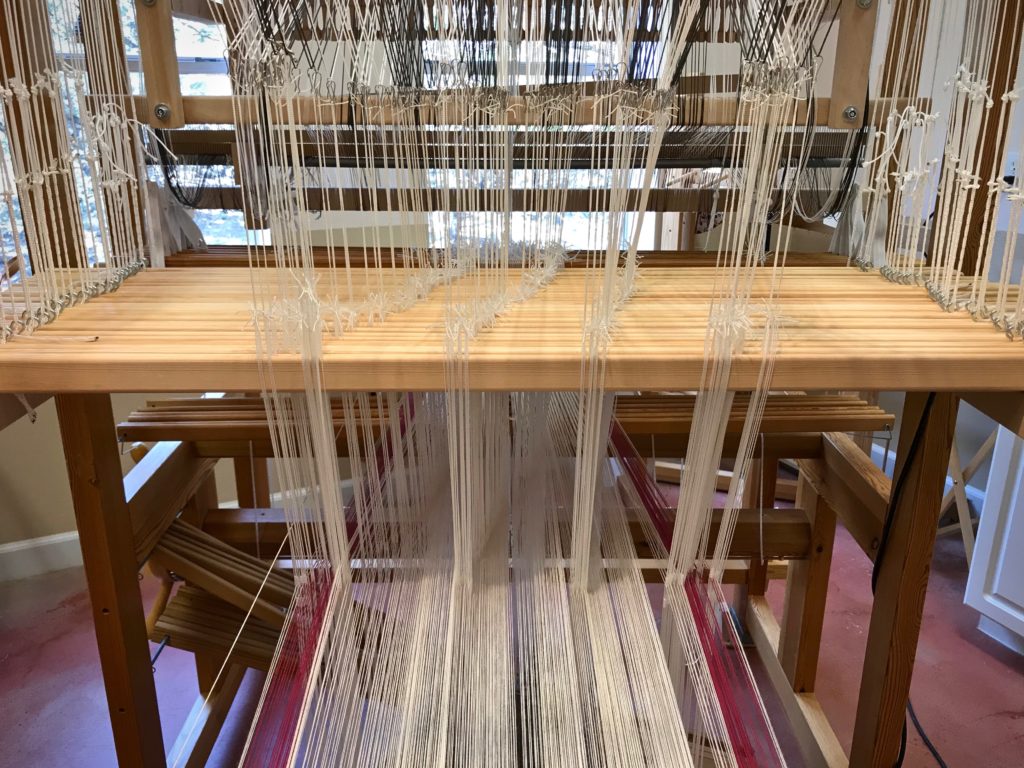
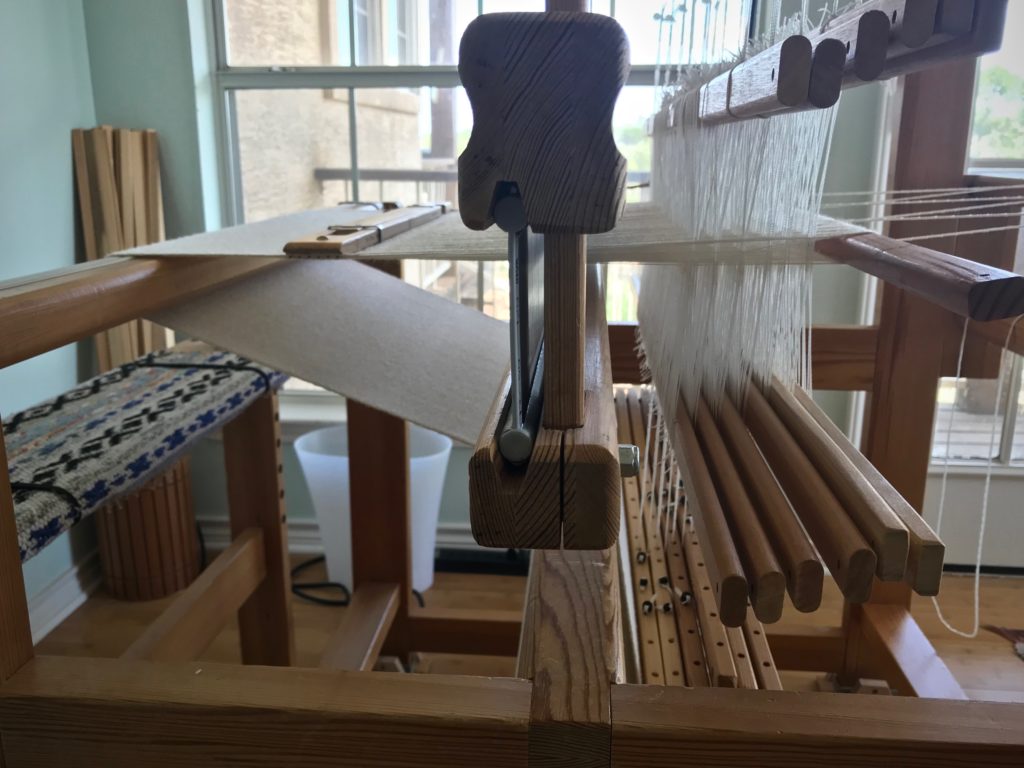
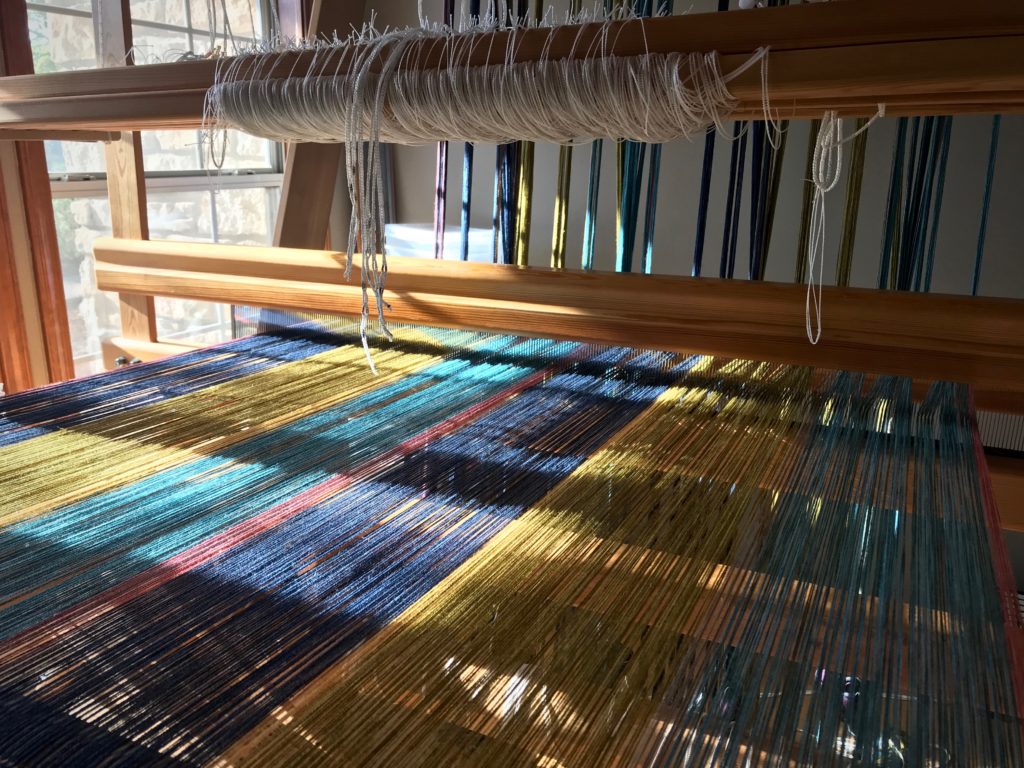
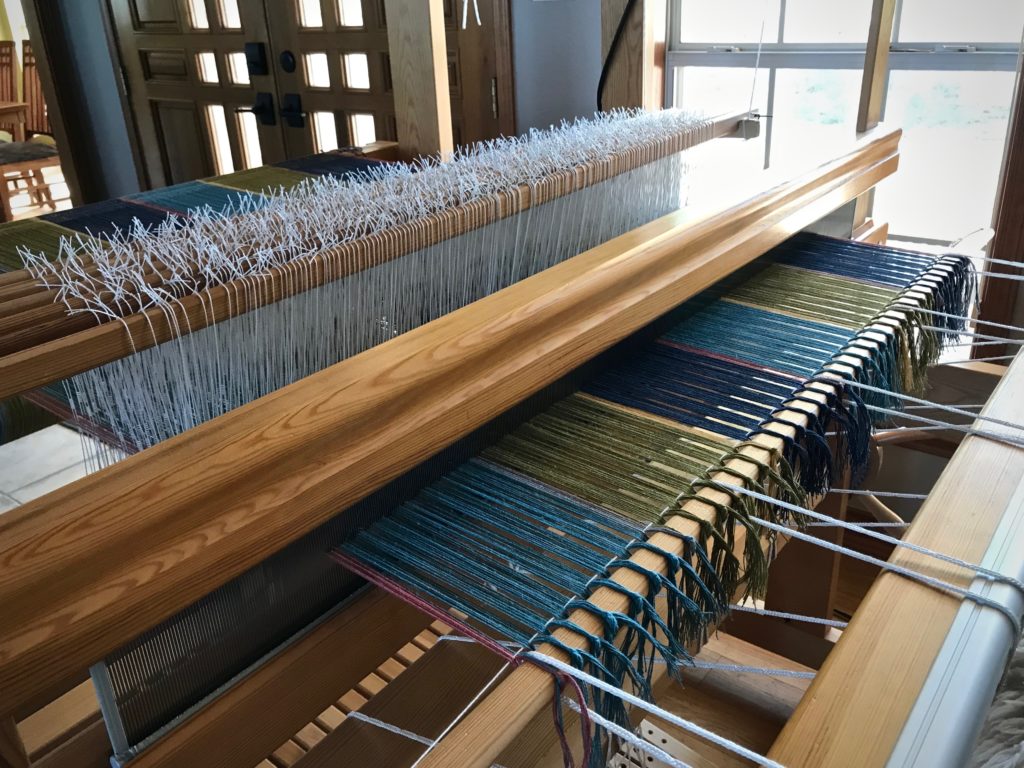
At the very end, with the back tie-on bar right behind the shafts.
Back tie-on bar is right behind the shaft bars. The shed is compromised, but I am still able to squeeze my shuttle through to weave enough picks to empty my quill.
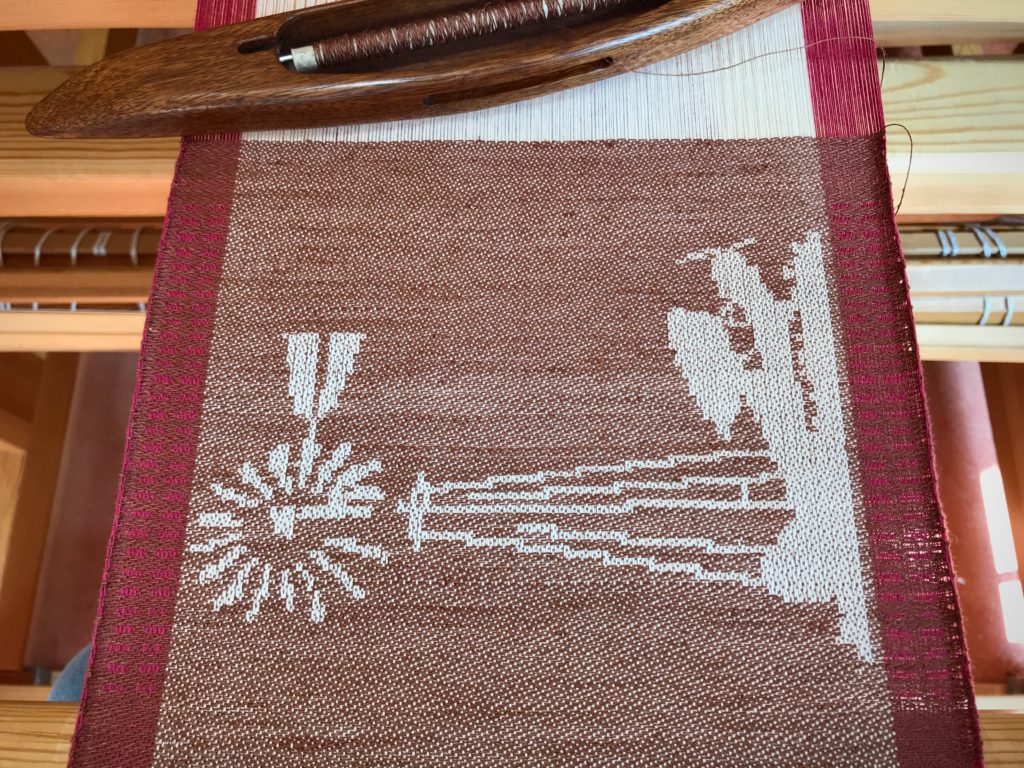
Just off the loom, unwashed handwoven wool fabric.
Just off the loom, unwashed. 8/1 Möbelåtta unbleached wool warp and 6/1 Fårö bleached wool weft.

I thoroughly enjoyed the one-shuttle monotone weaving. It was a quiet stream amid my other rambunctious color-filled looms.

Handwoven fabric for a Christmas tree skirt.
Wash on delicate cycle in the washing machine. Place in dryer on low heat for ten minutes. Air dry to finish. Snuggle.

Here’s a view into the process of making this cloth.

May your days be merry and bright…

Happy early Christmas,
Karen

Handwoven Detail Notes

It is the smallest of details that set handwoven towels apart from ordinary towels. With that in mind, I am writing some detail notes in the margin of my project notes. Borders: Towel 1 – sea blue, apple green – contrast thread – ultramarine; Towel 2 – ultramarine, sea blue – contrast thread – maize; Towel 3 – apple green, ultramarine – contrast thread – sea blue; Towel 4 – dusty, sea blue – contrast thread – apple green.

Cottolin bath towels coming up!
Beaming the cottolin warp for bath towels.
Warp is tied on and leveling string is attached.
Preparing to weave 7-color bath towels.
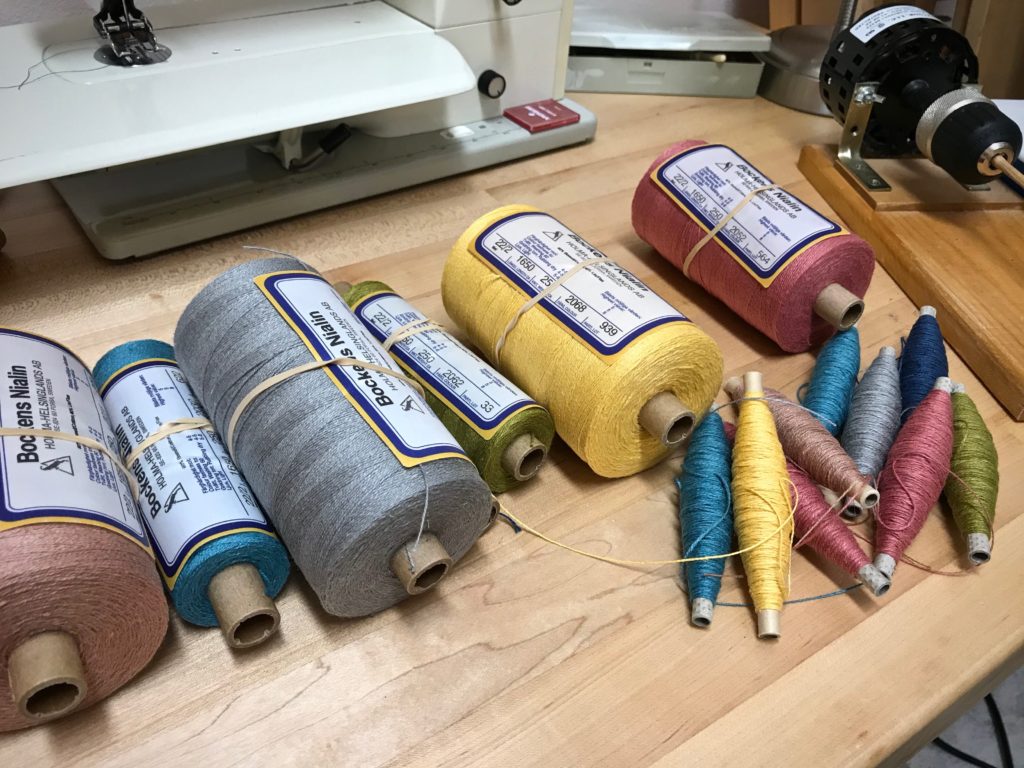
Seven different colors of wound quills. All seven colors are in each towel, warp and weft. The weft sequence varies with each towel.
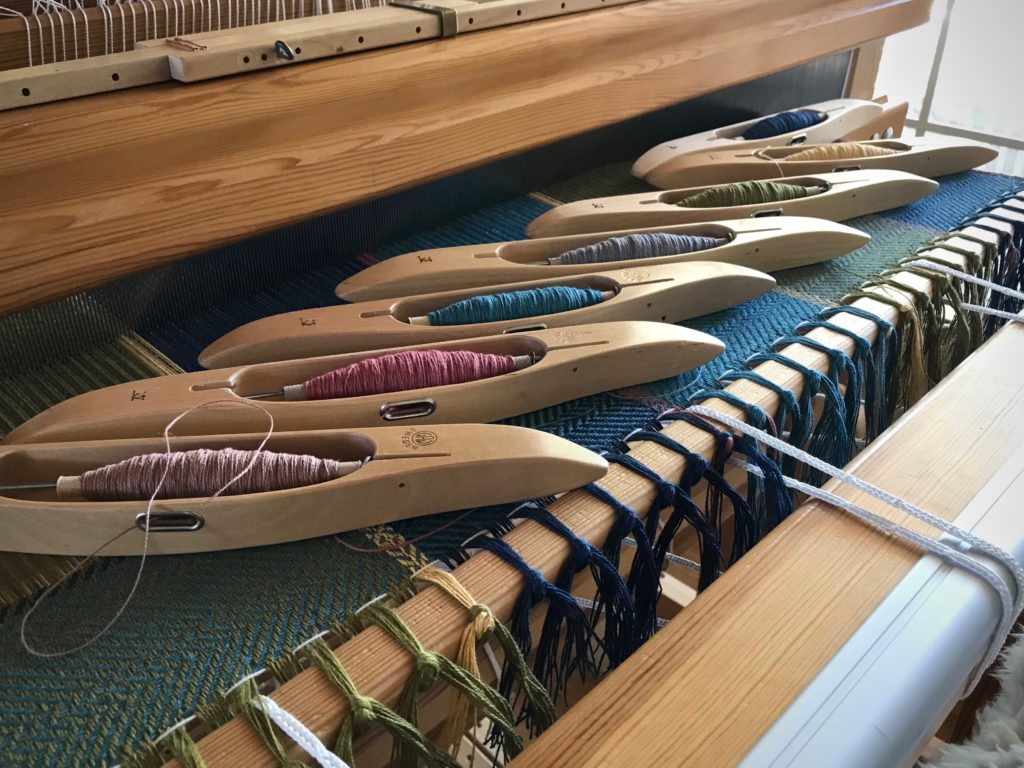
Boat shuttles vie for the starting line, like in a regatta.
One boat shuttle for each color. This reminds me of sailing with my dad and my sisters. Boat captains would vie for the regatta starting line, shouting, “Starboard!”

There are seven colors of cottolin in the warp, and the same seven colors in the weft, just like the accompanying hand towels I completed in April. (See Process Review: Jubilation Hand Towels.) Narrow warp-wise and weft-wise stripes of broken twill produce interesting patterns in the cloth. The deep borders I am planning on the bath towels give me a chance to add simple details that only a handweaver can do.

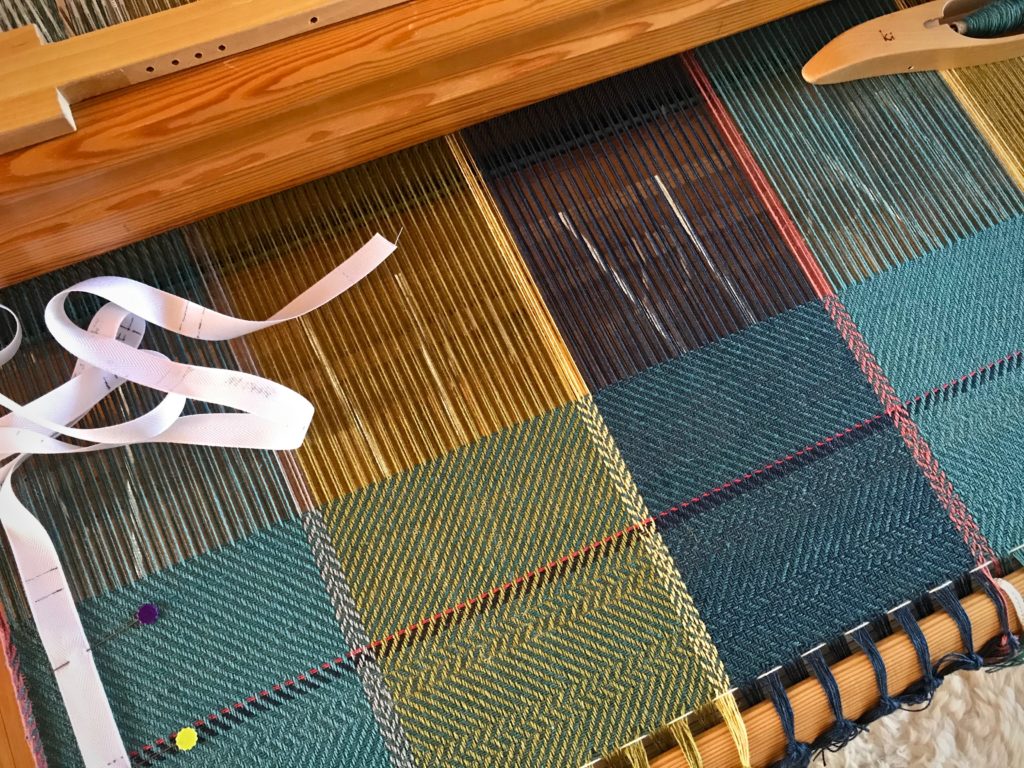
White ribbon shows where to place details on the handwoven bath towel.
After weaving a short section to test the threading, I start the first towel. A red line, as always, denotes the cutting/starting line. I placed marks on the white ribbon at the left that show me where to place details along the length of the towel.
Simple handwoven details make all the difference.
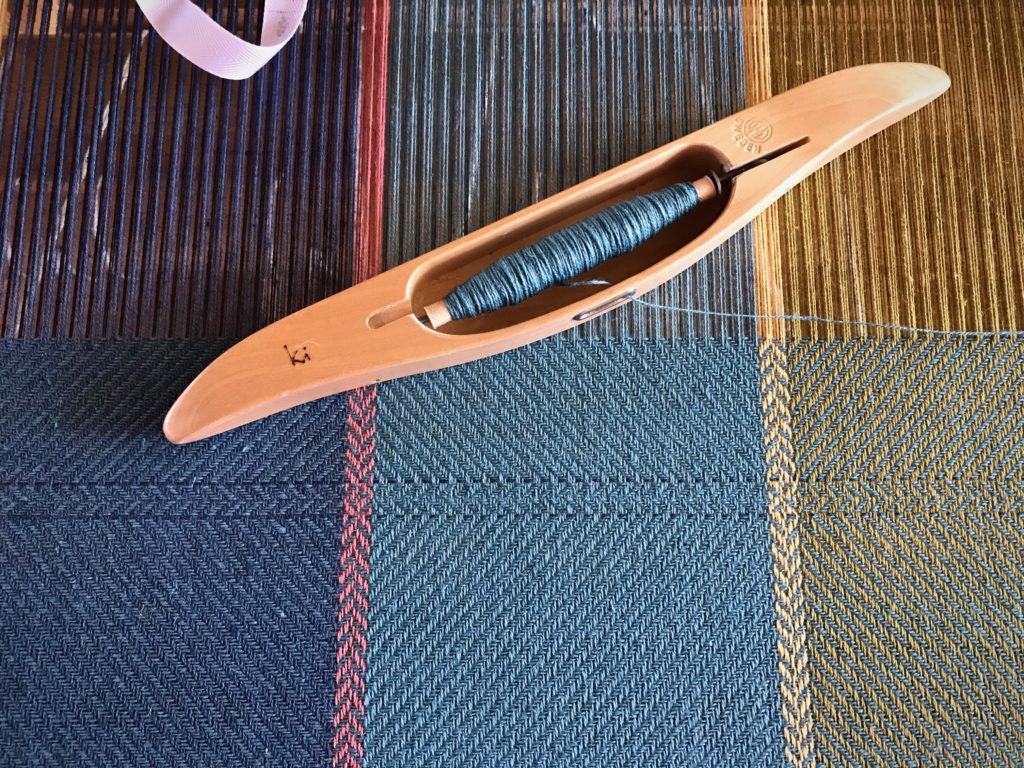
Single ultramarine thread is laid in with the sea blue to outline a change of treadling. A simple handwoven detail.

Have you ever identified a master craftsman by the specific details that show up in the hand-crafted article? In the same way, we can recognize our Maker’s hand through the magnificence of the details we see in each other. You are his masterpiece. Hand-written instructions guide the details. When we come to the Lord as our Maker and Redeemer, we find his hand-written details woven into our hearts, something only the Grand Weaver can do.

May you attend to the details.

Happy Weaving,
Karen

Tried and True: Checklist for Winding a Warp

I am winding a narrow warp for my next drawloom project. My warping reel is in a little four-foot-by-four-foot corner of my drawloom studio, and has just enough room to maneuver. When I am ready to wind a warp the first thing I pull out is my trusty checklist. I use a checklist for efficiency. It keeps me on track. And it’s more dependable than my memory.

Checklist for Winding a Warp

__ Weigh warp thread and write the amounts on the project notes. By weighing the thread before and after a project, you will know exactly how much warp thread was used in the project.

__ Stick a sample four-inch thread to each thread label; put a rubber band around the tube. After you finish winding the warp, you can quickly pair each yarn with its correct label because of the sample thread stuck to the label.

__ Bring supplies to the warping reel. If your warping reel is in a different room, or in a separate building, like mine is, make sure you have all you need before you head to the warping reel.

+ Thread for the project

+ Thread stand, if not already in place

+ Scissors

+ Choke ties

+ Project notes, with fully completed draftAn incomplete draft may give faulty information. Also, a review of the project notes and draft is a good idea, especially if weeks or months have passed since you wrote it all down.

Checklist for winding a warp.

__ Set up the warping reel for warp length. Use a guide string, or measure the distance needed to place the pegs and turning pin at the right place on the warping reel for the warp you are going to wind.

Checklist for winding a warp.

__ Set out the thread on the thread stand. Wind the warp with two or more threads at the same time, for best results.

__ Hang or tape up the project notes at eye level. Project notes show the warp sequence and other vital information.

__ Take note of warp length, number of bouts, and number of ends in each bout. Aim for 25 cm (10”) or less in the reed, or 200 or fewer ends, per bout. For the drawloom, wind the warp in pattern unit increments when possible.

Checklist for winding a warp.

__ Wind first bout, counting warp ends. Use a cord between groups of ends to keep track of the counting.

Checklist for winding a warp.

__ Visually check the warp order. Check to see that the warp order on the warping reel matches the warp sequence on the project notes. (I added this step to my checklist after the time I omitted 6 threads at the center of a warp, discovered after threading the loom.)

__ Tie off around the turning pin or the outside peg. Always wind the last pass with two or more threads together so you can tie them around the pin or peg.

__ Tie the lease cross; and tie choke ties on the warp. Tie the cross first, and tie any passes of the warp directly above the cross. Then, spin the wheel and tie the warp wherever it passes on the side opposite the cross. Also tie at the turning pin, at the top and bottom of the loop.

Checklist for winding a warp.

__ Chain the warp bout. Start the chain by holding the loop at the turning pin, and pull out the pin. Chain the warp, ending at the cross. (I use my knee, not so gracefully, to control the turning of the reel as I chain the warp.)

Checklist for winding a warp.

__ Place the warp bout on the loom, with the lease cross end going through the beater.

__ Wind remaining bouts, following the same procedure. When you place the warp chain on the loom double check the warp sequence to make sure the bouts are in the right order.

Checklist for winding a warp.

__ Roll up the thread tubes, replace labels, weigh thread and write down amounts, and place thread tubes in project bin. Each loom has its own project bin to hold the thread for that project.

Checklist for winding a warp.

__ Put away the choke ties, scissors, and thread holder.

__ Fold up the warping reel.

Checklist for winding a warp.

Get ready to dress the loom!

Checklist for winding a warp.

May you enjoy the process.

Happy Weaving,
Karen

Mug Rugs to Remember

Knowing I would be away from my floor looms for a while, I put a narrow cottolin warp on my little Emilia rigid heddle loom to take with me. Mug rugs—perfect for travel weaving, to use bits of time here and there. I had some bulky wool yarn and a few rag rug fabric strips to take for weft. In a burst of hopeful inspiration, I grabbed a bag of Tuna/Fårö wool butterflies, leftover from my Lizard tapestry (see Quiet Friday: Lizard Tapestry) a couple years ago, and tossed it in my travel bag as we were going out the door.

Mug rugs on Glimåkra Emilia rigid heddle loom.
Glimåkra Emilia 35cm (13.5″) rigid heddle loom. Narrow cottolin warp is from a previous warp-winding error that I had chained off and saved.
Mug rugs on my Glimakra Emilia rigid heddle loom.
Blue bulky wool yarn left from a long-ago project makes a good thick weft for mug rugs. Picks of navy blue tow linen are woven between picks of thick weft on some of the mug rugs.
Weaving mug rugs on my Glimakra Emilia rigid heddle loom.
Wool butterflies for the weft are made of several strands of Tuna and Fårö yarn.

Those colorful wool butterflies turned out to be my favorite element! They not only gave me colors to play with, they also provided variety, the spice of weaving. The forgotten Lizard butterflies will now be remembered as useful and pretty textiles.

30 mug rugs on the rigid heddle loom.
The end of the warp.
Mug rugs just off the rigid heddle loom.
Rag rugs for mugs!
Rag rug fabric strips are used for a few of the mug rugs. Rag rugs for mugs!
Mug rugs ready to be hemmed.
Mug rugs are cut apart to prepare for hemming.
Making handwoven mug rugs.
Hems have been folded and pressed under. Choosing bobbin colors to sew the hems.
Wool handwoven coasters.
Wool butterflies provided many different colors.
Handwoven wool coasters woven on a rigid heddle loom.
Alternating two different colors of wool butterflies was my favorite way to play with color.
Mug rugs for gifts.
Completed mug rugs, ready to be sent out as gifts.

How do you want to be remembered? Like my tapestry-specific butterflies put away on a shelf, our carefully-crafted words will soon be forgotten. Actions speak longer than words. Our deeds of faithful love will outlive us. Our actions that reveal the kindness of our Savior will stand the test of time. And that is a good way to be remembered.

Coffee or tea, anyone? Handwoven mug rug.
Coffee or tea, anyone?

May you be remembered for your deeds of faithful love.

Happy Weaving,
Karen

Process Review: Drawloom Weaving without Errors

I found a way to practically eliminate draw cord errors on the single-unit drawloom. After making one too many mistakes while weaving this rag rug, I resolved to find a solution. True, I will still make mistakes, but now I expect them to be few and far between. (To view the first rag rug on this warp, see Stony Creek Drawloom Rag Rug.)

My most frequent error is having a draw cord out of place, either pulled where it shouldn’t be, or not pulled where it should be. And then, I fail to see the mistake in the cloth until I have woven several rows beyond it. I determined to find a way to eliminate this kind of error. (For an example of this kind of error, see Handweaving Dilemma.)

Test 1. Double check my work. Pull all the needed draw cords for one row and then double check all the pulled cords.
Results: This bogs me down. And I still fail to catch errors.

Test 2. Double check my work little by little. Treat every twenty draw cords as a section—ten white cords and ten black cords. Pull the cords in the first section. Double check. Pull the cords in the next section. Double check. And so on all the way across…
Results: Easy to do. I quickly catch and correct errors.

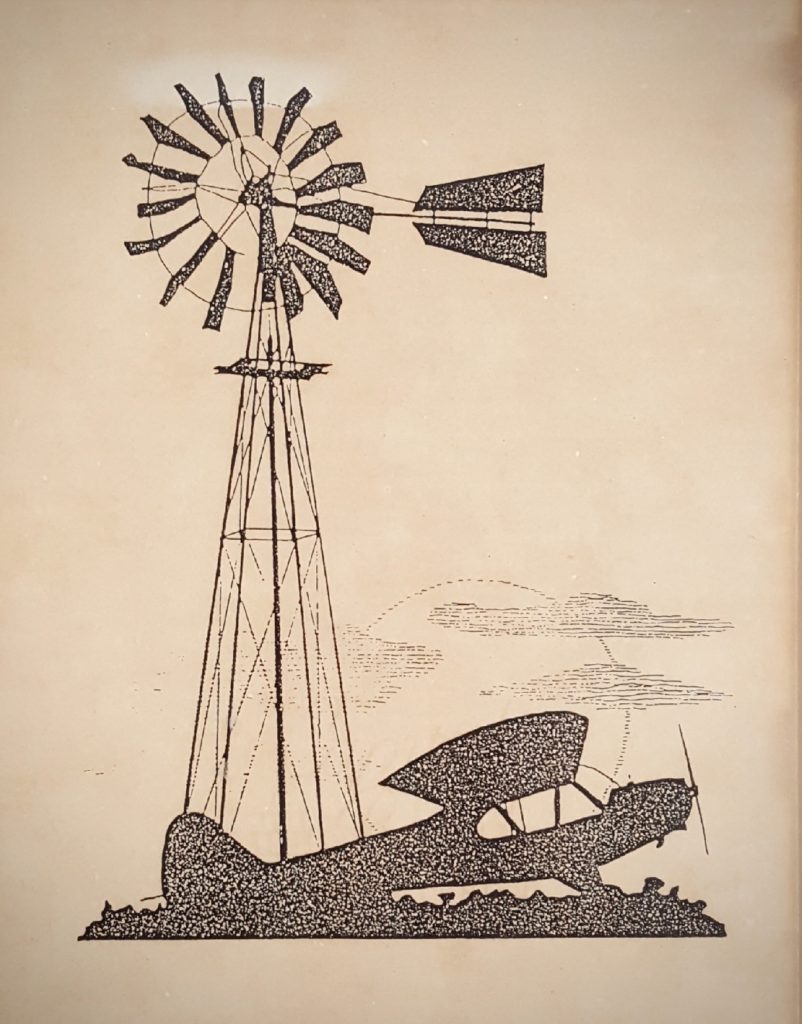
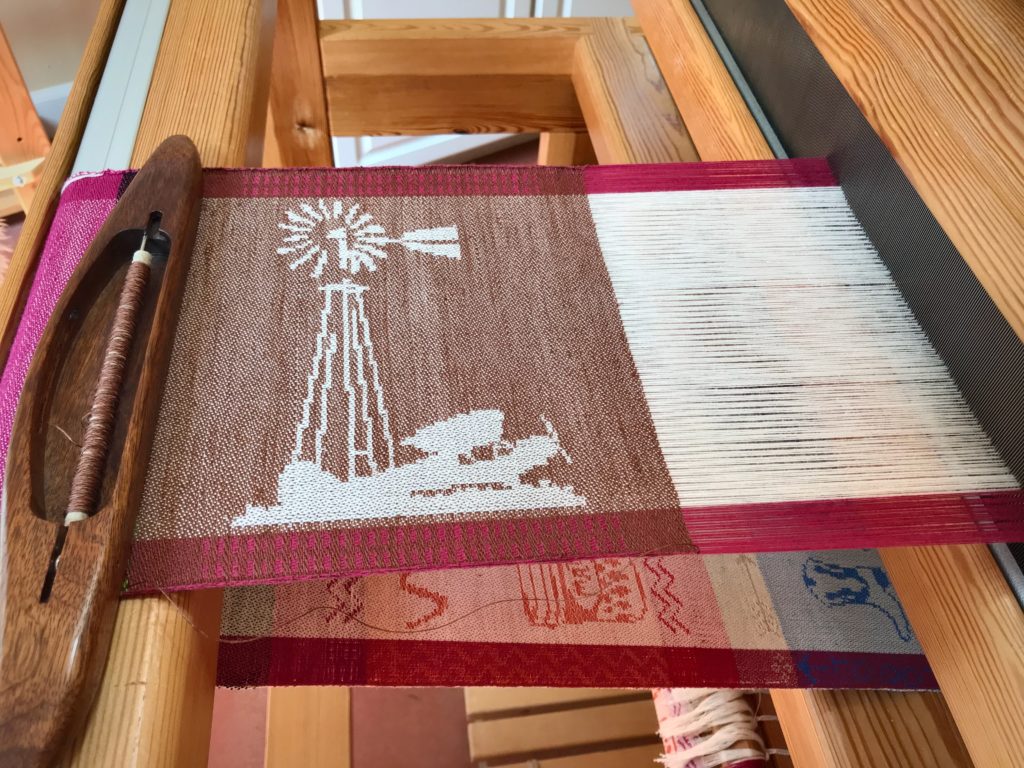
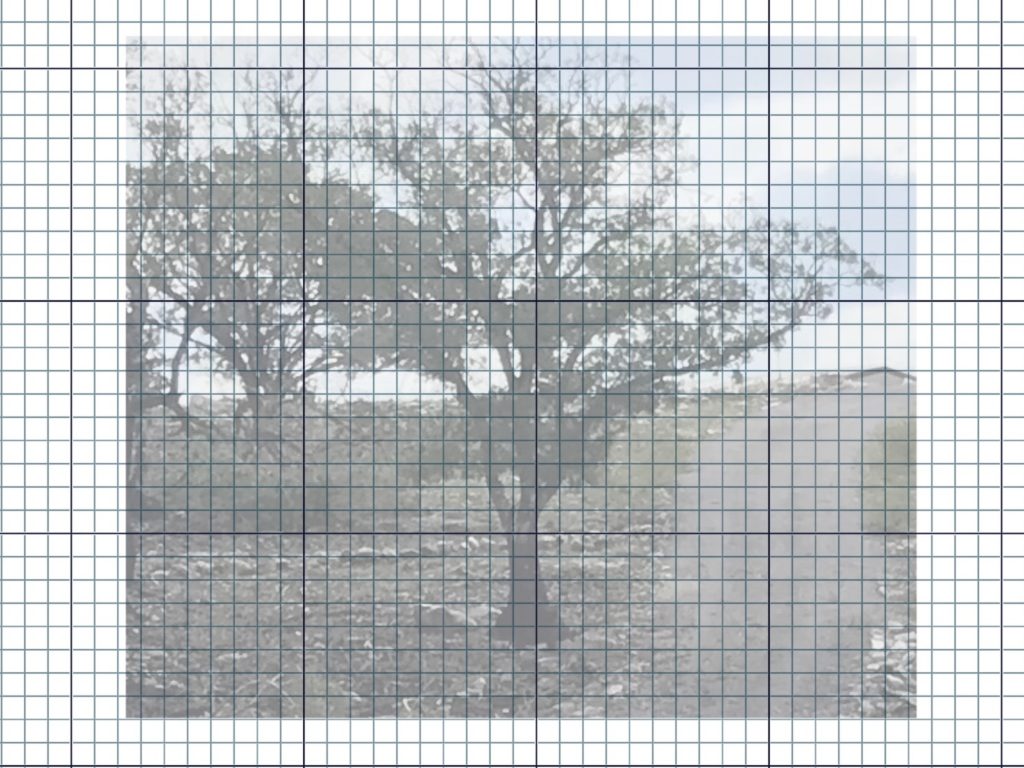
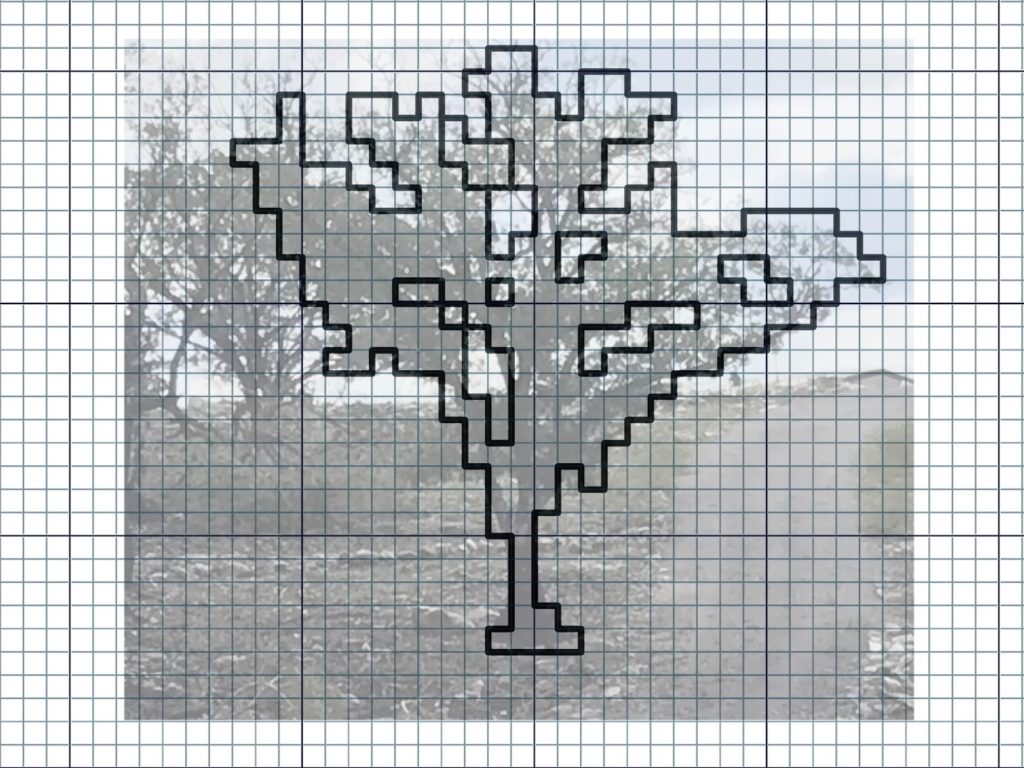
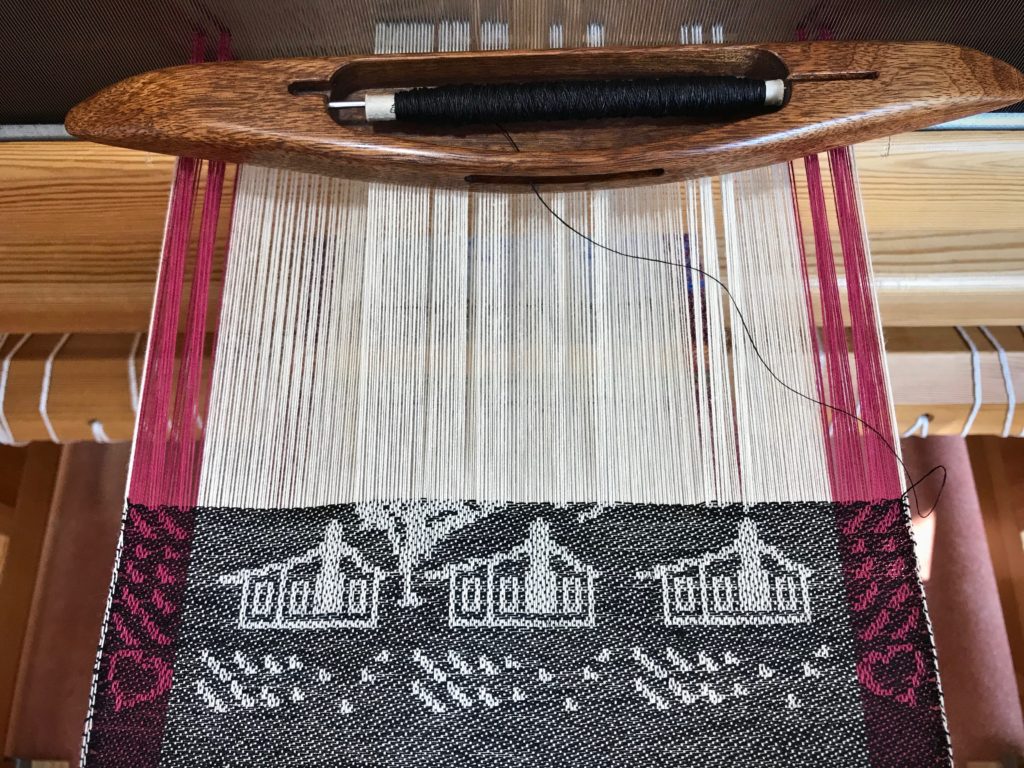
Now, I am implementing this incremental method of double checking my work on the little bit of warp that remains. With a Happily-Ever-After ending, the short Lost Valley piece is completed with NO draw cord errors! (Lost Valley is the name we’ve given our Texas Hill Country home.)

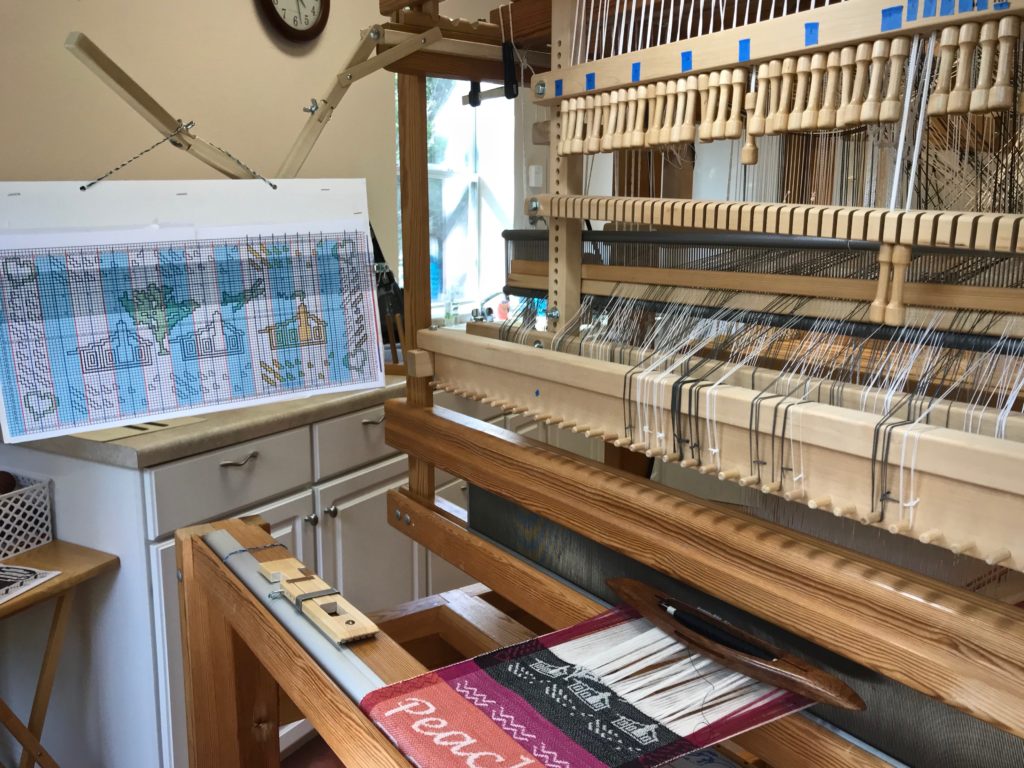
Woven Rag Rug and Lost Valley process in pictures:

May you learn from experience.

Happy Weaving,
Karen