Process Review: Jubilation Bath Towels

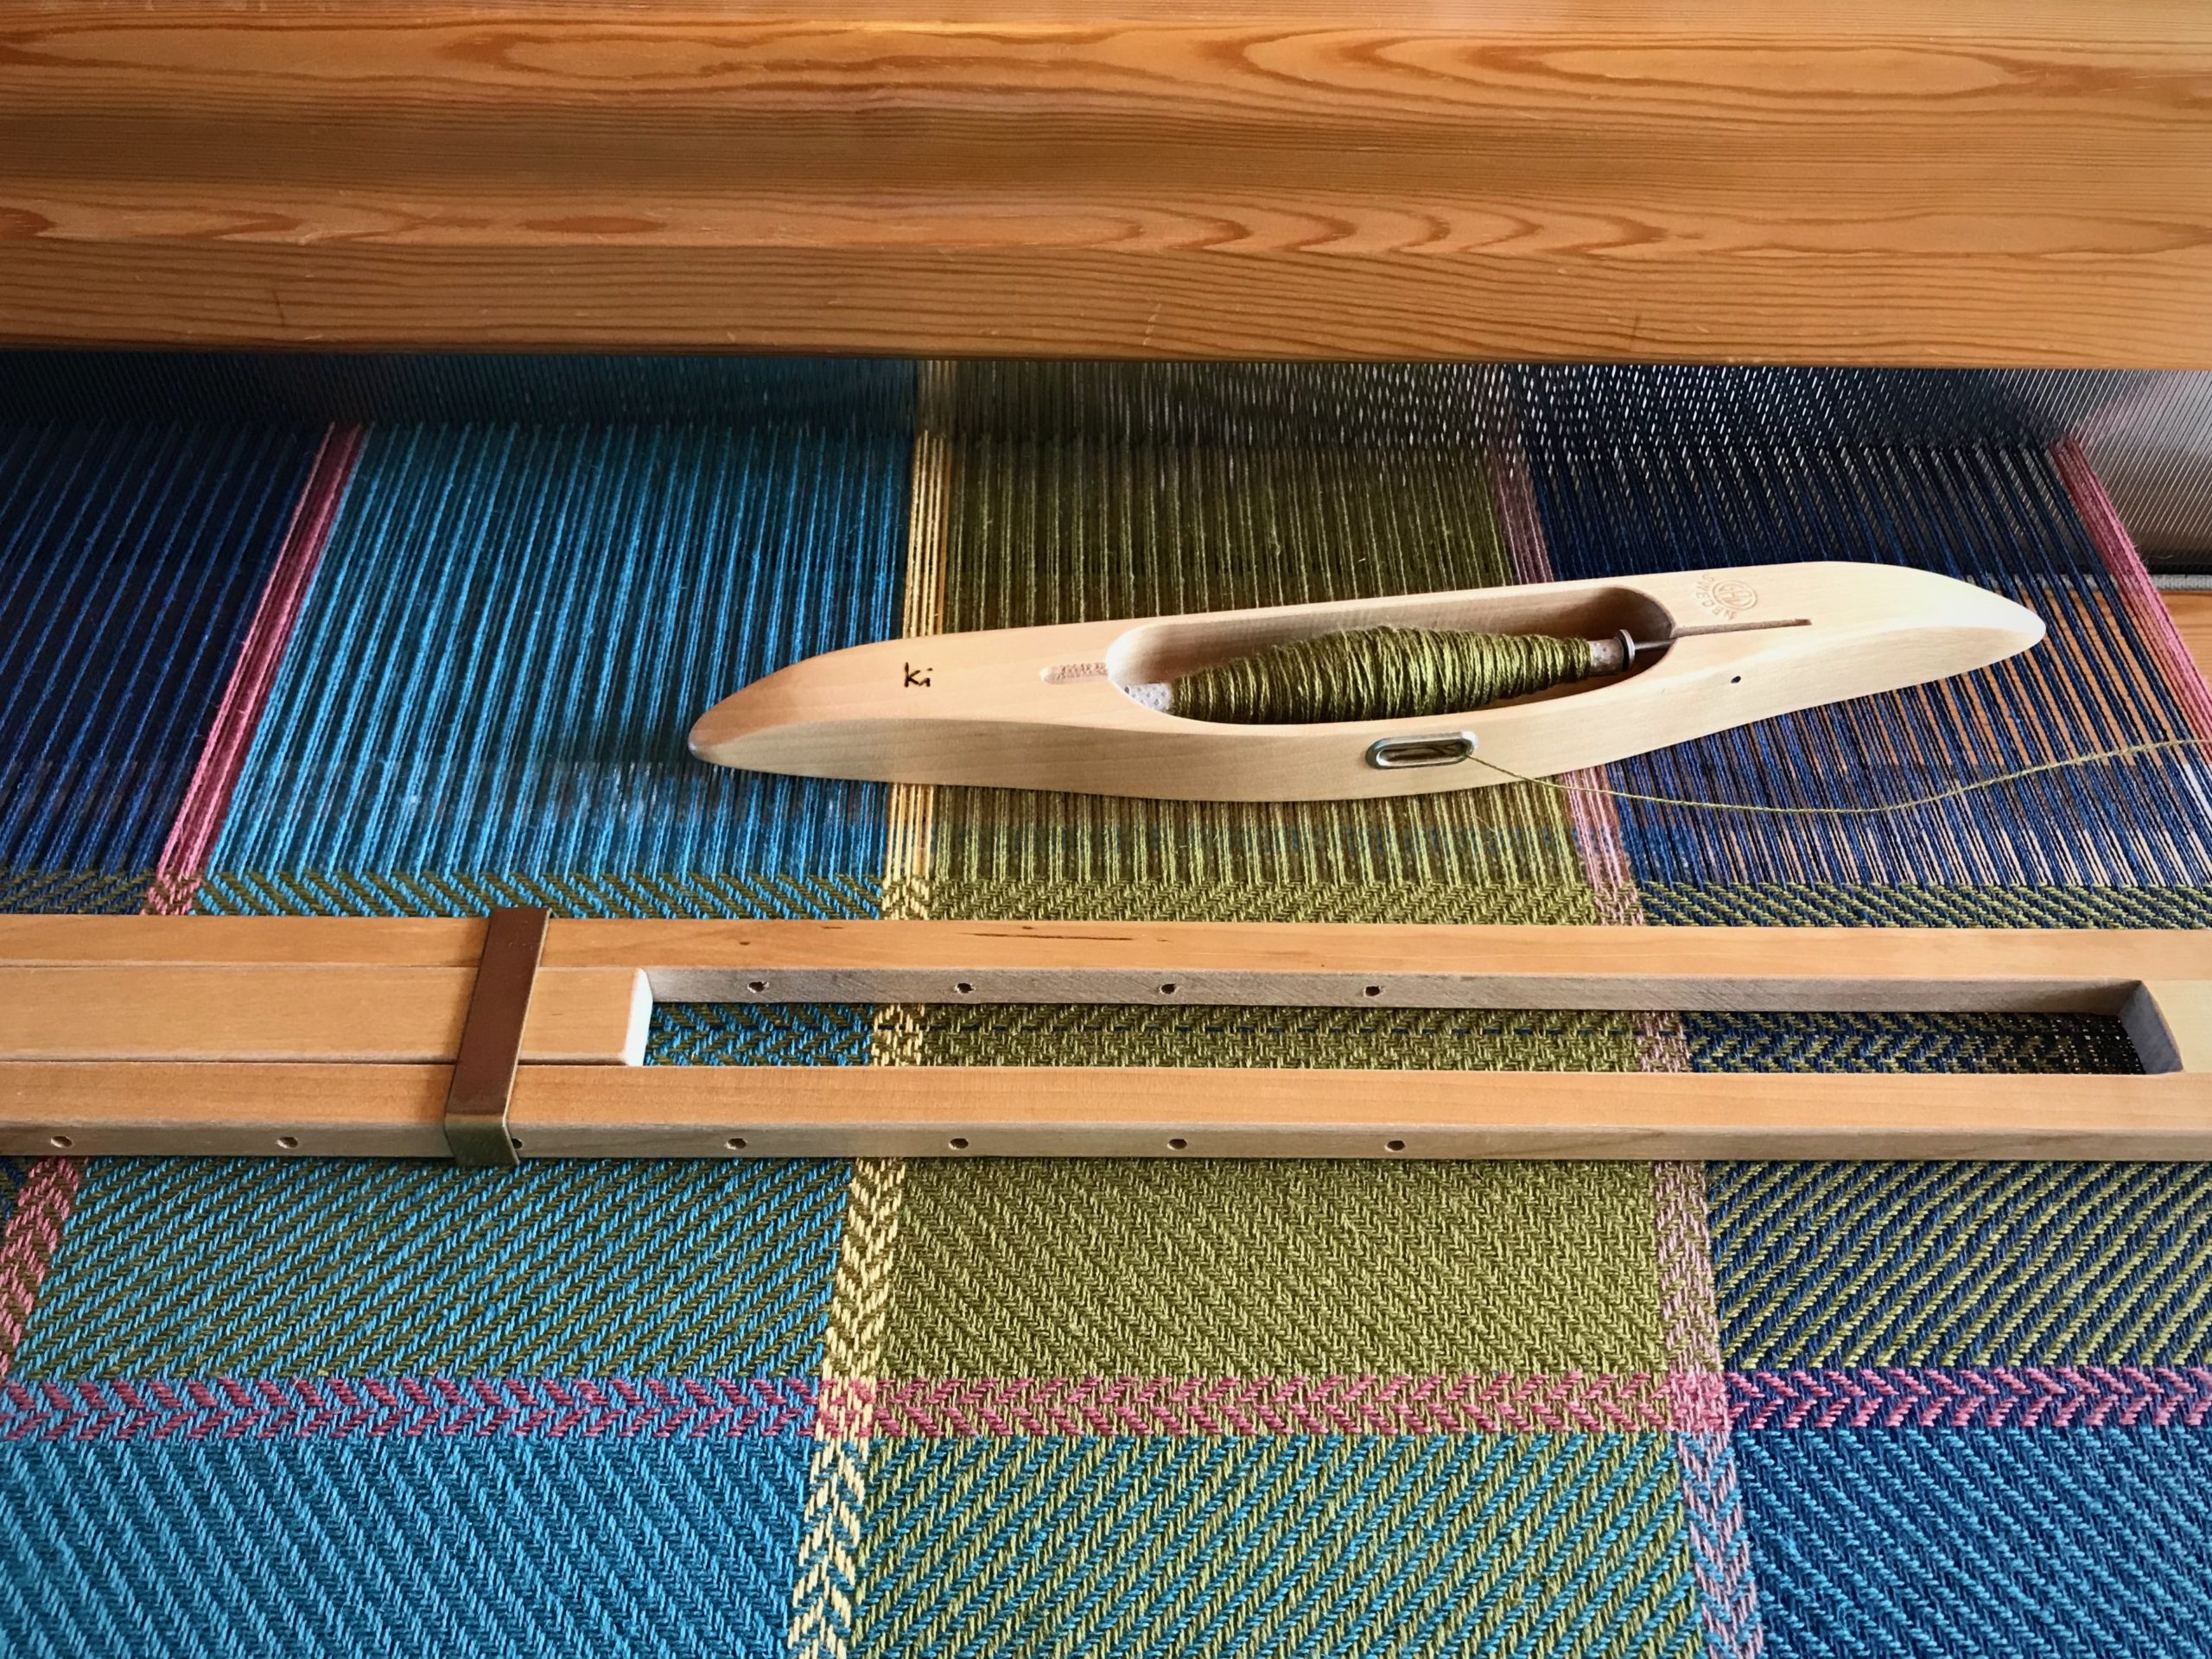
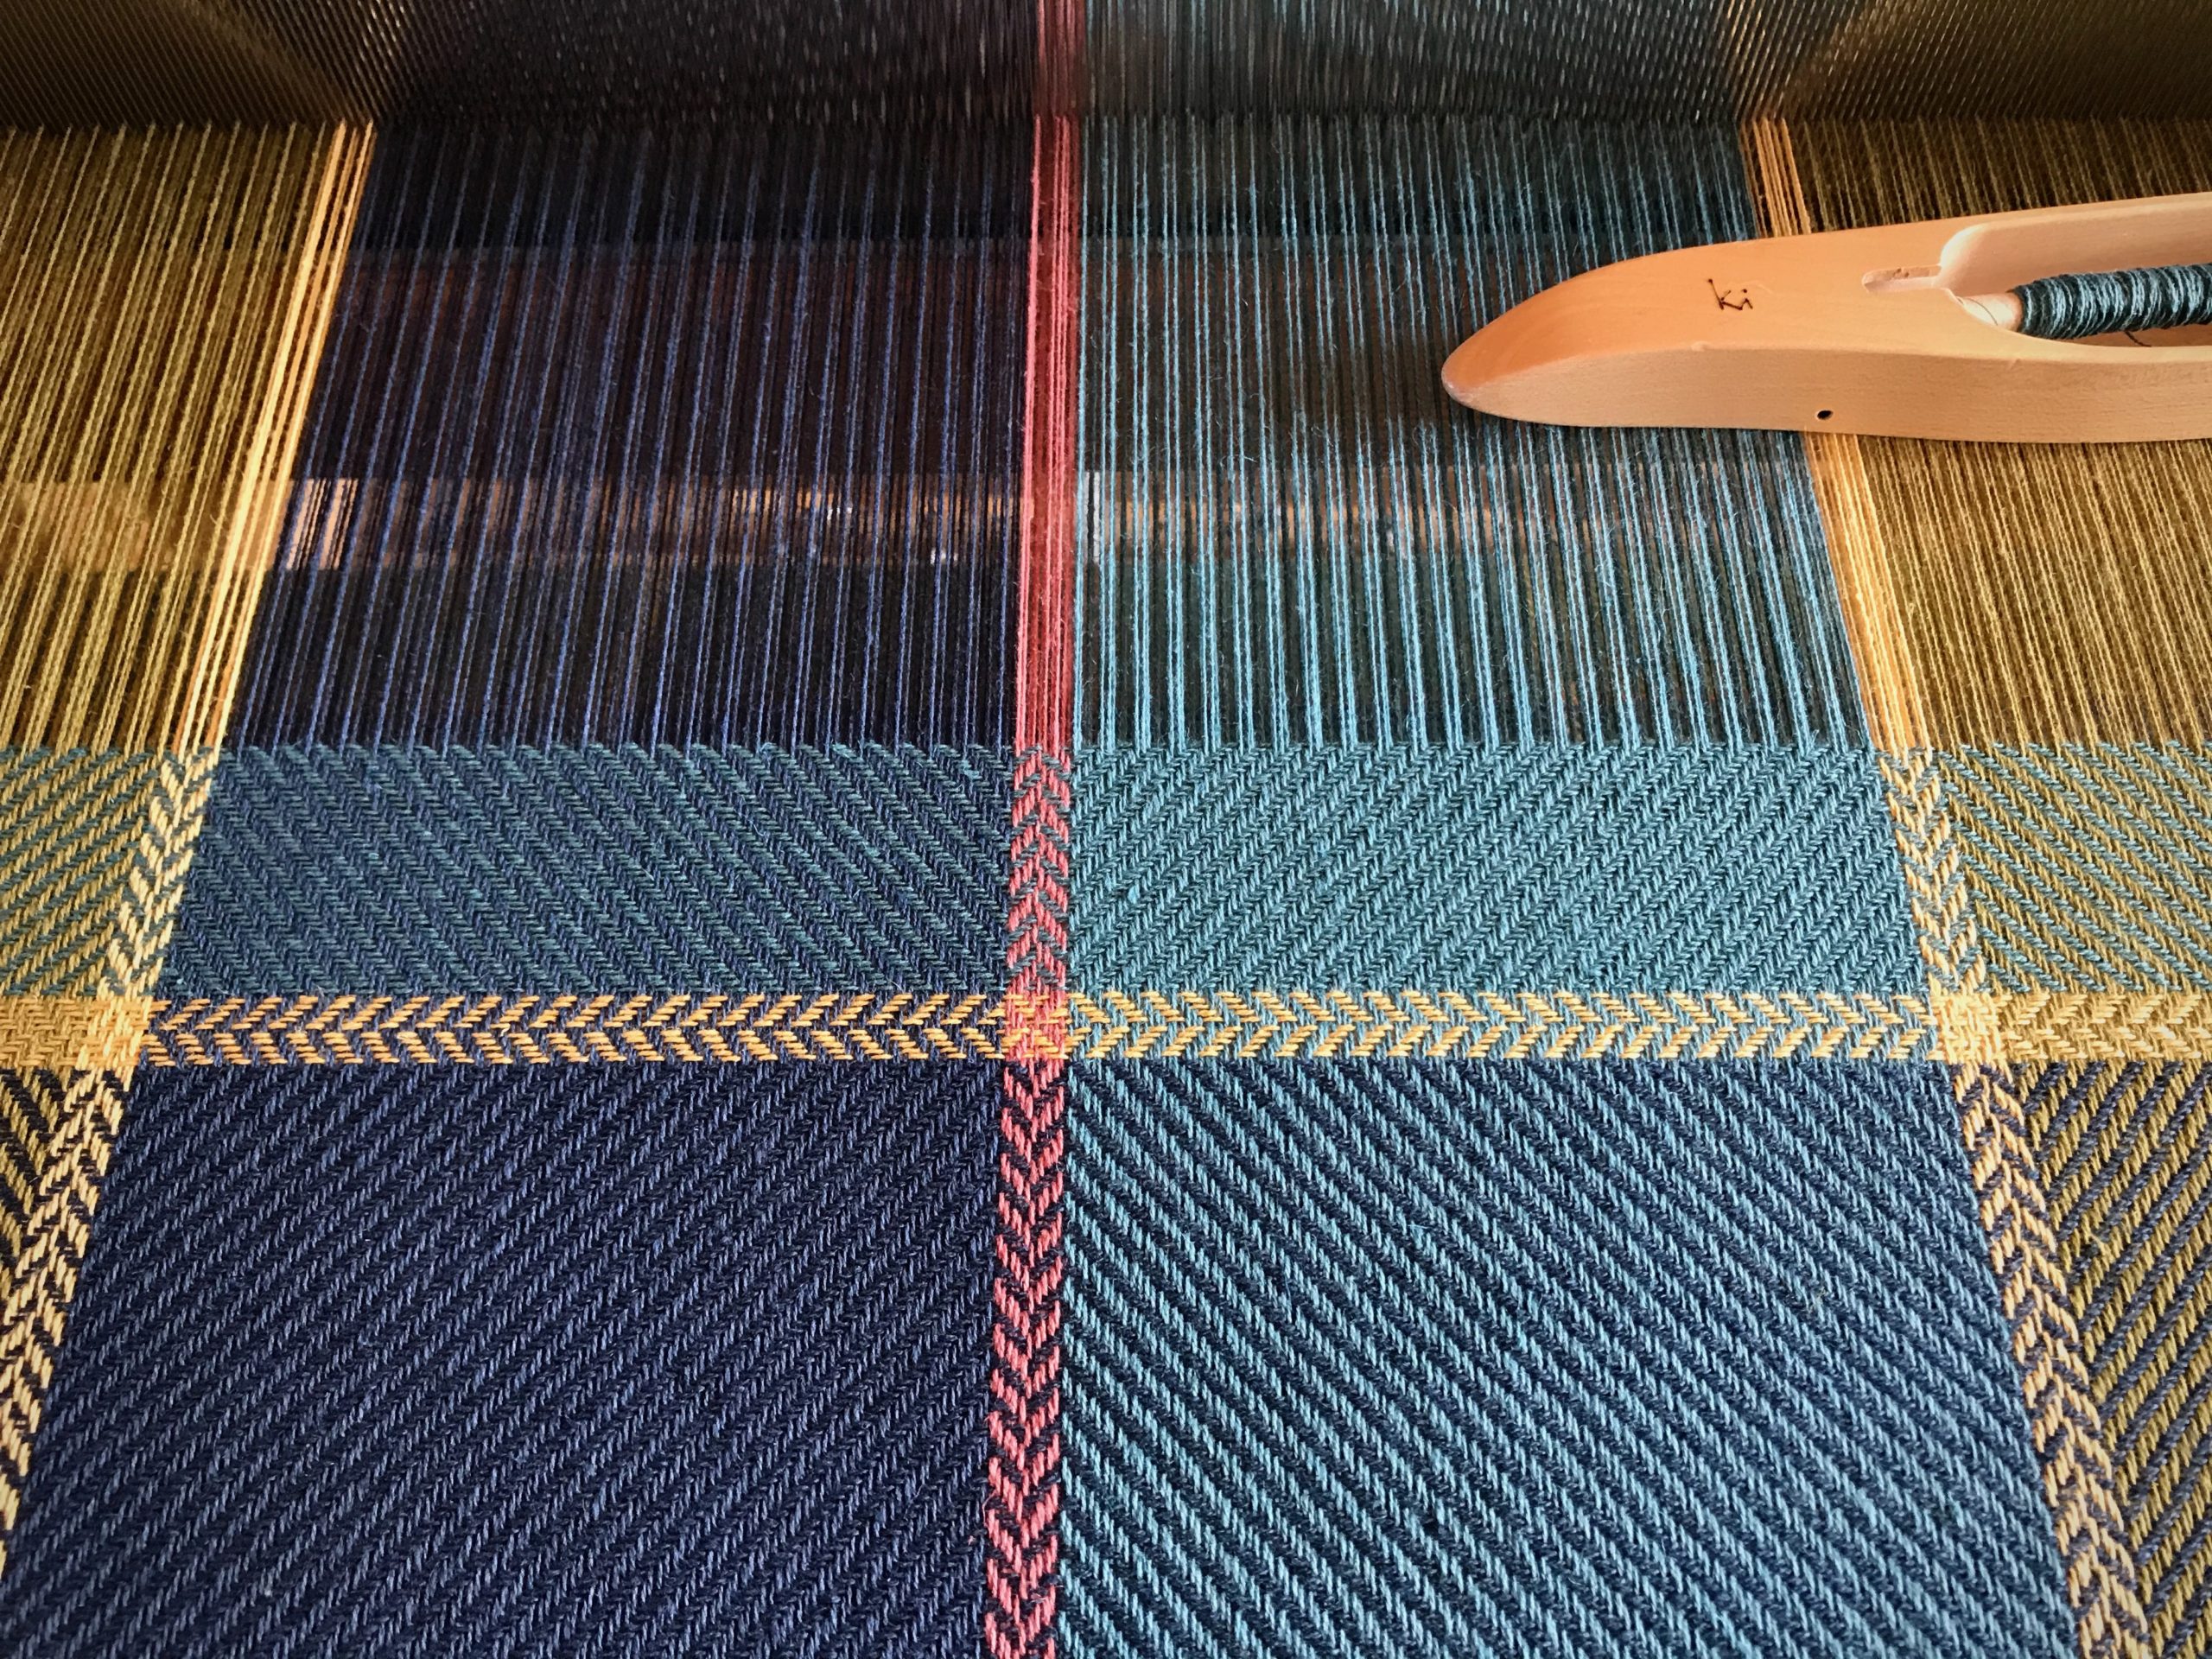
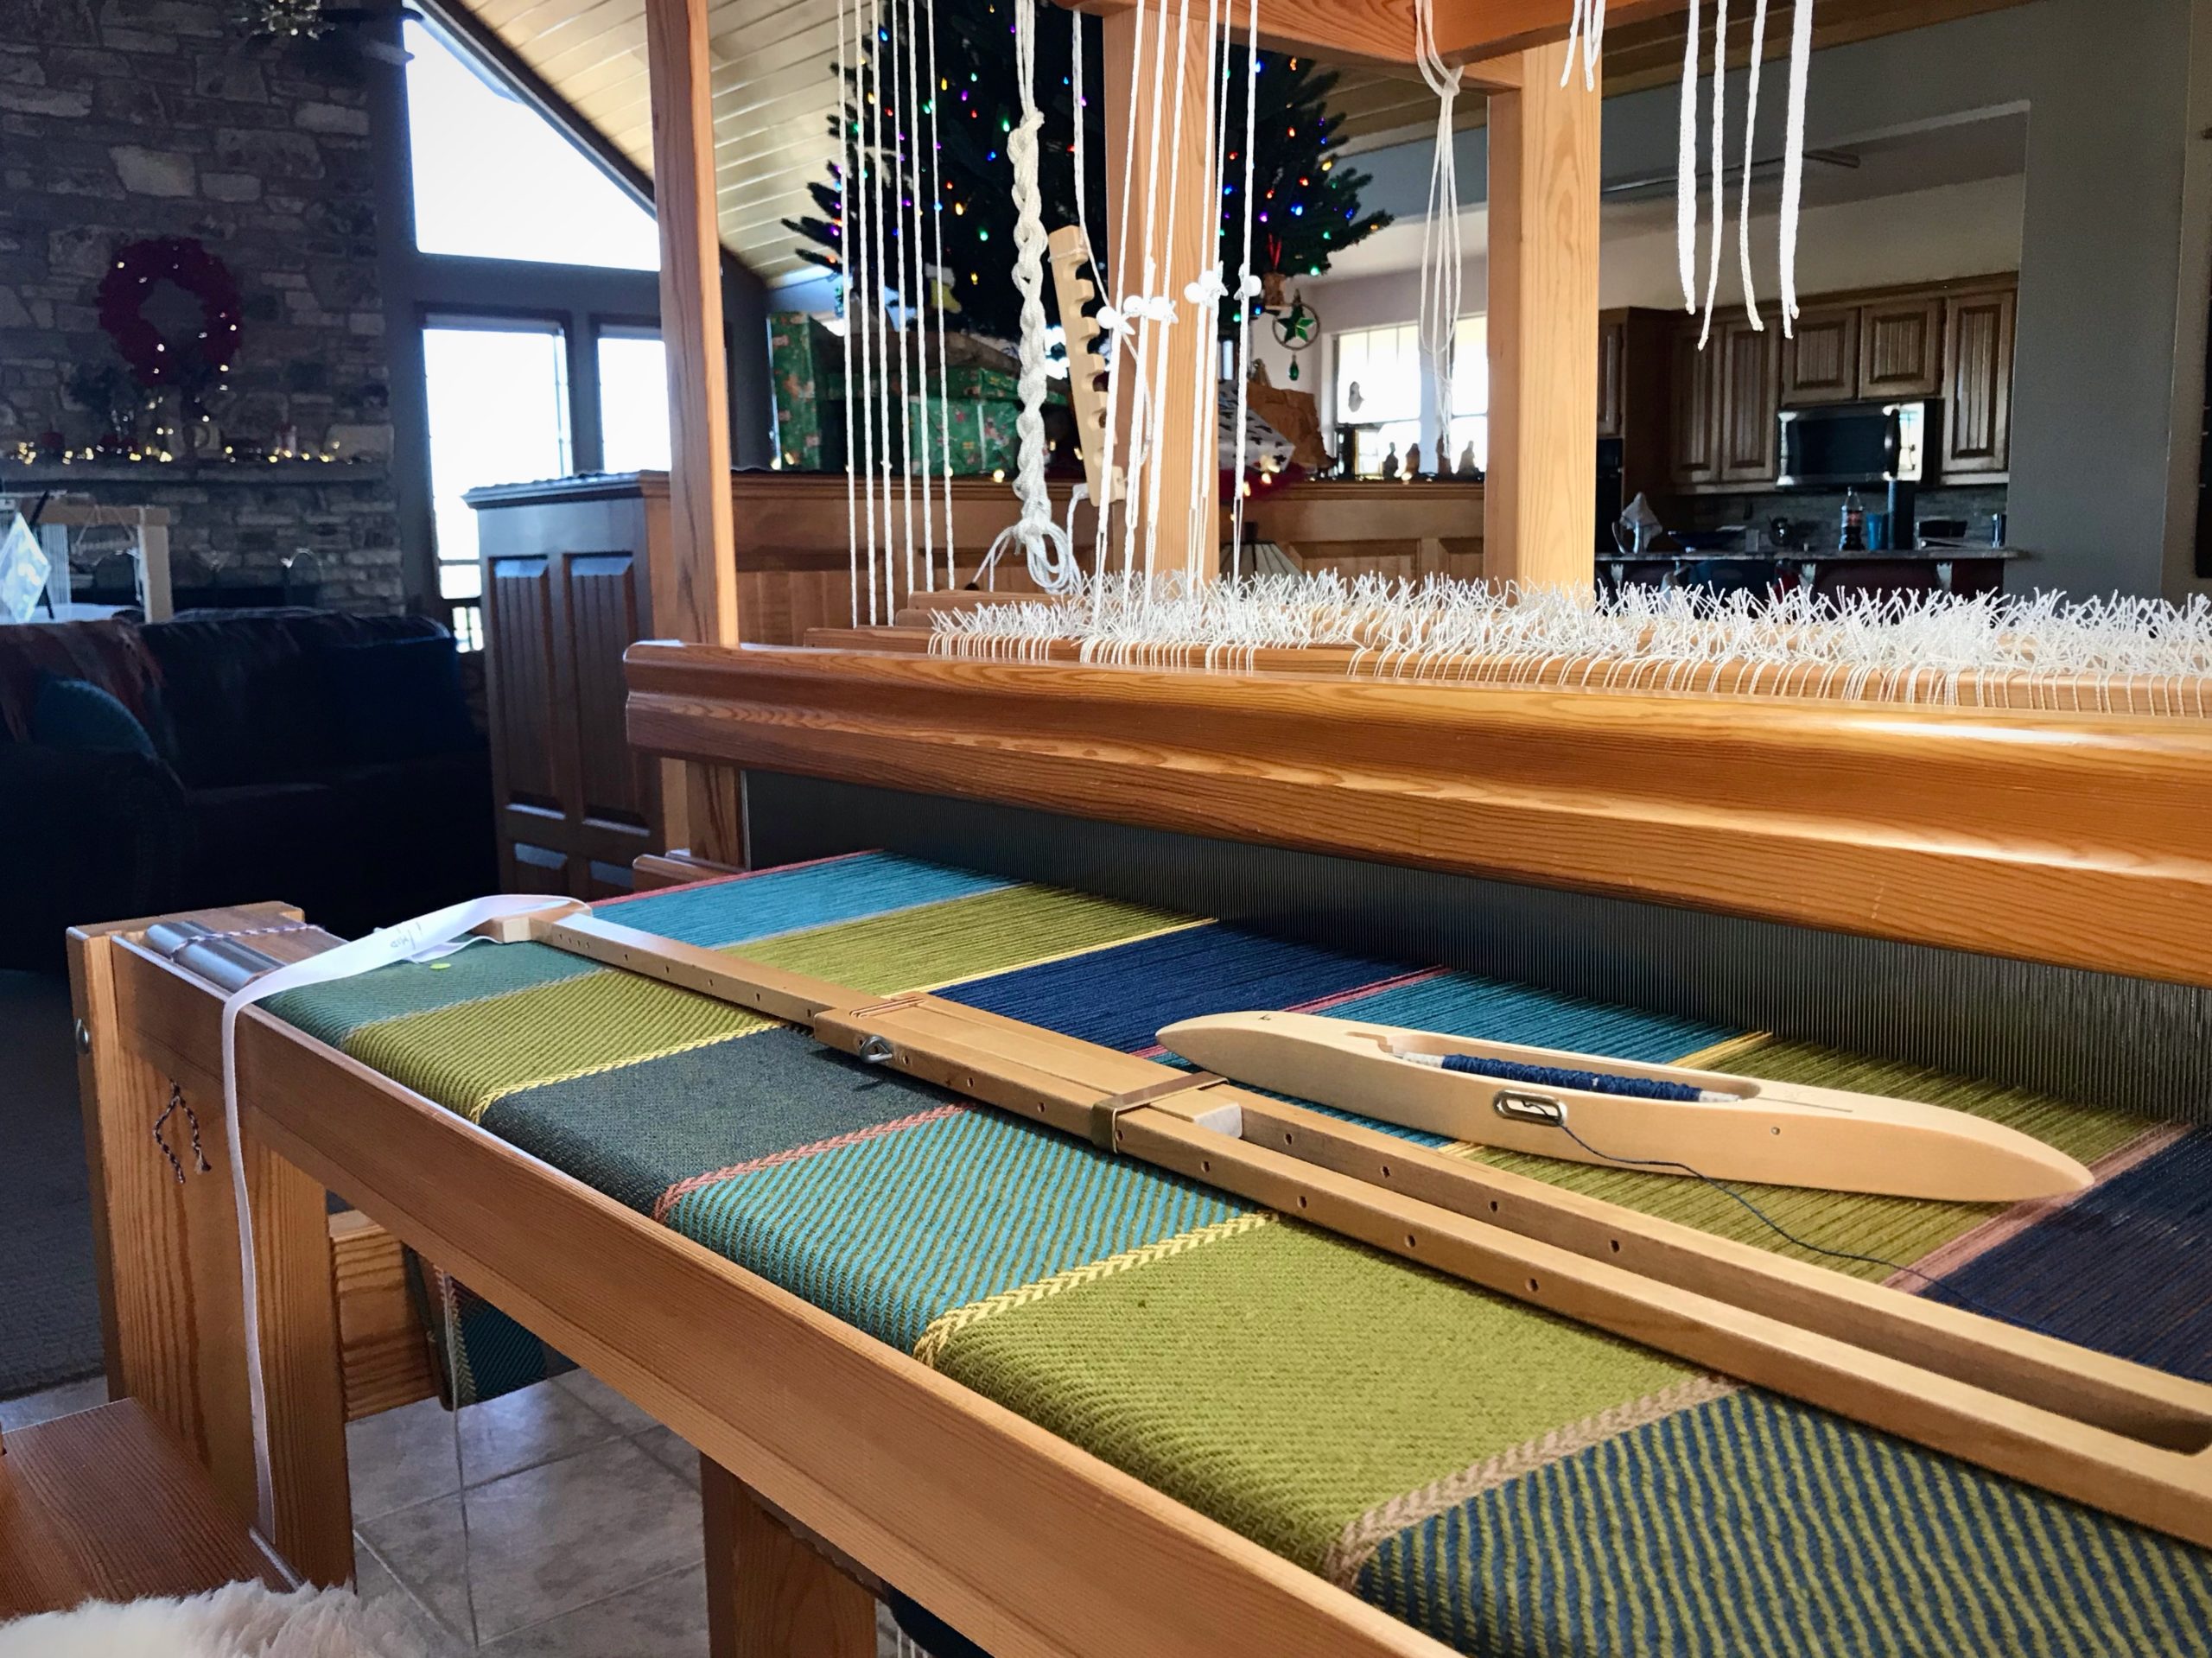
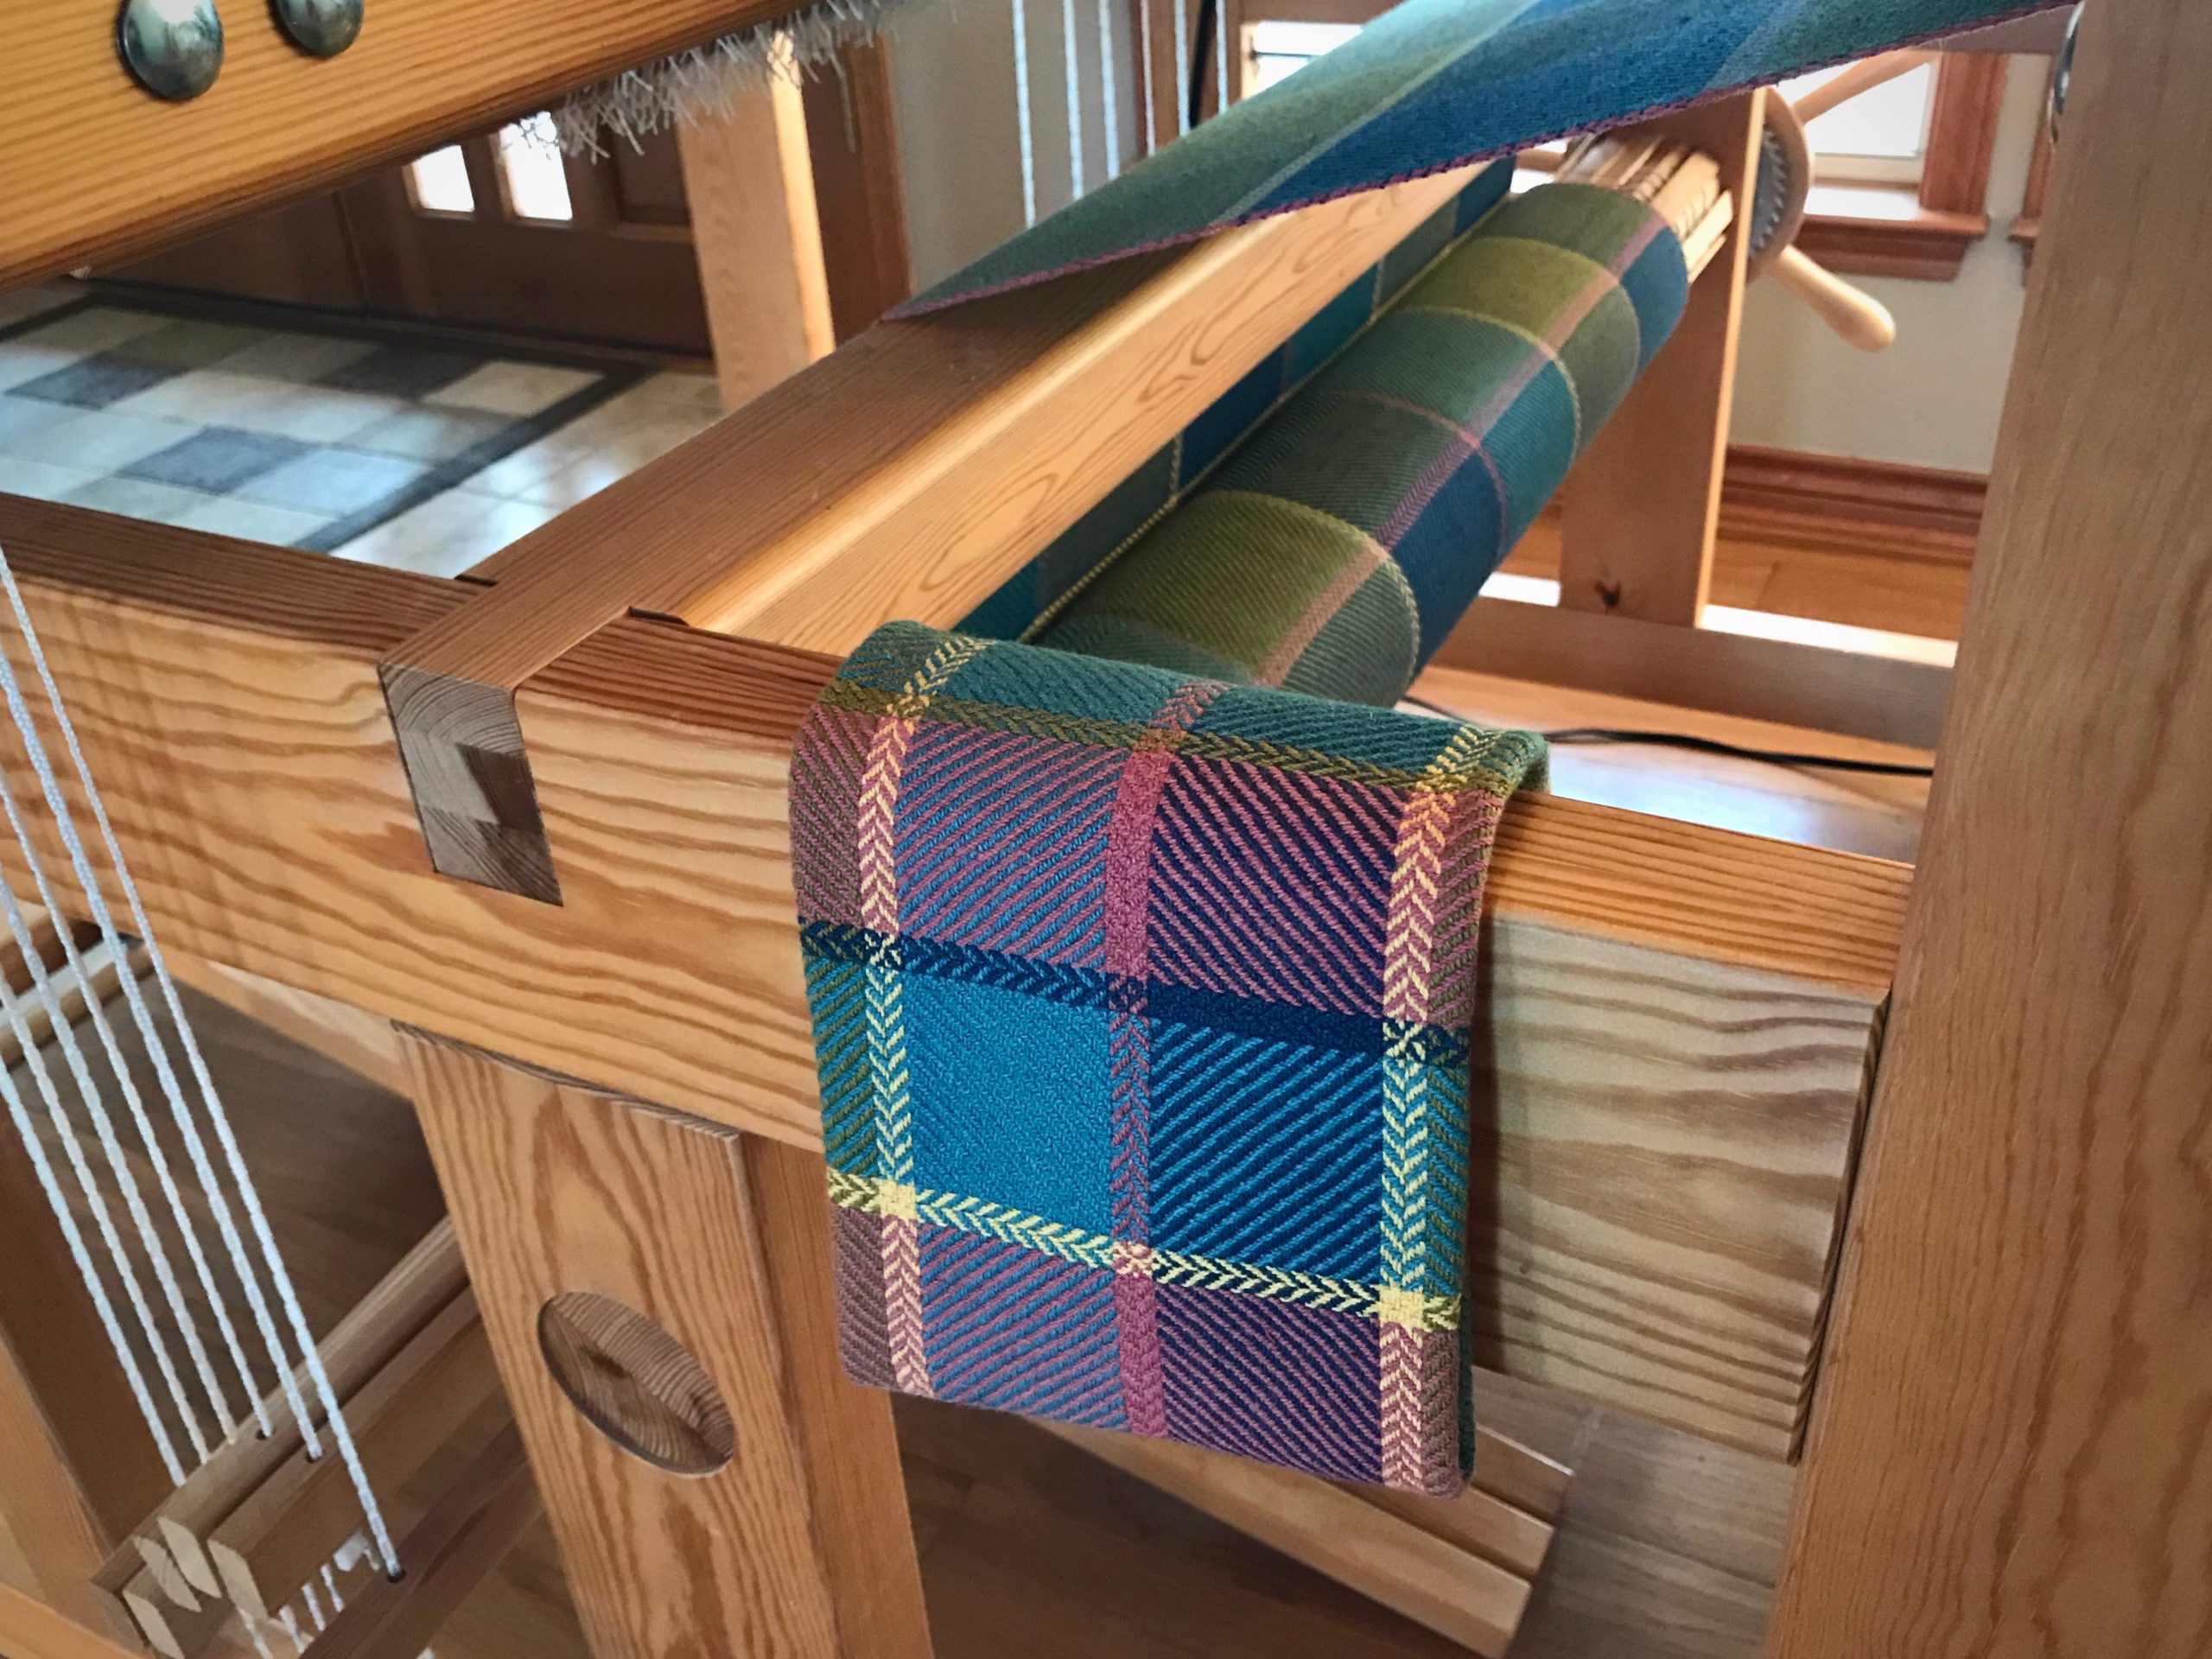
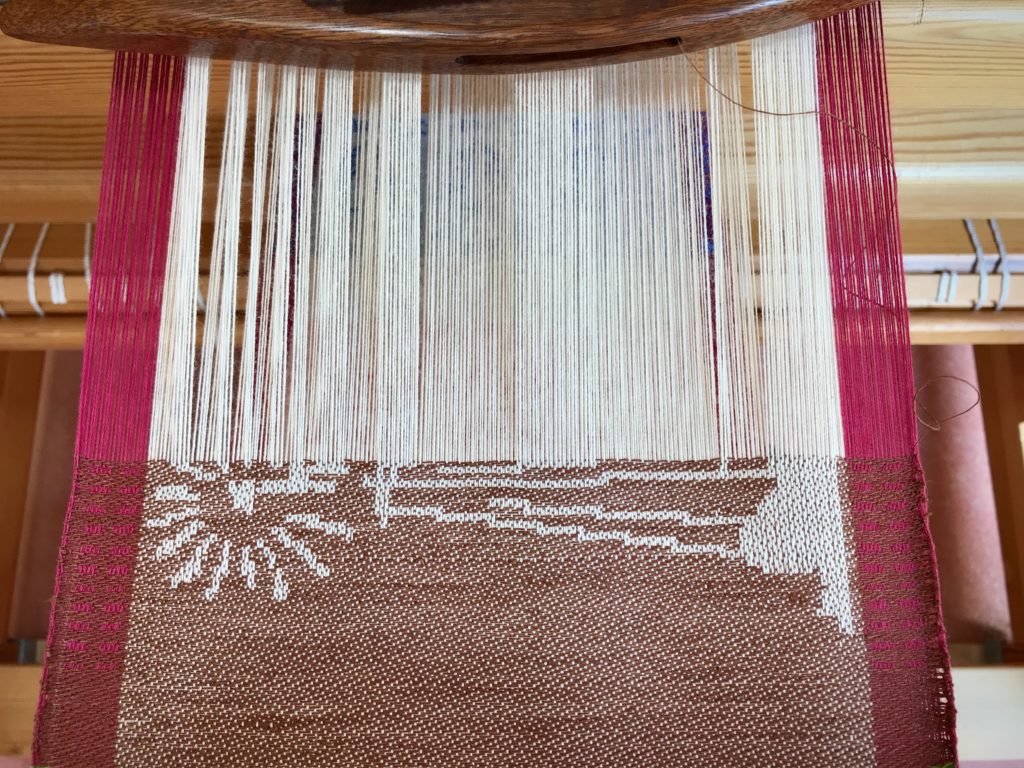
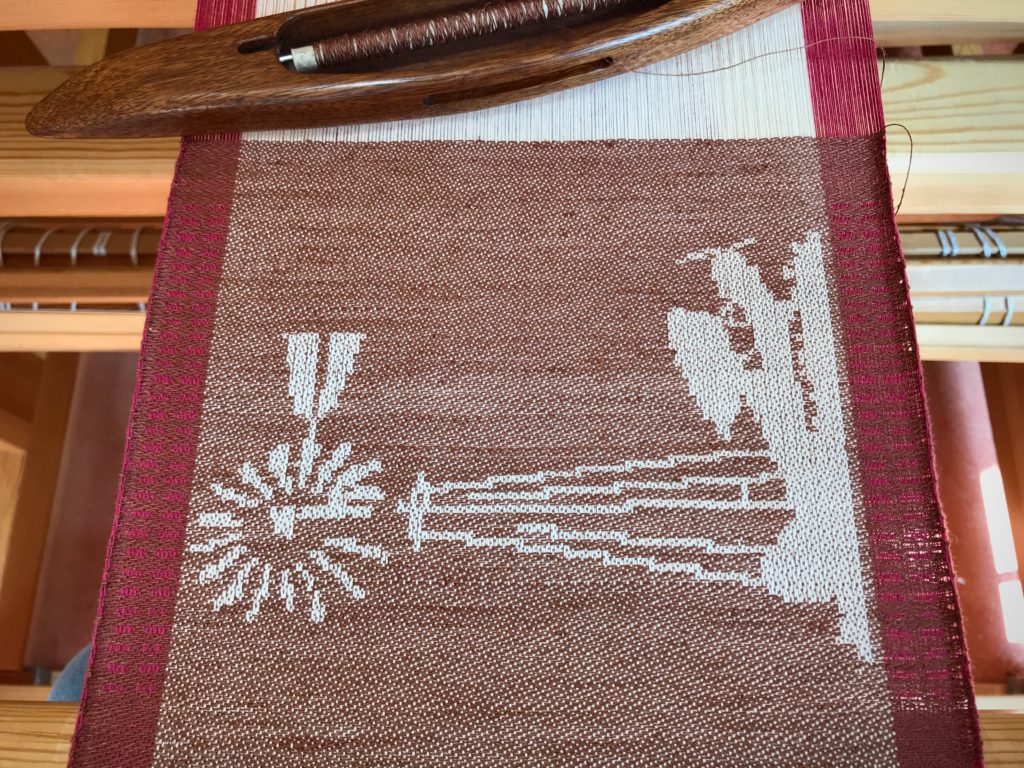
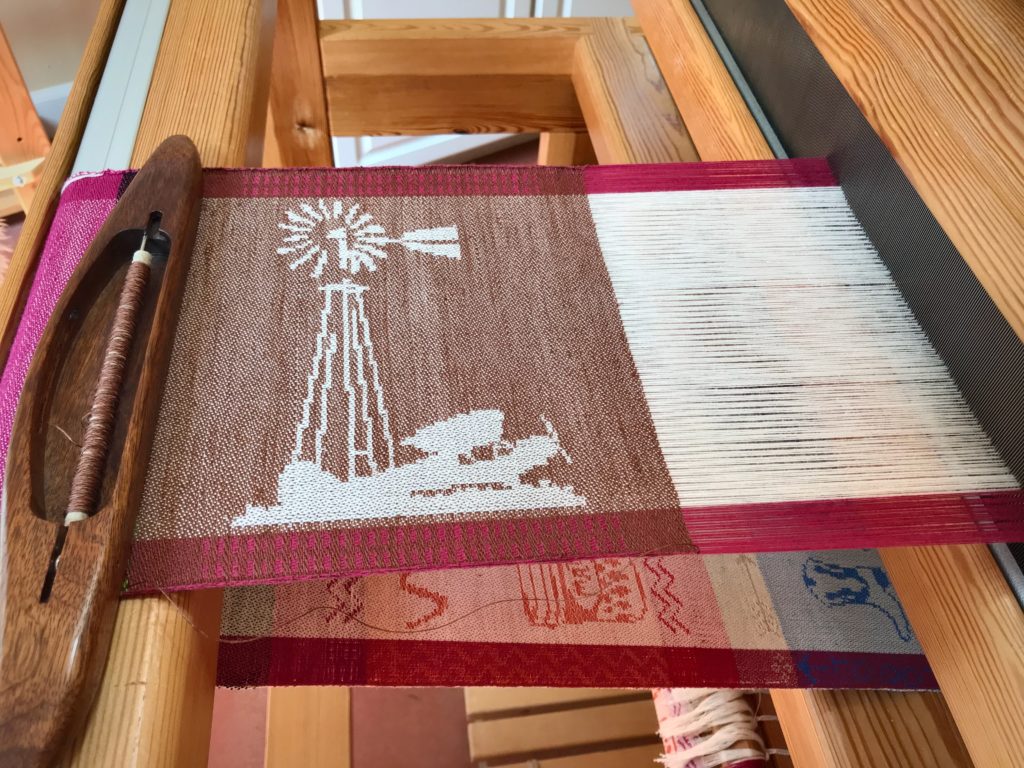
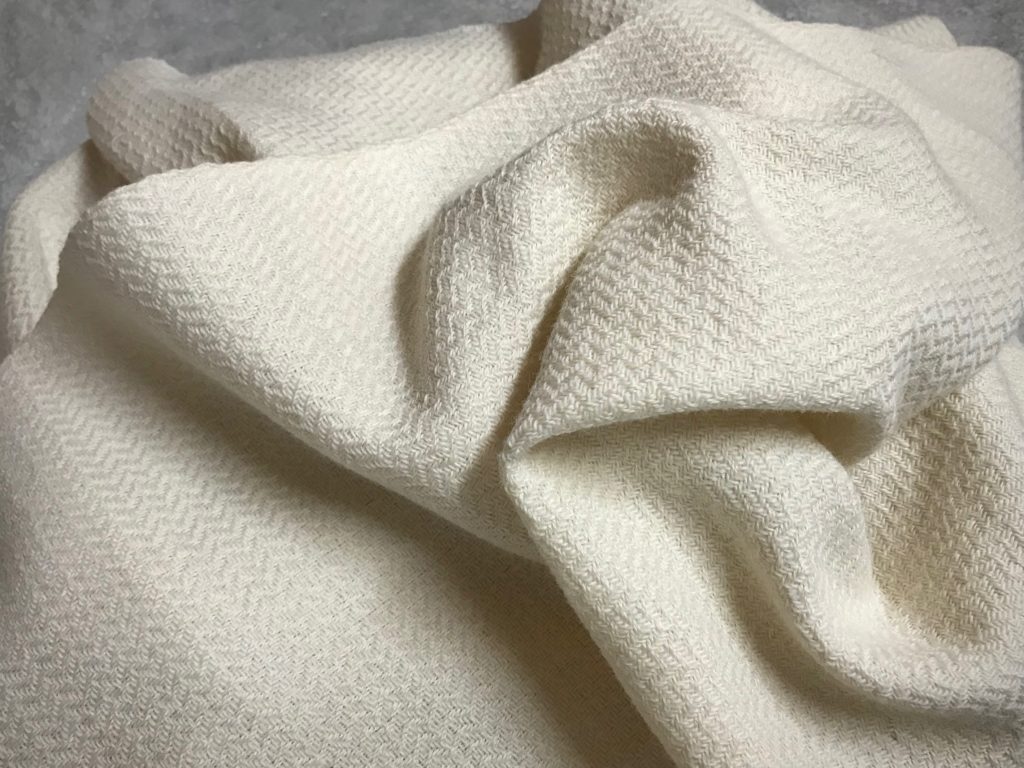
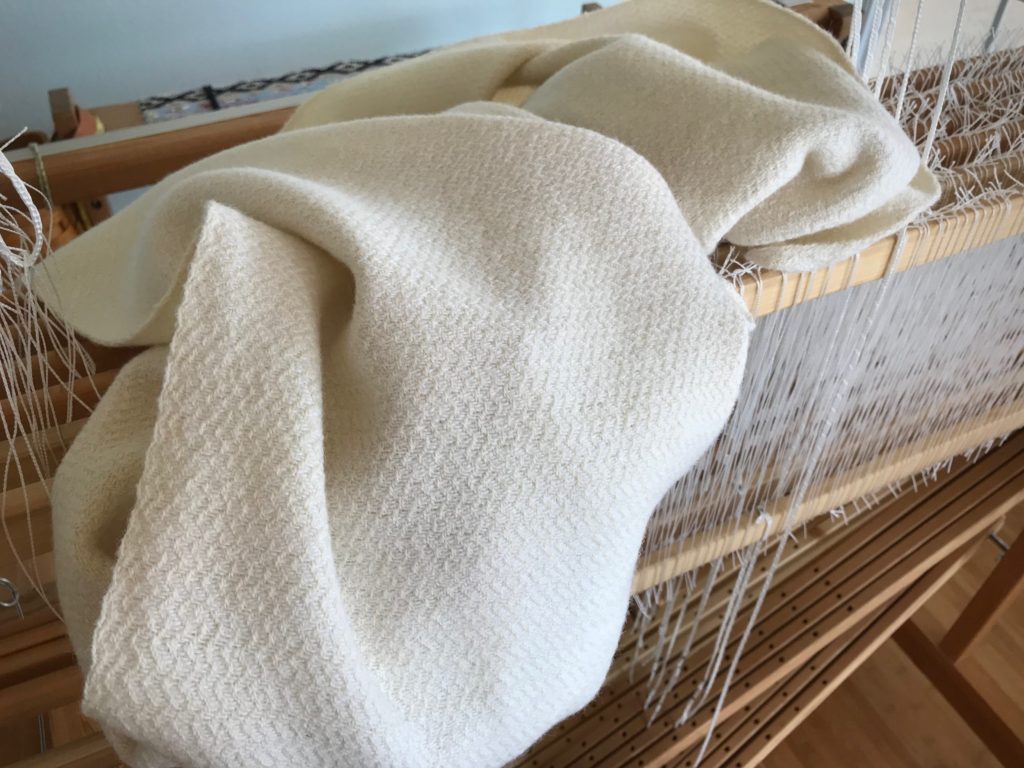
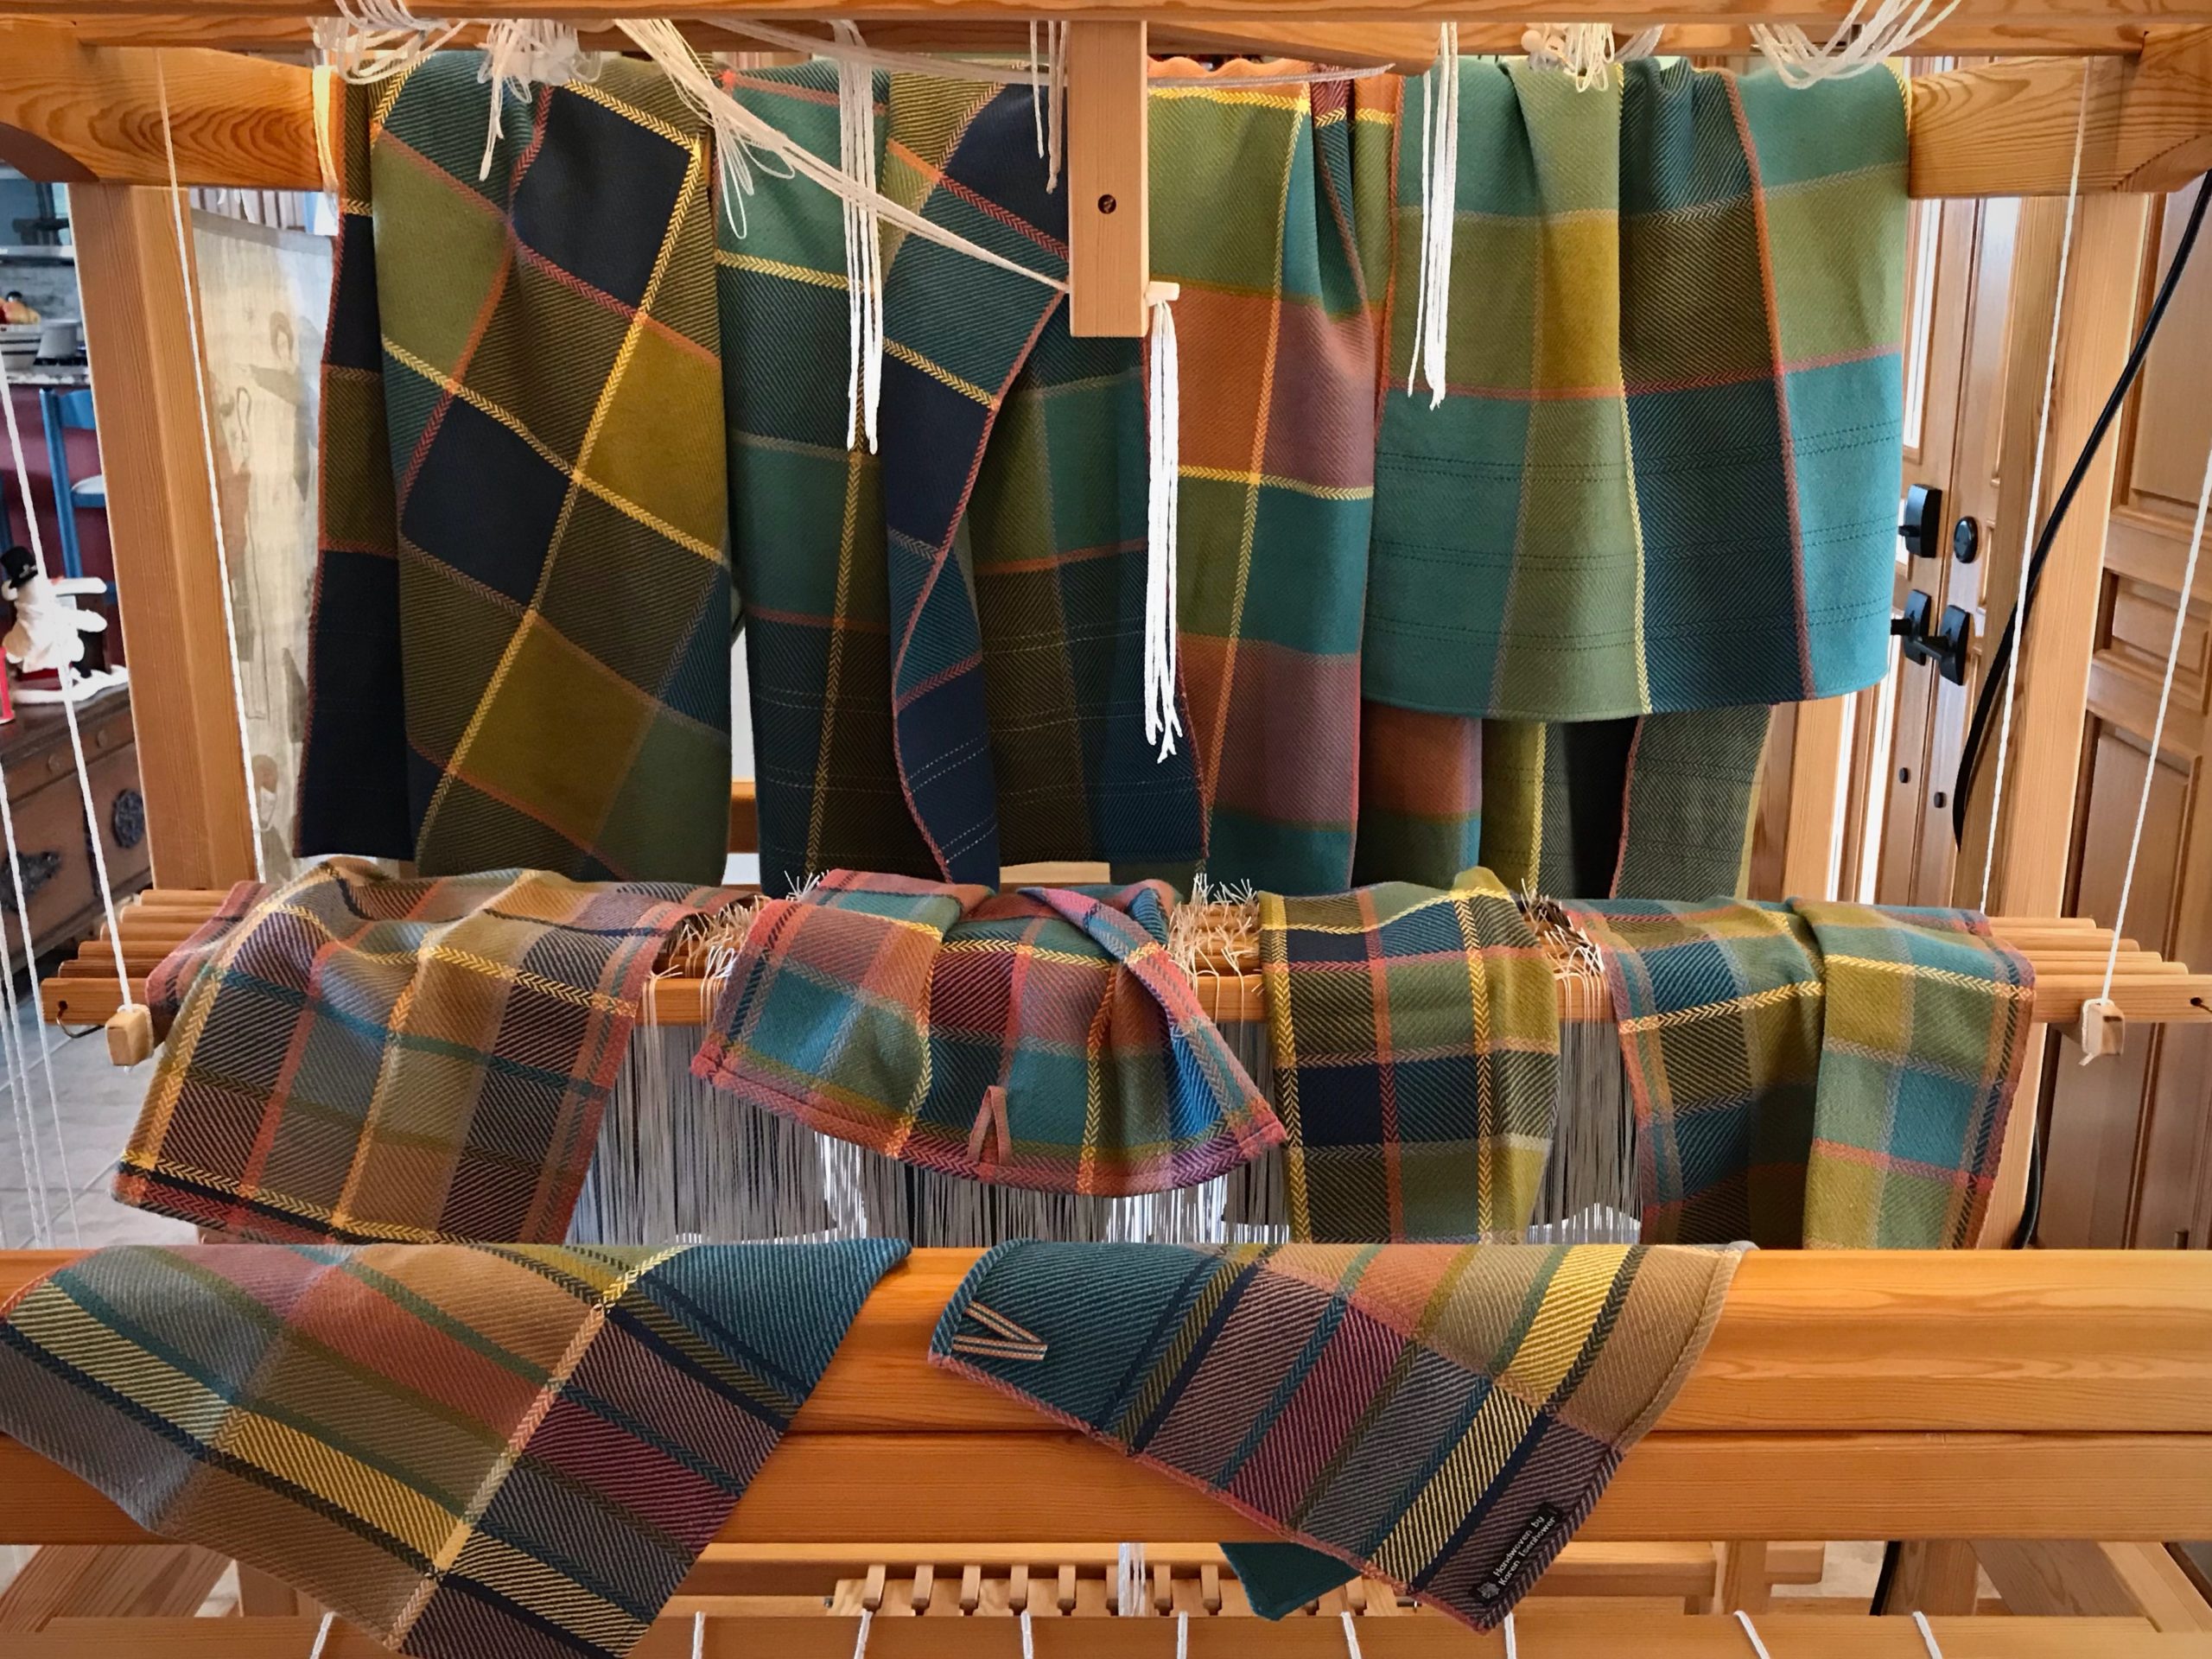
Jubilation Bath Towels are completed, just in time for Christmas! They go with the Jubilation Hand Towels I wove earlier this year, named with my father in mind. (See Process Review: Jubilation Hand Towels.) Nothing deterred my father from deep abiding joy. These bath towels are a tribute, as well, to my husband’s patience. He requested handwoven bath towels a few years ago. Laughably, my first eager attempt resulted in towels scratchy enough to be used as sandpaper back scratchers. Now, finally, we have absorbent and soft handwoven cottolin bath towels suitable for my Prince Charming.

Cottolin bath set. Handwoven bath towels, hand towels, wash cloths.
Jubilation Bath Set. Four bath towels, four hand towels, two wash cloths. Cottolin warp and weft. Six-shaft broken and reverse twill.

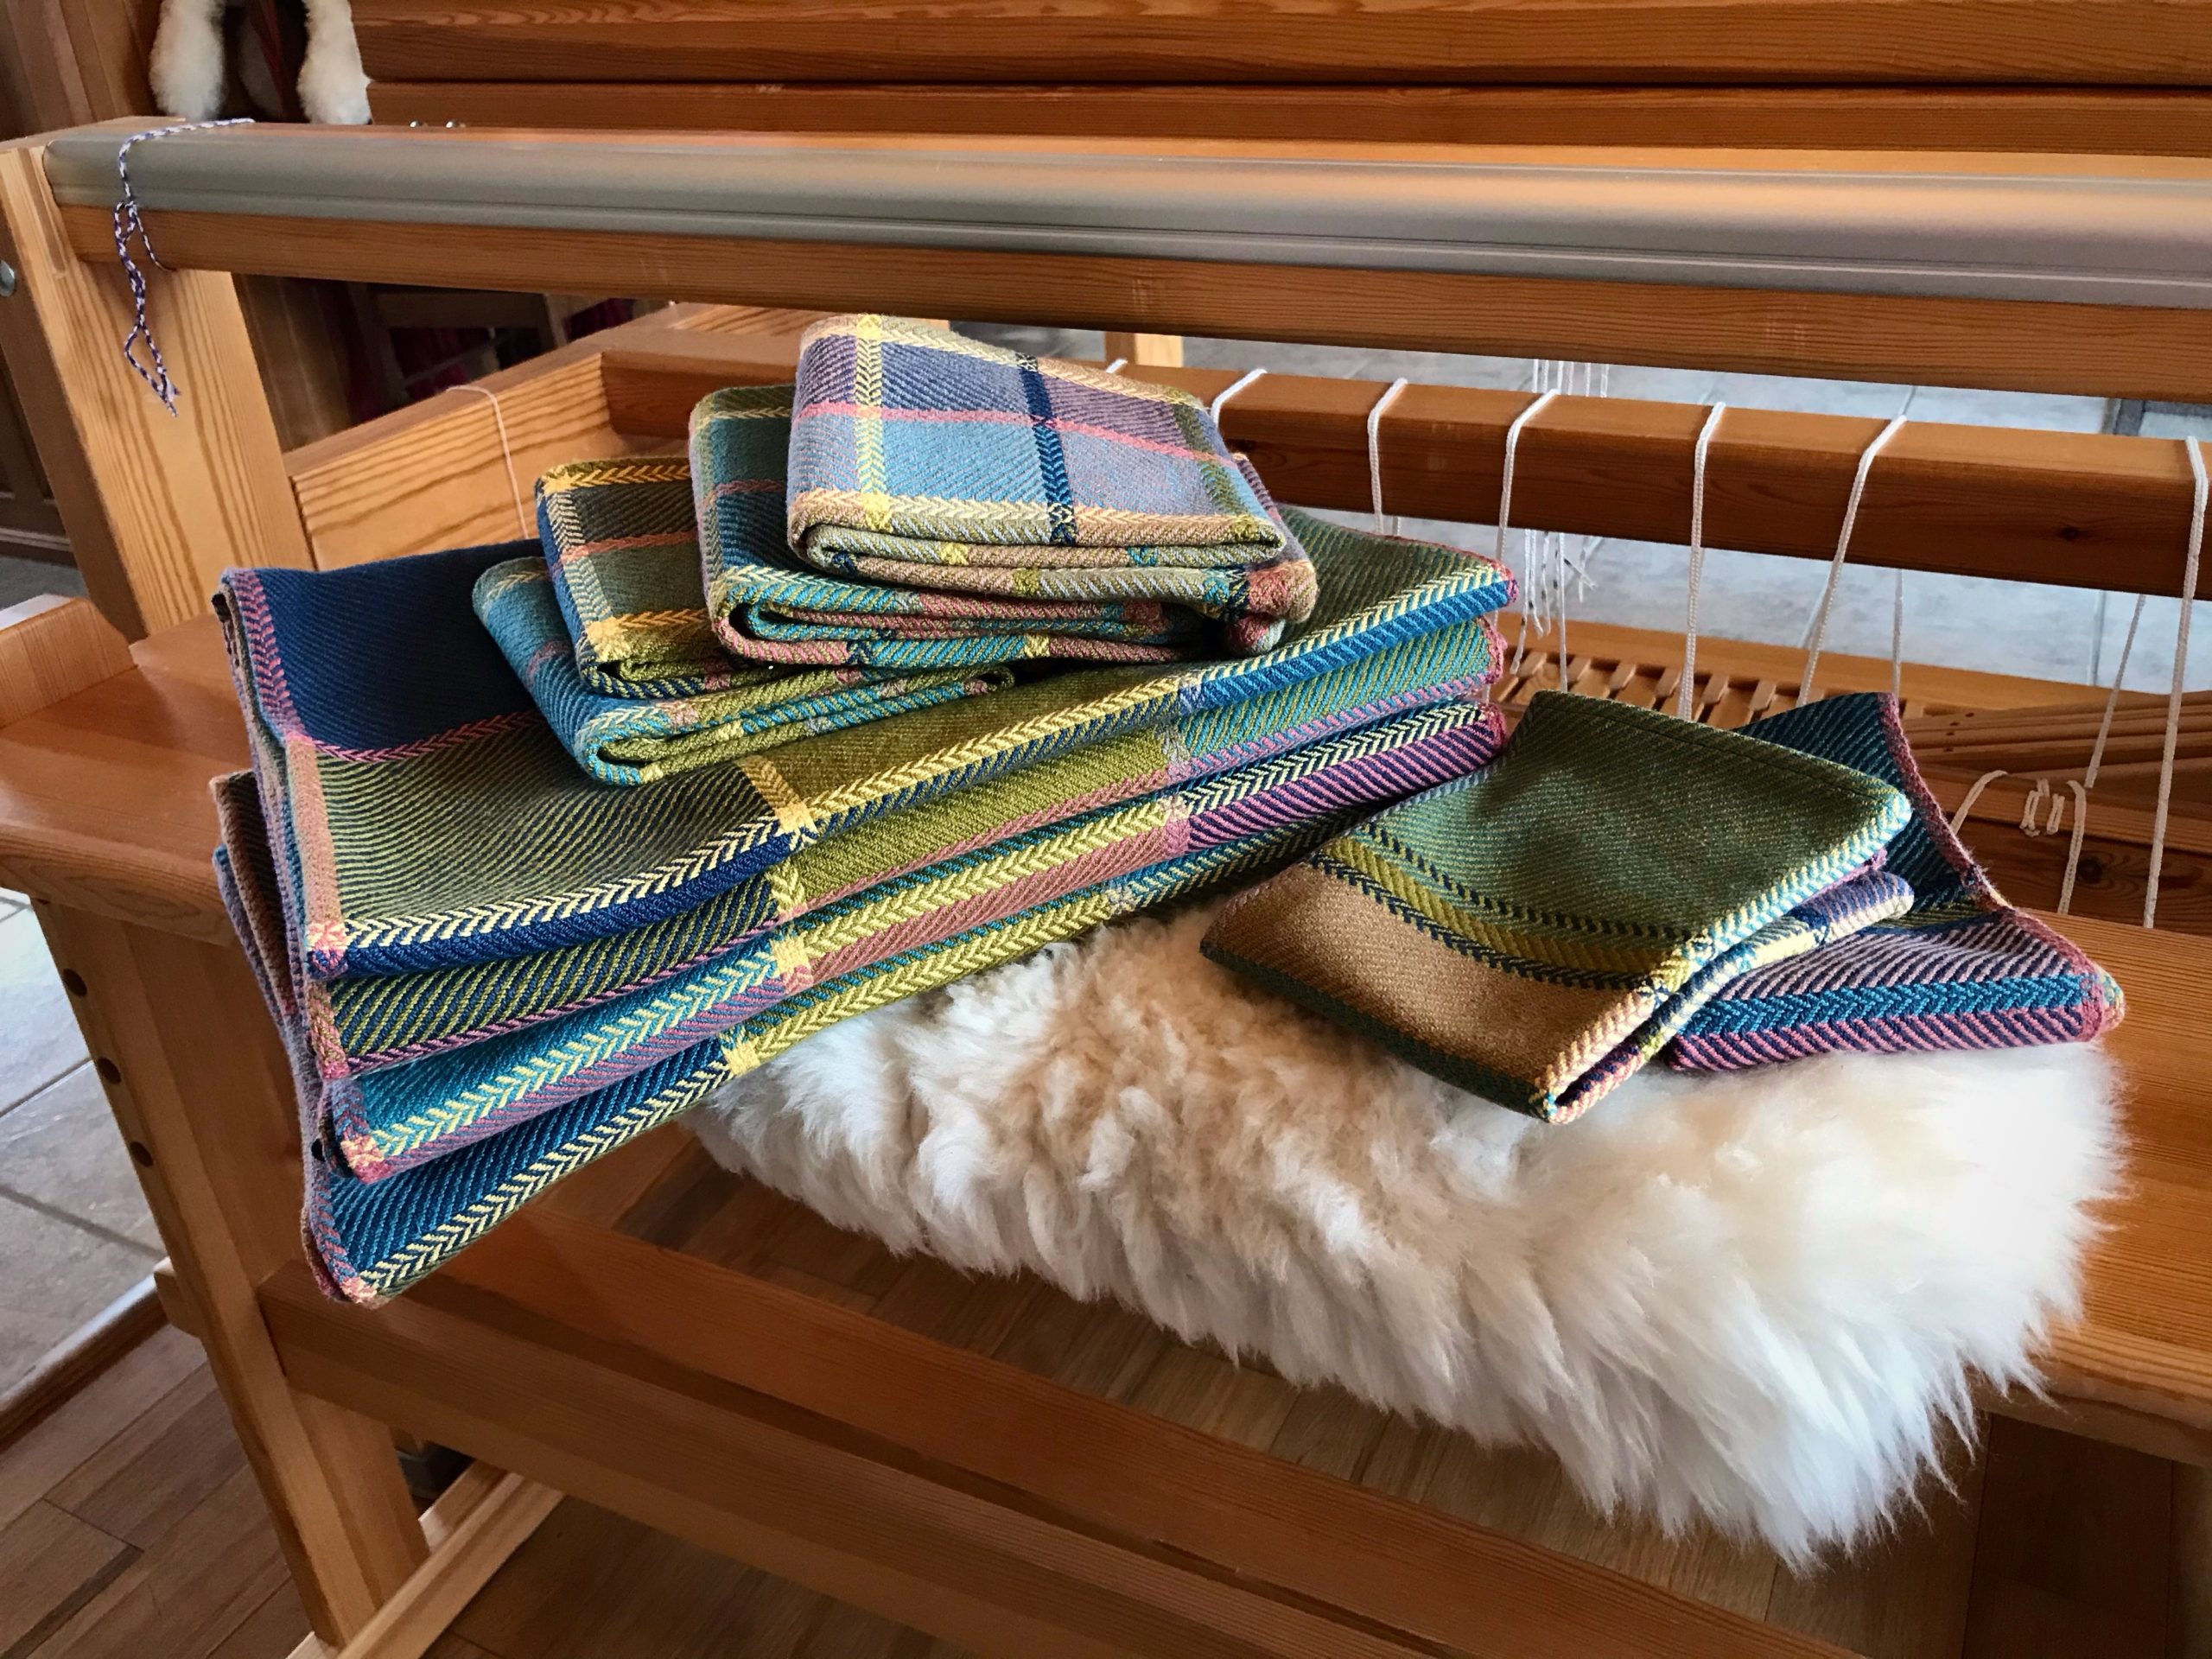
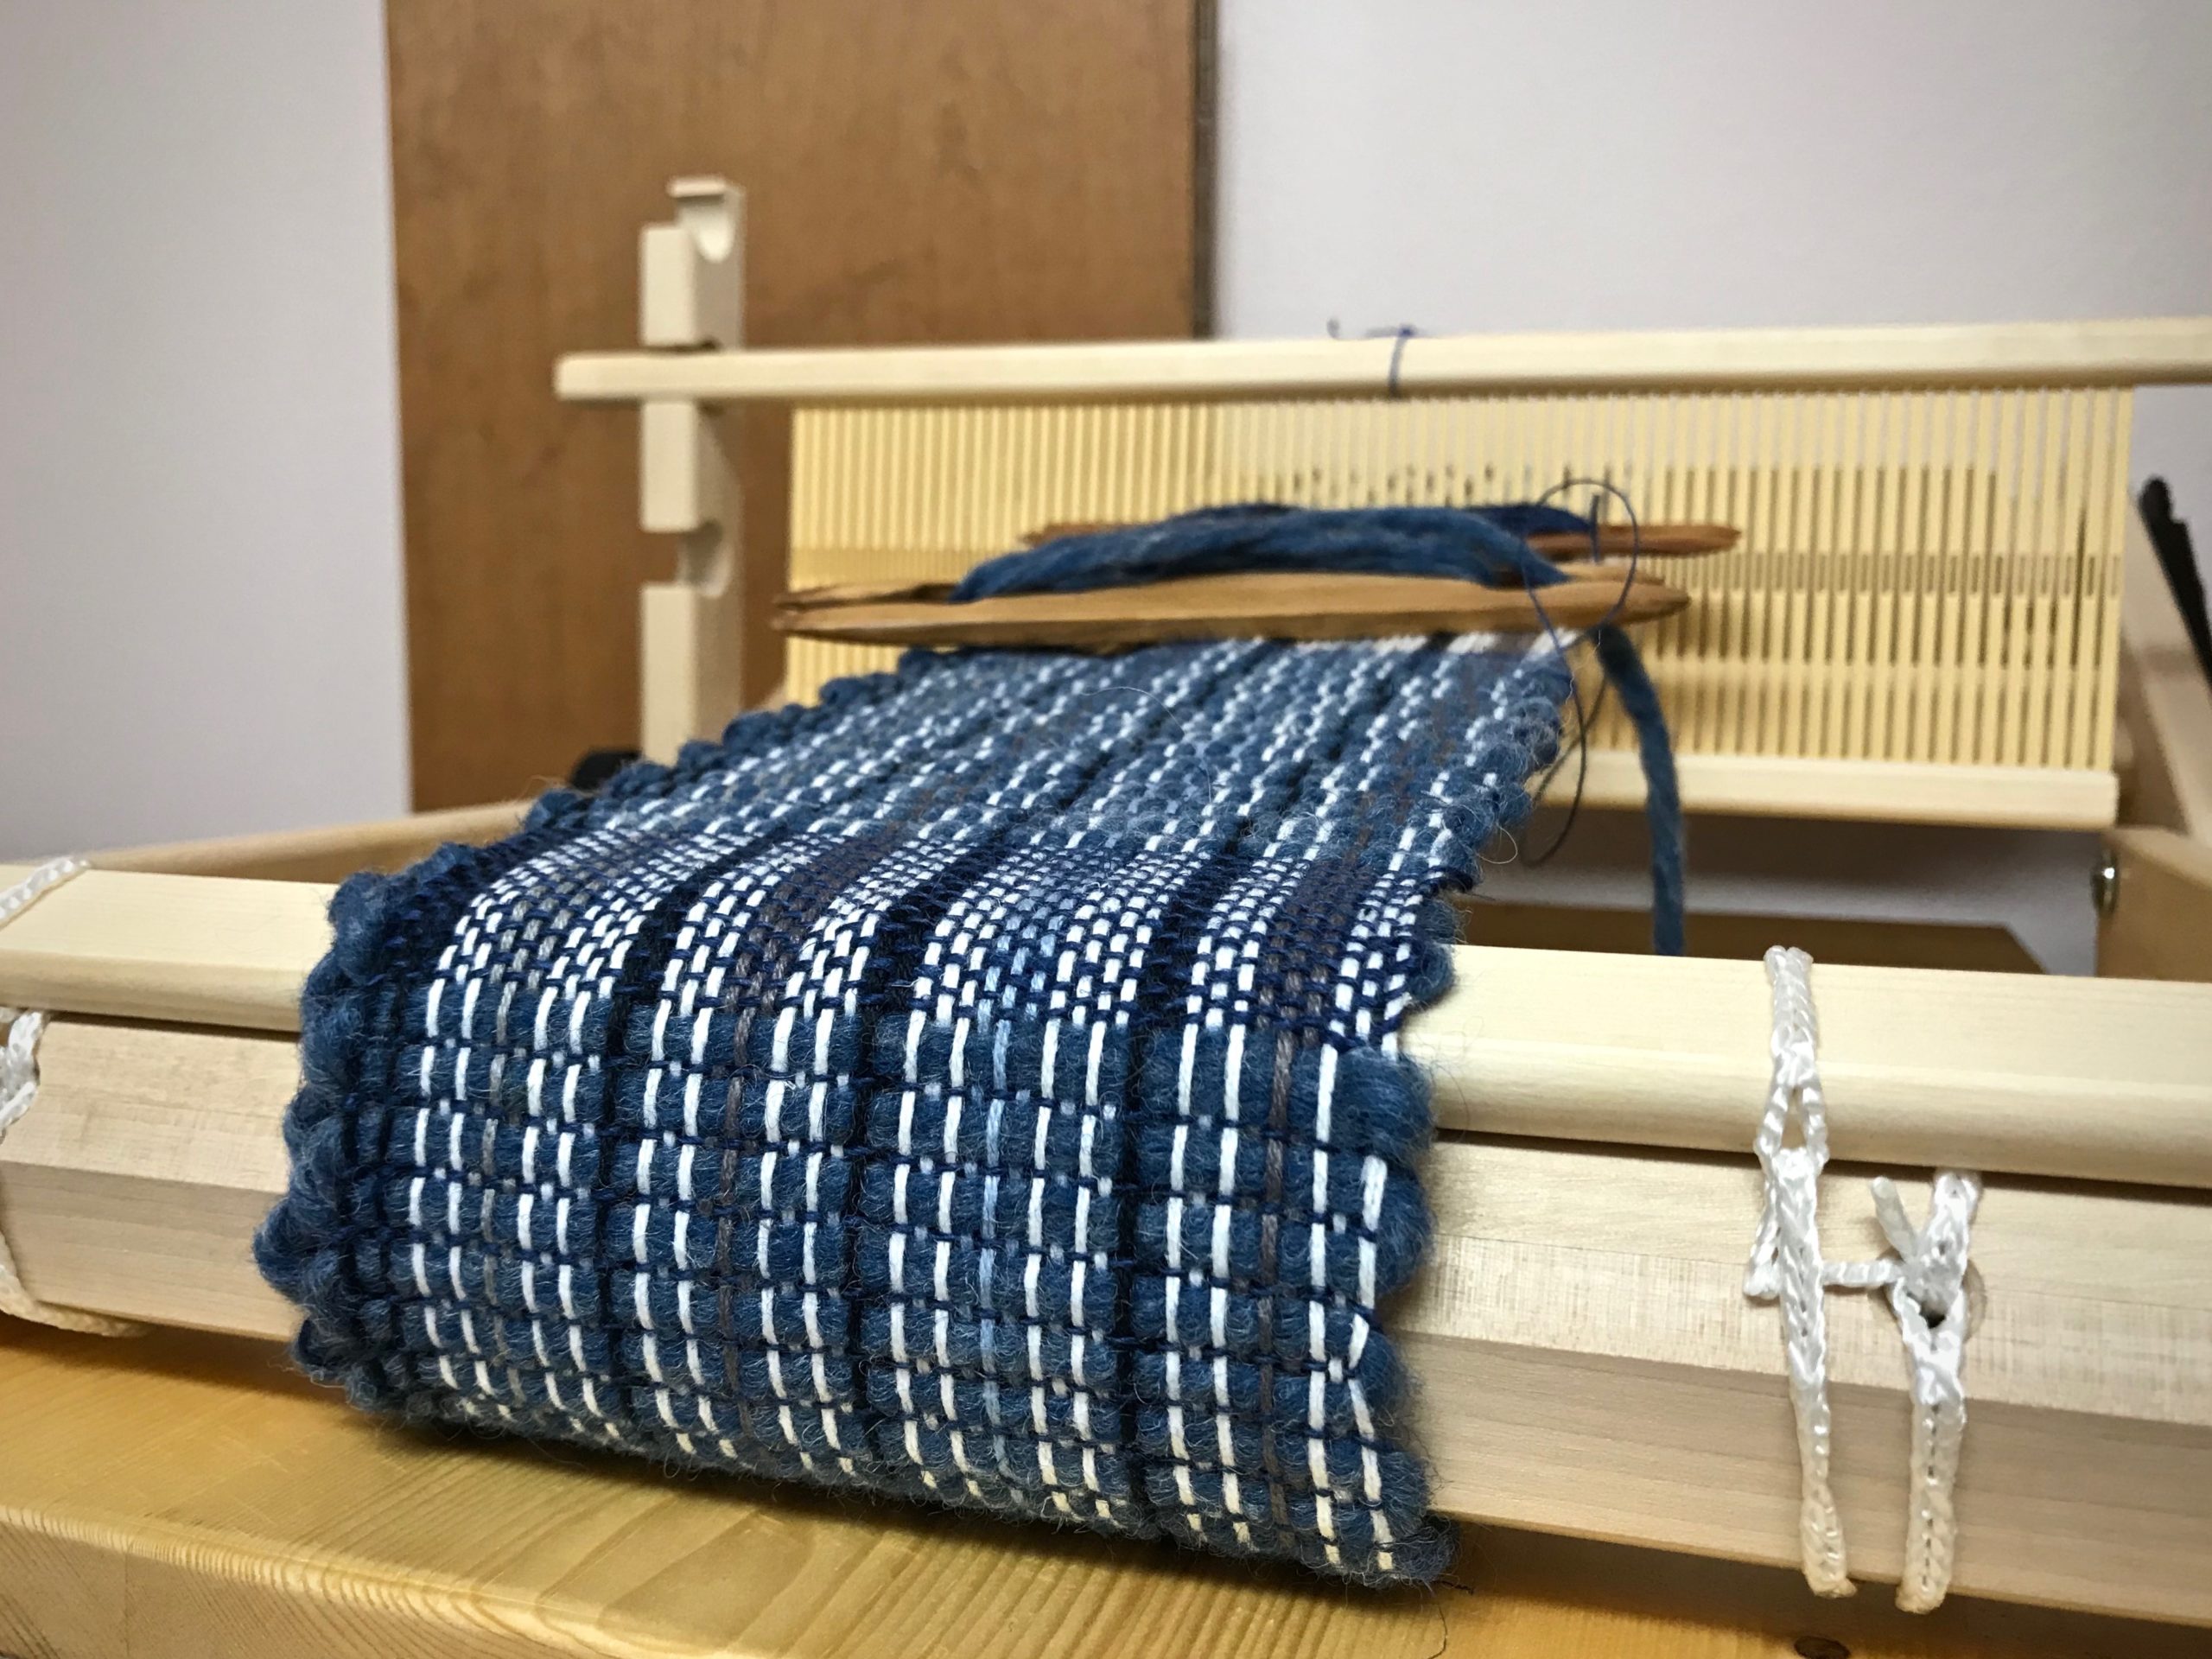
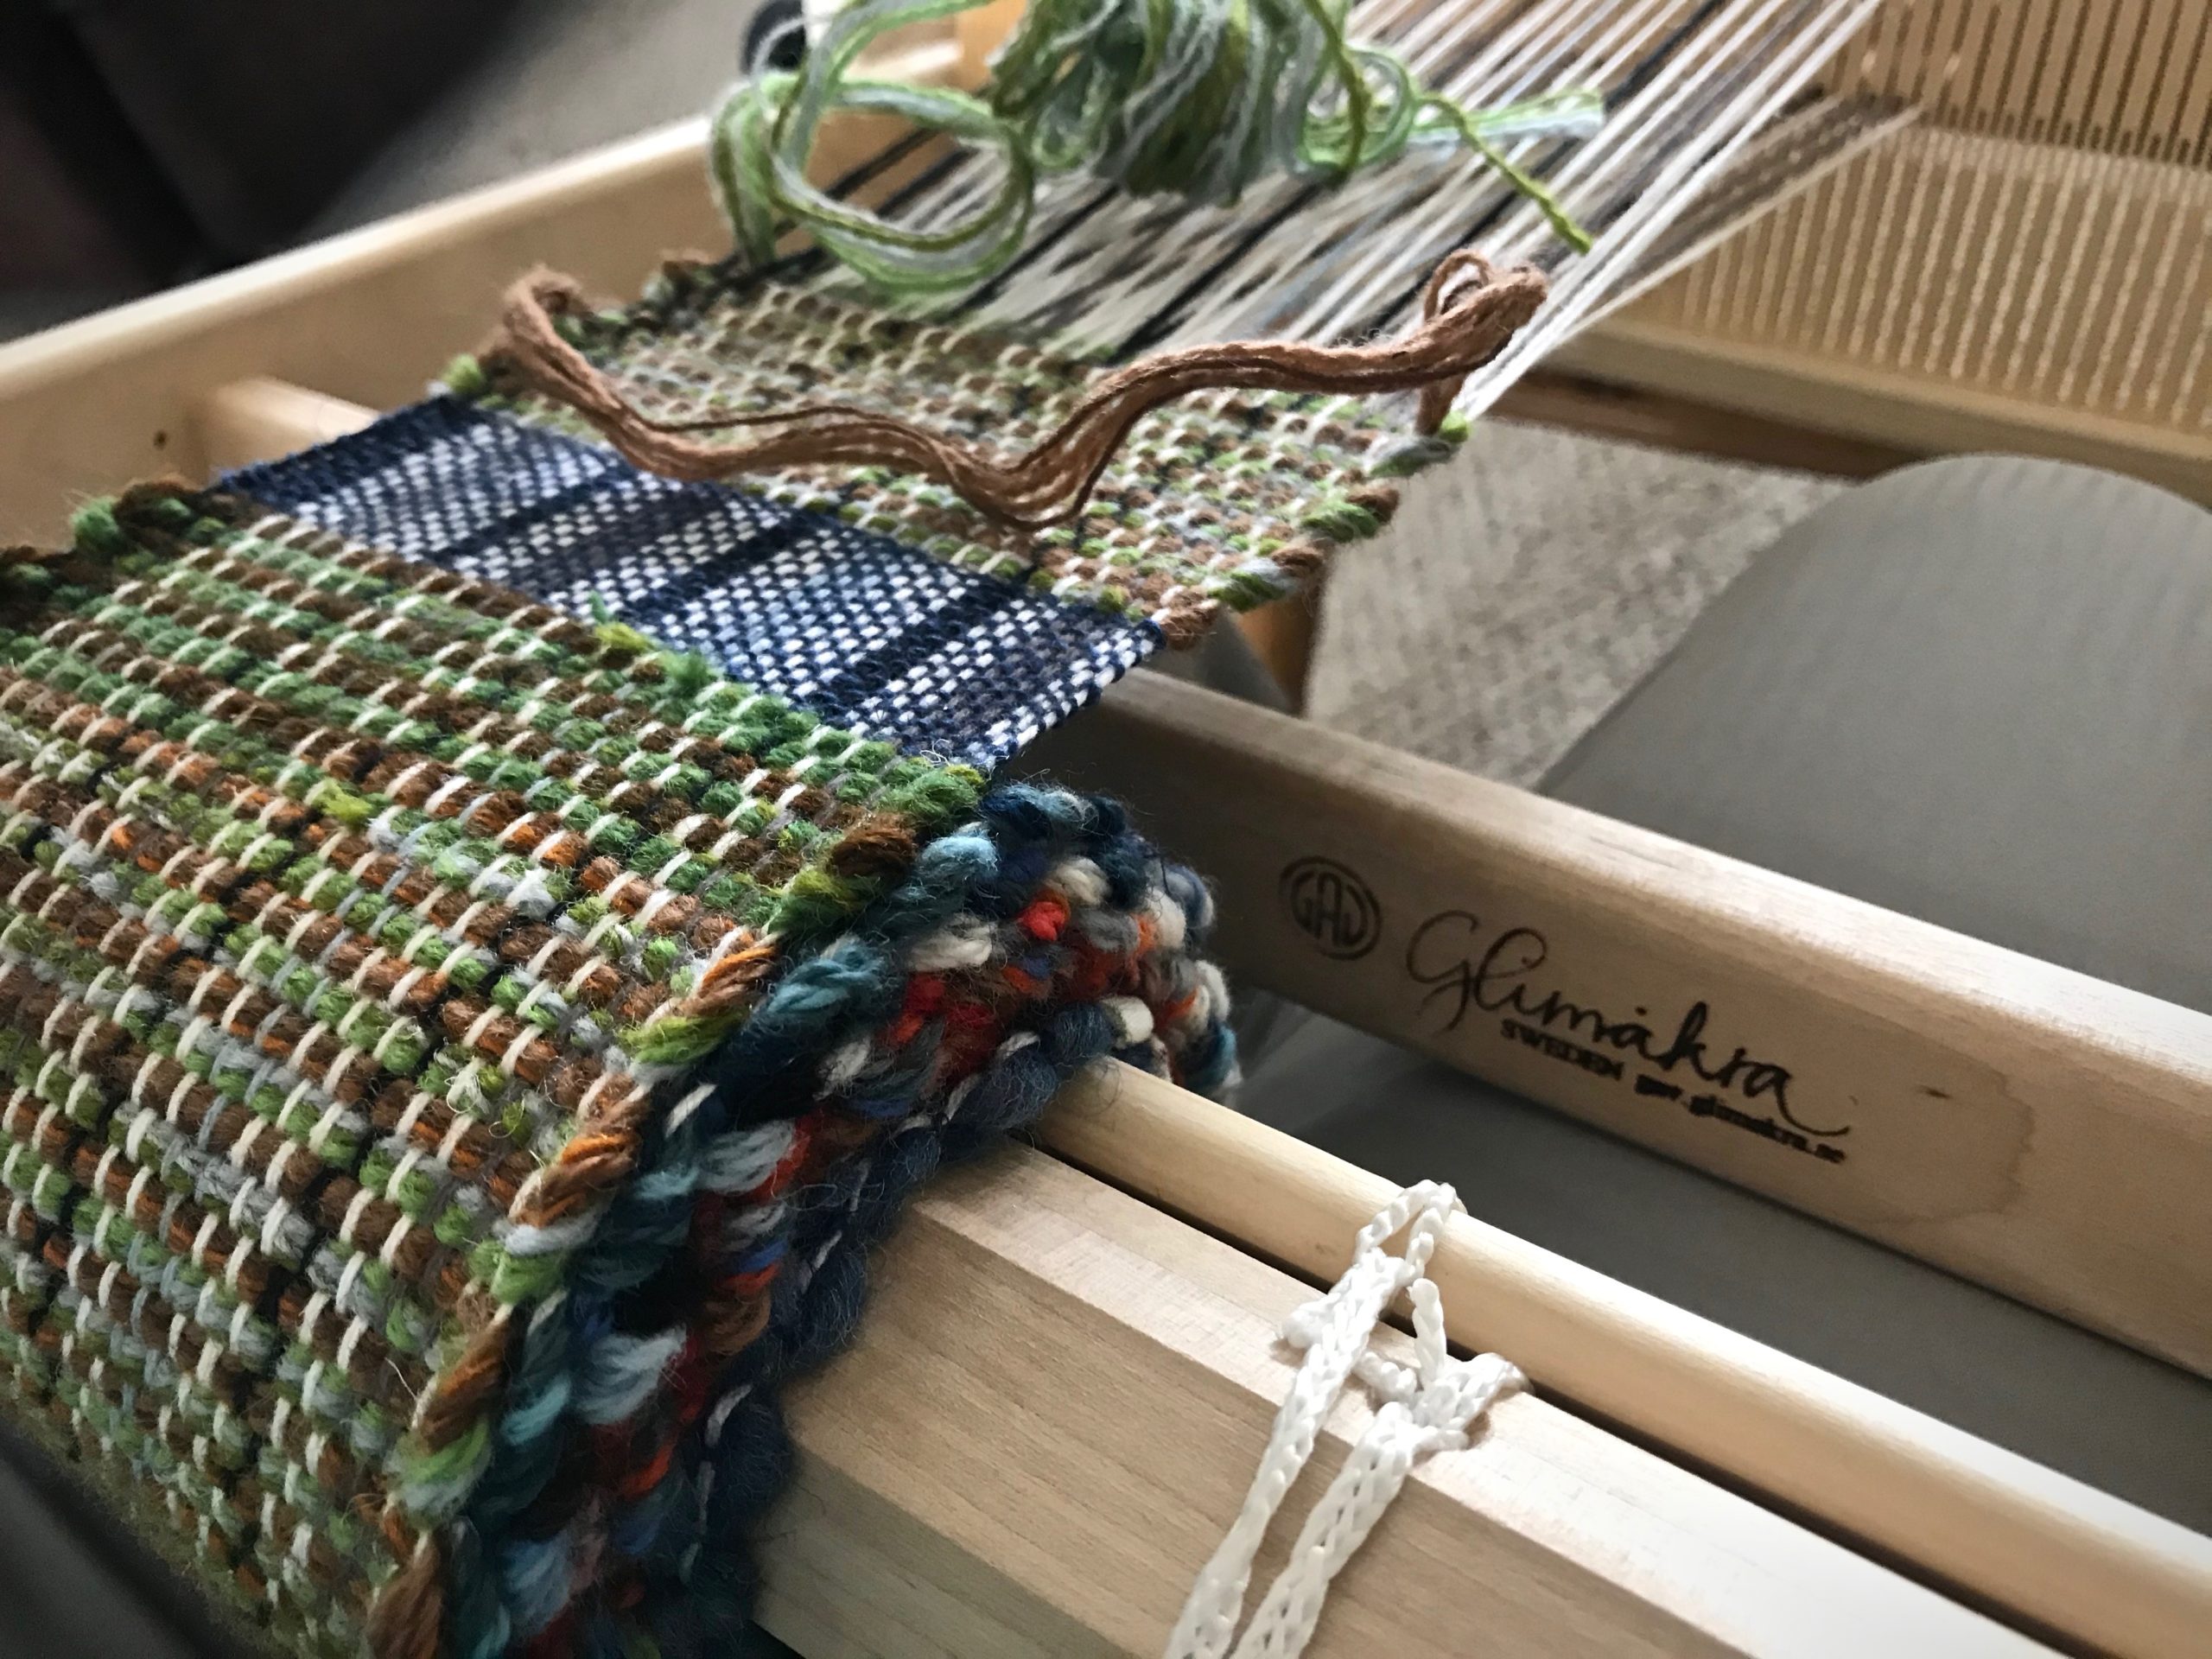
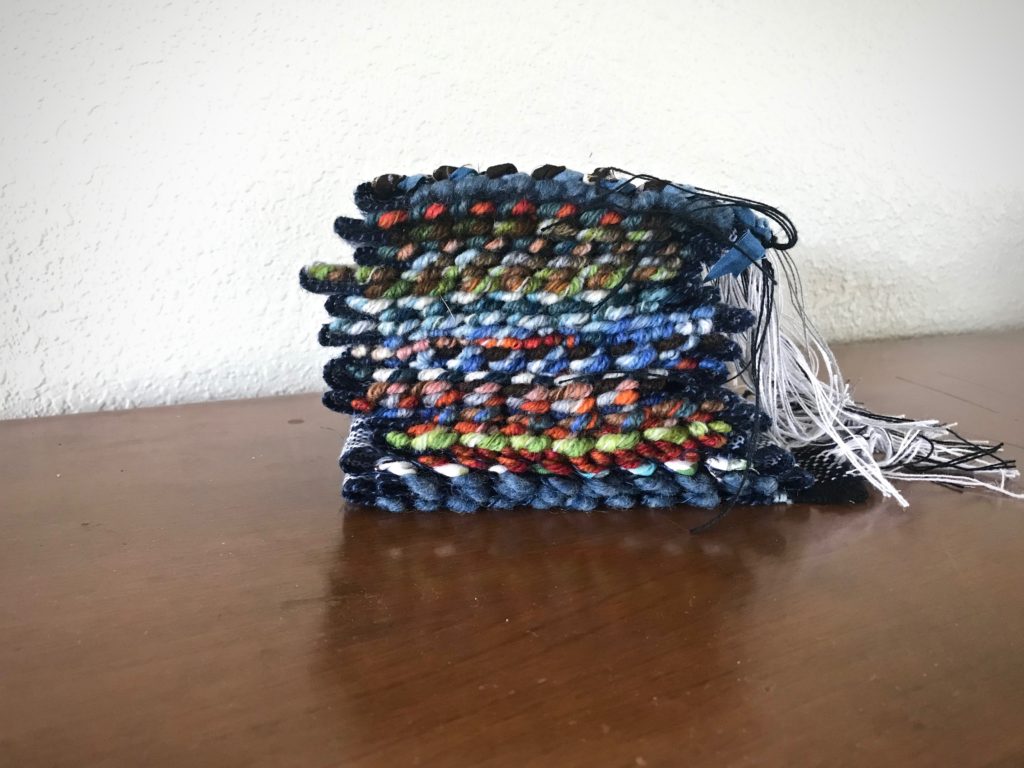
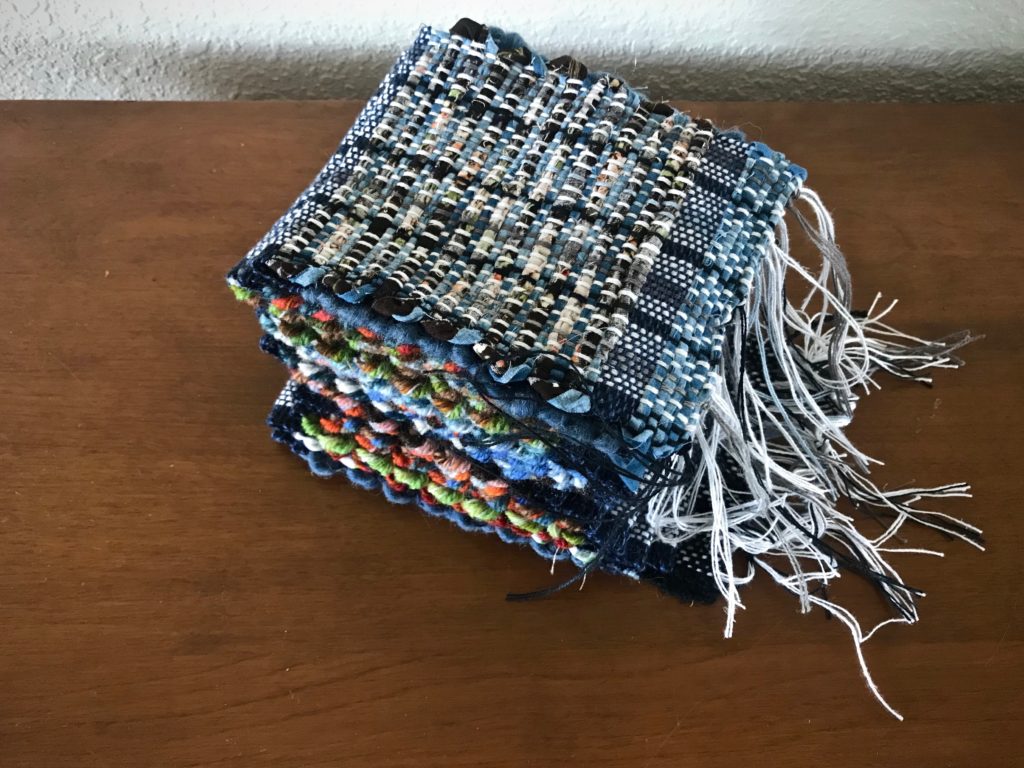
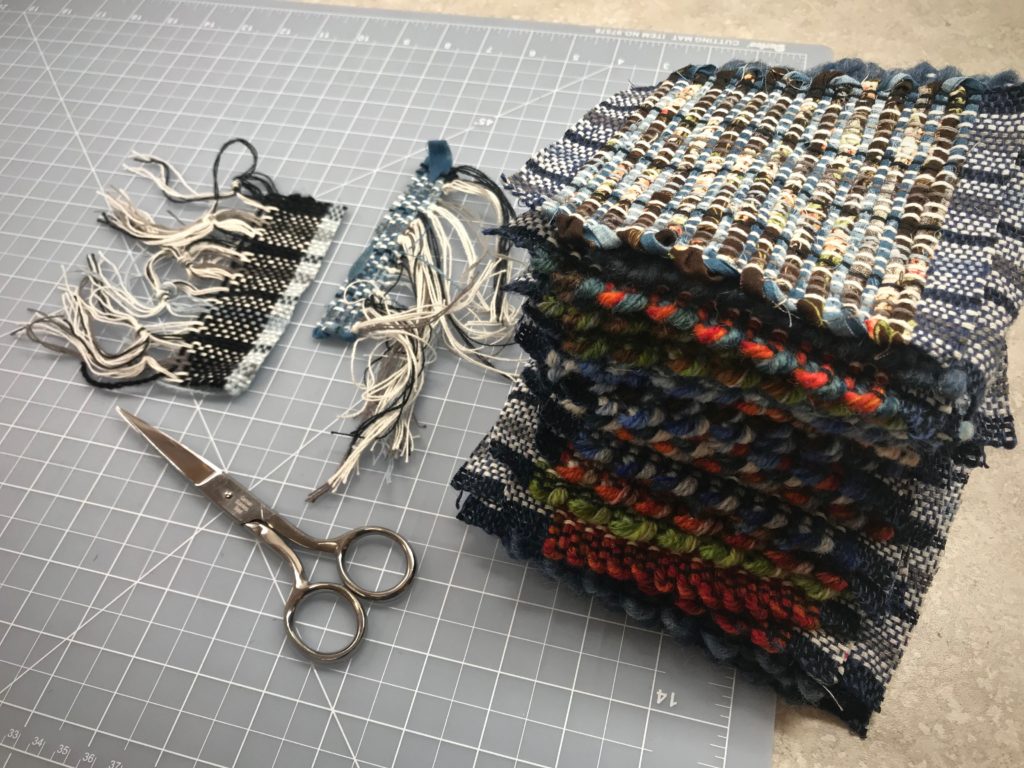
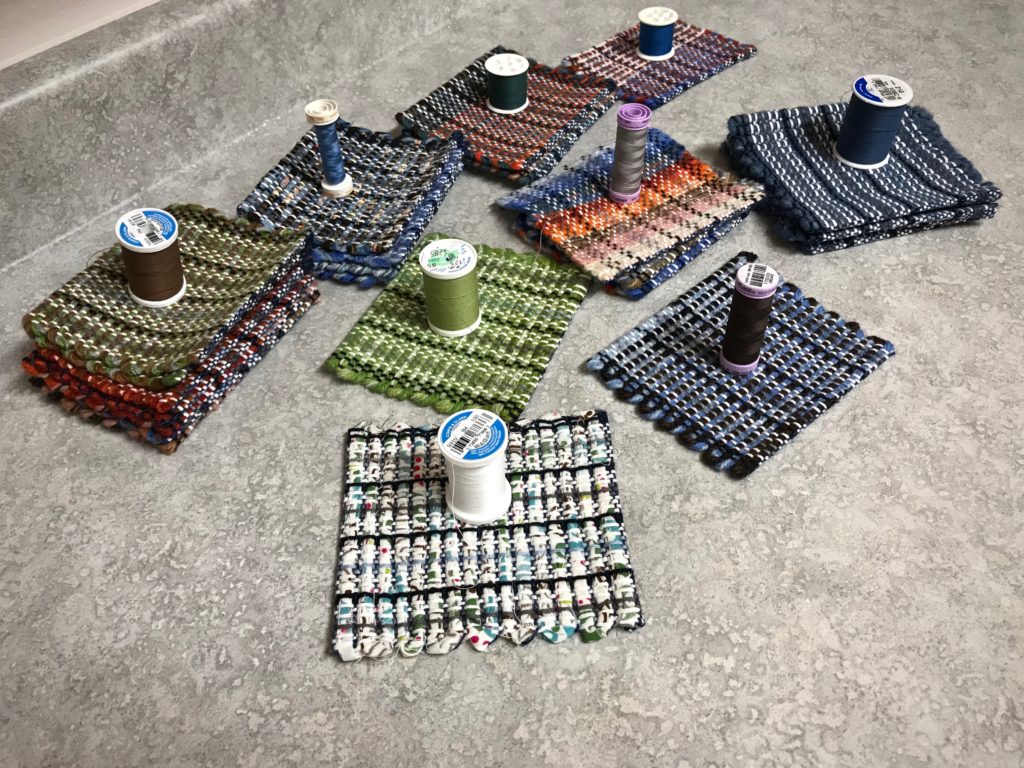
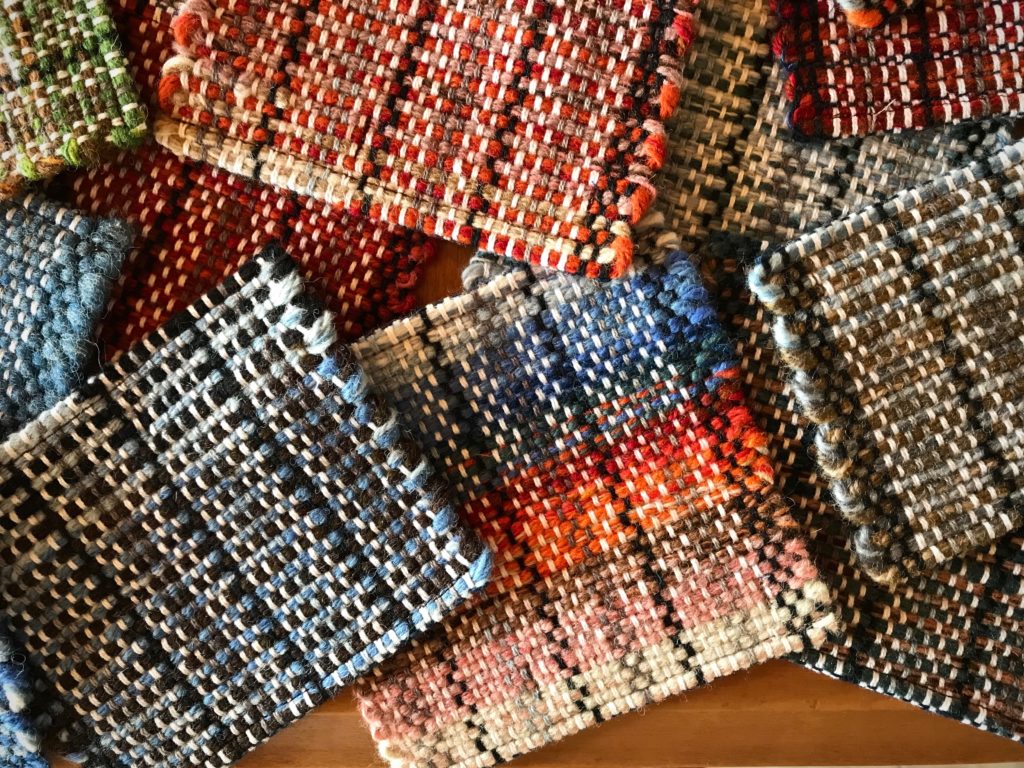
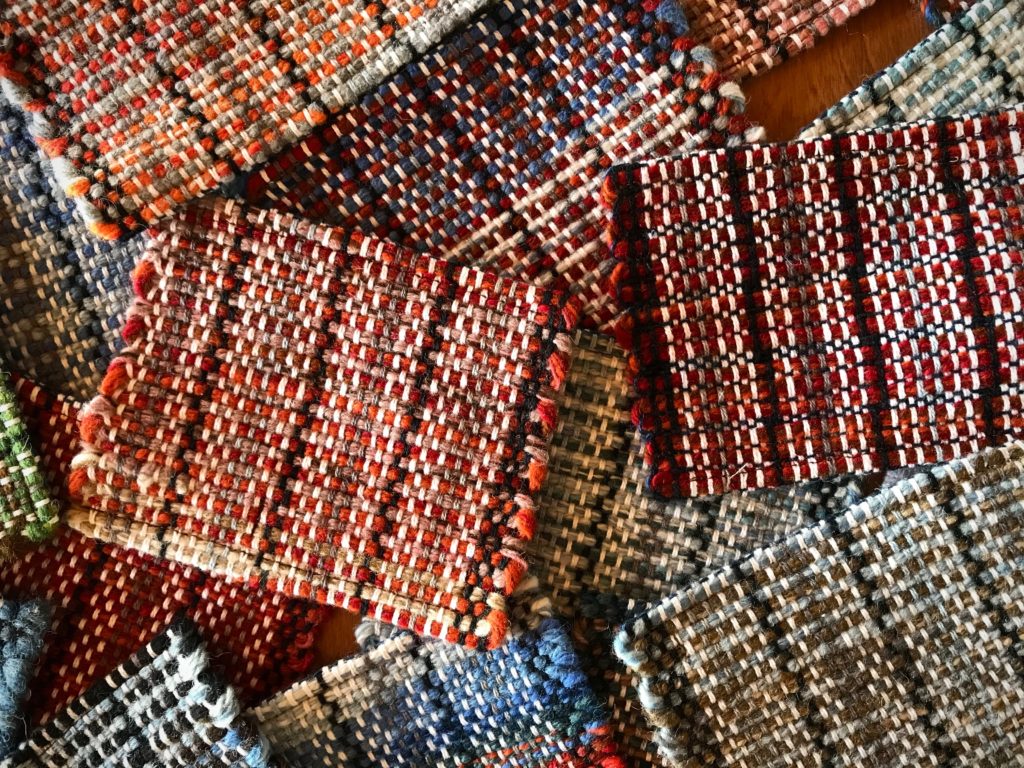
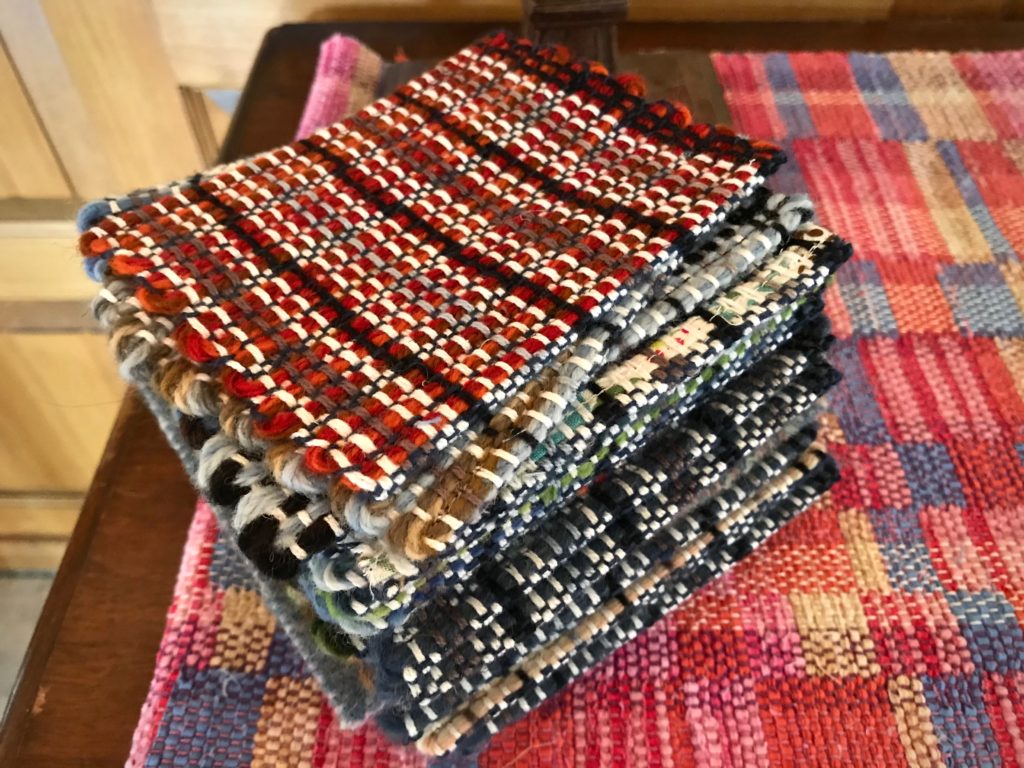
Don’t you love it when the end of the warp yields bonus results? Just enough warp to make a pair of wash cloths, in which every one of the seven colors of quills was emptied. Hurrah!

Handwoven bath towel set. Glimakra Standard loom.
Cottolin bath towel set, soft and absorbent. All quills were emptied off in the final length of warp, making colorful wash cloths.

Enjoy the start-to-finish process with me in this slideshow video:

May jubilation reside in your home.

With the joy of celebrating Christ’s birth,
Karen

Tried and True: Weft Color Changes and Video

I have an efficient way to handle weft color changes. It’s very simple. This is for those instances when I need to end one weft thread and start a new one. As a rule, I take care of weft tails as I go. I don’t want to come back to them later if I don’t have to. If I tuck in each weft tail at the beginning of the row, thickness from the extra wefts builds up at the selvedge, especially if I’m weaving horizontal stripes. The method I describe reduces the extra wefts, and eliminates having to tuck any tails in.

Weaving tutorial about weft color changes.
Color changes add to the movement and excitement of the design.
How to change weft colors - simple!
Vertical and horizontal narrow stripes in six-shaft broken twill.

How to Start a New Weft Color

  1. Weave the last pick of one color.
  2. Change to the shed needed for the next color. Take the shuttle with the first color into the shed for about about 3 cm (1 1/8”), and bring the shuttle up and out through the top of the warp.
  3. Lightly beat (tap) in the 3 cm (1 1/8”) of thread. Carefully snip off the thread close to the warp.
  4. Weave a pick of the next color, with the end of the new thread overlapping the 3 cm (1 1/8”) of the previous color thread. Position the new thread such that the end is outside the selvedge just a hair.
  5. Beat in the new weft and continue weaving until the next color change.
Tutorial about efficient way to change weft colors.
Ending the third of four bath towels.
Stripes in towels. How to!
Hand towels waiting to be paired up with the bath towels…hopefully, before Christmas!

Watch this short video to see me demonstrate this method of changing the weft colors.

May your choice of weft colors give a glimpse of your best qualities.

Simply Weaving,
Karen

Time Lapse: Windmill and Taildragger on the Drawloom

Come, look over my shoulder as I weave a windmill and taildragger image on the drawloom. The central design is woven using 103 single-unit draw cords. I have a simple motif for the borders that uses only three pattern shafts. In the video below, watch as the three draw handles for those pattern shafts appear and disappear throughout the weaving.

Drawloom weaving, with time-lapse video.
Draw cords are used to raise single units of threads to create the image, one row at a time.
Windmill and taildragger woven on the drawloom.
Woven from the side.

I recorded my weaving in time-lapse form so you can watch three hours of effort compressed into three-and-a-half minutes. In the video you will see my hand pulling the draw cords, and then touching all the pulled cords from right to left to double check my work. That double checking saved me from dreaded do-overs.

Windmill and Taildragger Silhouette from an old "Flying" magazine.

When our good friends, Jerry and Jan, saw my drawloom they brought this picture to my attention. — Forty years ago Jerry discovered the silhouetted windmill and airplane tucked away on a back page in an old issue of Flying magazine. Because of his affinity for airplanes and windmills he cut out the tiny picture and saved it. Years later, Jan found the picture and had it enlarged and framed. — After learning about my loom’s pictorial capability, Jerry and Jan wondered aloud if this special image could be woven on a drawloom…

Windmill and Taildragger woven on the drawloom. With time-lapse video.

Enjoy the video, and hold on to your hat!

May you ride the wind.

Happy Weaving,
Karen

Process Review: Christmas Tree Skirt Fabric

This is a Christmas tree skirt in the making. The next stage of this special project will include appliqué and embroidery. The embellished tree skirt should be complete by the time Steve and I put up our Christmas tree this year. This luscious white-on-white wool cloth is just the beginning. Some colorful handwoven remnants will tell the rest of the story. I’ll let you know when that part is finished…

At the very end, with the back tie-on bar right behind the shafts.
Back tie-on bar is right behind the shaft bars. The shed is compromised, but I am still able to squeeze my shuttle through to weave enough picks to empty my quill.
Just off the loom, unwashed handwoven wool fabric.
Just off the loom, unwashed. 8/1 Möbelåtta unbleached wool warp and 6/1 Fårö bleached wool weft.

I thoroughly enjoyed the one-shuttle monotone weaving. It was a quiet stream amid my other rambunctious color-filled looms.

Handwoven fabric for a Christmas tree skirt.
Wash on delicate cycle in the washing machine. Place in dryer on low heat for ten minutes. Air dry to finish. Snuggle.

Here’s a view into the process of making this cloth.

May your days be merry and bright…

Happy early Christmas,
Karen

Mug Rugs to Remember

Knowing I would be away from my floor looms for a while, I put a narrow cottolin warp on my little Emilia rigid heddle loom to take with me. Mug rugs—perfect for travel weaving, to use bits of time here and there. I had some bulky wool yarn and a few rag rug fabric strips to take for weft. In a burst of hopeful inspiration, I grabbed a bag of Tuna/Fårö wool butterflies, leftover from my Lizard tapestry (see Quiet Friday: Lizard Tapestry) a couple years ago, and tossed it in my travel bag as we were going out the door.

Mug rugs on Glimåkra Emilia rigid heddle loom.
Glimåkra Emilia 35cm (13.5″) rigid heddle loom. Narrow cottolin warp is from a previous warp-winding error that I had chained off and saved.
Mug rugs on my Glimakra Emilia rigid heddle loom.
Blue bulky wool yarn left from a long-ago project makes a good thick weft for mug rugs. Picks of navy blue tow linen are woven between picks of thick weft on some of the mug rugs.
Weaving mug rugs on my Glimakra Emilia rigid heddle loom.
Wool butterflies for the weft are made of several strands of Tuna and Fårö yarn.

Those colorful wool butterflies turned out to be my favorite element! They not only gave me colors to play with, they also provided variety, the spice of weaving. The forgotten Lizard butterflies will now be remembered as useful and pretty textiles.

30 mug rugs on the rigid heddle loom.
The end of the warp.
Mug rugs just off the rigid heddle loom.
Rag rugs for mugs!
Rag rug fabric strips are used for a few of the mug rugs. Rag rugs for mugs!
Mug rugs ready to be hemmed.
Mug rugs are cut apart to prepare for hemming.
Making handwoven mug rugs.
Hems have been folded and pressed under. Choosing bobbin colors to sew the hems.
Wool handwoven coasters.
Wool butterflies provided many different colors.
Handwoven wool coasters woven on a rigid heddle loom.
Alternating two different colors of wool butterflies was my favorite way to play with color.
Mug rugs for gifts.
Completed mug rugs, ready to be sent out as gifts.

How do you want to be remembered? Like my tapestry-specific butterflies put away on a shelf, our carefully-crafted words will soon be forgotten. Actions speak longer than words. Our deeds of faithful love will outlive us. Our actions that reveal the kindness of our Savior will stand the test of time. And that is a good way to be remembered.

Coffee or tea, anyone? Handwoven mug rug.
Coffee or tea, anyone?

May you be remembered for your deeds of faithful love.

Happy Weaving,
Karen