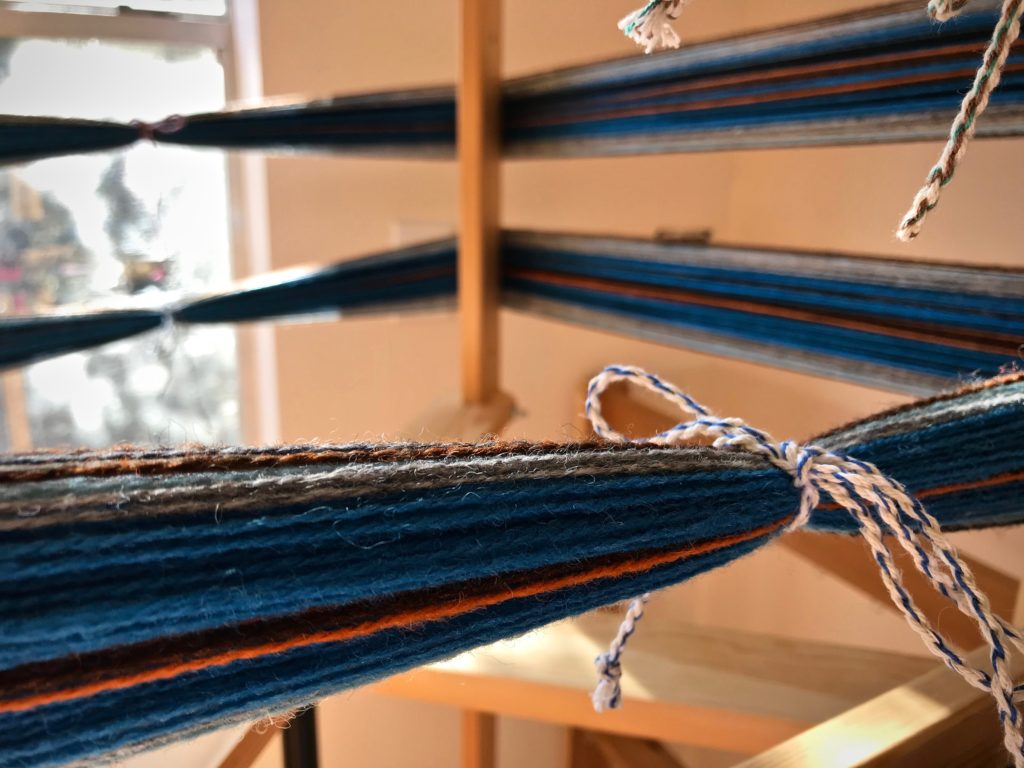
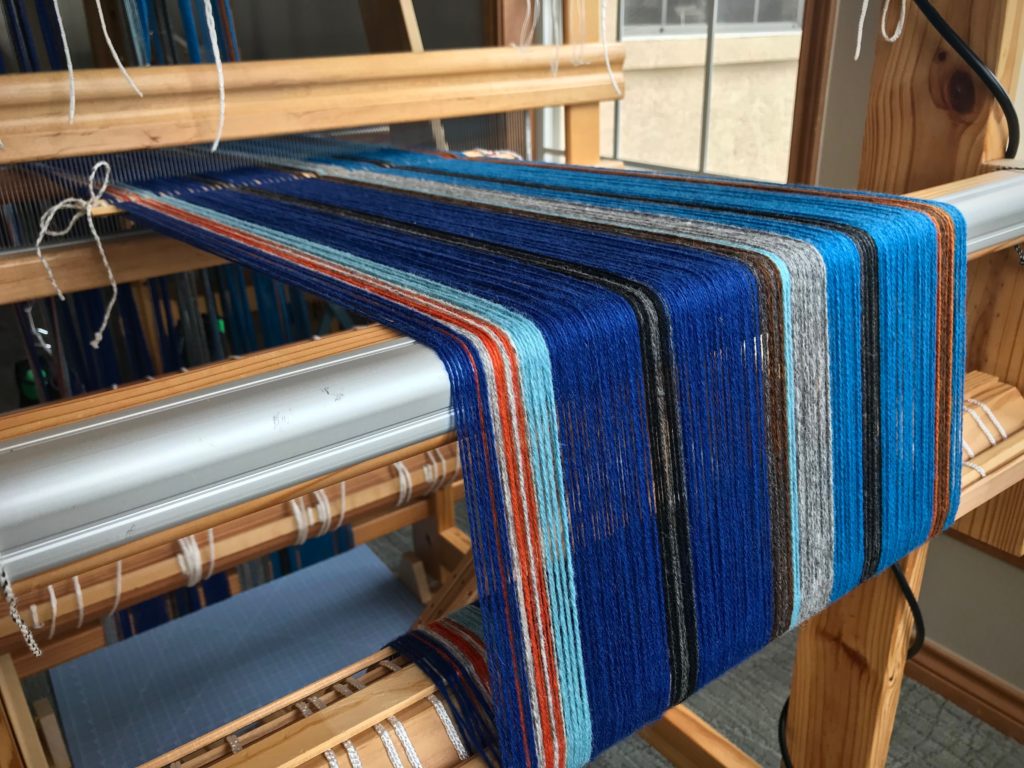
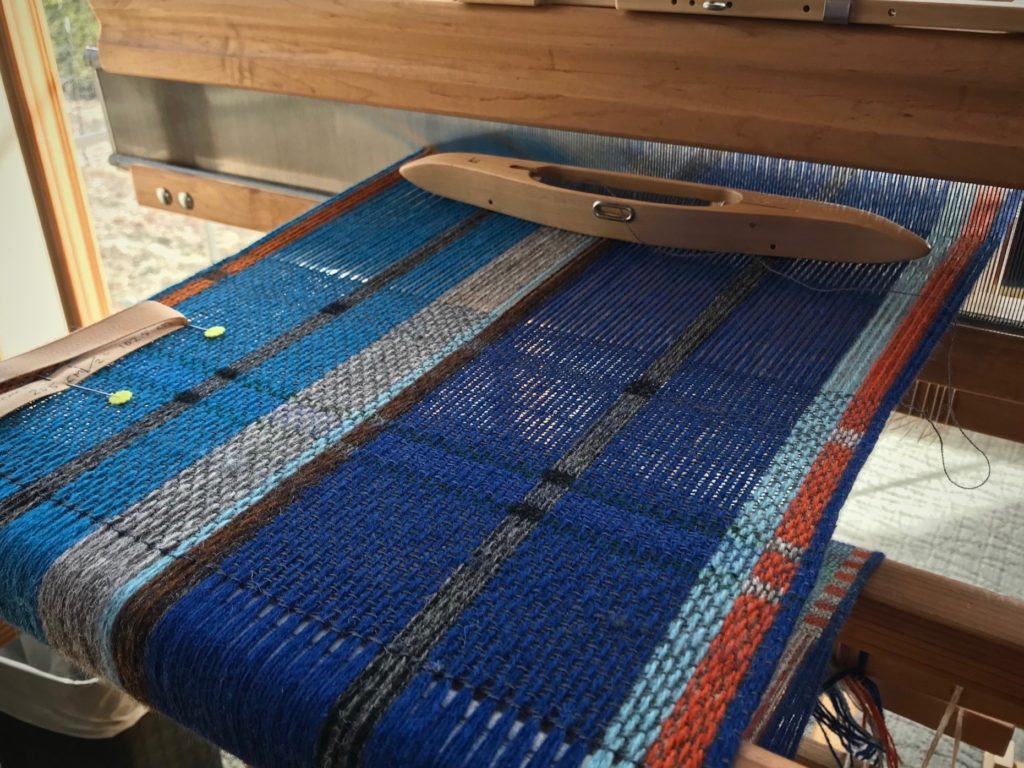
You could say I finished these scarves too late. Winter in Texas has come and gone. But I prefer to think of it as considerably early. When cool weather comes back around in a few months, I’ll be ready. I began with the draft for the lovely Stardust scarf, designed by Mona Nielsen, published in Happy Weaving, from VävMagasinet, p.74. I simply substituted the yarn and colors in the book with what I had on hand.
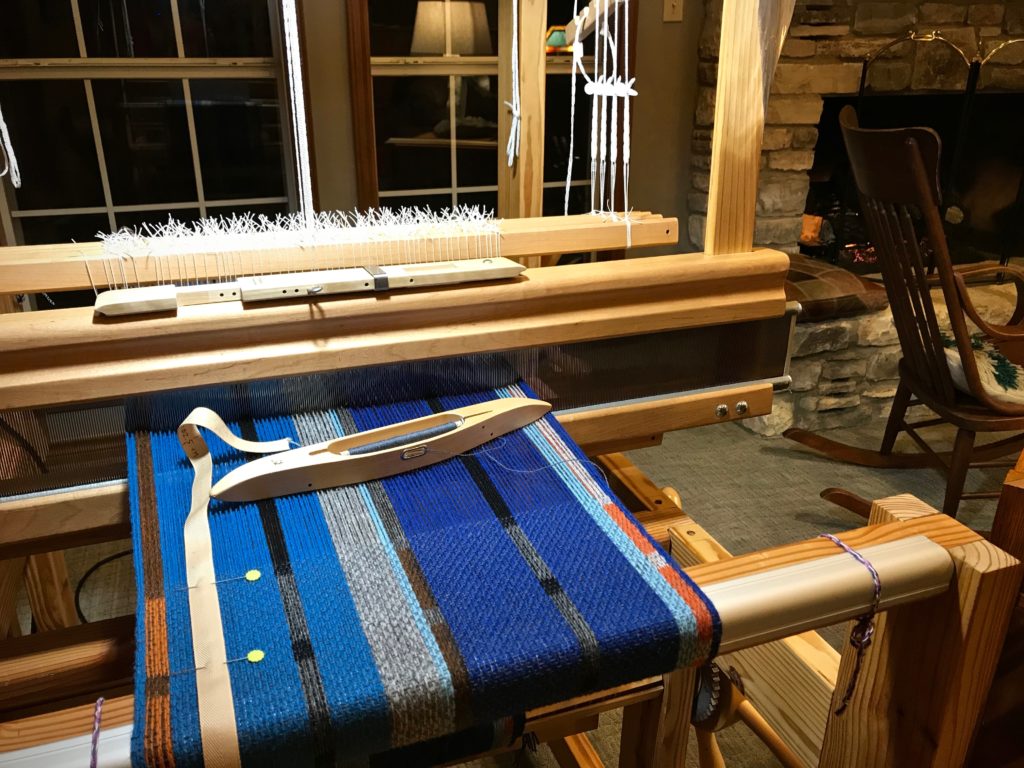
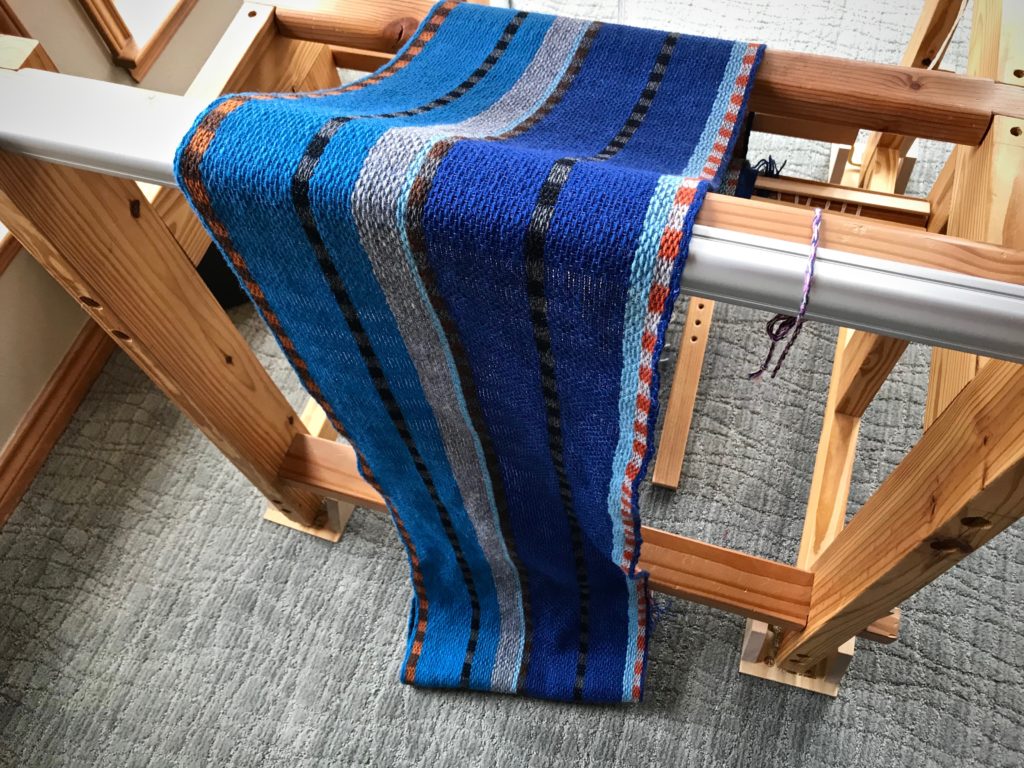
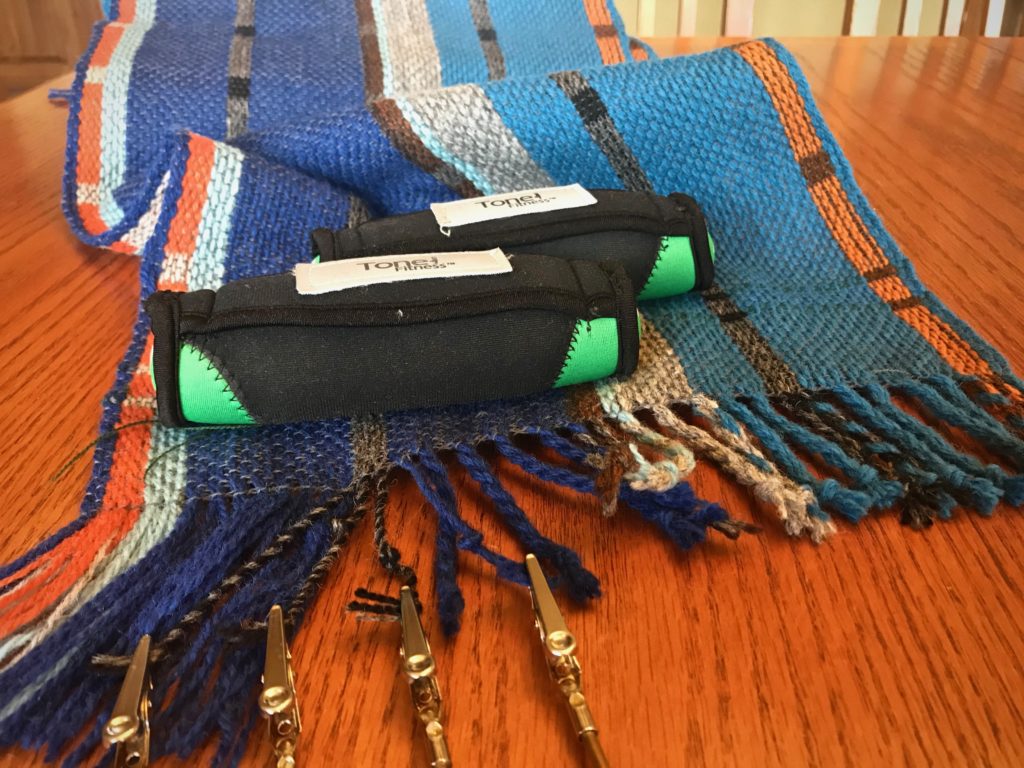
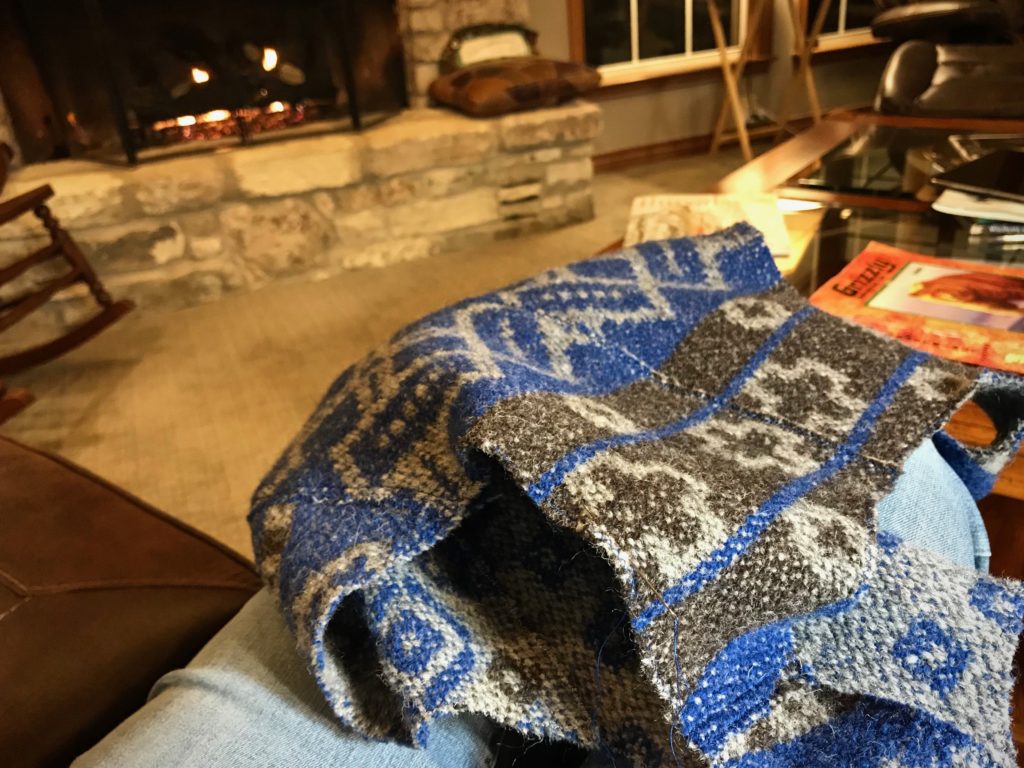
Warp is mostly 6/2 Tuna wool, with some 7.5/2 Brage wool included.Made with yarn on hand. This means that additional stripes have been added to the plan.Weaving by the fire in the middle of winter. Mora 20/2, a fine wool, is used for weft.Two scarves coming off the loom.Fringes are cut and twisted.
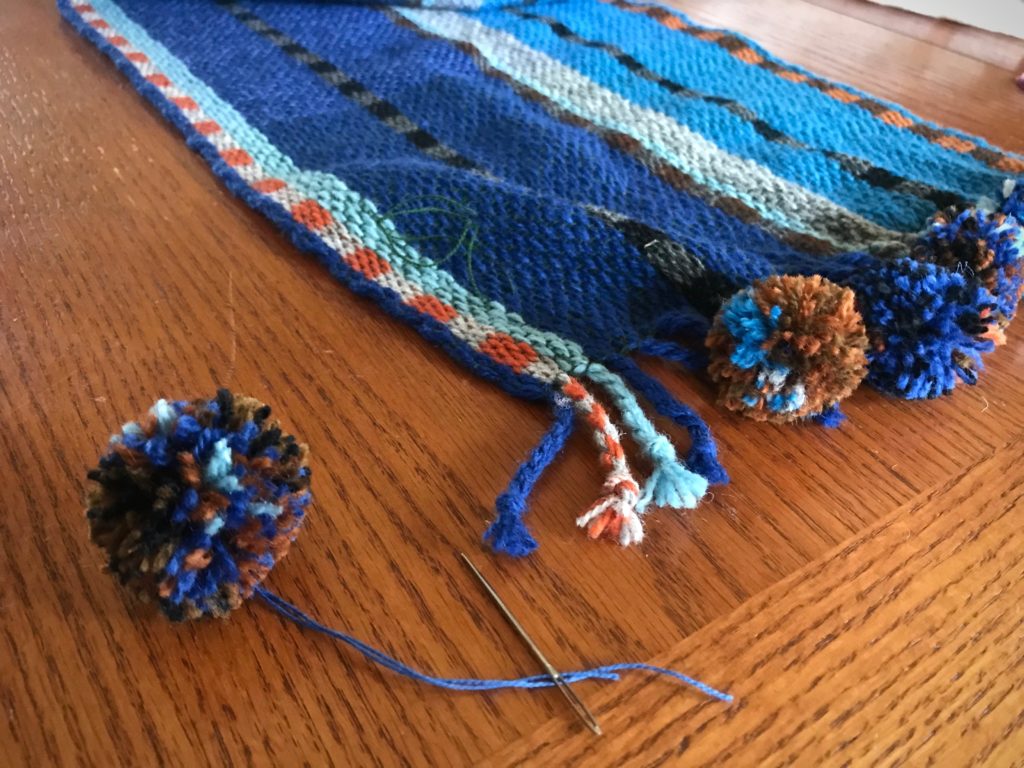
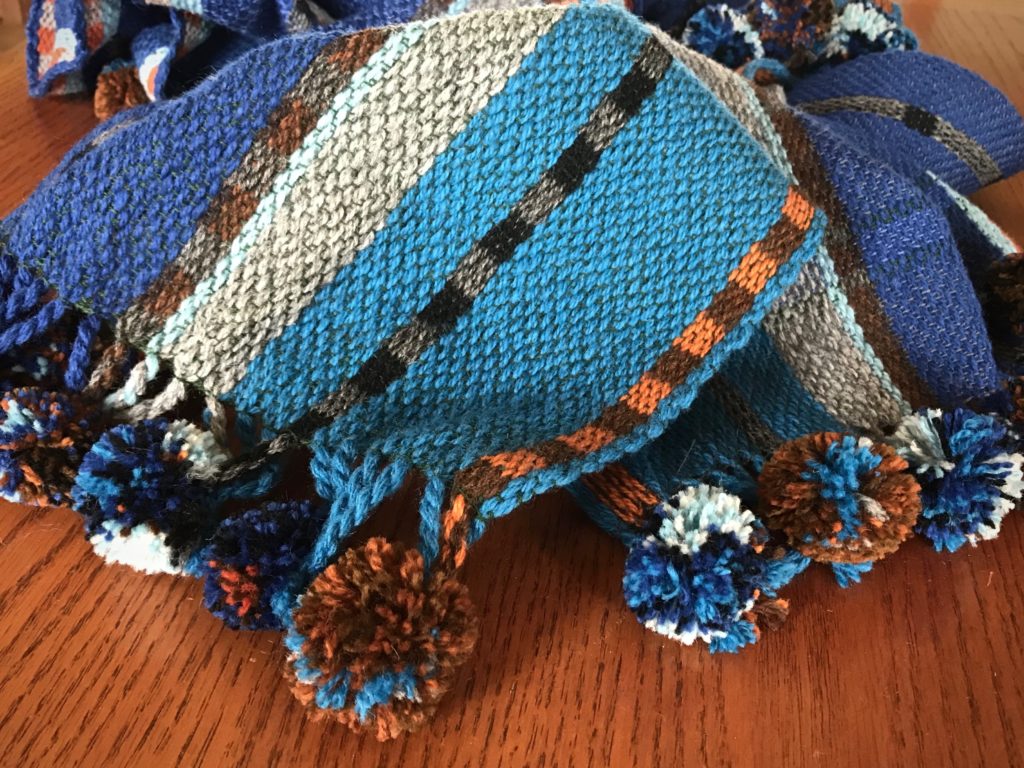
The scarves are delightful, but the icing on the cake is the addition of fluffy, furry pompoms, an embellishment with youthful flair. And that is exactly what I will put on at the first sign of autumn chill.
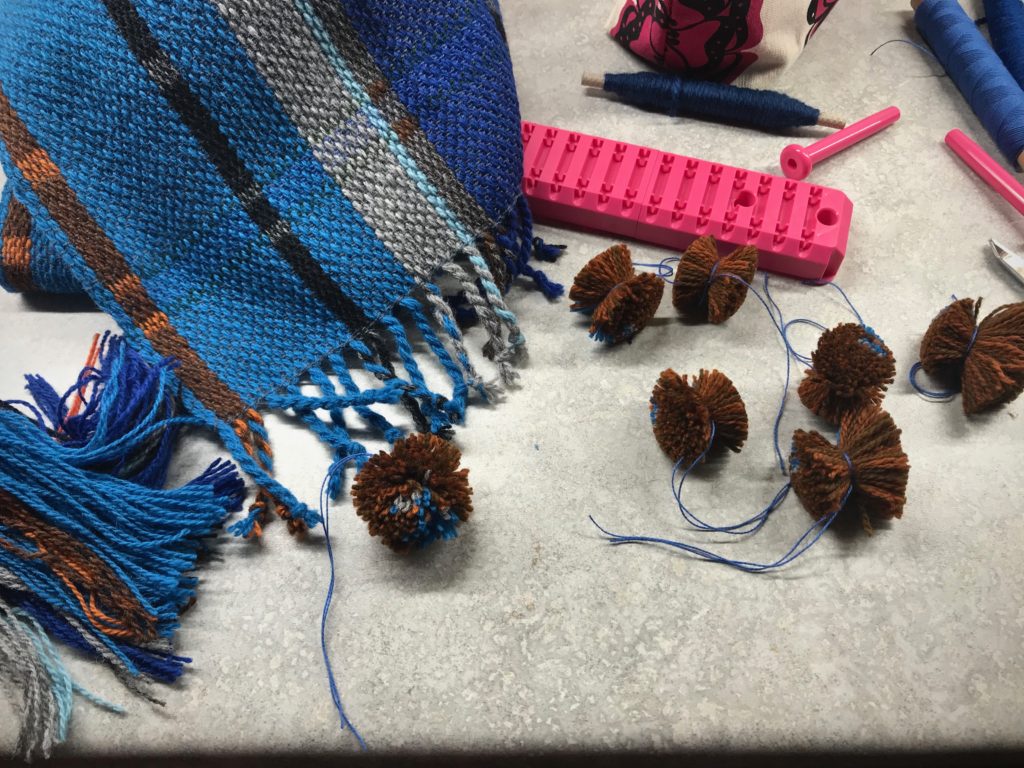
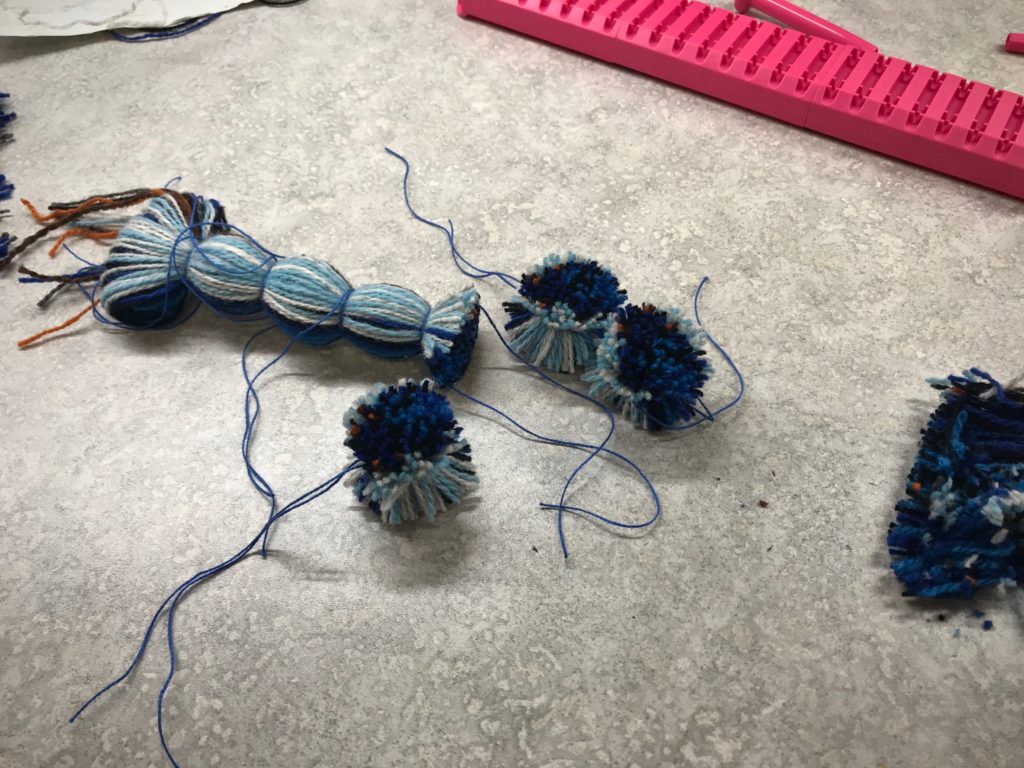
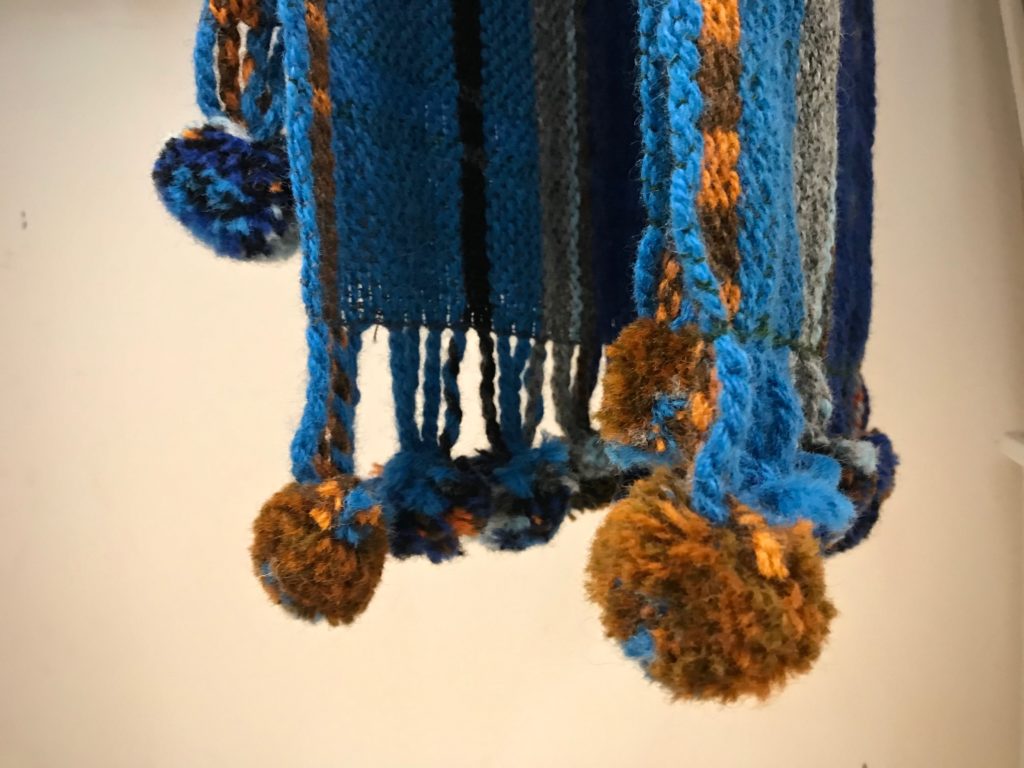
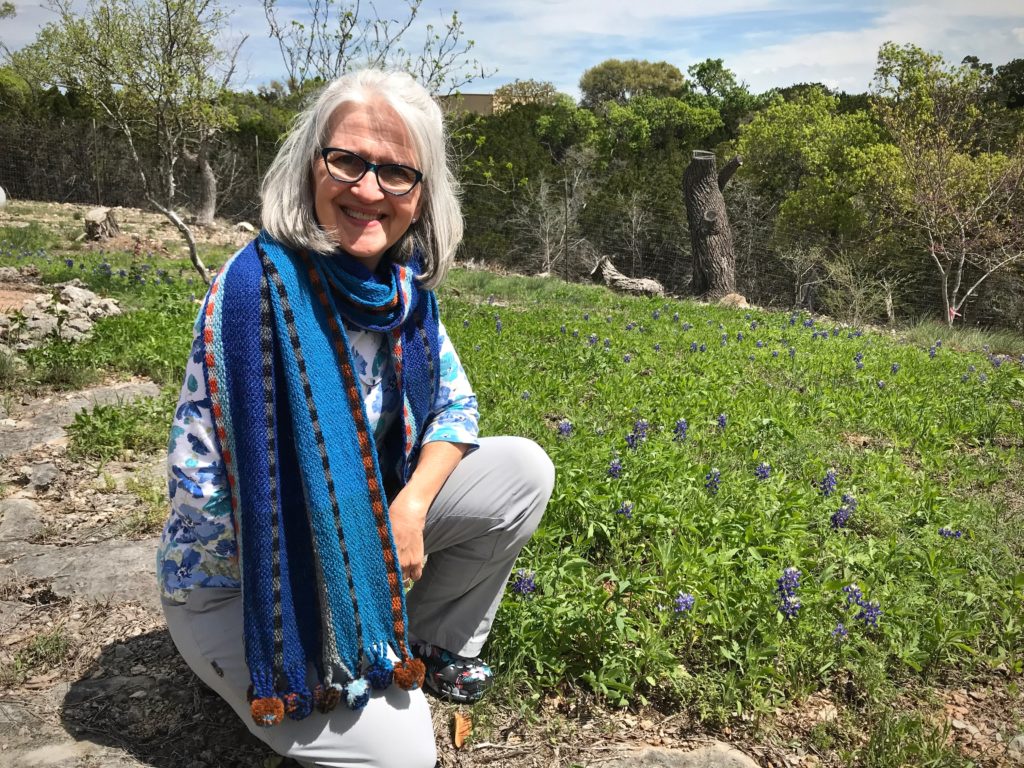
Some of the thrums are used in making pompoms.With the Pom and Tassel Maker by Red Heart I can make seven pompoms at a time. I wrapped the yarn around 100 times, making full and thick pompoms.Each furry ball is shaped and trimmed. I used 8/2 cotton for the 12″ tie around the center of the pompoms.Each pompom is stitched to 3 – 4 twisted fringes. Seven pompoms at each end of the scarf.Now, the scarves are ready for wet finishing. Notice how you can see the separate strands of yarn in the pompoms before they are washed.Scarves have been washed by hand in warm water in a large sink, with Eucalan delicate wash. I purposely gave them as much agitation as I could by hand. They are hanging to dry. Notice how the pompoms have slightly felted, making them even more soft and furry.Winter scarf amid spring bluebonnets in Texas hill country.
Some things are certain. The sun will rise tomorrow. The seasons will follow their schedule. The faithfulness of the Lord our God will never end.
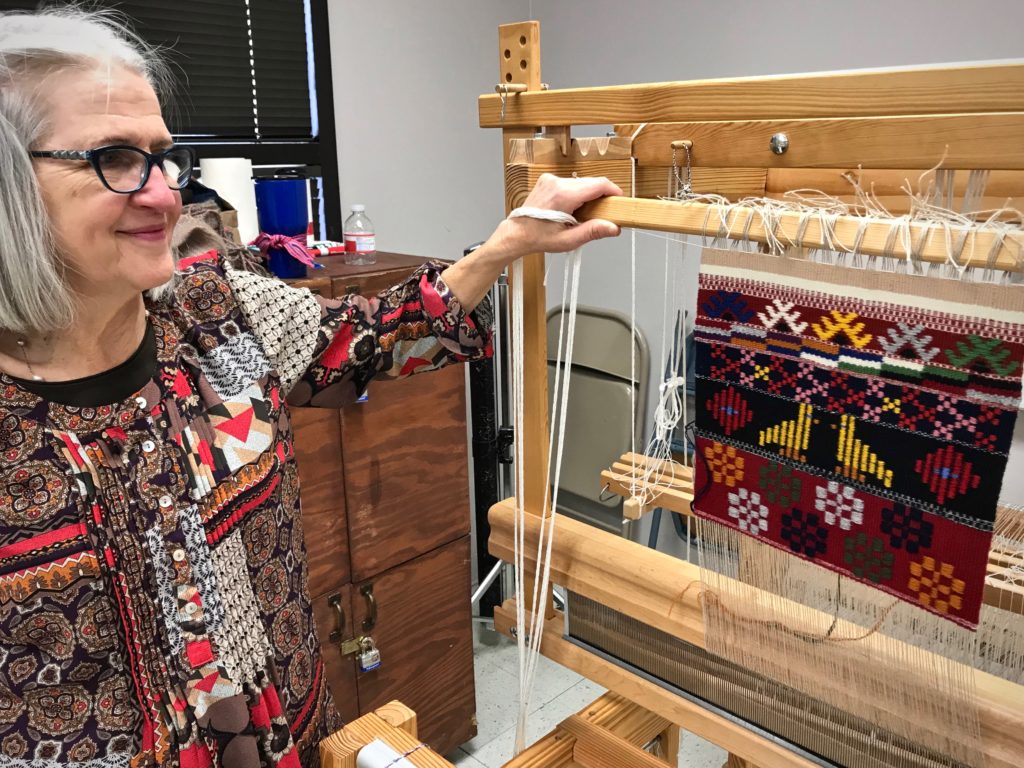
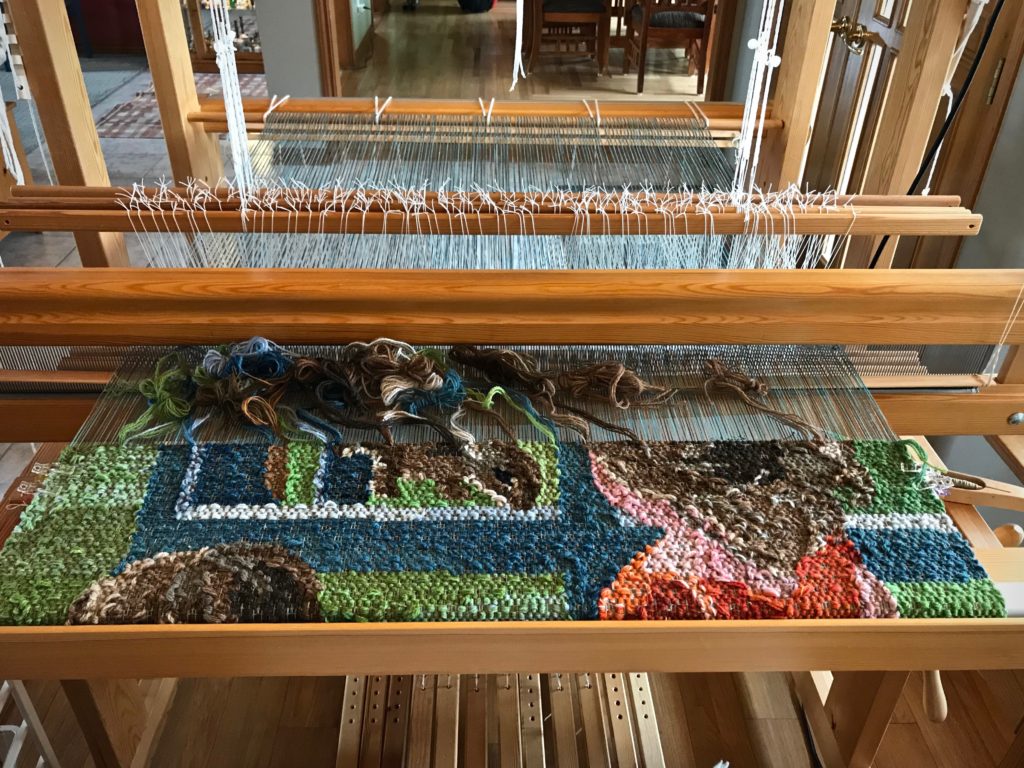
Krabbasnår (or Krabba), Rölakan, Halvkrabba, Dukagång, and Munkabälte (Monksbelt). These unique weaves have intrigued me since I first saw photos of them. Some of the designs look like hand-stitched embroidery. The Swedish Art Weaves workshop with Joanne Hall introduces the simple techniques used for weaving these traditional patterns. I’m thankful to have the opportunity to learn how to weave these beautiful designs for myself.
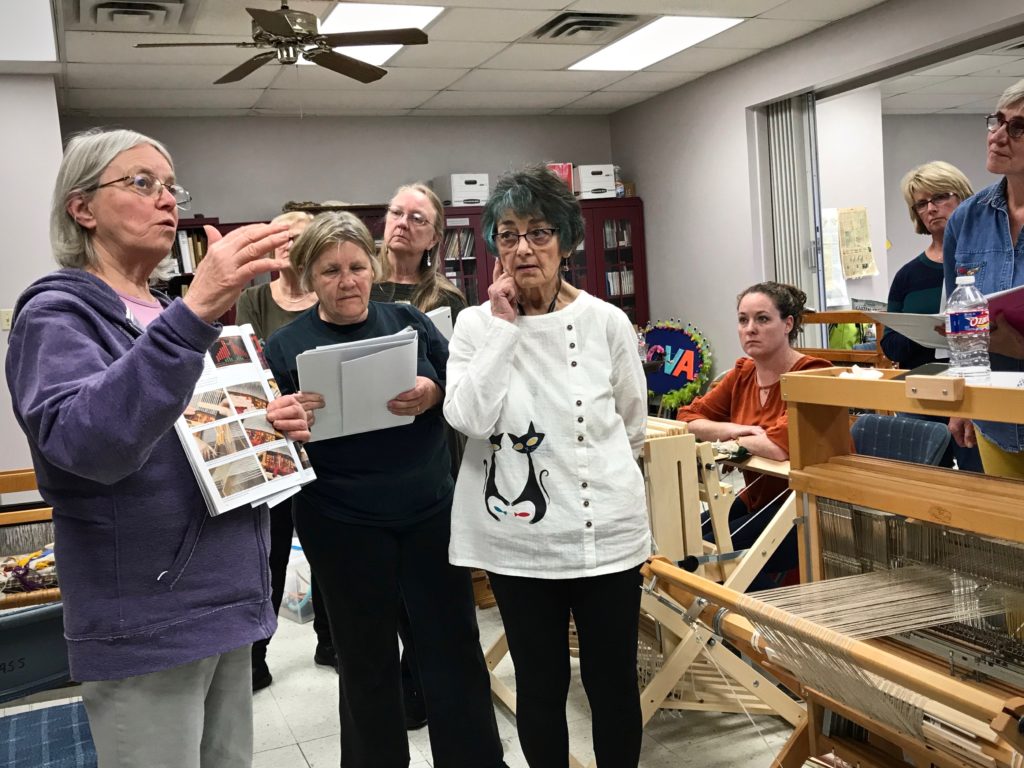
Joanne brought examples of Swedish art weaves for the students to view.
Joanne’s presentation to the San Antonio Handweavers Guild was enlightening. Photos of her travels to Sweden show how the rich weaving heritage there continues to thrive. That, along with Joanne’s knowledge of Swedish weaving traditions, gives context to these Swedish art weaves.
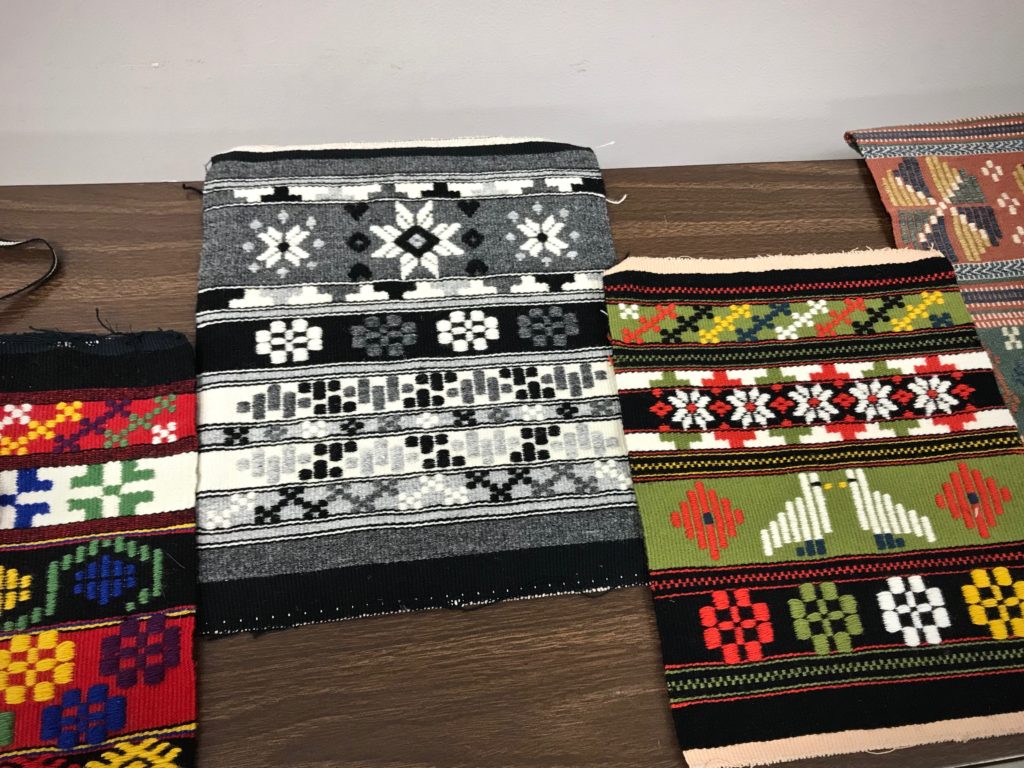
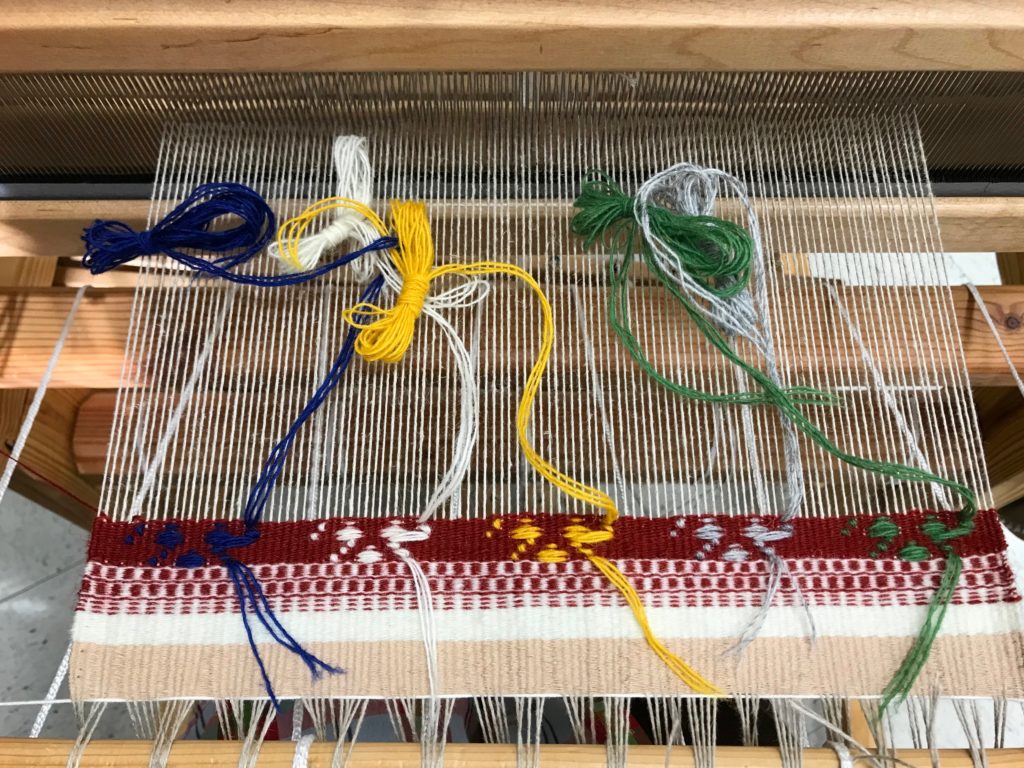
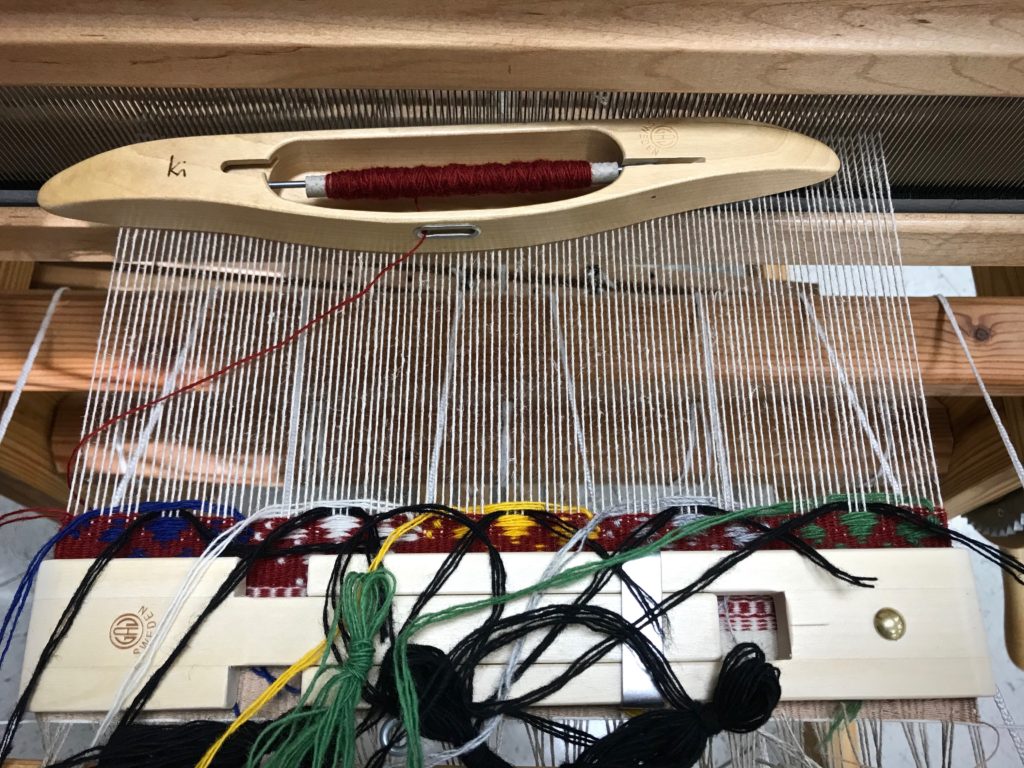
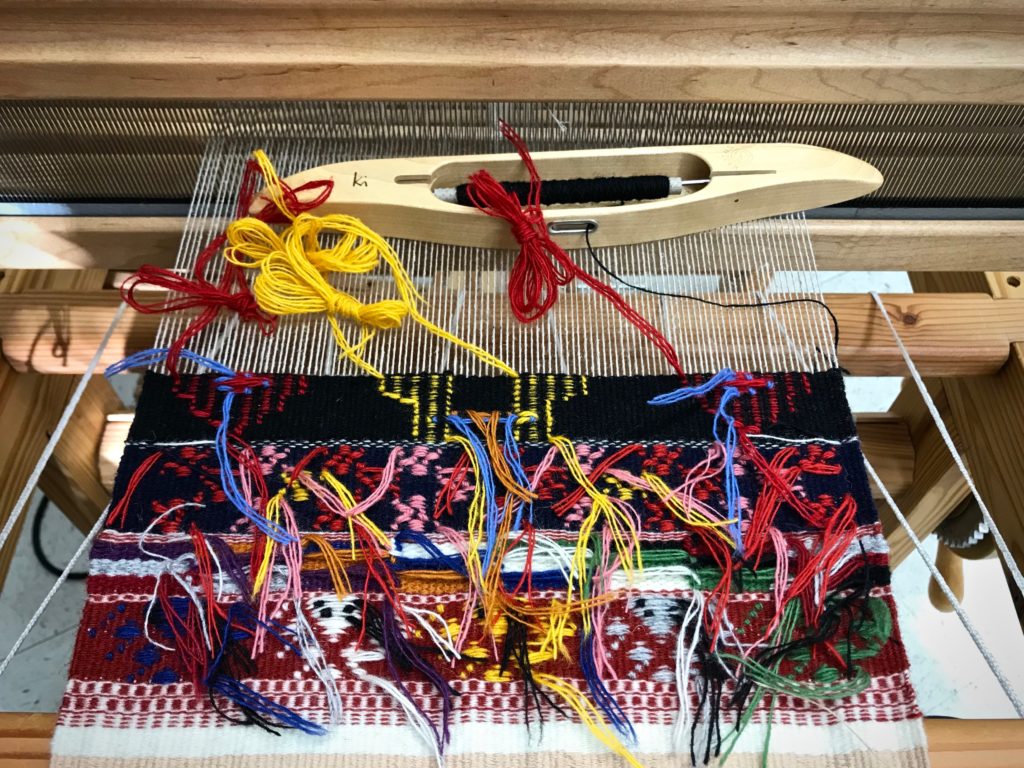
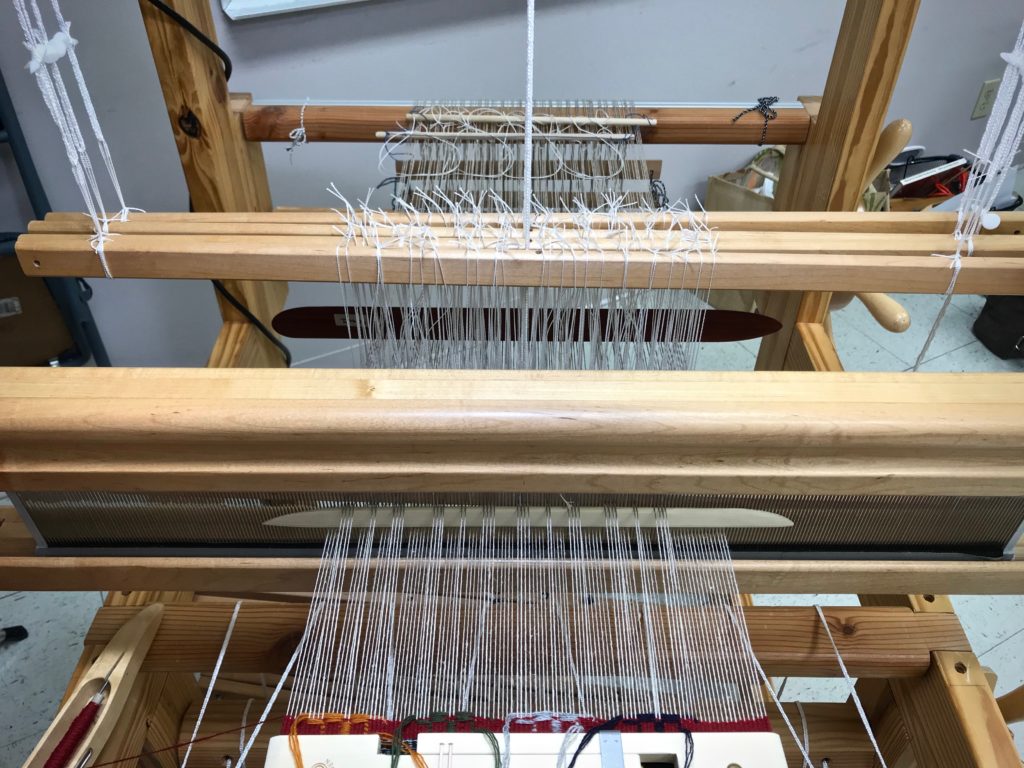
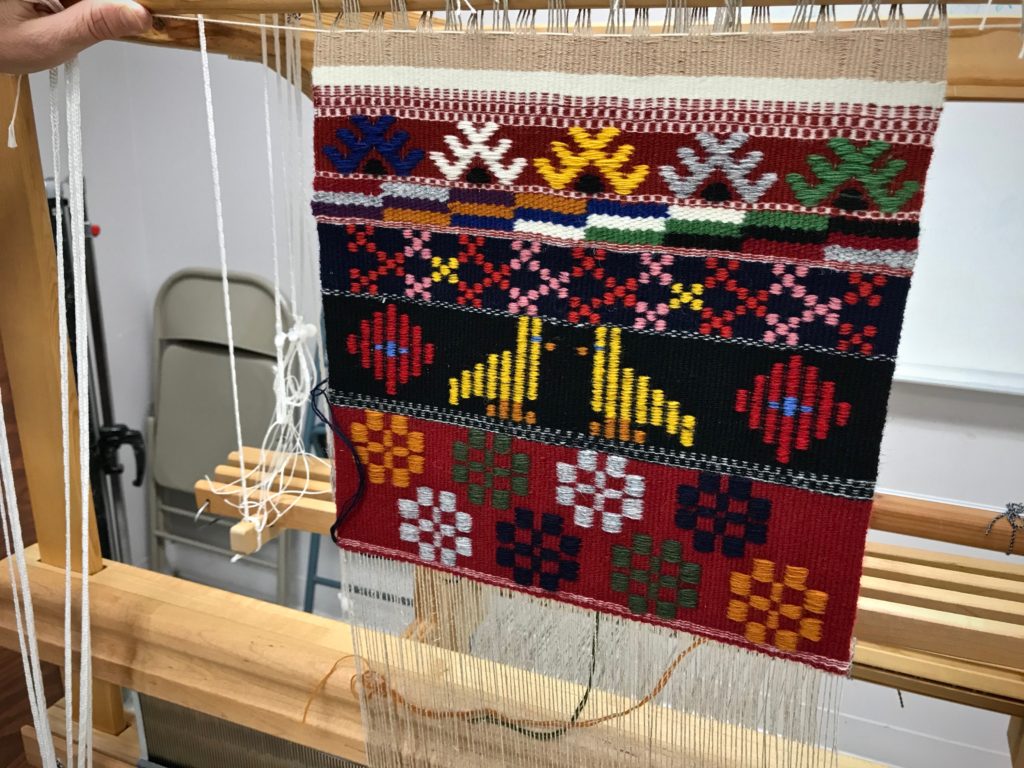
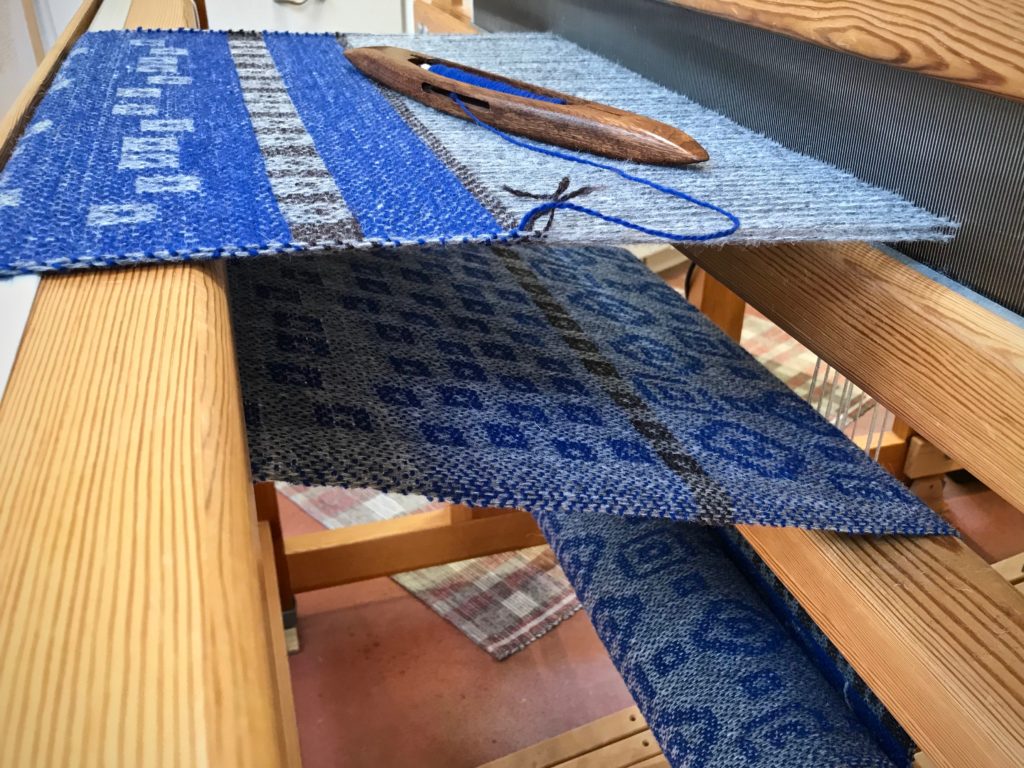
Krabbasnår (krabba) is a laid-in technique with a plain weaveground. The pattern uses three strands of wool Fårö yarn. The warp is 16/3 linen.Besides maintaining warp width, the temple is useful for covering up the weft tails to keep them out of the way.Joanne explains the next step to workshop participants.Dukagång is another laid-in technique with a plain weave ground. A batten is placed behind the shafts to make it easy to have the pattern wefts cover two warp threads. (A jack loom can do the same by using half-heddle sticks in front of the shafts.) Dukagång can be woven as a threaded pattern, but then the weaver is limited to that one structure, instead of having different patterns all in the same woven piece.With threaded monksbelt, as I have woven previously, the monksbelt flowers are in a fixed position. With this art weaves monksbelt, the monksbelt flowers can be placed wherever you want them. Half-heddle sticks at the back, batten behind the shafts, and a pick-up stick in front of the reed–a fascinating way to weave this traditional pattern.Last loom standing… Time to pack up. As I prepare the loom for transport, I detach the cloth beam cords. Now we can see the right side of what I have woven.From the top:
Krabbasnår, Rölakan Tapestry, Halvkrabba, Dukagång, and Munkabälte.
Väv 2/2013 has instructions for the art weaves. I have the magazine issue, but Joanne’s workshop brings the historical techniques to life and makes them understandable. That is exactly the prompting I needed to begin exploring these fascinating patterns on my own loom.
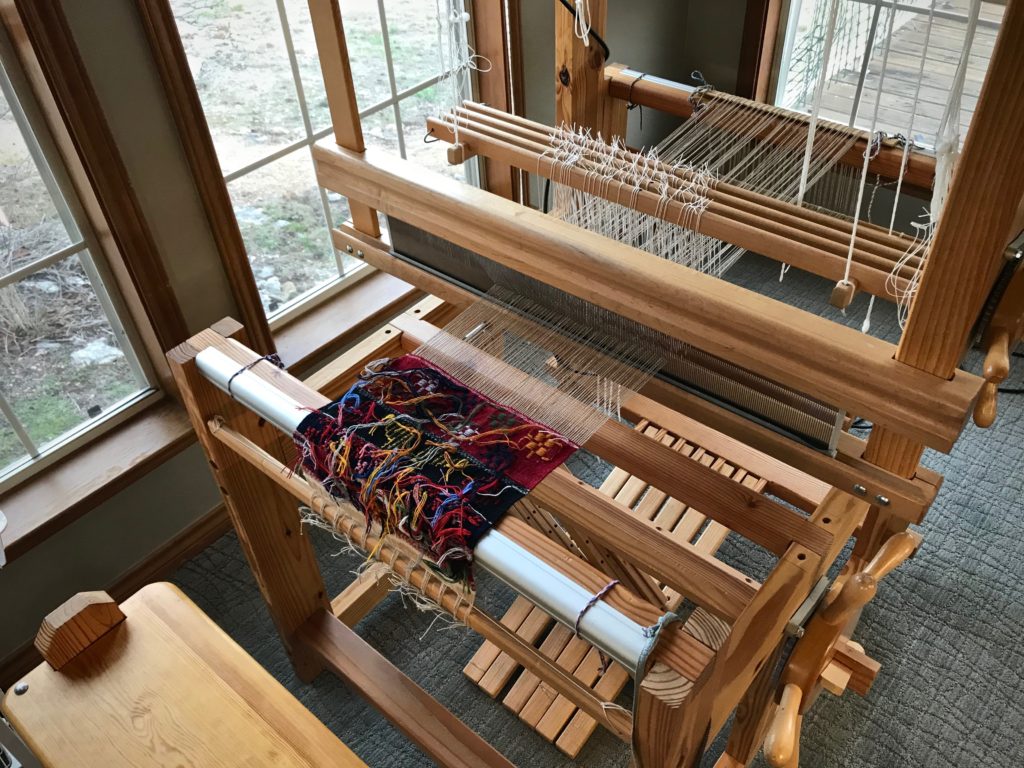
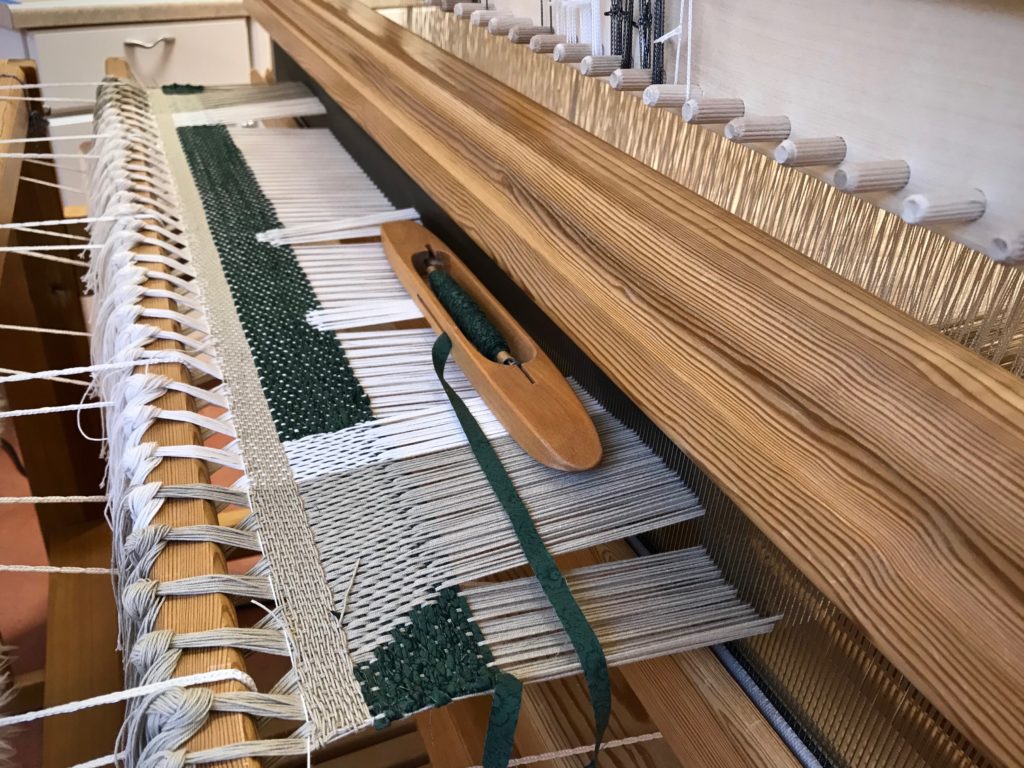
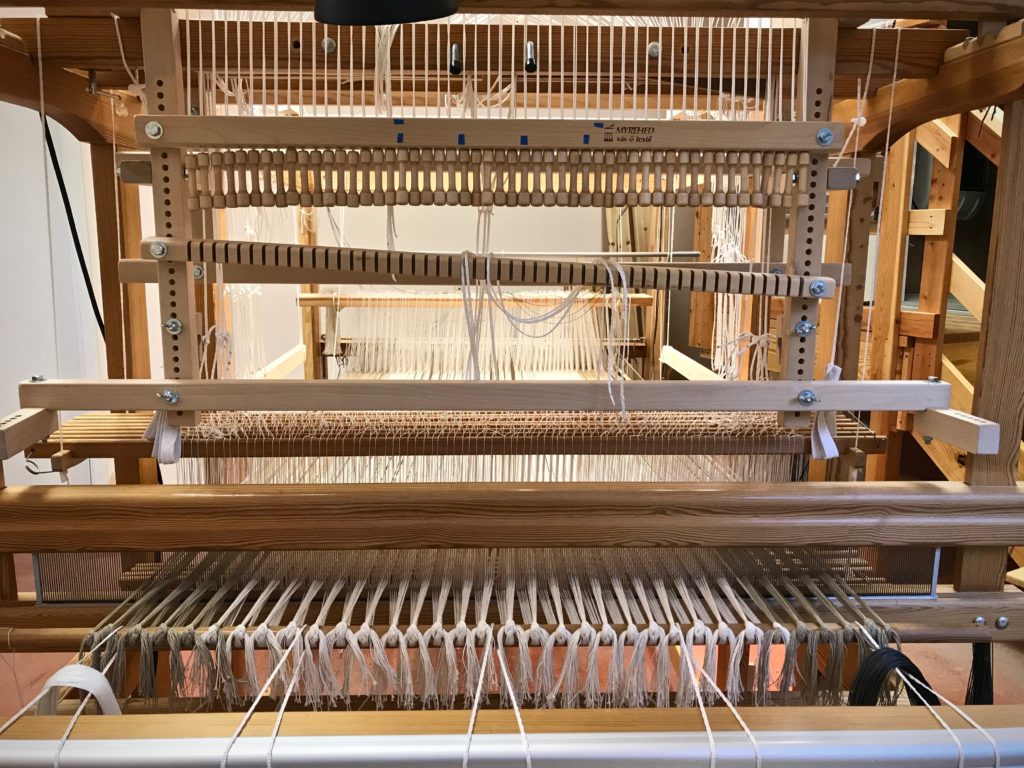
Back at home, my little loom is getting ready to weave some more beautiful Swedish art weave designs.
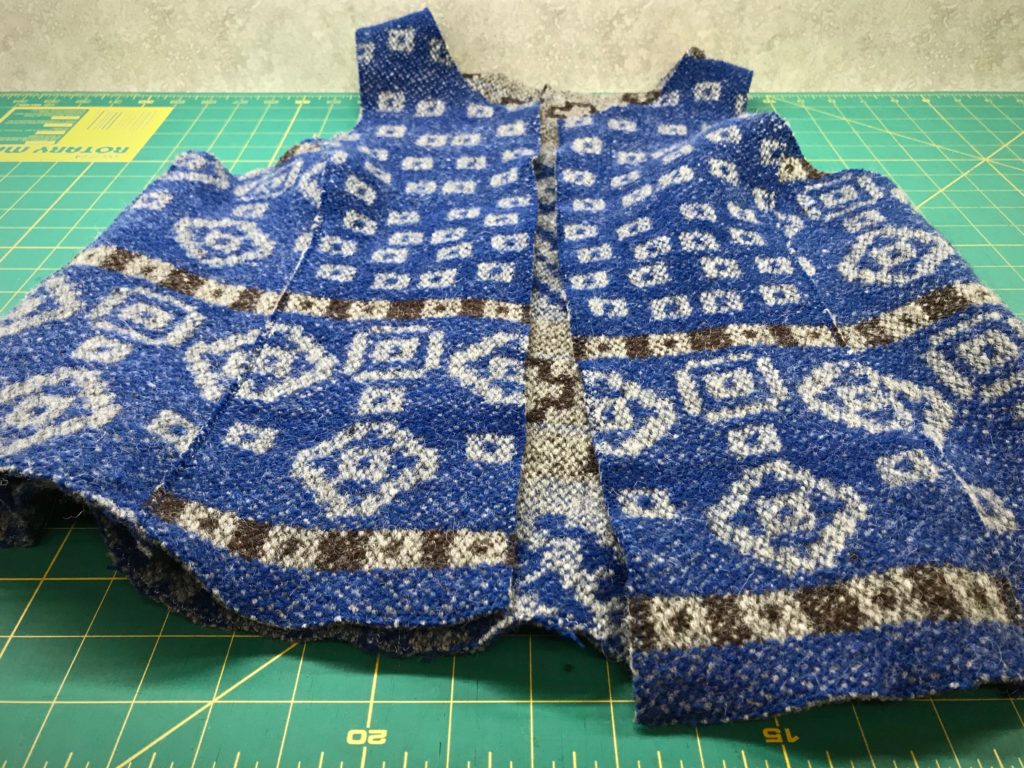
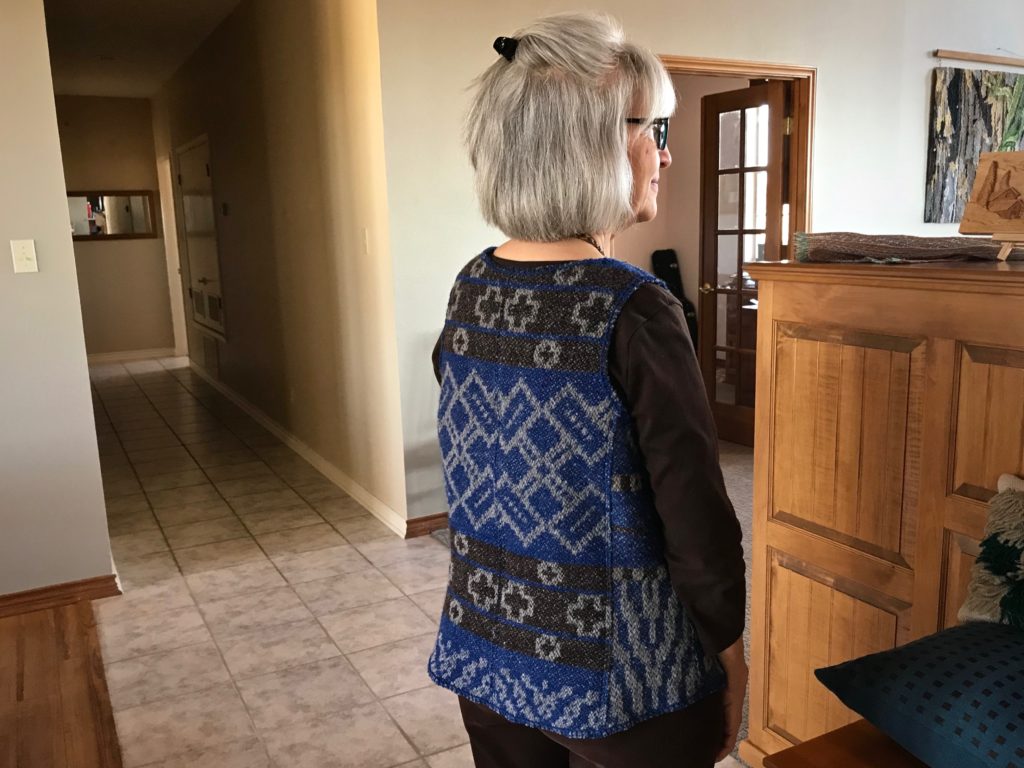
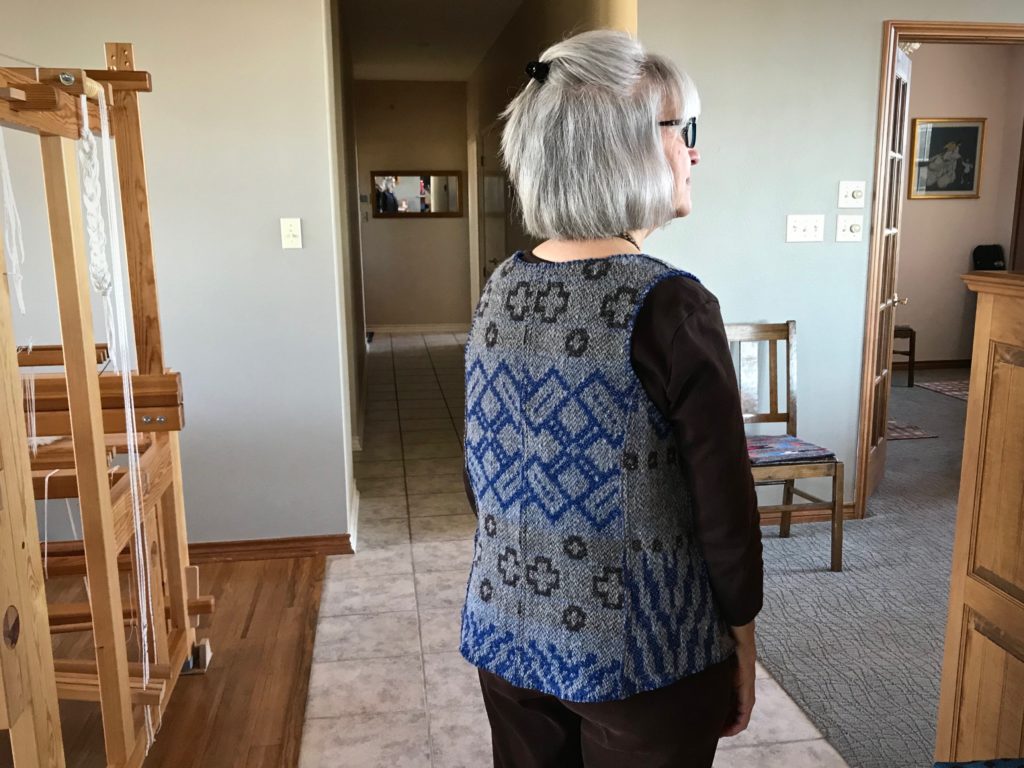
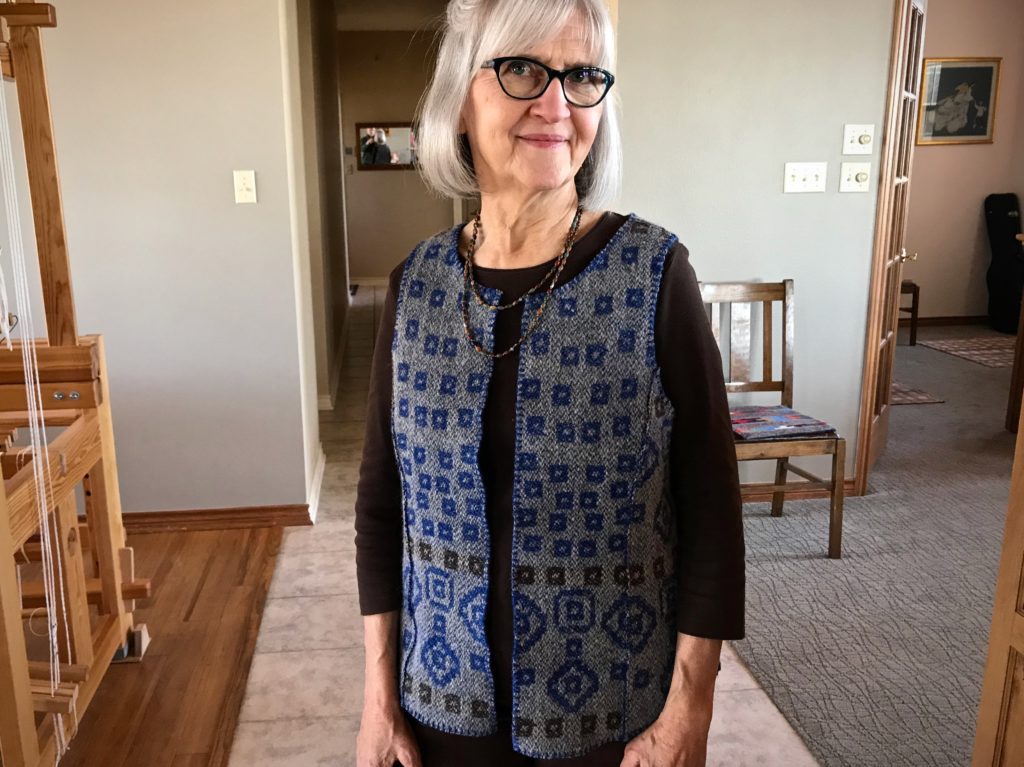
I warped the drawloom with gray 6/2 Tuna wool several months ago with the goal to make fabric for a reversible vest. The beautiful drawloom fabric turned into dreamy garment-worthy fabric after washing! (See Process Review: Drawloom Jewels)
And then I hit two huge hurdles.
Hurdle 1. Fit.
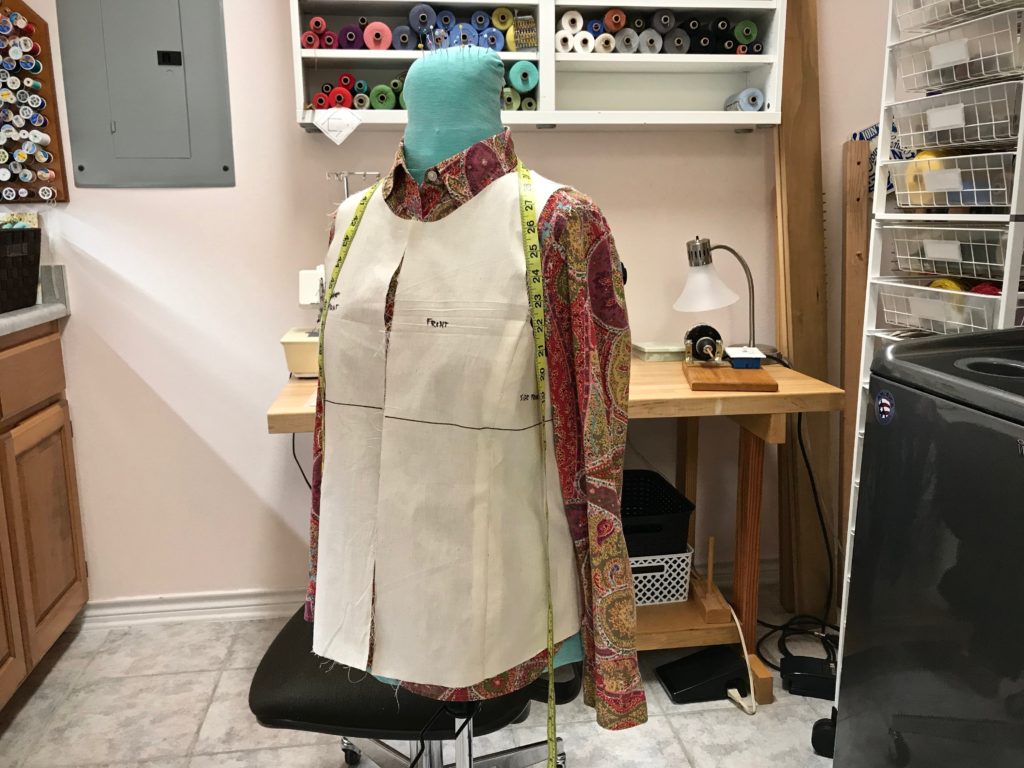
In order to cut into handwoven drawloom fabric, I need assurance that the end result will fit me. My sewing assistant helped me refine a commercial pattern.
Meet my sewing assistant, Miss Fit.
After umpteen muslins and two or three mock-ups, I finally got the fit I was after. Confidence to cut!
Hurdle 2. Garment Construction Uncertainties.
Do some detail studies, my dear friend Elisabeth said to me. Her advice got me over the insecurity hurdle. A detail study is making a small sample to test a hypothesis or answer a question. I made a list of everything I wanted to know about constructing a vest from this type of handwoven wool fabric. And then, using some of the extra fabric from the sampling at the beginning of the warp, I did a detail study for each point on the list. Twelve detail studies in all.
(If you are interested in seeing my complete list of 12 detail studies for this project, click HERE to send me an email and ask for my “Detail studies”.)
Here are a few examples of my findings:
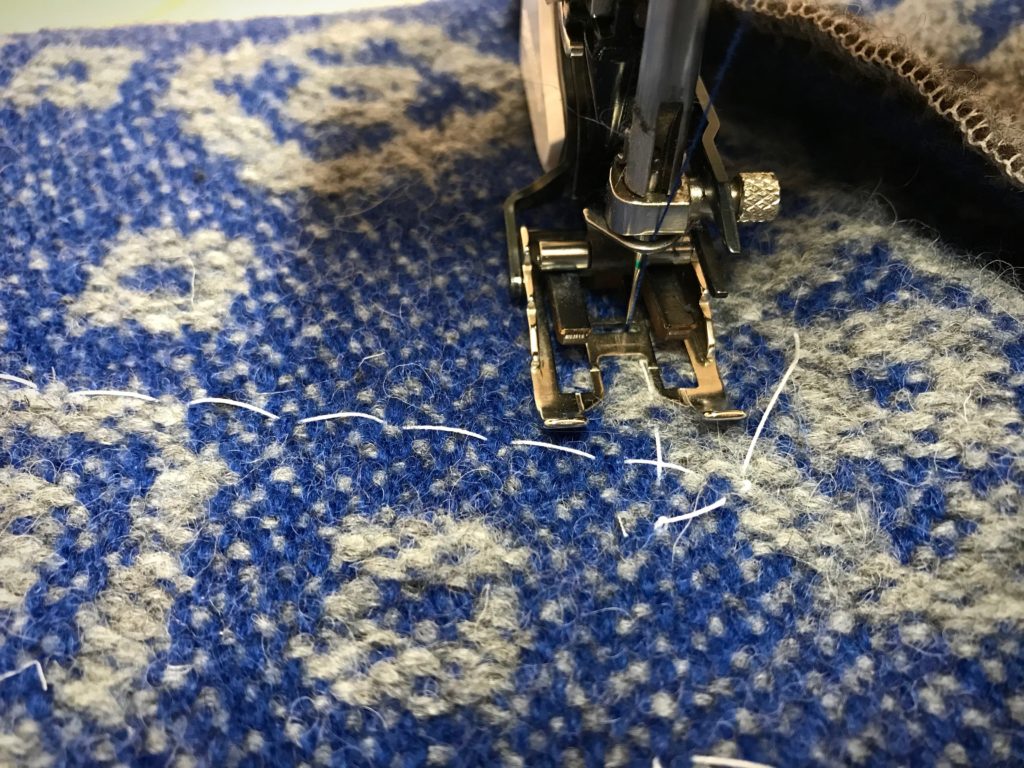
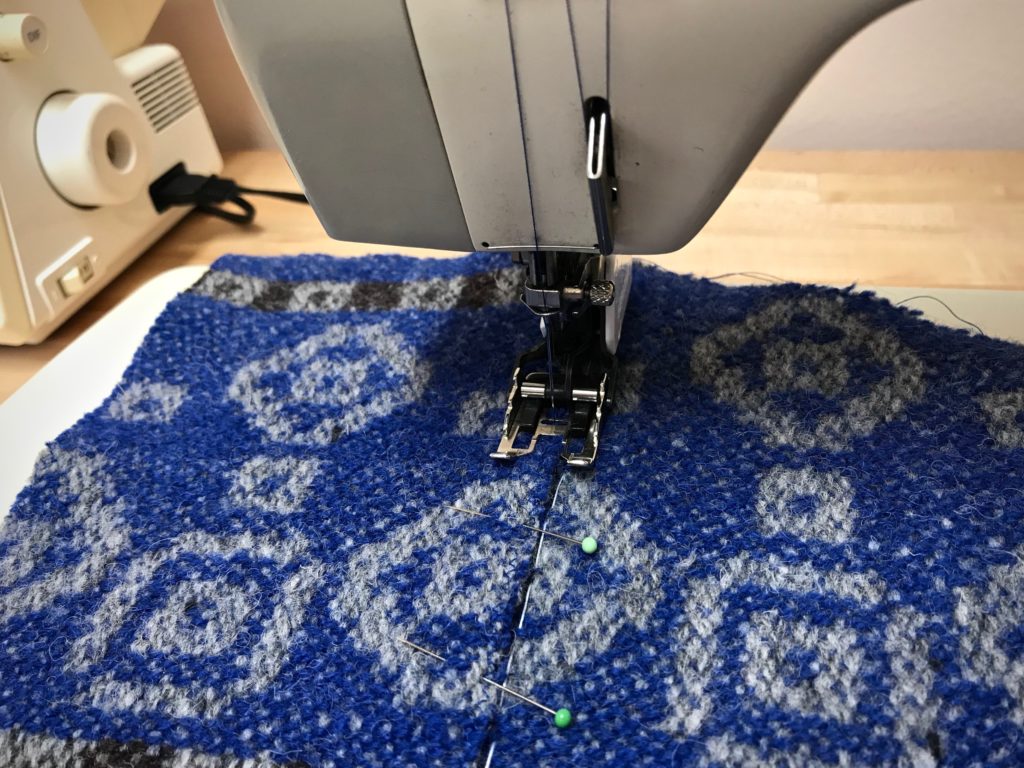
Zigzag before or after cutting? // Zigzag before cutting, stitch width 3, stitch length 2 1/2
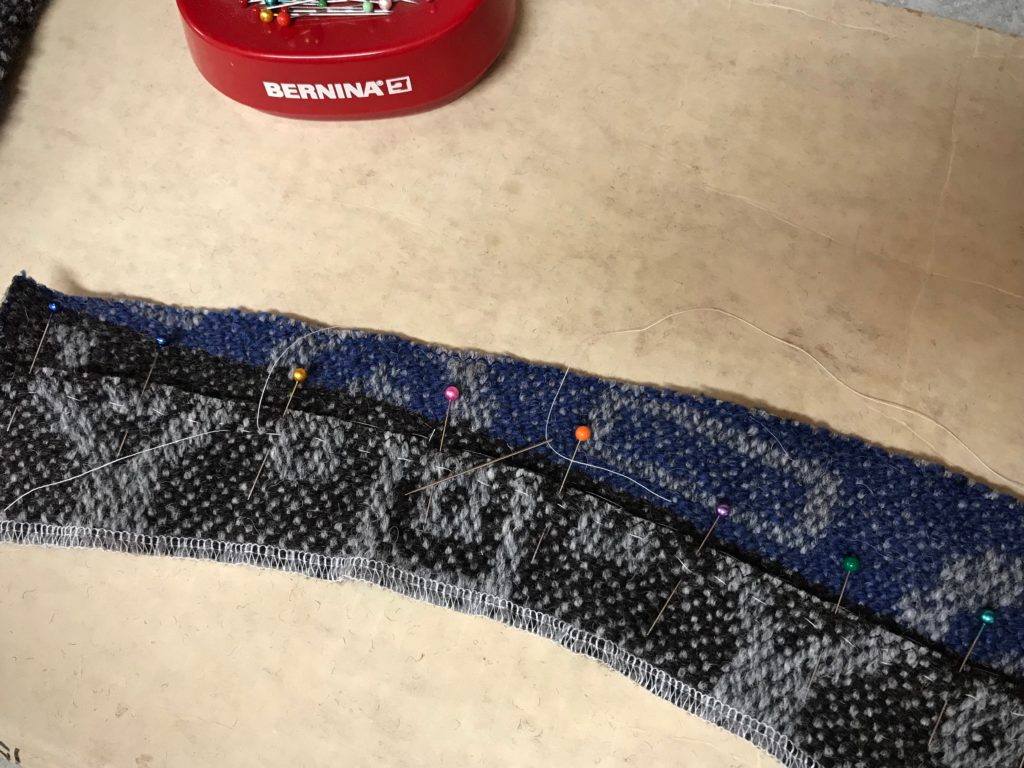
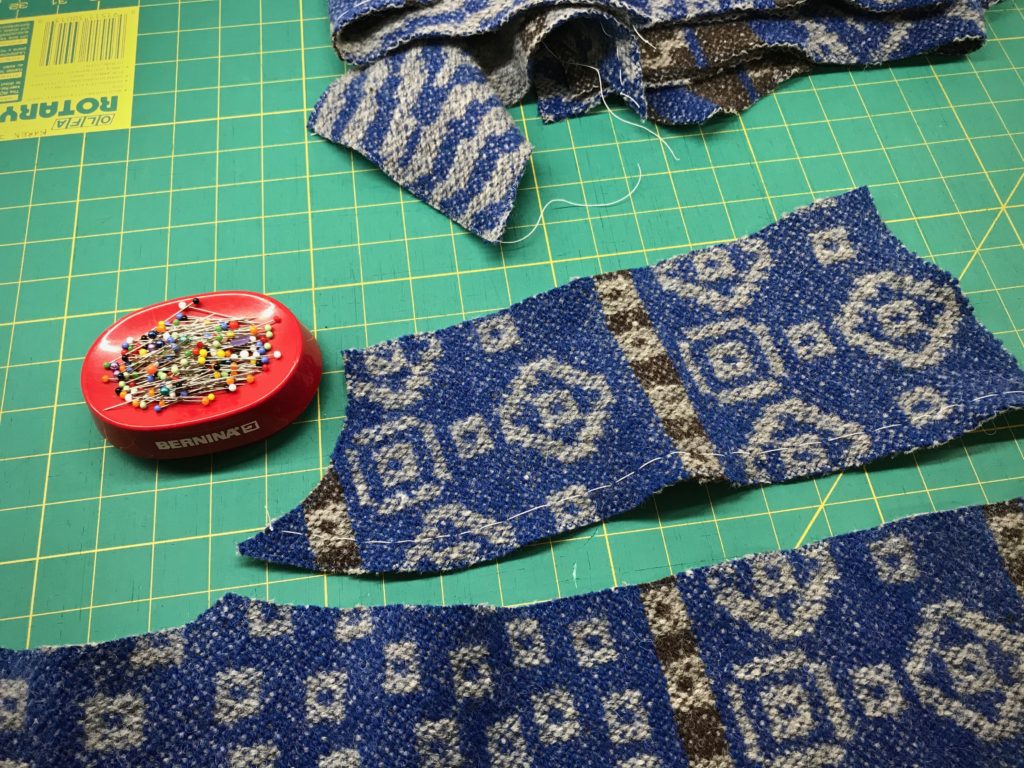
Lapped seams? 3/8”, 1/2”, 5/8”? // Yes, lapped seams, overlap 1/2”, stitch basted line to guide placement
Neck and armhole curves – staystitch with hand running stitches or machine stitching? 1 row or 2? // Hand running stitches, 2 rows
Detail study testing lapped seams.
From the results of the detail studies I was able to compile a step-by-step garment construction plan. Confidence to sew!
Follow my process pictures of the garment construction to see the results:
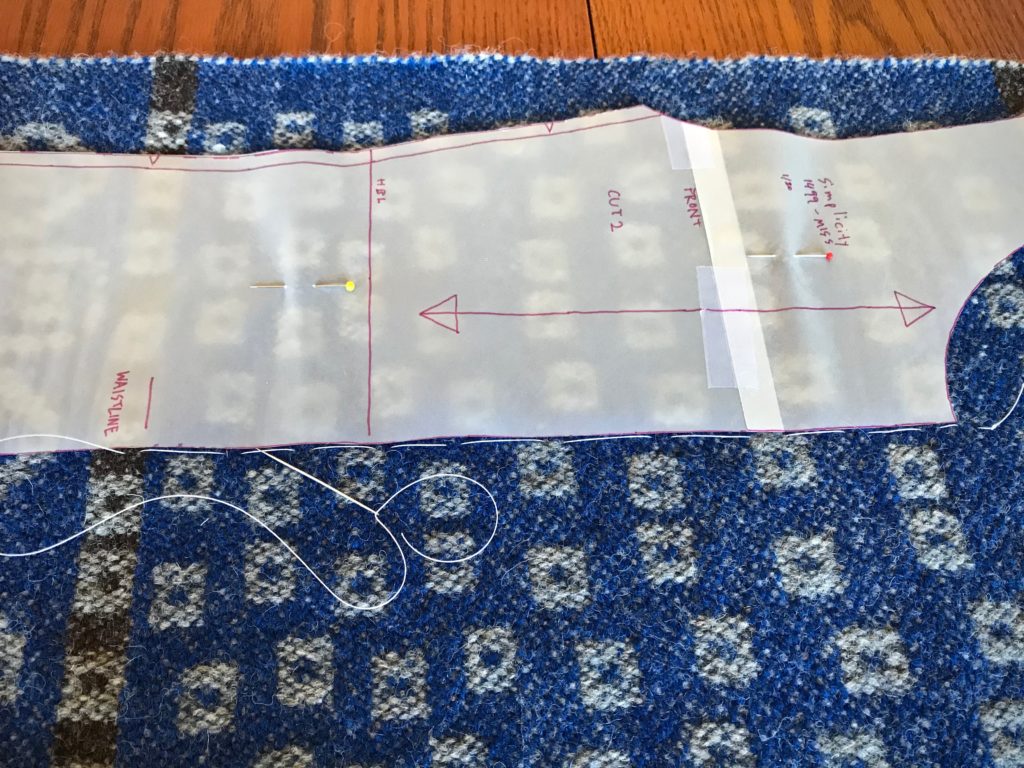
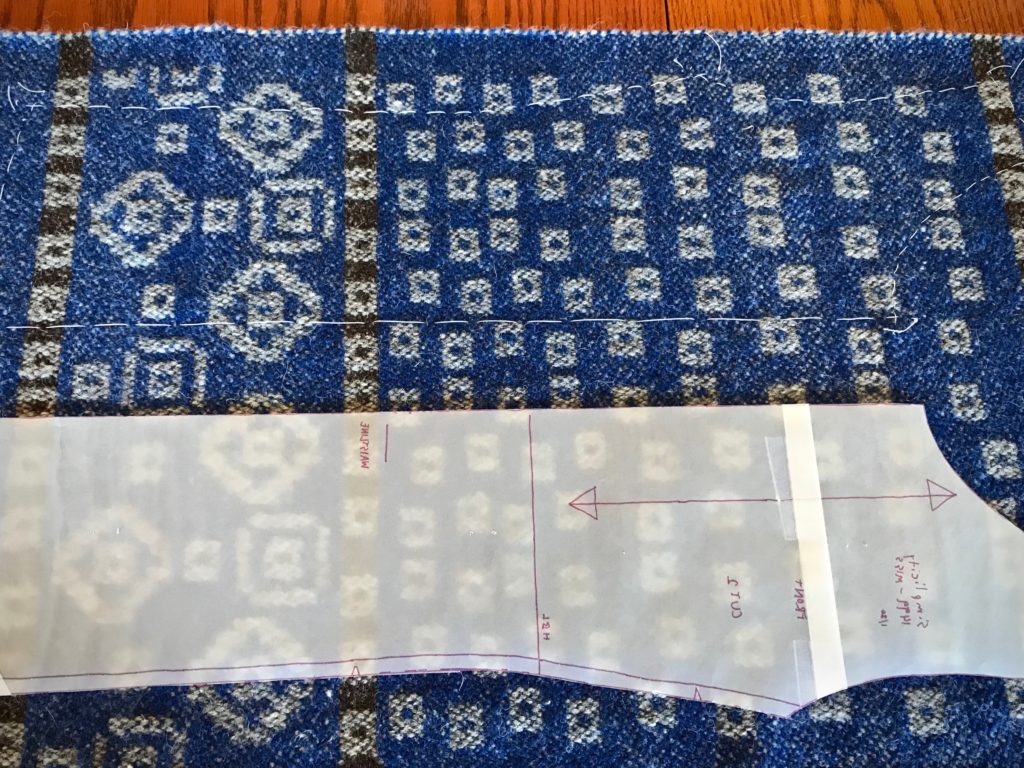
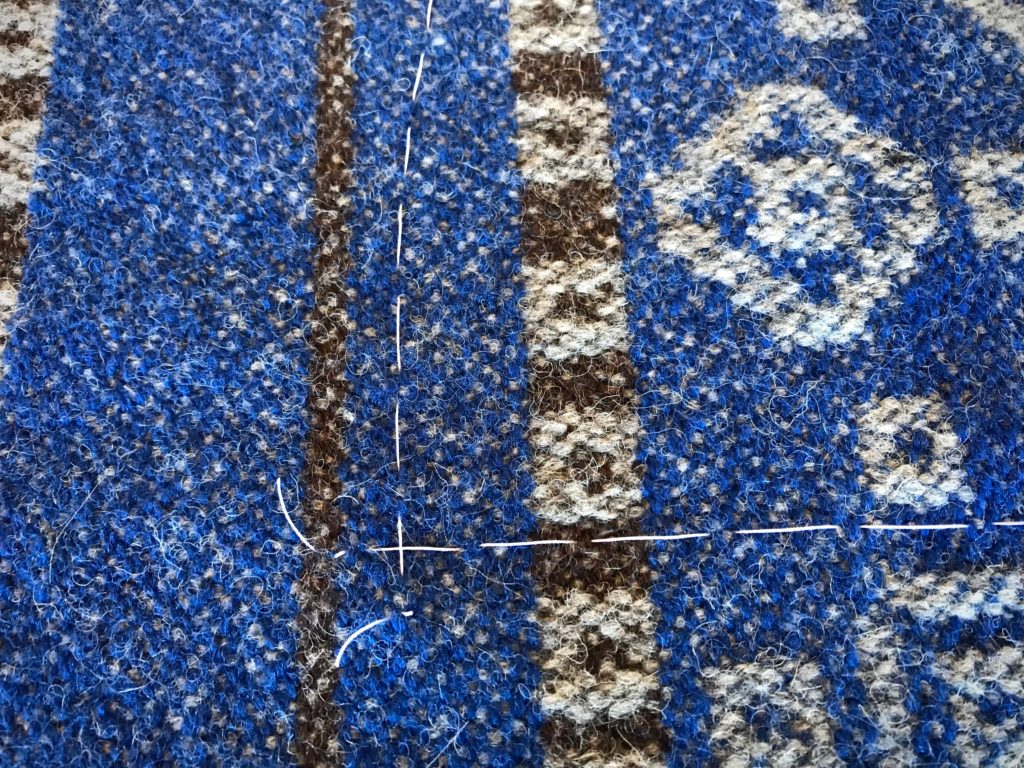
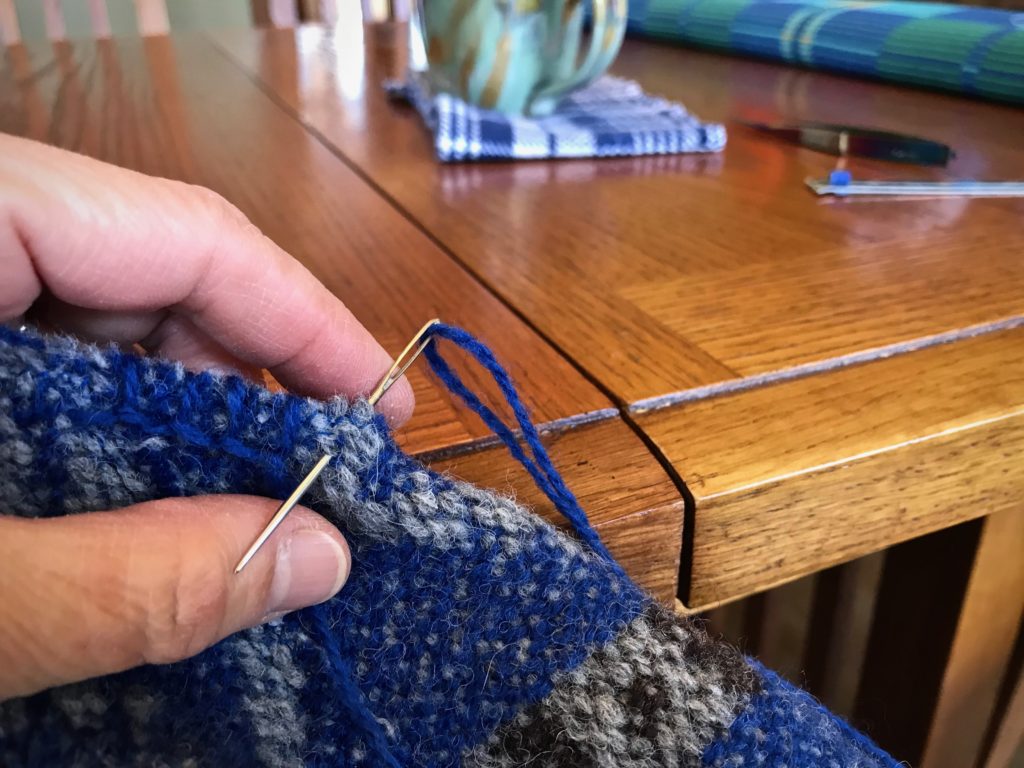
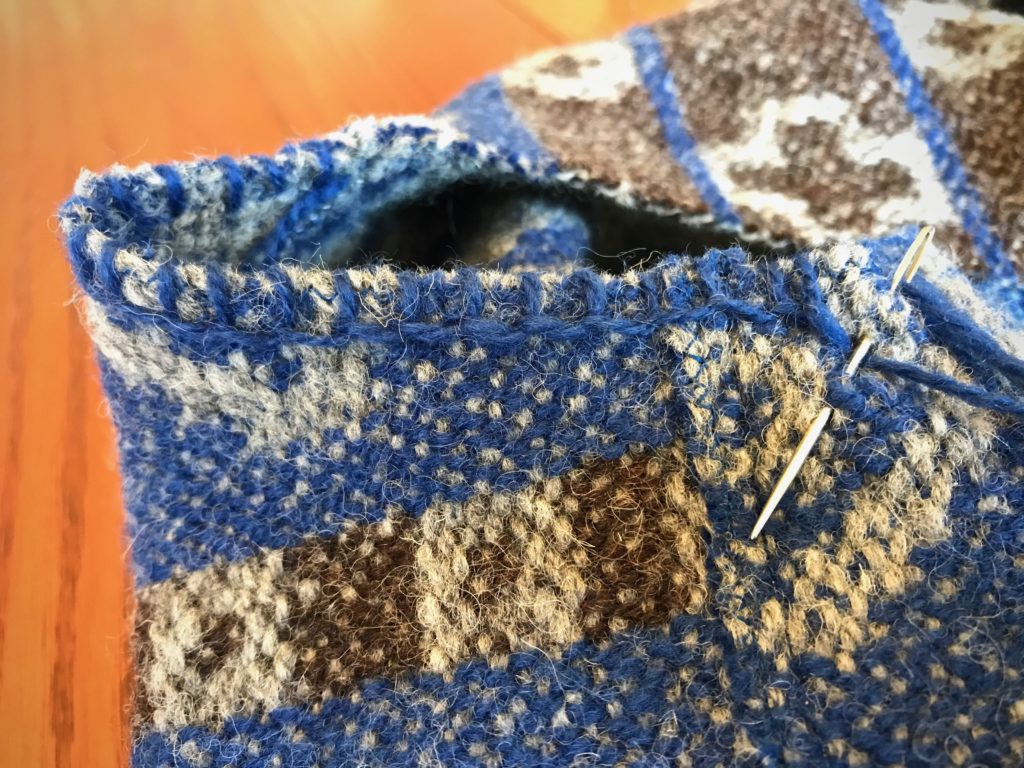
Cutting lines marked with basting stitches.Tracing paper is used for the pattern, which allows me to clearly see the placement of the pattern on the fabric.Making an X with the basting thread at the corners. This helps clarify exactly where to stitch and cut. (One of Elisabeth’s helpful tips.)Buttonhole twist thread is used for the basted lines. It makes an easy guide for the sewing machine needle to follow. The zigzag stitches are just inside the line.Basting stitch on the front side piece is a guide for positioning the lapped seam.Ready for hand work.Two rows of running stitches around the armholes and neck opening.Blanket stitch is used to embellish and strengthen the armholes, neck, front edges, and lower edge of the vest.Reverse side.
Everything starts with an idea. And some of those ideas become tangible expressions of dreams come true. Who knew that a simple idea in 2012 would lead to a seven-year exploration of weaving through The Big Book of Weaving? (See Weaving through The Big Book.) Who knew that weaving on a drawloom in 2016 at Homestead Fiber Crafts would plant the idea of weaving on a drawloom of my own? (see Quiet Friday: Day at the Drawloom.) And who knew that an idea in 2013 to write about my weaving journey, calling it Warped for Good, would bring friends like you to come and enjoy the journey with me? For these things and so much more, I am truly grateful.
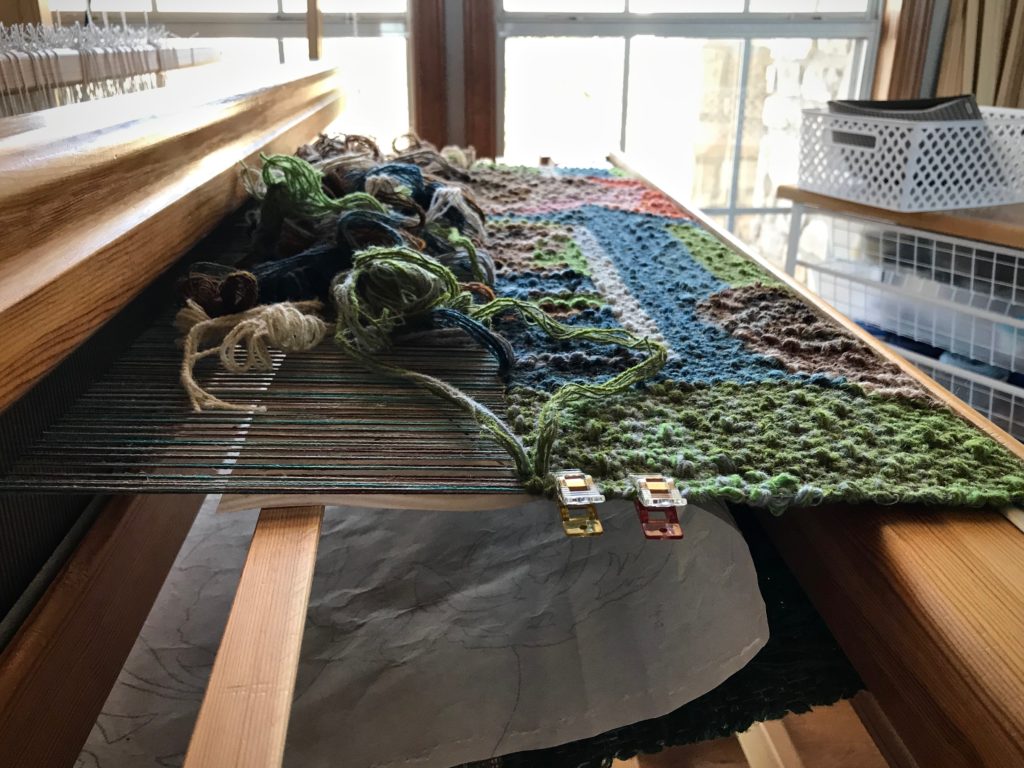
Siblings Tapestry is three centimeters away from completion.Single-unit drawloom rag rug is ten centimeters into testing everything–draw cords, sheds, shuttles. After a few more adjustments the actual rag rug weaving will commence.
Your ideas are priceless. That’s because you are priceless. You were made in God’s image, with the ability to imagine wonderful intricacies through creative thinking. In fact, you began as God’s idea. As we walk with him, we become the tangible expression of his dream come true.
Grab a cup of coffee or tea and sit here with me to reminisce over the past weaving year.
Merry Christmas Eve to you. Looms are quietly waiting to resume their rhythm. Meanwhile, songs of joy and hope fill the air because the Savior of the world is born.
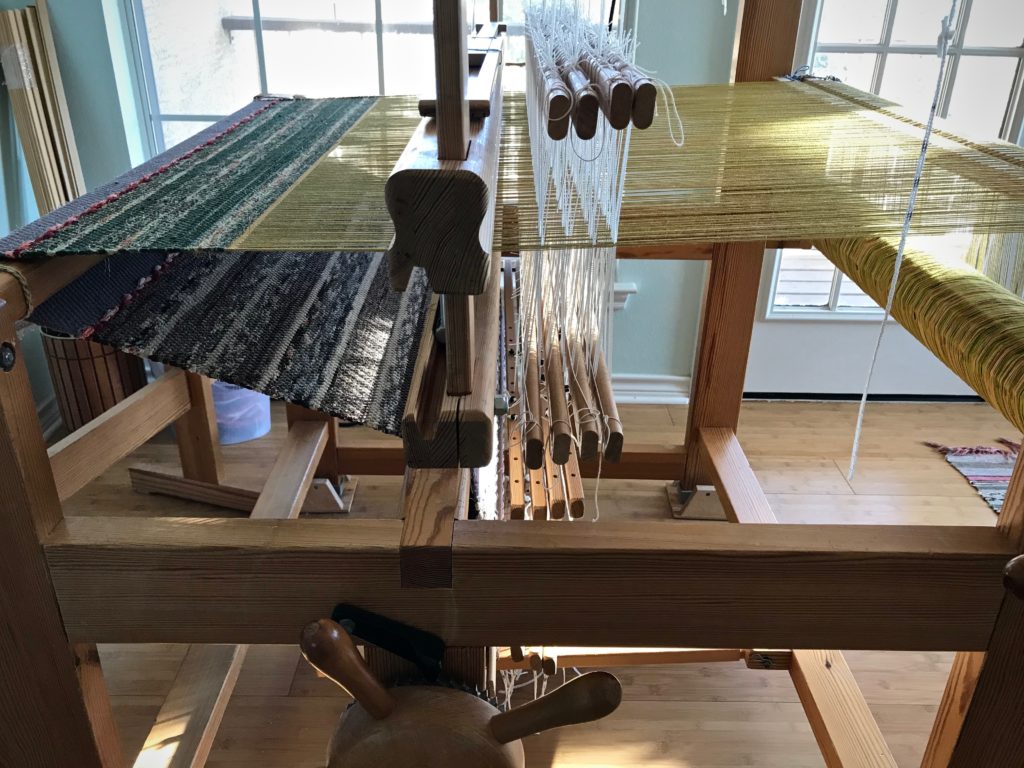
1. The Standard Pictorial tapestry, with only 6 centimeters of the cartoon remaining.2. The Ideal Second rosepath rag rug completed. Two short rugs yet to be woven on this warp.3. The Little Loom First of two scarves is started. I am using the Stardustdraft by Mona Nielsen, published in Happy Weaving, from Vävmagasinet, but with yarn and colors of my choosing.4. The Drawloom Warp is threaded and tied-on. Single-unit draw cords have been prepared. Next step: Attaching draw cords to pattern units. And then, tie uptreadles and start weaving!
May your night be silent and holy, calm and bright.