Process Review: Drawloom Preliminaries

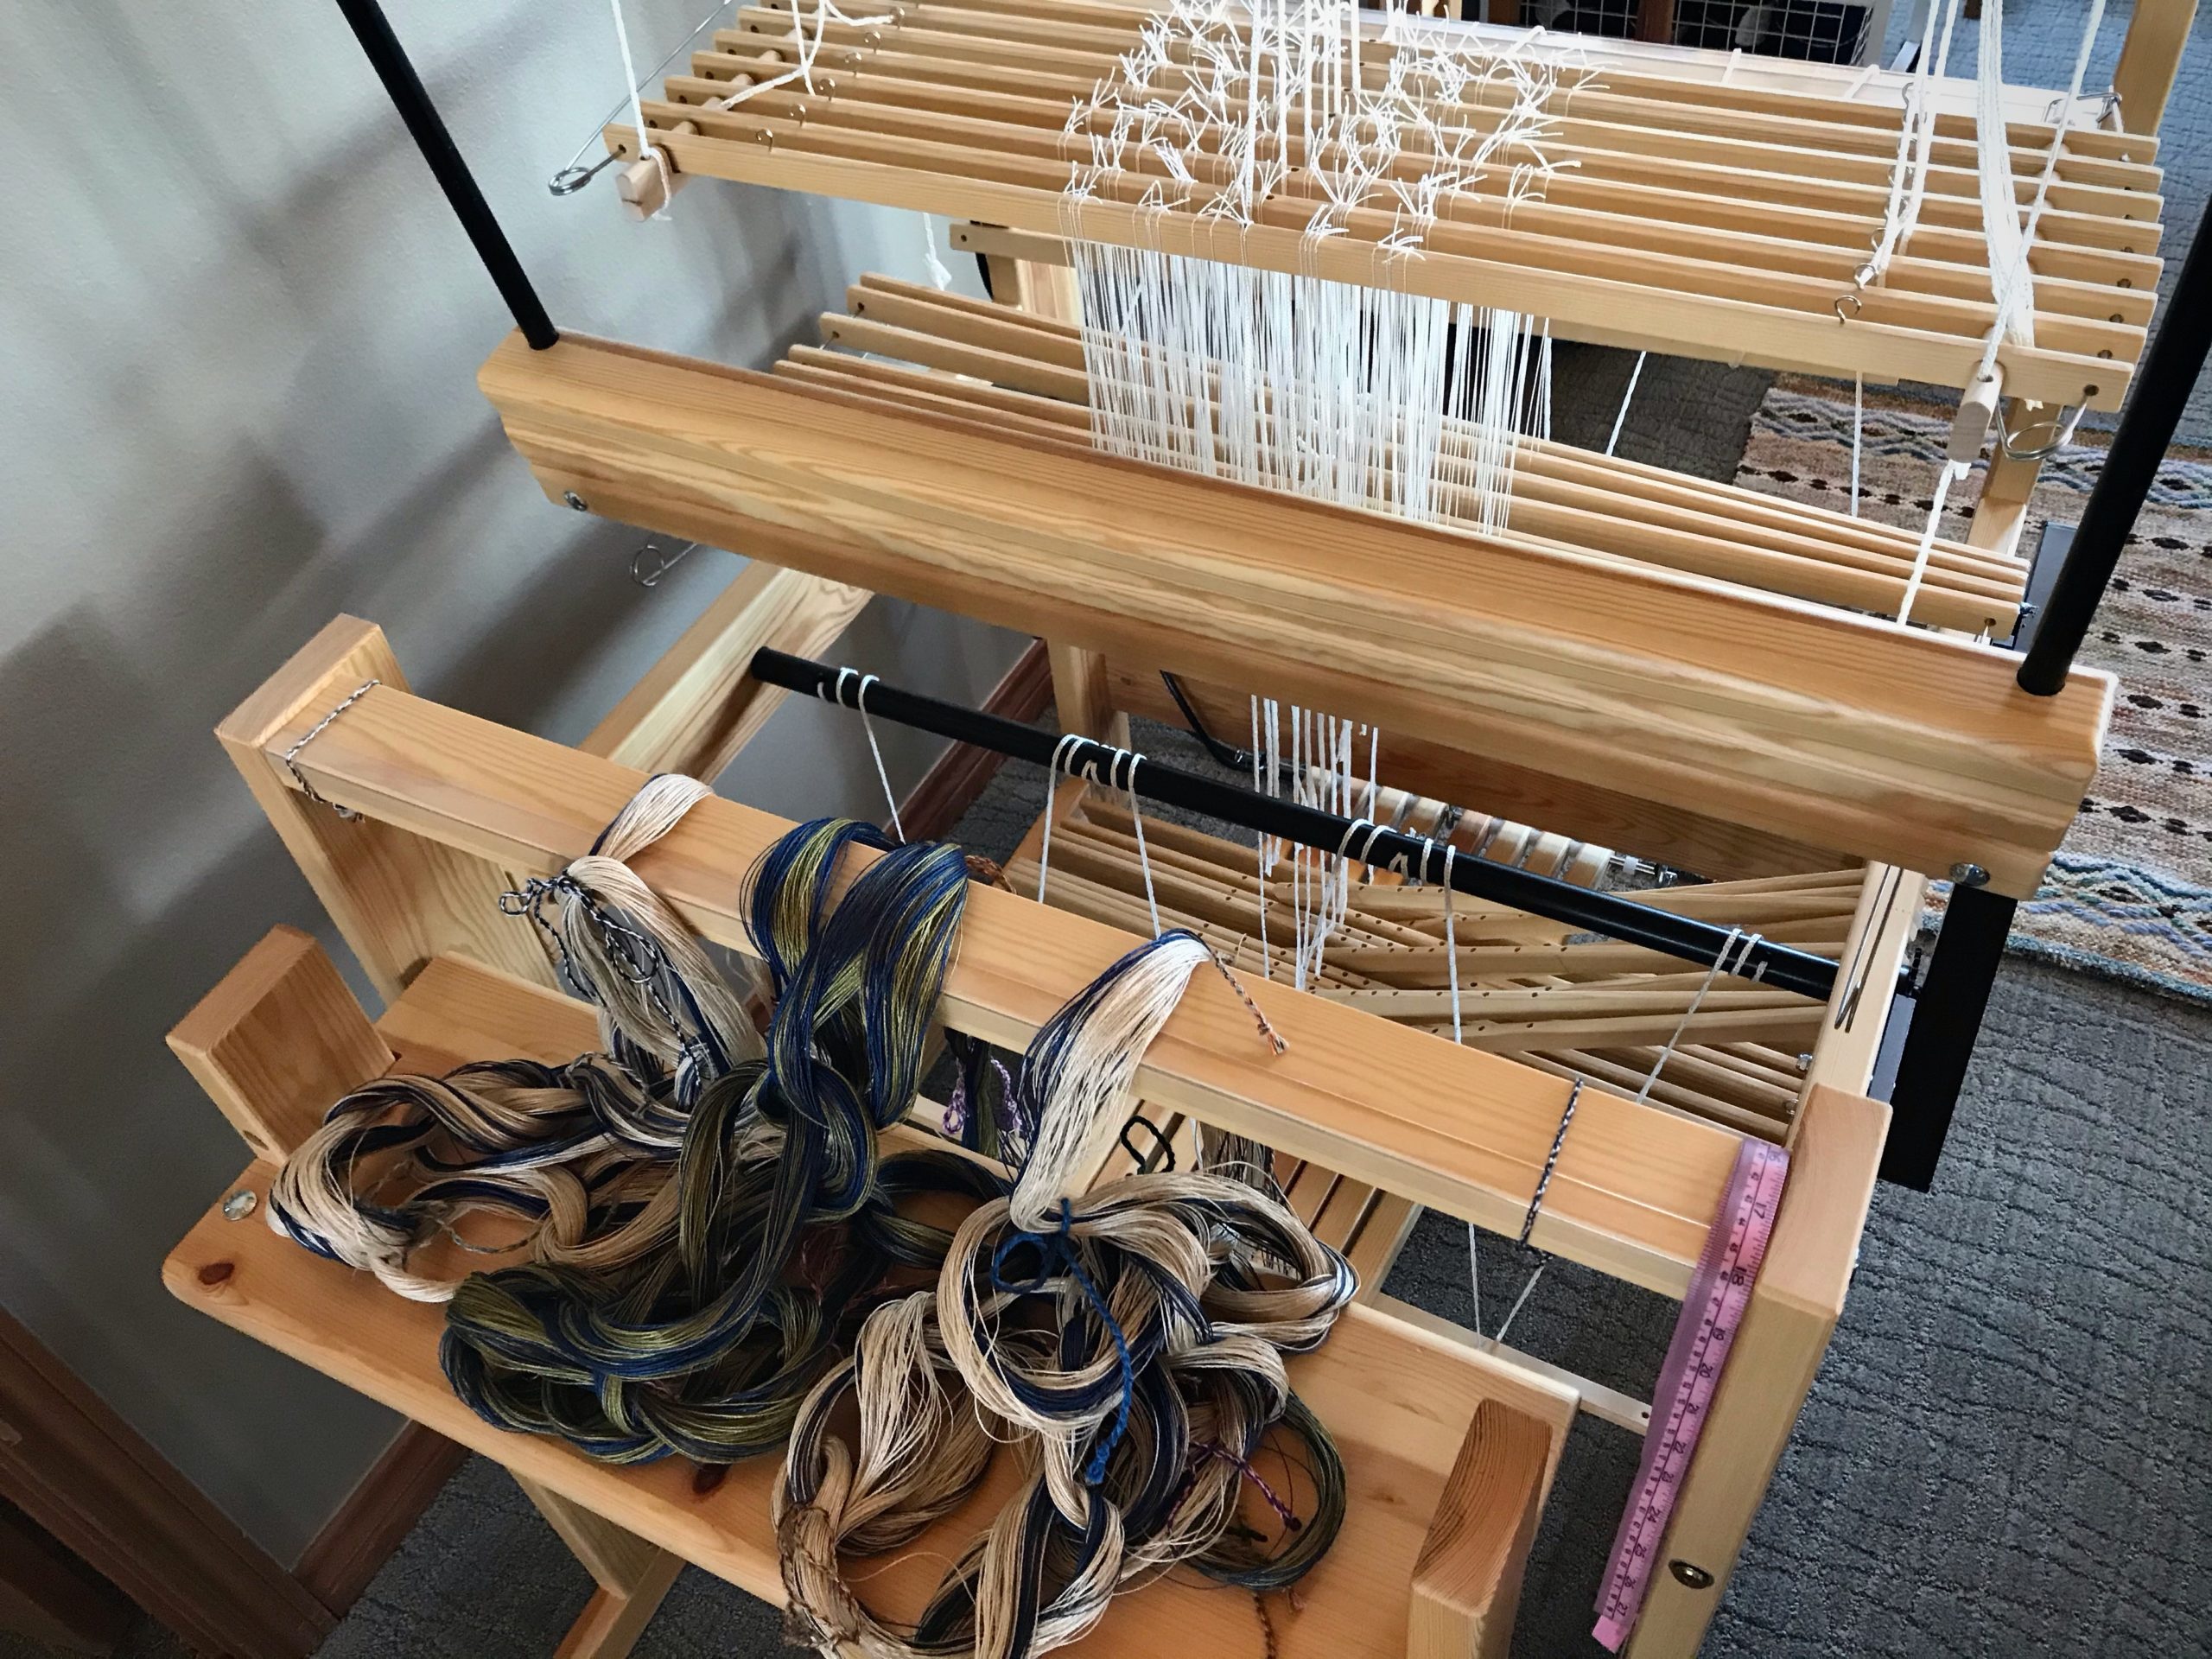
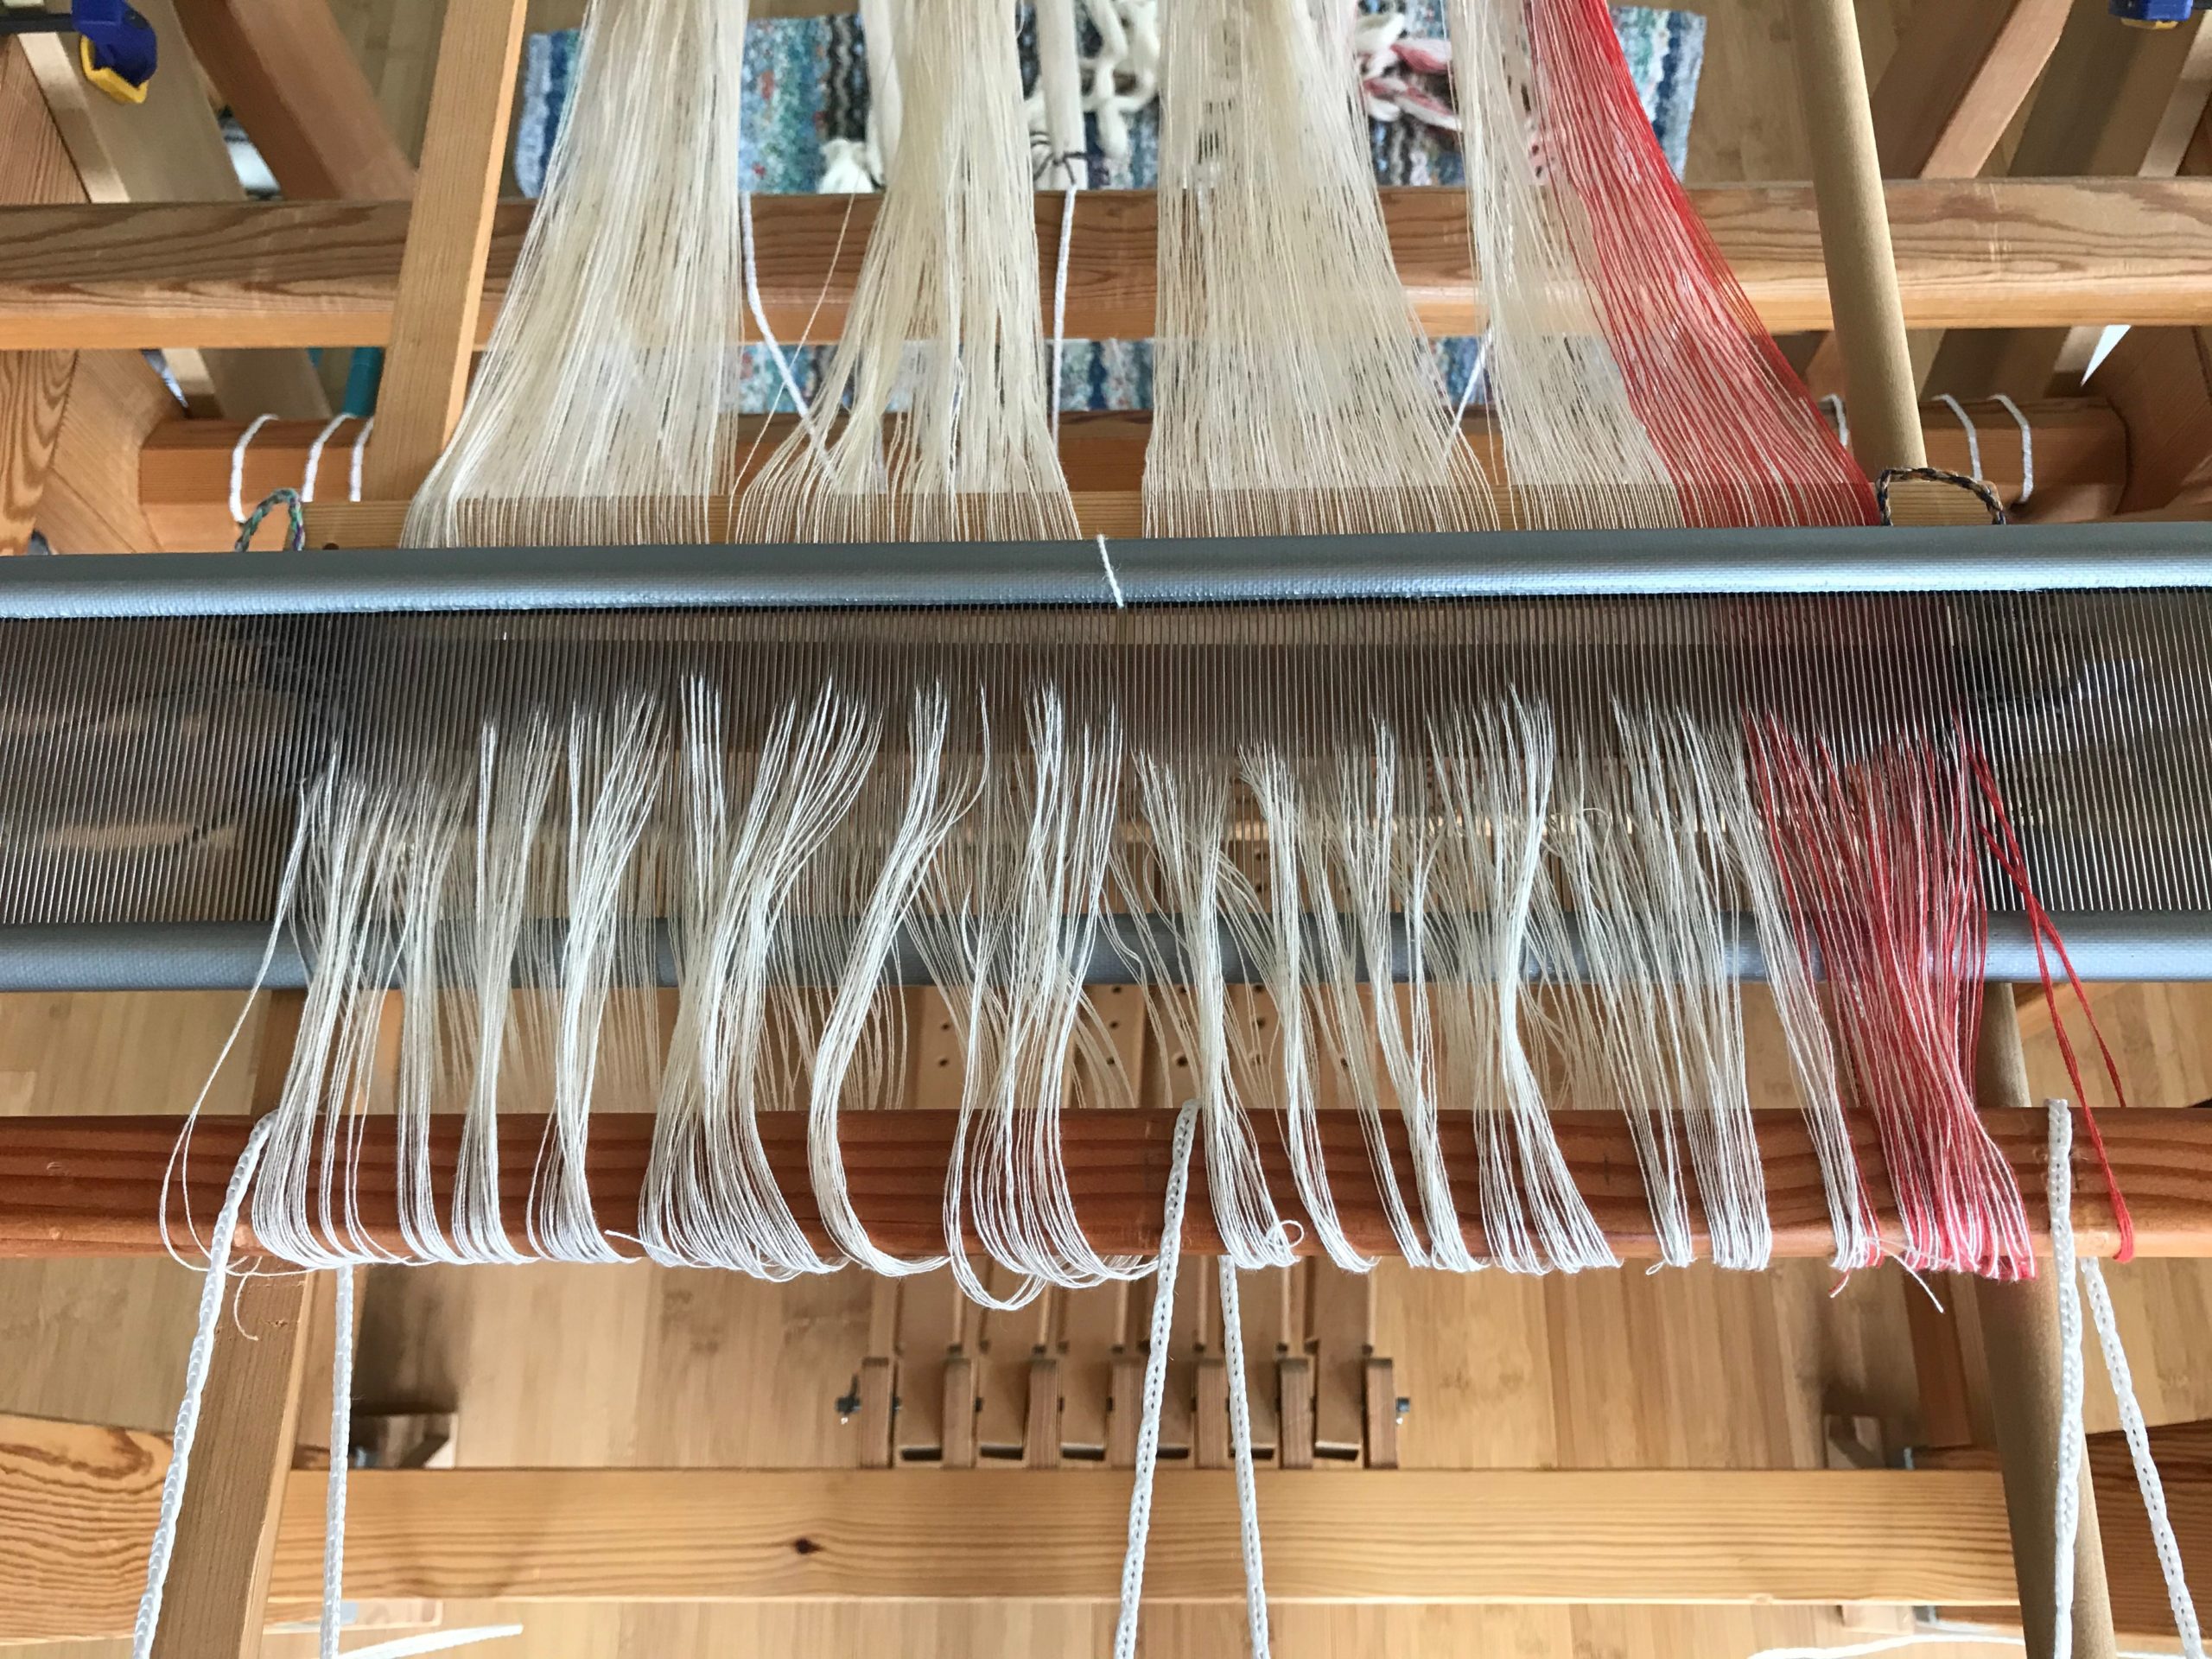
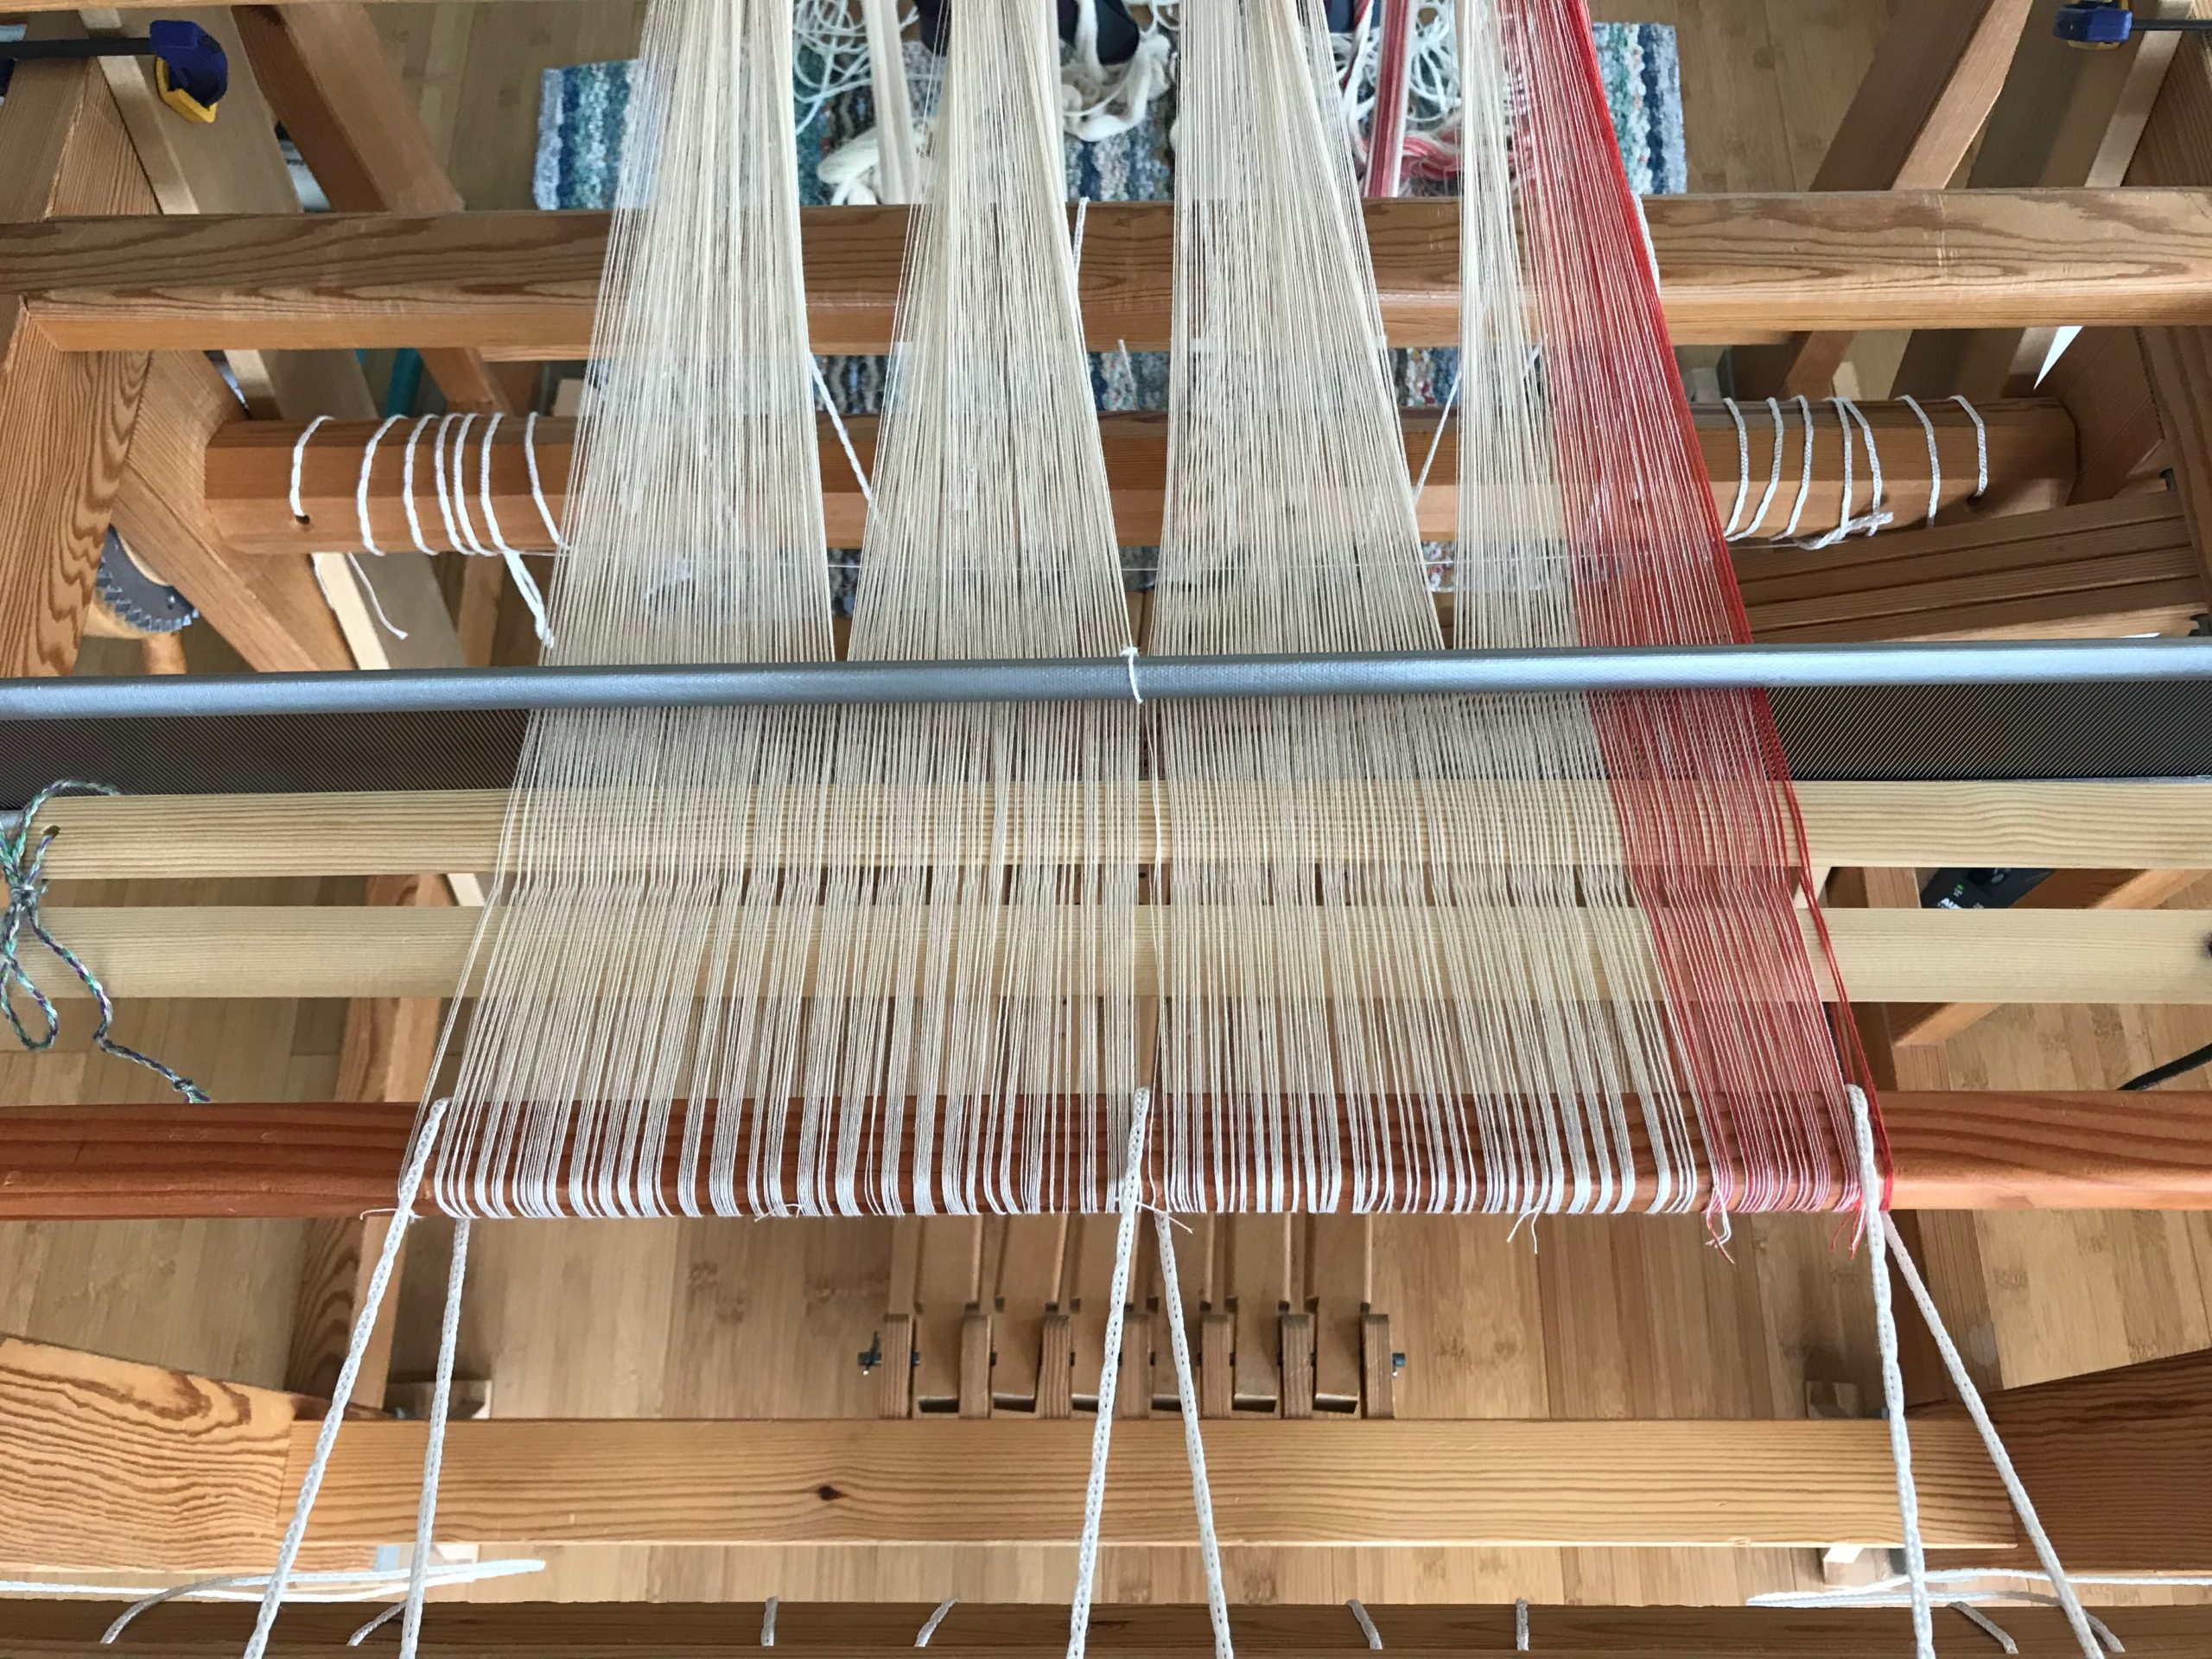
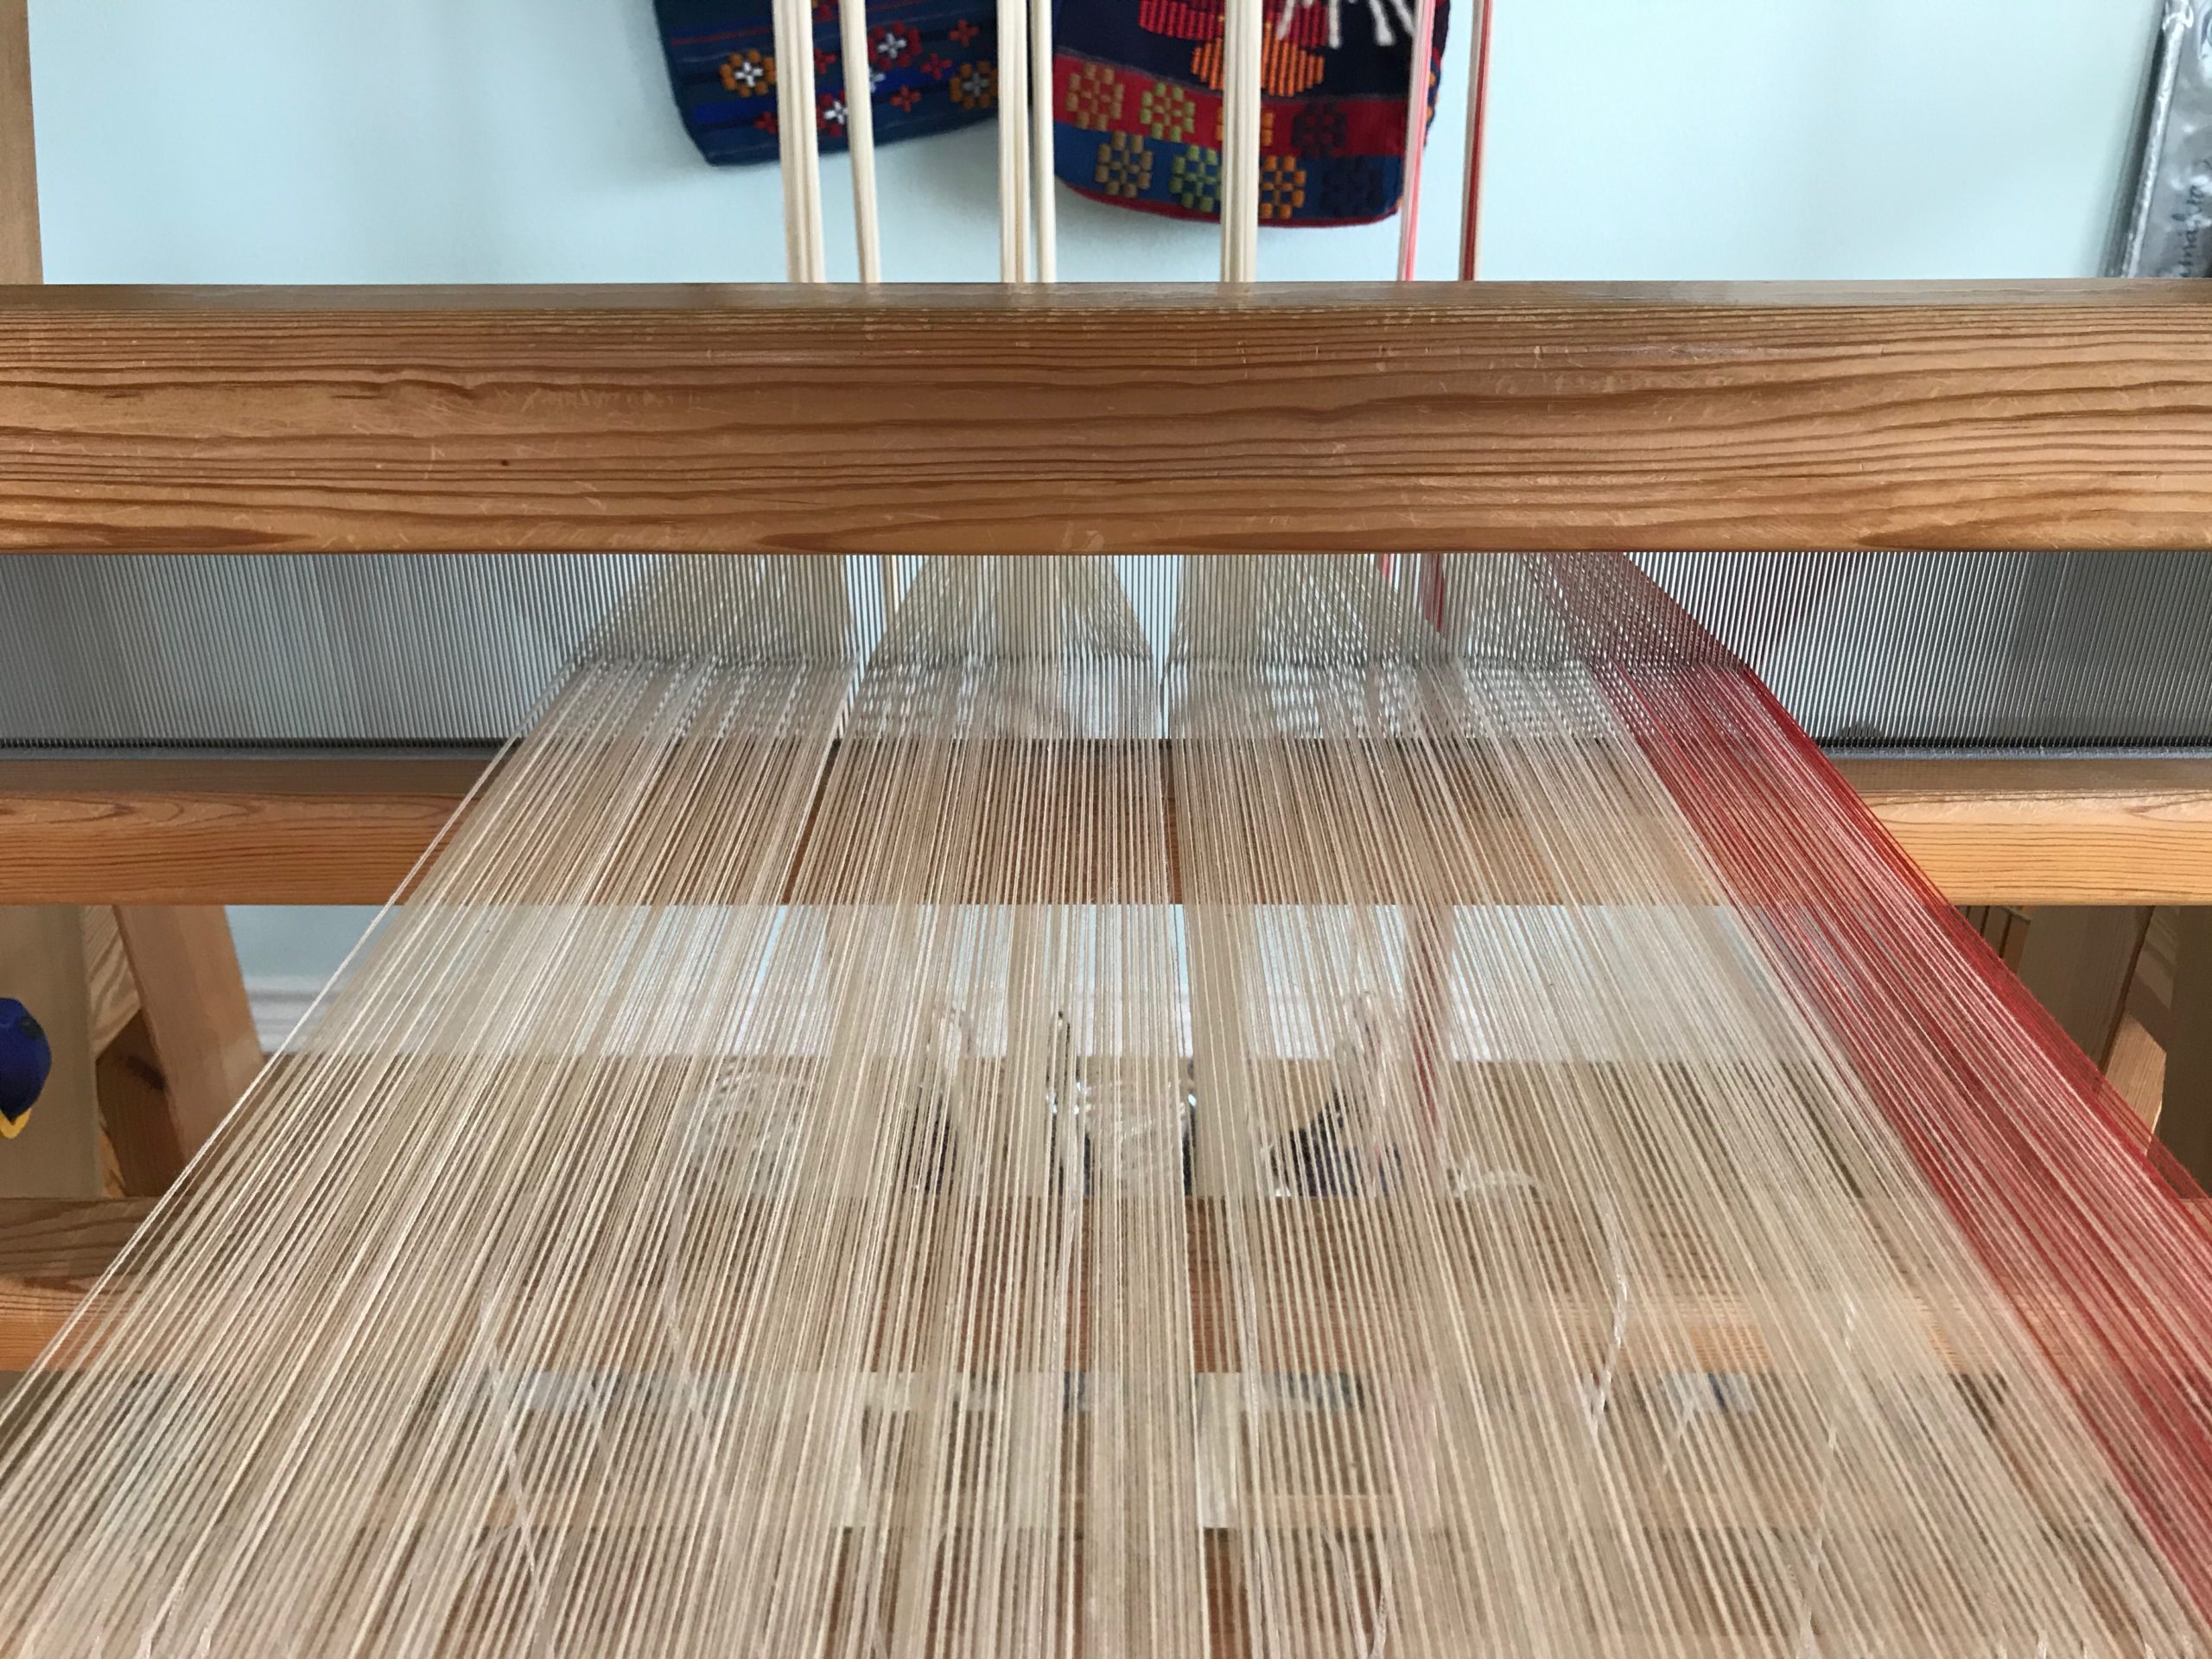
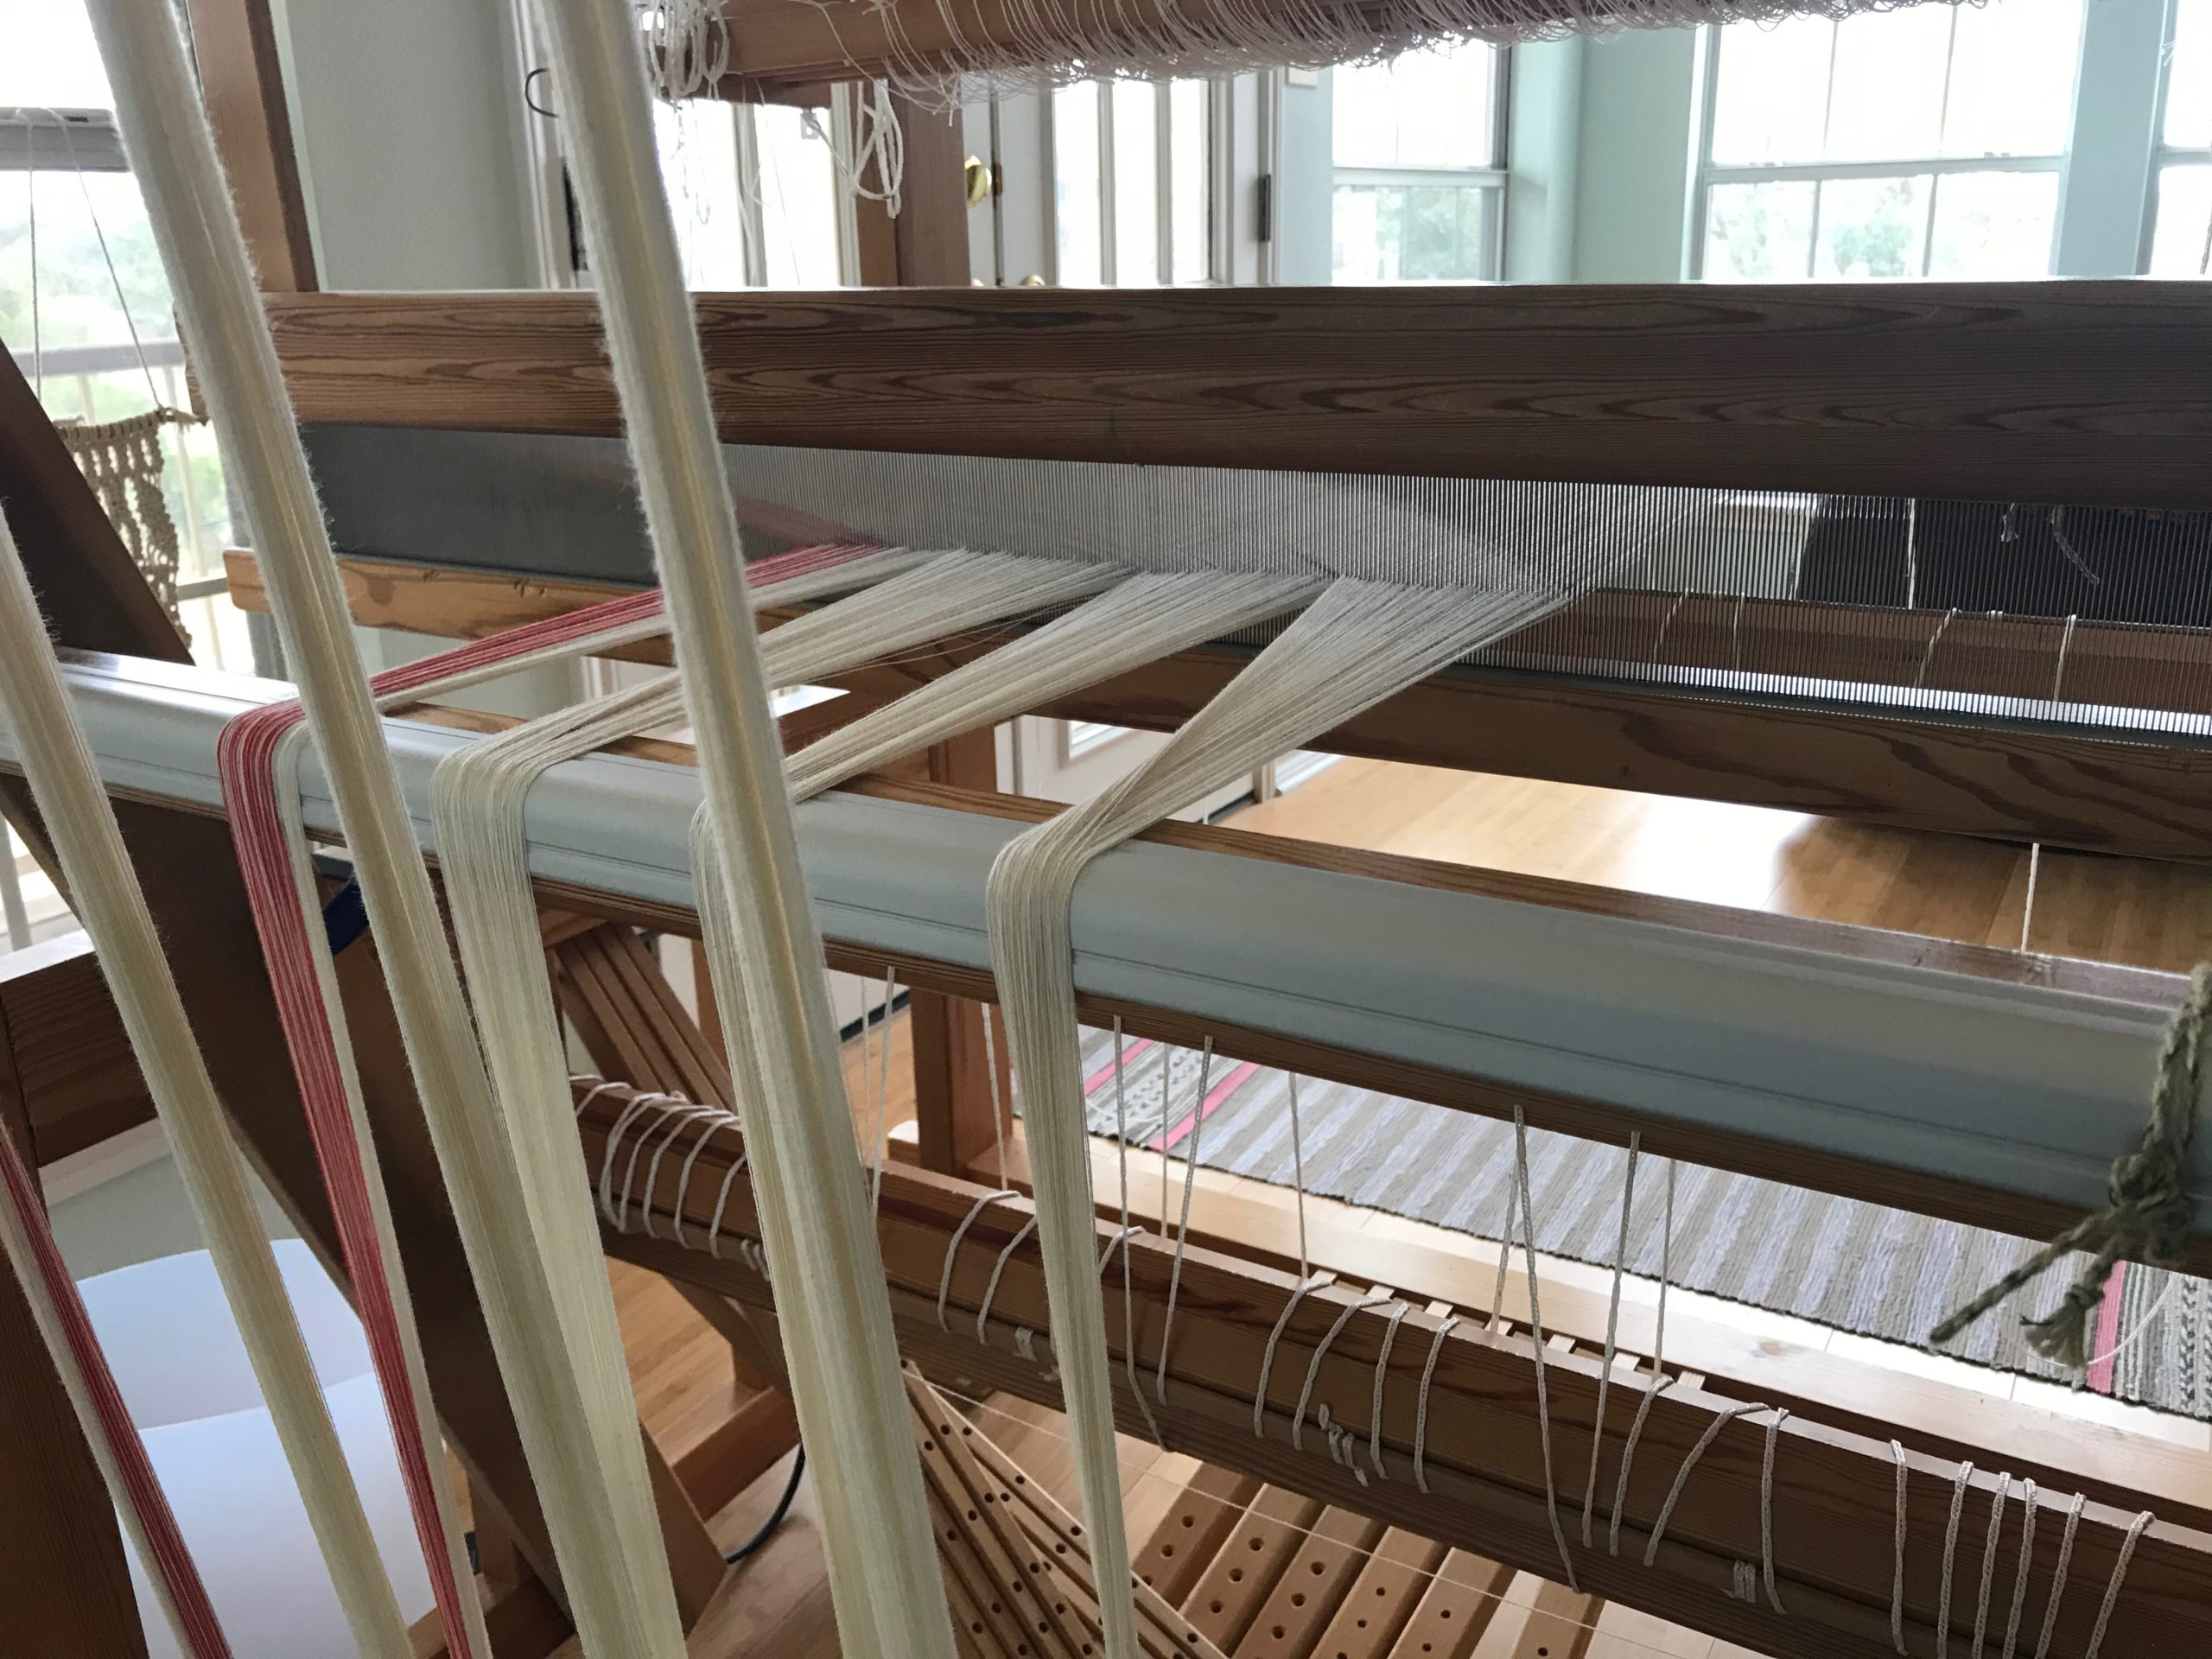
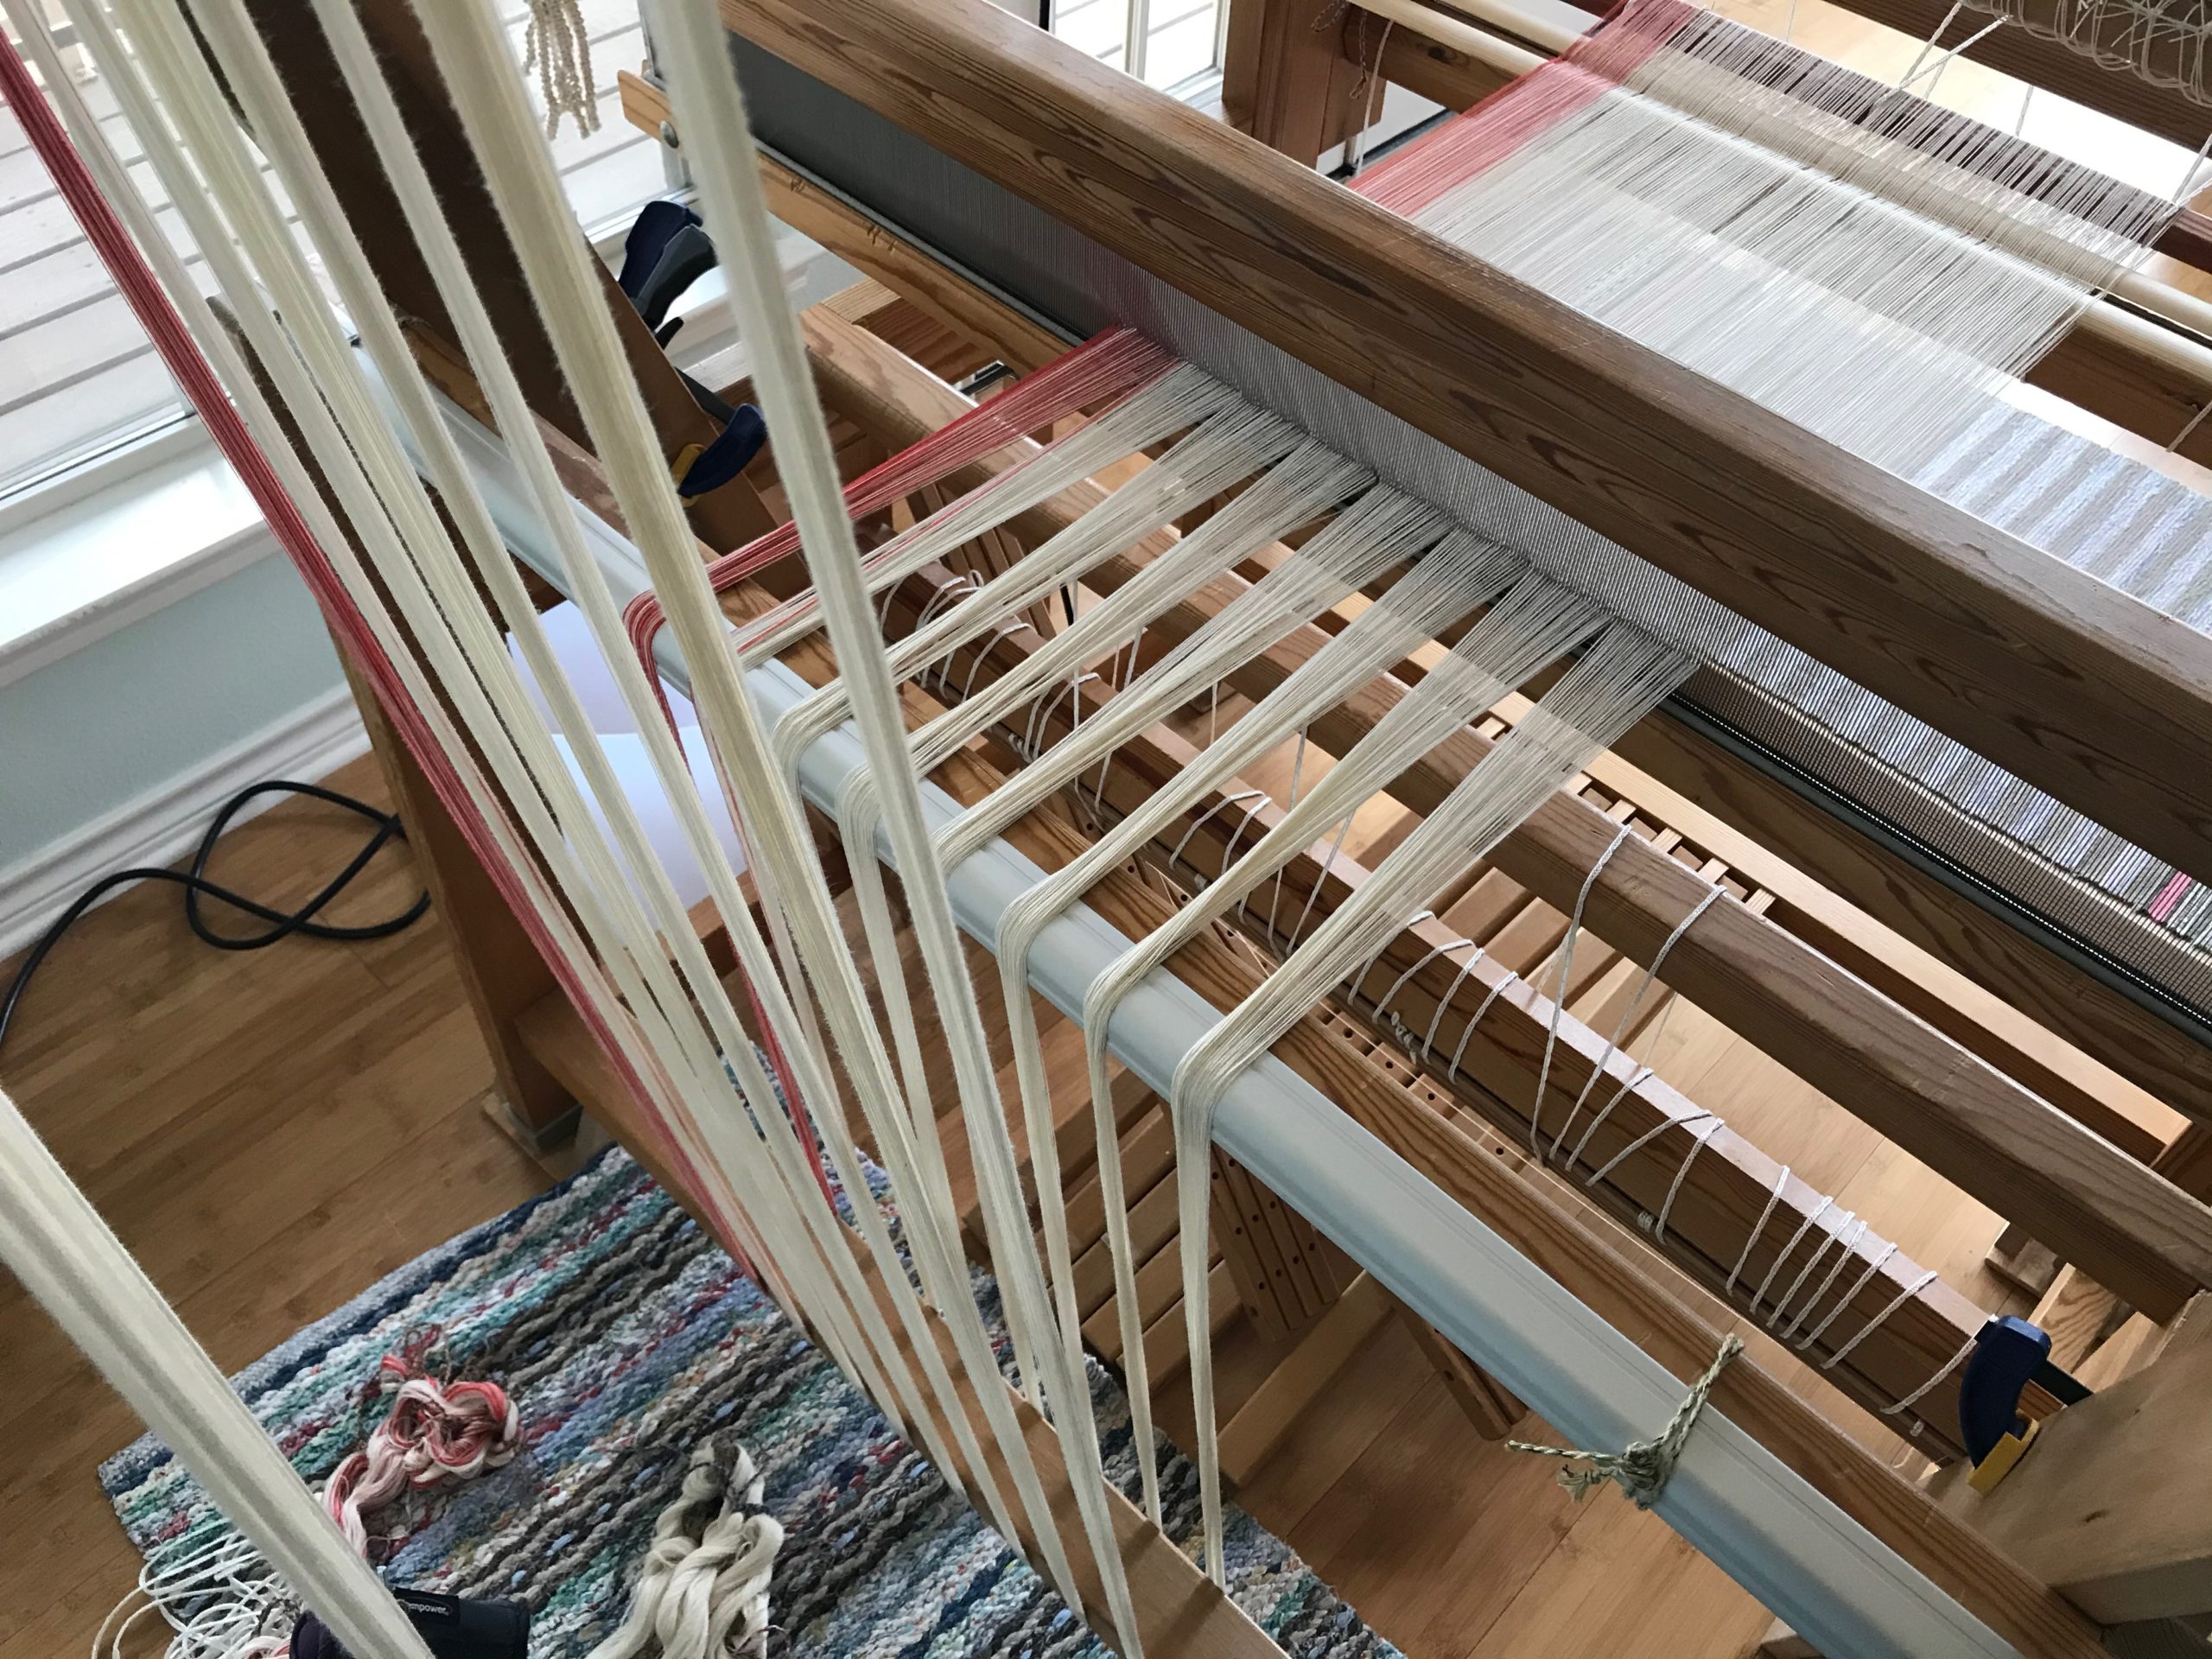
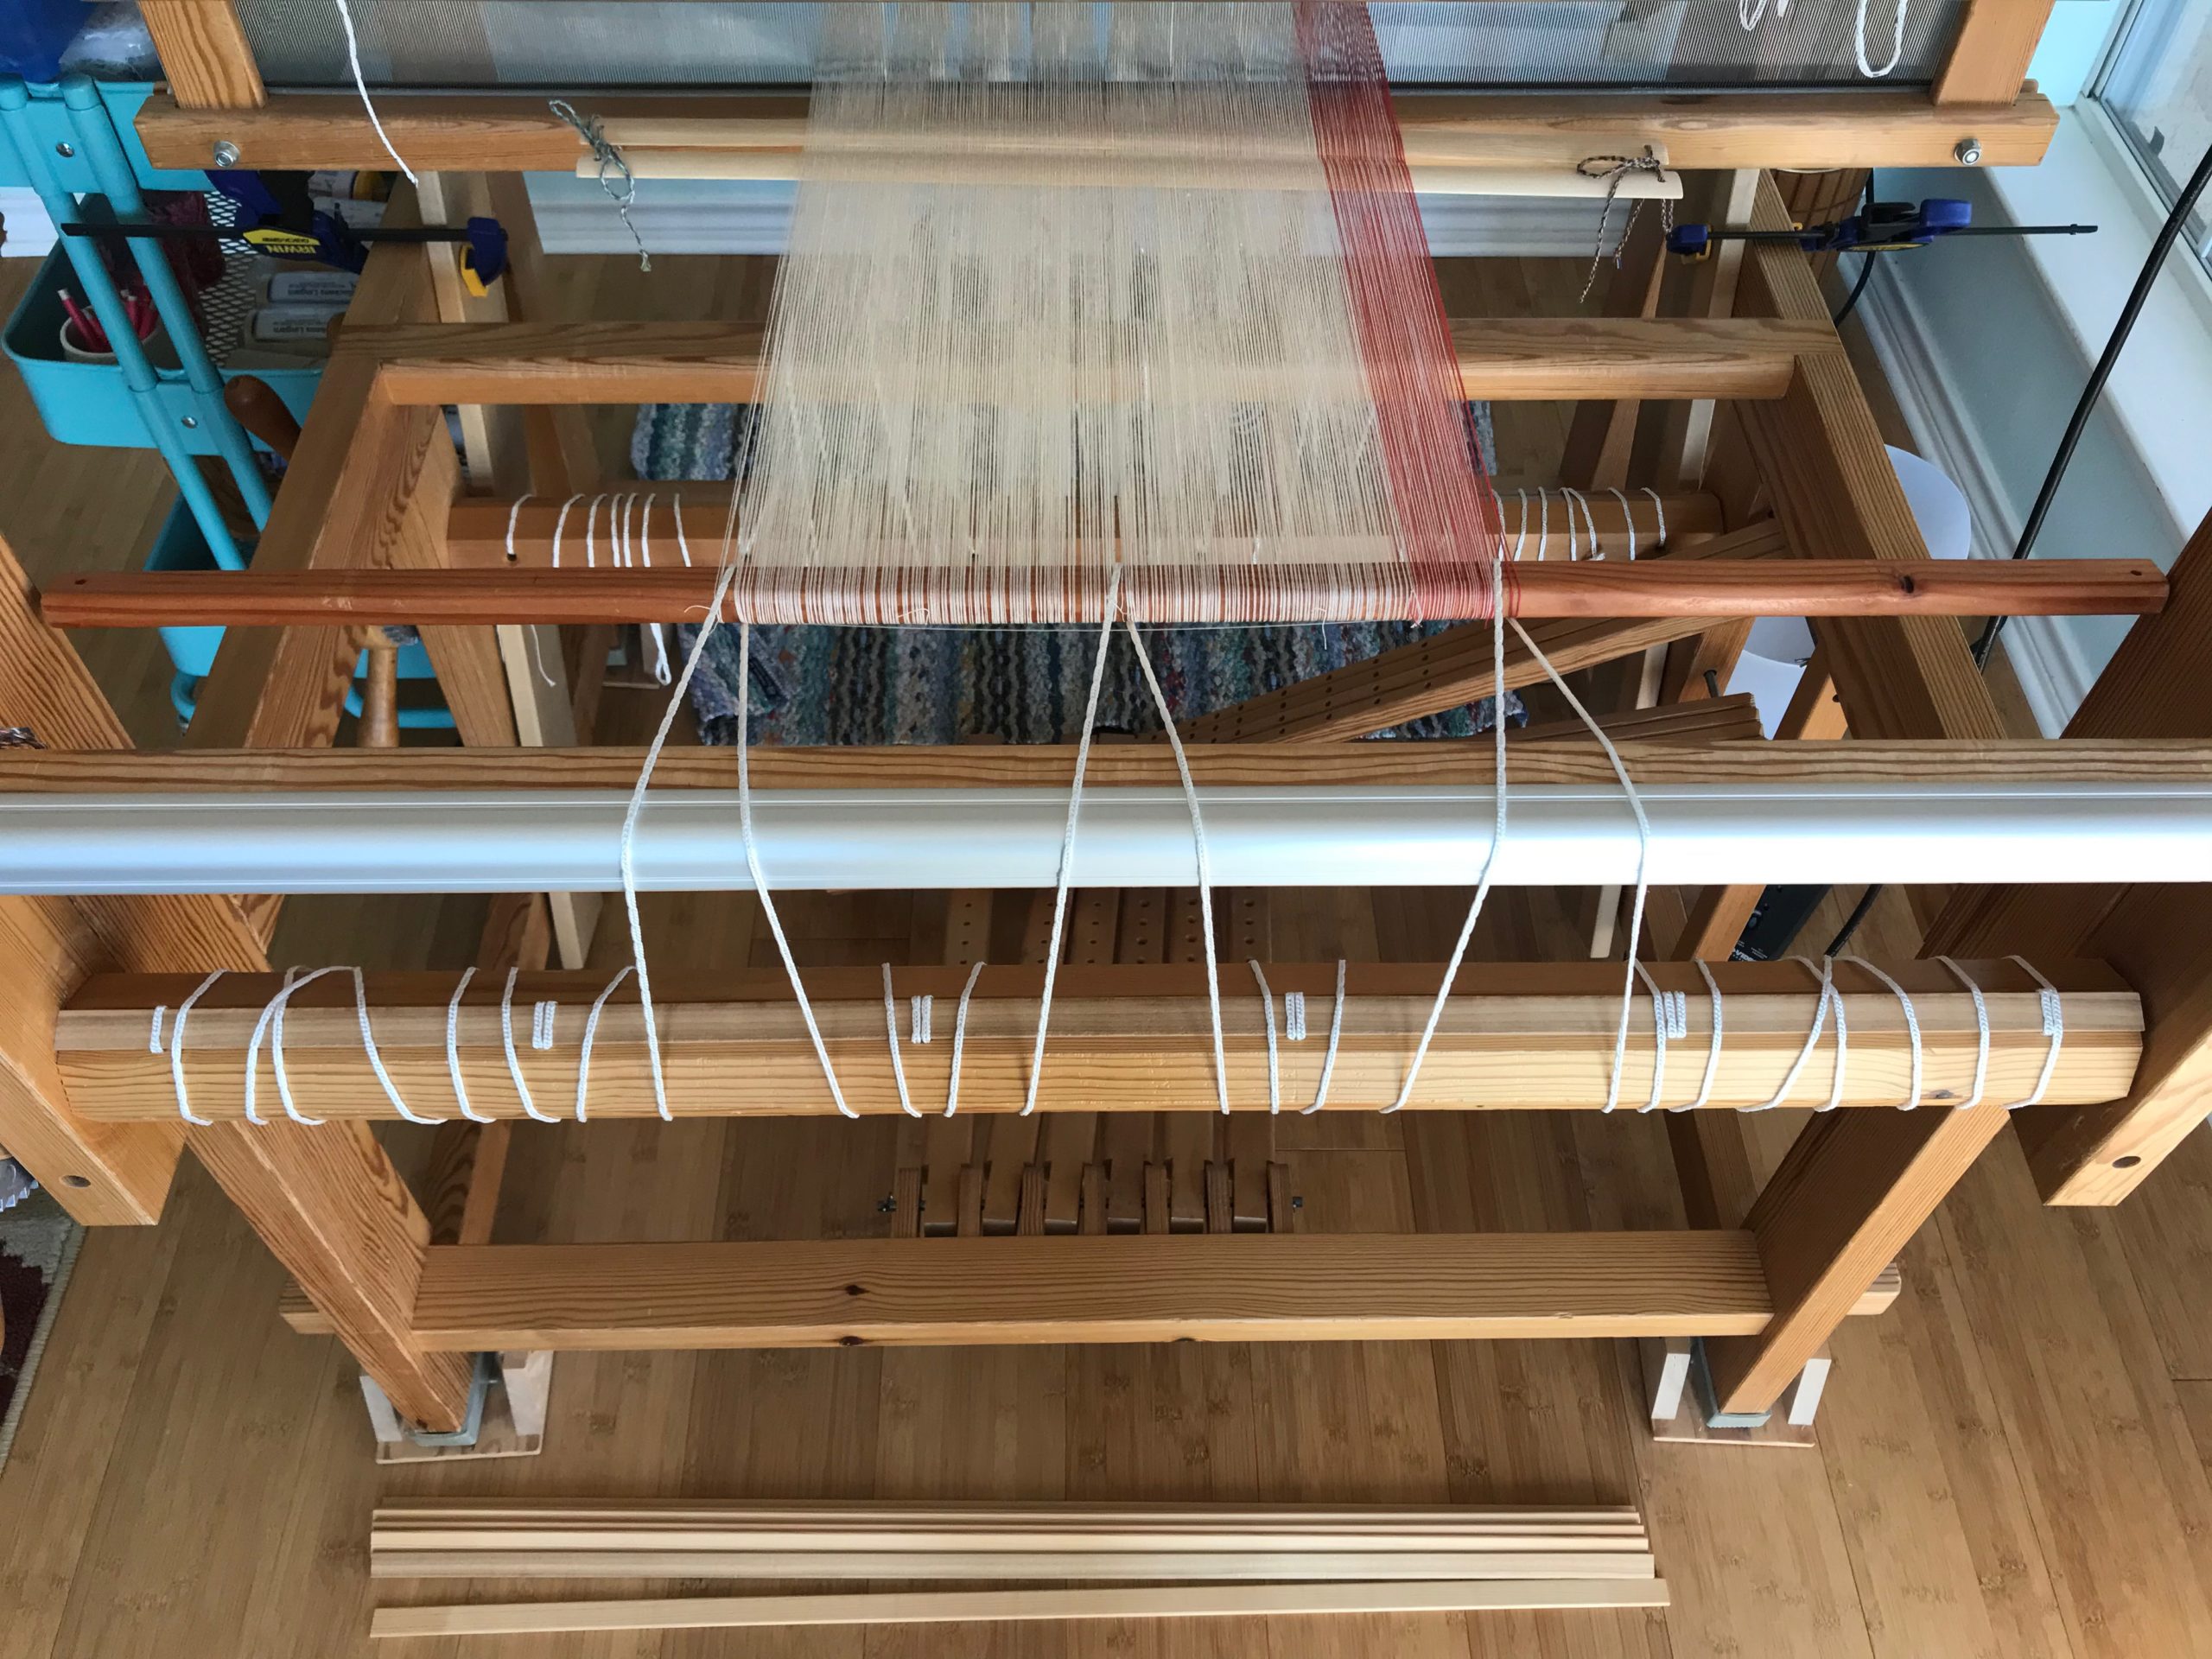
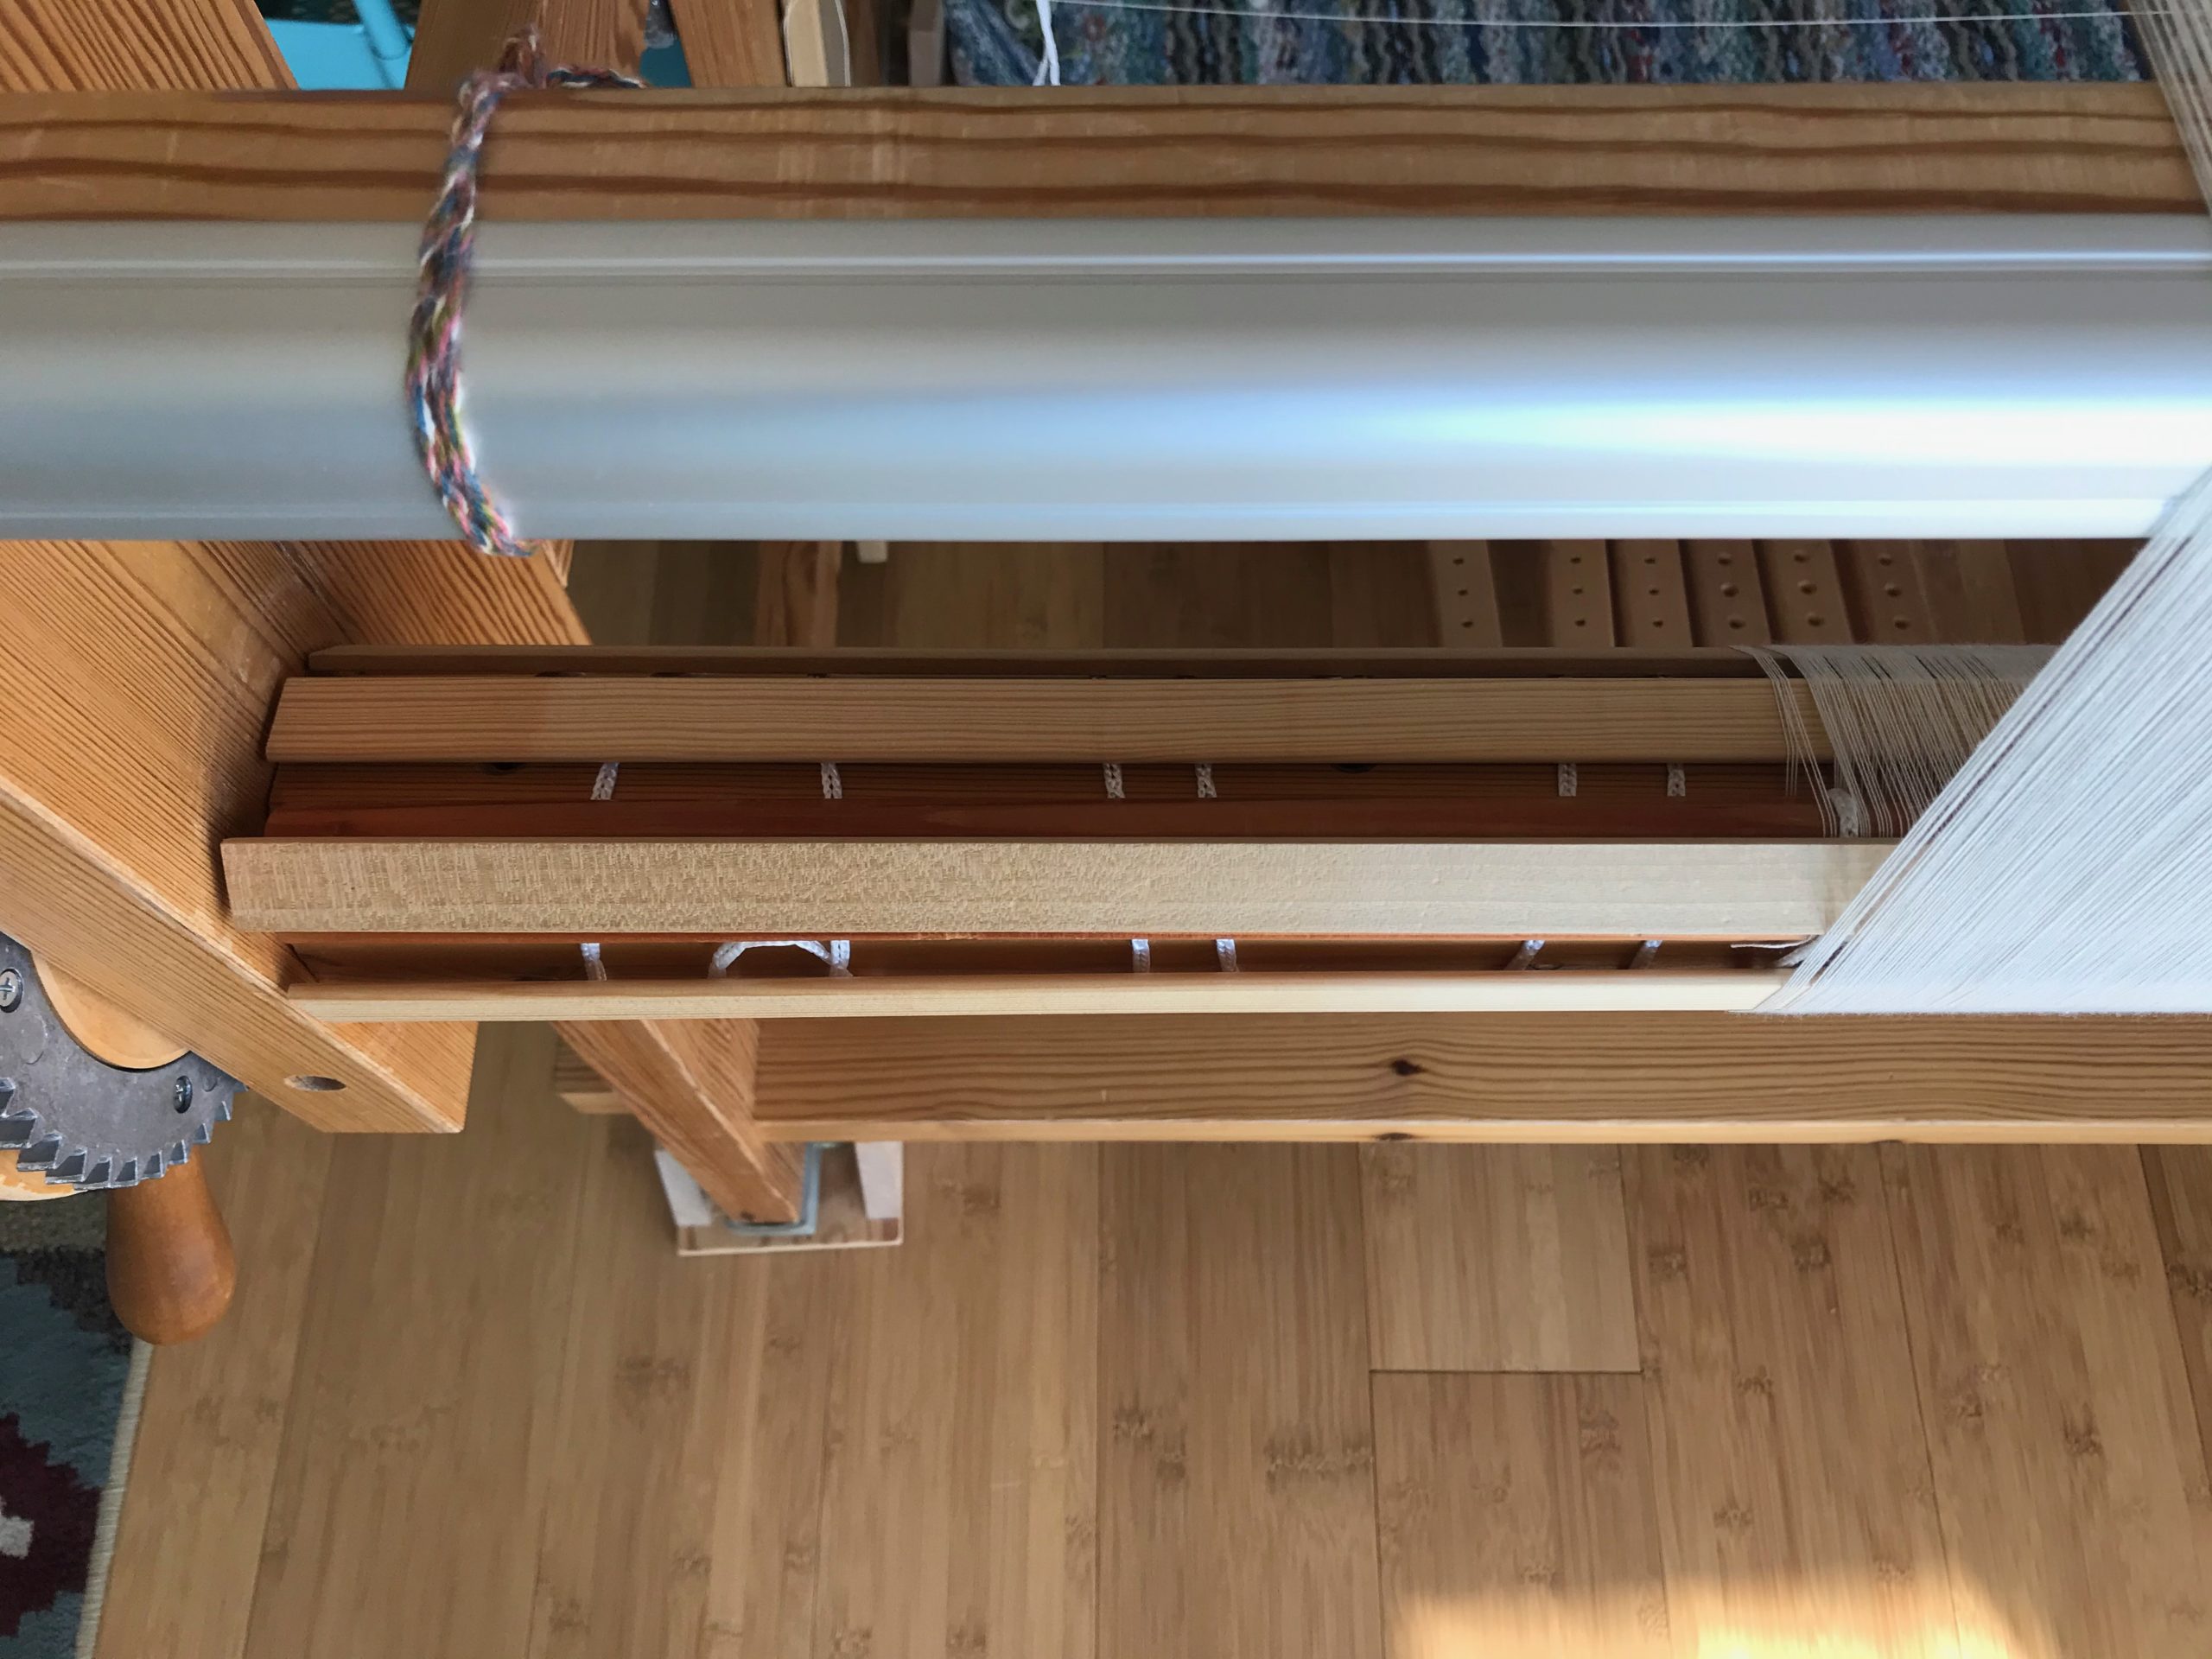
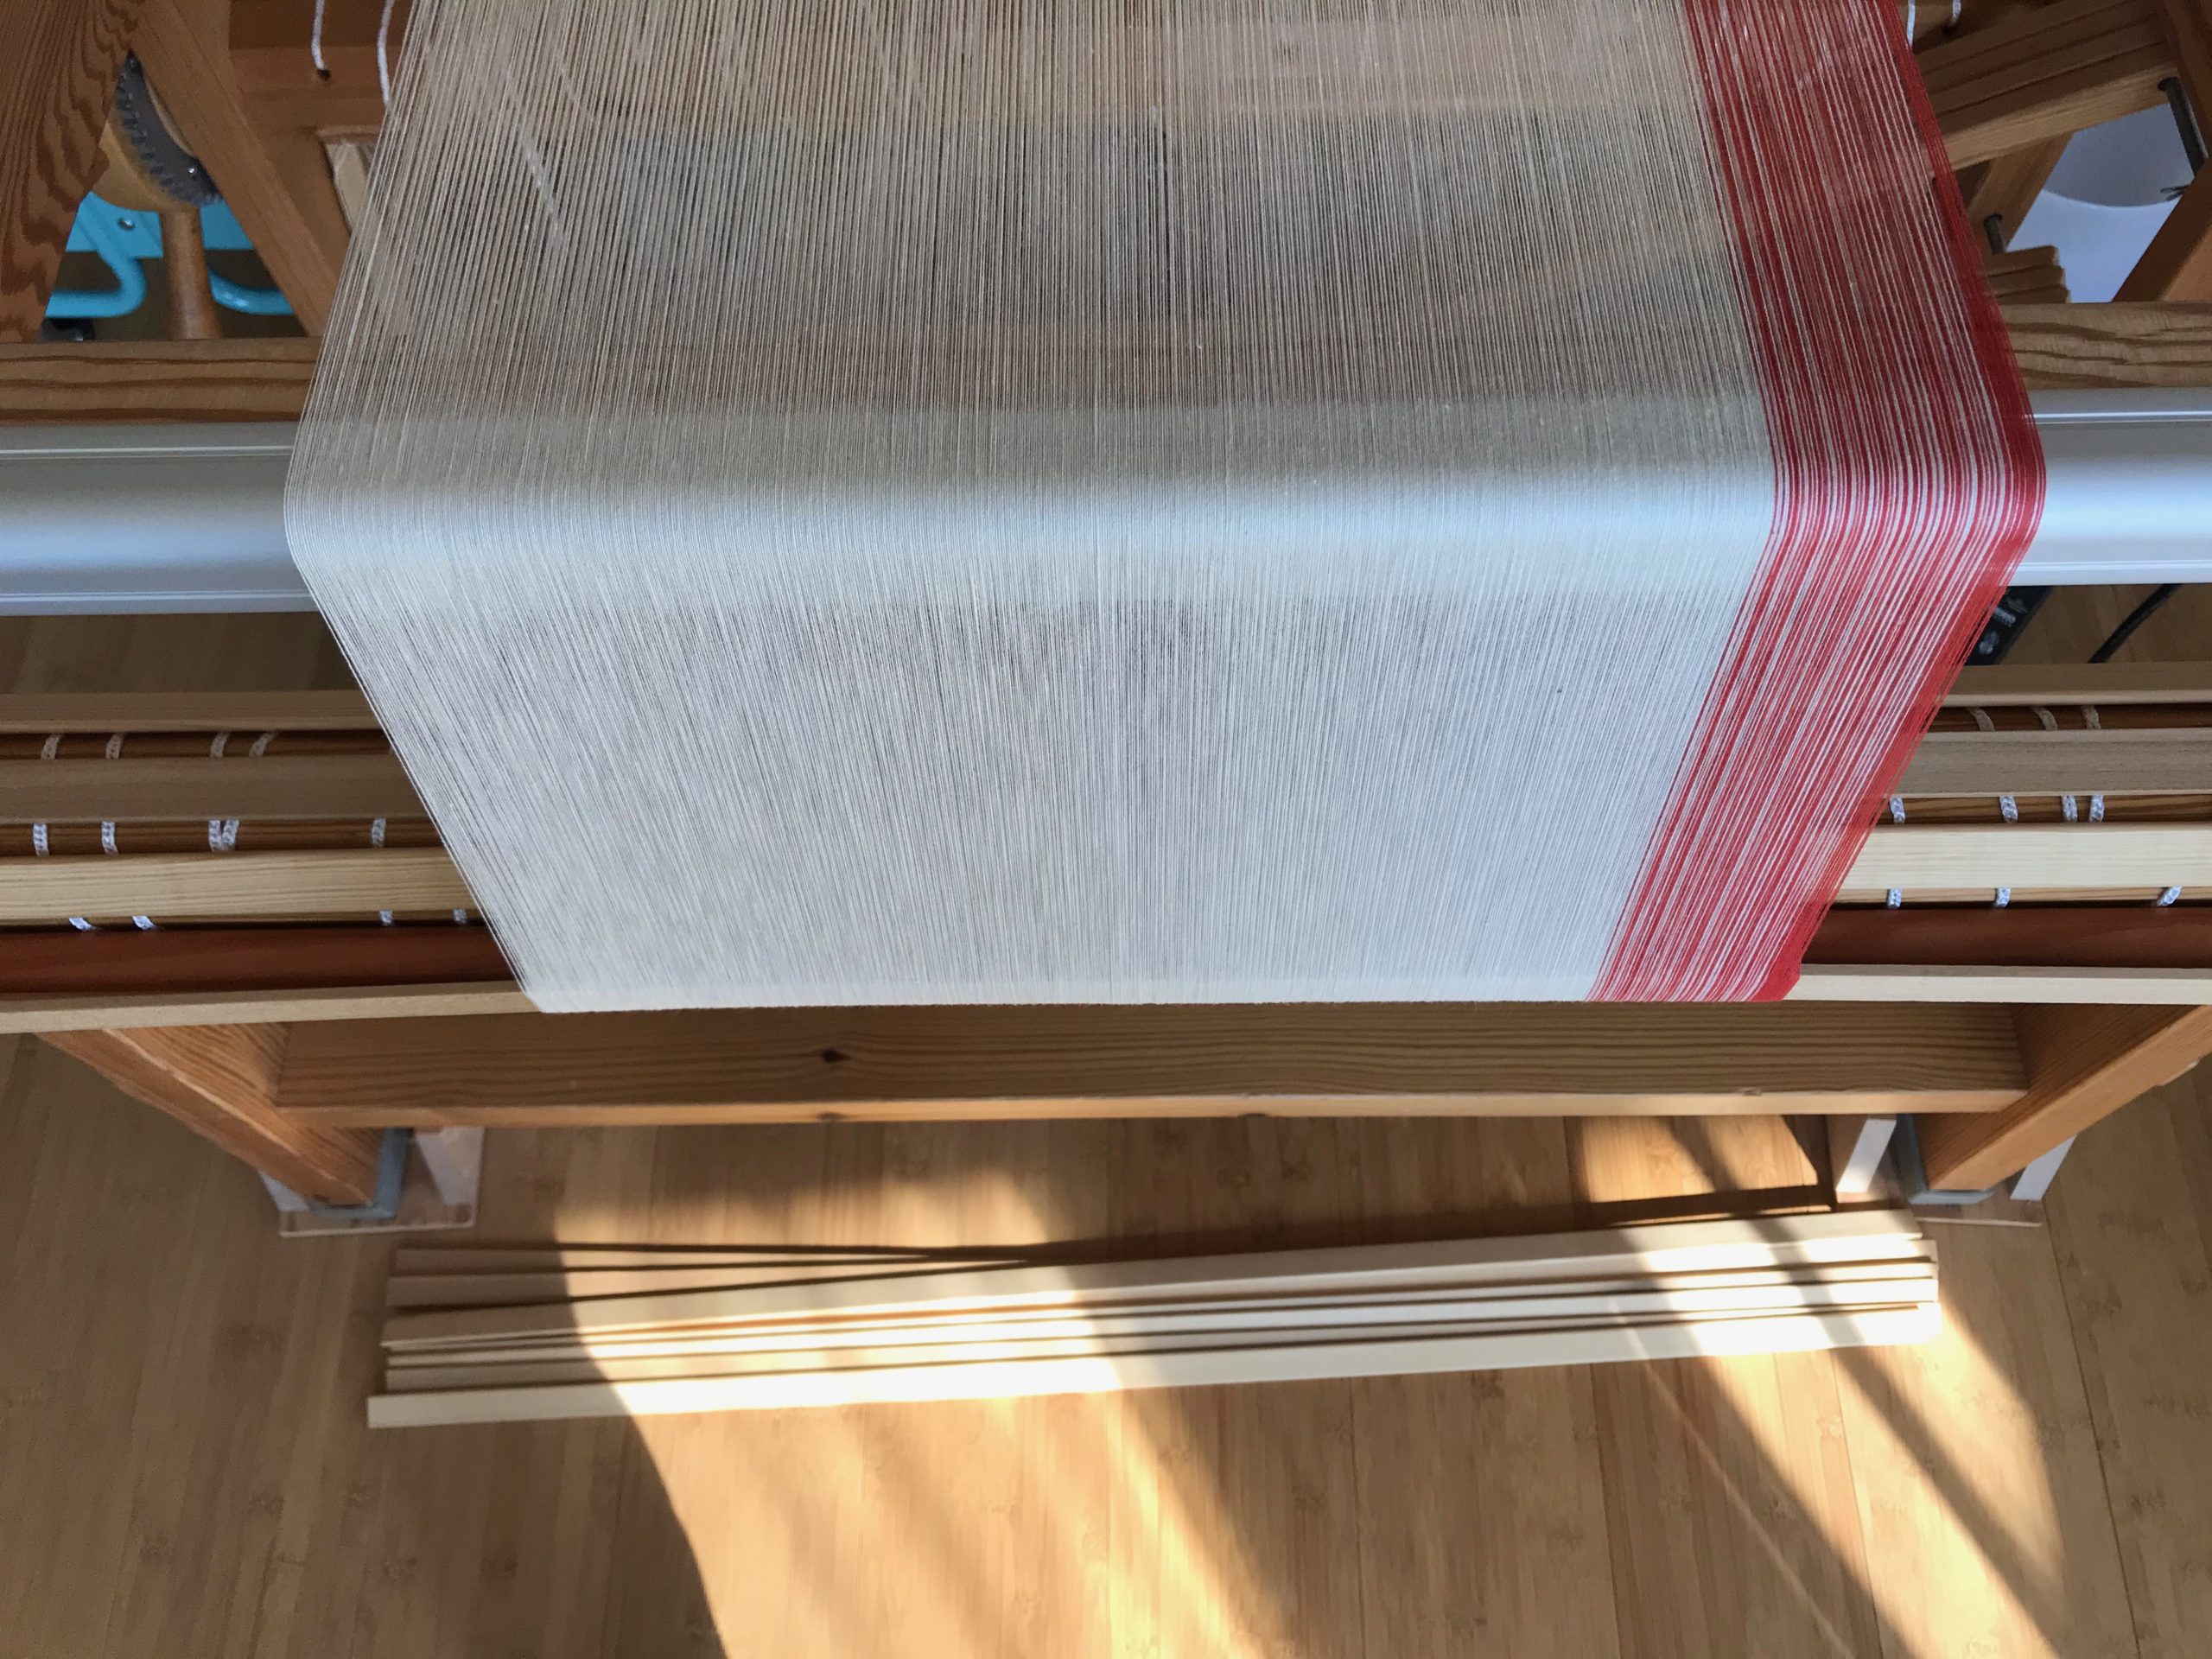
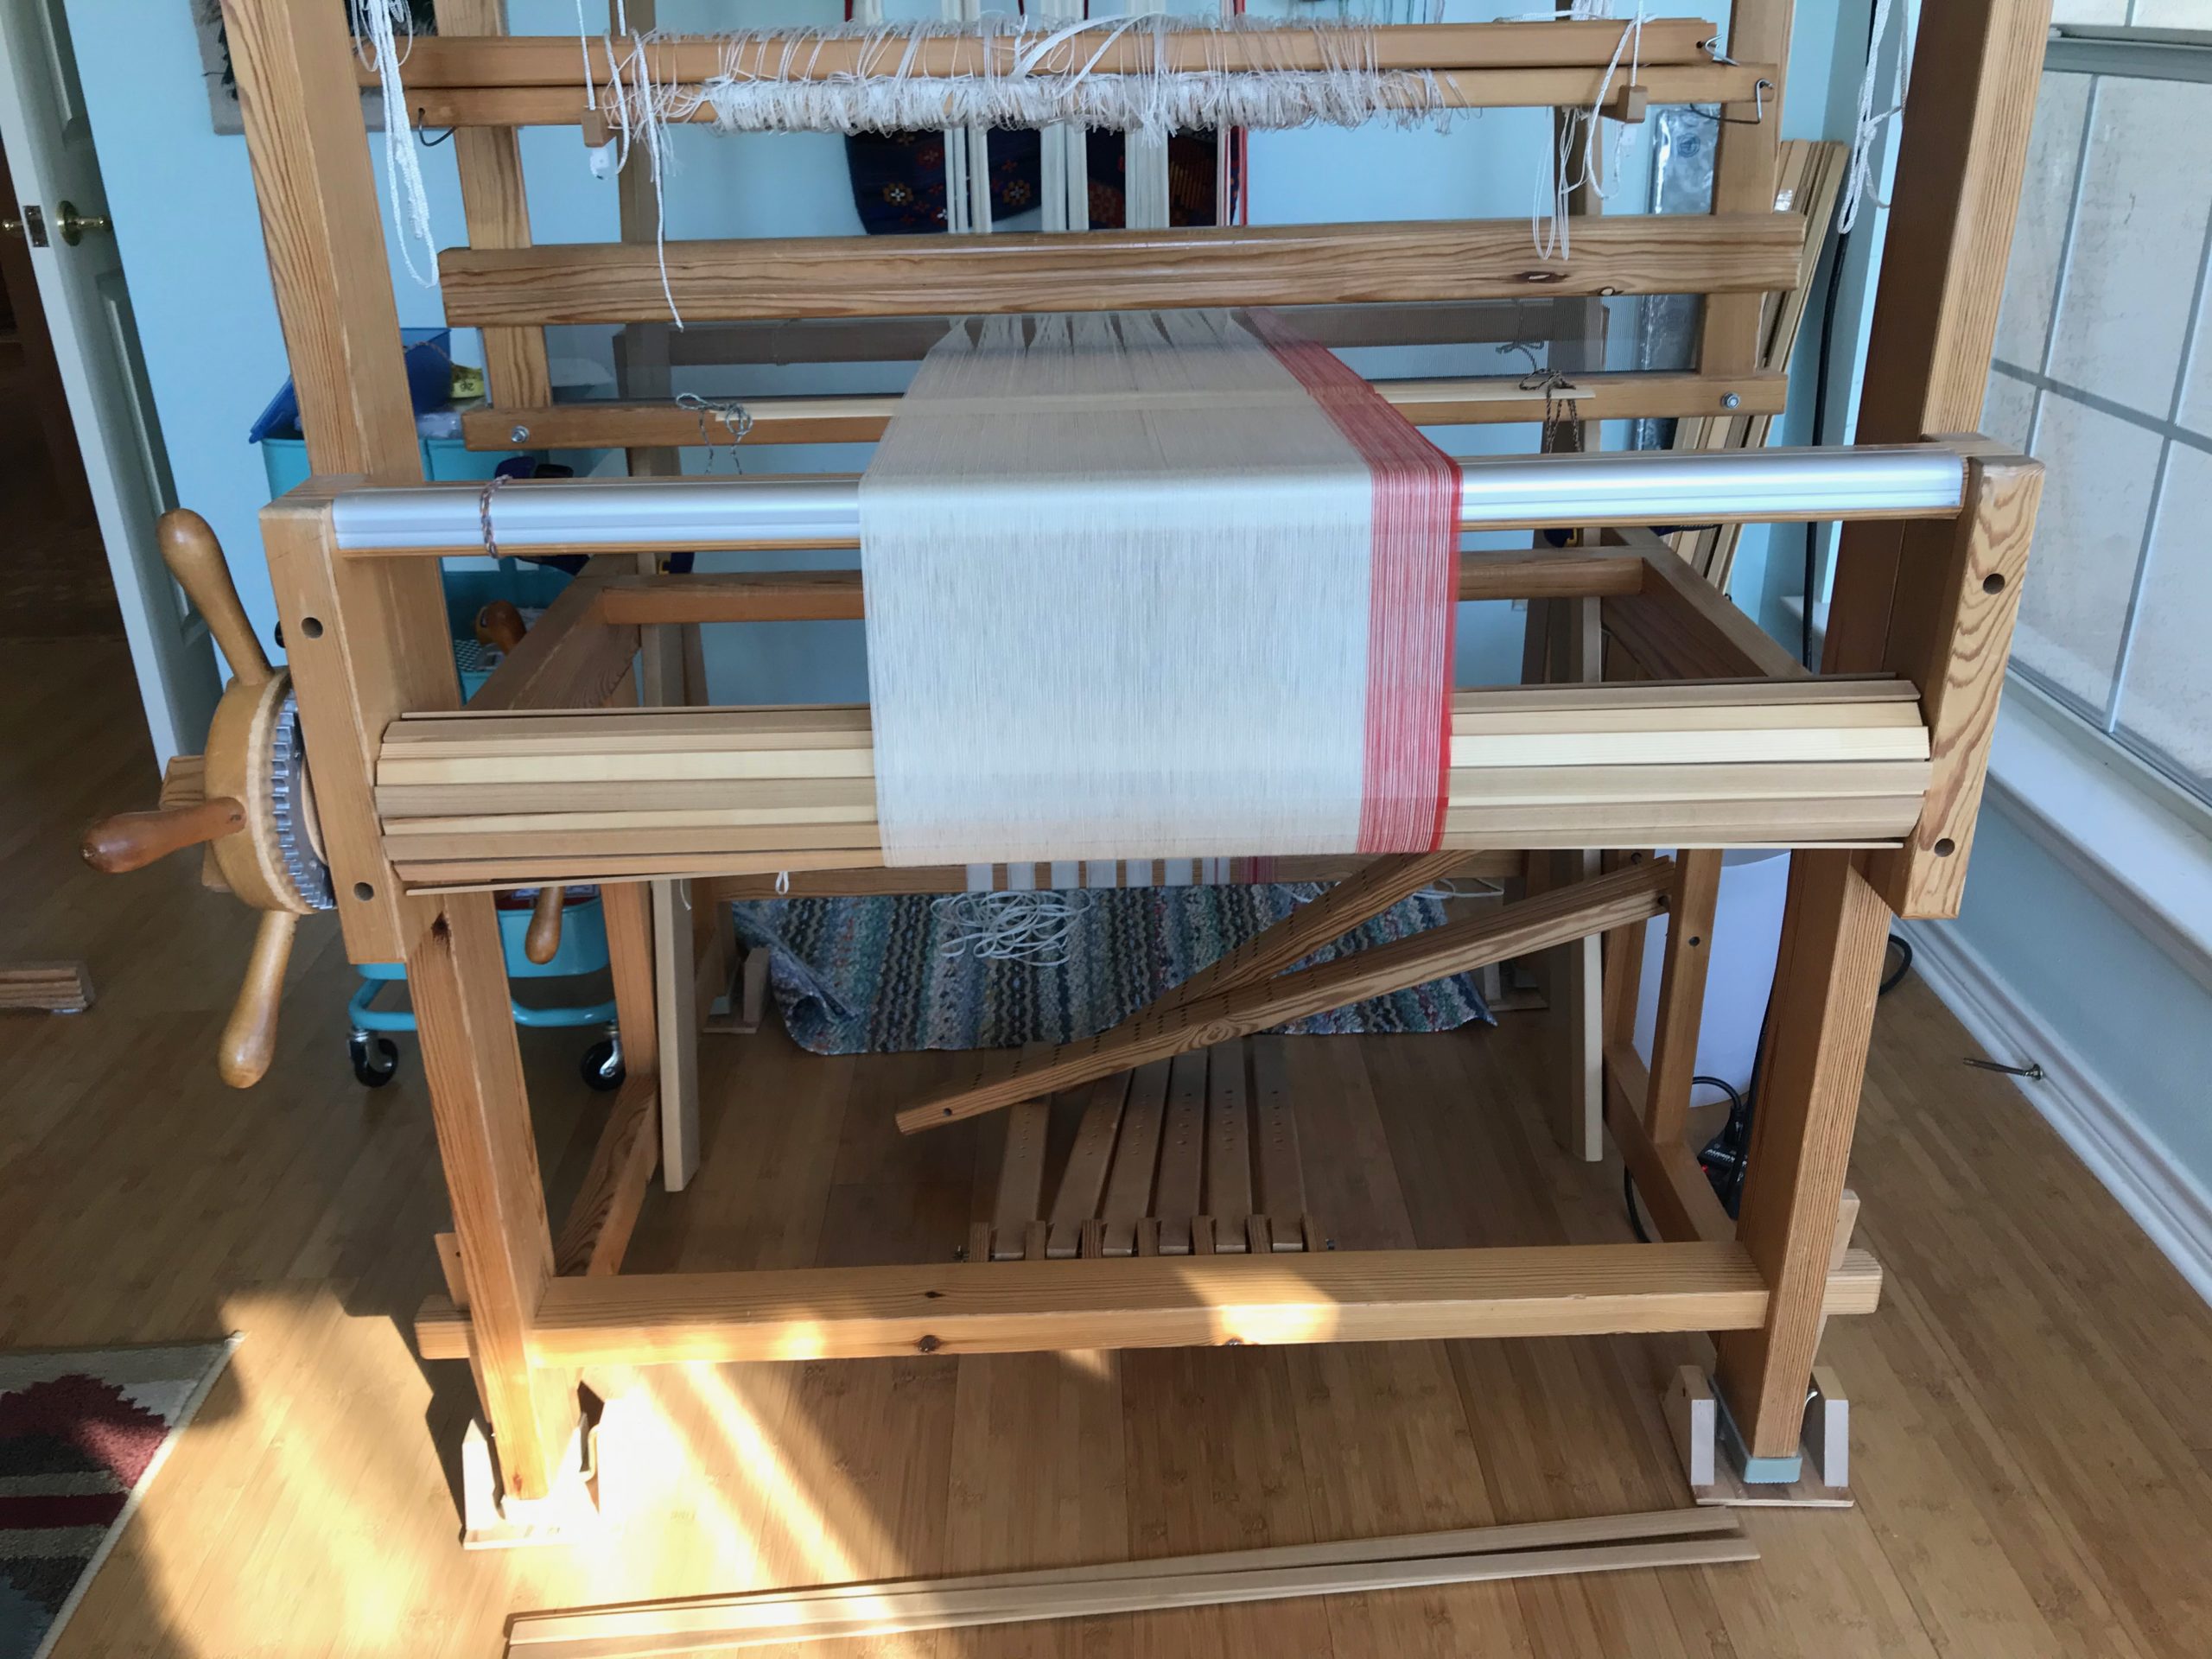
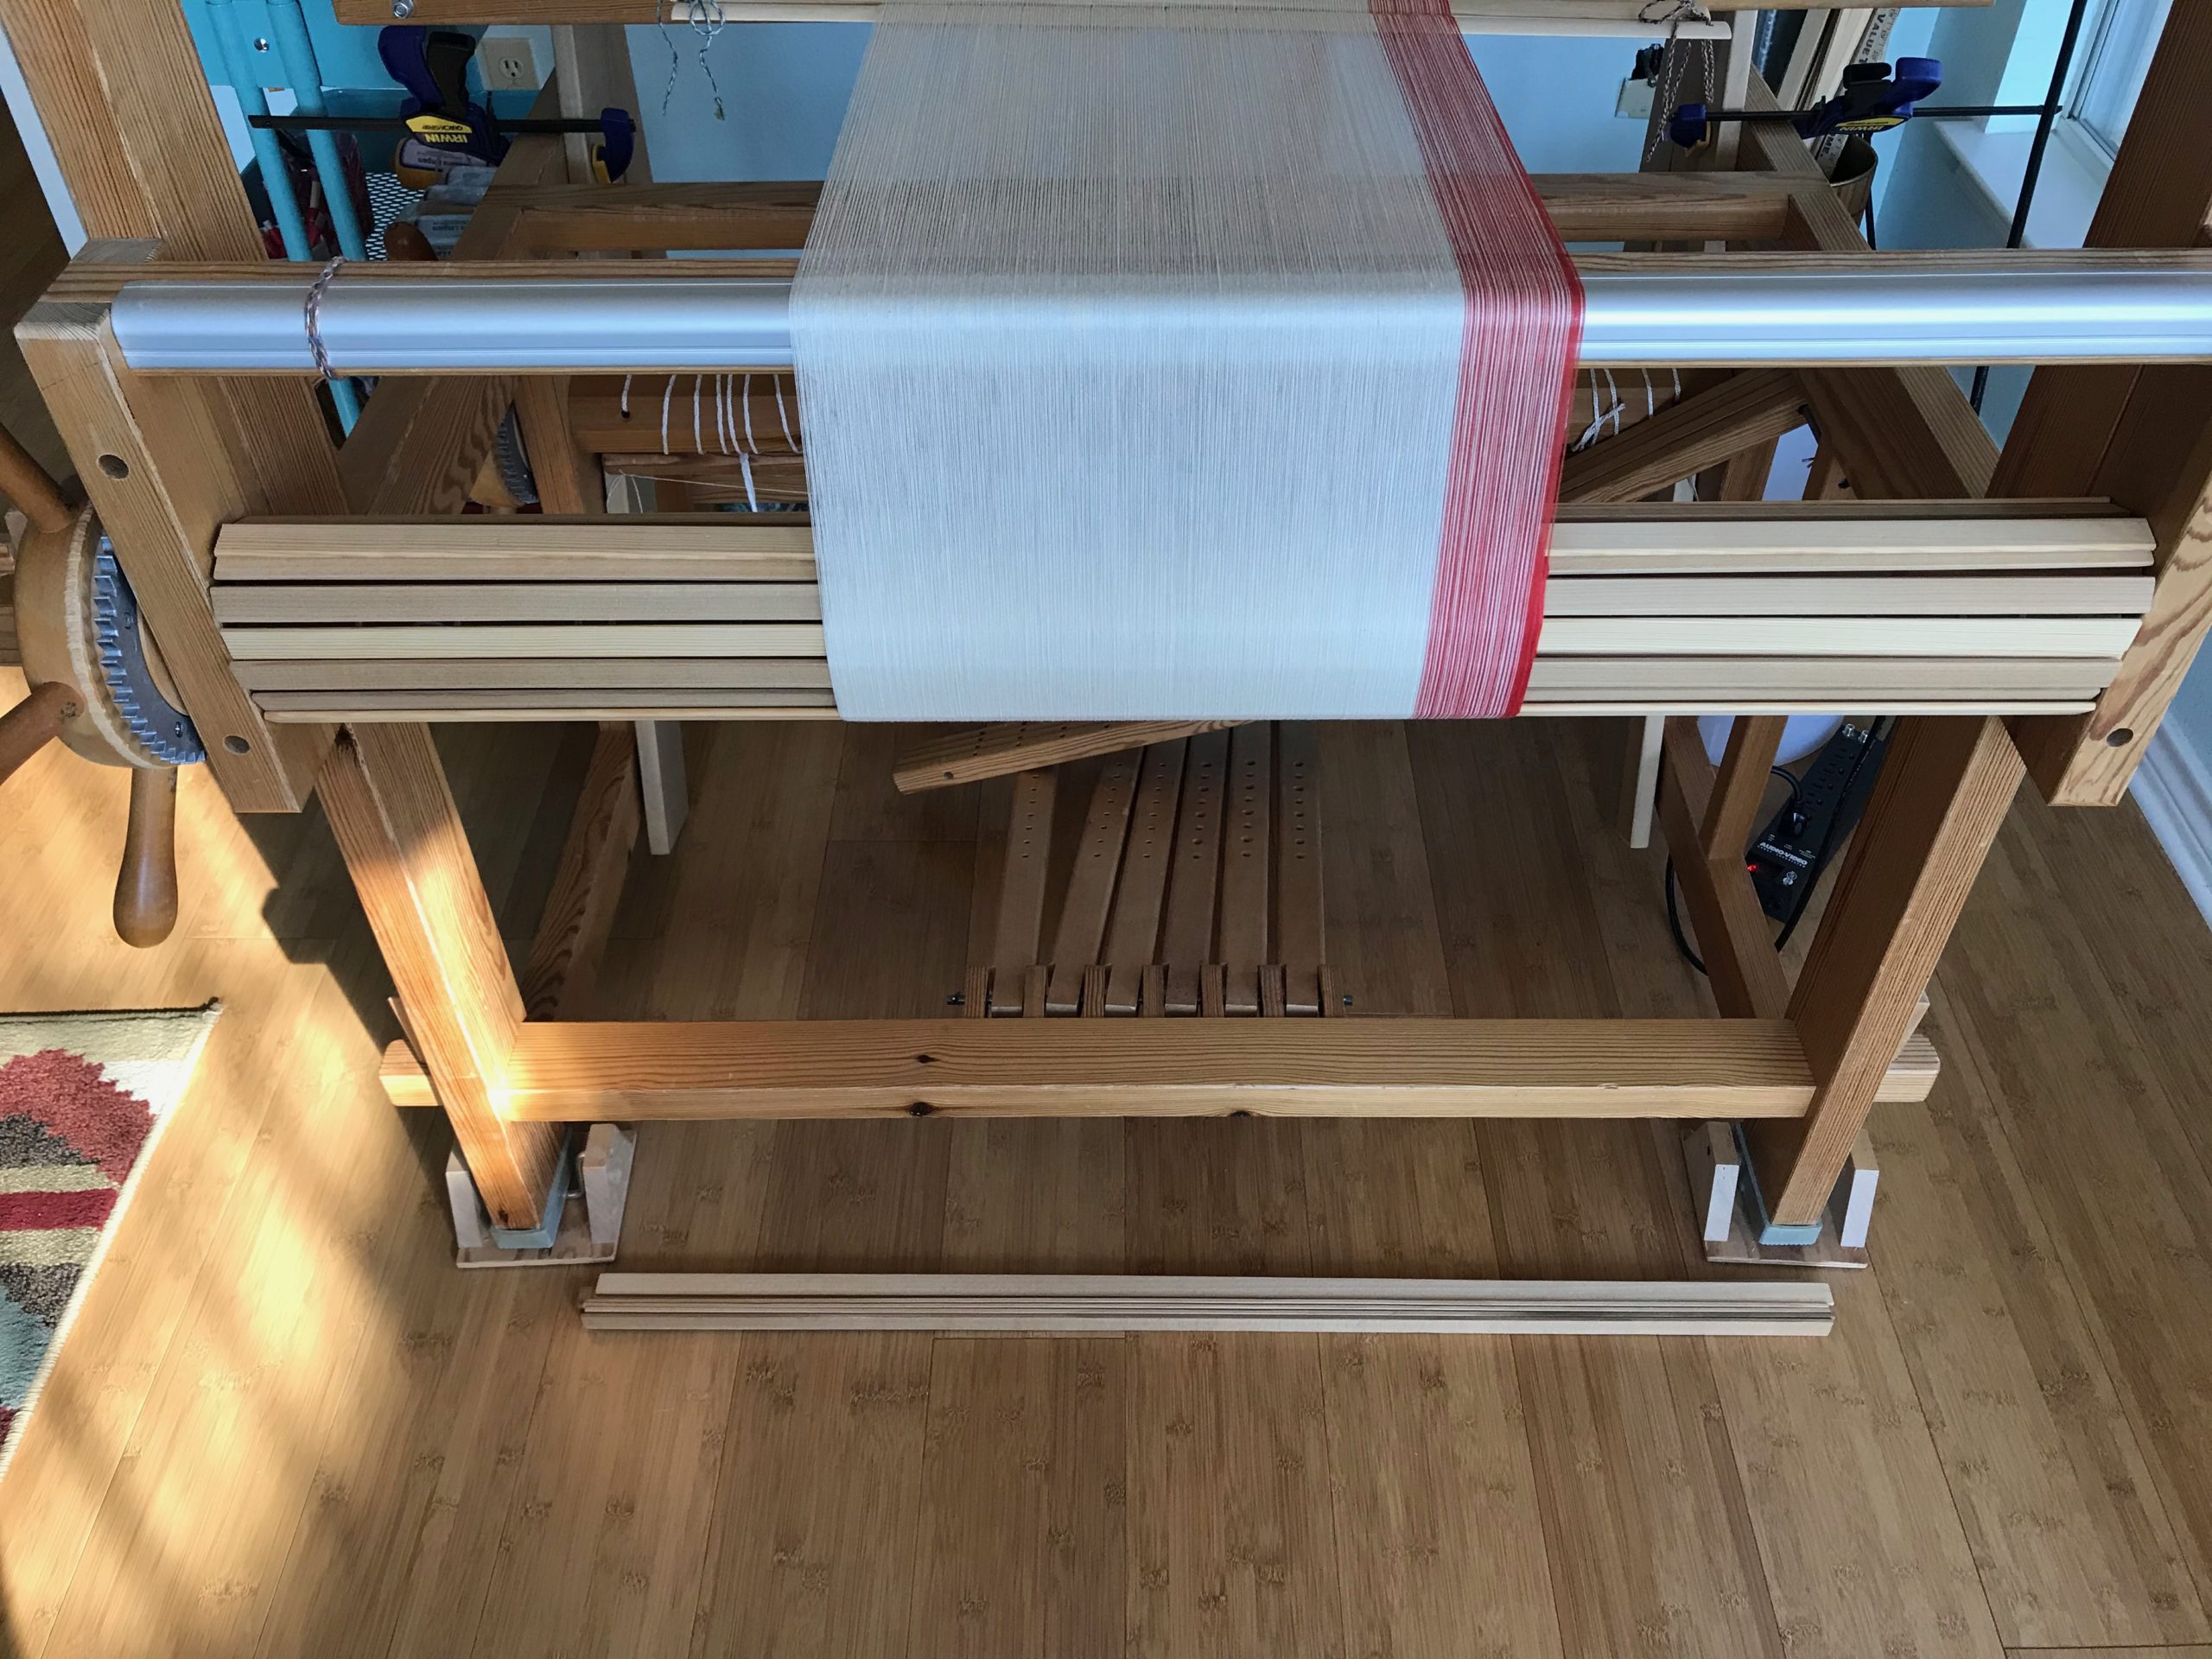
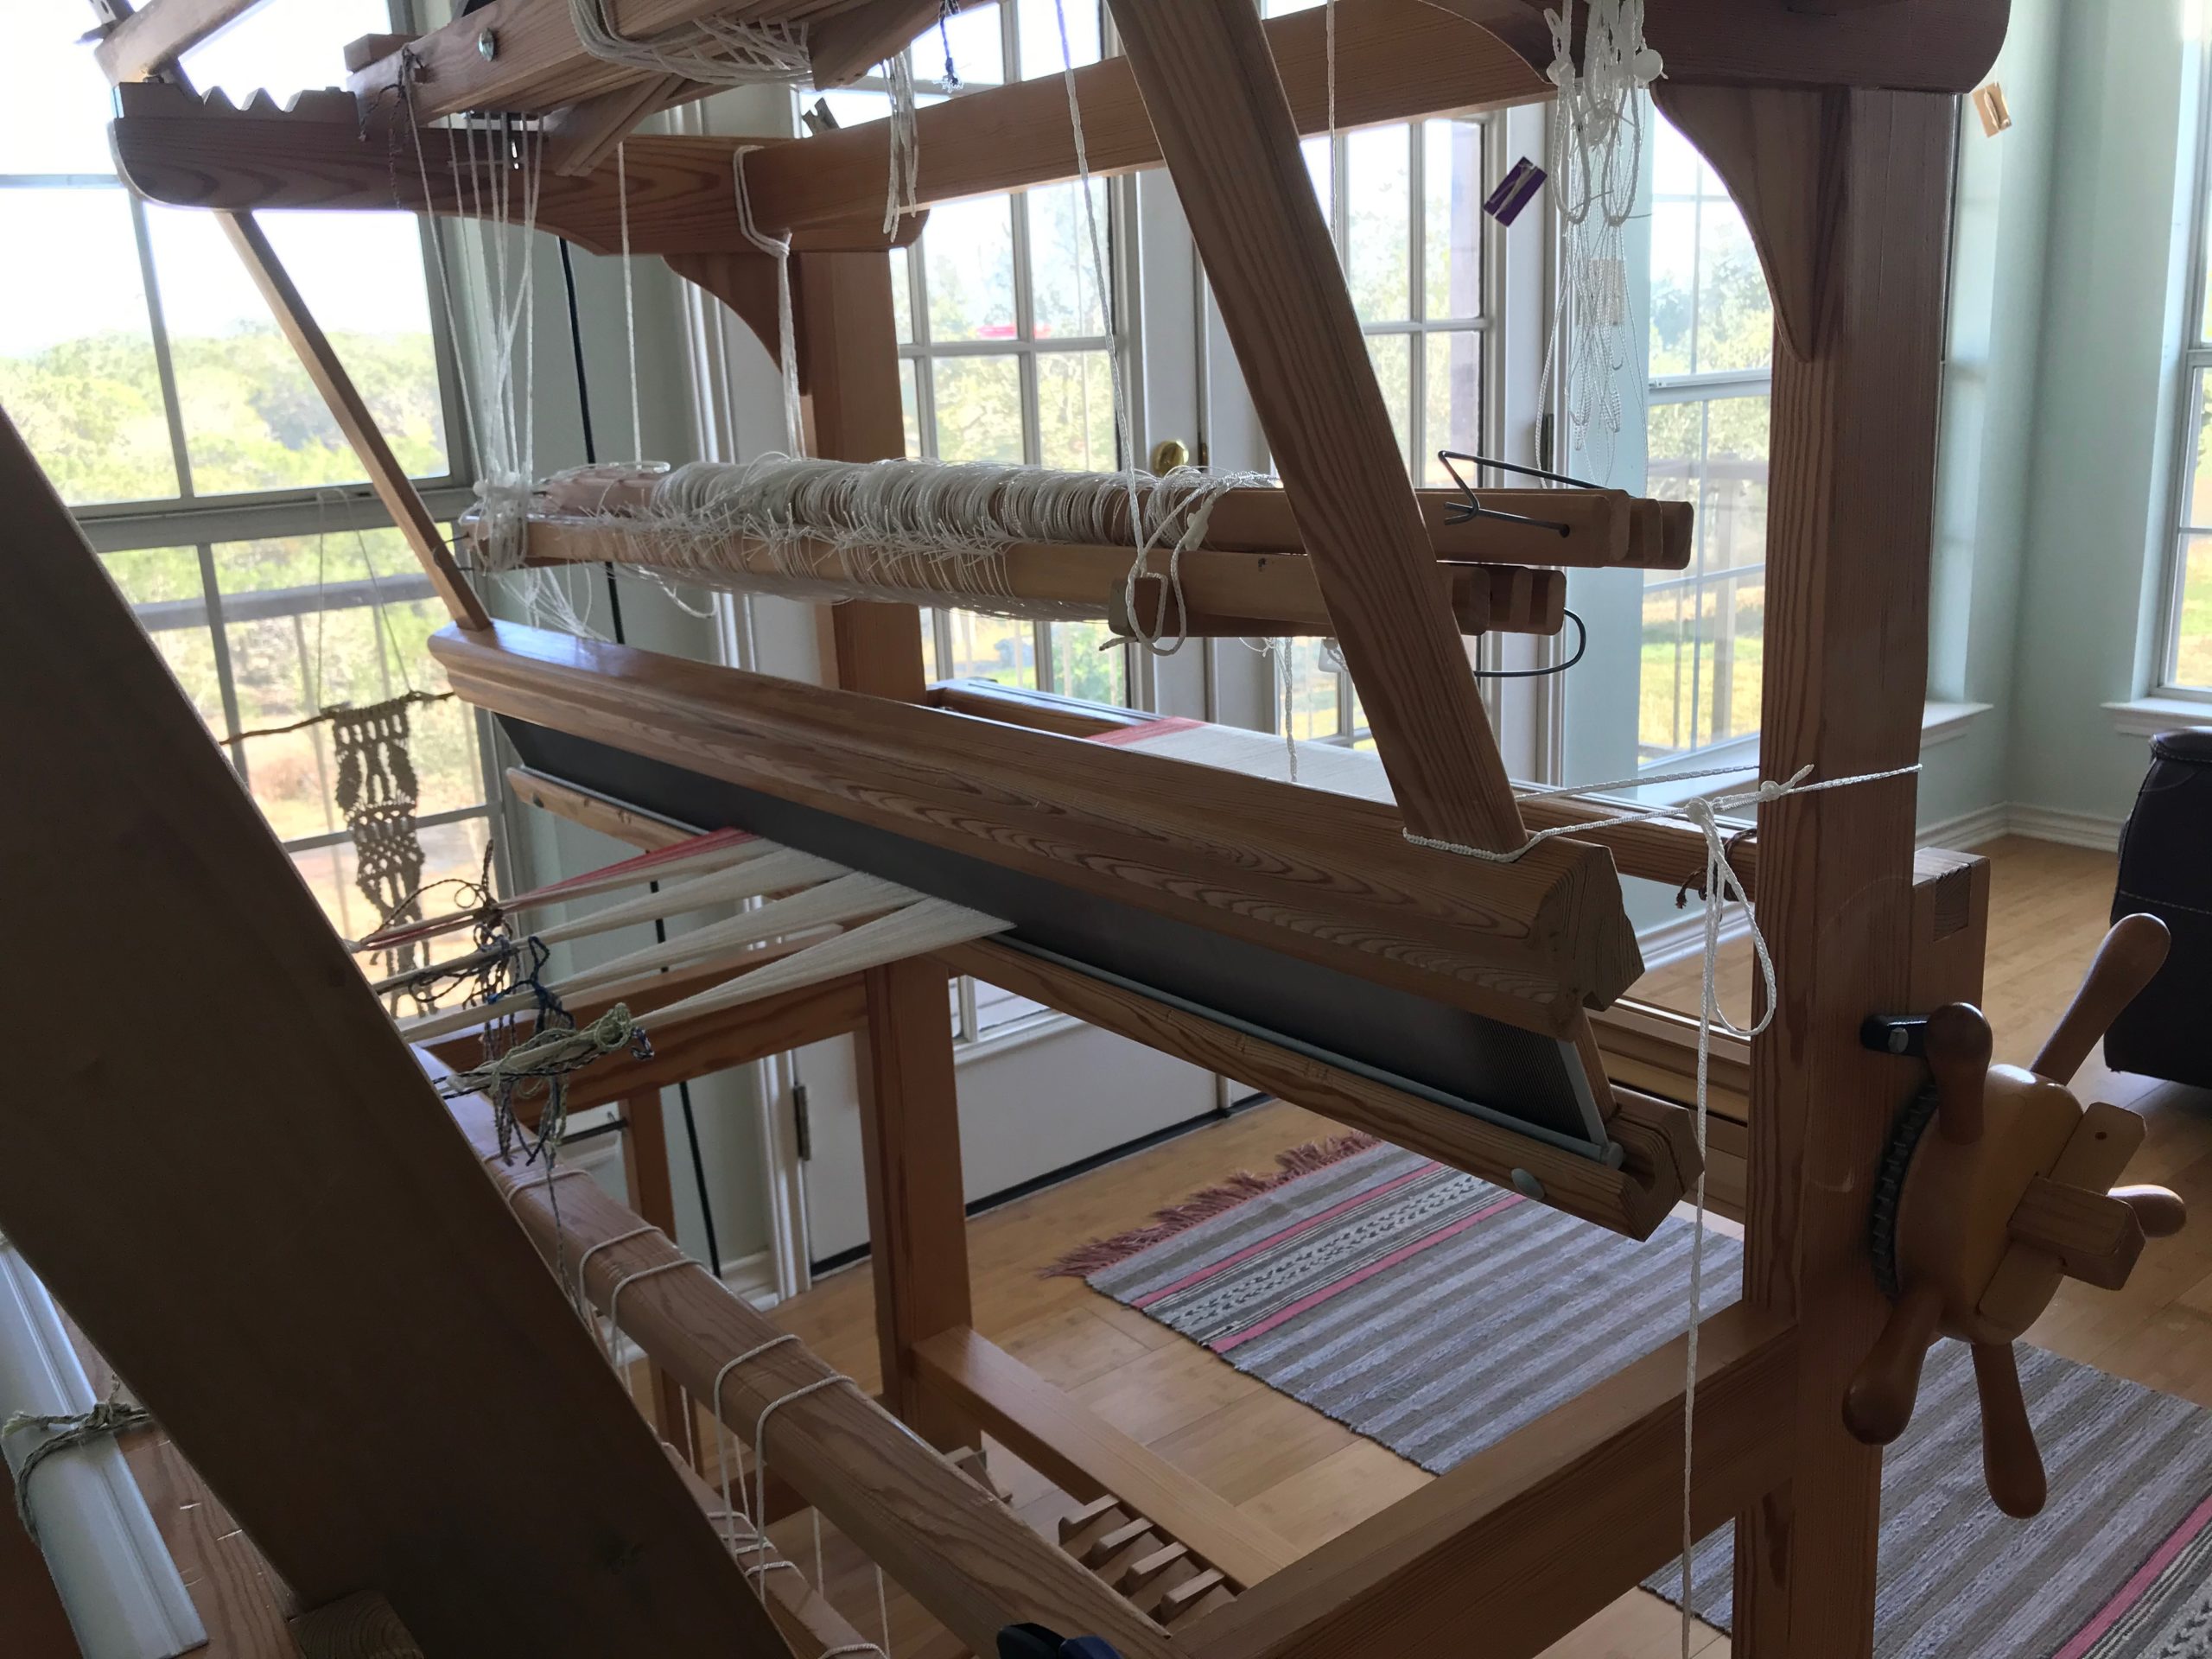
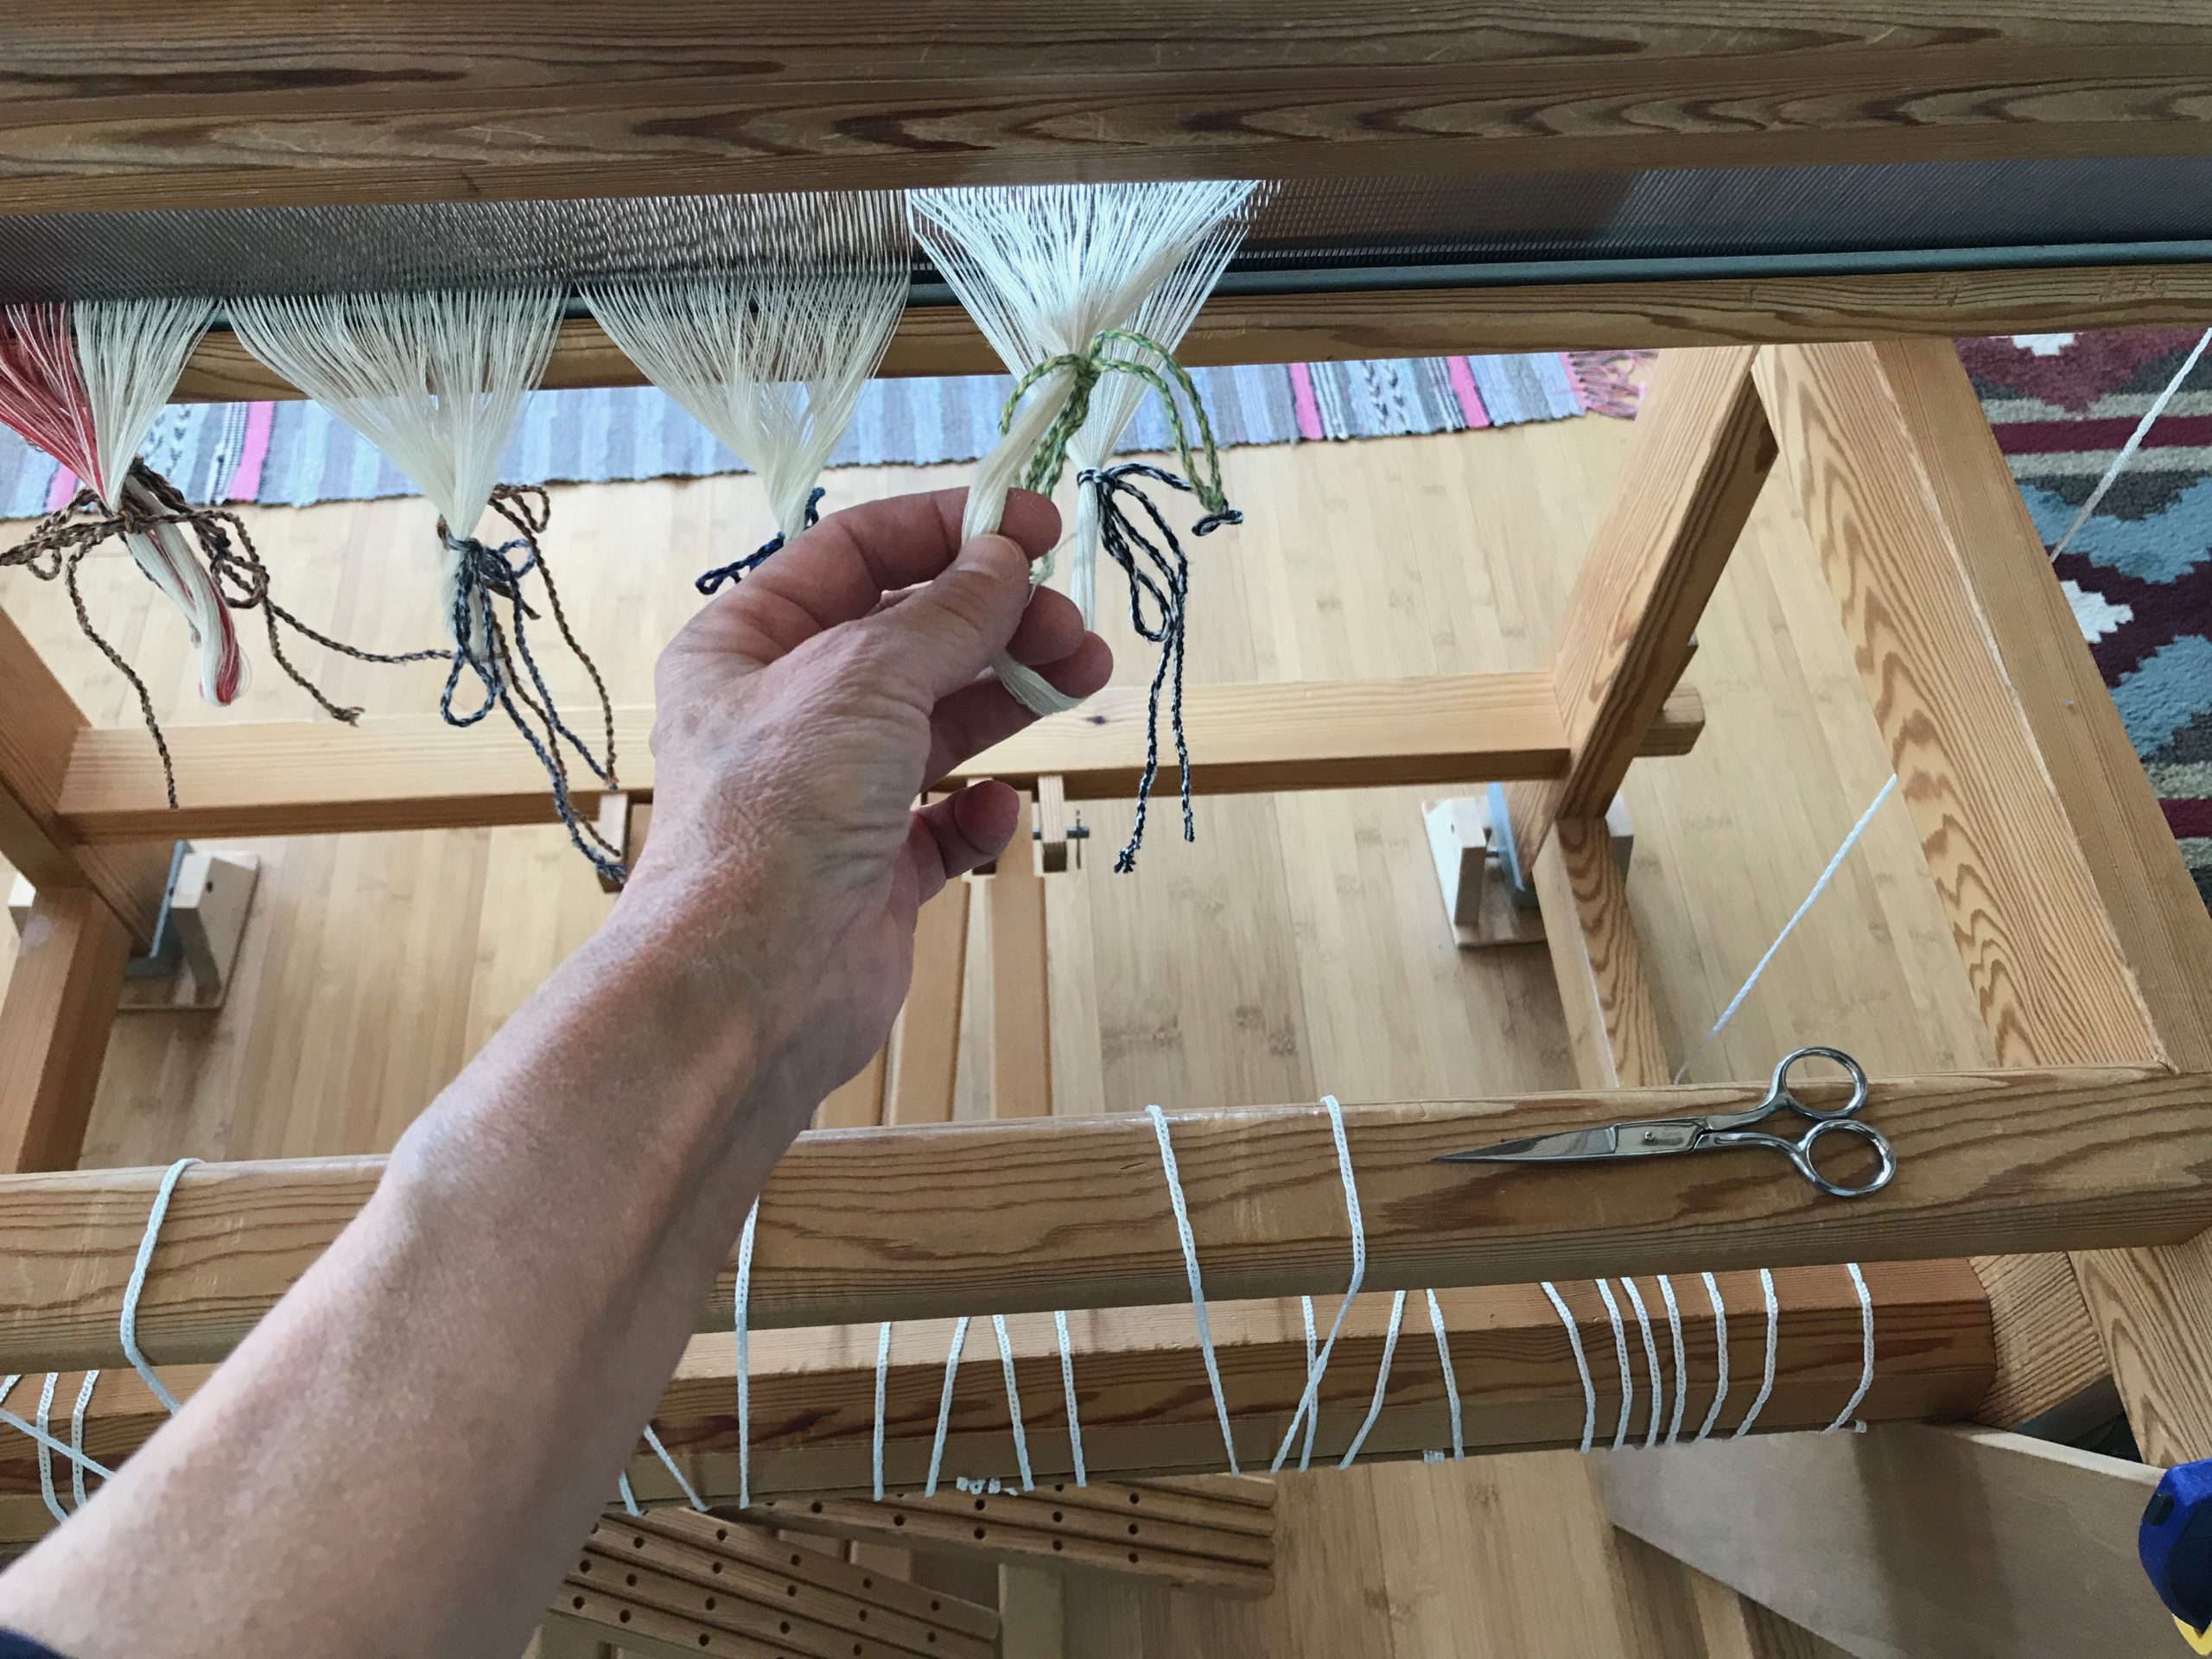
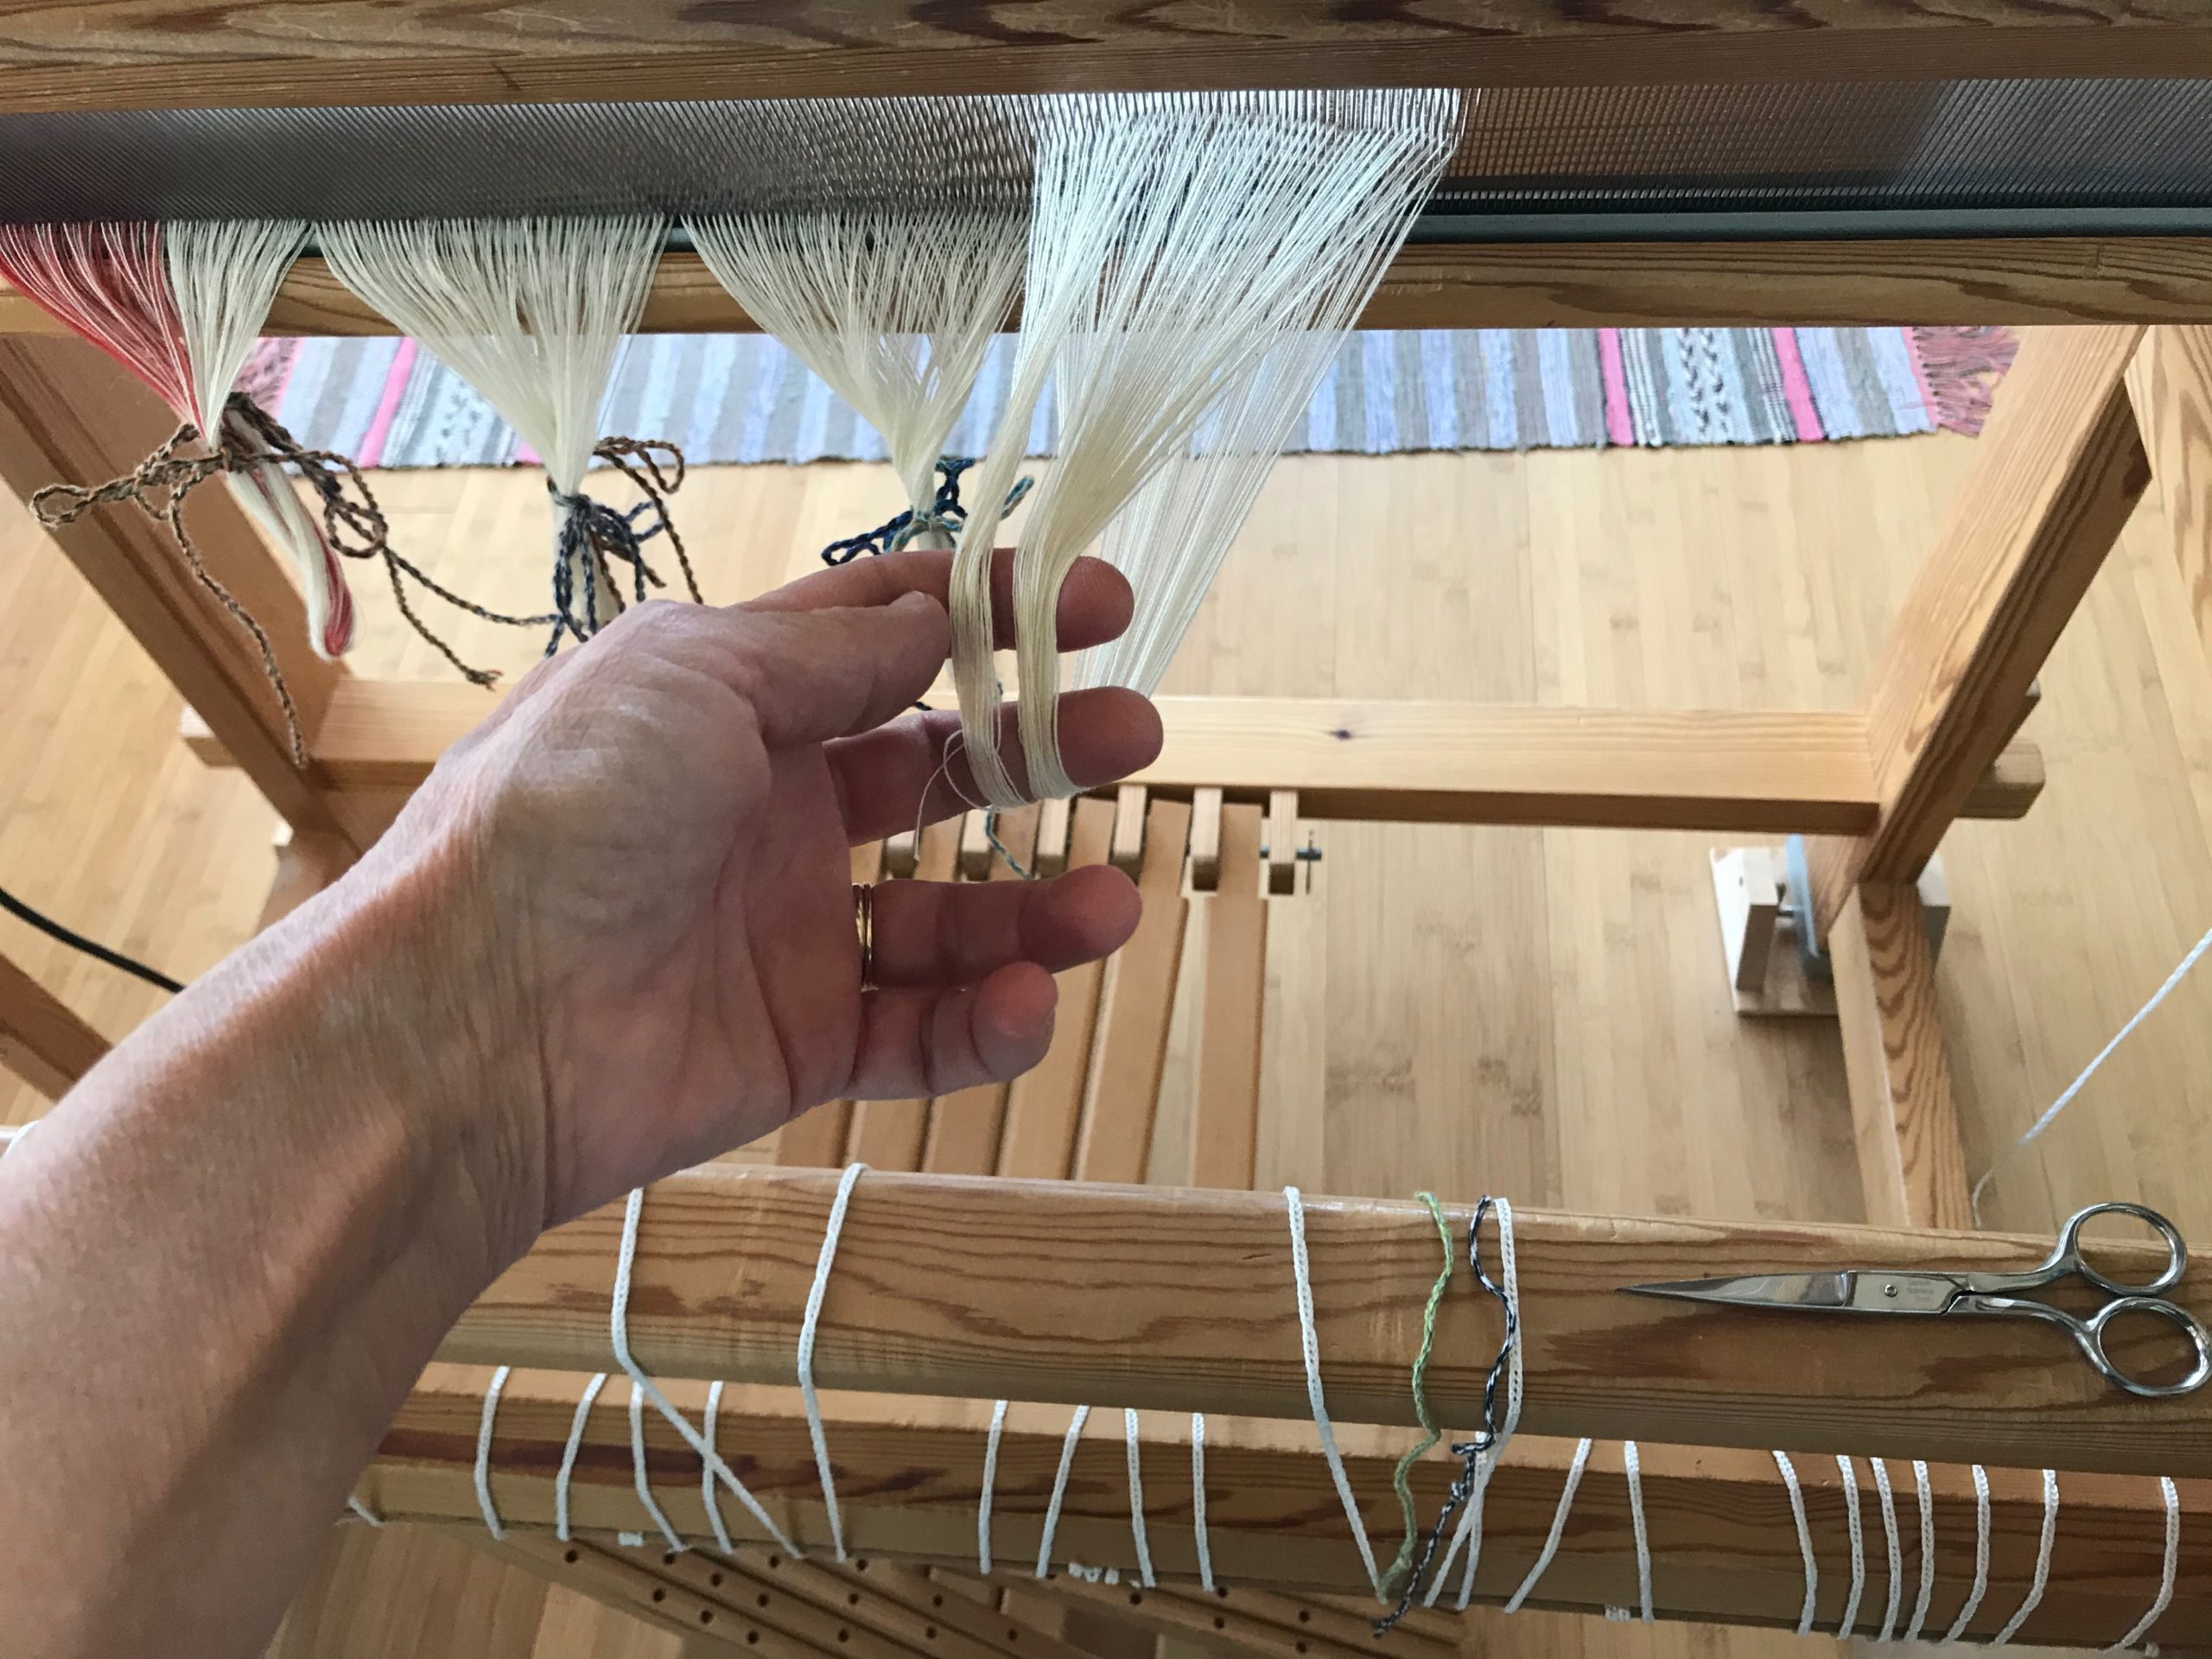
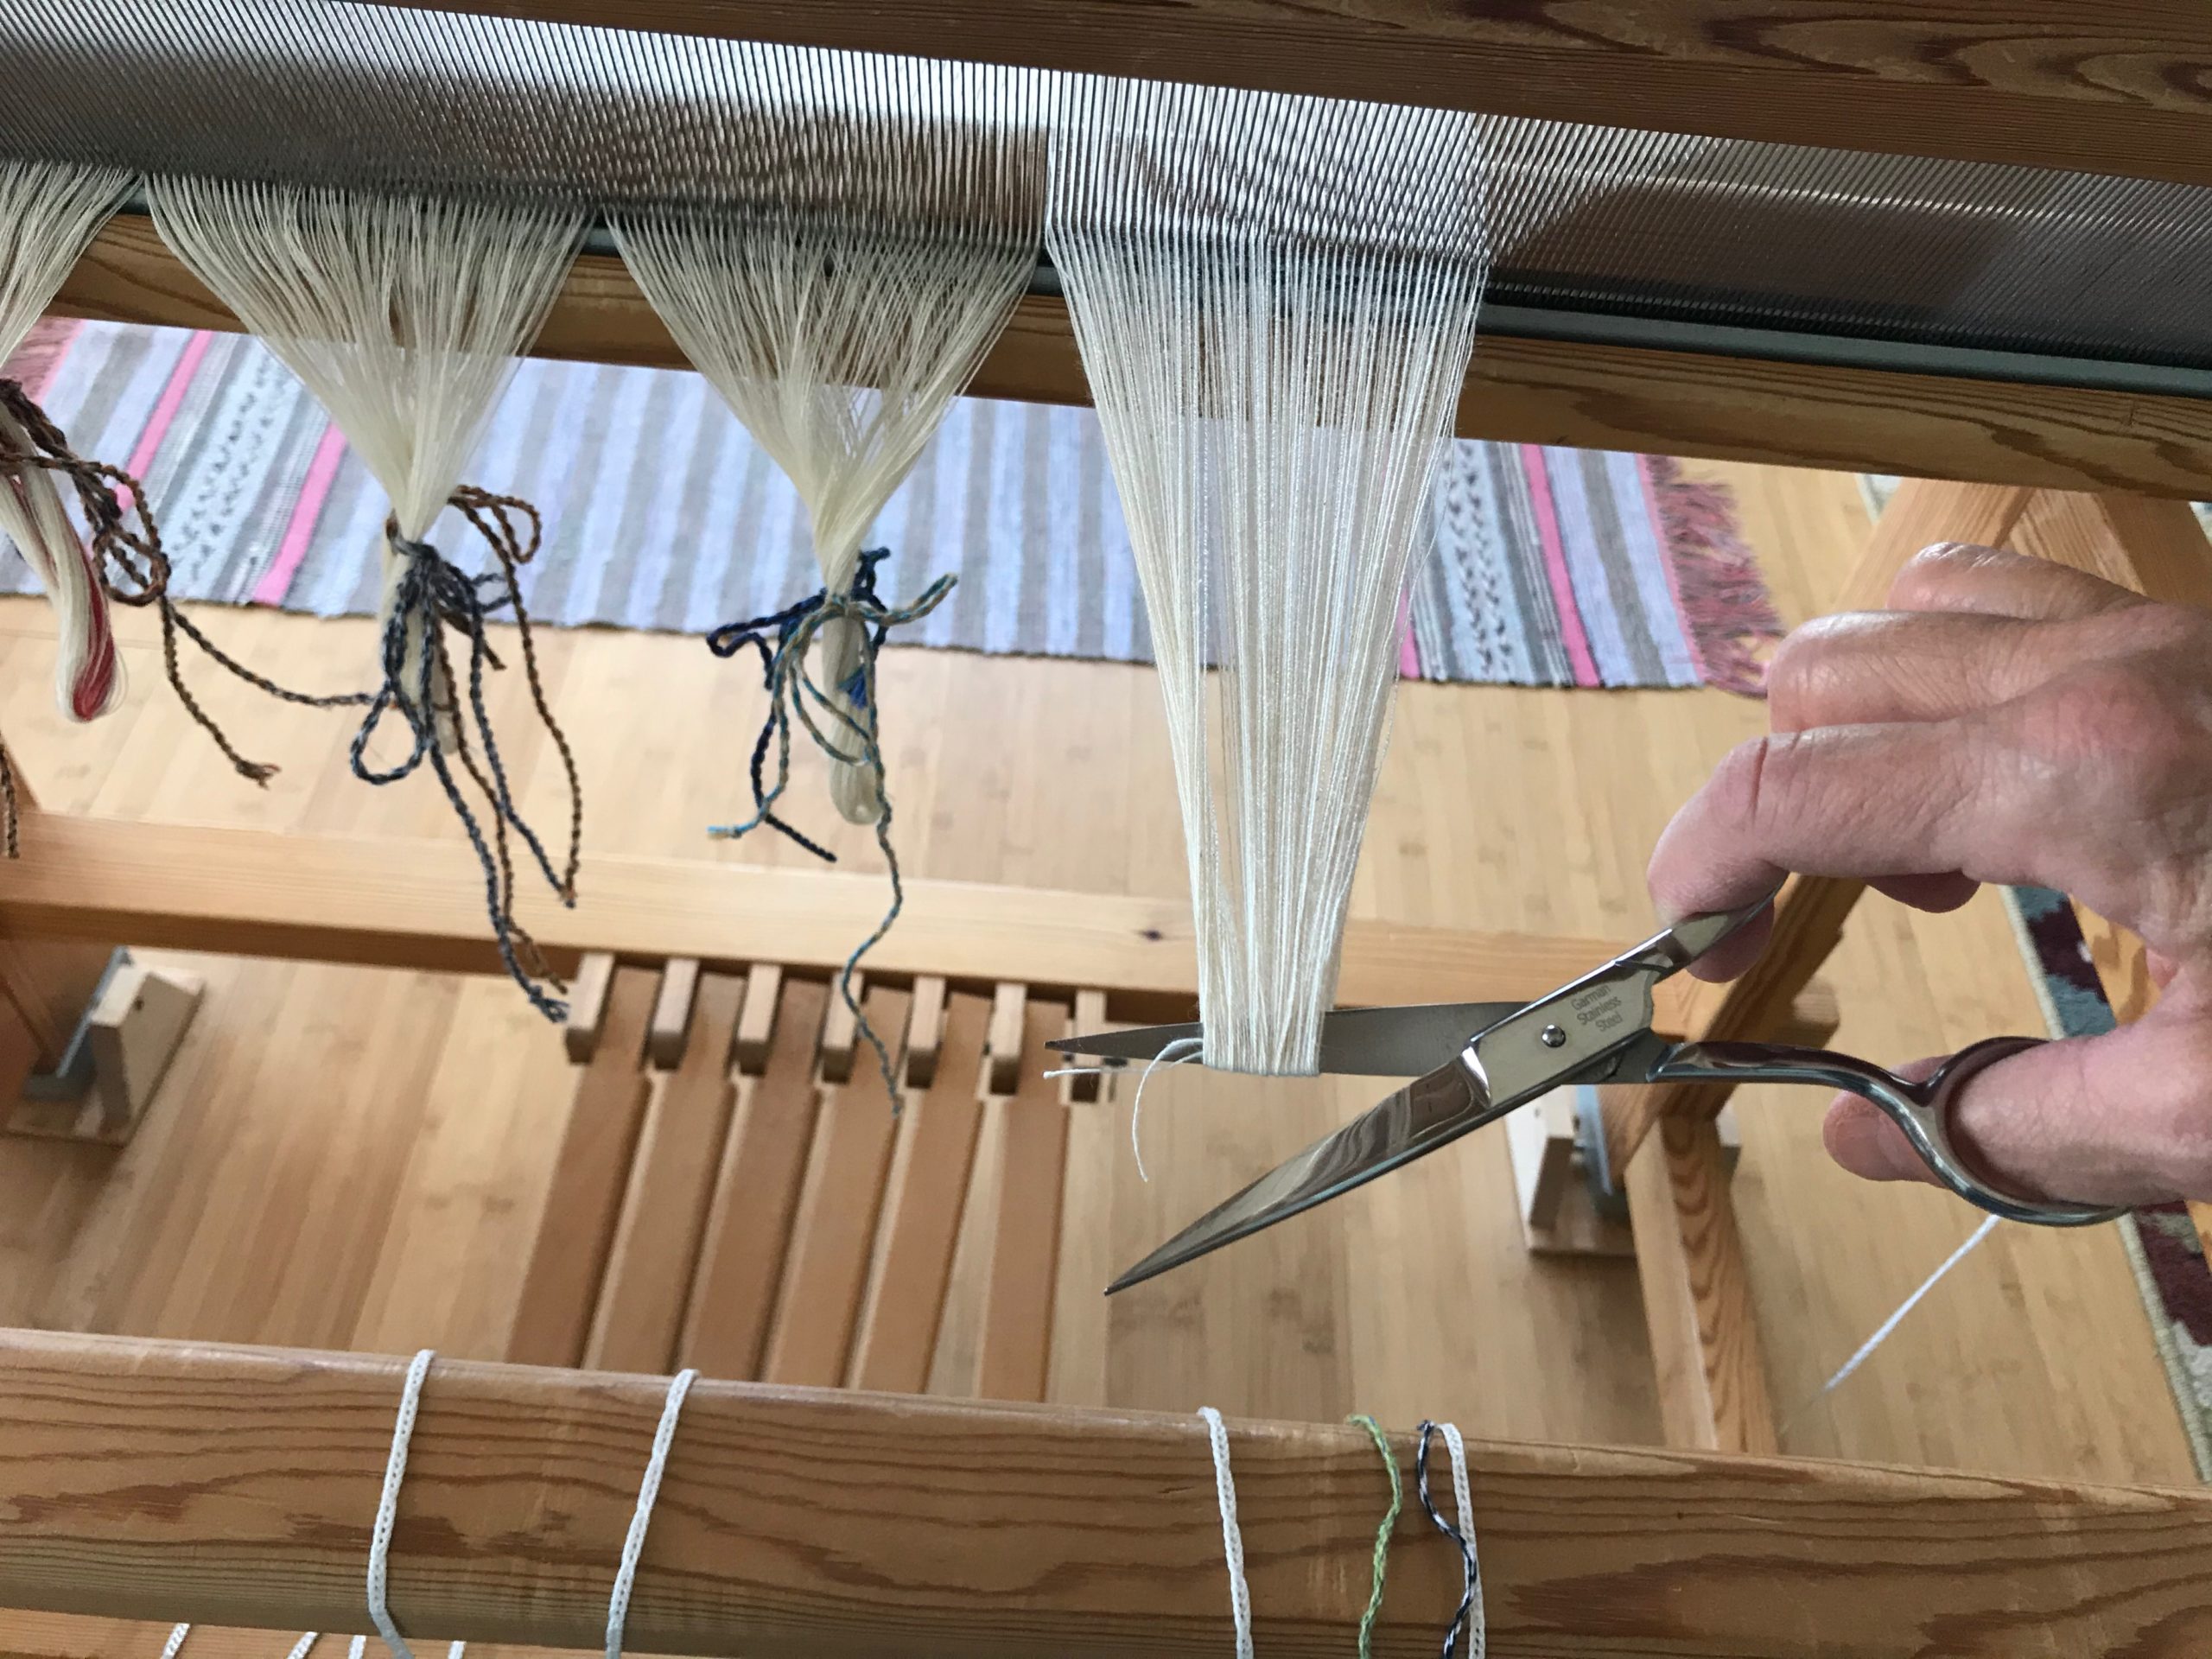
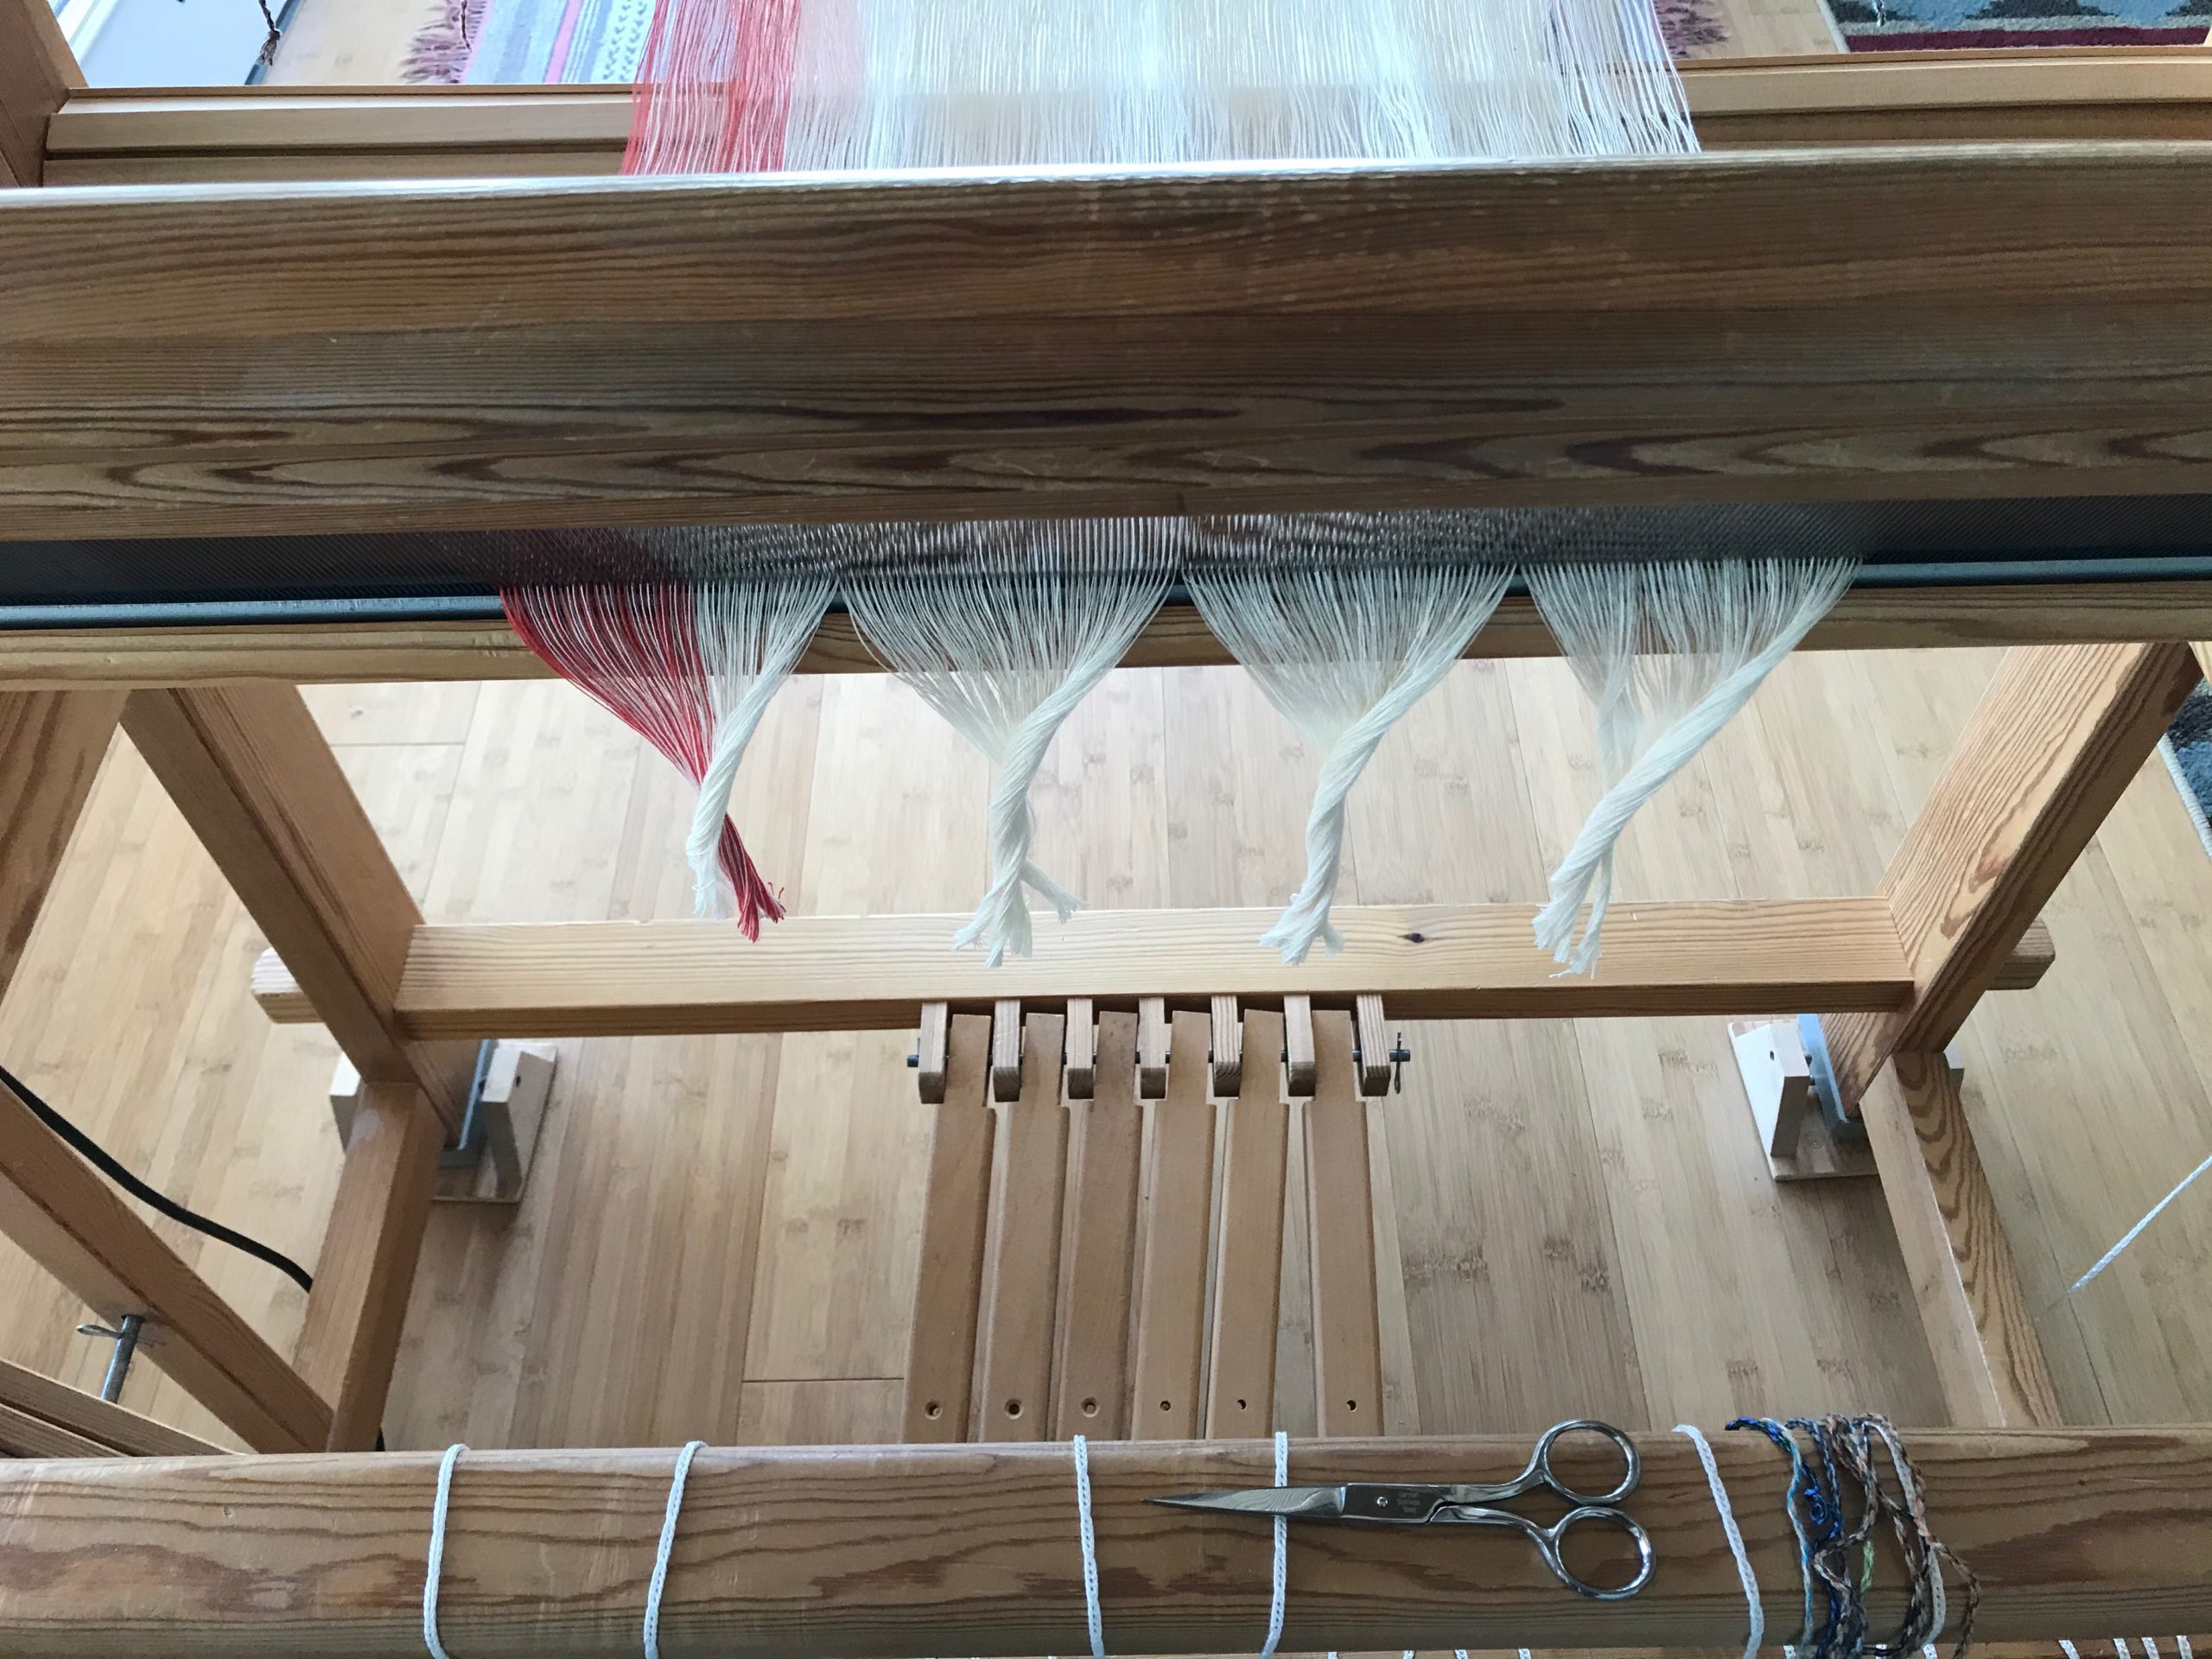
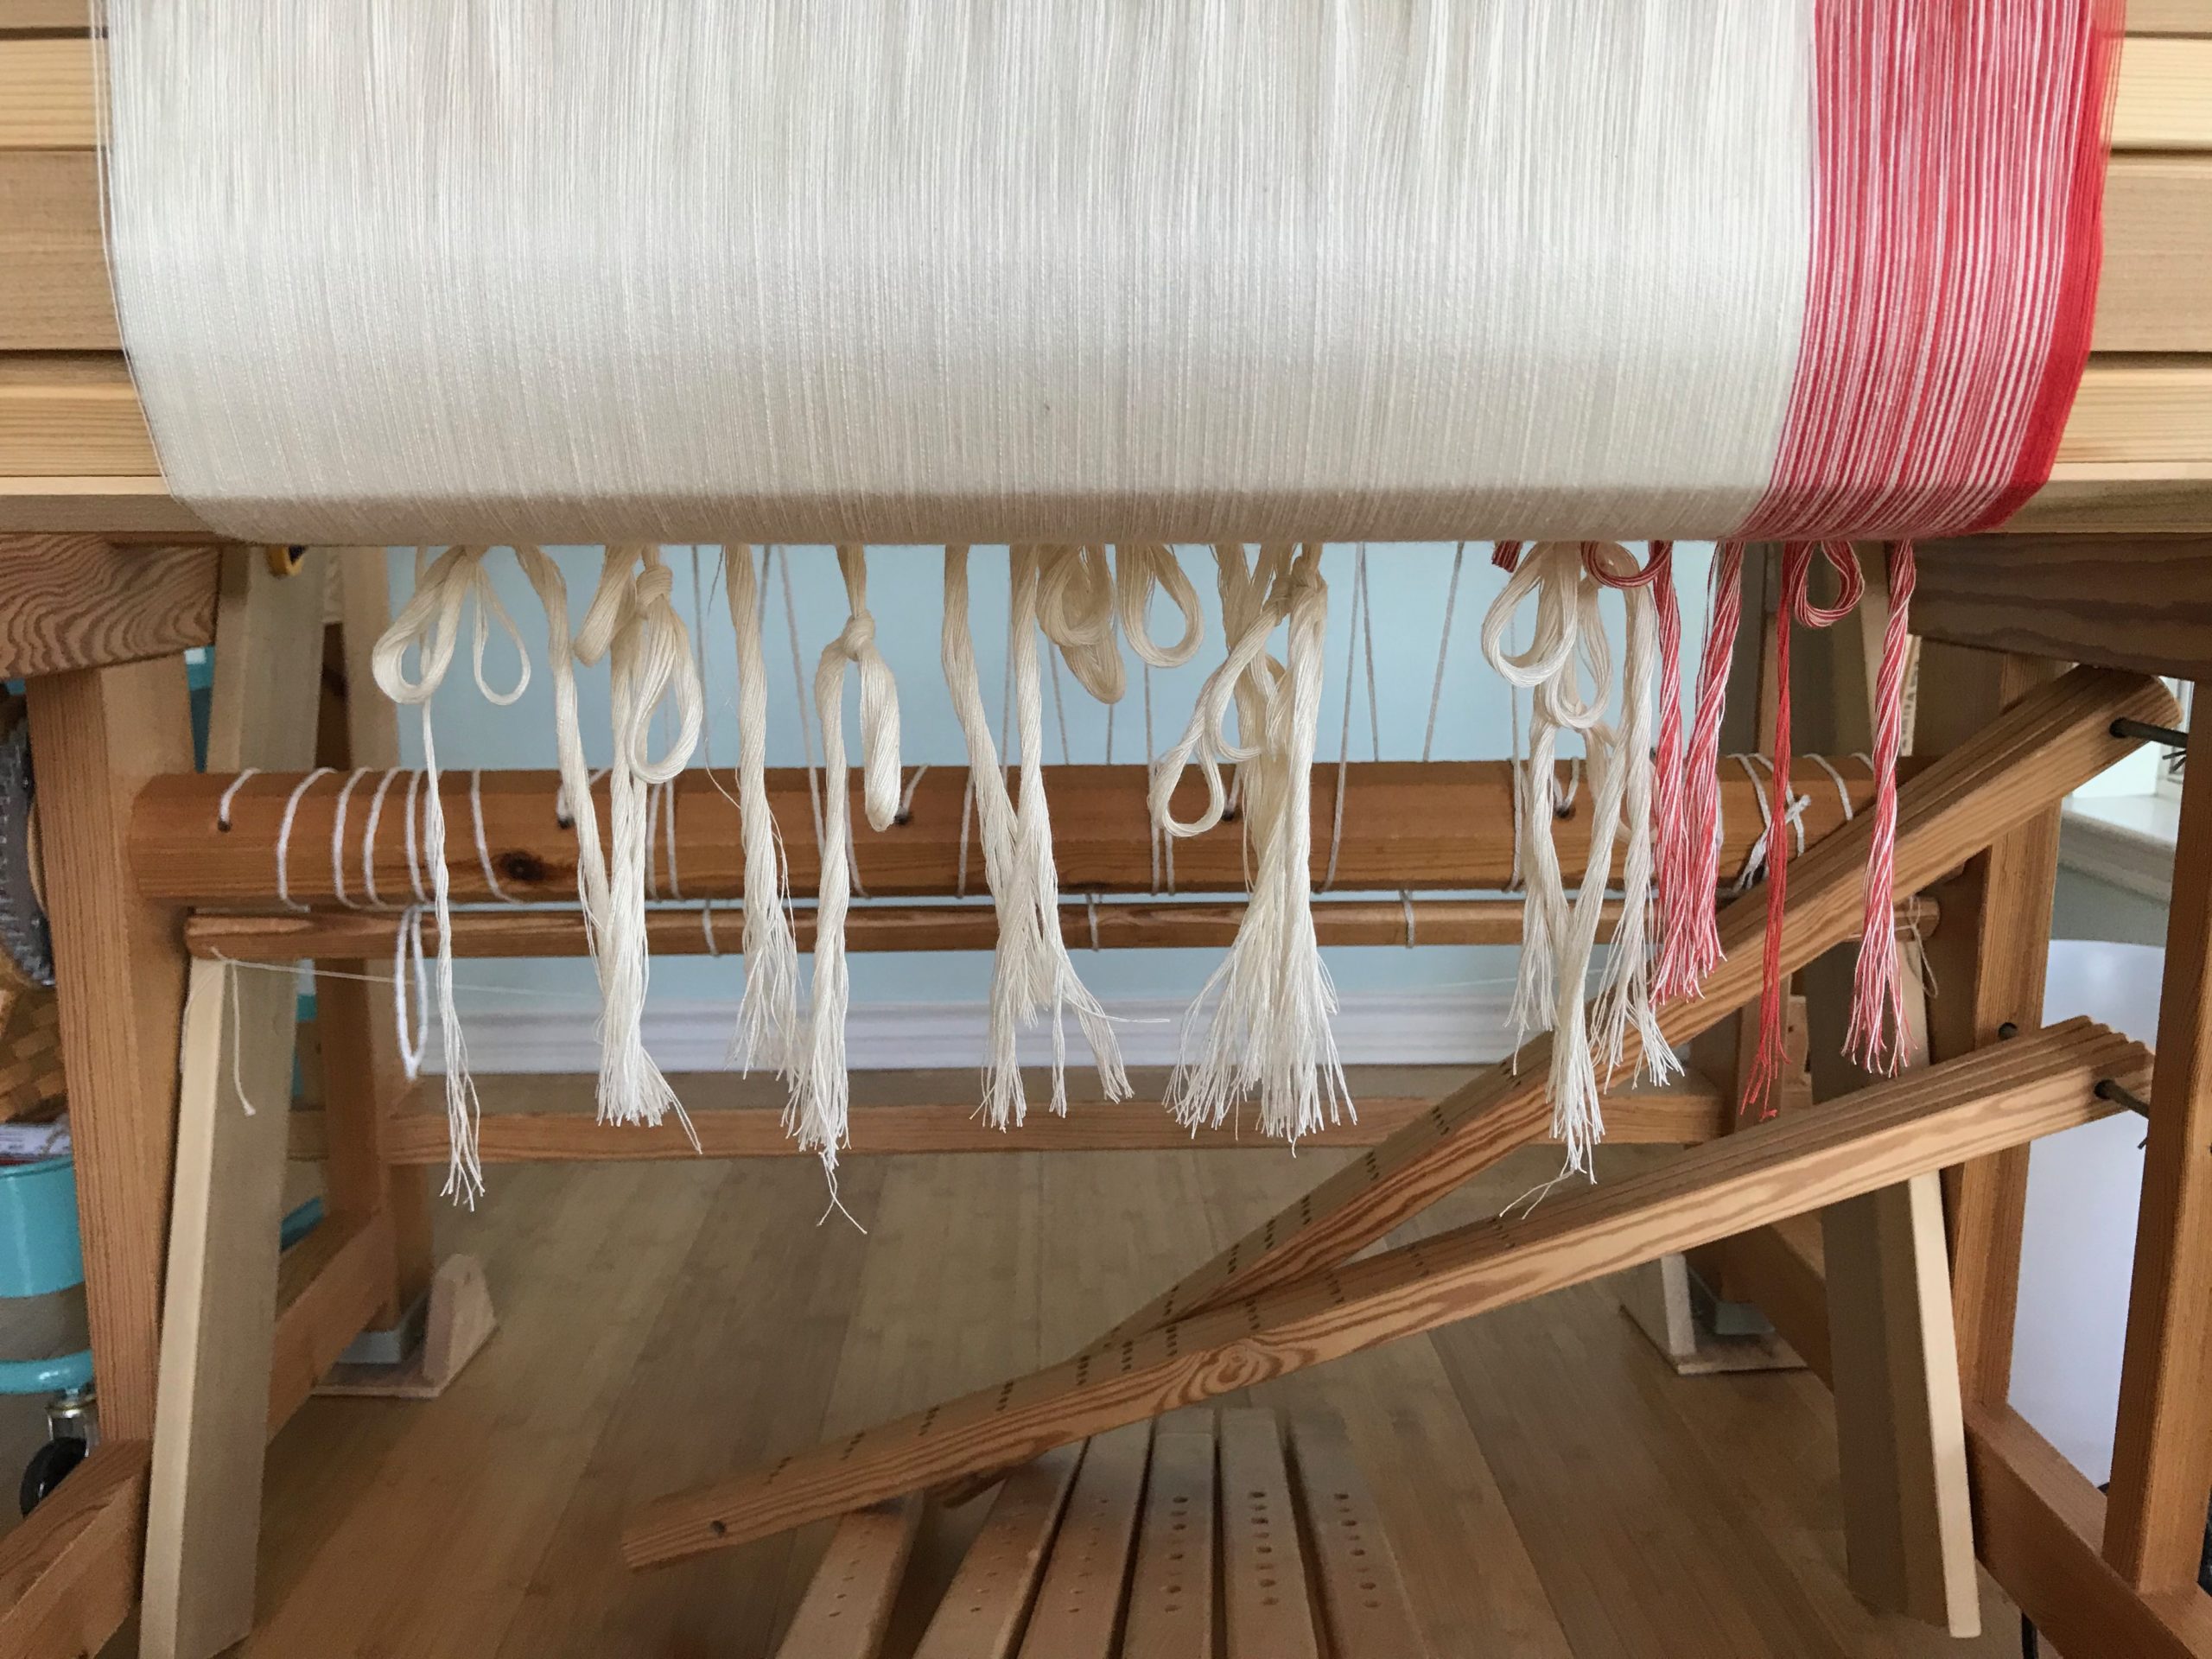
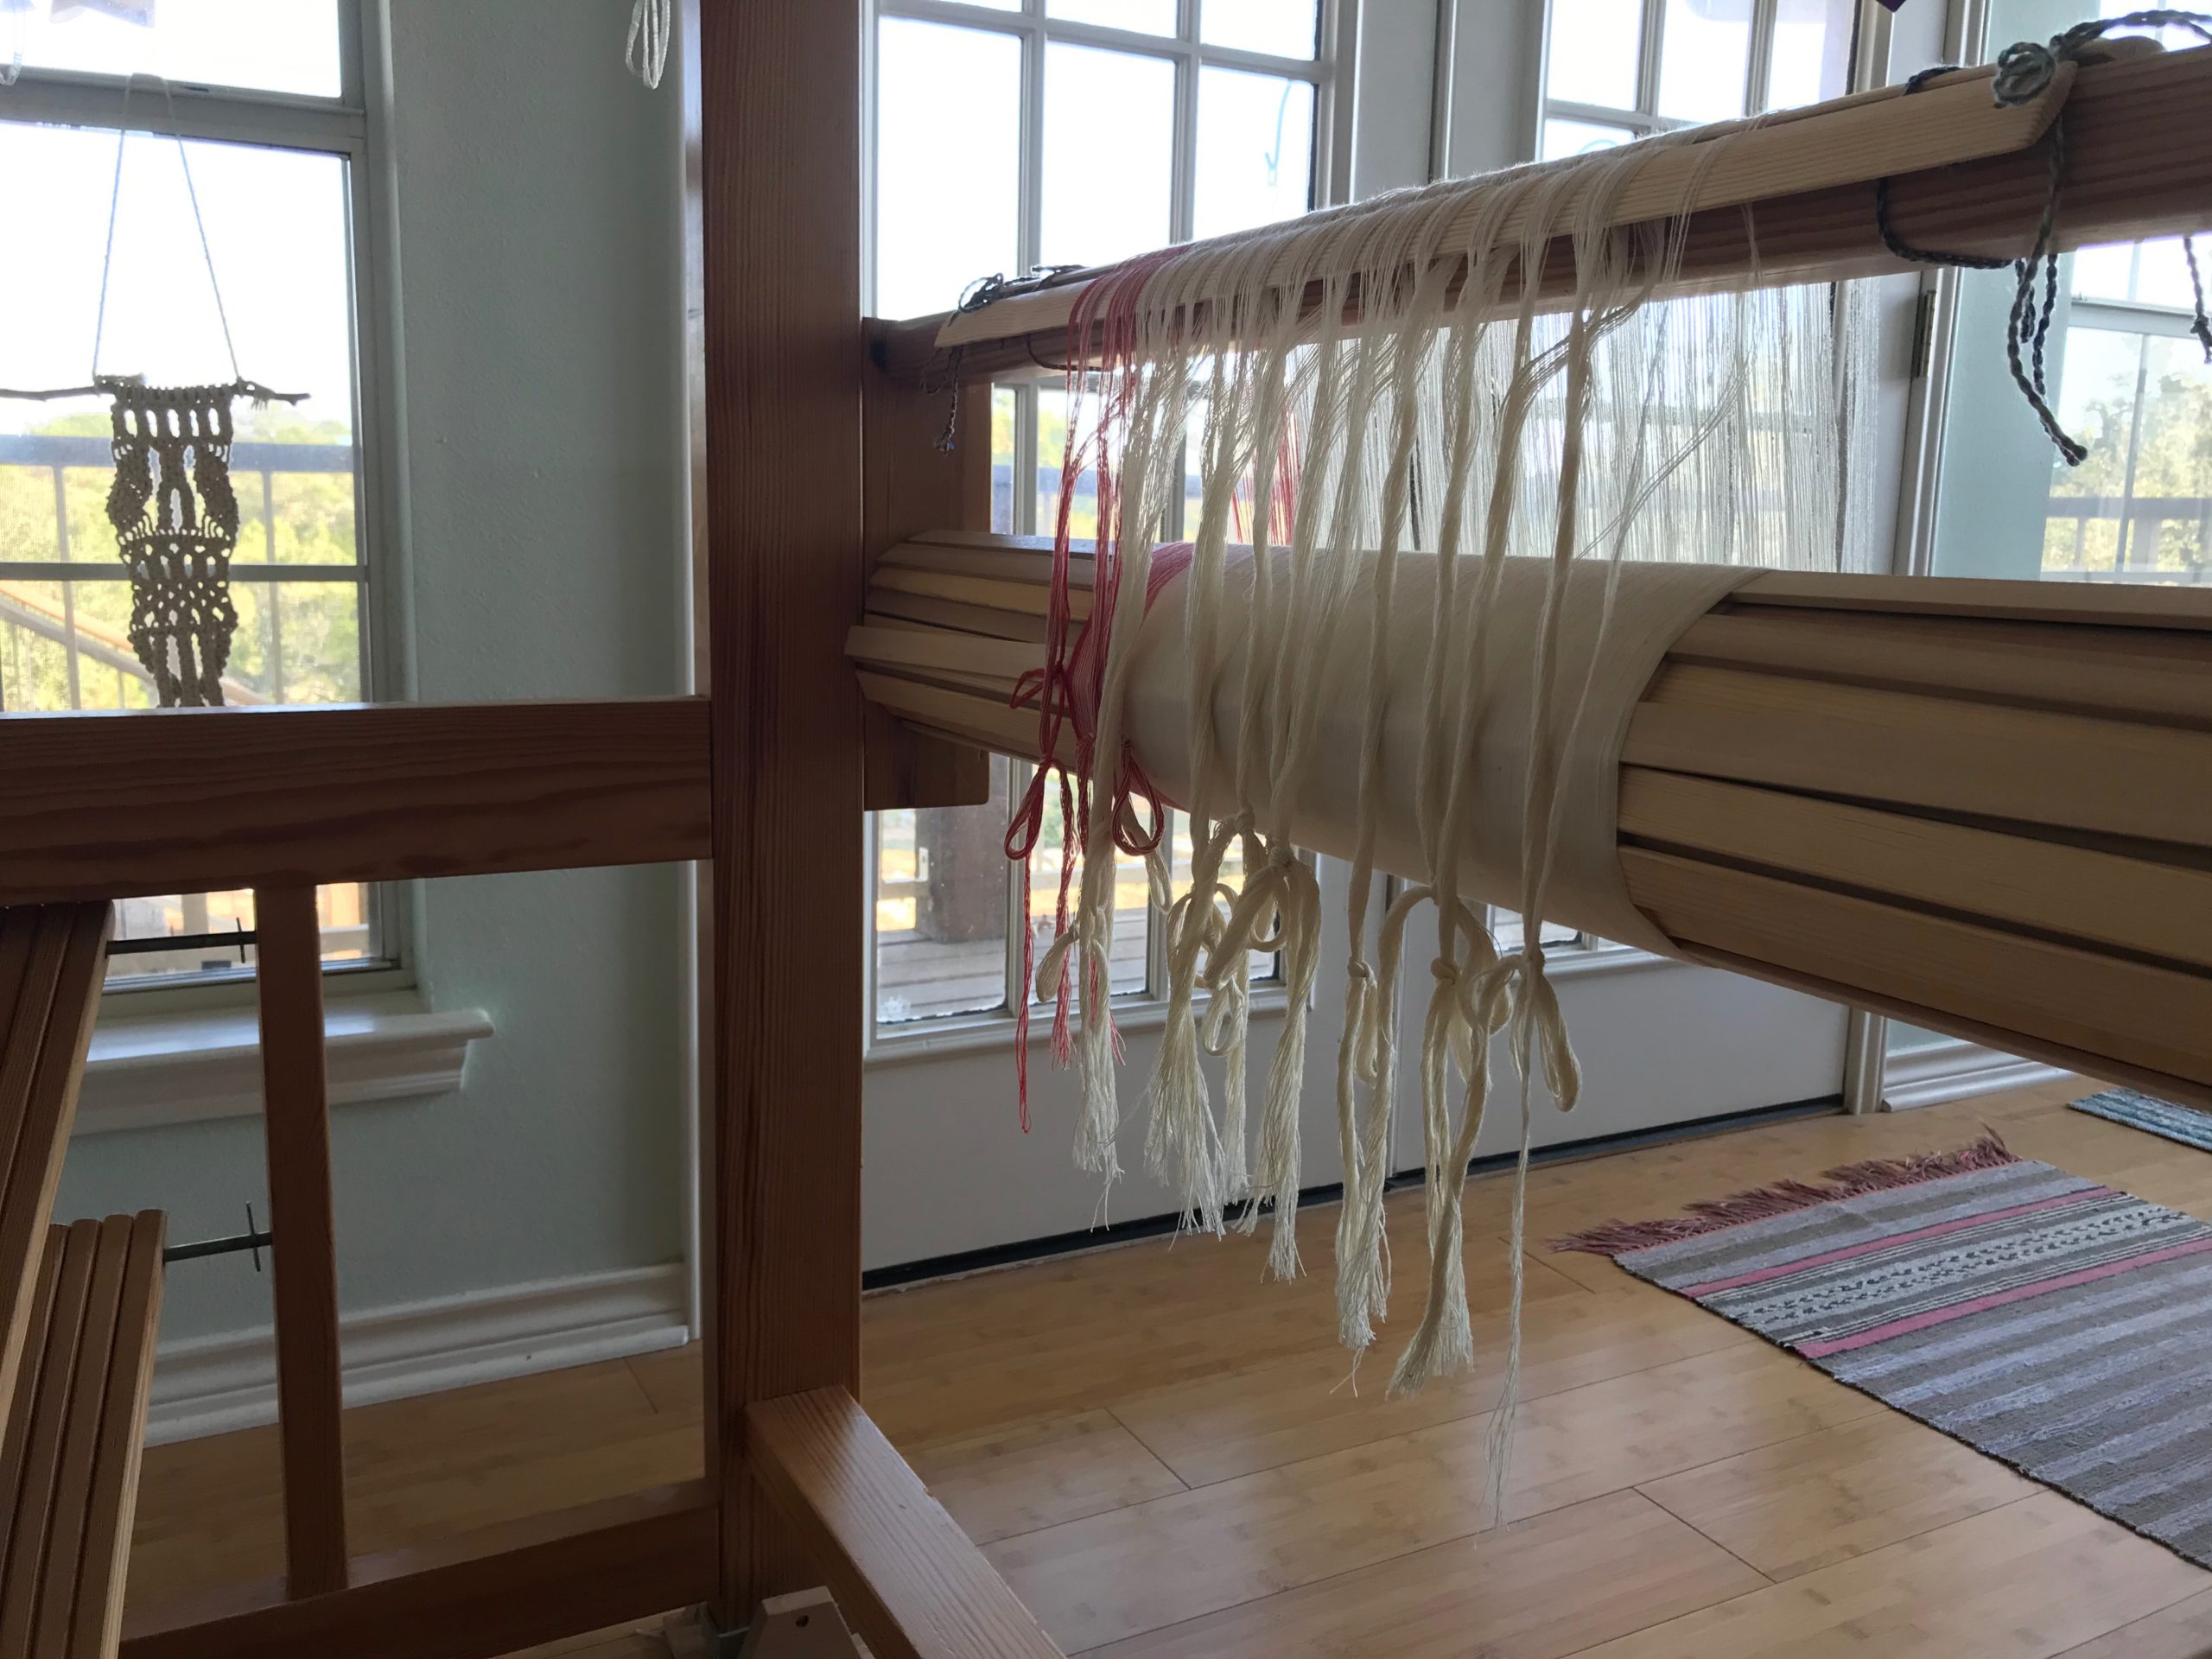
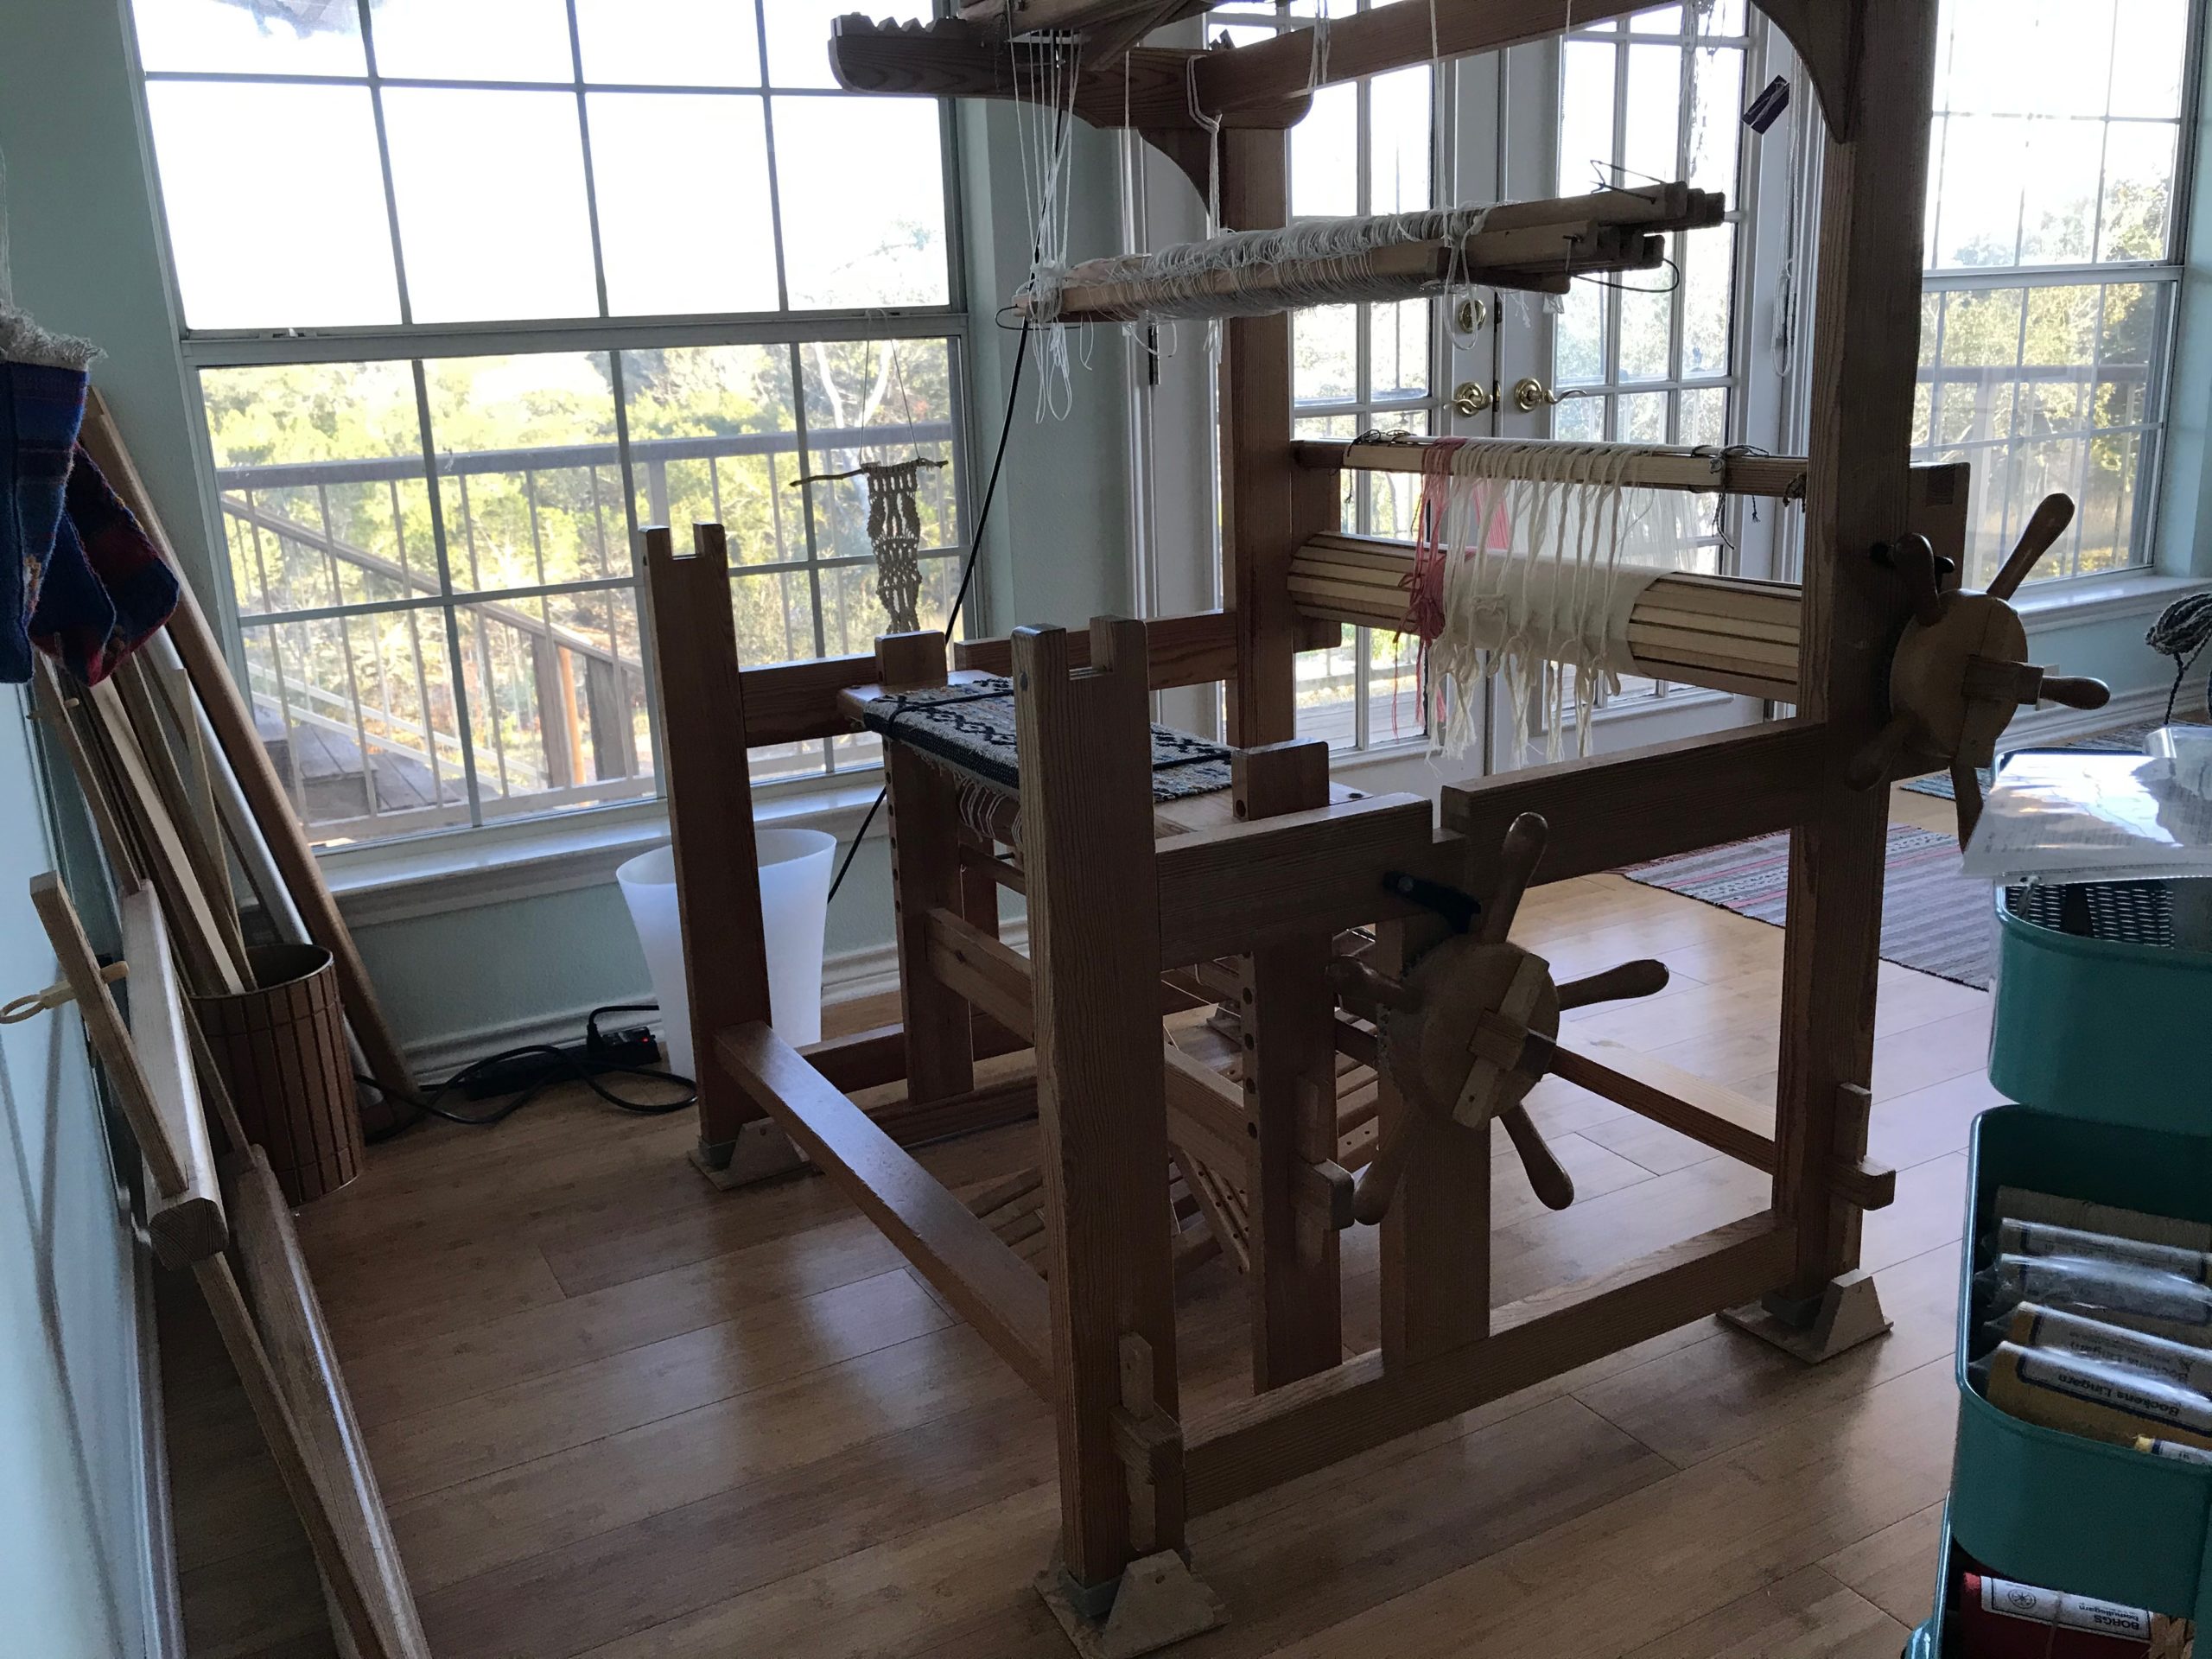
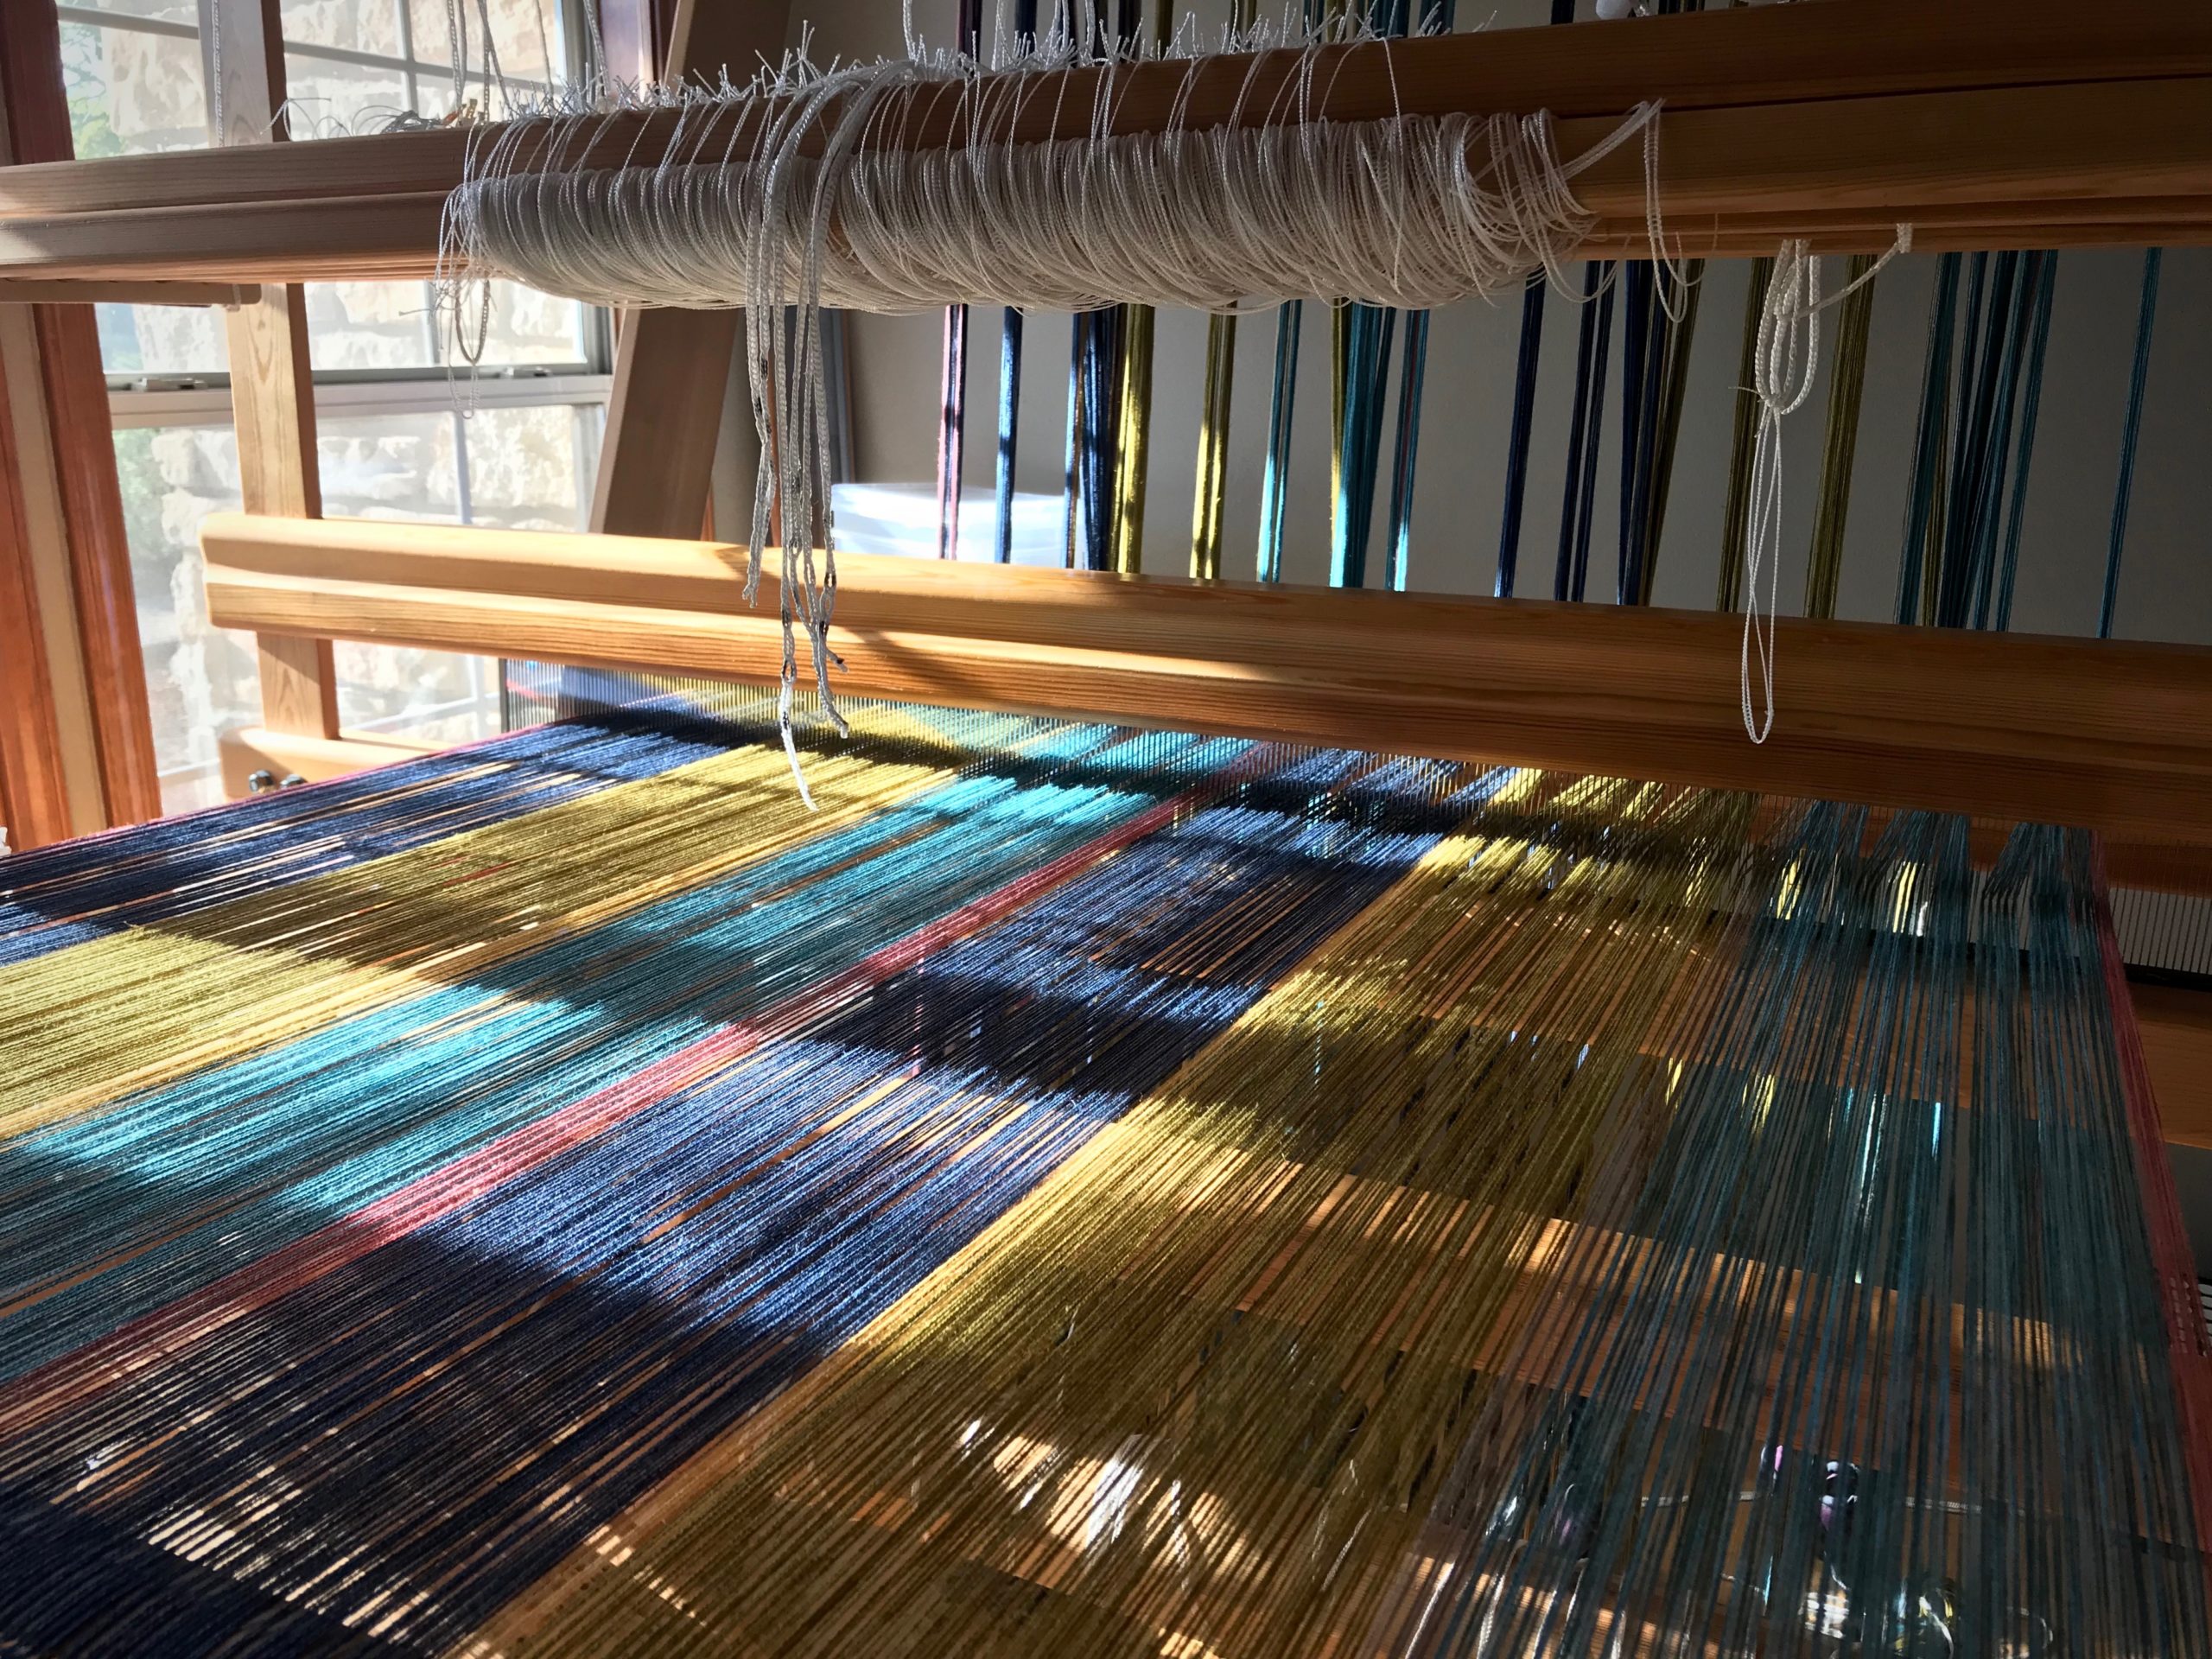
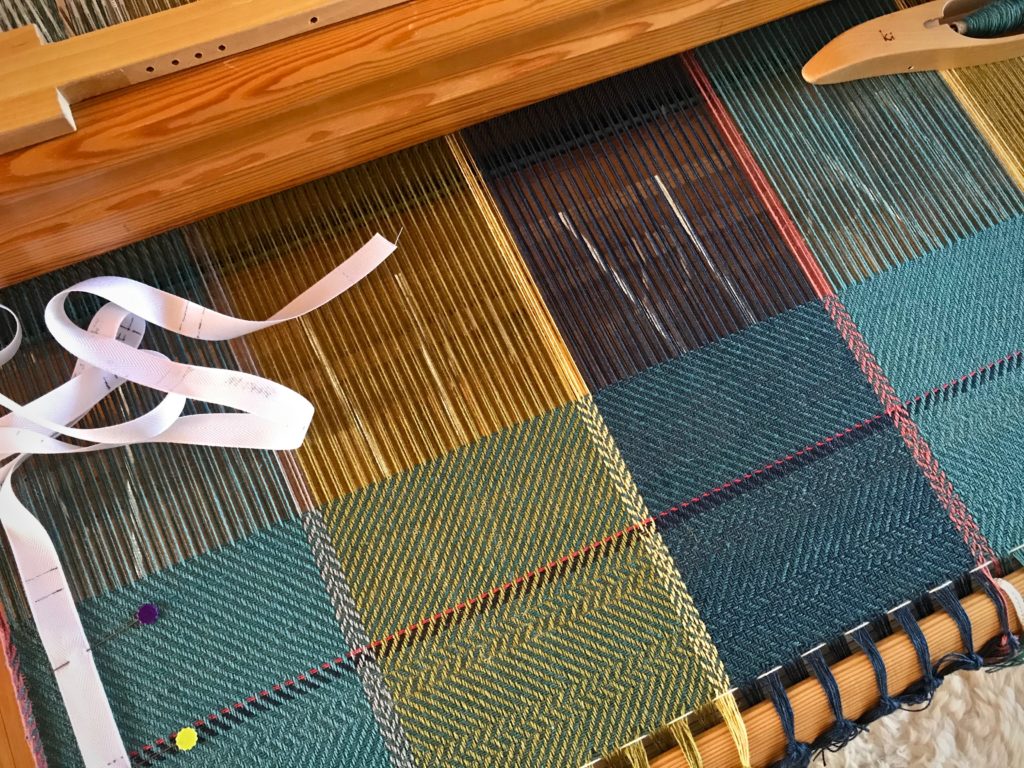
I threaded 888 warp ends. I am getting ready to thread those 888 ends again. It’s part of the preliminary process for a new drawloom project. A drawloom has two sets of heddles. Thread the pattern heddles. Then, thread the ground heddles. I enjoy all the preliminaries because of what they bring about—a delightful new weaving adventure!

Preparing a new drawloom warp.
New drawloom warp of 16/2 cotton is on the warp beam.
Long heddles and lingos for the drawloom.
Long pattern heddles and lingos hang on a pegboard wall in the drawloom studio until needed.

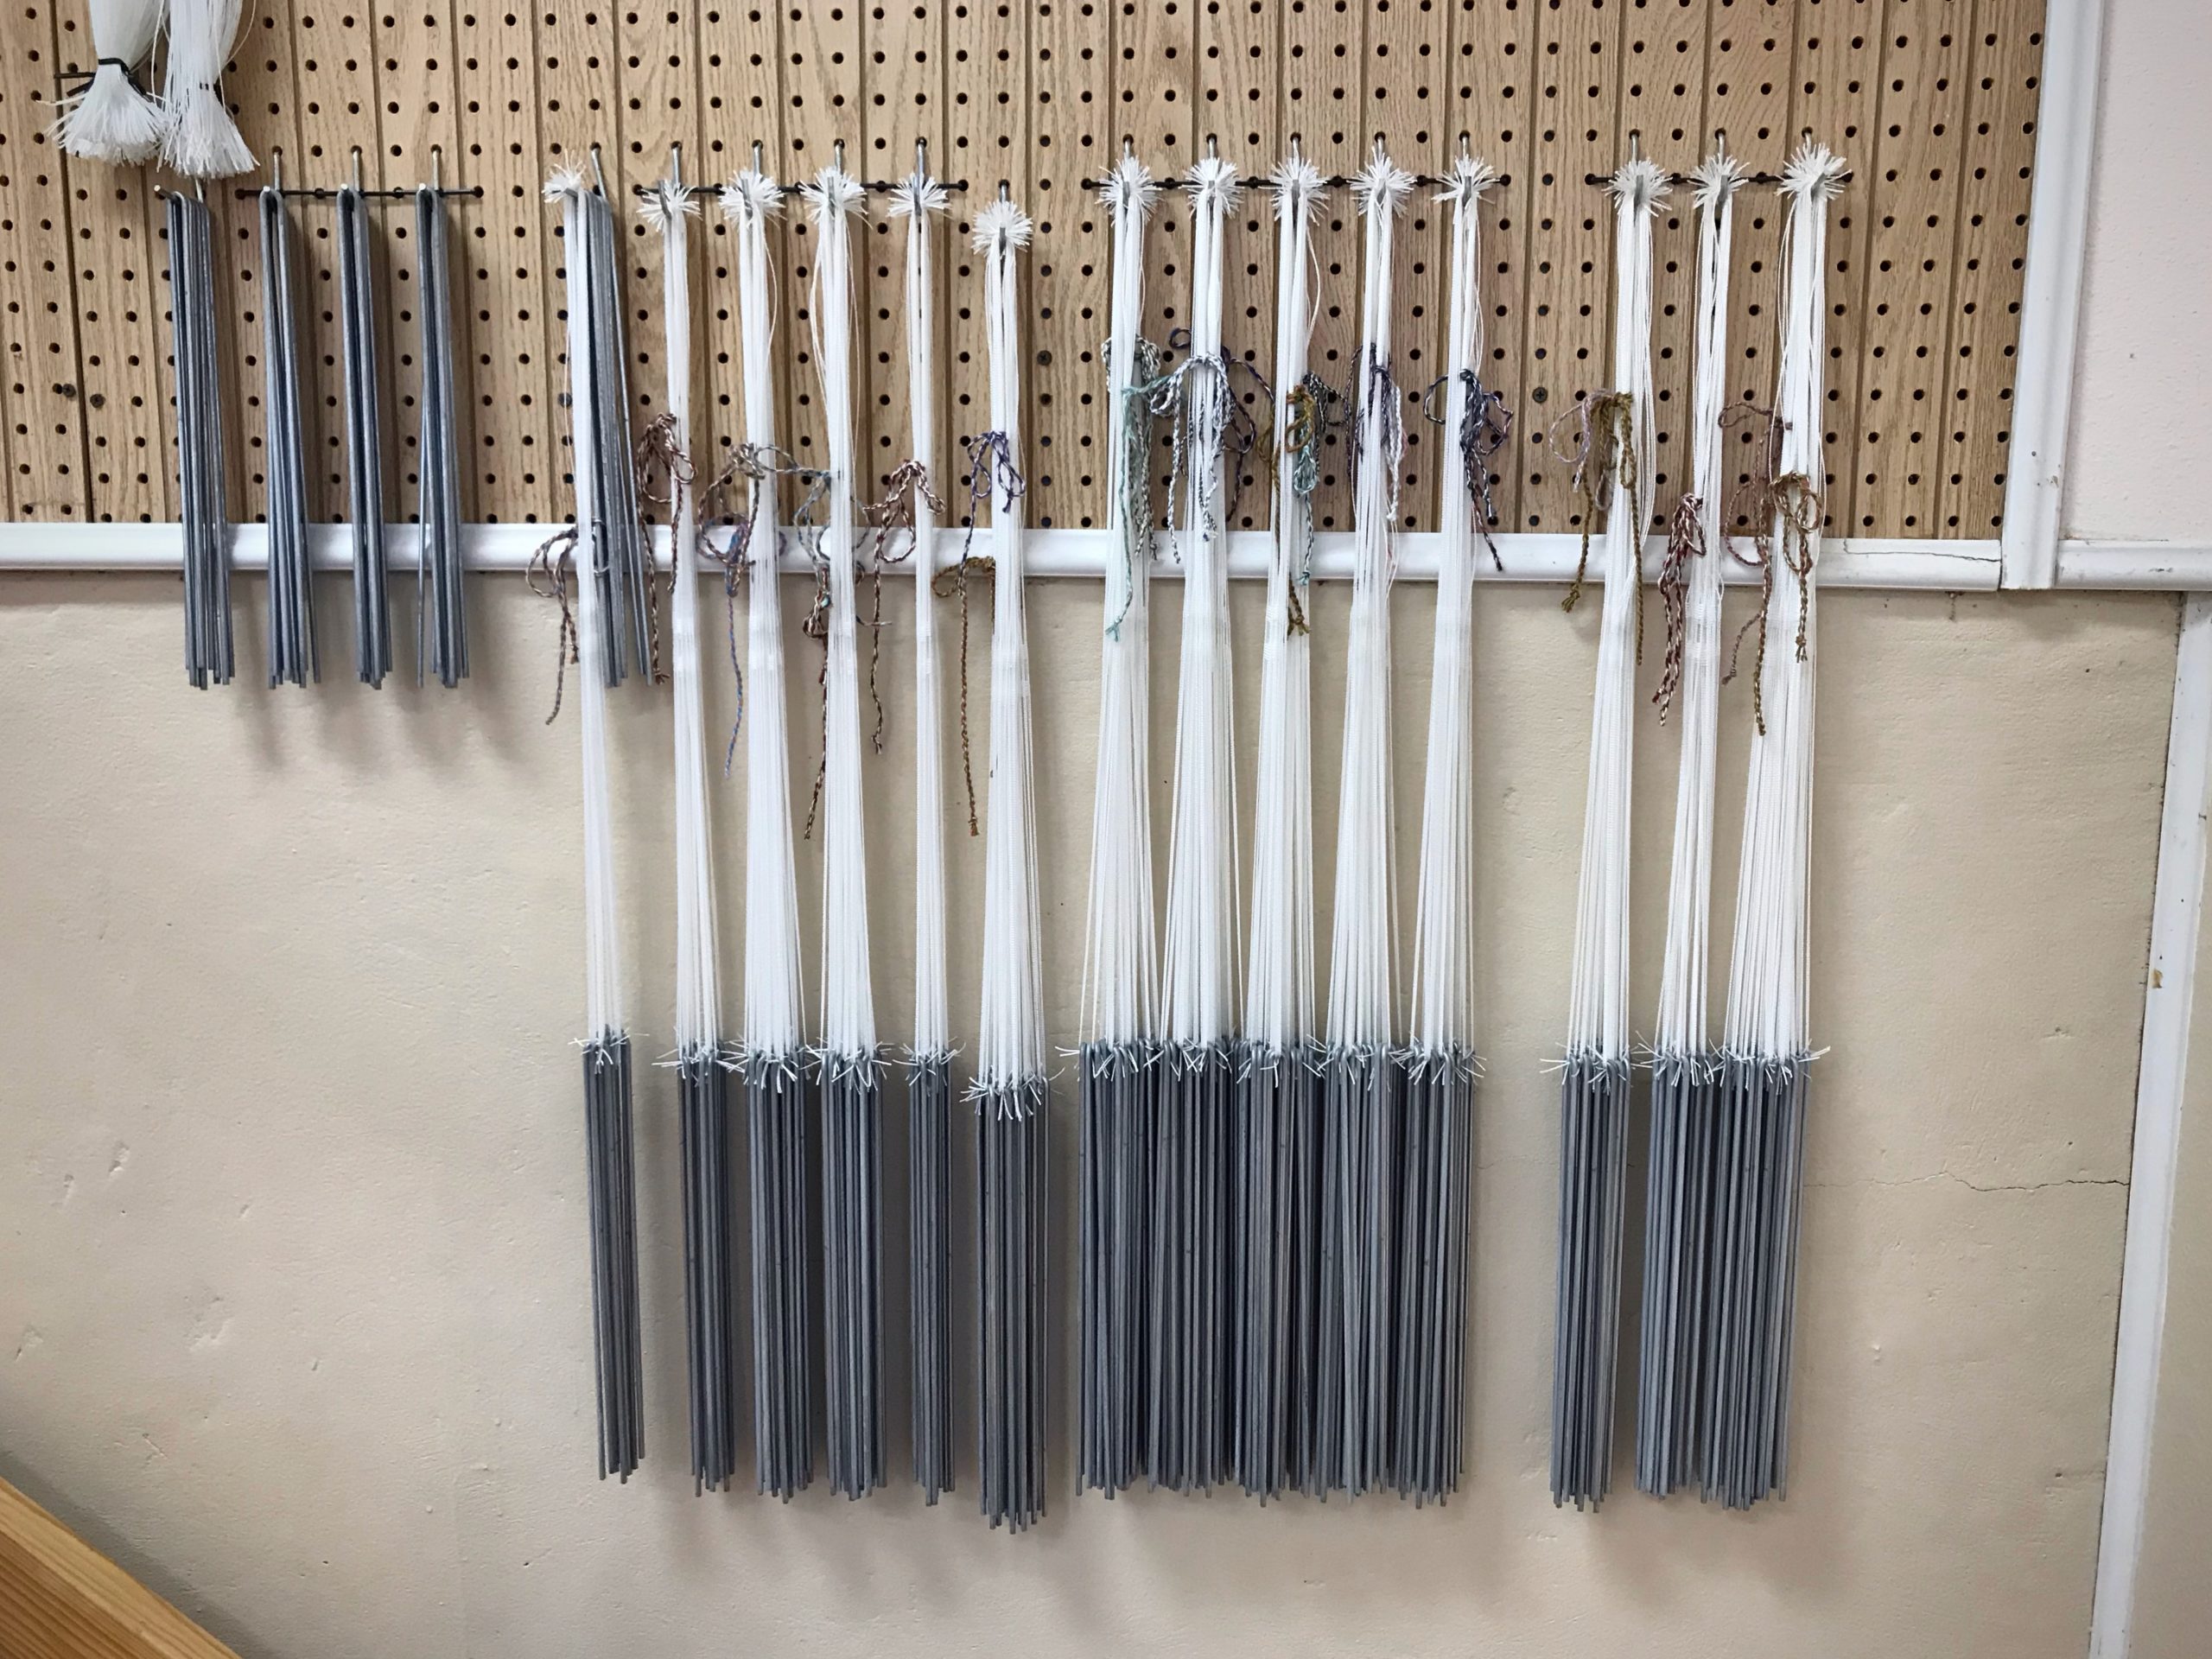
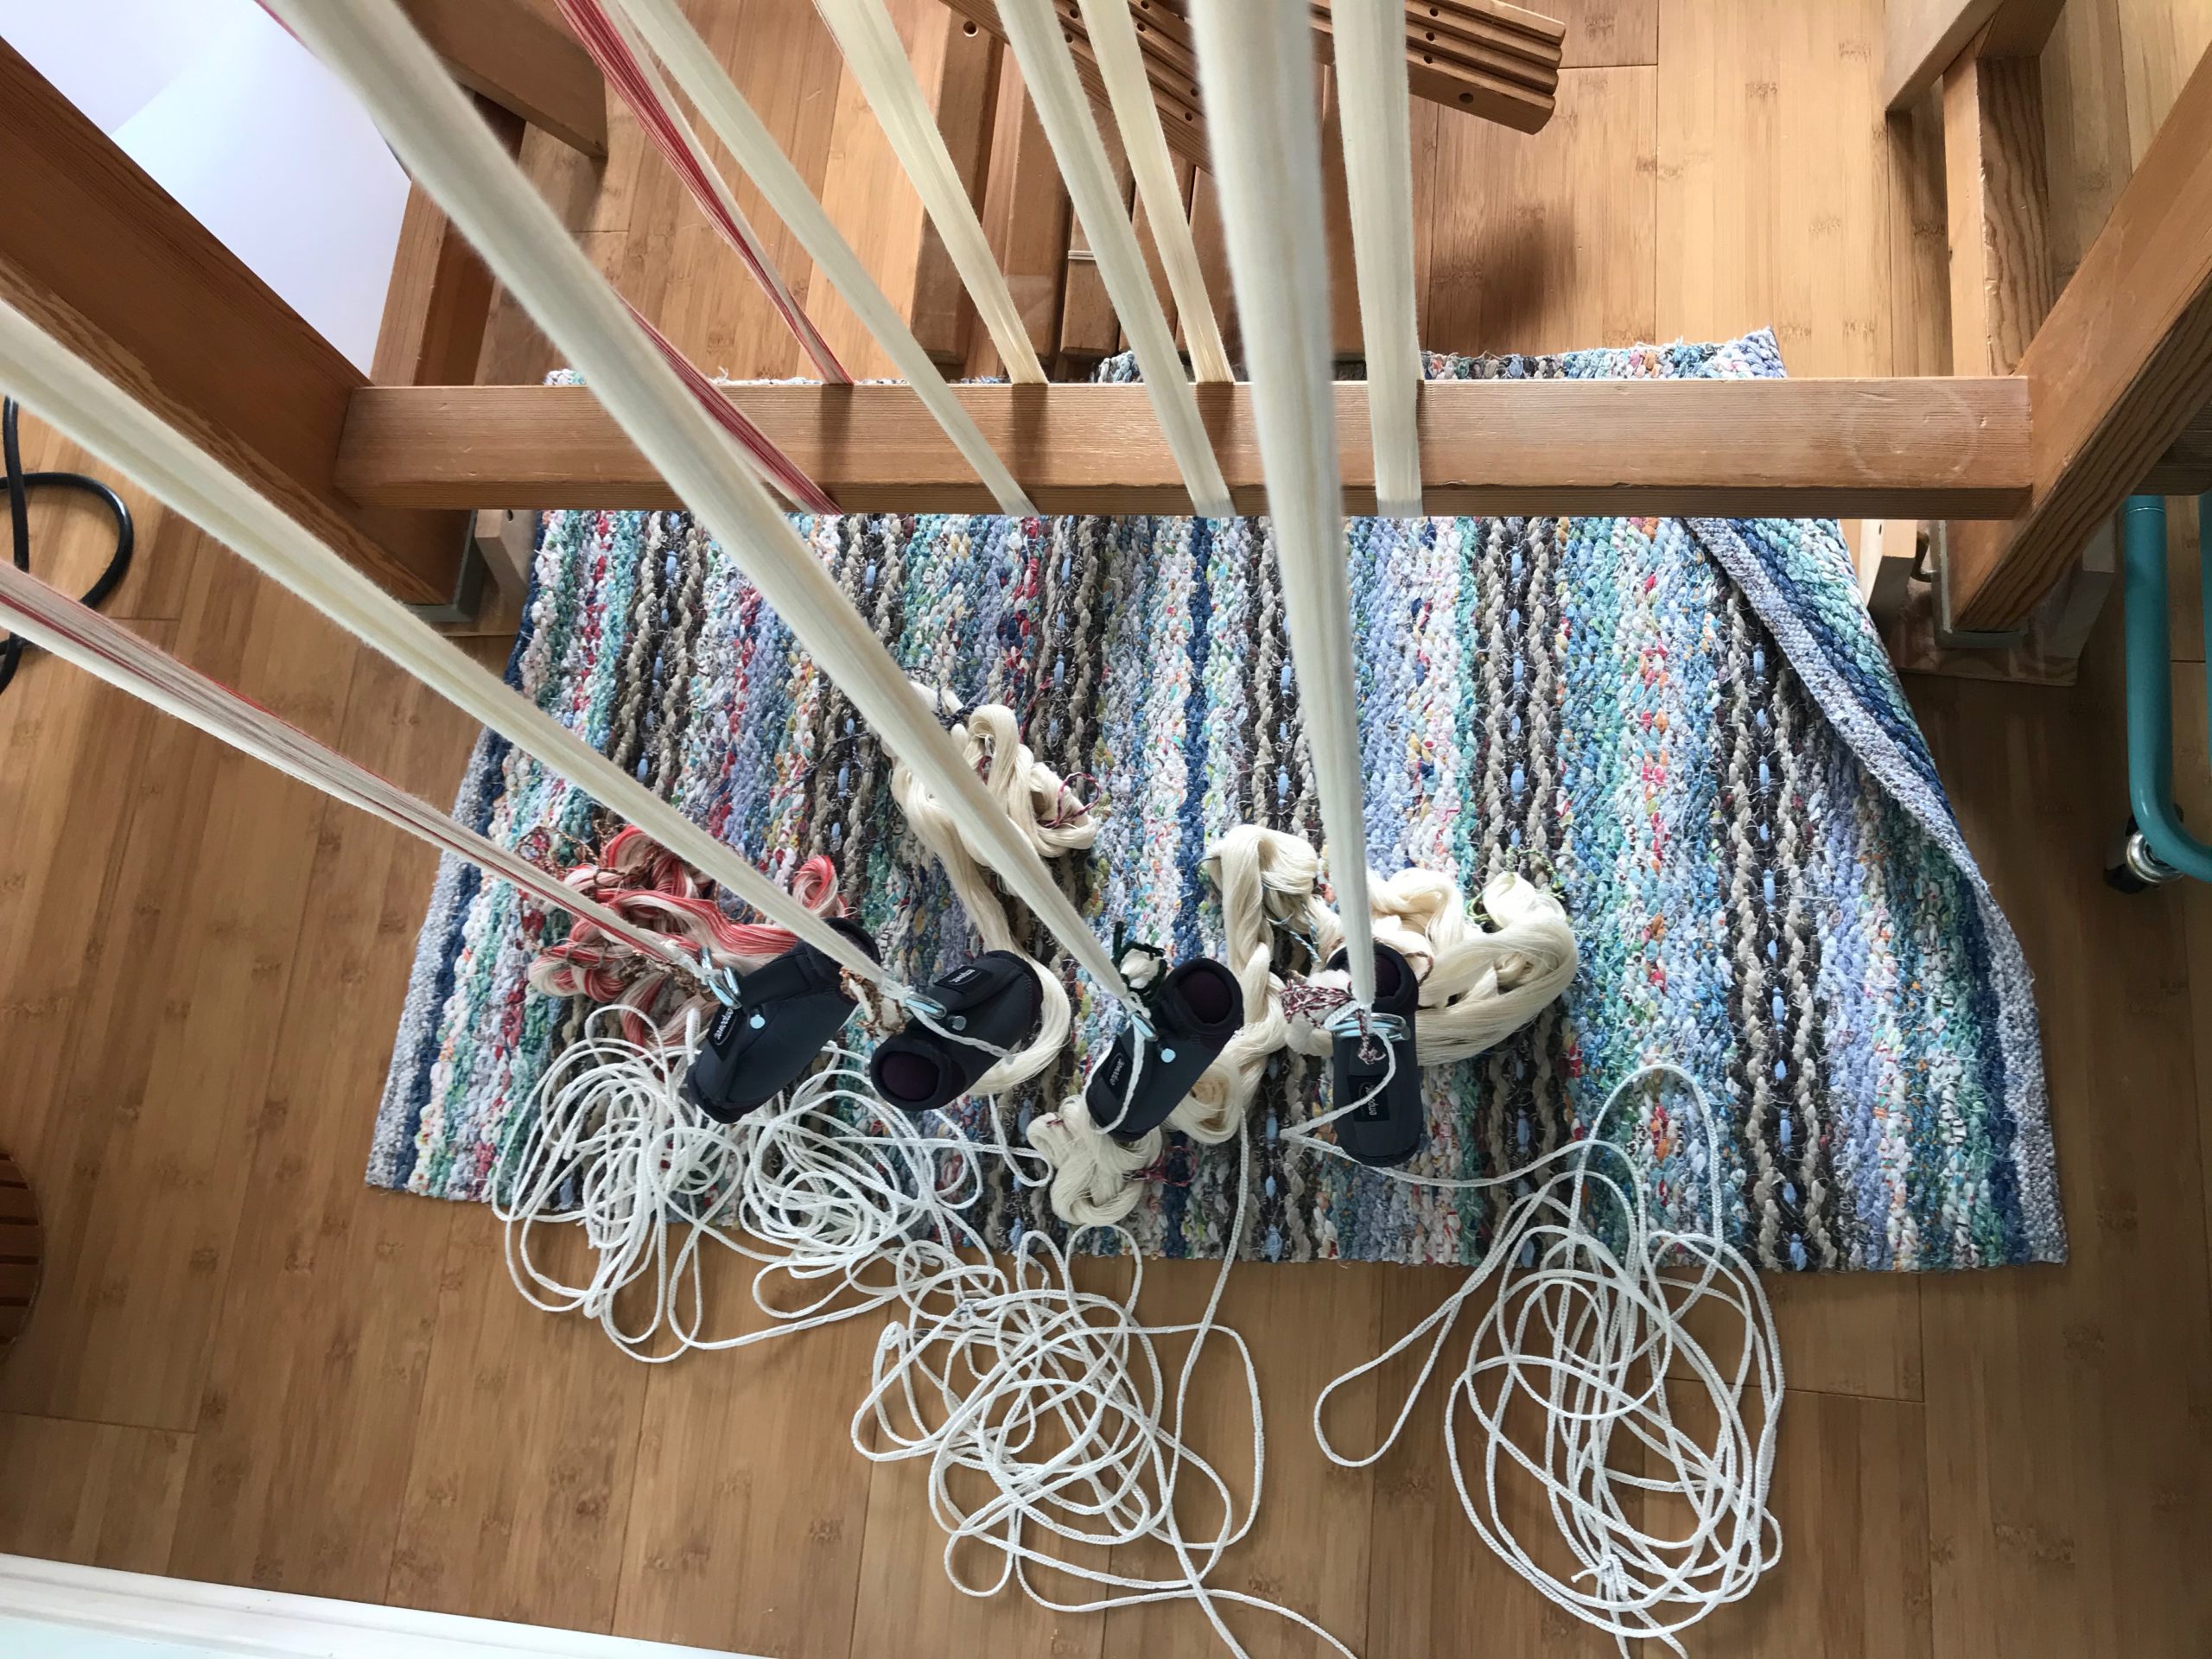
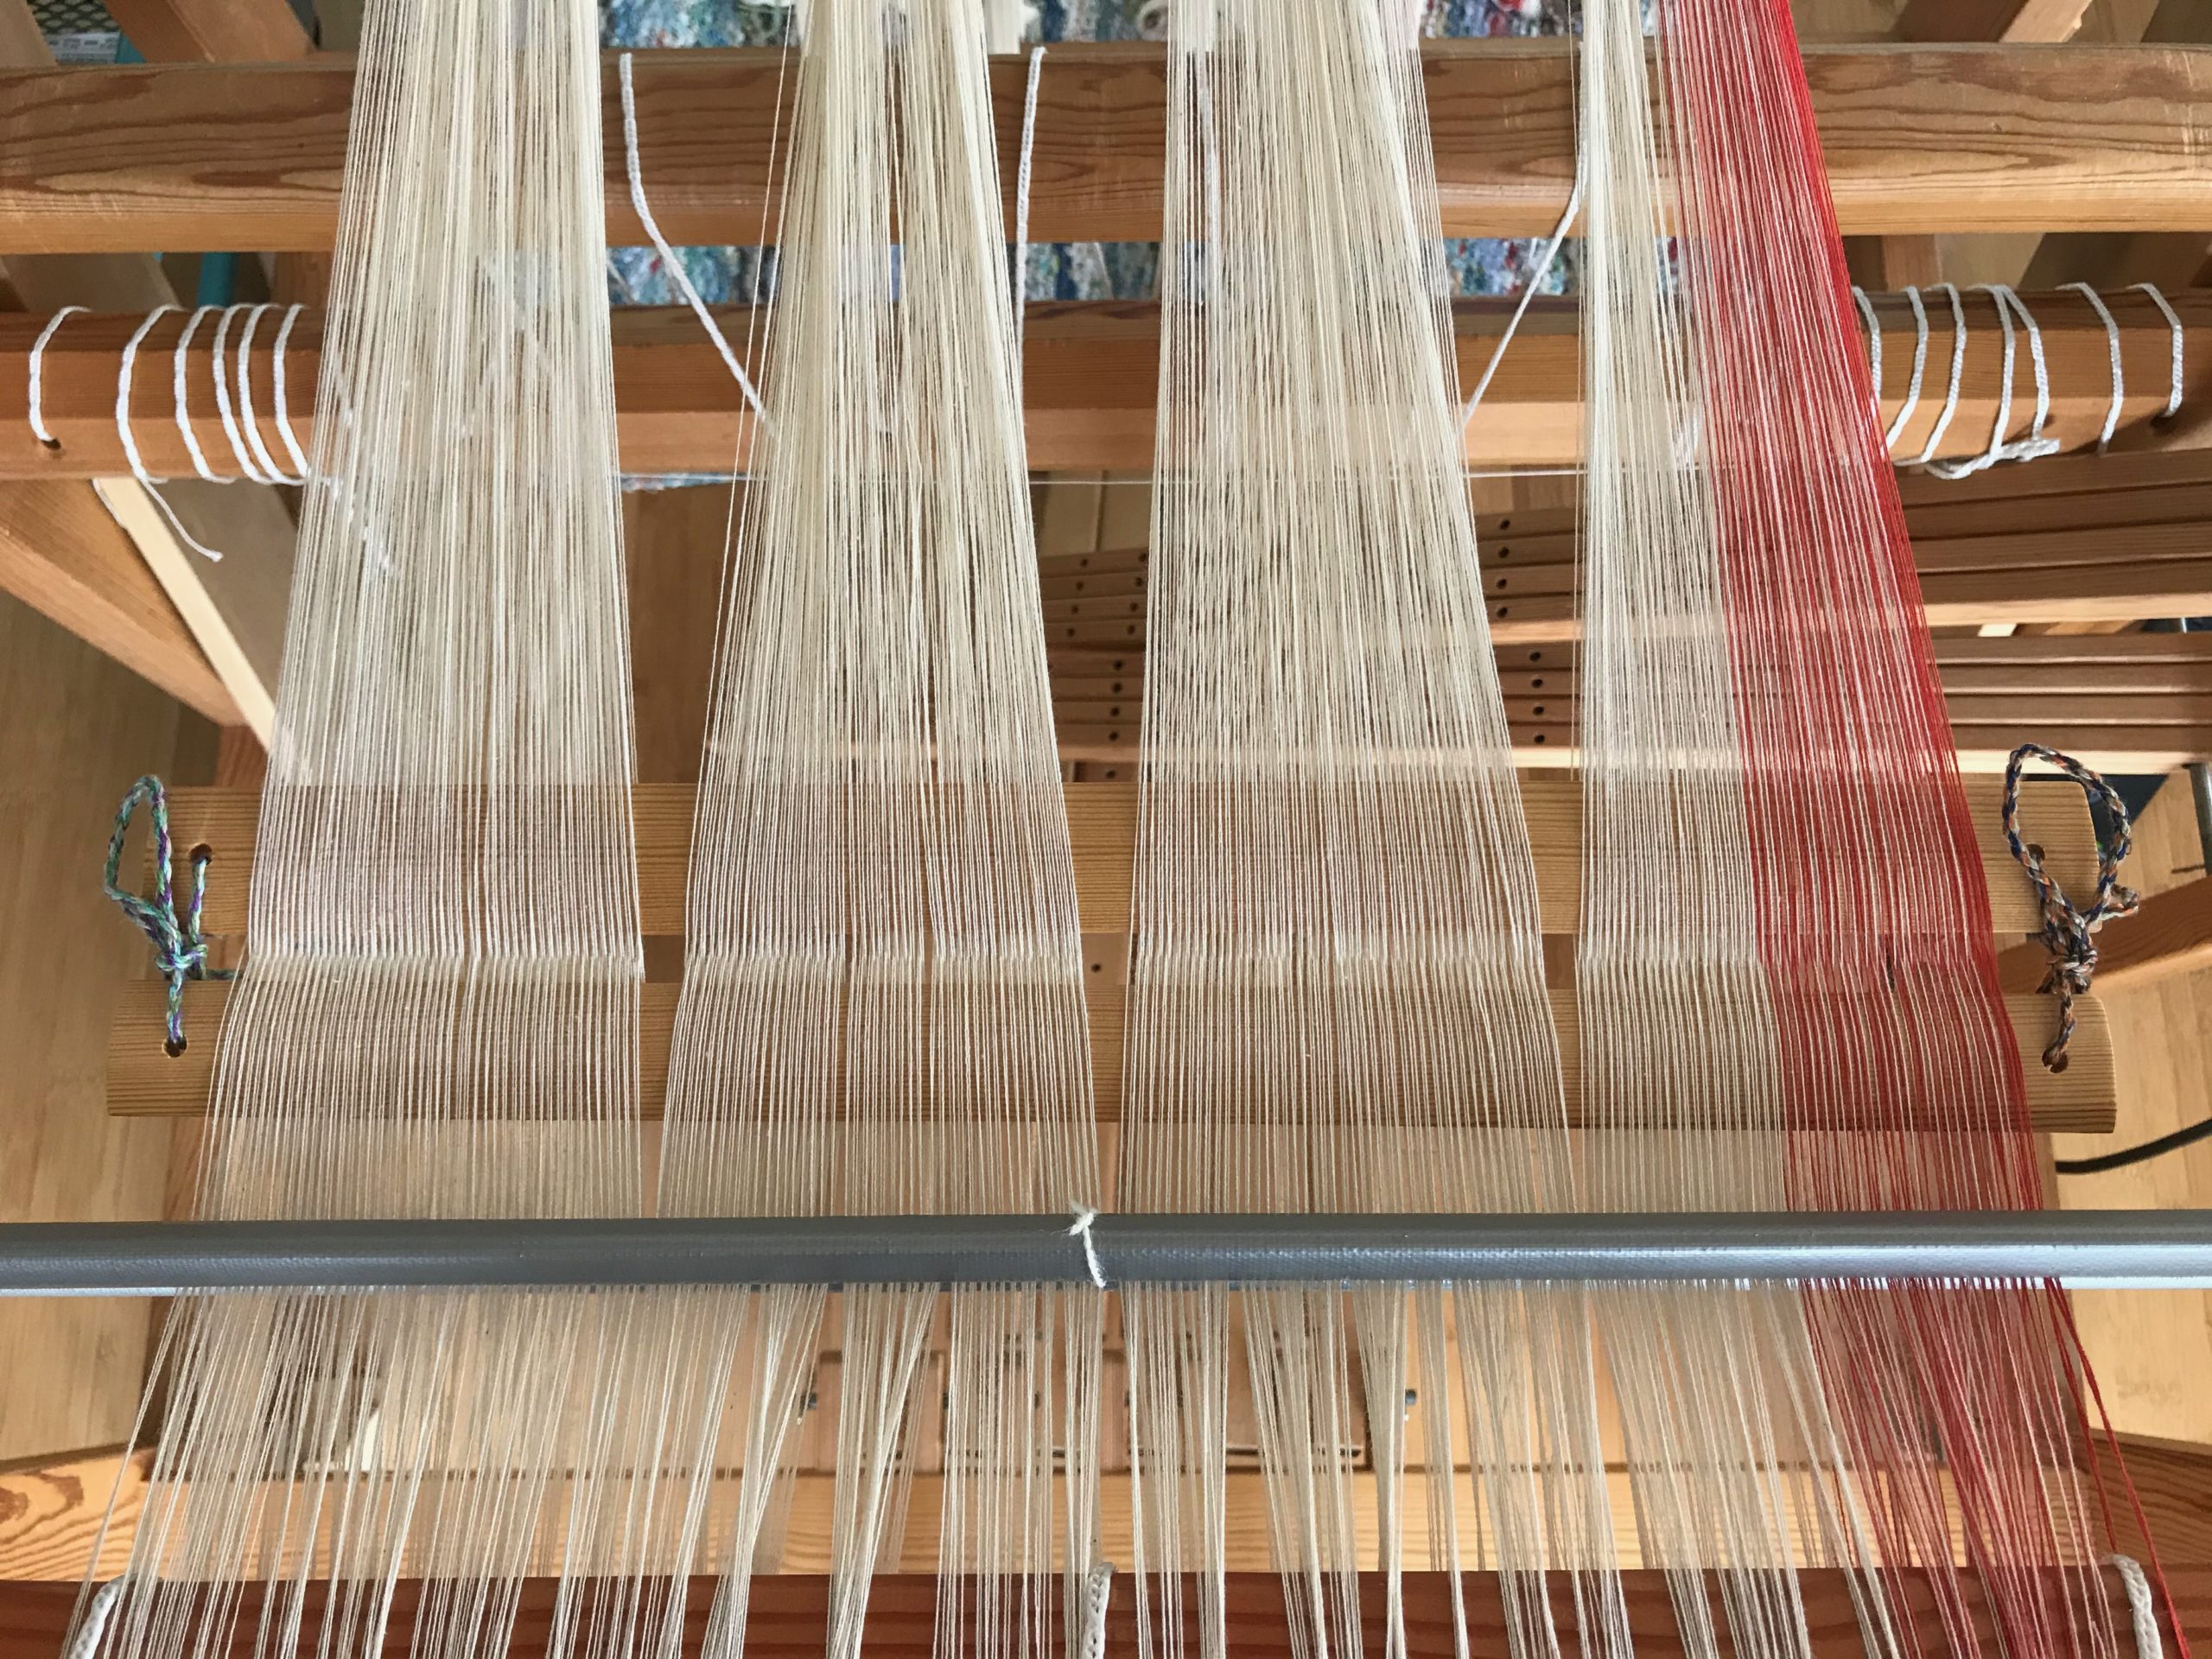
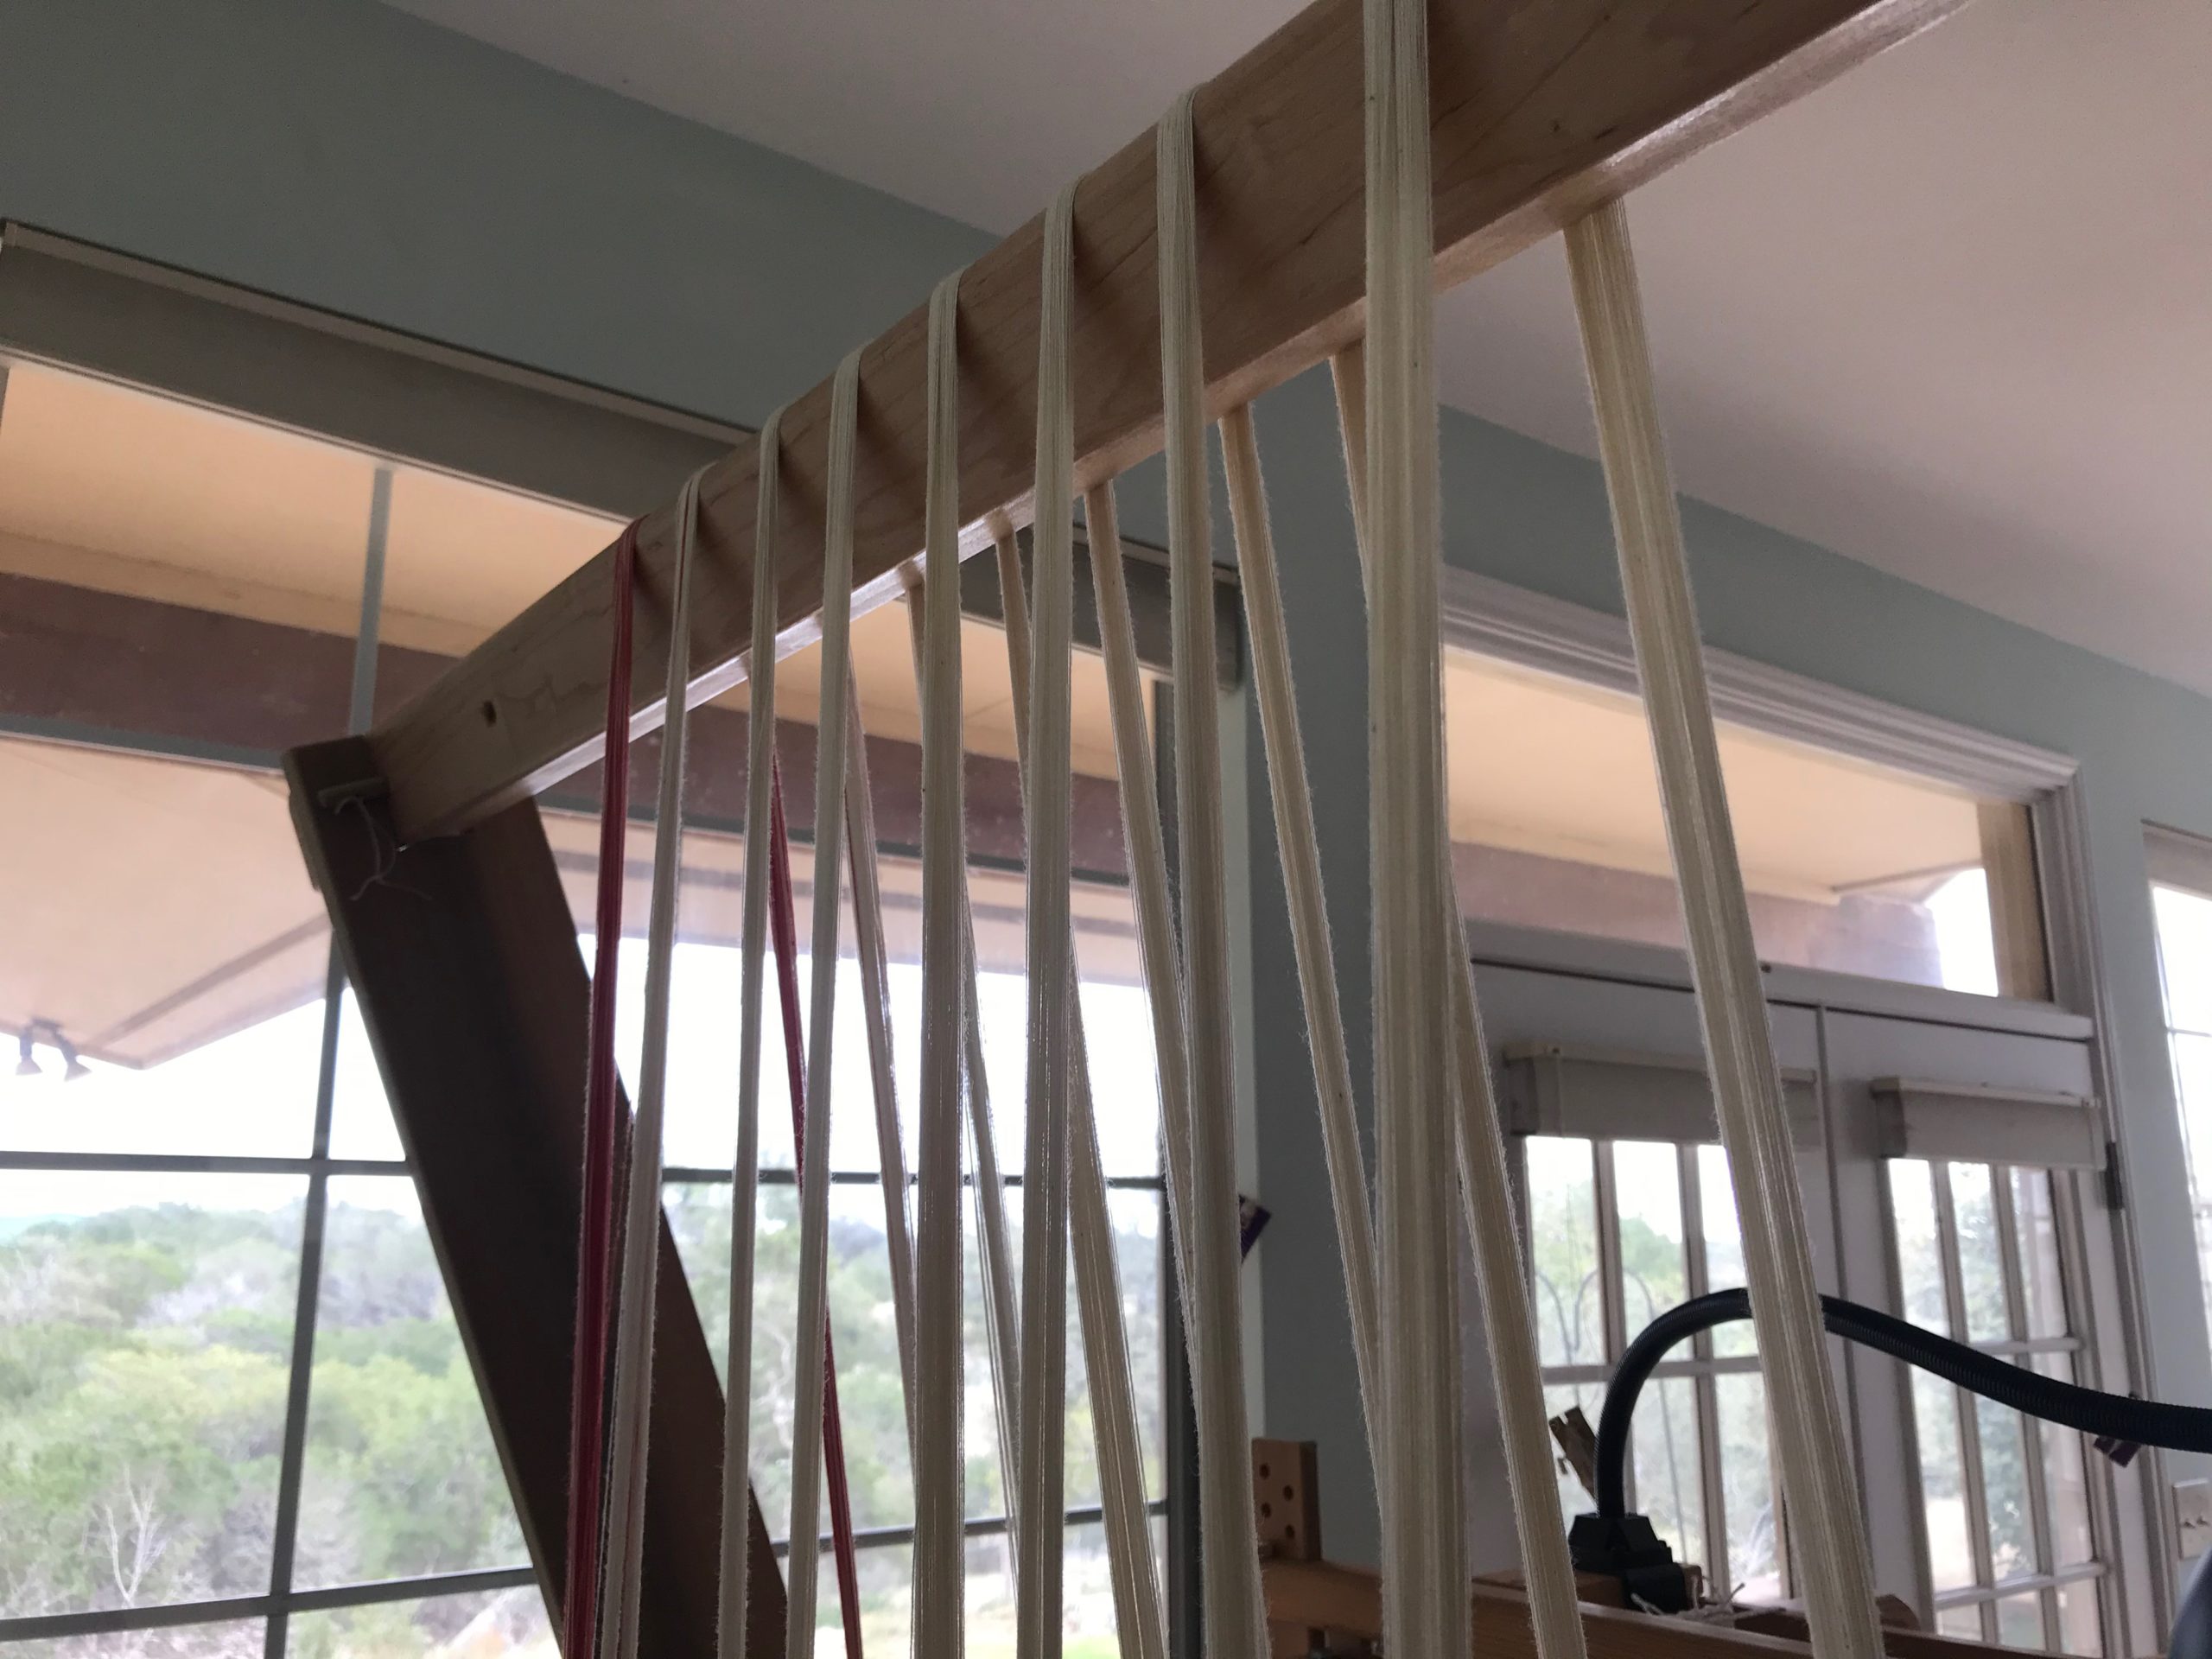
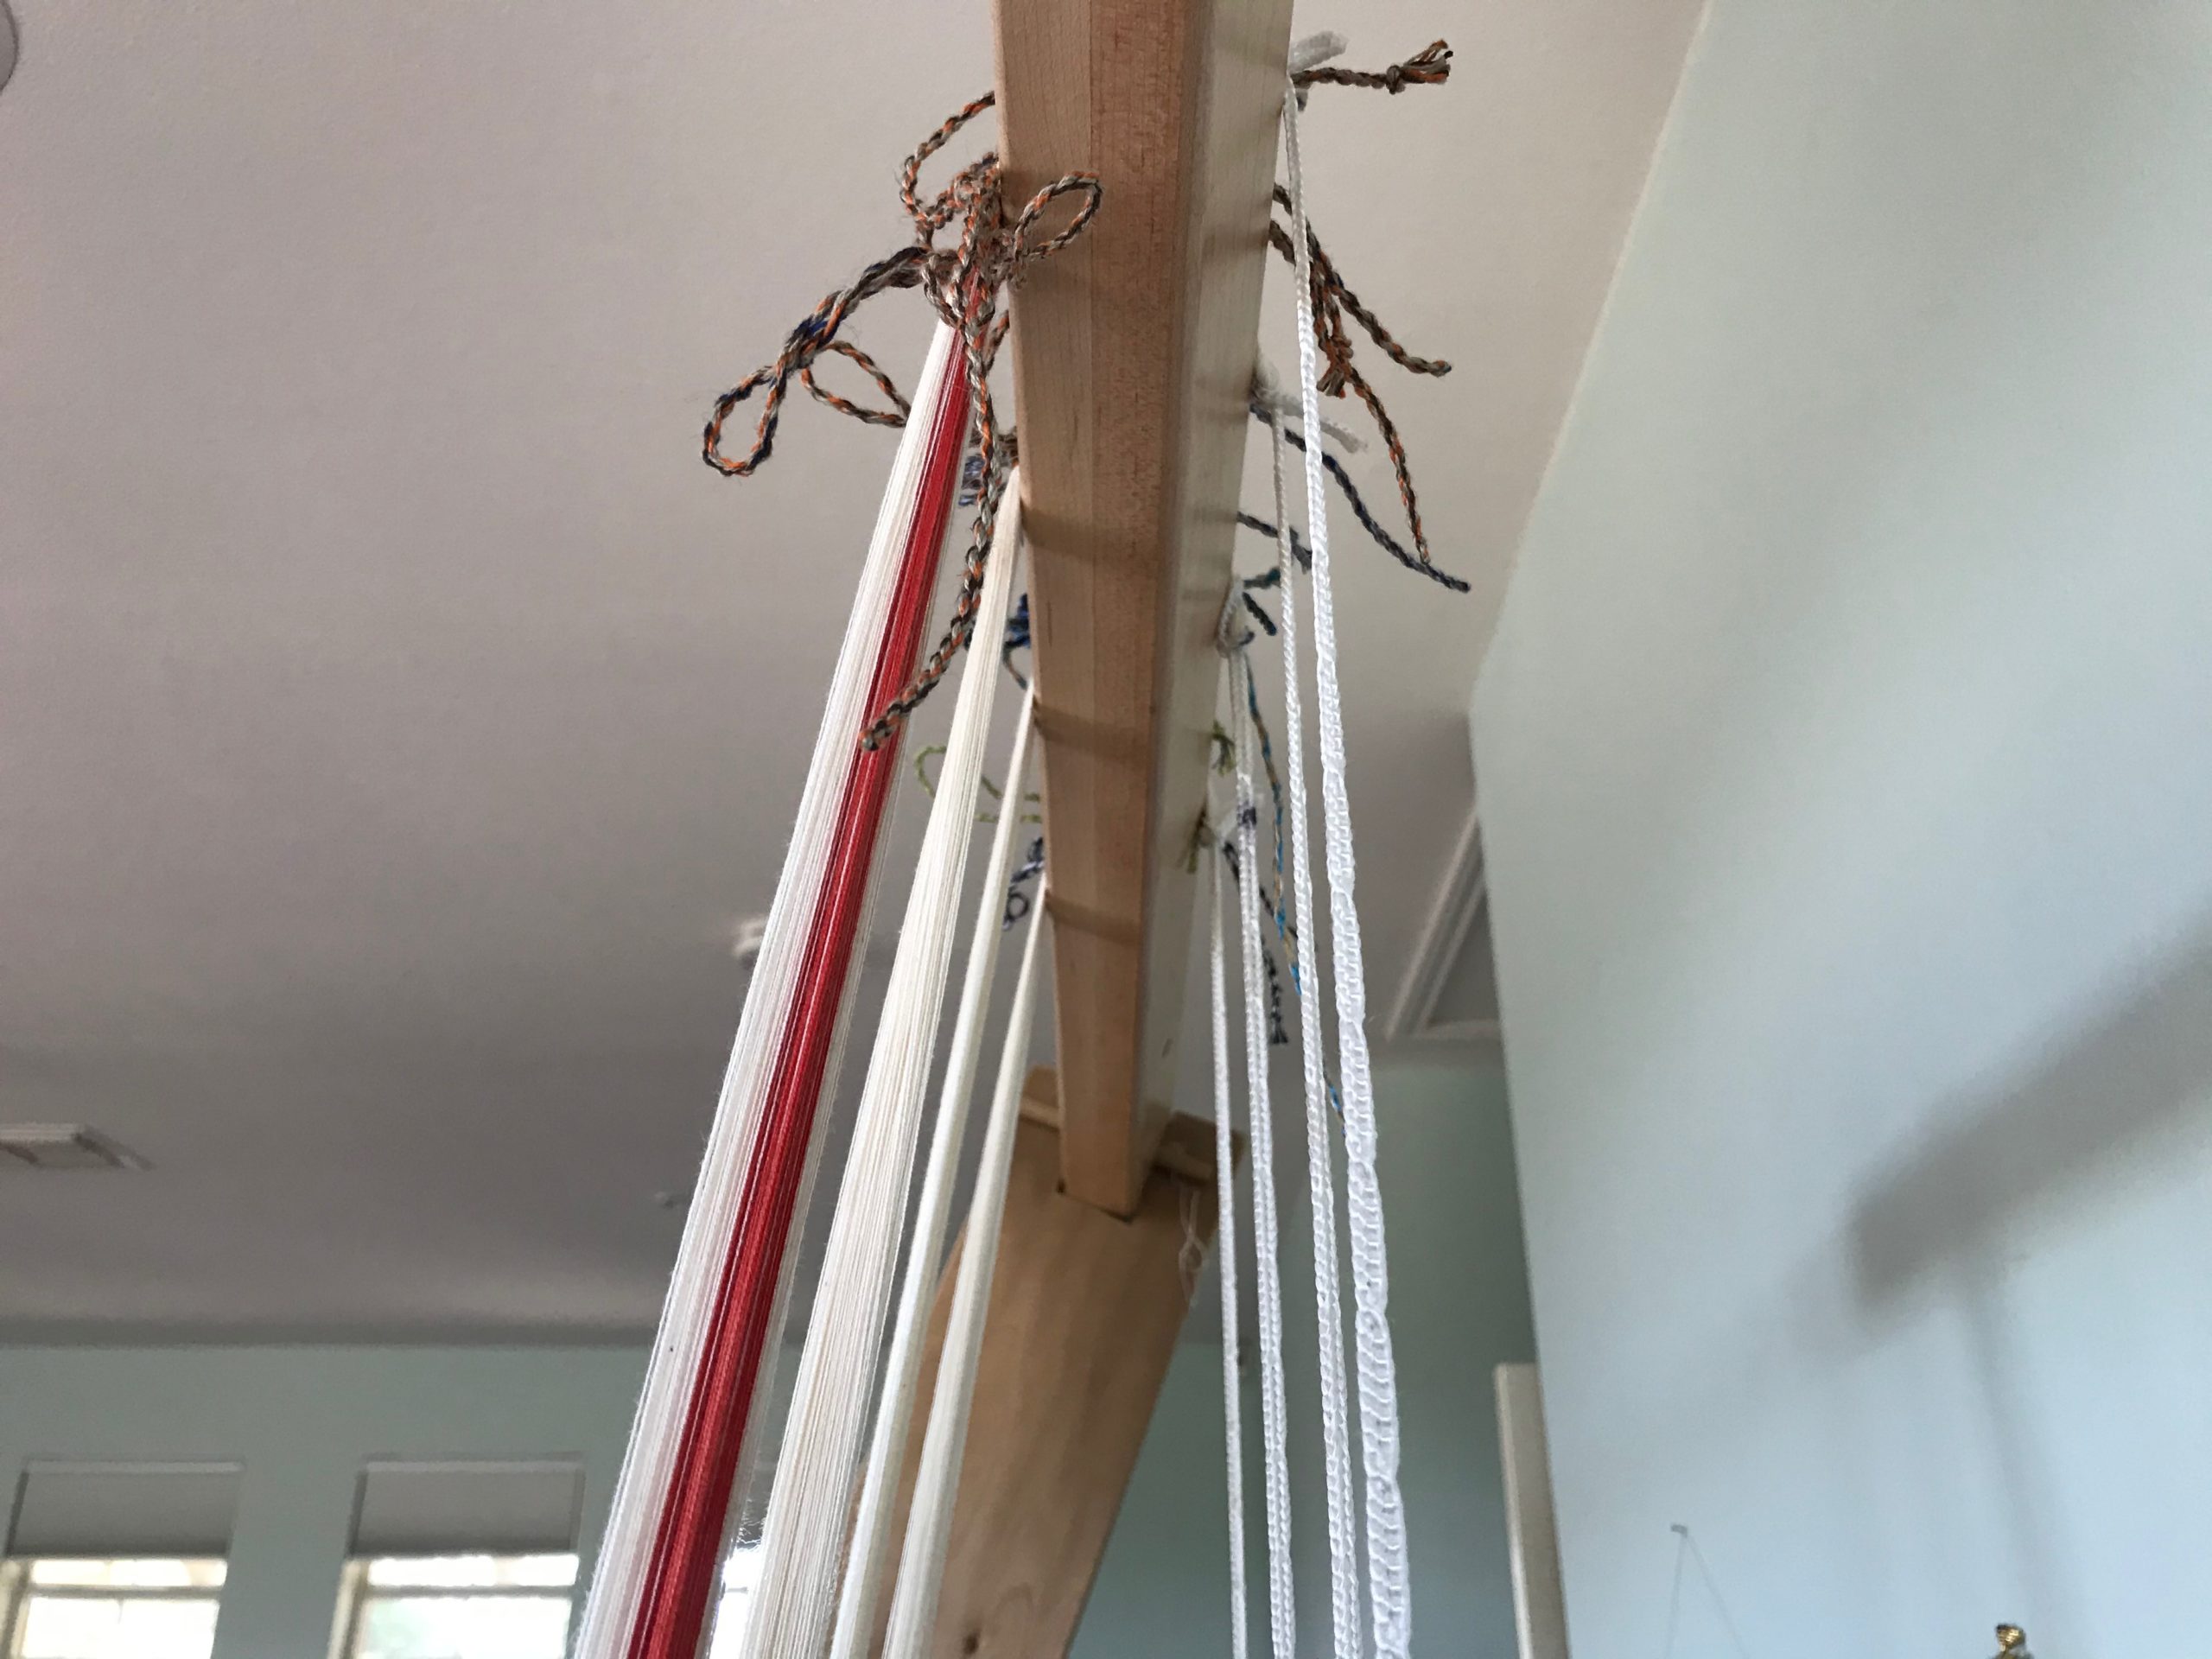
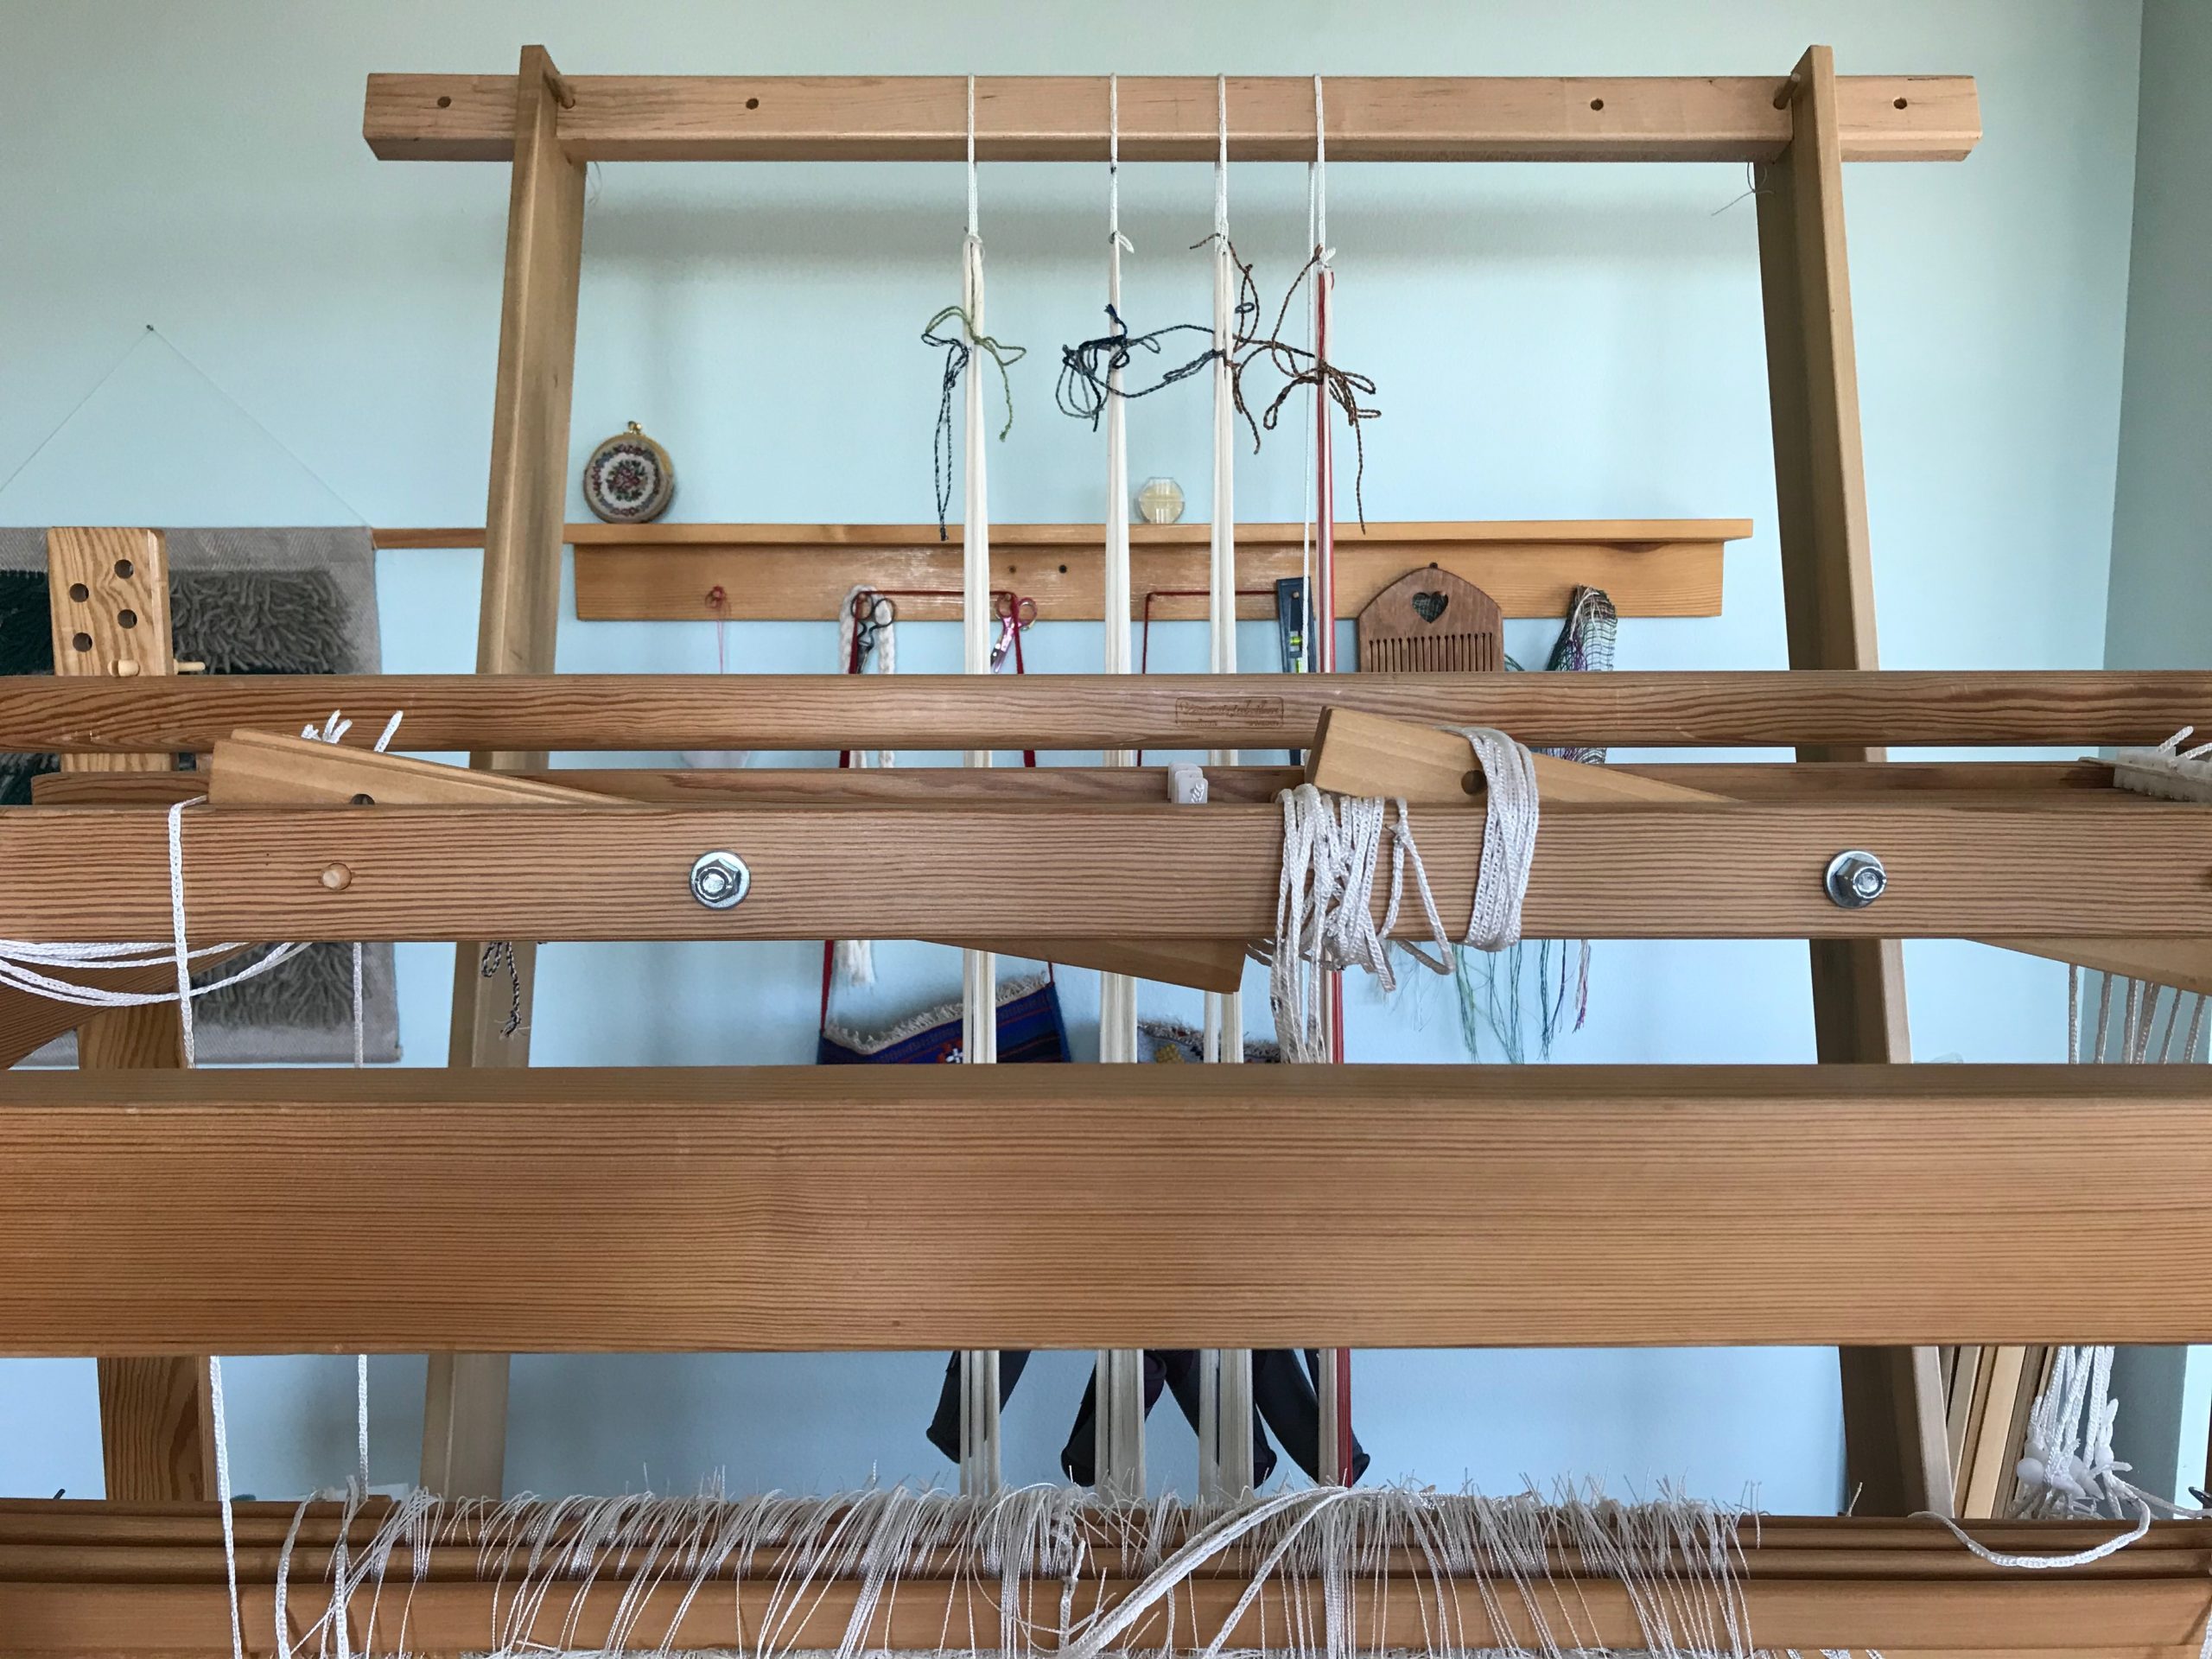
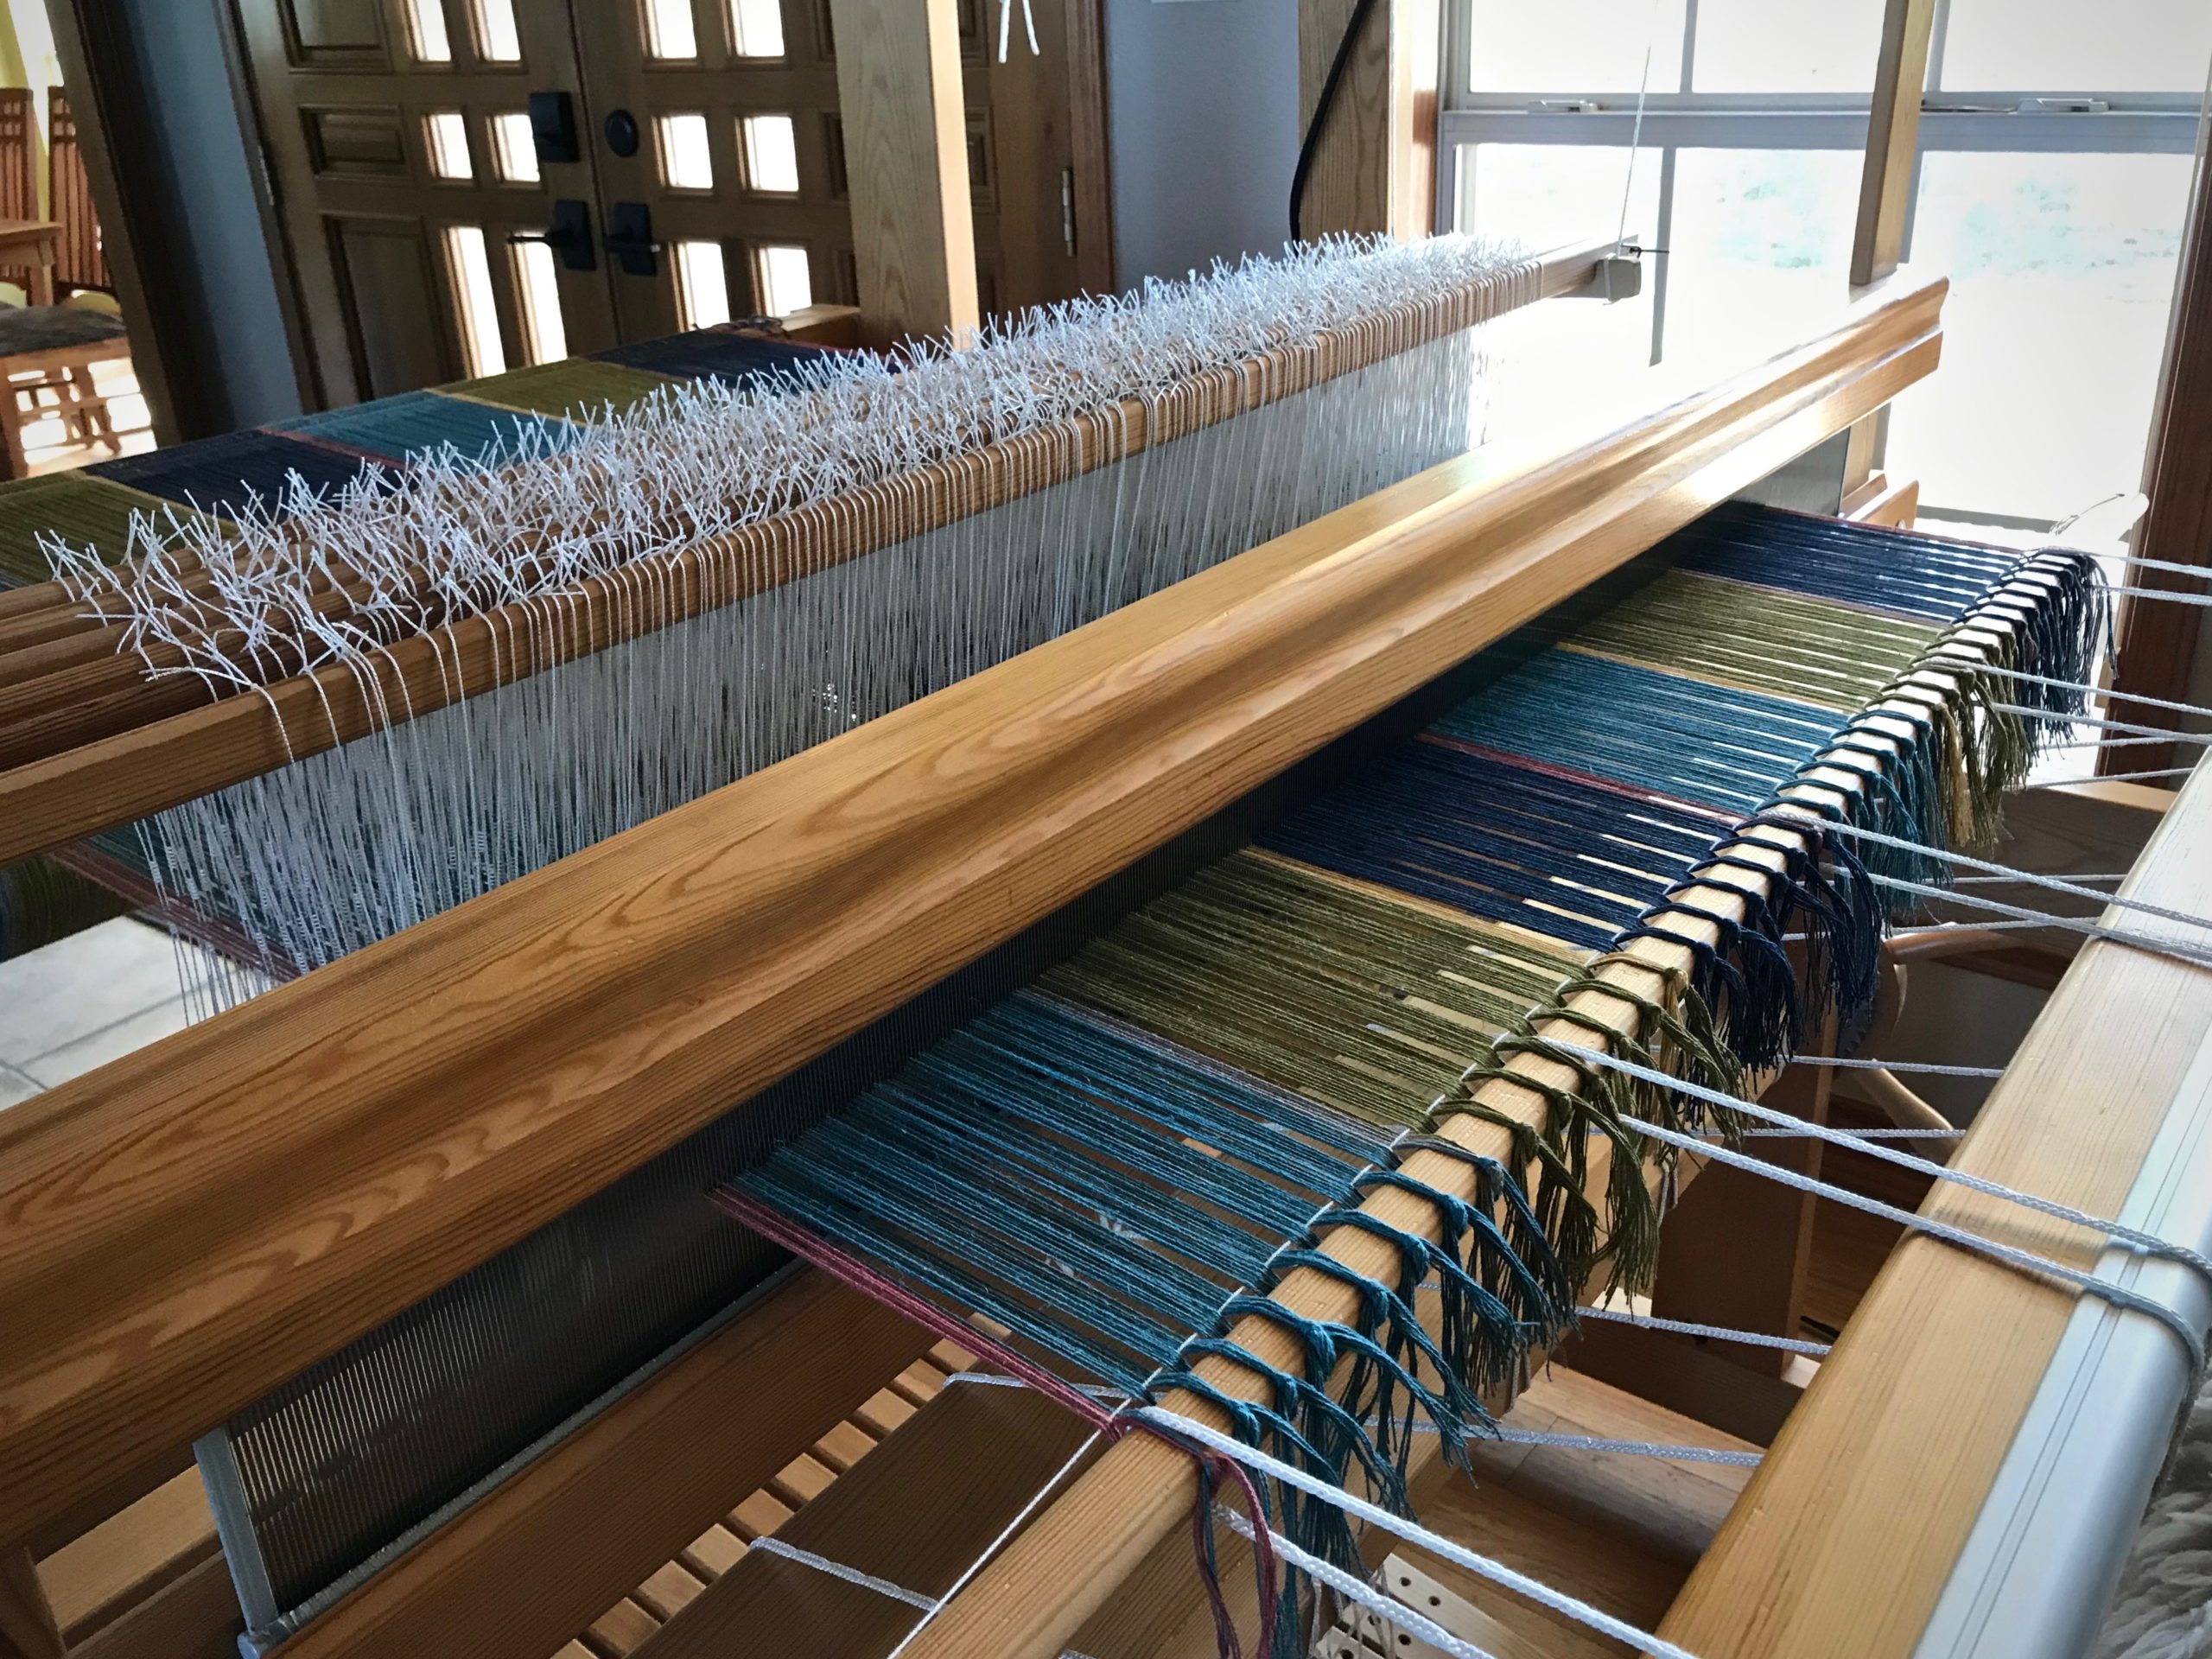
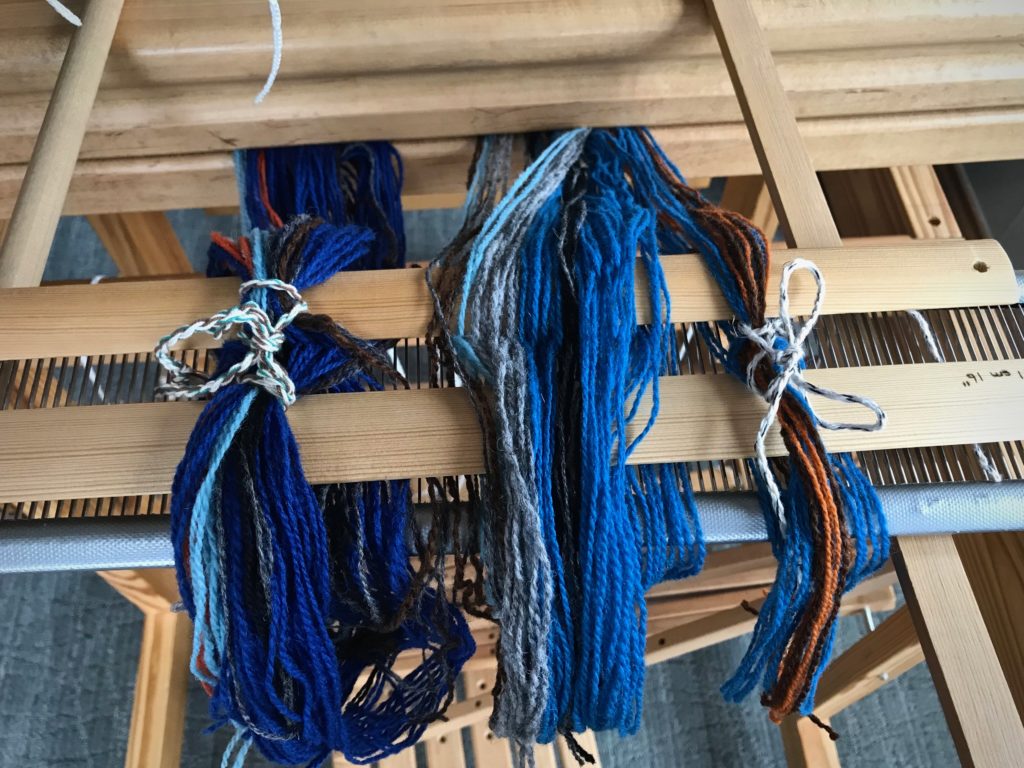
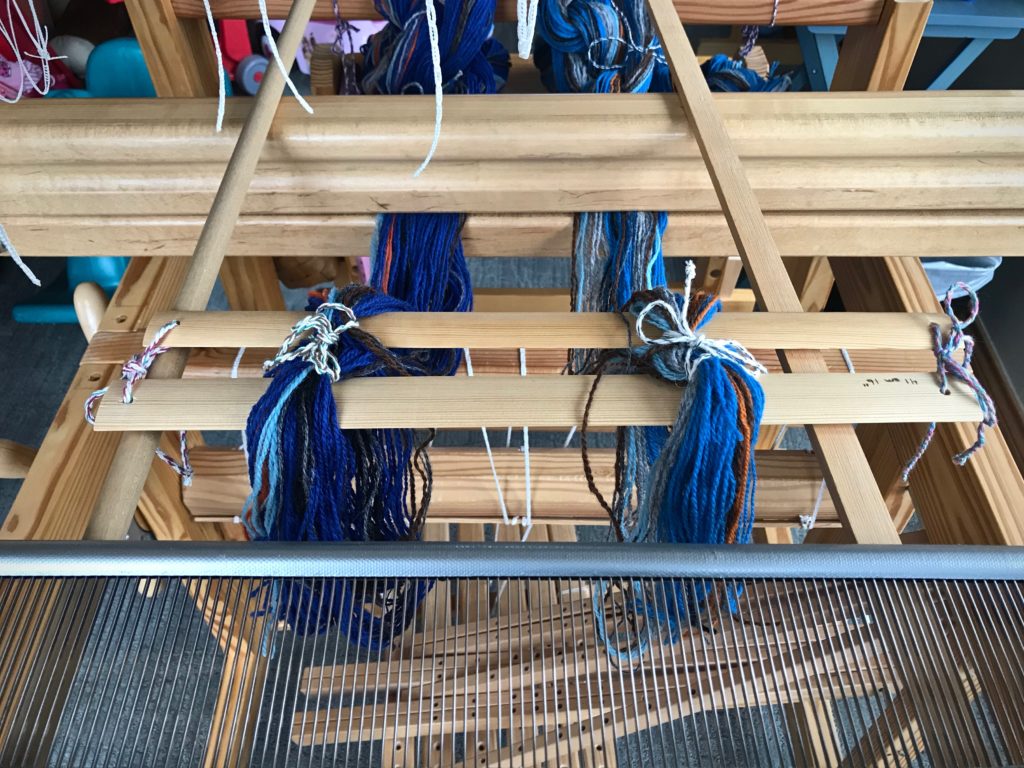
Before I start threading, I count out all the lingos (weights) I need for the pattern heddles. Then, I hang a lingo on each unit of pattern heddles. In this case, there are 148 units, and six heddles in each unit. I move all those prepared units (heddles with lingos) to the back of the loom, get comfortable on my loom bench, and start threading. After a few sessions, I am finished threading the pattern heddles.

Drawloom threading heddles.
Pattern heddles hang at the back of the loom for threading.
Texas hill country Bluebonnets!
On the walking path to my drawloom studio each day I see the startling blooms of our Texas hill country Bluebonnets. Just imagine the unseen preliminaries for this beauty!
Drawloom pattern heddles and lingos.
Threading continues.
Pattern heddles are threaded for the drawloom.
All 888 pattern heddles are threaded! Ground heddles are next…

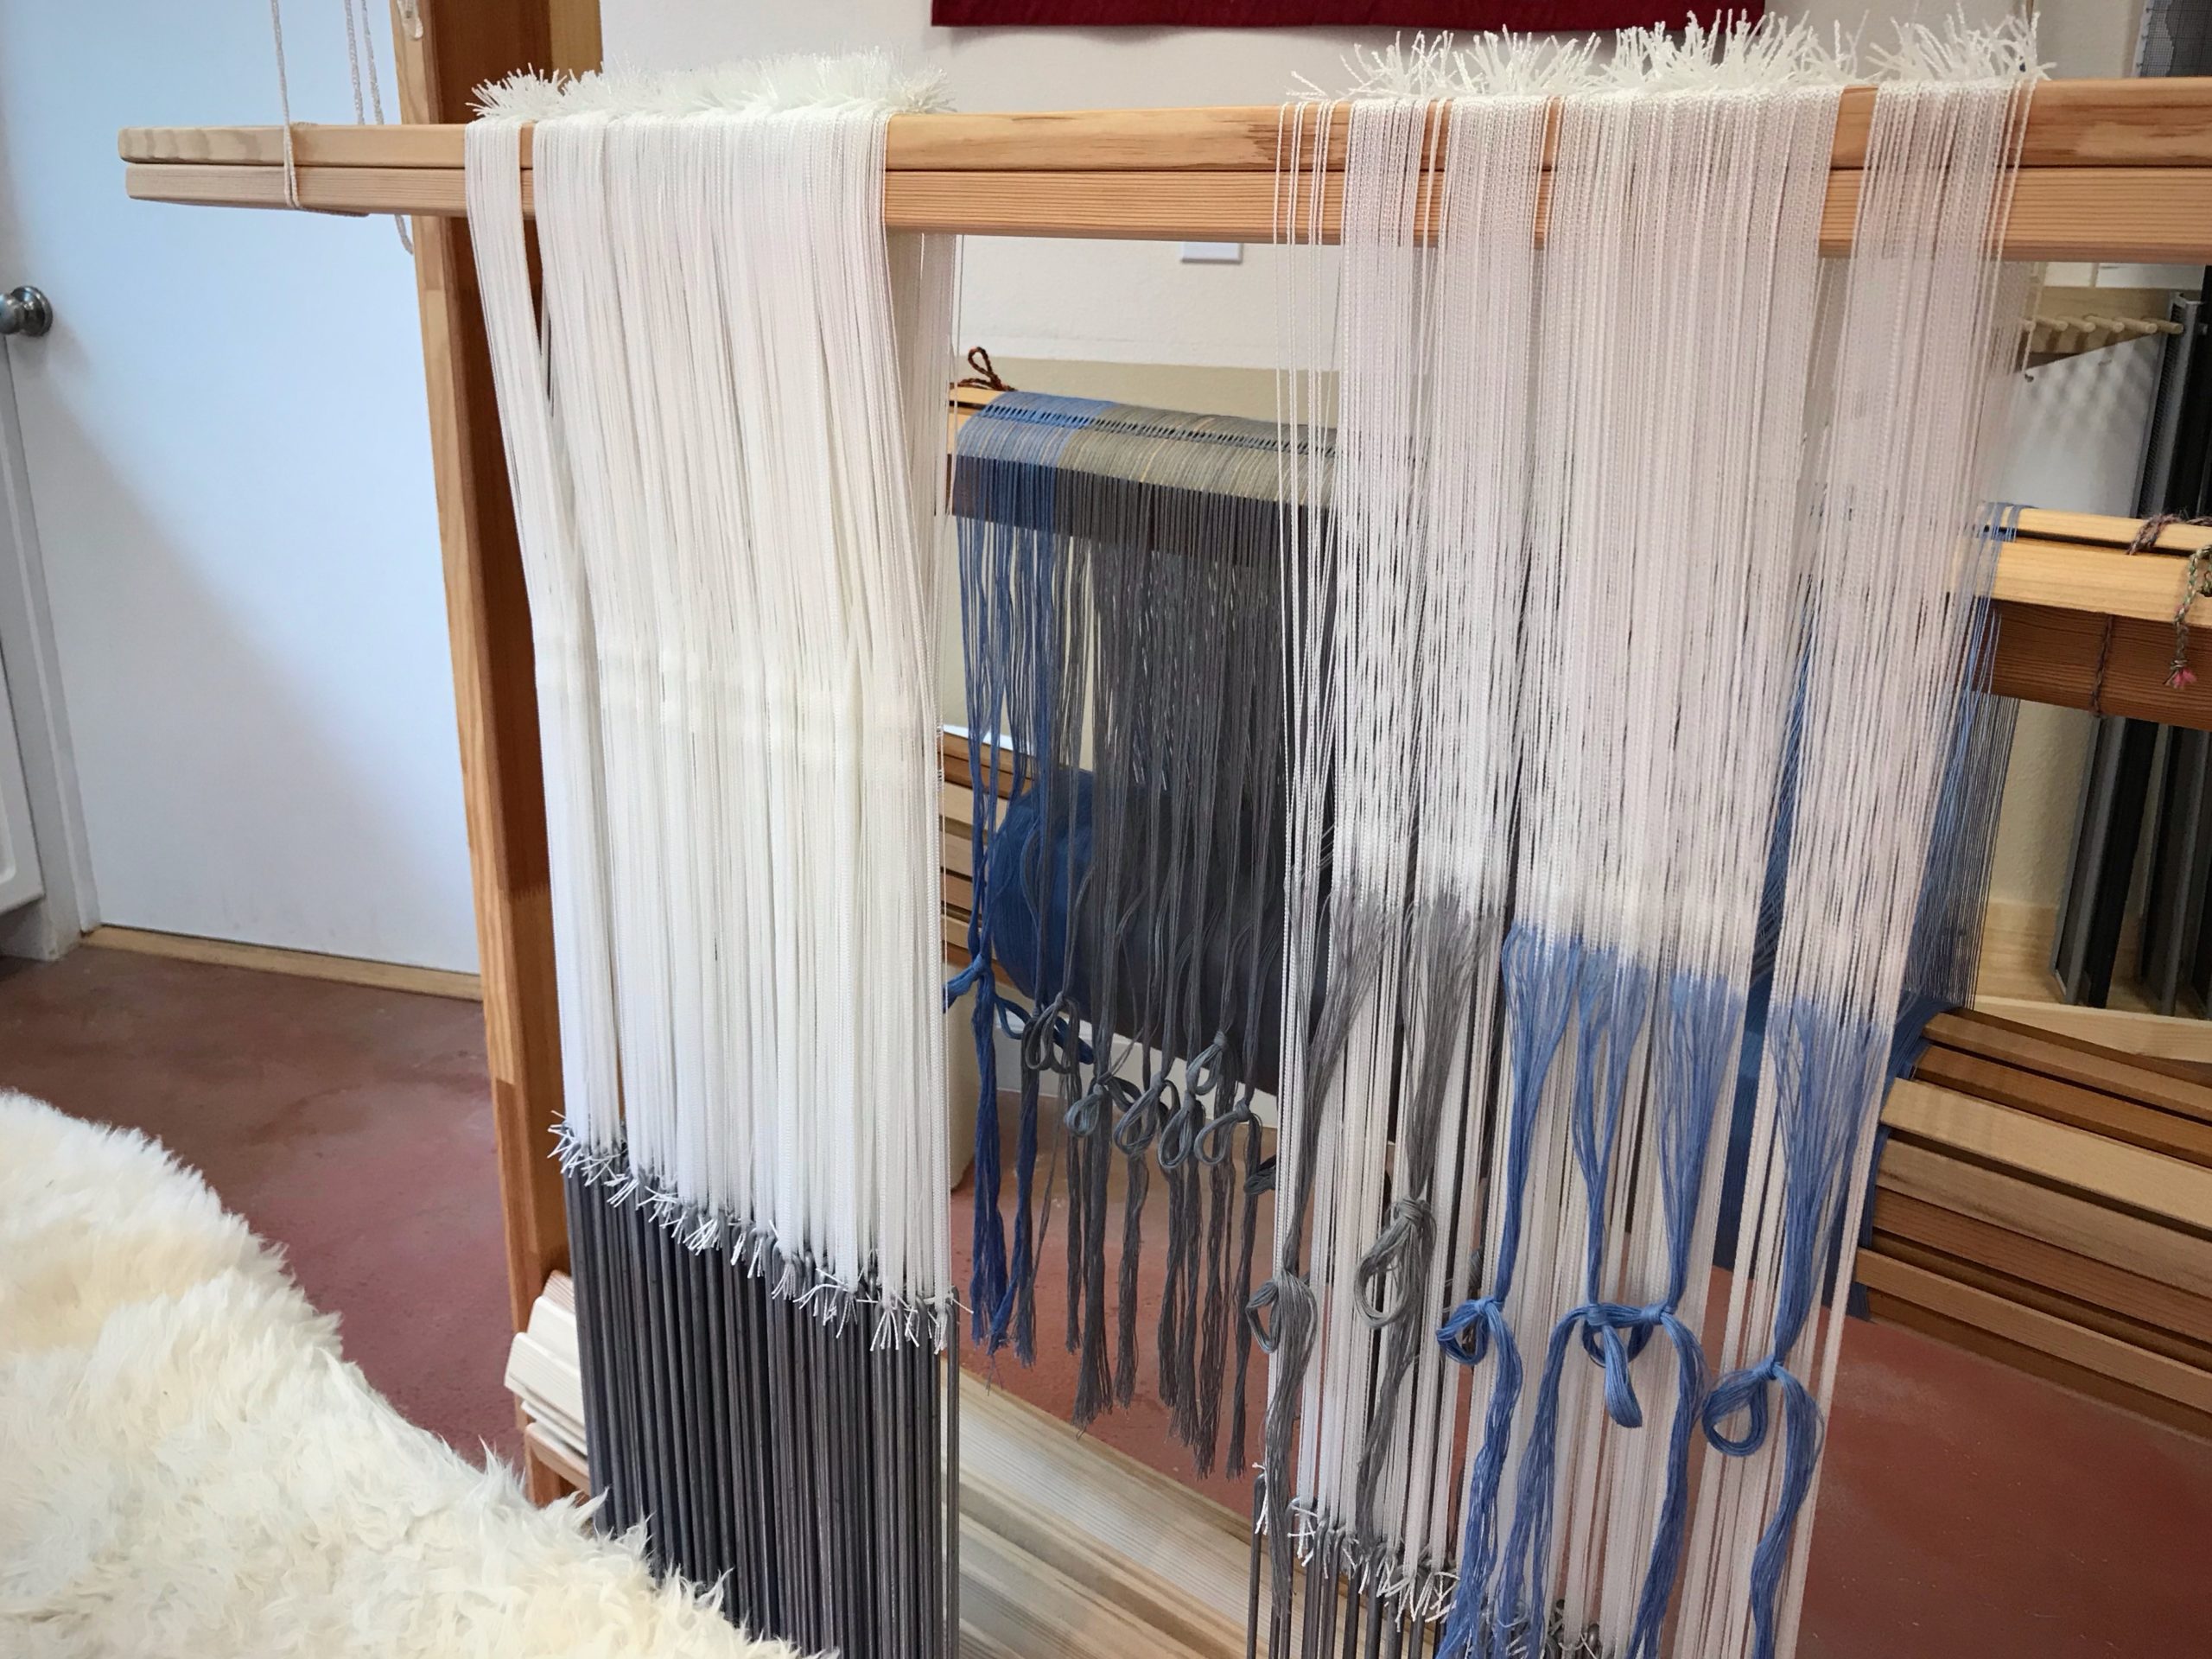
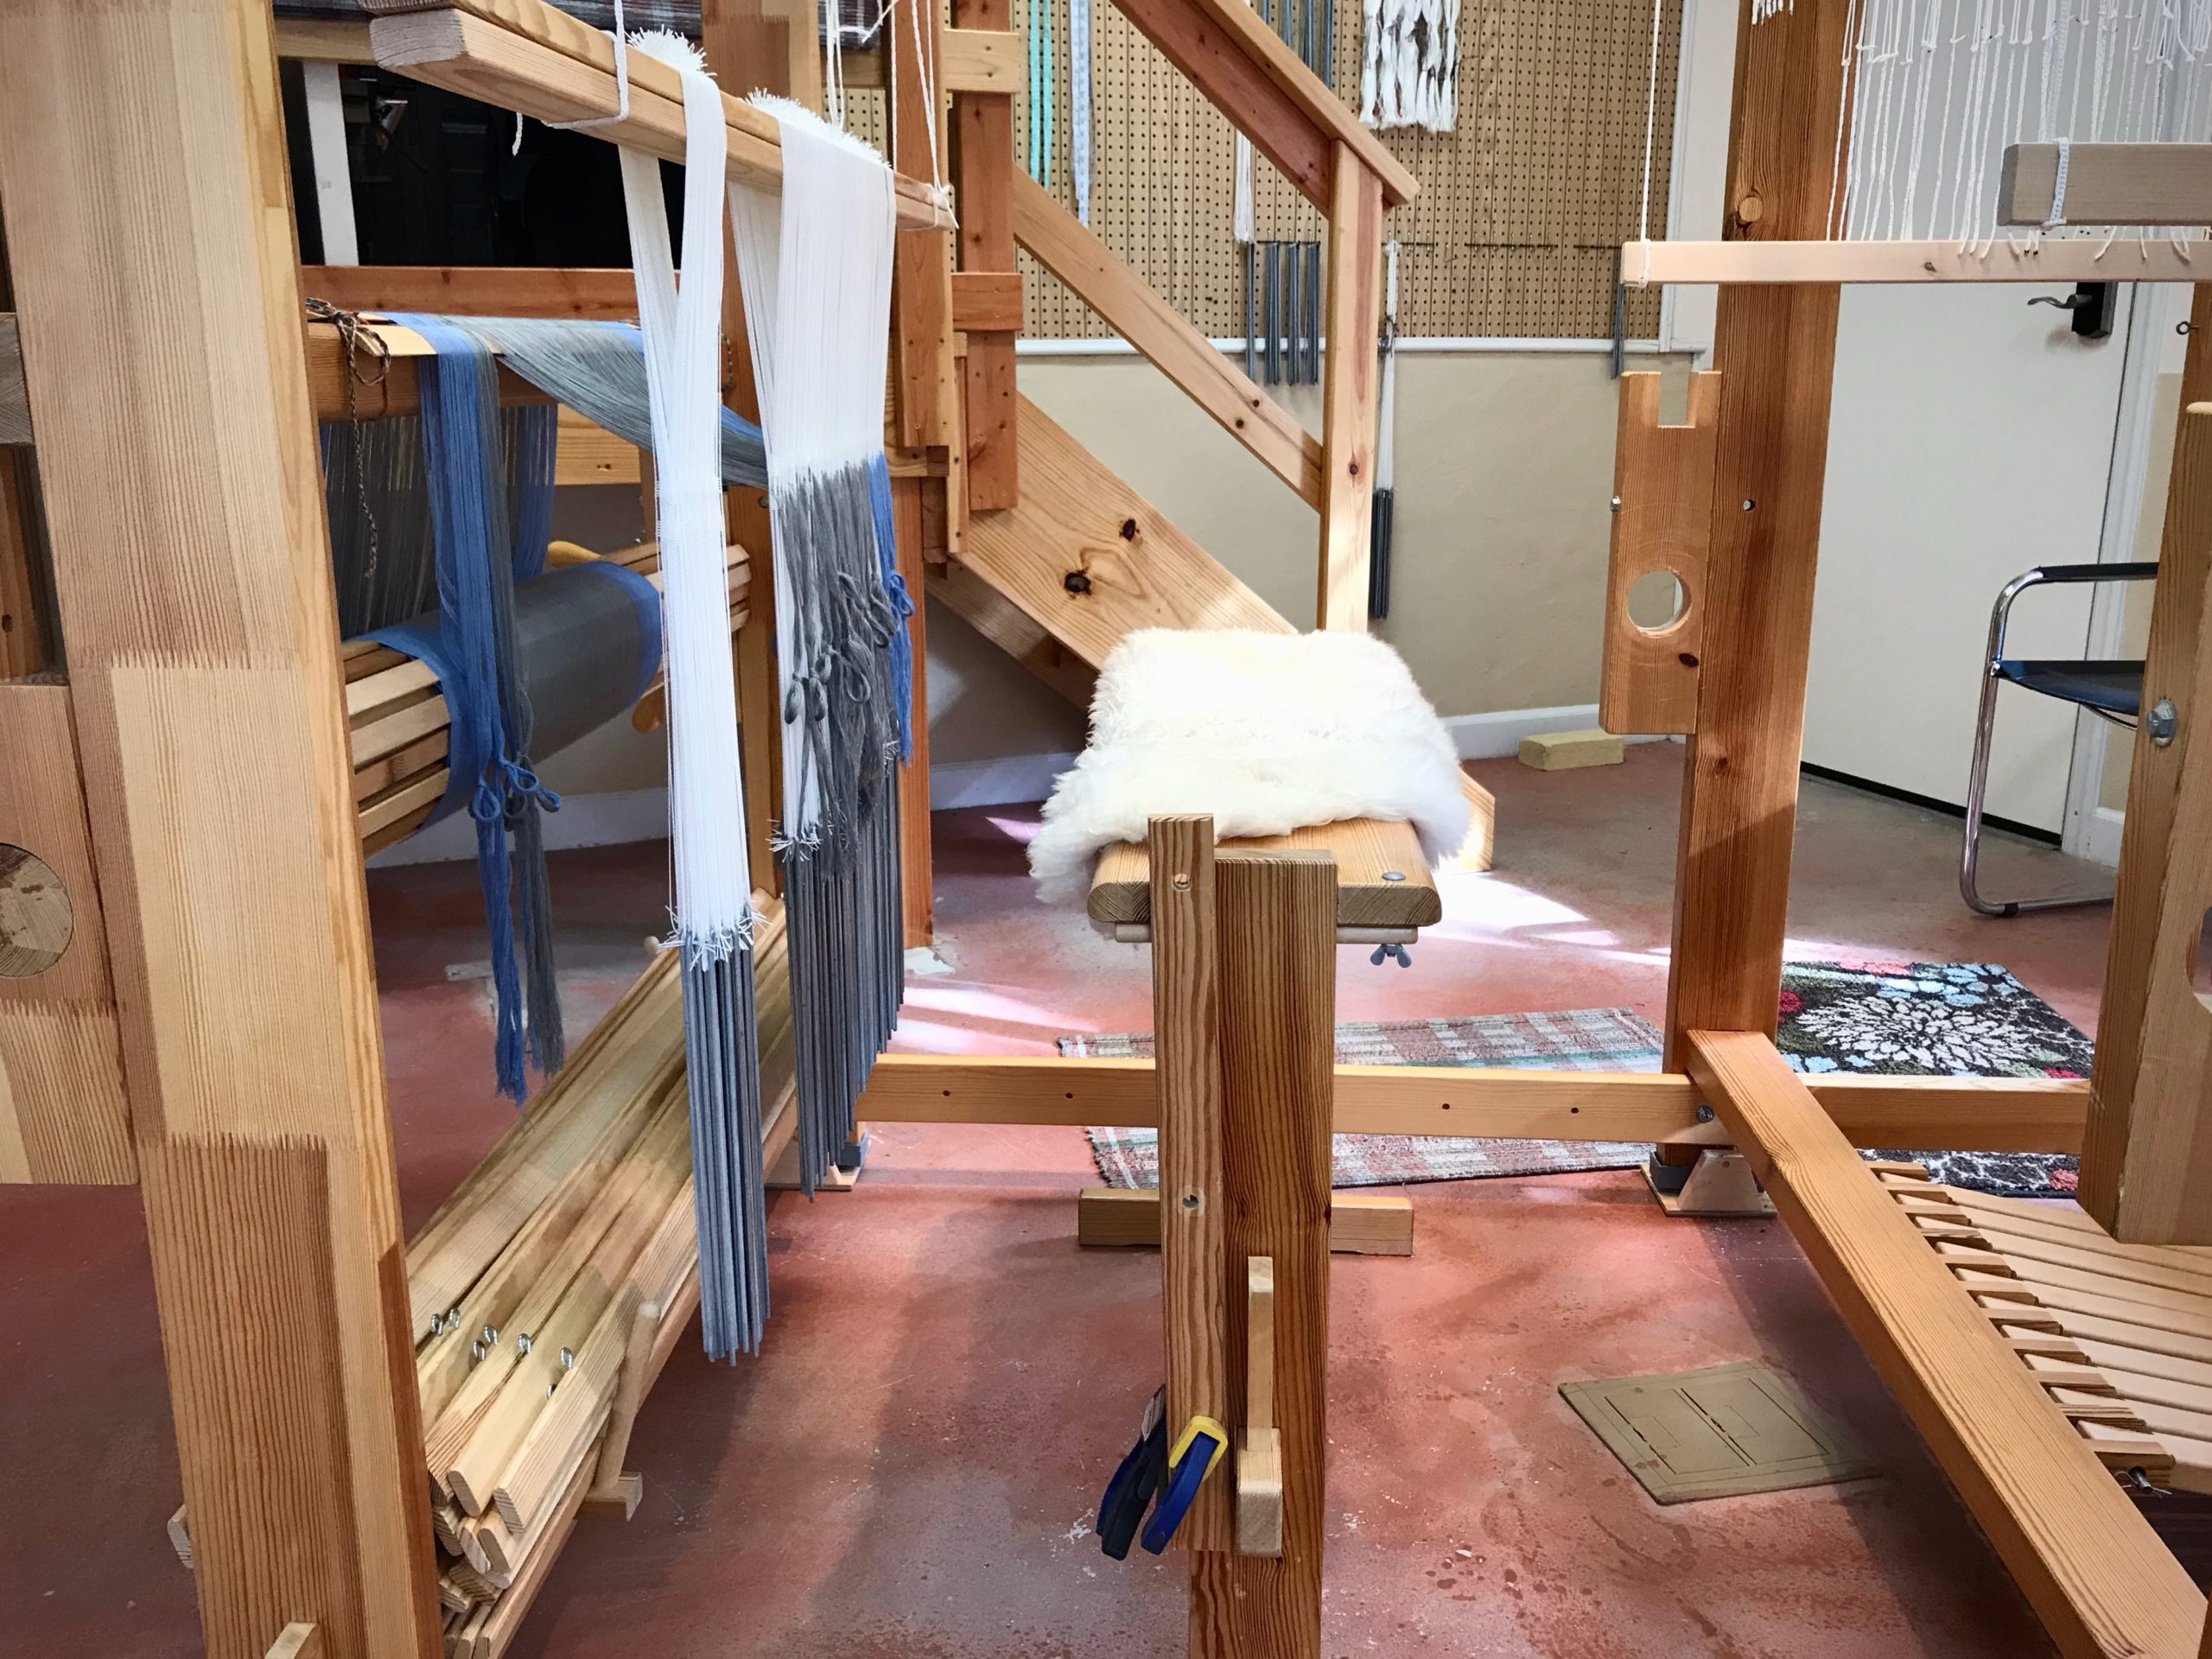
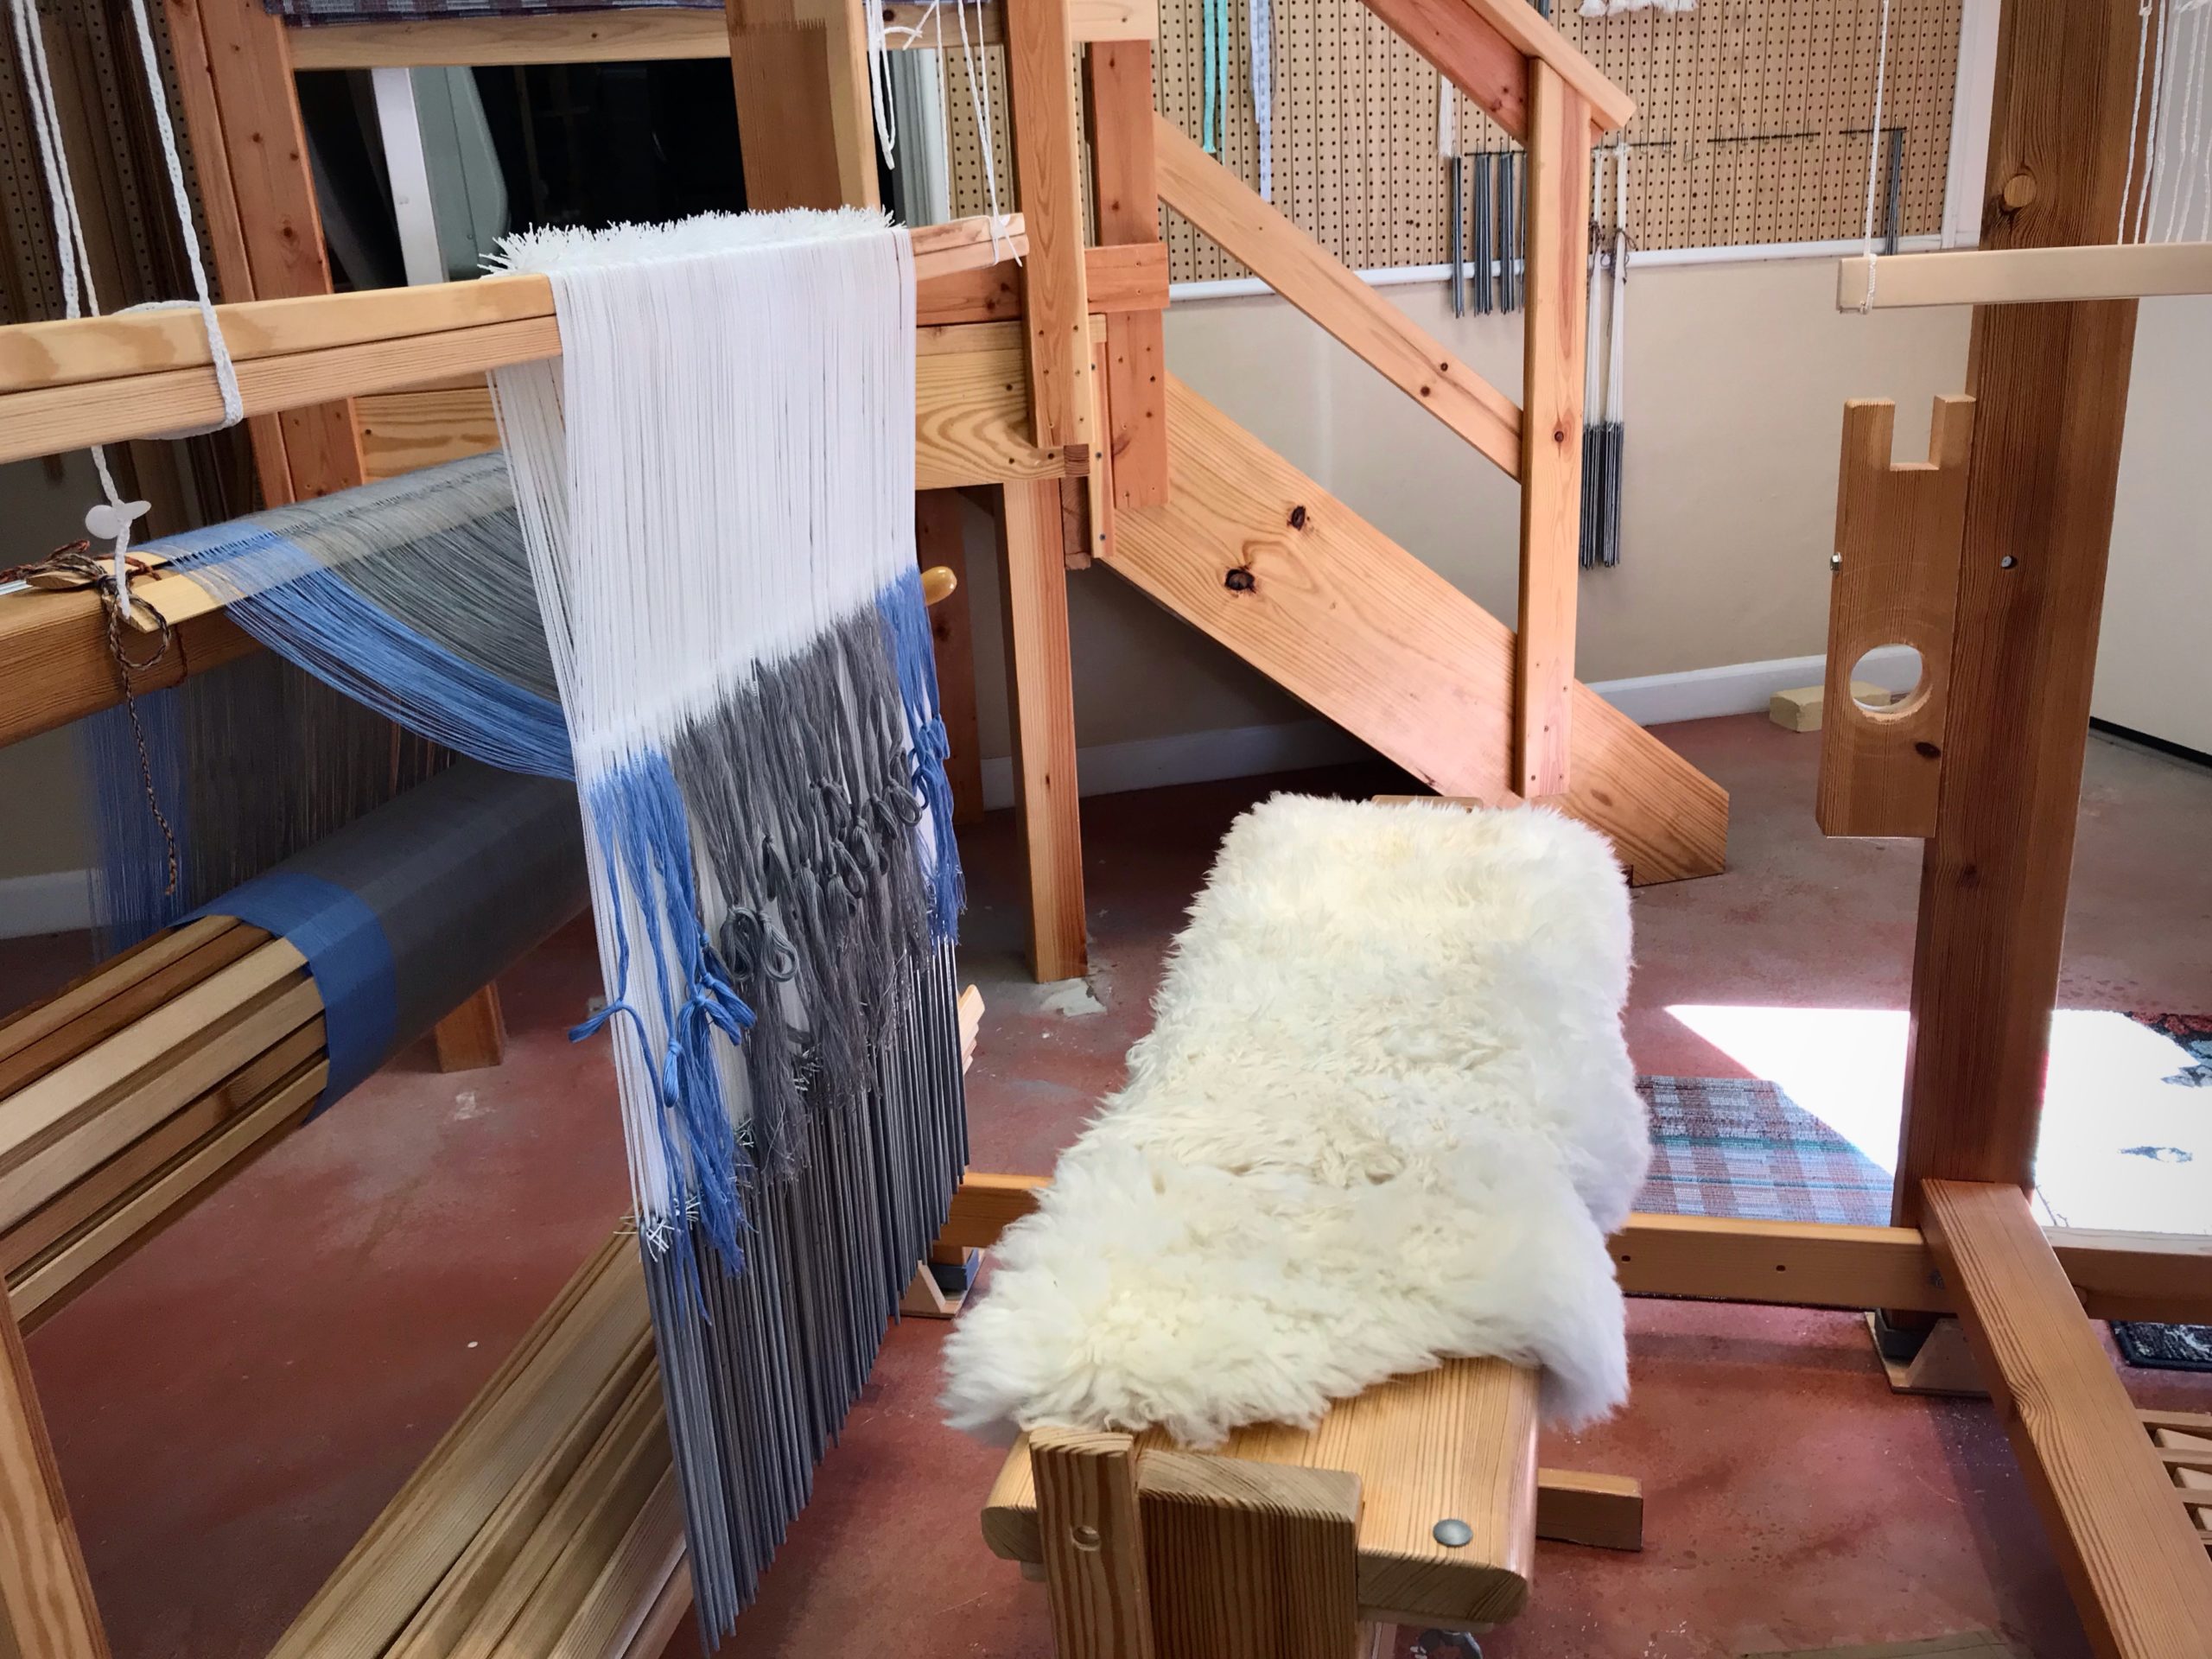
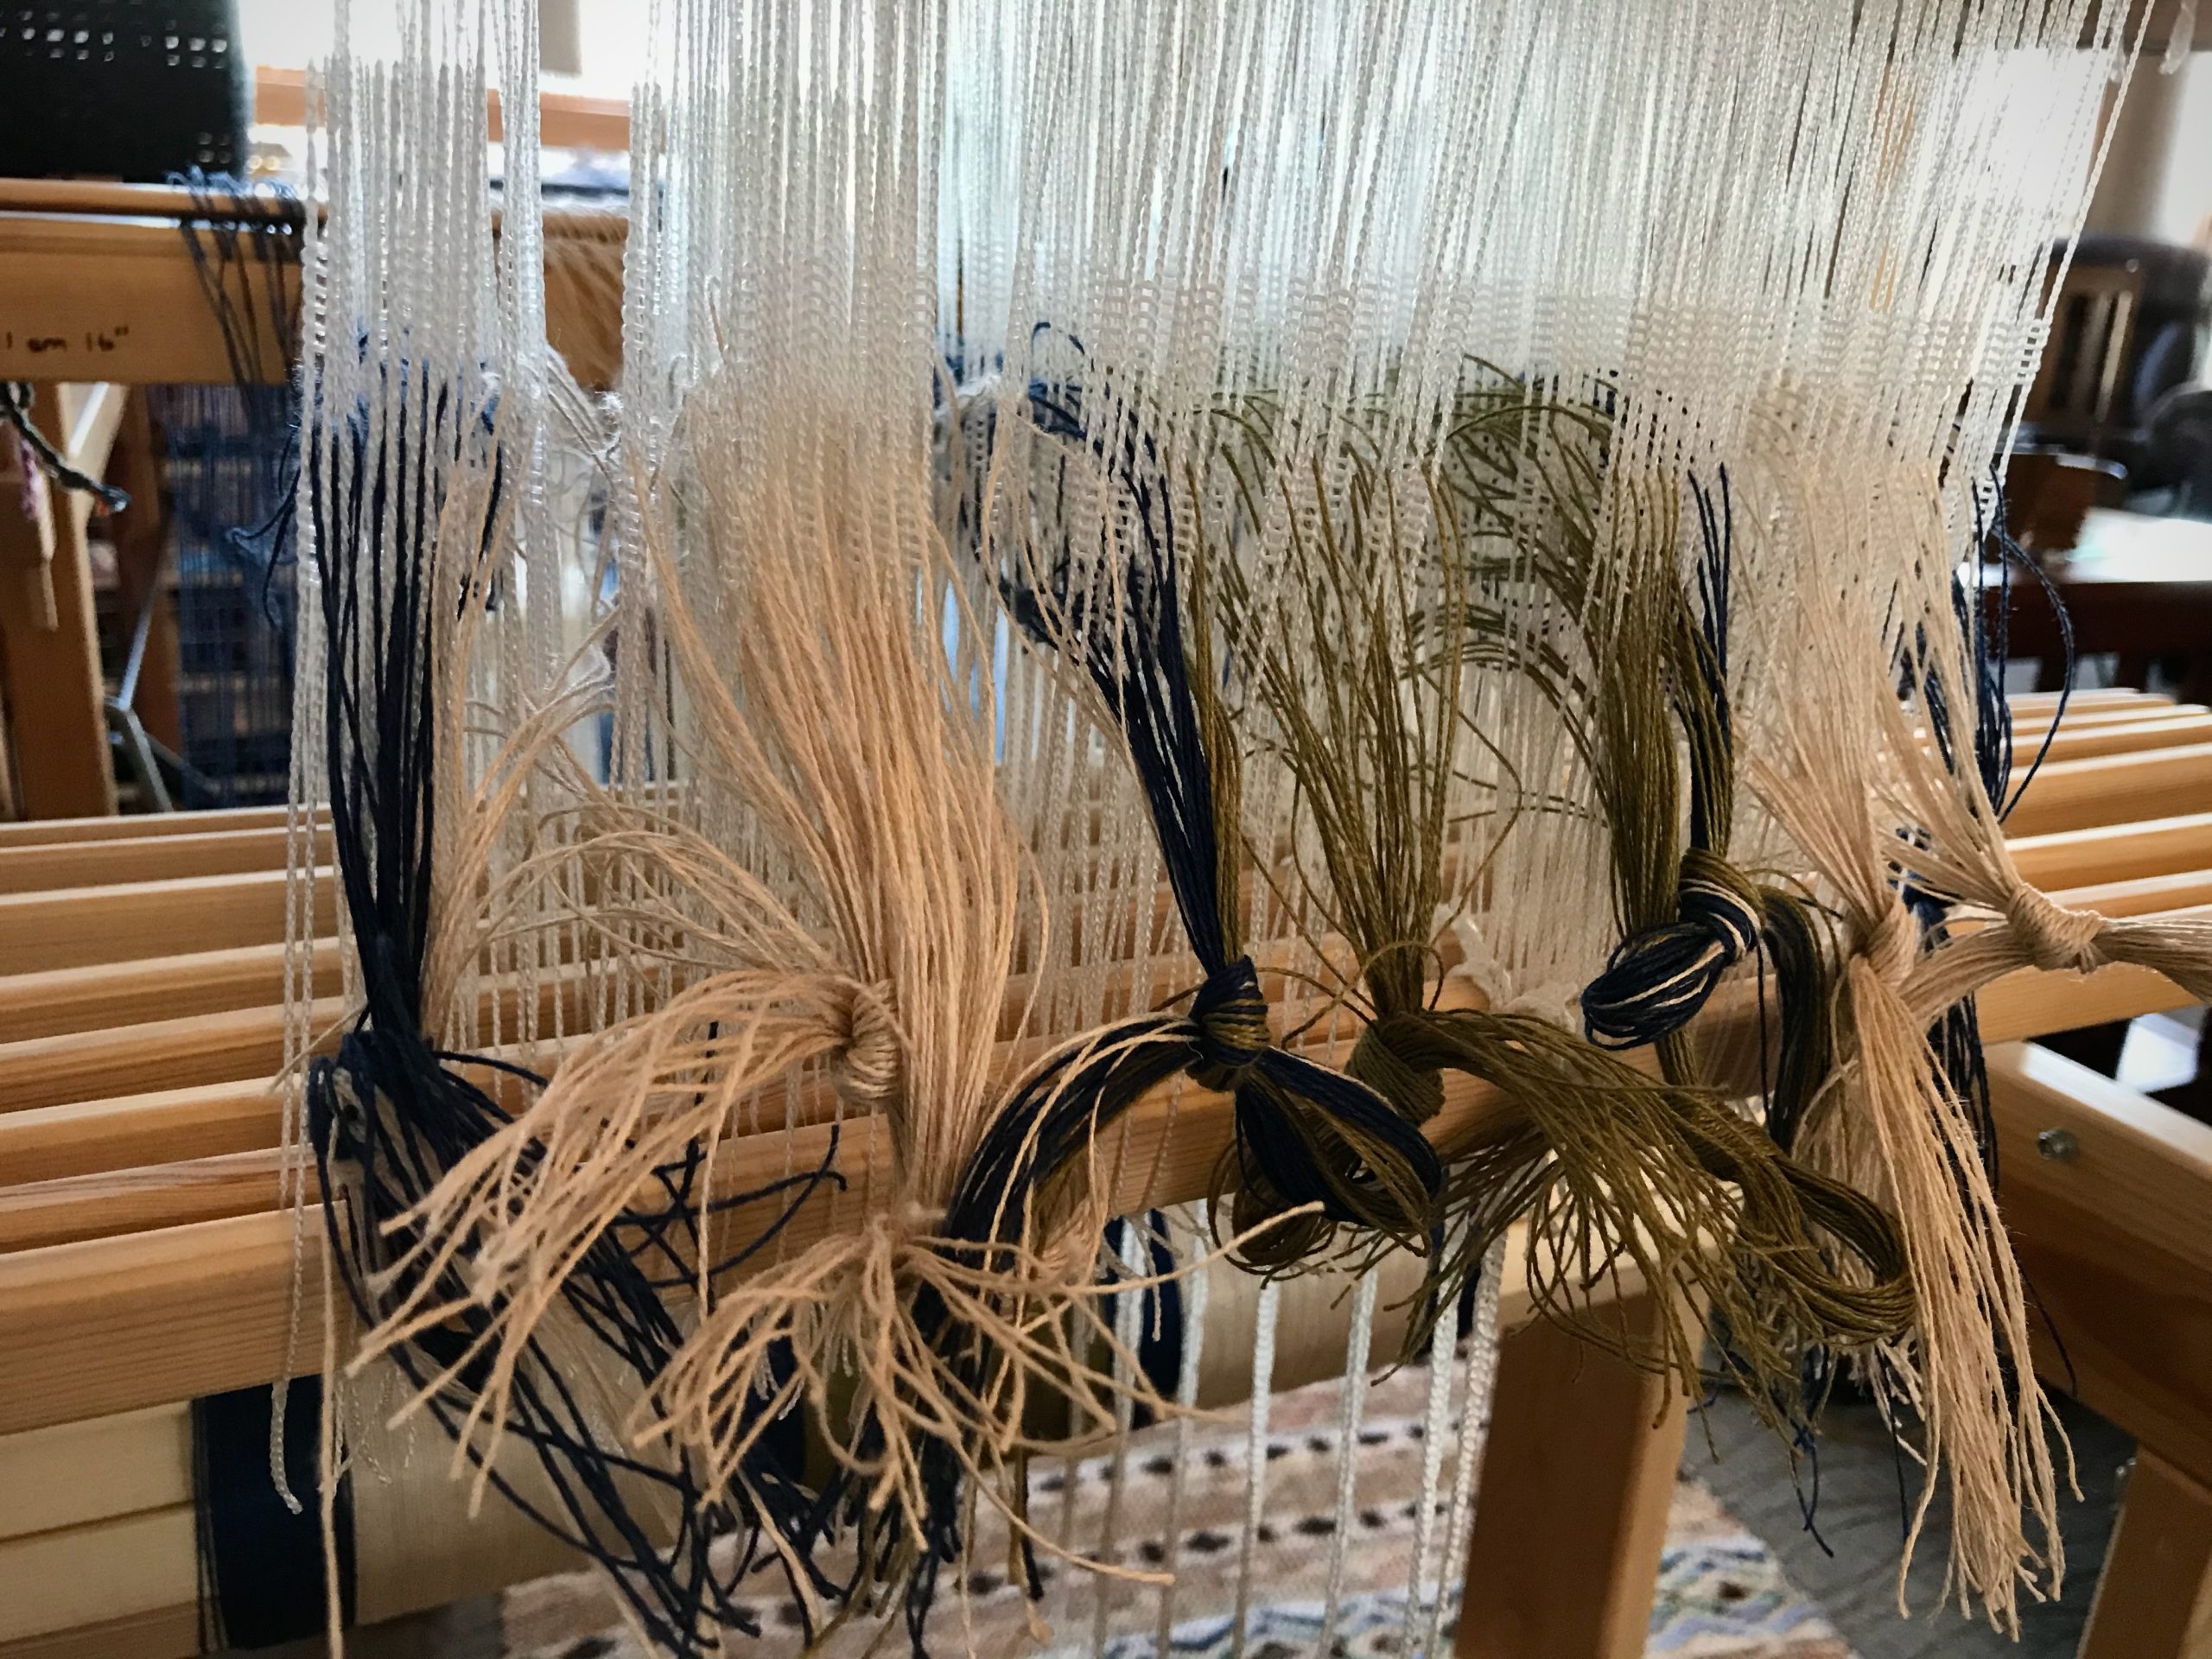
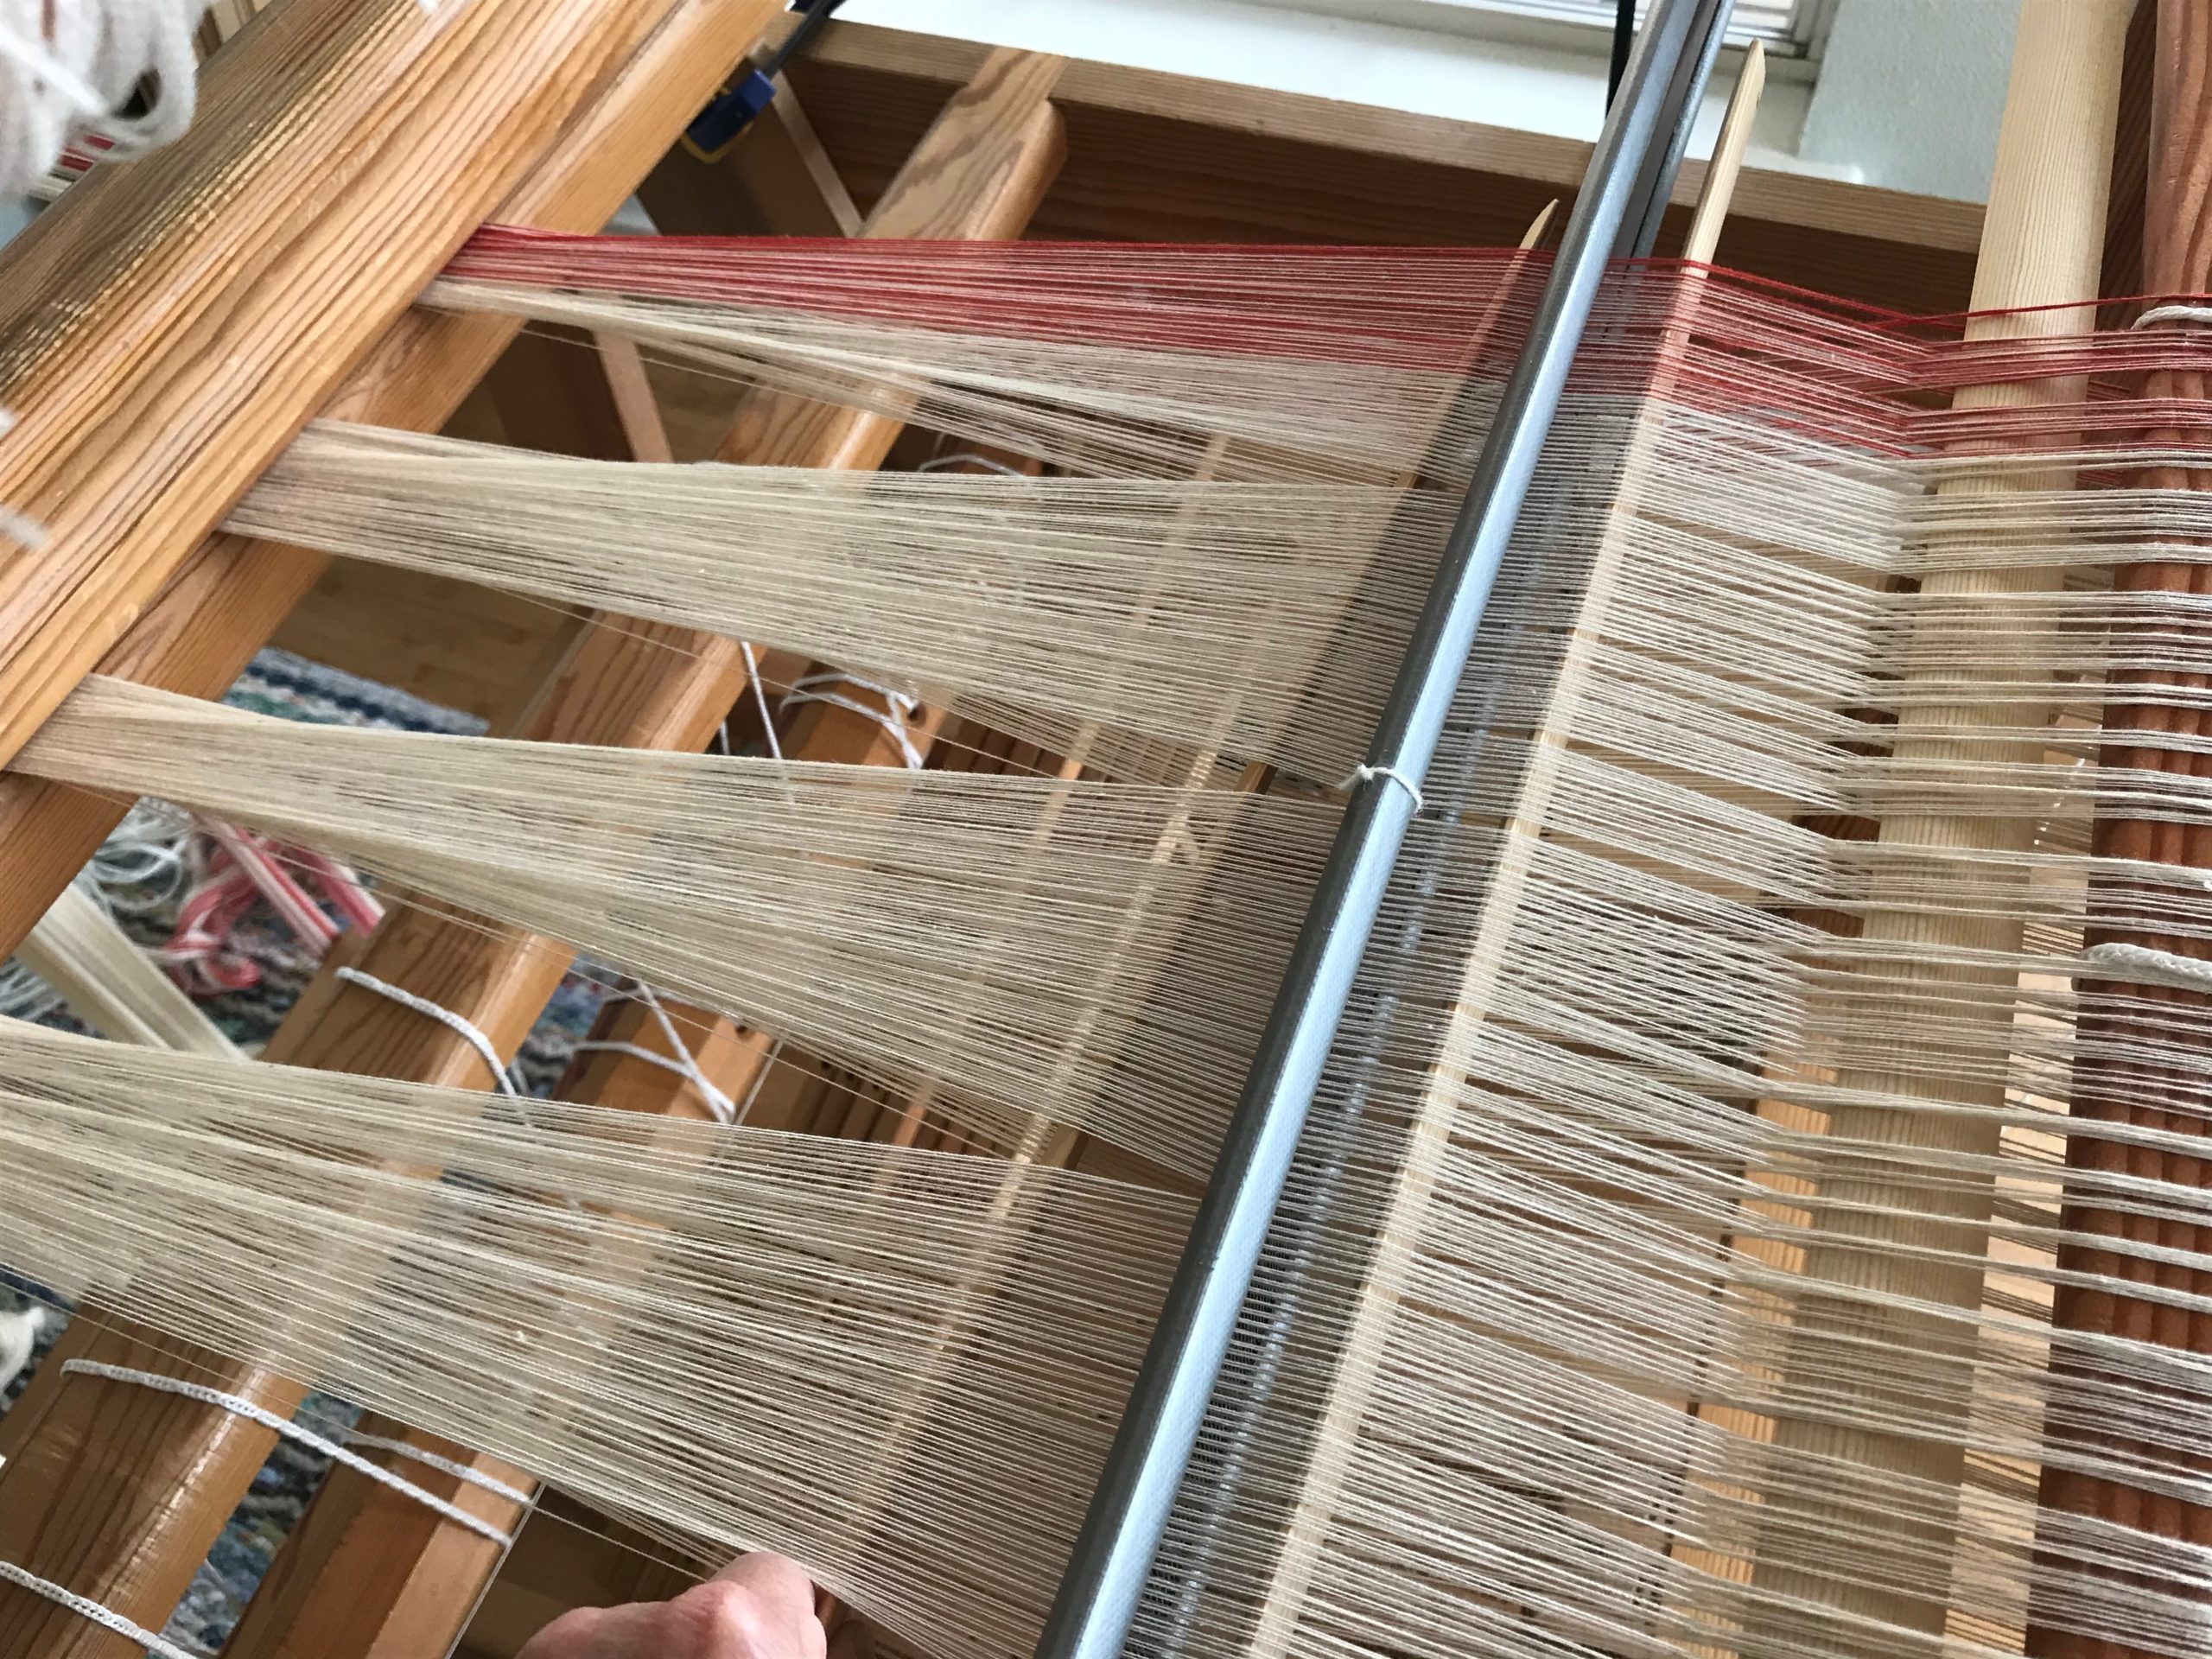
Next up, I will thread long-eye heddles on six ground shafts. A few more start-up operations after that, and then we will see this big ol’ boat raise its sails and leave the shore for another exhilarating adventure in weaving!

May you enjoy the preliminaries for every new start.

Happy weaving,
Karen

Tried and True: Linen

Take a short stroll through our home and you will see and touch linen in all its superb versatility. Linen warp and weft speaks of elegance. Yet, this natural fiber is right at home with ordinary daily living. Linen, oh, how it sings!

I am thrilled to be dressing the Julia now with 16/2 linen on eight shafts. We will have another linen highlight to grace our home—a table runner for our dining room table.

Bockens 16/2 line linen for a handwoven runner.
It is a happy day when new tubes of Bockens 16/2 line linen arrive at the door.
Making a linen warp.
Winding two threads together at a time on the warping reel.
8-shaft Julia and linen warp.
Dividing the warp into three bouts makes it easier to spread and beam the warp with even tension across the warp.
Glimakra Julia 8-shafts. Glorious linen!
Golden bleached linen is a gorgeous backdrop for the olive center section and contrasting midnight blue borders.

Is there anything more vibrant than the sheen of linen saturated with color? And, have you noticed that plain unbleached linen is anything but plain? Linen fills both ends of the spectrum—glowing exuberant color and natural wrinkled humility. Linen, oh, how it sings! There’s always room for more music in the home.

May your home be filled with everyday elegance.

Happy Weaving,
Karen

Process Review: Beaming the Warp

I am making a new ‘cello skirt (a tiered skirt), starting from scratch. The warp is 24/2 cotton, most of it unbleached. Each tier will be edged with a narrow Poppy border. The pattern in the cloth will be a huckaback (huck lace) design, adapted from Little Tablecloth in Huckaback on p.10 in Happy Weaving from VävMagisinet.

Preparing to beam the warp.

Today, I’m beaming the warp. My method includes a combination of things I have learned from these three excellent sources: Learning to Warp Your Loom, by Joanne Hall, Dress Your Loom the Vävstuga Way, by Becky Ashenden, and The Big Book of Weaving, by Laila Lundell.

I’ll let the pictures speak for themselves.

Using warping trapeze to beam the warp.
Transferring the lease sticks.
Transferring lease sticks.
Transferring lease sticks. Beaming.
Beaming a new warp.
Beaming the warp with a trapeze.
Warping trapeze in use.
Using warping slats.
Placing warping slats.
Beaming with warping slats.
Warping trapeze in use.
Warping slats for beaming the warp.
Last step in beaming the warp.
Tie the lease sticks to the back beam.
Lease sticks tied to back beam.
Ready to cut the end-of-warp loops.
Cutting loops at end of the warp.
Cutting the loops at the end of the warp.
Beaming a new warp.
All Counted into Threading Groups
Newly beamed warp. Complete process pictures.
Newly beamed warp ready for threading.
Beaming process in pictures.

Do you have any questions about my beaming process? If you warp back to front, like I do, what do you do differently?

May you find yourself beaming.

Happy Weaving,
Karen

Handwoven Detail Notes

It is the smallest of details that set handwoven towels apart from ordinary towels. With that in mind, I am writing some detail notes in the margin of my project notes. Borders: Towel 1 – sea blue, apple green – contrast thread – ultramarine; Towel 2 – ultramarine, sea blue – contrast thread – maize; Towel 3 – apple green, ultramarine – contrast thread – sea blue; Towel 4 – dusty, sea blue – contrast thread – apple green.

Cottolin bath towels coming up!
Beaming the cottolin warp for bath towels.
Warp is tied on and leveling string is attached.
Preparing to weave 7-color bath towels.
Seven different colors of wound quills. All seven colors are in each towel, warp and weft. The weft sequence varies with each towel.
Boat shuttles vie for the starting line, like in a regatta.
One boat shuttle for each color. This reminds me of sailing with my dad and my sisters. Boat captains would vie for the regatta starting line, shouting, “Starboard!”

There are seven colors of cottolin in the warp, and the same seven colors in the weft, just like the accompanying hand towels I completed in April. (See Process Review: Jubilation Hand Towels.) Narrow warp-wise and weft-wise stripes of broken twill produce interesting patterns in the cloth. The deep borders I am planning on the bath towels give me a chance to add simple details that only a handweaver can do.

White ribbon shows where to place details on the handwoven bath towel.
After weaving a short section to test the threading, I start the first towel. A red line, as always, denotes the cutting/starting line. I placed marks on the white ribbon at the left that show me where to place details along the length of the towel.
Simple handwoven details make all the difference.
Single ultramarine thread is laid in with the sea blue to outline a change of treadling. A simple handwoven detail.

Have you ever identified a master craftsman by the specific details that show up in the hand-crafted article? In the same way, we can recognize our Maker’s hand through the magnificence of the details we see in each other. You are his masterpiece. Hand-written instructions guide the details. When we come to the Lord as our Maker and Redeemer, we find his hand-written details woven into our hearts, something only the Grand Weaver can do.

May you attend to the details.

Happy Weaving,
Karen

I Forgot to Tie the Cross

It’s not a good feeling when you discover that you did not tie the lease cross on one of the warp bouts. When you wind a warp, it’s the cross that keeps the ends in proper order. I carefully tie both sides of the cross before removing the bout from the warping reel. This time, though, I inadvertently tied only part of the cross, which is, essentially, not tying the cross at all.

Realigning threads at the cross.
Working from right to left, I separate one pair of ends at a time to try to recreate the proper order of the warp ends. After every few strands, I insert the lease sticks and tie the cross. Fortunately, the bout on the left was tied properly before it left the warping reel.
Ready to pre-sley the reed and beam the warp.

I make my best guess to recreate the thread order, inserting the lease sticks little by little. And as I beam the warp there are several twists that threaten the whole process, getting hung up at the reed. But I coax the warp through at a snail’s pace, not forcing anything.

New wool warp being beamed.
I beam the warp and stop frequently to check the yarn for twists on the front side of the reed. No combing my fingers through the warp, which could lead to uneven warp tension. I lightly flick any twist-ups in front of the reed with my fingers to help keep them moving.

Eventually, the warp is successfully beamed. What a relief!

New warp ready for threading.
Now that the warp is beamed, there is no more concern about misaligned ends. The ends are now in the proper order as they appear on the lease sticks.

Things that matter become misaligned when we or those around us mess up. Some of the ensuing twists and conflicts spell disaster. It’s not a good feeling. We start to imagine that we’re alone and forgotten. You are not forgotten. Baby Jesus of the real Christmas story grew to manhood for a clear purpose. He came in pursuit of you and me, gently calling, never forcing, ever loving us, to put our threads back in order again through his cross. What a relief!

May your threads be put in order.

Good Christmas,
Karen