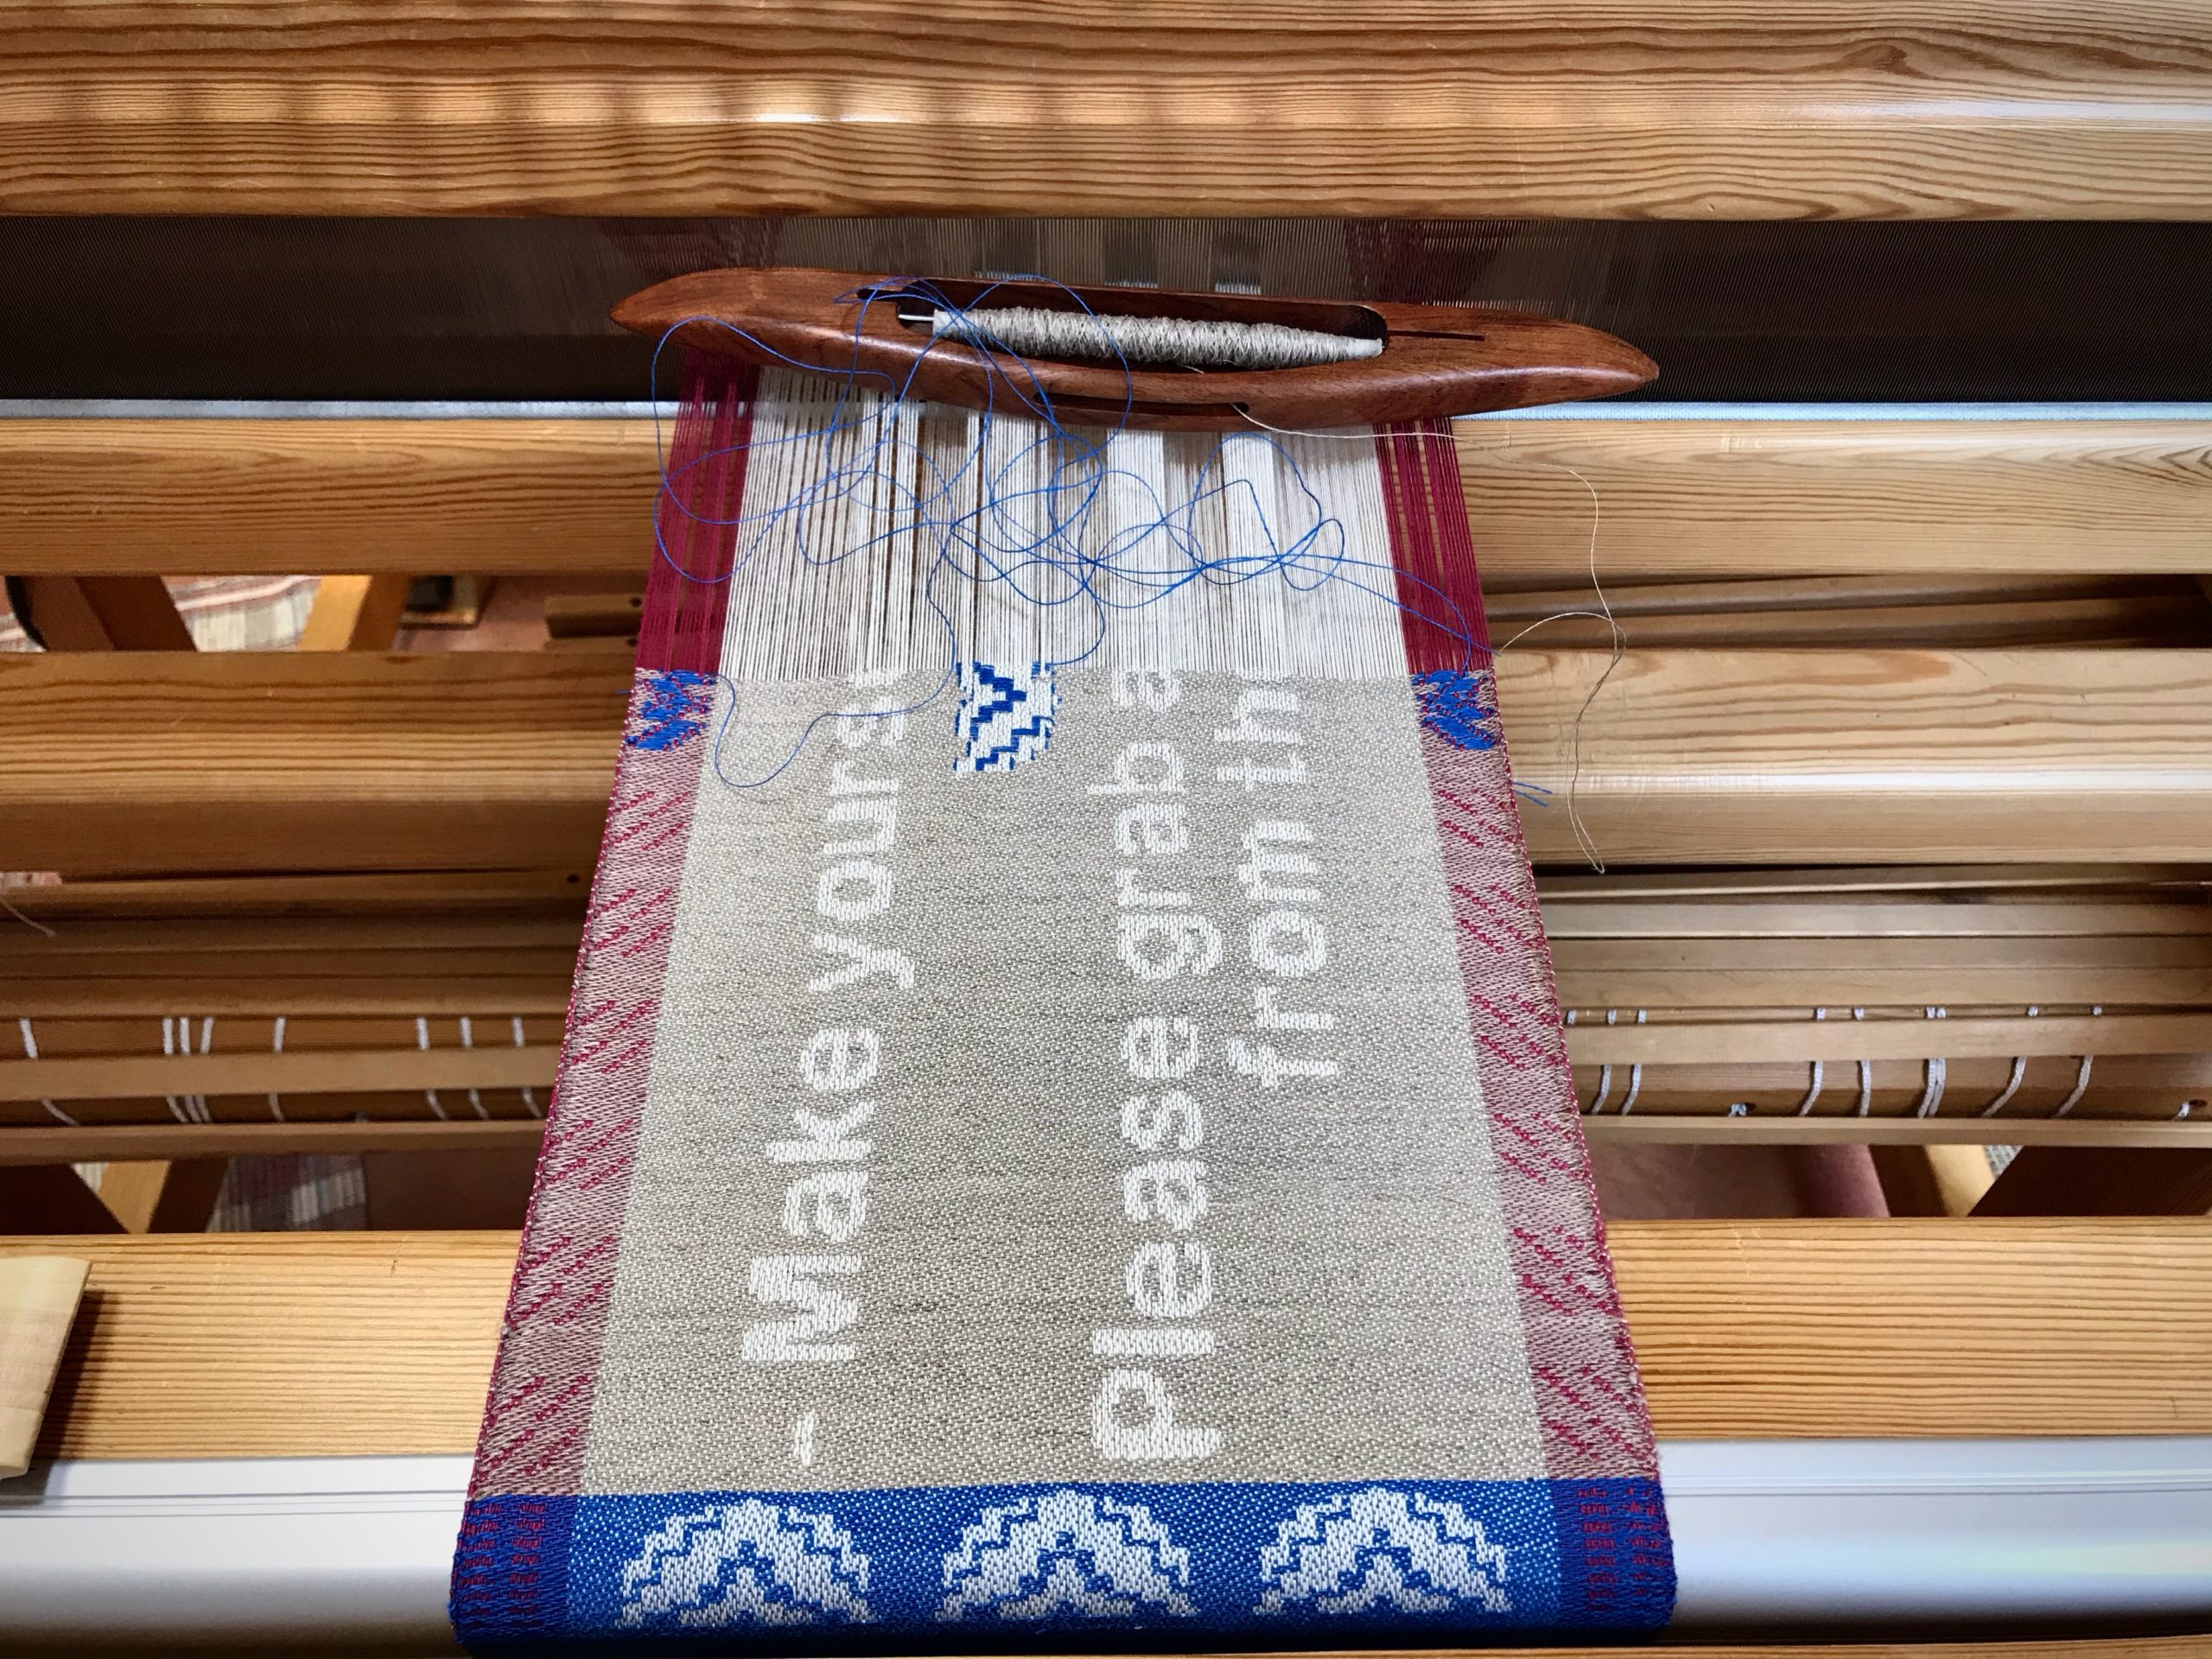
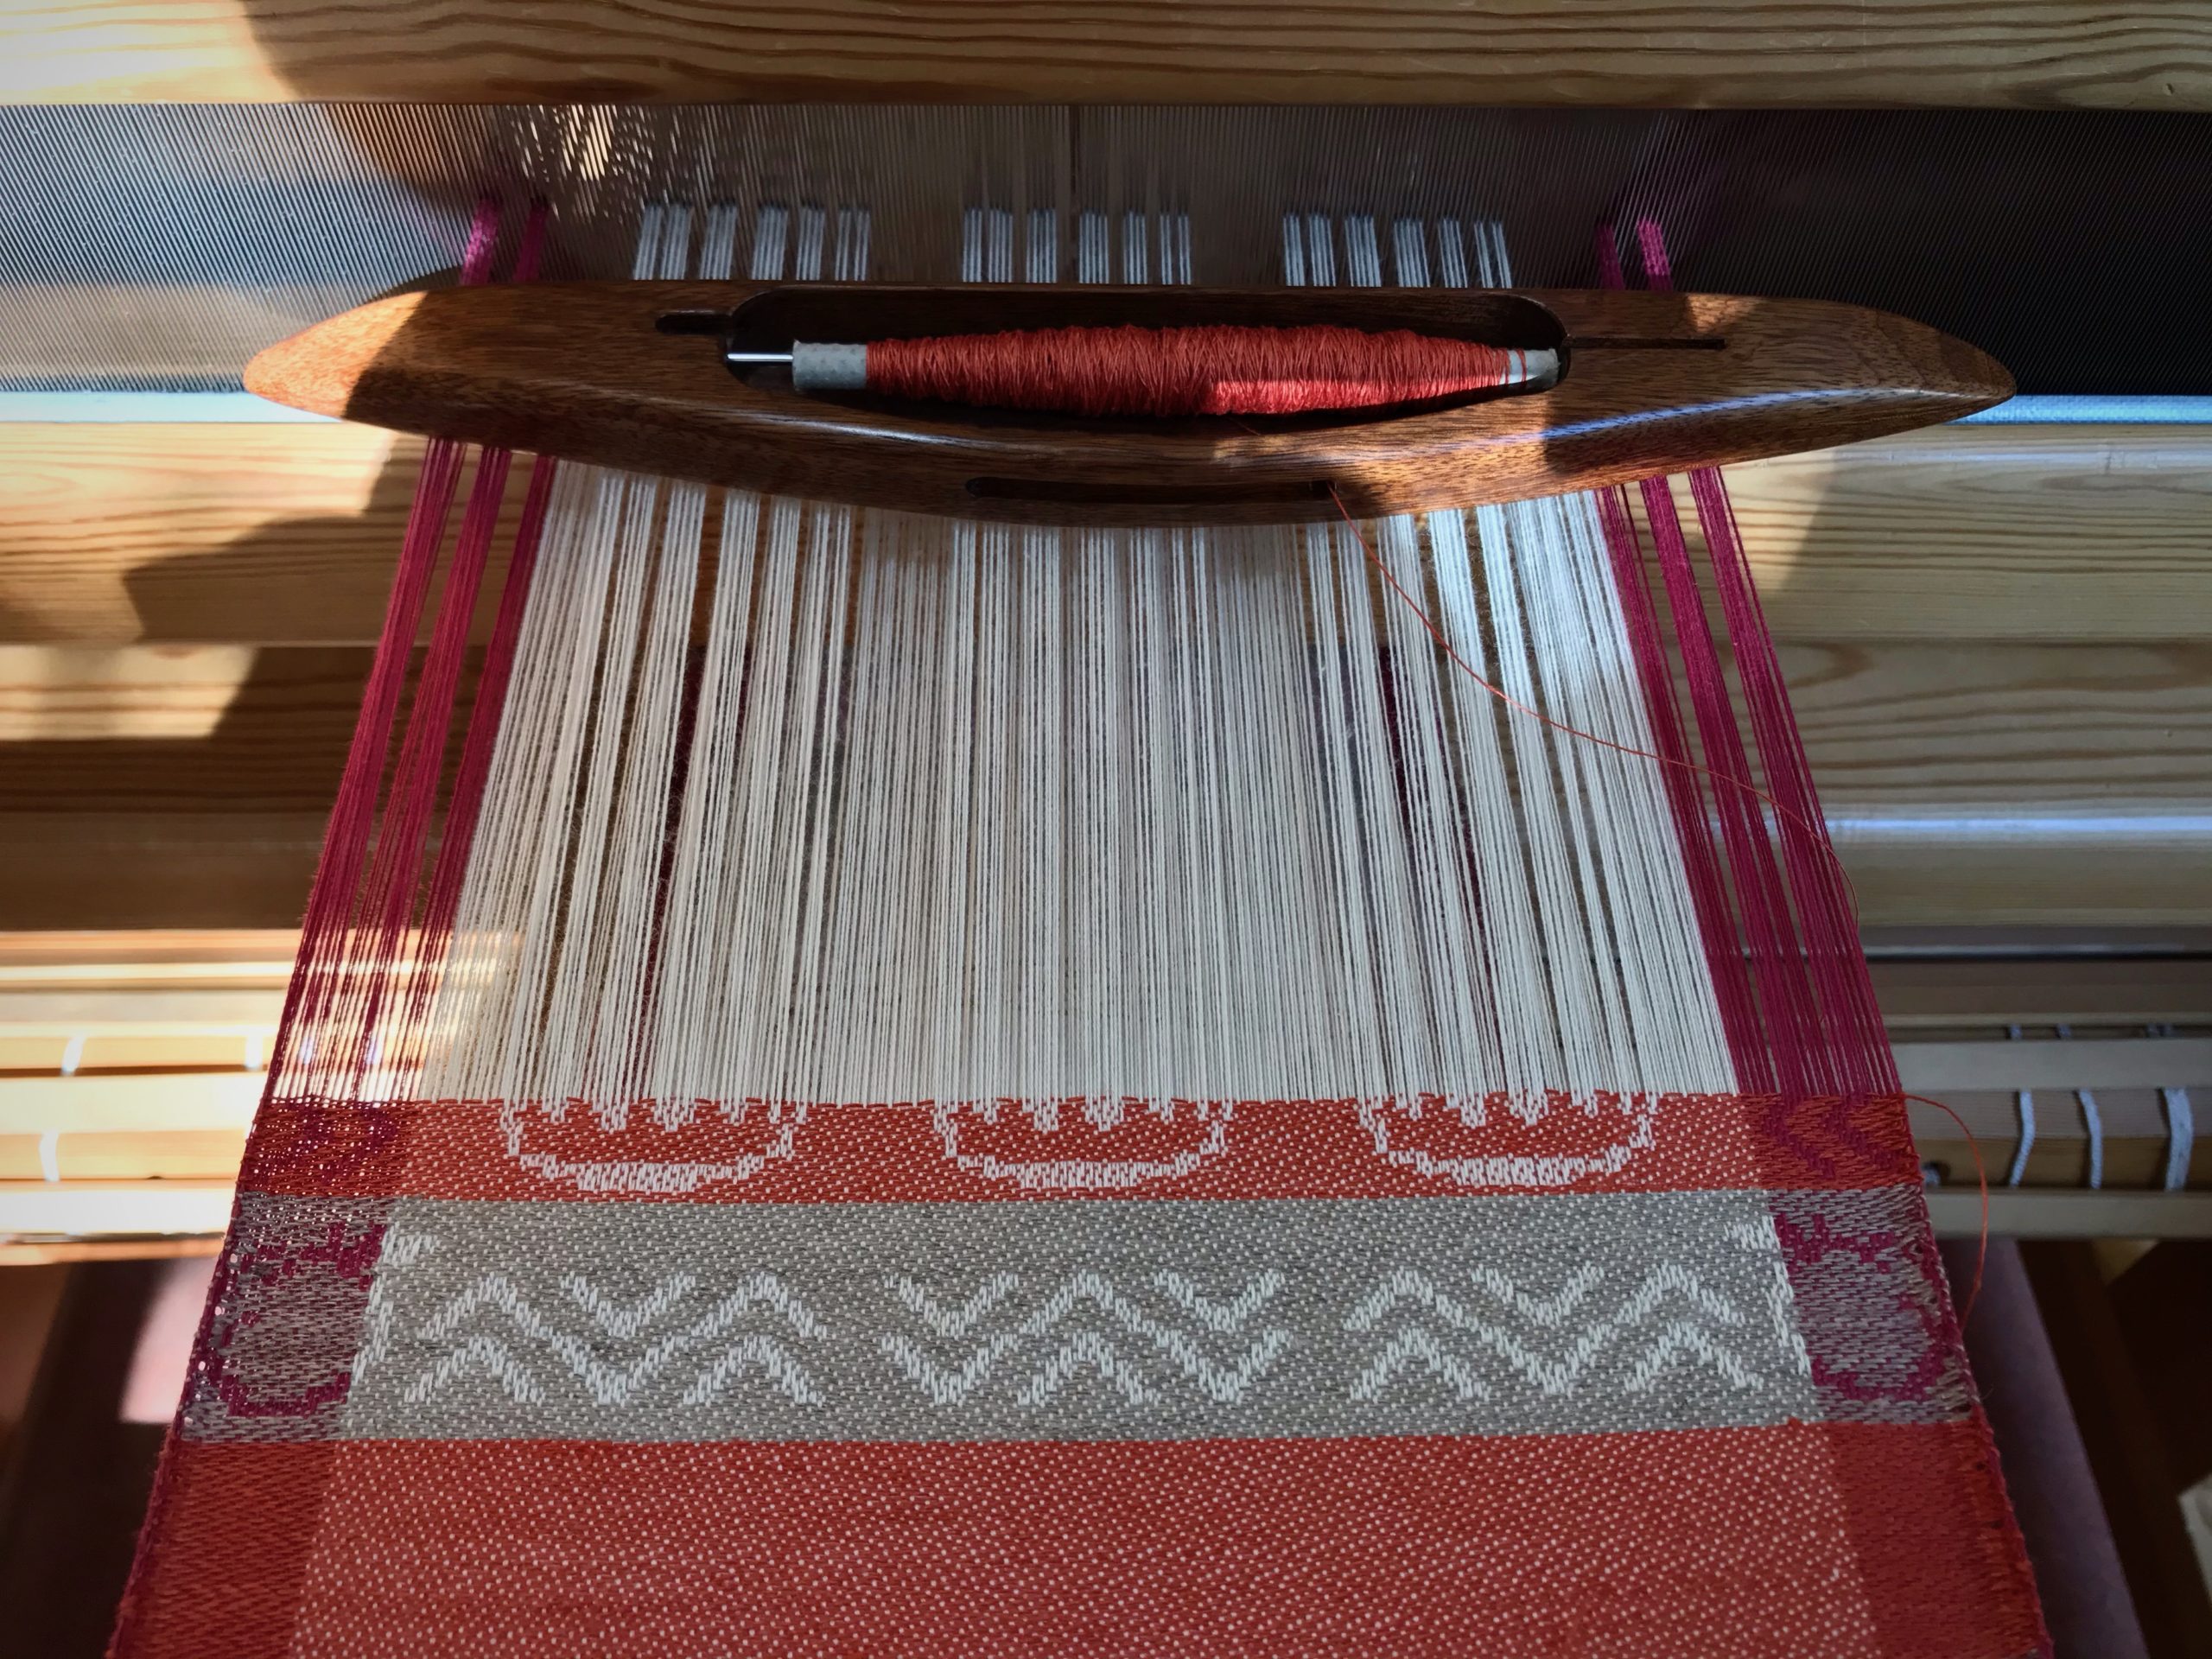
I intended to weave this part quickly, and move on. But when I noticed I could see the end of the warp I changed my mind. I’m going to do something that will slow me down—inlay. It’s something I’ve been thinking about doing. Now’s my chance before I run out of warp.
One handle is drawn for the simple side borders design. The beginning blue border motifs were also woven using draw handles, connected to pattern shafts.
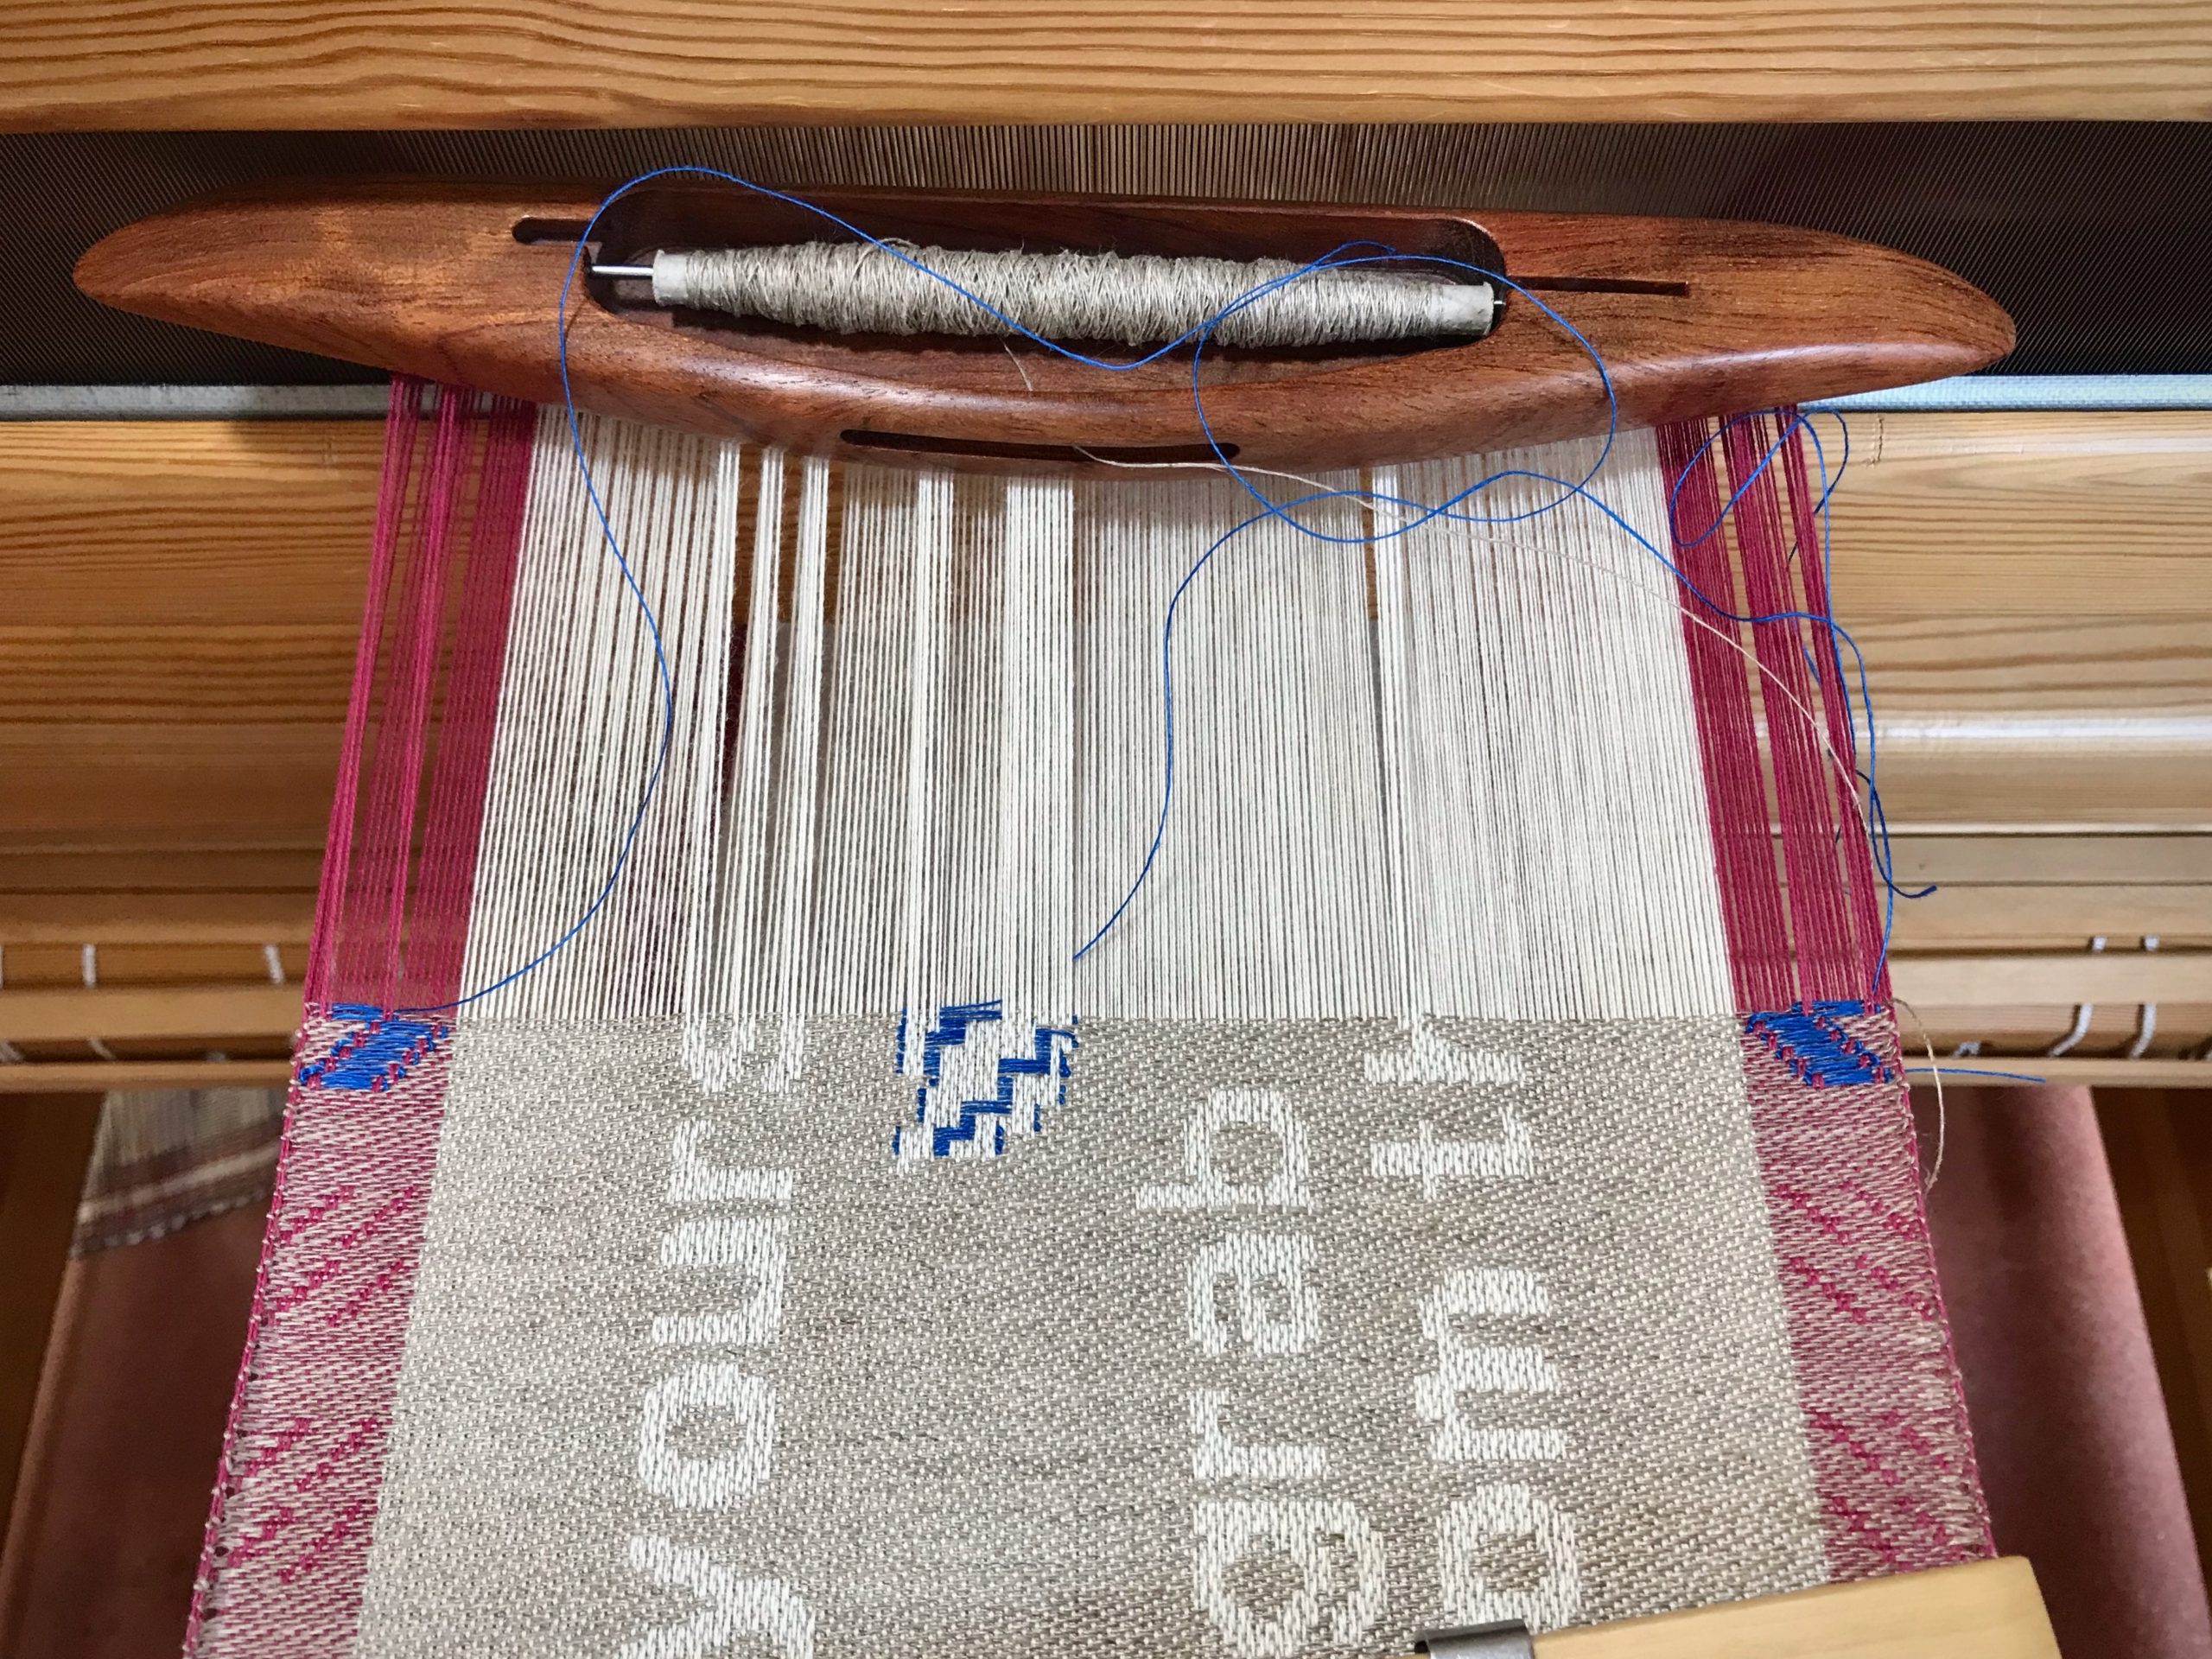
I am adding blue 16/1 linen inlay to the center motif. The same color blue is laid in at the center motif on the side borders, as well.
Blue linen inlay leaves floats between the raised pattern threads.
Draw the pull-handles for the borders – draw single unit cords – throw the shuttle – lay in the blue thread – throw the shuttle and lay in the blue thread two more times. Move up one row on the chart, and follow the same sequence as before. Ever so carefully, learning as I go. Delightfully slow as molasses. Intently paying attention, and thinking about what I would do differently next time.
Draw cord pegs just above the beater create interesting shadows.
Changing your mind changes your direction. When the Lord sees our thoughts turning in his direction, he reveals more and more of himself to us. Like small lines of color added a row at a time, the image becomes more and more distinct. With the warp we have remaining, there is still time to see the Grand Weaver’s image woven in us.
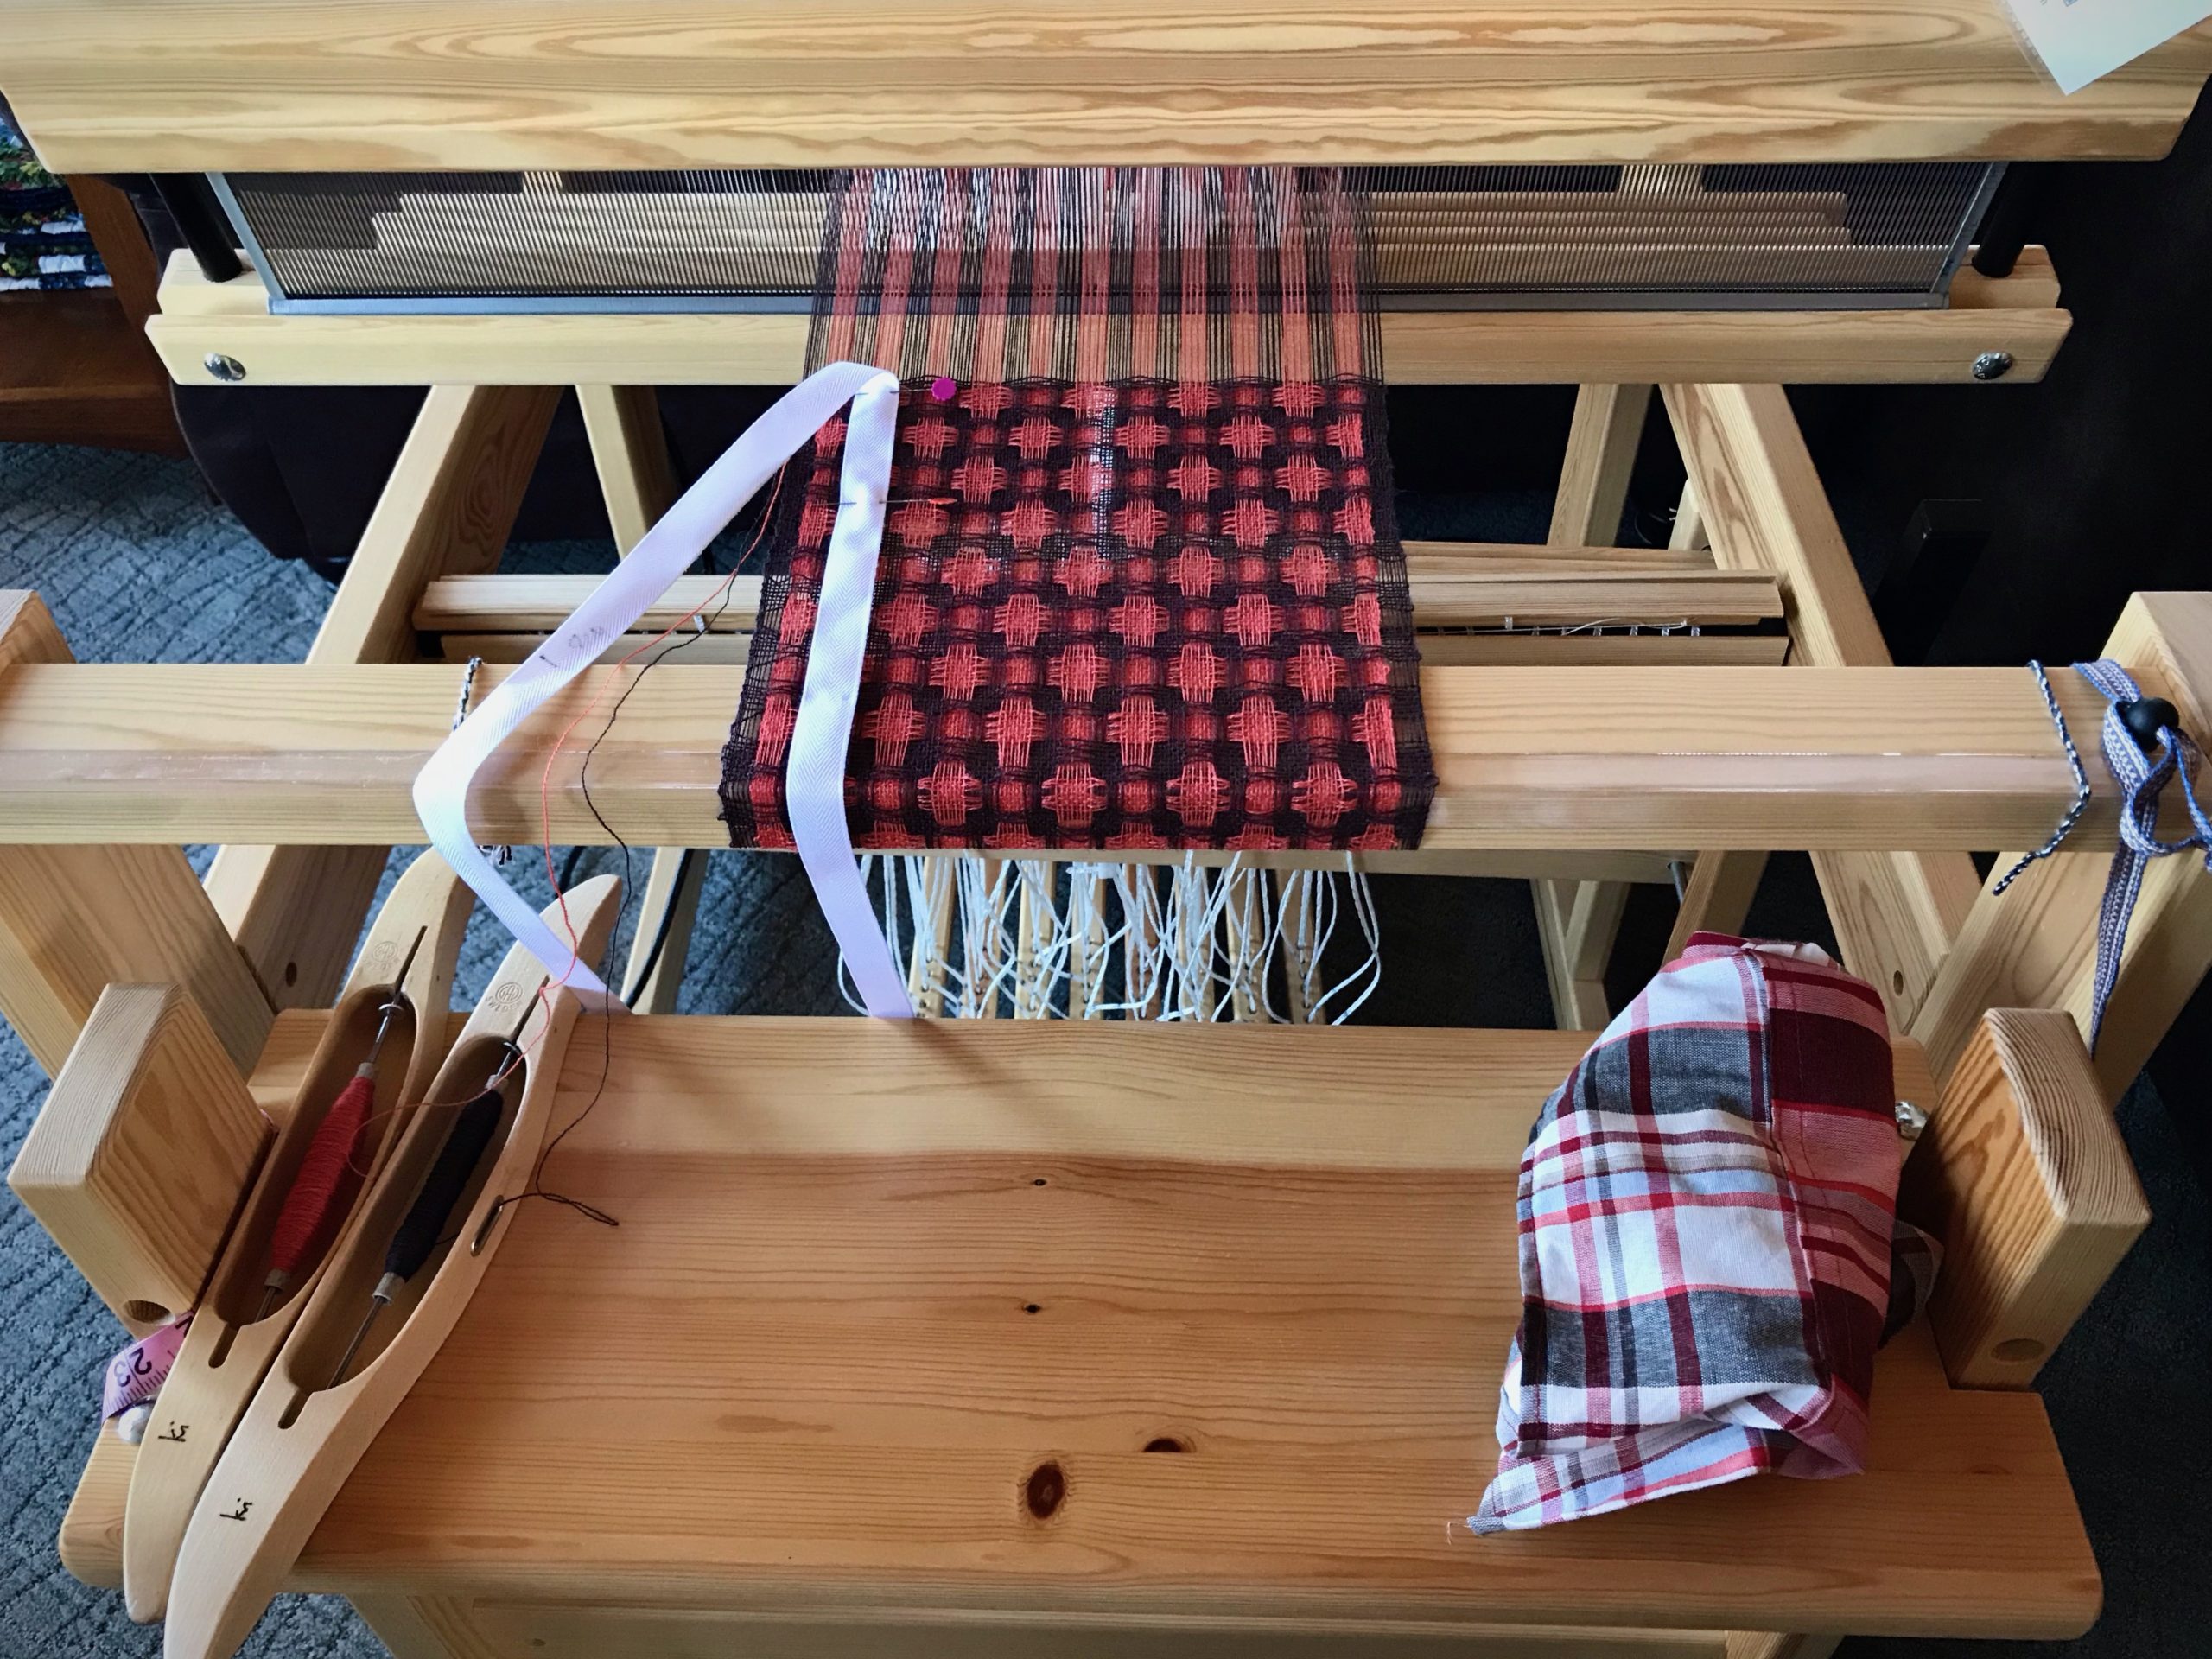
“With so many looms, how do you decide what to weave every day?,” I was asked. The answer lies in my Weaving Rhythm. I have five floor looms. I happily aspire to meet the challenge of keeping all of them active.
Glossary
Weaving Rhythm ~ A pattern created across time, through a regular succession of weaving-related tasks.
Arrange individual tasks to keep each loom consistently moving forward in the weaving continuum.
Weaving Continuum ~ The cycle for each loom that is continually repeated.
When the first few centimeters are woven on a new project, begin planning the next project. When finishing is completed for the current project, wind a new warp and dress the loom for the next project.
First Things First ~ Prioritize daily tasks to maintain the Weaving Rhythm.
Finishing
Dressing
Weaving
Do some finishing work first. Do some loom-dressing tasks next. The reward, then, is sitting at one of the dressed looms and freely weaving for the pleasure of it.
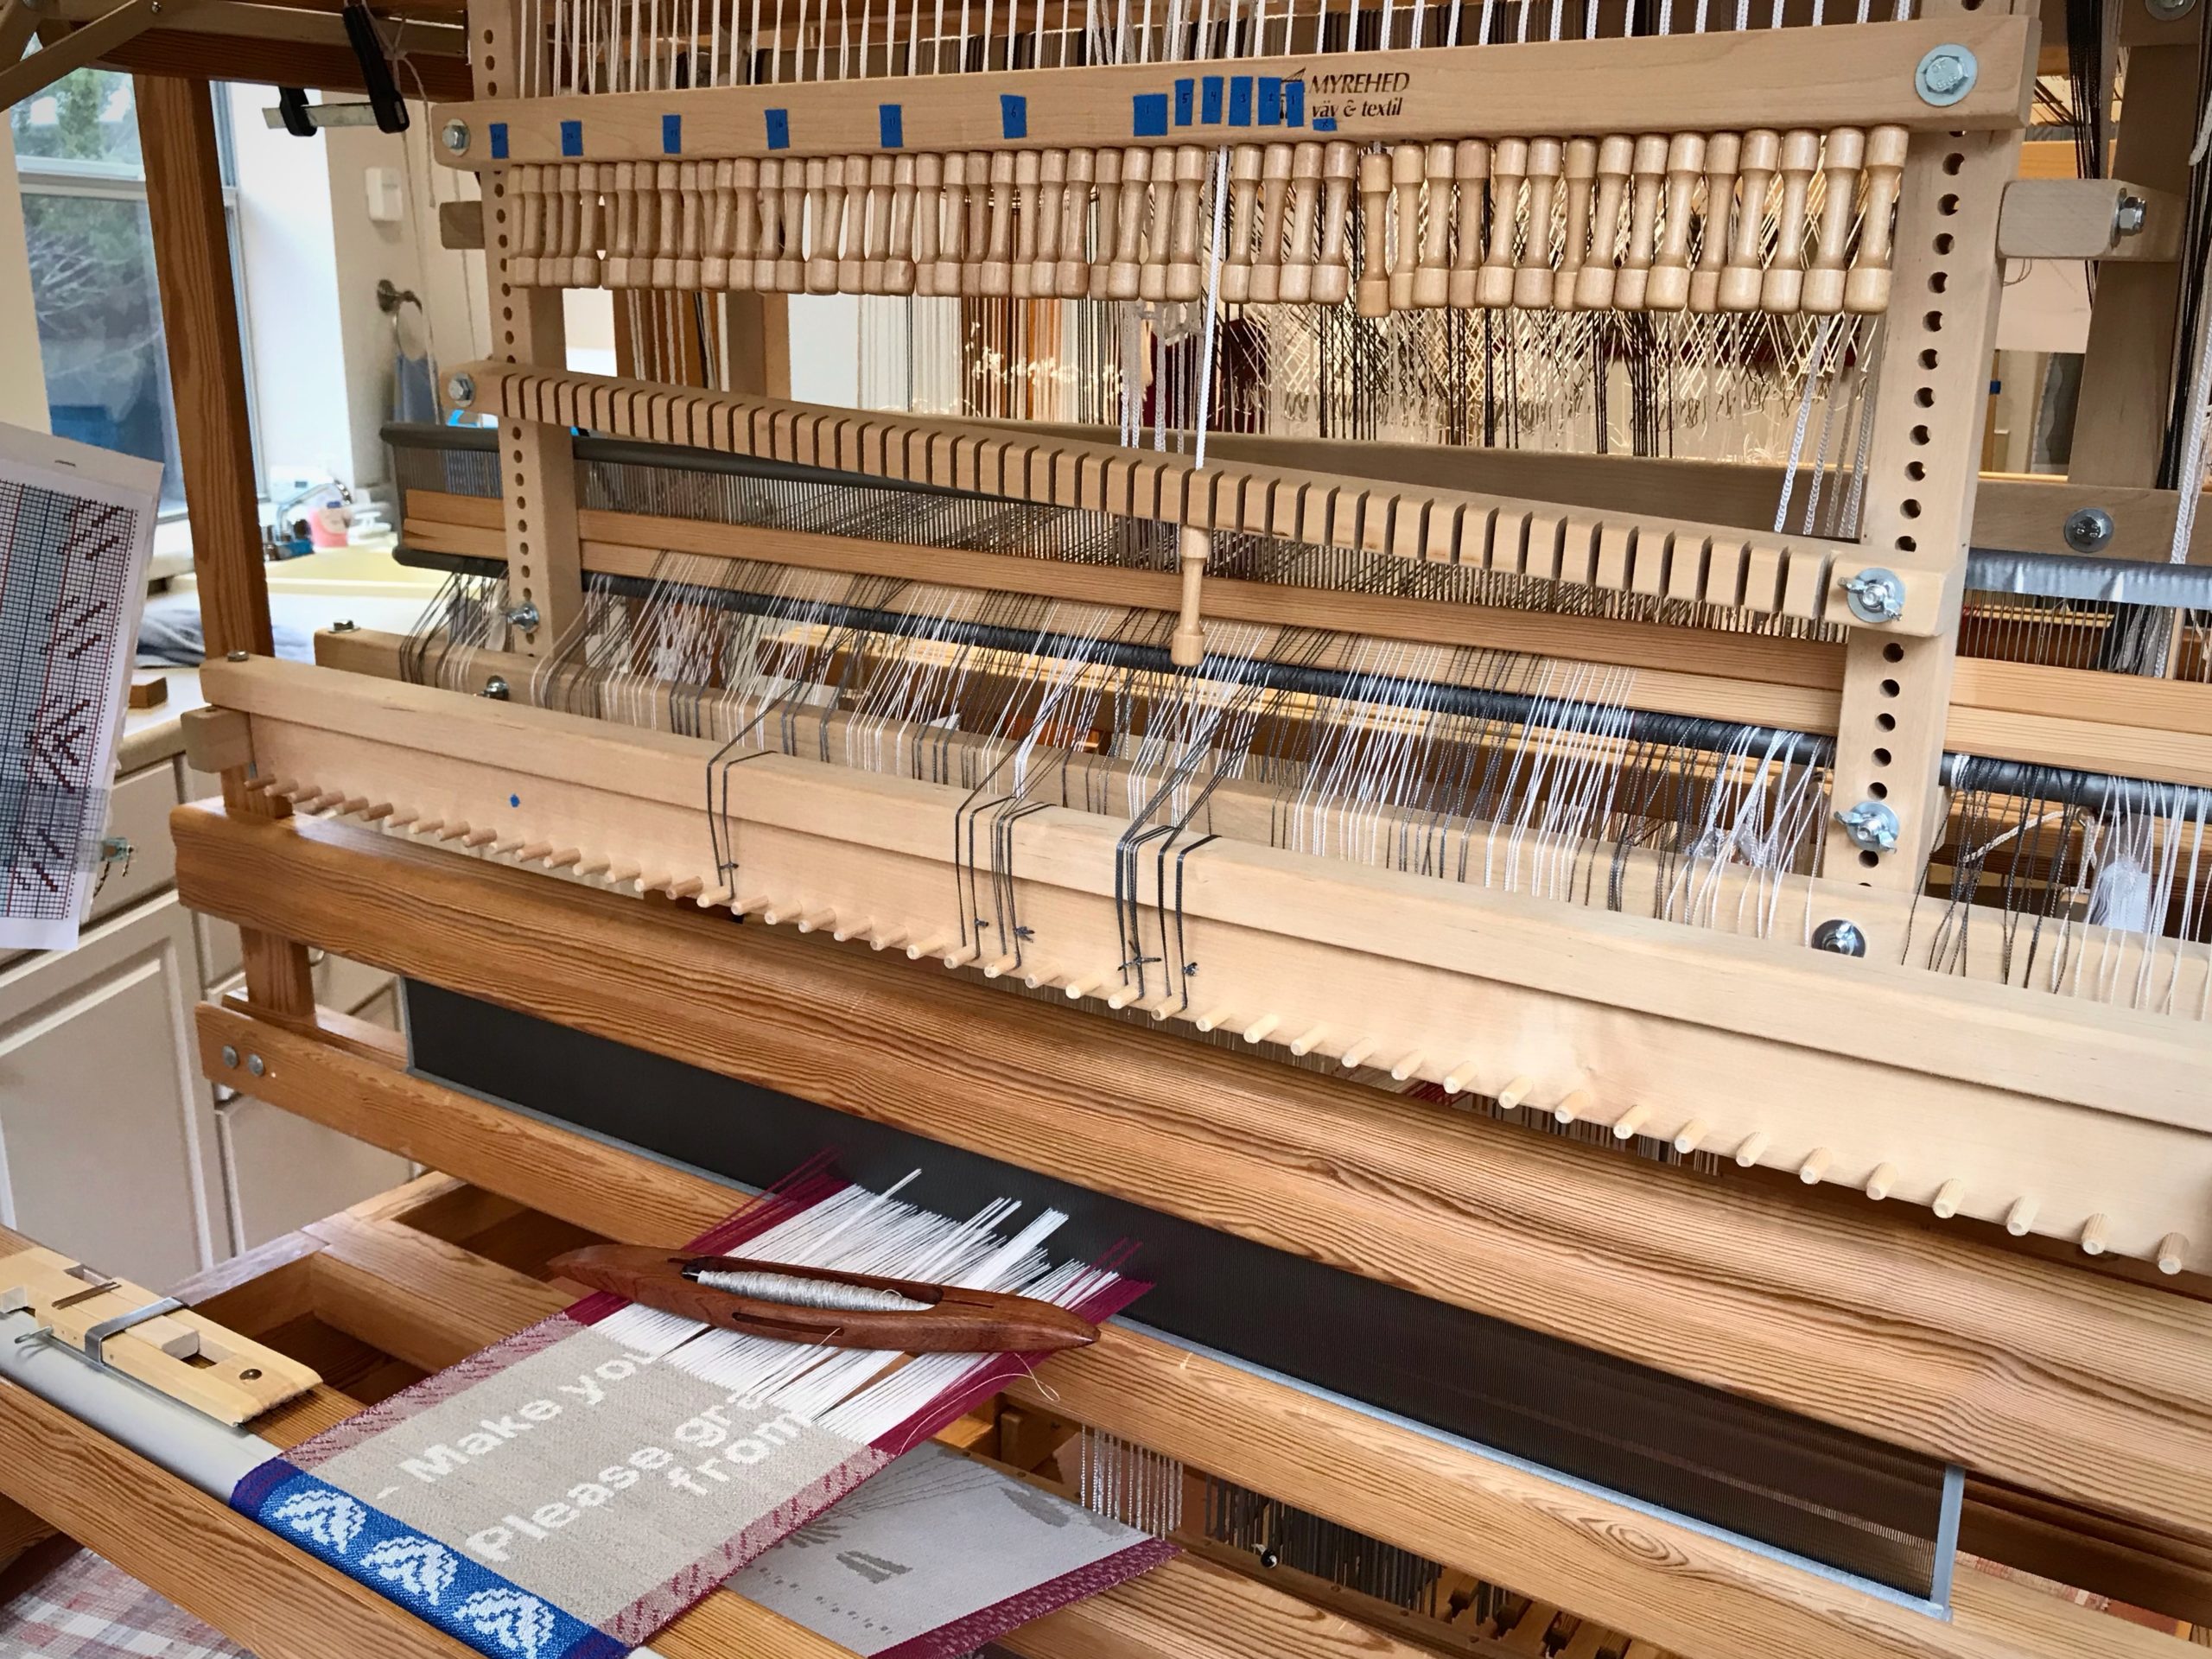
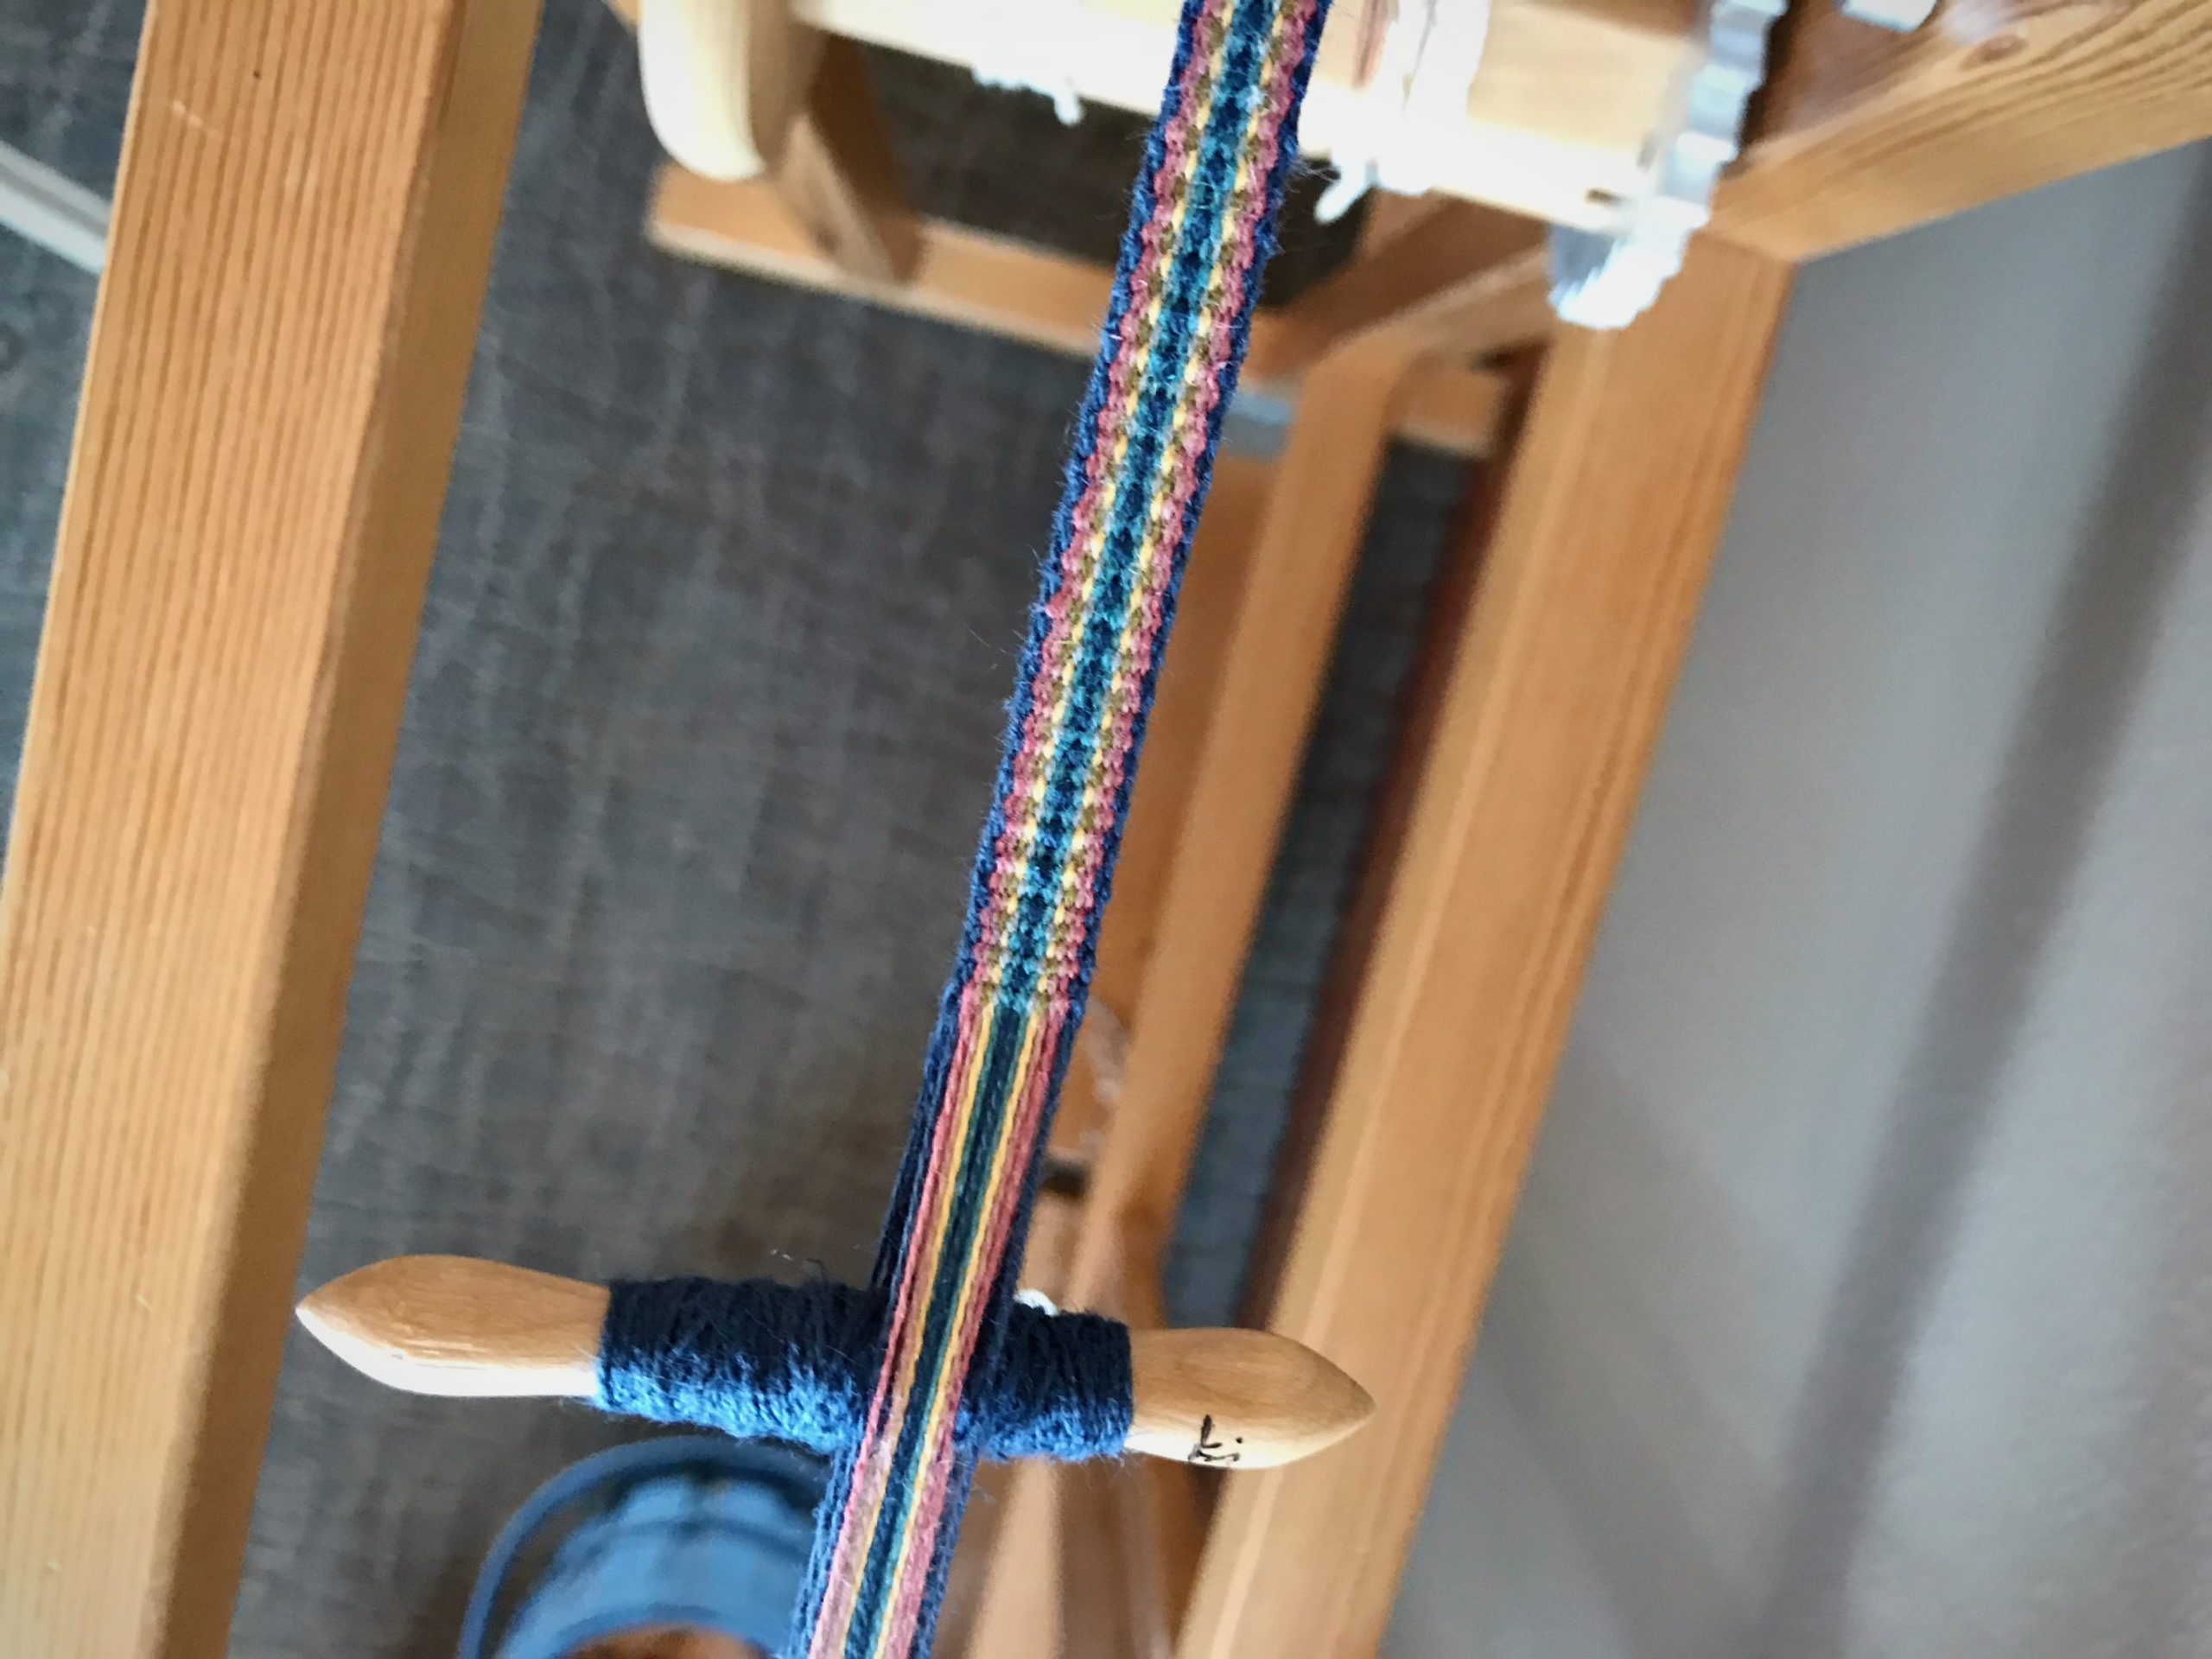
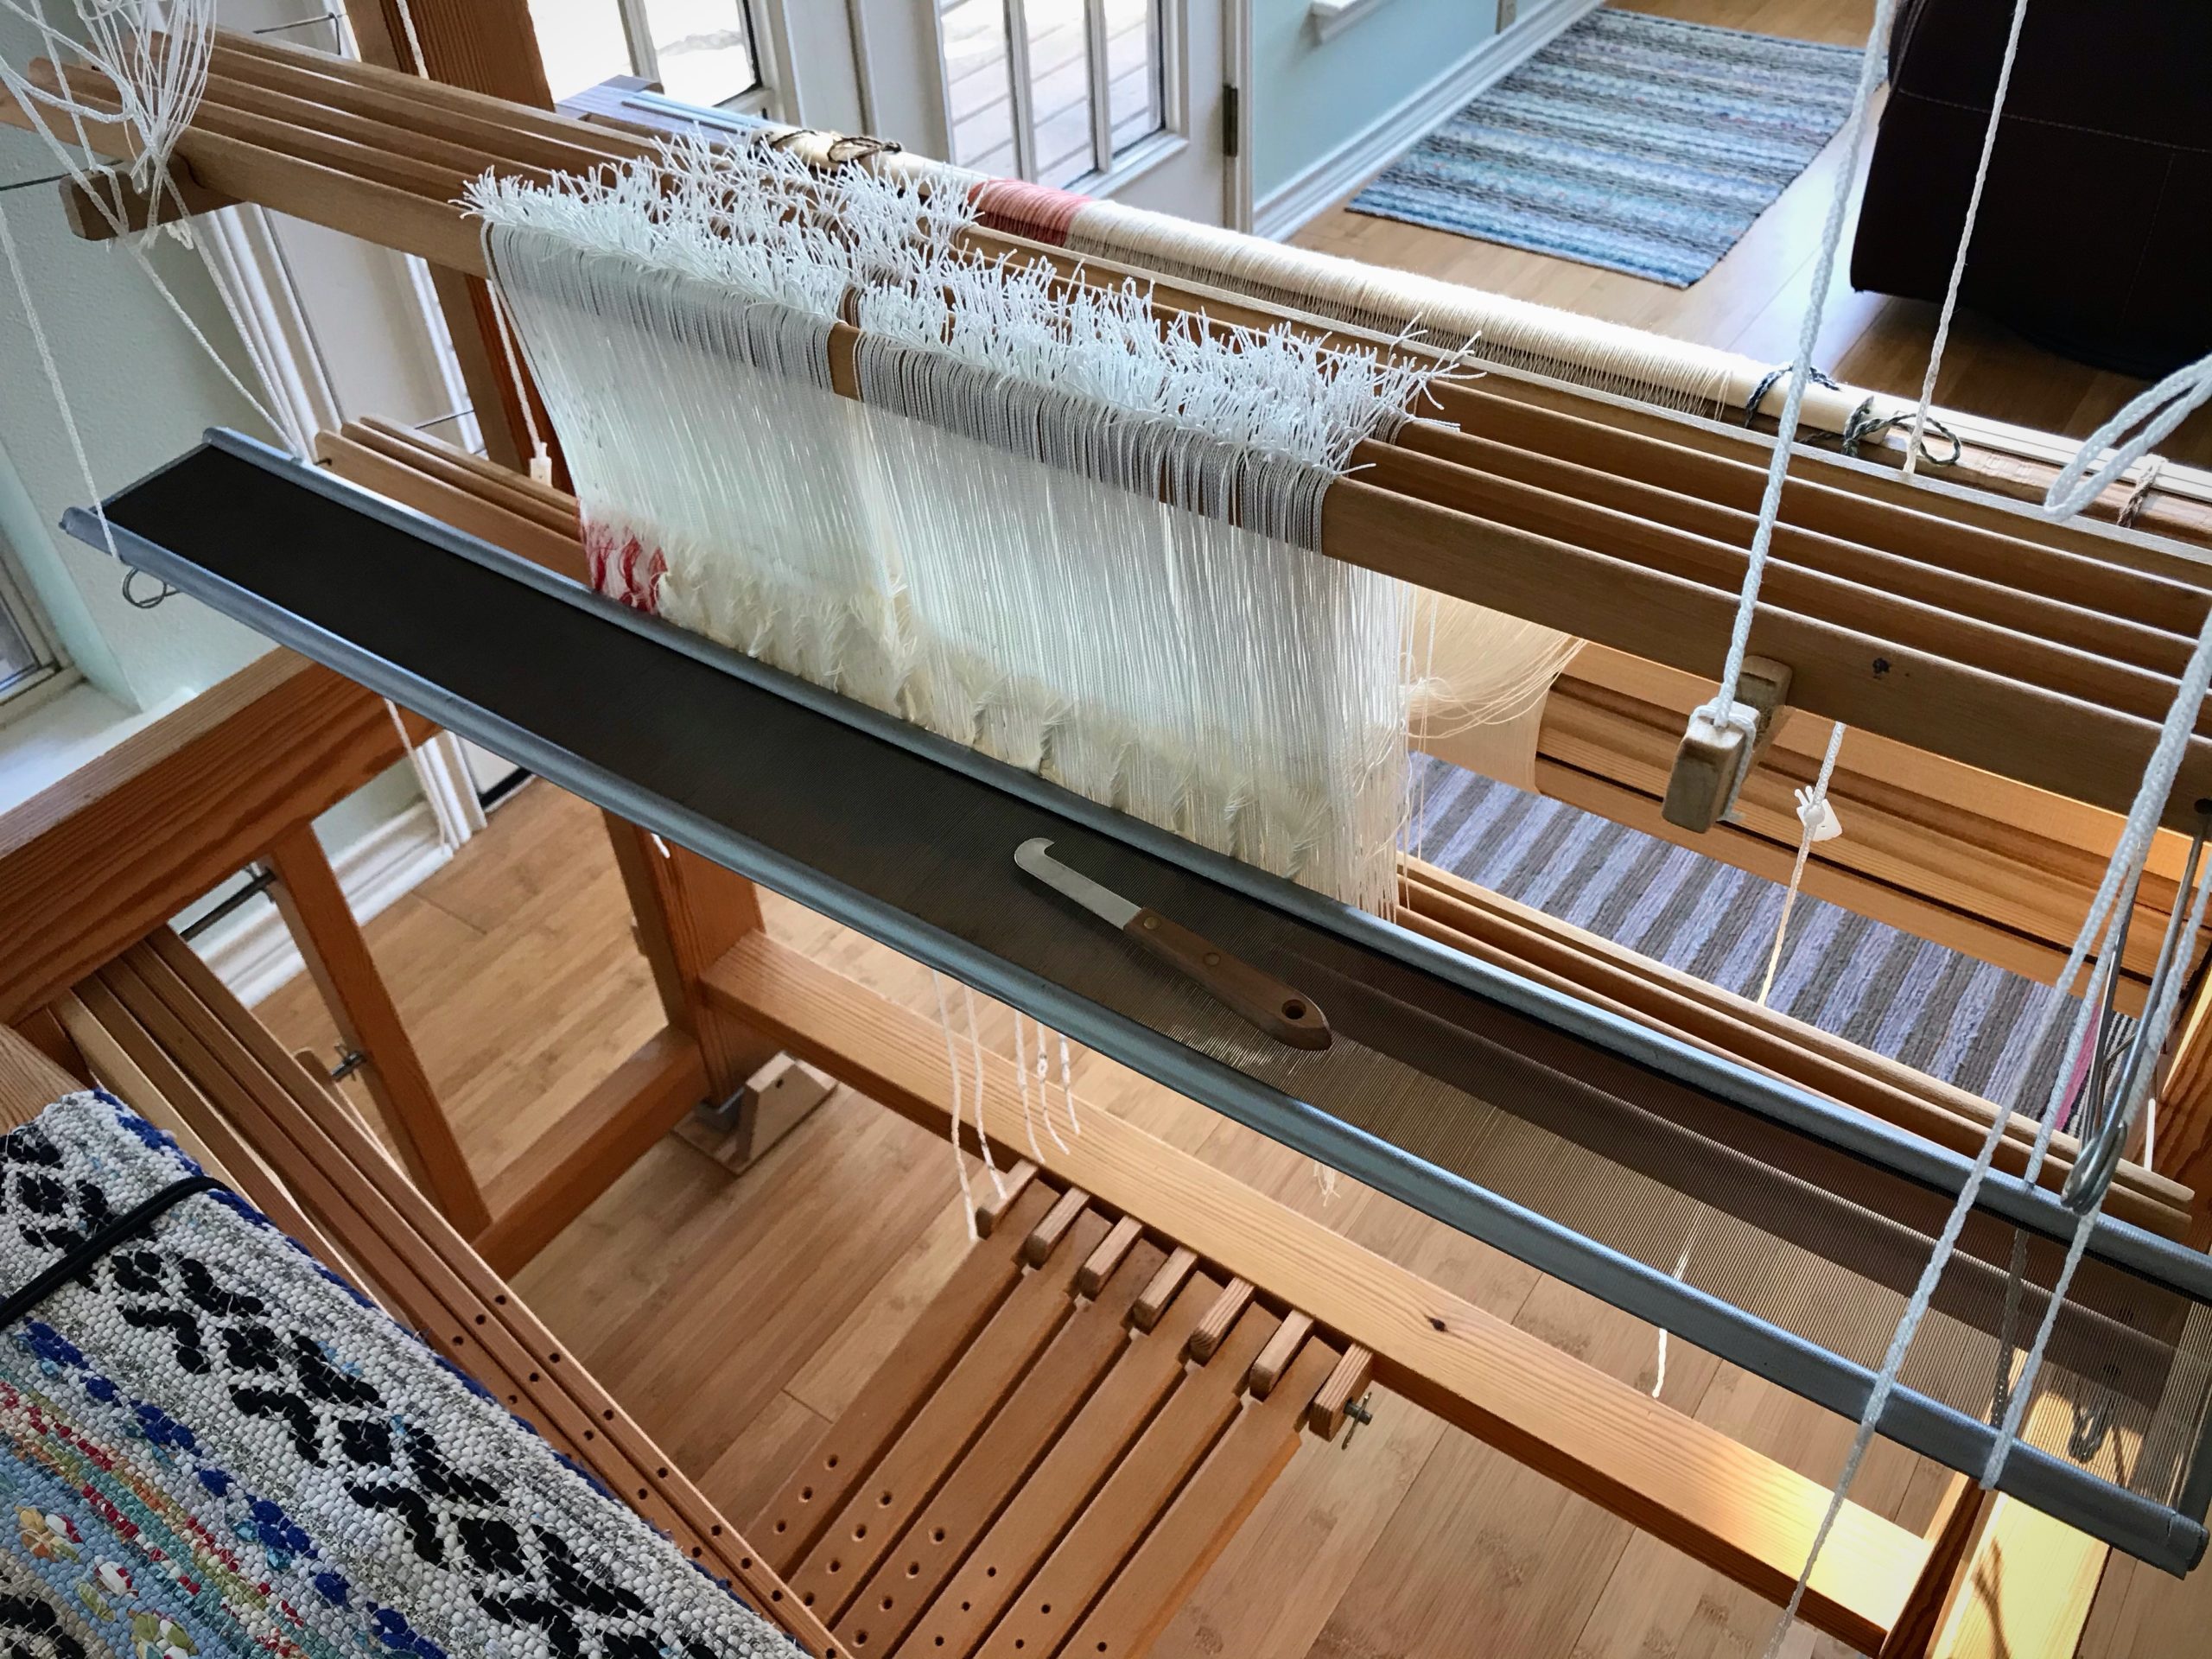
Glimåkra Standard, 120cm (47″), vertical countermarch. My first floor loom. Weaving the third of four bath towels, 6-shaft broken and reverse twill, 22/2 cottolin warp and weft.Glimåkra two-treadleband loom. Weaving hanging tabs for bath towels. 22/2 cottolin warp and weft.Glimåkra Ideal, 100cm (39″), horizontal countermarch. My second floor loom. Dressing the loom in 24/2 cotton, five-shaft huckaback, for fabric to make a tiered skirt. Ready to start sleying the reed.Loom that Steve built, 70cm (27″), horizontal countermarch. My third floor loom. Weaving the header for a pictorial tapestrysample, four-shaft rosepath, 16/2 linen warp, Tuna/Fårö wool and 6/1 tow linen weft.Glimåkra Julia, 70cm (27″), horizontal countermarch. This is my fifth (and final?) floor loom. Weaving the first of two scarves, eight-shaft deflected double weave, 8/1 Mora wool warp and weft.Glimåkra Standard, 120cm (47″), horizontal countermarch, with Myrehed combination drawloom attachment. This is my fourth floor loom. Weaving some lettering for the seventh pattern on this sample warp, six-shaft irregular satin, 16/2 cotton warp, 16/1 linen weft. 35 pattern shafts, 132 single unit draw cords.
Give Thanks ~ Live with a thankful heart.
Every day I thank the Lord for granting me the joy of being in this handweaving journey. And I thank him for bringing friends like you along with me.
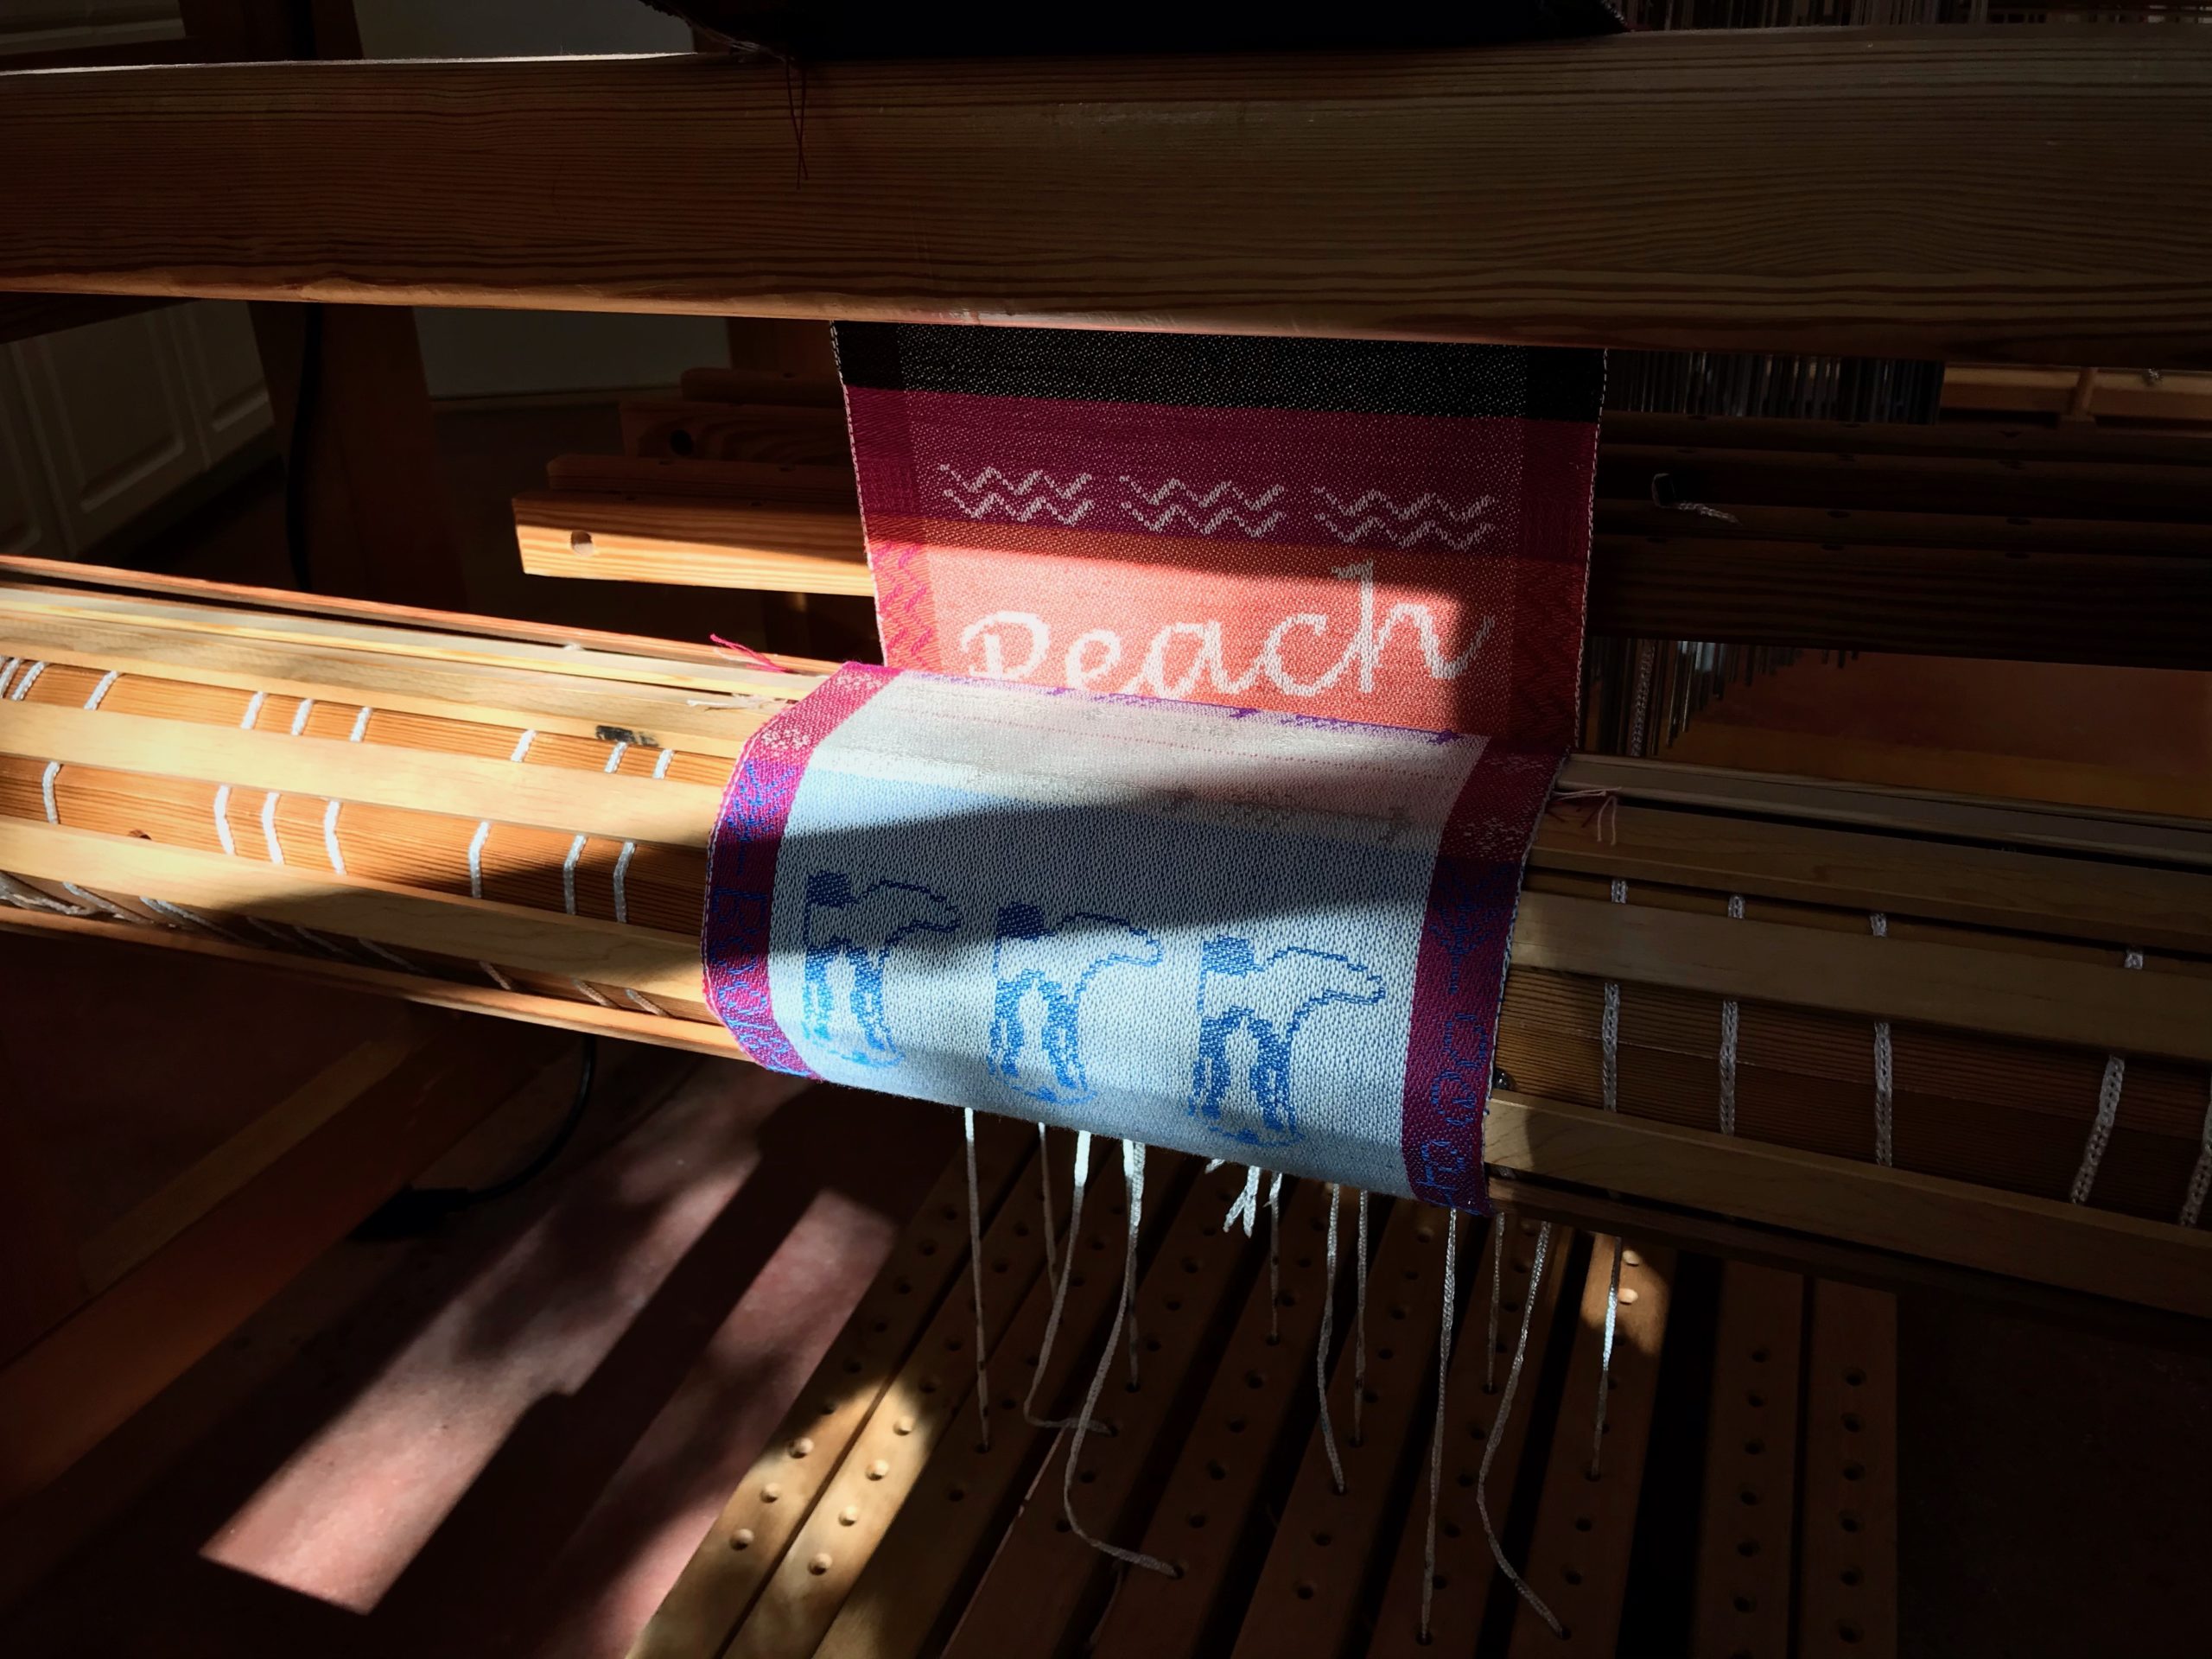
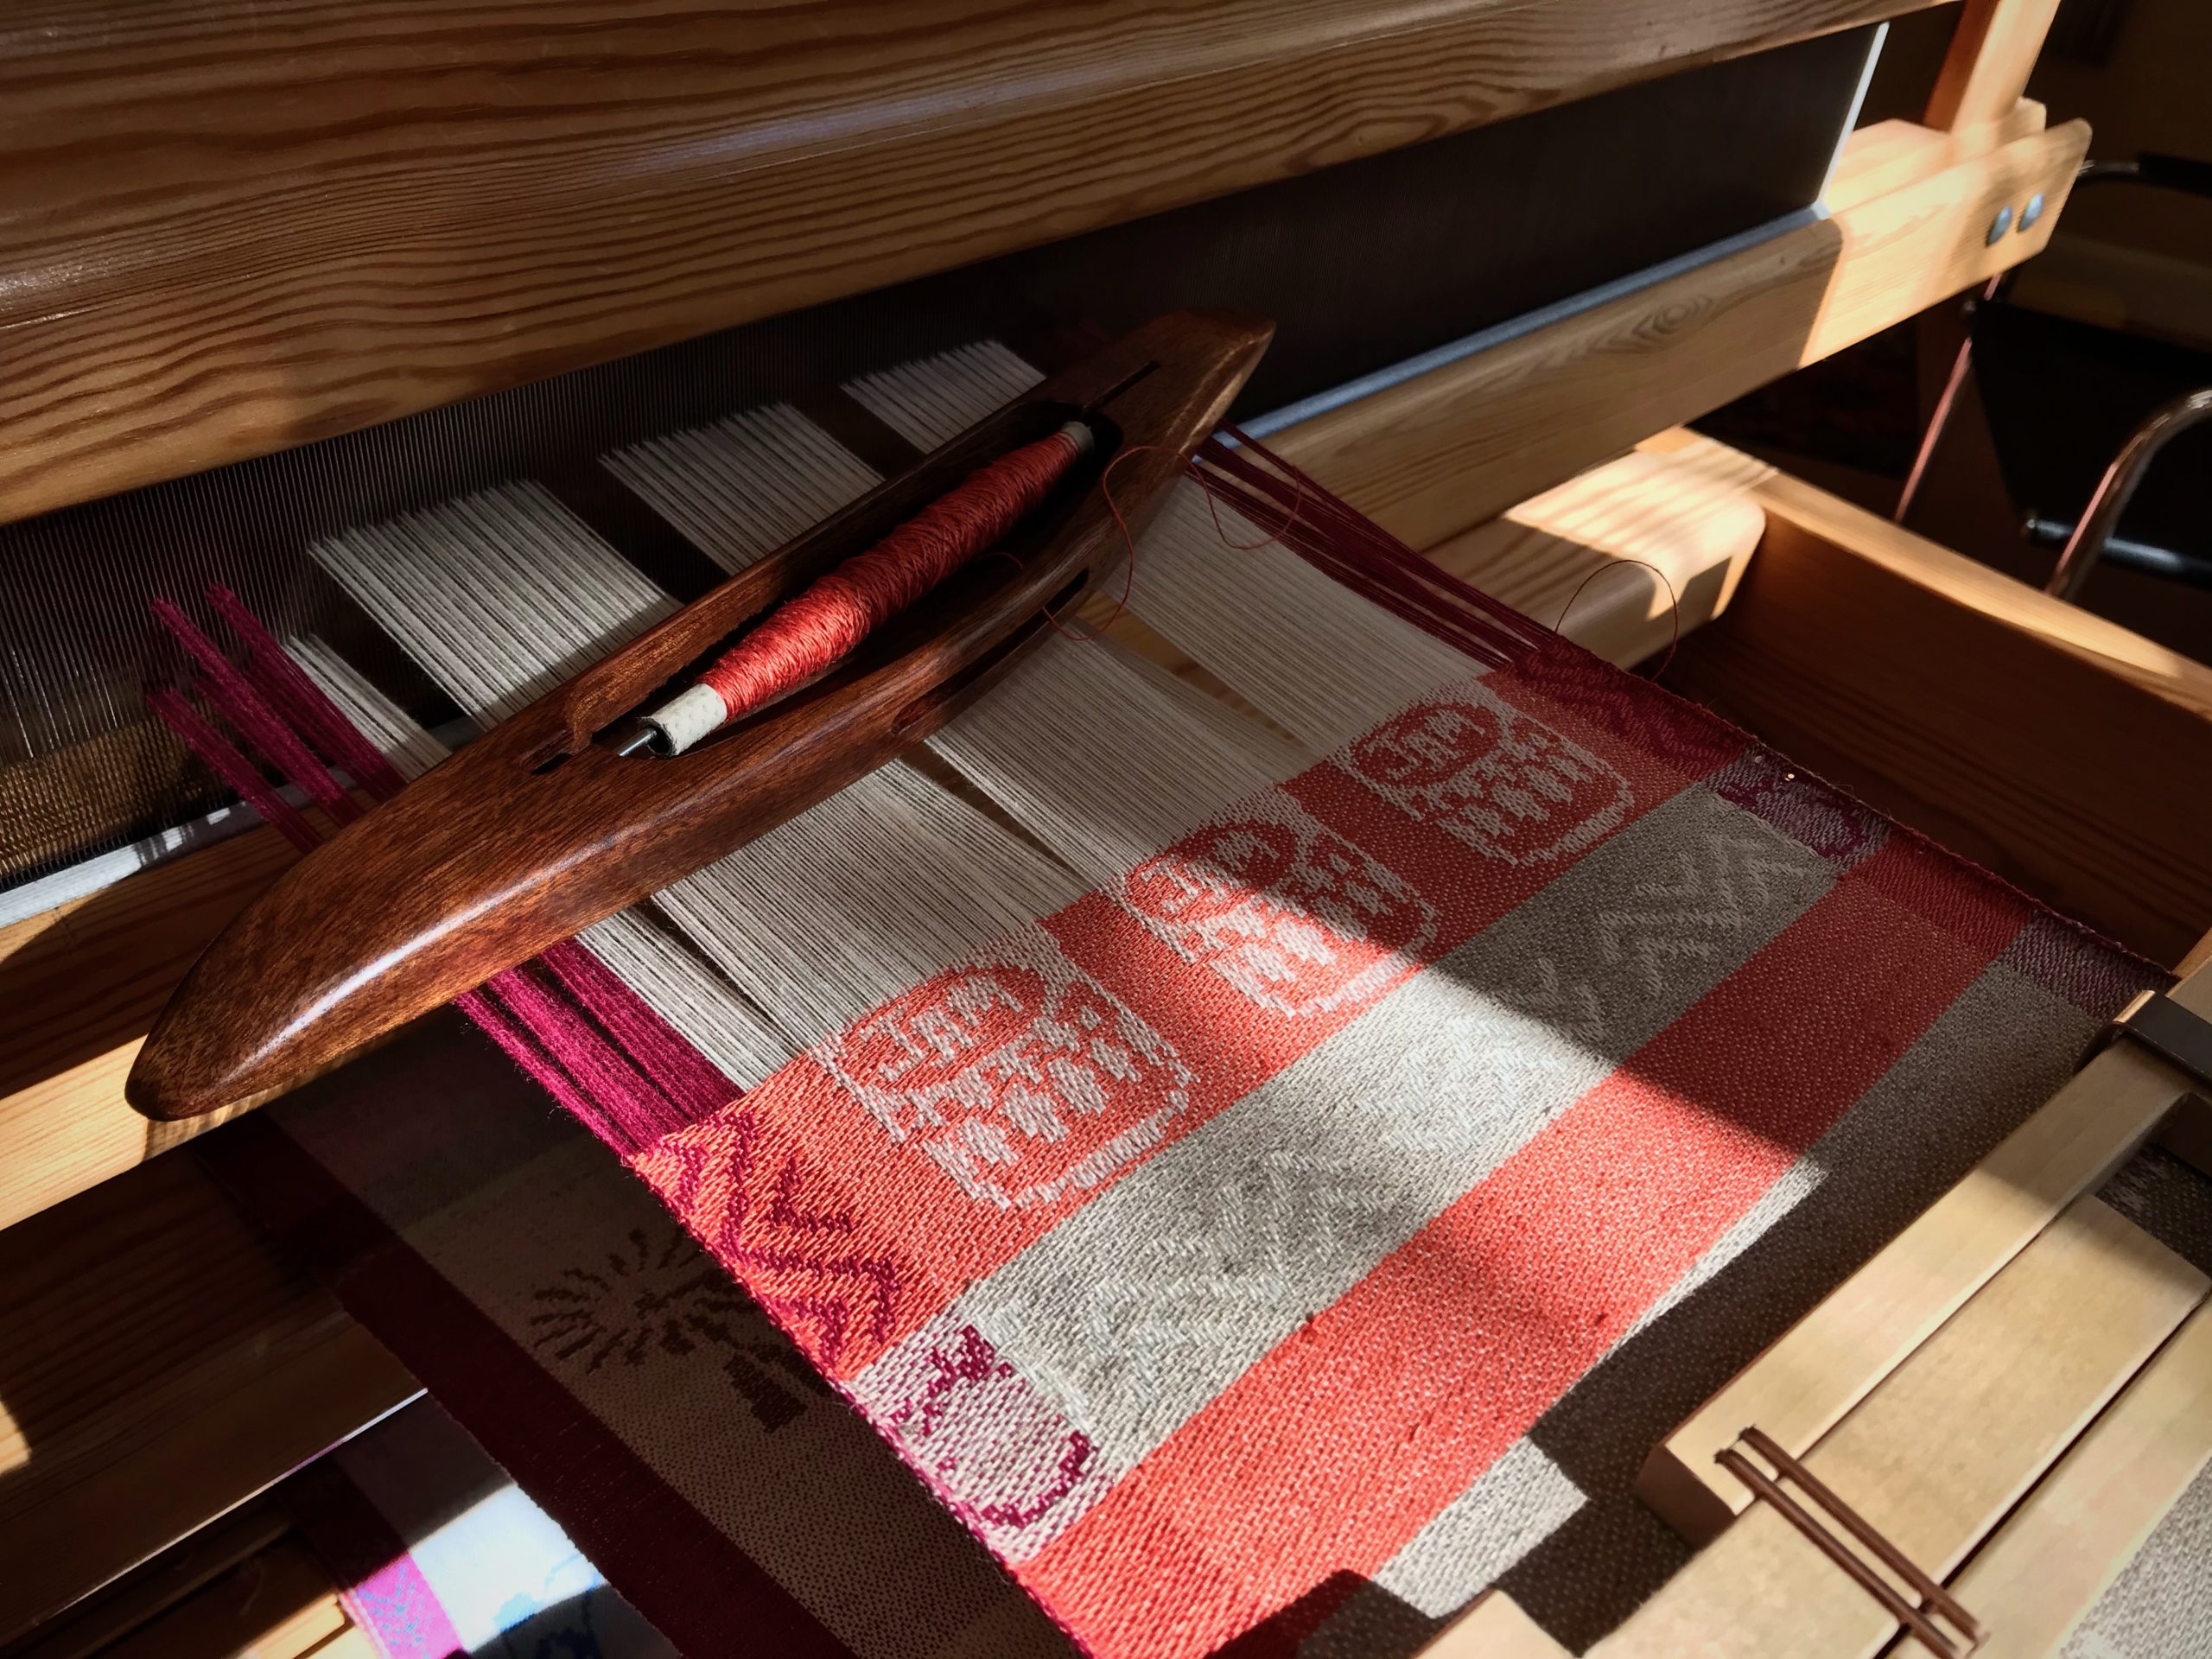
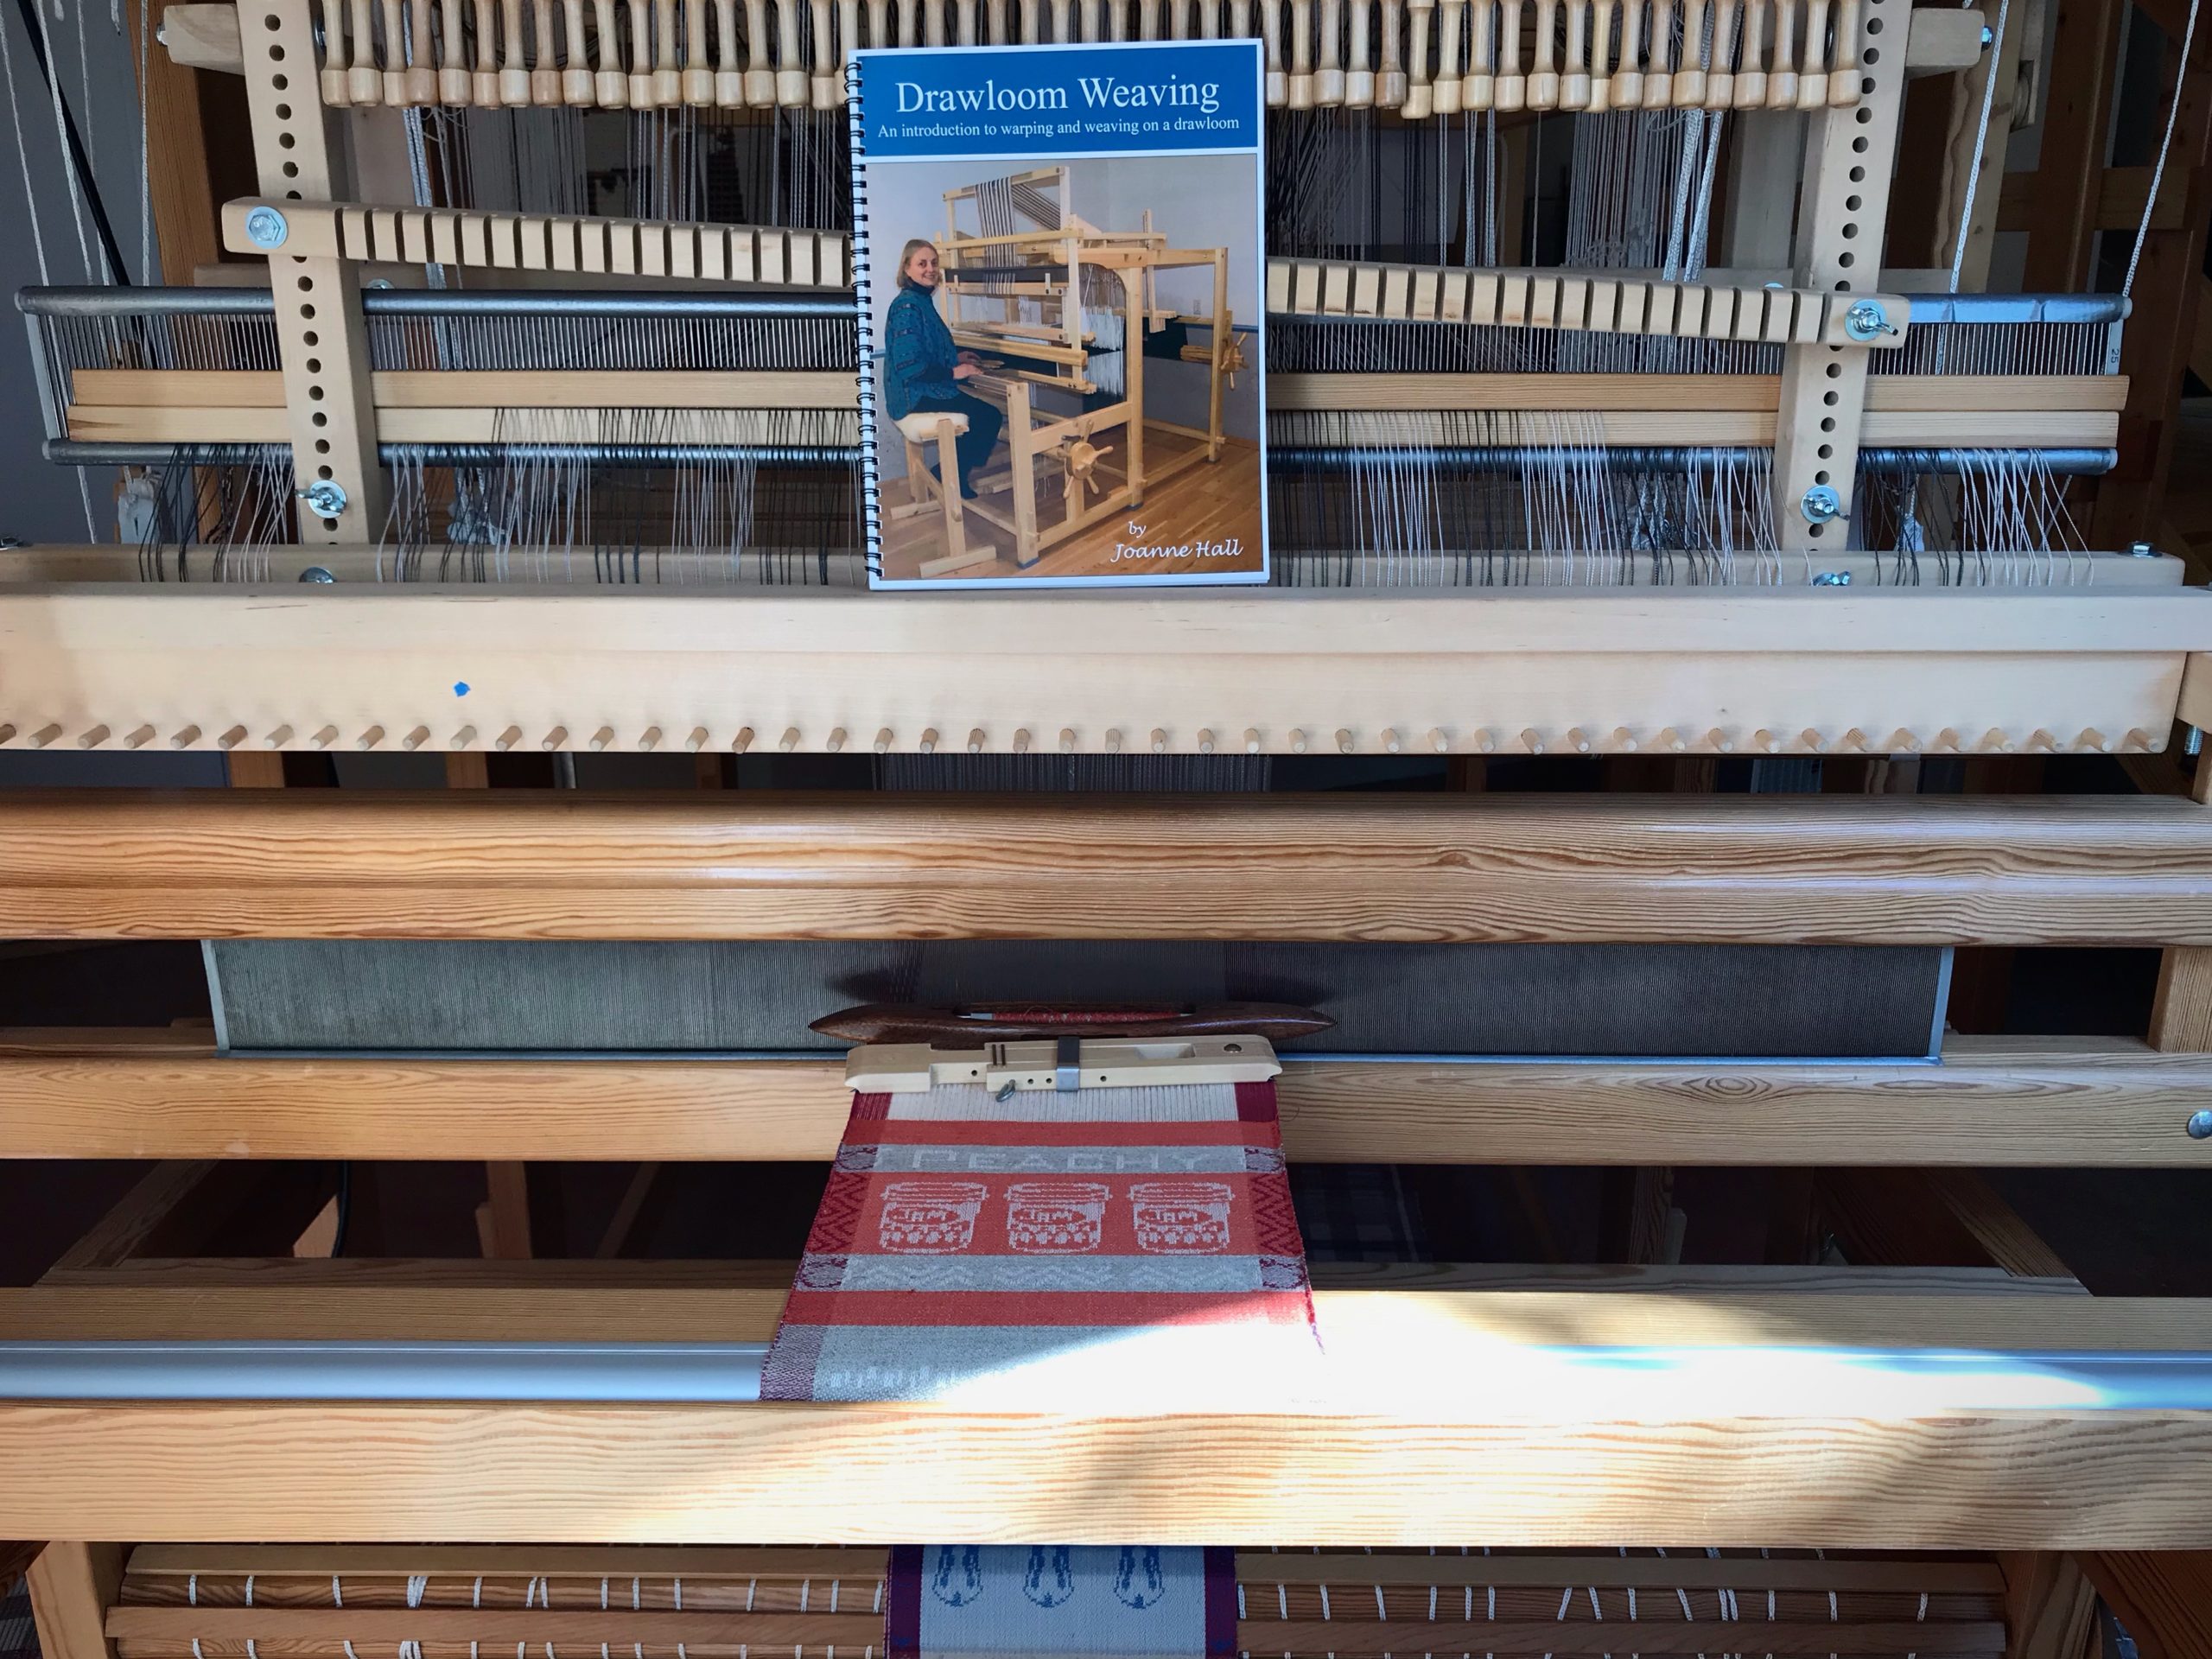
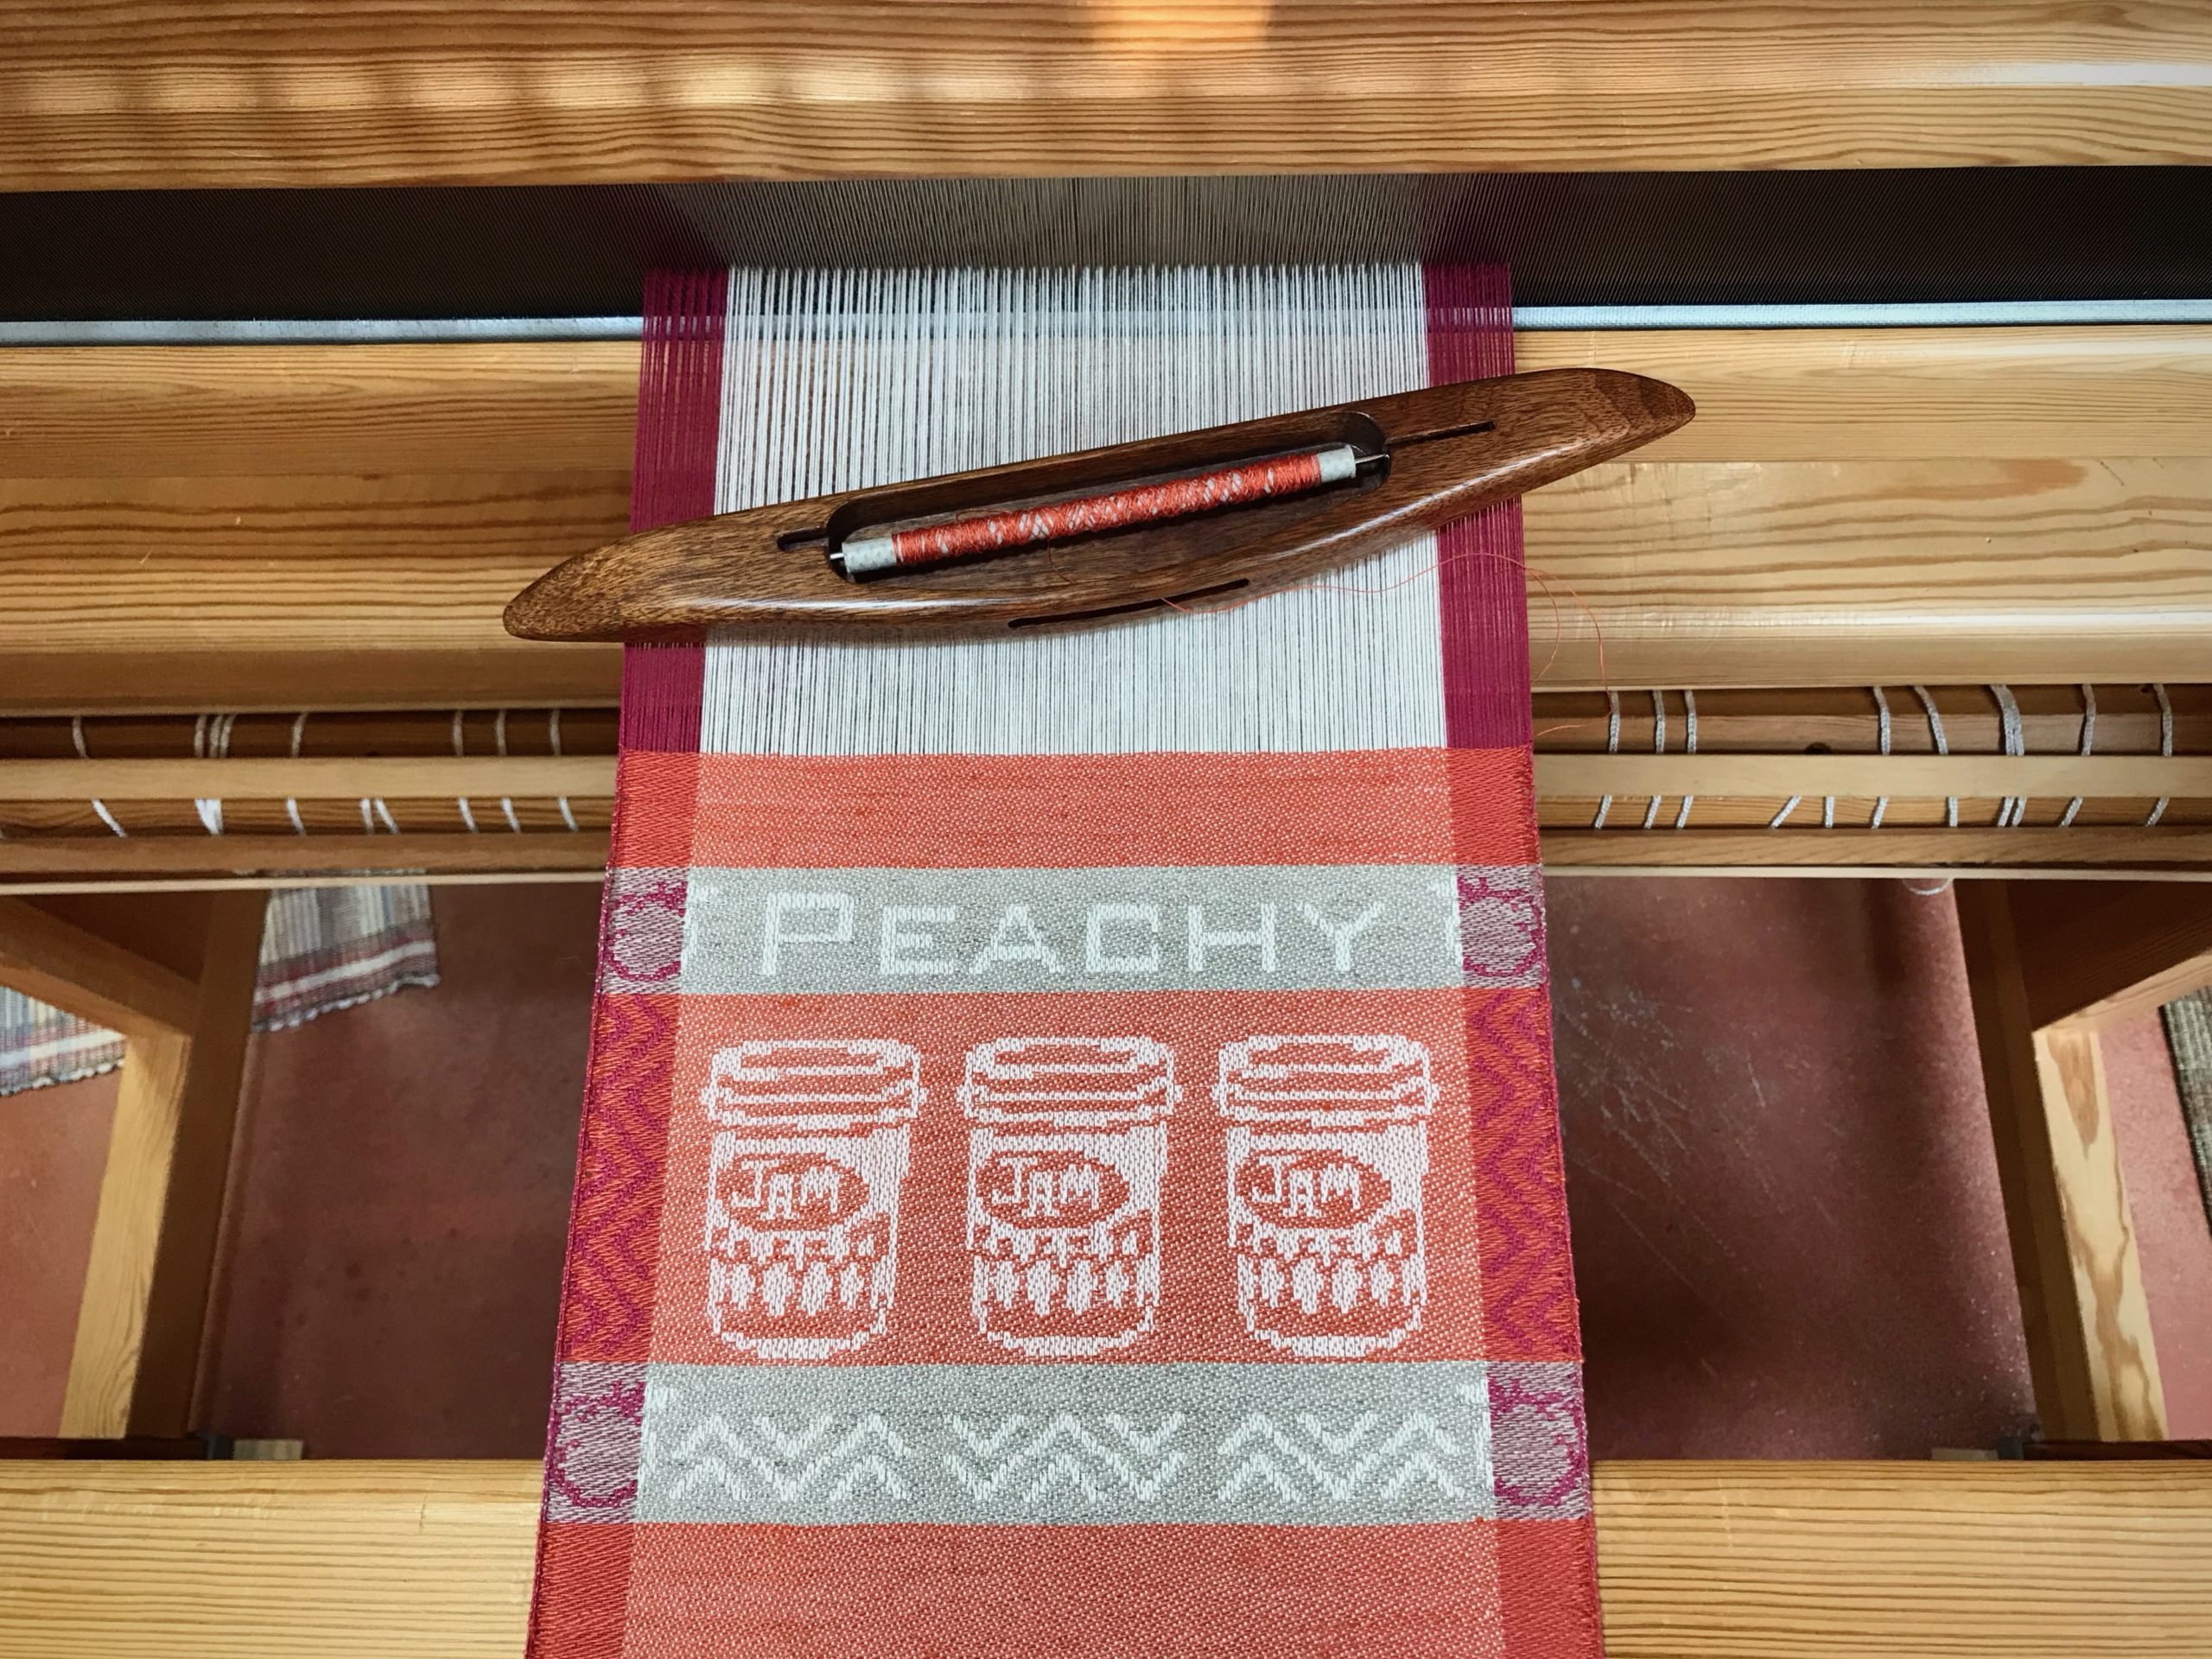
I canned my first-ever batch of jam last summer. Jars of yummy peach jam were on my mind when I started planning designs for this sample warp on the combination drawloom. Much to my delight, Joanne Hall has included my Jam Jars design in her updated edition of Drawloom Weaving, recently released.
Beginning another variation of the Jam Jars design.Earlier version of Jam Jars, with “Peach” spelled out in cursive letters.Simple lettering is possible with the pattern shafts. 30 pattern shafts for the jam jar design, including “JAM”, and 5 pattern shafts for the side borders.Drawloom Weaving, 2nd edition, by Joanne Hall. An essential resource for anyone interested in drawloom weaving.
I am weaving several versions of the jam jars. Each variation has a different set of borders as I test my understanding of the Myrehed combination attachment. I am studying the versatility of this drawloom. Pattern shafts enable pattern repeats for the jam jars and side borders. Single unitsmake it possible to weave the peaches in the corners and “Peachy” across the top. Can you tell if the border across the bottom is made with pattern shafts? Or, is it made with single units?
Everything is Peachy!
Depth of understanding comes from study. Practice makes it real. Go all in; make mistakes, un-do and re-make; have What-now? moments and Aha! moments. Make deliberate observations. It’s all part of the process. That’s what forgiveness from God through Jesus Christ is like. Forgiveness is good news. When we receive his forgiveness he sets us on a path to study, learn, and understand his grace. The depth of which will take an eternity to understand.
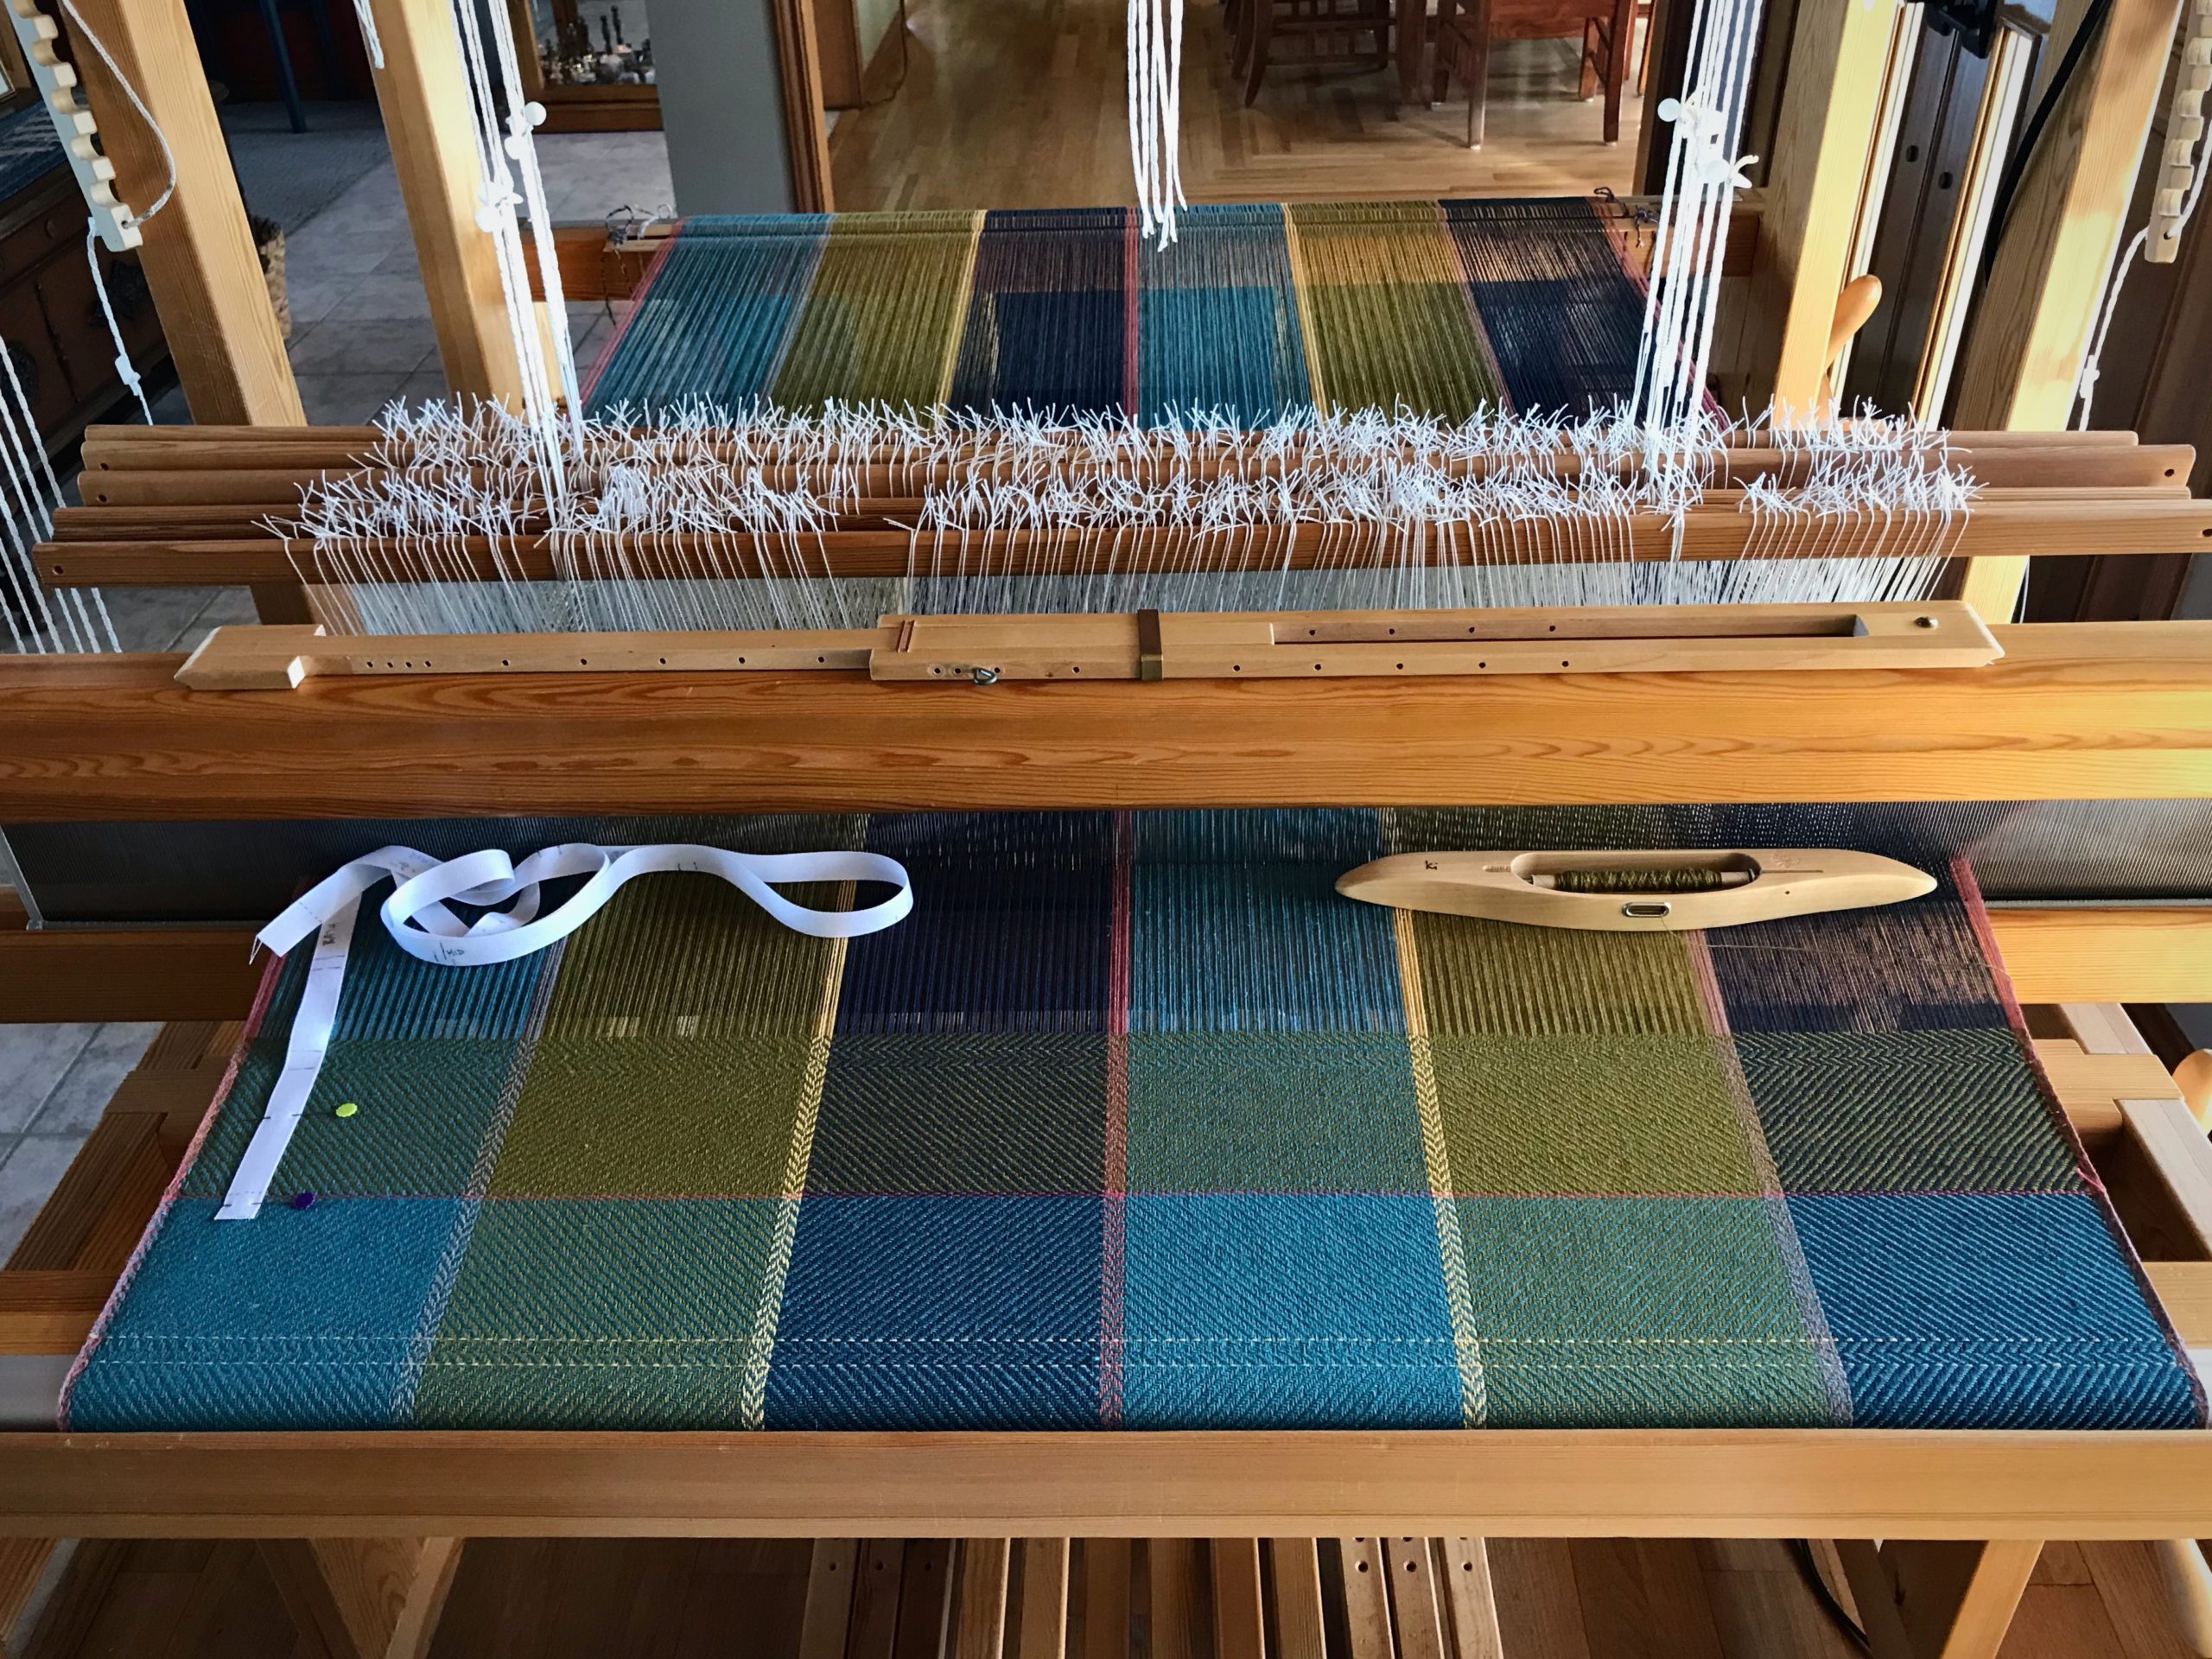
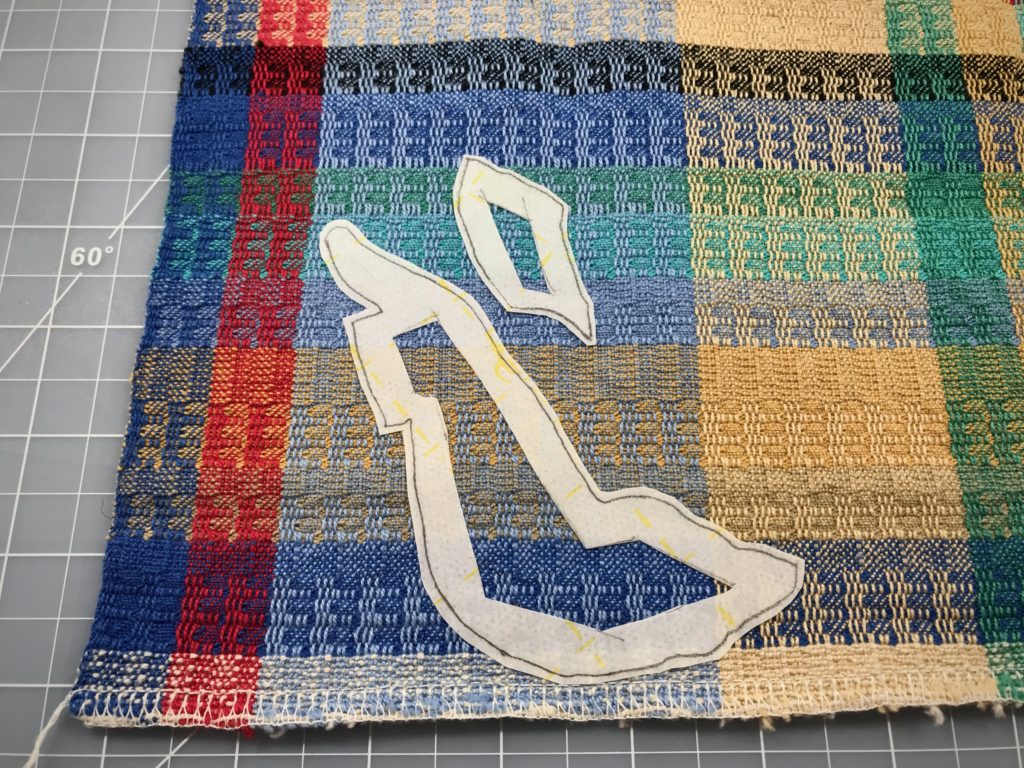
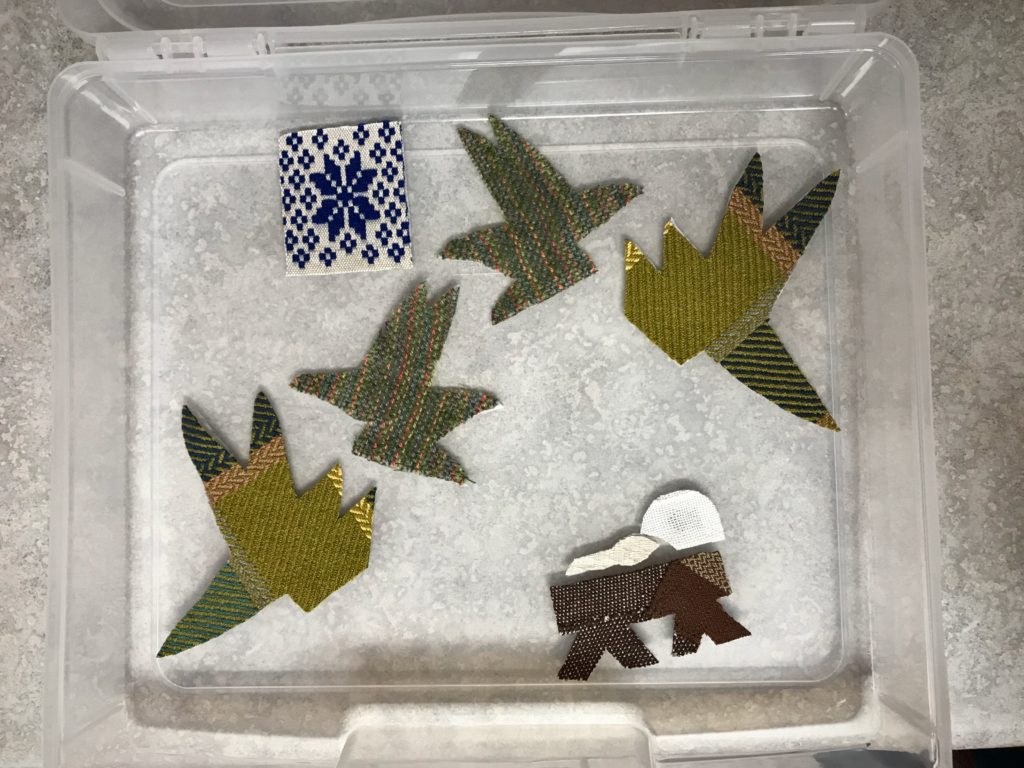
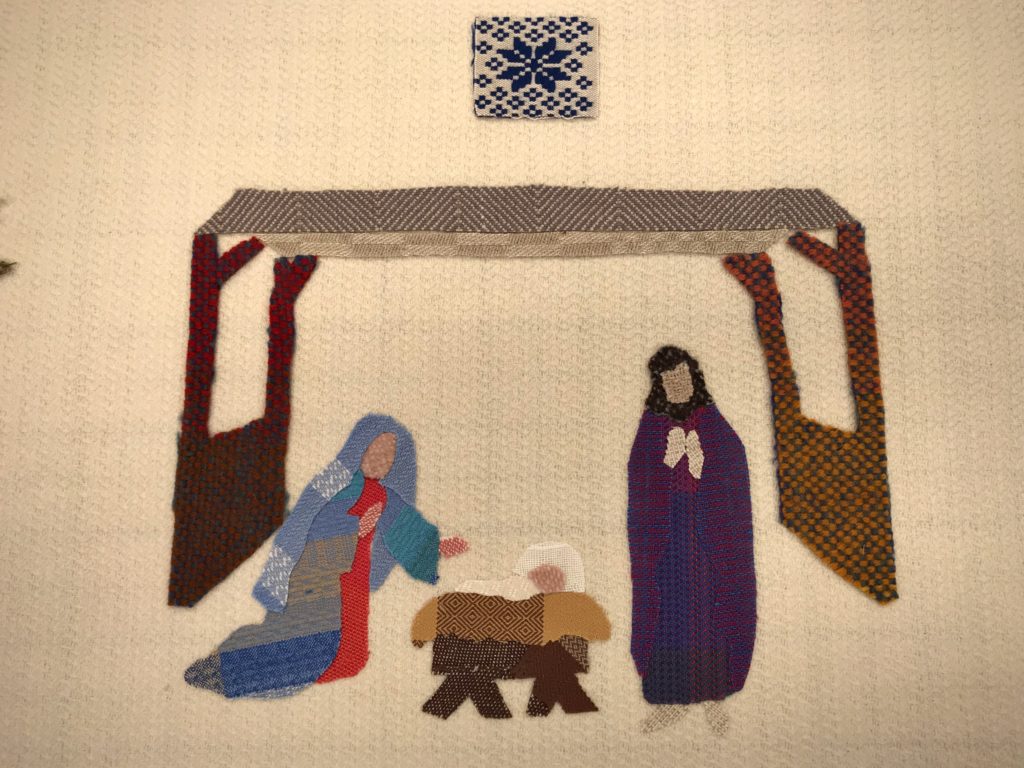
This is the Christmas-tree-skirt project. I wove 3 1/2 meters of background fabric with 8/1 Möbellåtta warp and 6/1 Fårö wool weft. Now, having sorted through all my handwoven remnants, big and small, I have colors and textures for telling the Nativity story in appliqué. My friend with appliqué experience has advised me on materials and technique, for which I am enormously grateful.
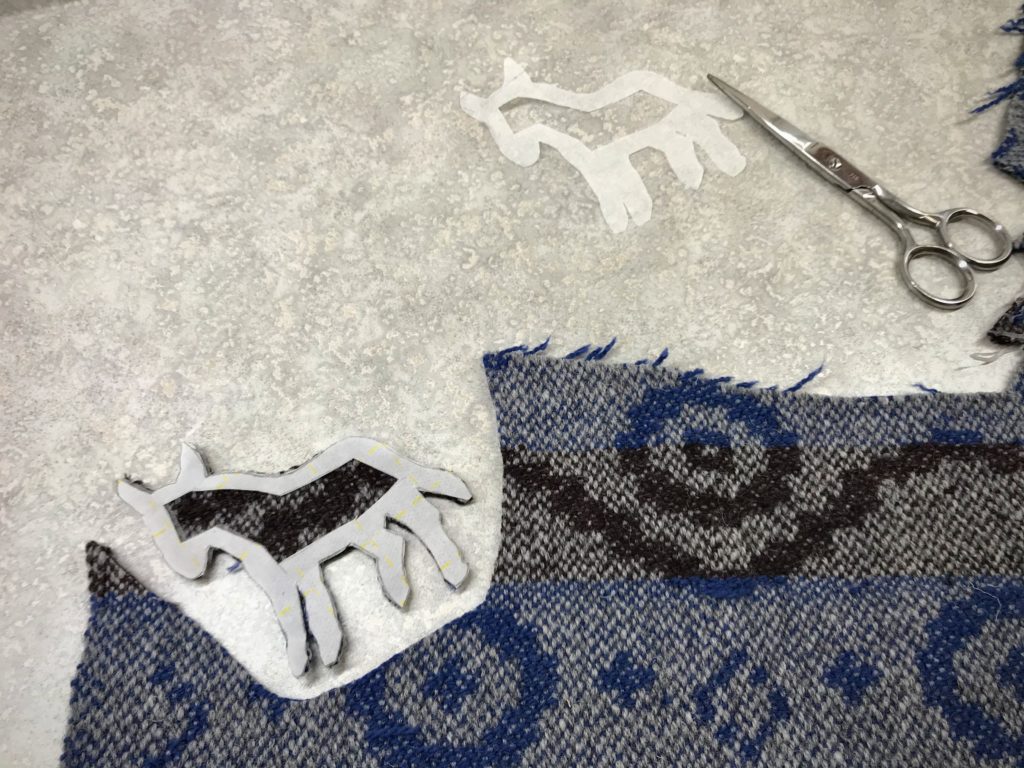
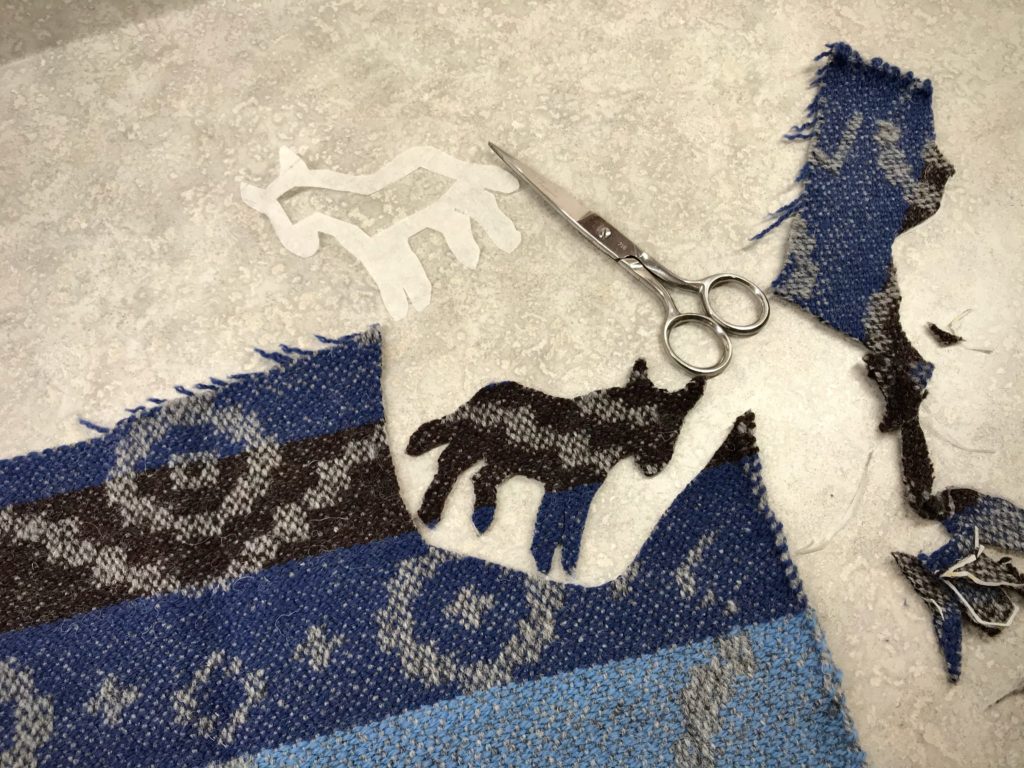
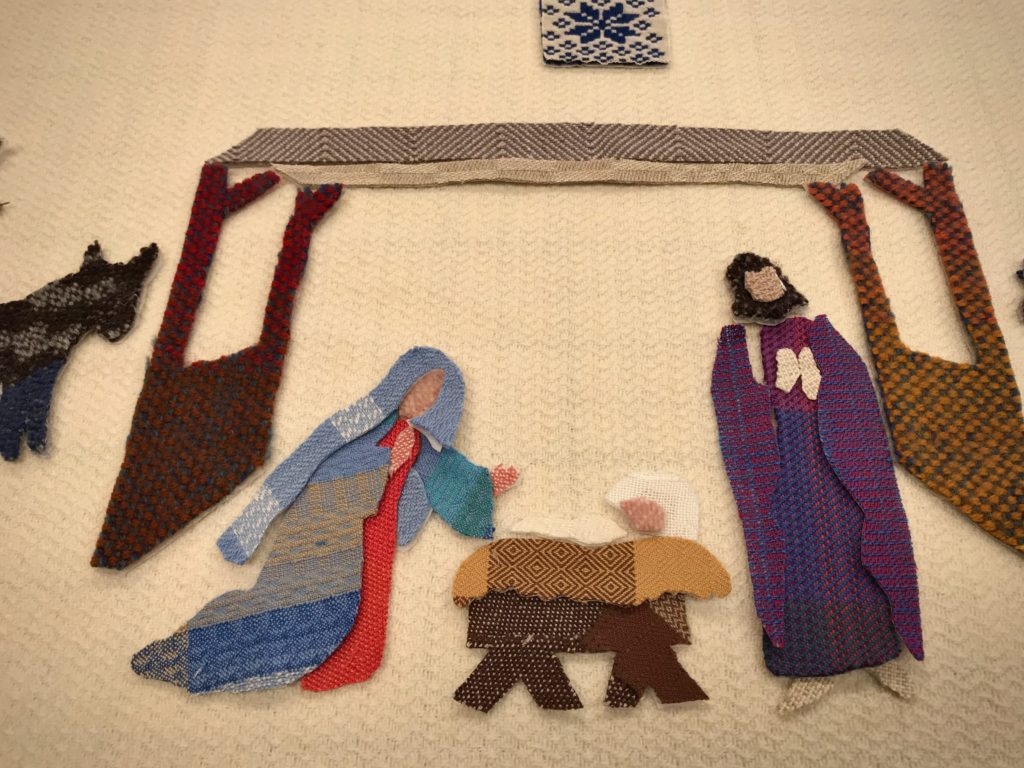
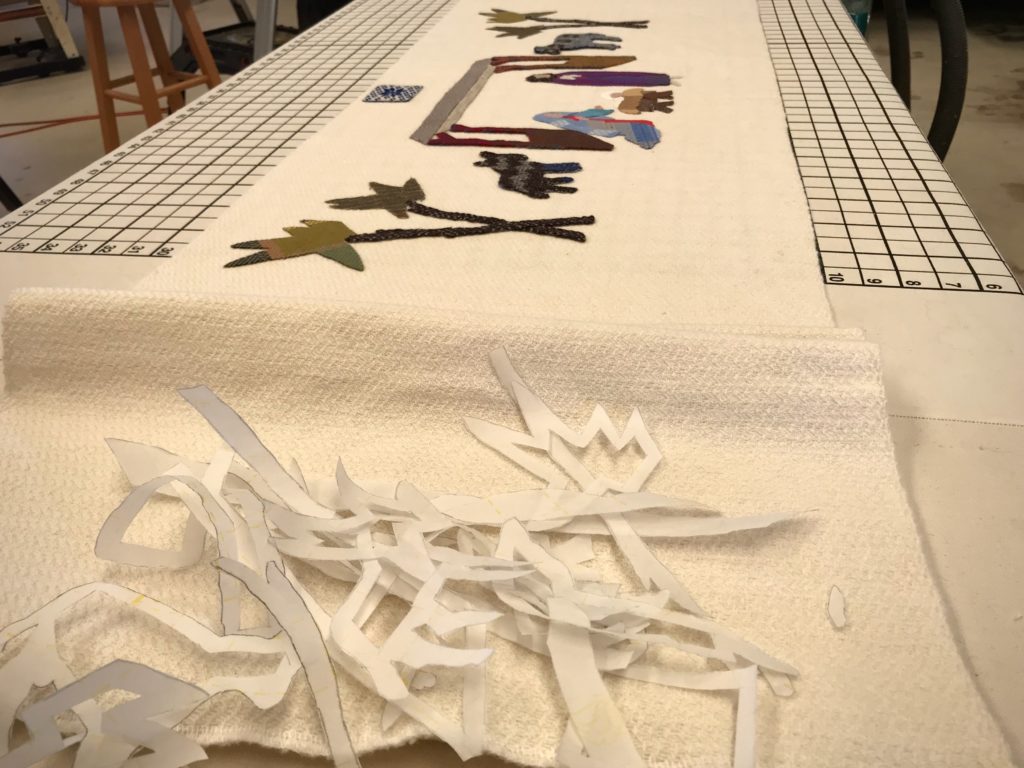
Remnant from the warp for towels I wove for my daughter becomes part of Mary’s garment.Donkey shape is cut from remnants from my wool vest project on the drawloom. Paper is on both sides of the double-sided fusible product. One side is peeled off to adhere the fusible to the back of the appliqué piece. (Always remember to draw the reverse side of the image onto the paper on the fusible.)Appliqué piece is face up, ready to be fused to the background. Blue star is from opphämta on the drawloom. Green palm trees are from a long-ago rigid heddle scarf and from a warp of cottolin towels. Manger is pieced from some of my earliest floor loom fabrics. Swaddling cloth is fine cotton M’s and O’s. Baby’s halo is from Swedish lace curtain fabric. Every piece of fabric has a story.
Using a double-sided fusible product, I carefully cut out each shape. After laying all the pieces out in the proper arrangement, I fuse them, layer by layer, to the background fabric. The Nativity narrative is formed, piece by piece. I still have handwoven remnants to add to the lower edge, and embroidery to stitch around some of the appliqué shapes. I’m hopeful to complete all of it before Christmas.
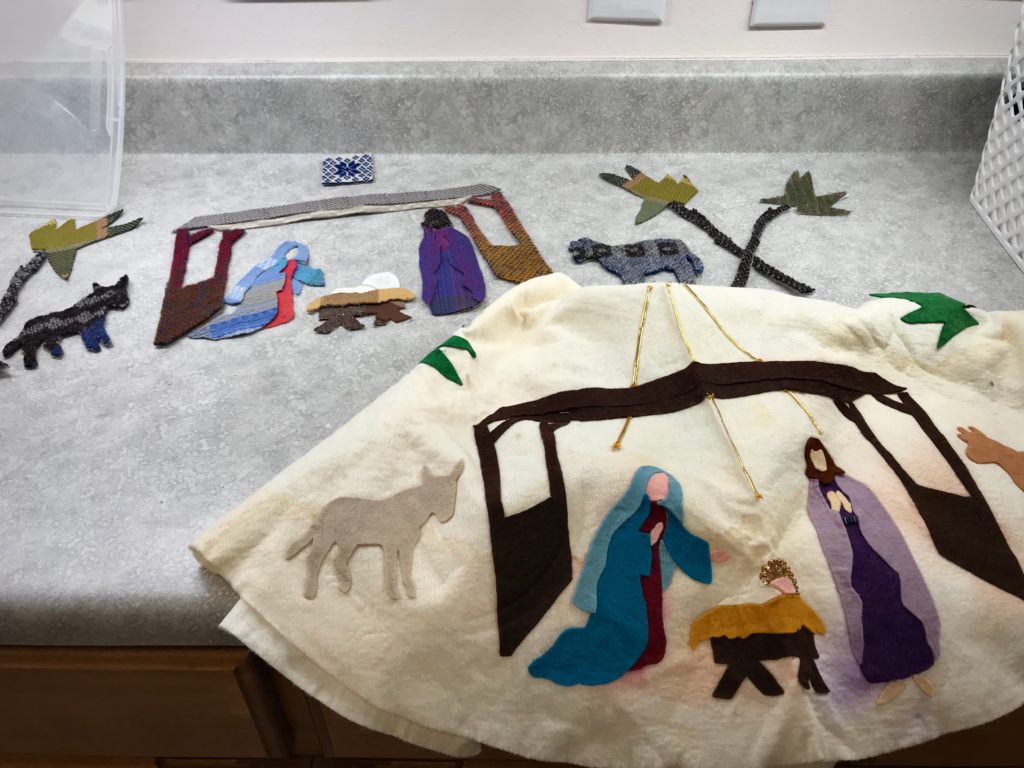
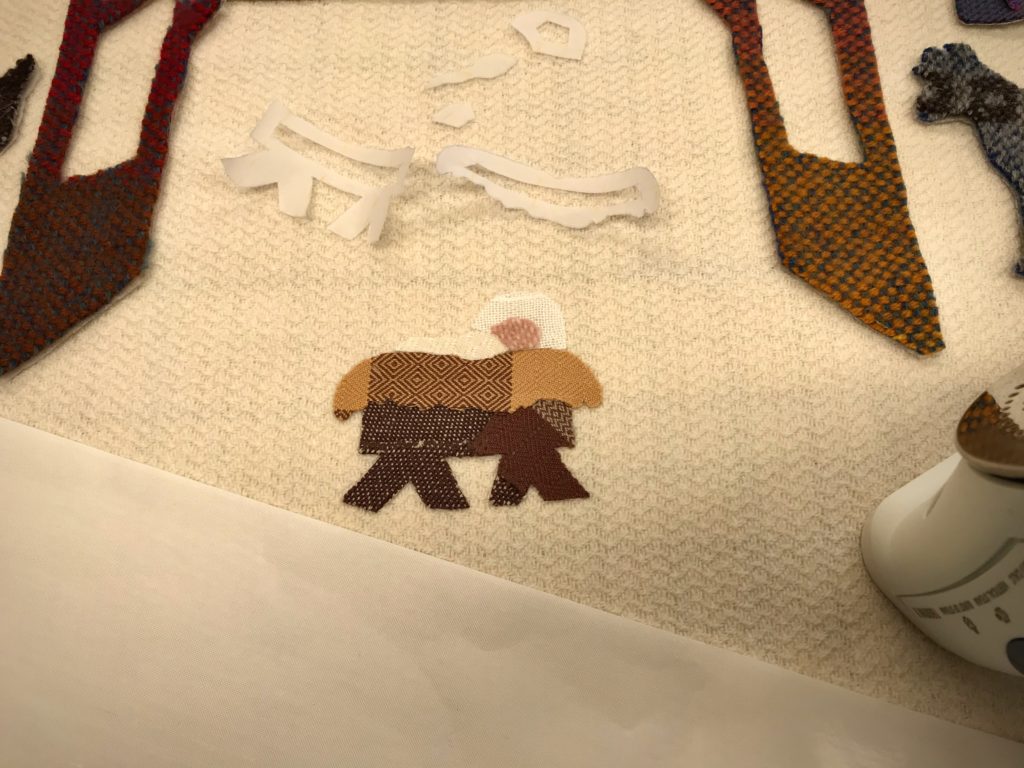
This is the felt tree skirt I saw every year around our family’s Christmas tree when I was a girl.Planning the arrangement of the appliqué pieces onto the background fabric.I start by fusing the manger into place because the head of baby Jesus is at the very center of the whole length of cloth.Wide variety of handwoven fabrics tell the Nativity story. Threads of linen, cotton, wool, and bamboo.Scraps of paper backing indicate that all the pieces have been fused into place. Next, embroidery and other handwork, while considering the meaning of Christmas.
My remnant scene tells the story of God with us. The holy babe in a pieced-together manger reminds us that God loved us by sending Jesus to our worry-ridden world. Worries are the little things and big things that we would like to control, but can’t. Can we add one moment to our lifespan by worrying? Trust in Jesus replaces worry because it puts control back in the right hands.
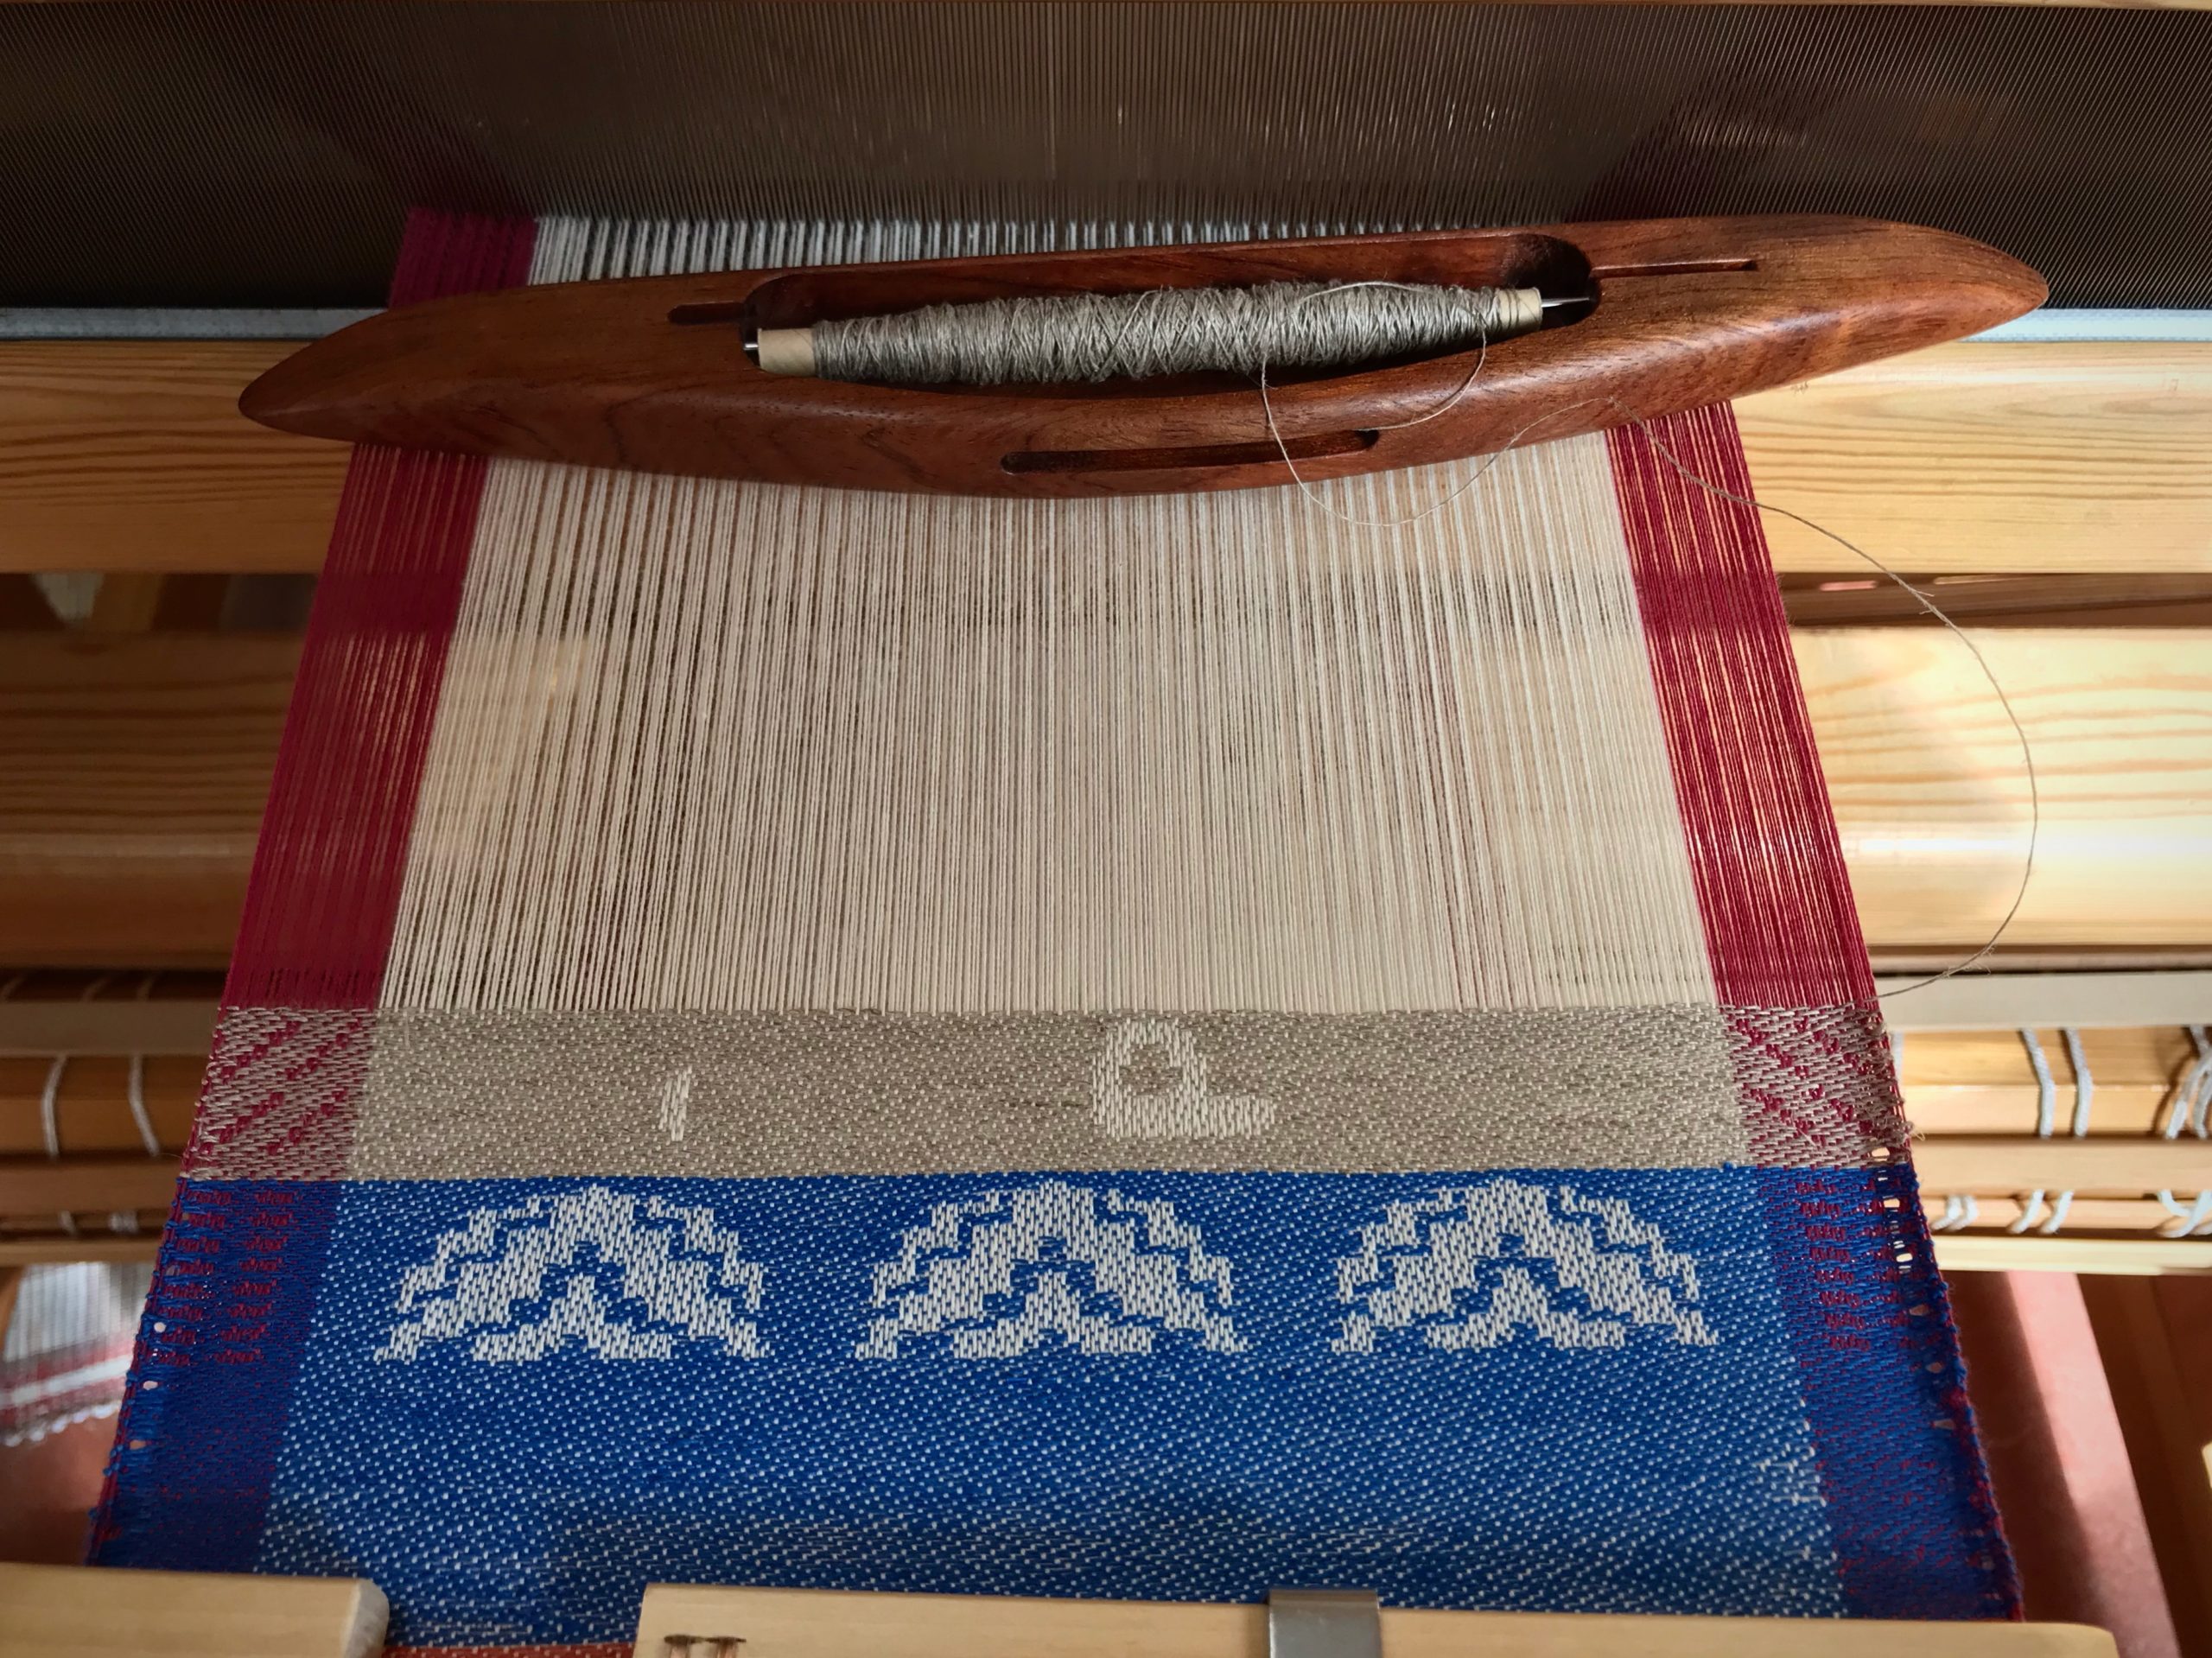
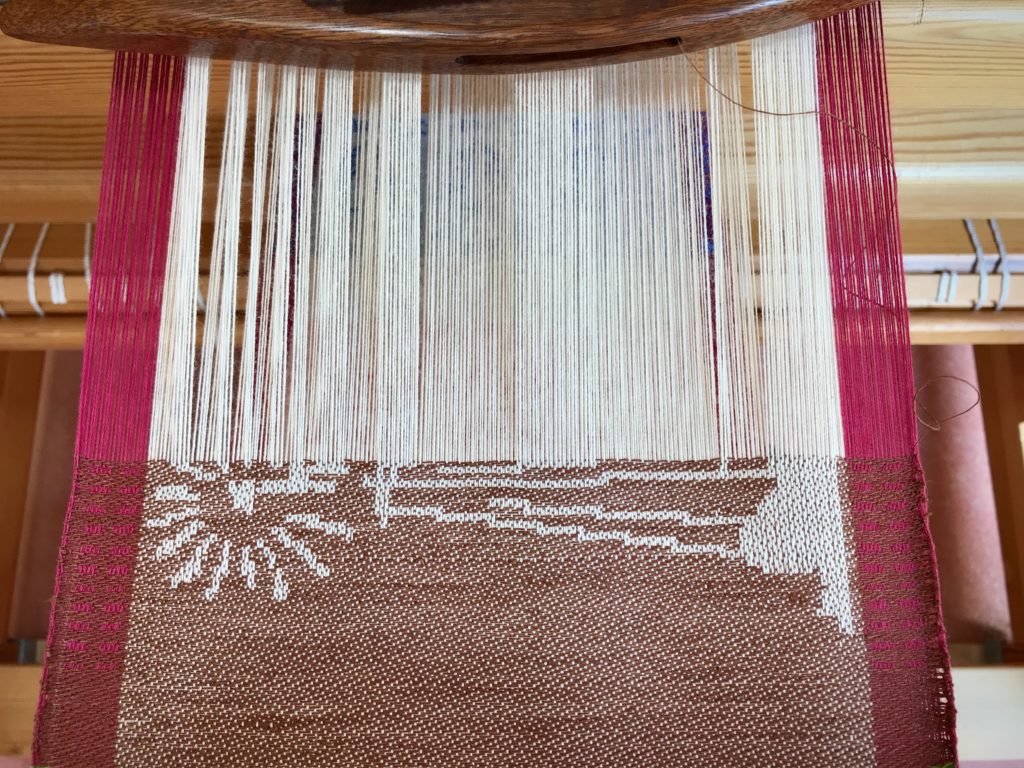
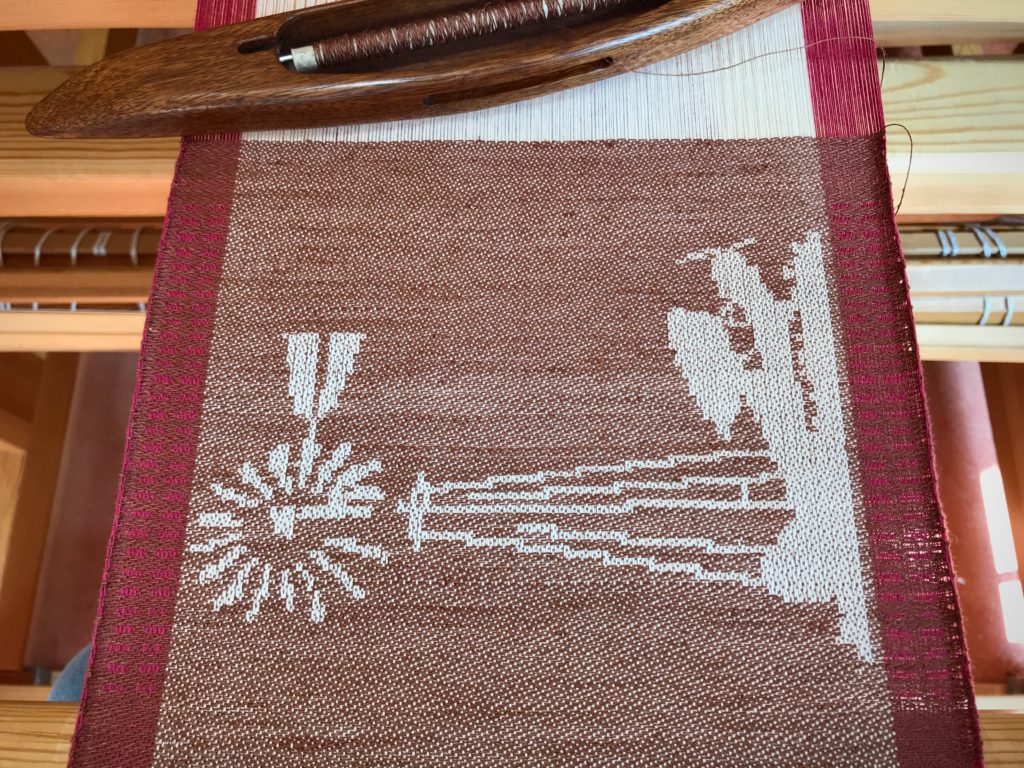
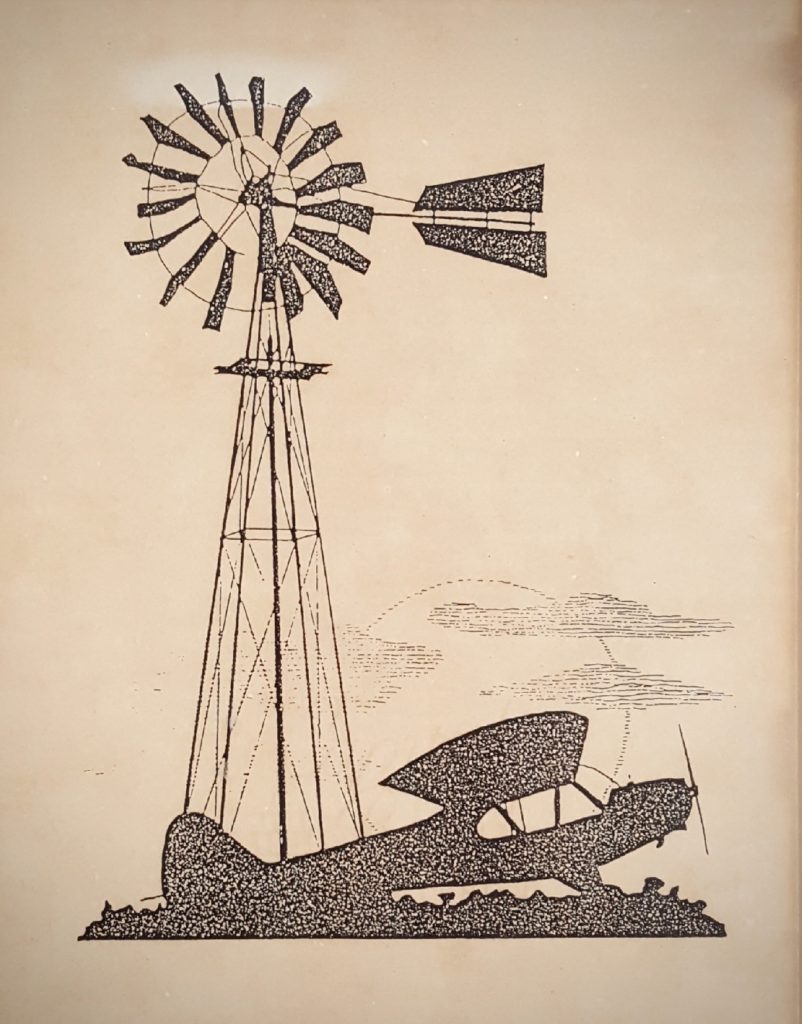
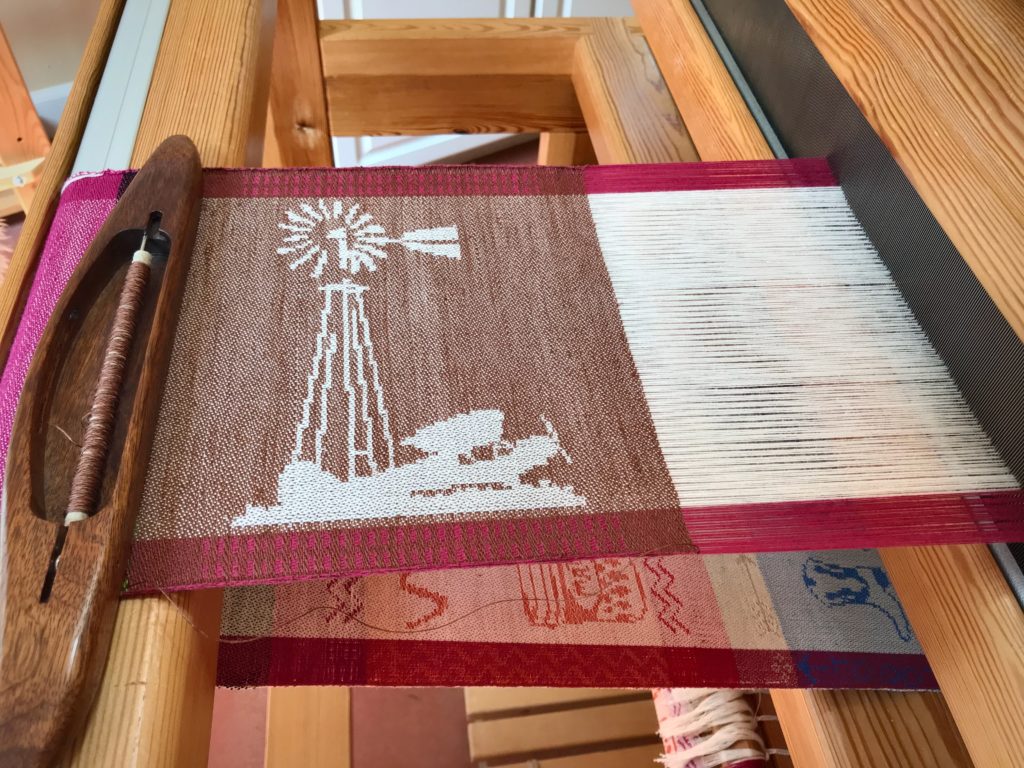
Come, look over my shoulder as I weave a windmill and taildragger image on the drawloom. The central design is woven using 103 single-unitdraw cords. I have a simple motif for the borders that uses only three pattern shafts. In the video below, watch as the three draw handles for those pattern shafts appear and disappear throughout the weaving.
Draw cords are used to raise single units of threads to create the image, one row at a time.Woven from the side.
I recorded my weaving in time-lapse form so you can watch three hours of effort compressed into three-and-a-half minutes. In the video you will see my hand pulling the draw cords, and then touching all the pulled cords from right to left to double check my work. That double checking saved me from dreaded do-overs.
When our good friends, Jerry and Jan, saw my drawloom they brought this picture to my attention. — Forty years ago Jerry discovered the silhouetted windmill and airplane tucked away on a back page in an old issue of Flying magazine. Because of his affinity for airplanes and windmills he cut out the tiny picture and saved it. Years later, Jan found the picture and had it enlarged and framed. — After learning about my loom’s pictorial capability, Jerry and Jan wondered aloud if this special image could be woven on a drawloom…