Mug Rugs to Remember

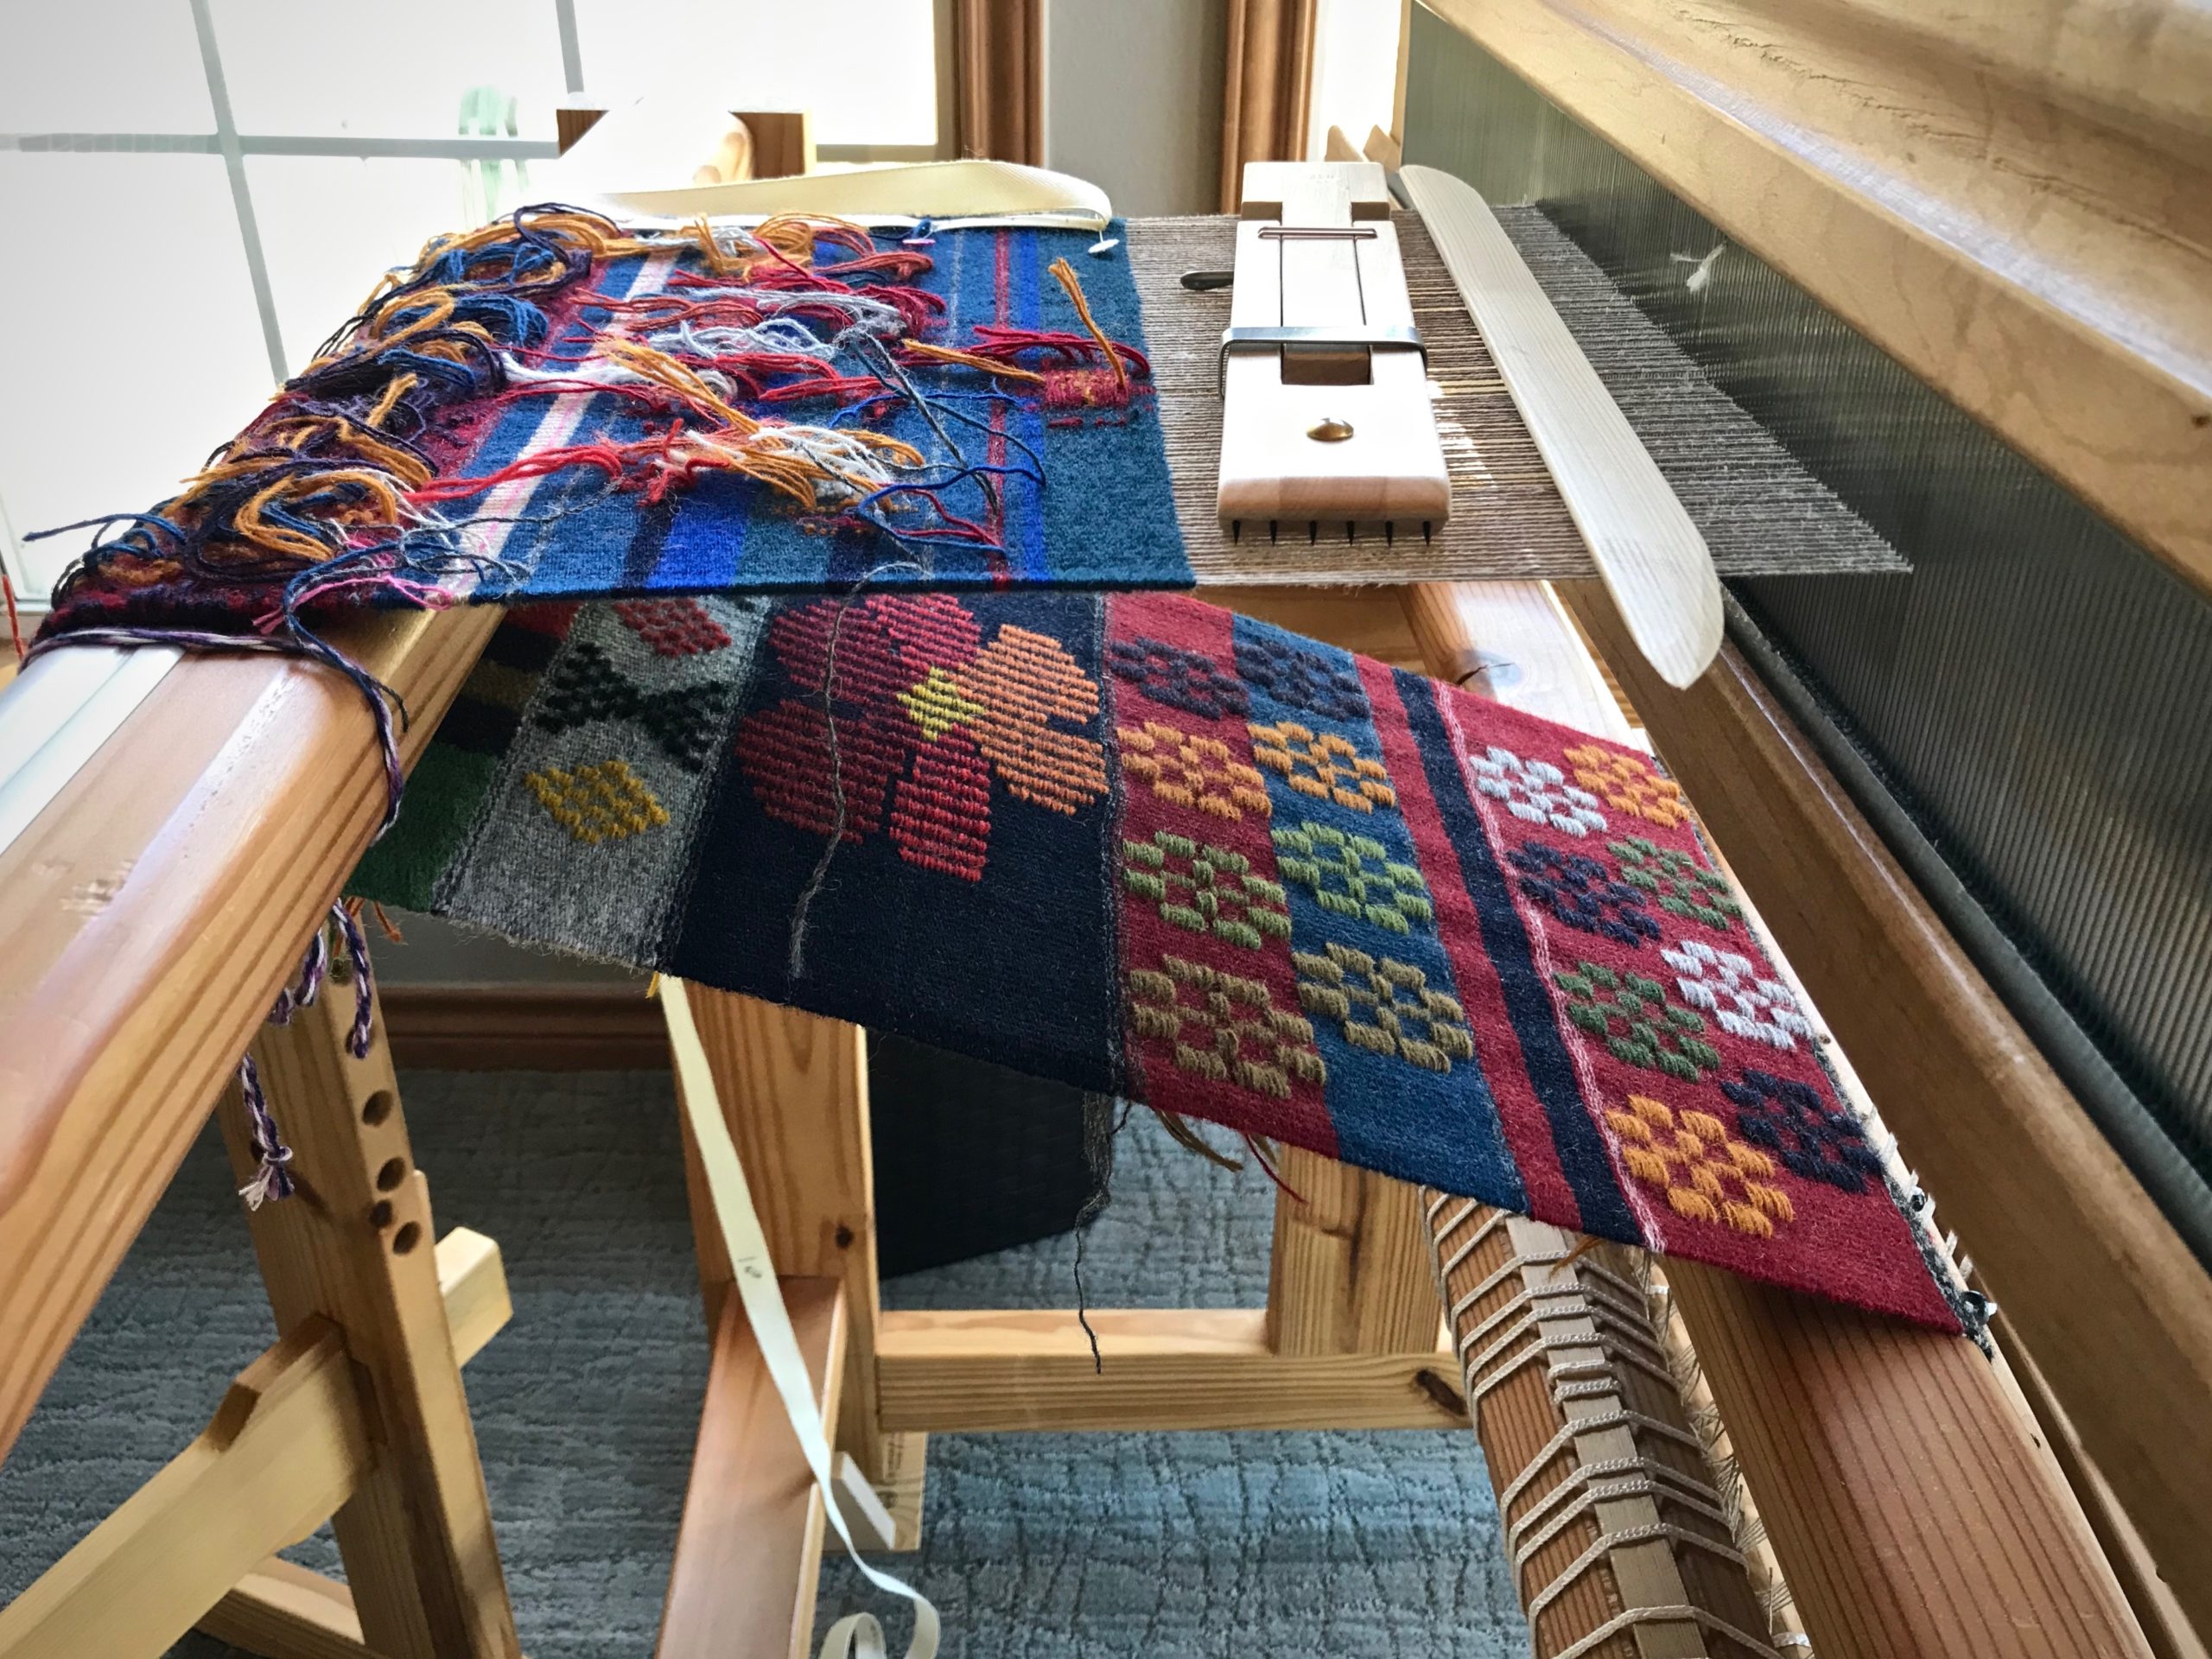
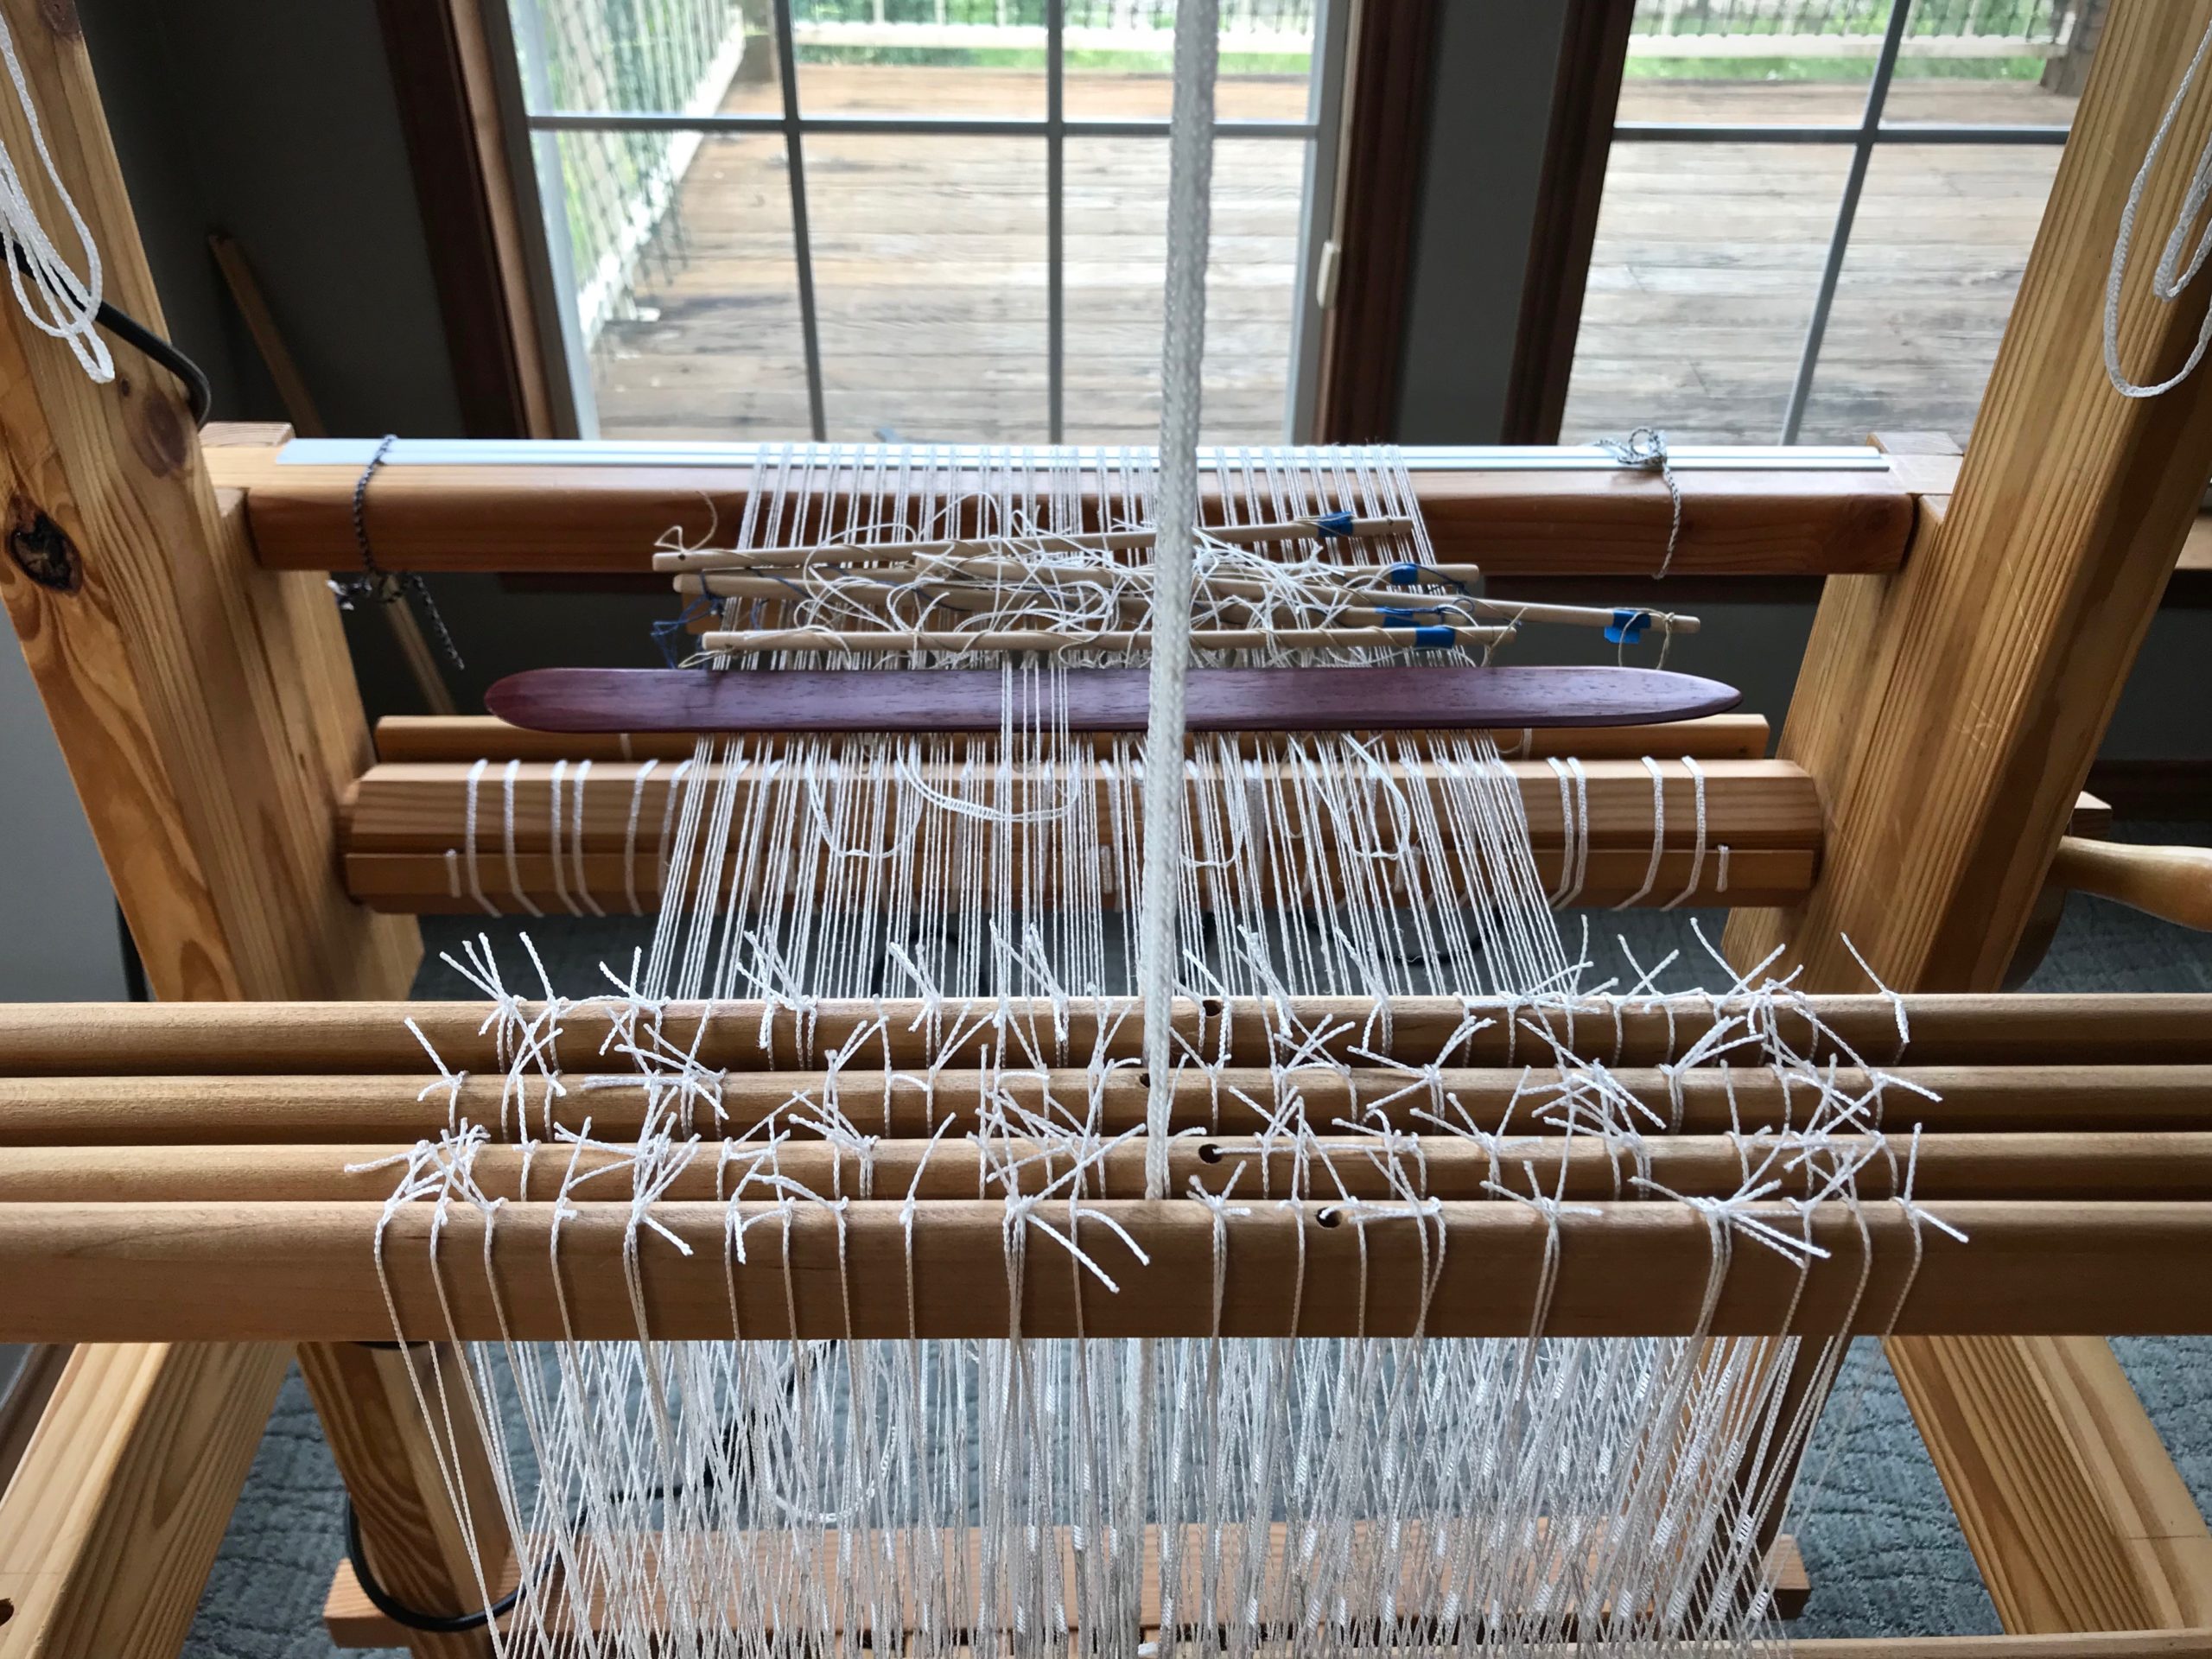
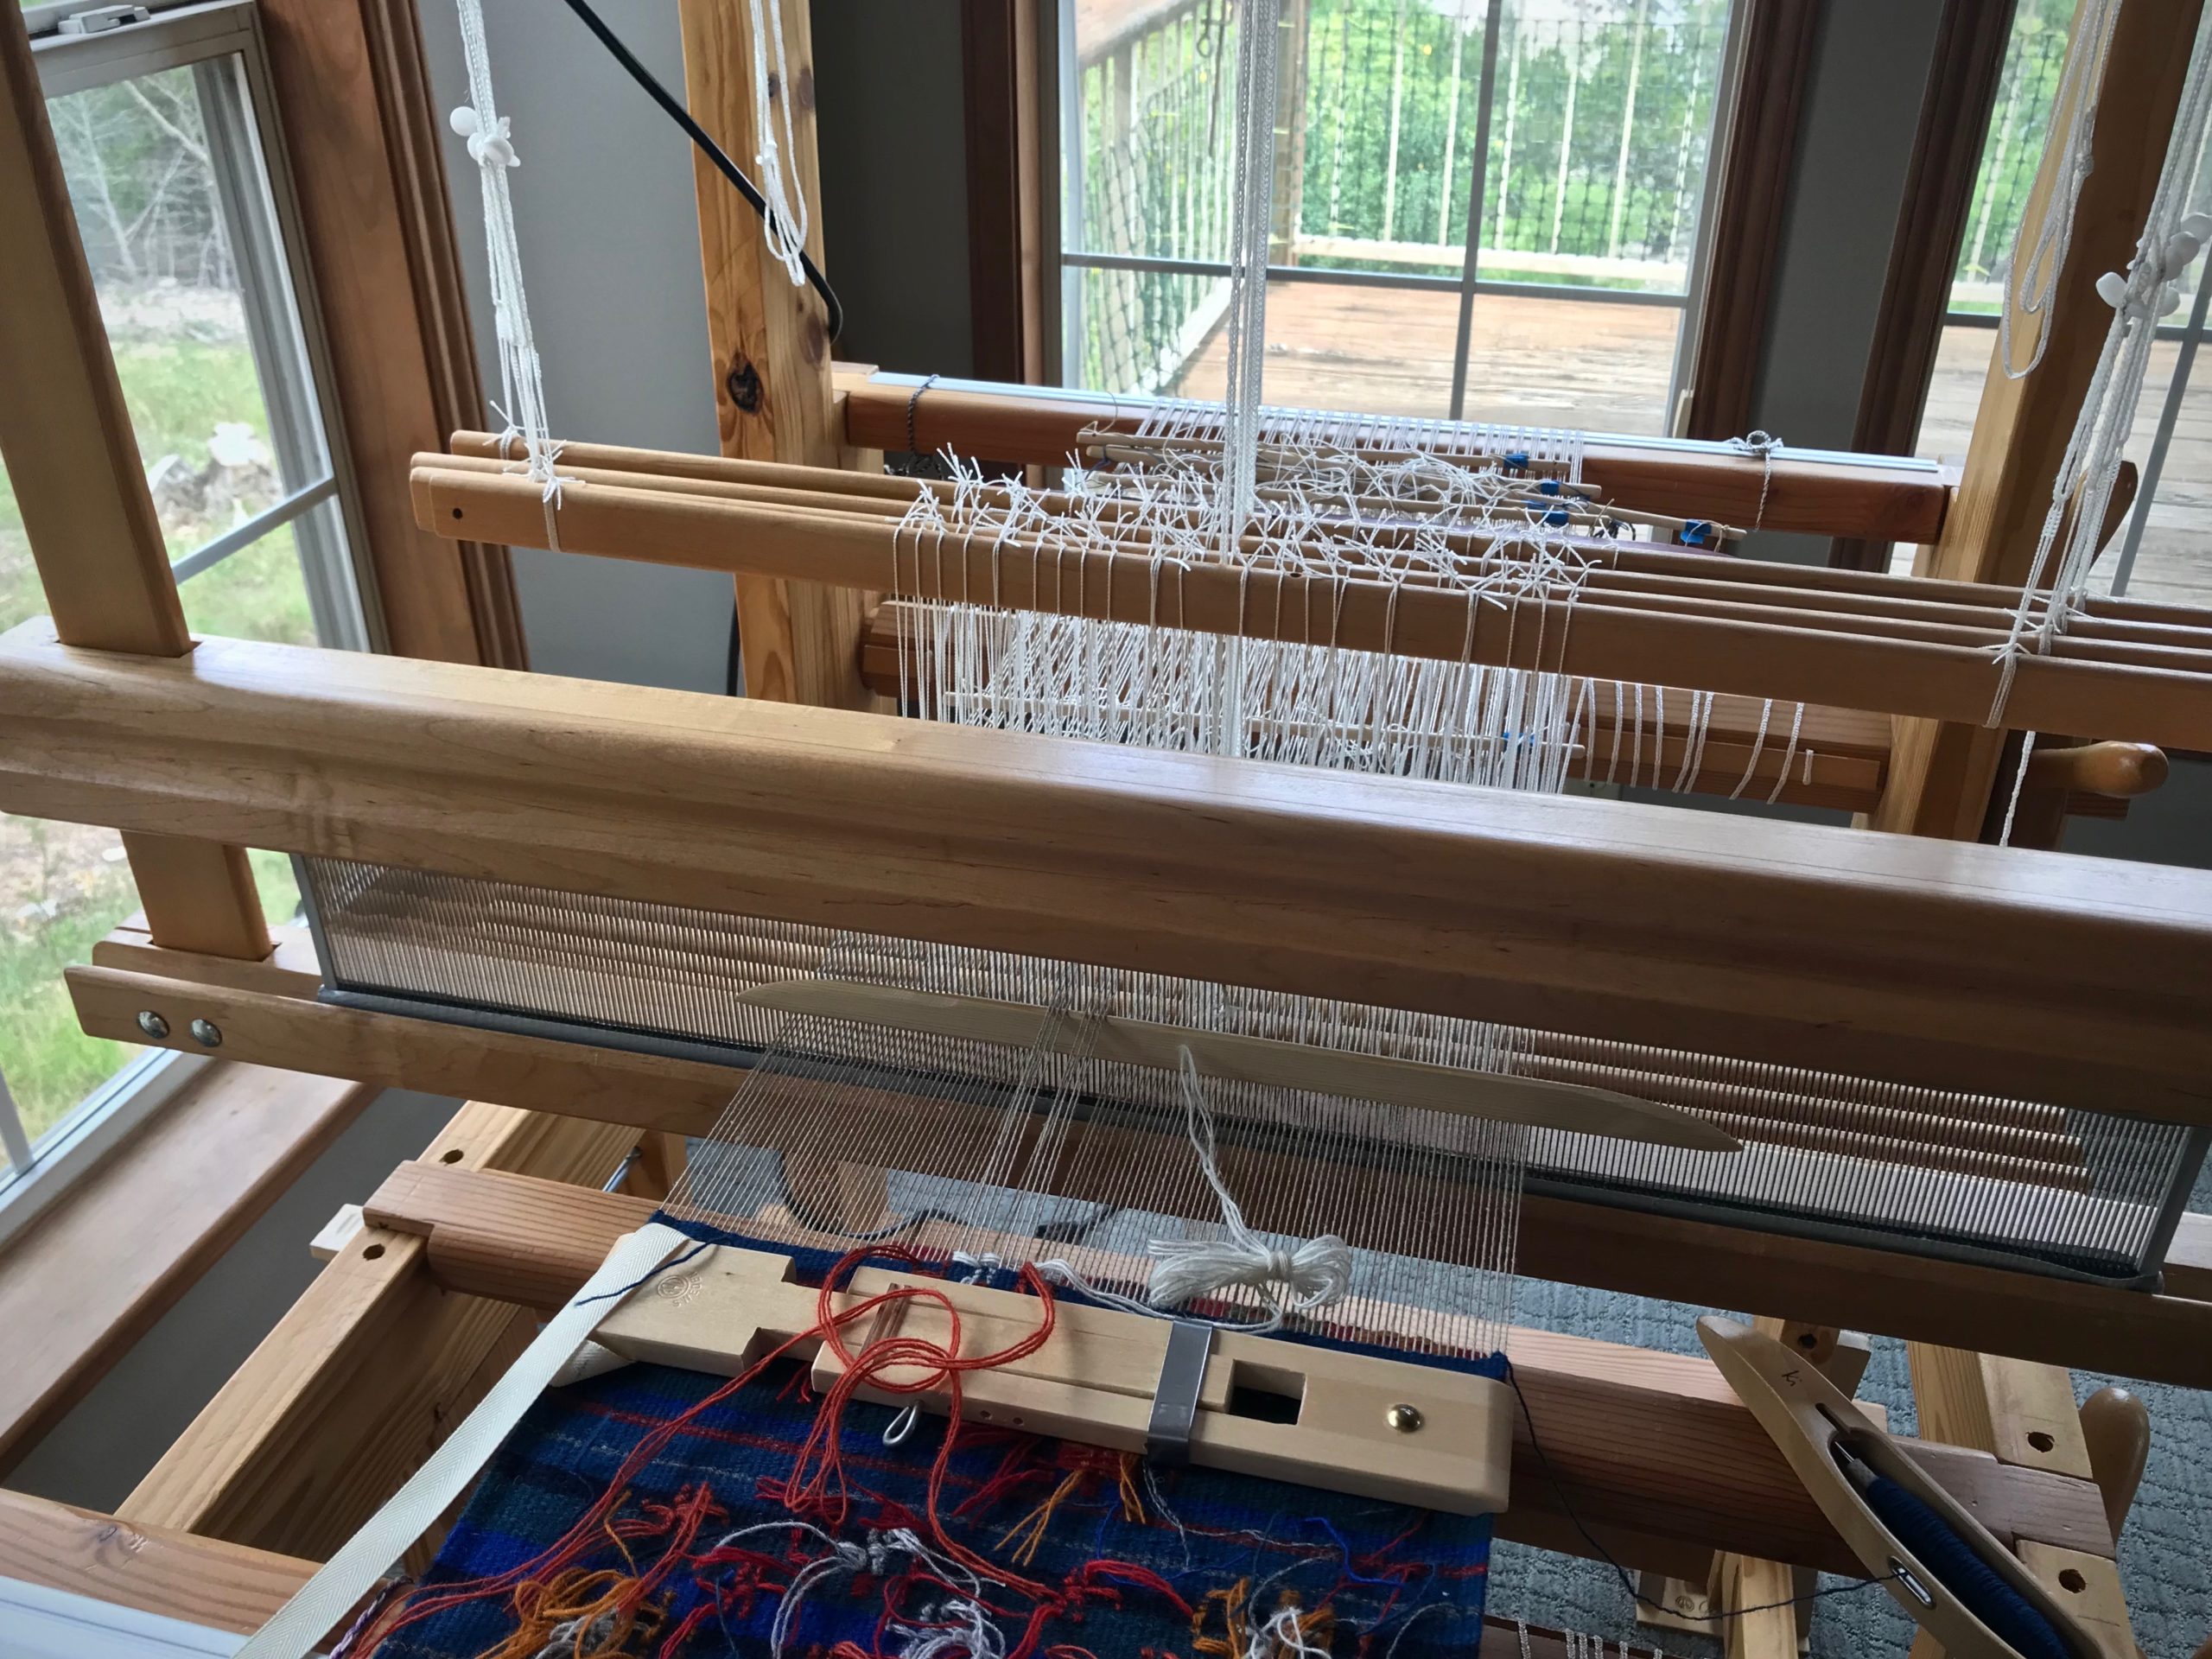
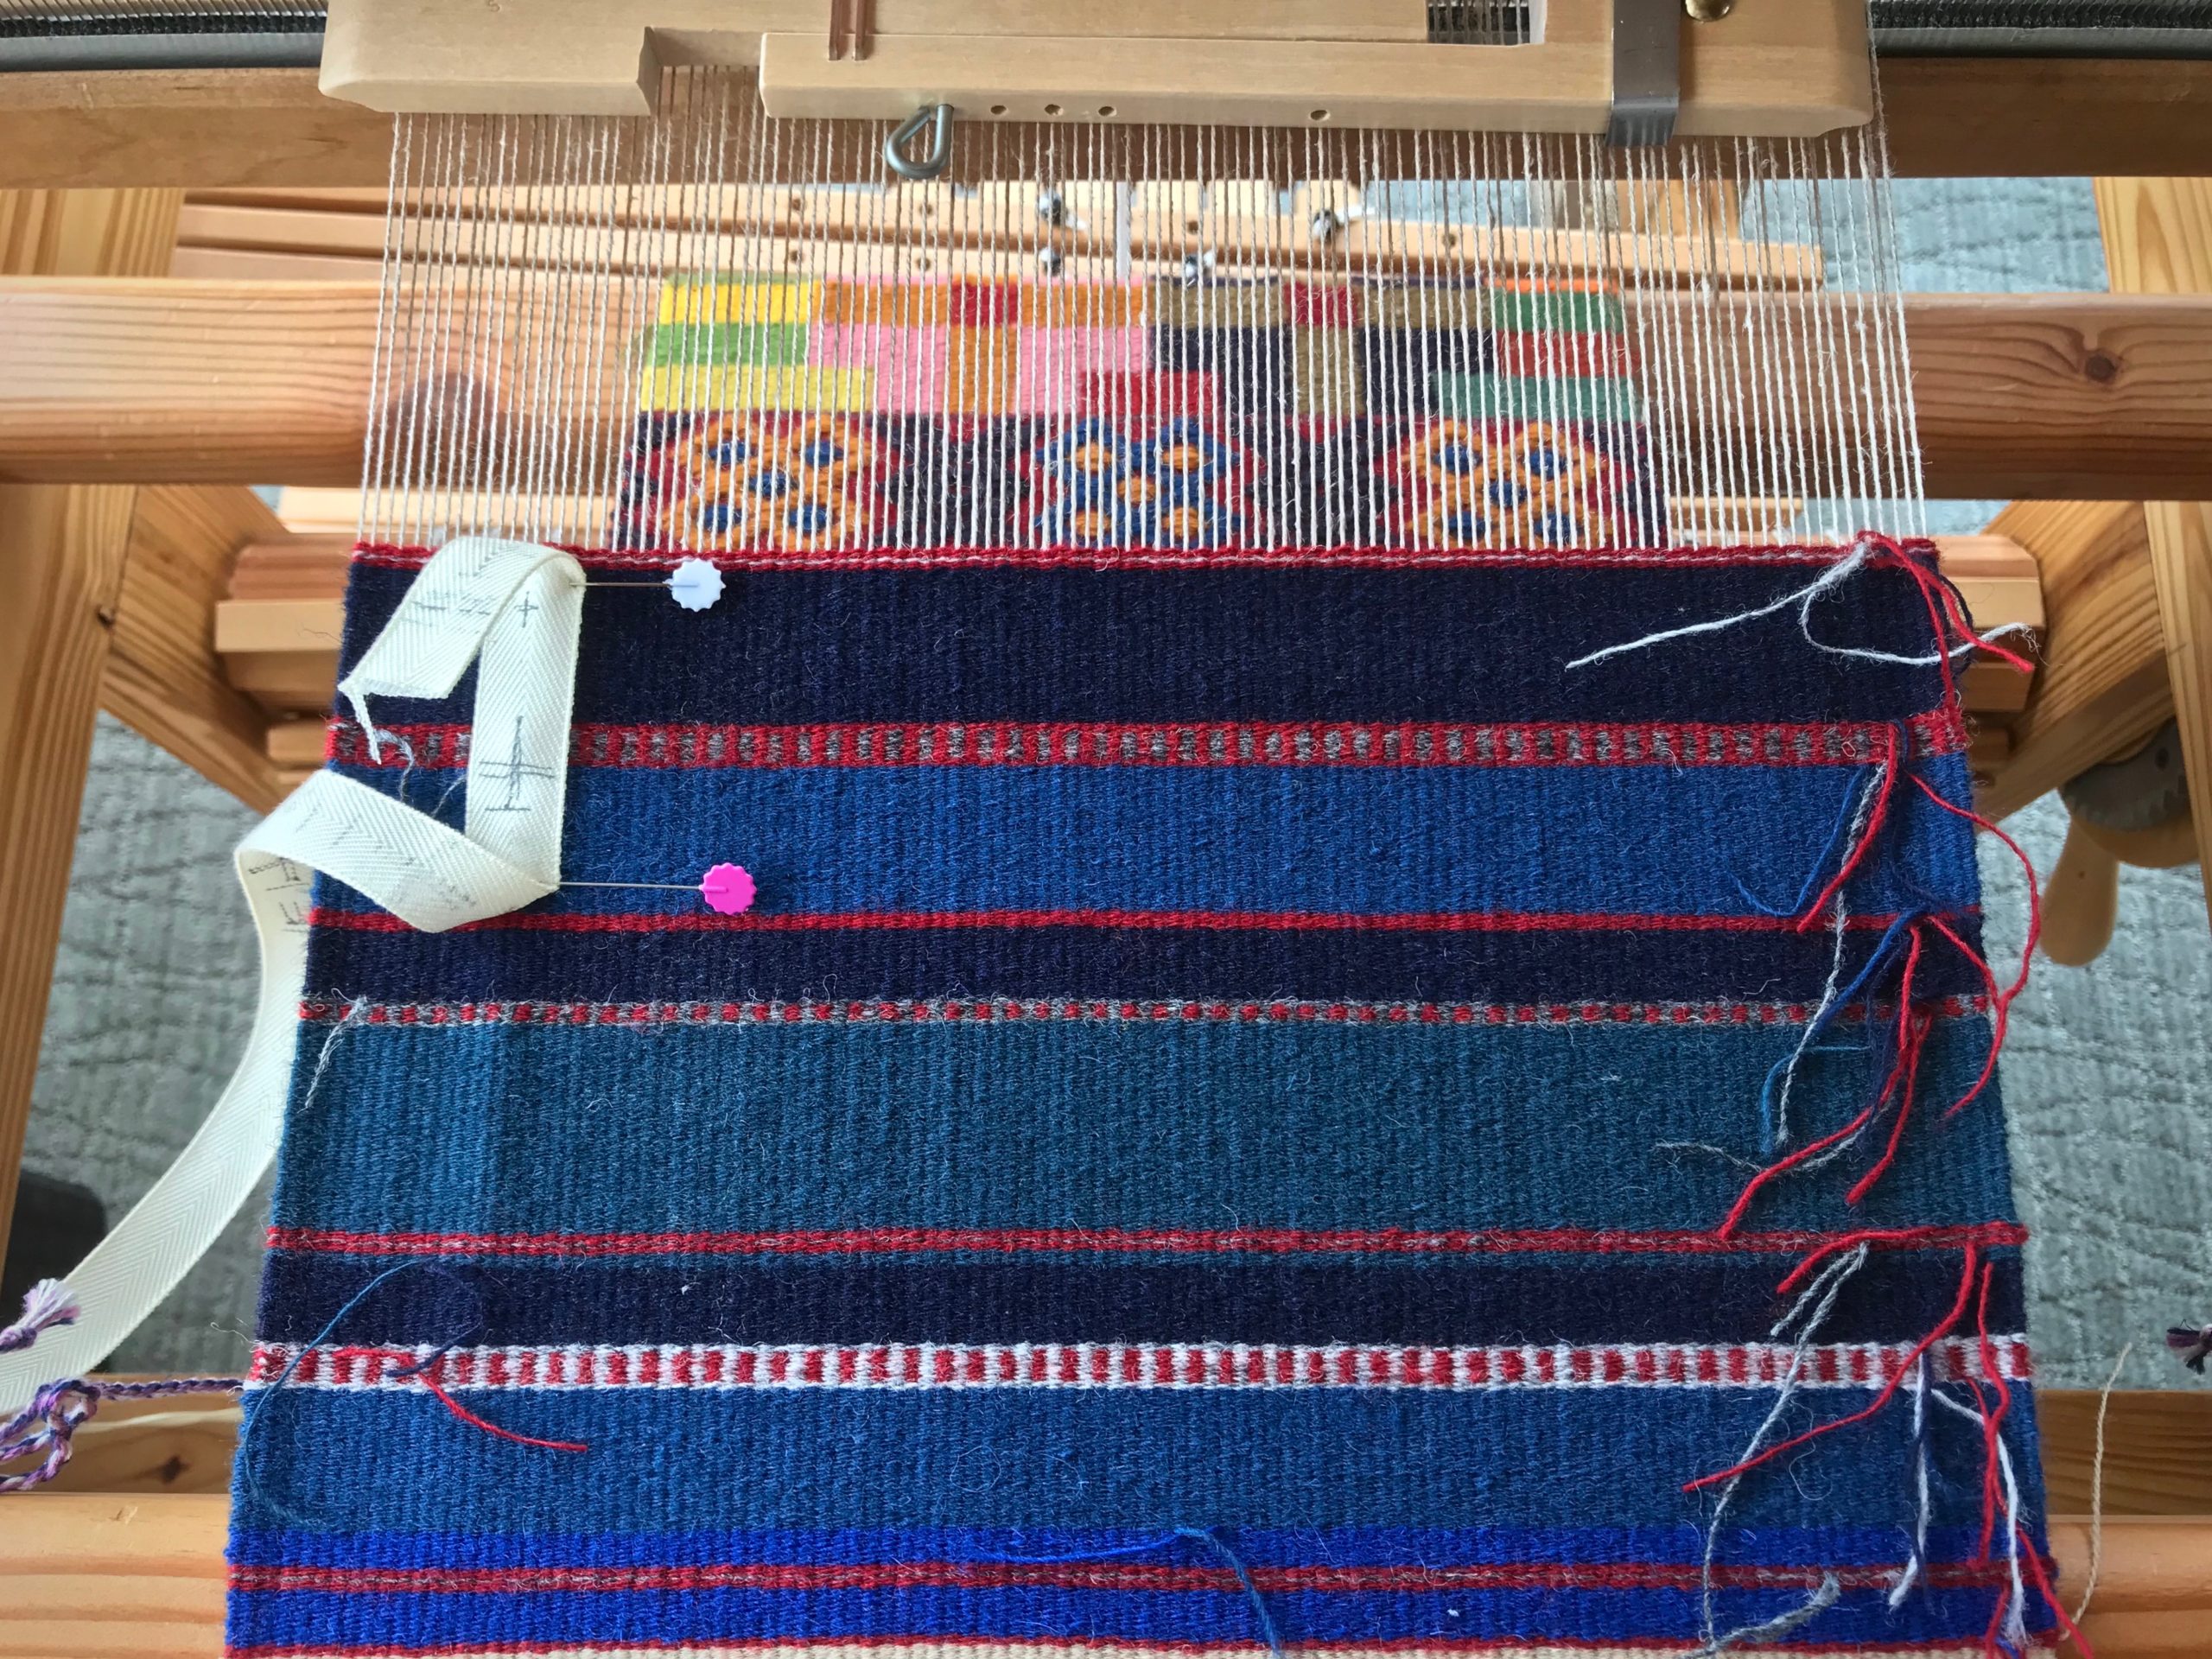
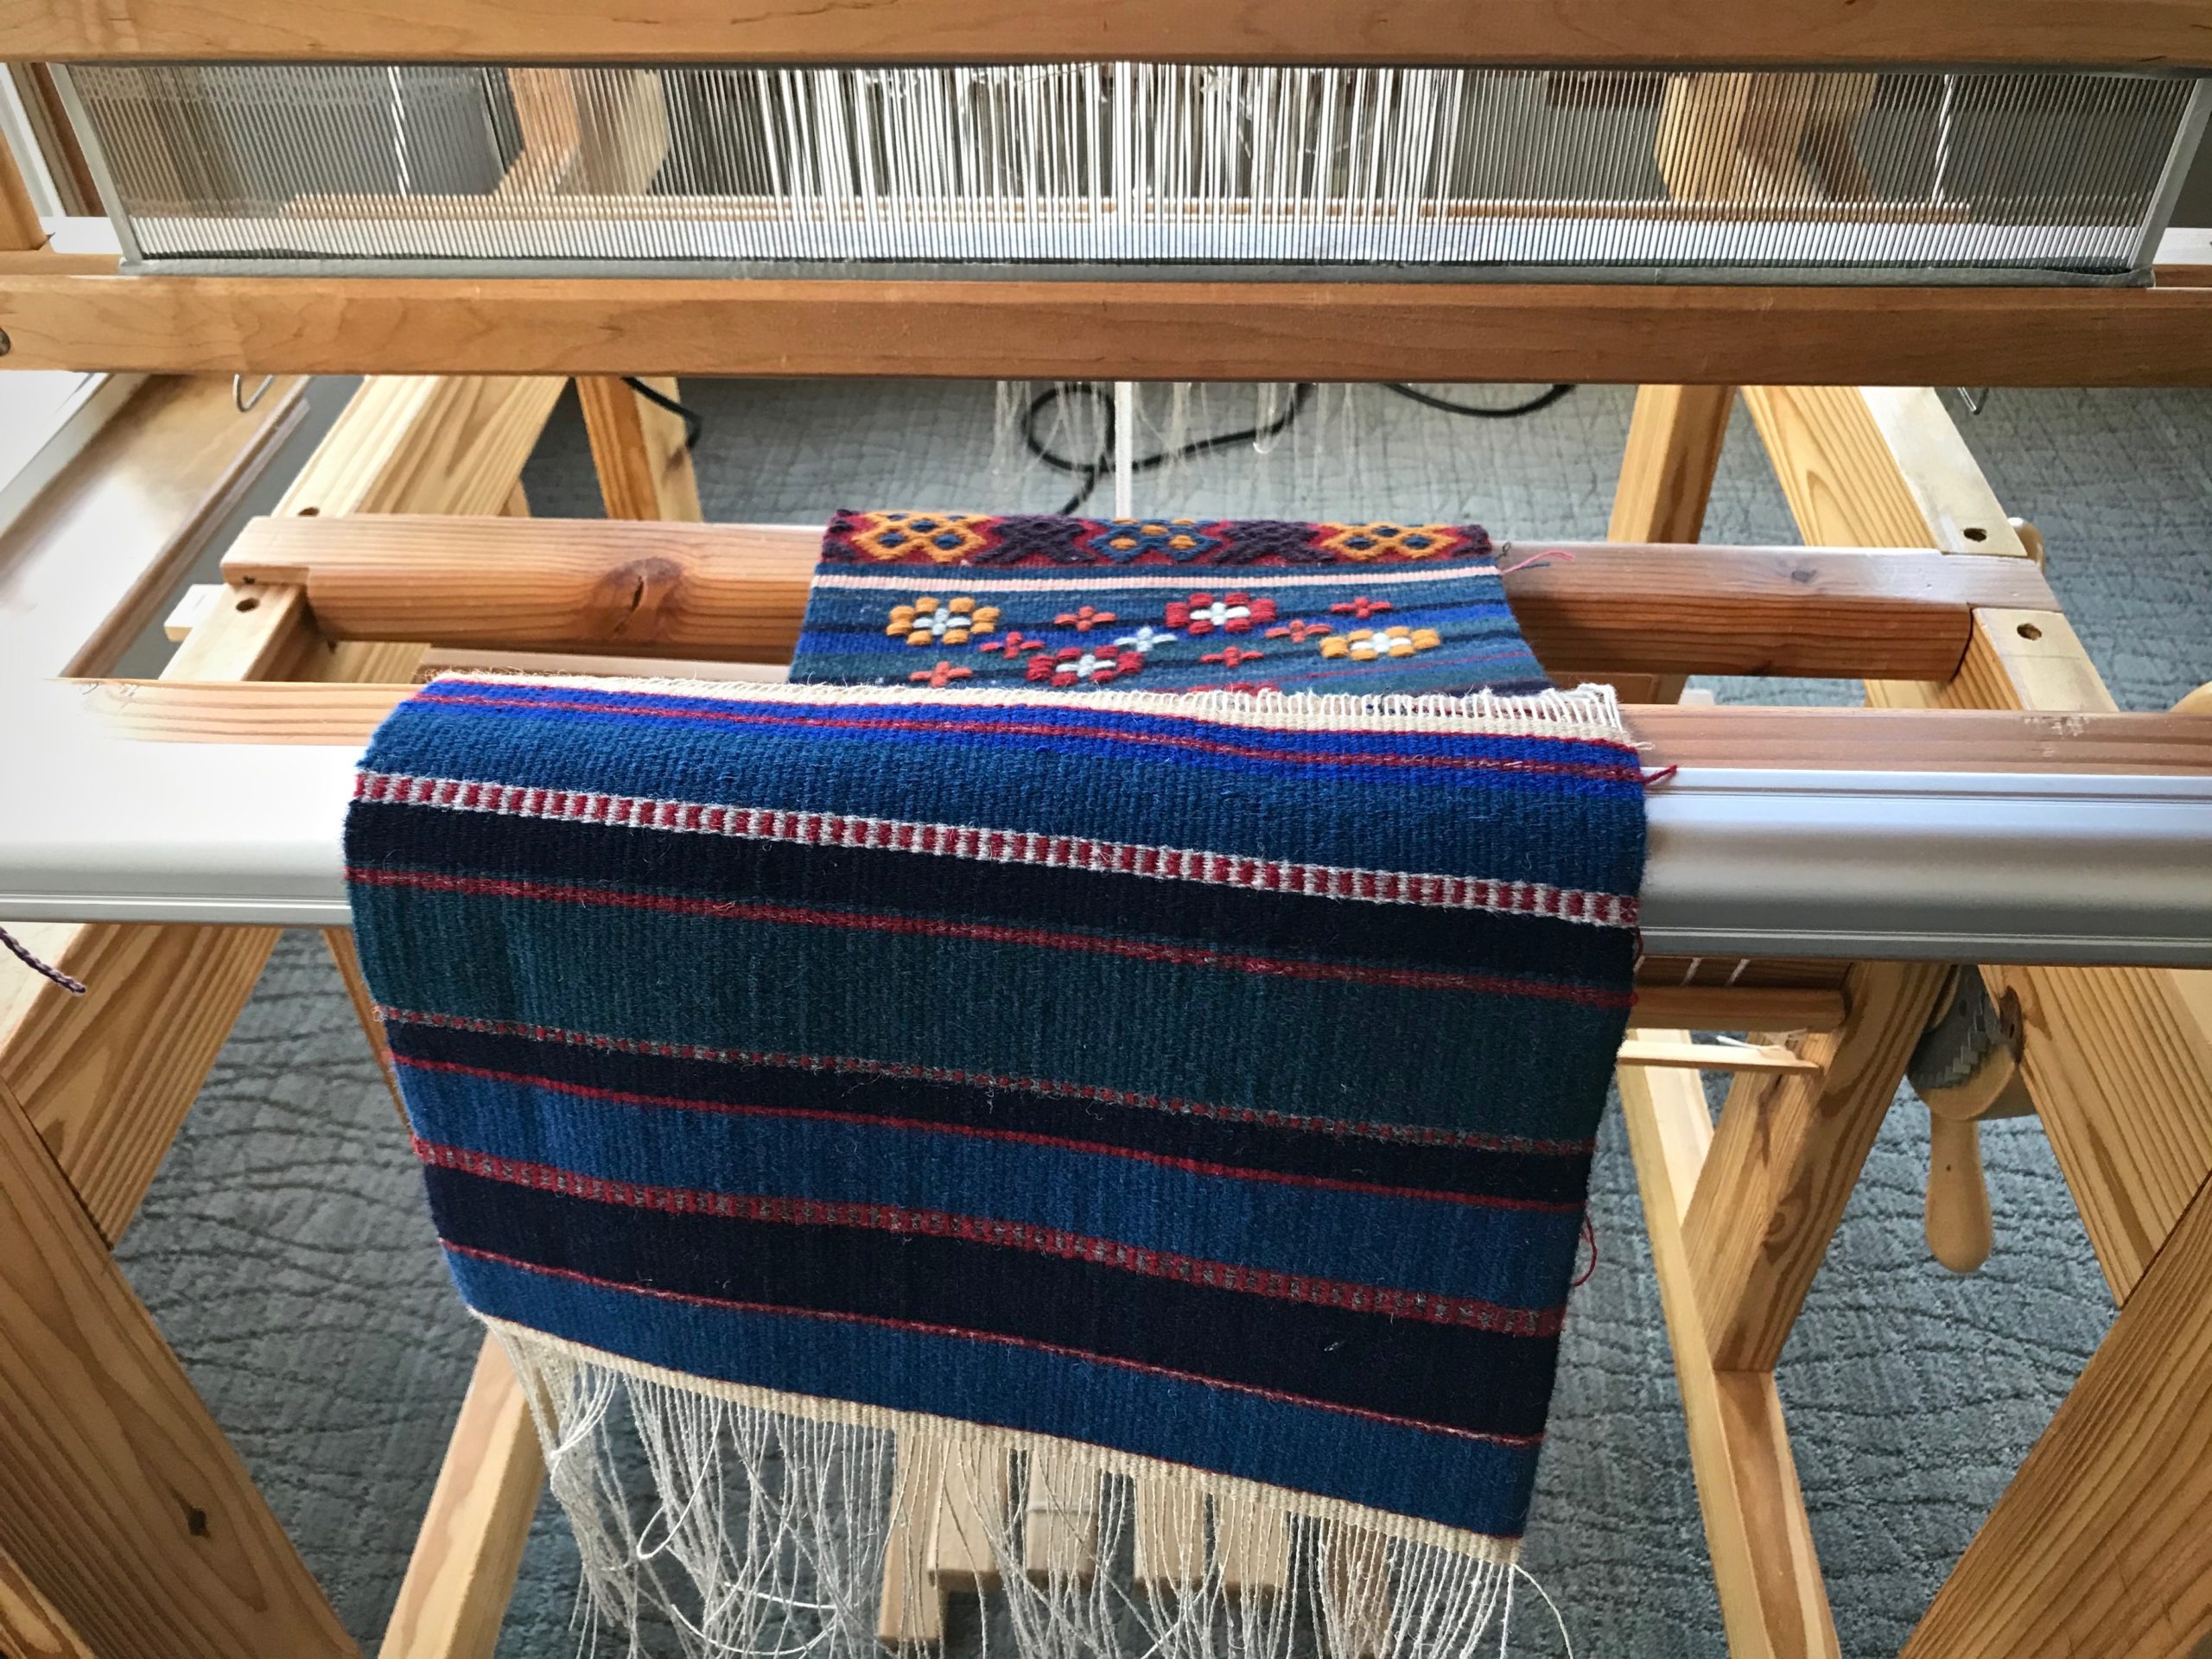
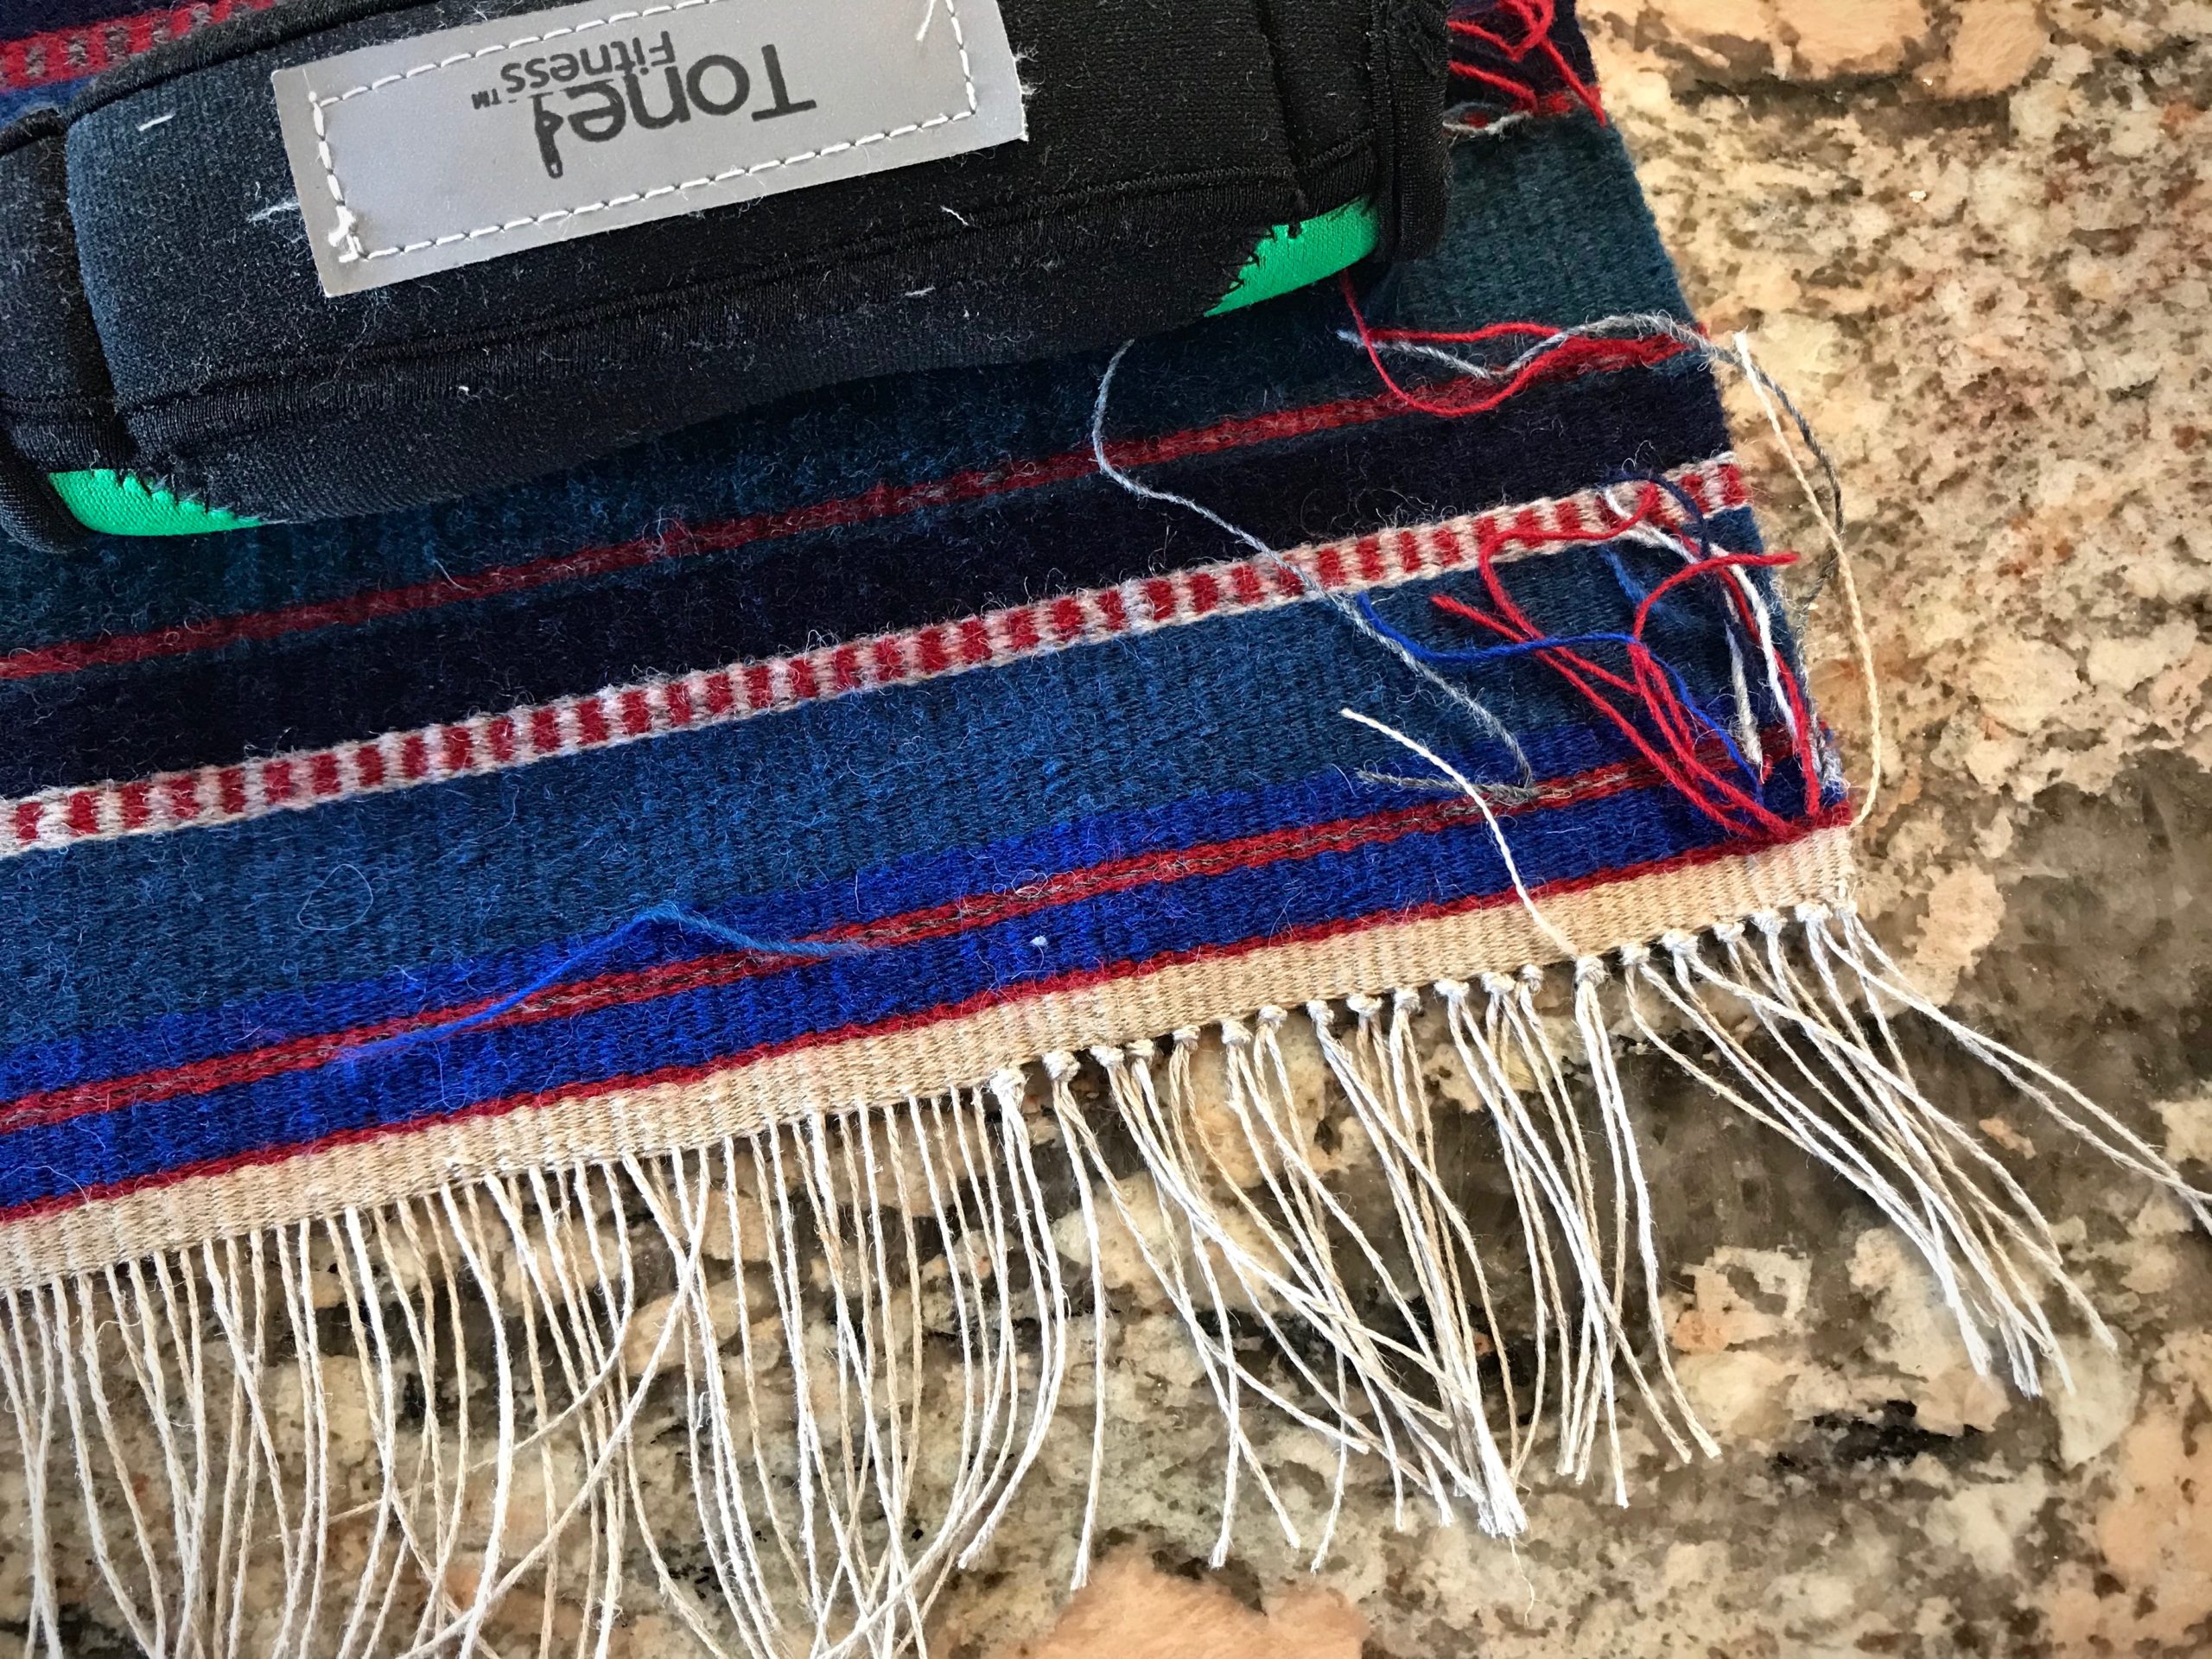
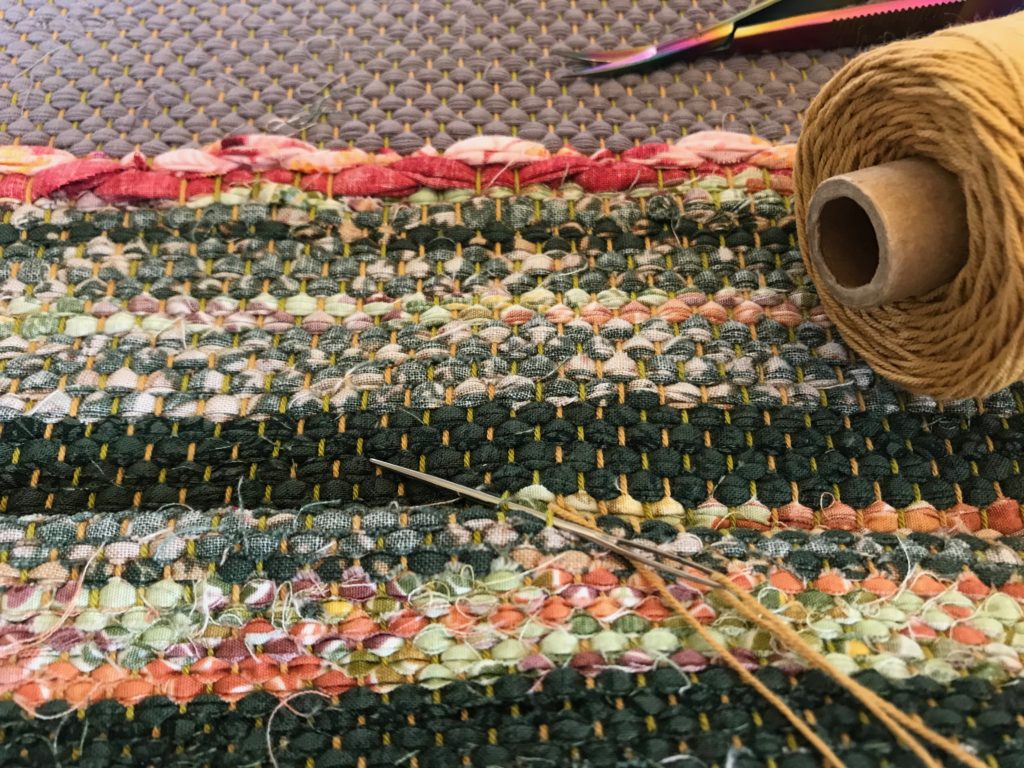
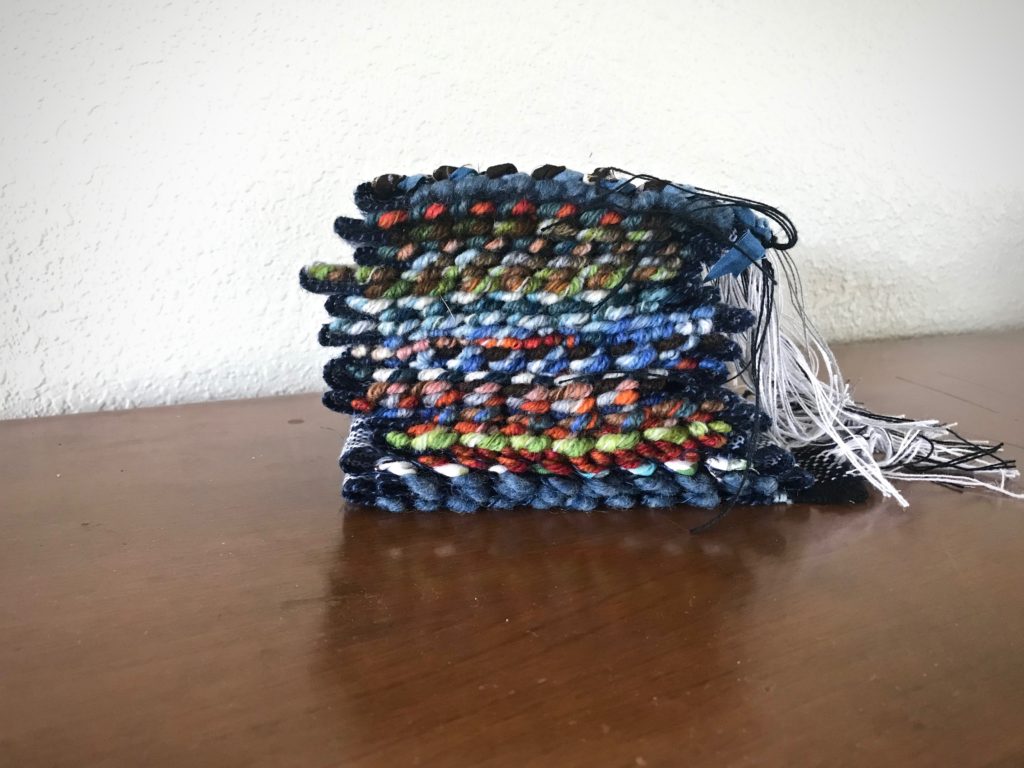
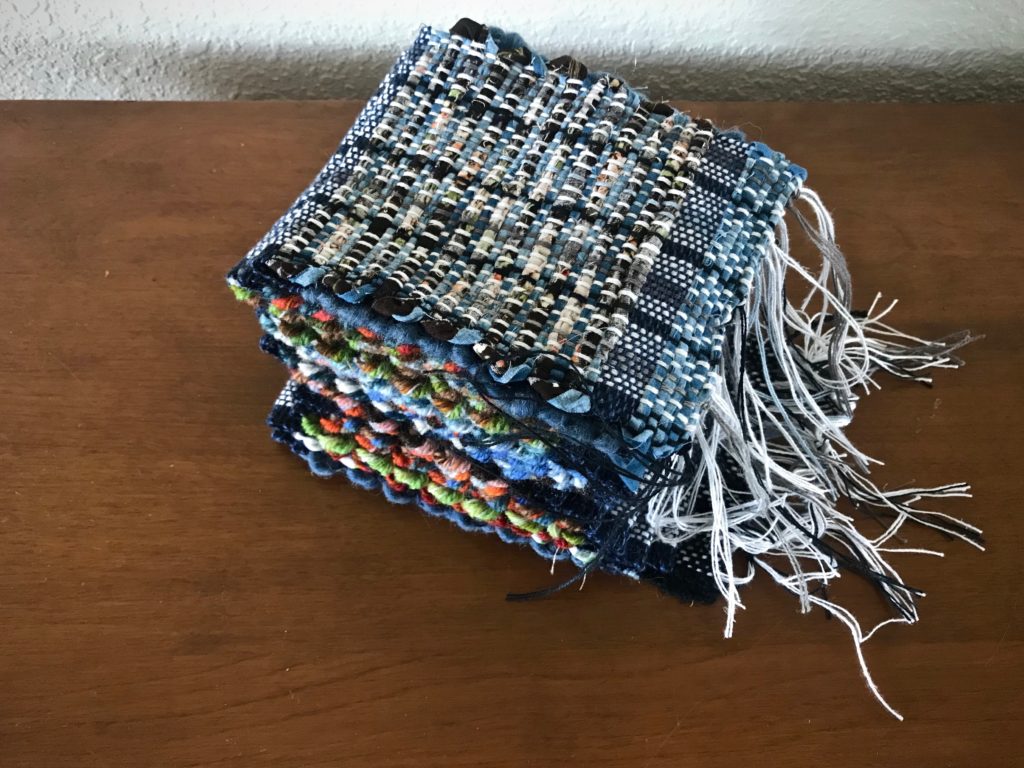
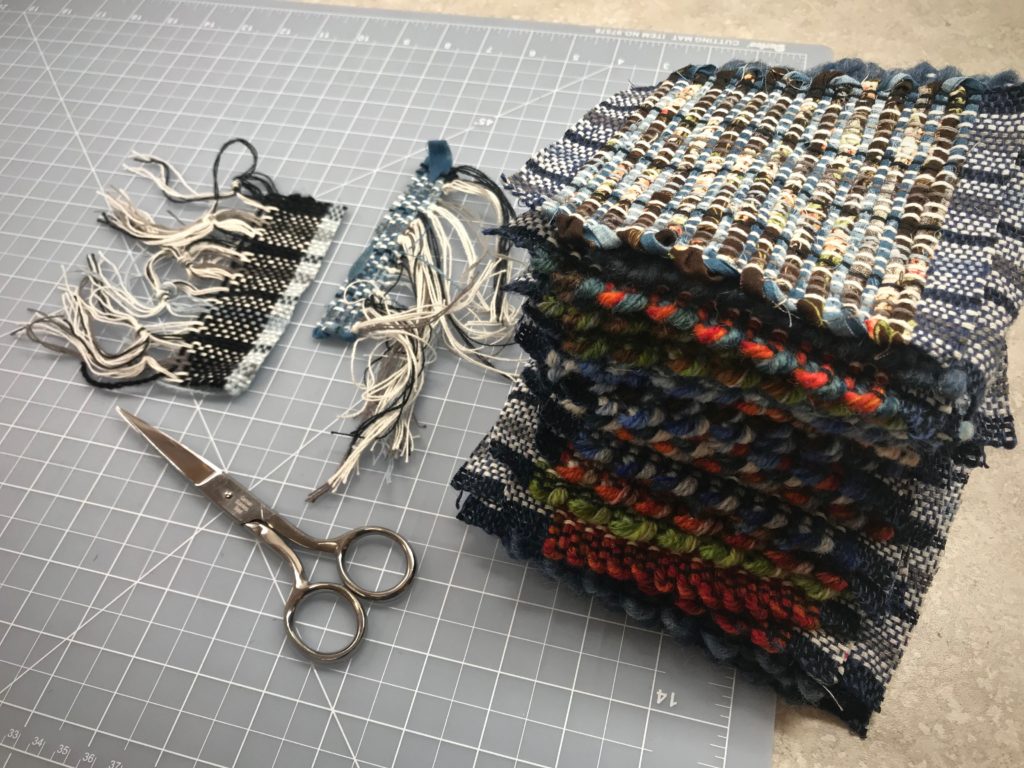
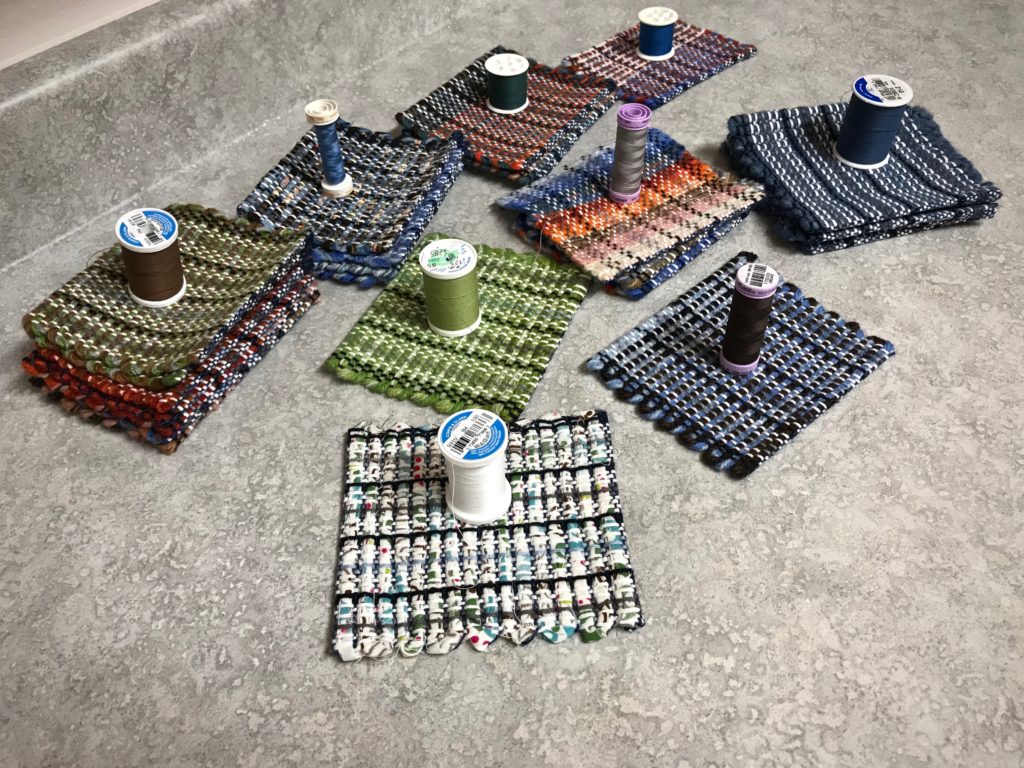
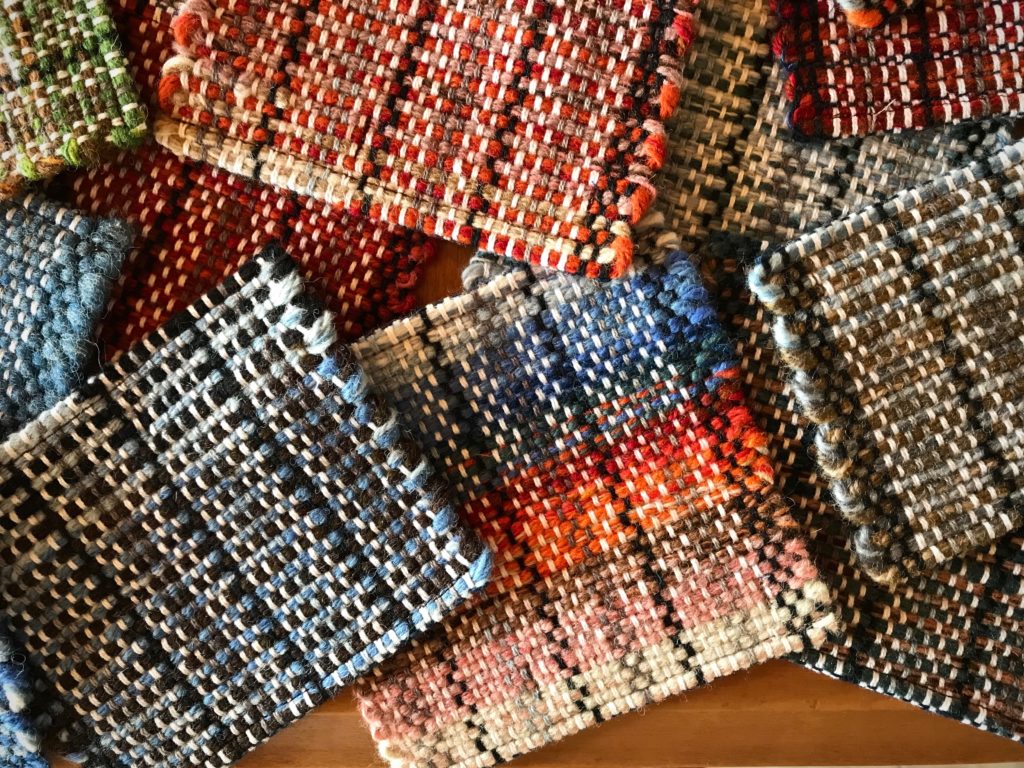
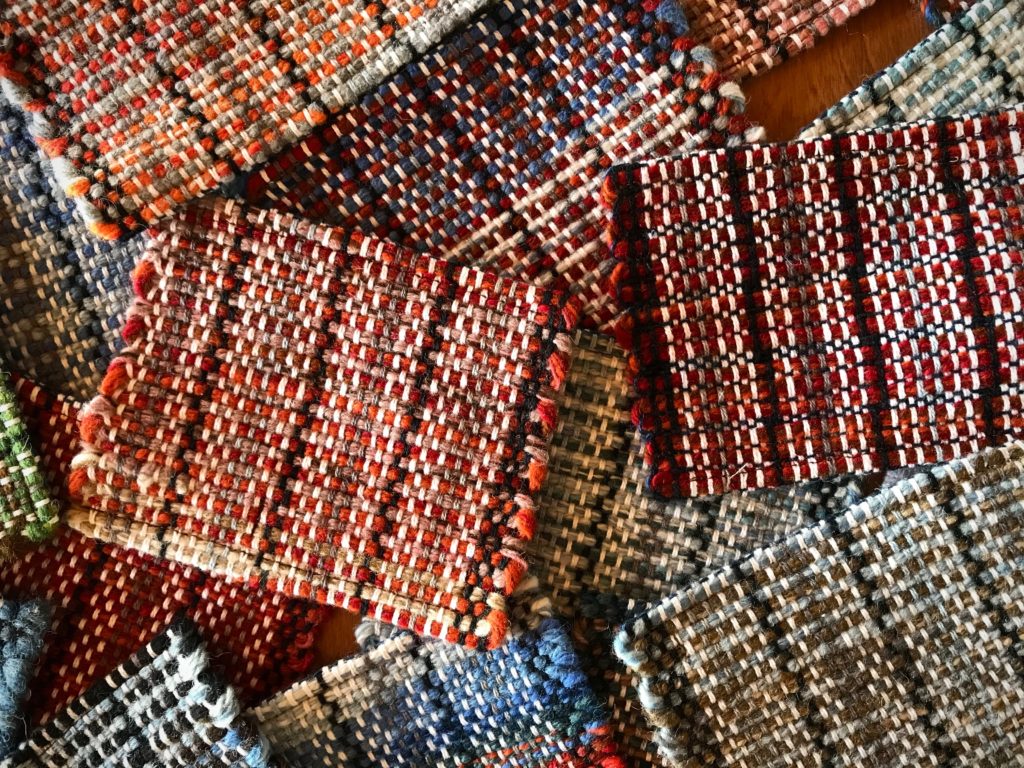
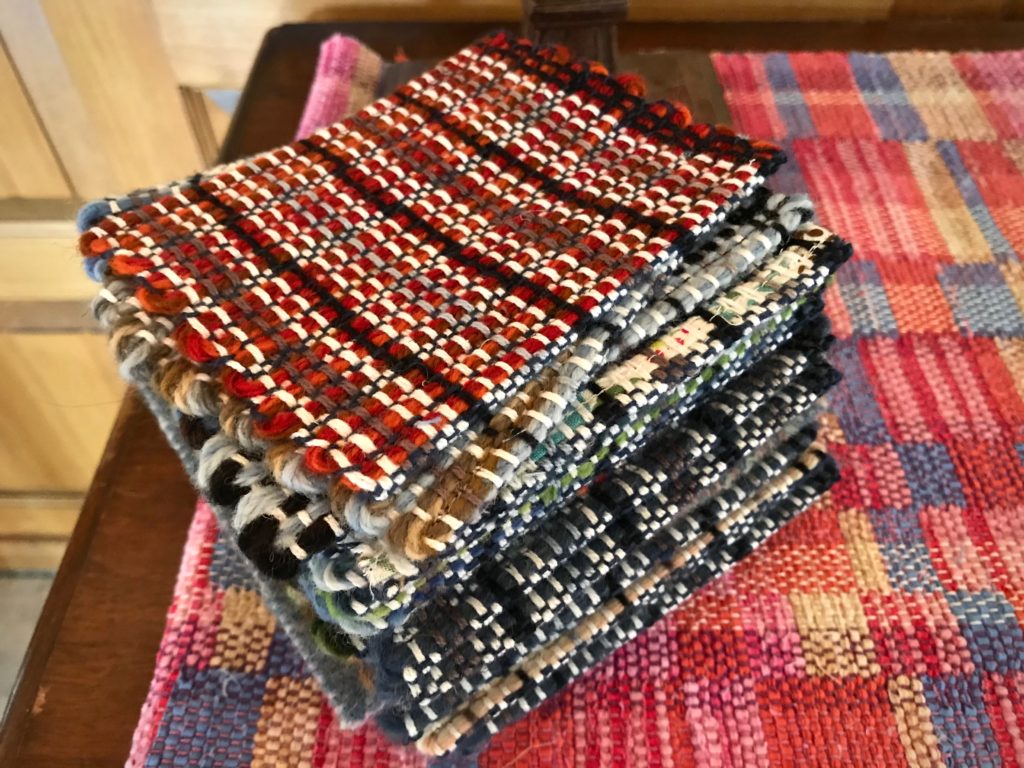
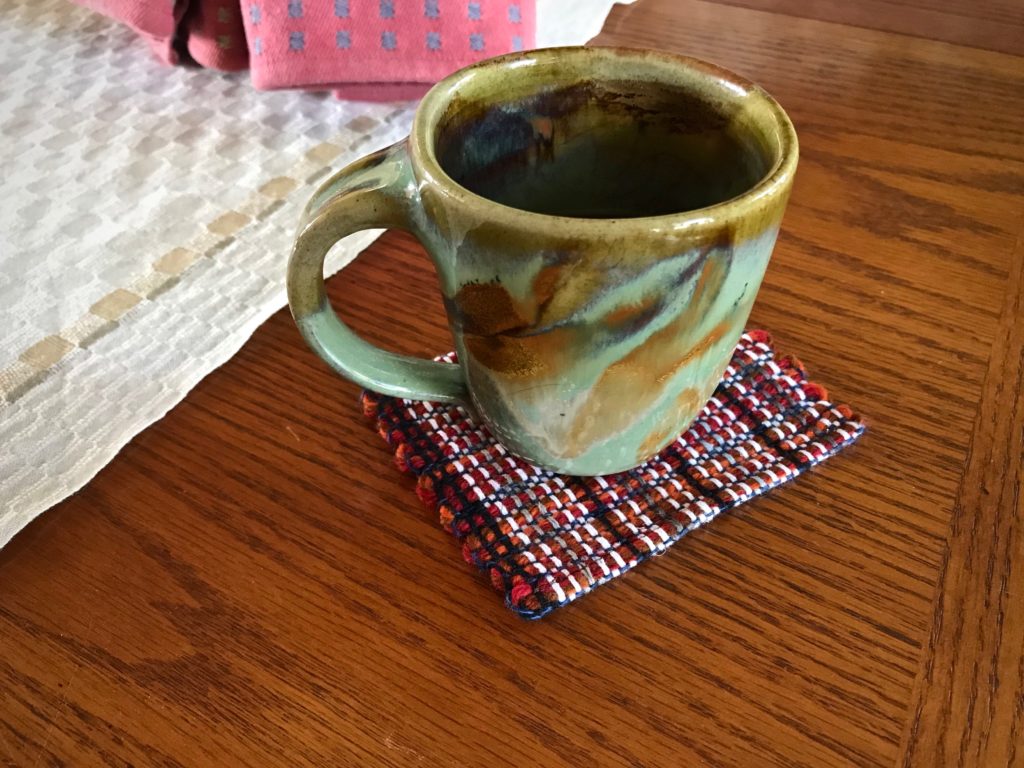
Knowing I would be away from my floor looms for a while, I put a narrow cottolin warp on my little Emilia rigid heddle loom to take with me. Mug rugs—perfect for travel weaving, to use bits of time here and there. I had some bulky wool yarn and a few rag rug fabric strips to take for weft. In a burst of hopeful inspiration, I grabbed a bag of Tuna/Fårö wool butterflies, leftover from my Lizard tapestry (see Quiet Friday: Lizard Tapestry) a couple years ago, and tossed it in my travel bag as we were going out the door.

Mug rugs on Glimåkra Emilia rigid heddle loom.
Glimåkra Emilia 35cm (13.5″) rigid heddle loom. Narrow cottolin warp is from a previous warp-winding error that I had chained off and saved.
Mug rugs on my Glimakra Emilia rigid heddle loom.
Blue bulky wool yarn left from a long-ago project makes a good thick weft for mug rugs. Picks of navy blue tow linen are woven between picks of thick weft on some of the mug rugs.
Weaving mug rugs on my Glimakra Emilia rigid heddle loom.
Wool butterflies for the weft are made of several strands of Tuna and Fårö yarn.

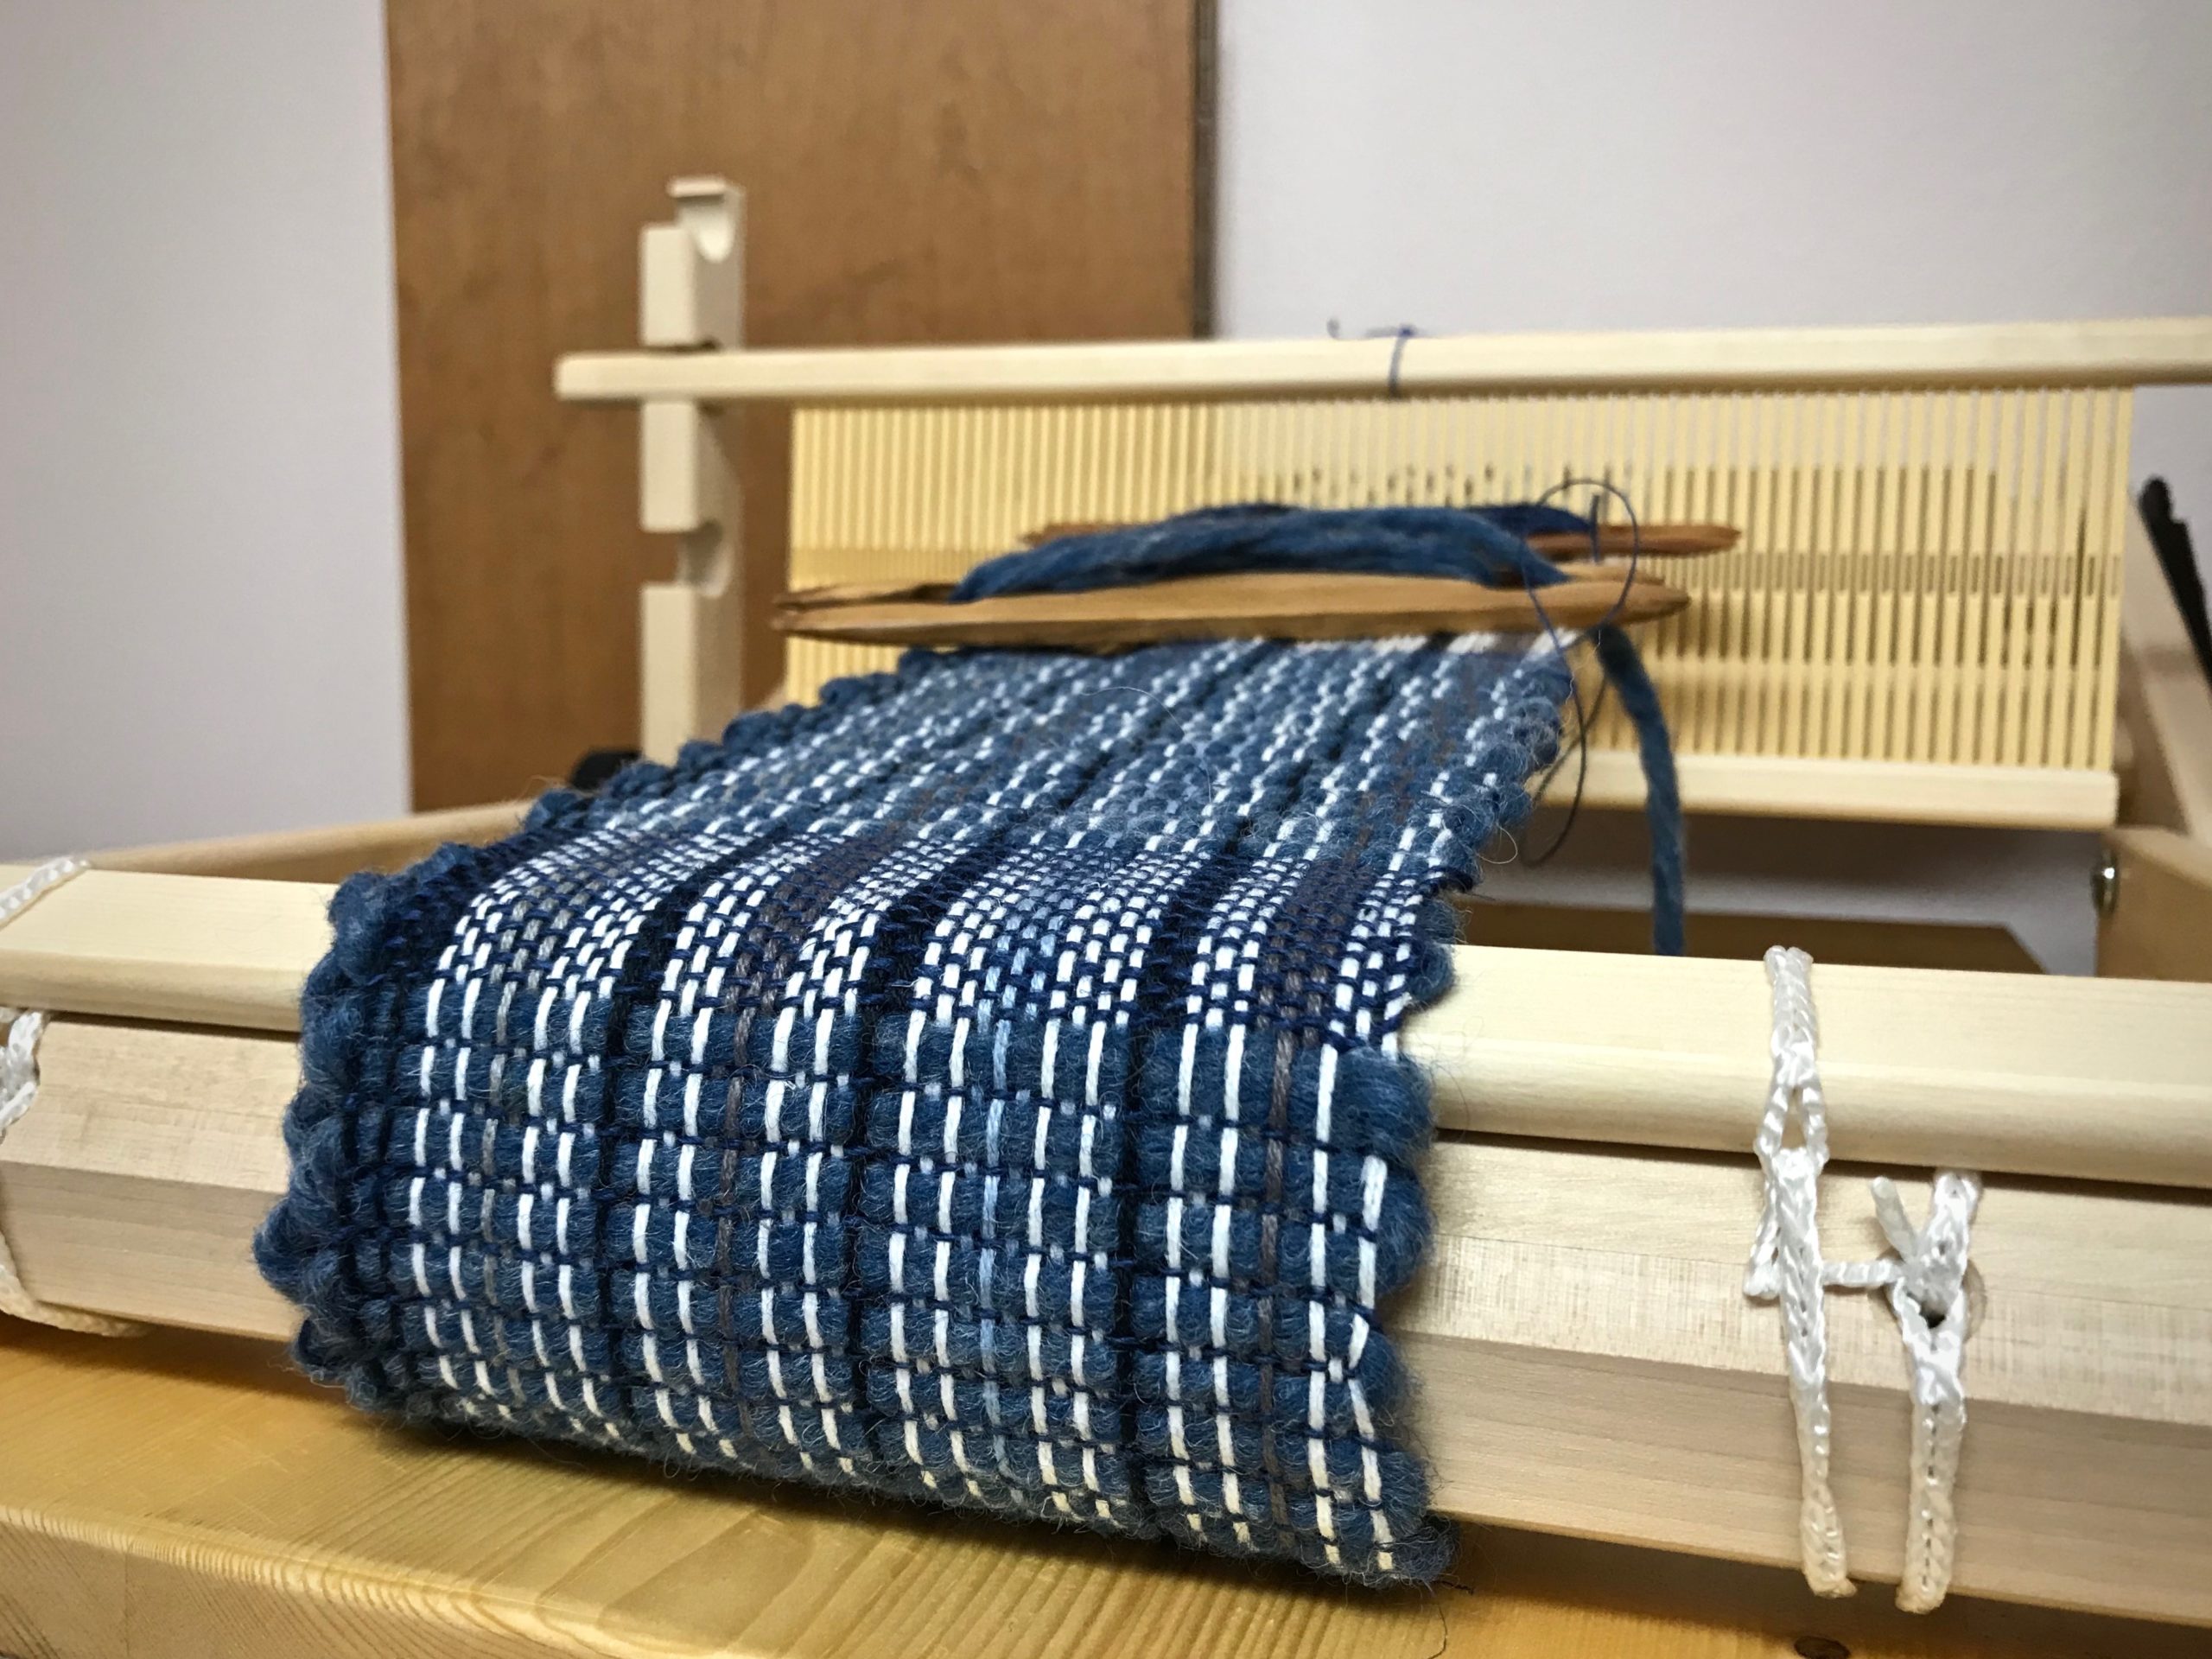
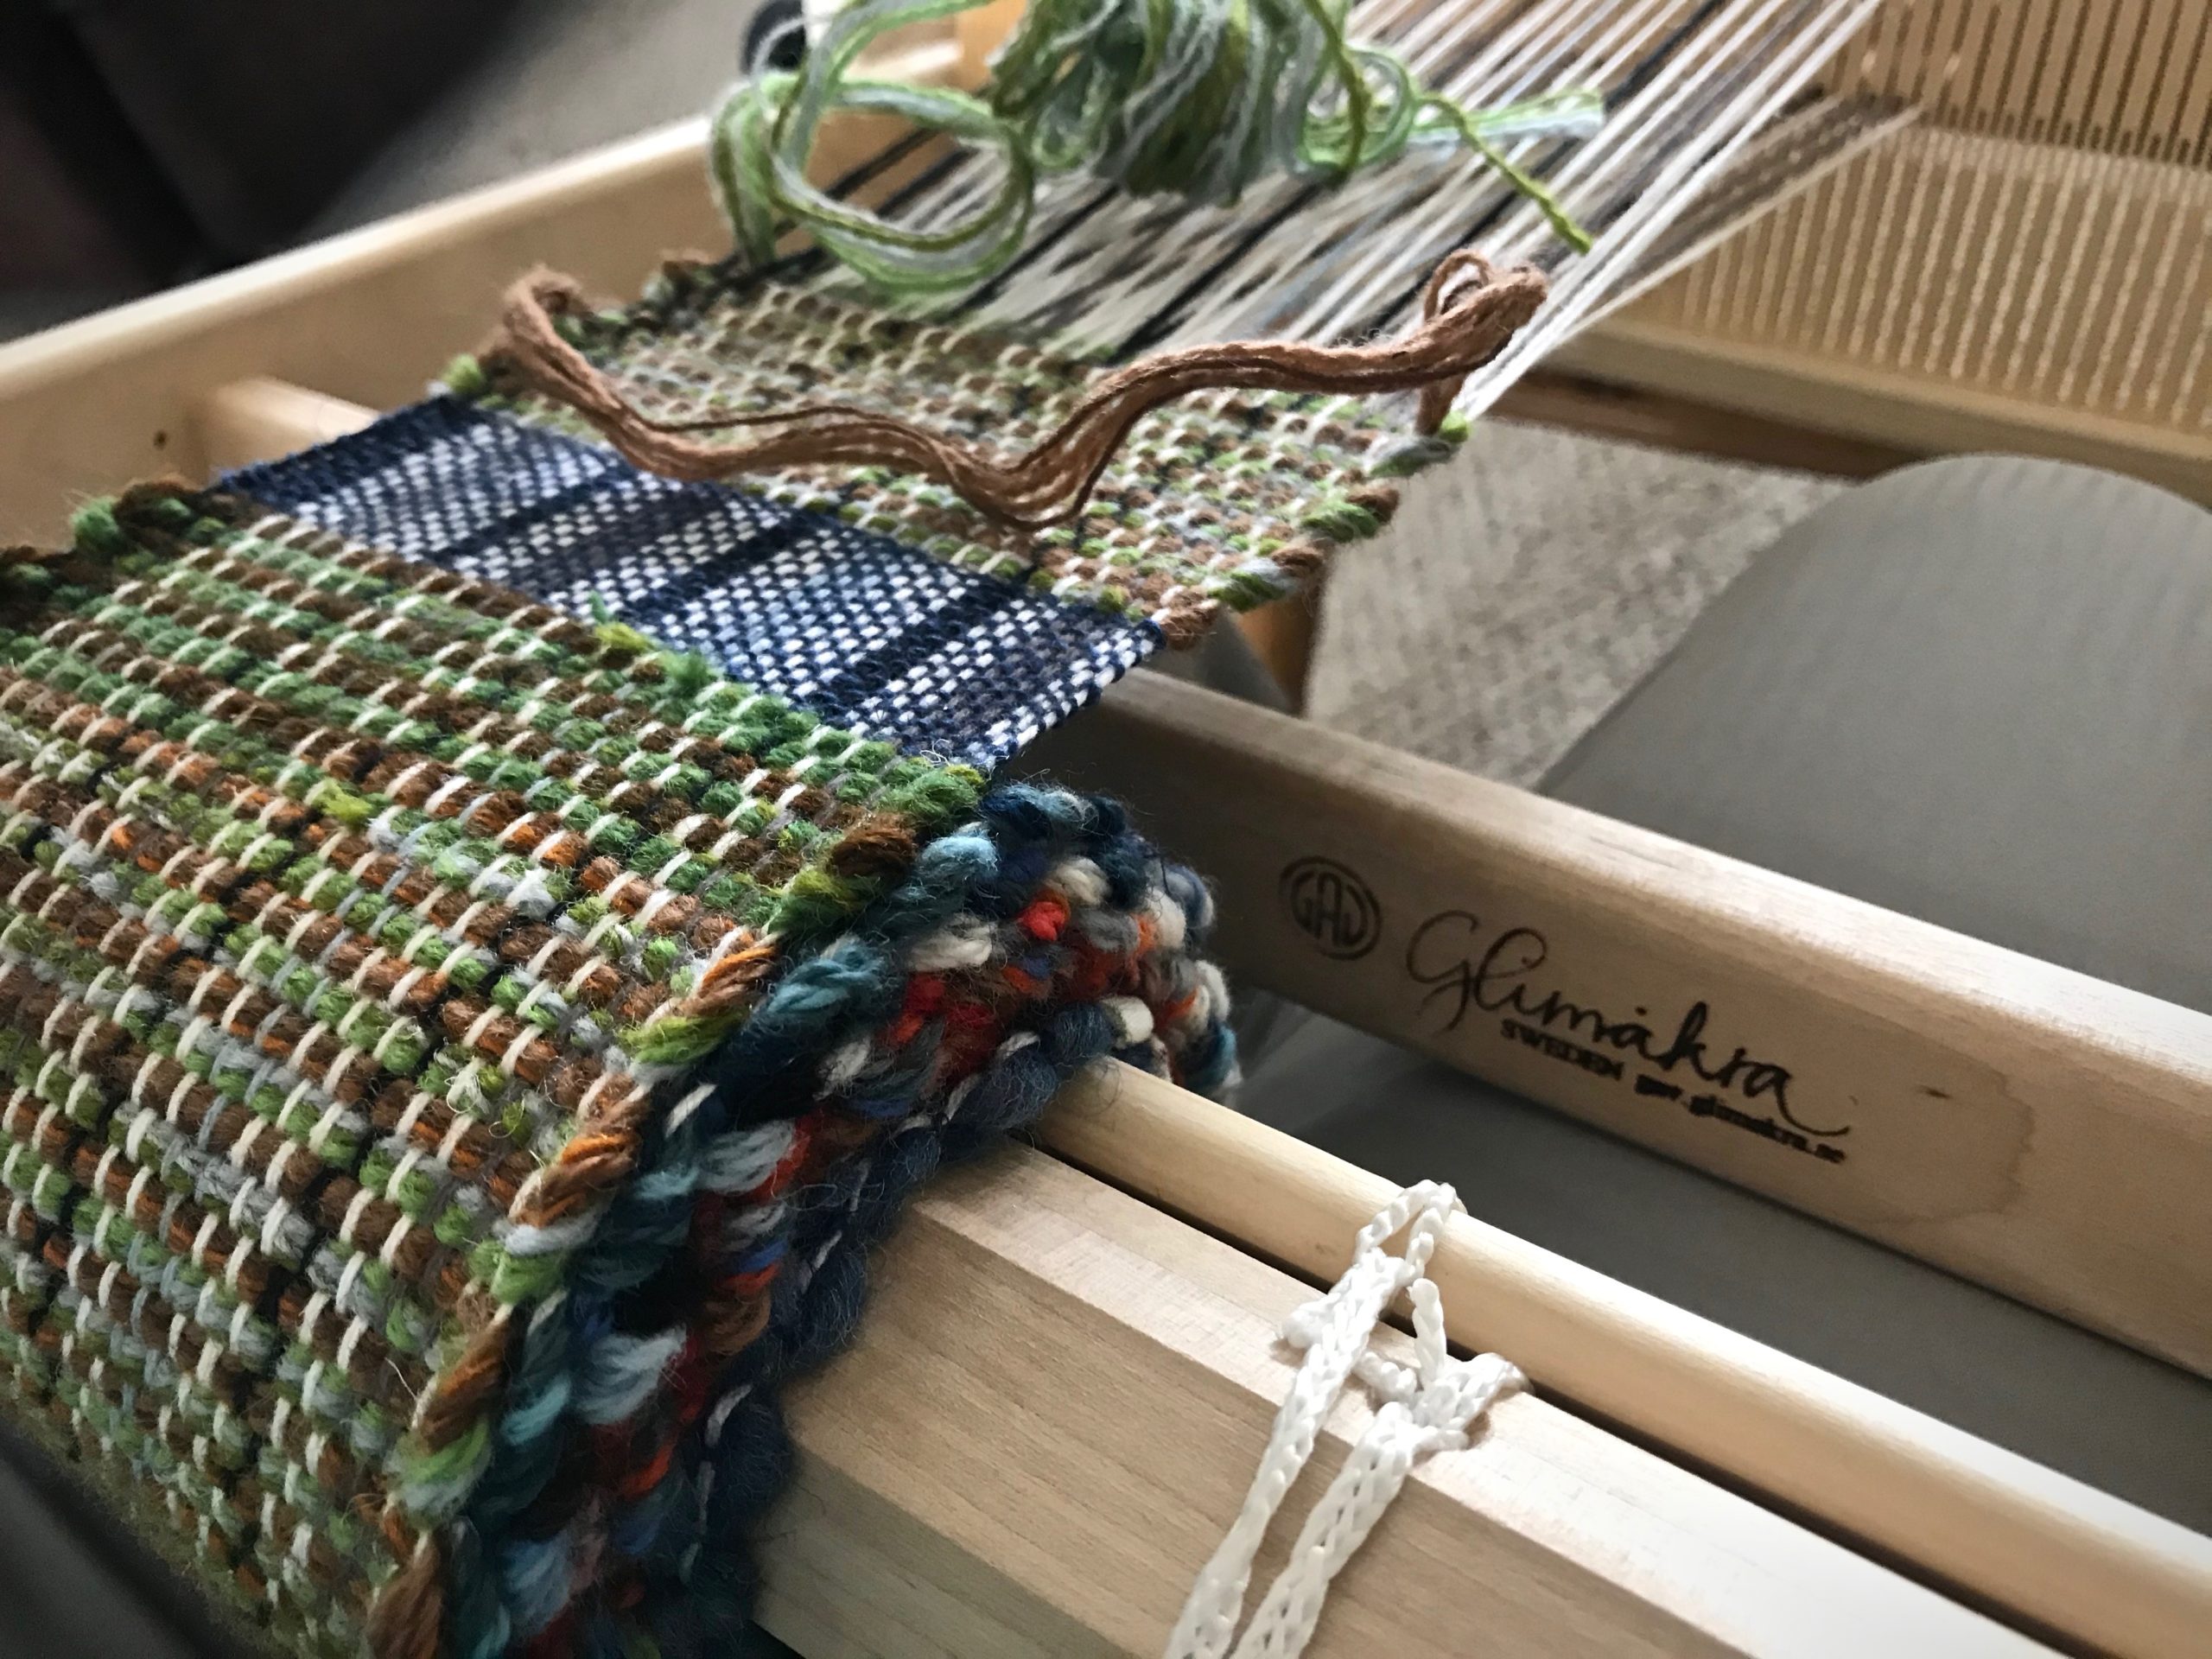
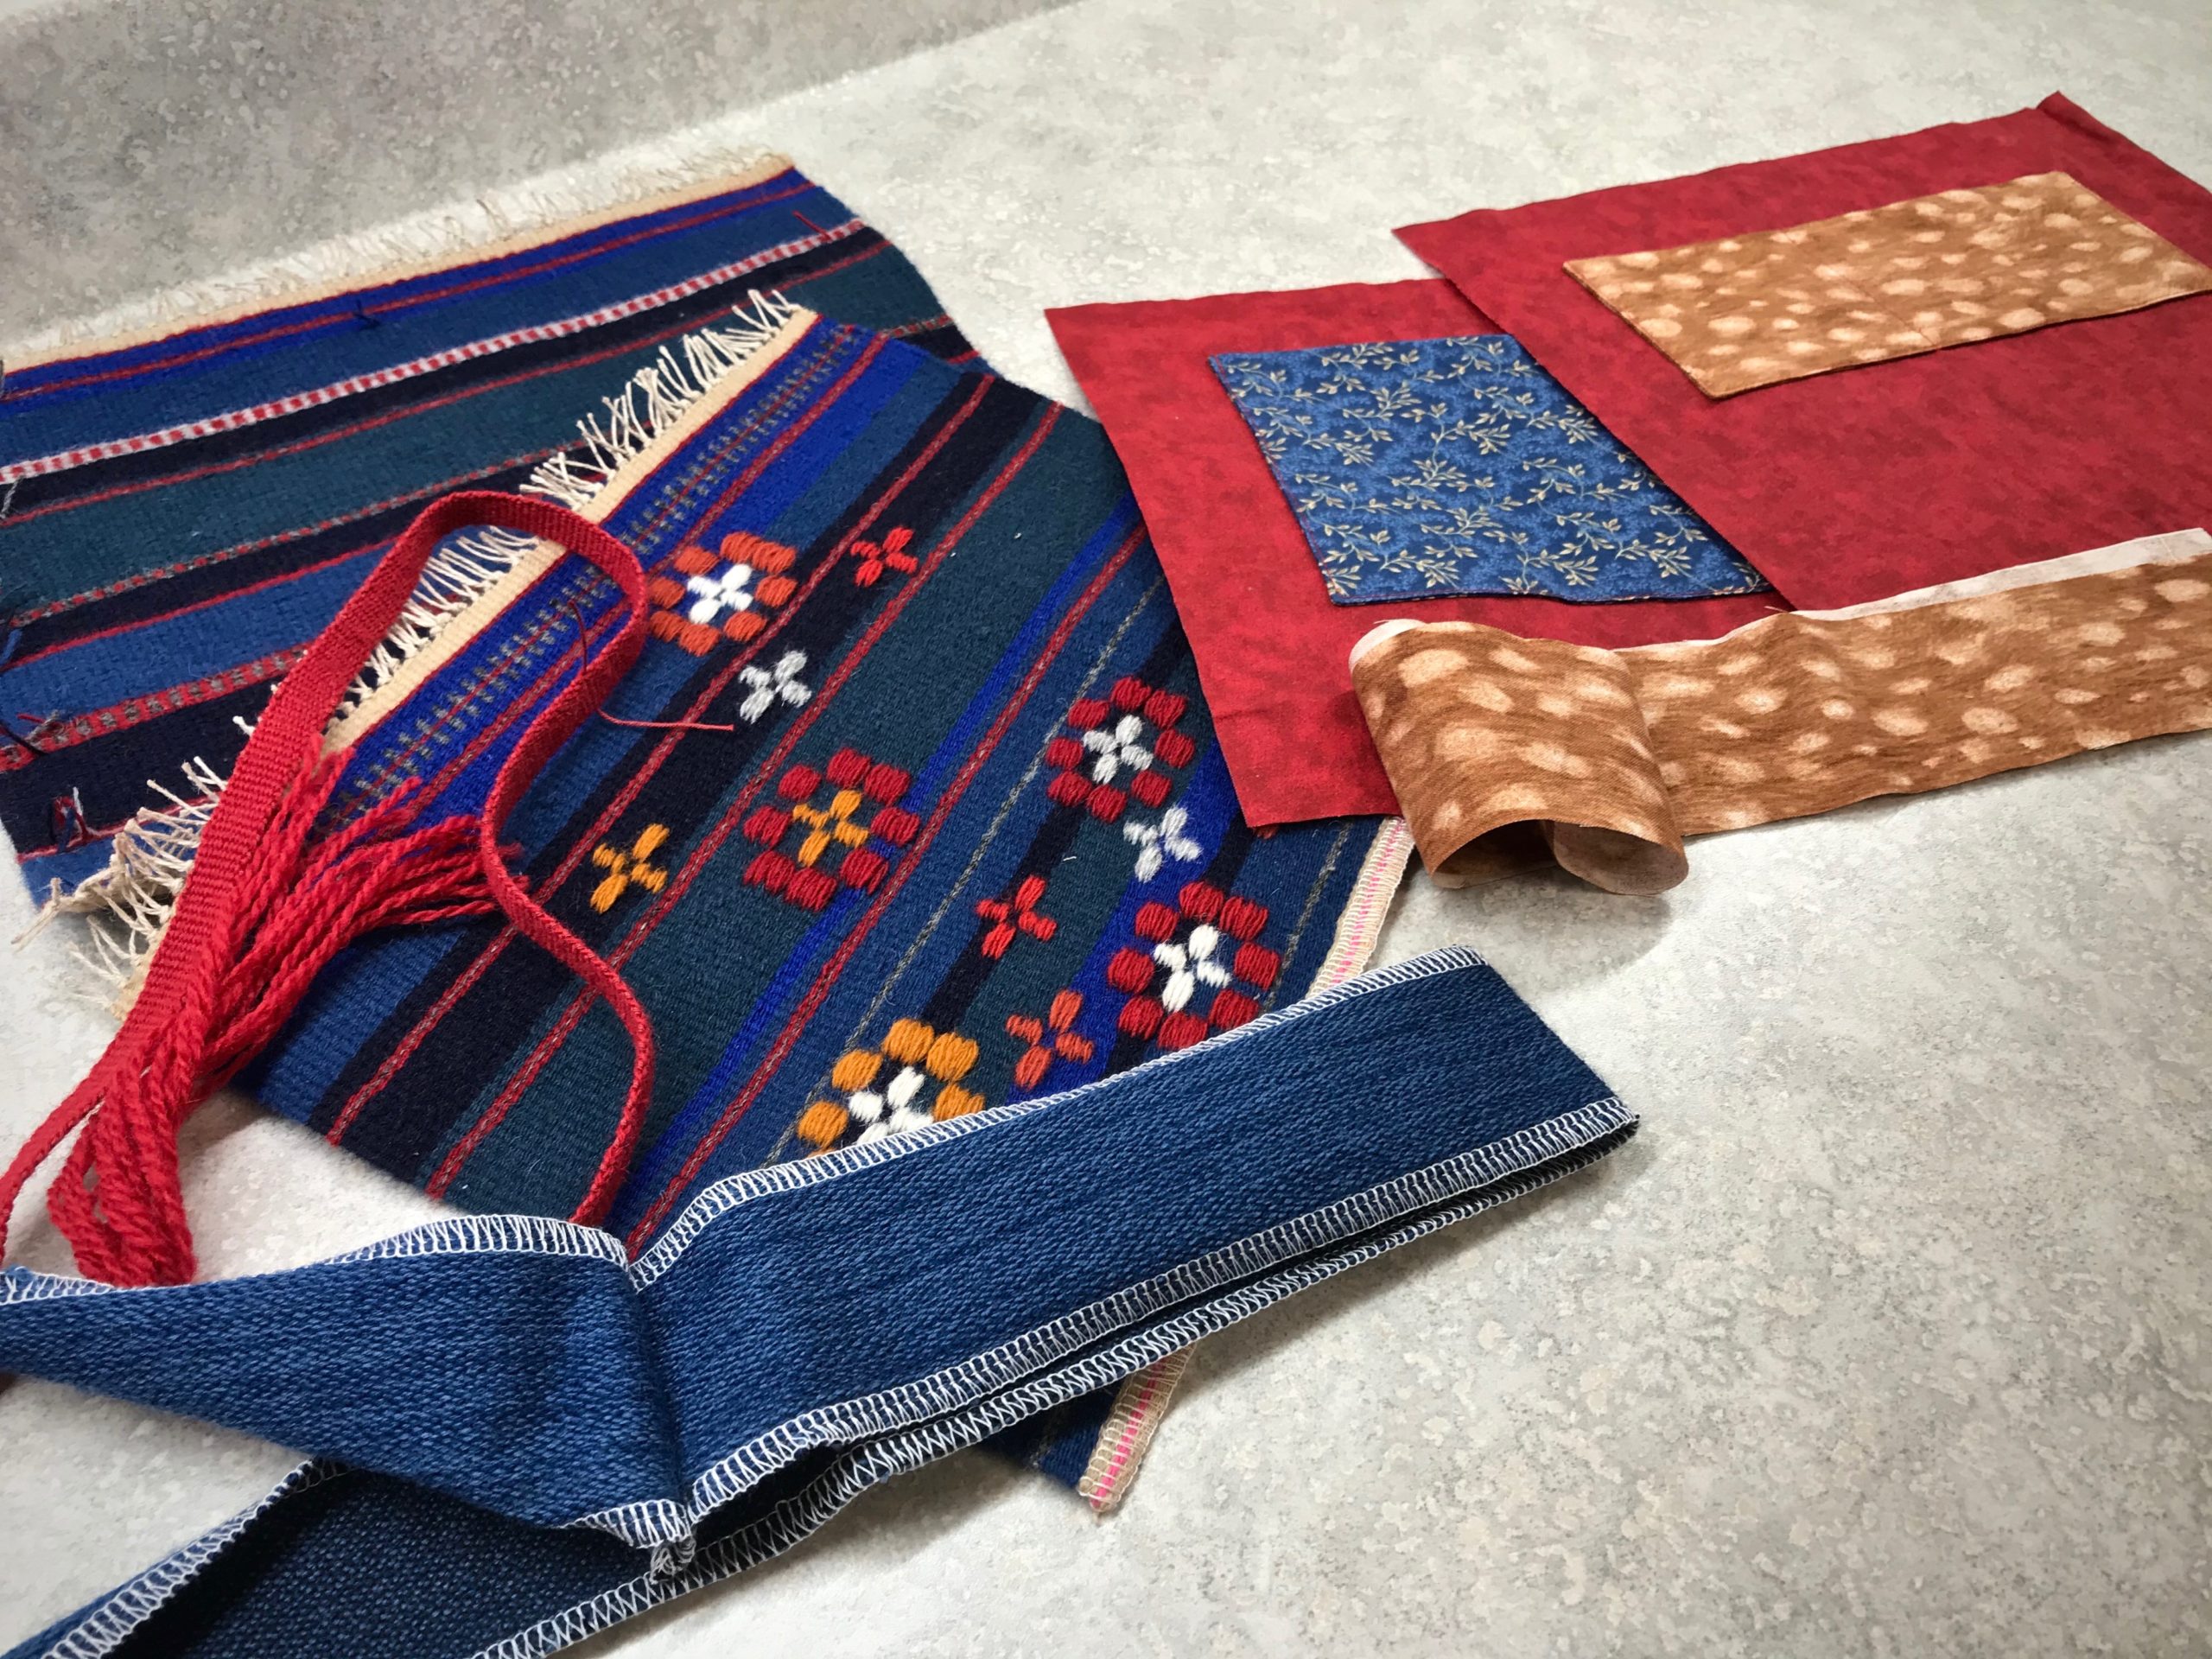
Those colorful wool butterflies turned out to be my favorite element! They not only gave me colors to play with, they also provided variety, the spice of weaving. The forgotten Lizard butterflies will now be remembered as useful and pretty textiles.

30 mug rugs on the rigid heddle loom.
The end of the warp.
Mug rugs just off the rigid heddle loom.
Rag rugs for mugs!
Rag rug fabric strips are used for a few of the mug rugs. Rag rugs for mugs!
Mug rugs ready to be hemmed.
Mug rugs are cut apart to prepare for hemming.
Making handwoven mug rugs.
Hems have been folded and pressed under. Choosing bobbin colors to sew the hems.
Wool handwoven coasters.
Wool butterflies provided many different colors.
Handwoven wool coasters woven on a rigid heddle loom.
Alternating two different colors of wool butterflies was my favorite way to play with color.
Mug rugs for gifts.
Completed mug rugs, ready to be sent out as gifts.

How do you want to be remembered? Like my tapestry-specific butterflies put away on a shelf, our carefully-crafted words will soon be forgotten. Actions speak longer than words. Our deeds of faithful love will outlive us. Our actions that reveal the kindness of our Savior will stand the test of time. And that is a good way to be remembered.

Coffee or tea, anyone? Handwoven mug rug.
Coffee or tea, anyone?

May you be remembered for your deeds of faithful love.

Happy Weaving,
Karen

Monksbelt Flowers on a Shoulder Bag

Remember Joanne Hall’s Swedish Art Weaves workshop that I took a few months ago? With the warp that was left, I explored some of the art weaves in more depth.

Monksbelt (Munkabälte), Dukagång, and Halvkrabba can be seen below the warp.

I finished off the linen warp by making a front and back panel for a small shoulder bag. A monksbelt pattern is scattered like flowers on the front. The back has various stripe patterns in weft-faced plain weave. I wove a shoulder strap on my band loom using 6/2 Tuna wool for warp and 12/6 cotton for weft.

Weaving Monksbelt with half heddle sticks.
Half-heddle sticks and batten in front of the back beam, for weaving monksbelt patterns.
Pick up for monksbelt.
Pick-up stick in front of the reed is being used to weave a monksbelt flower “petal.”
Handwoven shoulder bag in progress.
Back panel has varying stripe patterns.
Cutting off.
Cutting off.
Glimakra band loom. Narrow wool band.
Narrow wool band for the bag shoulder strap.

The bag has simple construction, mostly hand-stitched. In one of my remnant bins I found a piece of wool fabric that I wove several years ago. It’s perfect for the sides and bottom of the bag. The lining uses pieces from fabric that went into my latest rag rugs, and has pockets, of course.

Making a handwoven wool bag.
Overhand knots secure the warp ends.
Construction of a wool shoulder bag.
Ready to assemble all the parts.
Constructing a small handwoven wool bag.
Handwoven wool pieces are hand-stitched together.
Handwoven wool bag construction.
Bag construction continues with stitching the back in place.
Magnet closure on a handwoven bag.
Magnet closure is added to the lining before stitching the lining in place. Knots and fringe outline the top of the bag.

This bag with Monksbelt Flowers is for carrying sweet memories, happy moments, and heavenly dreams.

Handwoven shoulder bag.
Inside of handwoven wool bag.
Pockets in the lining.
Monksbelt Flowers handwoven shoulder bag.

Resources: Swedish Art Weaves workshop with Joanne Hall; Heirlooms of Skåne Weaving Techniques, by Gunvor Johansson; Väv Scandinavian Weaving Magazine, 2/2013.

This is the time for my annual pause for the month of July. I appreciate you joining me in this weaving journey!

I look forward to being back with you again Tuesday, August 4. In the meantime, joyfully draw living water from the source, Jesus Christ.

May you carry no more than necessary.

With love,
Karen

Stony Creek Drawloom Rag Rug

I have woven umpteen rag rugs. But never one like this! Eight-shaft satin on the single-unit drawloom brings its own challenges, from managing draw cords to getting a decent shed. Add rag weaving to the mix and we have a whole new experience!

Cutting off drawloom rag rug.
Cutting off in 1-inch sections to make it easy to tie back on for the second rug on the warp.

Finishing has its own set of new challenges. My go-to method of tying knots to secure warp ends is unwieldy in this instance because the threads are extremely dense. By quietly doing some detail studies on a sample, I find a way to finish this unusual rug: Secure the ends with the serger. Then, sew two rows of straight stitches on the sewing machine for added security. Sew a narrow bound hem using some of the fabric that was used as weft in the rug. Steam press to finish.

Drawloom rag rug finishing details.
Serger cuts off the ends as it overlocks the edge. I pull out the scrap header little by little just ahead of the serger needles and blade.
Finishing drawloom rag rug - steps.
Two rows of straight stitching.
Bound hem on a drawloom rag rug.
Lightweight woven fusible interfacing backs the fabric used for the narrow bound hem.
My Grandma's thimble.
My Grandma’s thimble helps me hand stitch the back side of the bound hems.
Drawloom rag rug finished!
Finished and pressed.
Stony Creek Rag Rug woven on single-unit drawloom! (Design by Kerstin Åsling-Sundberg)
Dream come true! Stony Creek Rag Rug (Design by Kerstin Åsling-Sundberg)

I have another rag rug to weave on this warp. It will still be a challenge. With what I’ve learned, though, I’m anticipating a satisfying weaving and finishing experience.

We know what to do in normal circumstances. It’s in unusual times that we fall into dismay. Private time with Jesus turns confidential fears to confident faith. He treats our challenges like personal detail studies, showing us the way forward. His grace enables us to conquer the next challenge with confident faith.

May your confidence grow.

With faith,
Karen

Tried and True: Something New from Something Old

My grandma made a pattern on brown paper for a neck pillow. I suppose she found the pattern in a magazine or newspaper decades ago. I am using my copy of her pattern to make my own neck pillow. Maybe someday my pillow will be as worn and wobbly as Grandma’s well-loved neck pillow that I remember.

My version of Grandma’s neck pillow.

Looking through my pile of handwoven scraps I find the piece of fabric that had been hanging as a Roman shade on the back door of our previous home. This two-block twill in cotton and linen was my first 8-shaft project on my floor loom. Good memories! The fabric, softened and slightly faded through daily use, is perfect for the comfy neck pillow I’m imagining. (Unlike Grandma’s pillow, I’m making this one with a removable cover so it can be easily laundered.)

Roman shade from my first 8-shaft weaving project.
Roman shade from my first 8-shaft weaving project. I wove the linen draw cord on my two-treadle band loom.

Instructions for Constructing a Handwoven Neck Pillow

Supplies:

  • Cotton muslin, pre-washed
  • Handwoven fabric, pre-washed
  • Cluster Fluff, or other cluster fill or polyester fiberfill
  • 7” invisible zipper
  • Sewing machine
  • Invisible zipper foot
  • Sewing thread
  • Hand-sewing needle
  • Iron
  • Sleeve board for pressing, optional

Steps:

  1. Cut four pillow pattern pieces from the muslin.
  2. Sew two of the muslin pieces together, right sides together. Press seams open.
  3. Sew the other two muslin pieces together, right sides together. Press seams open.
  4. Sew the two parts together, right sides together, leaving a 4-inch opening for turning and stuffing. Press seams open using a sleeve board.
  5. Turn the pillow right side out.
  6. Stuff with Cluster Fluff, starting at the furthest end from the opening. Fill to desired fullness.
  7. Hand stitch the opening closed.
  8. Cut four pillow pattern pieces from the handwoven fabric.
  9. Serge or zigzag the fabric edges. Press flat.
  10. Insert invisible zipper between two of the pieces.
Making a handwoven neck pillow.
Invisible zipper is sewn into place between two of the panels.
  1. Complete the seams at both ends of the zipper. Press seams open.
  2. Sew the two other pieces together, right sides together. Press seams open.
  3. Open zipper, and sew the two parts together, right sides together. Press seams open using a sleeve board.
  4. Turn the pillow case right side out.
  5. Push the muslin pillow into the pillow case. Close the zipper.
Handwoven neck pillow cover.
Inner pillow and outer cover are made from the same pattern to make it a snug fit.
Handwoven neck pillow. How to with construction steps.
Fabric is 16/2 cotton warp and 16/1 linen weft.
  1. Take a nap in your favorite chair with the pillow behind your neck.
Handwoven neck pillow.

If you would like a pdf copy of my grandma’s neck pillow pattern, please click HERE to send me an email request. I will be happy to send the pattern to you.

May you see old treasures in new ways.

Rest and Be Well,
Karen

Tied Up in Knots

Every time you cut off a warp there is more to do before the woven material is ready for its end purpose. Do you enjoy tying knots? And, hemming rugs by hand? I don’t mind completing these final steps. It’s part of the whole weaving process. Three of the six rosepath rag rugs are now finished. Truly finished.

Six new rosepath rag rugs, ready for finishing!
Six rosepath rag rugs. Rugs are cut apart and warping-slat dividers have been removed.

Tying the warp ends in overhand knots permanently secures the weft. These knots won’t work loose. I turn the hem, concealing the knots; and stitch the hem down. After I sew on my label, the work is complete.

Tying knots to finish a rag rug.
Warp ends are tied into overhand knots, four ends at a time.
Rag rug finishing.
Ends are trimmed to 1 inch.
Hand hemming a rosepath rag rug.
Hem is folded under and pressed. The needle catches a warp end from the fold and a warp end from the body of the rug. Rug warp is used as thread for hemming.

Jesus famously said, “It is finished,” when he was on the cross. His completed good work replaces our work of trying to be good enough, trying to fix everything, trying to control our lives. Our knots won’t hold. We can trust that his finished work will never be undone. God loves you. Trusting him is loving him back.

Rosepath rag rug, fresh off the loom.
One completed rug, named “Treasures,” for my neighbor’s home.
Handwoven rag rugs, named "Blessed Assurance." Made for a friend.
Pair of completed rugs, named “Blessed Assurance,” for another neighbor’s home.

May love securely hold you.

Trusting,
Karen