Process Review: Drawloom Jewels

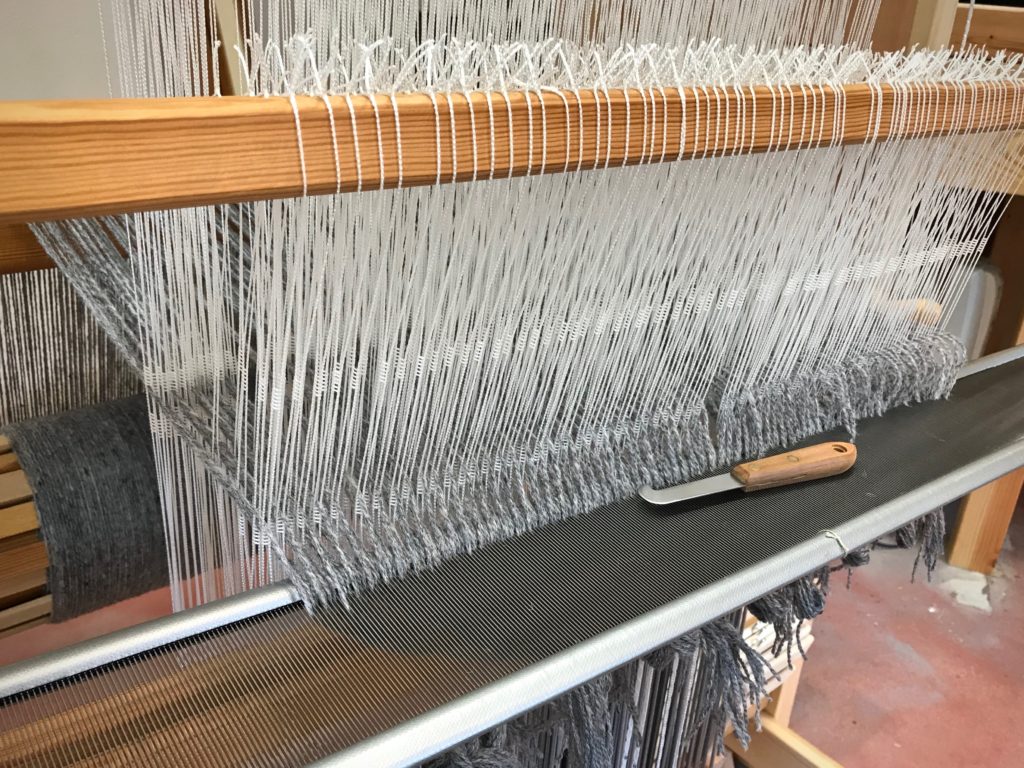
It is exciting when Maverick walks by. Although he never comes in my drawloom studio, he does stop for a moment to look my way. You’ll see him in the slideshow video below. But what happens inside the studio is even more exciting, especially when it’s time for cutting off!
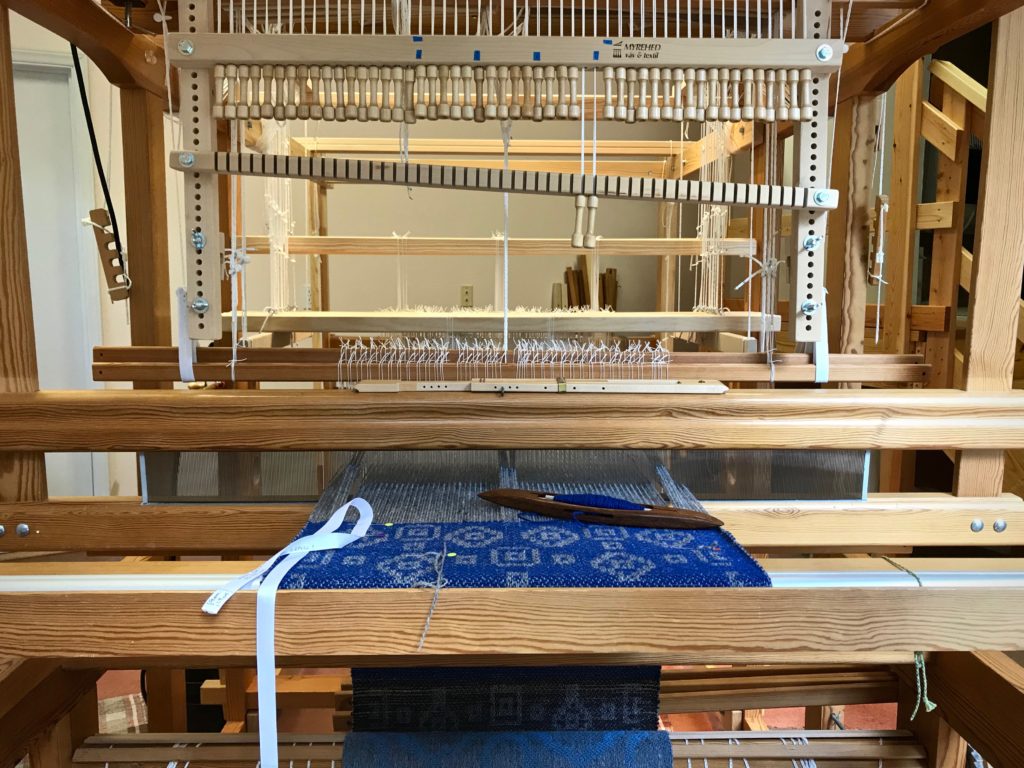
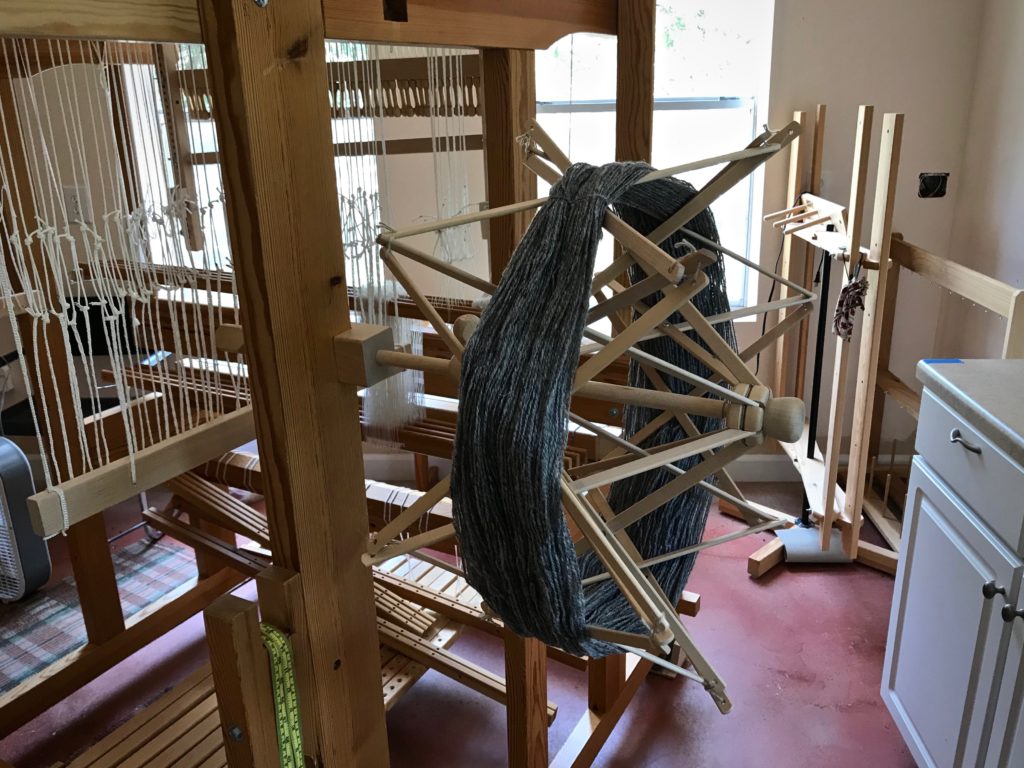
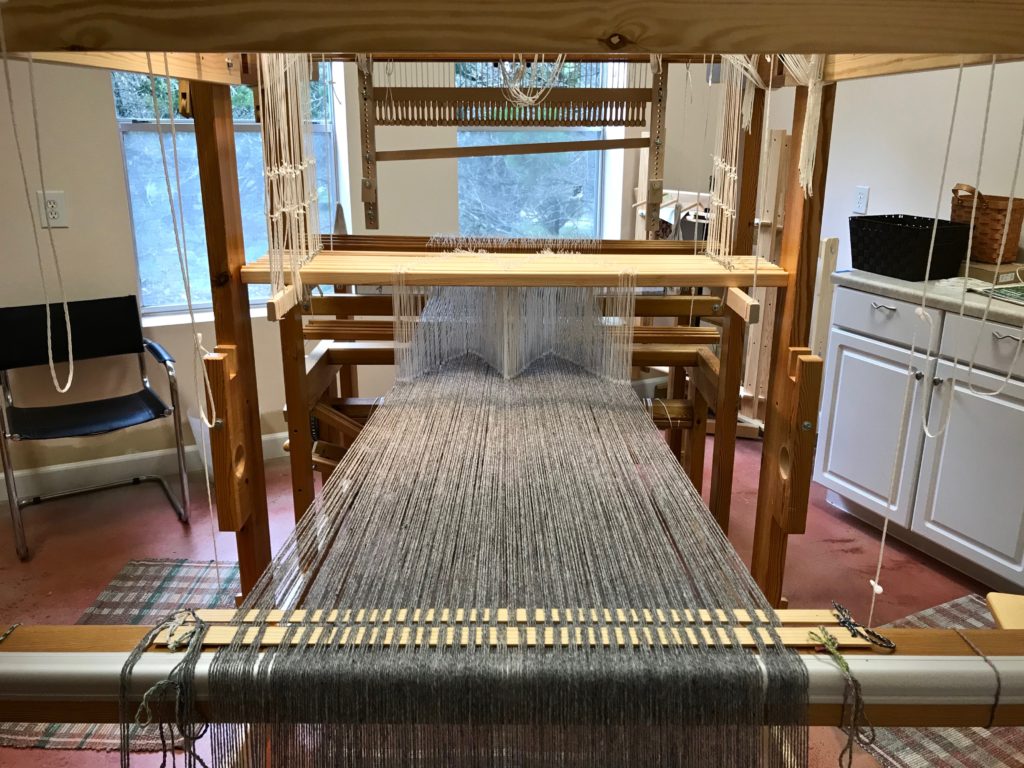
Drawloom with 16 pattern shafts.
Drawloom, set up with sixteen pattern shafts. I graph out the designs in Excel on my computer. Then, I print out the gridded pattern to use at the loom. I keep my place in the pattern with a magnet and magnet board made for cross-stitch embroidery.

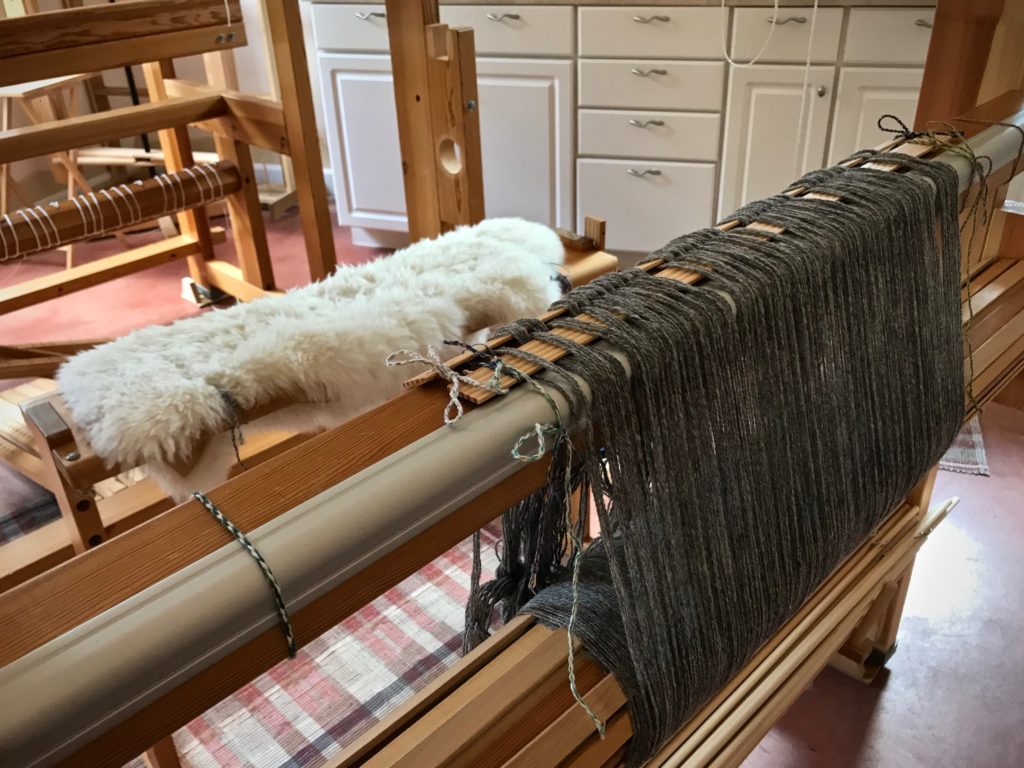
This is Tuna wool, so I expect some shrinkage, but how much? I take careful measurements before and after wet finishing. Besides the main piece of fabric that I’m using for a garment, I have two sample pieces. I can experiment with the samples before wet finishing my garment fabric.

Here are my findings:
Sample 1. Hand wash and air dry.

10% shrinkage in width; 13% shrinkage in length.

Sample 2. Machine wash (3 minutes agitation on a gentle cycle, with a short spin) and machine dry (low setting) till damp, finish with air drying.

13% shrinkage in width; 14% shrinkage in length.

~How to do the shrinkage calculations~
First measurement (on the loom) minus the second measurement (after washing and drying) equals the difference. The difference divided by the first measurement equals the percentage difference.
For example, 50 cm – 43.5 cm = 6.5; 6.5 / 50 = 0.13; 13% shrinkage.

The first sample fabric is softer than the unwashed fabric, but not as soft as I’d like. The second sample fabric is beautifully soft, like a nice warm sweater. So, with confidence, I wet finish the garment fabric—with great results. It’s perfect for the fall/winter vest that I’ll soon be wearing, made from this fabric!
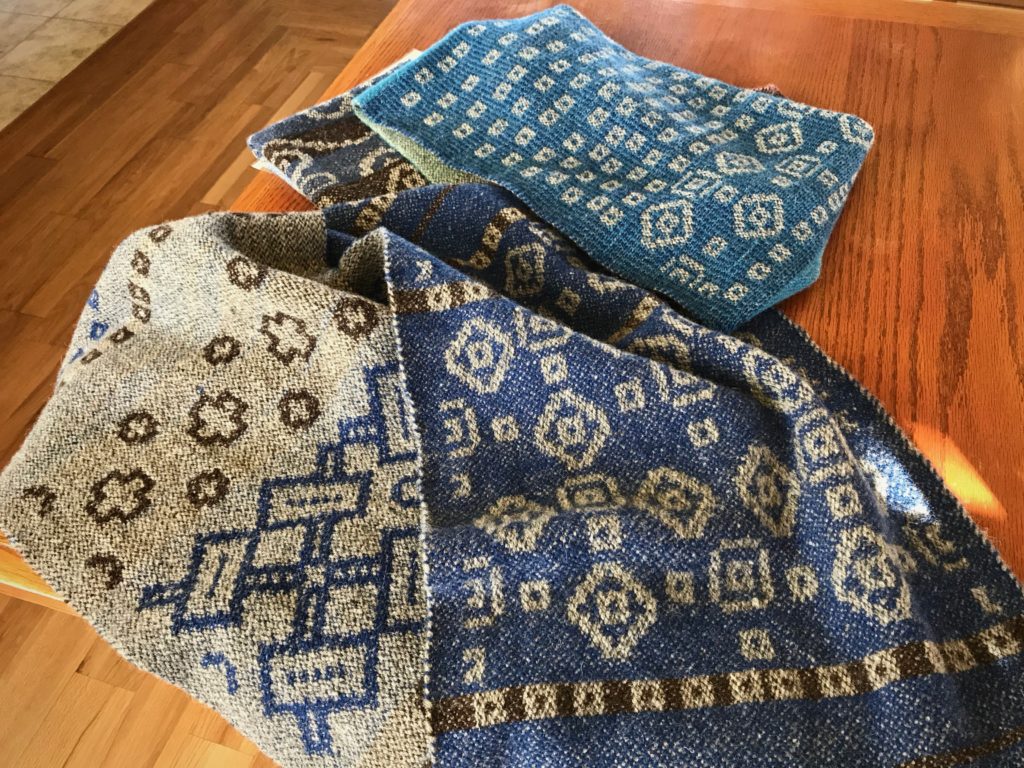
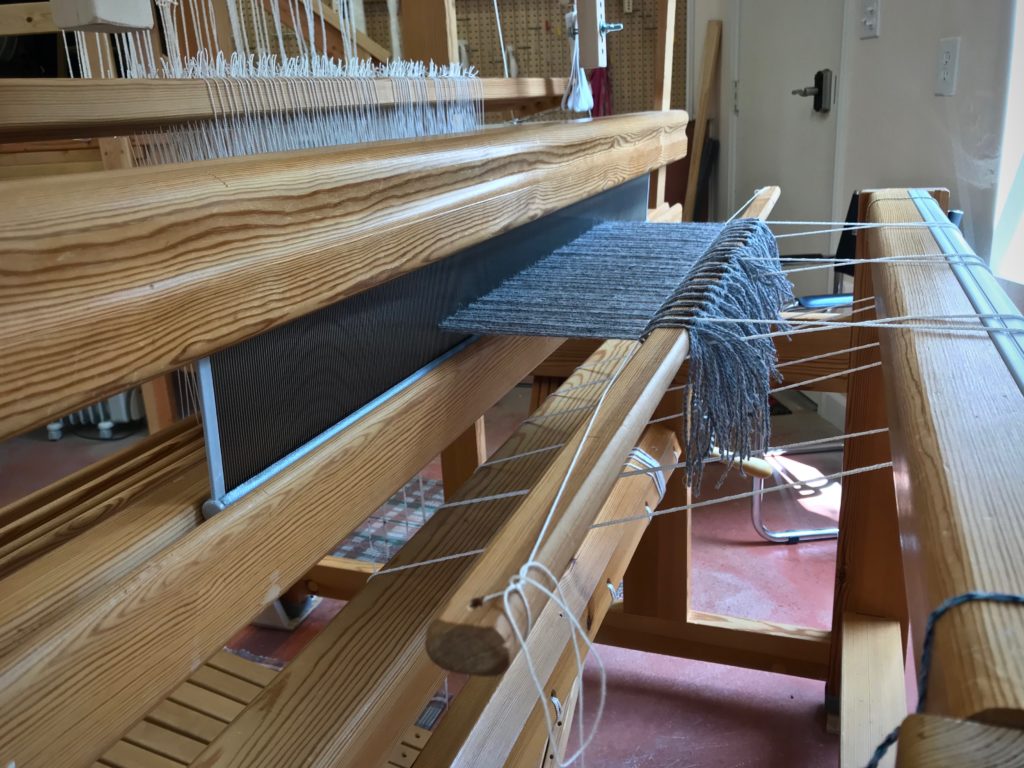
Wool garment fabric from a drawloom.
Like a sweater, this soft fabric will be comfortable to wear.
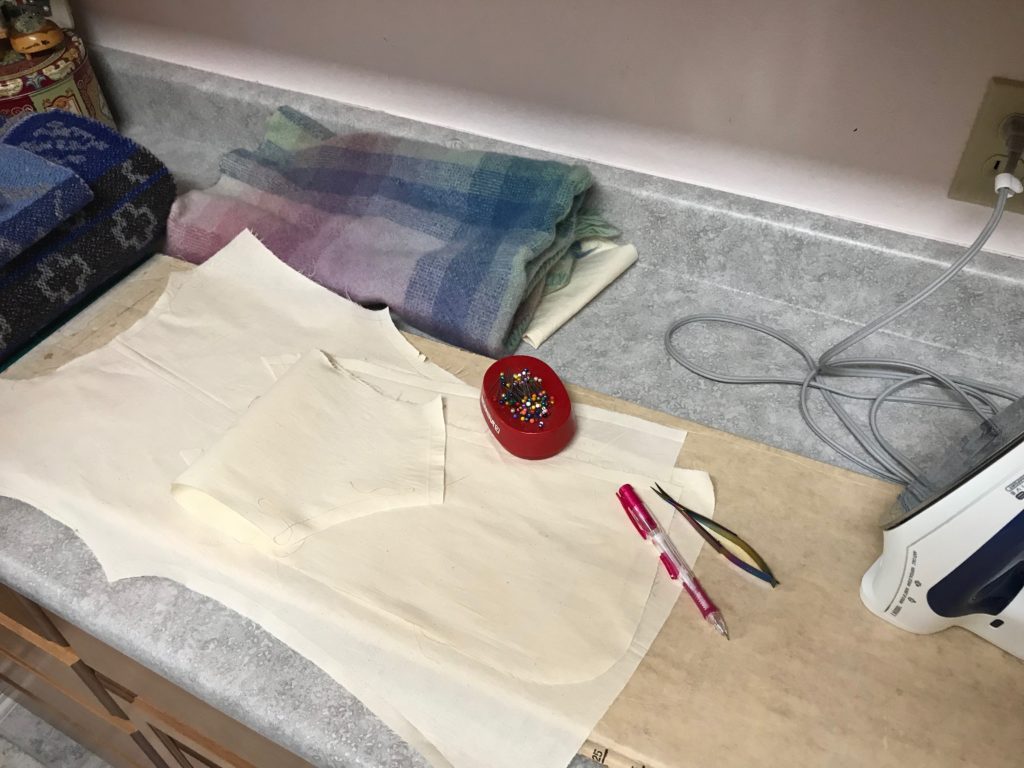
Making a pattern for handwoven garment fabric.
Muslin pattern for a simple vest. First, I’ll make a vest out of a wool throw, woven on my rigid heddle loom ages ago. Then, I will cut into the new drawloom fabric, with confidence about the fit.

Enjoy this photo show of the drawloom process.

May you enjoy the process you’re in.

Happy Weaving,
Karen

Tapestry Butterflies and Video Tutorial

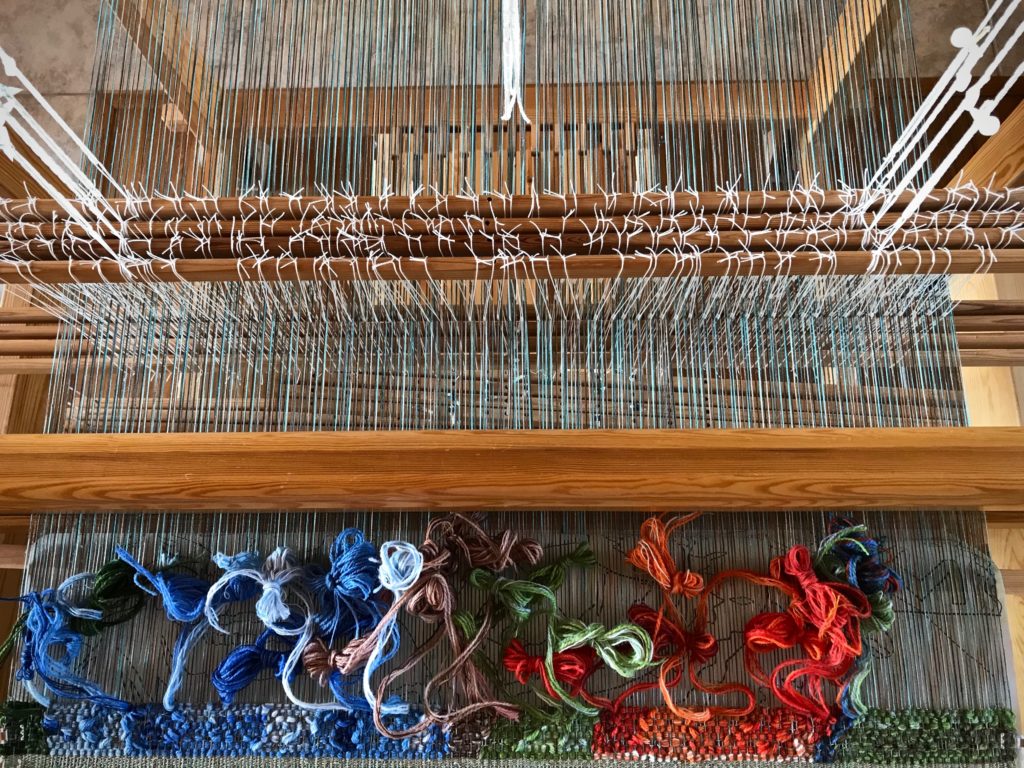
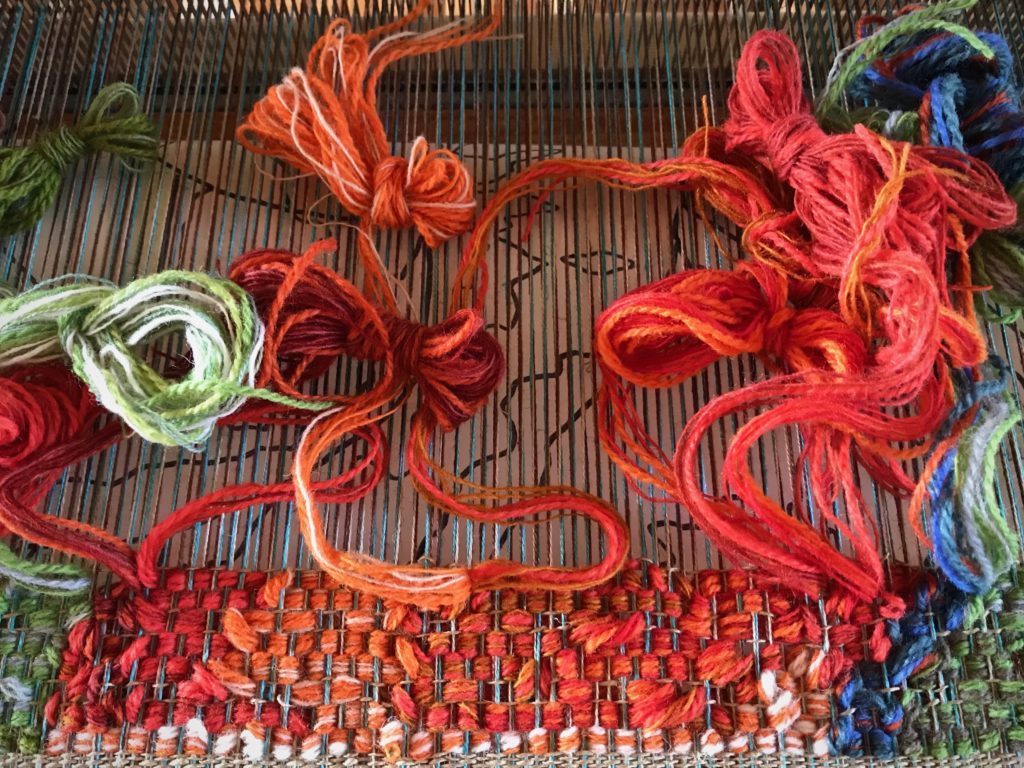
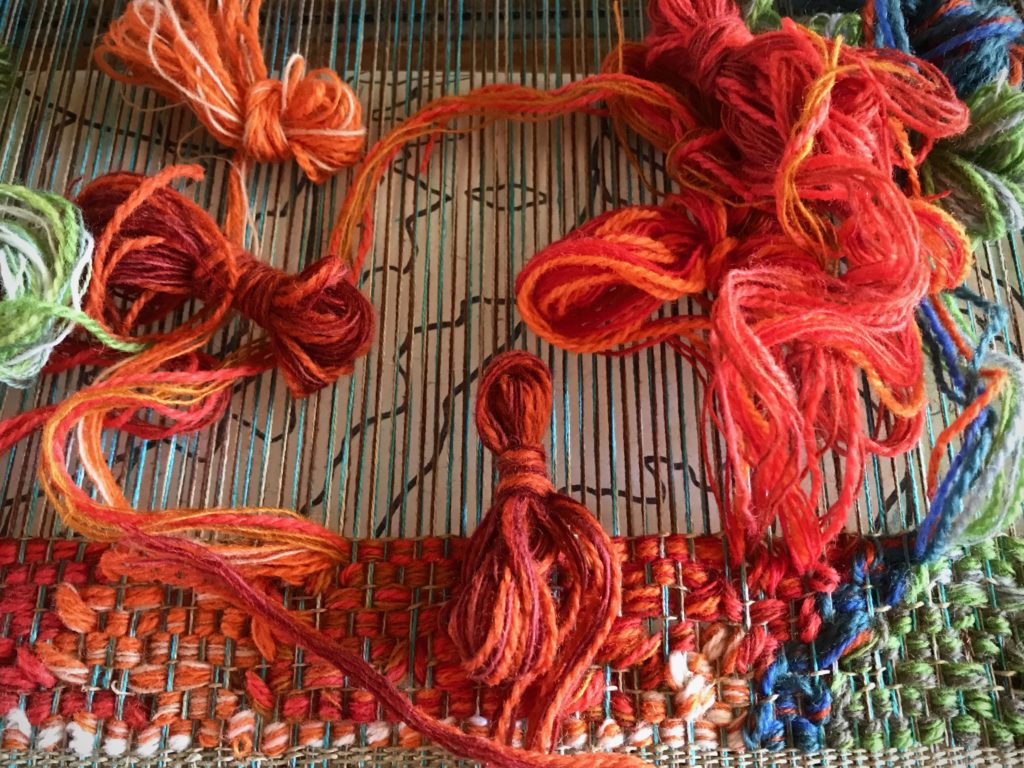
Wool butterflies are my crayons. I use them to color the spaces of my color-by-number cartoon that’s under the warp. I am using Borgs 6/2 Tuna wool and Borgs 6/1 Fårö wool in this tapestry, combining strands of various colors to get just the right hue, value, and intensity. Getting that right is the hard part. Winding butterflies is the easy part. Especially if you learned it from Joanne Hall, as I did.

Pictorial tapestry beginning.
Start of new tapestry. Butterflies are composed of specific colors to achieve desired results for contrast, shading, and depth.

It is essential to know how to make a good butterfly when you want to weave a tapestry on a big floor loom like this. A good butterfly is compact enough to easily pass through warp ends. And secure enough to stay intact through all those passes. It also needs to have a tail that is simple to extend. A good butterfly never ends up in a knot or a jumble of threads, but instead, gives your hands pure delight as it flows through your fingers to color your tapestry.

Colorful tapestry butterflies.
Detail of colorful tapestry butterflies.
New butterfly is ready to fly in.
New butterfly is ready to find its place in the mix.

This video shows how I make my tapestry butterflies.

May your days be colored with delight.

From the crayon box,
Karen

Process Review: Dressing the Drawloom the Second Time

Dressing the drawloom the second time is easier than the first time. No slip ups or confusion. Just smoothly moving from one step to the next. (Read to the end to see what to expect for July.)

Winding skeins of wool yarn into balls.

With my first drawloom warp the most challenging part was distributing the pattern shafts. (See Q and A with Joanne Hall and Drawloom Dressing.) This time something clicked and the light bulb turned on. Instead of blindly following steps, I now understand what I am doing, and why. And I am having fun in the process!

Winding warp on the warping reel.
Winding the warp on the warping reel, making two bouts.
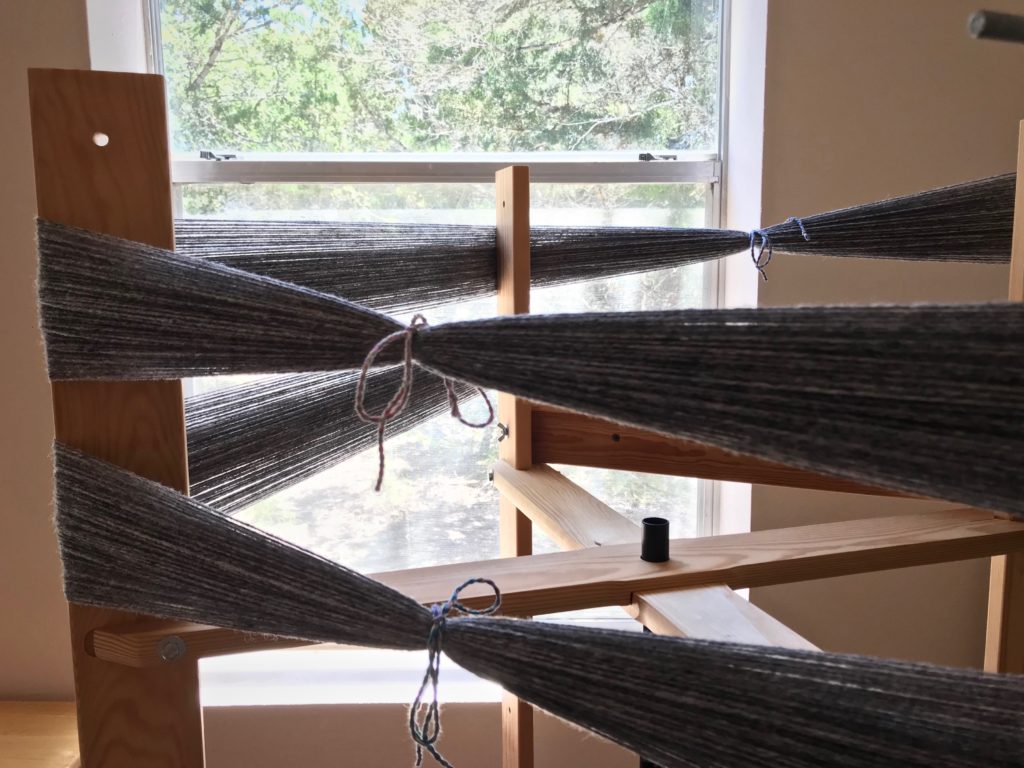
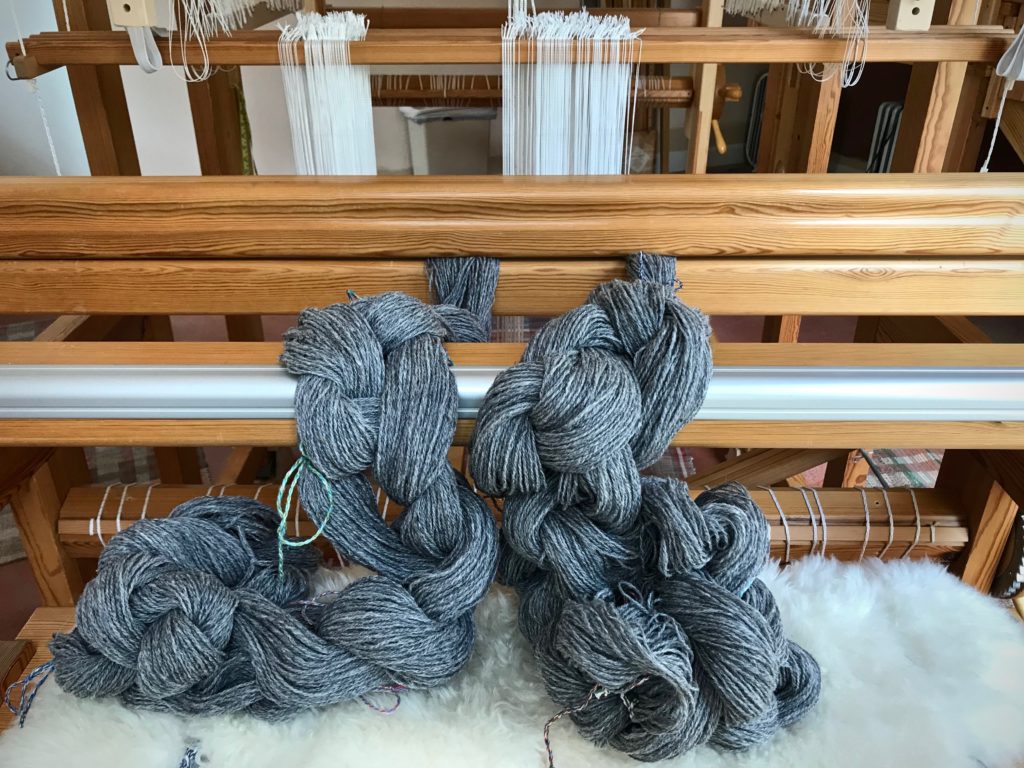
Big fat wool warp chains.
Warp chains of 6/2 Tuna wool, ready to dress the loom.
Ready to thread pattern heddles.
After beaming the warp, the loom bench is moved to the back of the loom for threading heddles. Pattern heddles first, and then, ground heddles.
Sleying the reed on the drawloom.
With the reed sleyed, it’s time to return the ground shafts to the front of the loom and put the reed in the beater.
Leveling string is doing its job!
Warp is tied on, and the leveling string is doing its job.
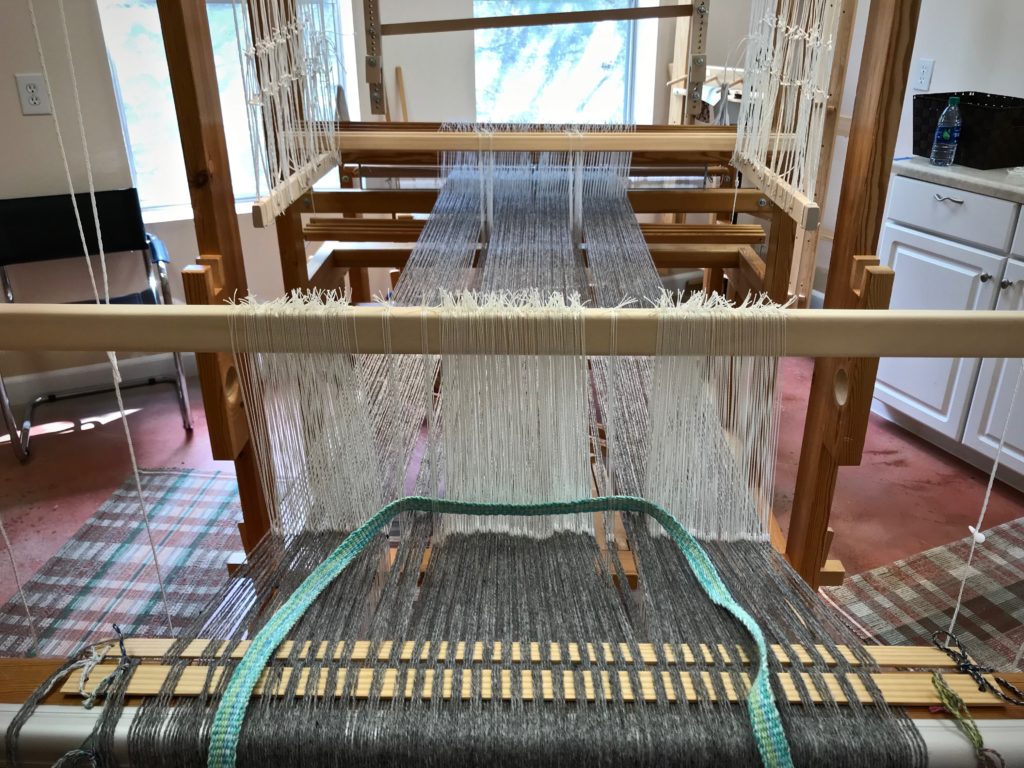
Distributing pattern shafts on the drawloom.
Inkle band serves to separate pattern heddles as I distribute the pattern shafts.
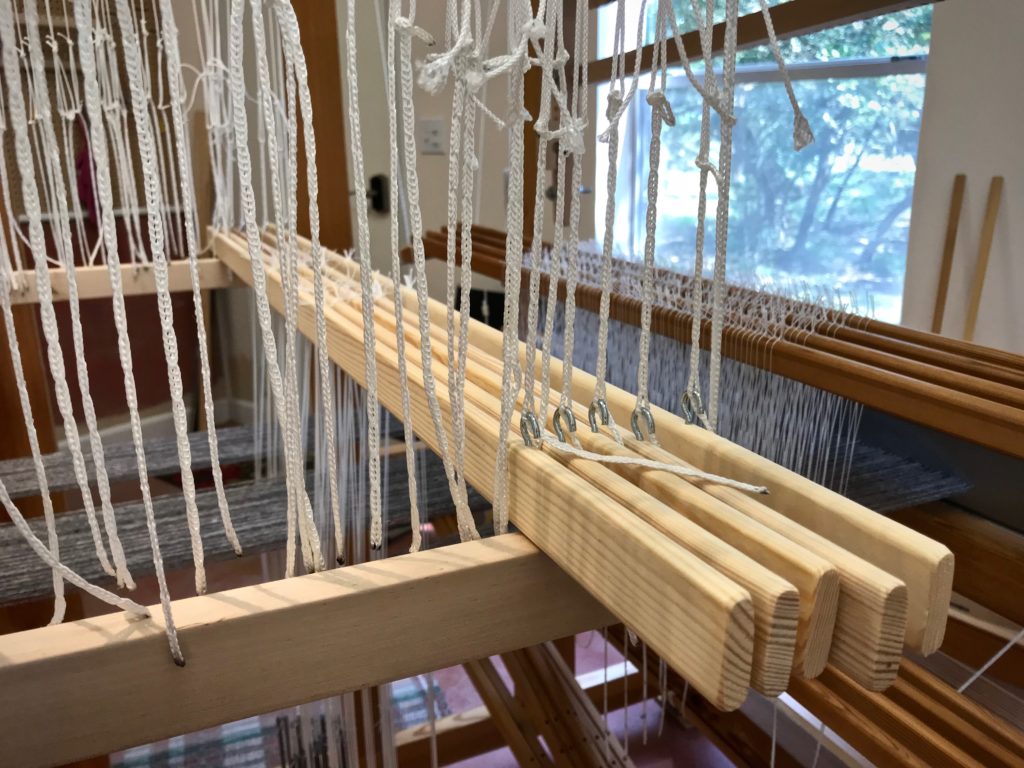
Adding pattern shafts to the drawloom.
Pattern shafts are resting nicely on the pattern shaft holders. Their little hooks grab the Texsolv that connects them to the draw cords and handles.
Dressing the drawloom!
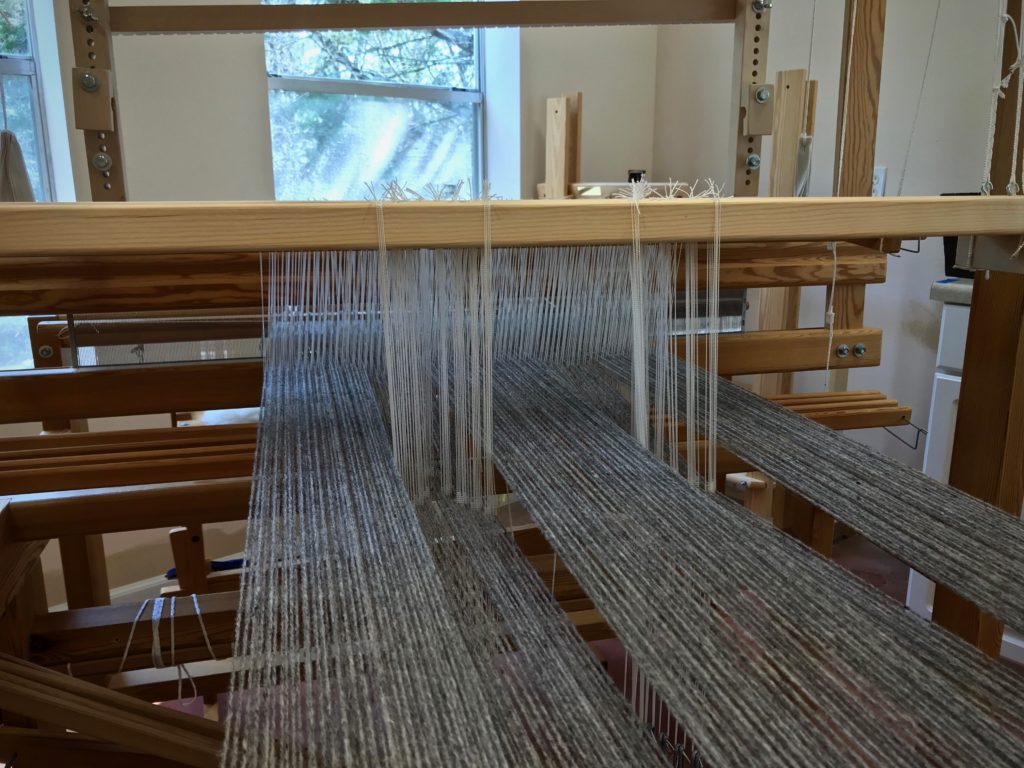
Pointed threading can be seen in the arrangement of the heddles on the pattern shafts.
Dressing the drawloom!
Drawloom setup is complete except for tying up the treadles. Treadle tie-ups on a drawloom are refreshingly simple.
Testing pattern sheds on the drawloom.
Testing pattern sheds by pulling some of the draw handles. After a few small adjustments, she’s ready to weave!
Wool on the drawloom.
First sample. 6/2 Tuna wool warp and weft, 4-shaft broken twill on the ground shafts, sett is 5.5 ends per cm, 16 pattern shafts with 1 extra shaft for the edges.

Friends, It’s that time again, when Warped for Good is put on pause for the month of July.

Thank you for sharing in this journey with me!

What’s on my looms: I am near the end of the blue double weave blanket on the Standard, and I am planning a new pictorial tapestry for that loom. The drawloom is dressed and in motion. And the Ideal loom is still sitting ready for rosepath rag rugs. Also, Steve and I have a Casita trip planned that will include some leisurely backstrap band weaving.

What’s on your loom right now? Share with us in the comments.

See you the first Tuesday of August! (In the meantime catch me over on Instagram @celloweaver.)

May your second times be better than your first times.

Keep on Weaving,
Karen

Tried and True: Designing with Fibonacci

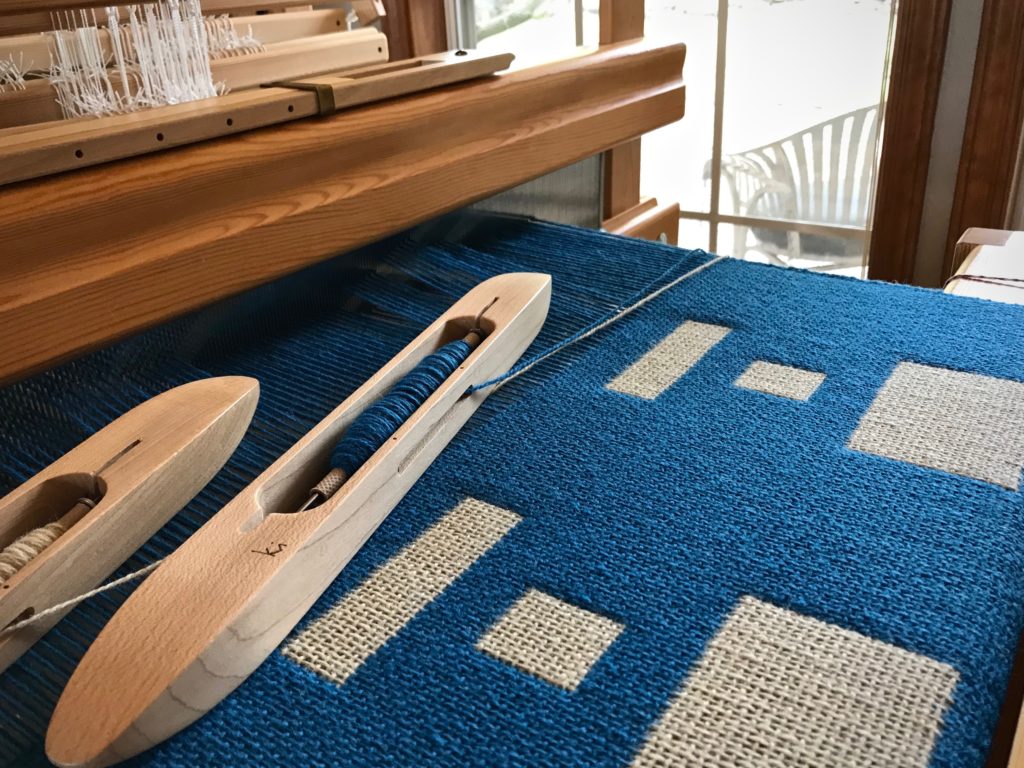
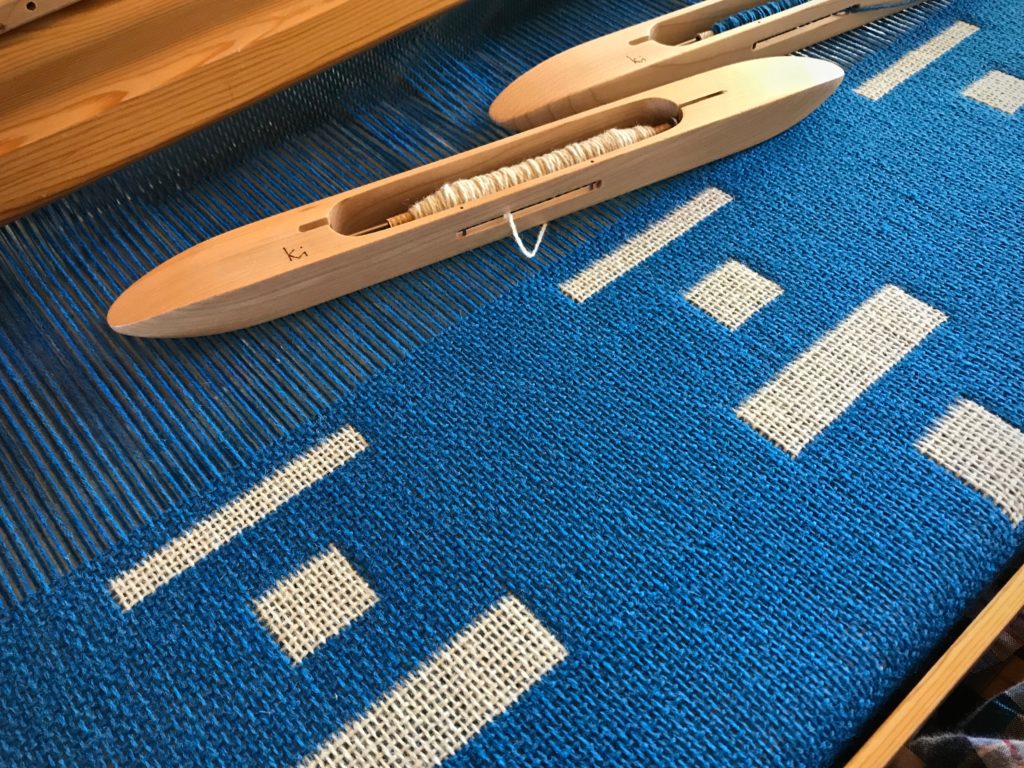
Before starting, I sketched out several versions of the finished blanket, showing different sizes and arrangements of the rectangle blocks. My favorite version is one with a random look. This twelve-shaft double weave has three blocks. Block 1 is a solid color across the warp. Block 2 has a narrow, vertical contrasting rectangle. Block 3 has a wide, horizontal contrasting rectangle. The warp threading determines the width of the rectangles. But the height of the rectangles is determined by the treadling pattern. I decided to use a Fibonacci sequence of numbers in random order to guide my treadling options as I weave.

Double weave blanket.
Rectangles vary in size.

Low-Tech Random Fibonacci Sequence

1 Determine the desired range of the Fibonacci sequence. 1, 2, 3, 5, 8, 13

2 Determine the number of repeat options for each block (one repeat is 4 picks per double-weave layer).

  • Block 1, solid color – 2 repeats every time
  • Block 2, narrow rectangle – 2, 3, 5, 8, or 13 repeats
  • Block 3, wide rectangle – 1, 2, 3, or 5 repeats

3 Write each number of the sequence on individual squares of paper. Make three sets of these numbers. 1, 2, 3, 5, 8, 13

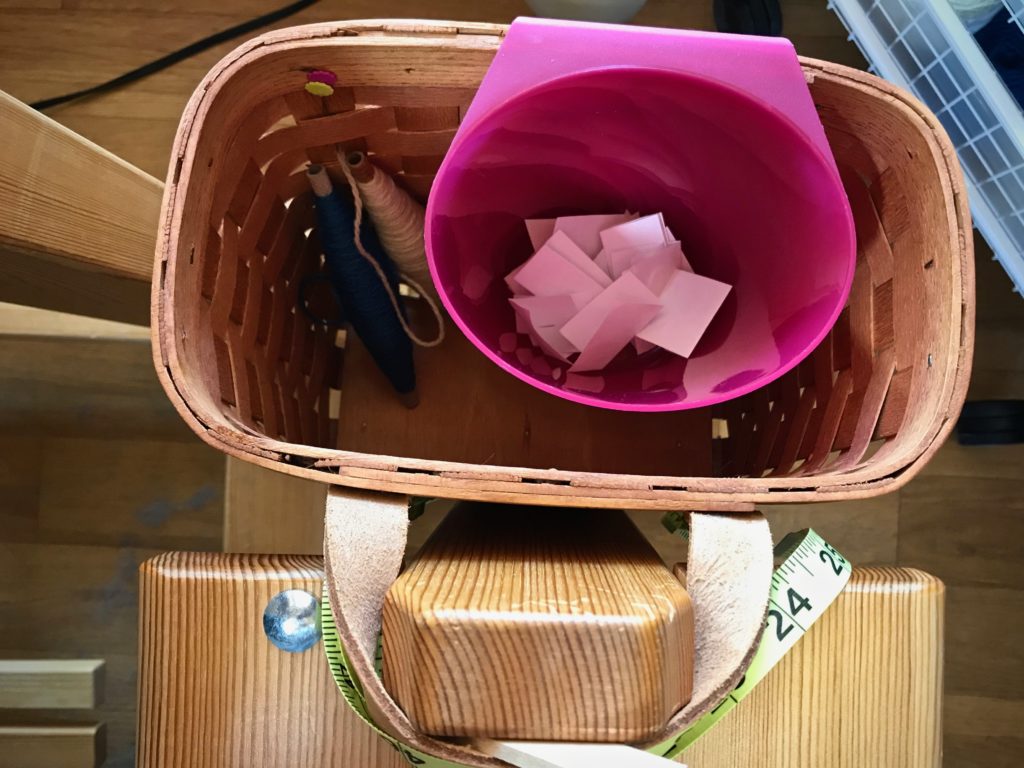
4 Fold each paper square in half and place in a container at the loom. Mix thoroughly.

Designing with random Fibonacci numbers. Low tech!
Fibonacci numbers are ready for eyes-closed random selection.

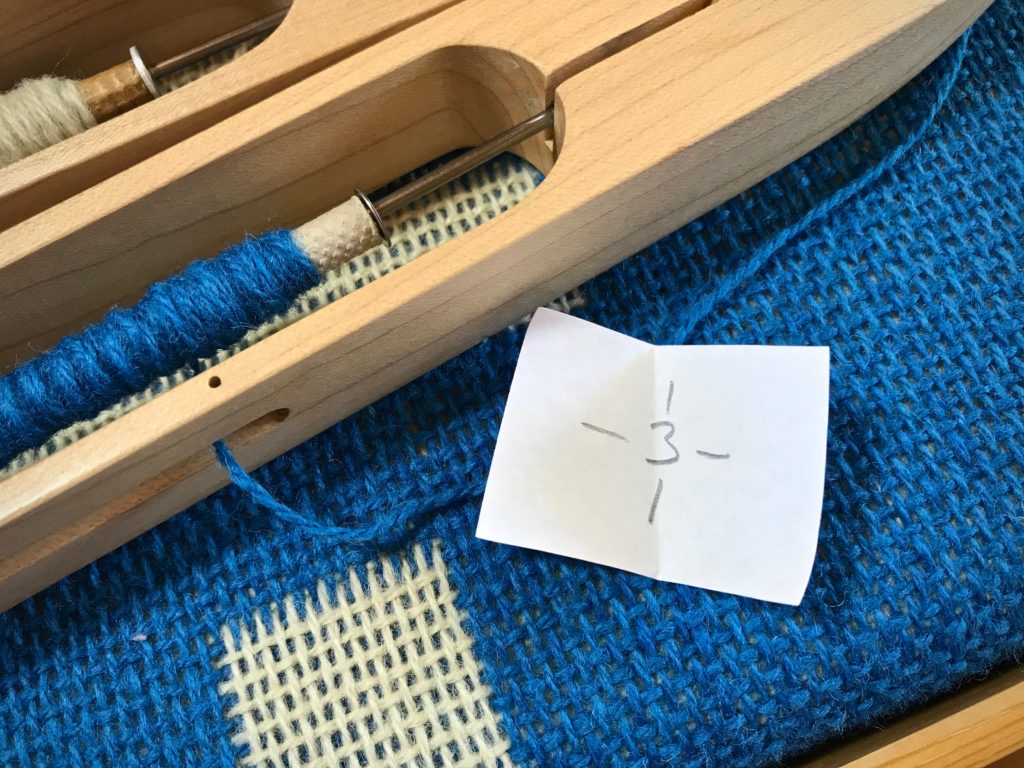
5 Randomly select a paper square to reveal the number of repeats for the next narrow or wide rectangle block.

Fibonacci numbers as design tool.
Assignment for the next rectangle block – three repeats. The lines indicate that this number can be used for Block 2 (narrow, vertical) or Block 3 (wide, horizontal).

For this blanket I have a woven hem and border, and then two repeats of Block 1 (solid color) between alternating Block 2 (narrow) and Block 3 (wide) rectangles of varying heights.

Double weave wool blanket.
Back side has reverse colors.
Double weave Tuna wool blanket.
Block 1 (solid blue across) stays a consistent size between the white rectangles.

Surprise is built in which makes it hard to leave the loom. “Just one more block,” I tell myself…

Double weave blanket. Fibonacci for design.
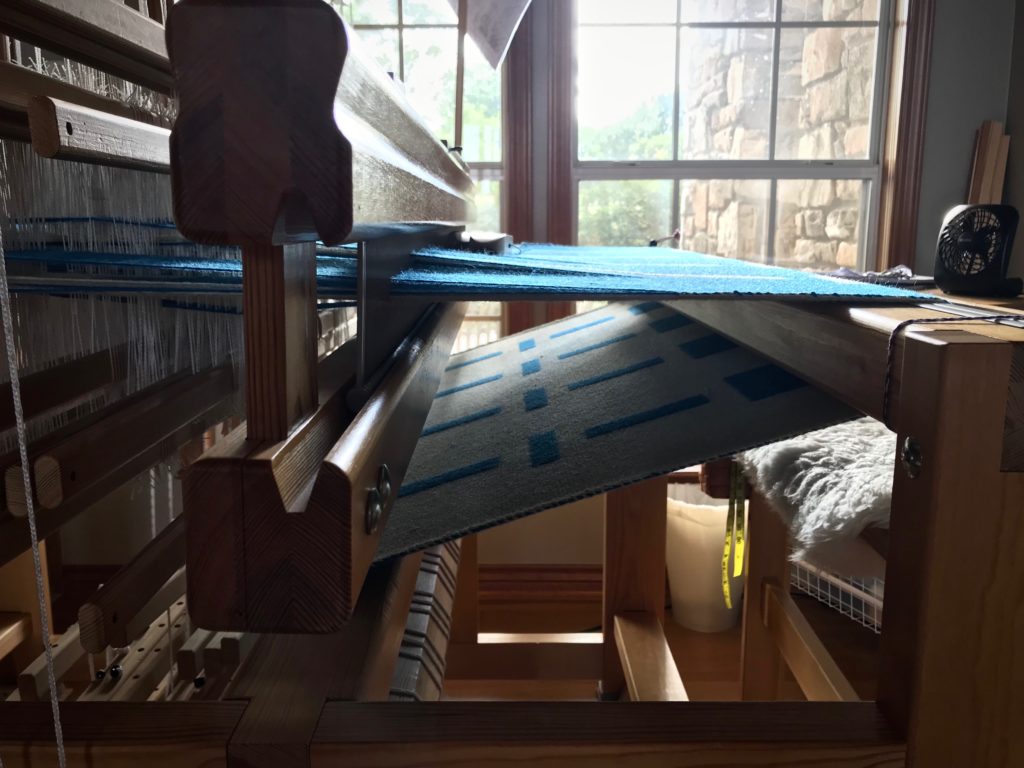
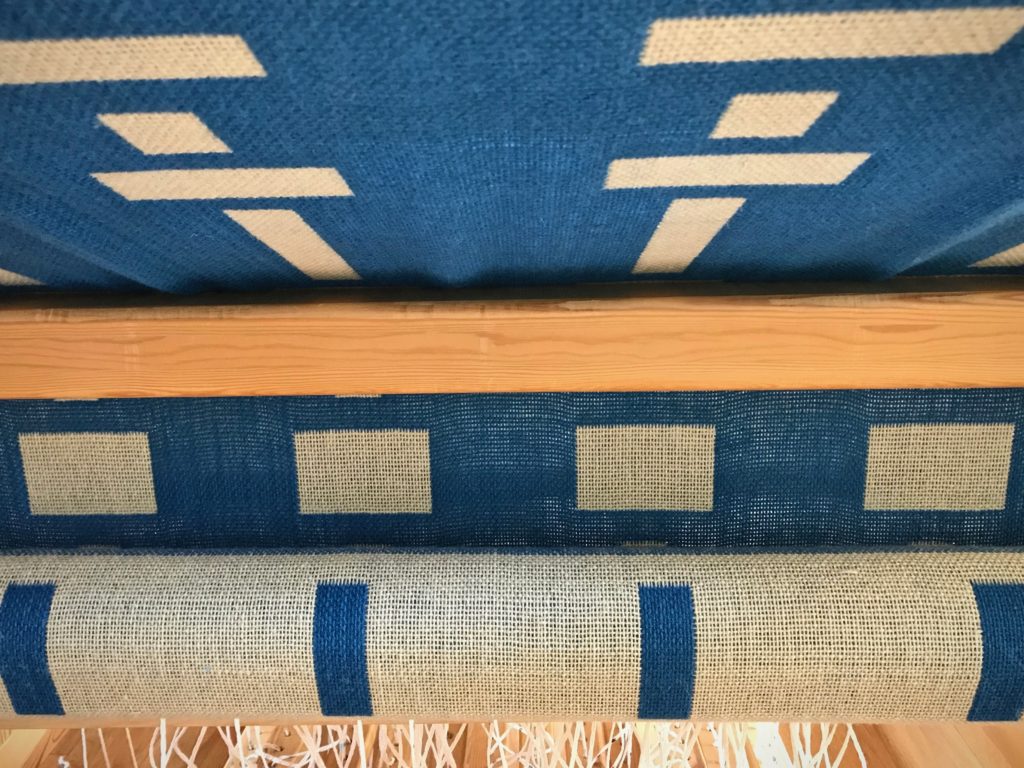
View of the cloth beam reveals the variety of sizes of rectangles. Eager to see it off the loom!

May you be greeted by random (happy) surprises.

Happy Weaving,
Karen
Pictorial Tapestry Weaving

Inspired by some of Joanne Hall’s exquisite large tapestries, I have been taking steps to learn her techniques. This fascinating style that is unique to Joanne enables her to weave large tapestries at a comfortable pace. My Lizard tapestry last year was a step in this direction. (See Quiet Friday: Lizard Tapestry.) One thing that the lizard taught me is how much more I need to learn. So, you can imagine my delight in having the opportunity to take a Pictorial Tapestry Weaving workshop taught by Joanne Hall last week! (Contemporary Handweavers of Texas Conference in Fort Worth was the setting.)

Texas Wildflowers, tapestry by Joanne Hall.
Texas Wildflowers, tapestry by Joanne Hall. Photo credit: Steve Isenhower 2013
Detail of Texas Wildflowers, tapestry by Joanne Hall.
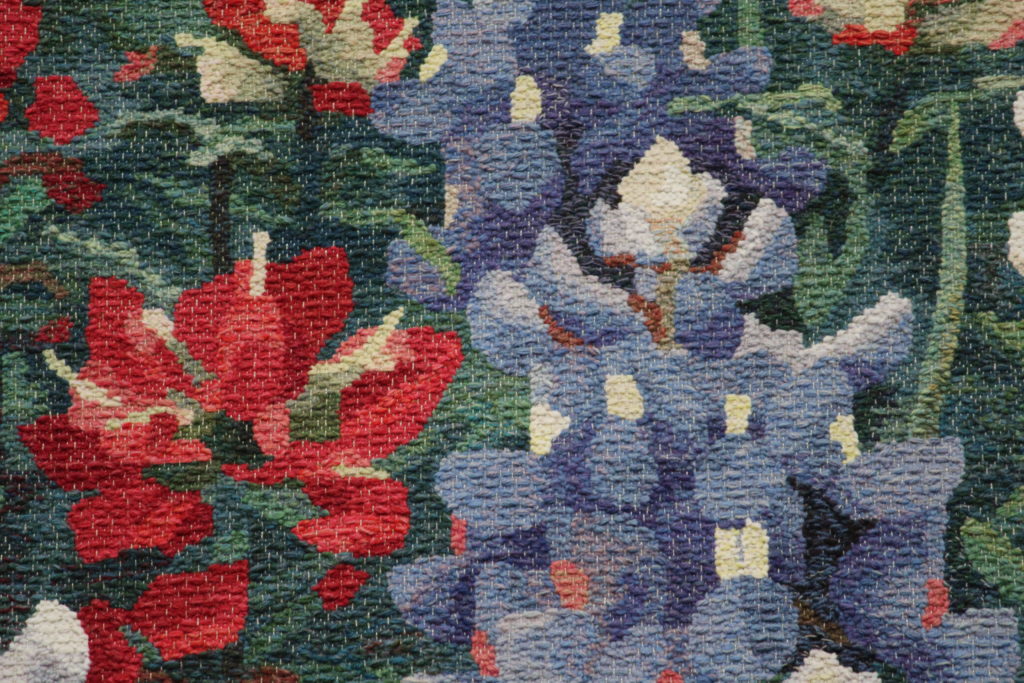
Detail of Texas Wildflowers. Threaded in rosepath, with a linen warp. Woven with butterfly bundles of wool yarn. Photo credit: Steve Isenhower 2013

Things to remember: Don’t beat hard. Bubble the weft more. Color theory is invaluable for adding depth and intensity. Simplify the cartoon. And countless more bits of insight and instruction! I am invigorated in my pursuit to develop these tapestry skills. Expect to see a tapestry on my 120cm Glimåkra Standard in coming days.

Workshop looms.
My hand-built countermarch loom is perfect for a tapestry workshop. Betsy brought her Glimåkra Julia loom.
Tapestry sampler in Joanne Hall's workshop.
Workshop sampler gives students various tapestry techniques to practice. We learned techniques of other tapestry weavers, such as Hans Krondahl and Helena Hernmarck, as well as Joanne’s unique approach.
Tapestry workshop with Joanne Hall.
Fellow student Cindy created this pear, taking advantage of the rosepath threading to add pattern to the image.
Joanne Hall's tapestry workshop.
Joanne, center, explains the process of creating a cartoon. She spreads out photos of flowers as a starting point for students’ cartoons.
Joanne Hall's tapestry sample.
Joanne’s tapestry sample demonstrates the outcome of her process. A portion of the photo was enlarged from which she drew the cartoon.
Tapestry workshop.
Fellow student Deborah creates a flower from her original cartoon.
Making a tapestry cartoon.
I am choosing to make my cartoon from an enlarged portion of a lily photo.
Weaving from a cartoon in tapestry workshop.
Color studies and technique exercises all come together in the last part of the tapestry sampler. Weaving from a cartoon.
Tapestry progress.
Time to take the loom apart and head home. Checking my progress with the photo before packing up.
Lily sample from tapestry workshop with Joanne Hall.
Lily sample is finished at home.

I find myself pondering how experiences fall into place in our lives. There are times when the stepping stones seem to be set out before us, showing the way, when we don’t know exactly where we are going. The Lord knows where I am going. He knows me. And he kindly sets out the next steps. Perhaps he smiles as he sees our delight when we figure out that we are the bundles of yarn in his tapestry.

May your joy in learning never cease.

Happy Weaving,
Karen