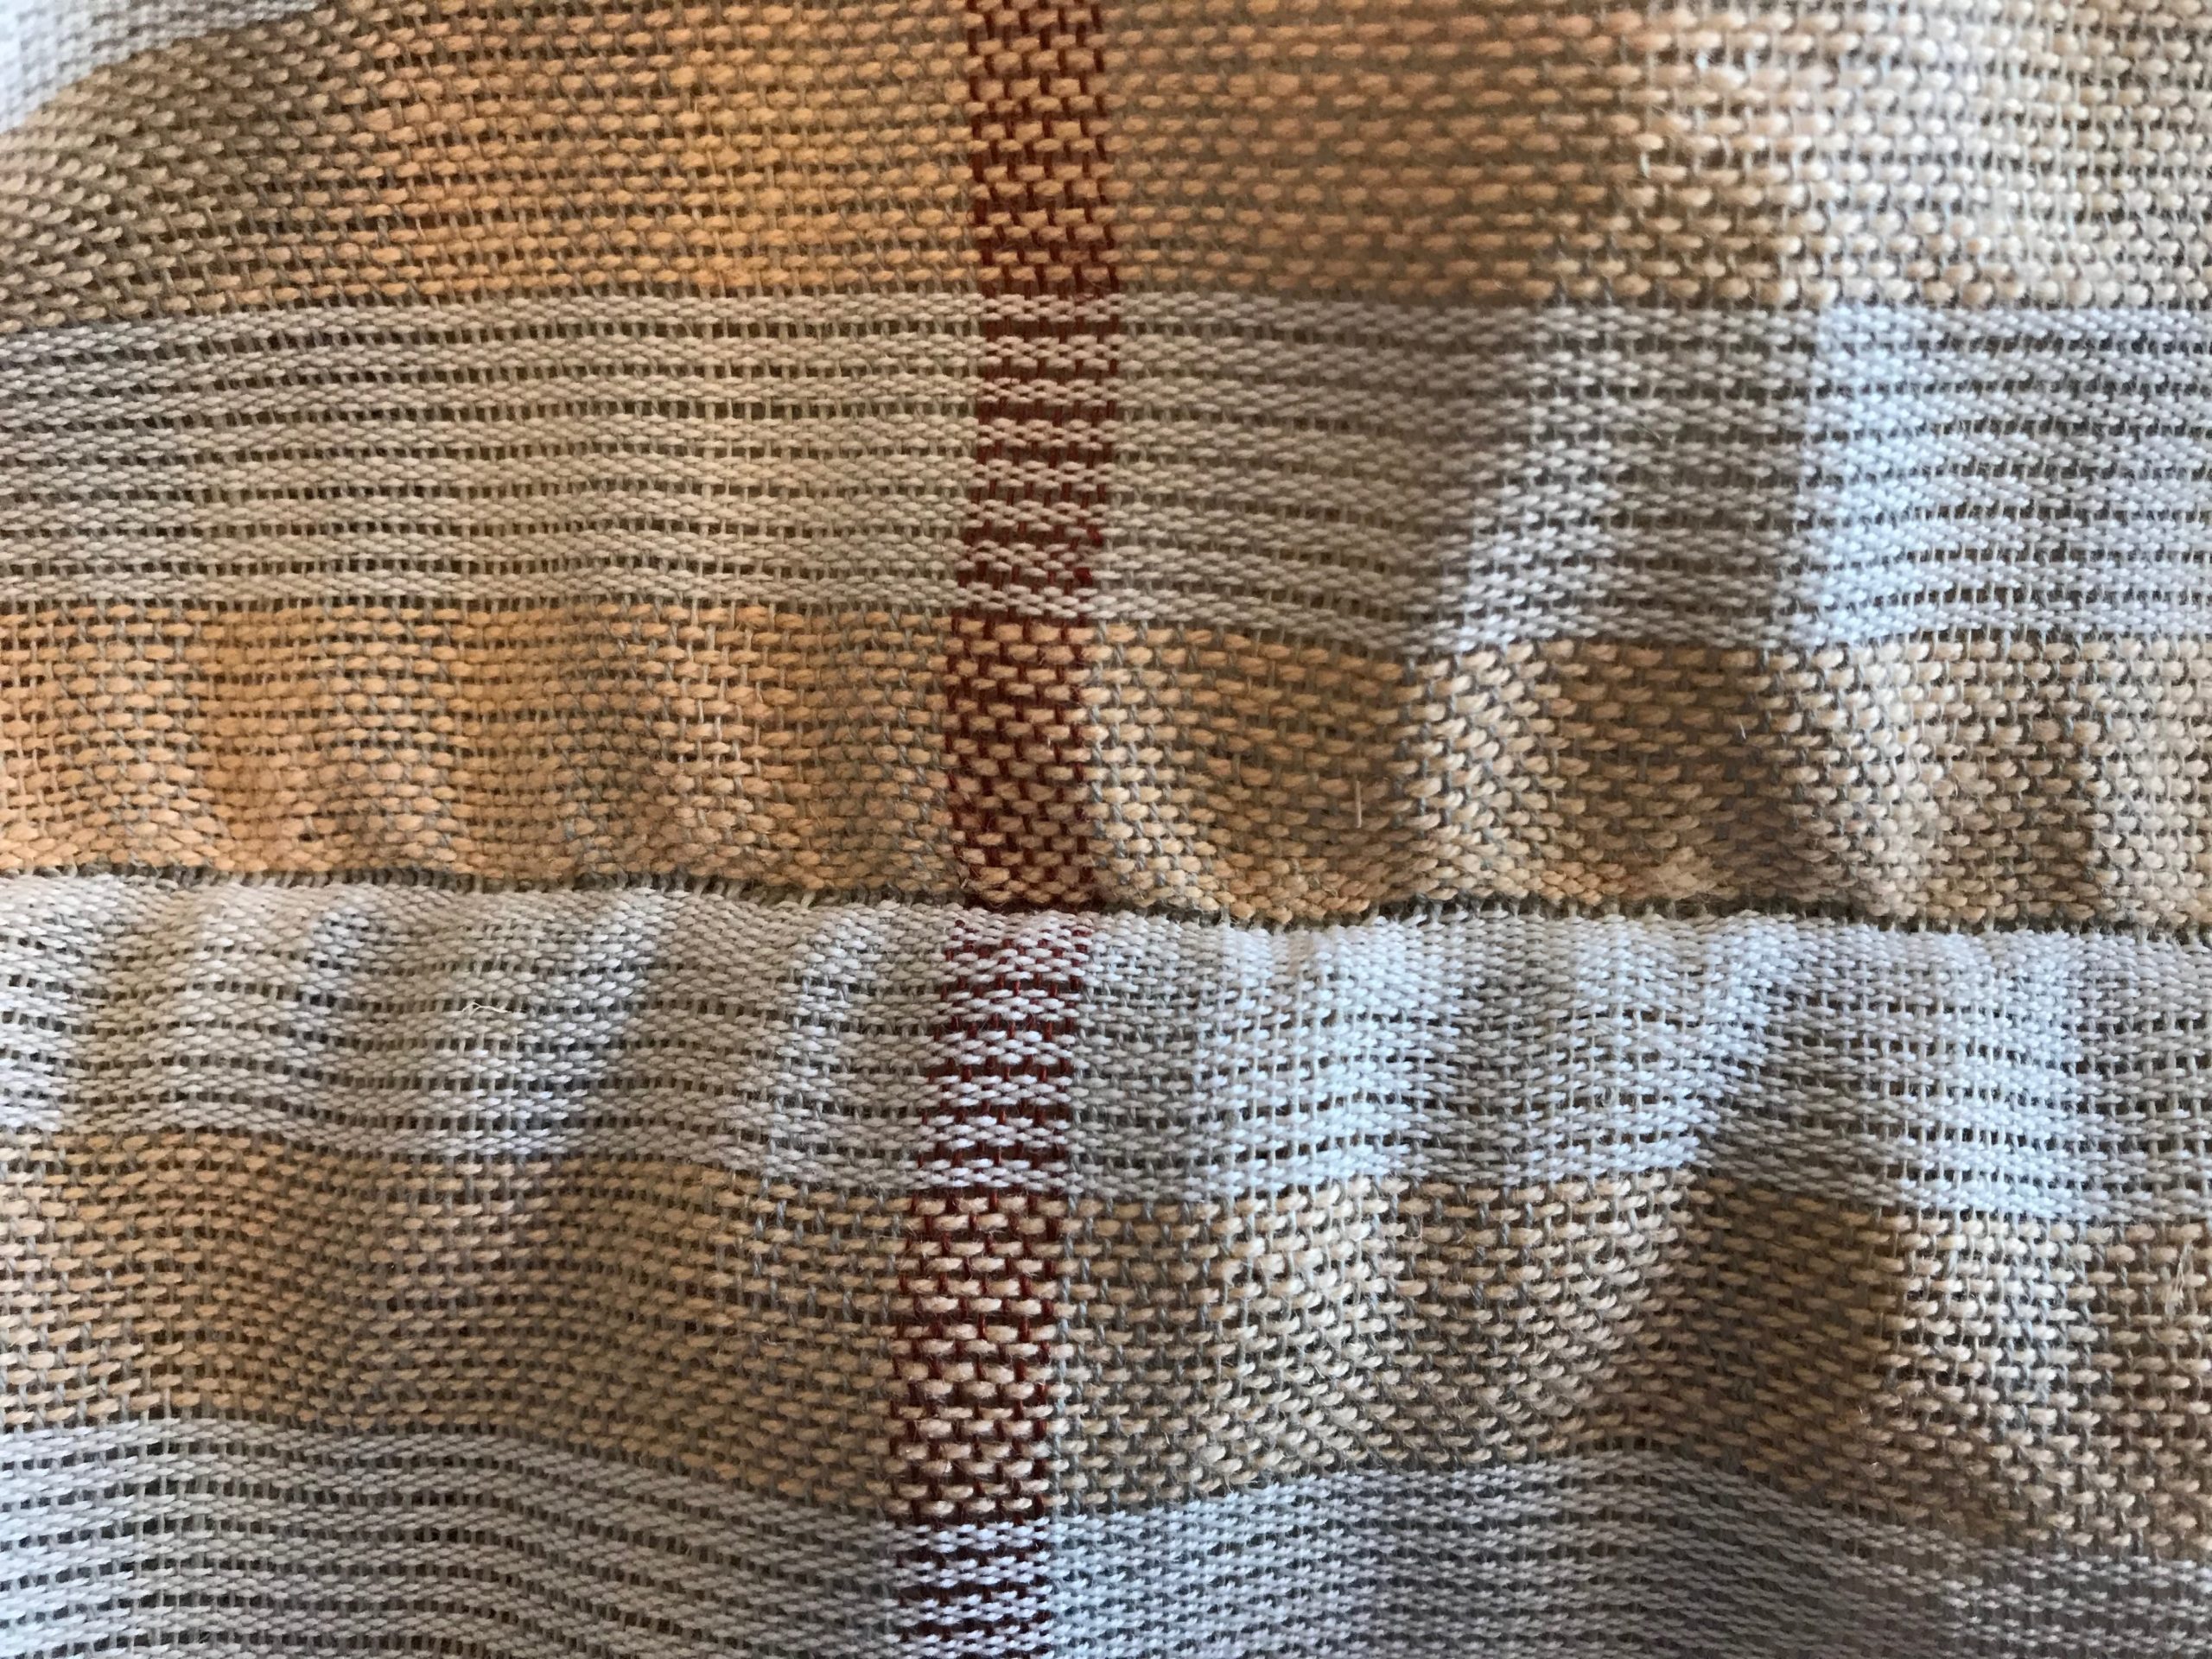
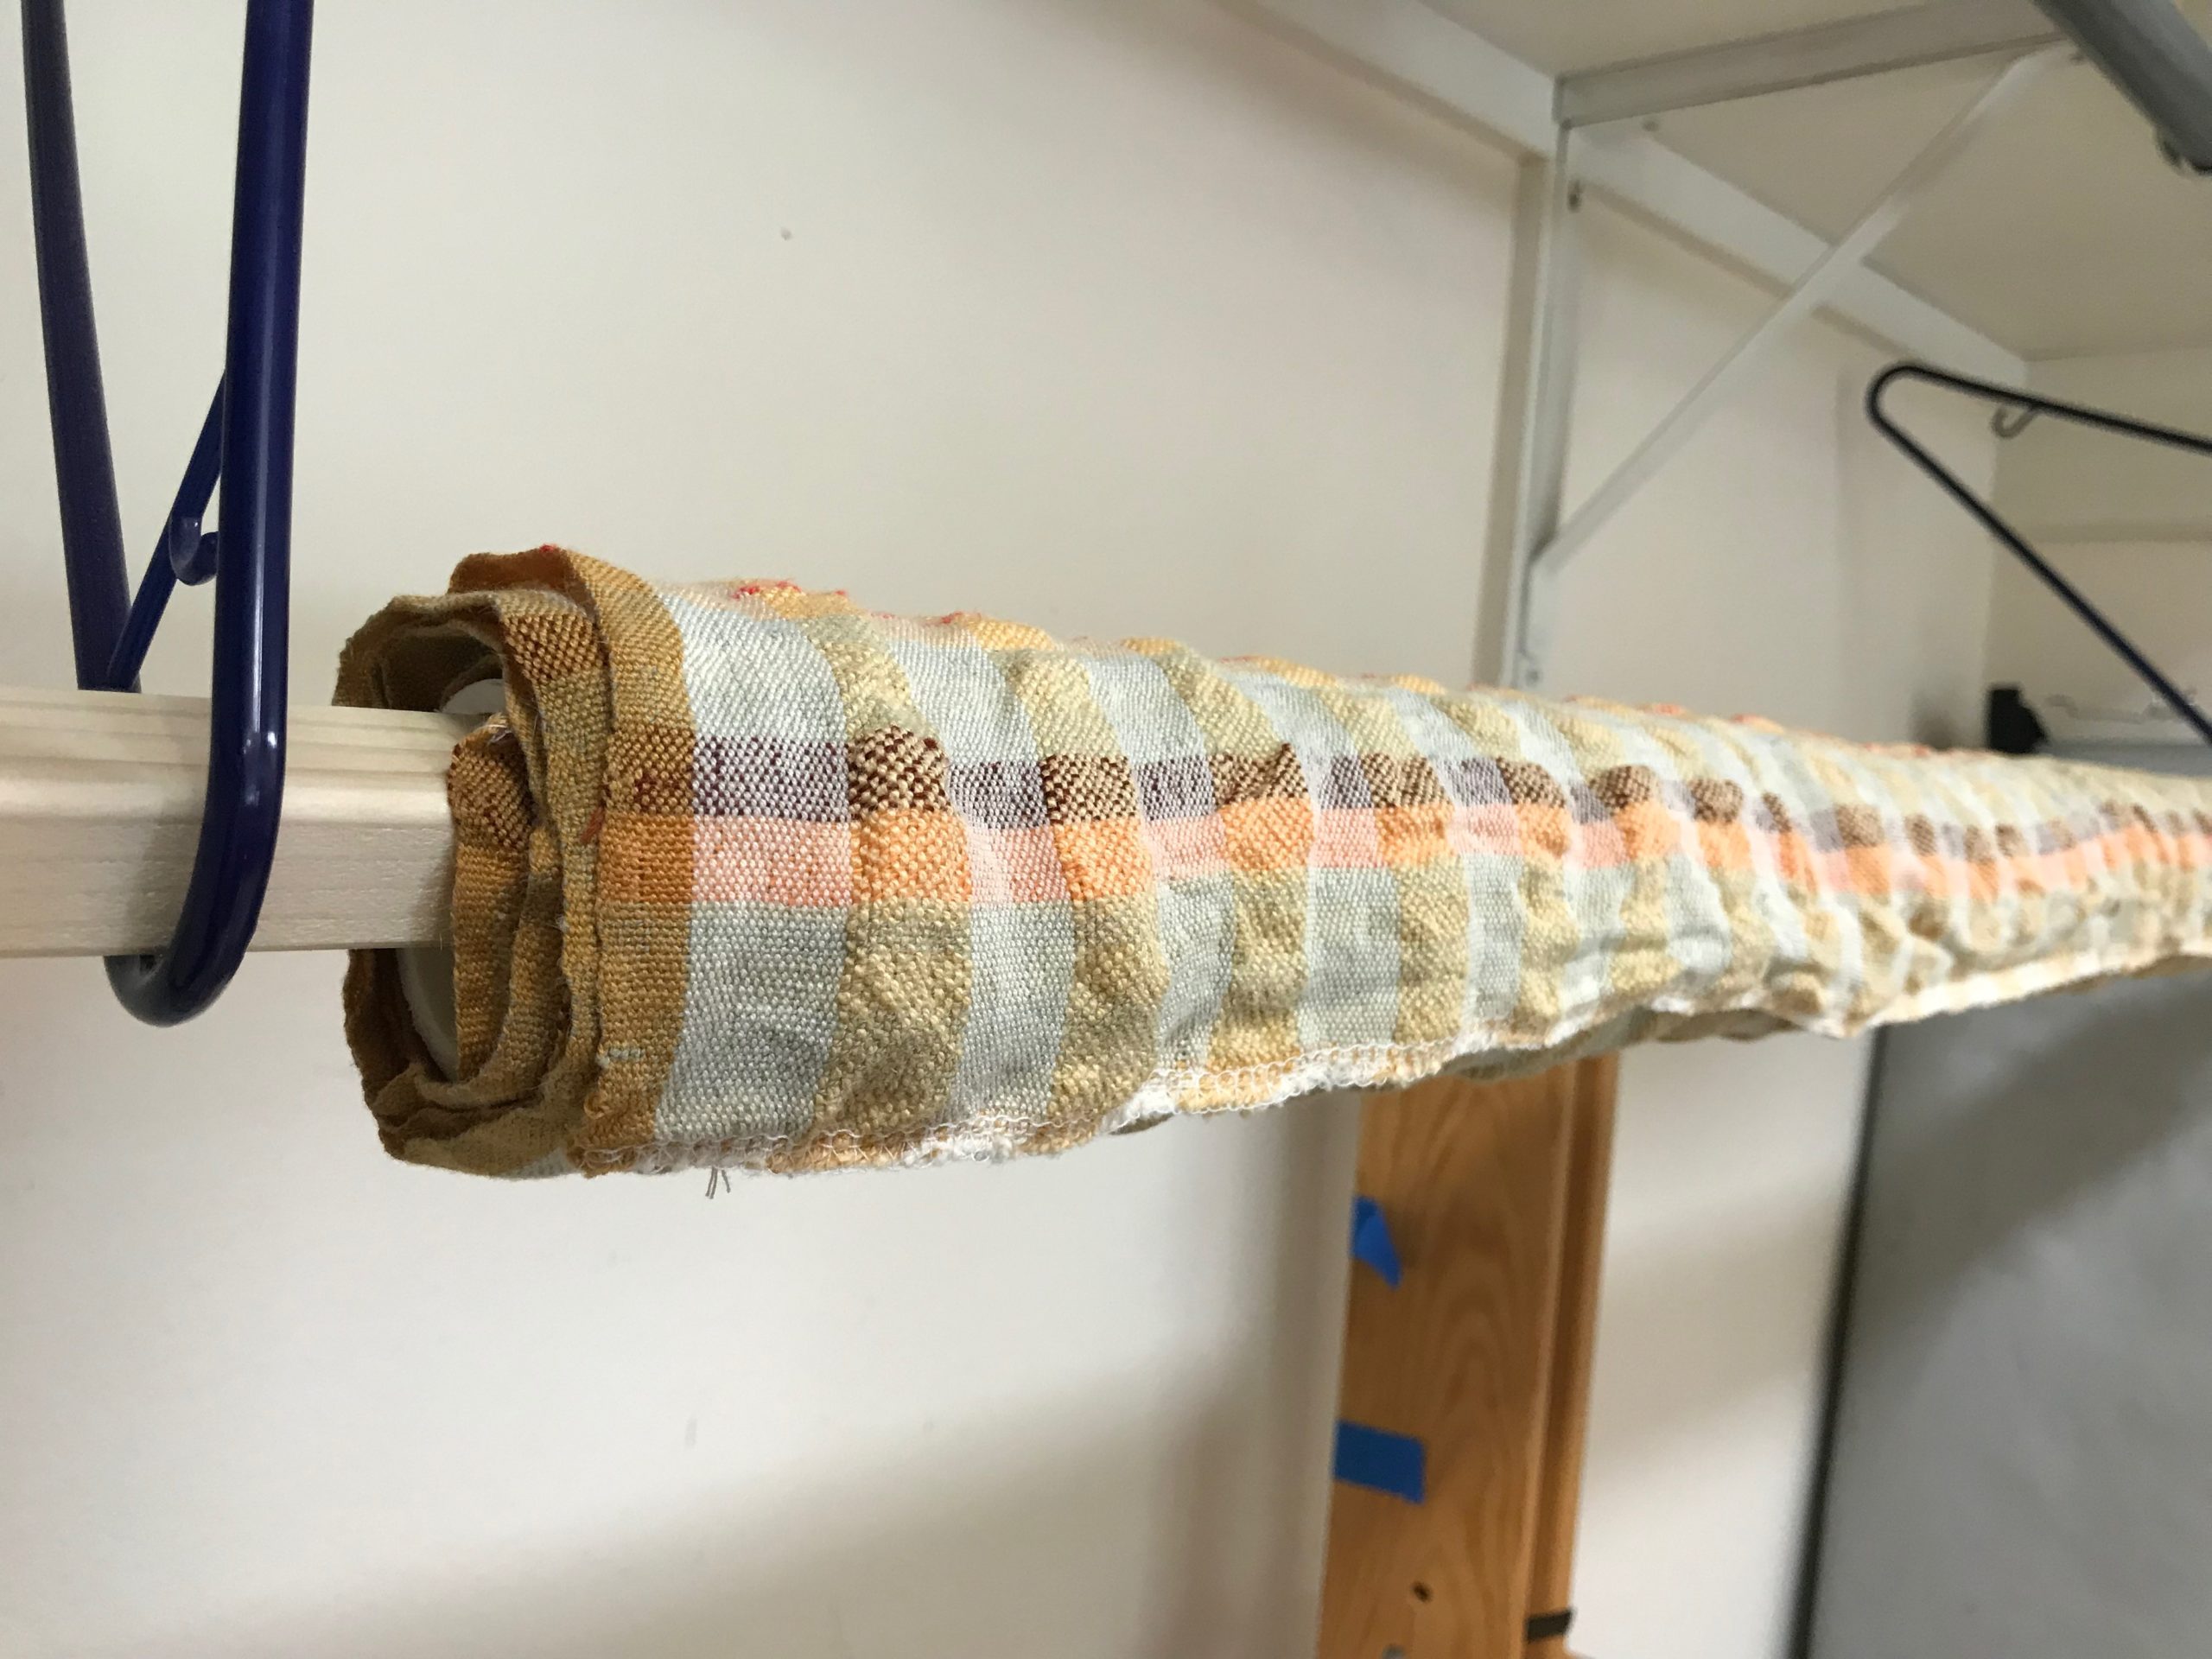
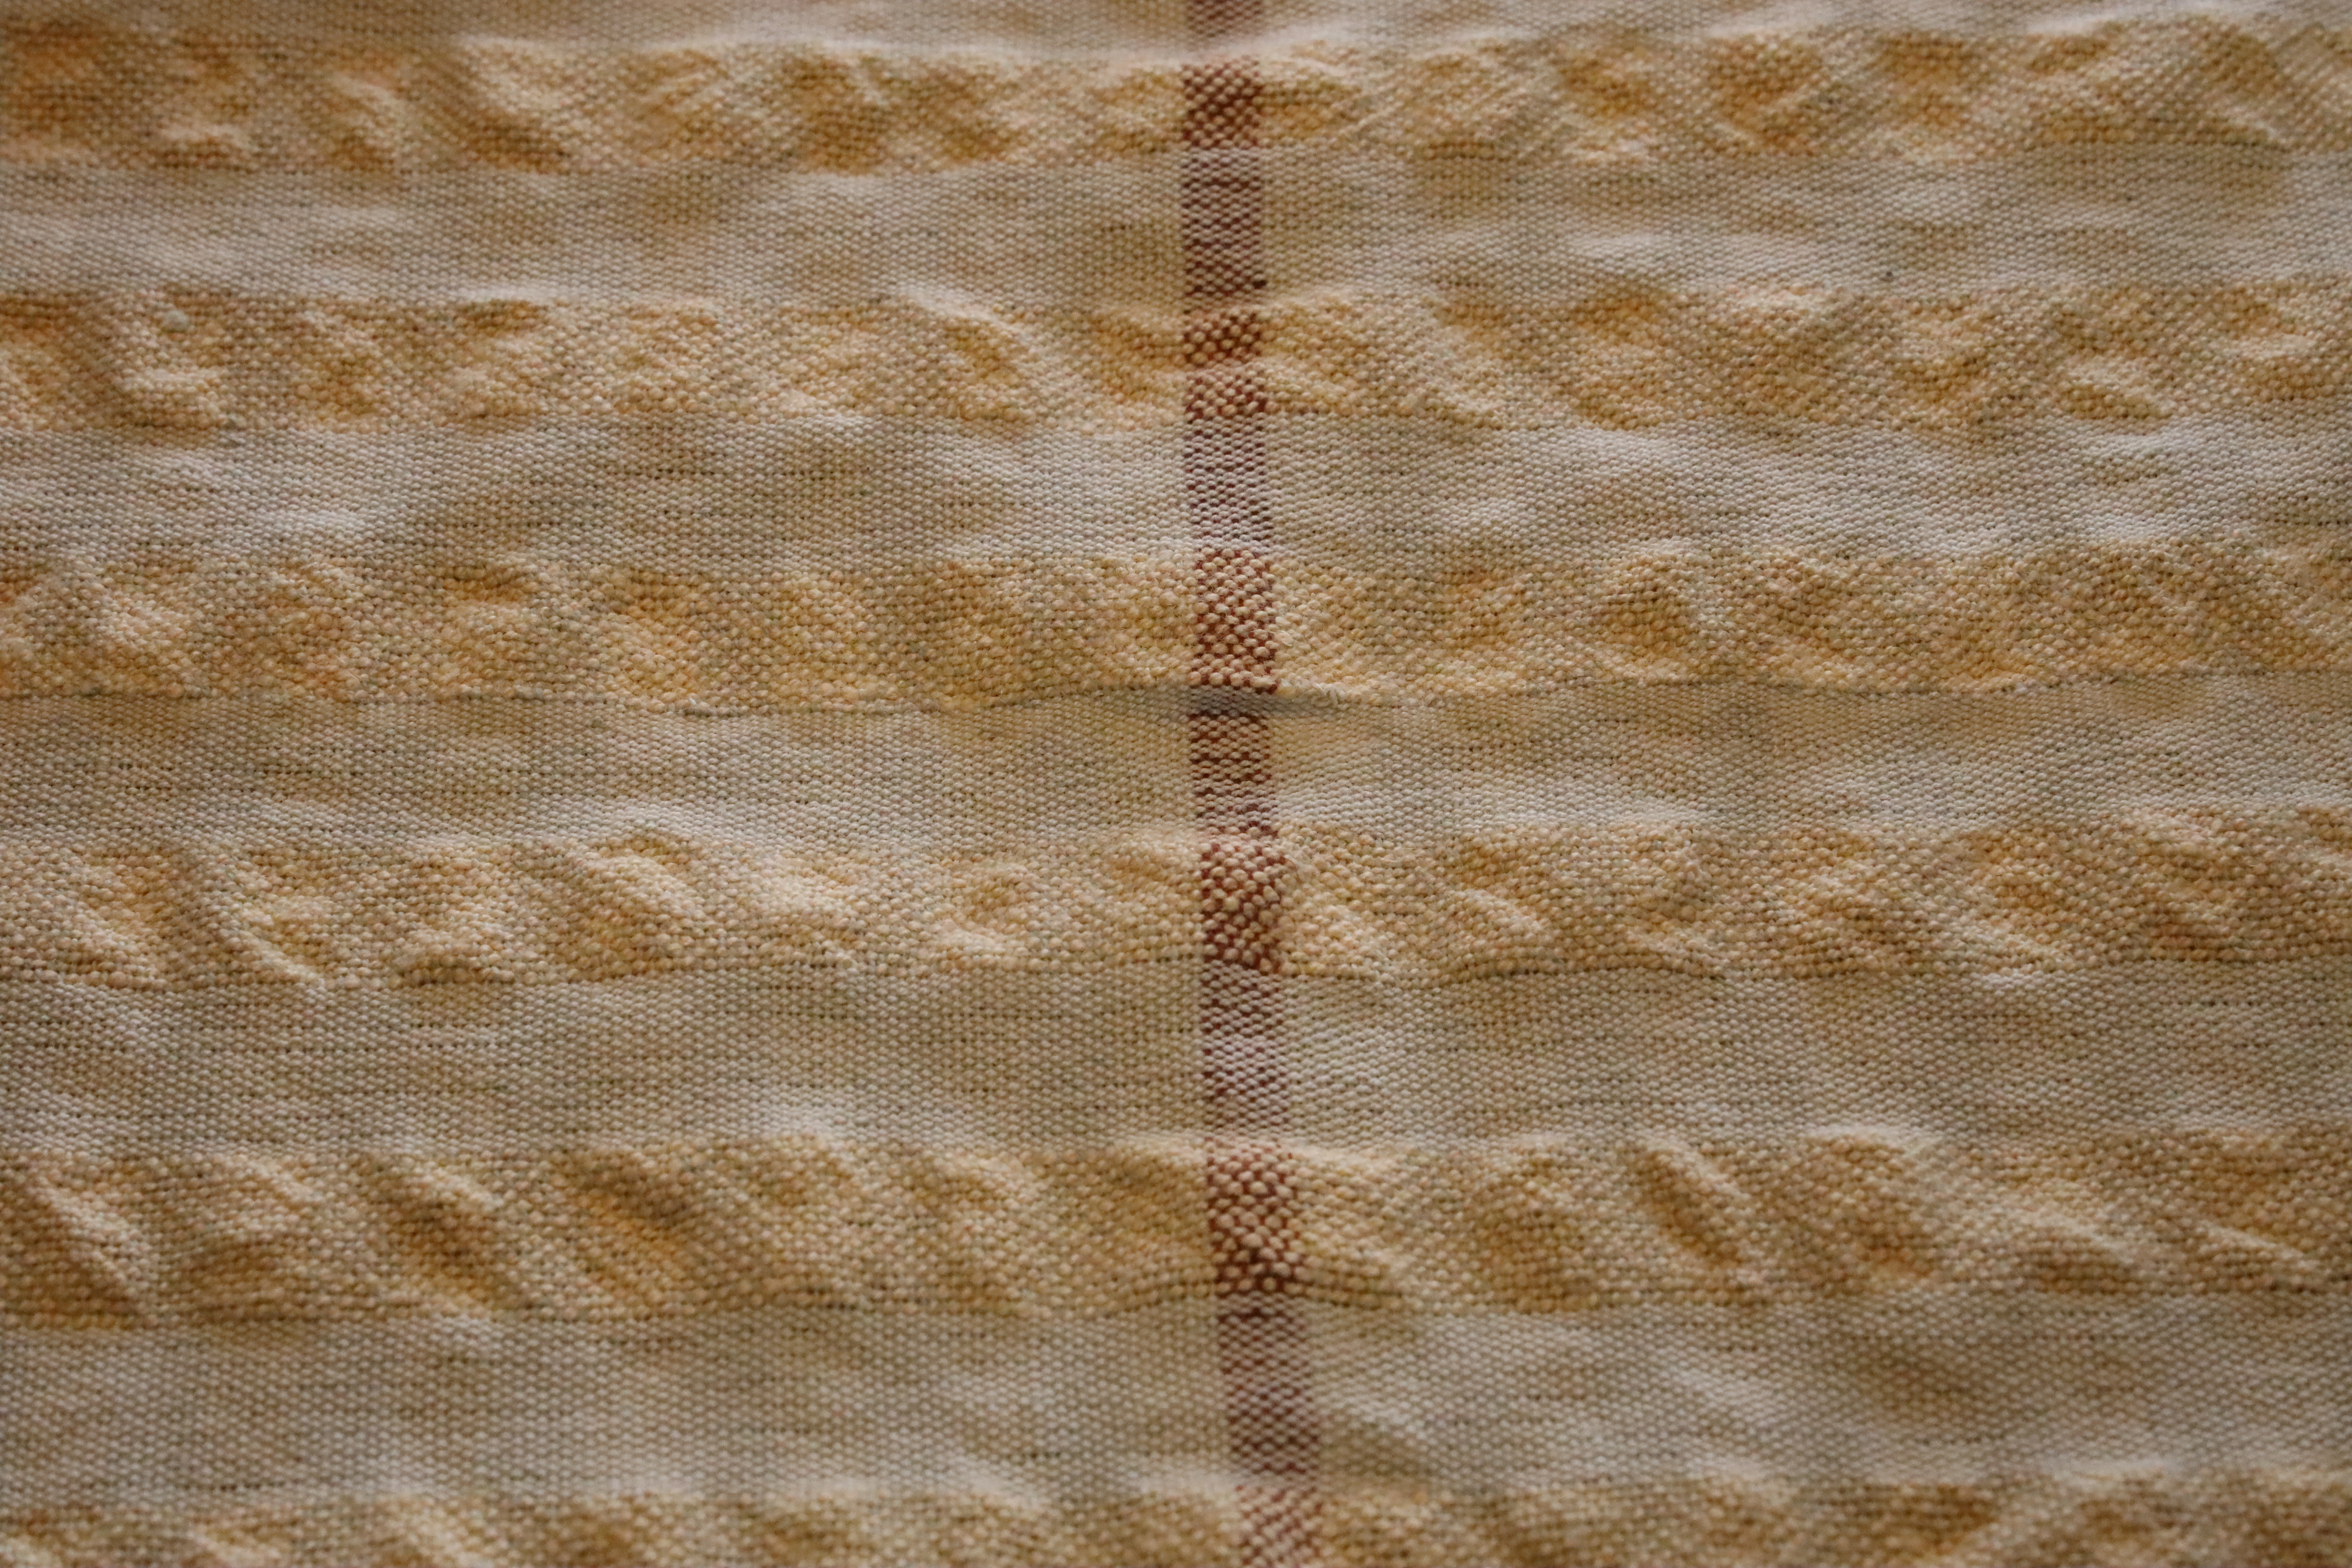
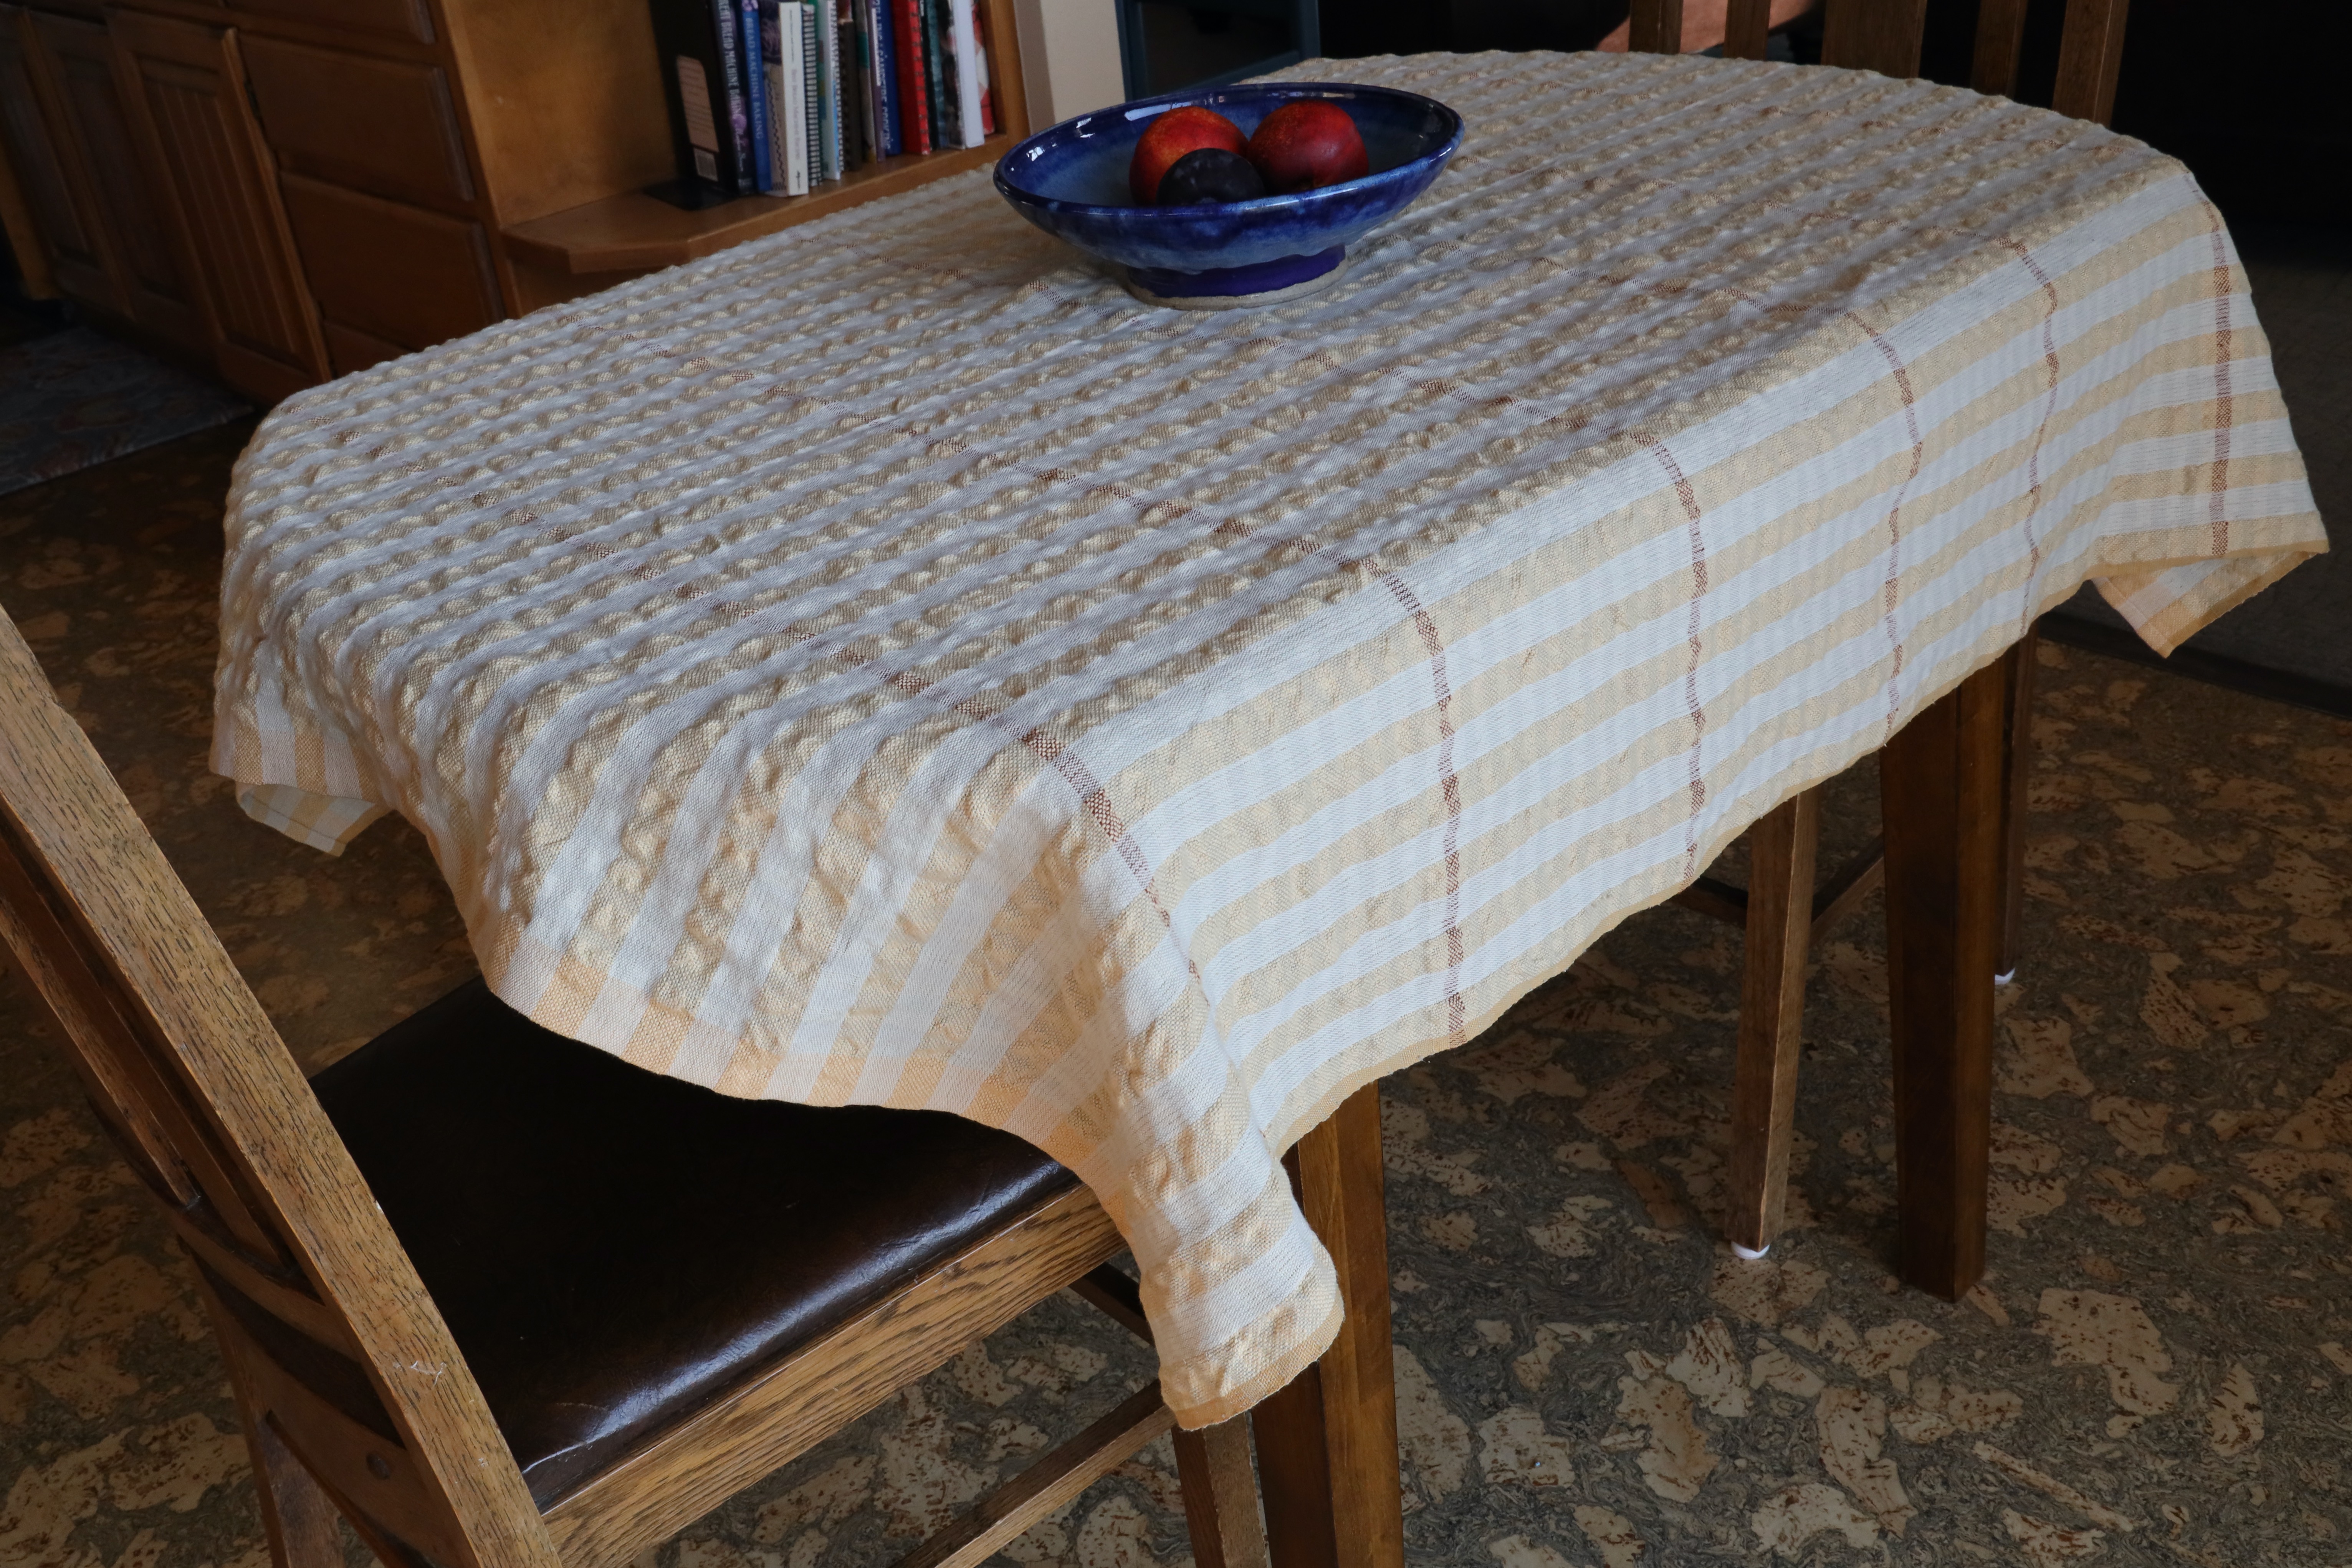
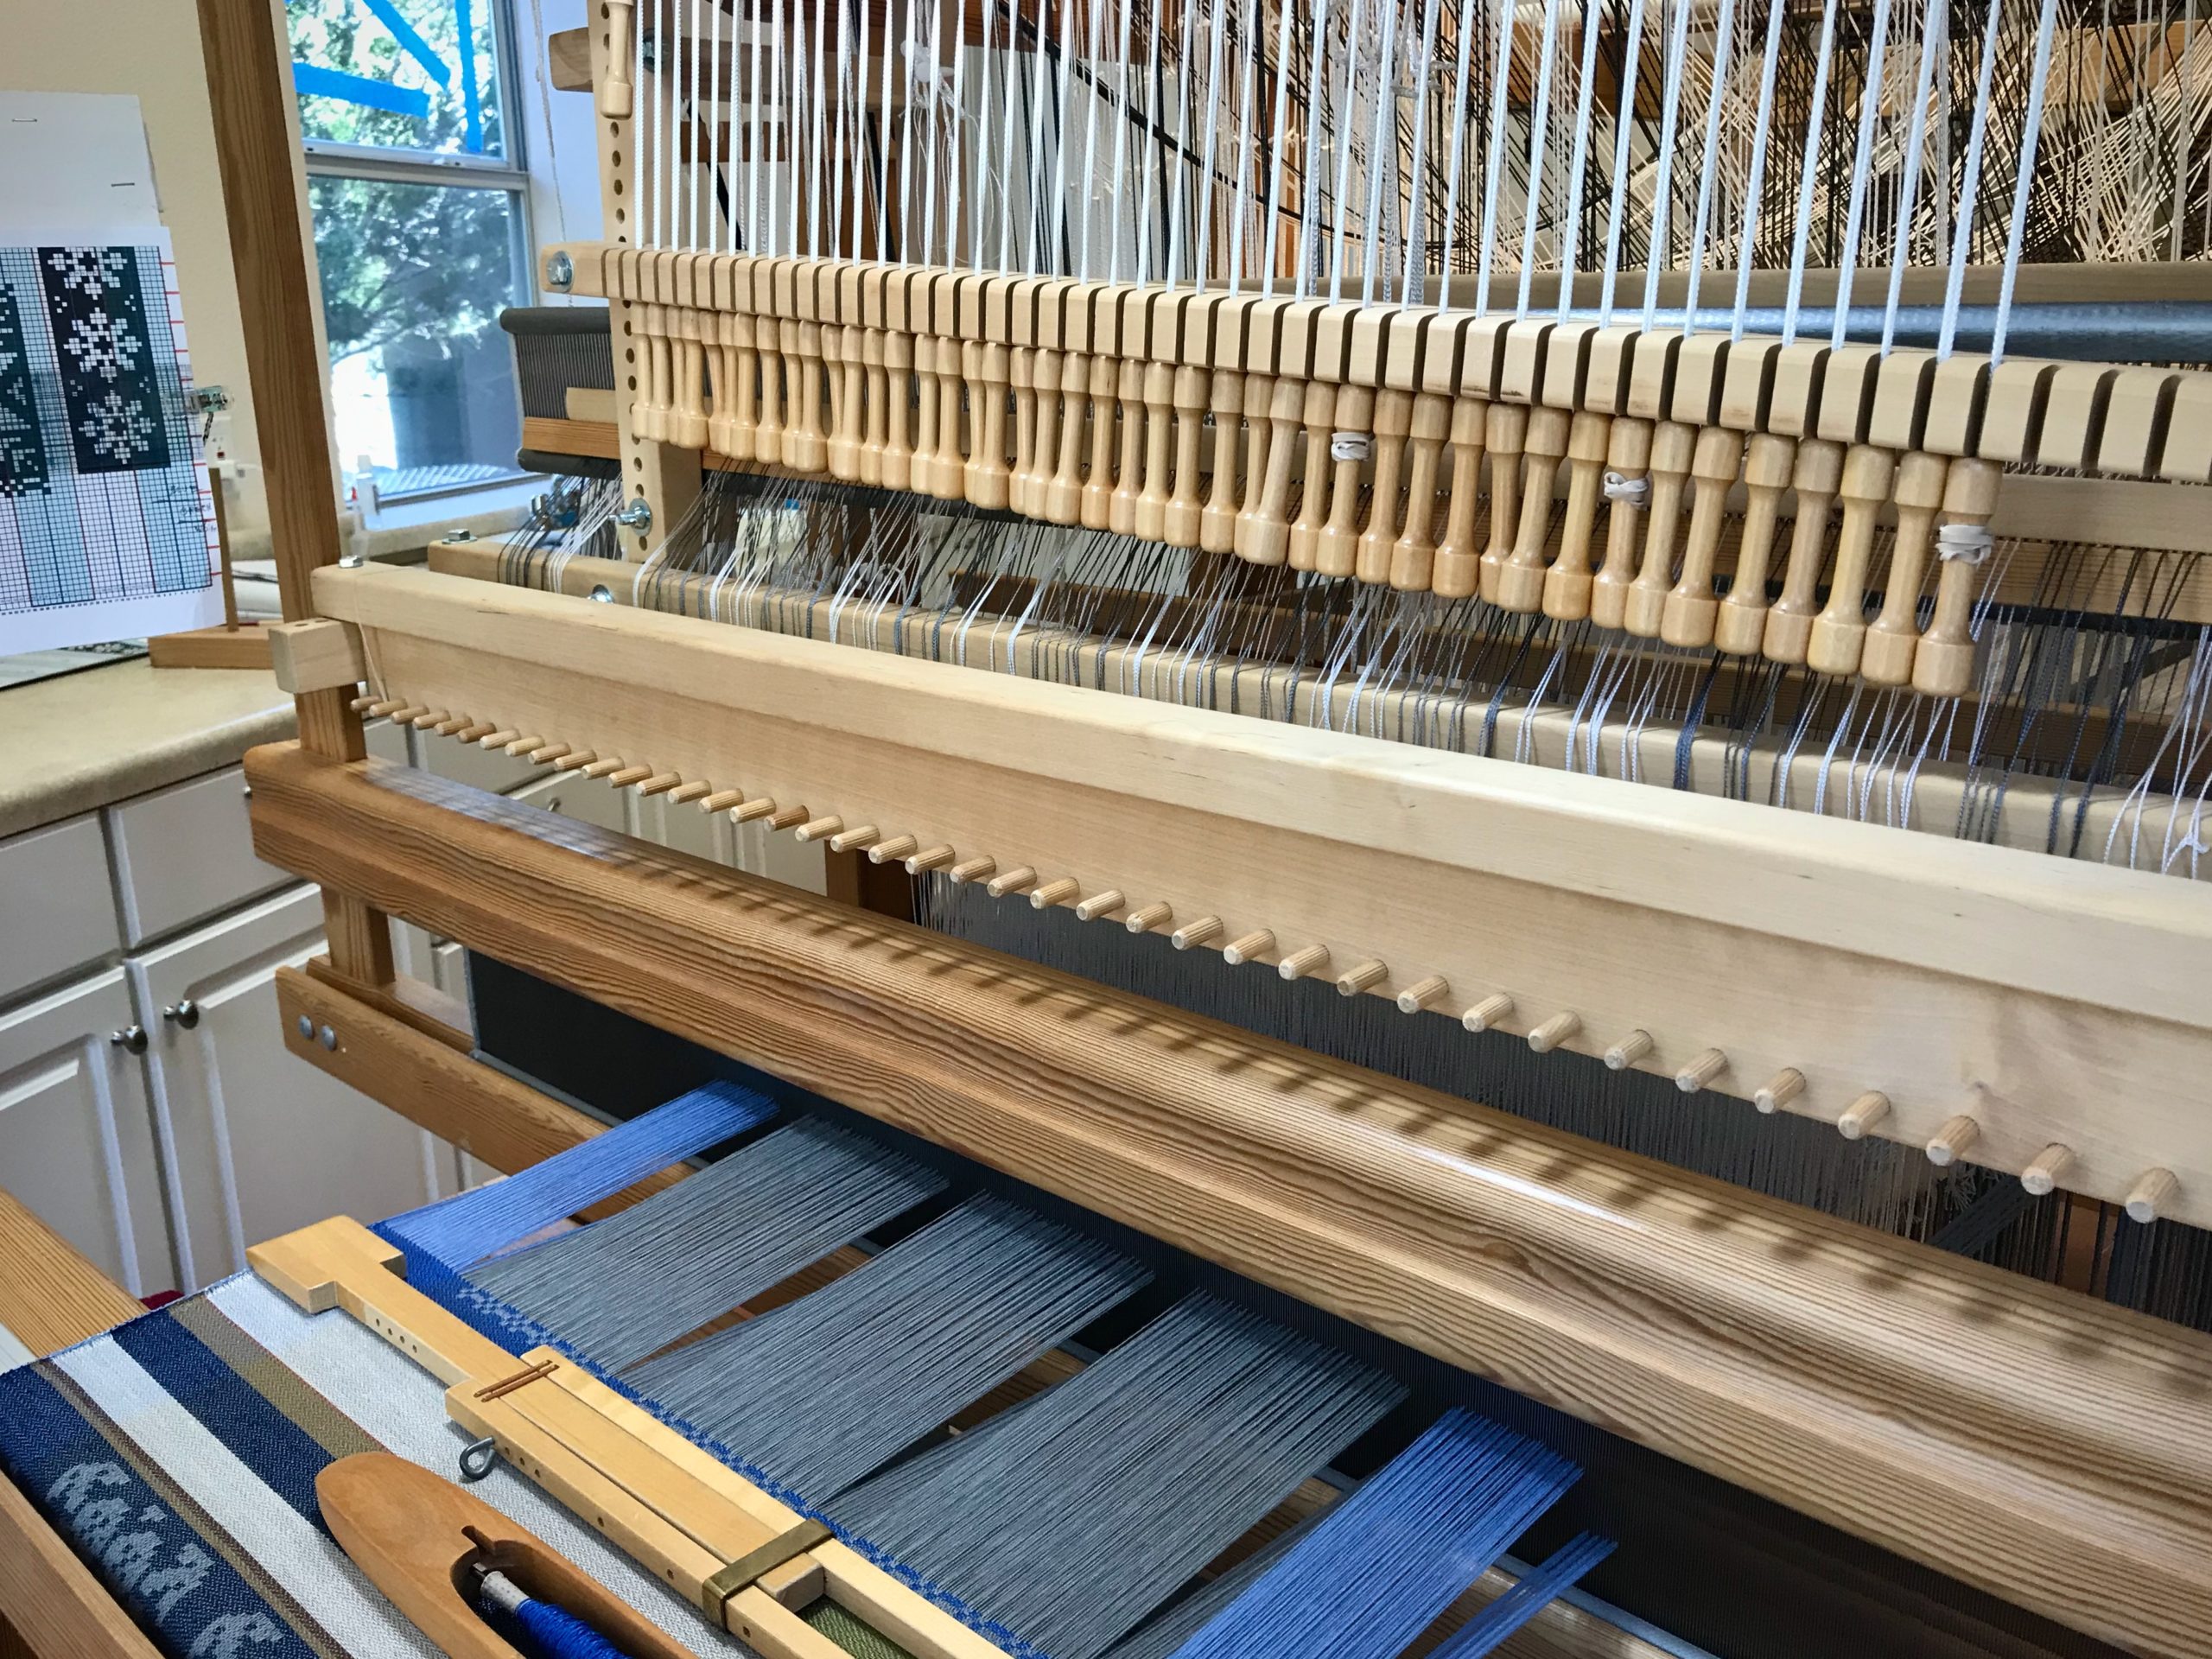
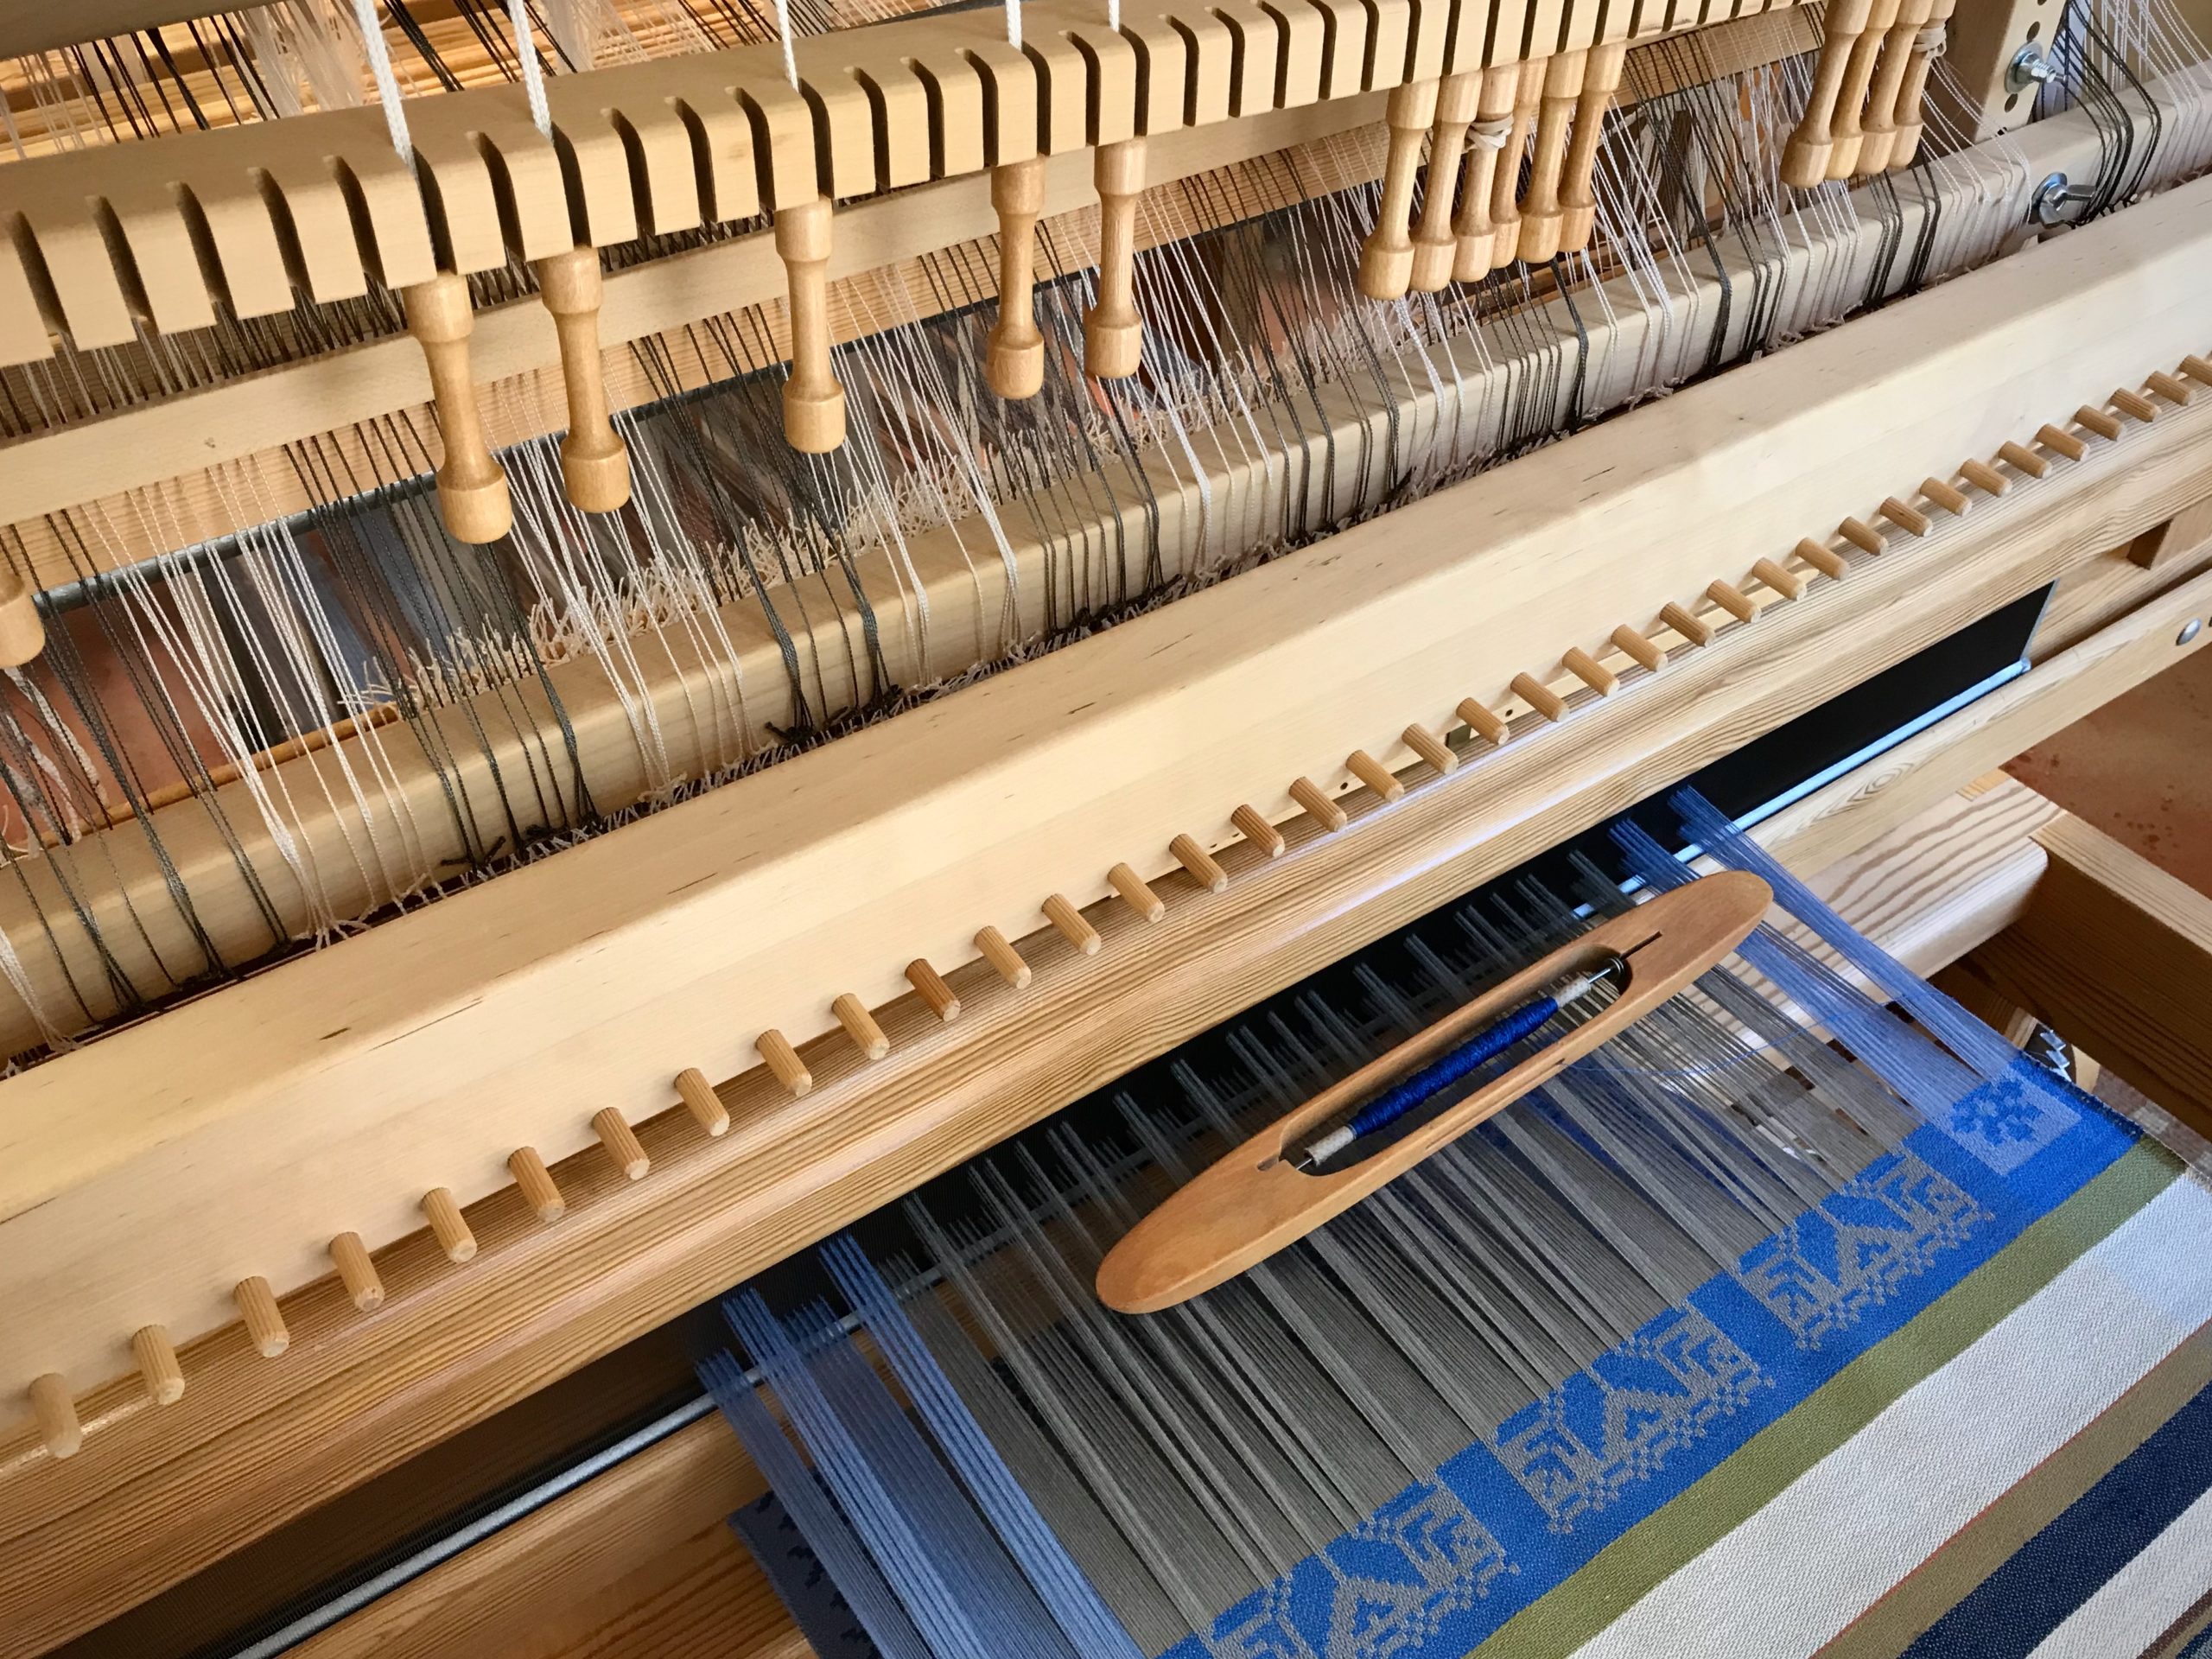
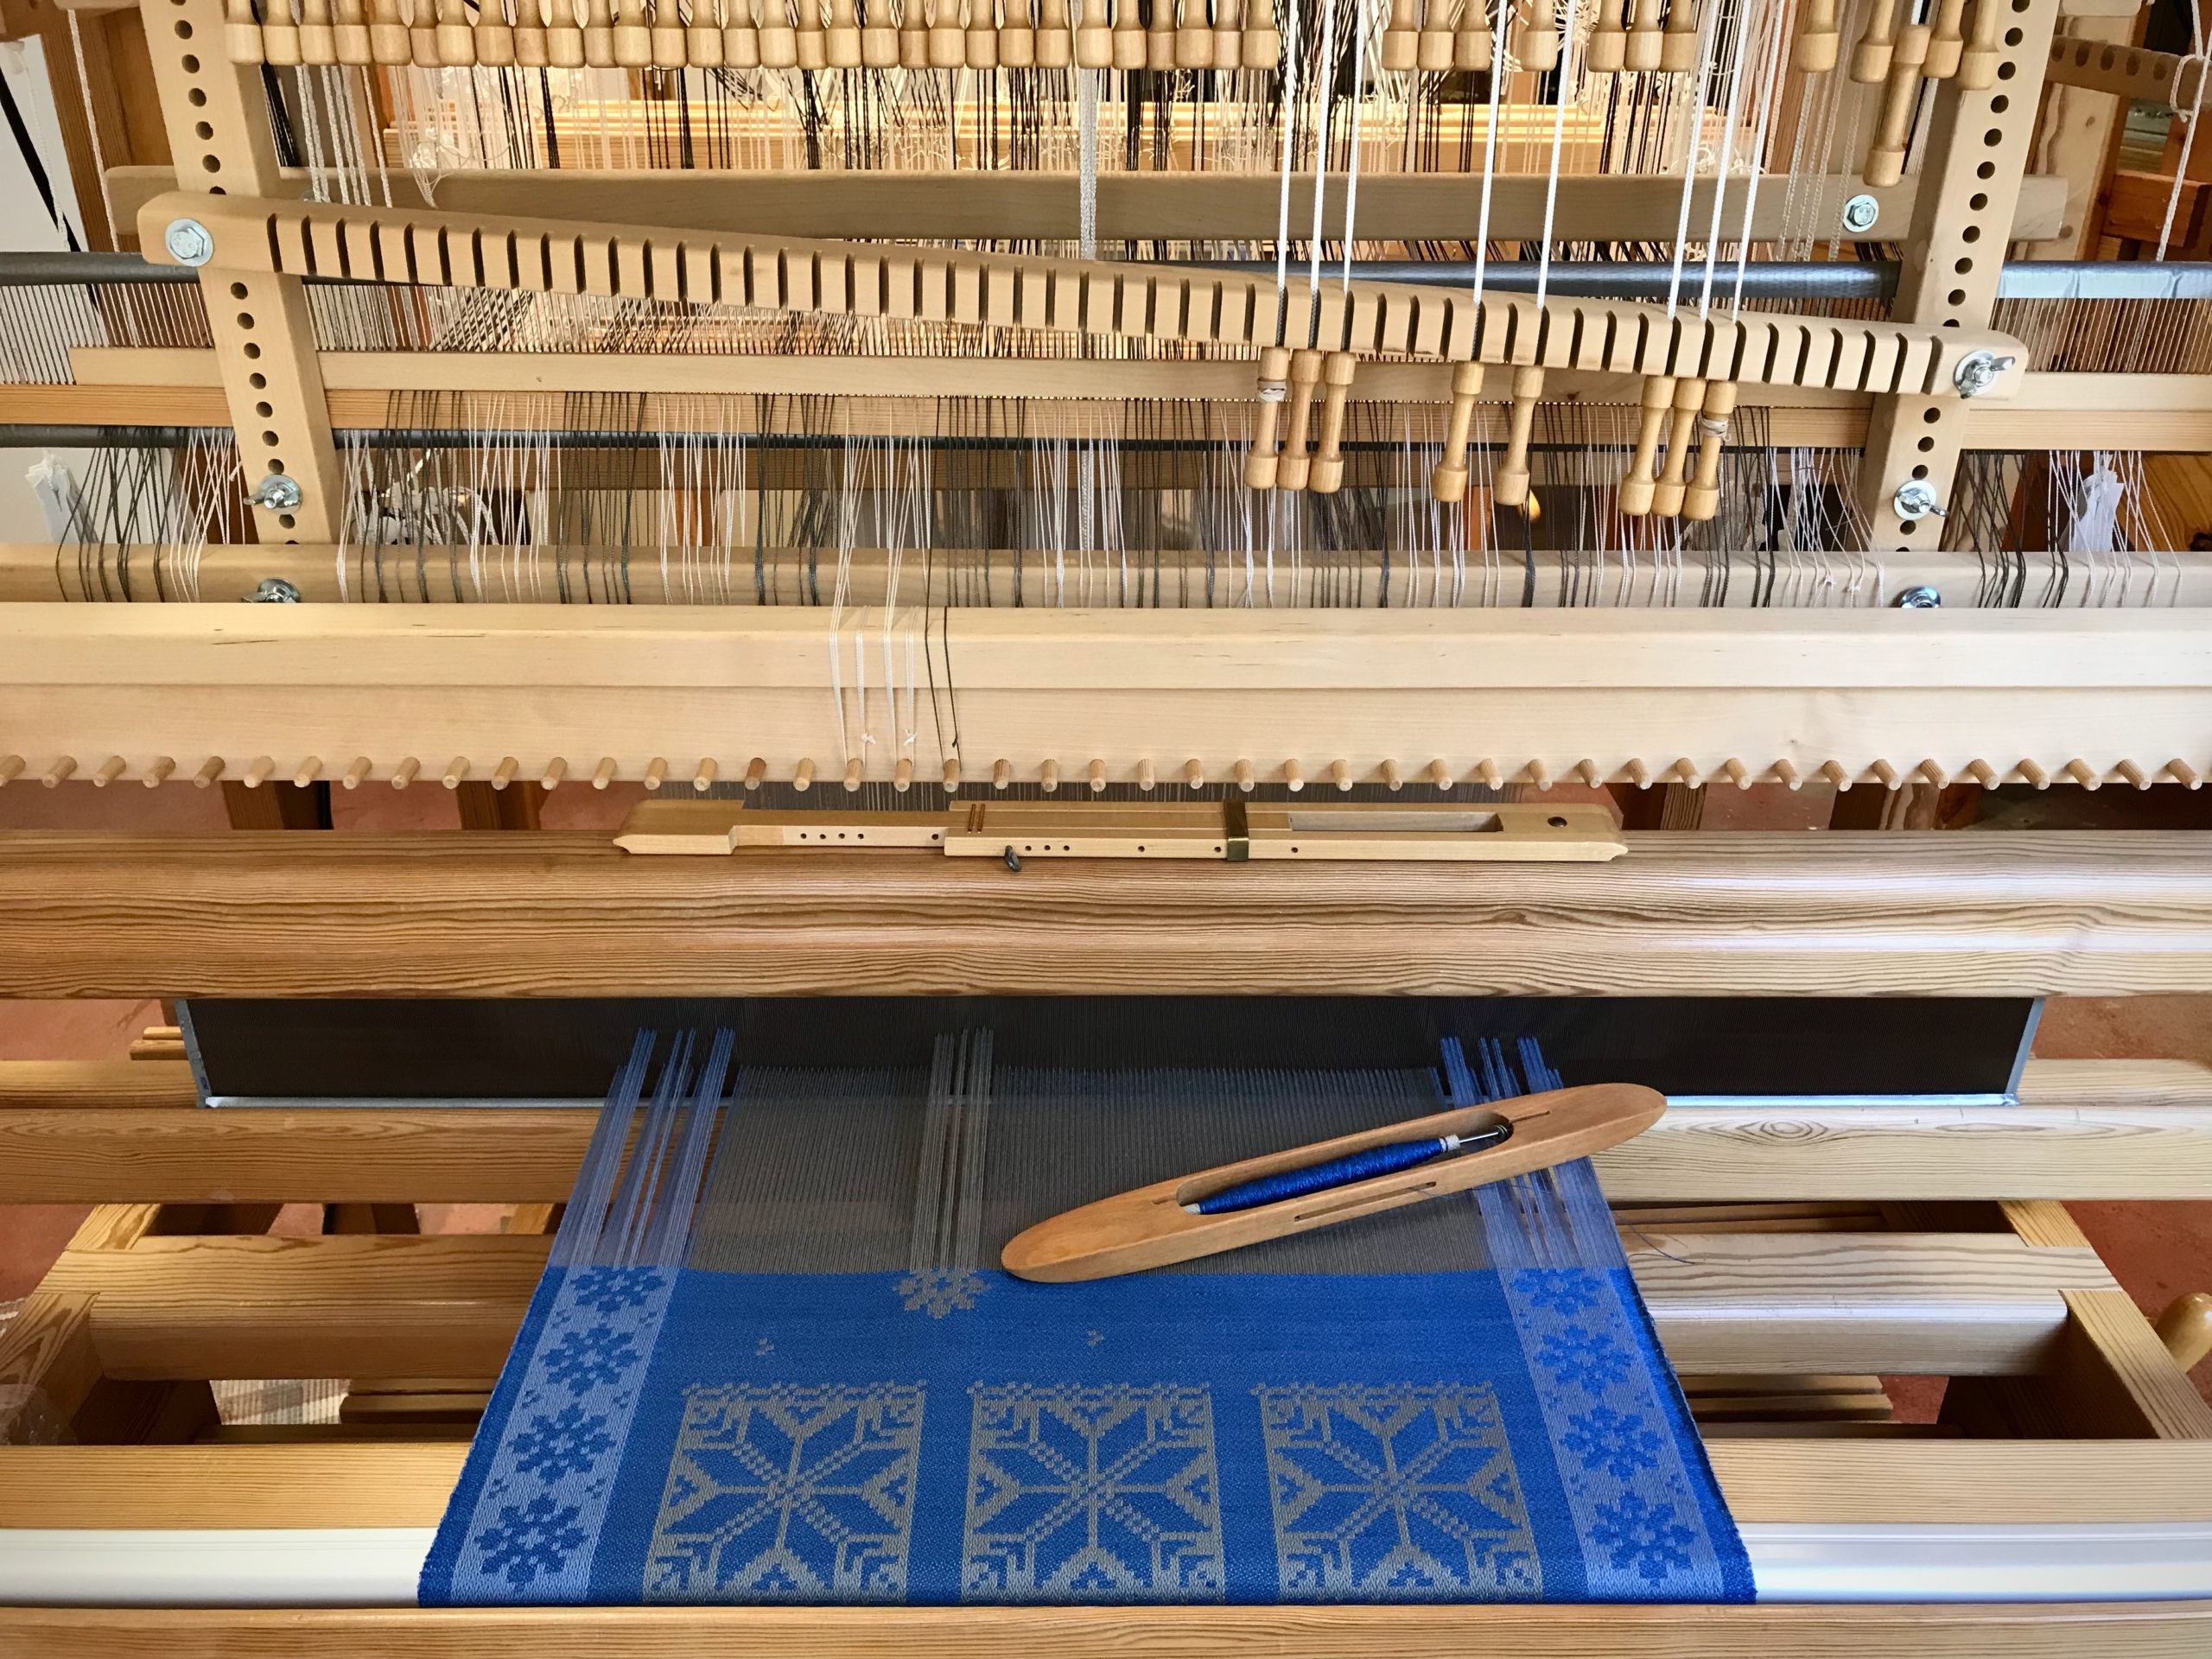
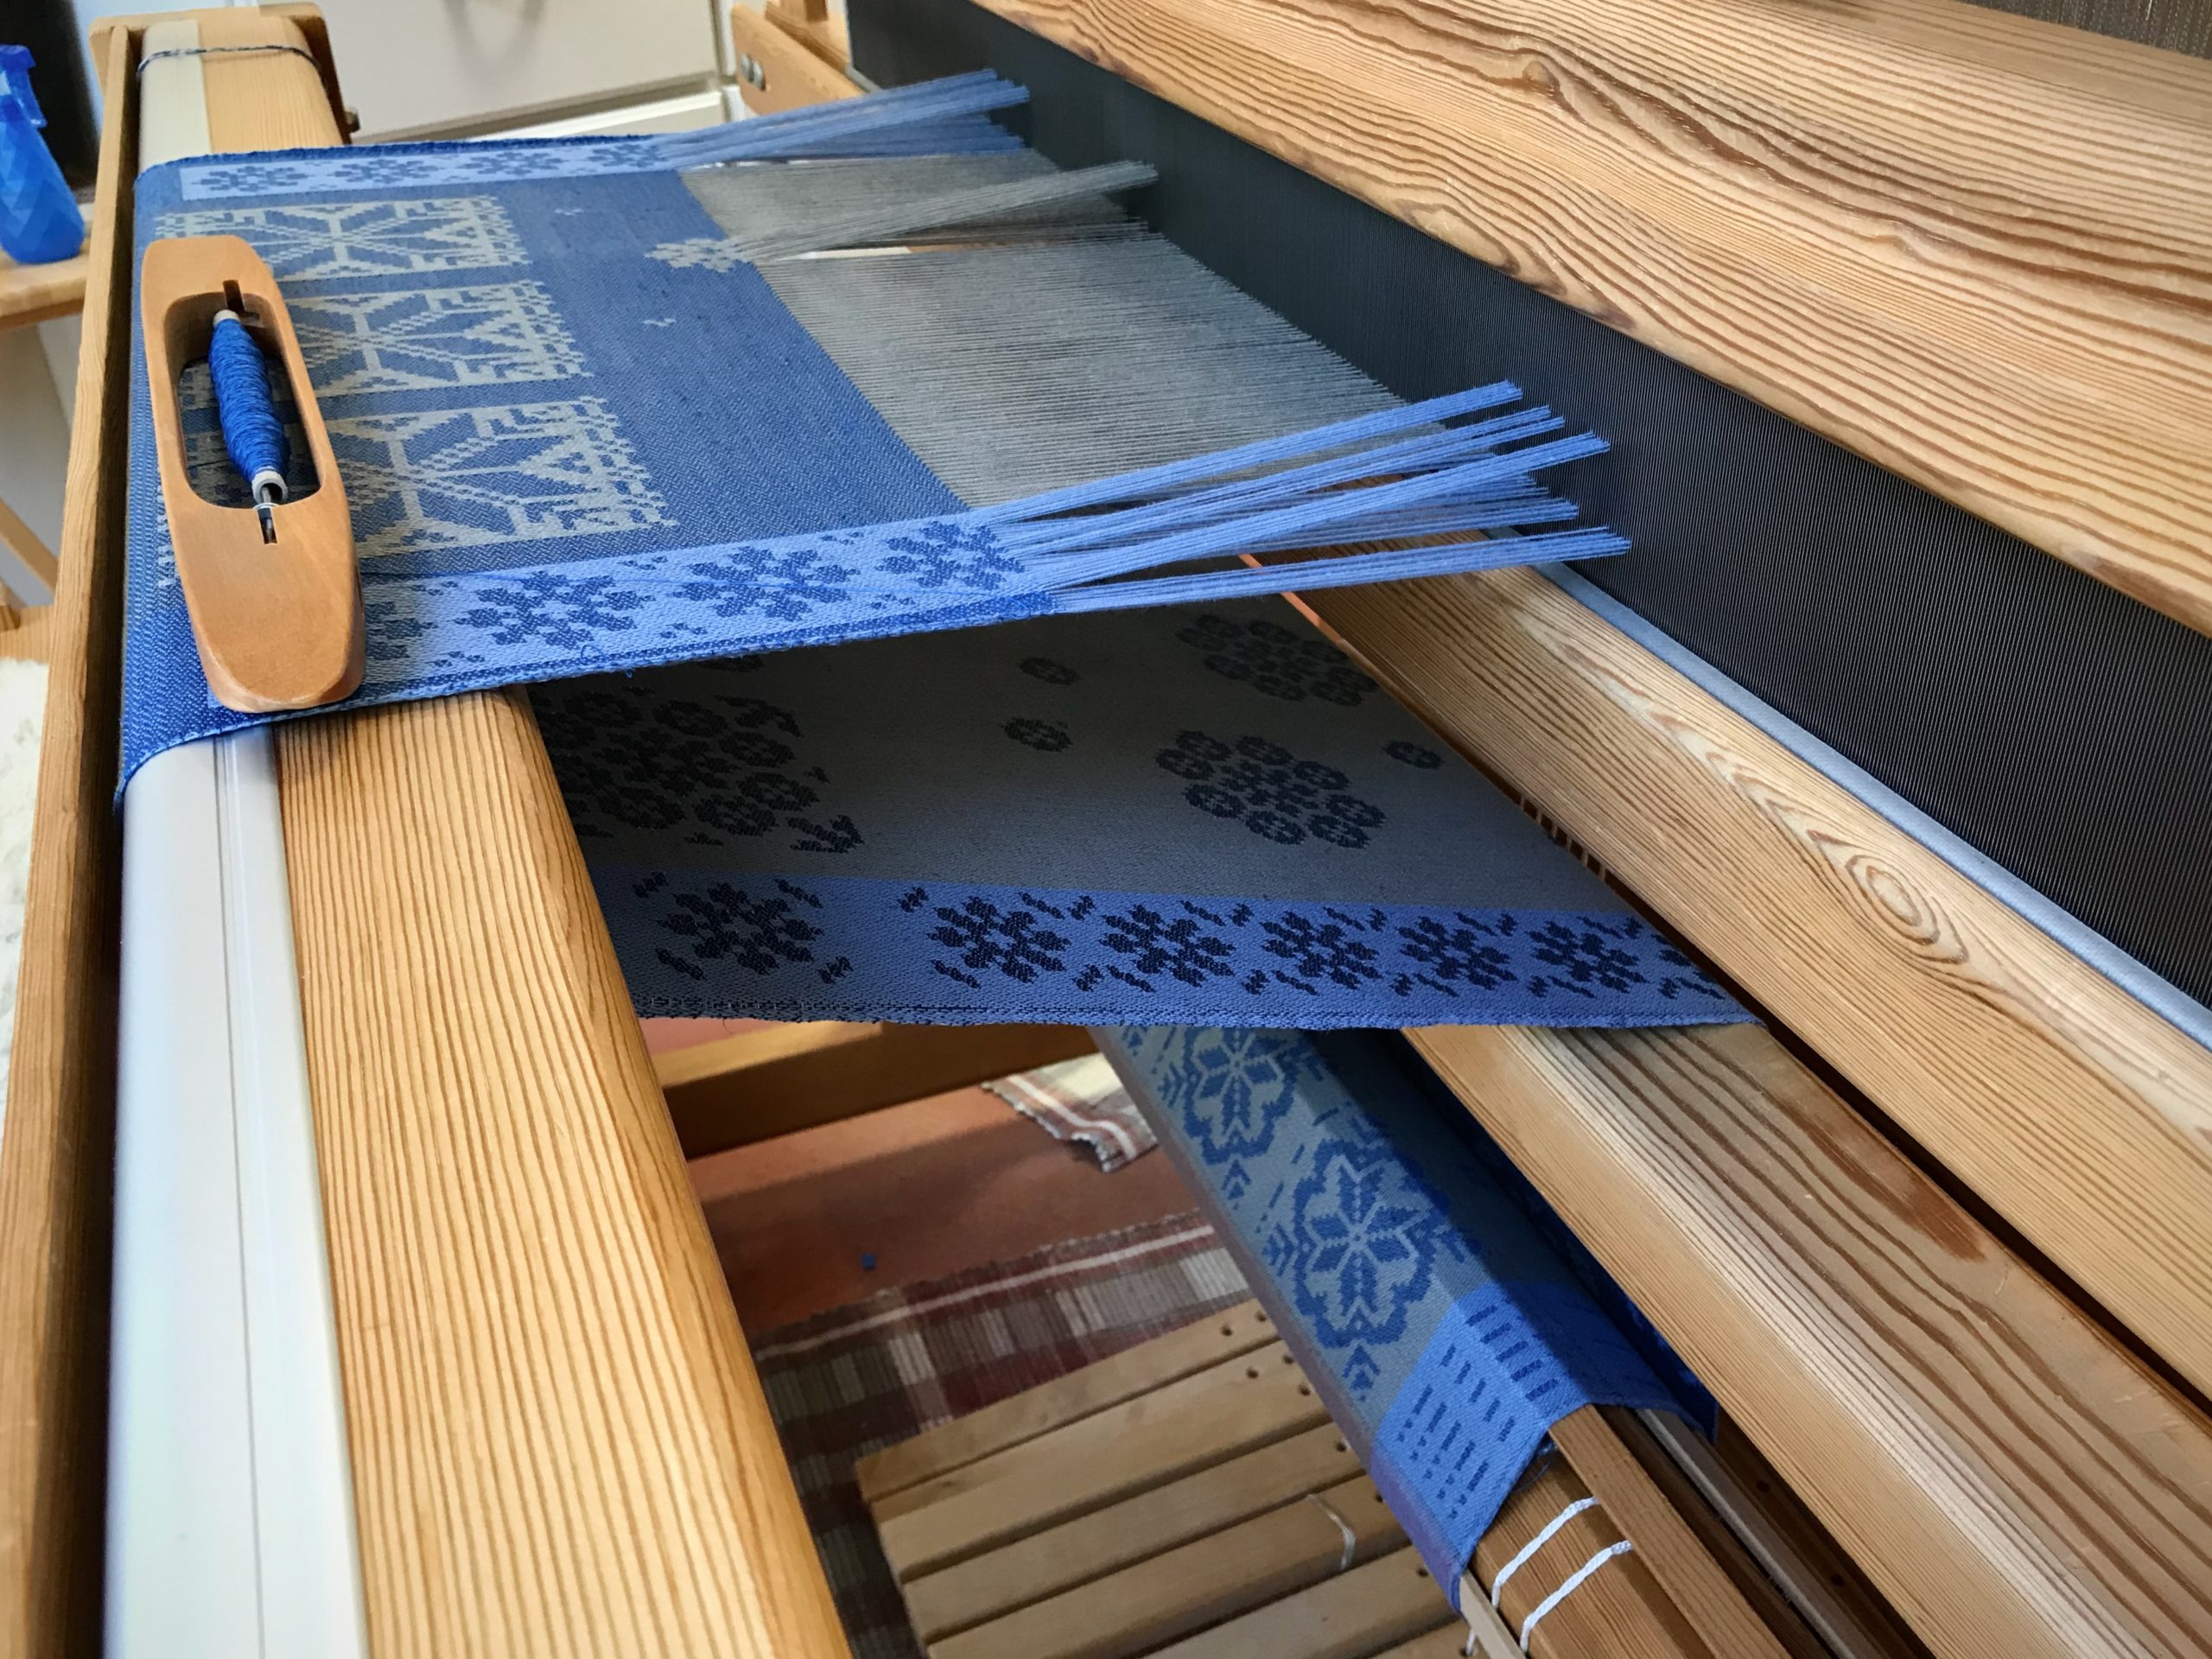
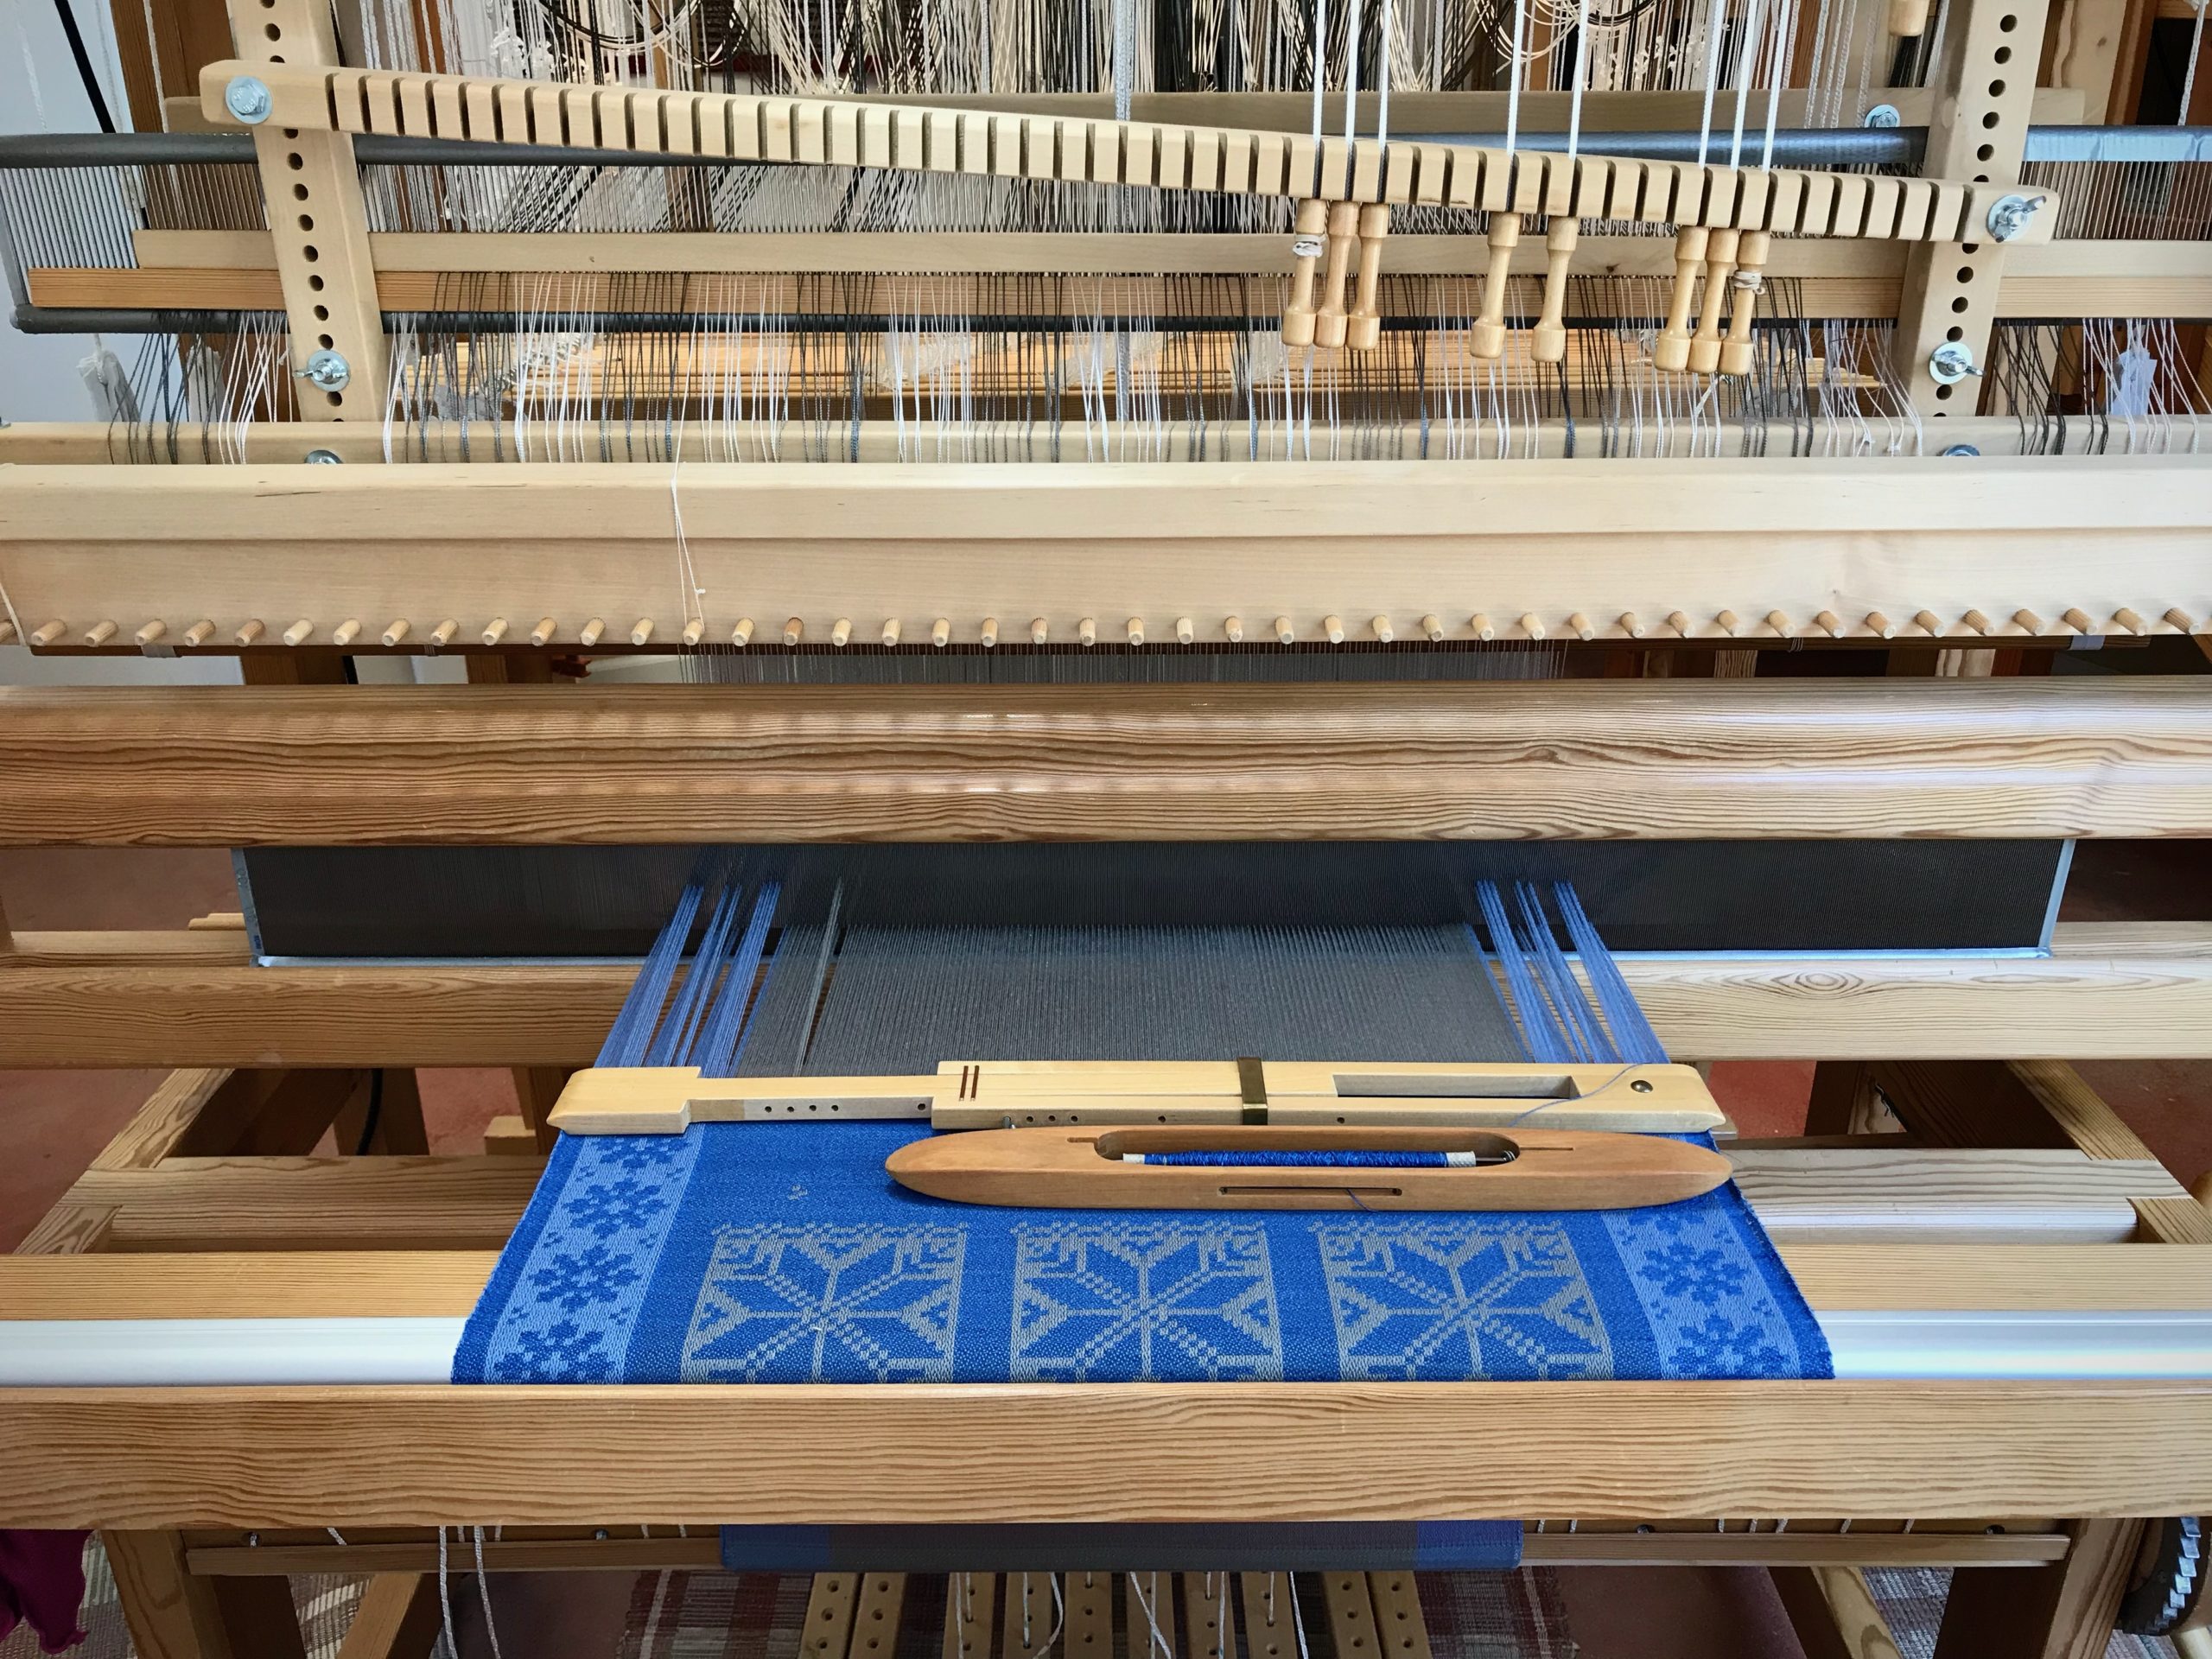
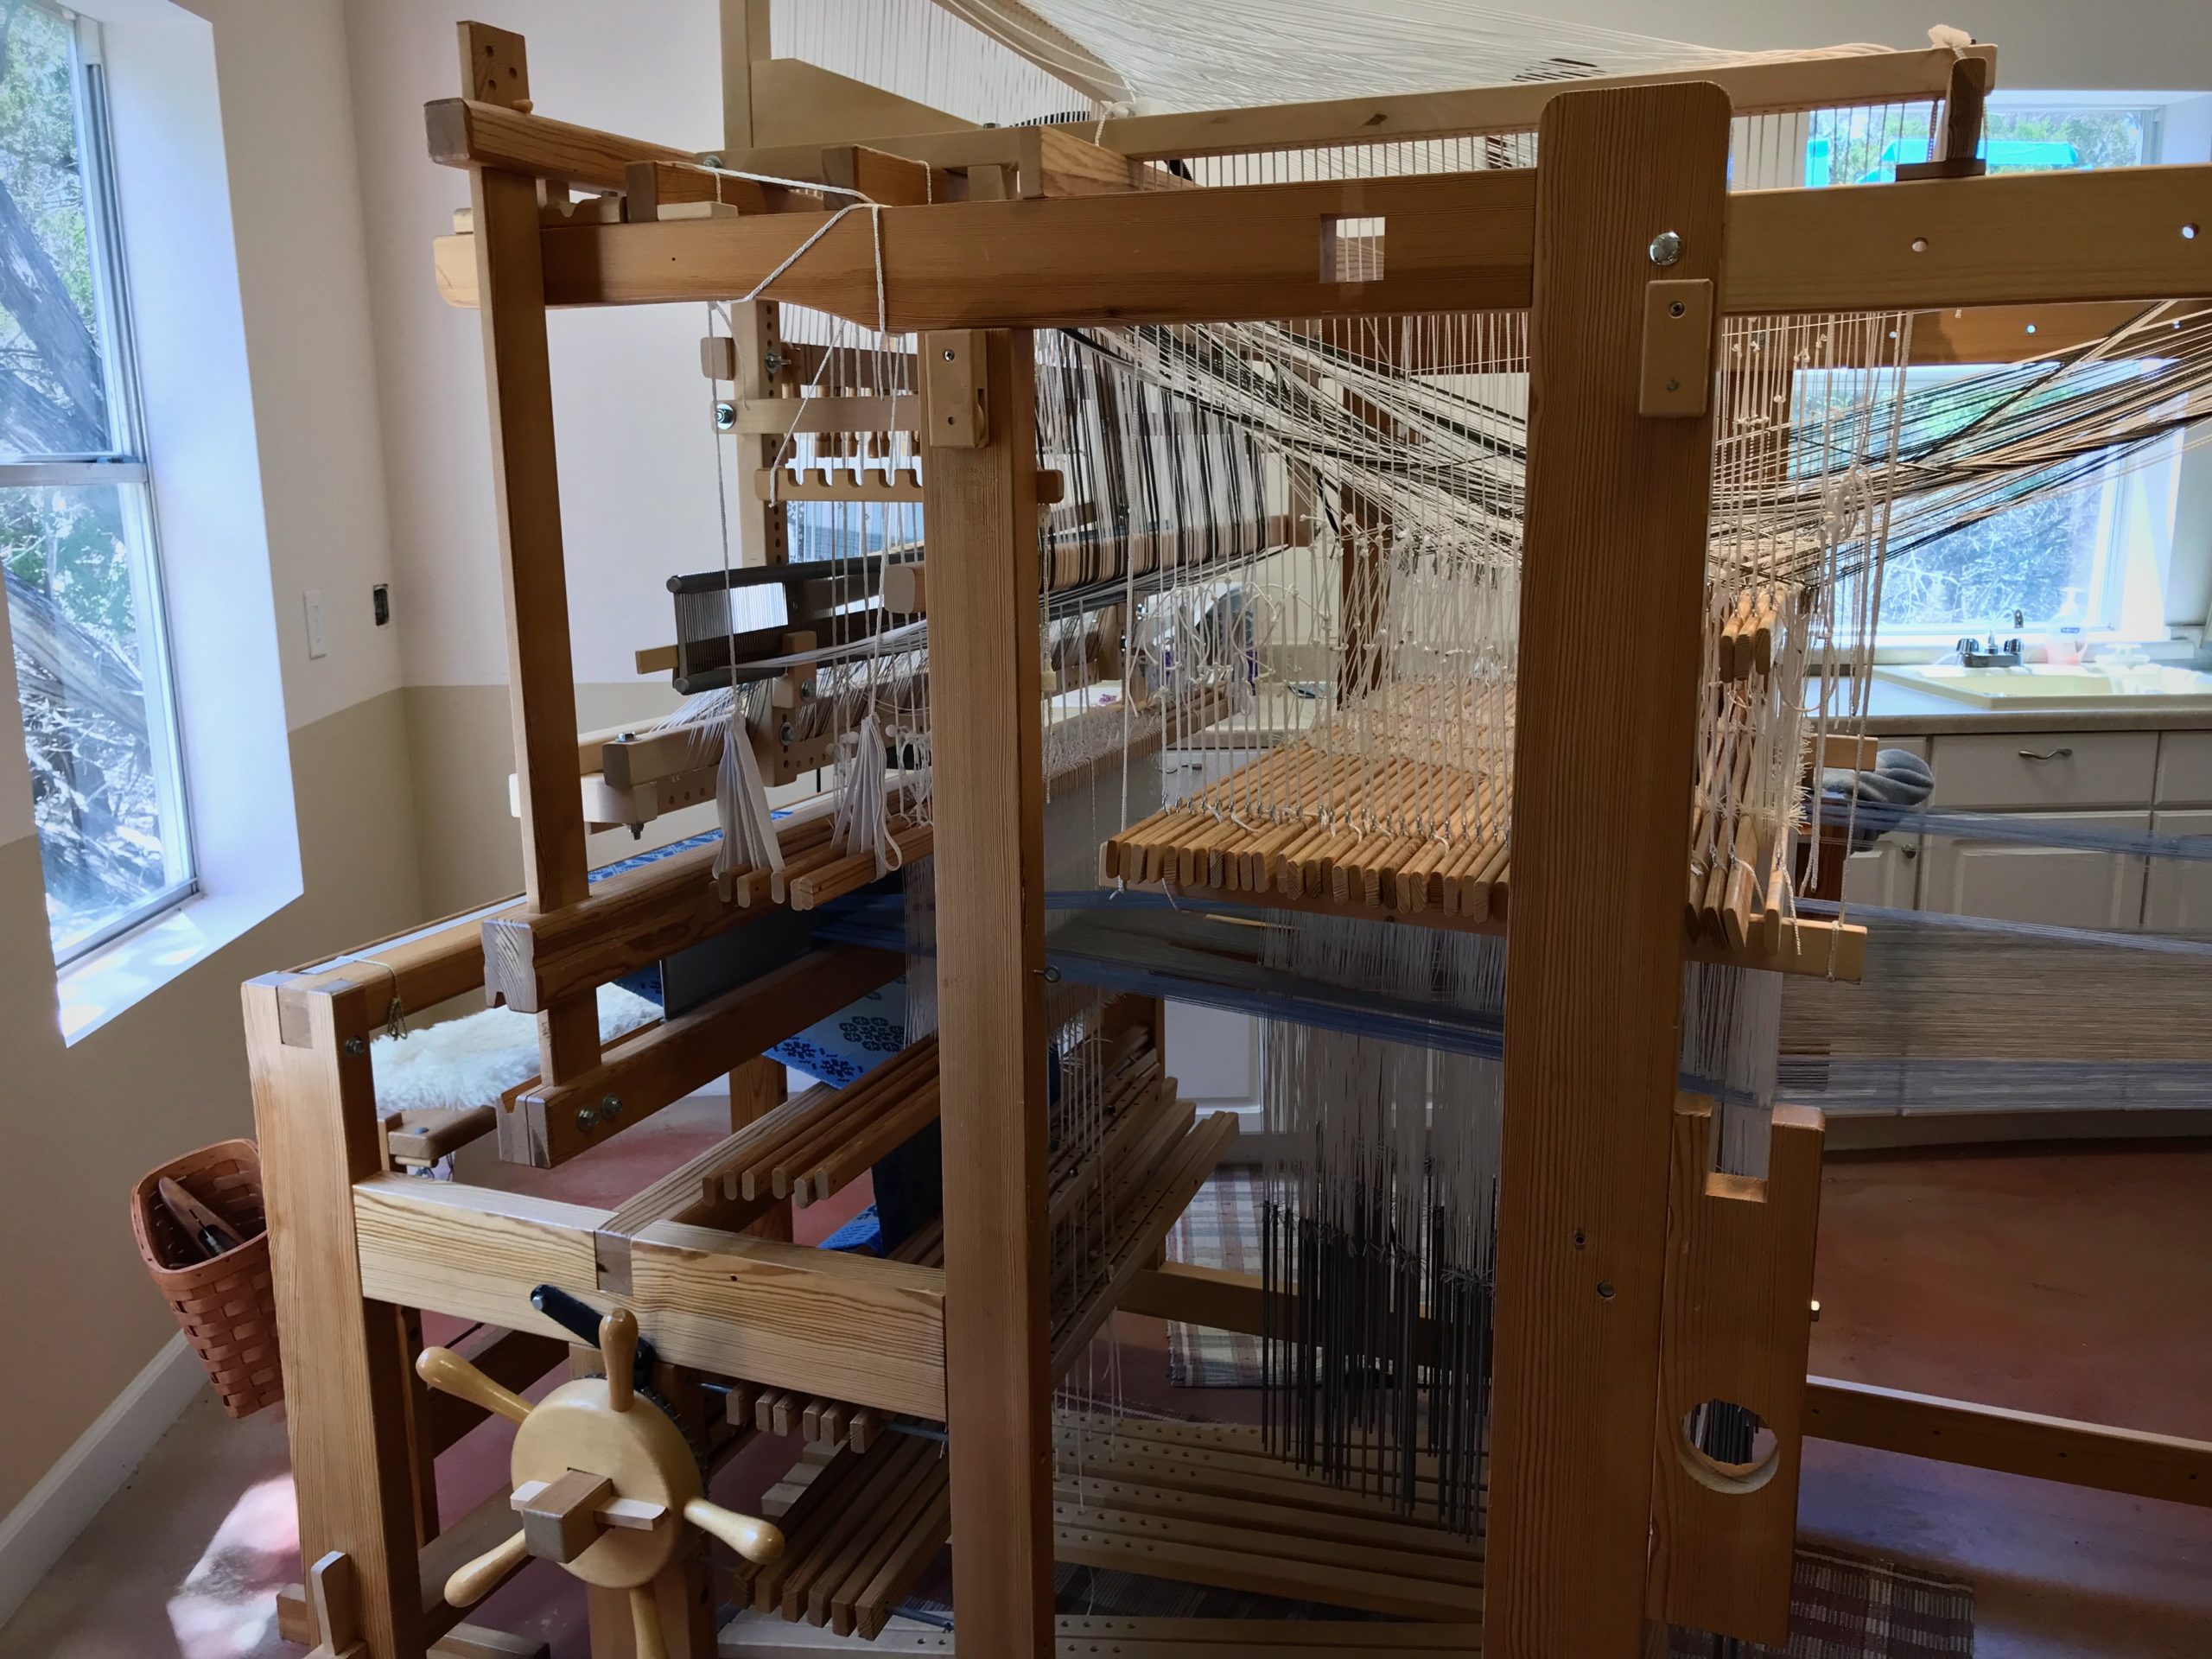
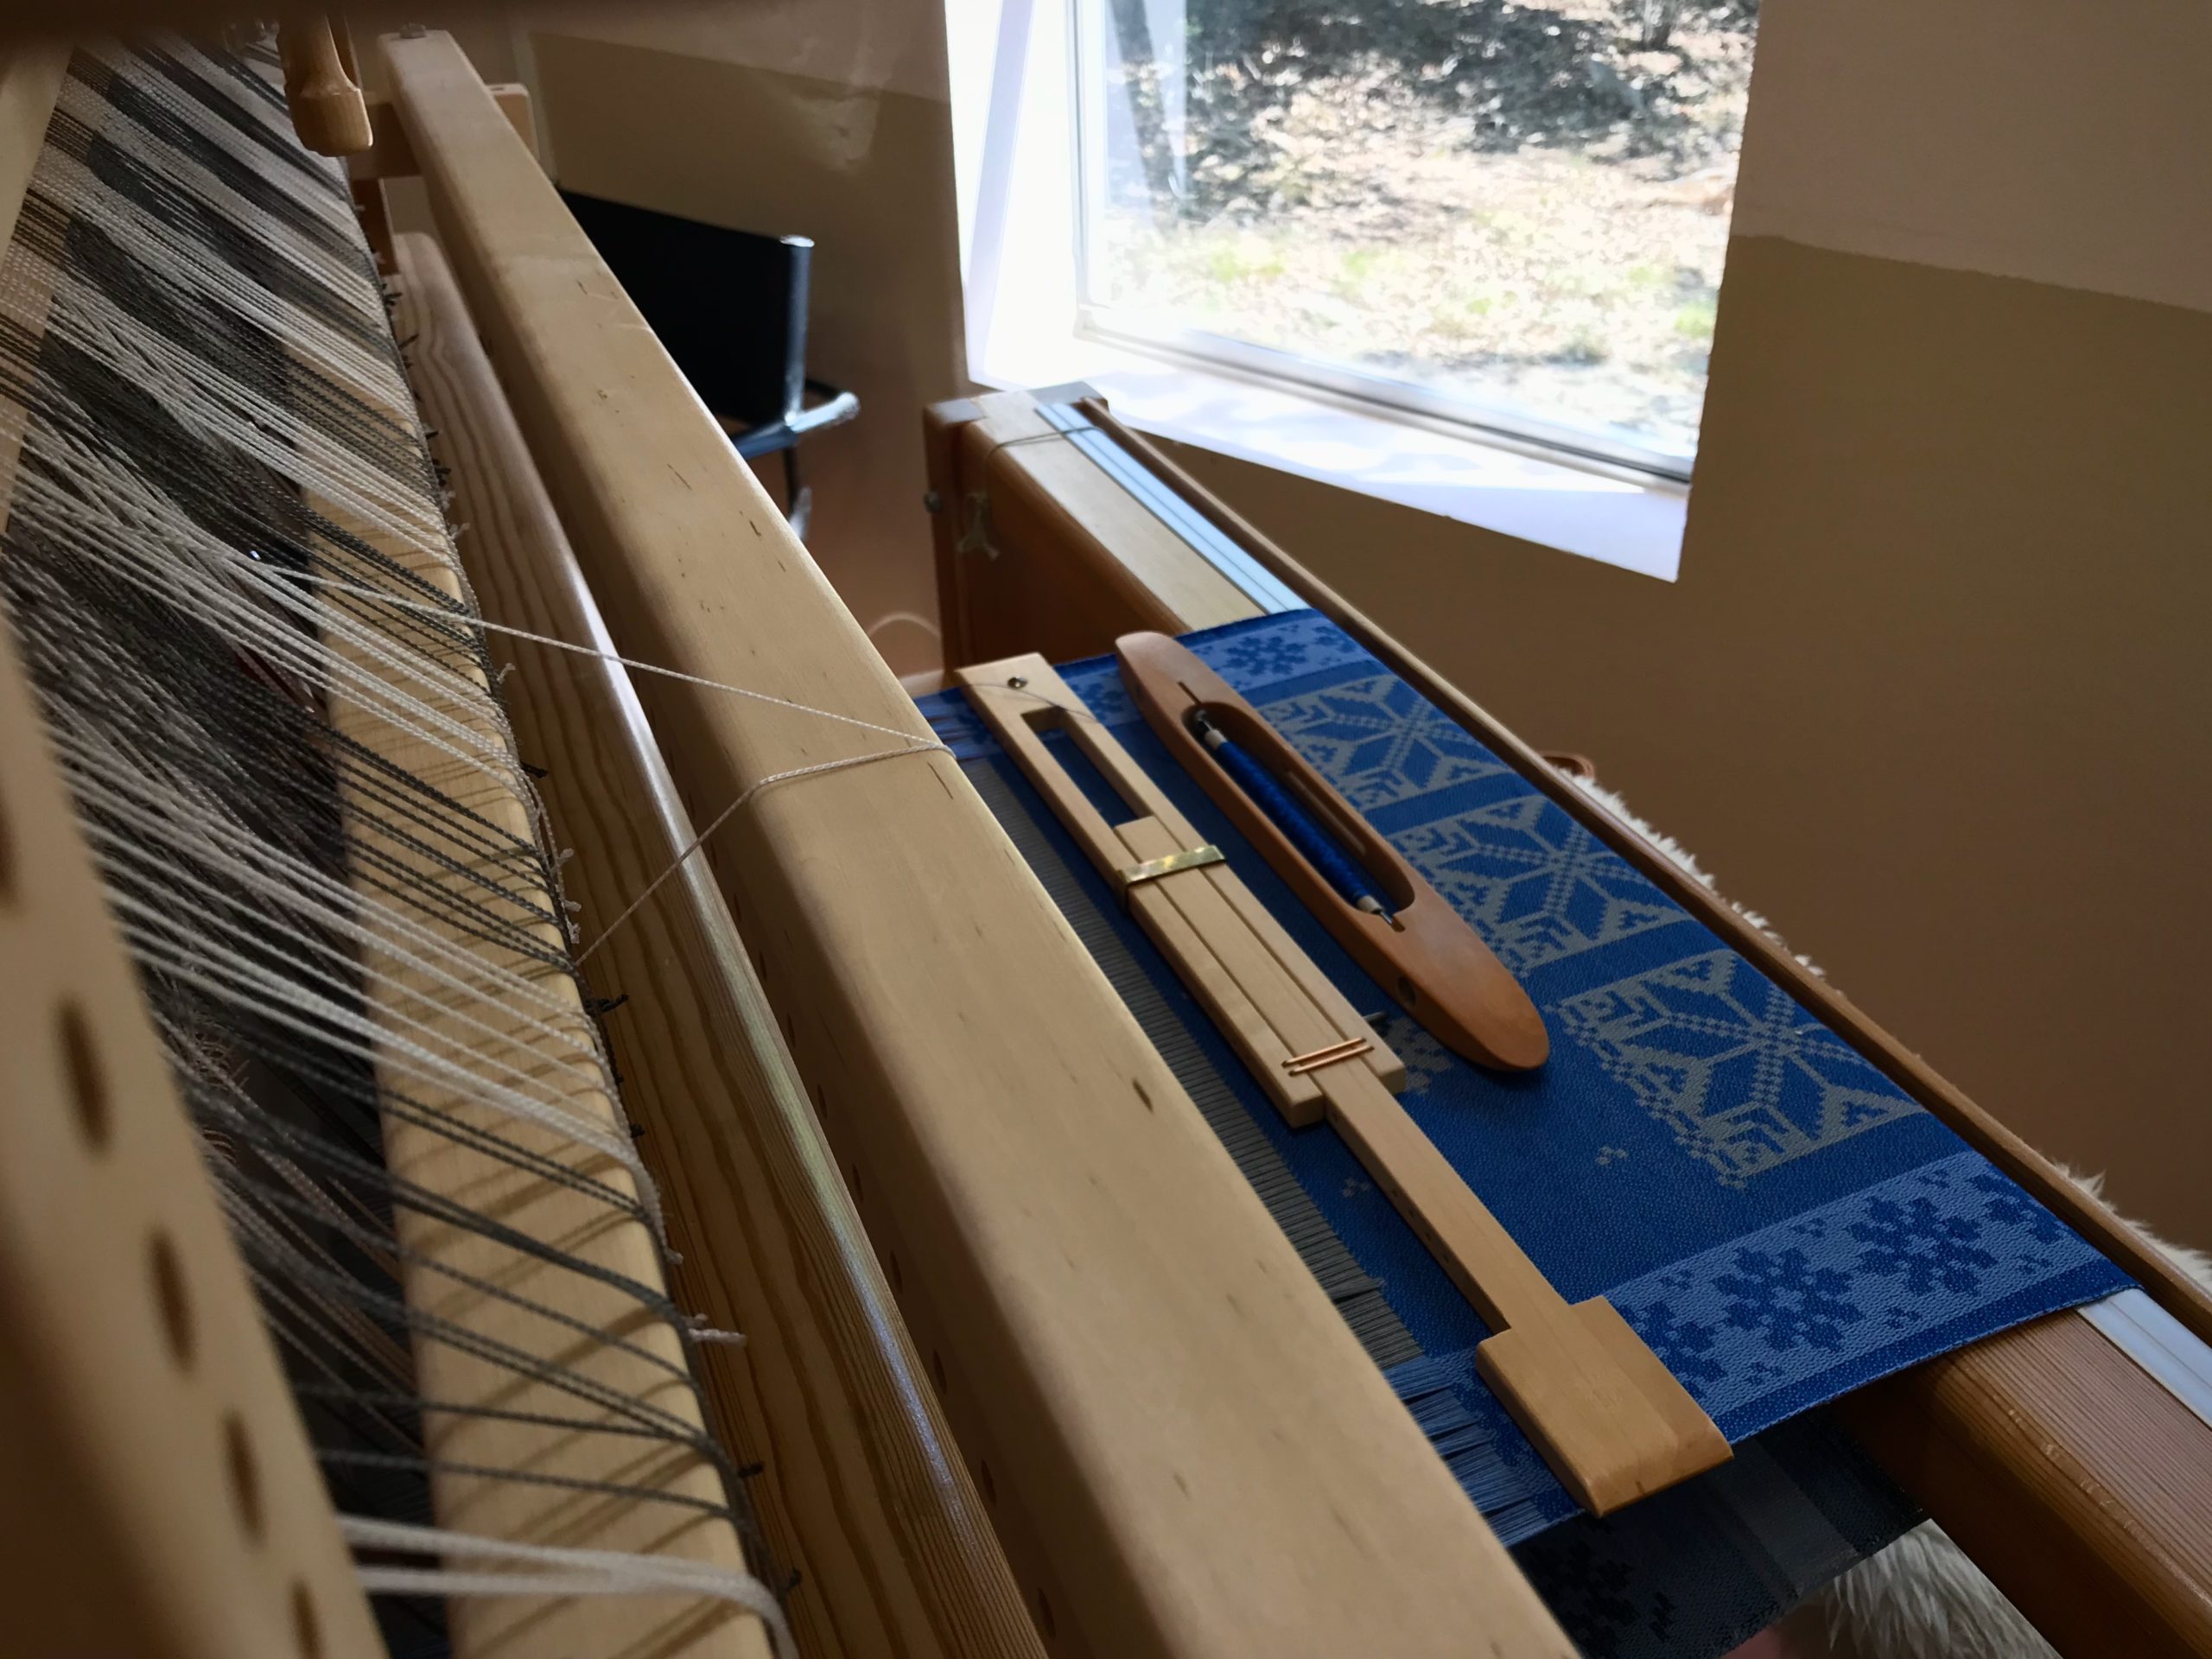
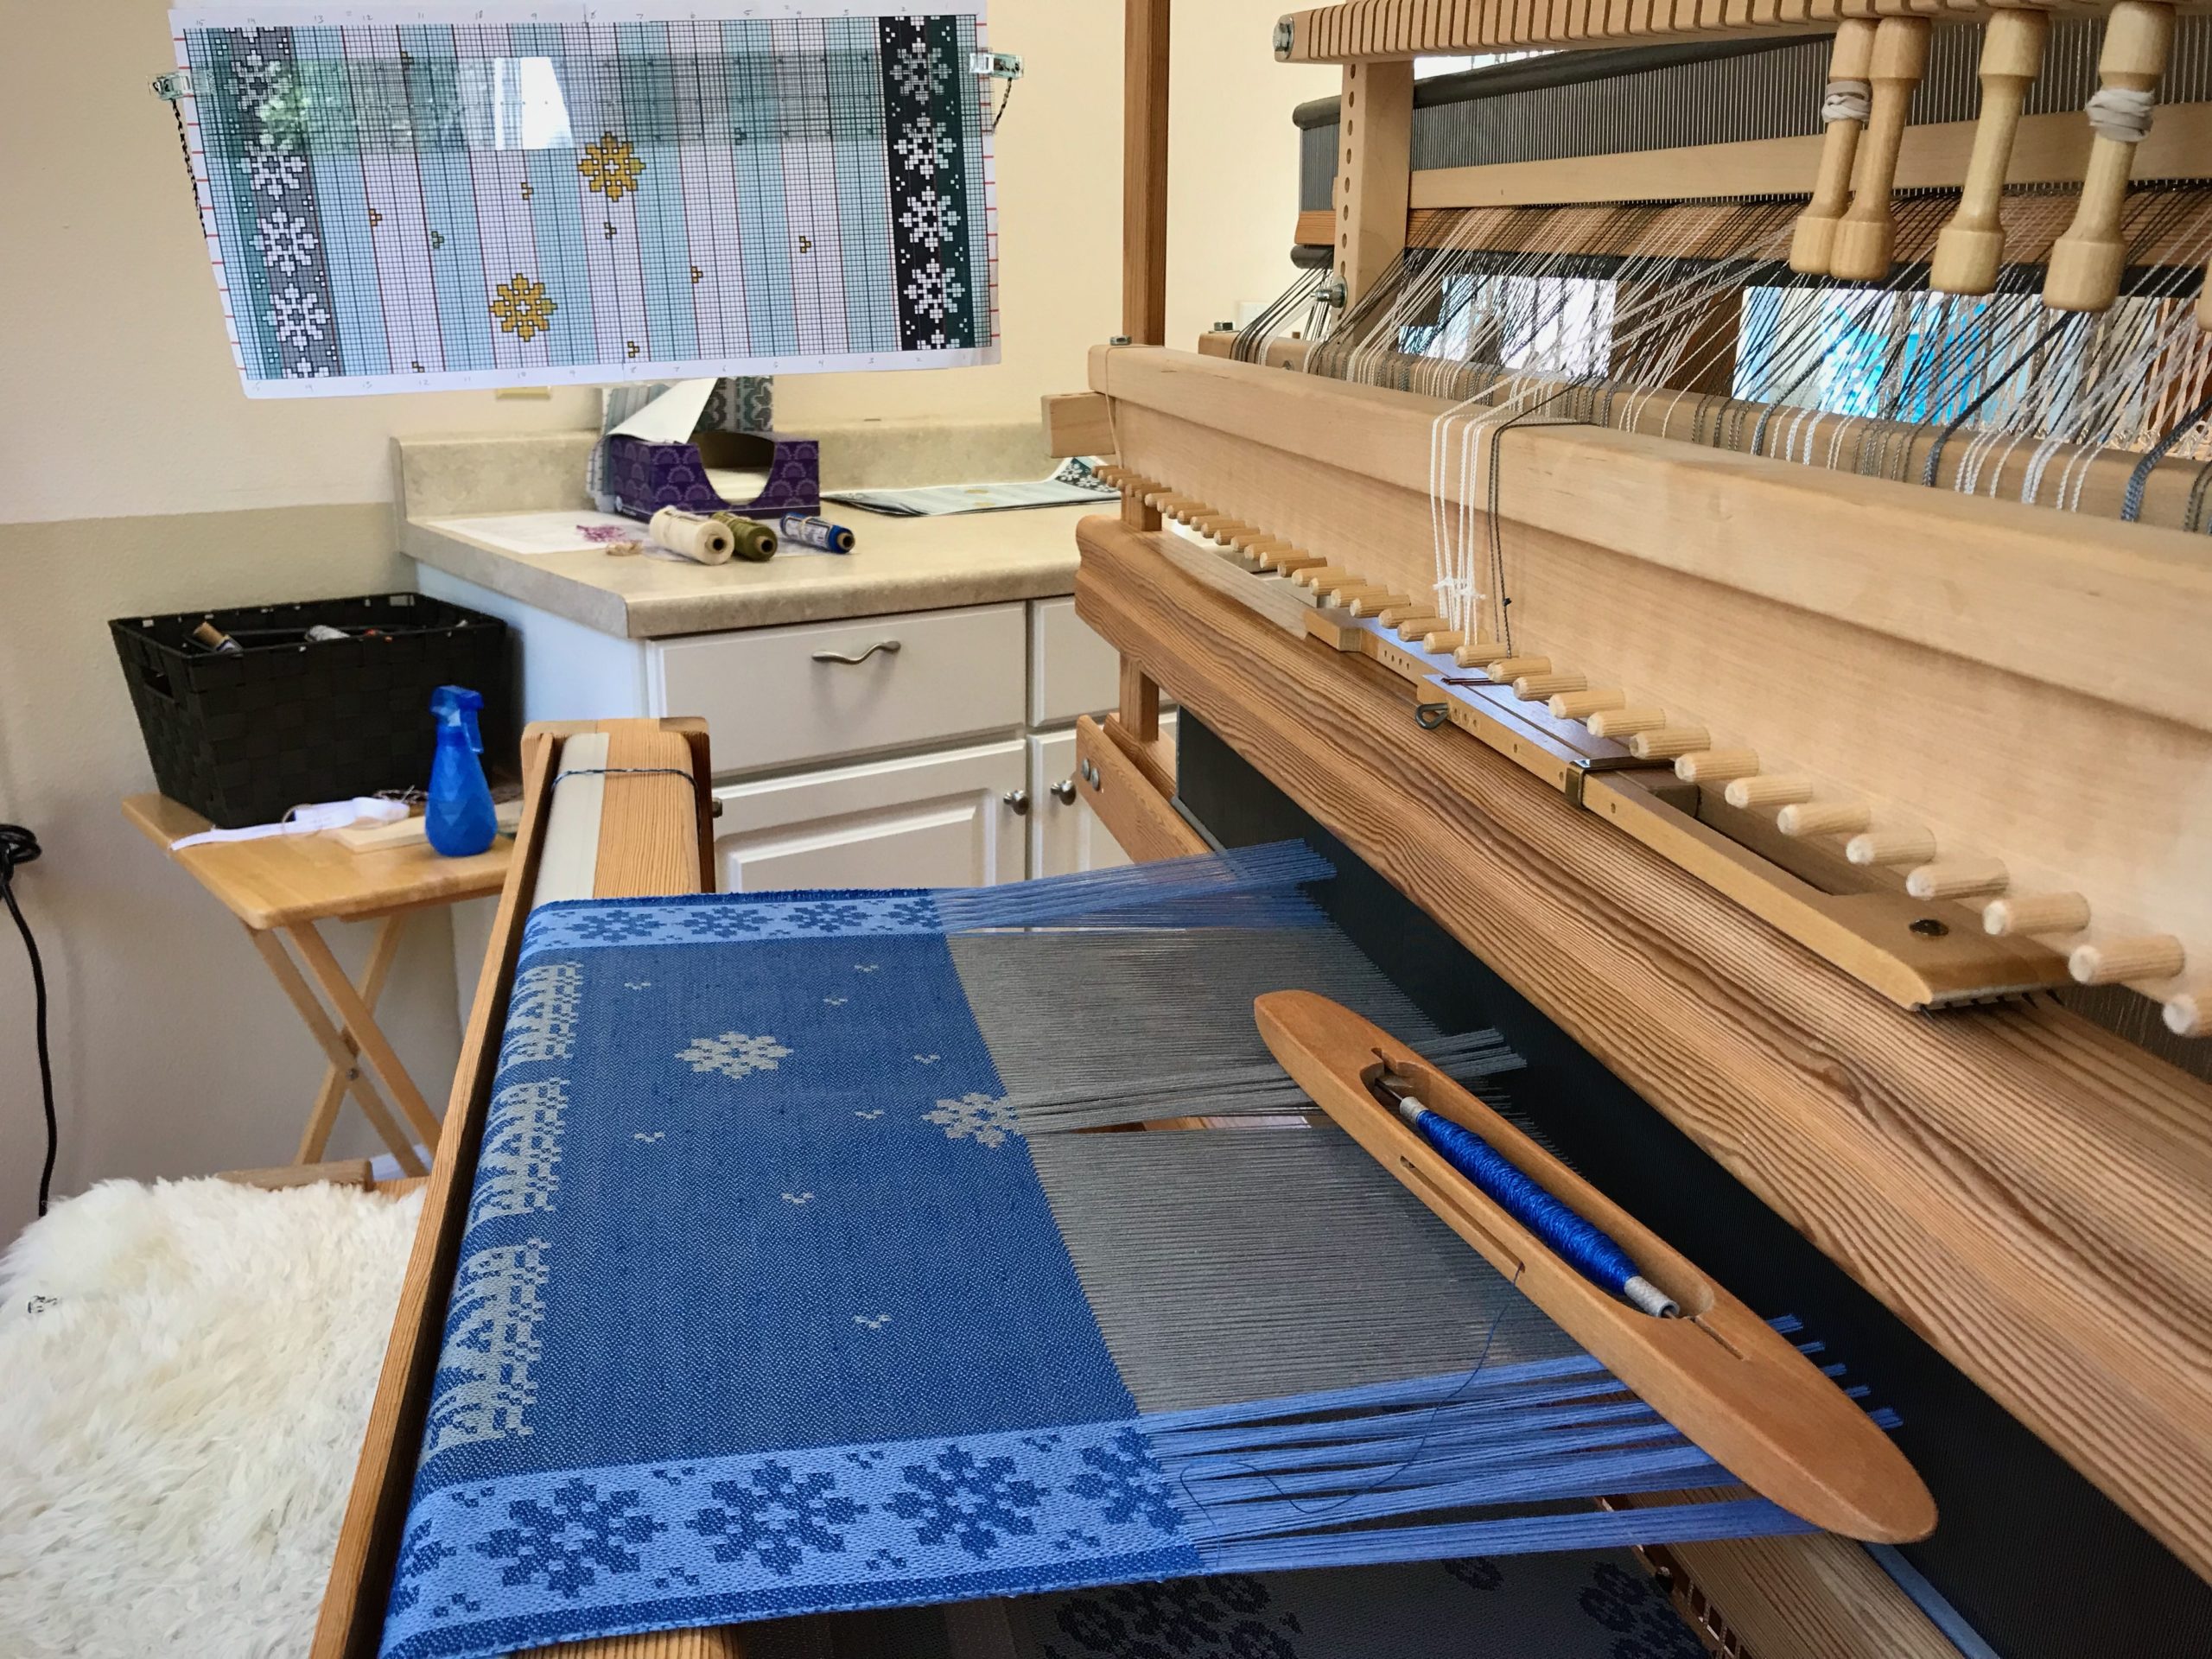
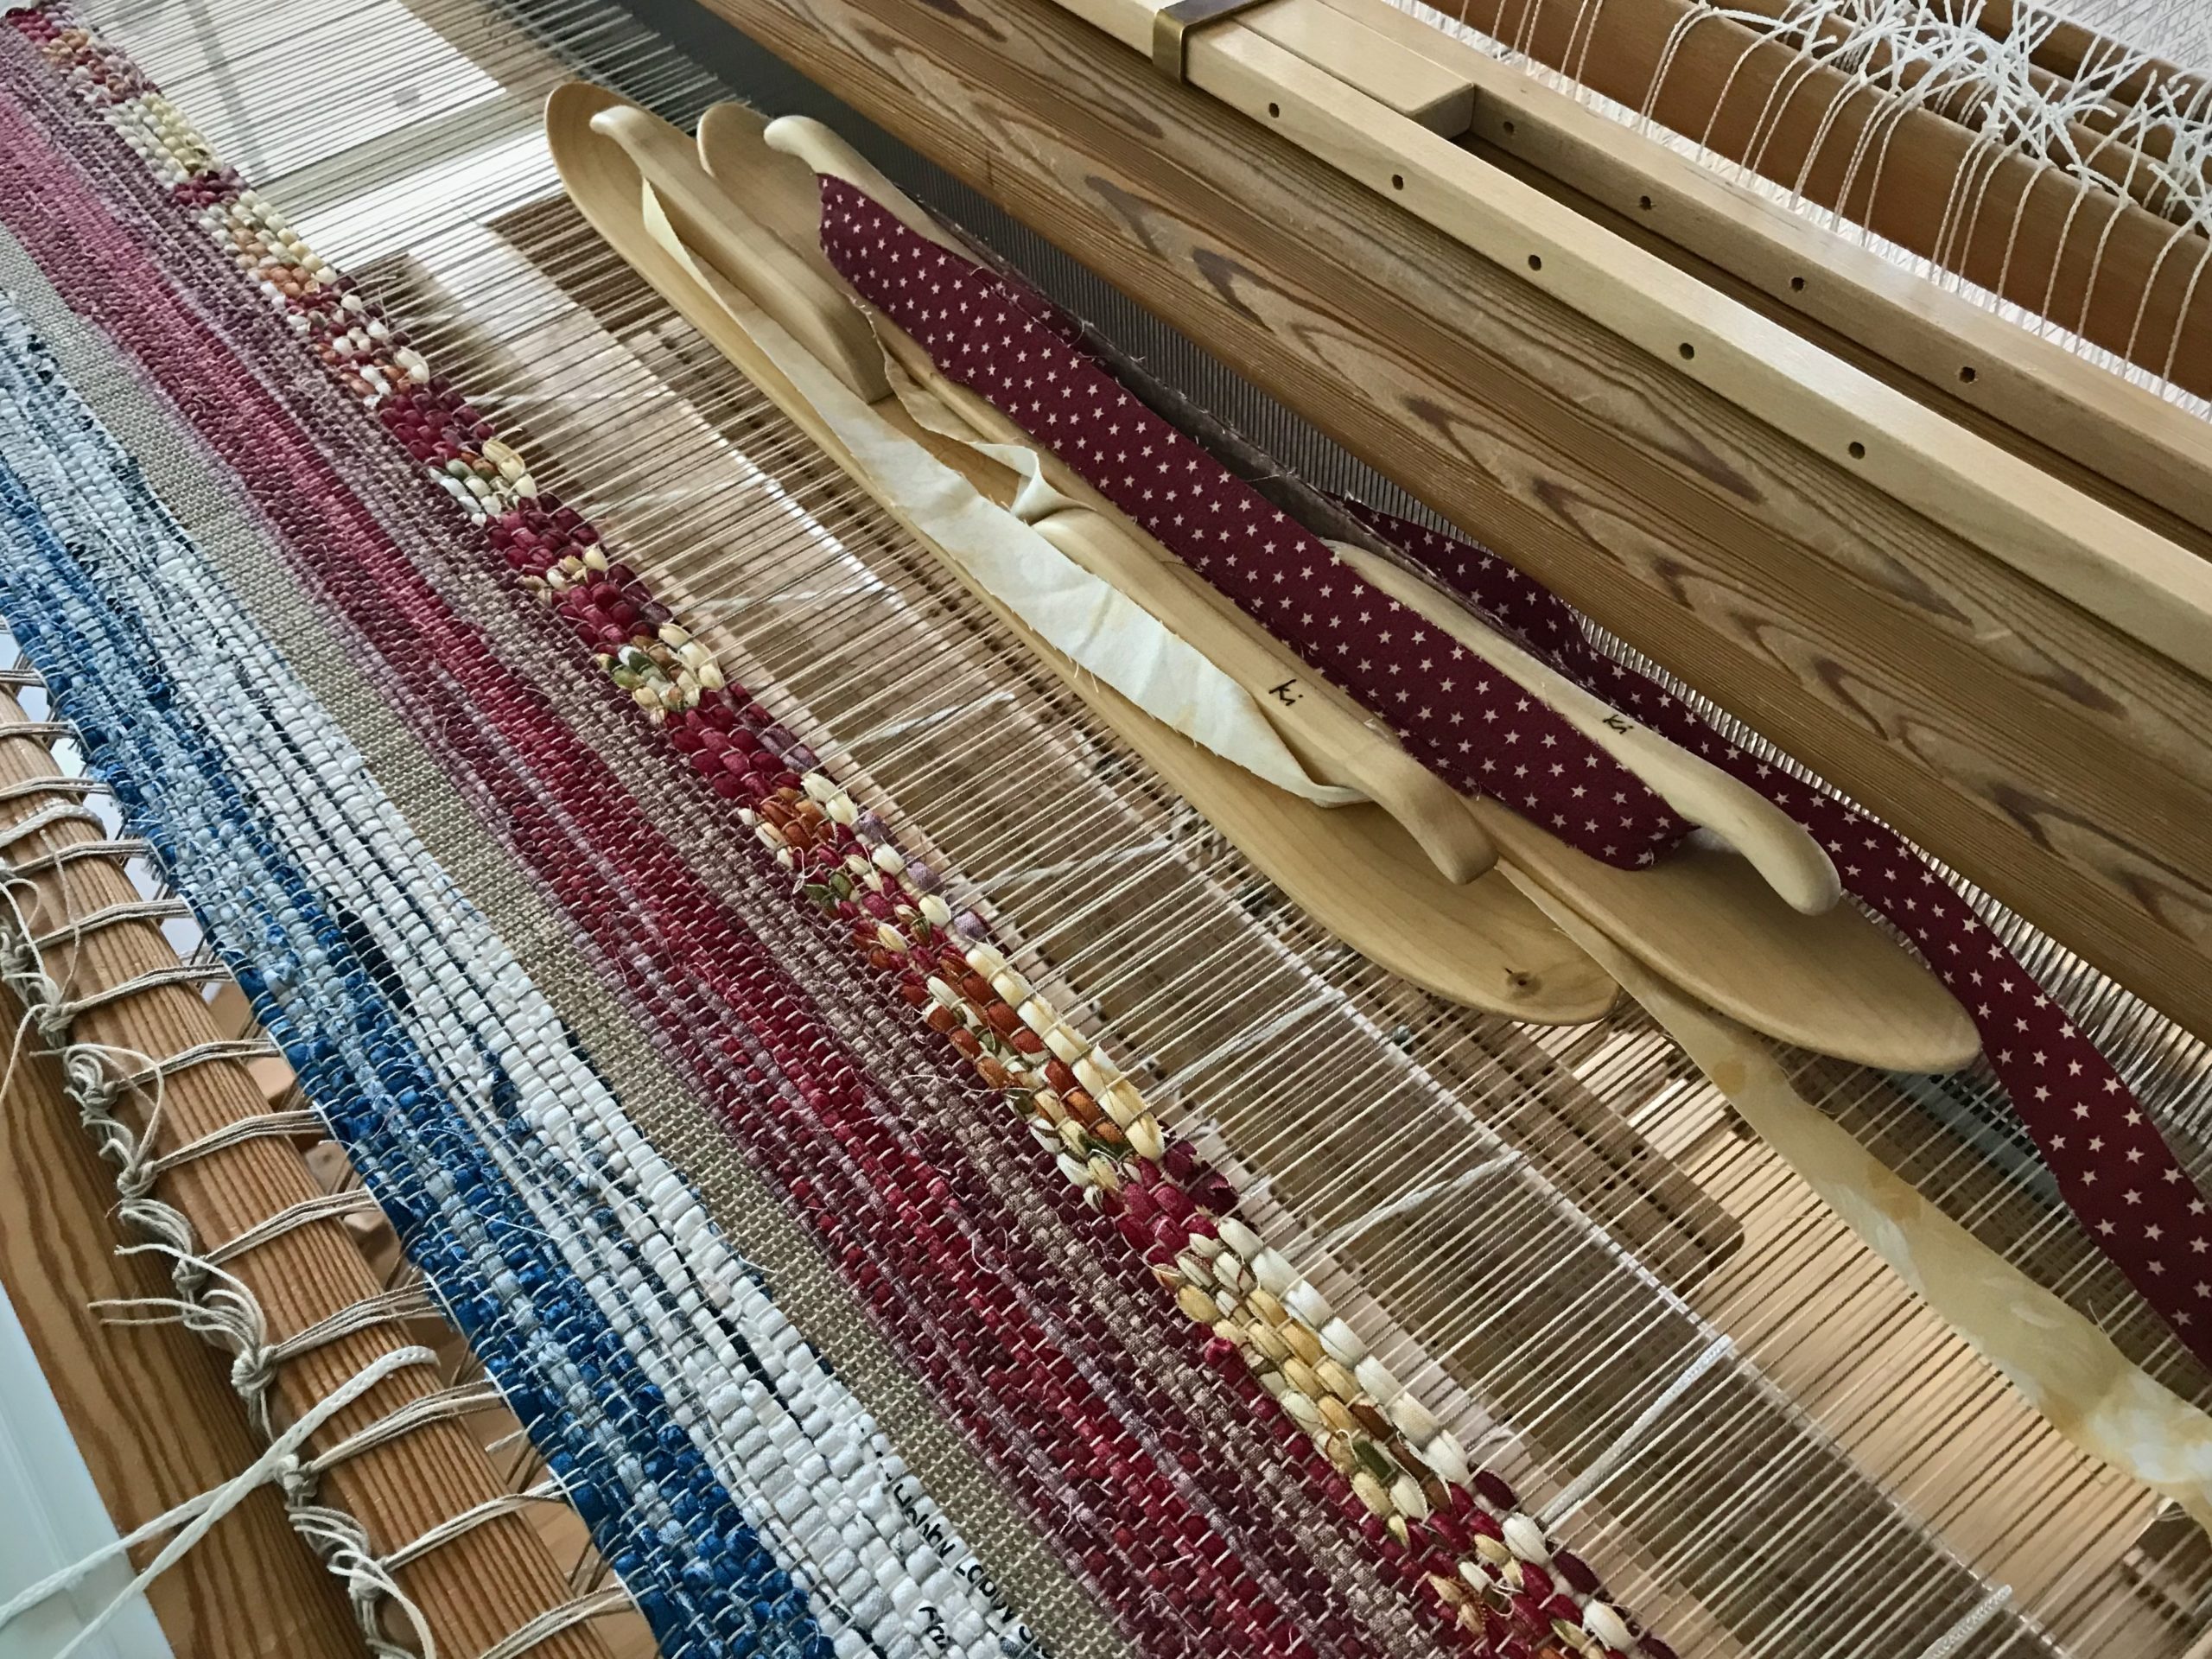
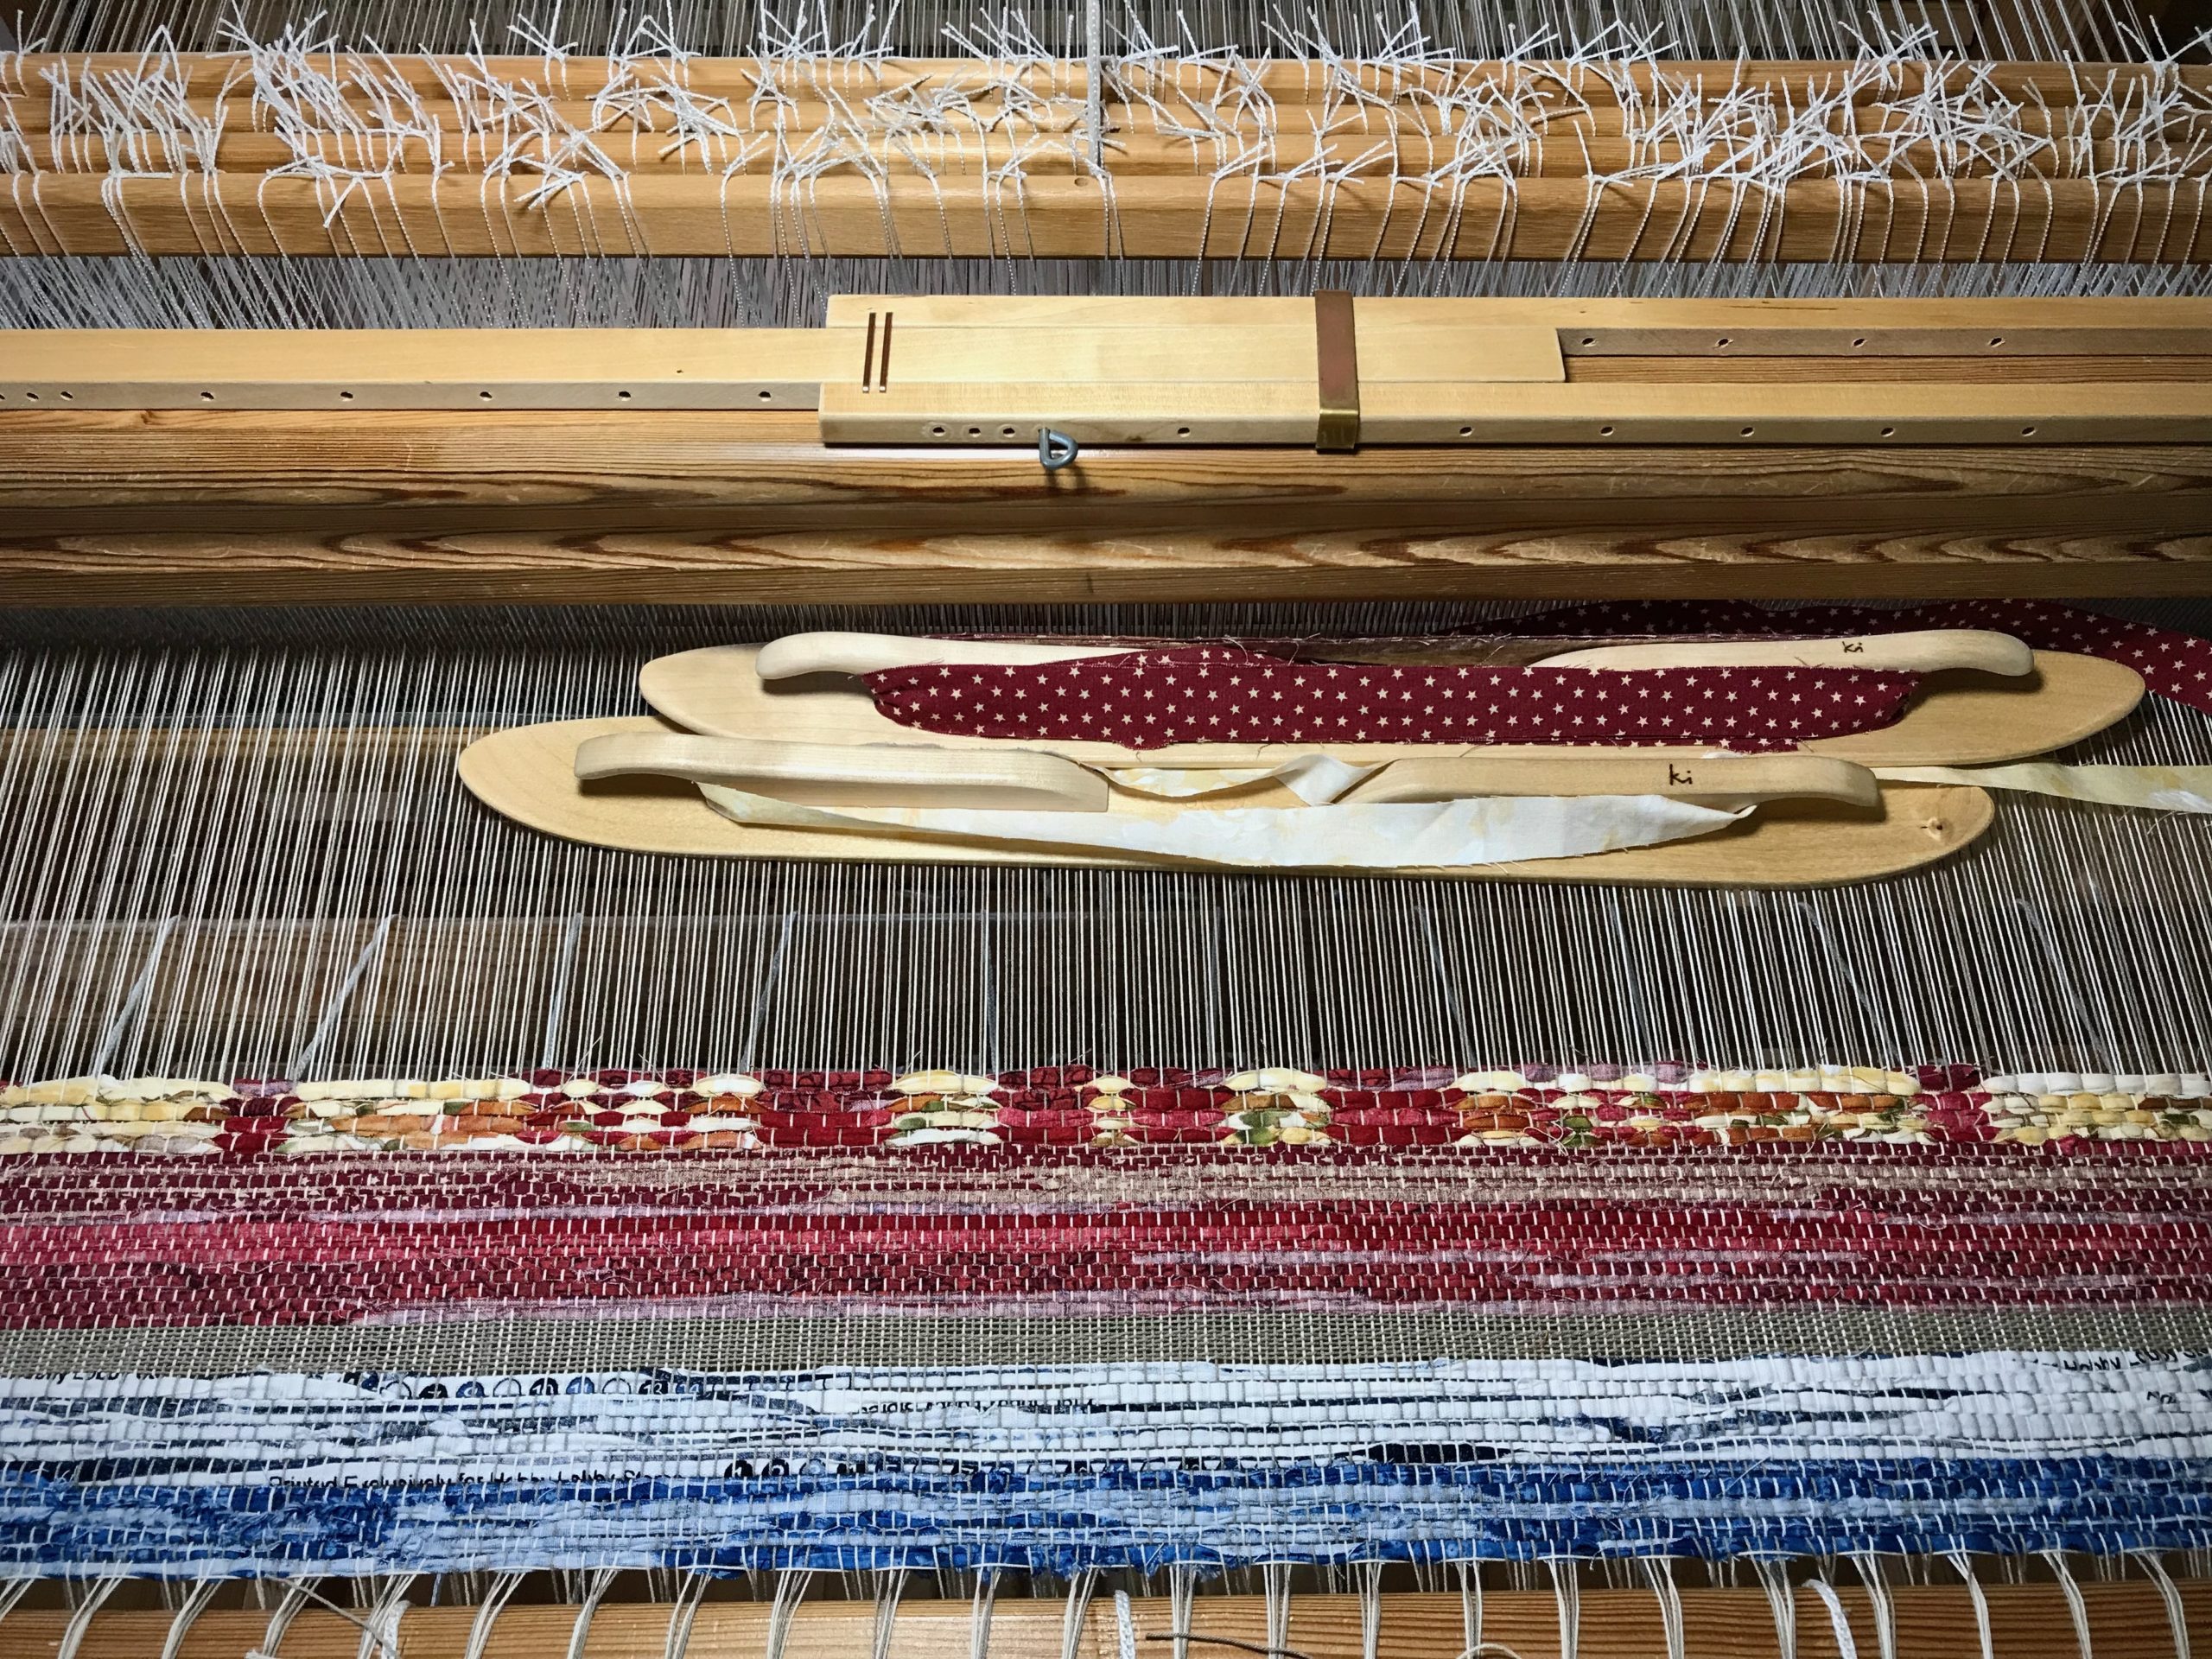
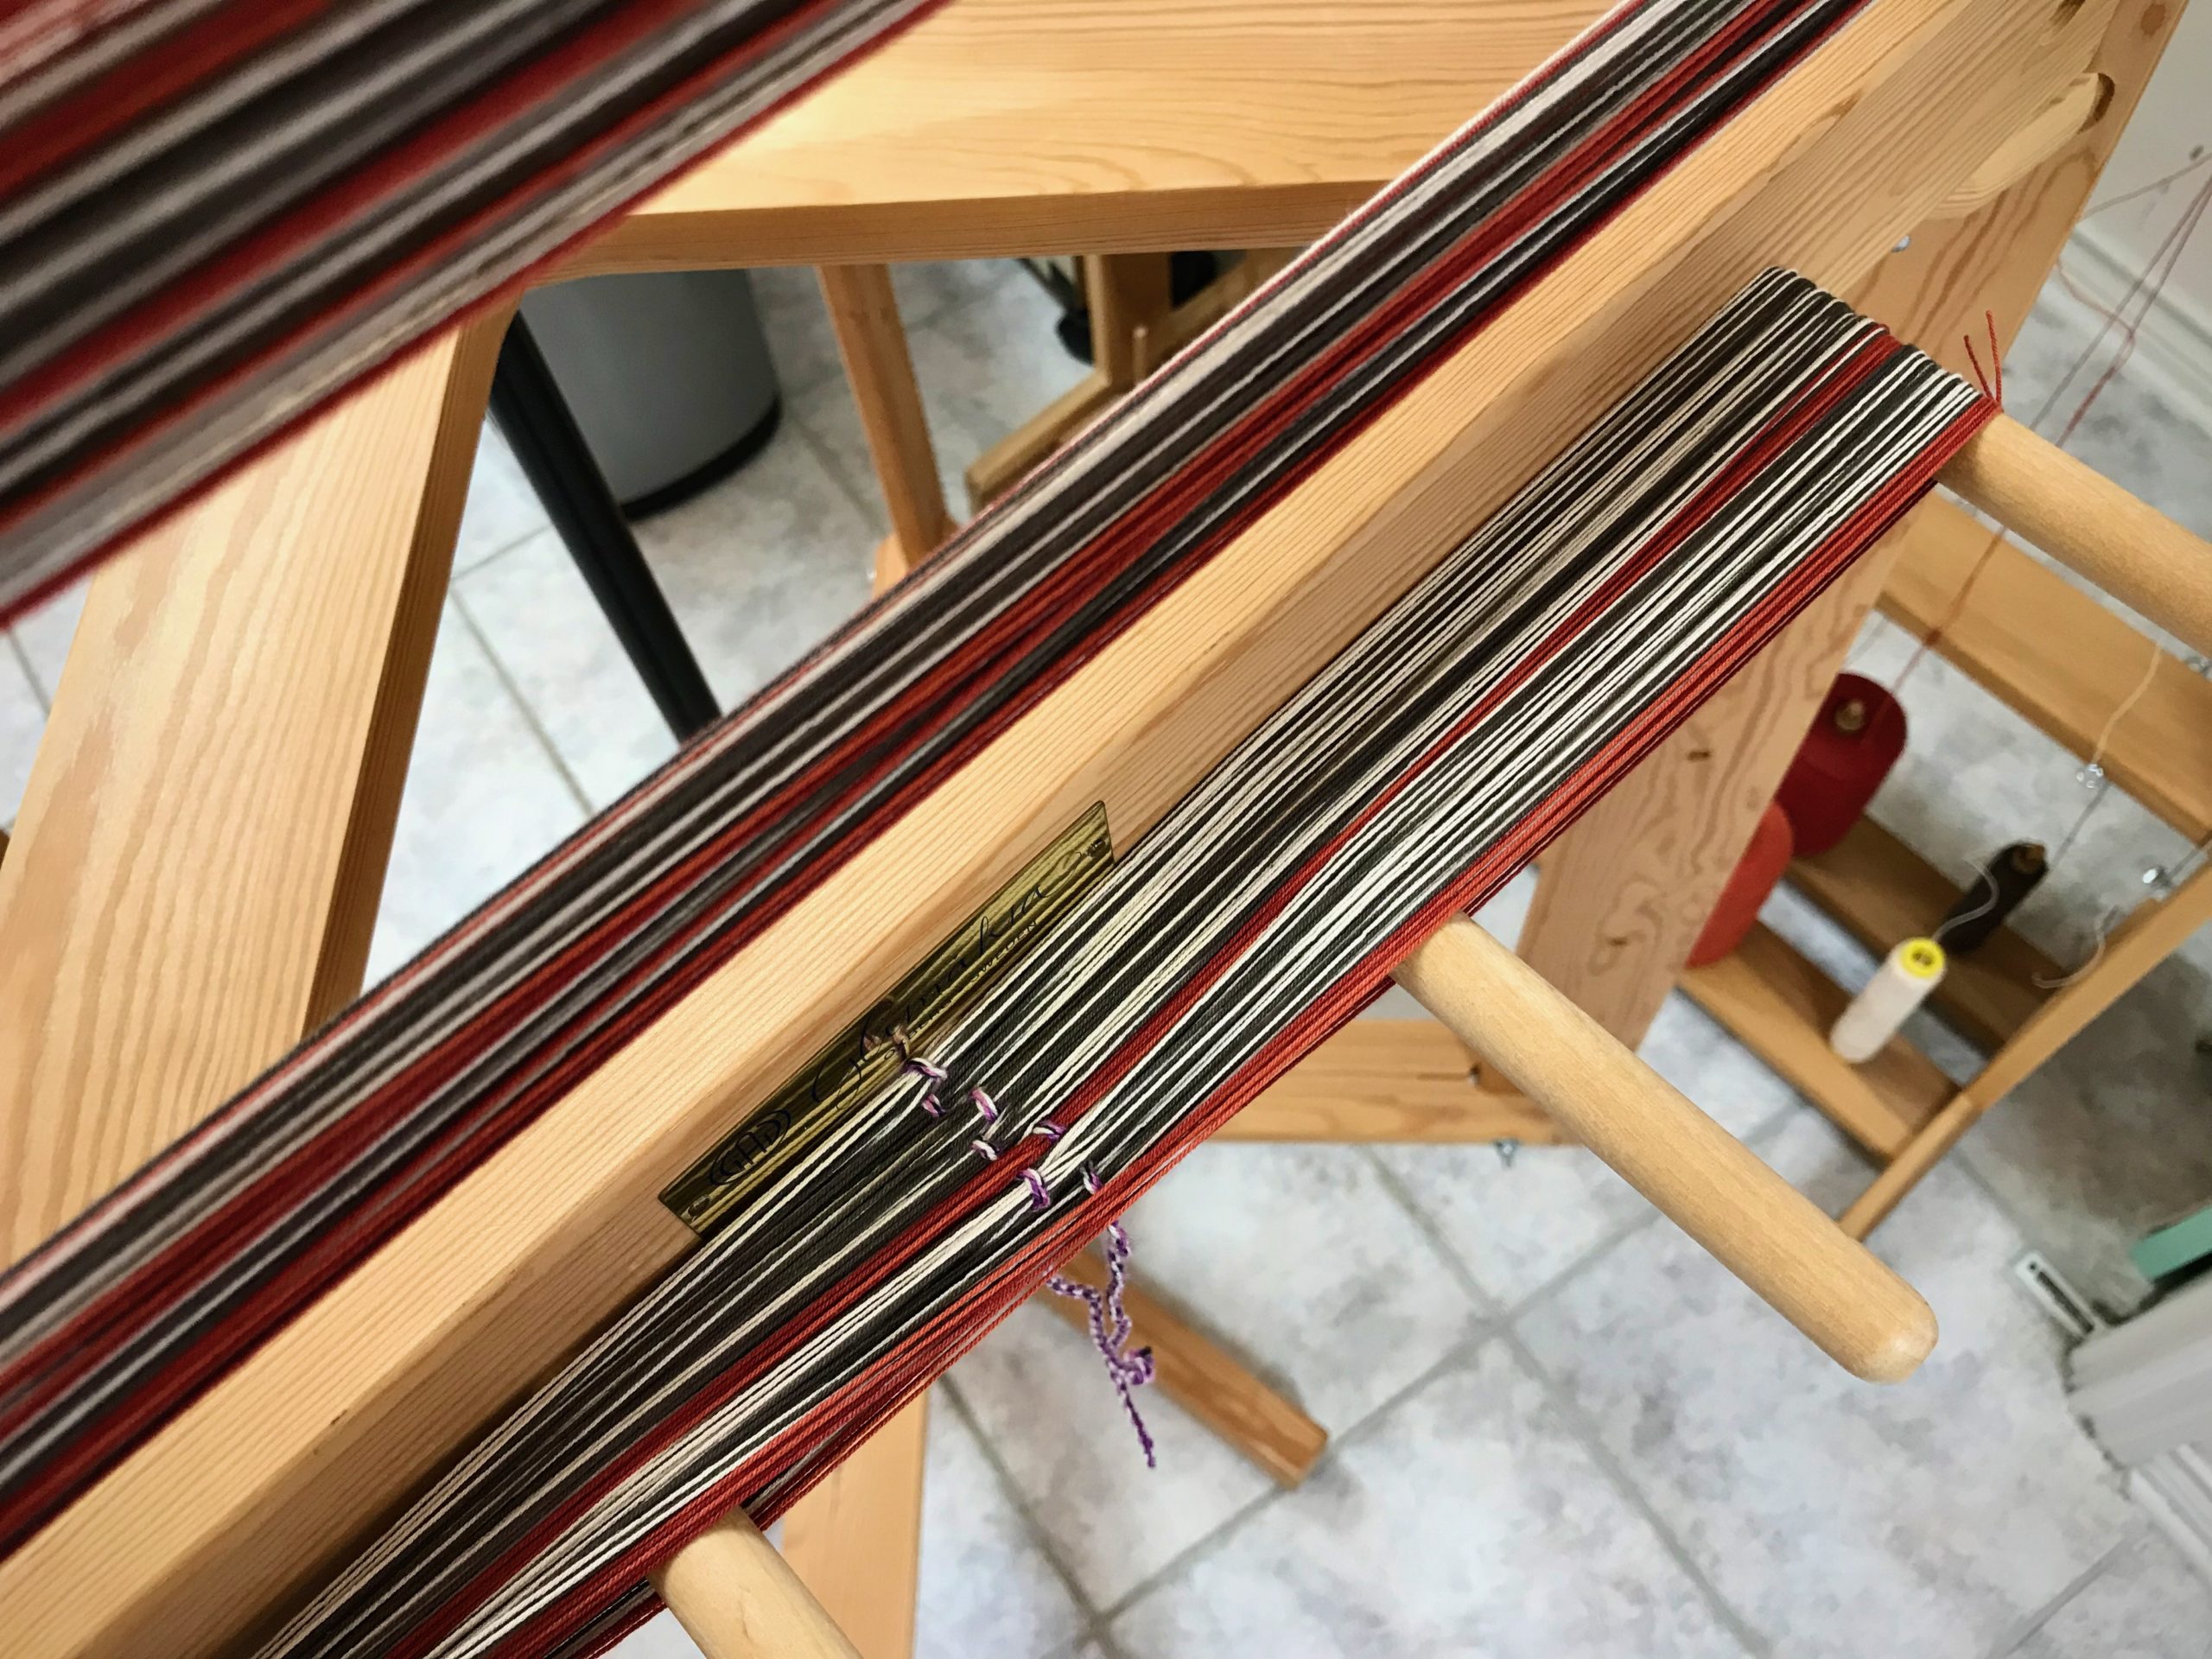
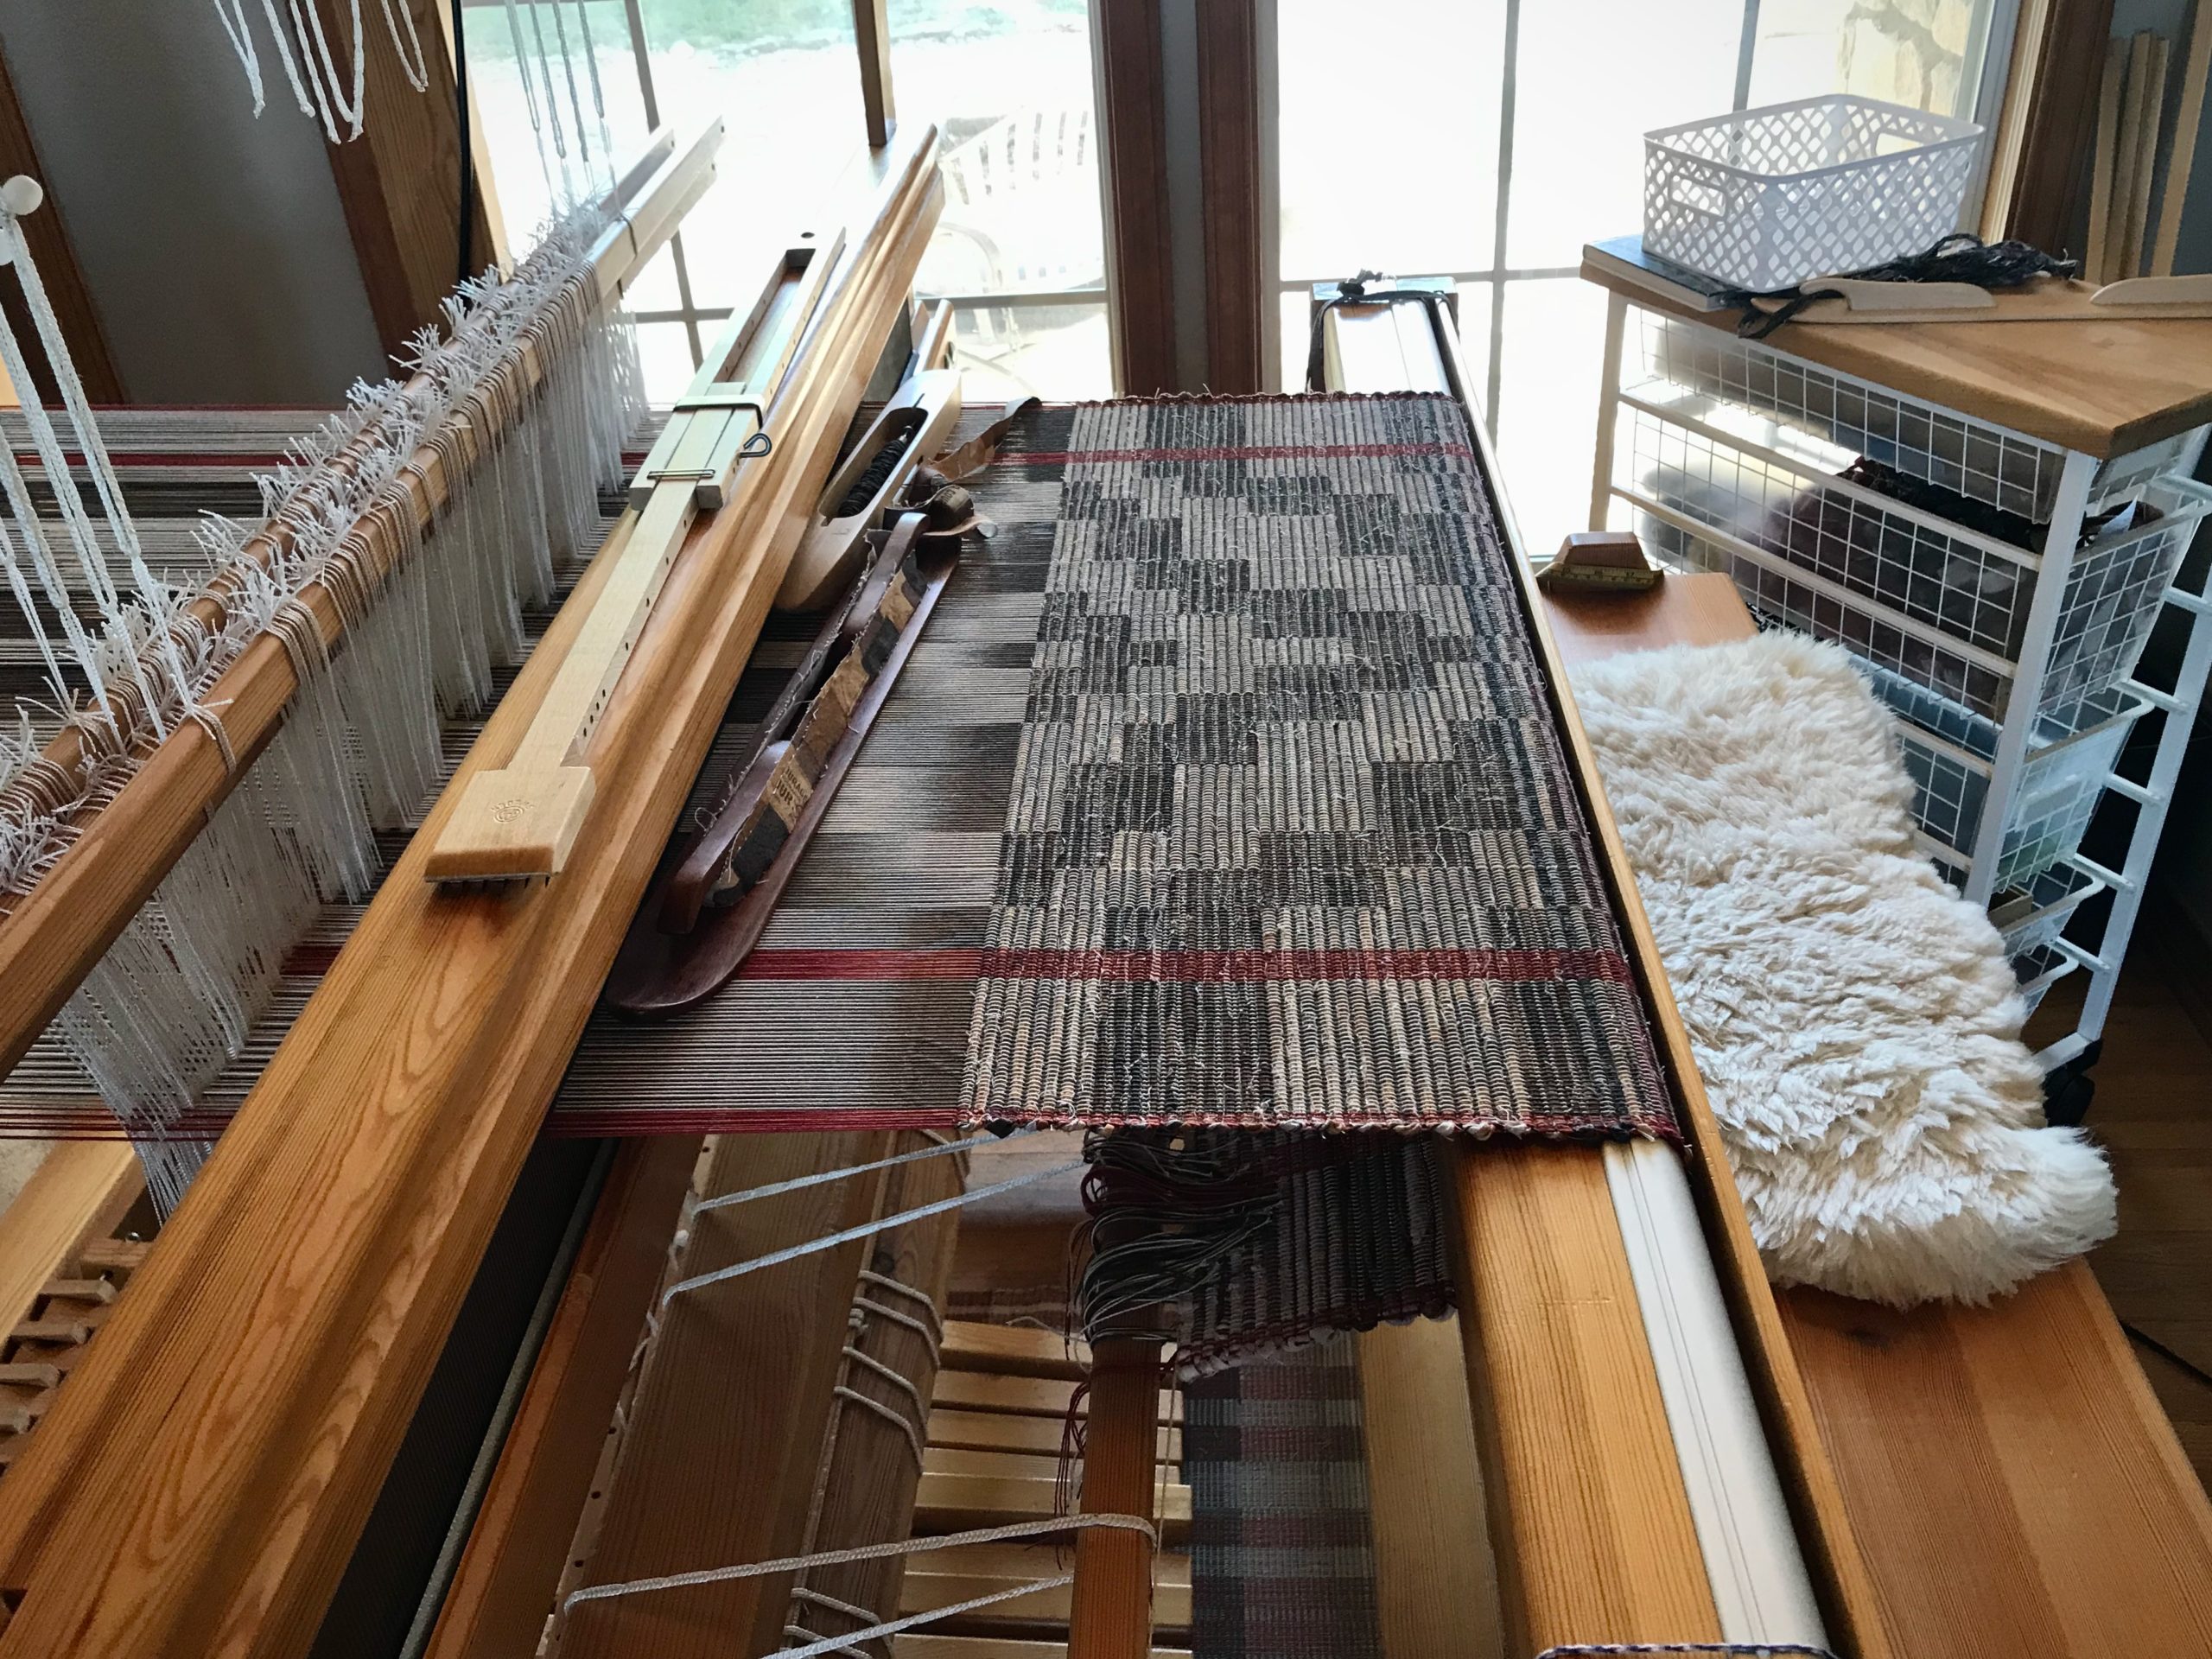
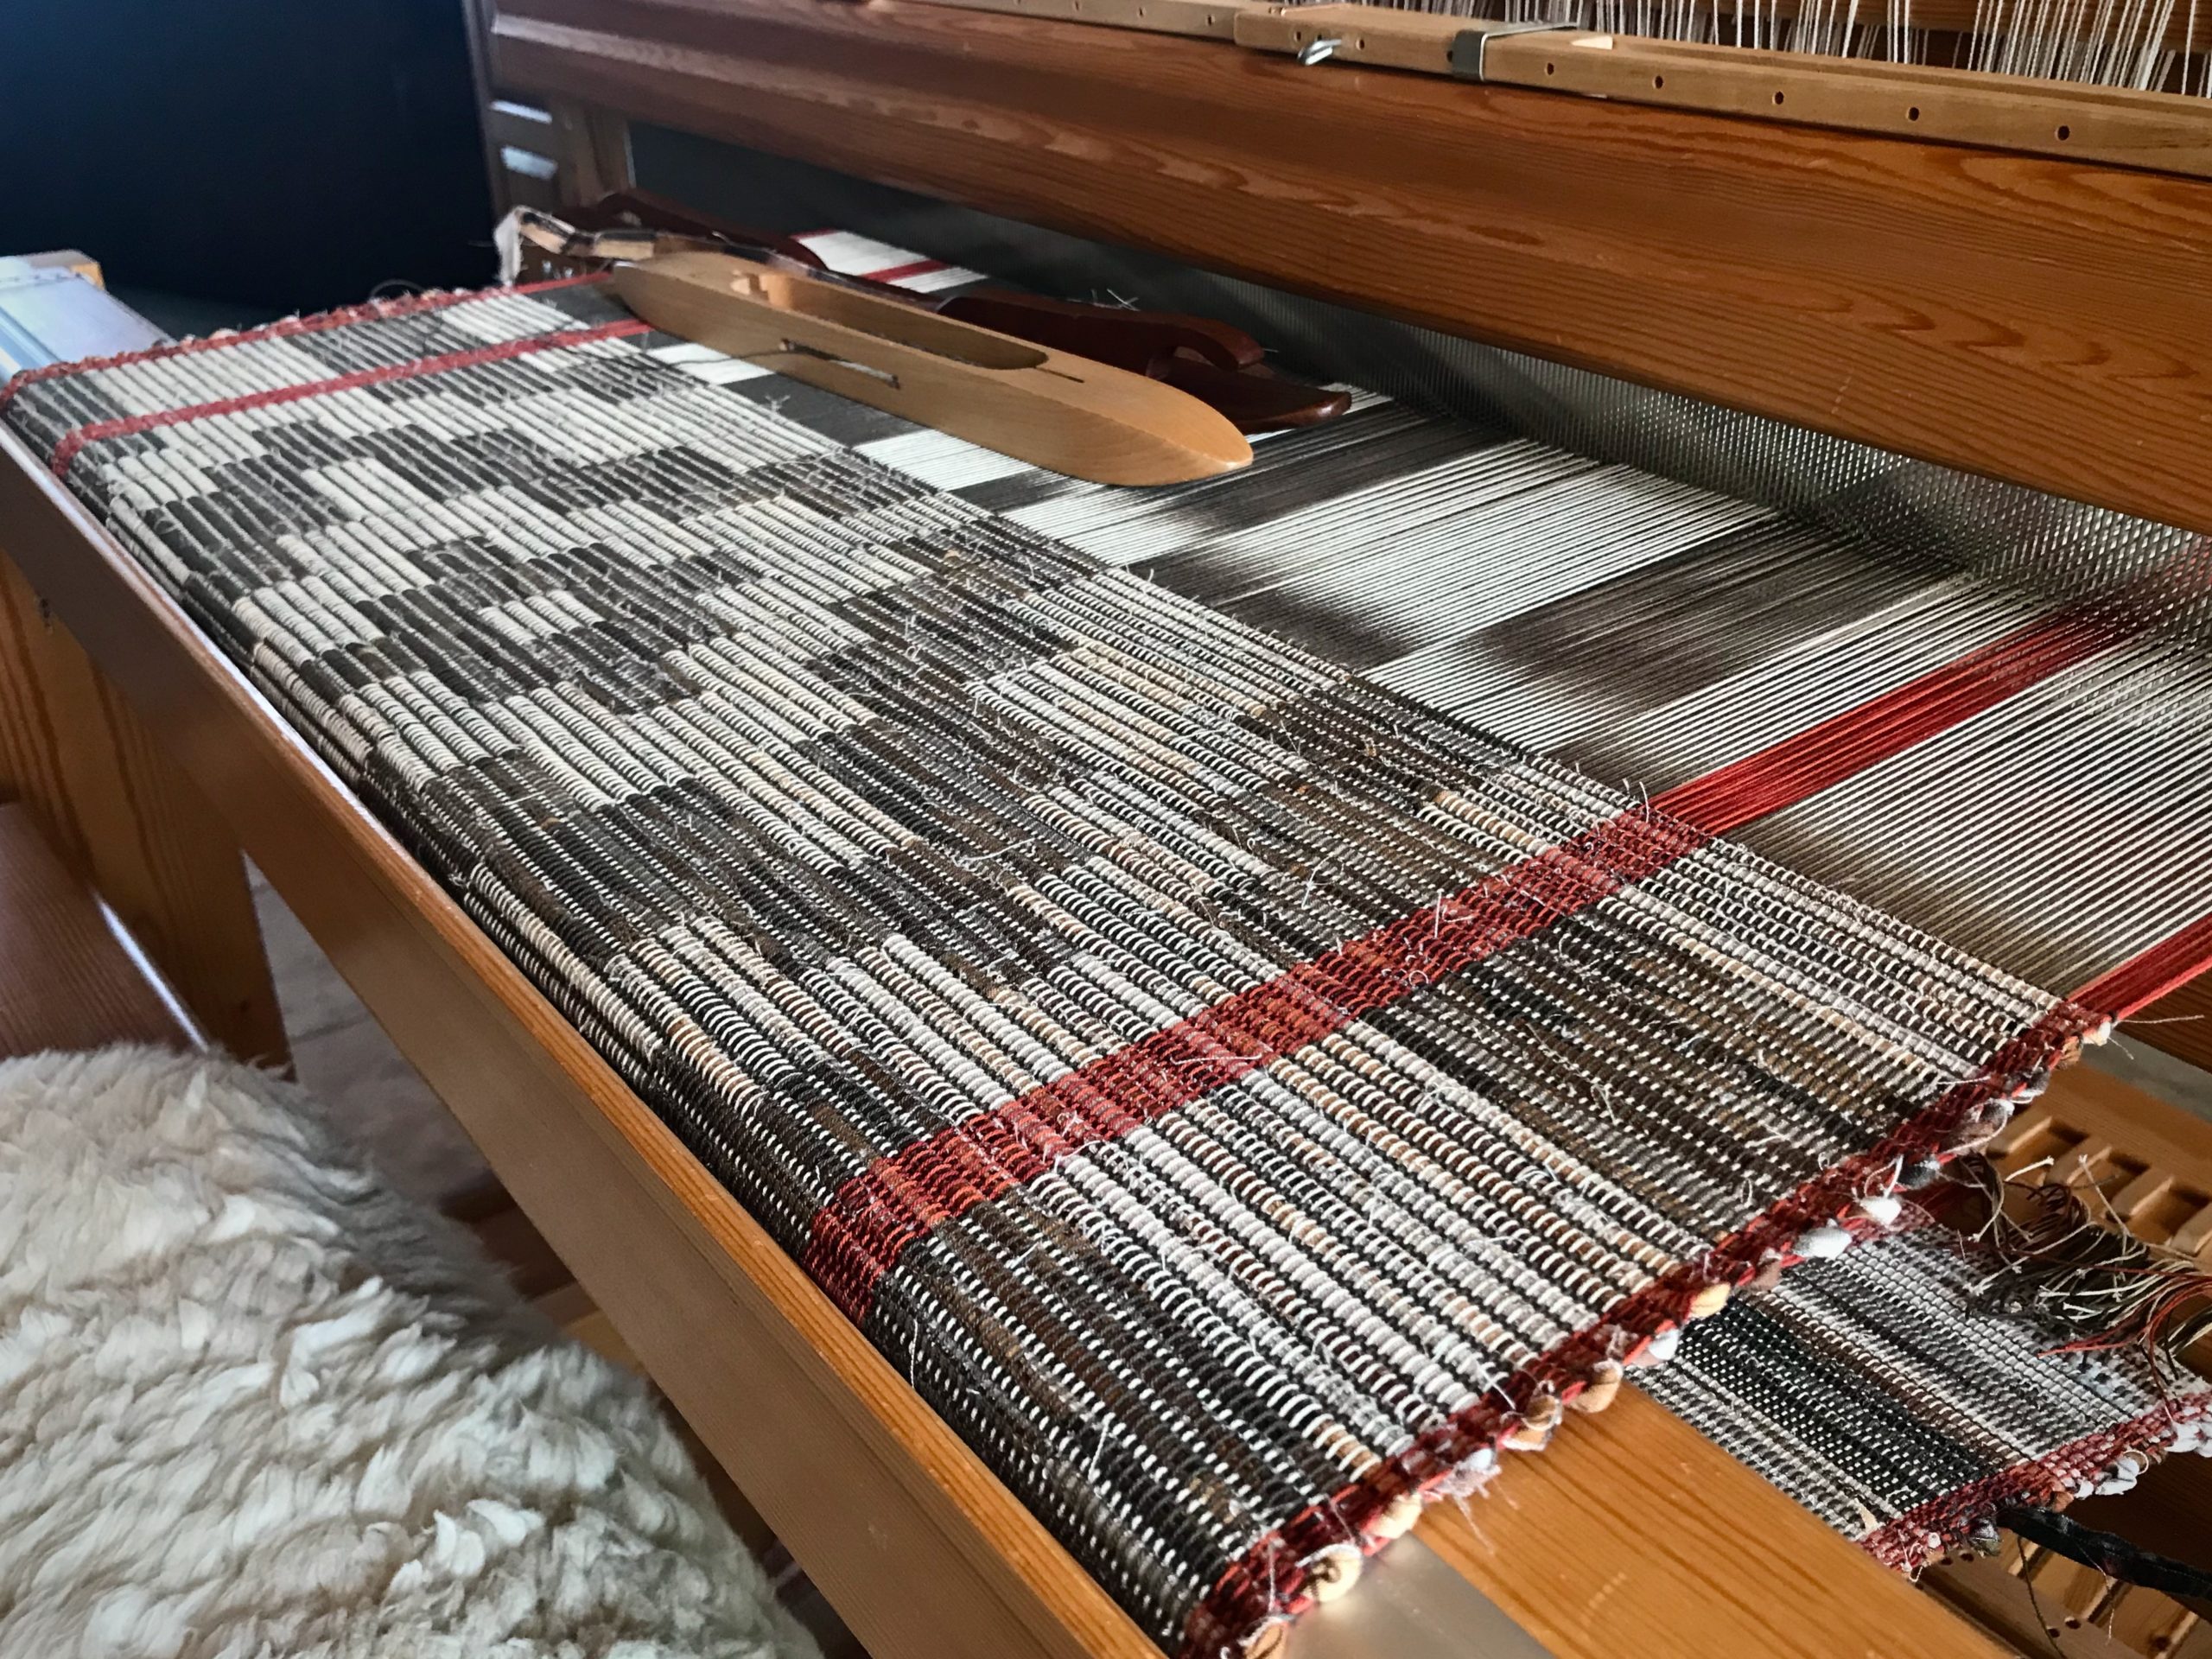
Spaced rep rag rugs have a graphic vibrancy that grabs my attention. Like regular rep weave, spaced rep is warp dominant. Unlike regular rep weave, the warp in spaced rep doesn’t completely cover the weft. That’s where rag weaving comes in, because the fabric-strip weft shows between the warps. The rag weft provides just enough color variation to satisfy a rag rug weaver like me.
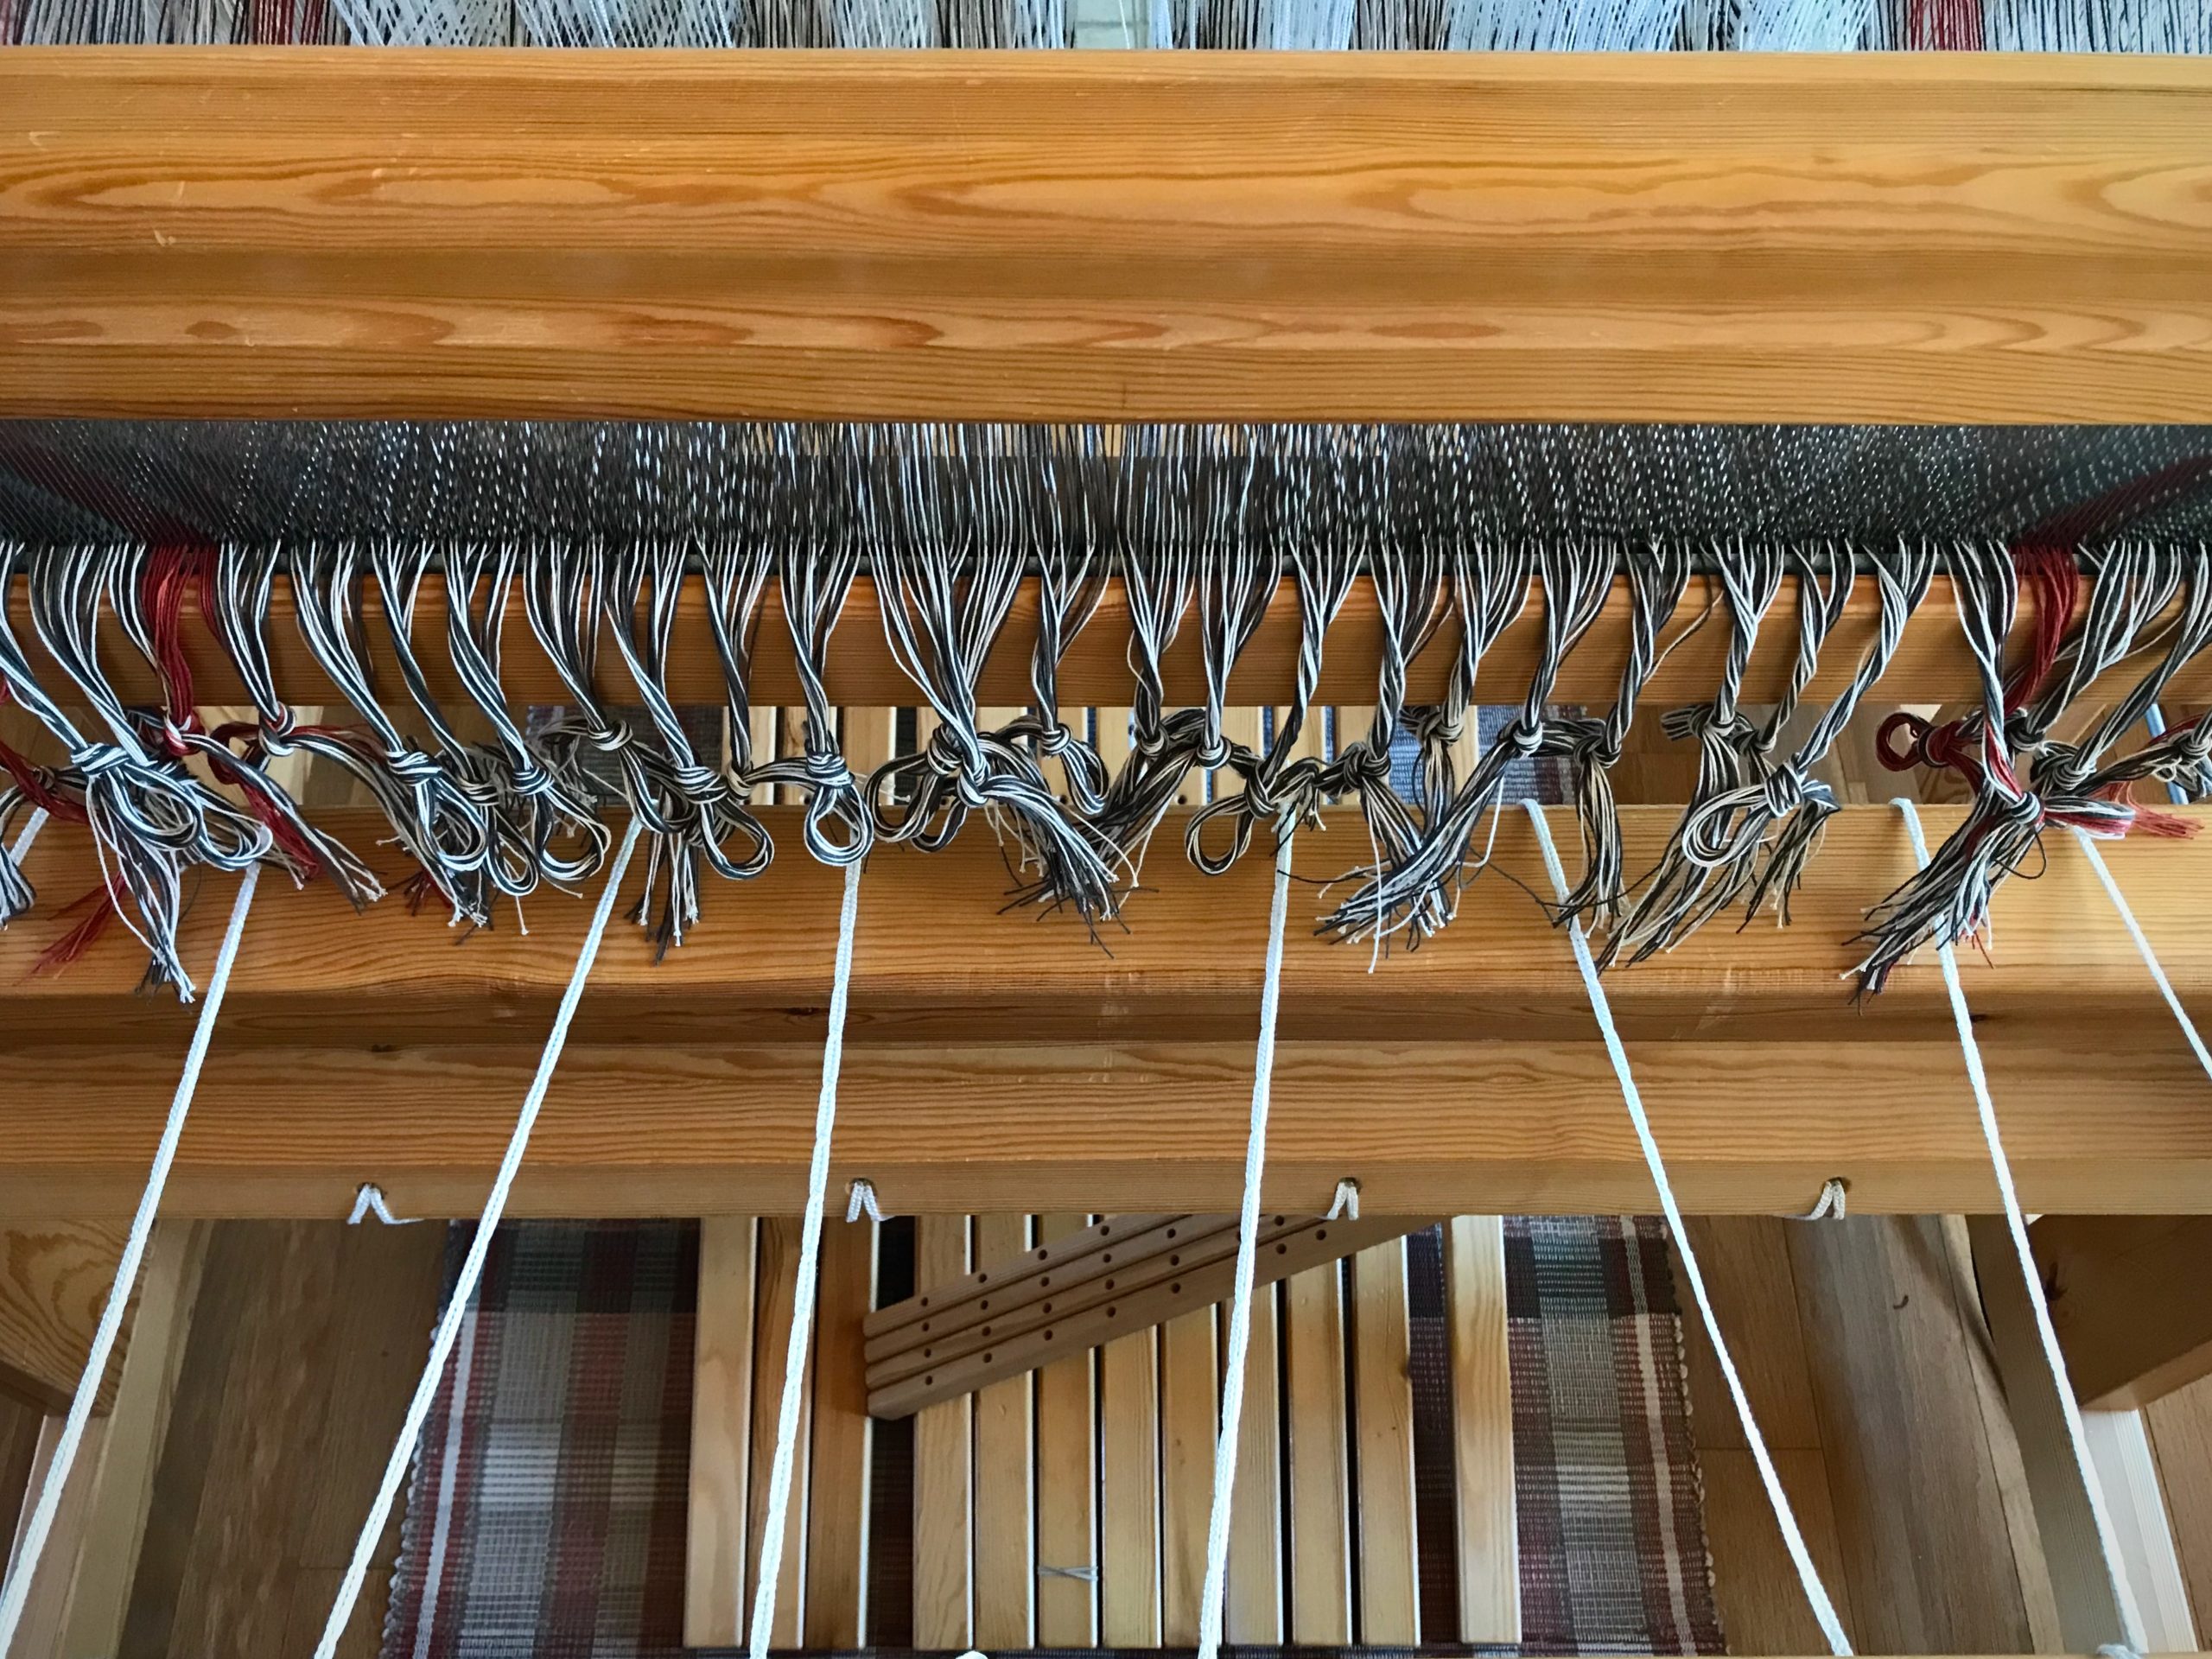
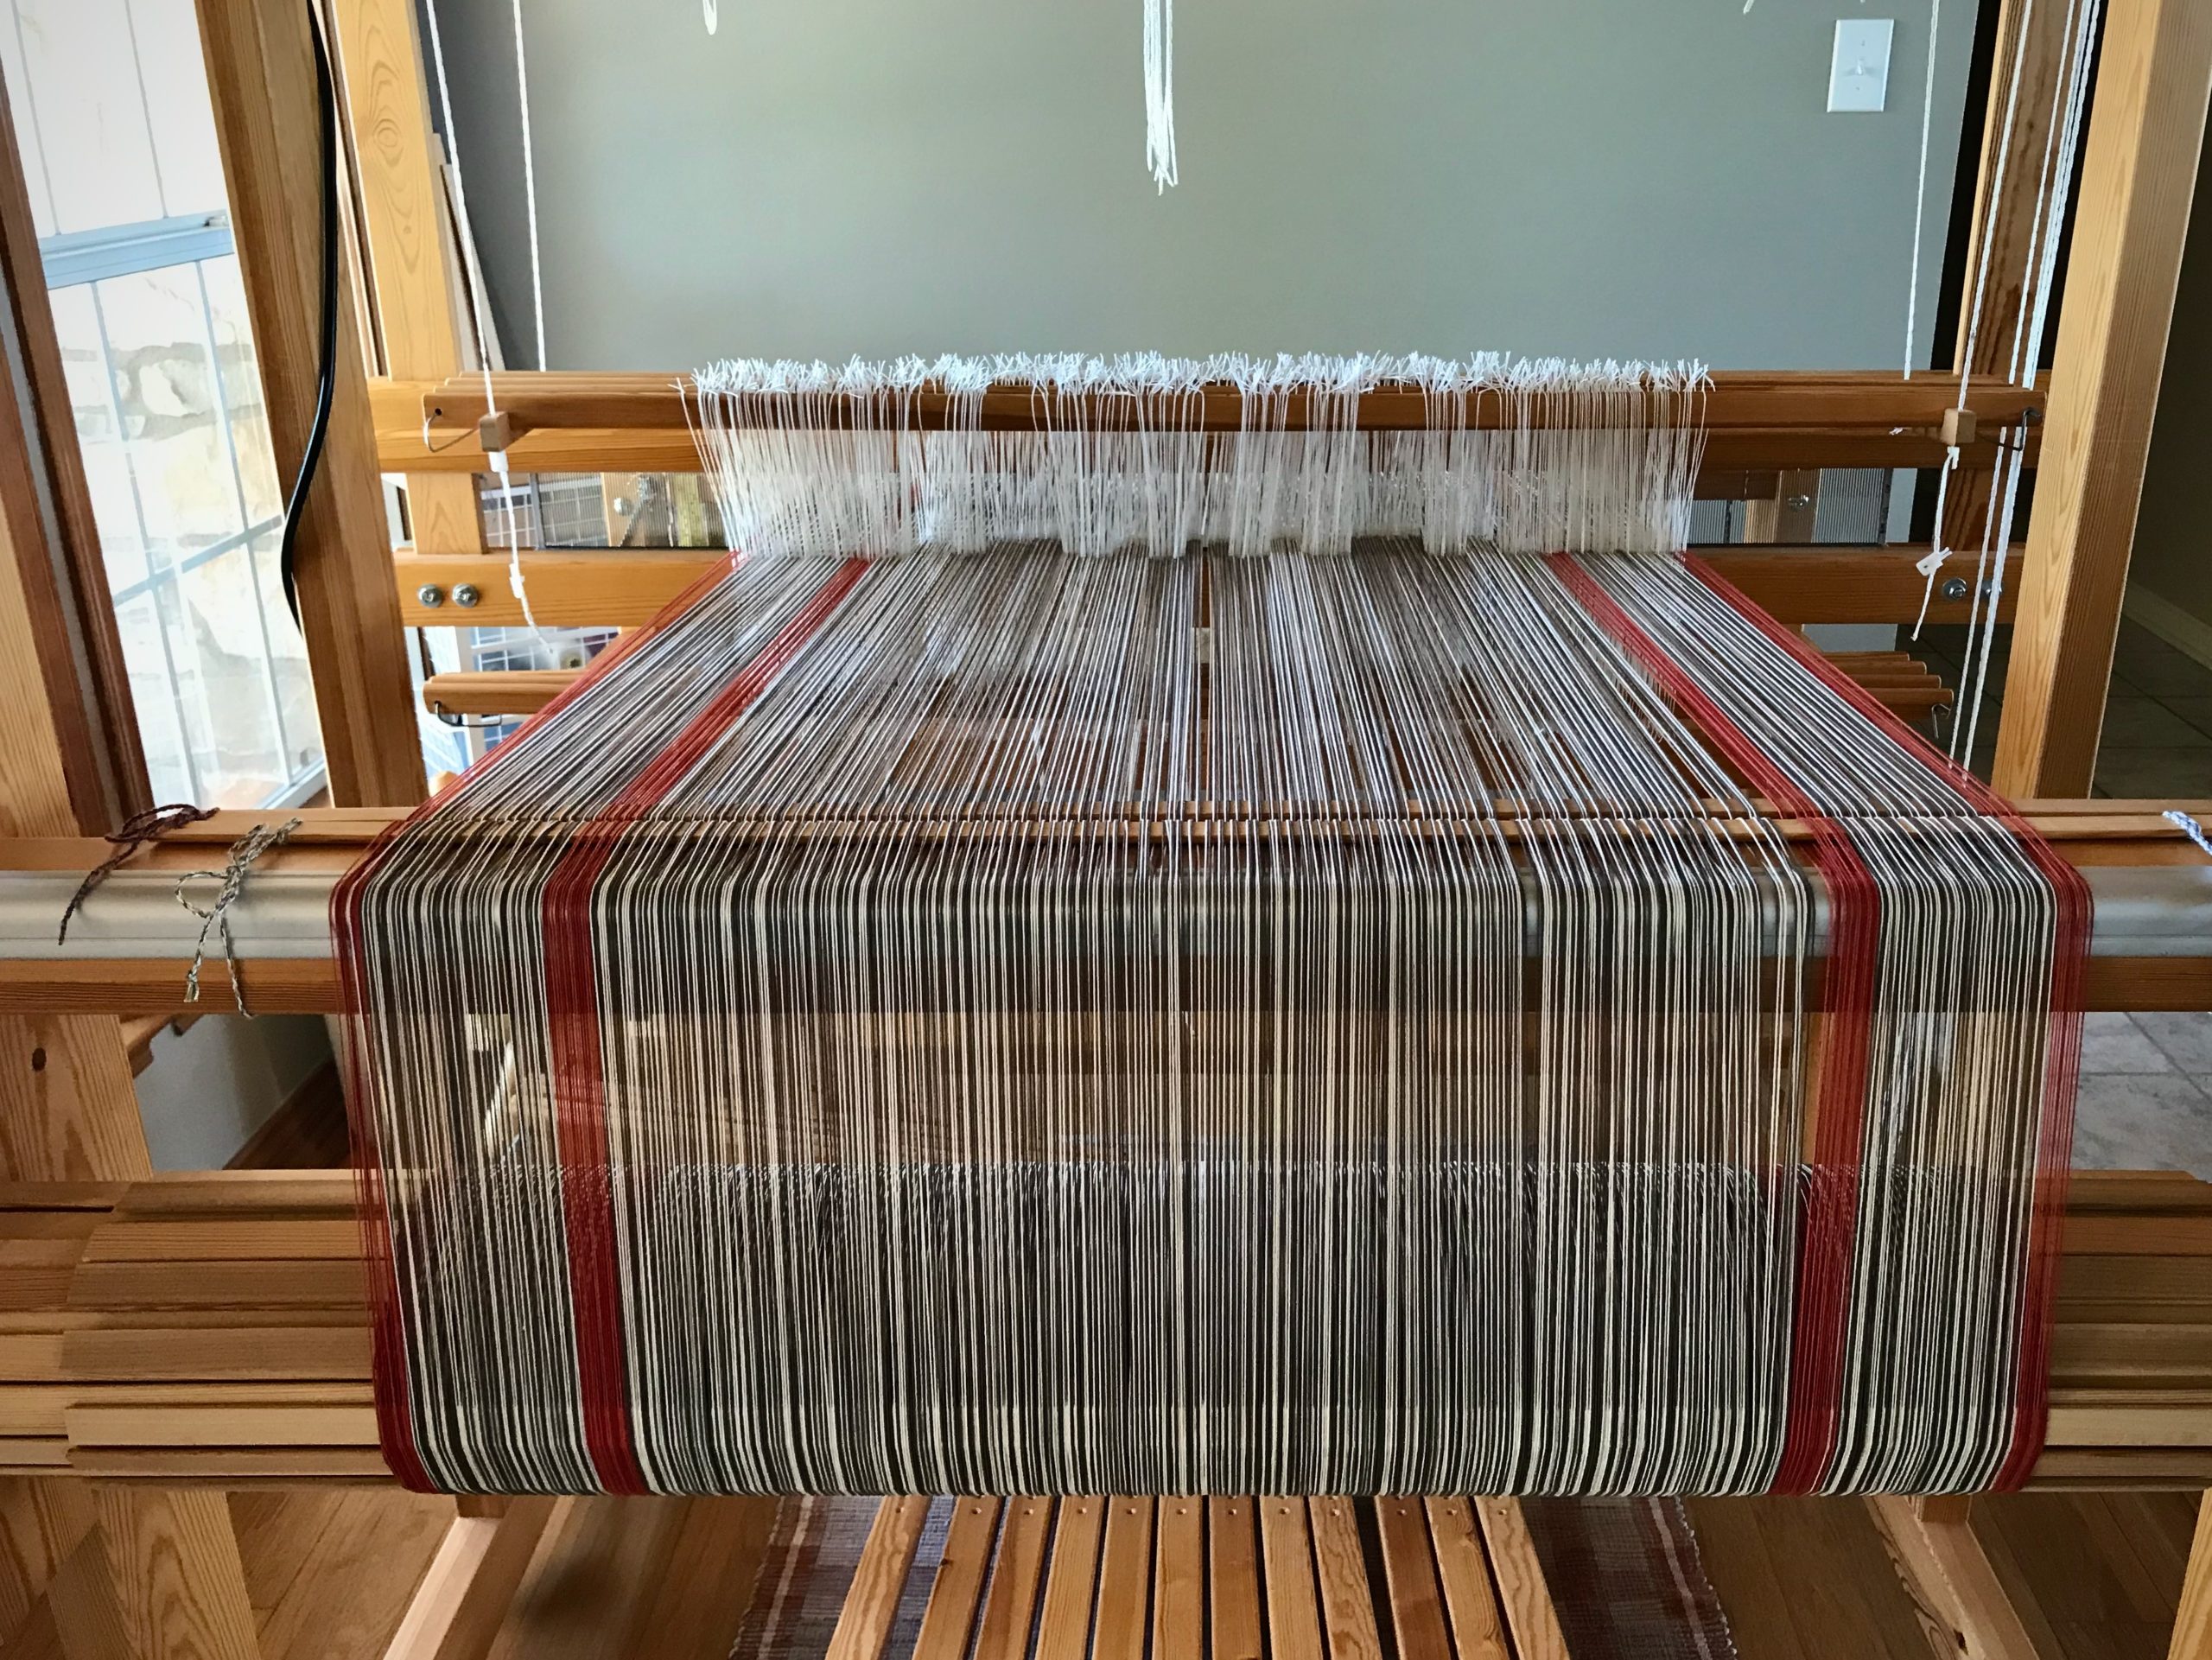
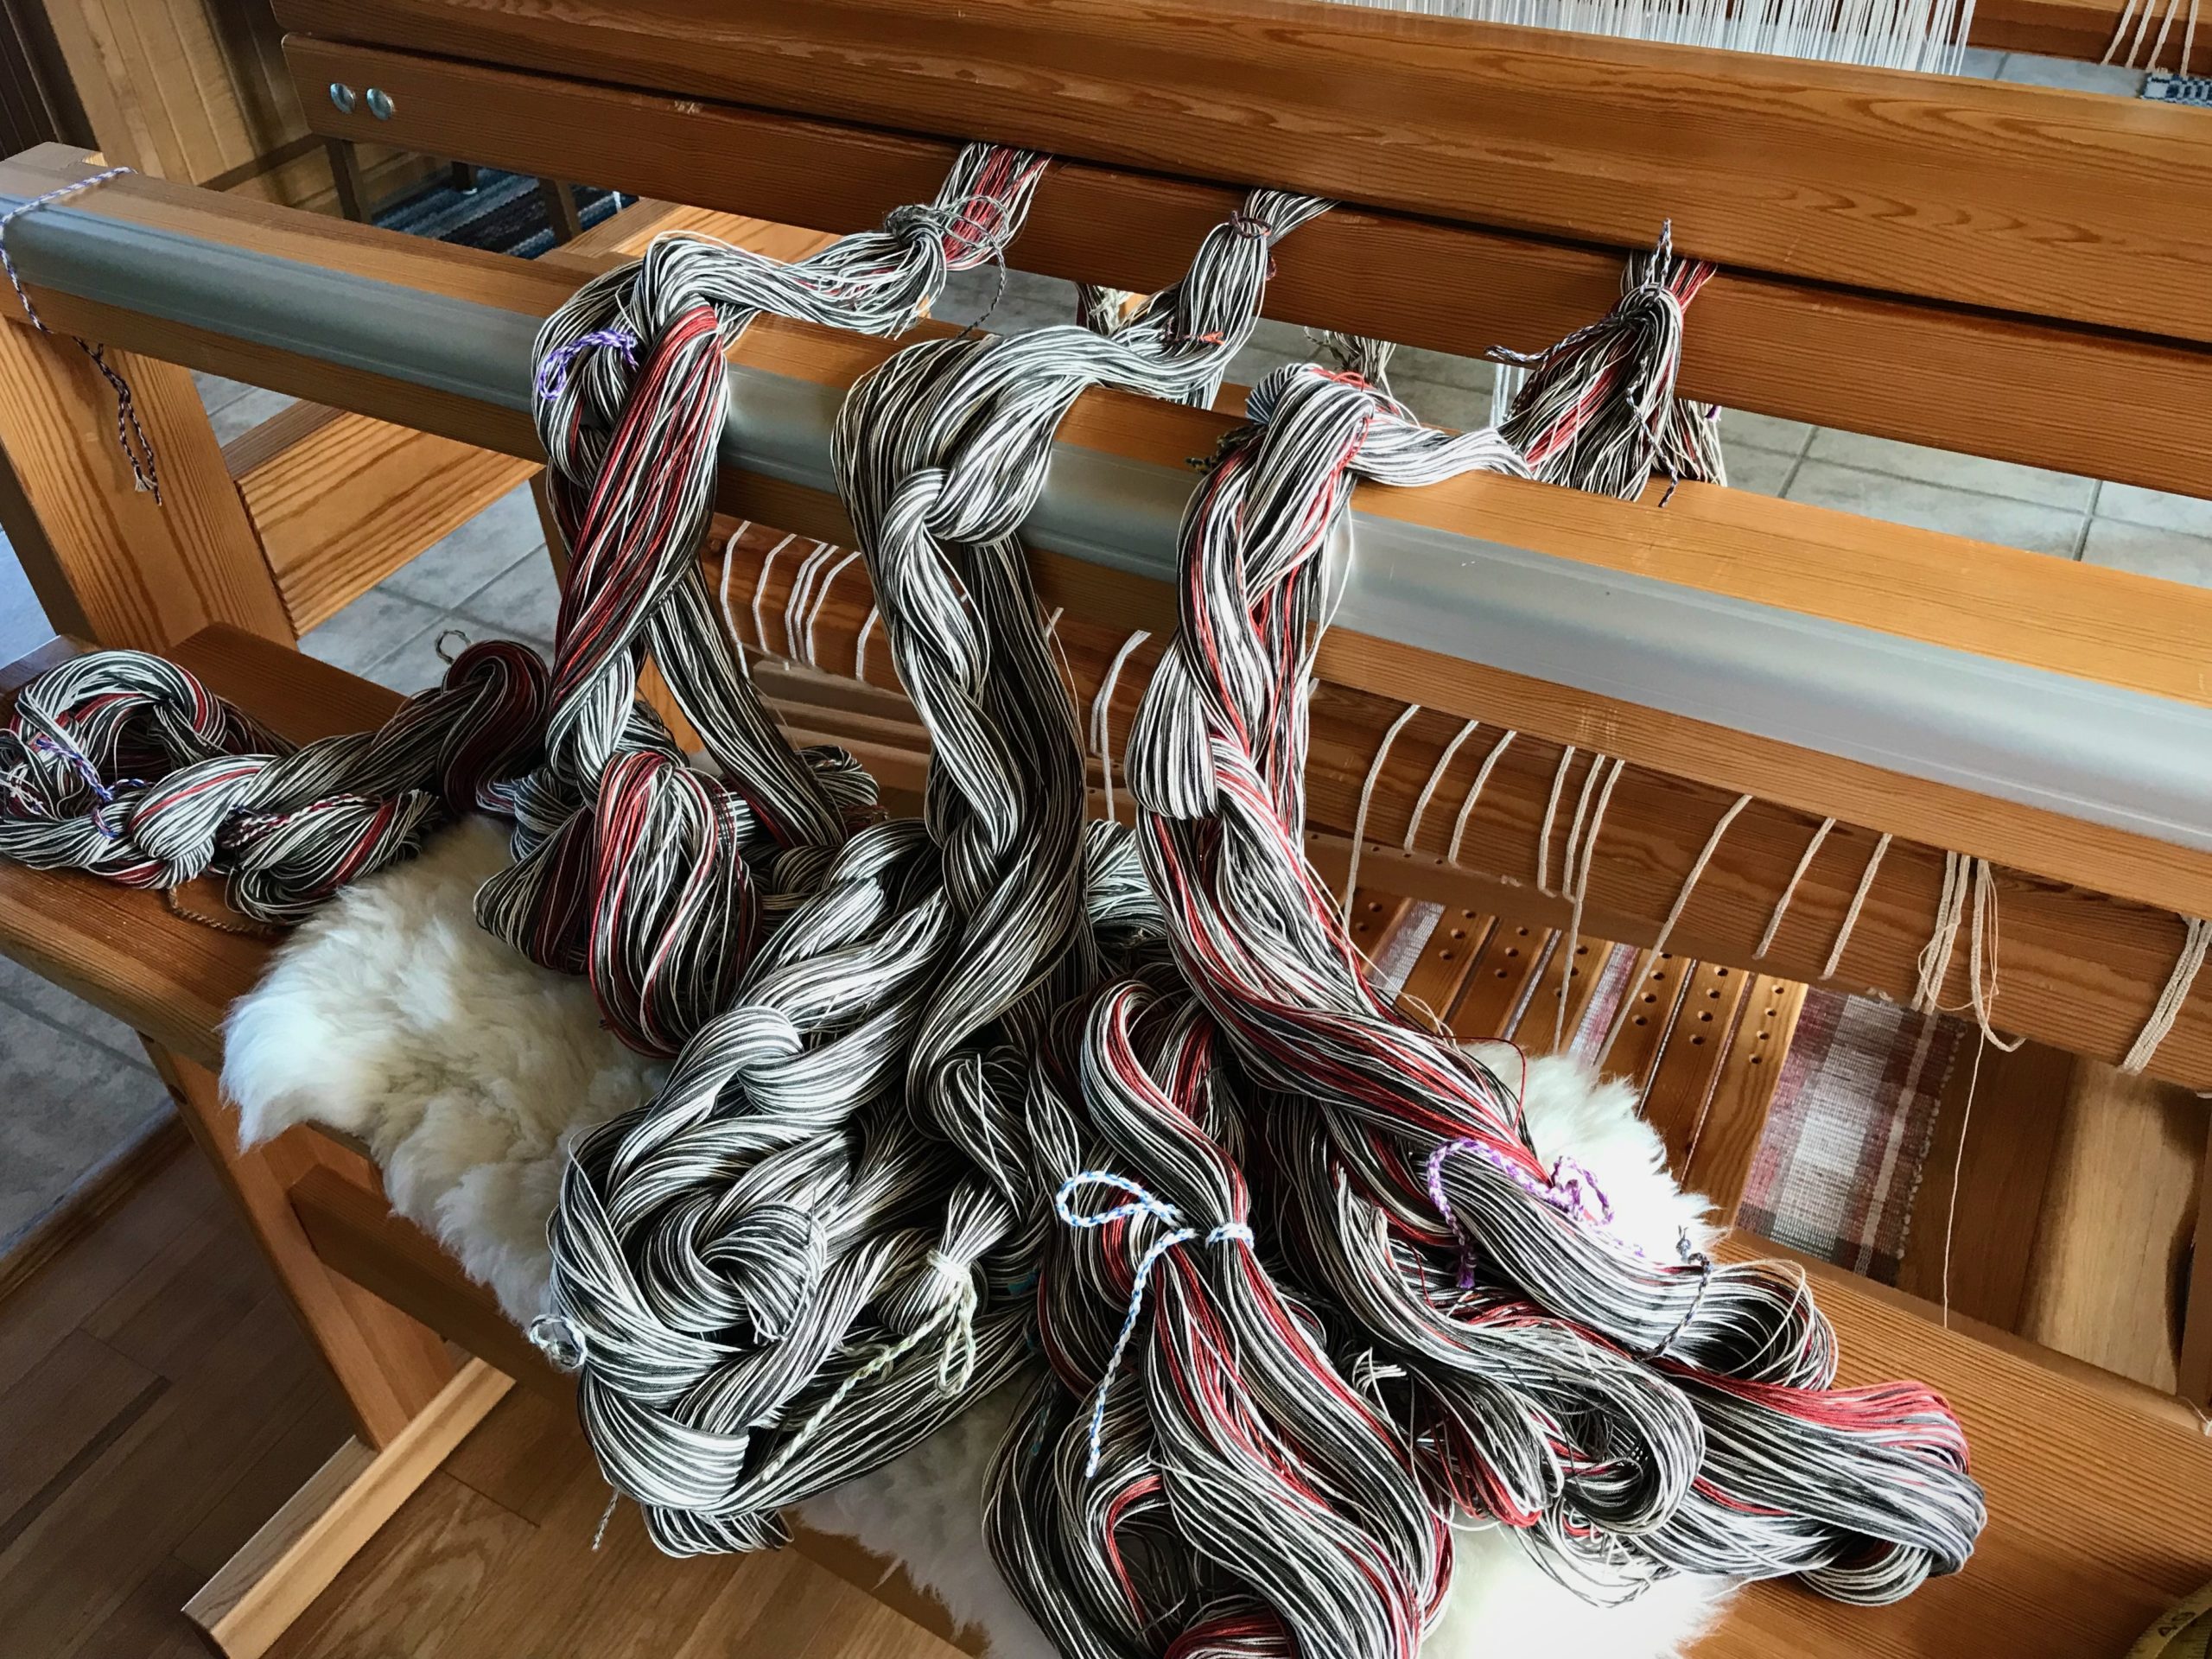
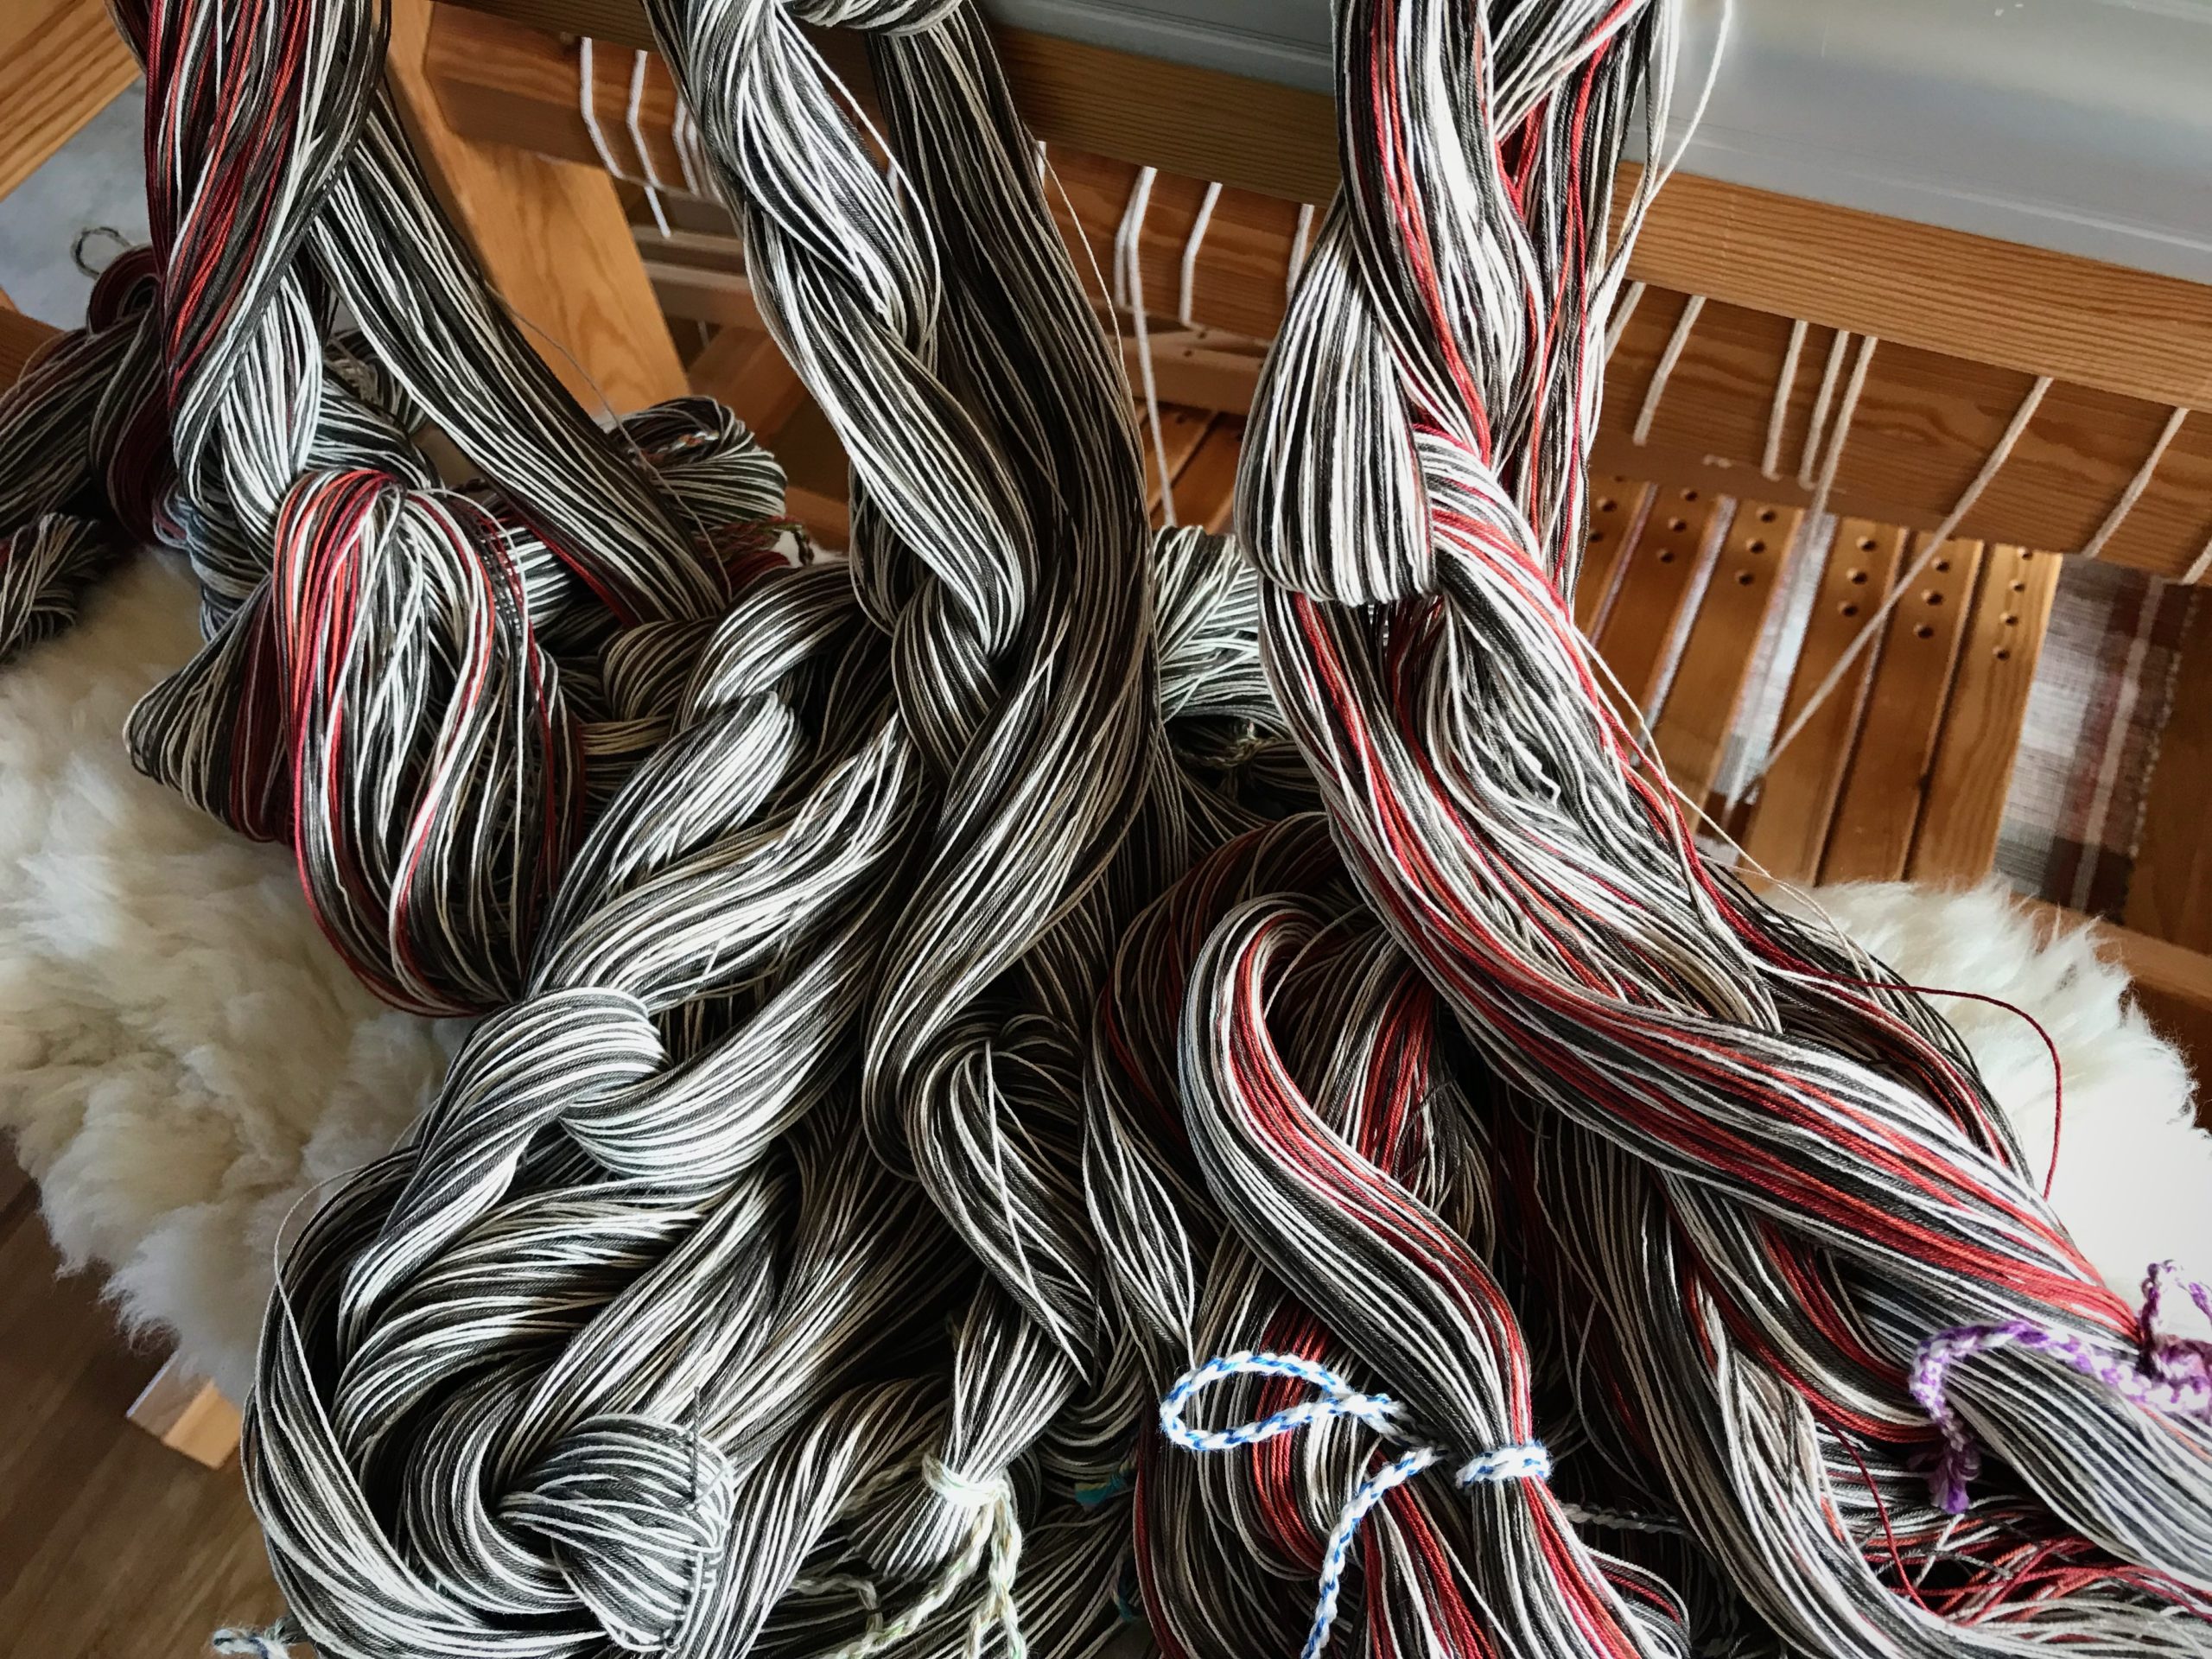
The pattern for this rug comes from Älskade Trasmattor, by Hallgren and Hallén, p. 87. The threading has dark and light ends that alternate, with four distinct blocks (five, if you count the plain weave block). And thick weft (fabric strips) alternates with thin weft (12/6 cotton rug warp), with four different treadling sequences. All of these factors work together to make the geometric pattern in the rug. It sounds complicated. Truly, though, it is merely a collection of simple systems that all work together. And the possibilities are endless.

You are intricately and wonderfully made. To people who know you, no doubt, you look complicated. Your maker, however, knows your simple systems that all work together. The Lord knows you by name. His plan for you follows a masterful design. In the grand weaver’s hands, the possibilities are endless!
May the pattern of your life set you apart.
Happy Weaving, and welcome back to my studio,
Karen