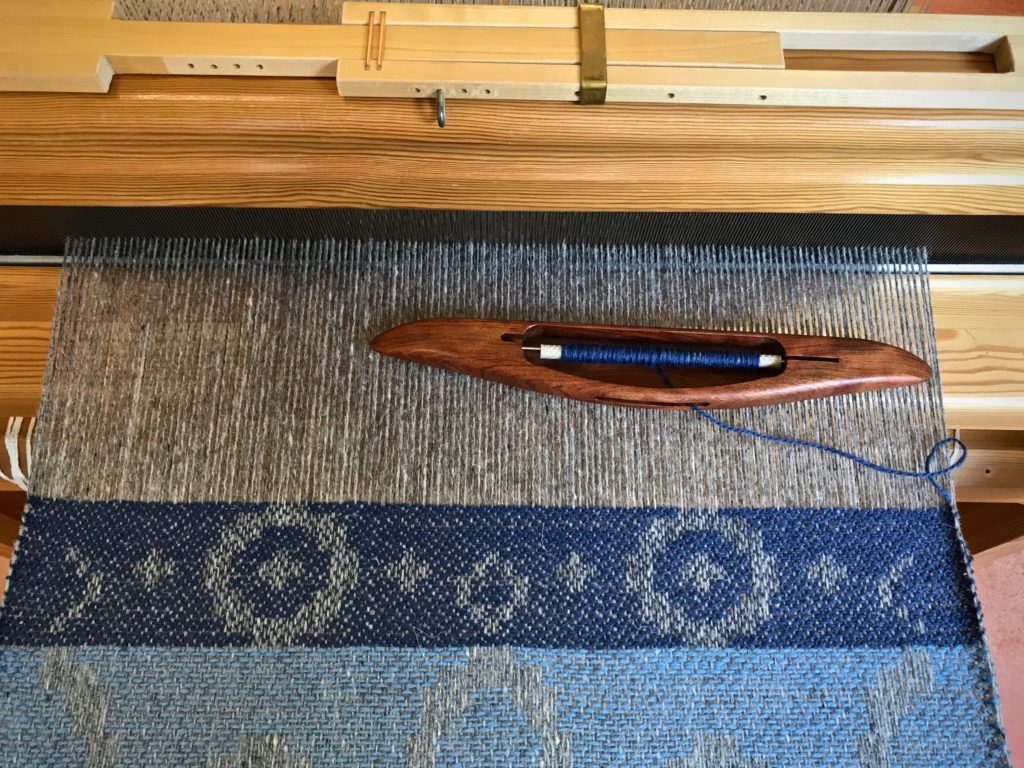
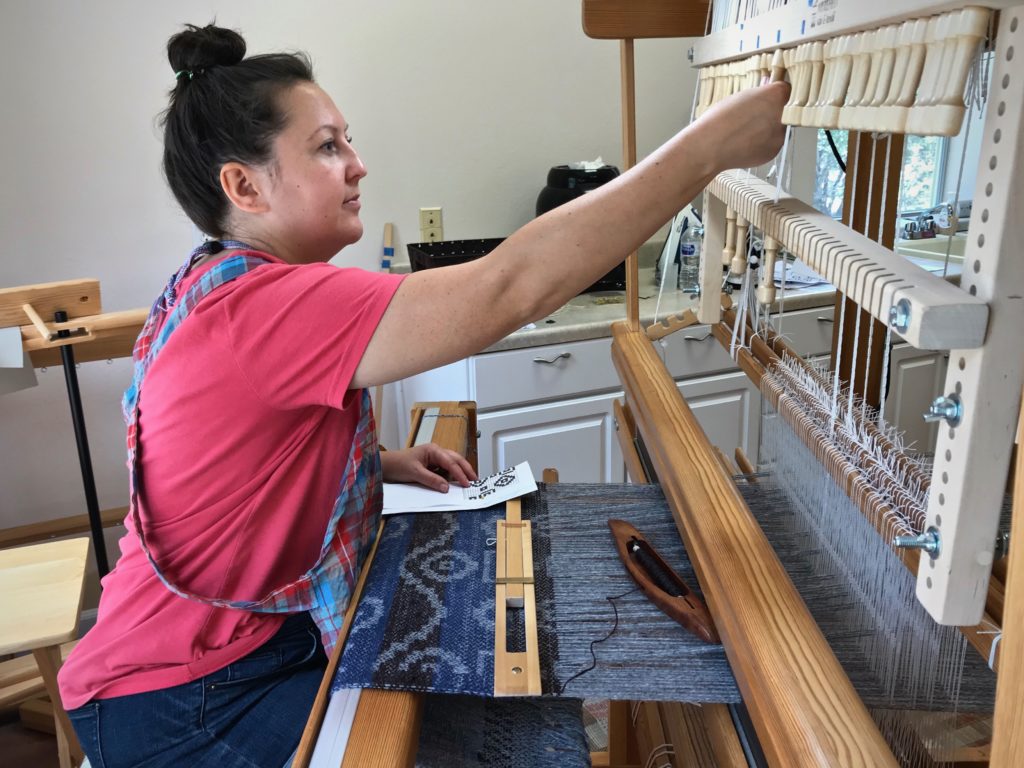
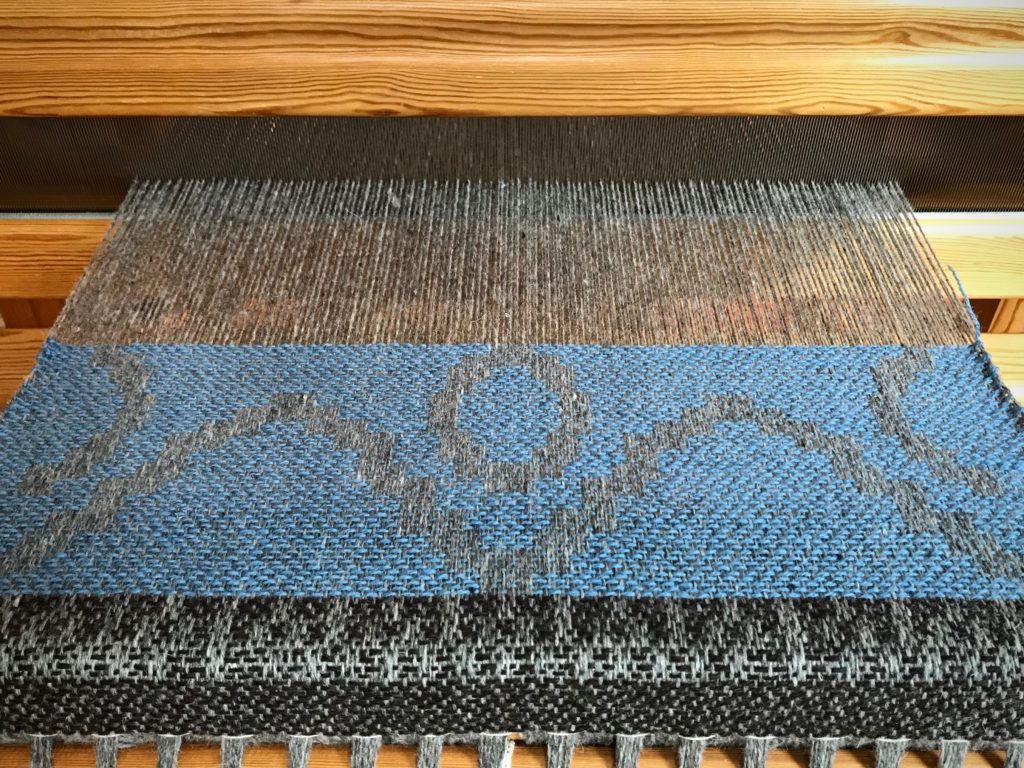
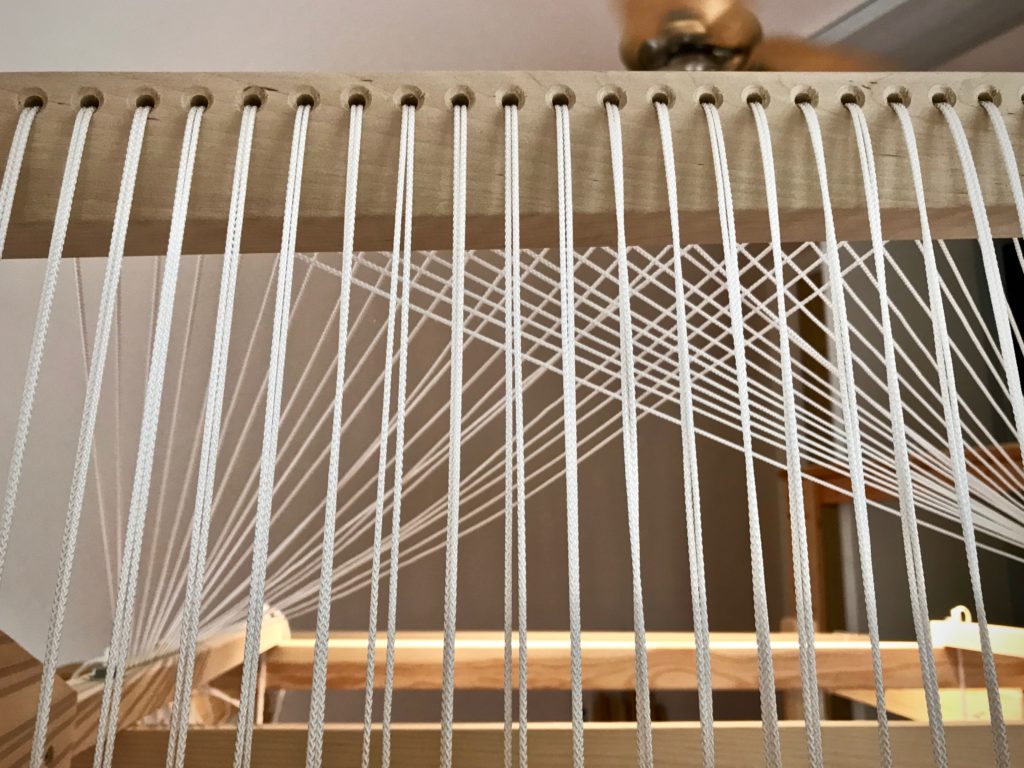
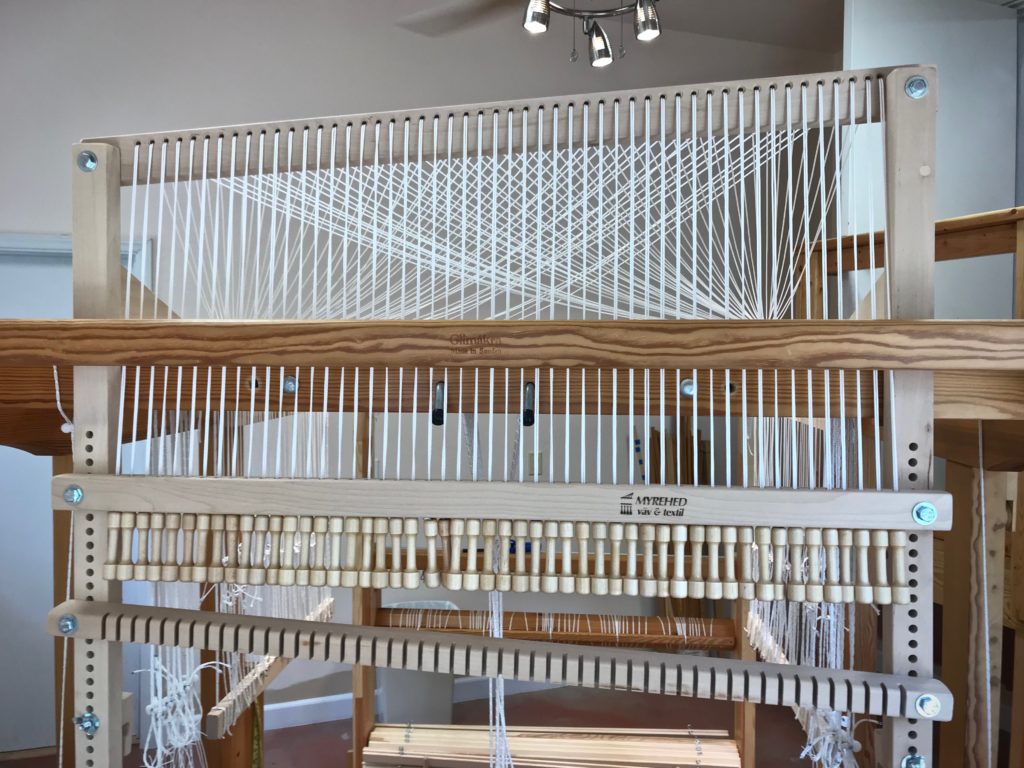
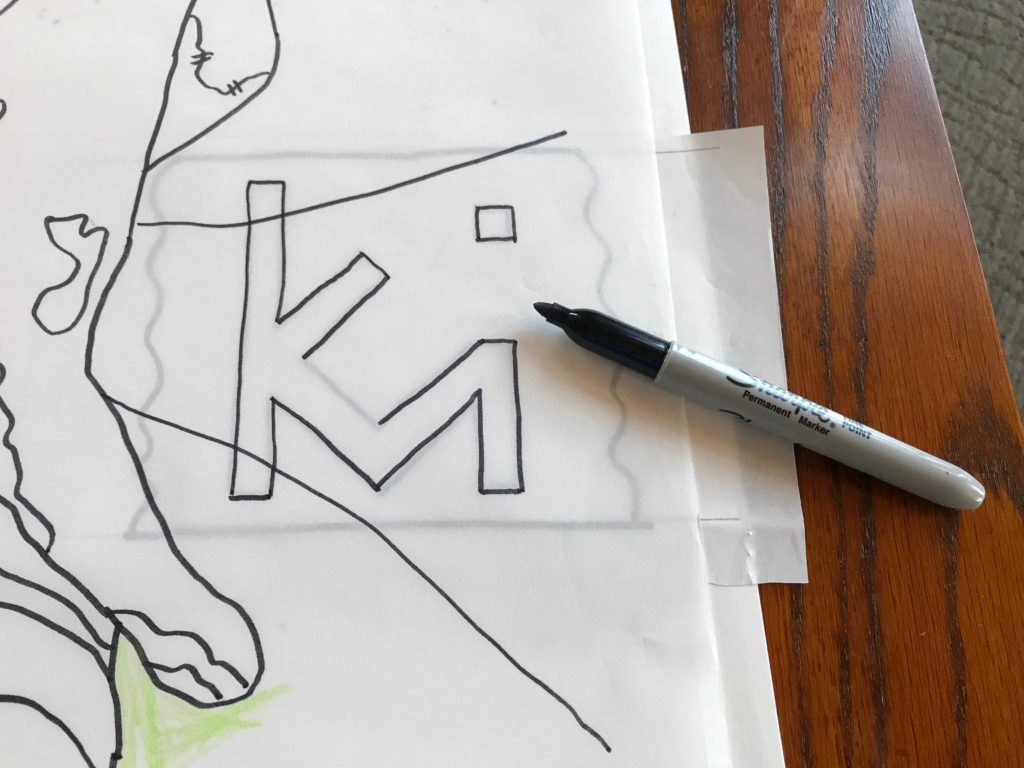
This logo goes back to at least 1982. It is on the underside of a bowl I made that year in my one-and-only pottery class. kmi for Karen Marie Isenhower. This personal logo will be woven into my upcoming pictorial tapestry. I know how I want the image to look, but it’s not easy to weave it successfully. I am practicing on a sample warp.
I am starting with the little cartoon that I used when I wove the Lizard tapestry last year (see Quiet Friday: Lizard Tapestry), thinking I can improve in the weaving of it.
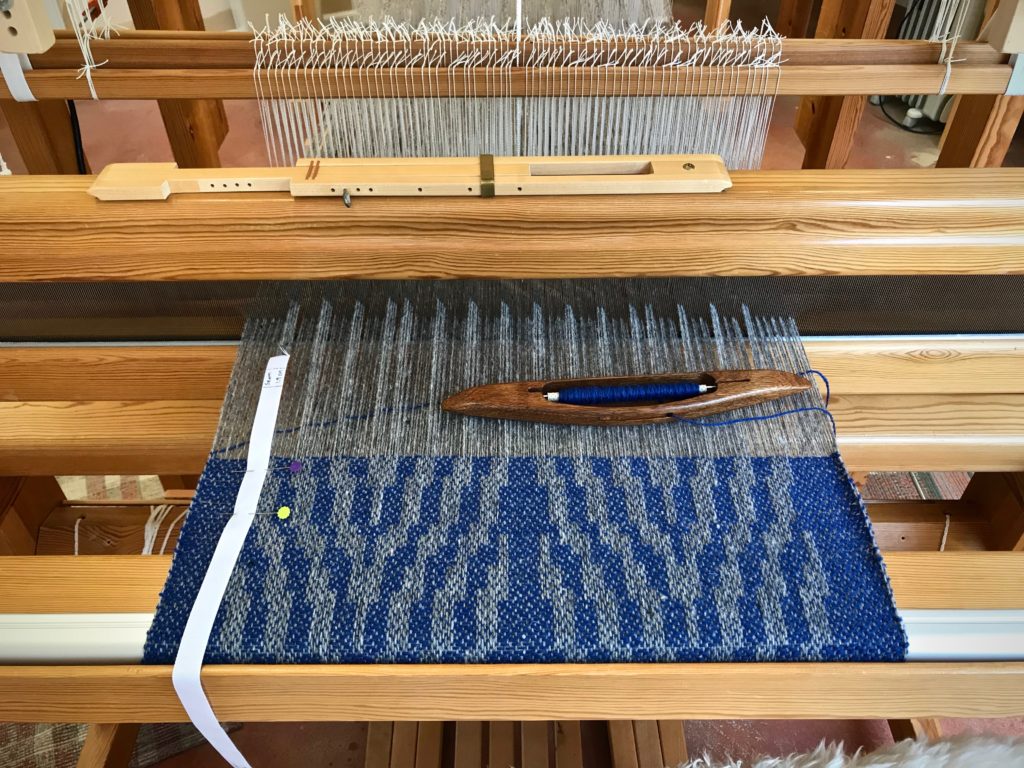
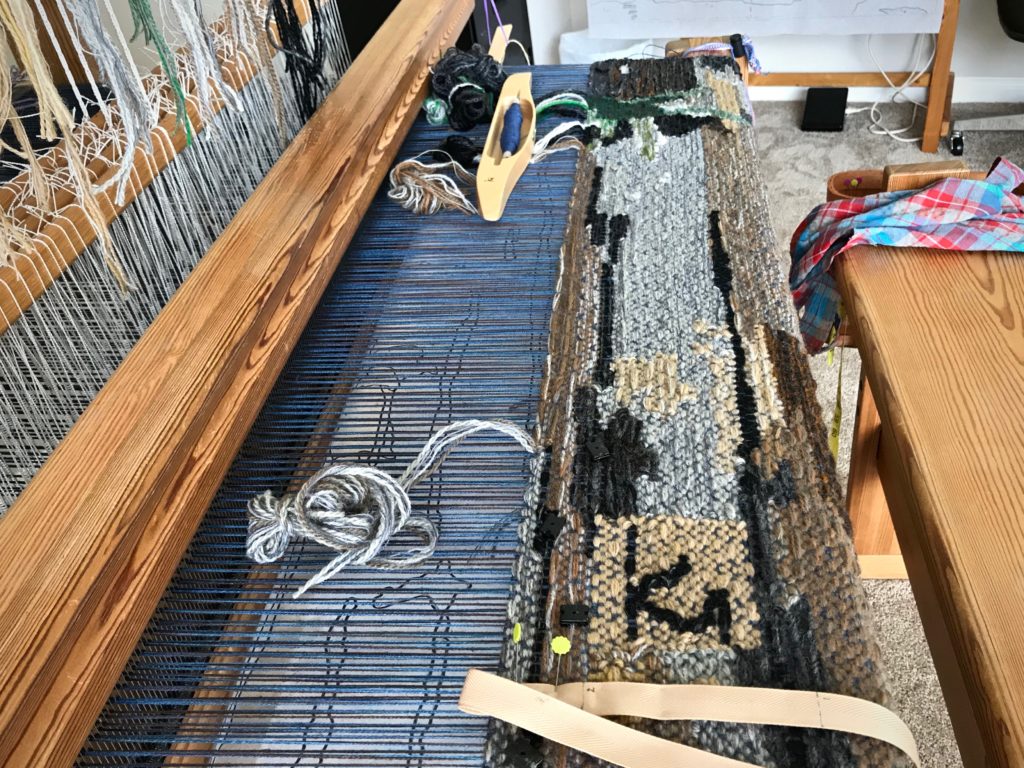
Nope. It’s not any better. I am redrawing the cartoon to spread the letters out further.
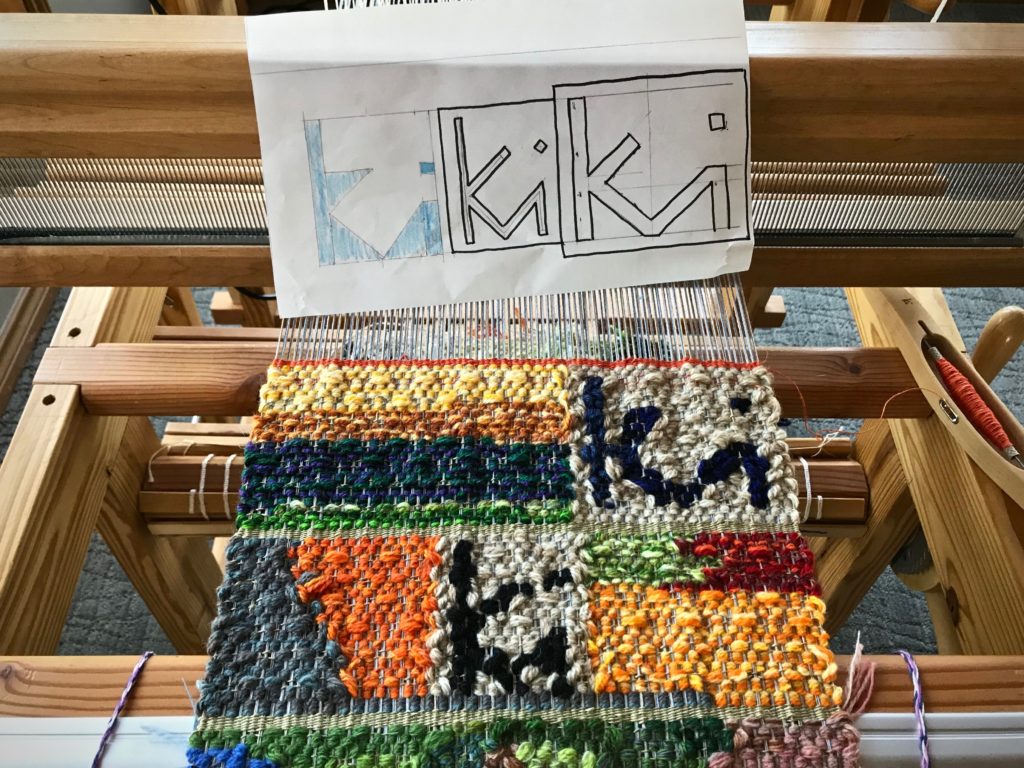
Nope. Now, the letters are too spread out.
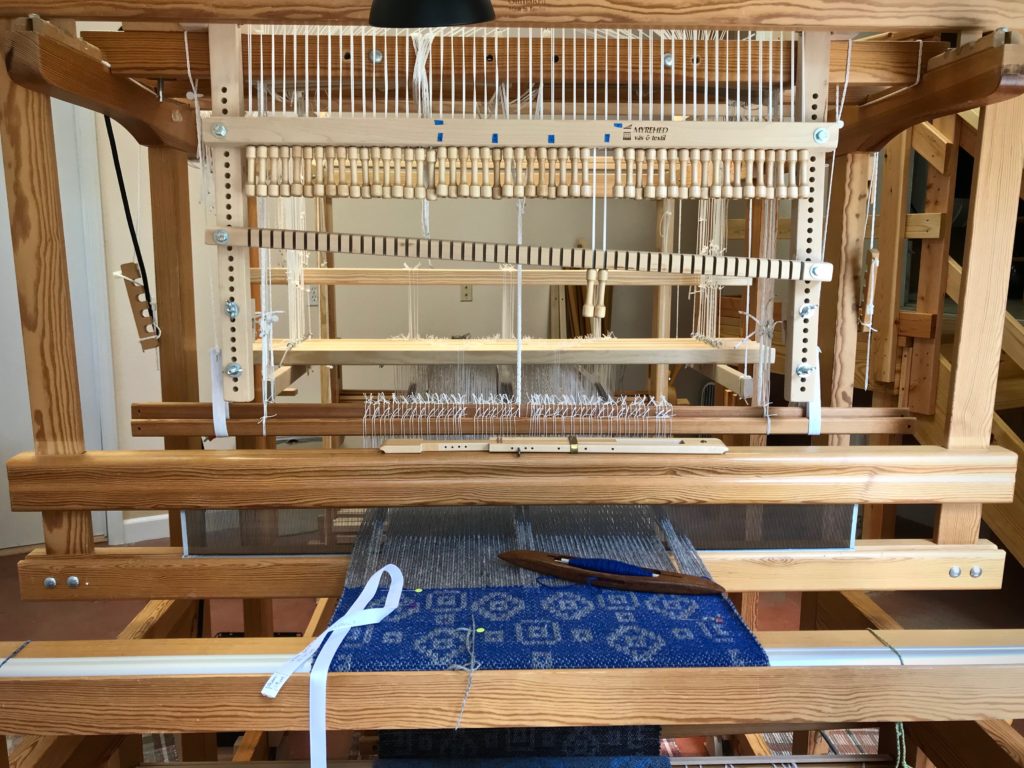
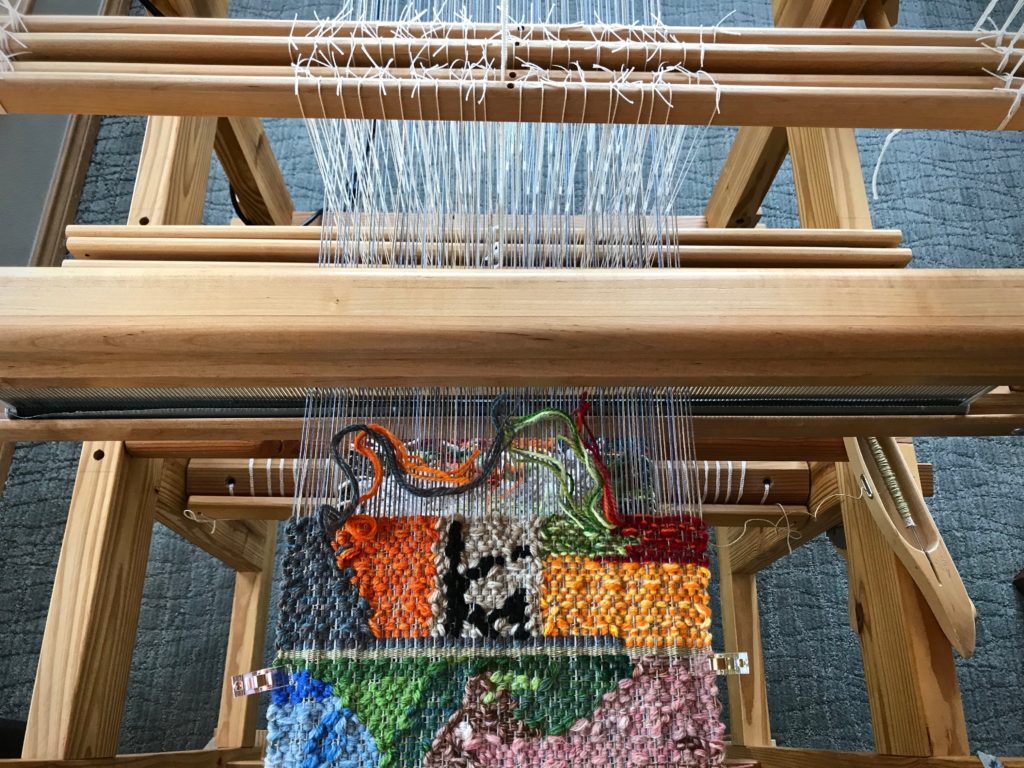
Finally, I reach a happy medium.
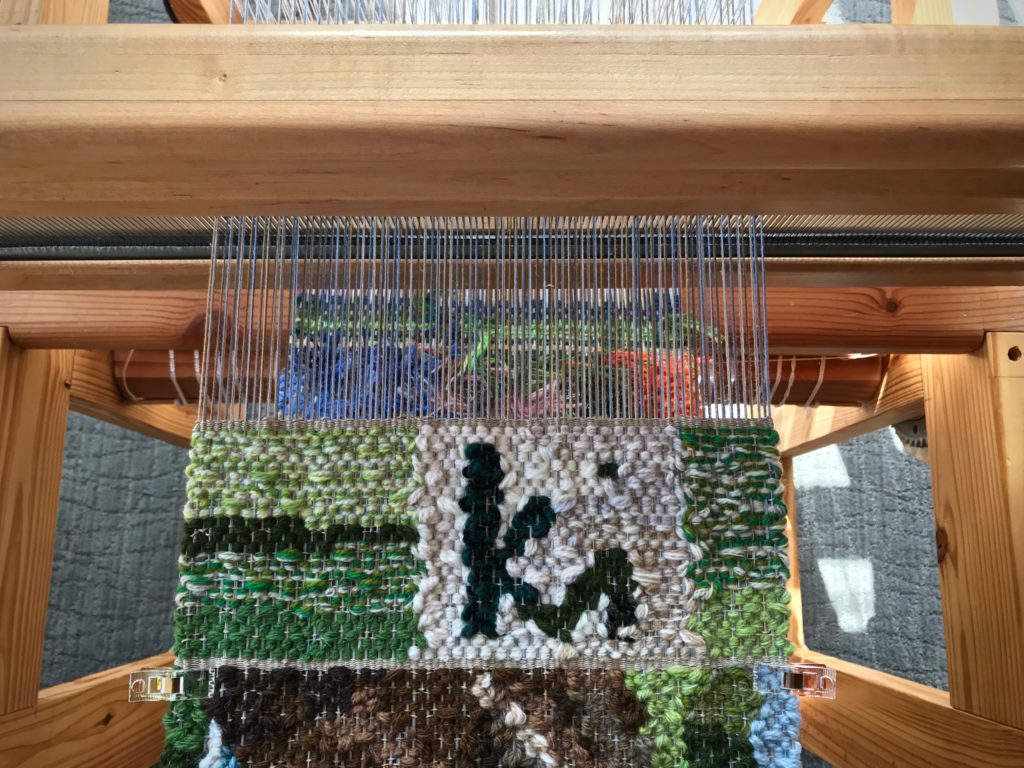
Yes. This attempt is successful. Now I am ready to weave my personal stamp into the new tapestry project.
You were made on purpose for a purpose. When the Grand Weaver created you He started a masterpiece with your initials on it. He develops the cartoon and lays out the colorful butterflies of yarn, with your personal logo in mind. Finish what He started. It takes a lifetime. In the end, my personal logo, never quite perfect, will diminish. And His royal insignia, embroidered in threads of gold, becomes the label on my life’s tapestry.
May you see your great value.
With you,
Karen