Drawloom – Snow Falling

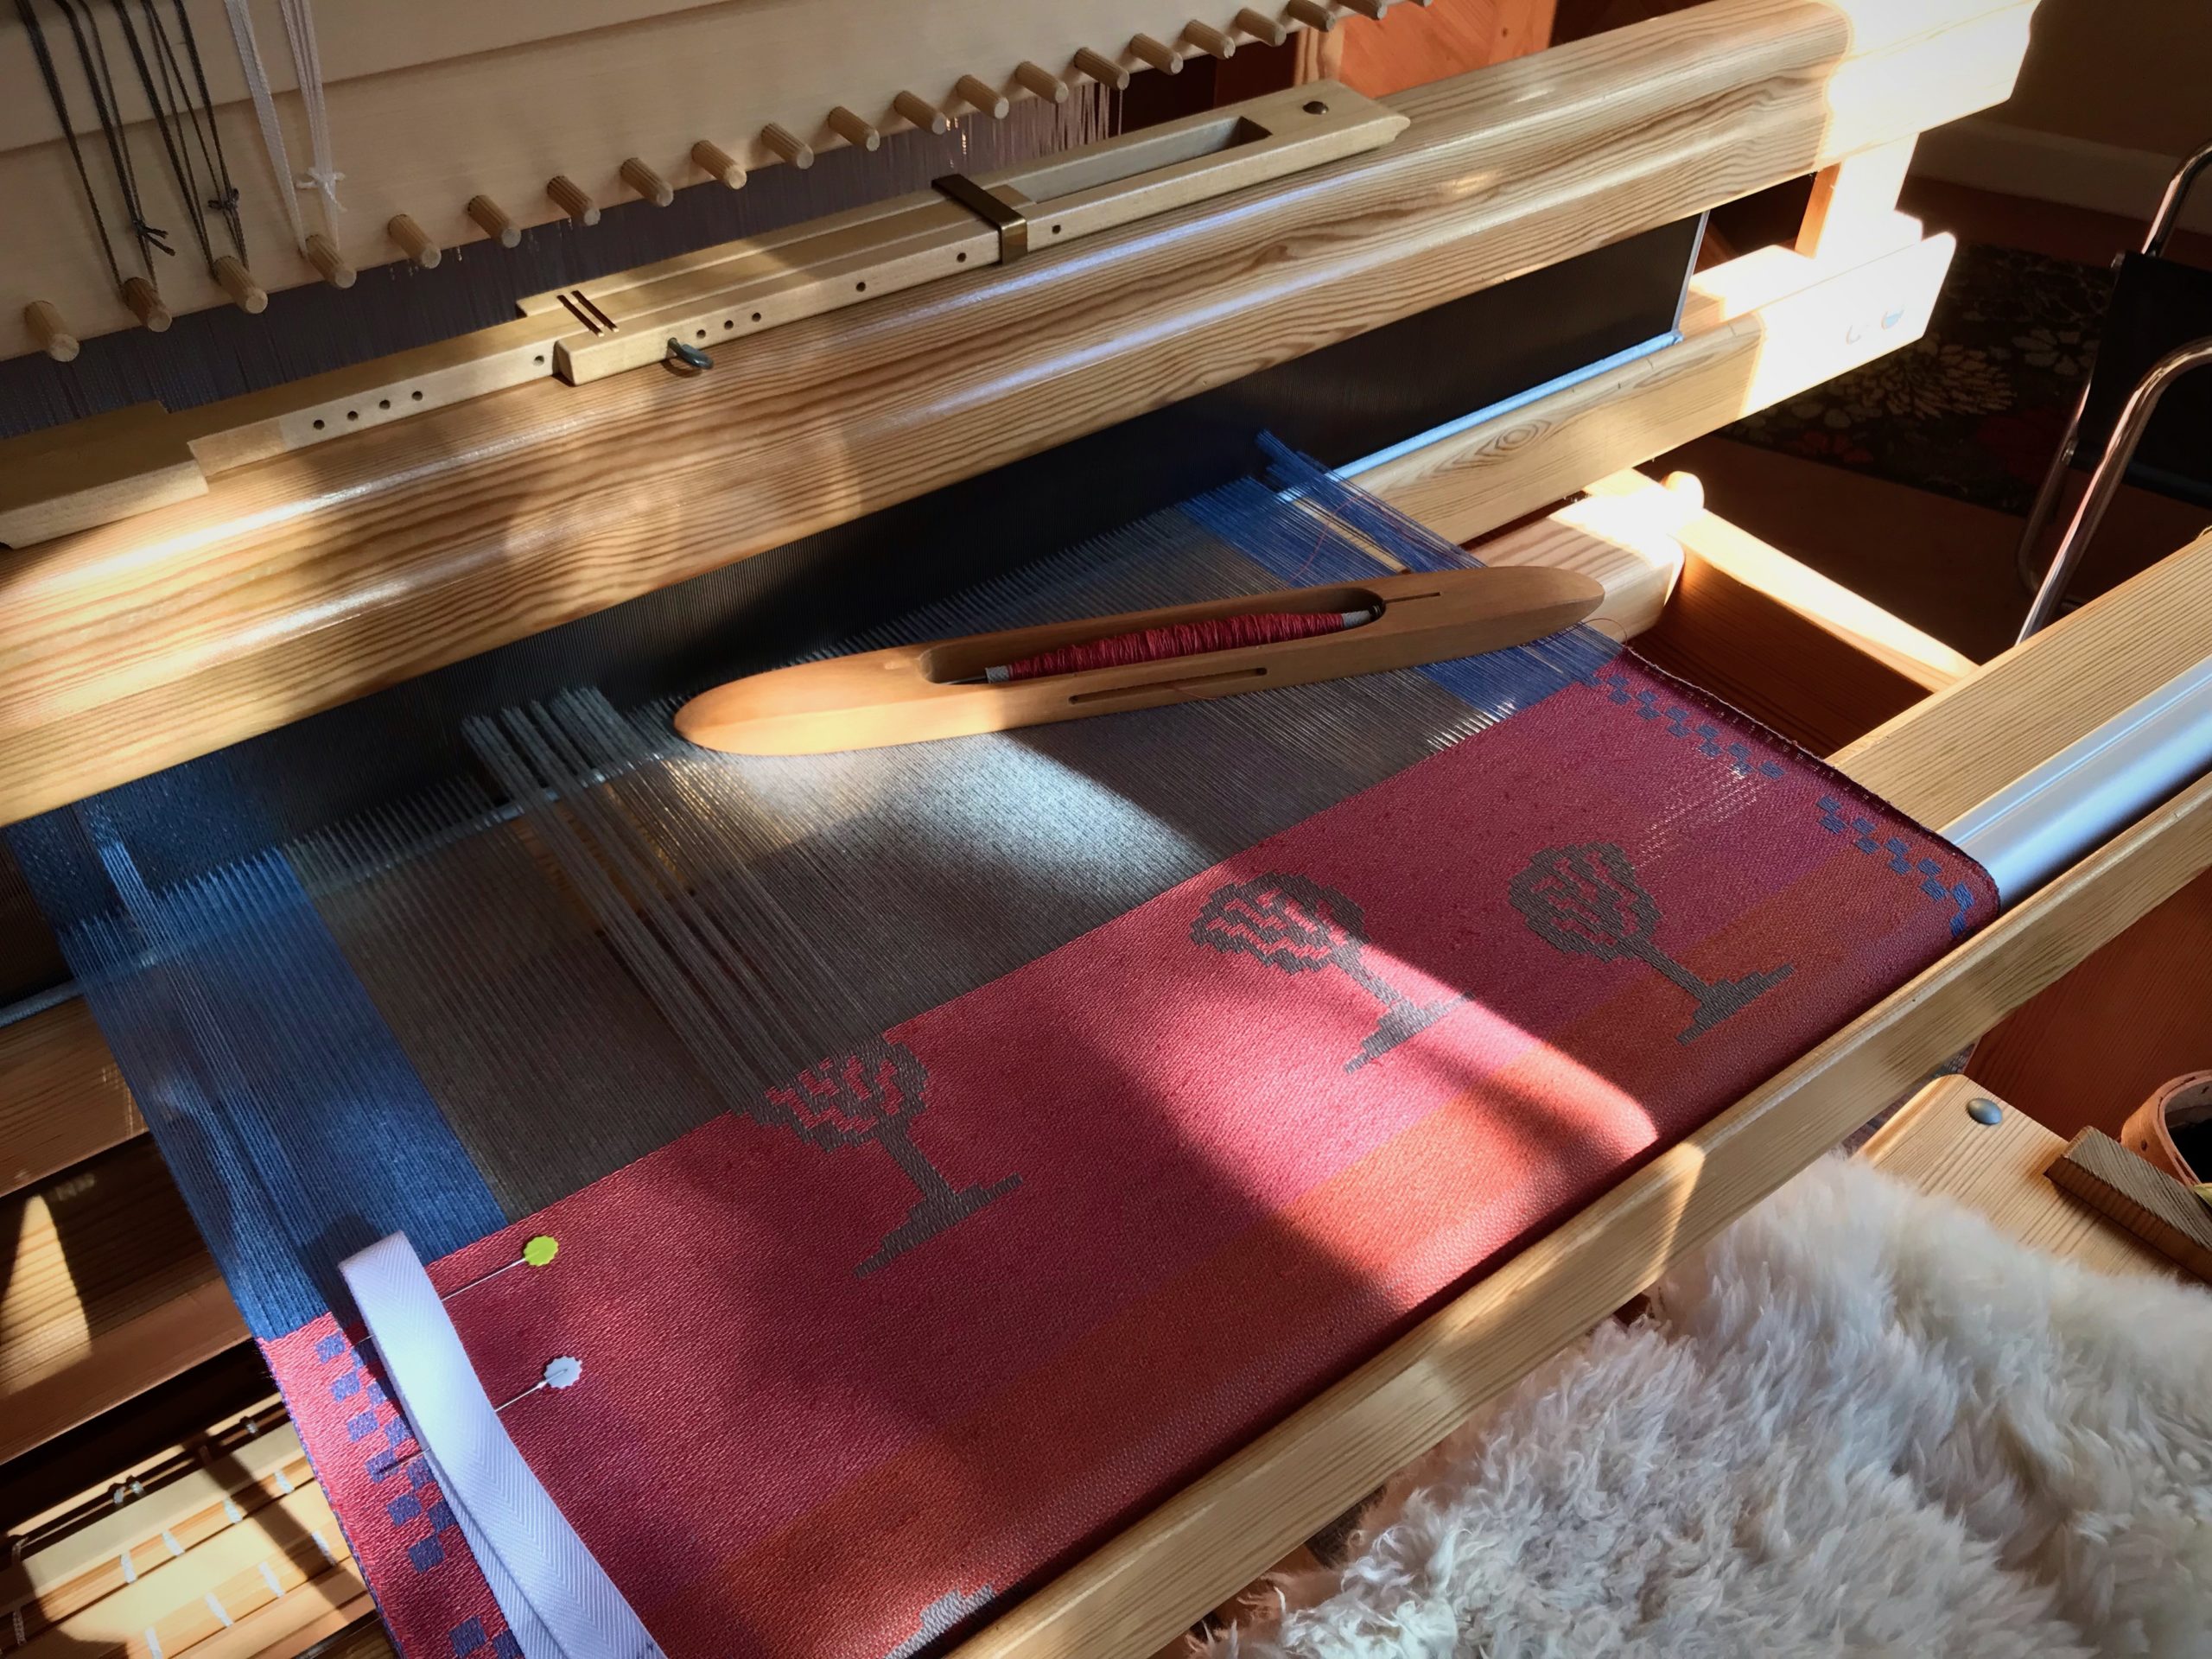
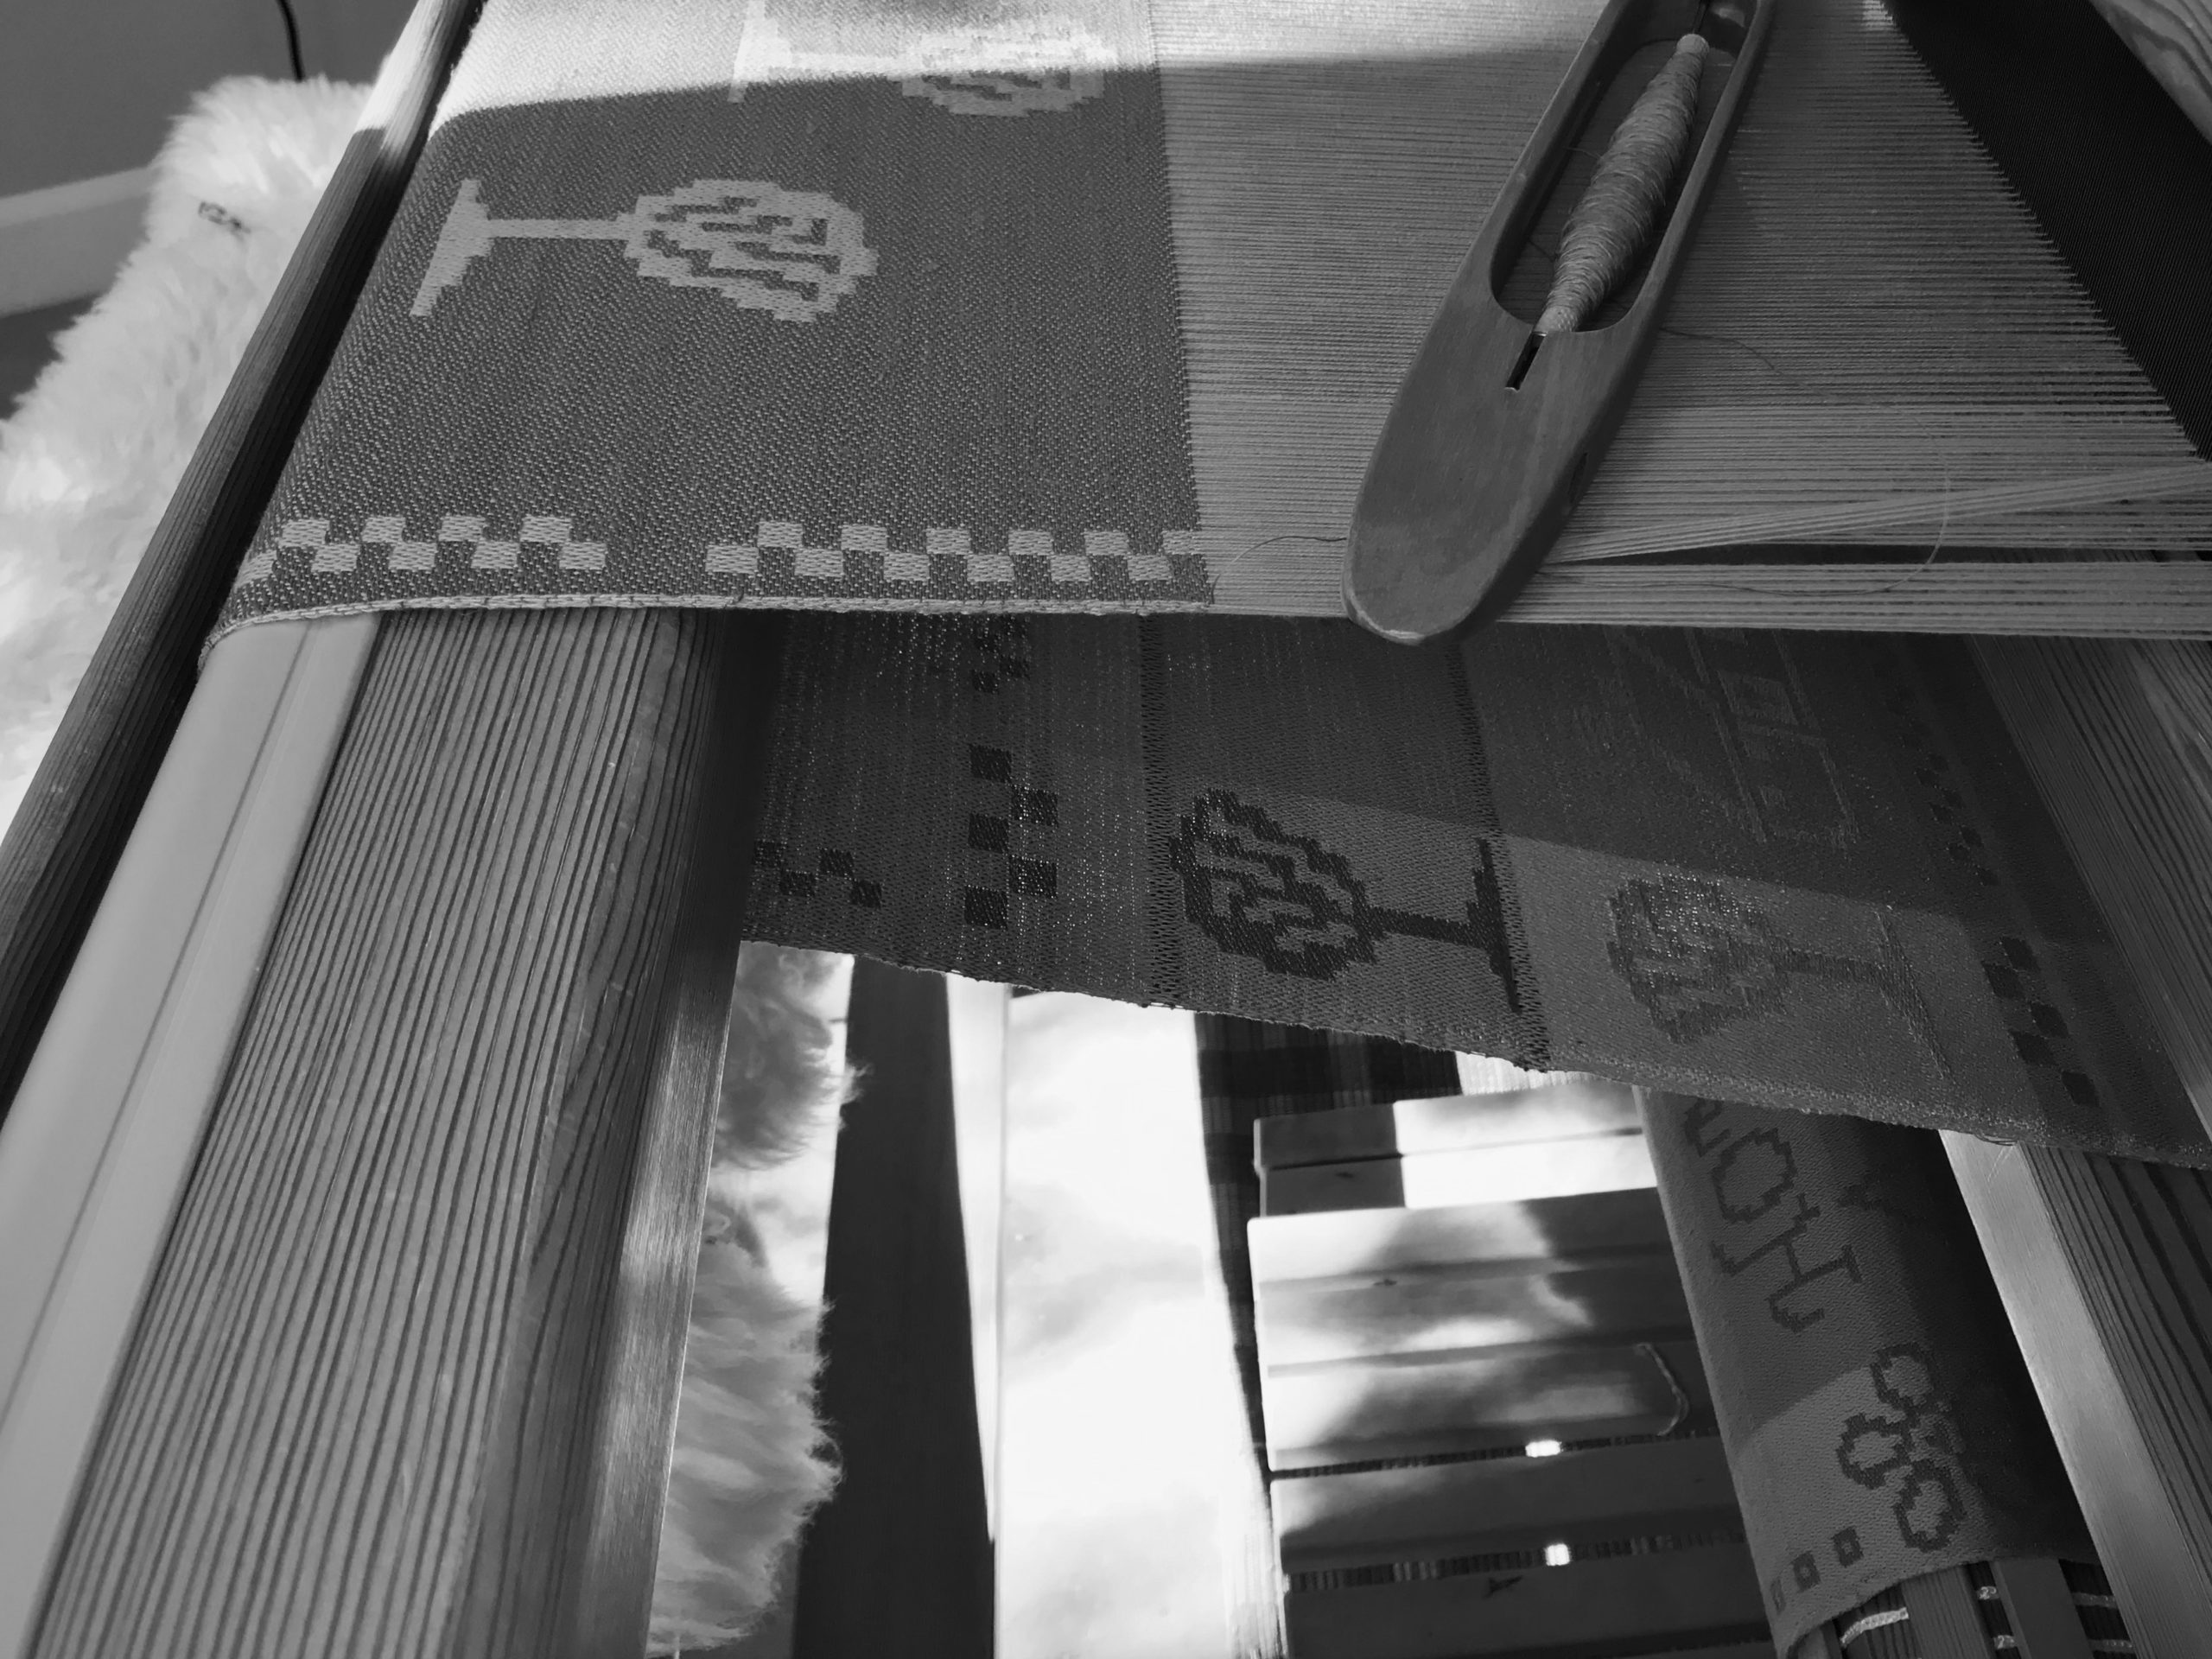
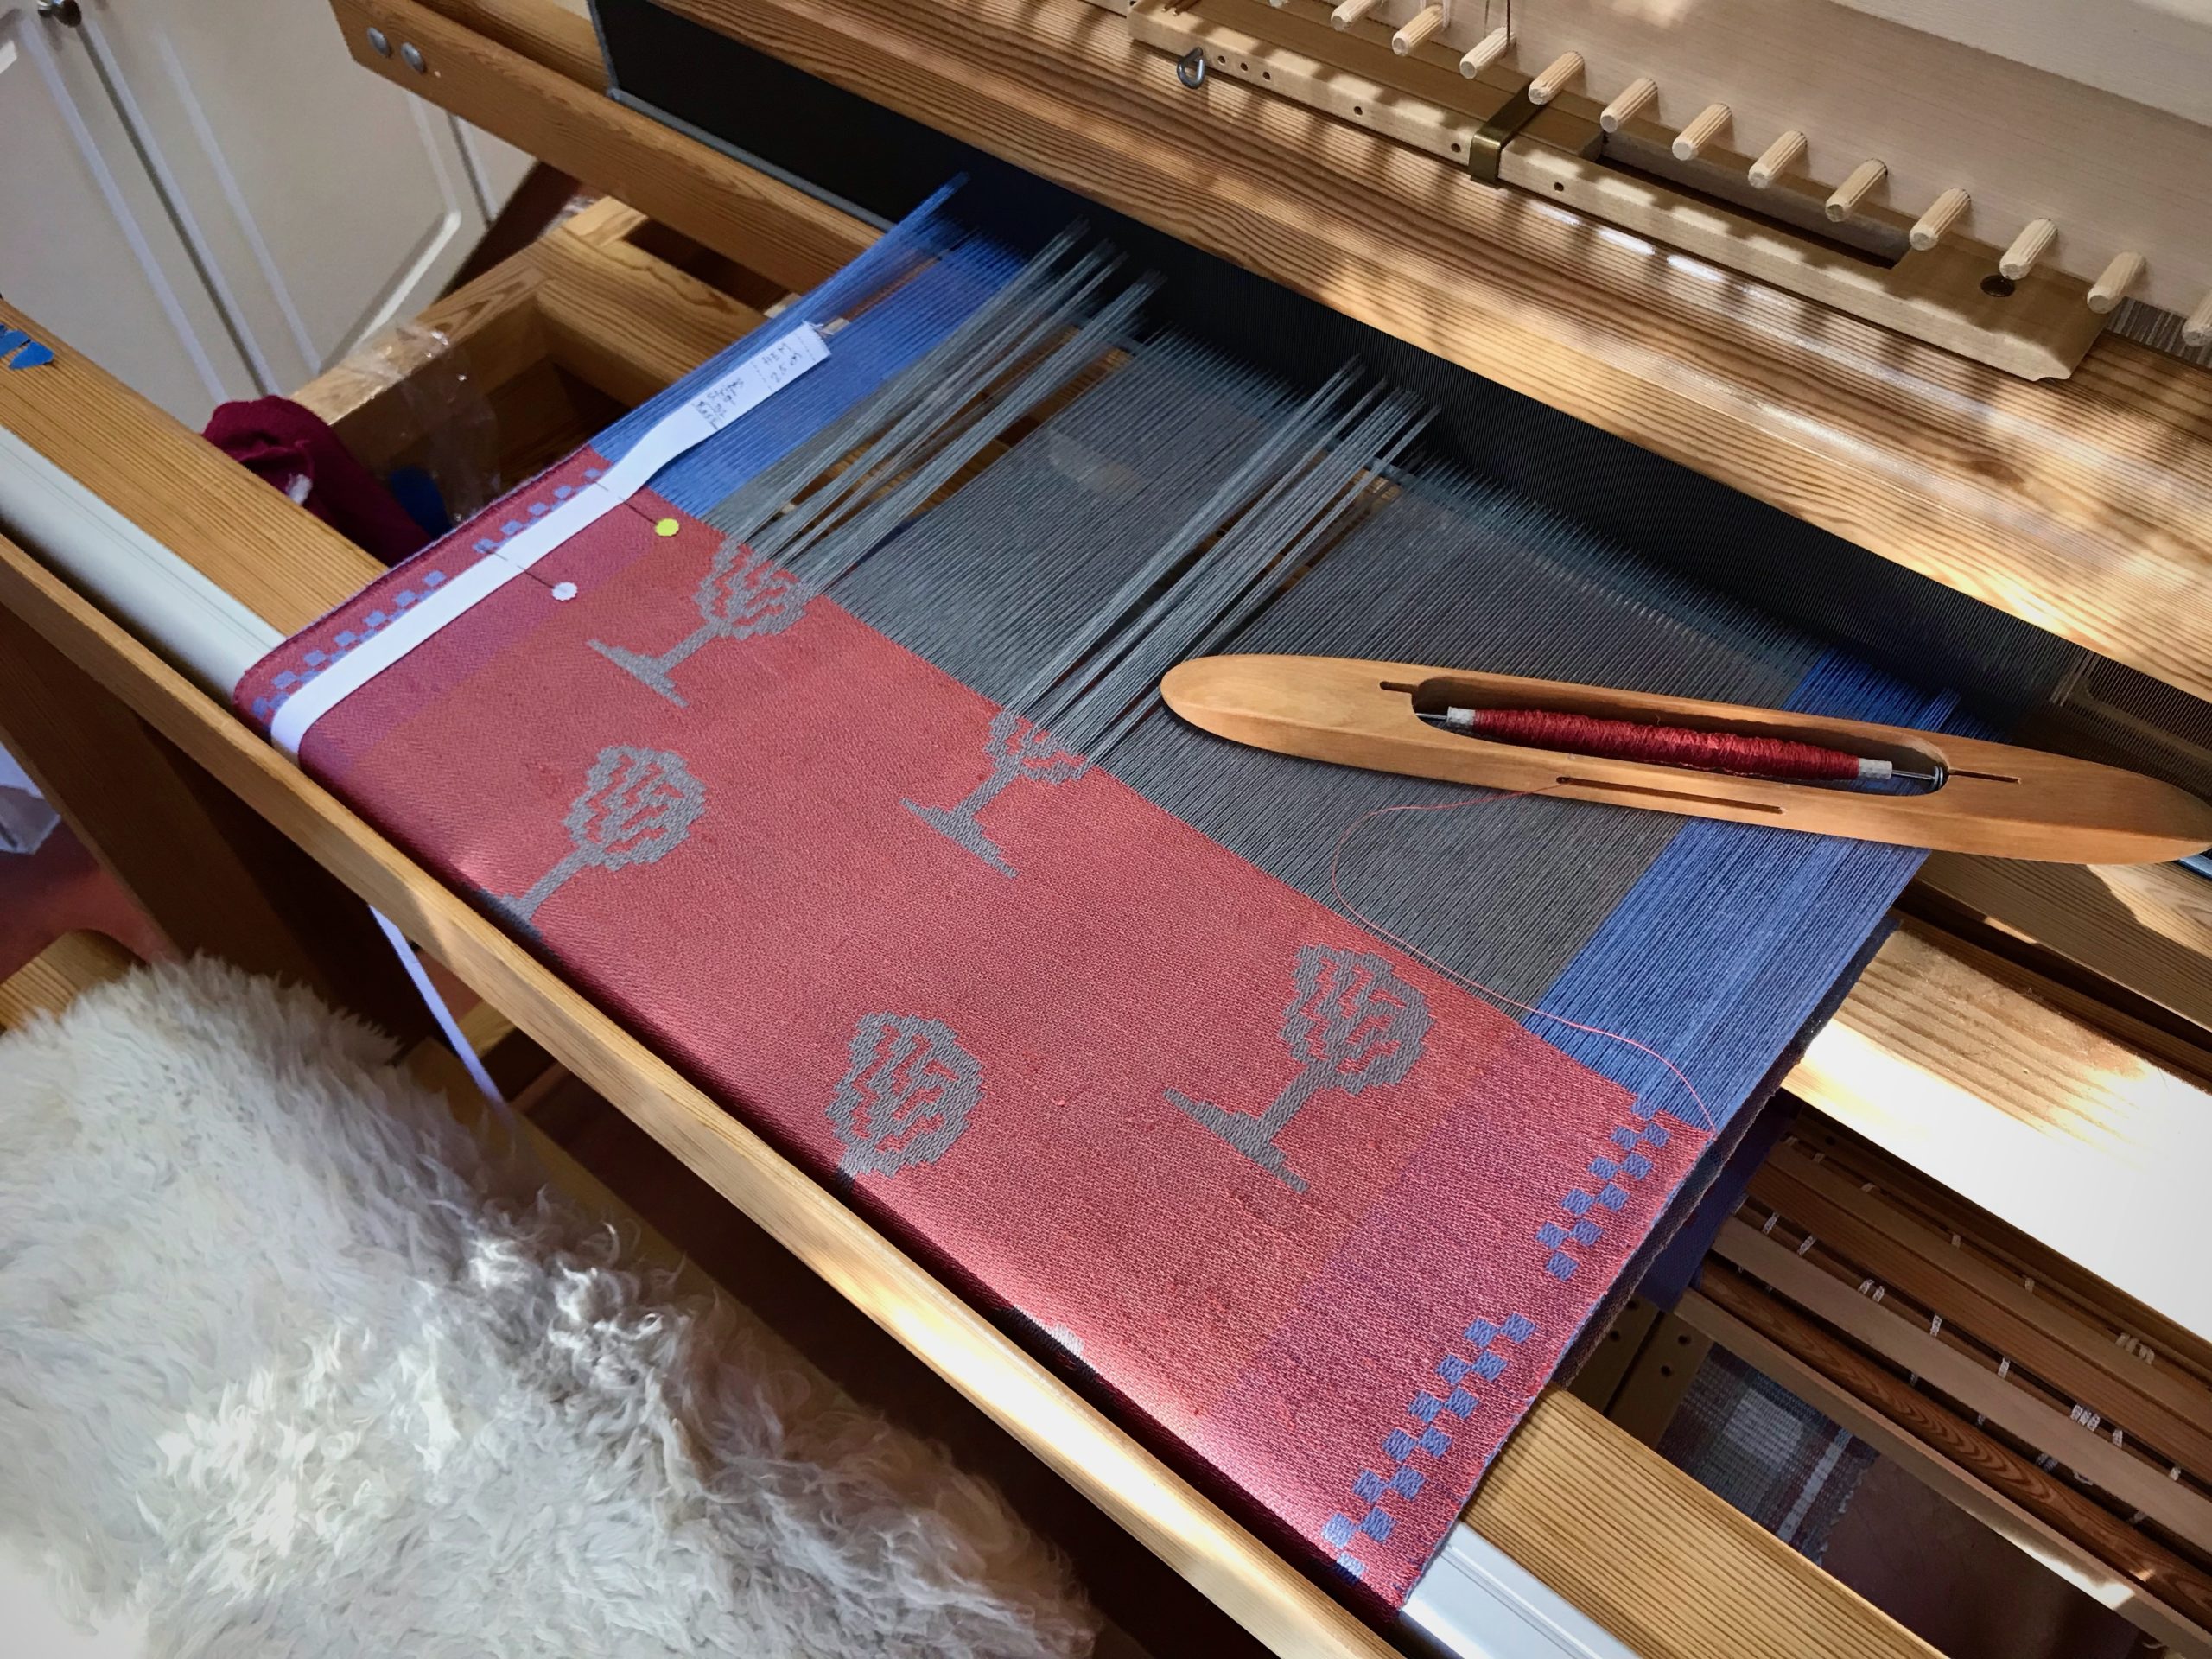
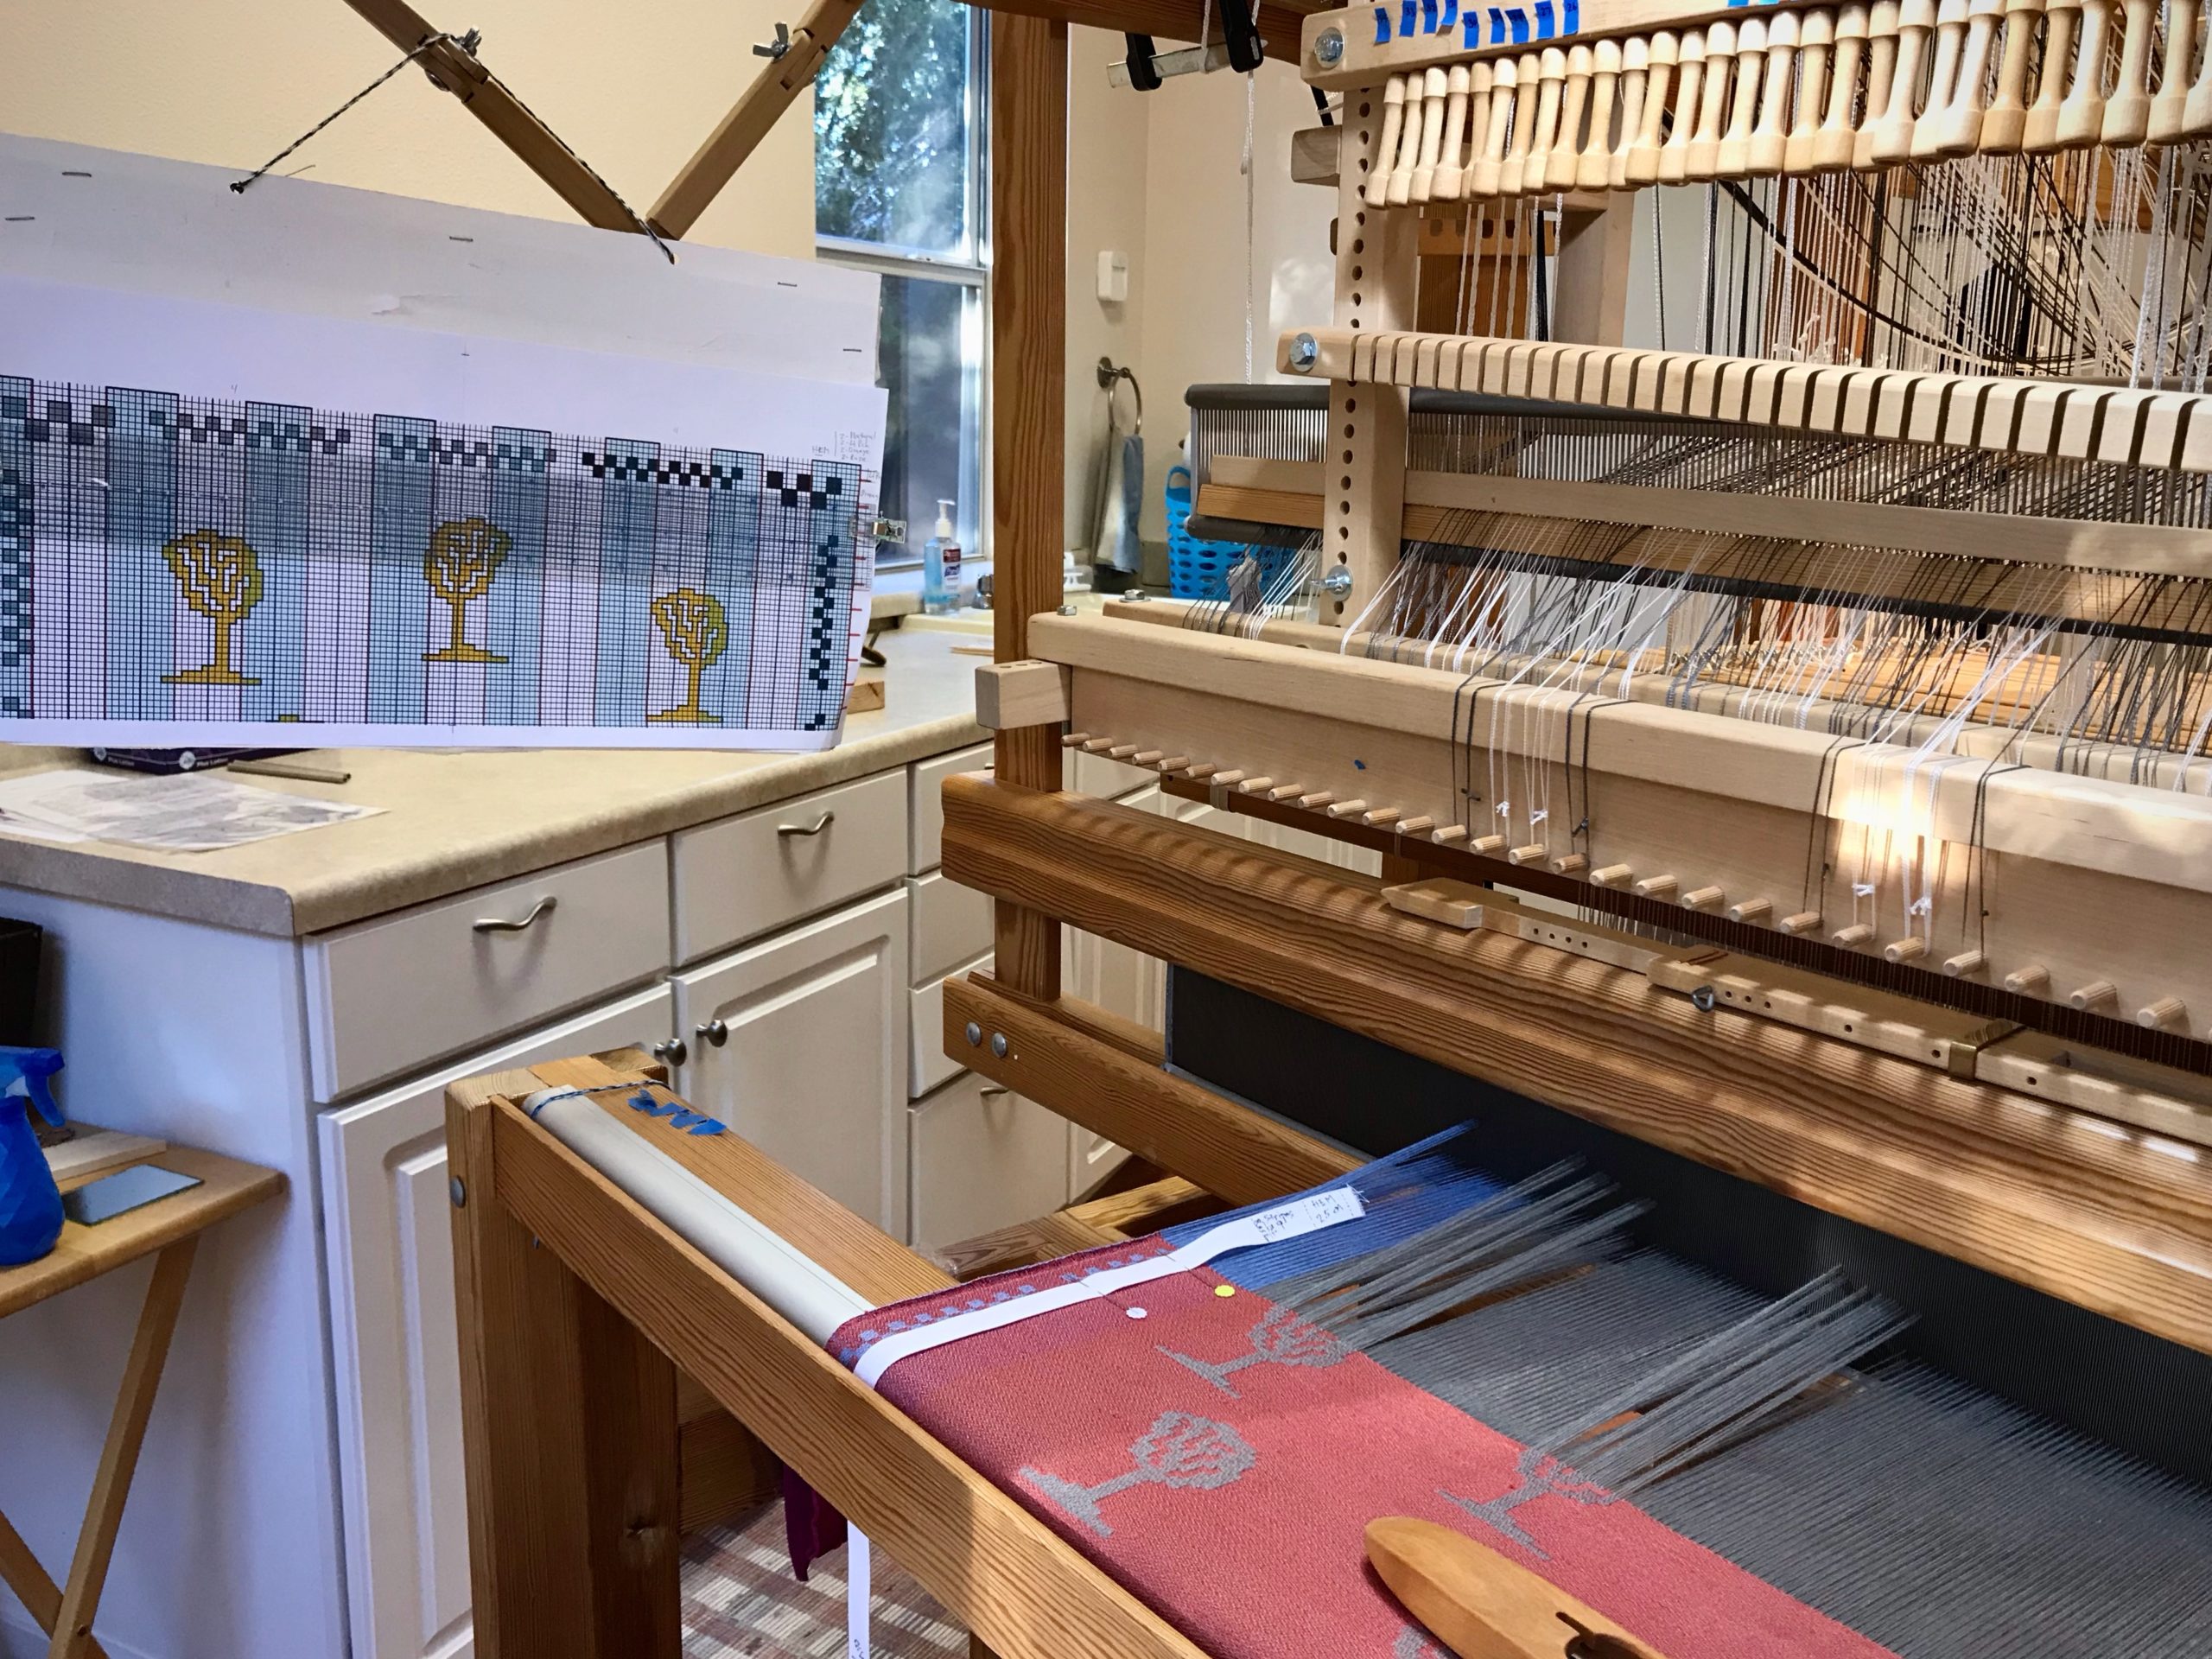
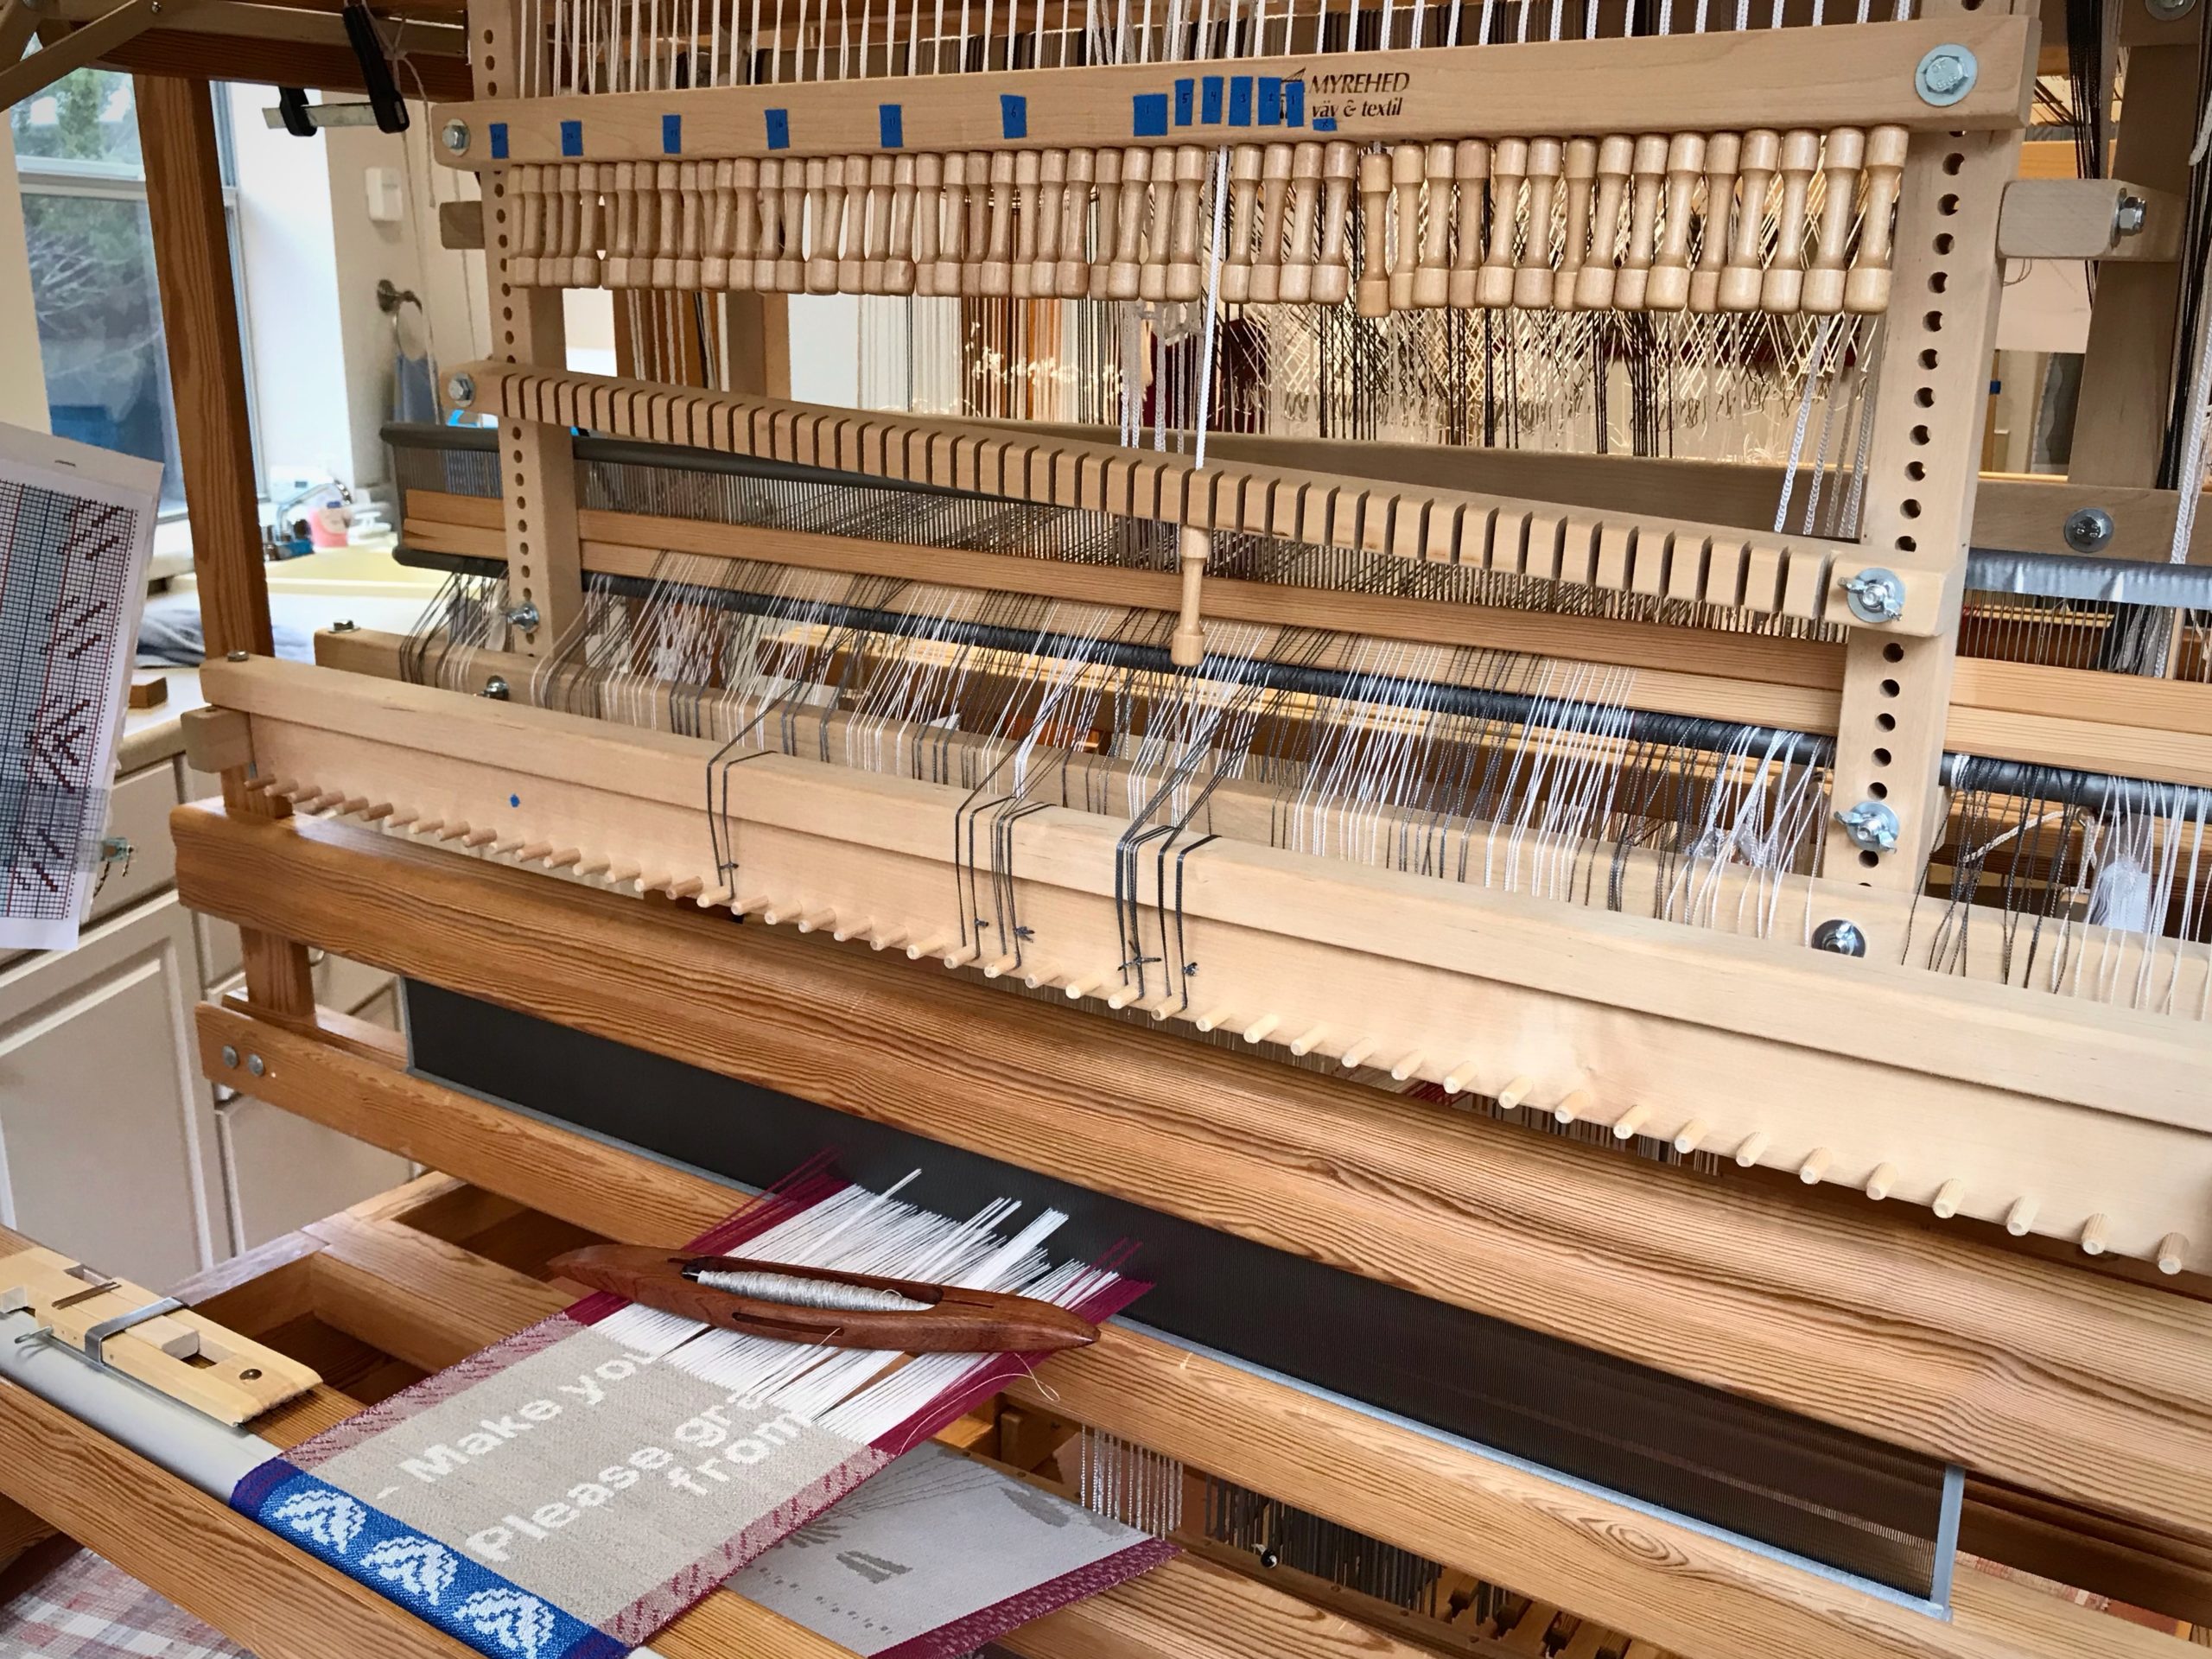
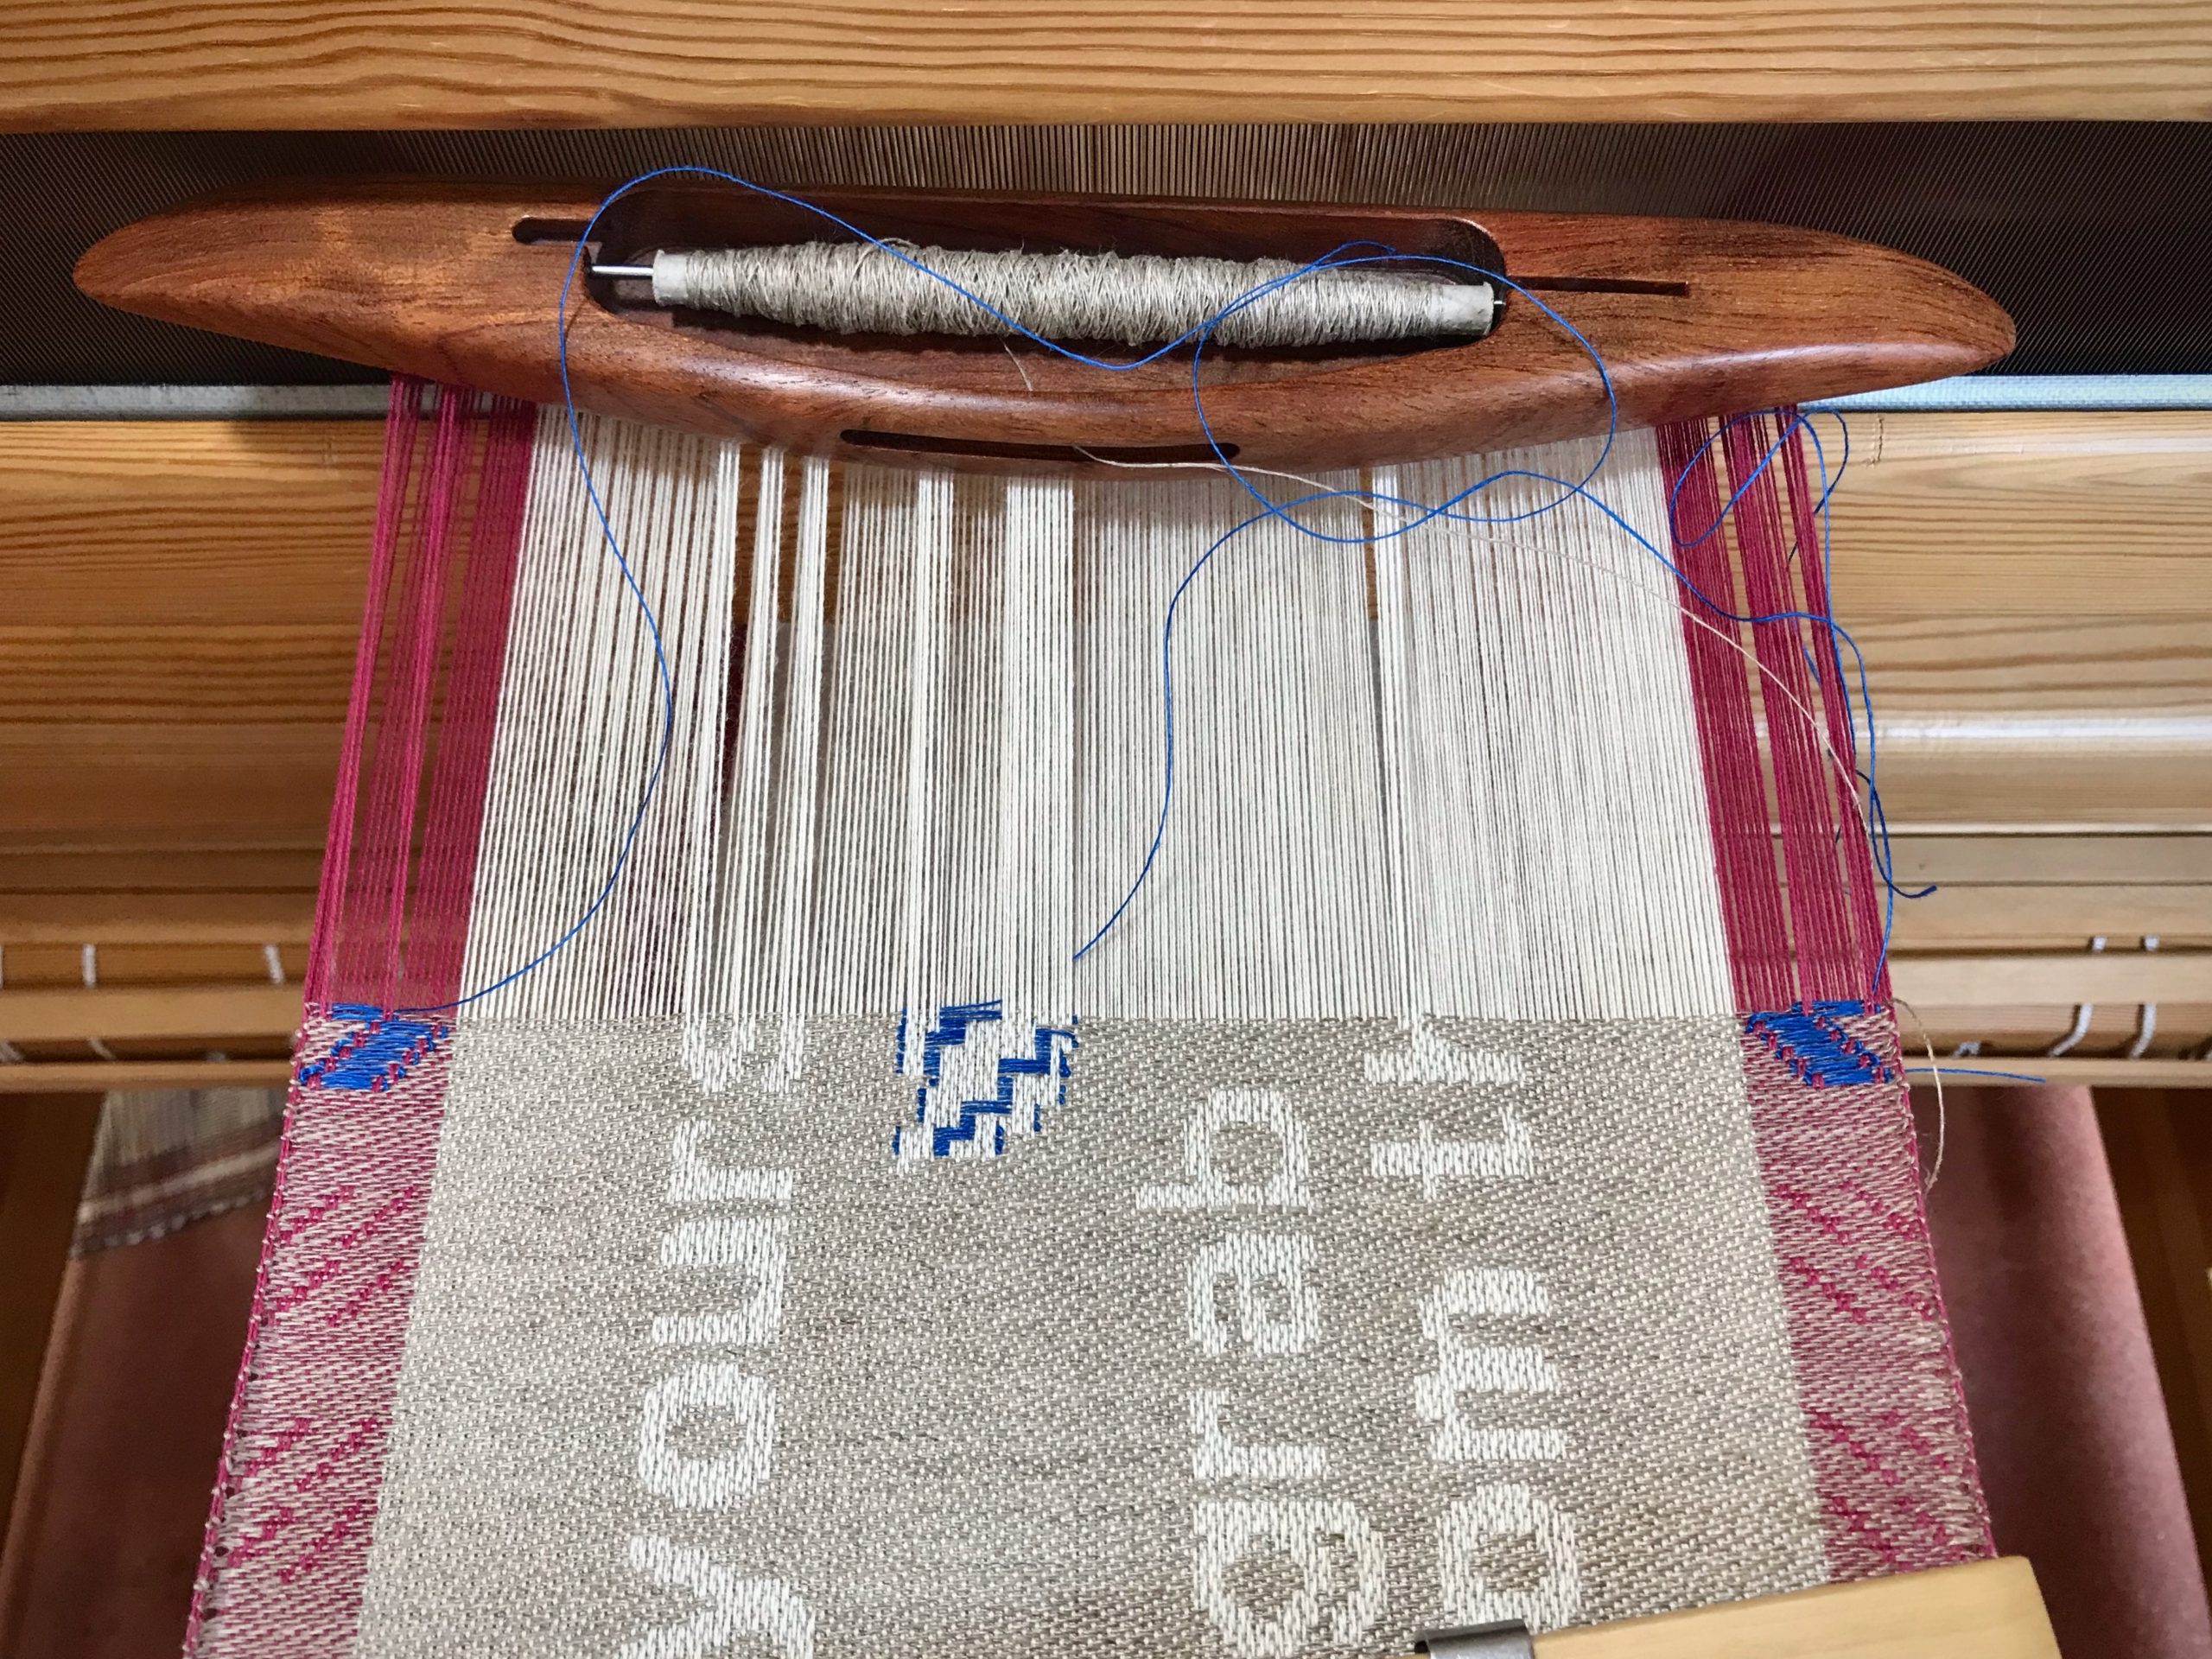
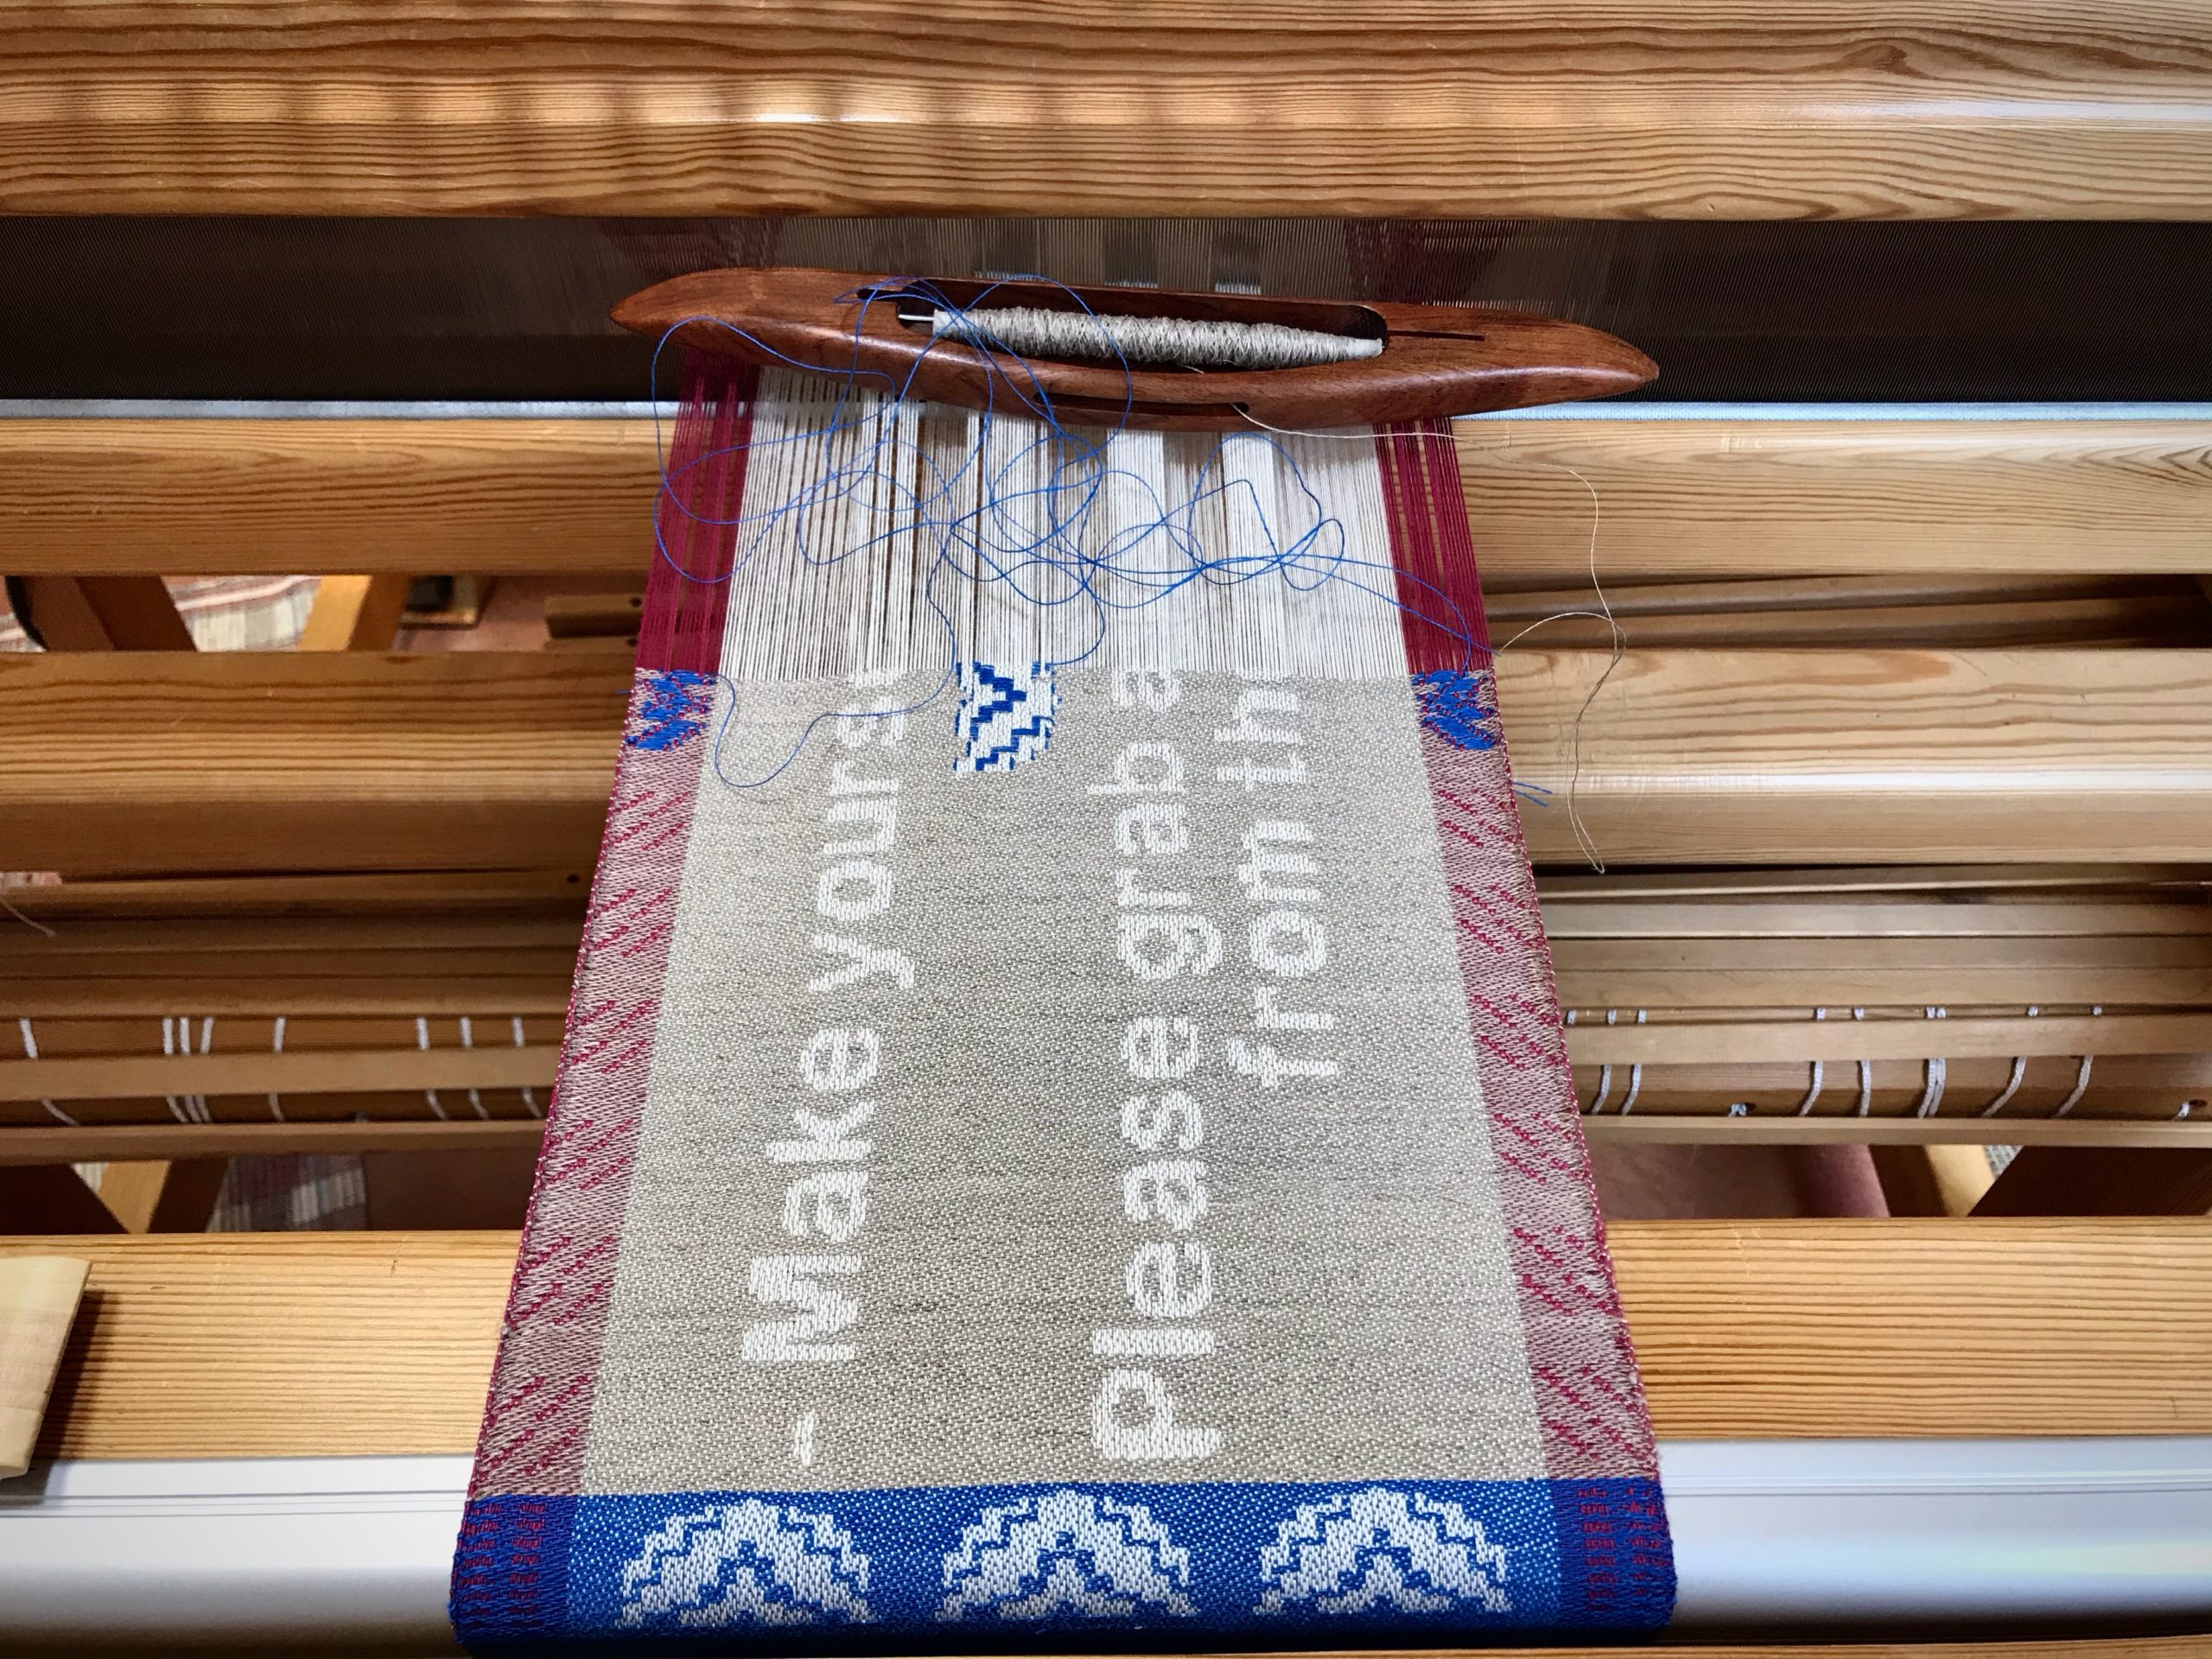
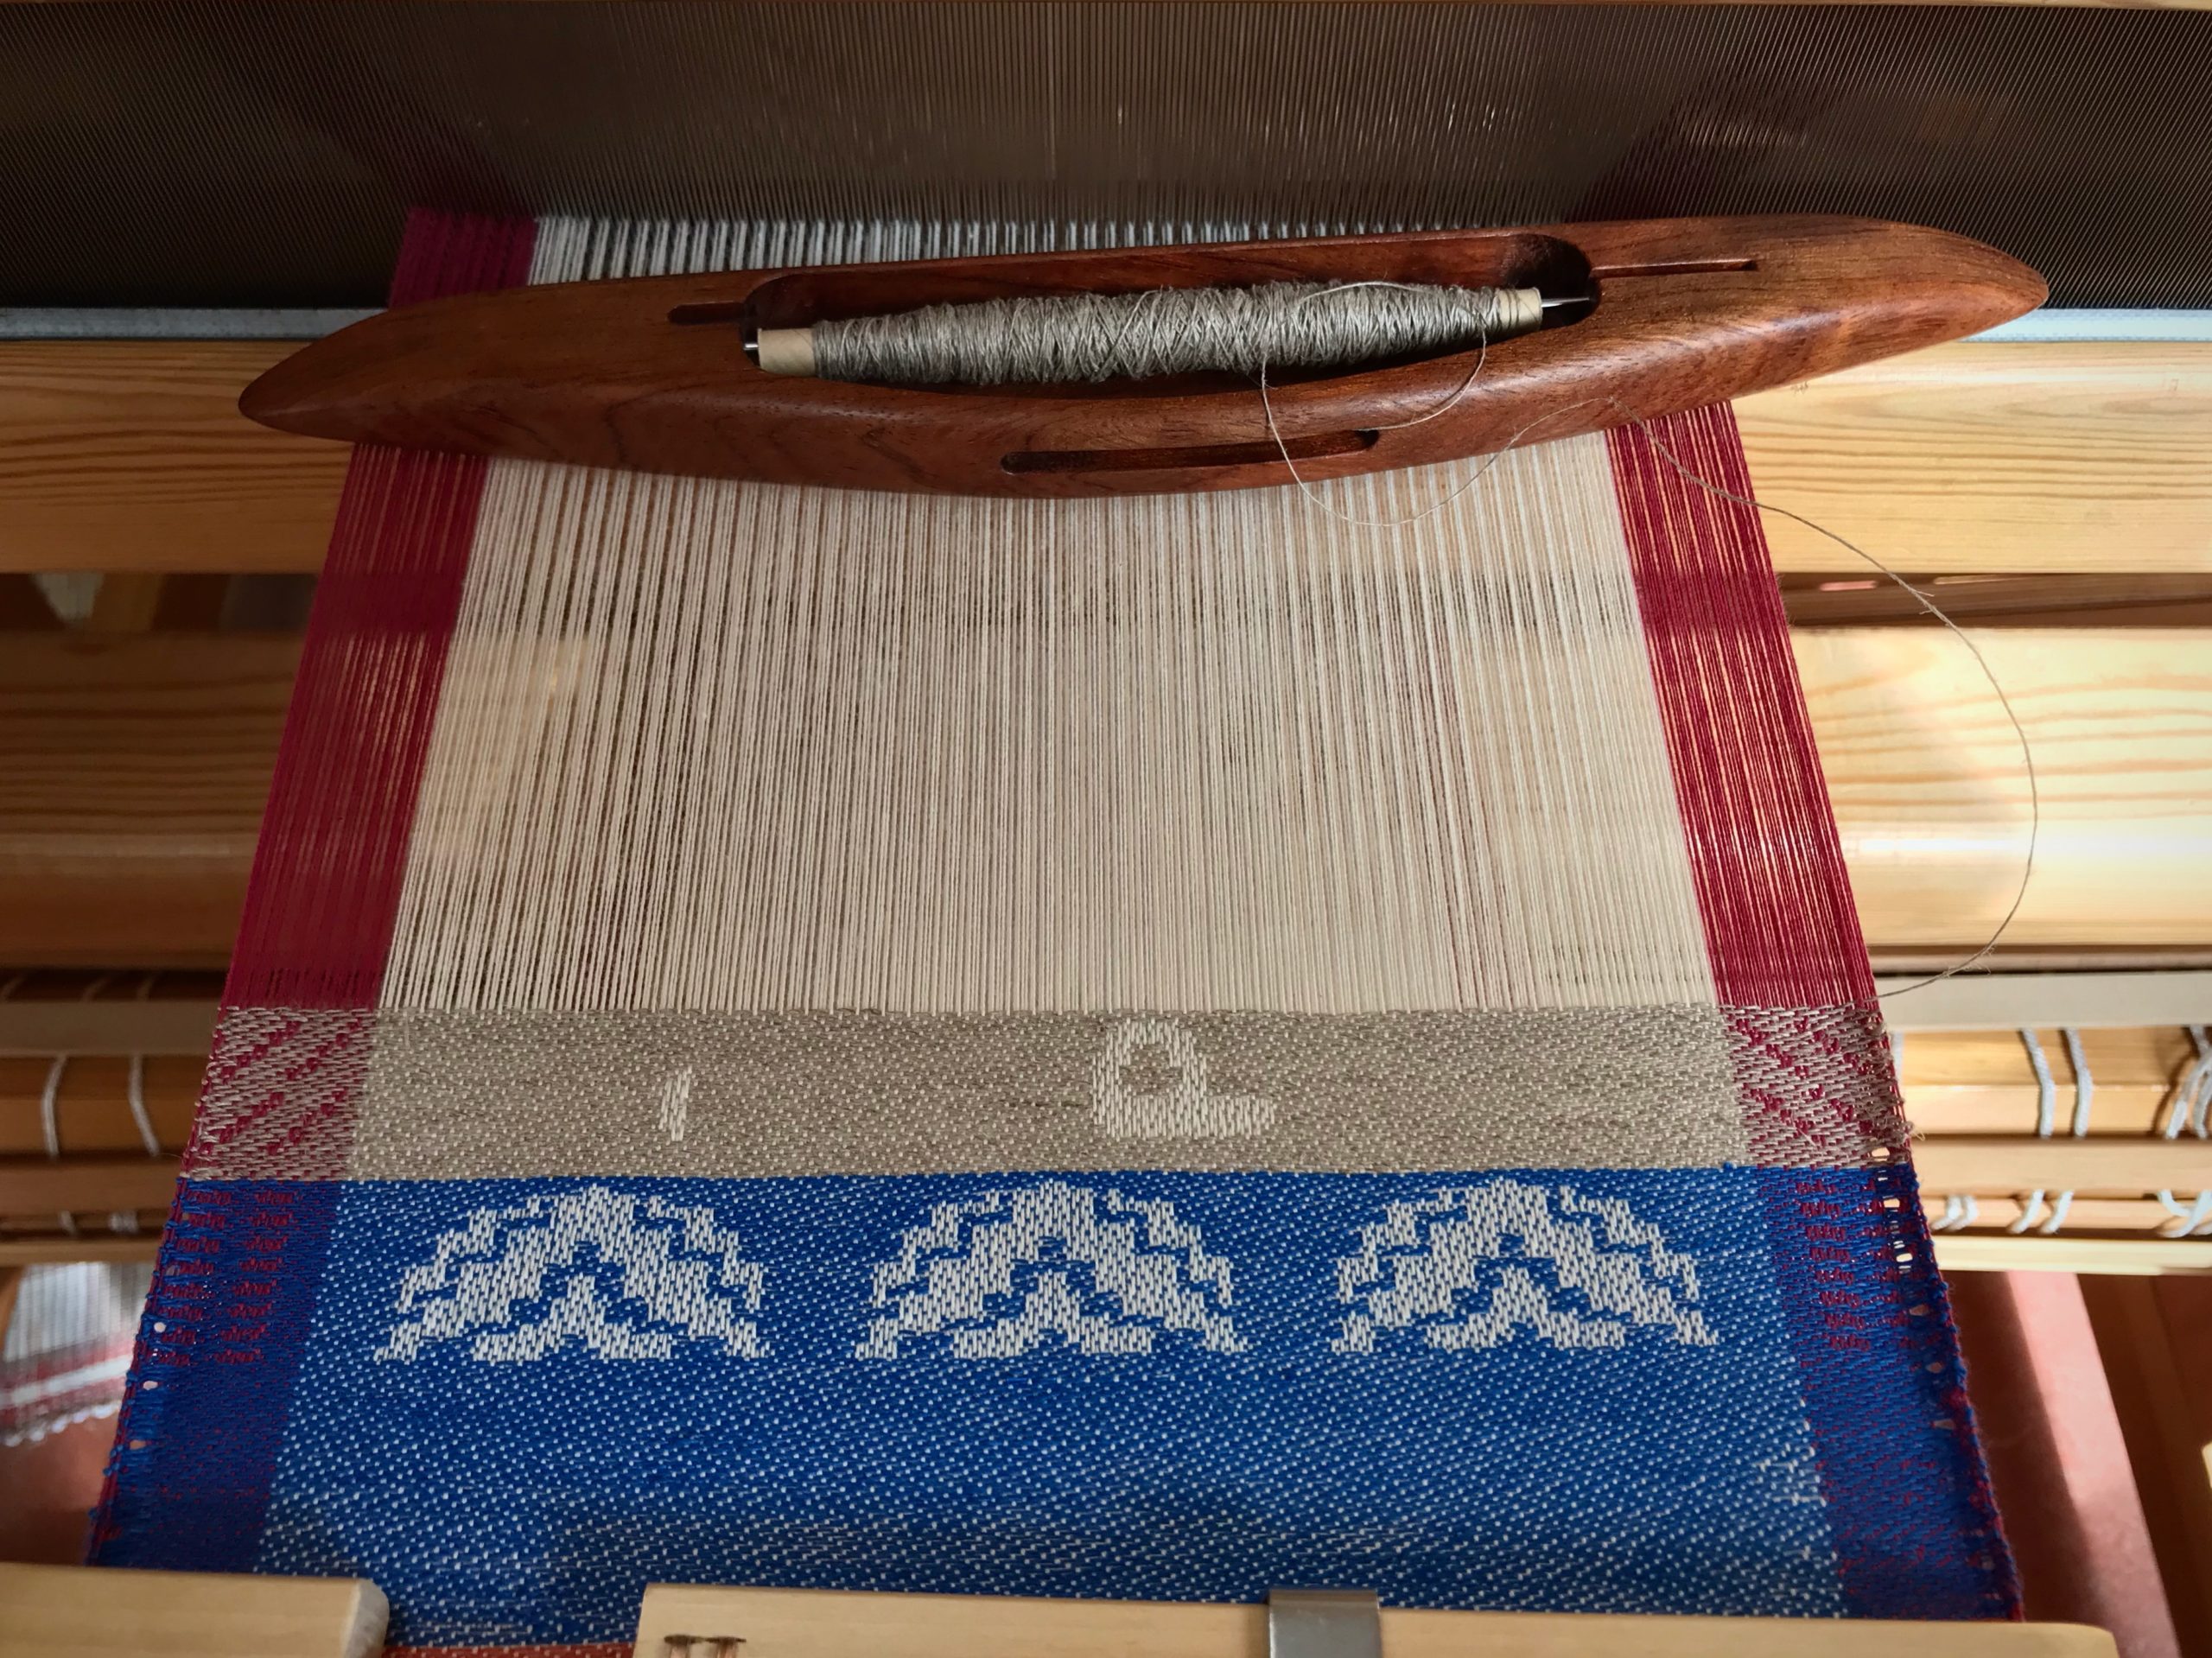
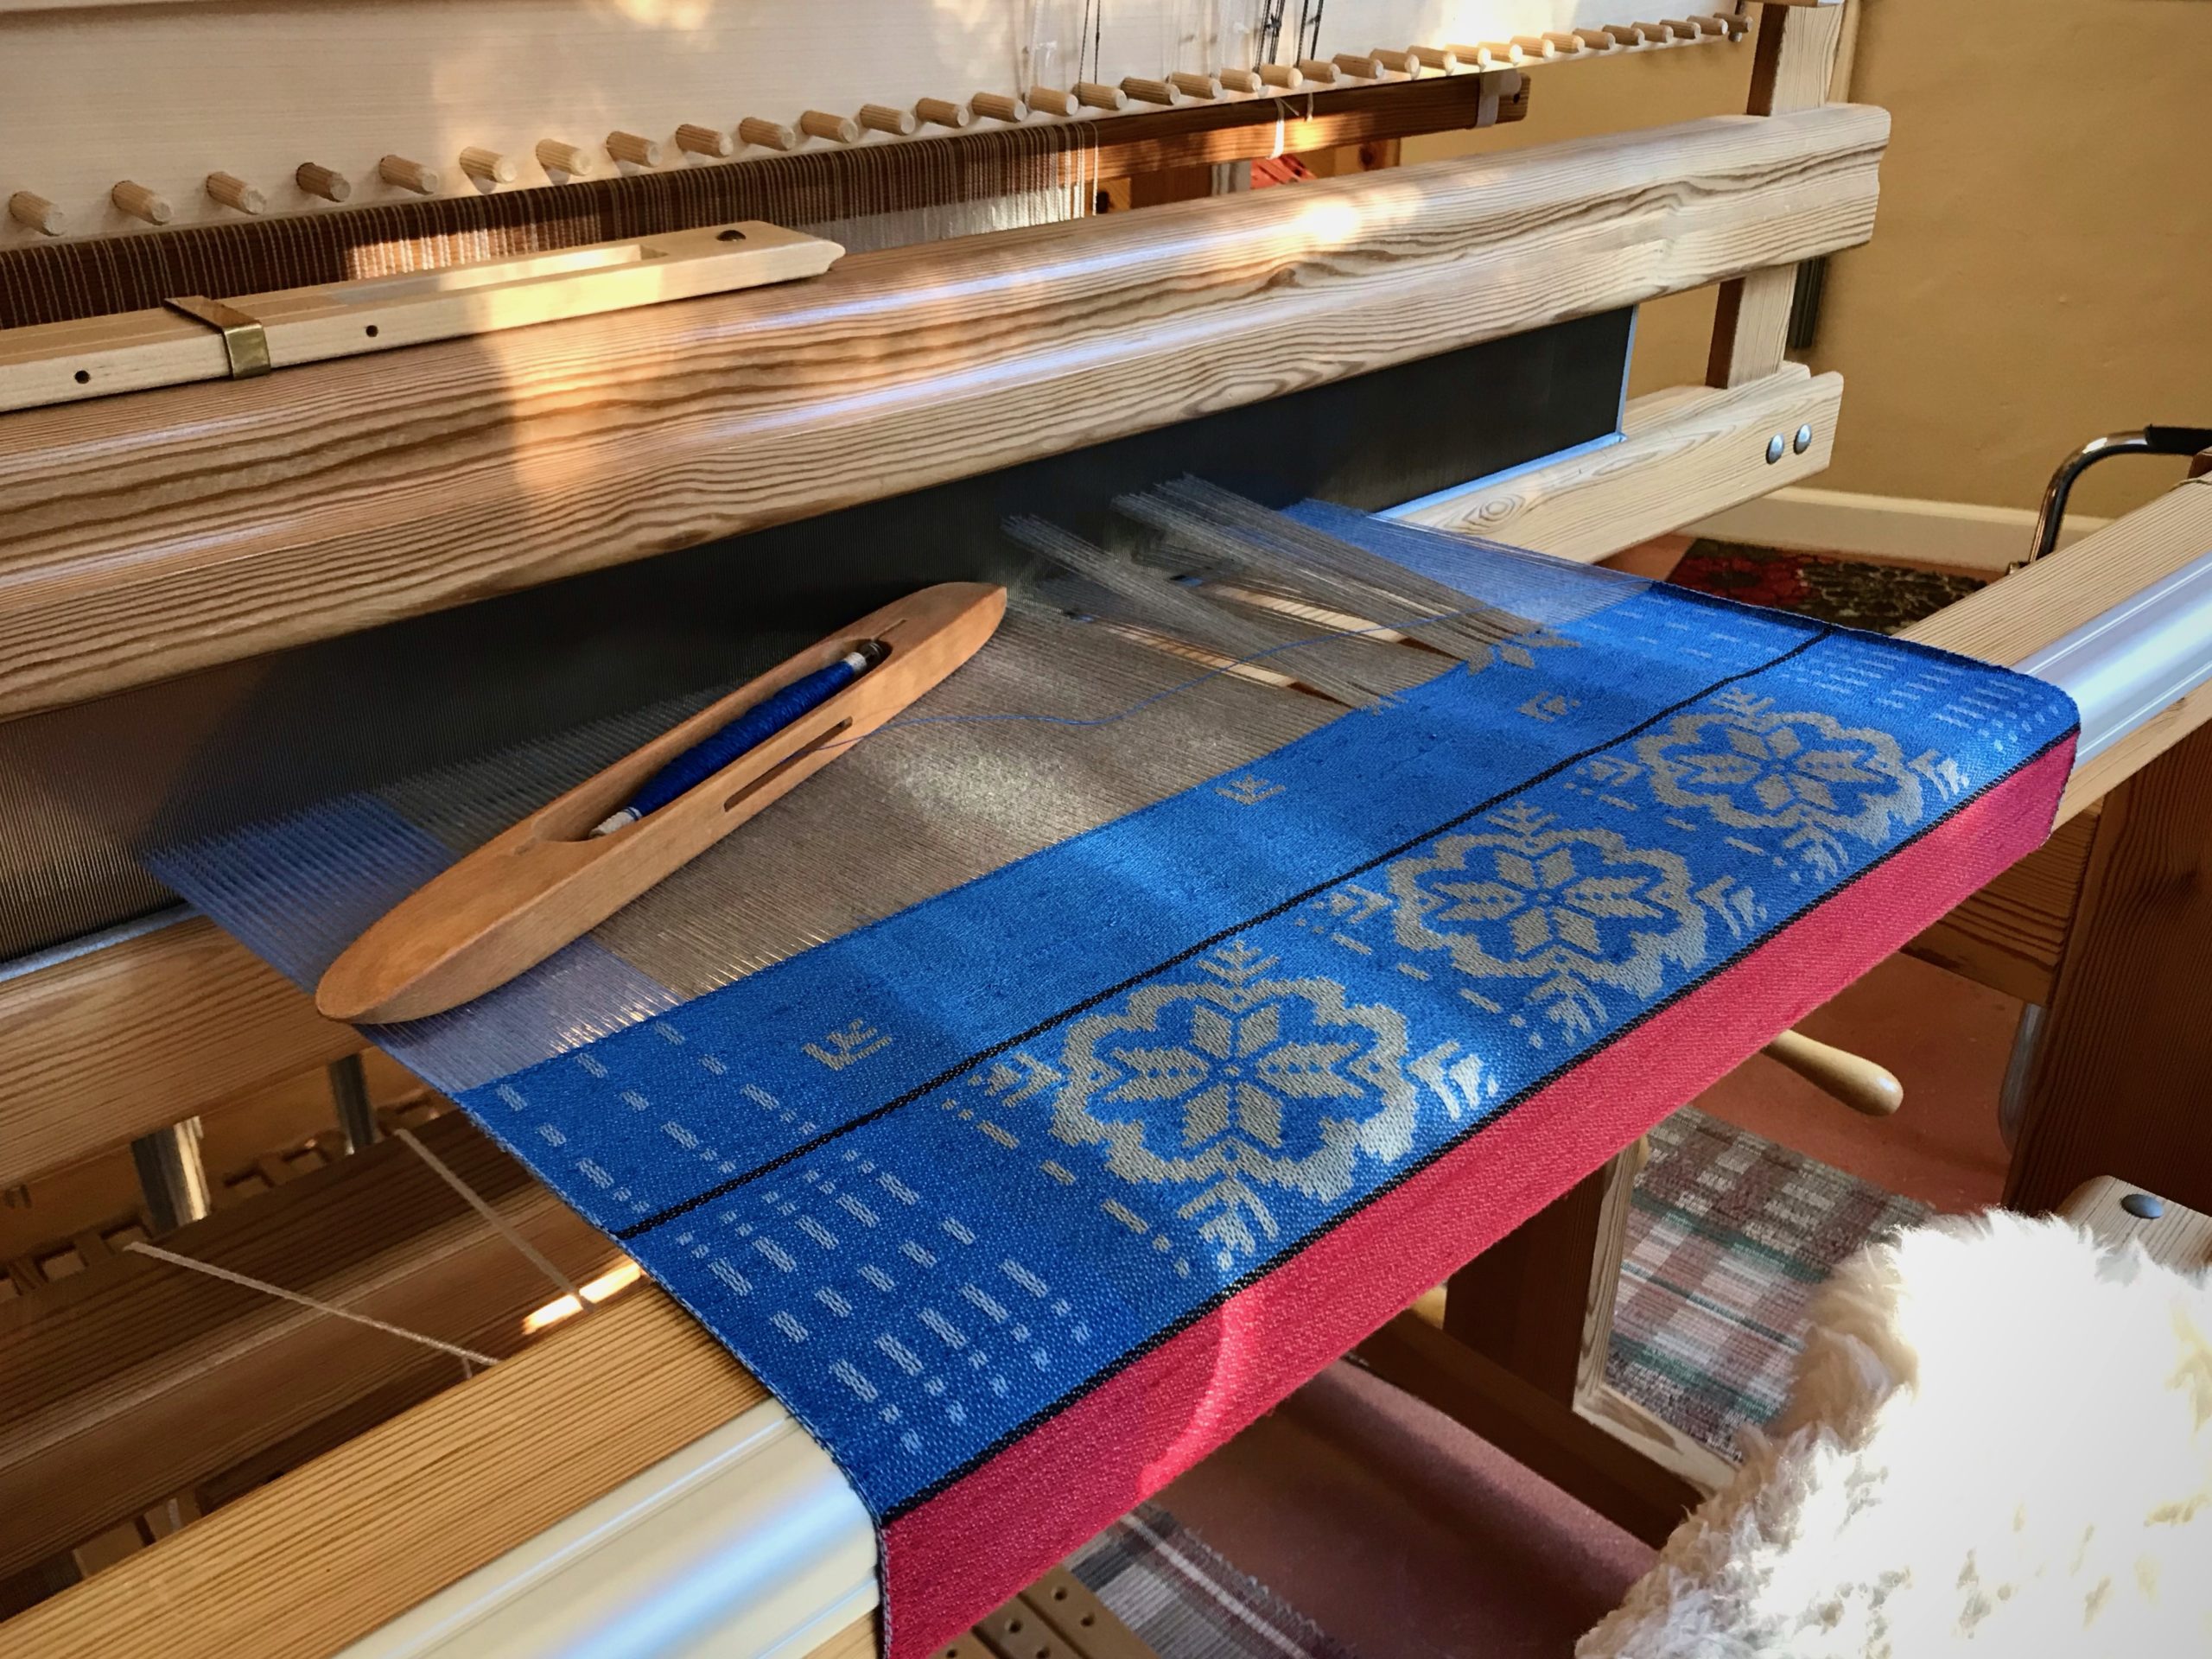
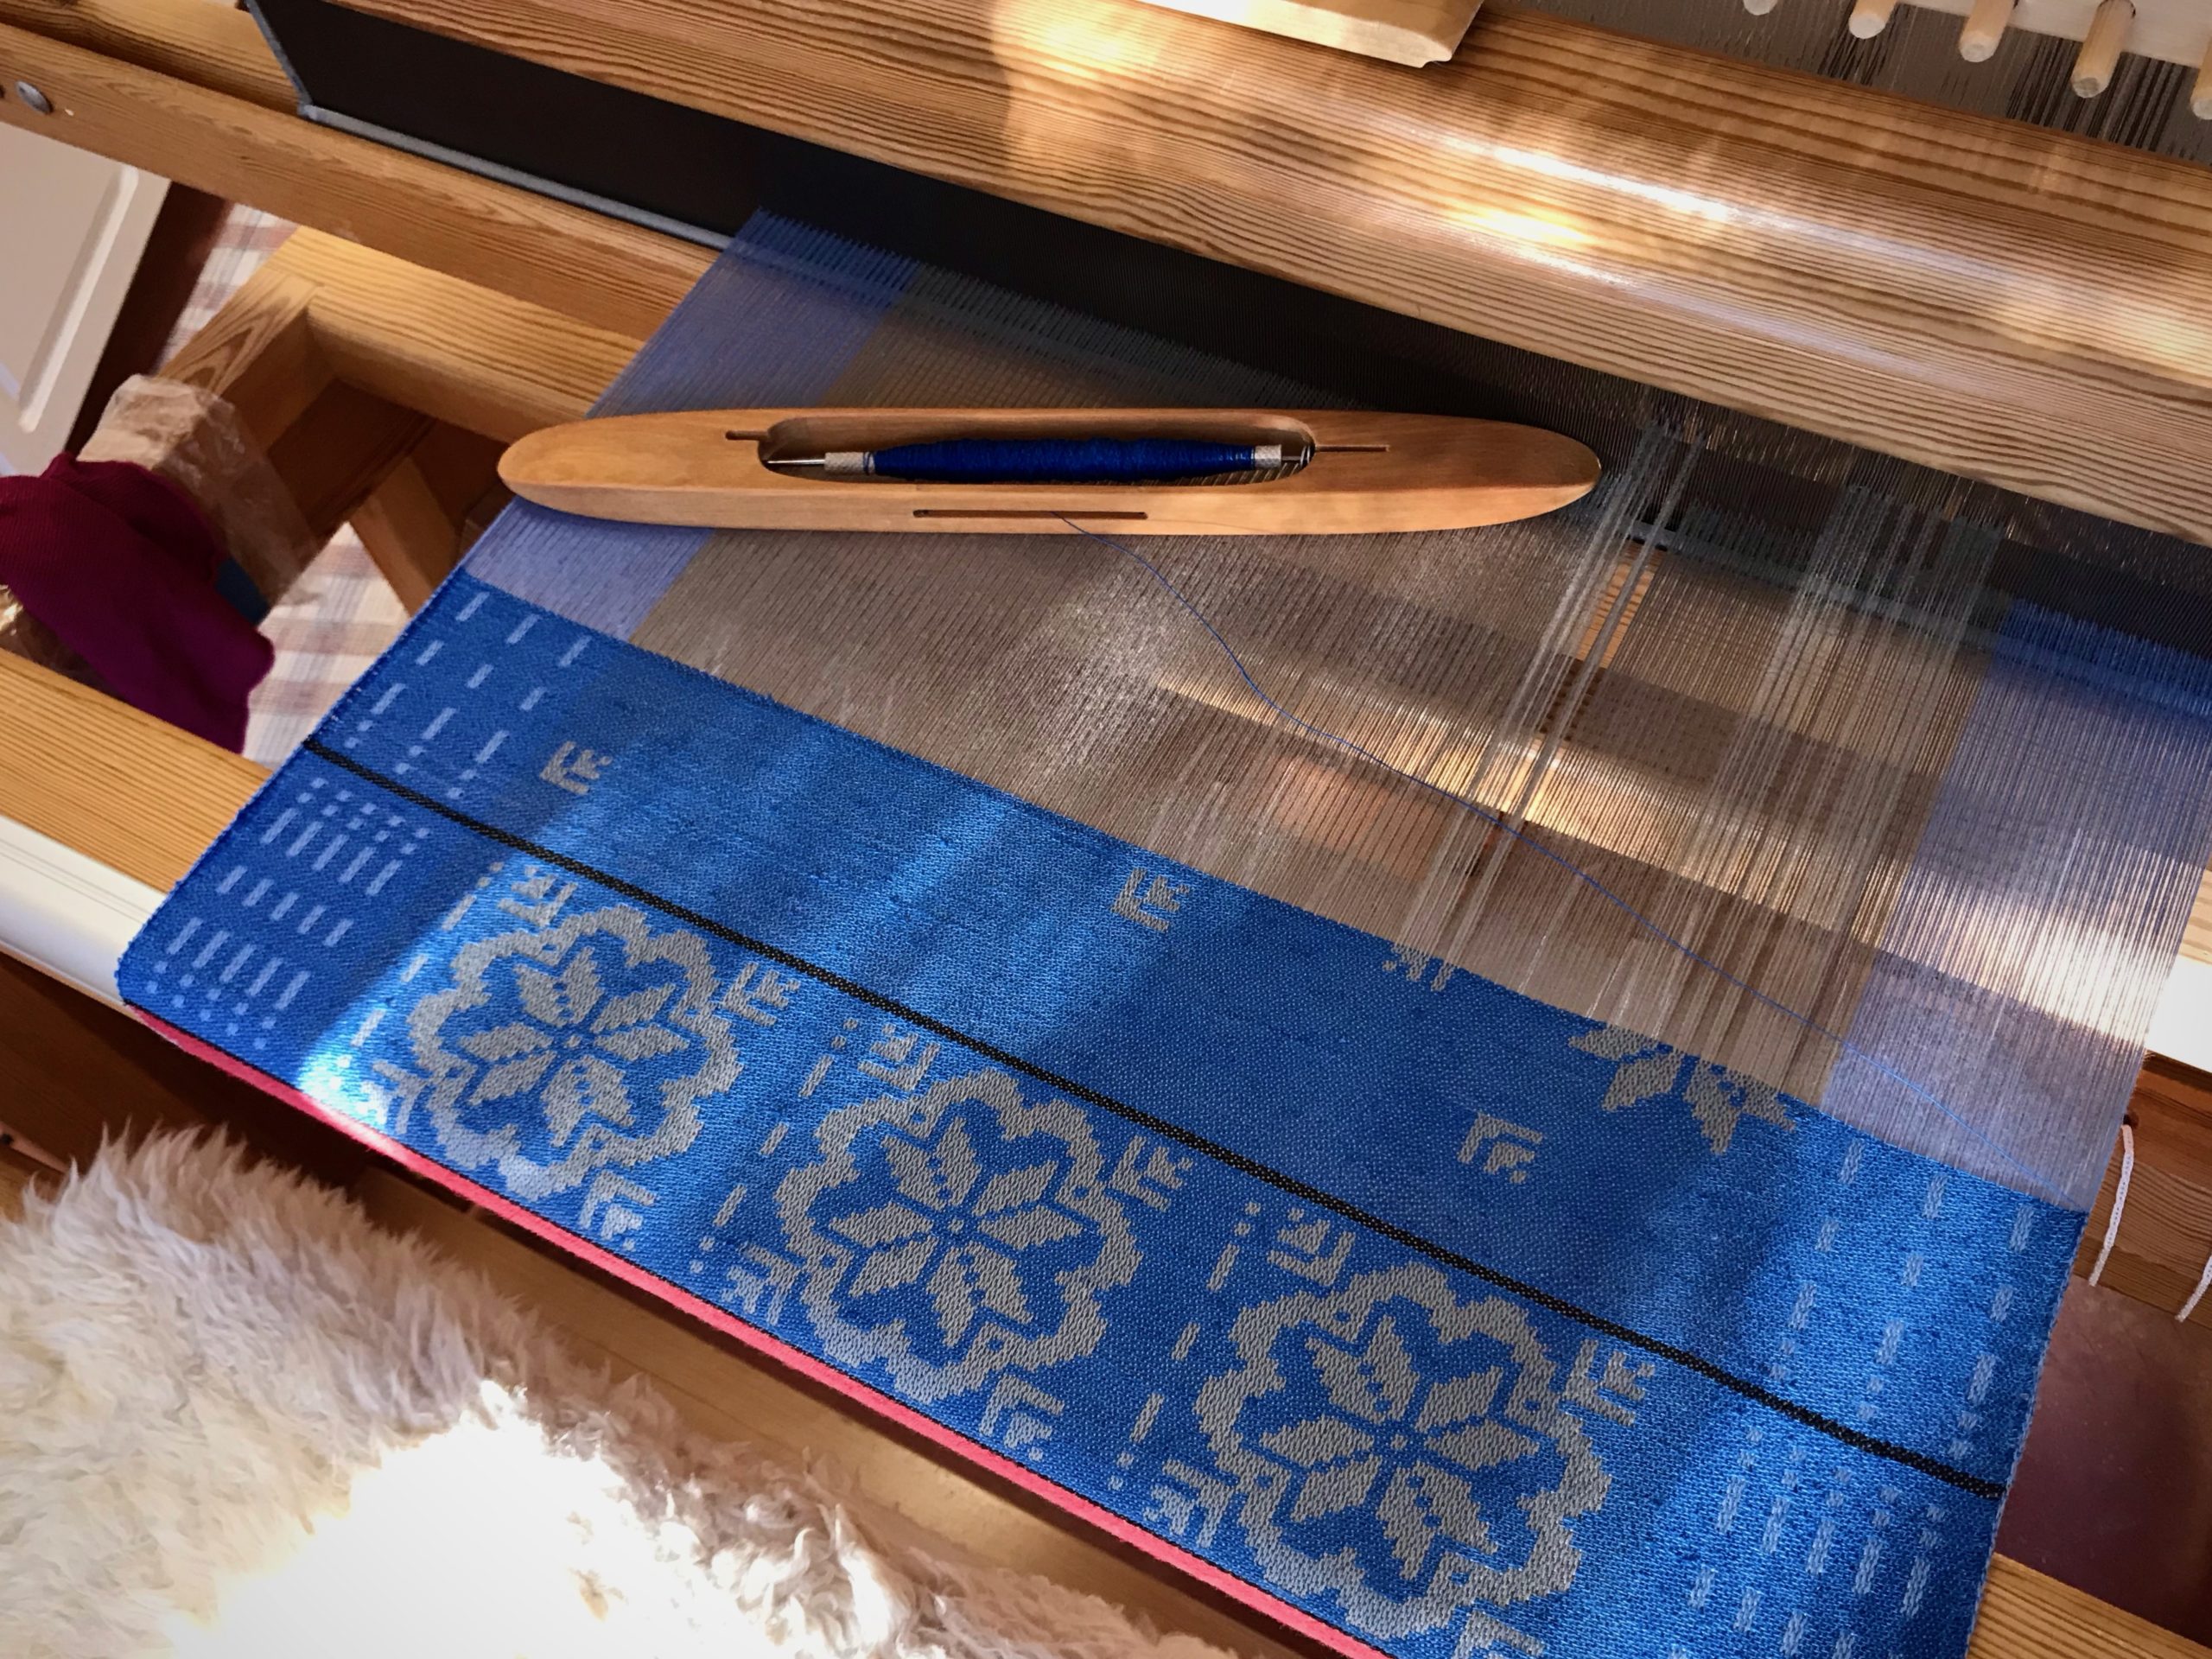
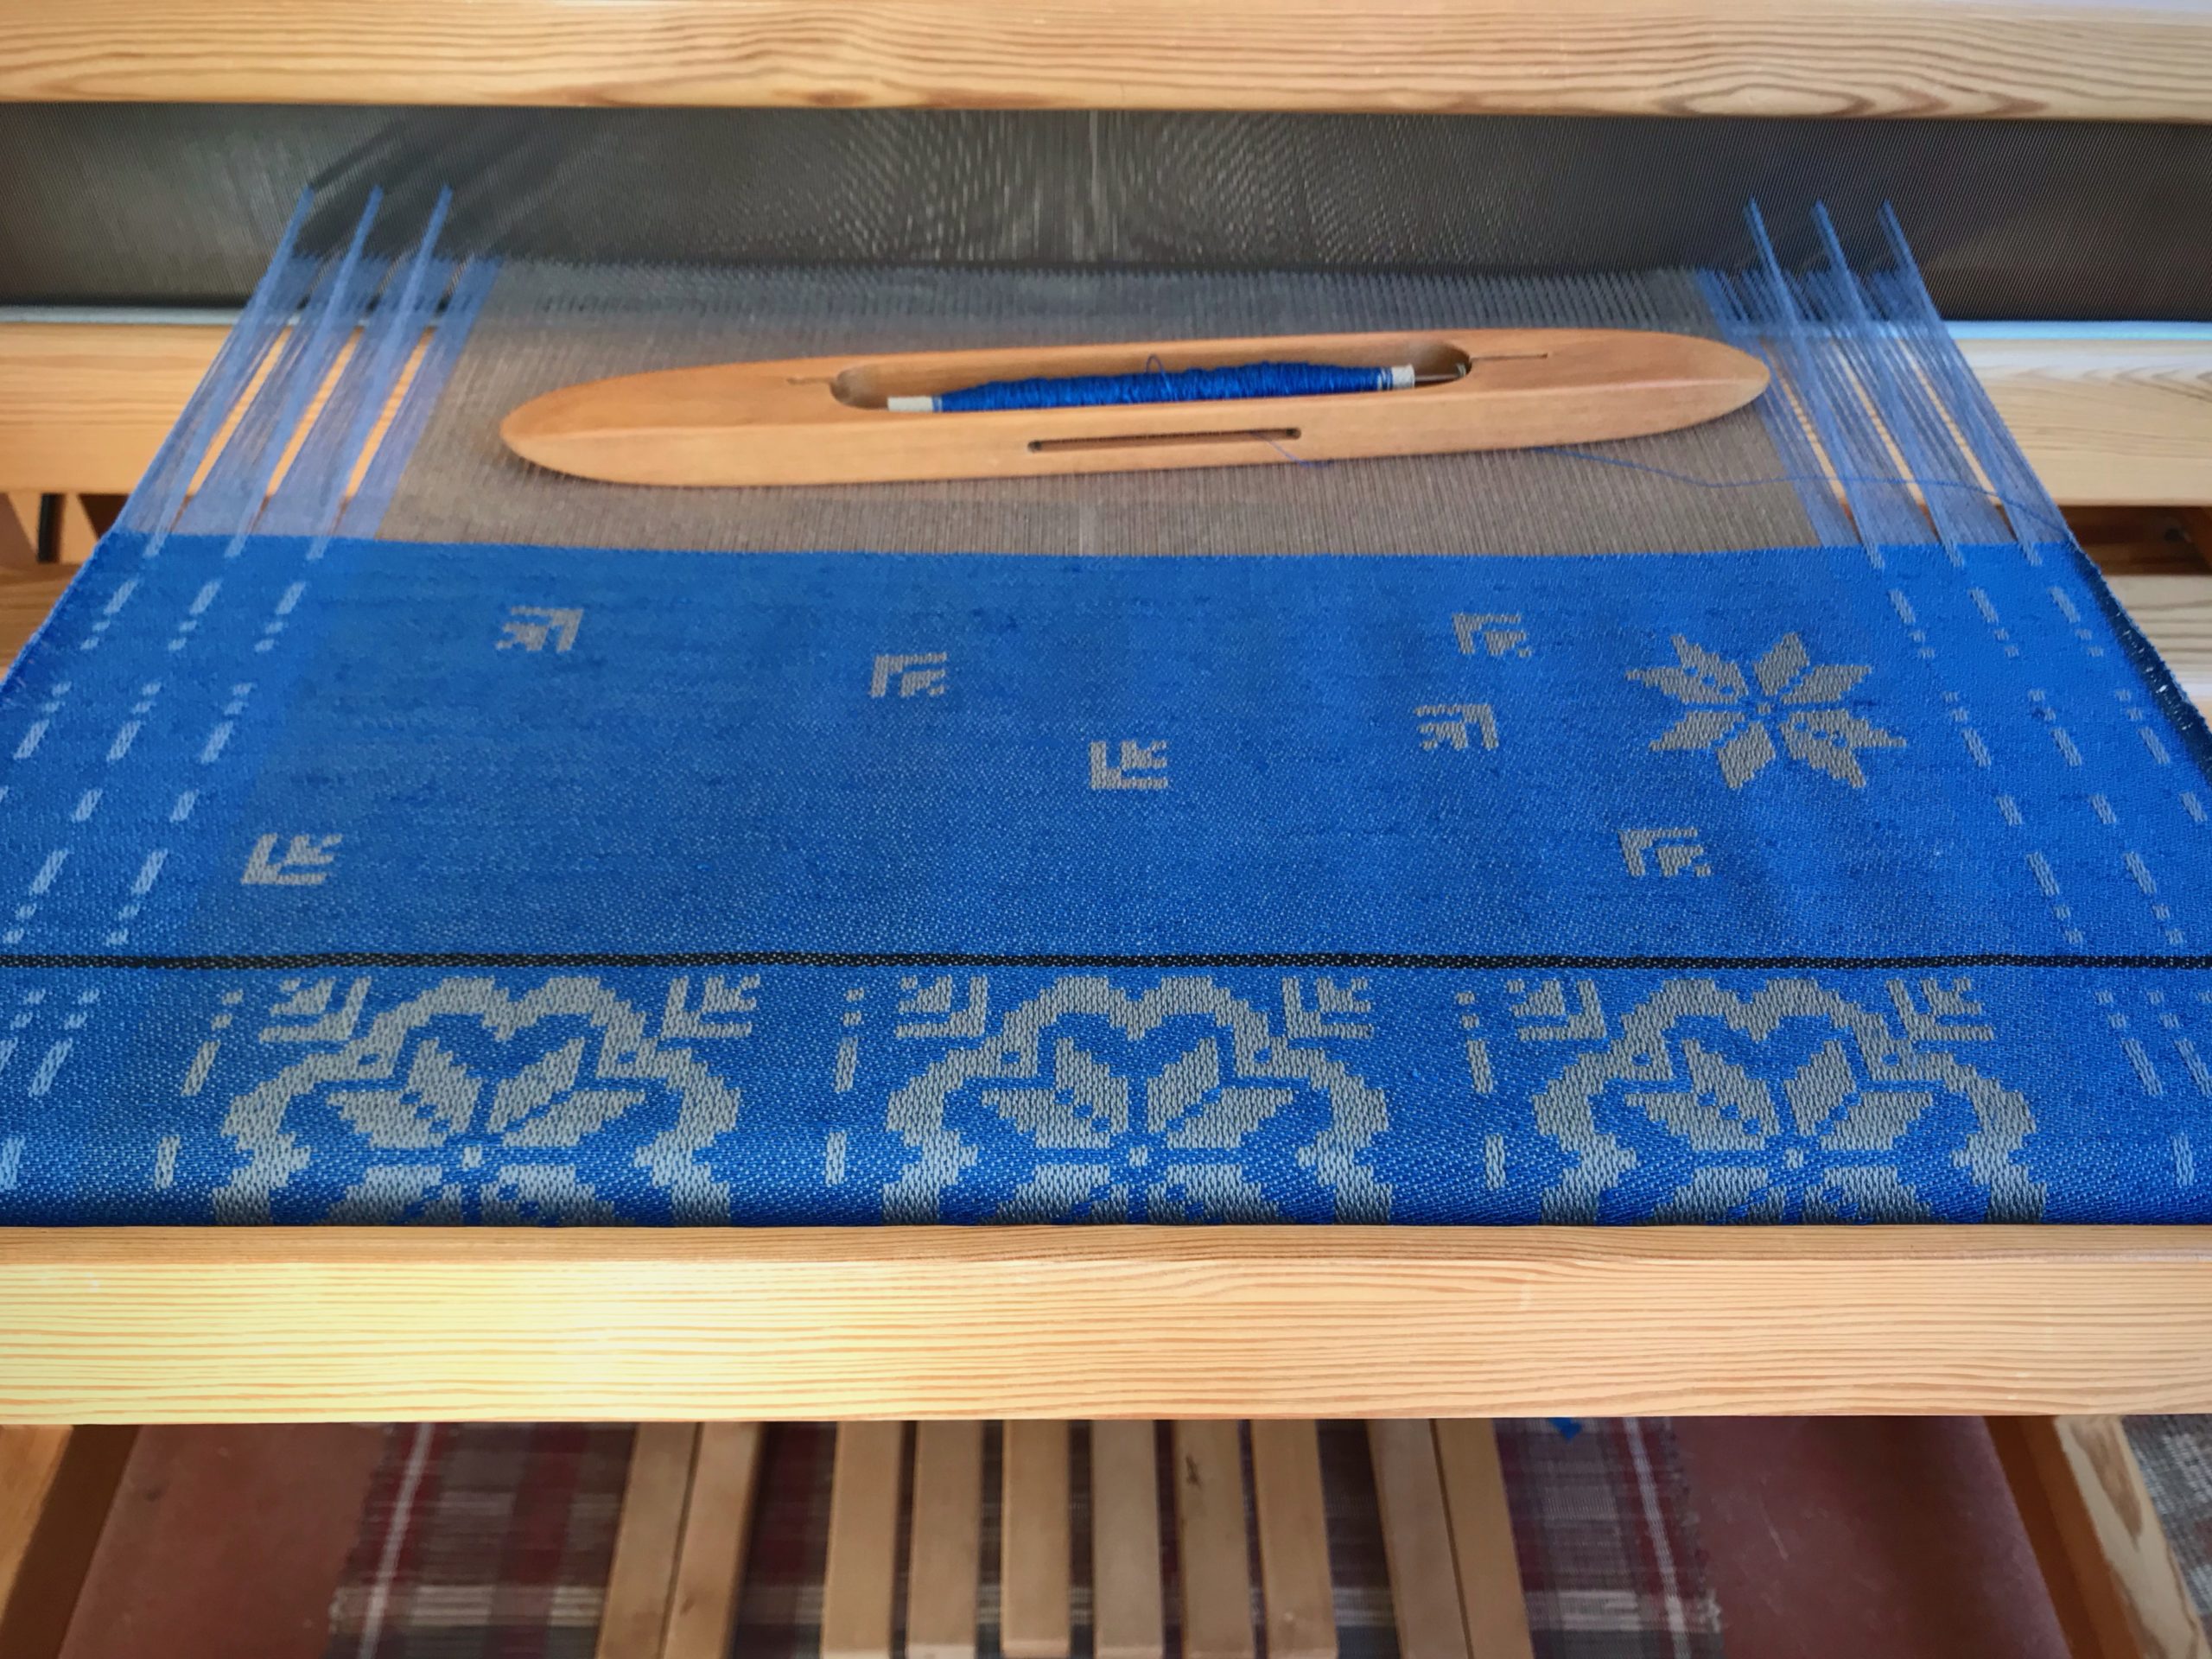
Snow in Texas Hill Country is minimal. To make up for it, I am putting together a virtual snowstorm—four Christmas Snowflake towels on the drawloom. Each towel has three large snowflakes at the bottom and top borders. The body of the towel has delicate snowflake crystals drifting to the ground.

Nordic star pattern used for Christmas Snowflake towels. Towel begins with a broad brush of red along the lower border.

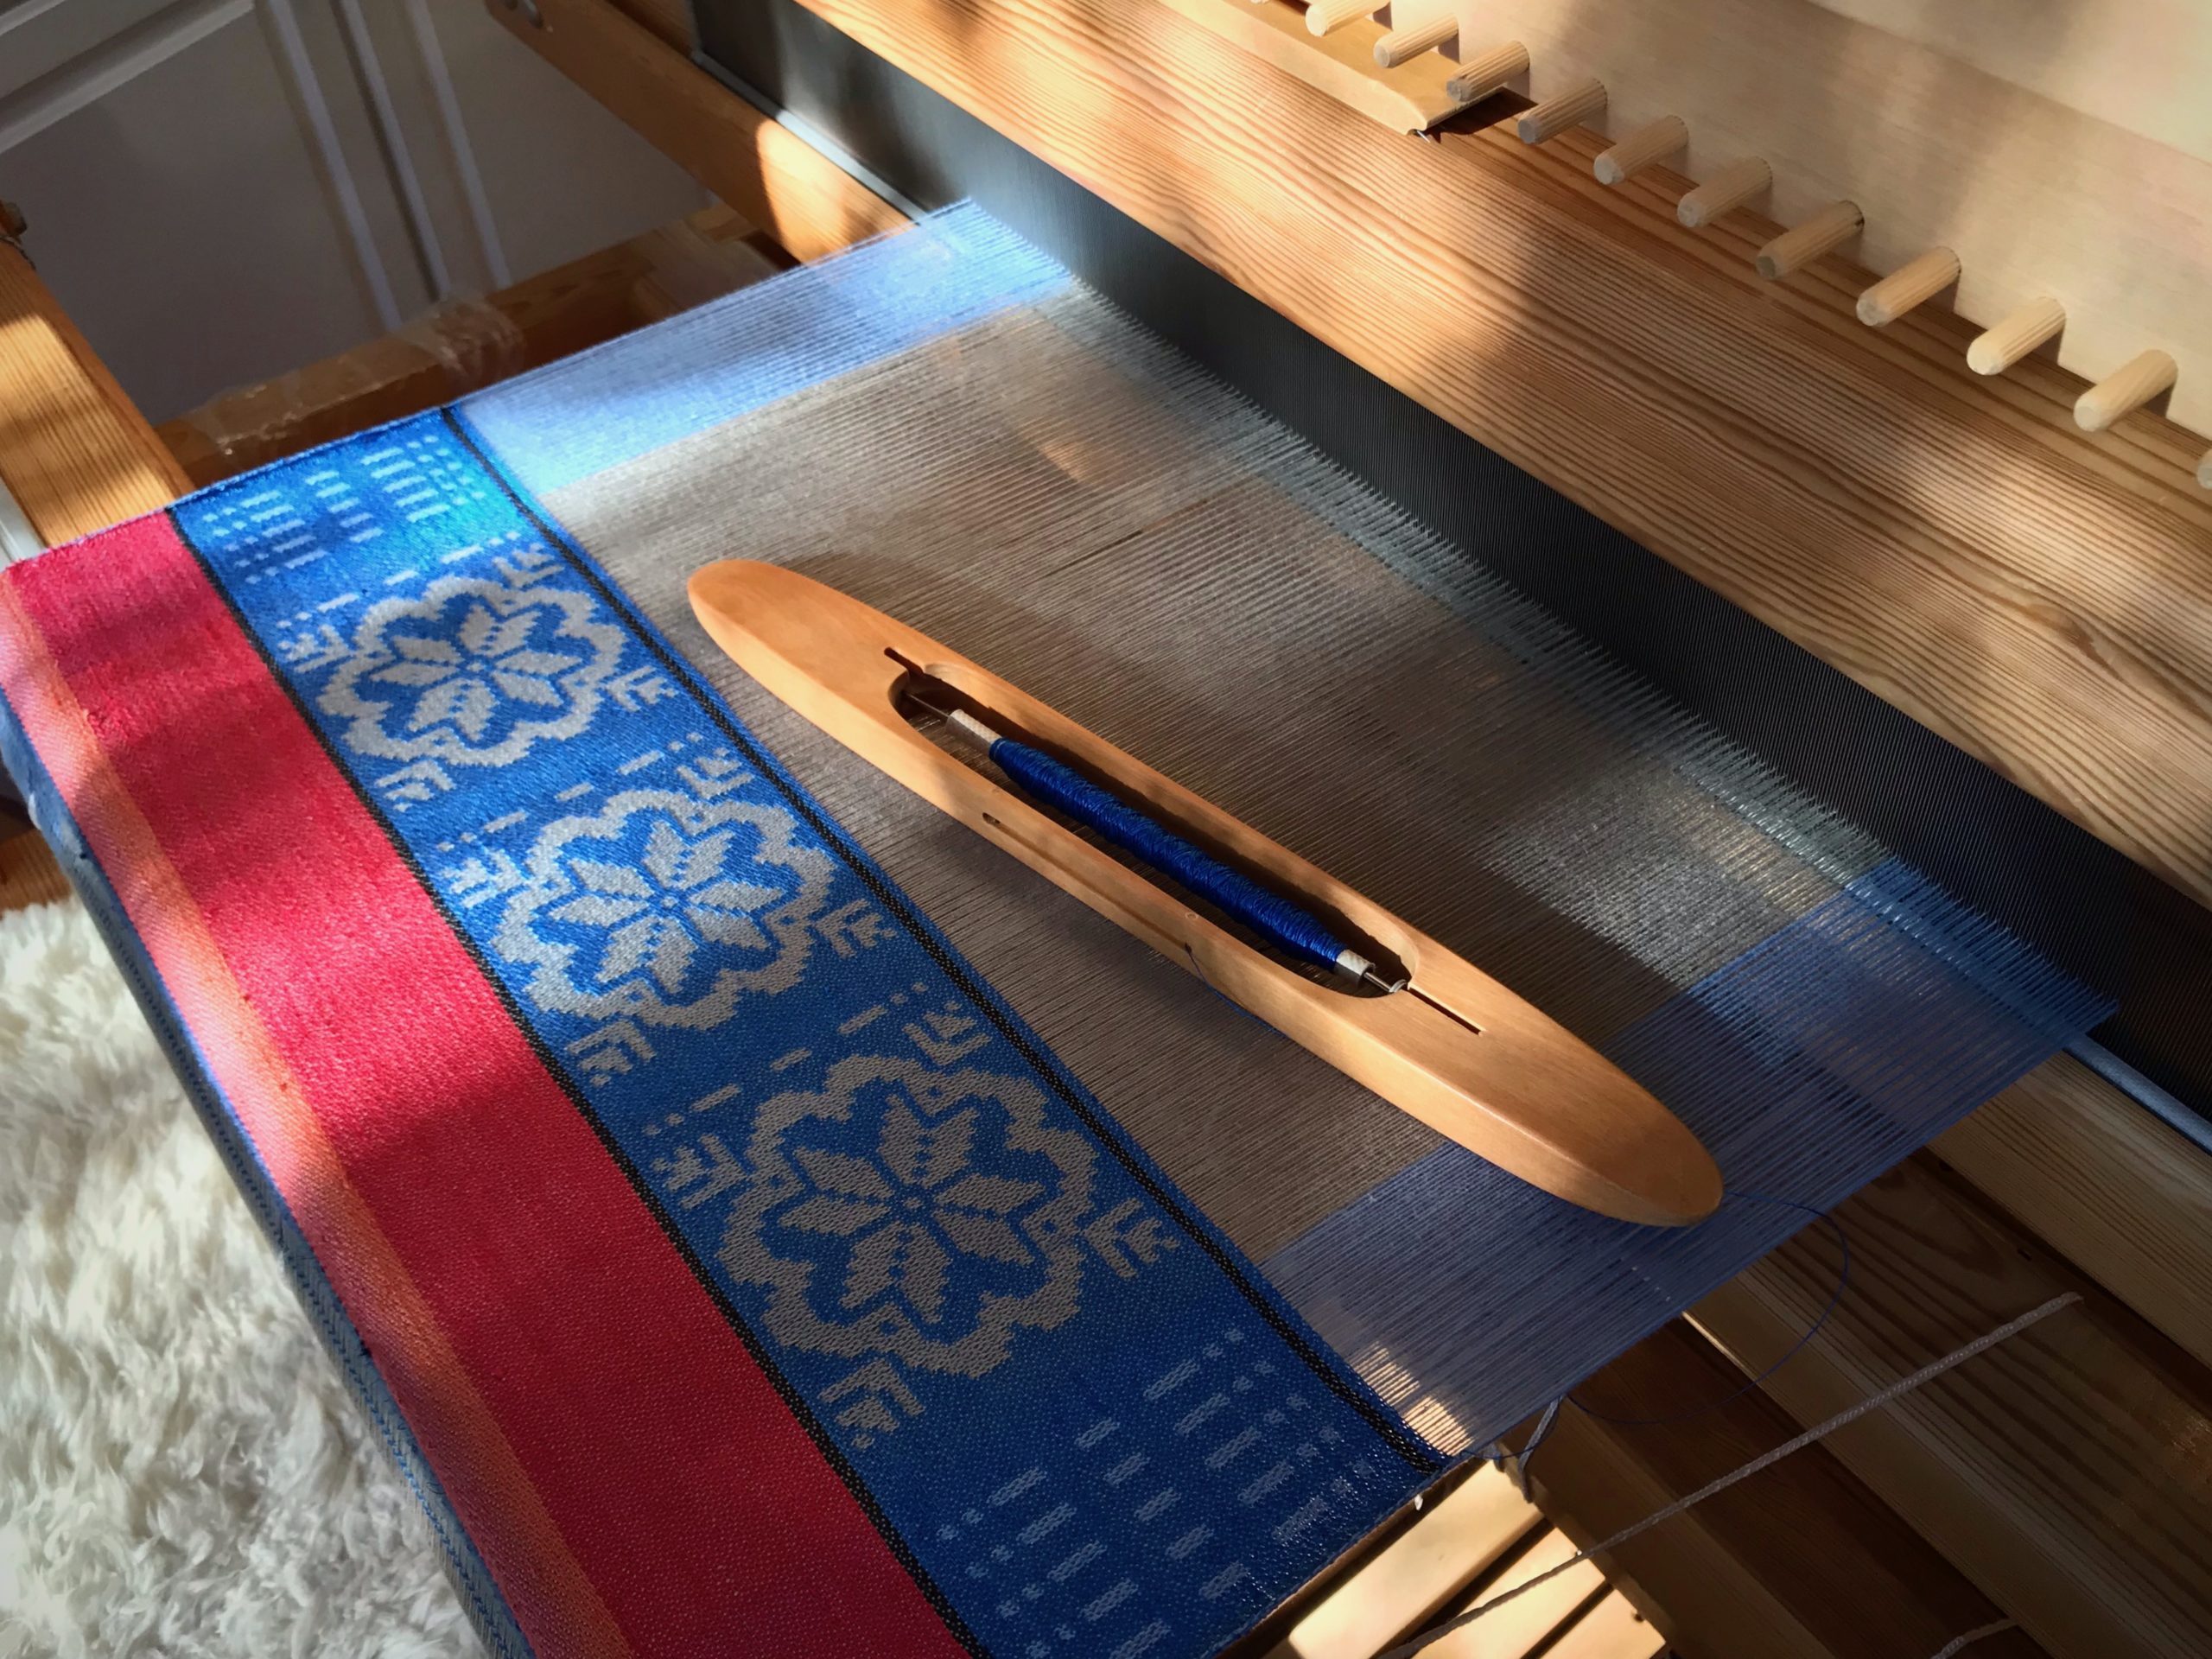
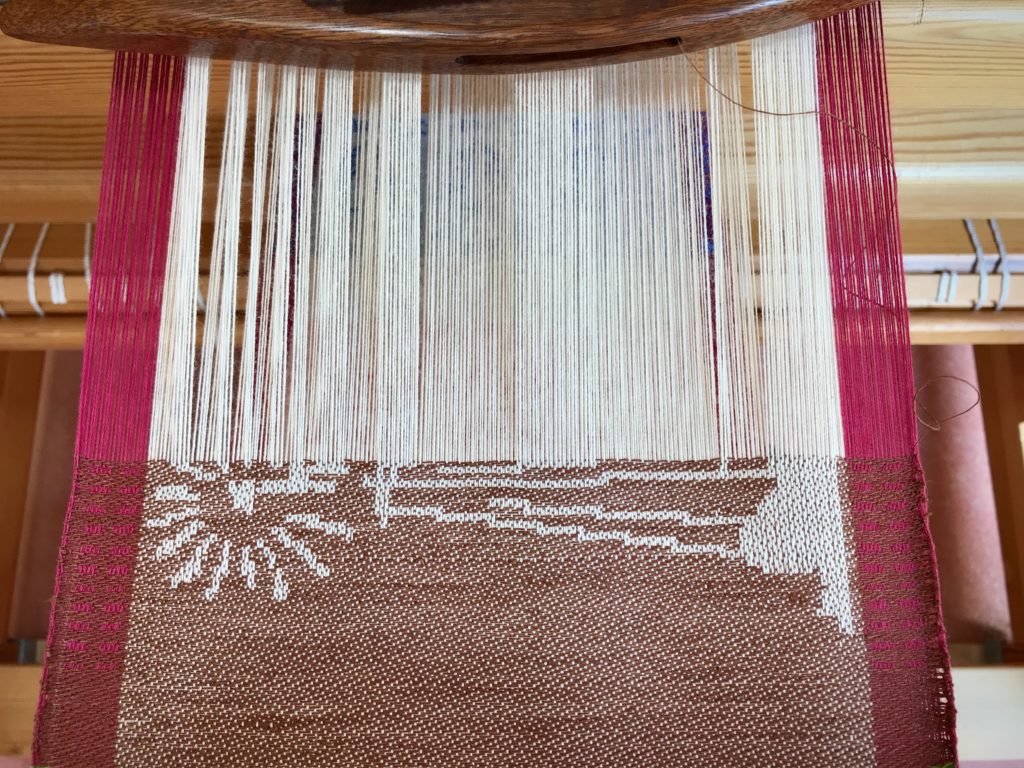
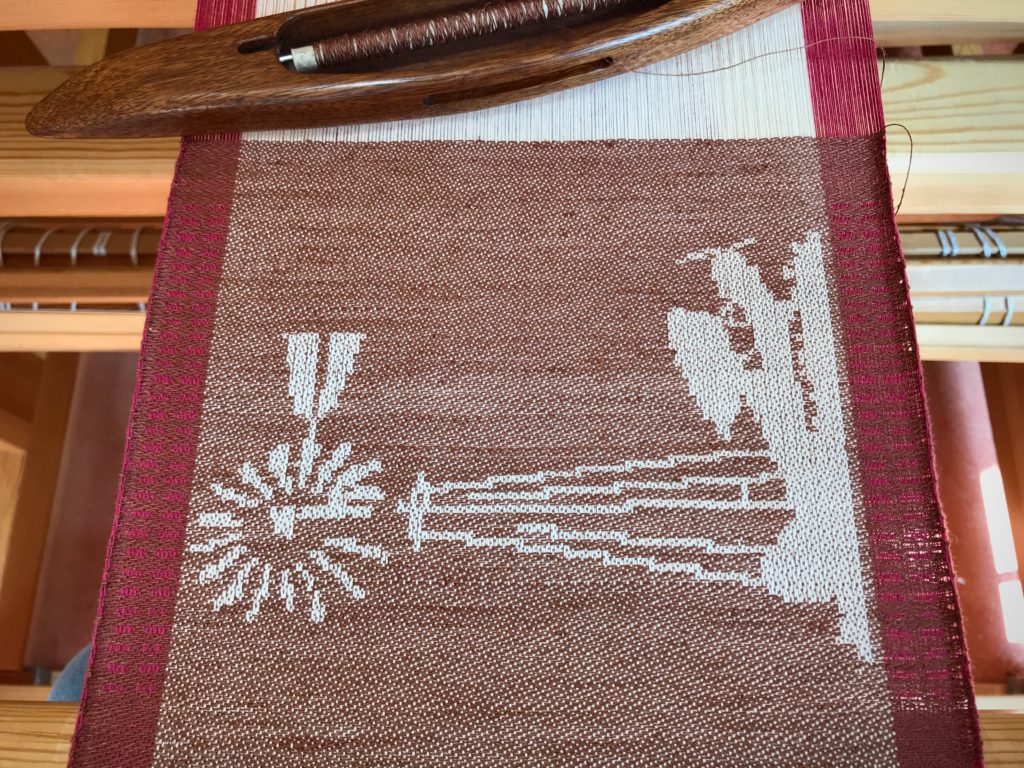
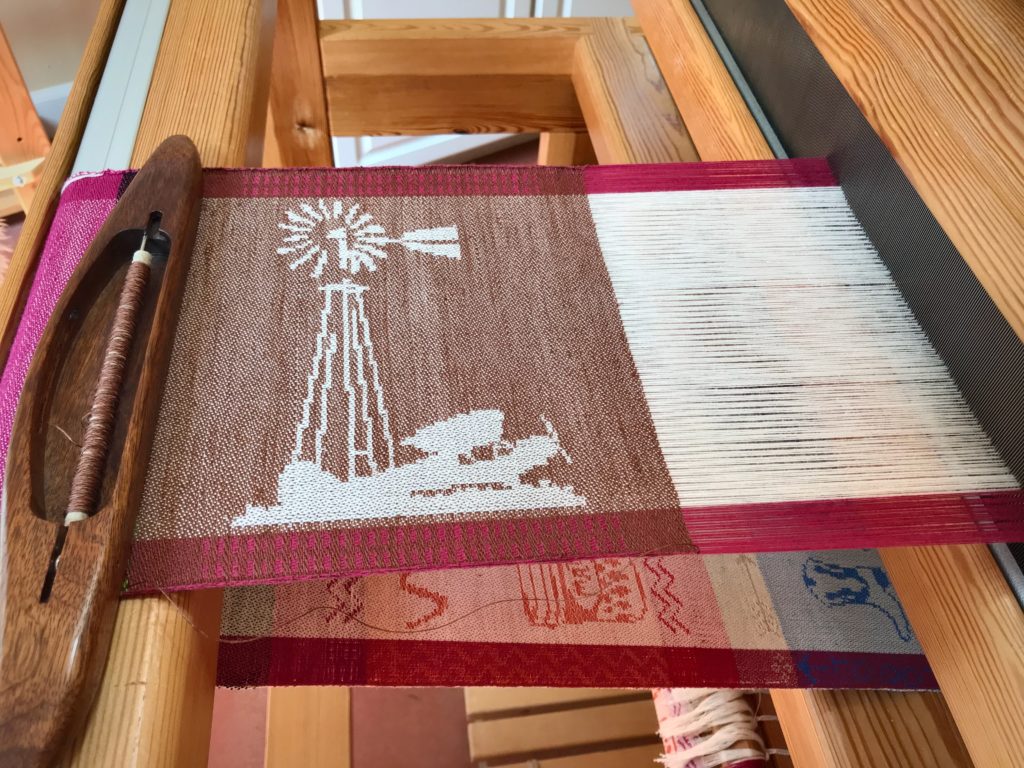
Starting with Selbu Mittens: Discover the Rich history of a Norwegian Knitting Tradition, by Anne Bårdsgård, I transpose Nordic star patterns into drawloom graphed designs. Affinity Designer (graphic design software) takes the place of graph paper for me. Being vector graphic design, it enables me to make changes without having to start over. I can easily move, separate, copy, and/or transform elements as I work through a design. I print out exactly what I need, scaled up in size without losing clarity, in a format that enhances my ability to make the right moves at the combination drawloom.

Single unit draw cords, held in place on the hook bar, form the snow crystals in the body of the towel. The three large snowflakes at the bottom border are made using pattern shafts. The simple side borders also use pattern shafts.
In Affinity Designer I am able to separate, copy, and move elements of the large snowflake design. These individual elements become the scattered snowflakes and little snow crystals that are “drifting down” the body of the towel.
Snowfall in Texas Hill Country.

We have a faithful designer. Our Grand Weaver creates his image in us. He moves, separates, copies, and transforms elements in our lives until his image clearly shows. It takes a lifetime. The Lord is faithful. Since he has brought us this far, let us also be found faithful to him, conforming to his image.

May you see how far you’ve come.

Many blessings,
Karen

In My Drawloom World

I’m in my own little world when I’m at the drawloom. No podcasts, no music going, no interruptions. It’s all deliberate focused attention on this thing I’m doing—following the chart row by row, drawing handles and cords, imprinting trees into cloth. It’s a delightful experience that I don’t want to end.

Myrehed combination drawloom. Weaving trees.
Single unit draw cords pull up single units of threads. For the setup on this project one unit is 6 ends.
Weaving trees on the drawloom.
Trees inside and outside.

The simple tree design is scattered across the fabric using the single unit draw system. At the start of this towel, the same tree design was woven on the side borders using the pattern shafts. With this combination drawloom I combine single units and pattern shafts to work in complex harmony, as an expression of my creativity.

Myrehed Combination Drawloom on a Glimakra CM loom.
Trees on the side borders, as seen on the cloth below the breast beam, were woven using pattern shafts. Each pattern shaft holds units of ends in a certain order, which enables me to duplicate patterns across the warp or on the sides, as with these trees.
Weaving hand towels on the drawloom.
Near the finishing line for this towel.
Myrehed Combination Drawloom - follow the chart.
Clear ruler moves up the chart, line by line, showing me exactly which black or white single unit cords to draw. The checked borders are produced with the pattern shaft draw handles.

The Lord is ready to give us his focused attention. Our complexity is no threat to him. When we allow him to direct our hearts, pulling cords at the right place to imprint his will in us, he faithfully completes the work, to the very last detail. The Lord embraces those who fully trust him. His unseen designs become visible in the lives of those who belong to him. We can just imagine the delight this brings to our Maker.

May you find yourself in a big hug.

Happy Weaving,
Karen

Slow Me Down with Inlay

I intended to weave this part quickly, and move on. But when I noticed I could see the end of the warp I changed my mind. I’m going to do something that will slow me down—inlay. It’s something I’ve been thinking about doing. Now’s my chance before I run out of warp.

Weaving on the combination drawloom.
One handle is drawn for the simple side borders design. The beginning blue border motifs were also woven using draw handles, connected to pattern shafts.

I am adding blue 16/1 linen inlay to the center motif. The same color blue is laid in at the center motif on the side borders, as well.

Blue linen inlay on the combination drawloom.
Blue linen inlay leaves floats between the raised pattern threads.

Draw the pull-handles for the borders – draw single unit cords – throw the shuttle – lay in the blue thread – throw the shuttle and lay in the blue thread two more times. Move up one row on the chart, and follow the same sequence as before. Ever so carefully, learning as I go. Delightfully slow as molasses. Intently paying attention, and thinking about what I would do differently next time.

Drawloom. Weaving a sign for house guests.
Draw cord pegs just above the beater create interesting shadows.

Changing your mind changes your direction. When the Lord sees our thoughts turning in his direction, he reveals more and more of himself to us. Like small lines of color added a row at a time, the image becomes more and more distinct. With the warp we have remaining, there is still time to see the Grand Weaver’s image woven in us.

May you know when to change your mind.

Making room for Jesus,
Karen

Process Review: Weaving Rhythm

“With so many looms, how do you decide what to weave every day?,” I was asked. The answer lies in my Weaving Rhythm. I have five floor looms. I happily aspire to meet the challenge of keeping all of them active.

Glossary

Weaving Rhythm ~ A pattern created across time, through a regular succession of weaving-related tasks.

Arrange individual tasks to keep each loom consistently moving forward in the weaving continuum.

Weaving Continuum ~ The cycle for each loom that is continually repeated.

When the first few centimeters are woven on a new project, begin planning the next project. When finishing is completed for the current project, wind a new warp and dress the loom for the next project.

First Things First ~ Prioritize daily tasks to maintain the Weaving Rhythm.

  1. Finishing
  2. Dressing
  3. Weaving

Do some finishing work first. Do some loom-dressing tasks next. The reward, then, is sitting at one of the dressed looms and freely weaving for the pleasure of it.

Weaving bath towels on the Glimakra Standard.
Glimåkra Standard, 120cm (47″), vertical countermarch. My first floor loom. Weaving the third of four bath towels, 6-shaft broken and reverse twill, 22/2 cottolin warp and weft.
Weaving hanging tabs for bath towels.
Glimåkra two-treadle band loom. Weaving hanging tabs for bath towels. 22/2 cottolin warp and weft.
Glimakra 100cm Ideal. Sweet little loom.
Glimåkra Ideal, 100cm (39″), horizontal countermarch. My second floor loom. Dressing the loom in 24/2 cotton, five-shaft huckaback, for fabric to make a tiered skirt. Ready to start sleying the reed.
Hand-built Swedish loom.
Loom that Steve built, 70cm (27″), horizontal countermarch. My third floor loom. Weaving the header for a pictorial tapestry sample, four-shaft rosepath, 16/2 linen warp, Tuna/Fårö wool and 6/1 tow linen weft.
Sweet little Glimakra Julia 8-shaft loom.
Glimåkra Julia, 70cm (27″), horizontal countermarch. This is my fifth (and final?) floor loom. Weaving the first of two scarves, eight-shaft deflected double weave, 8/1 Mora wool warp and weft.
Weaving lettering on the drawloom.
Glimåkra Standard, 120cm (47″), horizontal countermarch, with Myrehed combination drawloom attachment. This is my fourth floor loom. Weaving some lettering for the seventh pattern on this sample warp, six-shaft irregular satin, 16/2 cotton warp, 16/1 linen weft. 35 pattern shafts, 132 single unit draw cords.

Give Thanks ~ Live with a thankful heart.

Every day I thank the Lord for granting me the joy of being in this handweaving journey. And I thank him for bringing friends like you along with me.

May you always give thanks.

With a grateful heart,
Karen

Time Lapse: Windmill and Taildragger on the Drawloom

Come, look over my shoulder as I weave a windmill and taildragger image on the drawloom. The central design is woven using 103 single-unit draw cords. I have a simple motif for the borders that uses only three pattern shafts. In the video below, watch as the three draw handles for those pattern shafts appear and disappear throughout the weaving.

Drawloom weaving, with time-lapse video.
Draw cords are used to raise single units of threads to create the image, one row at a time.
Windmill and taildragger woven on the drawloom.
Woven from the side.

I recorded my weaving in time-lapse form so you can watch three hours of effort compressed into three-and-a-half minutes. In the video you will see my hand pulling the draw cords, and then touching all the pulled cords from right to left to double check my work. That double checking saved me from dreaded do-overs.

Windmill and Taildragger Silhouette from an old "Flying" magazine.

When our good friends, Jerry and Jan, saw my drawloom they brought this picture to my attention. — Forty years ago Jerry discovered the silhouetted windmill and airplane tucked away on a back page in an old issue of Flying magazine. Because of his affinity for airplanes and windmills he cut out the tiny picture and saved it. Years later, Jan found the picture and had it enlarged and framed. — After learning about my loom’s pictorial capability, Jerry and Jan wondered aloud if this special image could be woven on a drawloom…

Windmill and Taildragger woven on the drawloom. With time-lapse video.

Enjoy the video, and hold on to your hat!

May you ride the wind.

Happy Weaving,
Karen