Process Review: Dressing the Drawloom the Second Time

Dressing the drawloom the second time is easier than the first time. No slip ups or confusion. Just smoothly moving from one step to the next. (Read to the end to see what to expect for July.)
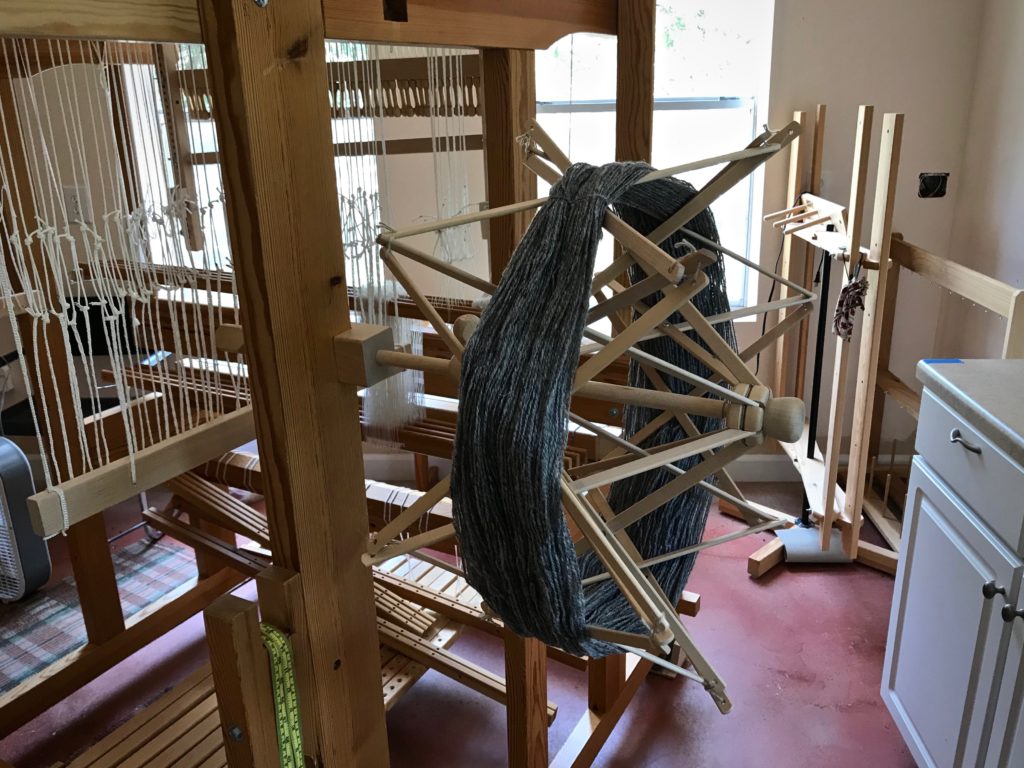
Winding skeins of wool yarn into balls.

With my first drawloom warp the most challenging part was distributing the pattern shafts. (See Q and A with Joanne Hall and Drawloom Dressing.) This time something clicked and the light bulb turned on. Instead of blindly following steps, I now understand what I am doing, and why. And I am having fun in the process!
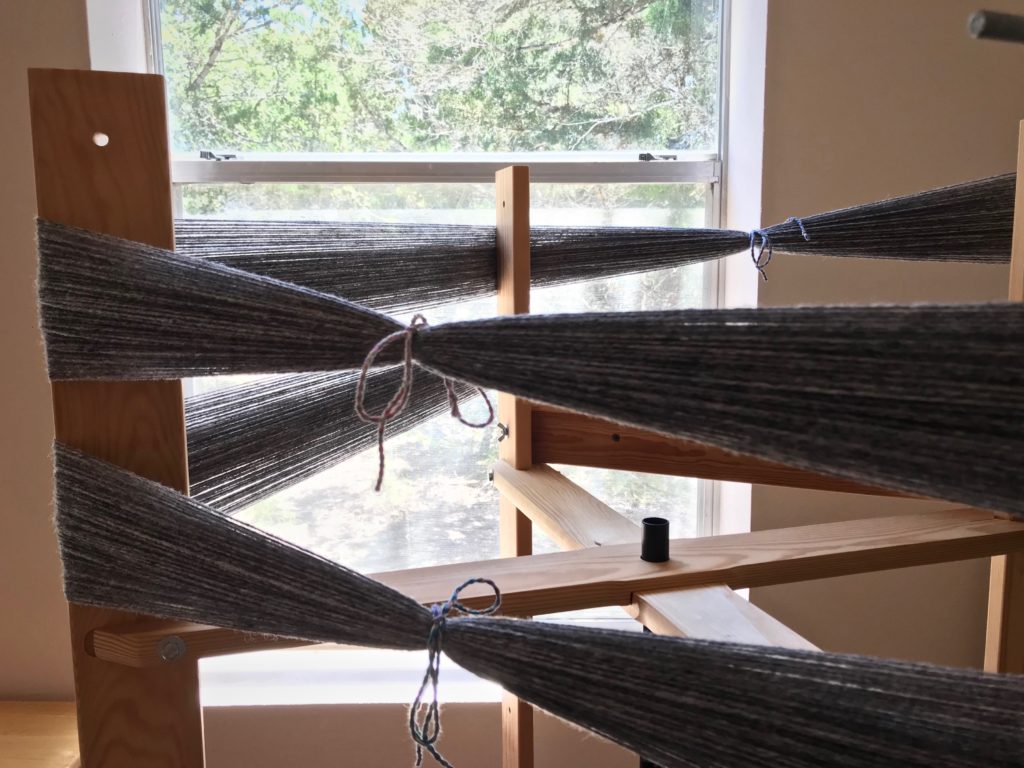
Winding warp on the warping reel.
Winding the warp on the warping reel, making two bouts.
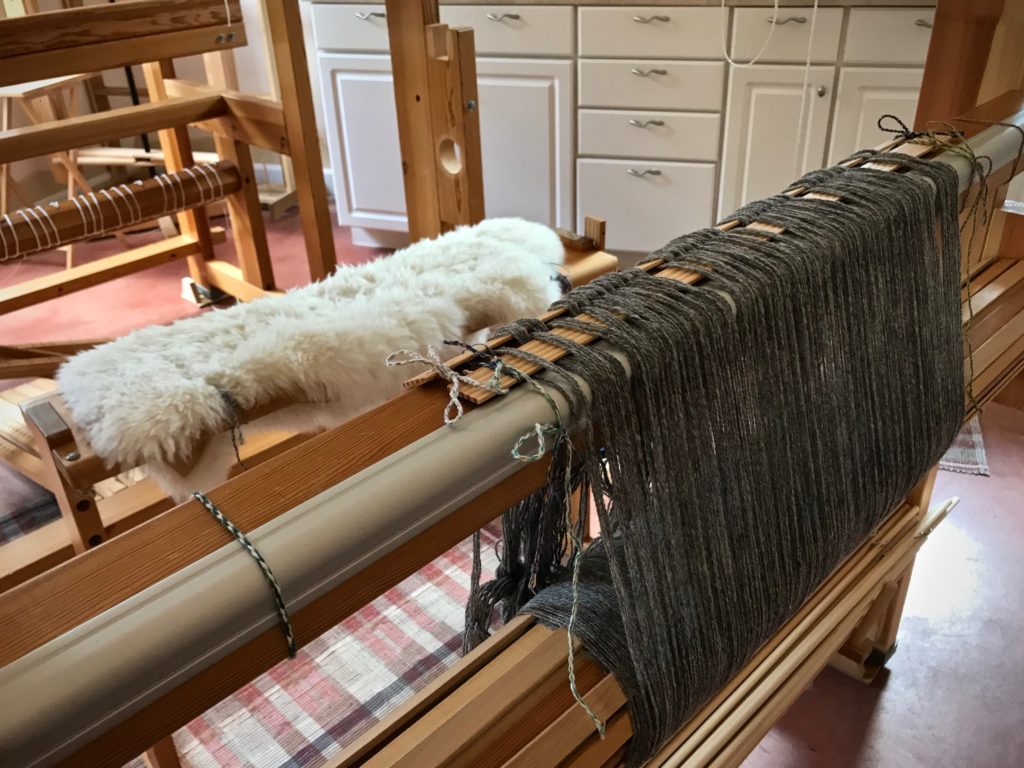
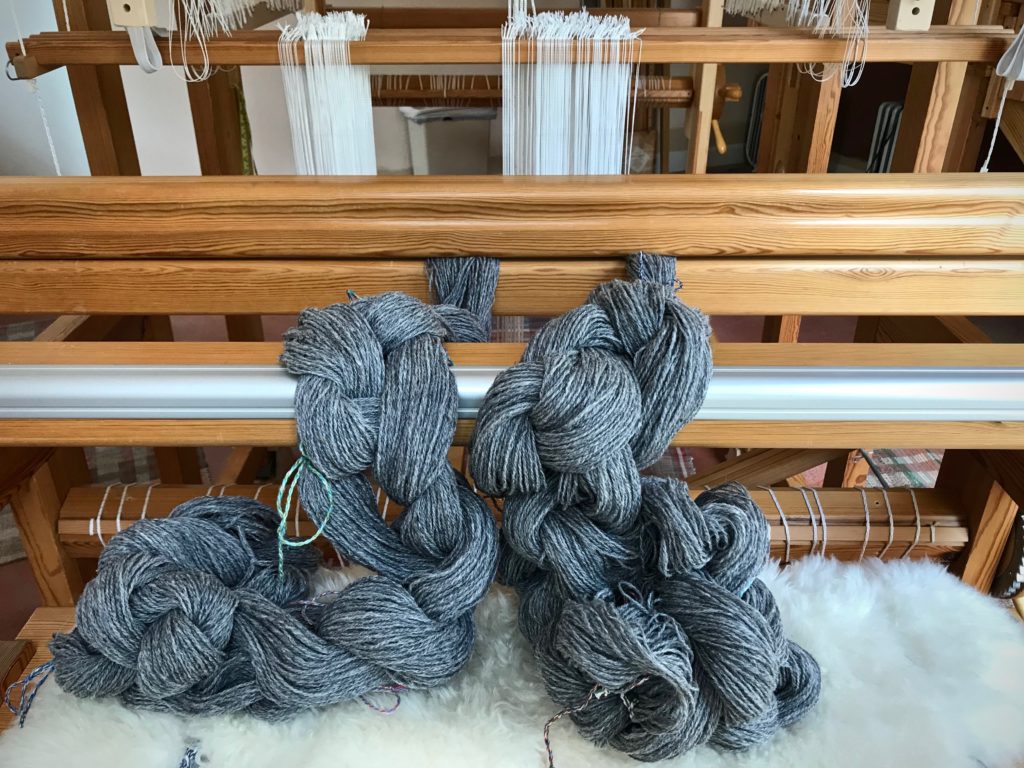
Big fat wool warp chains.
Warp chains of 6/2 Tuna wool, ready to dress the loom.
Ready to thread pattern heddles.
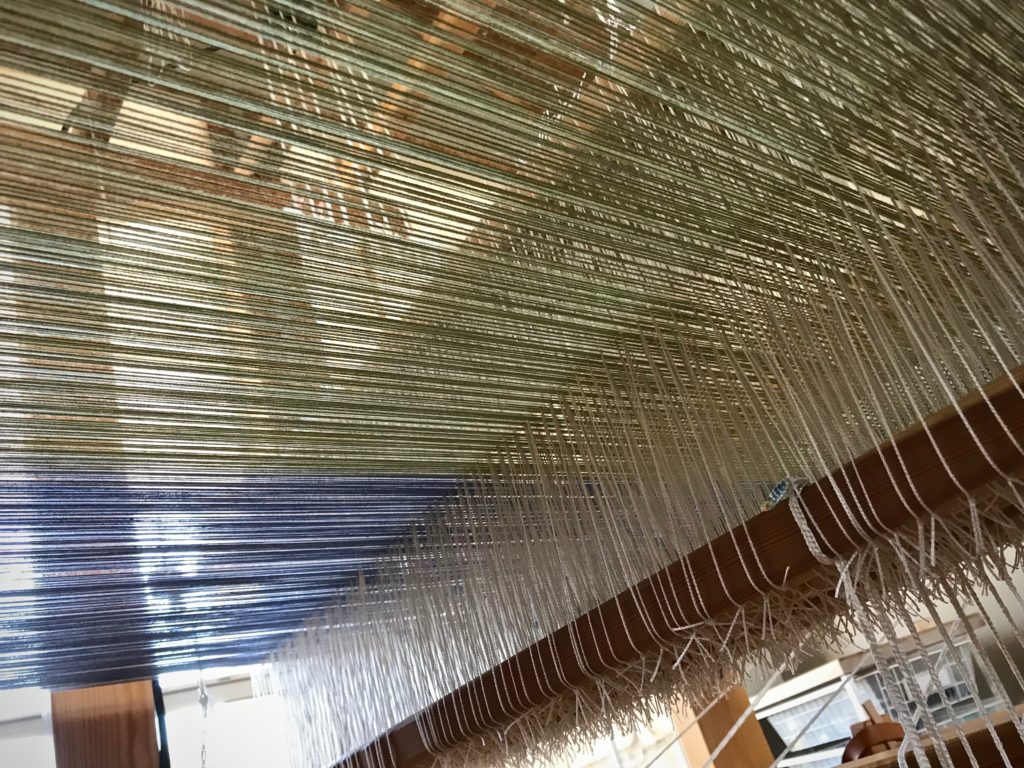
After beaming the warp, the loom bench is moved to the back of the loom for threading heddles. Pattern heddles first, and then, ground heddles.
Sleying the reed on the drawloom.
With the reed sleyed, it’s time to return the ground shafts to the front of the loom and put the reed in the beater.
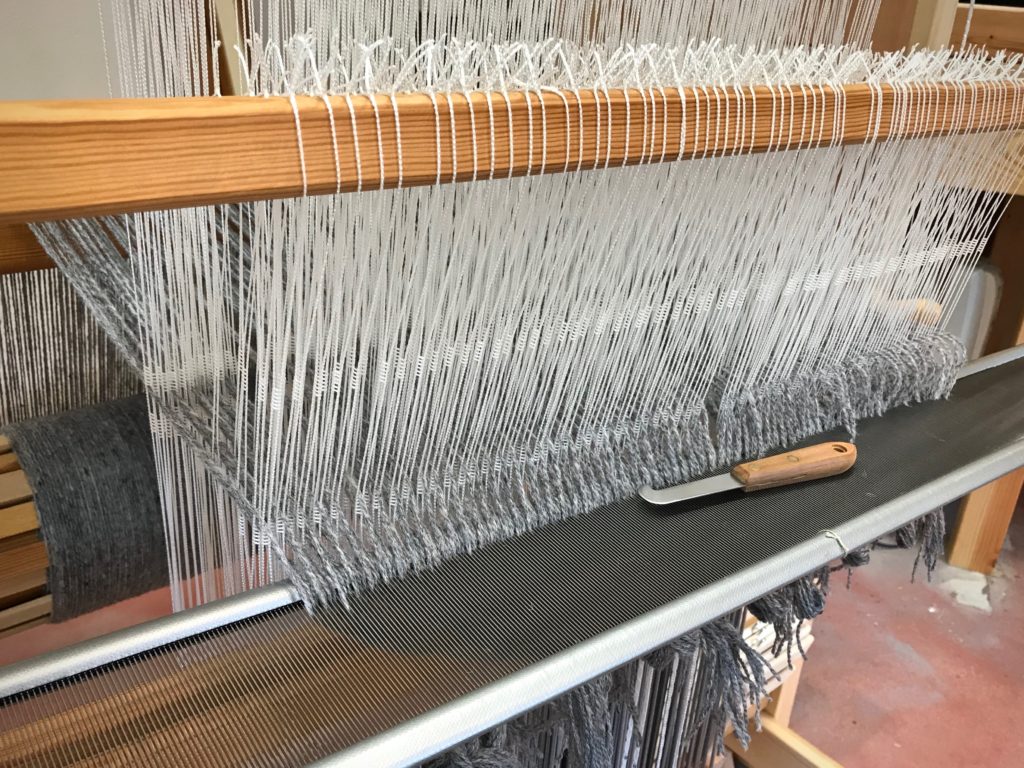
Leveling string is doing its job!
Warp is tied on, and the leveling string is doing its job.
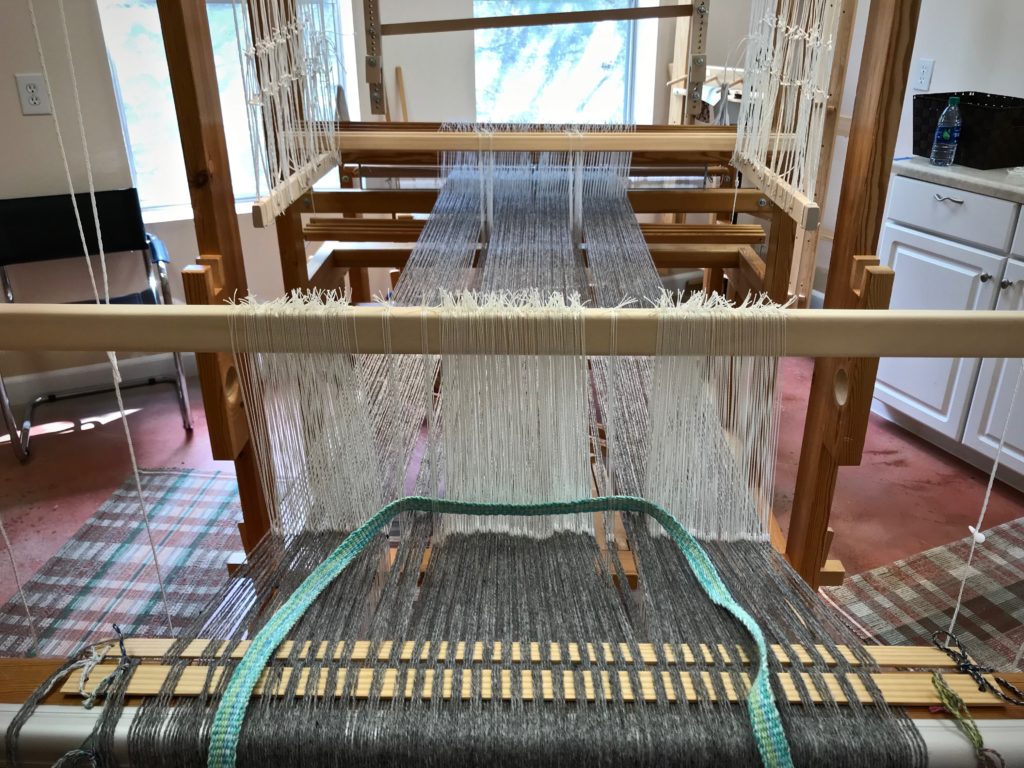
Distributing pattern shafts on the drawloom.
Inkle band serves to separate pattern heddles as I distribute the pattern shafts.
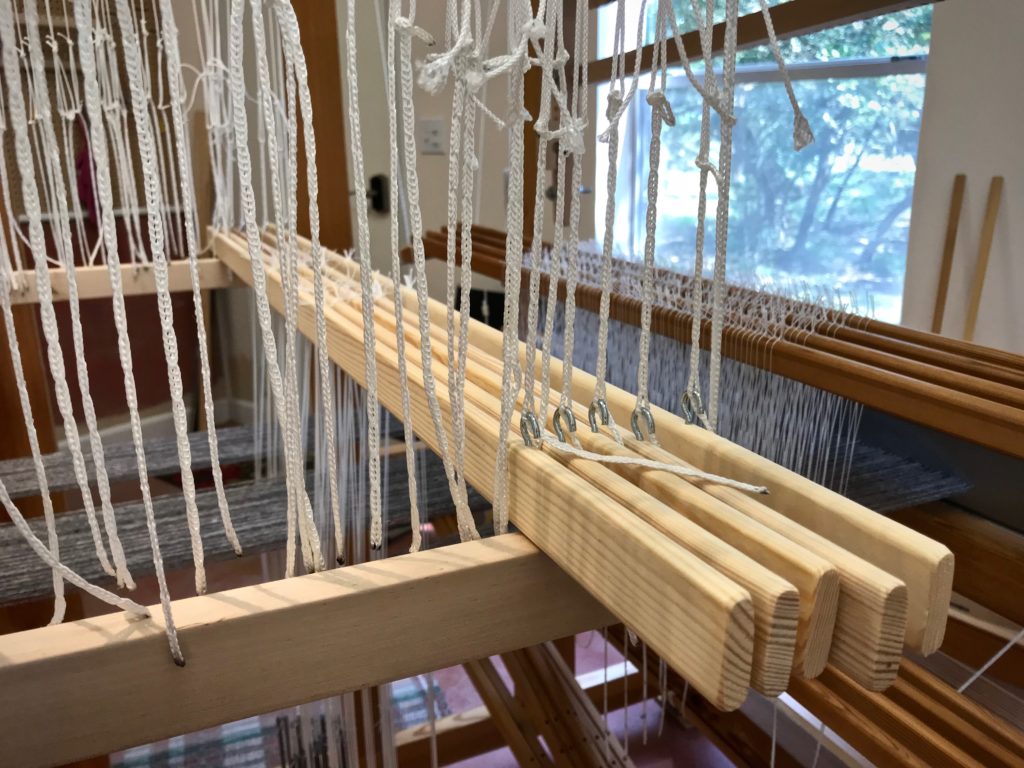
Adding pattern shafts to the drawloom.
Pattern shafts are resting nicely on the pattern shaft holders. Their little hooks grab the Texsolv that connects them to the draw cords and handles.
Dressing the drawloom!
Pointed threading can be seen in the arrangement of the heddles on the pattern shafts.
Dressing the drawloom!
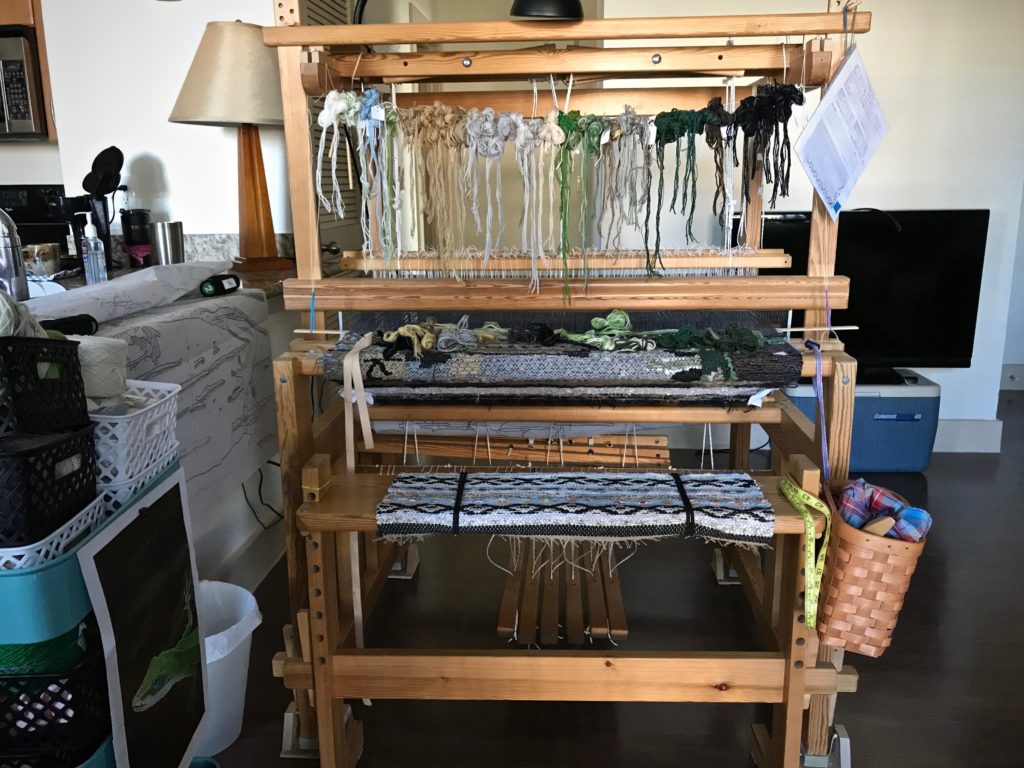
Drawloom setup is complete except for tying up the treadles. Treadle tie-ups on a drawloom are refreshingly simple.
Testing pattern sheds on the drawloom.
Testing pattern sheds by pulling some of the draw handles. After a few small adjustments, she’s ready to weave!
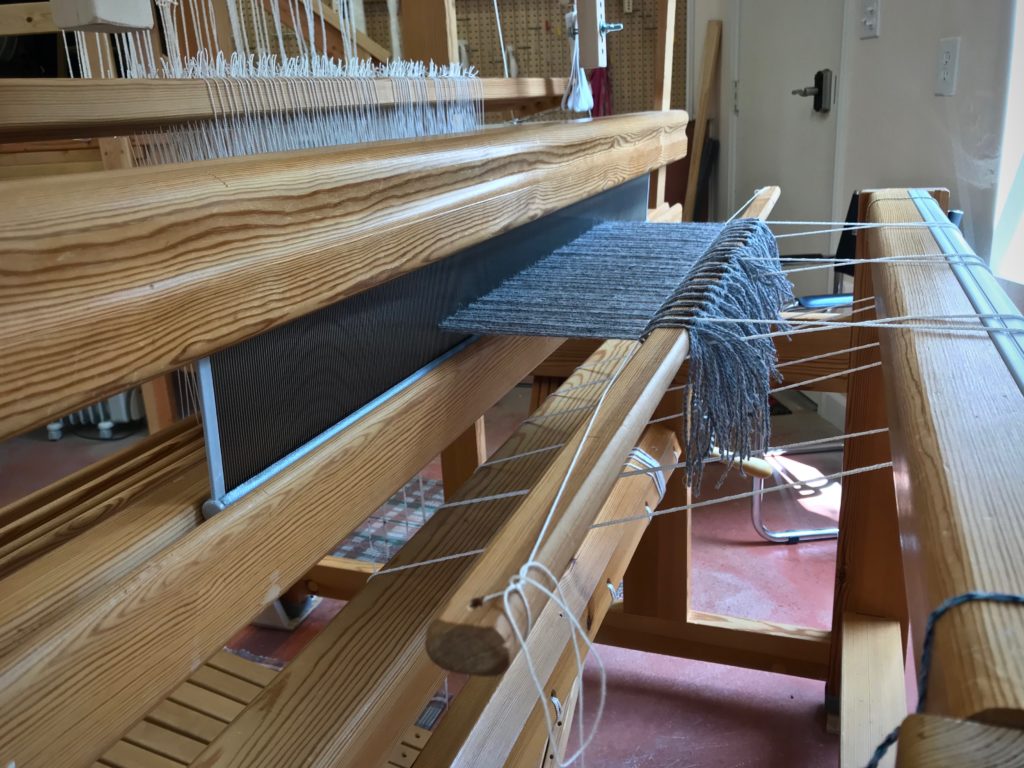
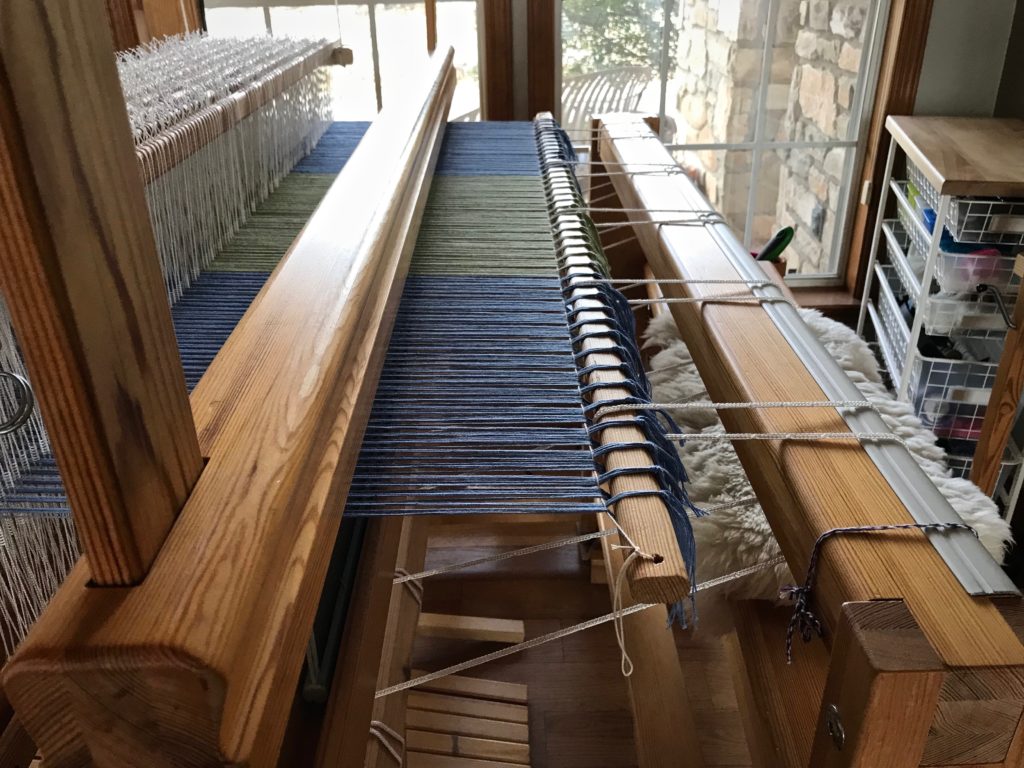
Wool on the drawloom.
First sample. 6/2 Tuna wool warp and weft, 4-shaft broken twill on the ground shafts, sett is 5.5 ends per cm, 16 pattern shafts with 1 extra shaft for the edges.

Friends, It’s that time again, when Warped for Good is put on pause for the month of July.

Thank you for sharing in this journey with me!

What’s on my looms: I am near the end of the blue double weave blanket on the Standard, and I am planning a new pictorial tapestry for that loom. The drawloom is dressed and in motion. And the Ideal loom is still sitting ready for rosepath rag rugs. Also, Steve and I have a Casita trip planned that will include some leisurely backstrap band weaving.

What’s on your loom right now? Share with us in the comments.

See you the first Tuesday of August! (In the meantime catch me over on Instagram @celloweaver.)

May your second times be better than your first times.

Keep on Weaving,
Karen

Tied On and Tied Up

Our transition to Texas hill country is finalized this week! The looms and I will be residing in the same house again. Let the weaving resume! One loom is dressed and waiting for me. Tied on above, and tied up below. Ready to weave!

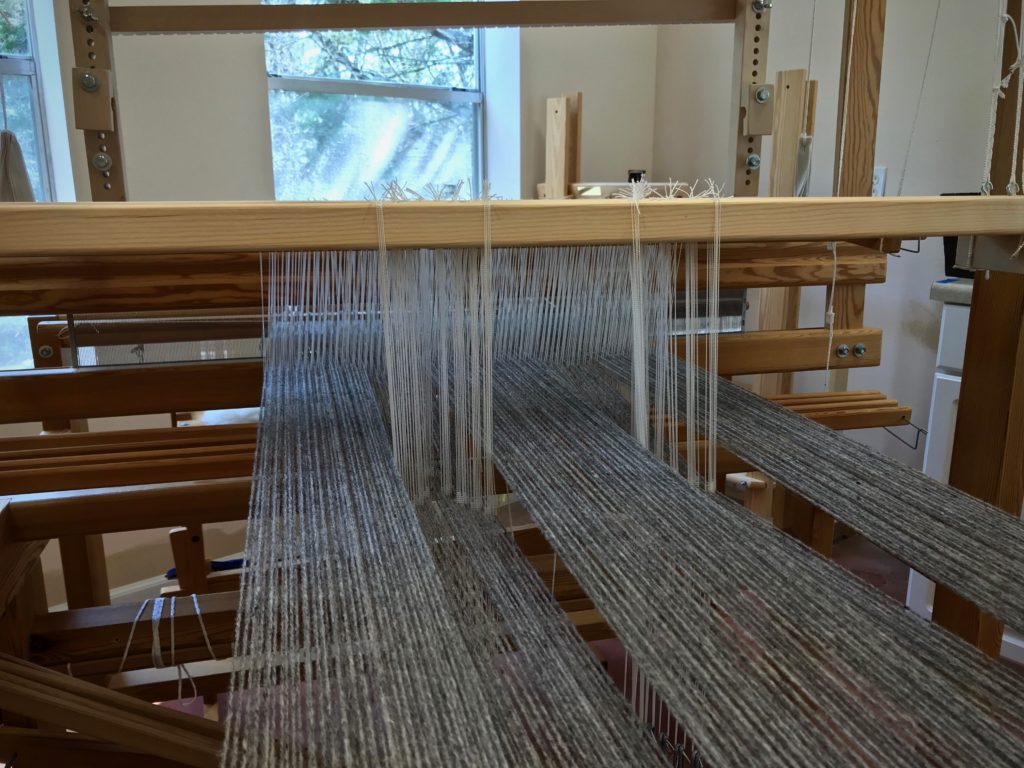
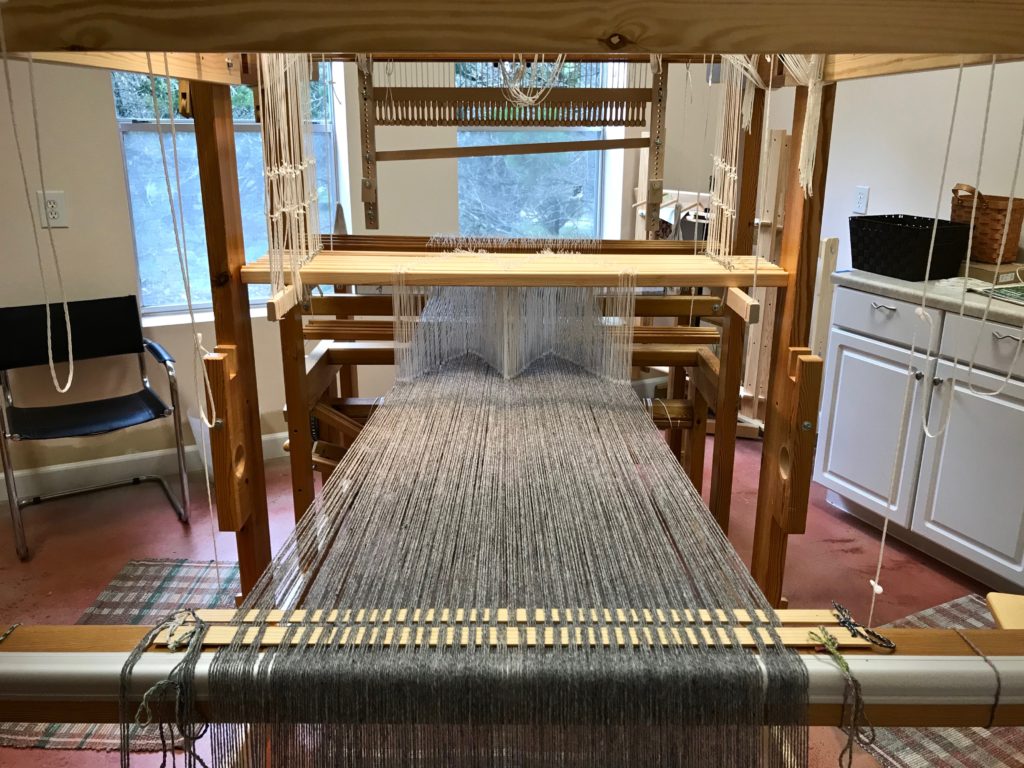
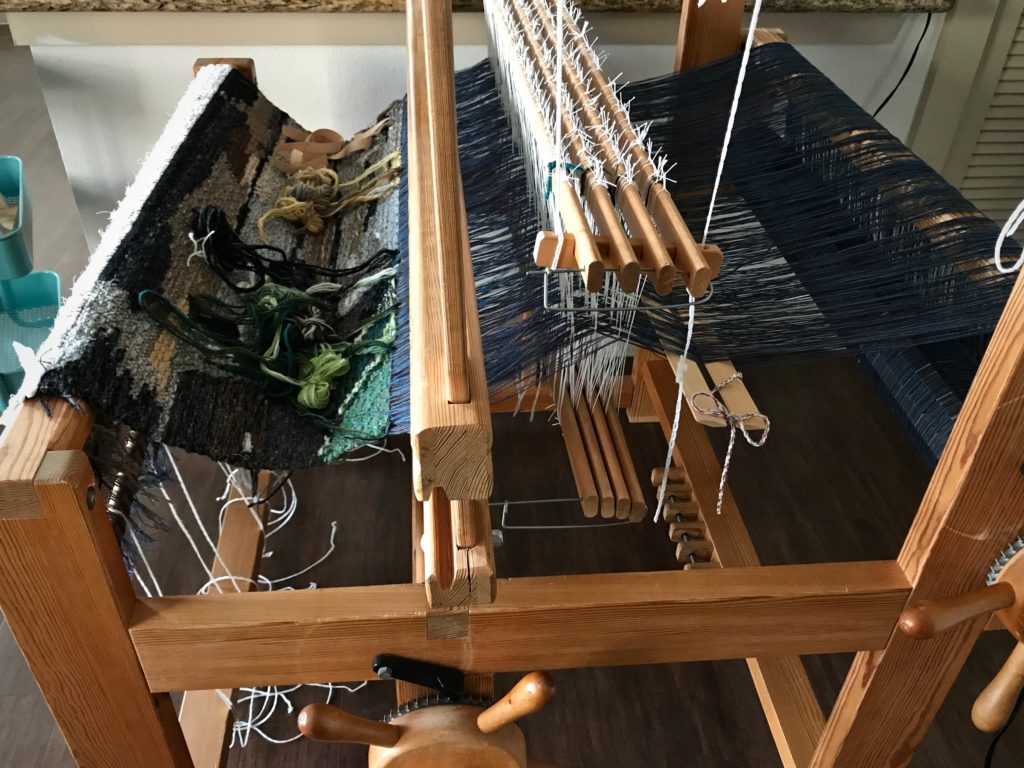
The warp is tied on to the front tie-on bar in 1-inch bundles, with 1/2-inch bundles at the selvedges. And then, I add the leveling string which makes it look neat and tidy and READY.

Leveling string flattens and evens out the warp for no-waste weaving.
Warp is tied on to the front tie-on bar. Leveling string flattens and evens out the warp for no-waste weaving.

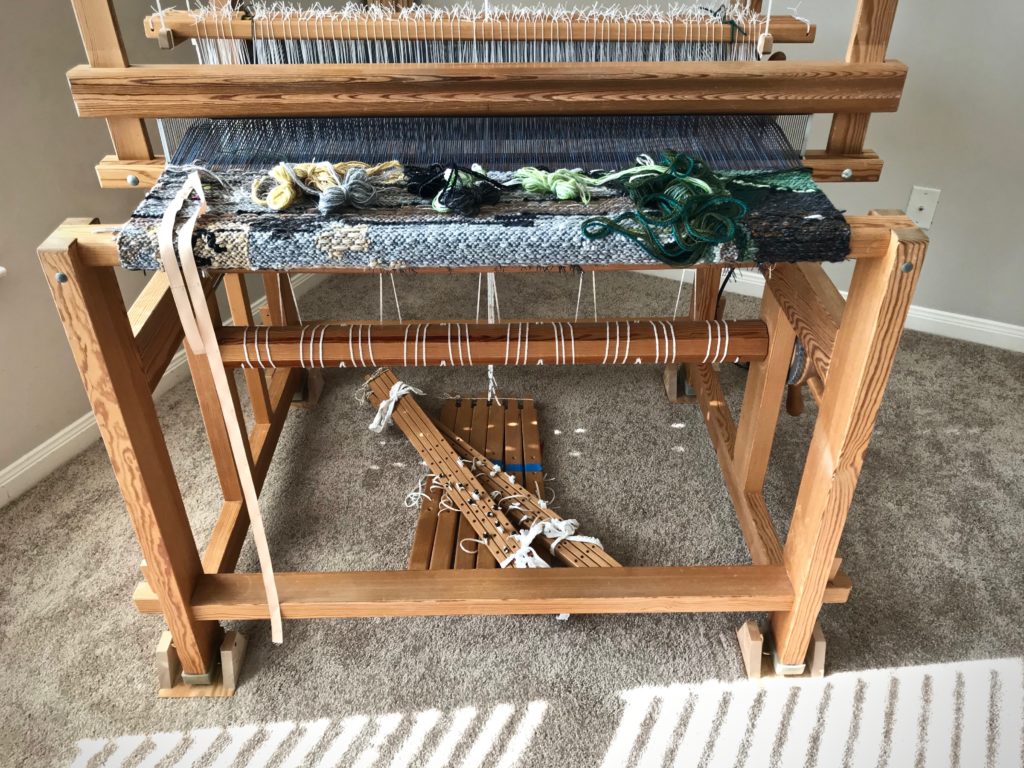
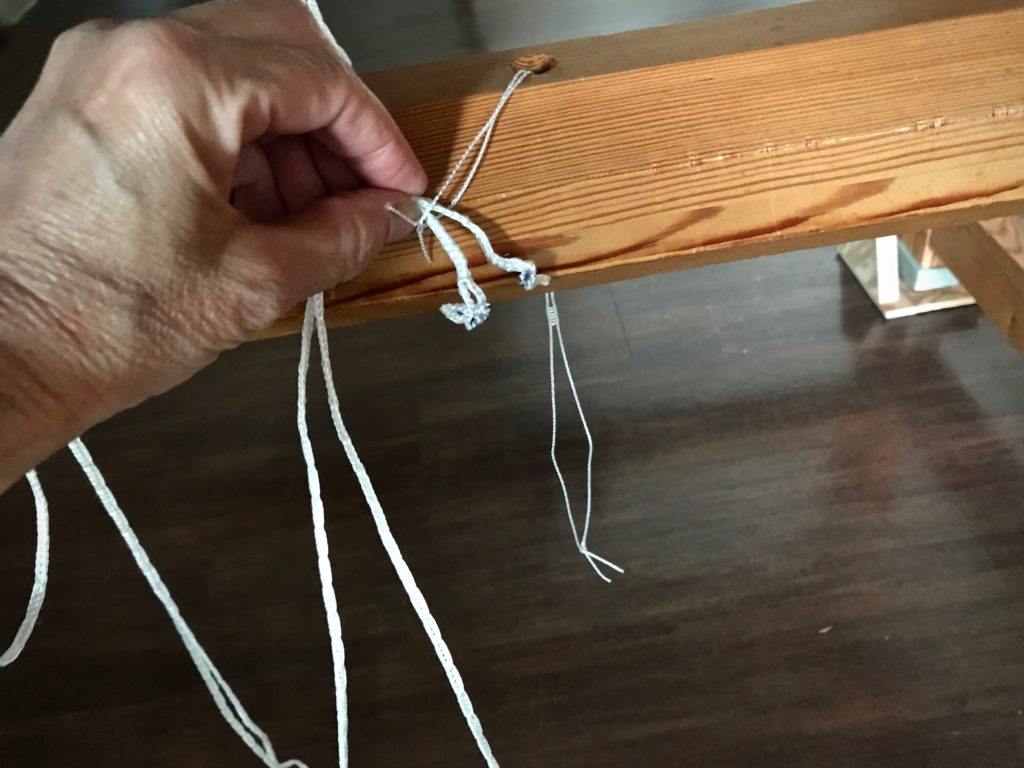
The upper and lower lamms are positioned, and the treadle cords are added and secured. It’s fascinating how simple and basic the whole system is. And how something this simple and basic can be the framework for boundless creative expression.

Under the warp. Intriguing view.
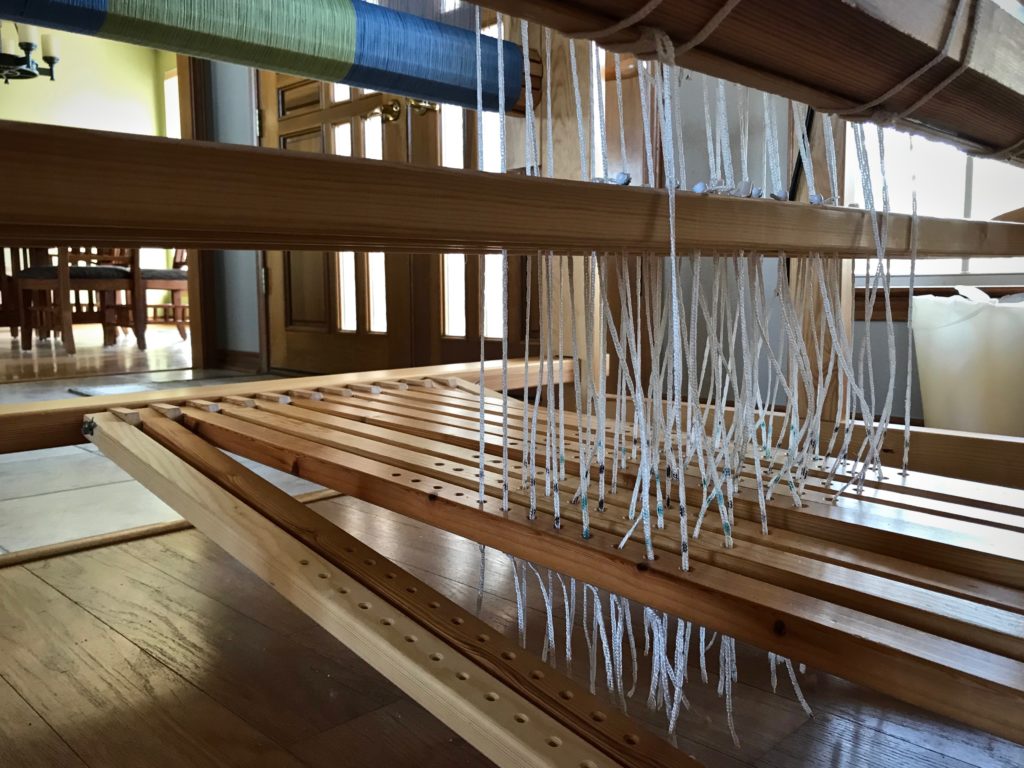
I sit on the treadle beam when I position the lamms, and then place the treadle cords in their holes. I’m always intrigued by the view of the warp and heddles from this vantage point.

Treadle cords on eight shafts.
Treadle tie-ups don’t frighten me. It all makes sense, and is part of the loom-dressing process that I enjoy.

If we think of prayer as something that gets us out of a crisis, or words to say in order to get what we want from God, we miss the whole point of prayer. And we face disappointment. Prayer always works. The work is not our clever words, nor the checking off of our wish list. Prayer is the framework of deep trust that stands ready for the Lord’s boundless creative expression. We pray because we trust him. Christmas—the birth of Christ—shows us that God always steps in at the right time.

May your framework be sure.

Advent greetings,
Karen

No Hurry at the Little Loom

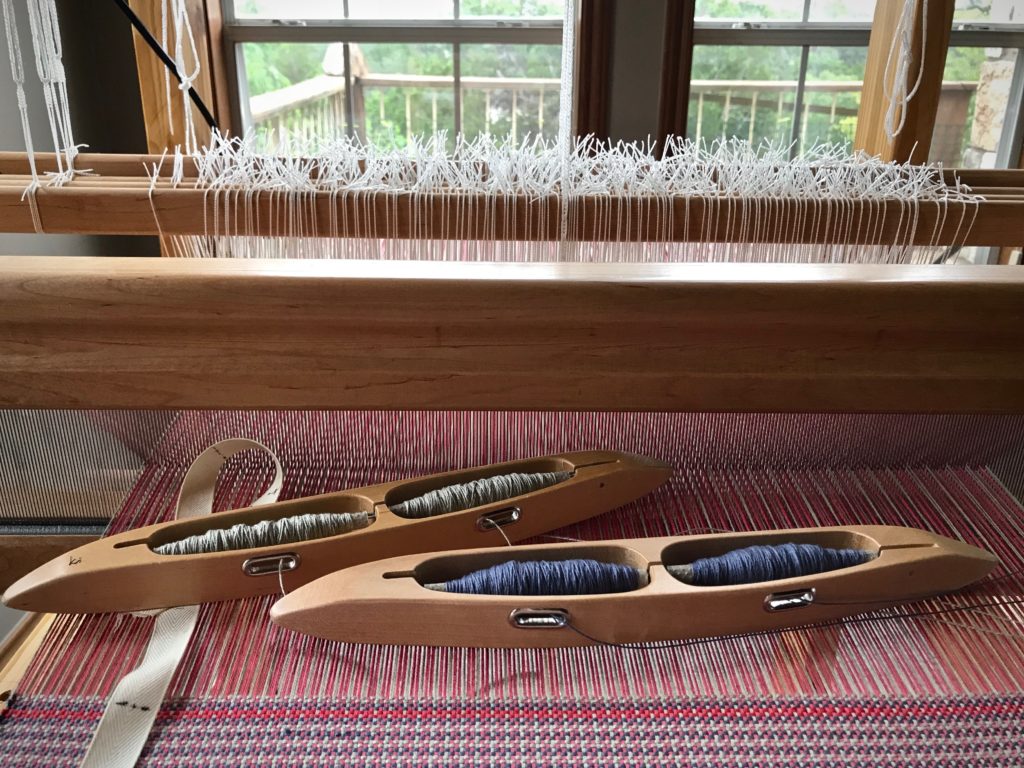
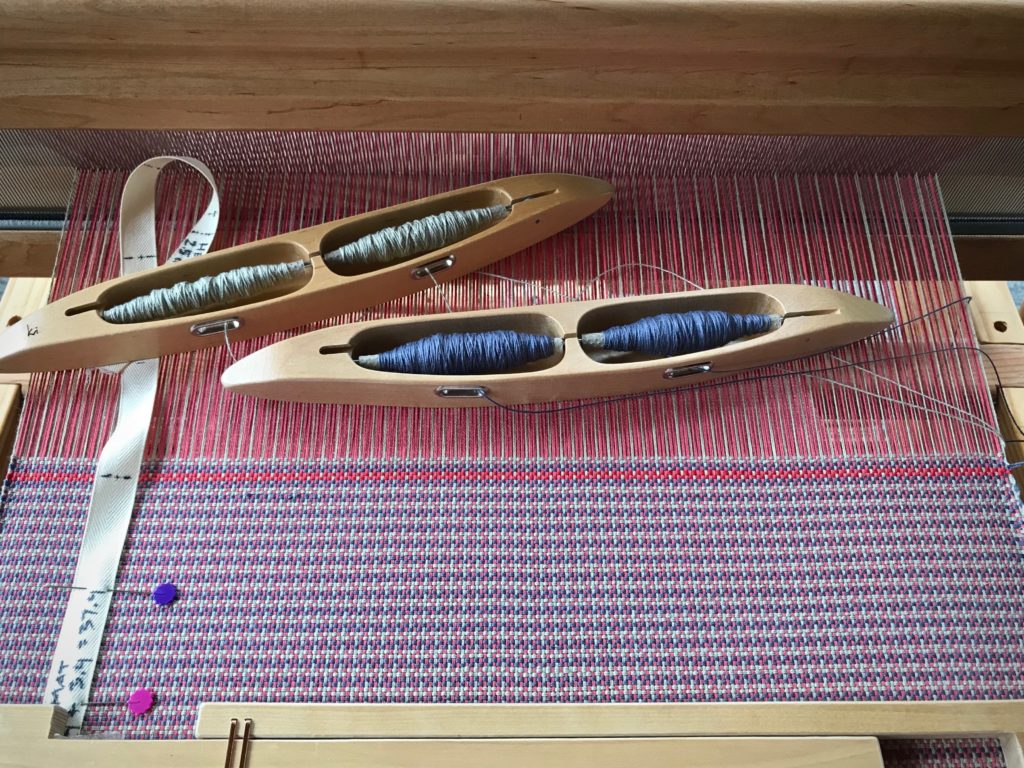
I hope you haven’t forgotten about this sweet little loom at our Texas hill country home. It is refreshing to be able to start right back up and weave another placemat. This is a breeze, even with two double-bobbin shuttles. Color and weave brings plenty of design play. Over the weekend I was able to squeeze in enough weaving time to finish one more placemat.

Color and weave cotton placemats.
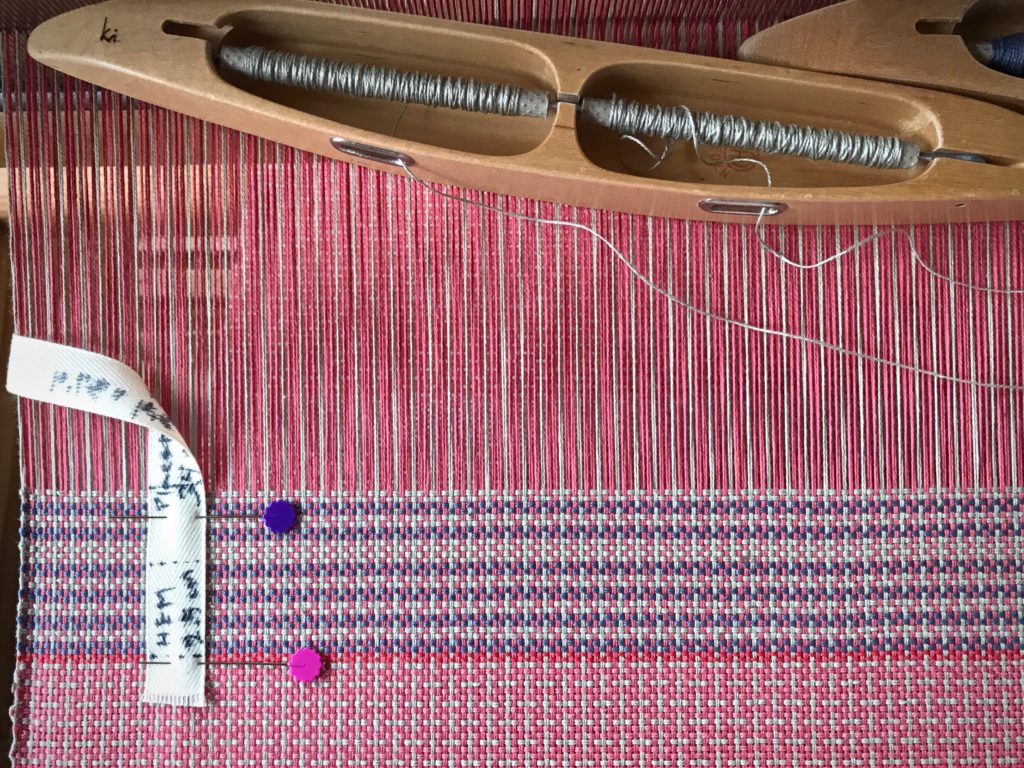
New placemat begins. Two red picks will become the cutting line that separates placemats.

Peaceful setting for unhurried weaving.

There is no hurry or urgency with this project. Other events, transitions, and necessities have taken precedence the last few months. It’s nice to have a ready loom that doesn’t hold a deadline. Simple two-treadle plain weave during a transitional season is a welcome respite.

Color and weave cotton placemats on the loom.
Two doubled-weft picks of dark coral make a line of contrast in the color-and-weave cotton placemat.

Faith is trust. It’s the simple framework we long for when life gets complicated. Trusting the Lord is like knowing what to expect when you throw the shuttles, yet still being pleasantly surprised as you see the fabric form in front of you. His grace removes the hurry and the worry. We find his grace through faith. And isn’t that exactly the respite we need?

May you have a break from hurry and worry.

Happy weaving,
Karen

Lizard Tapestry Disruption

I started the Lizard tapestry right before our big disruption. Selling your house means that every in-process project instantly becomes vulnerable. Yikes! After a sleepless night, I contacted my friend Joanne Hall. Can this weaving be saved? Yes!, she assured me, as she gave me instructions for dismantling the loom.

Getting ready to dismantle loom for relocation.
Yarn supply is packed up, including all the wool butterflies.

Getting ready to dismantle loom for moving.
Cartoon is removed.

Everything is logical about the process. Undo things, tie parts together, take things apart. And I don’t have to cut off the weaving? No. Remove the beam cords from the cloth beam. It’s that simple.

Lamms and treadles removed for moving the loom.
Lamms and treadles have been taken off.

Moving a loom without ruining a tapestry in progress!
Beam cords are removed from the cloth beam.

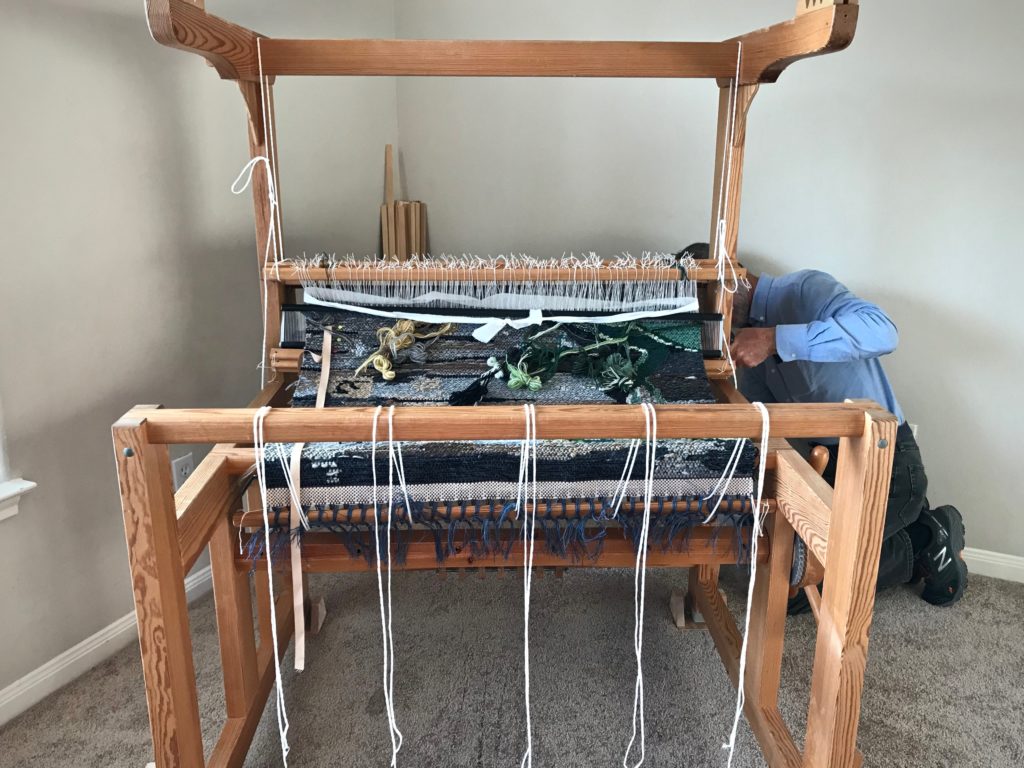
Removing the warp beam. Relocating the loom.
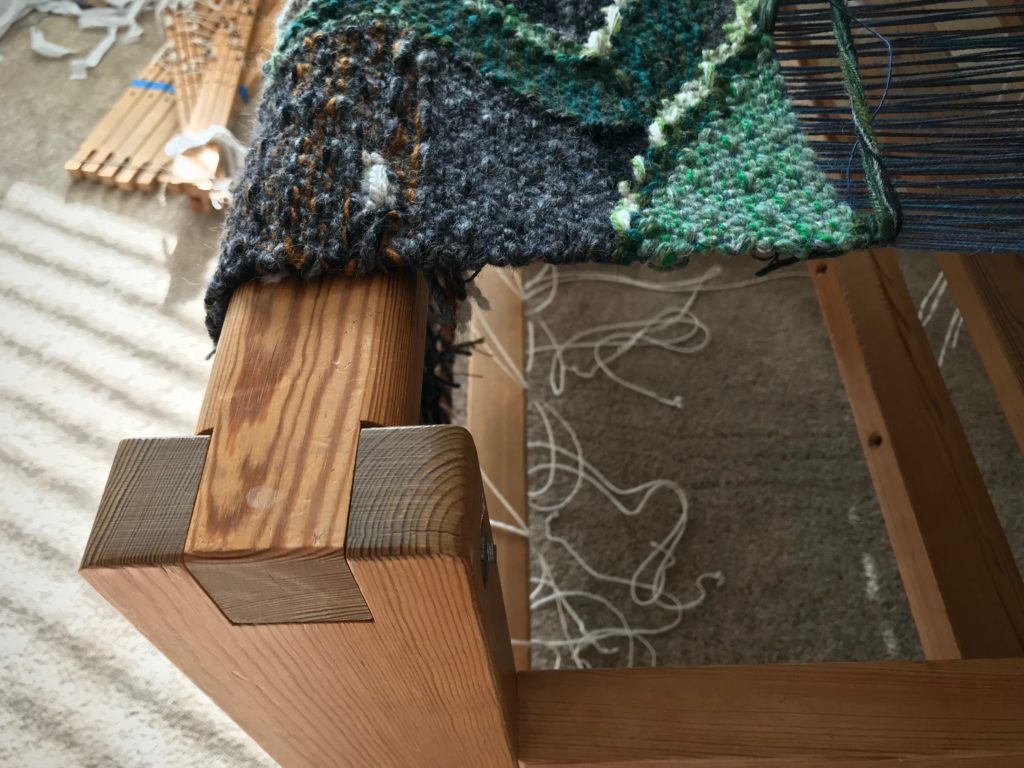
Steve unscrews a bolster that holds one side of the warp beam so I can remove the warp beam.

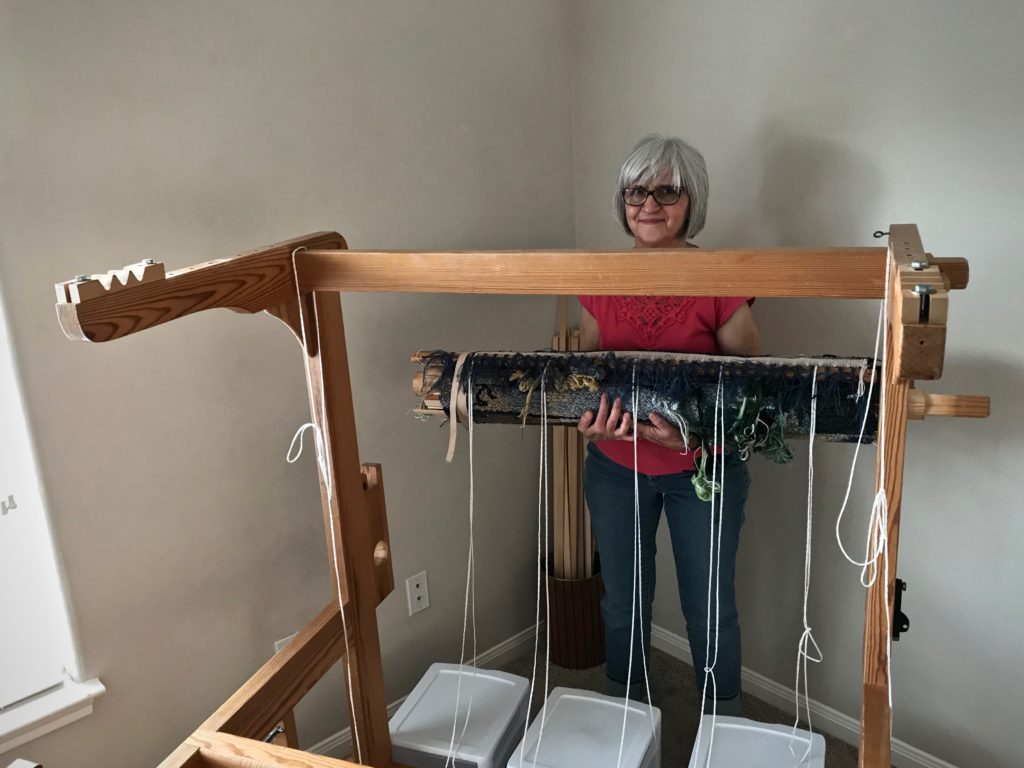
Warp beam removed! Hope to put this back together.
Holding the precious bundle!

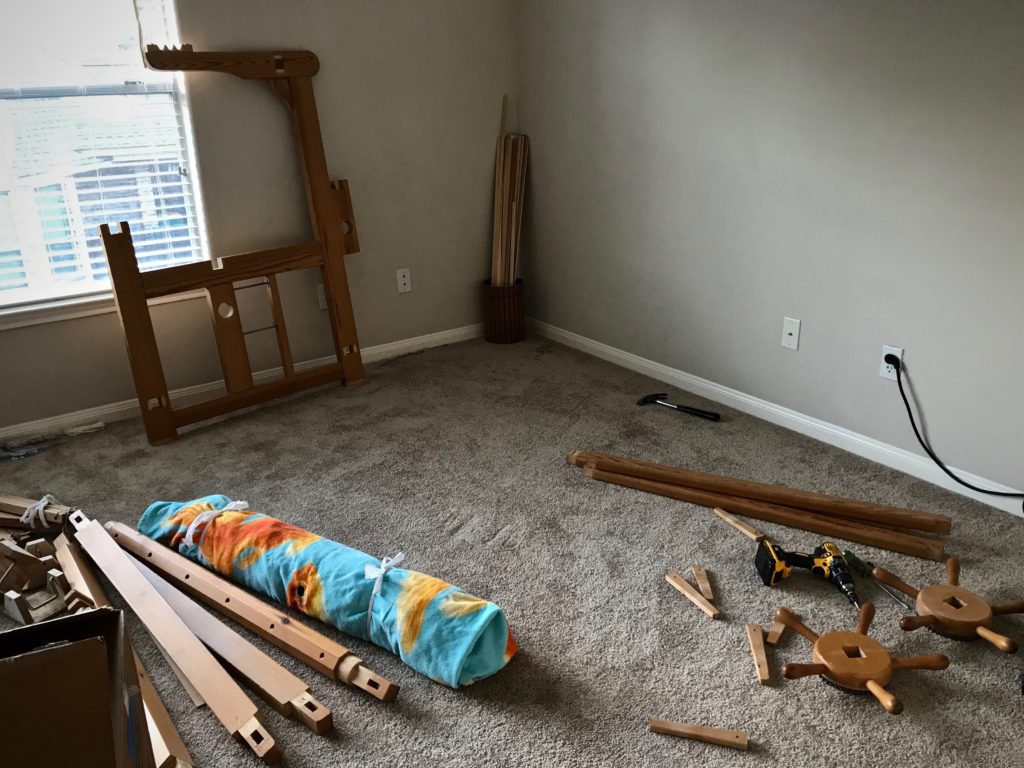
Taking the loom apart.
Taken apart. Tapestry, reed, and shafts are rolled and bundled up in the fish beach towel.

Now all I have to do is wait

Relocating my loom.
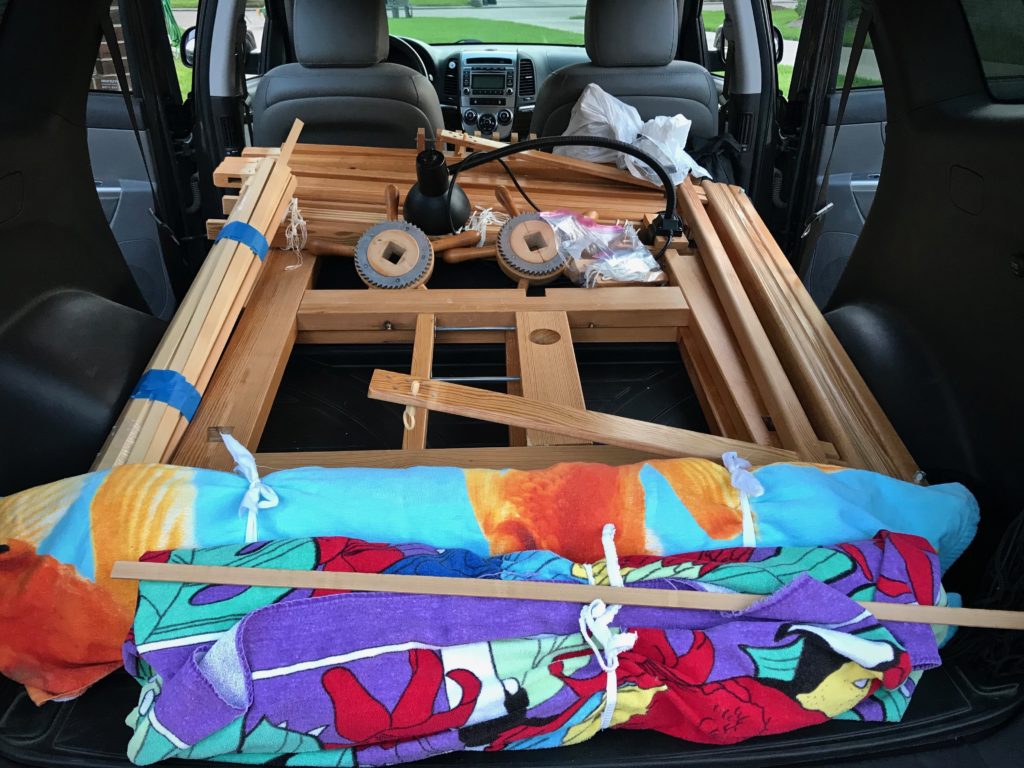
Everything fits in the car, ready for transport.

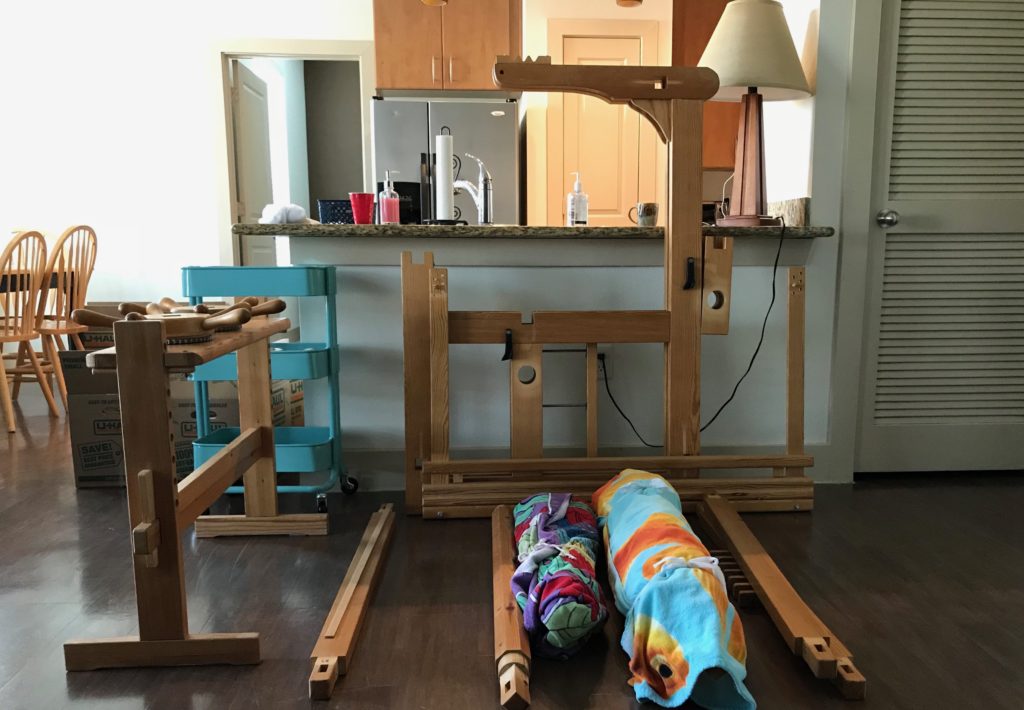
All the dust has settled, the house transaction is done, and the loom has been re-located and put back together. It’s the first thing you see when you enter our ground-floor apartment.

Getting ready to re-assemble loom.
New location for the loom is in the living room of our apartment.

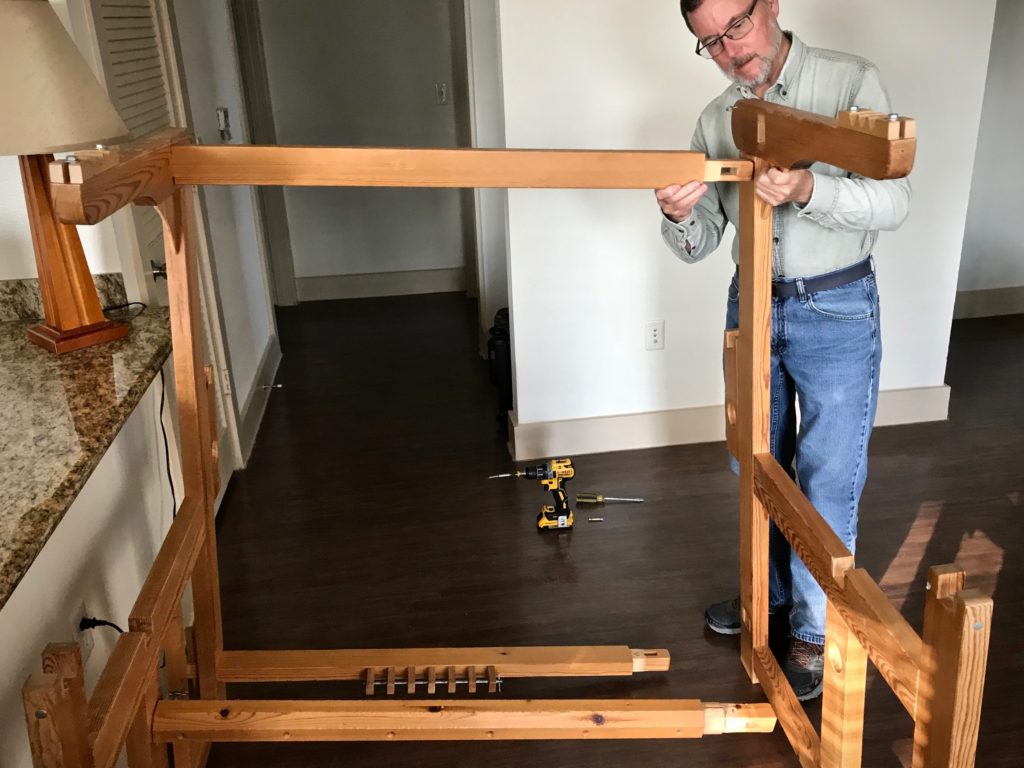
Simple Swedish loom assembling.

Re-assembling my loom after relocating.
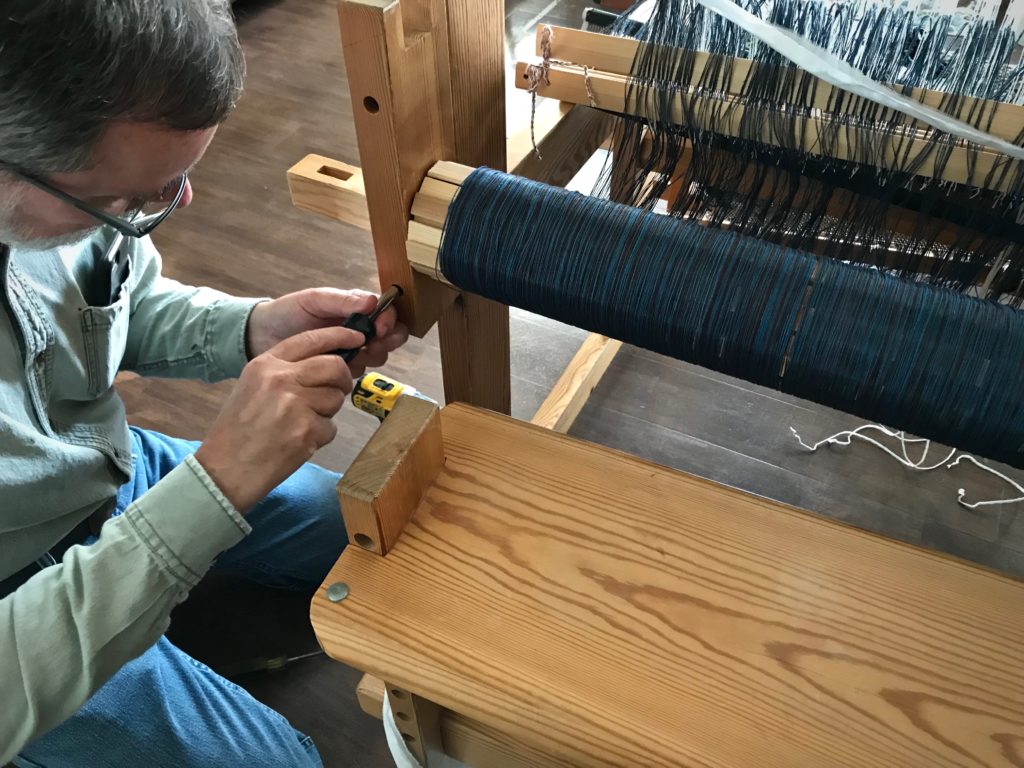
Re-attaching the bolster to hold the warp beam.

Re-assembling loom after relocating.
Tapestry in view.

Using a spare heddle as a cord threader.
Spare Texsolv heddle works as a cord threader (I forgot to pack the “real” cord threader) to re-attach the cords on the cloth beam.

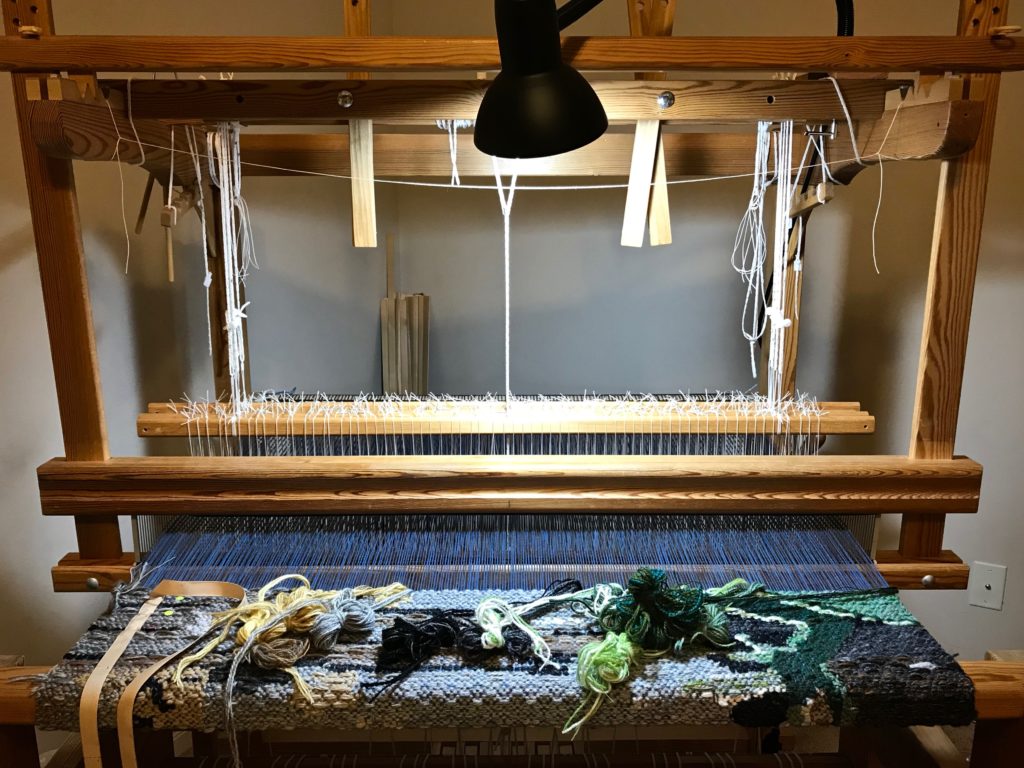
What about the Lizard? Can I resume where I left off? Good news: IT WORKED!

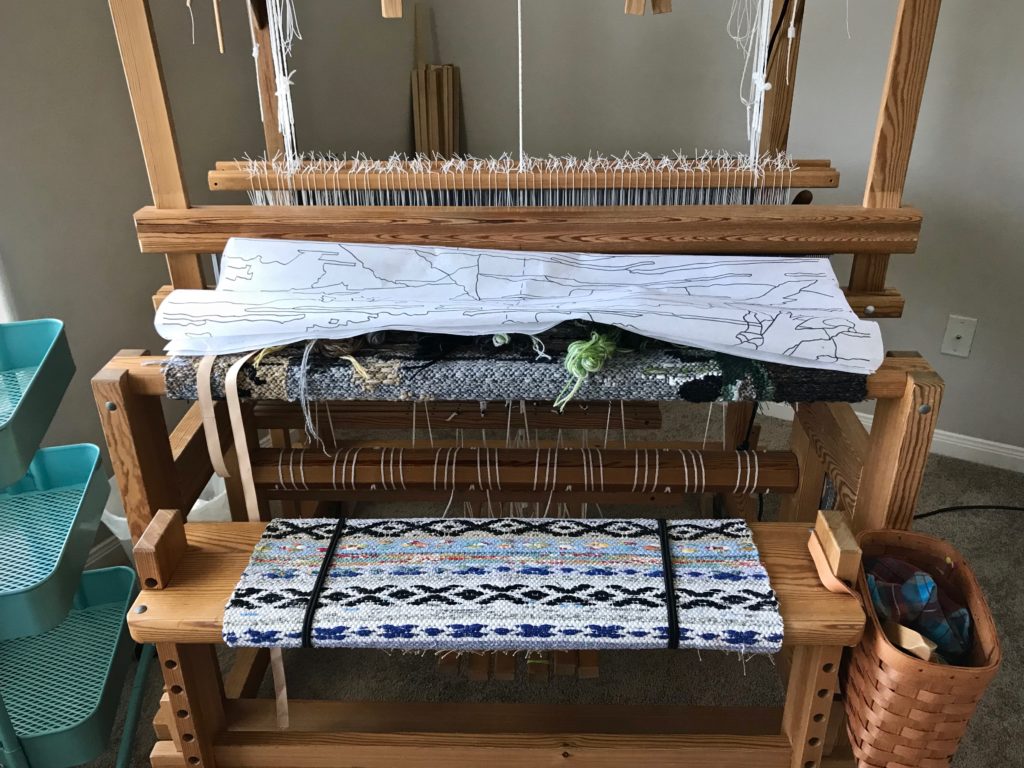
Ready to weave after relocating the loom!
Everything is put back together. Beam cords are re-attached. Yarn is unpacked. Warp is tensioned.

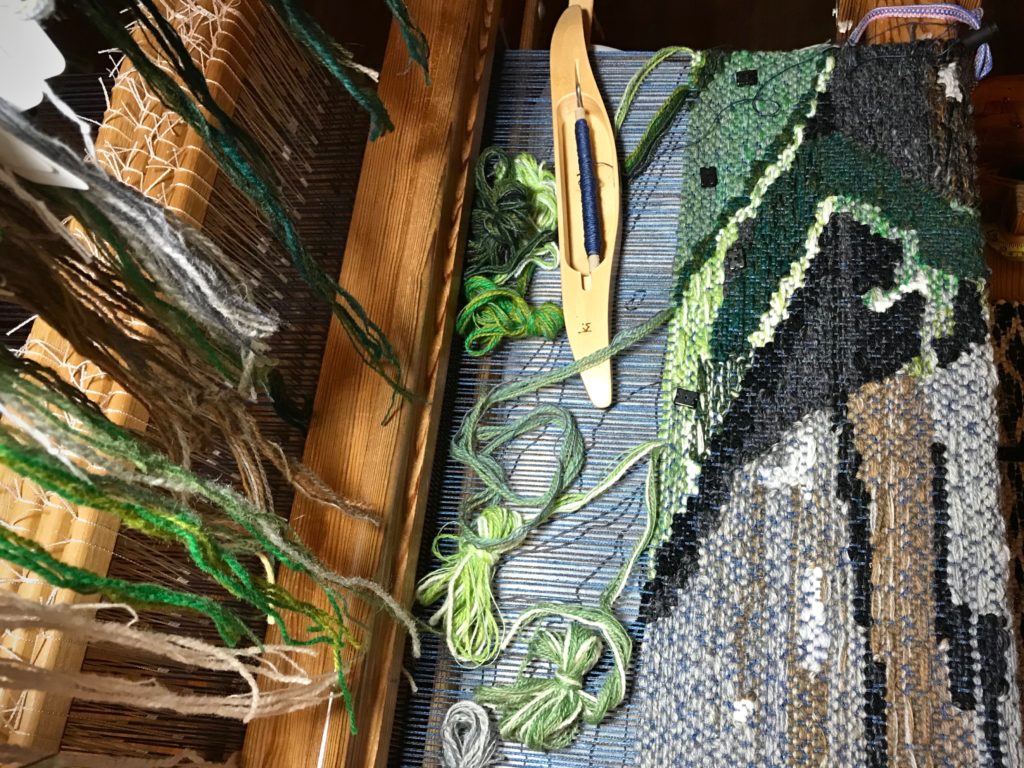
Lizard four-shaft tapestry.
Lizard foot grips the breast beam as weaving resumes!

When have you had to wait? Something you dearly long for is unreachable for a while. Waiting for the Lord is always waiting with hope. I trusted my friend’s advice. So, my hope was strong while I waited to see this lizard take shape again. In a similar way, I can trust the Lord when there is a disruption. Wait with strong hope. Wait for the grace to begin again.

May you wait patiently.

Happy Weaving,
Karen

Tools Day: Measure Once

It occurs to me that I am unnecessarily doing something the hard way. Repeatedly. For every new project, I pull out my tape measure to find the right set of lease sticks. The tape measure also helps me select the temple needed for the current weaving width. No more! I do like my tape measure, but why am I measuring these things every time? Why not measure them once and label them?

Solution

  • Measure the lease sticks and write the length in centimeters and in inches on one stick of each pair, in pencil.
  • Use a wood burner to trace the pencil markings. (My husband Steve does this part for me.)

Weaving tip: Measurements on lease sticks.
Wood burner is used to write the length measurement on the end of a lease stick. Centimeters and inches are indicated because I use metric or imperial units, depending on the project.

  • Thread a cord through one end of each pair of lease sticks, to keep pairs together. Hang the lease stick pairs with the measurements clearly visible.

Weaving tip: Measured lease sticks paired together for hanging.
Looped cord is threaded through the lease stick holes to provide an easy way to hang pairs together.

Paired lease sticks, ready for hanging.

Lease sticks hanging in the weaving studio.
Pairs of lease sticks hang beside my worktable in my weaving room. My ol’ Beka rigid heddle loom on the wall happens to provide just the right little hanging post for the measured lease sticks.

  • Look up the temple sizes on a website that sells them, and write the size range in centimeters and in inches on each temple, in pencil.
  • Use a wood burner to trace the pencil markings. (Steve, again.)

Weaving tip: Measure the temples.
Range of temple widths is important information when I’m choosing a temple. Weaving width of a project must fit in that range.

  • Store the temples in a manner in which the marked measurements are easily seen.

Weaving tip: Find the right temple size the first try!
No more trying different temples to find one that fits. Now I can look at the markings and select the correct temple the first time.

Now I have permanent at-a-glance measurements for each of these frequently-used tools!

May you find something to simplify.

Happy weaving,
Karen