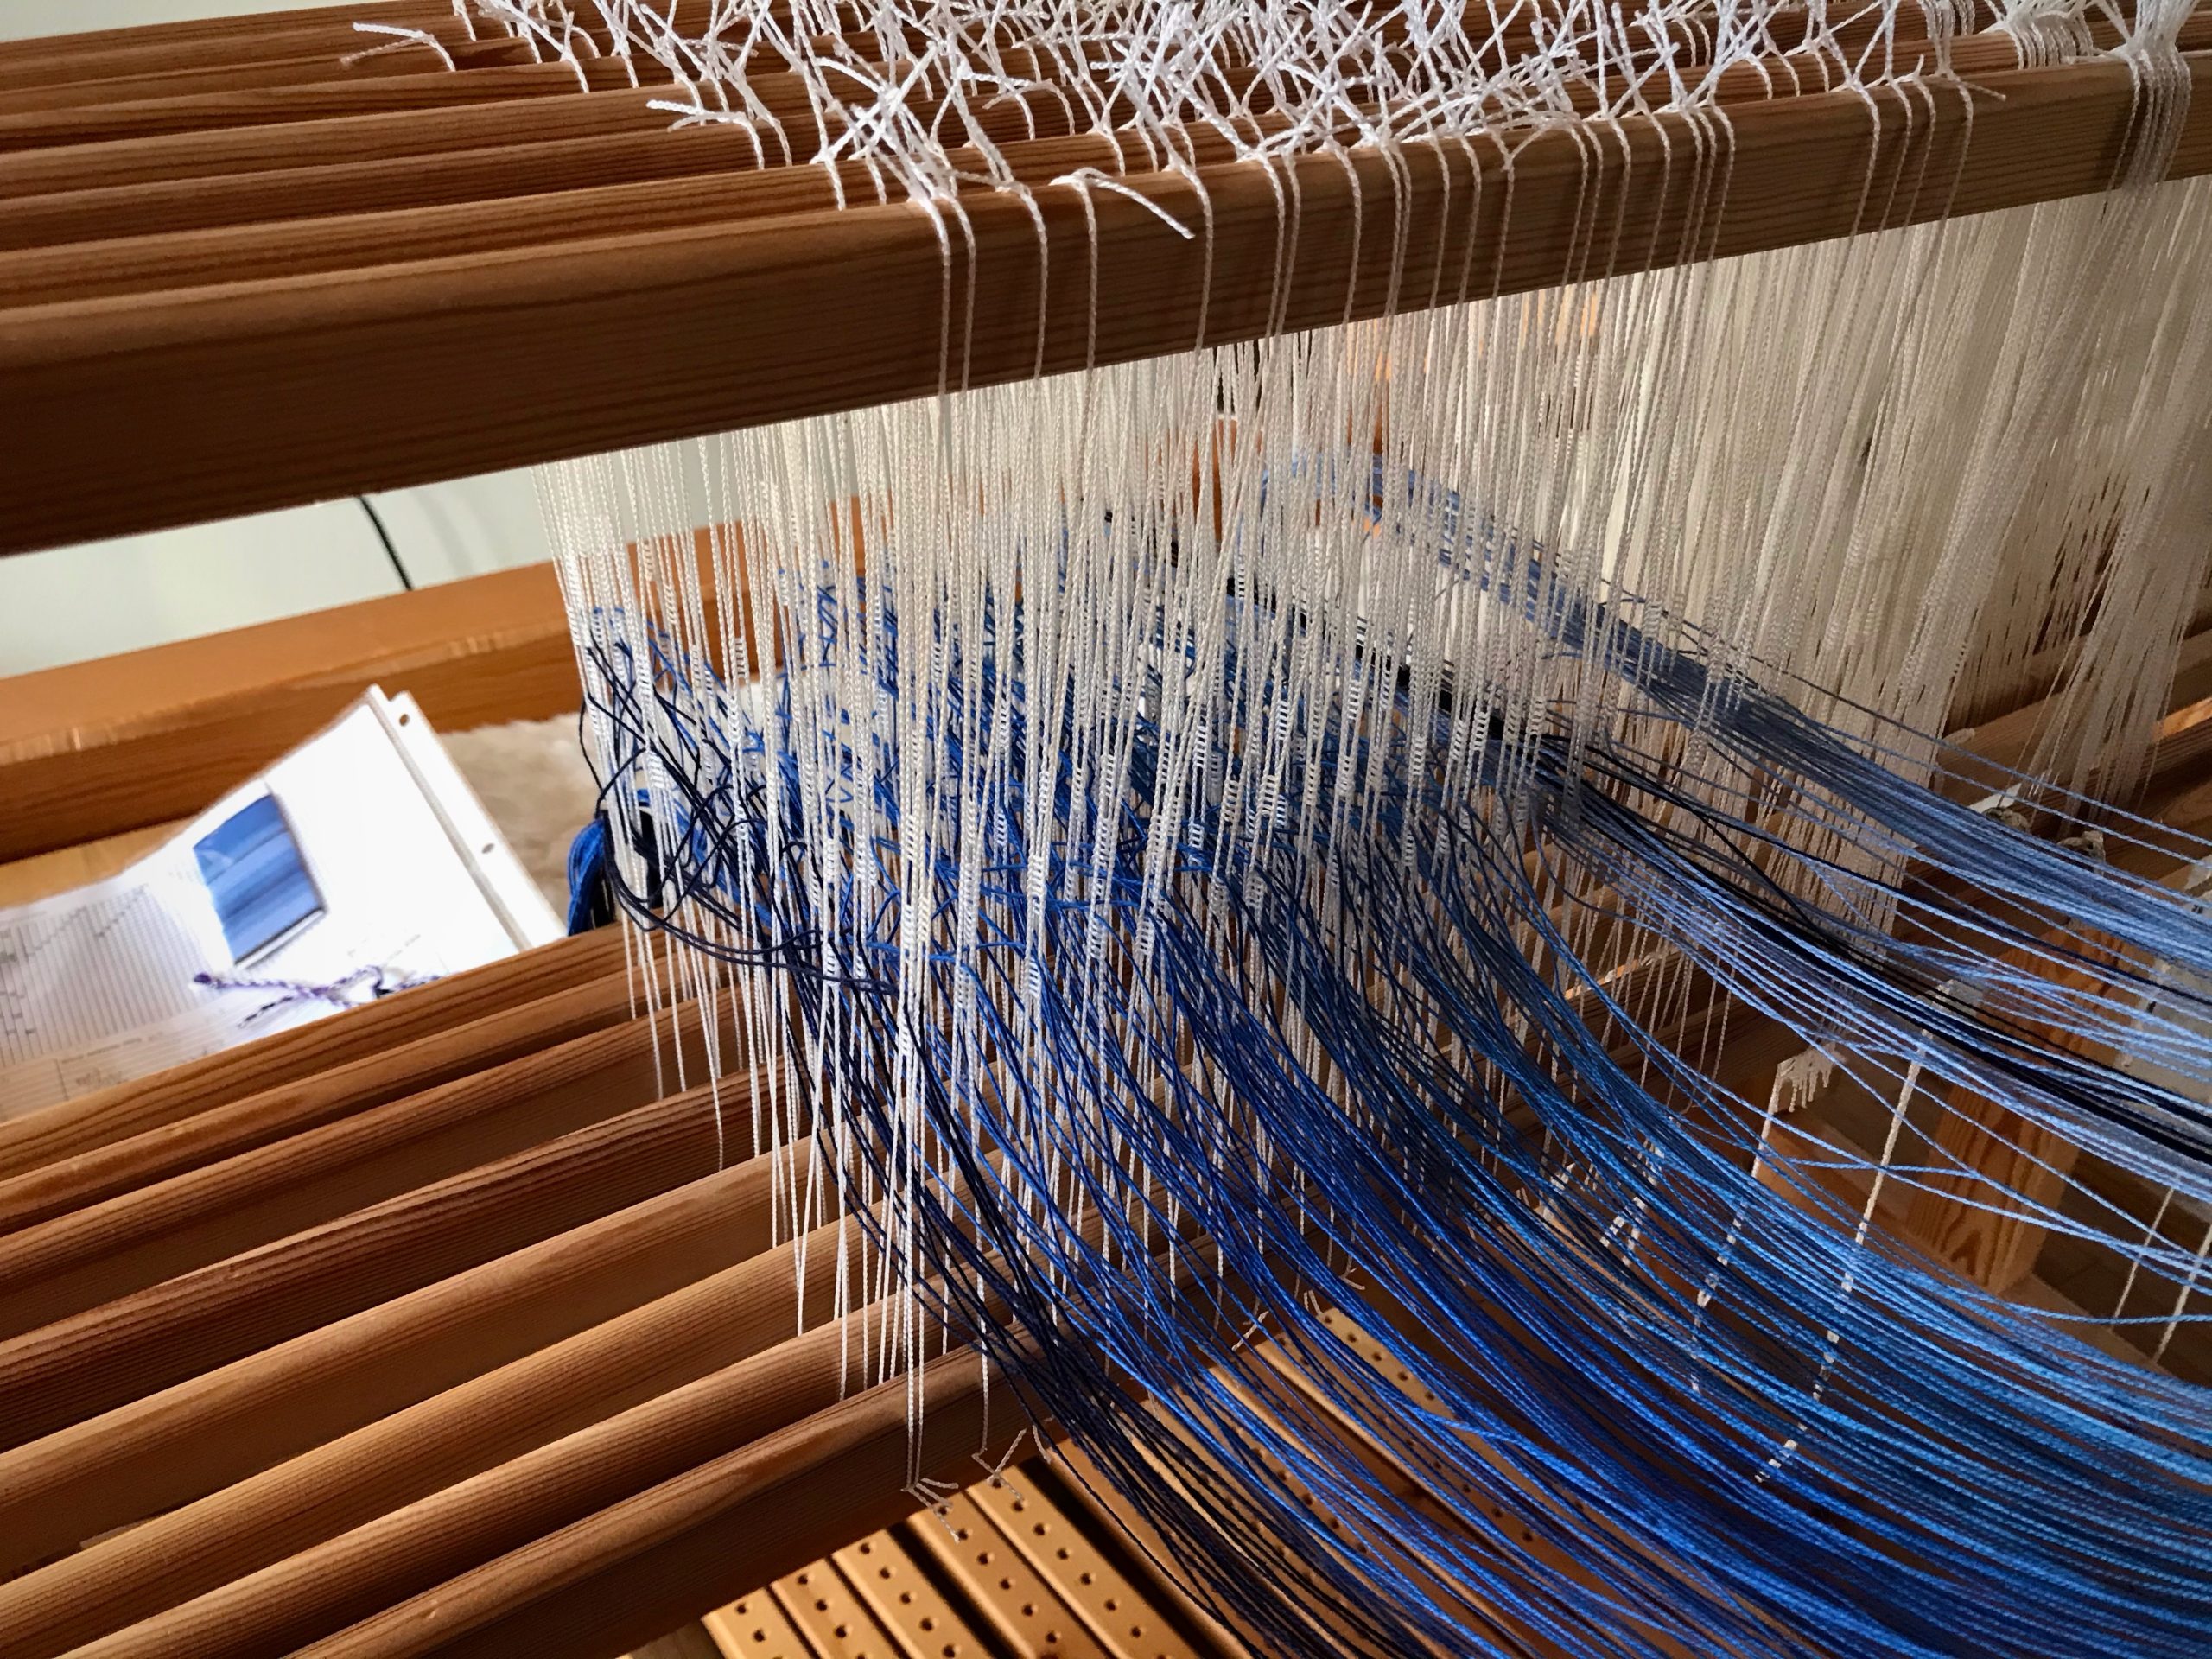
The blue threads for this project are delightful! Four shades of blue, from pale blue to sapphire, play across the warp, accented with navy blue stripes. Lucious 8/2 cotton is threaded in eight-shafttwill. The hand of the fabric will be well suited for the chair arm- and headrest- covers I have planned. This blue color sequence is the winning combination from the thread wrappings I showed you in October. (See Warp Sequence Planning.)
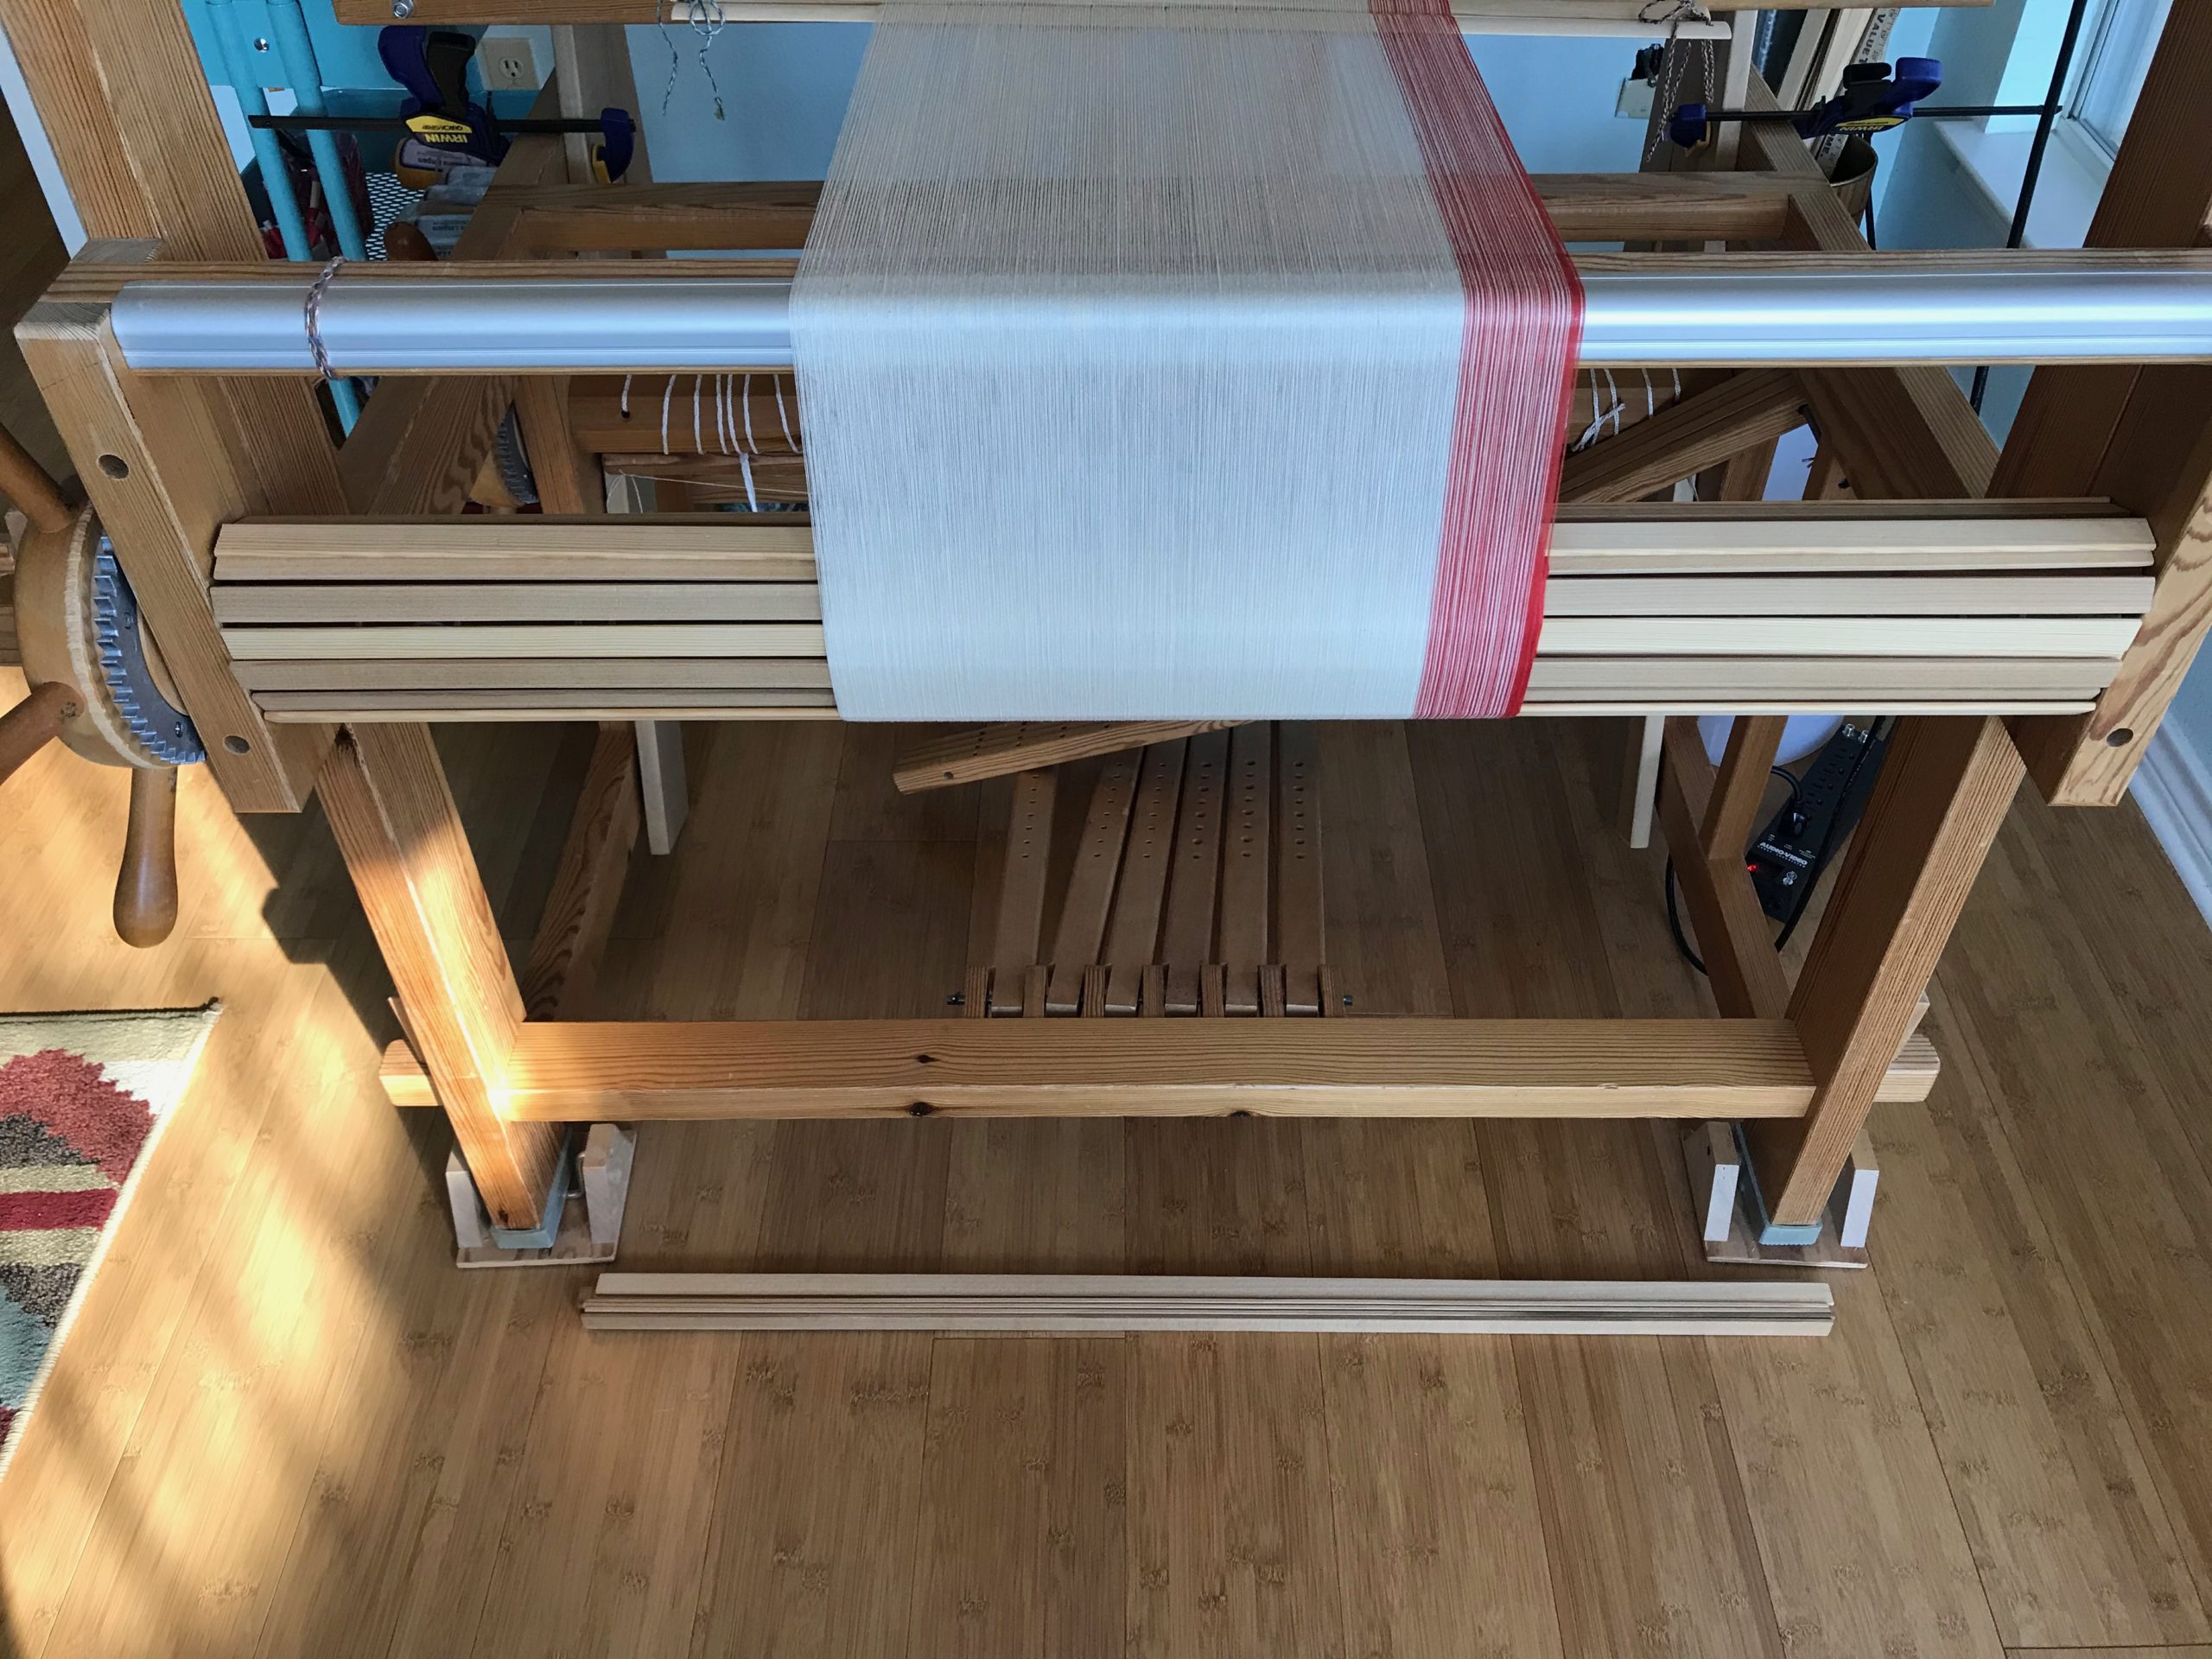
Project notes sit with me on the loom bench. Beautiful warp beam gives a glimpse of how the blue flows together.
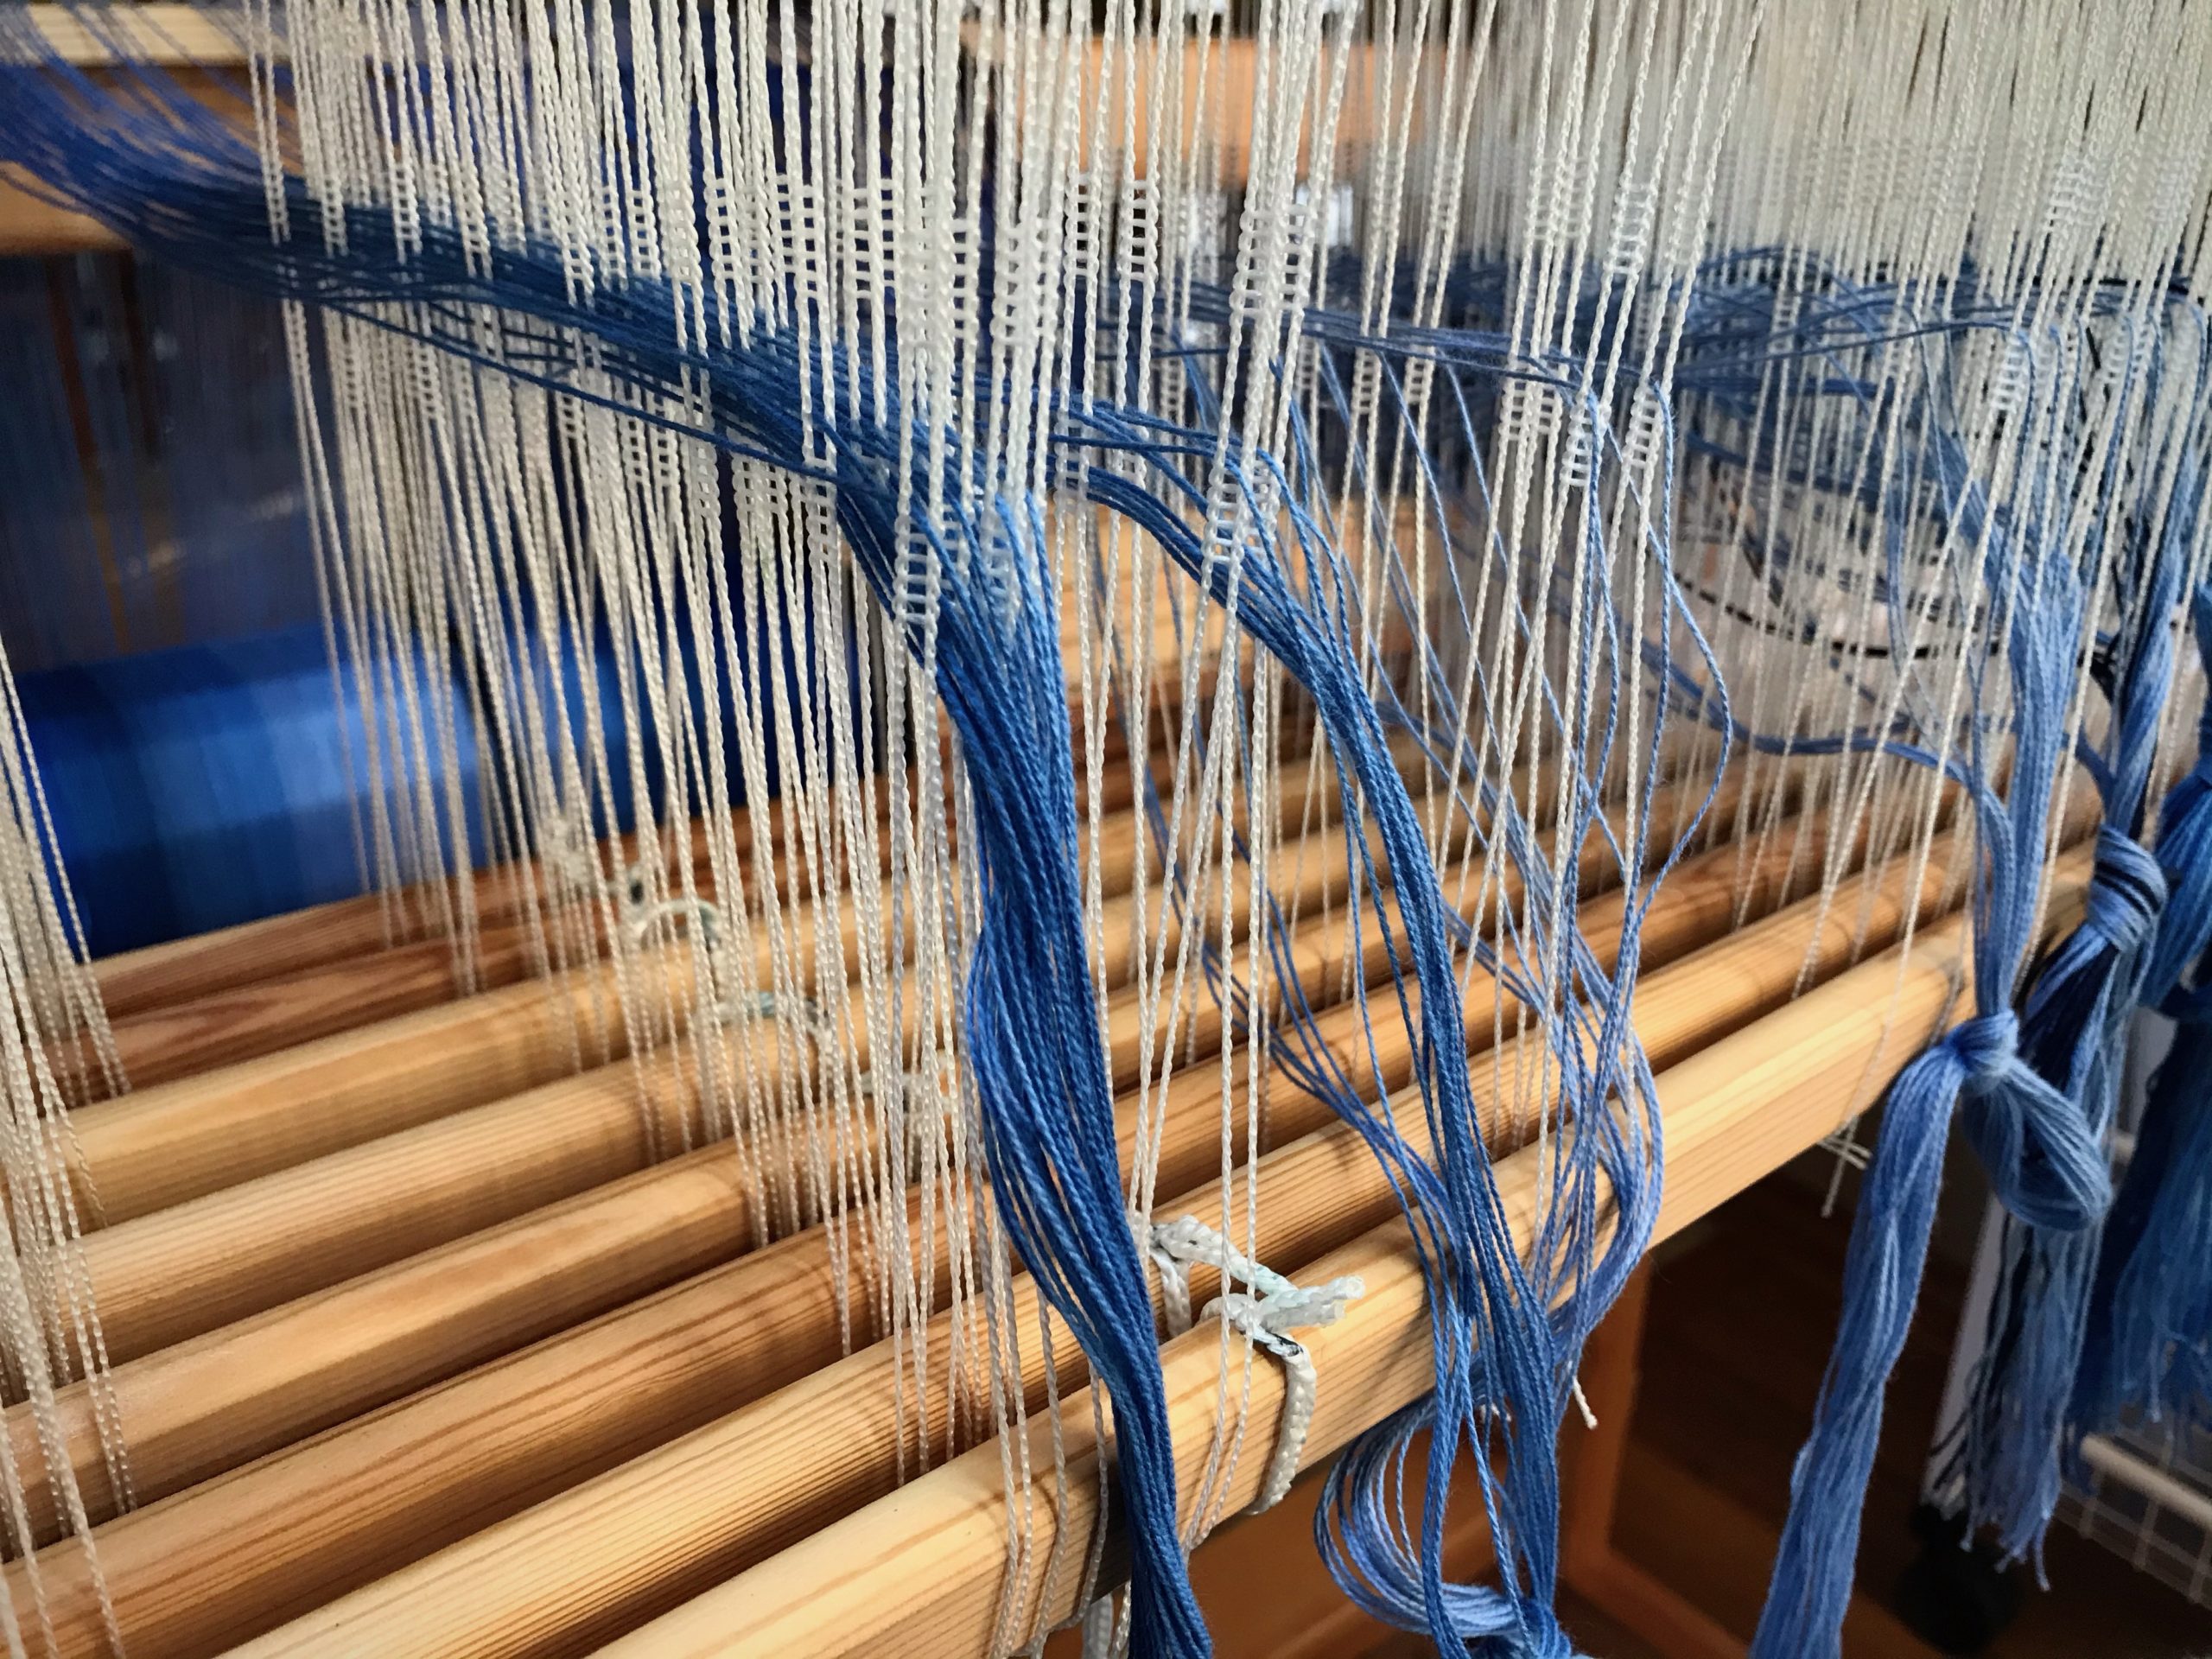
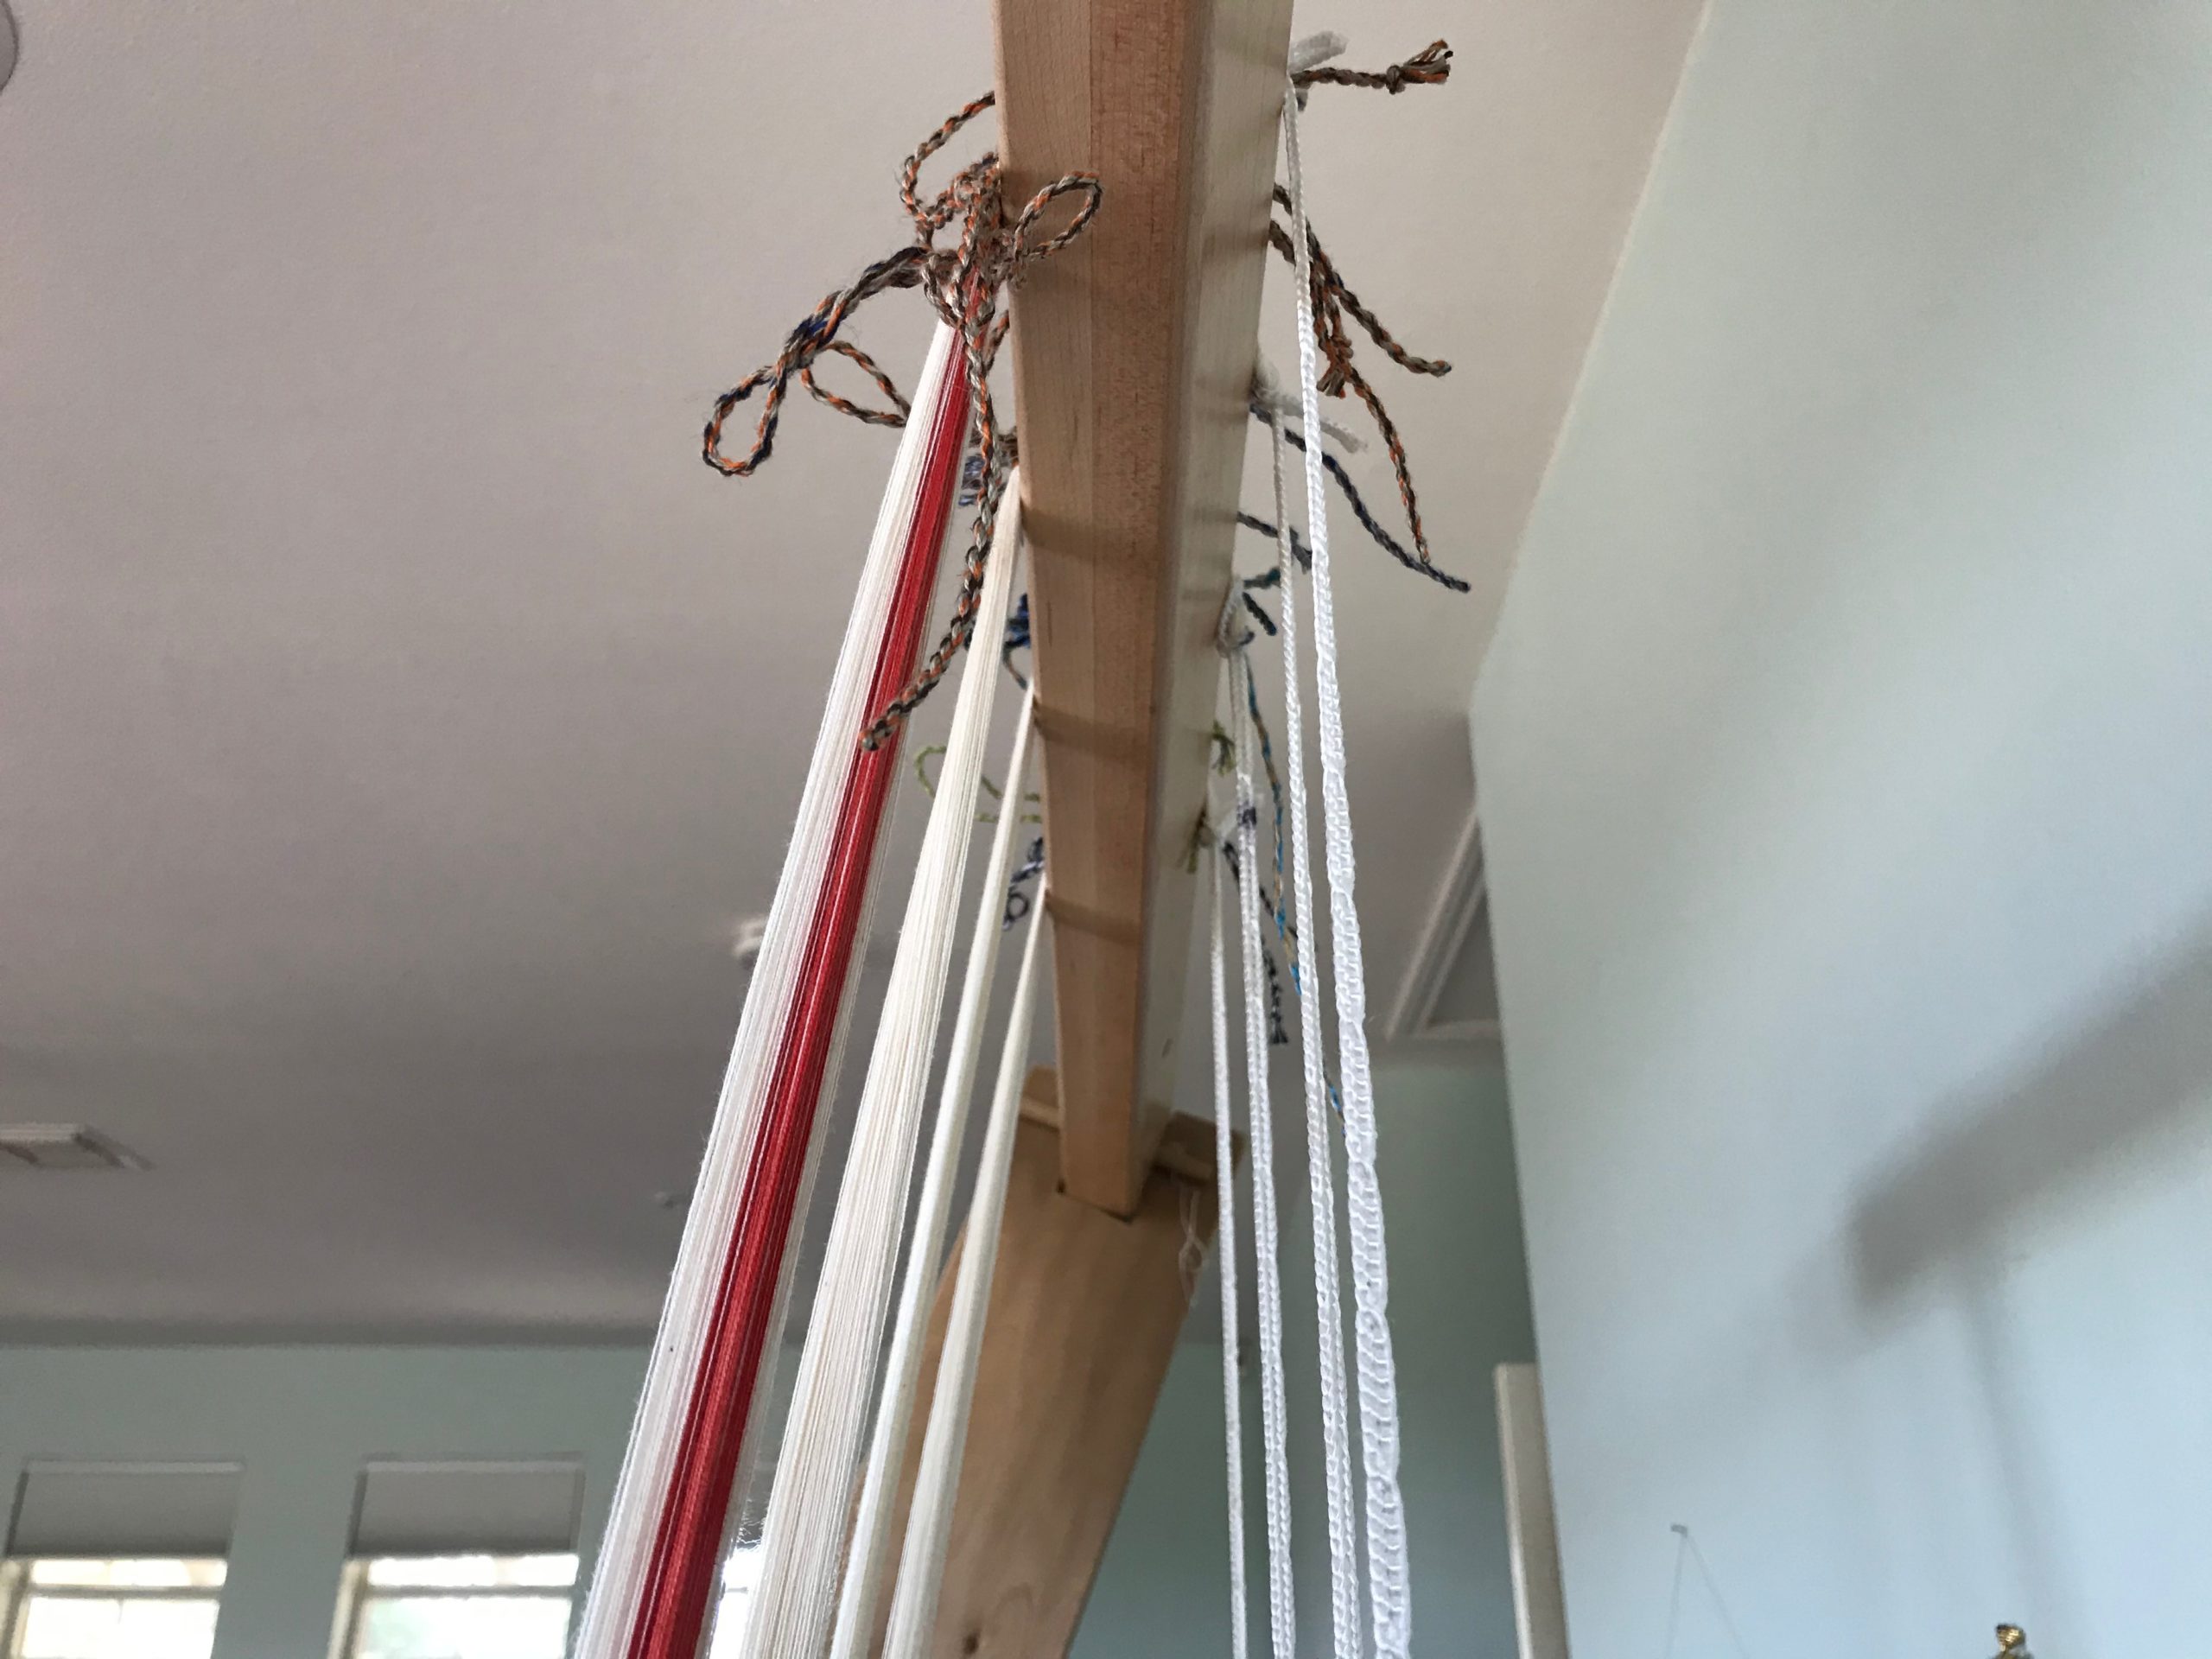
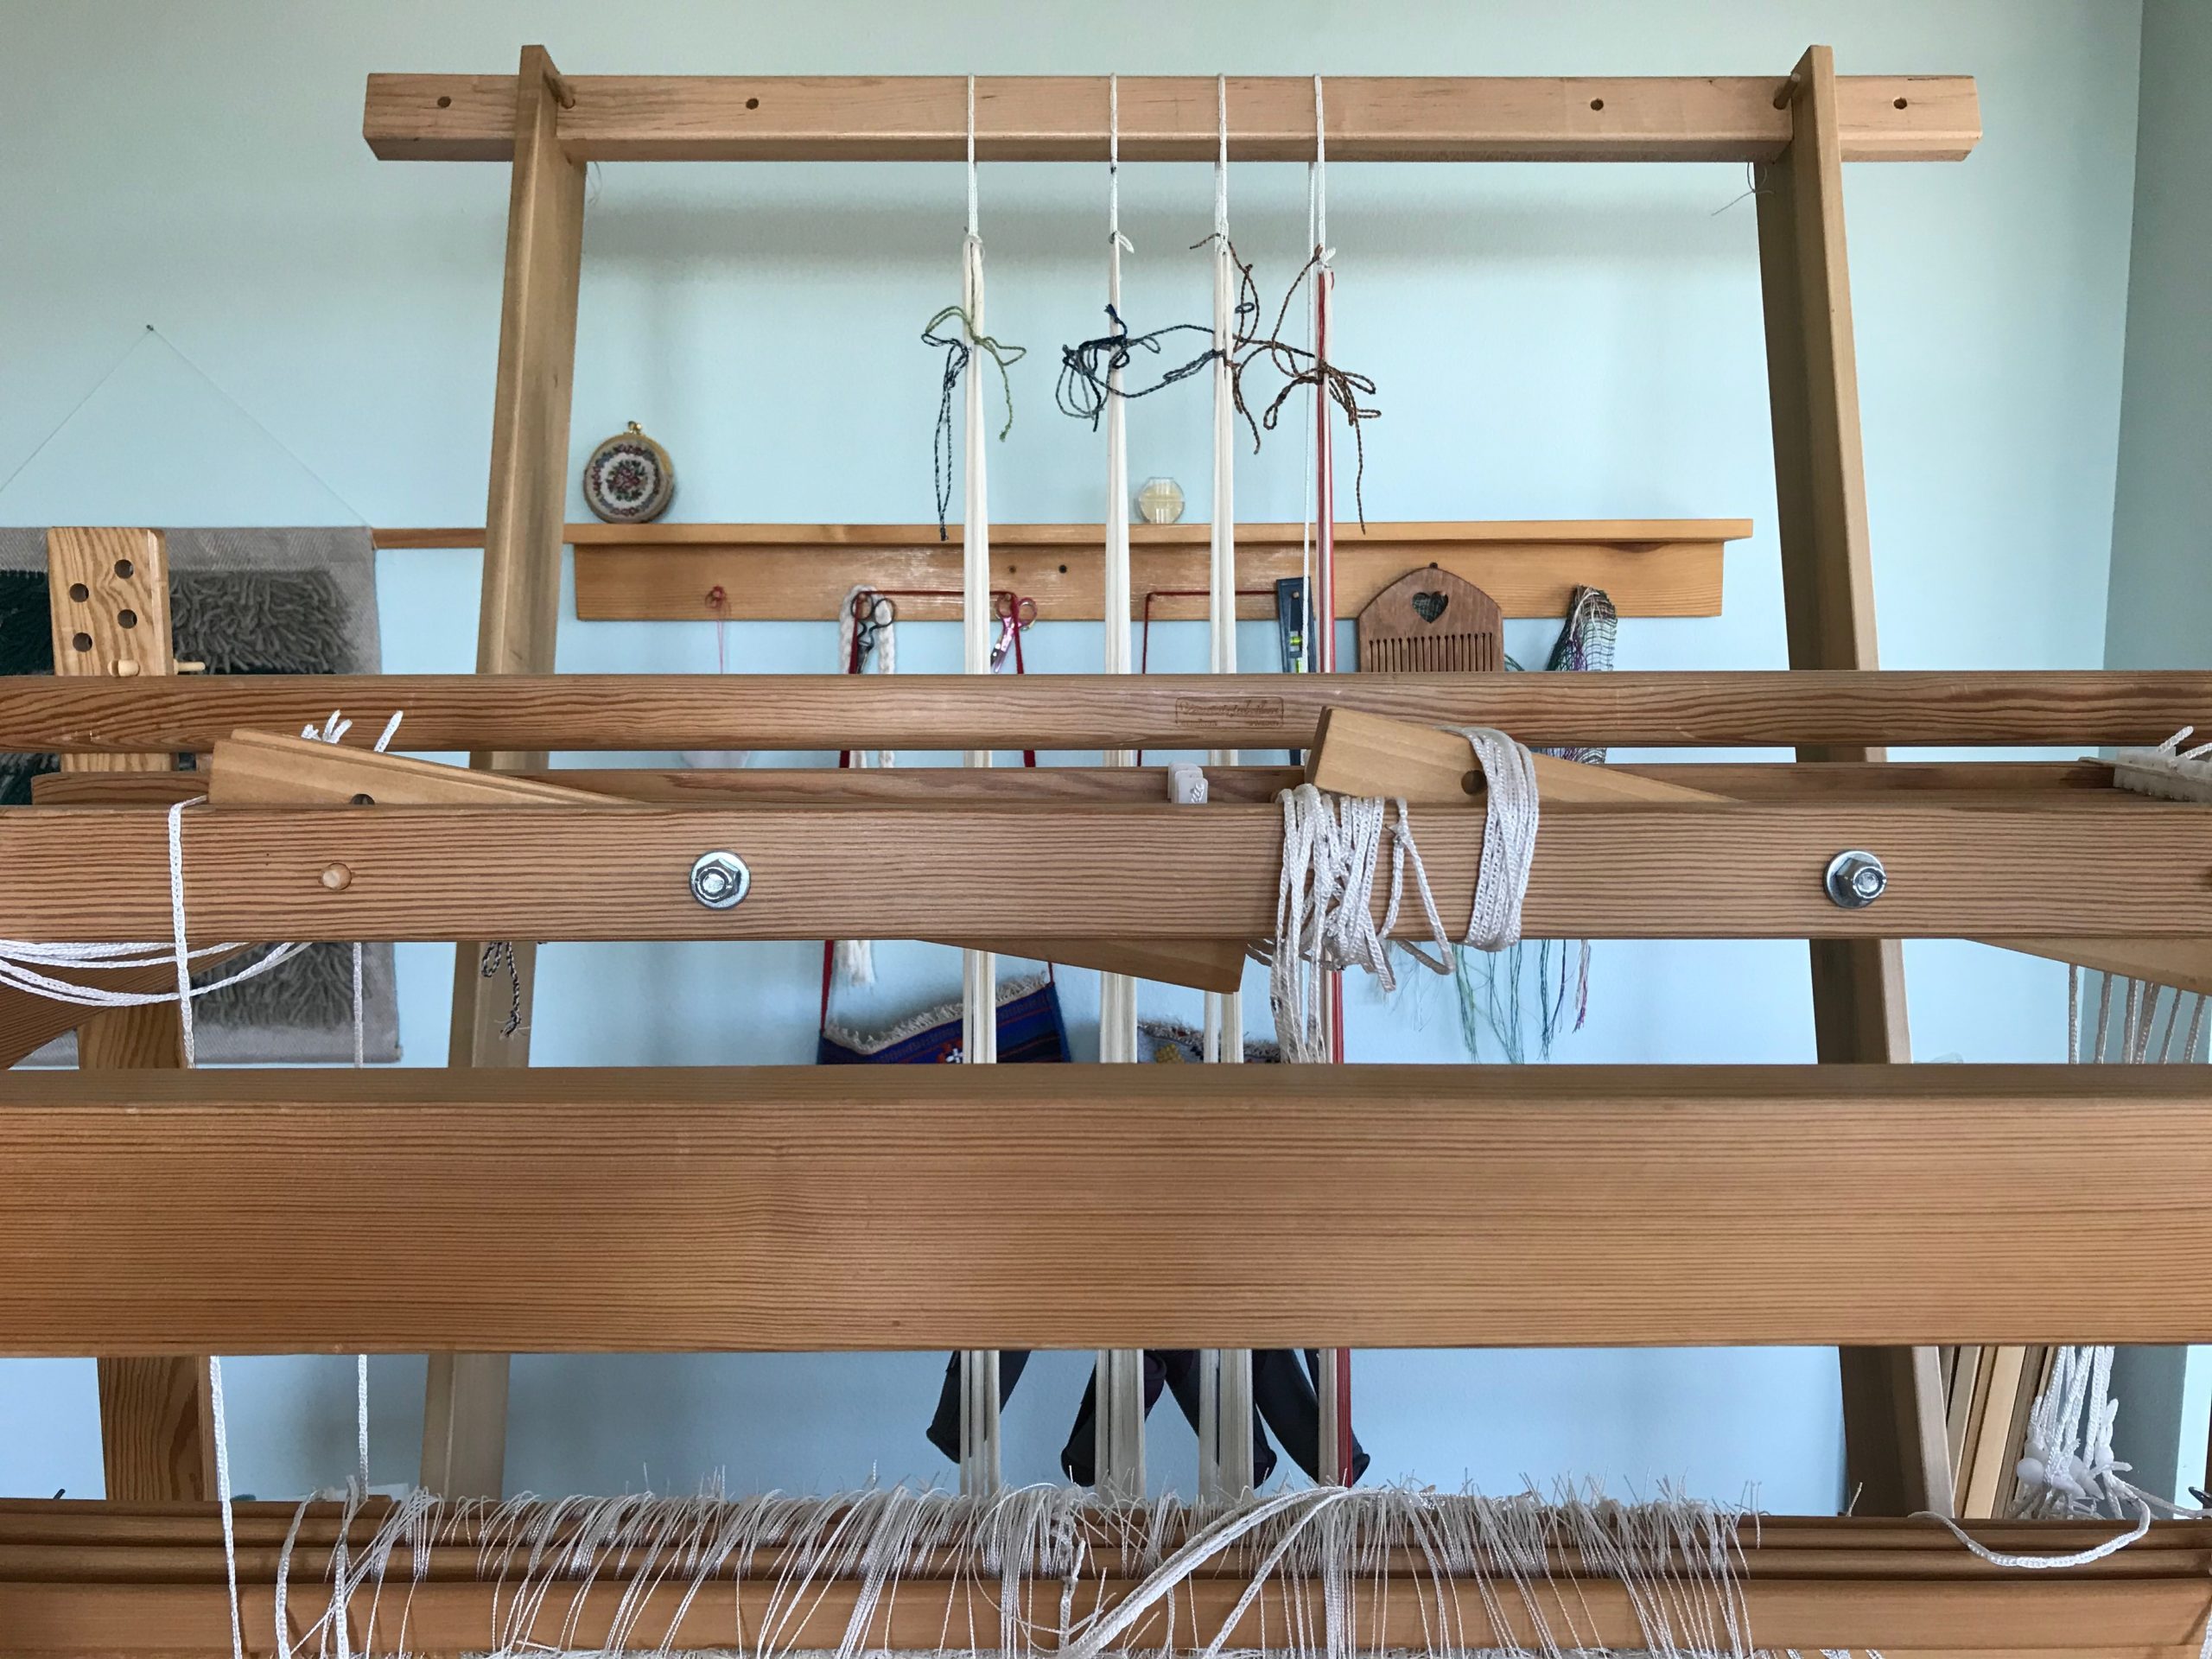
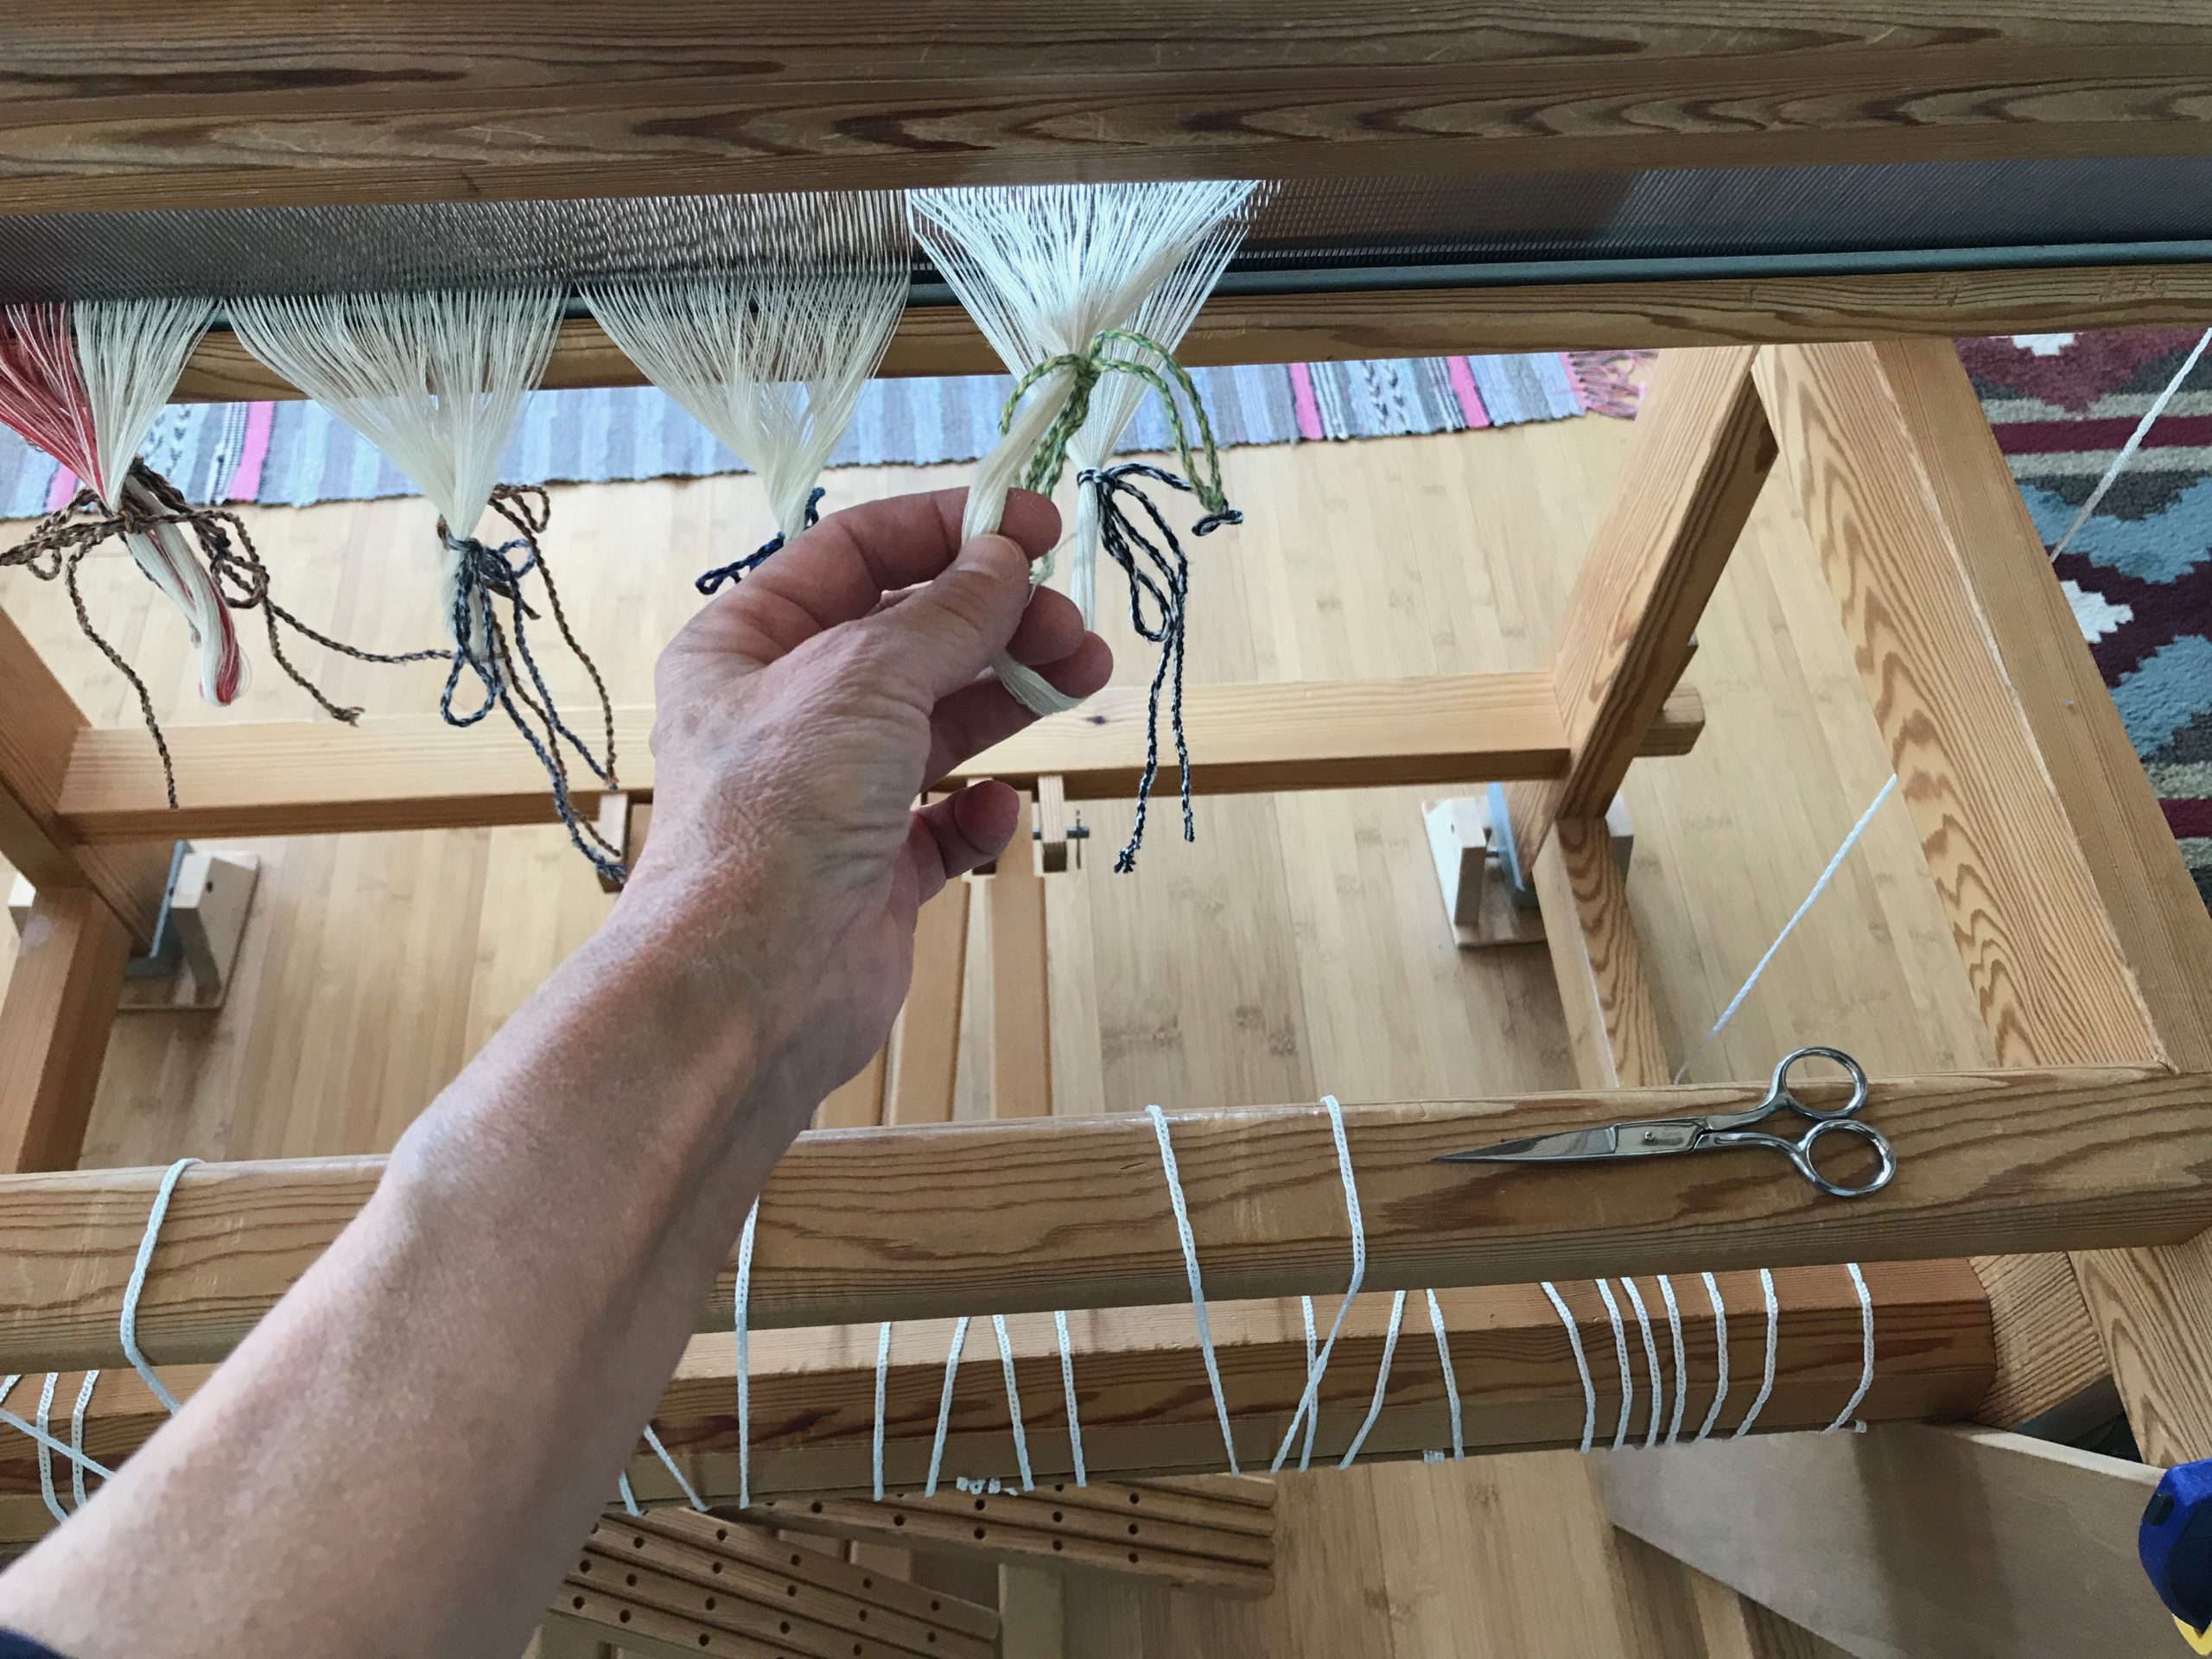
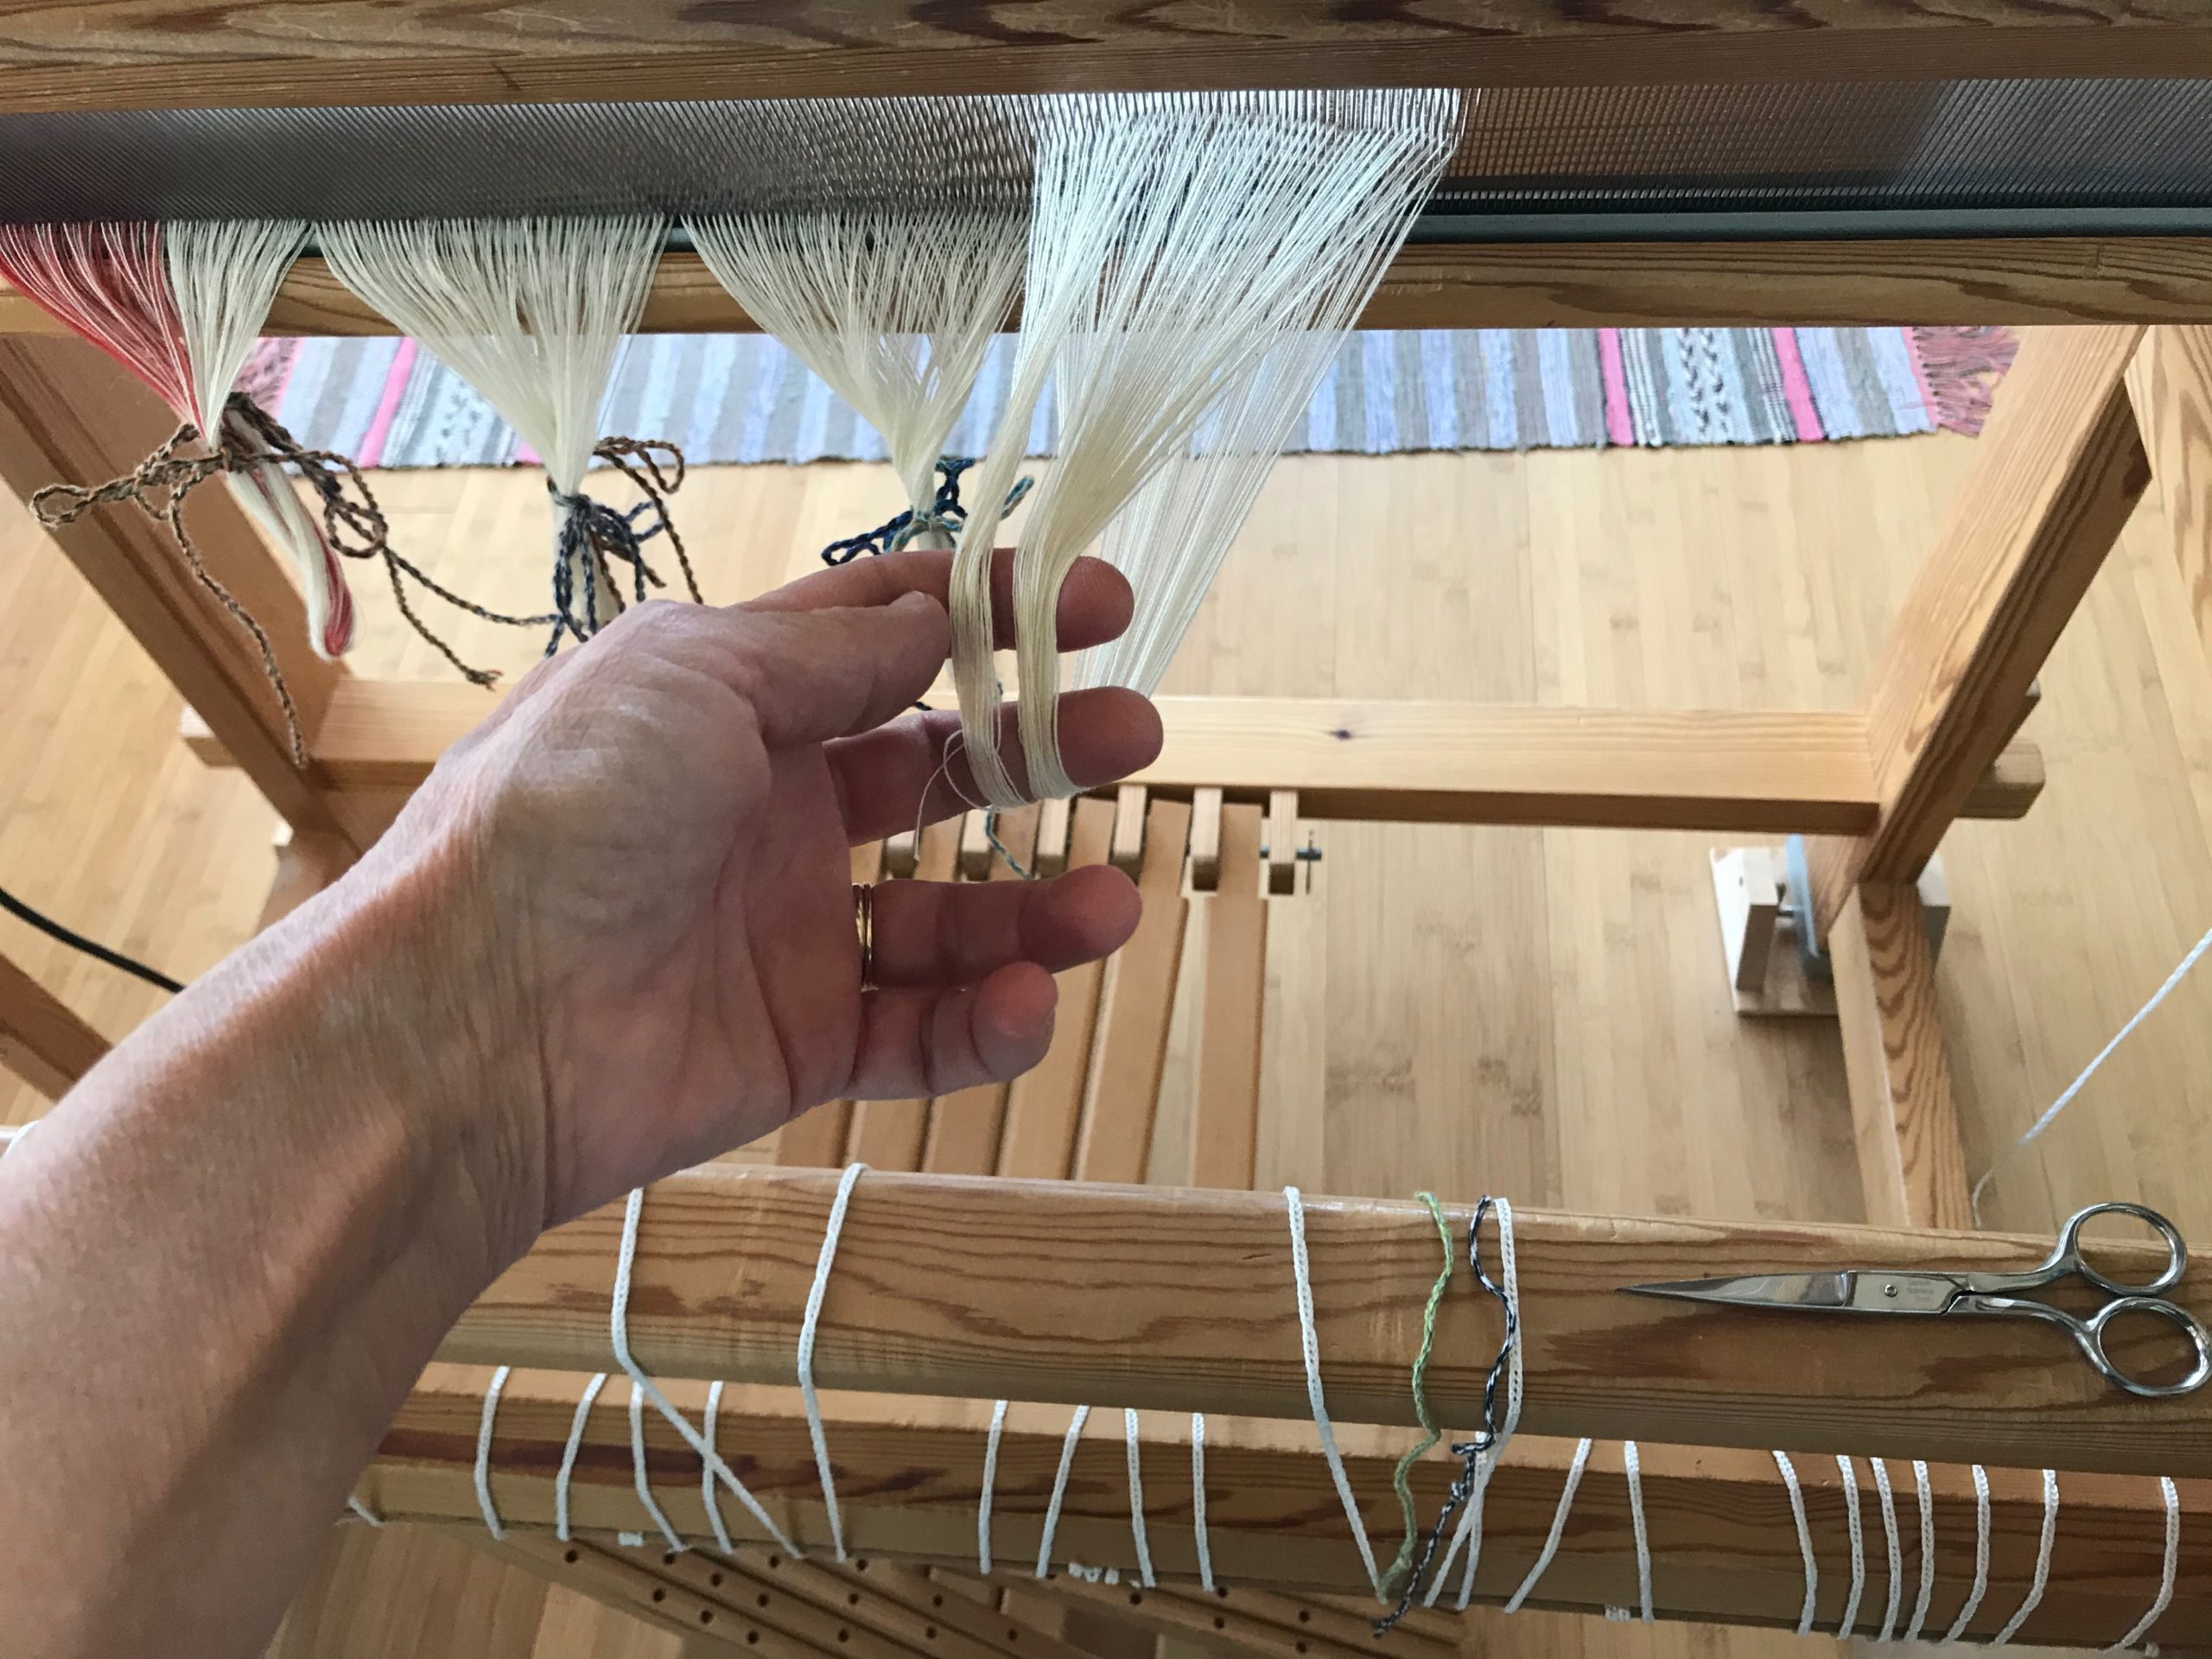
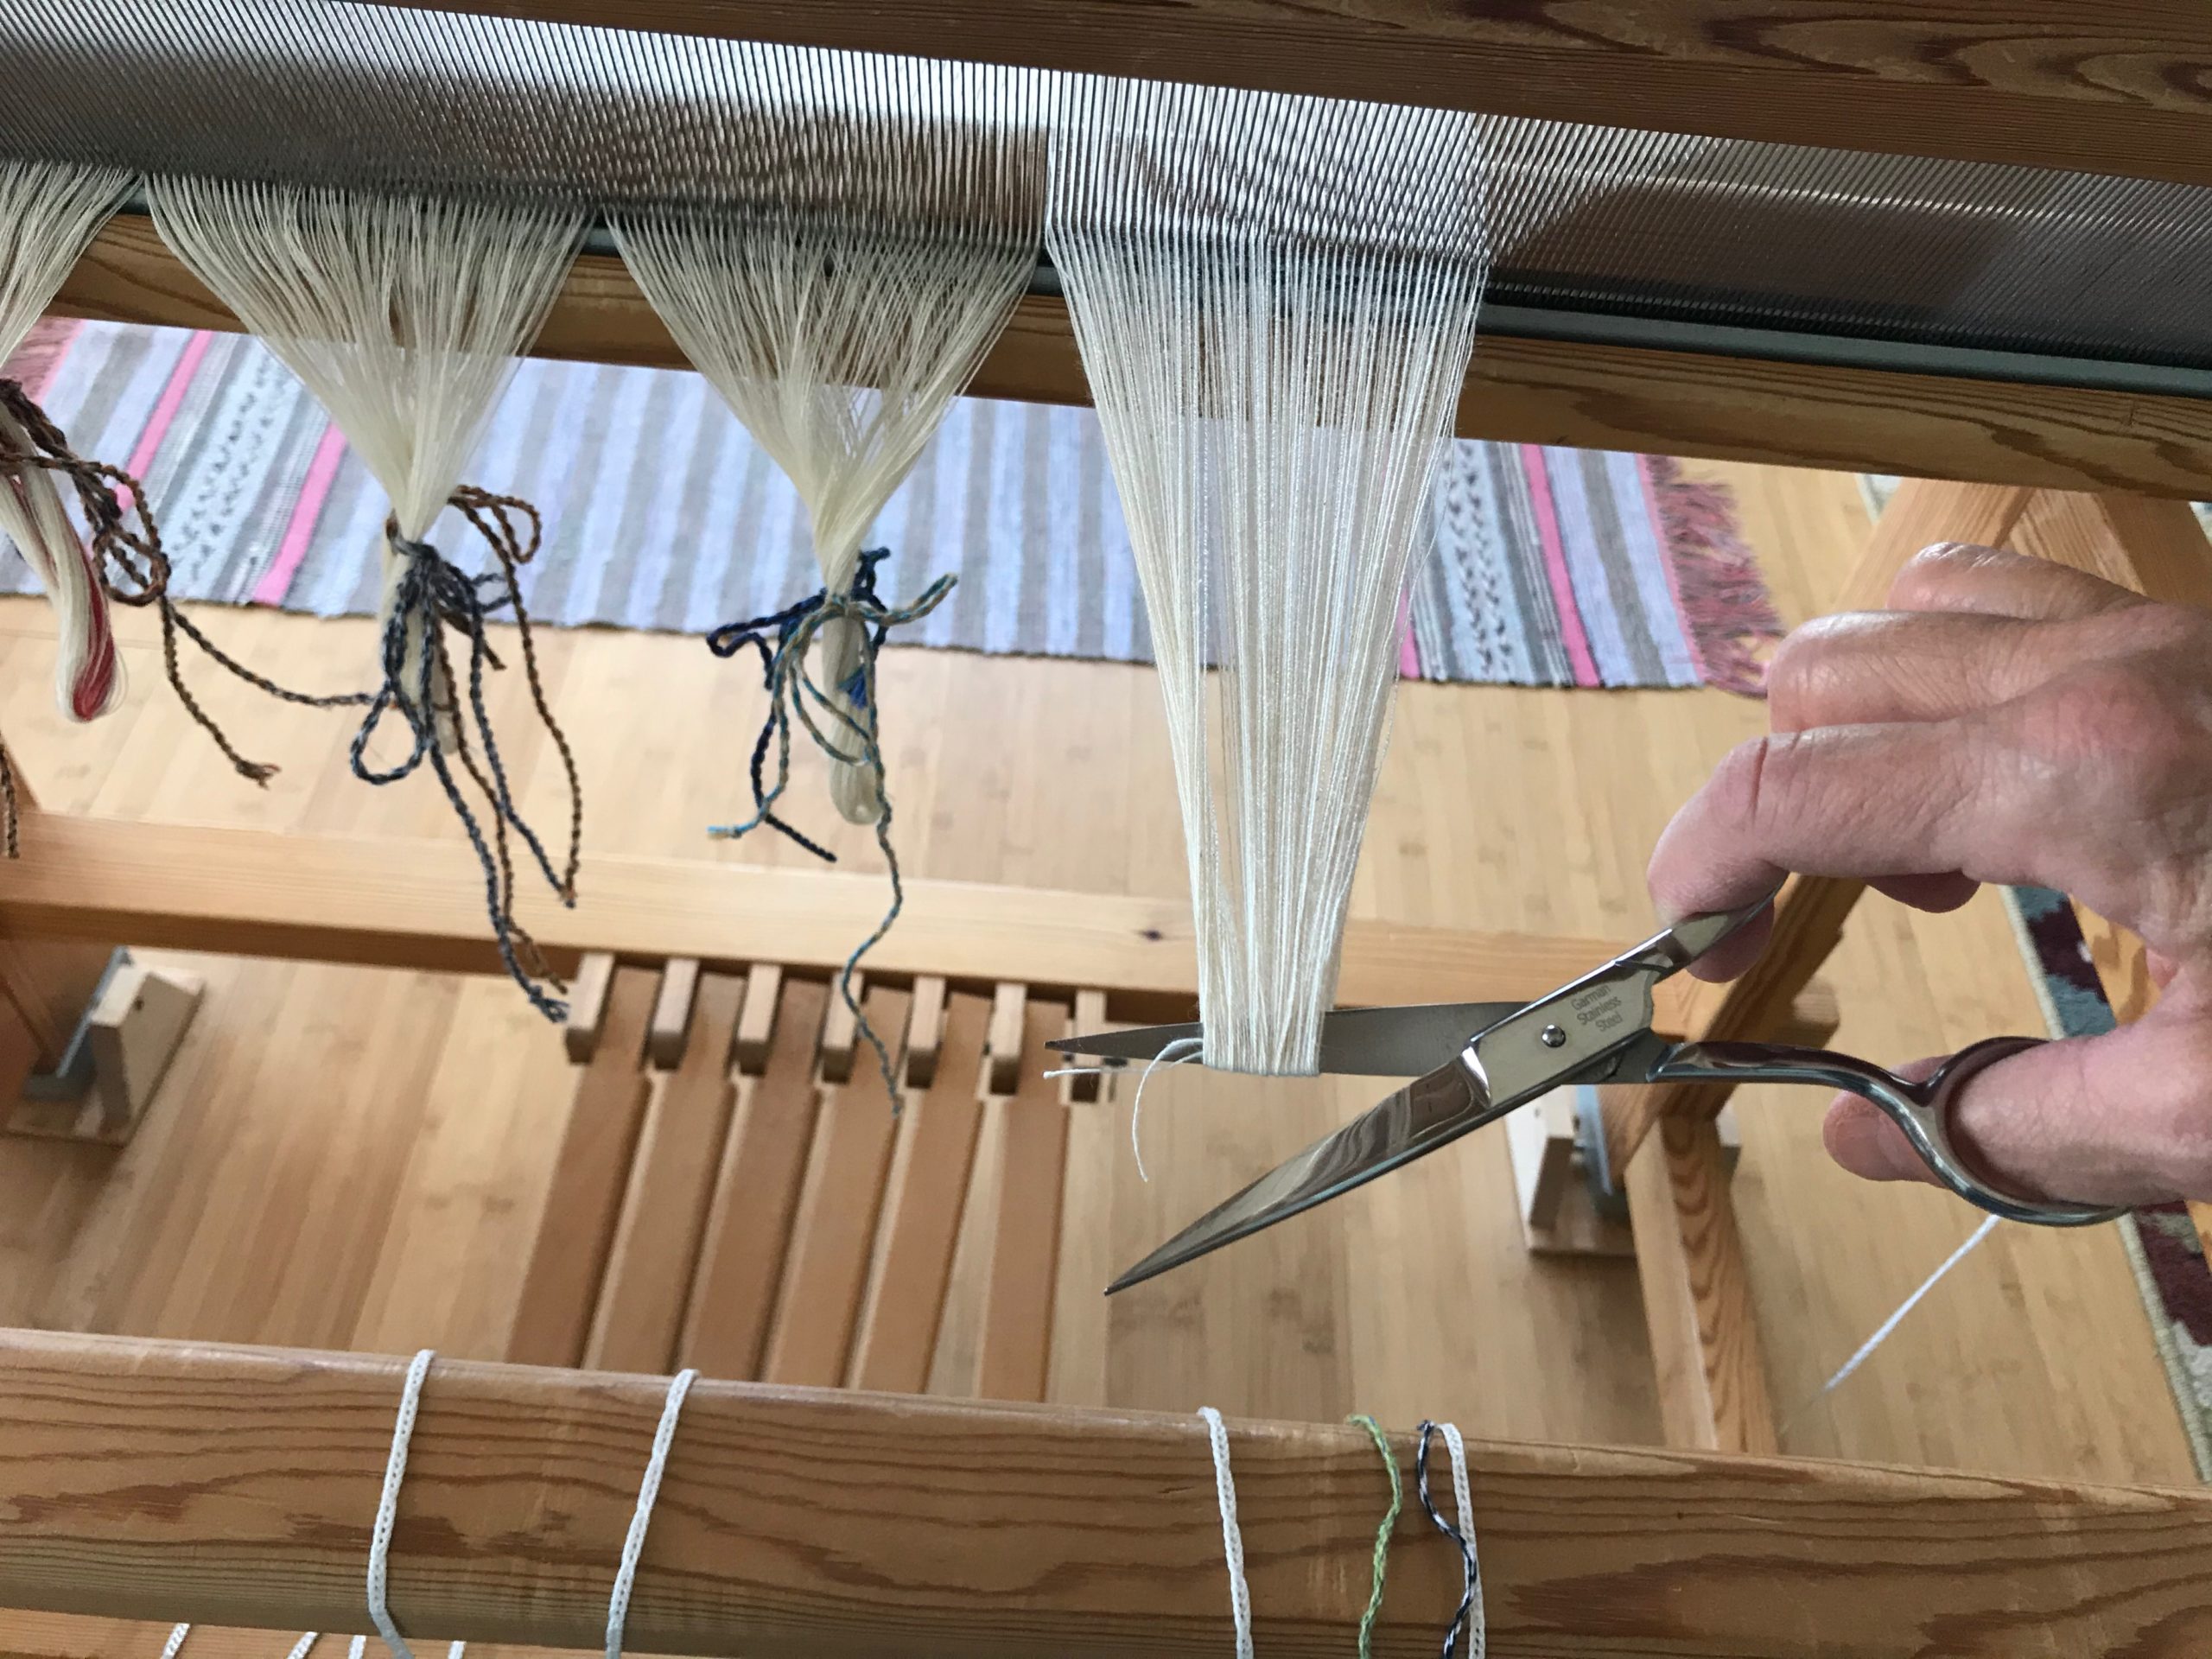
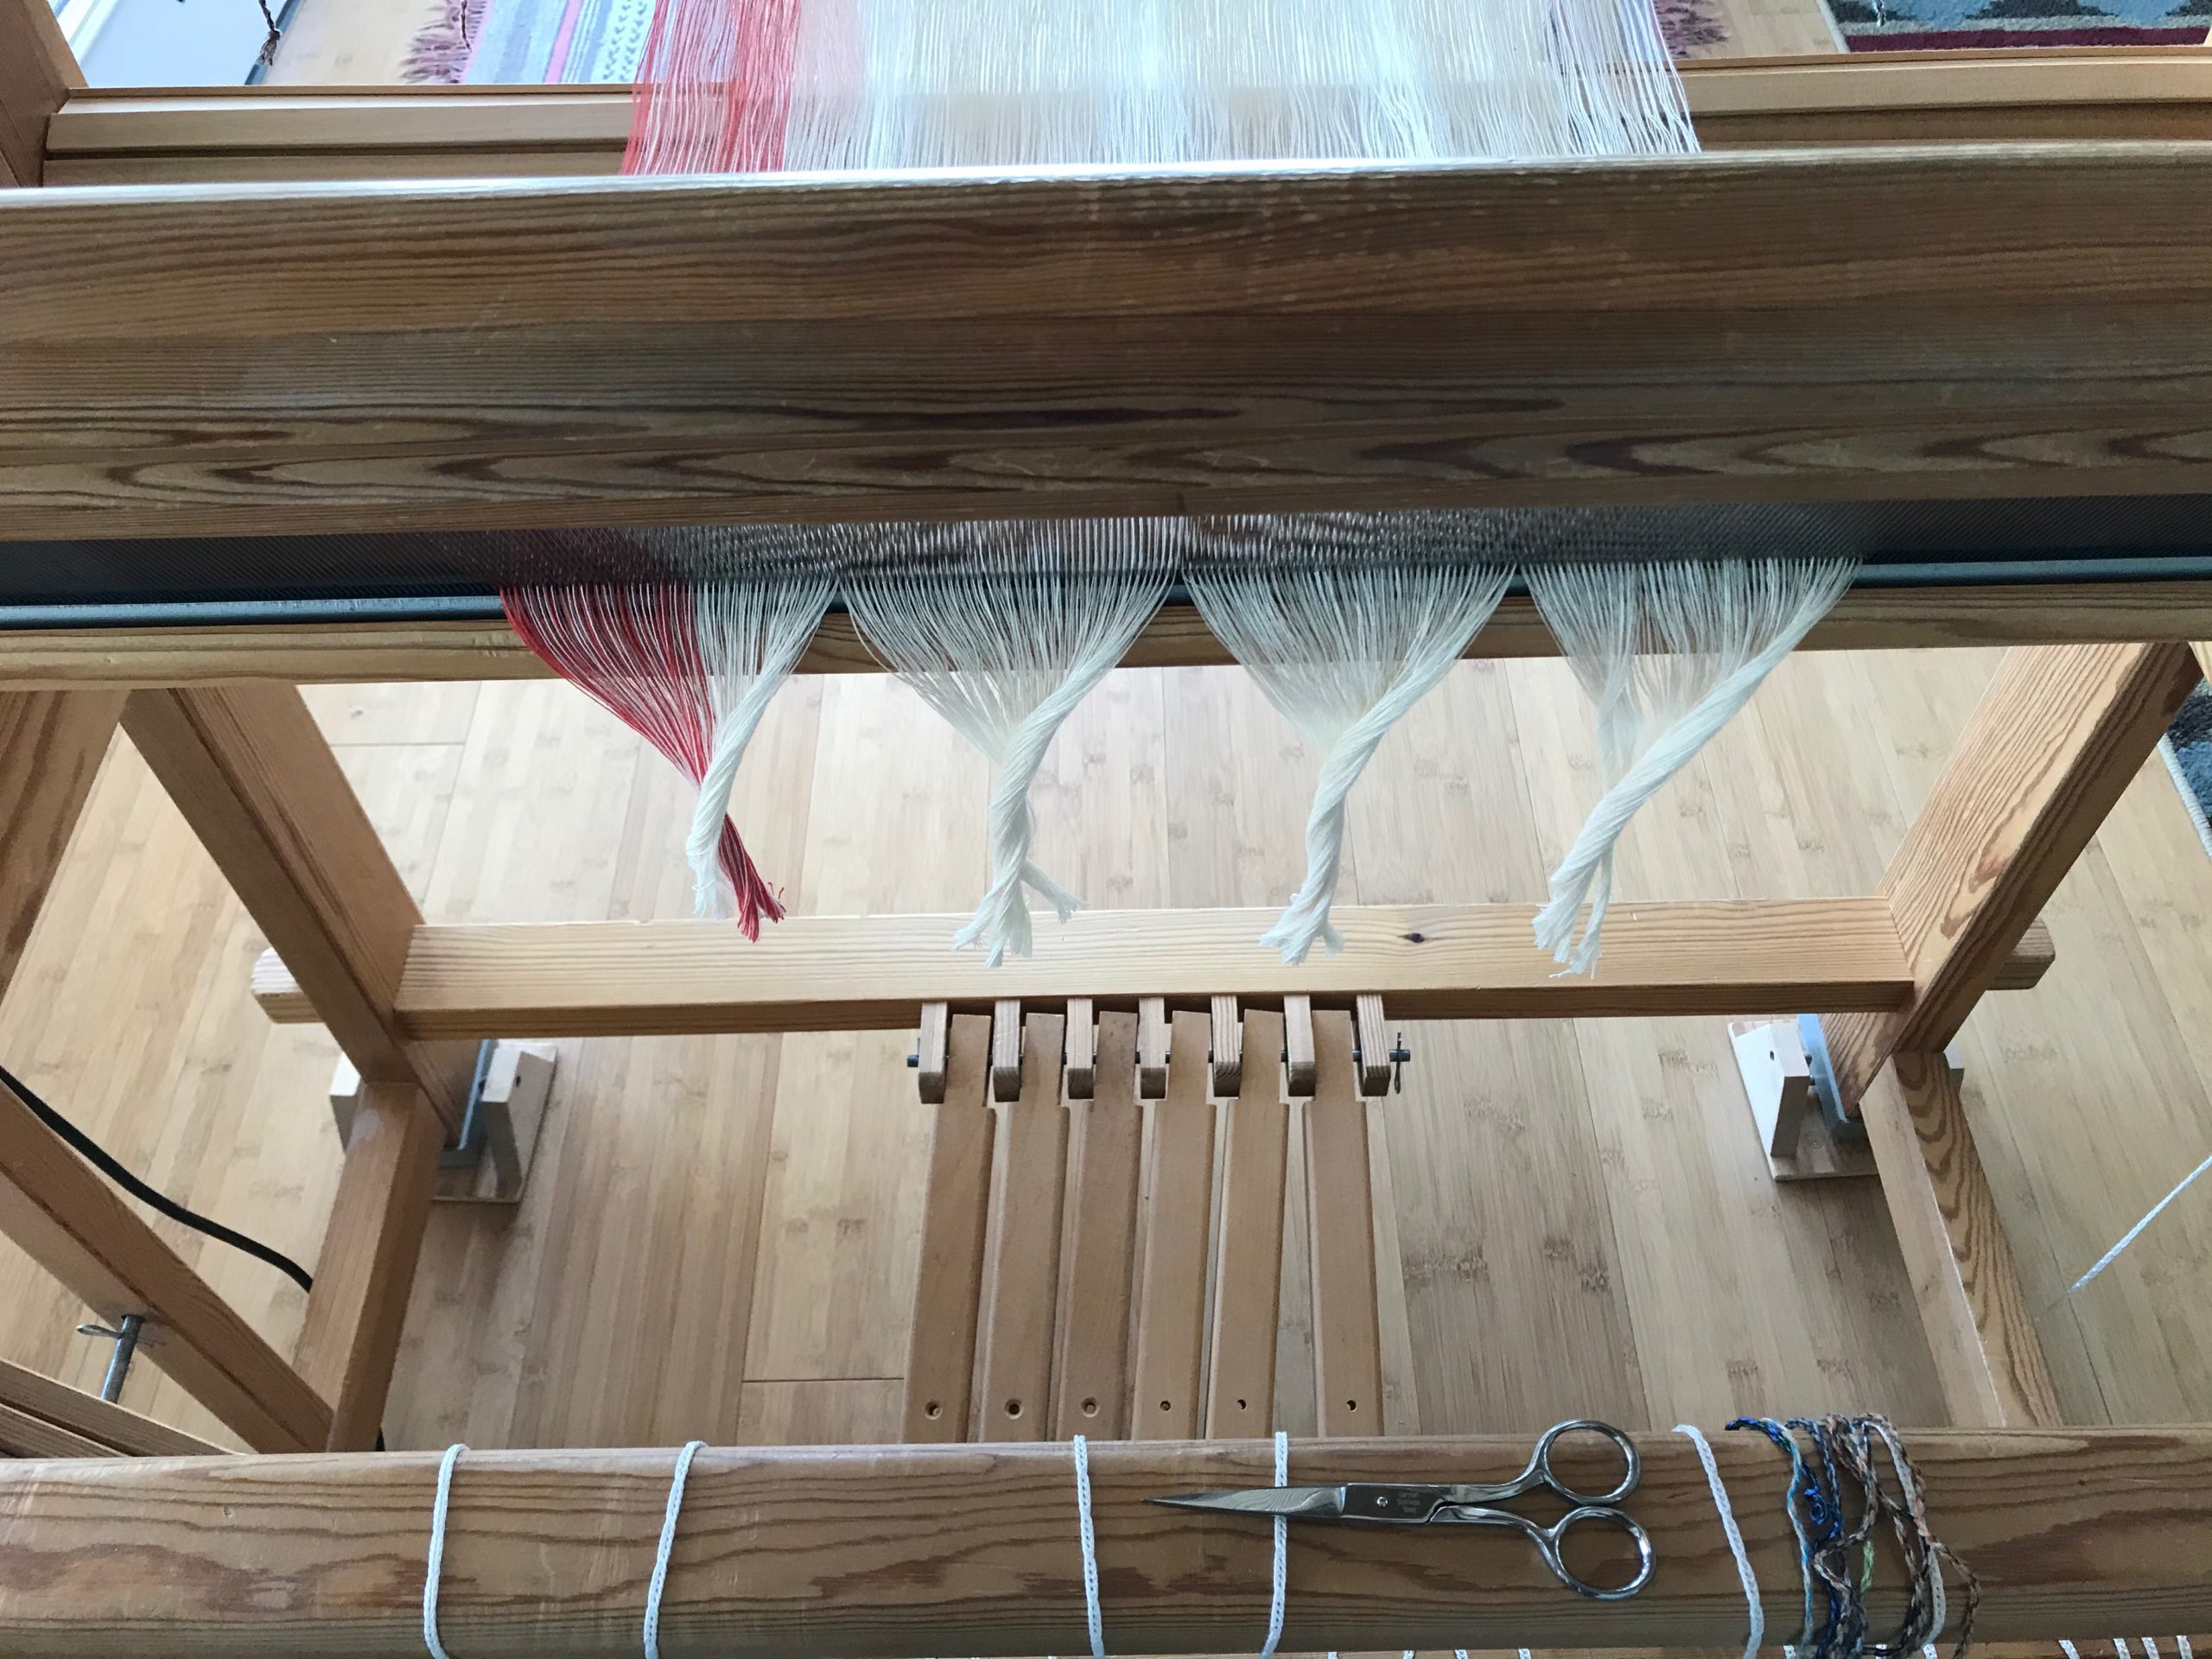
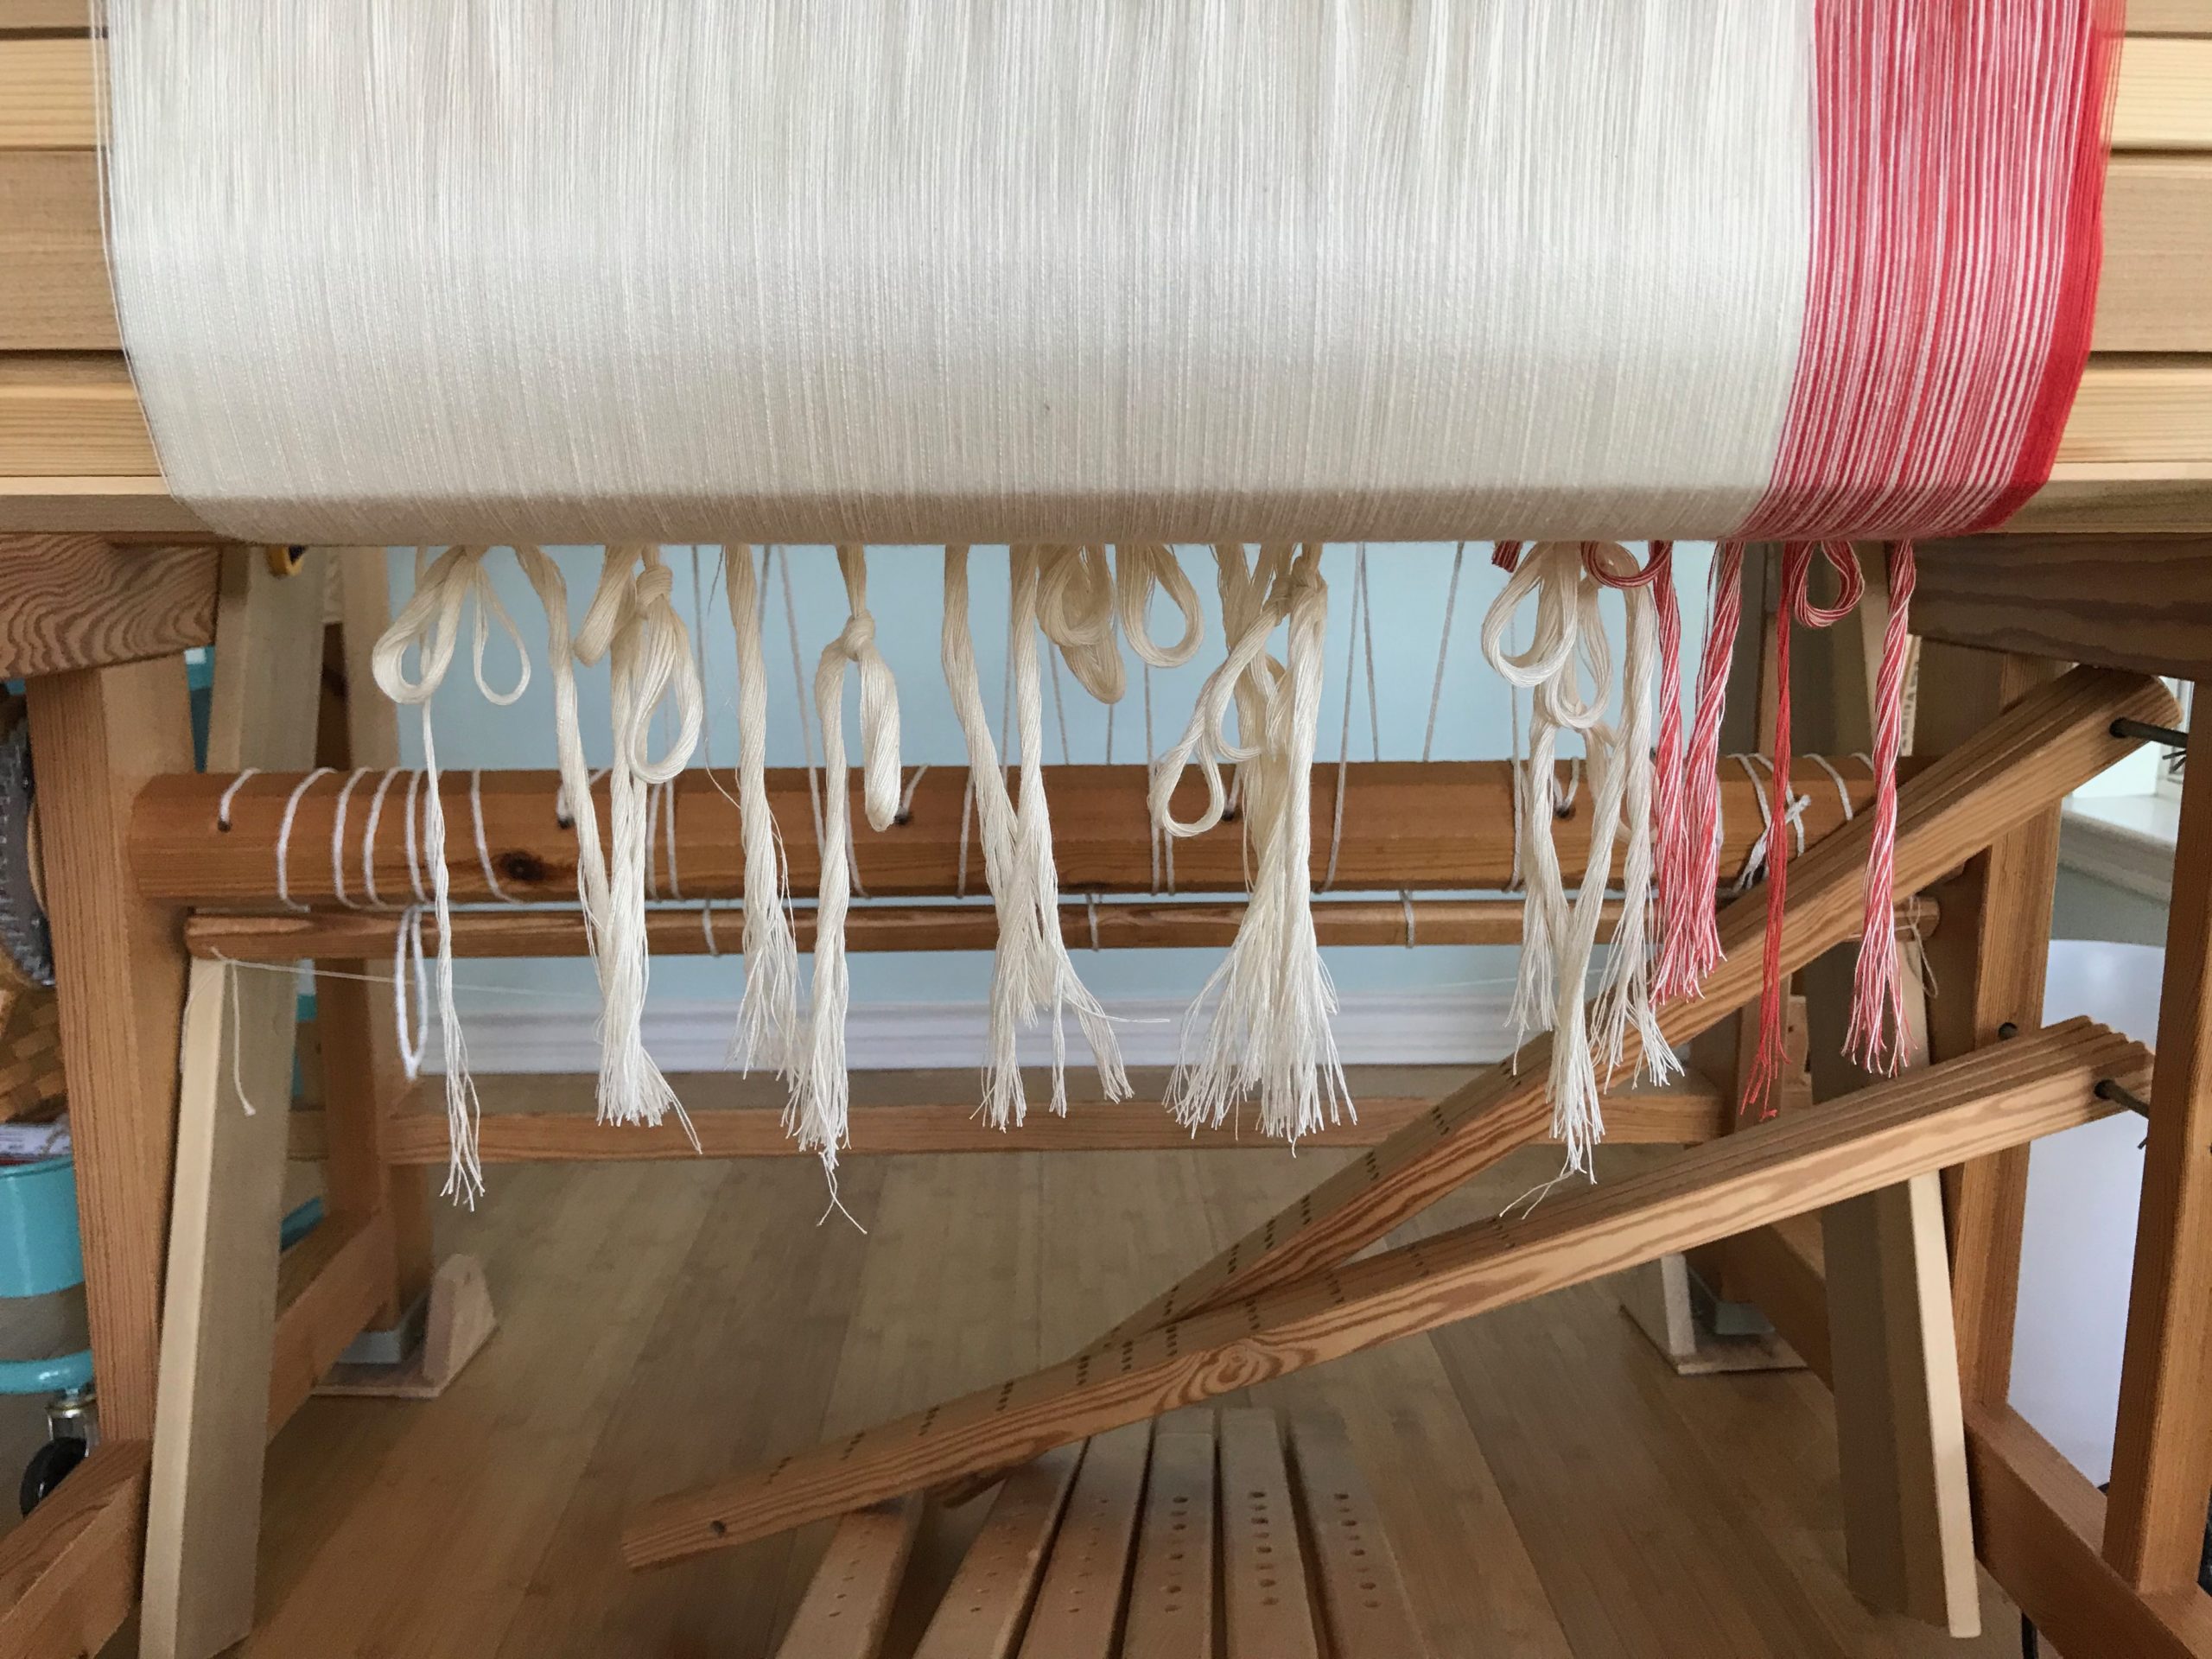
My warp planning had a calculation error. I went on my merry way, winding the warp, beaming the warp, and threading the heddles. Until, …Surprise! I have three extraends left after all the heddles are threaded. Fortunately, there is grace at the loom. I pull the navy blue border threads and three light blue threads out of their heddles and re-thread the navy blue border stripe. The three light blue ends will hang off the back, unused. All is well.
Three light blue ends sit on top of the lease stick tied to the back beam. These extra warp threads will hang off the back and stay out of the way of the warp being woven.
Grace is like that. We mess up, find and admit our wrong, and the Lord Jesus forgives, granting us a new start. When we are wrong we need grace. What about when others are wrong? When the errors of others affect us, what shall we do? Forgiveness is our only option. There is no good reason to hold those error threads and weave them into our fabric.
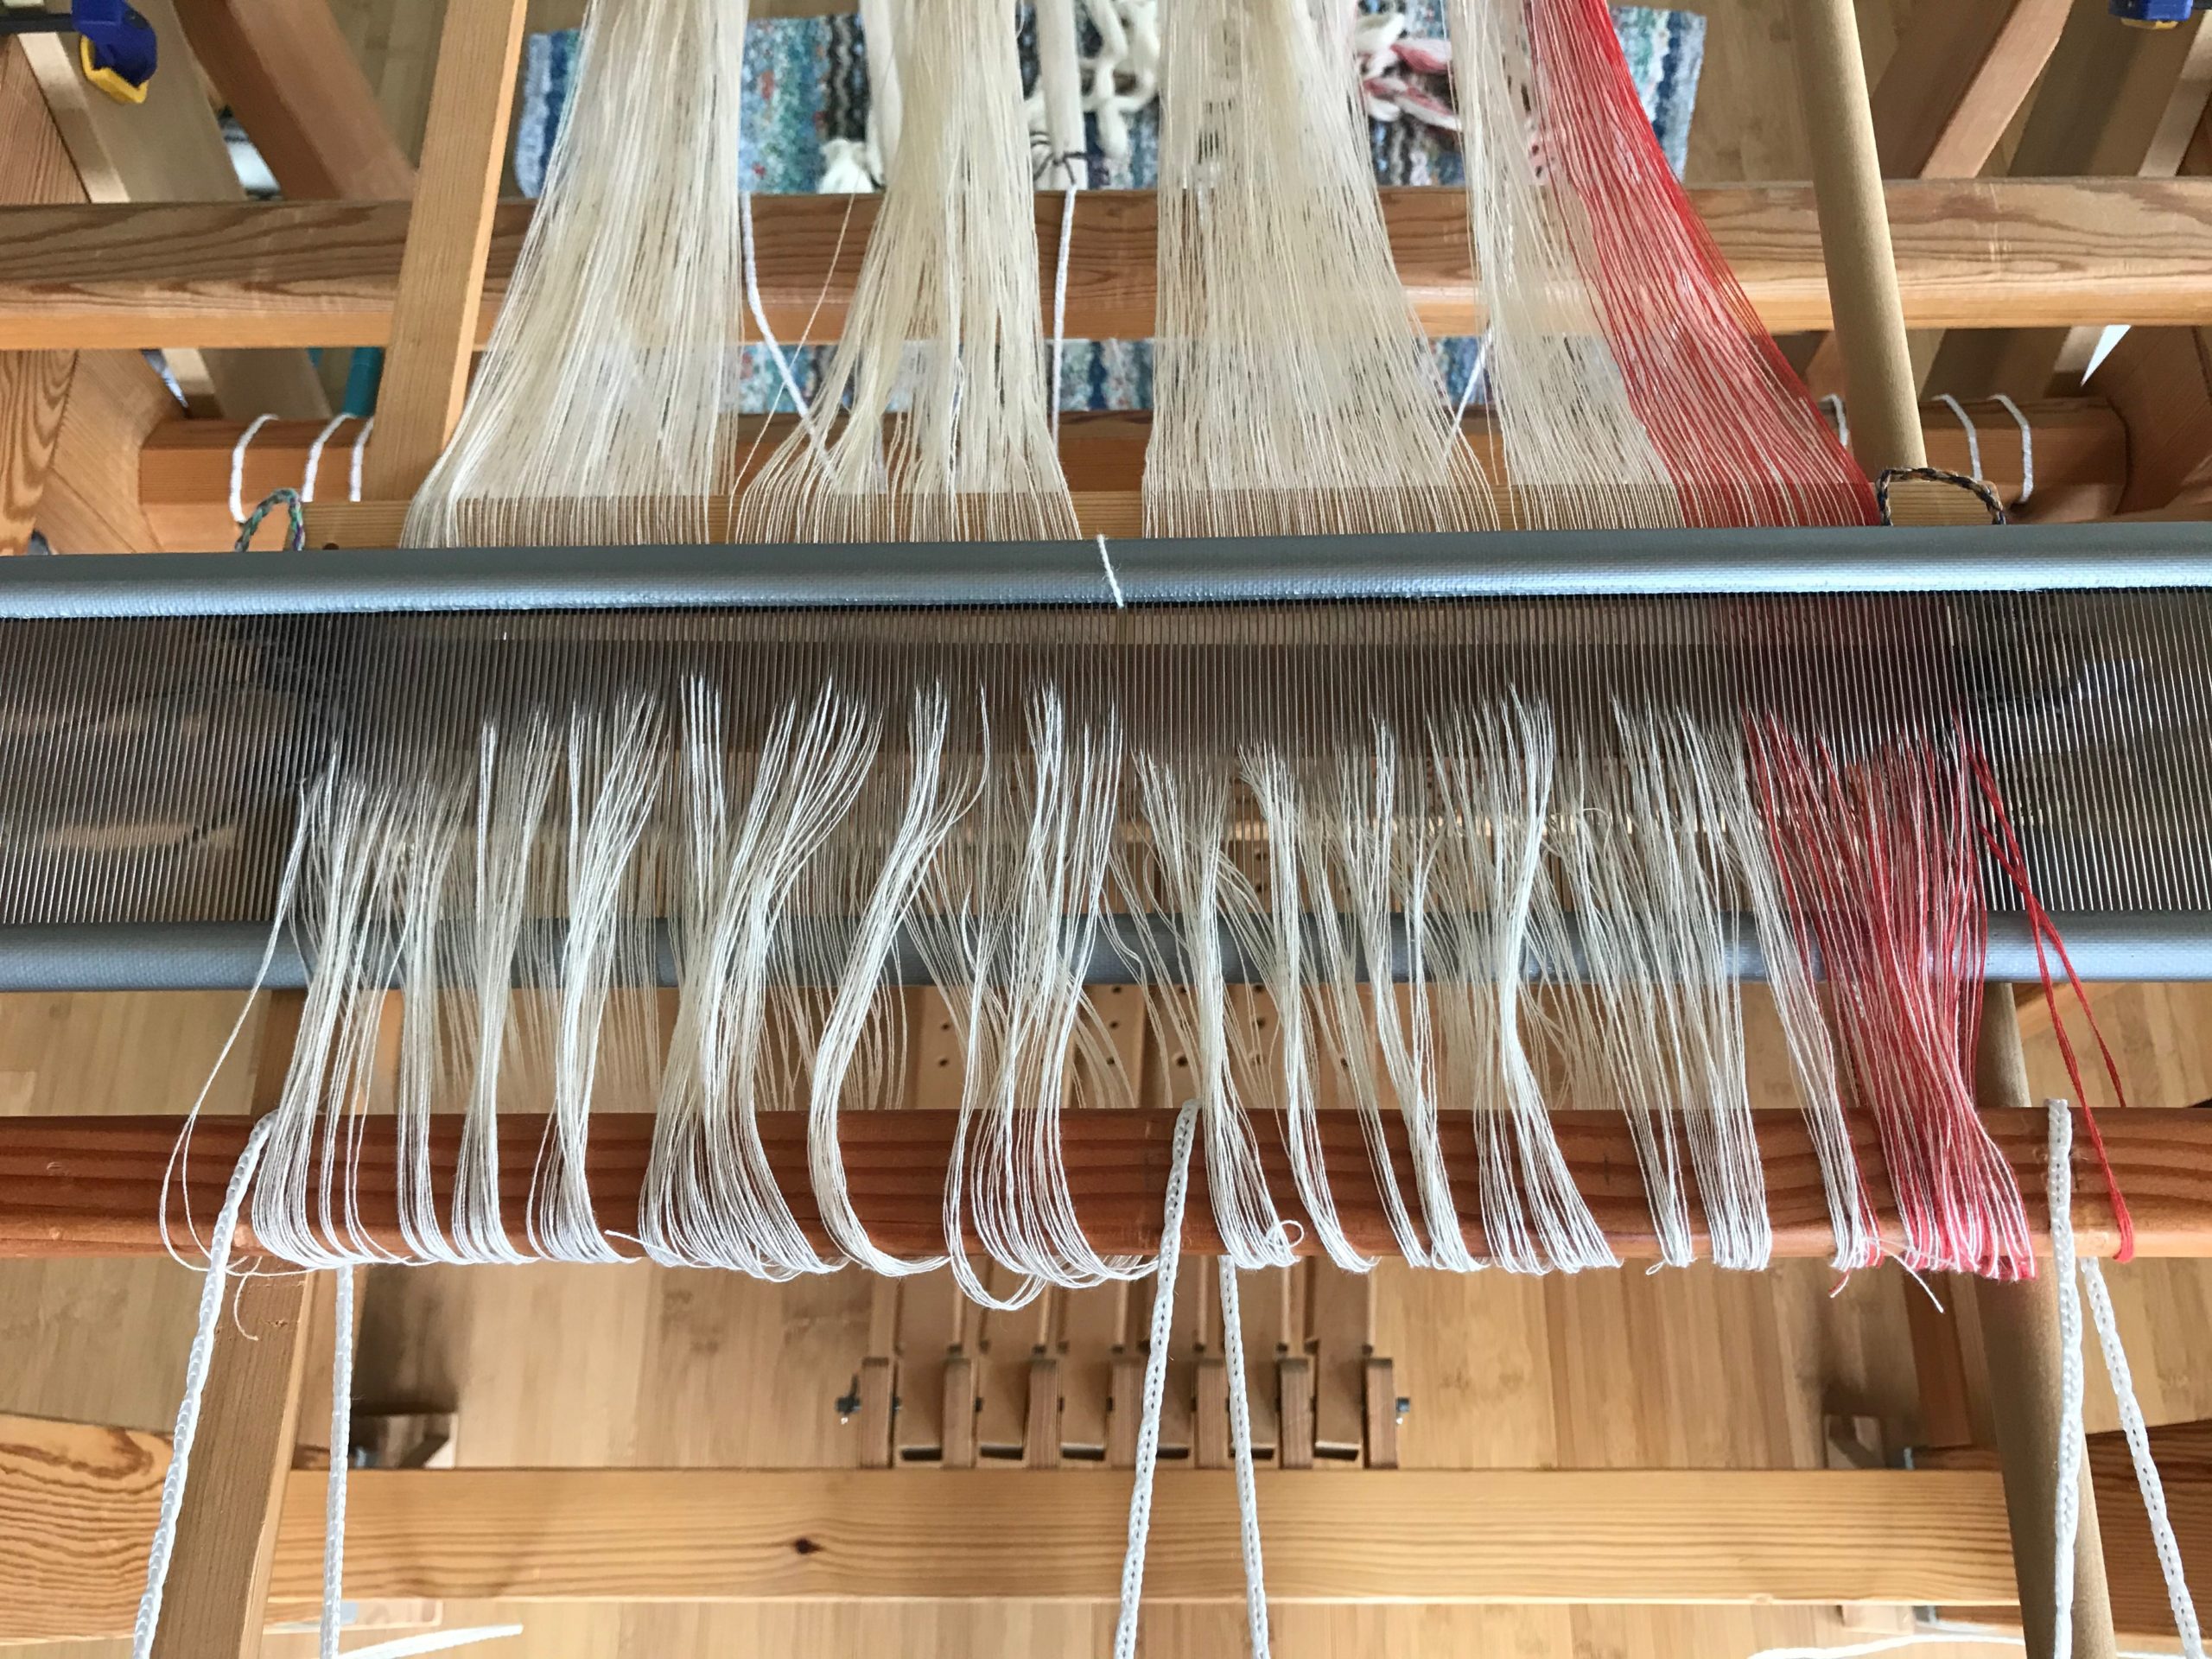
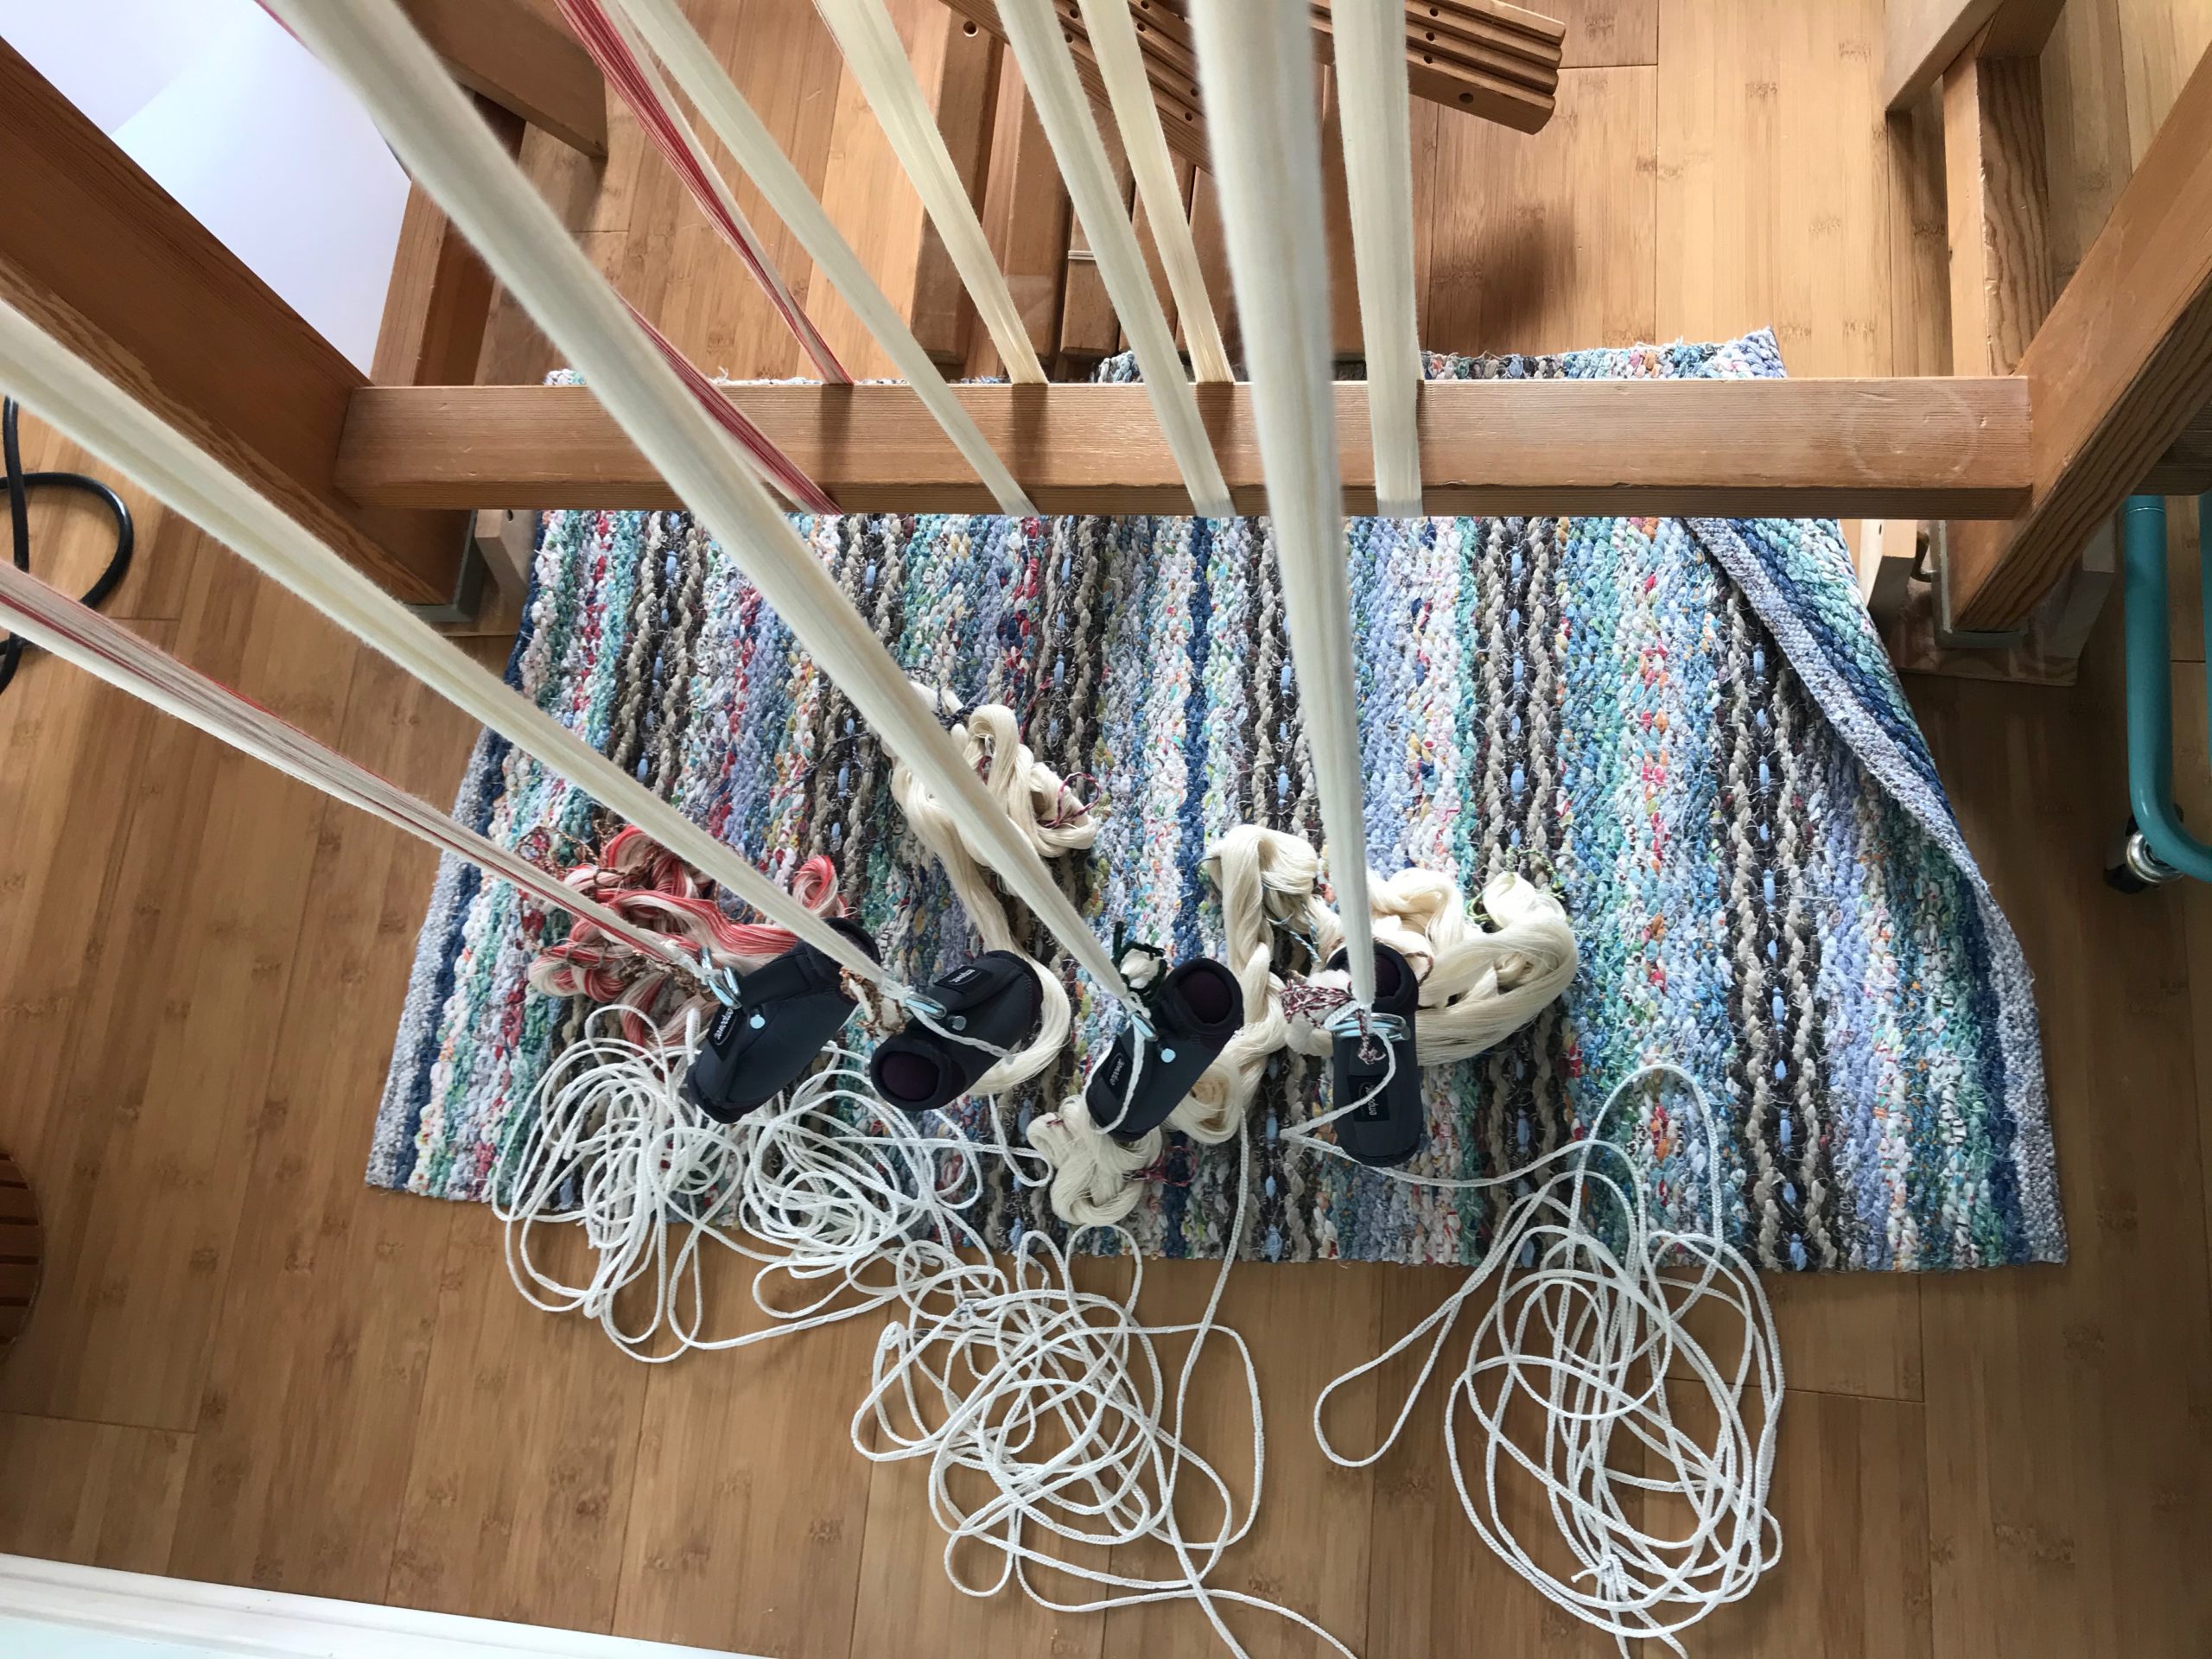
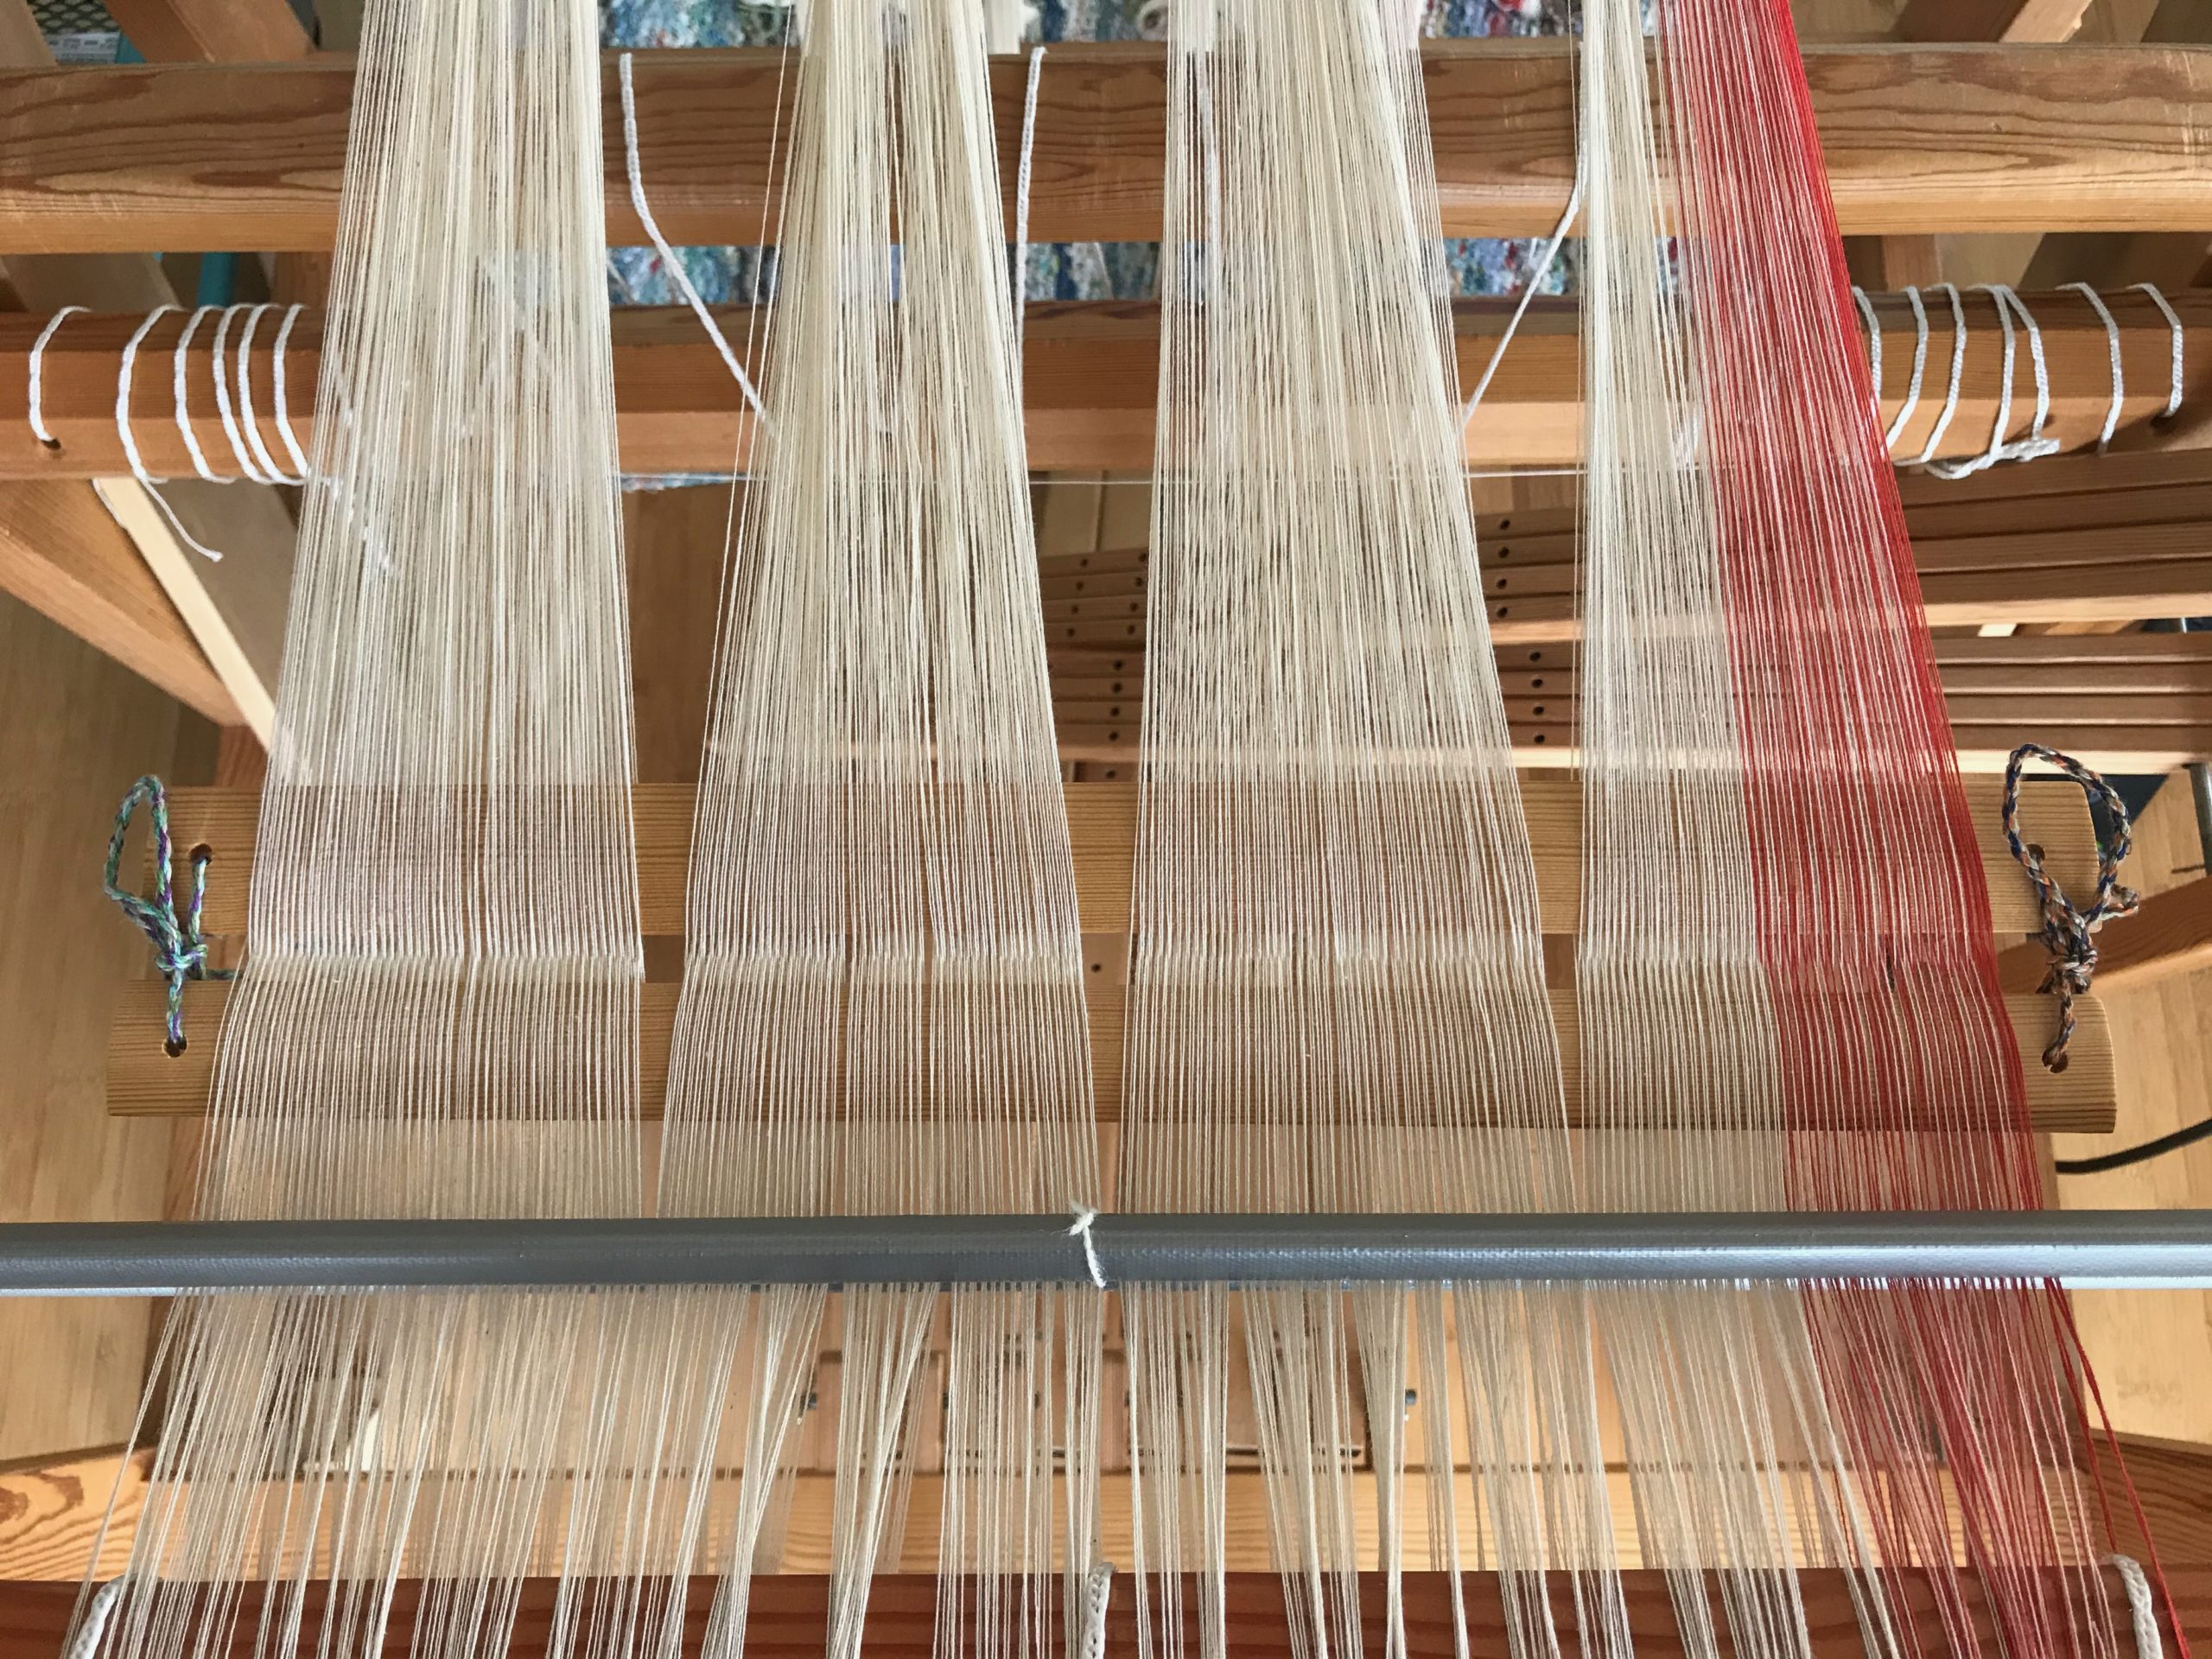
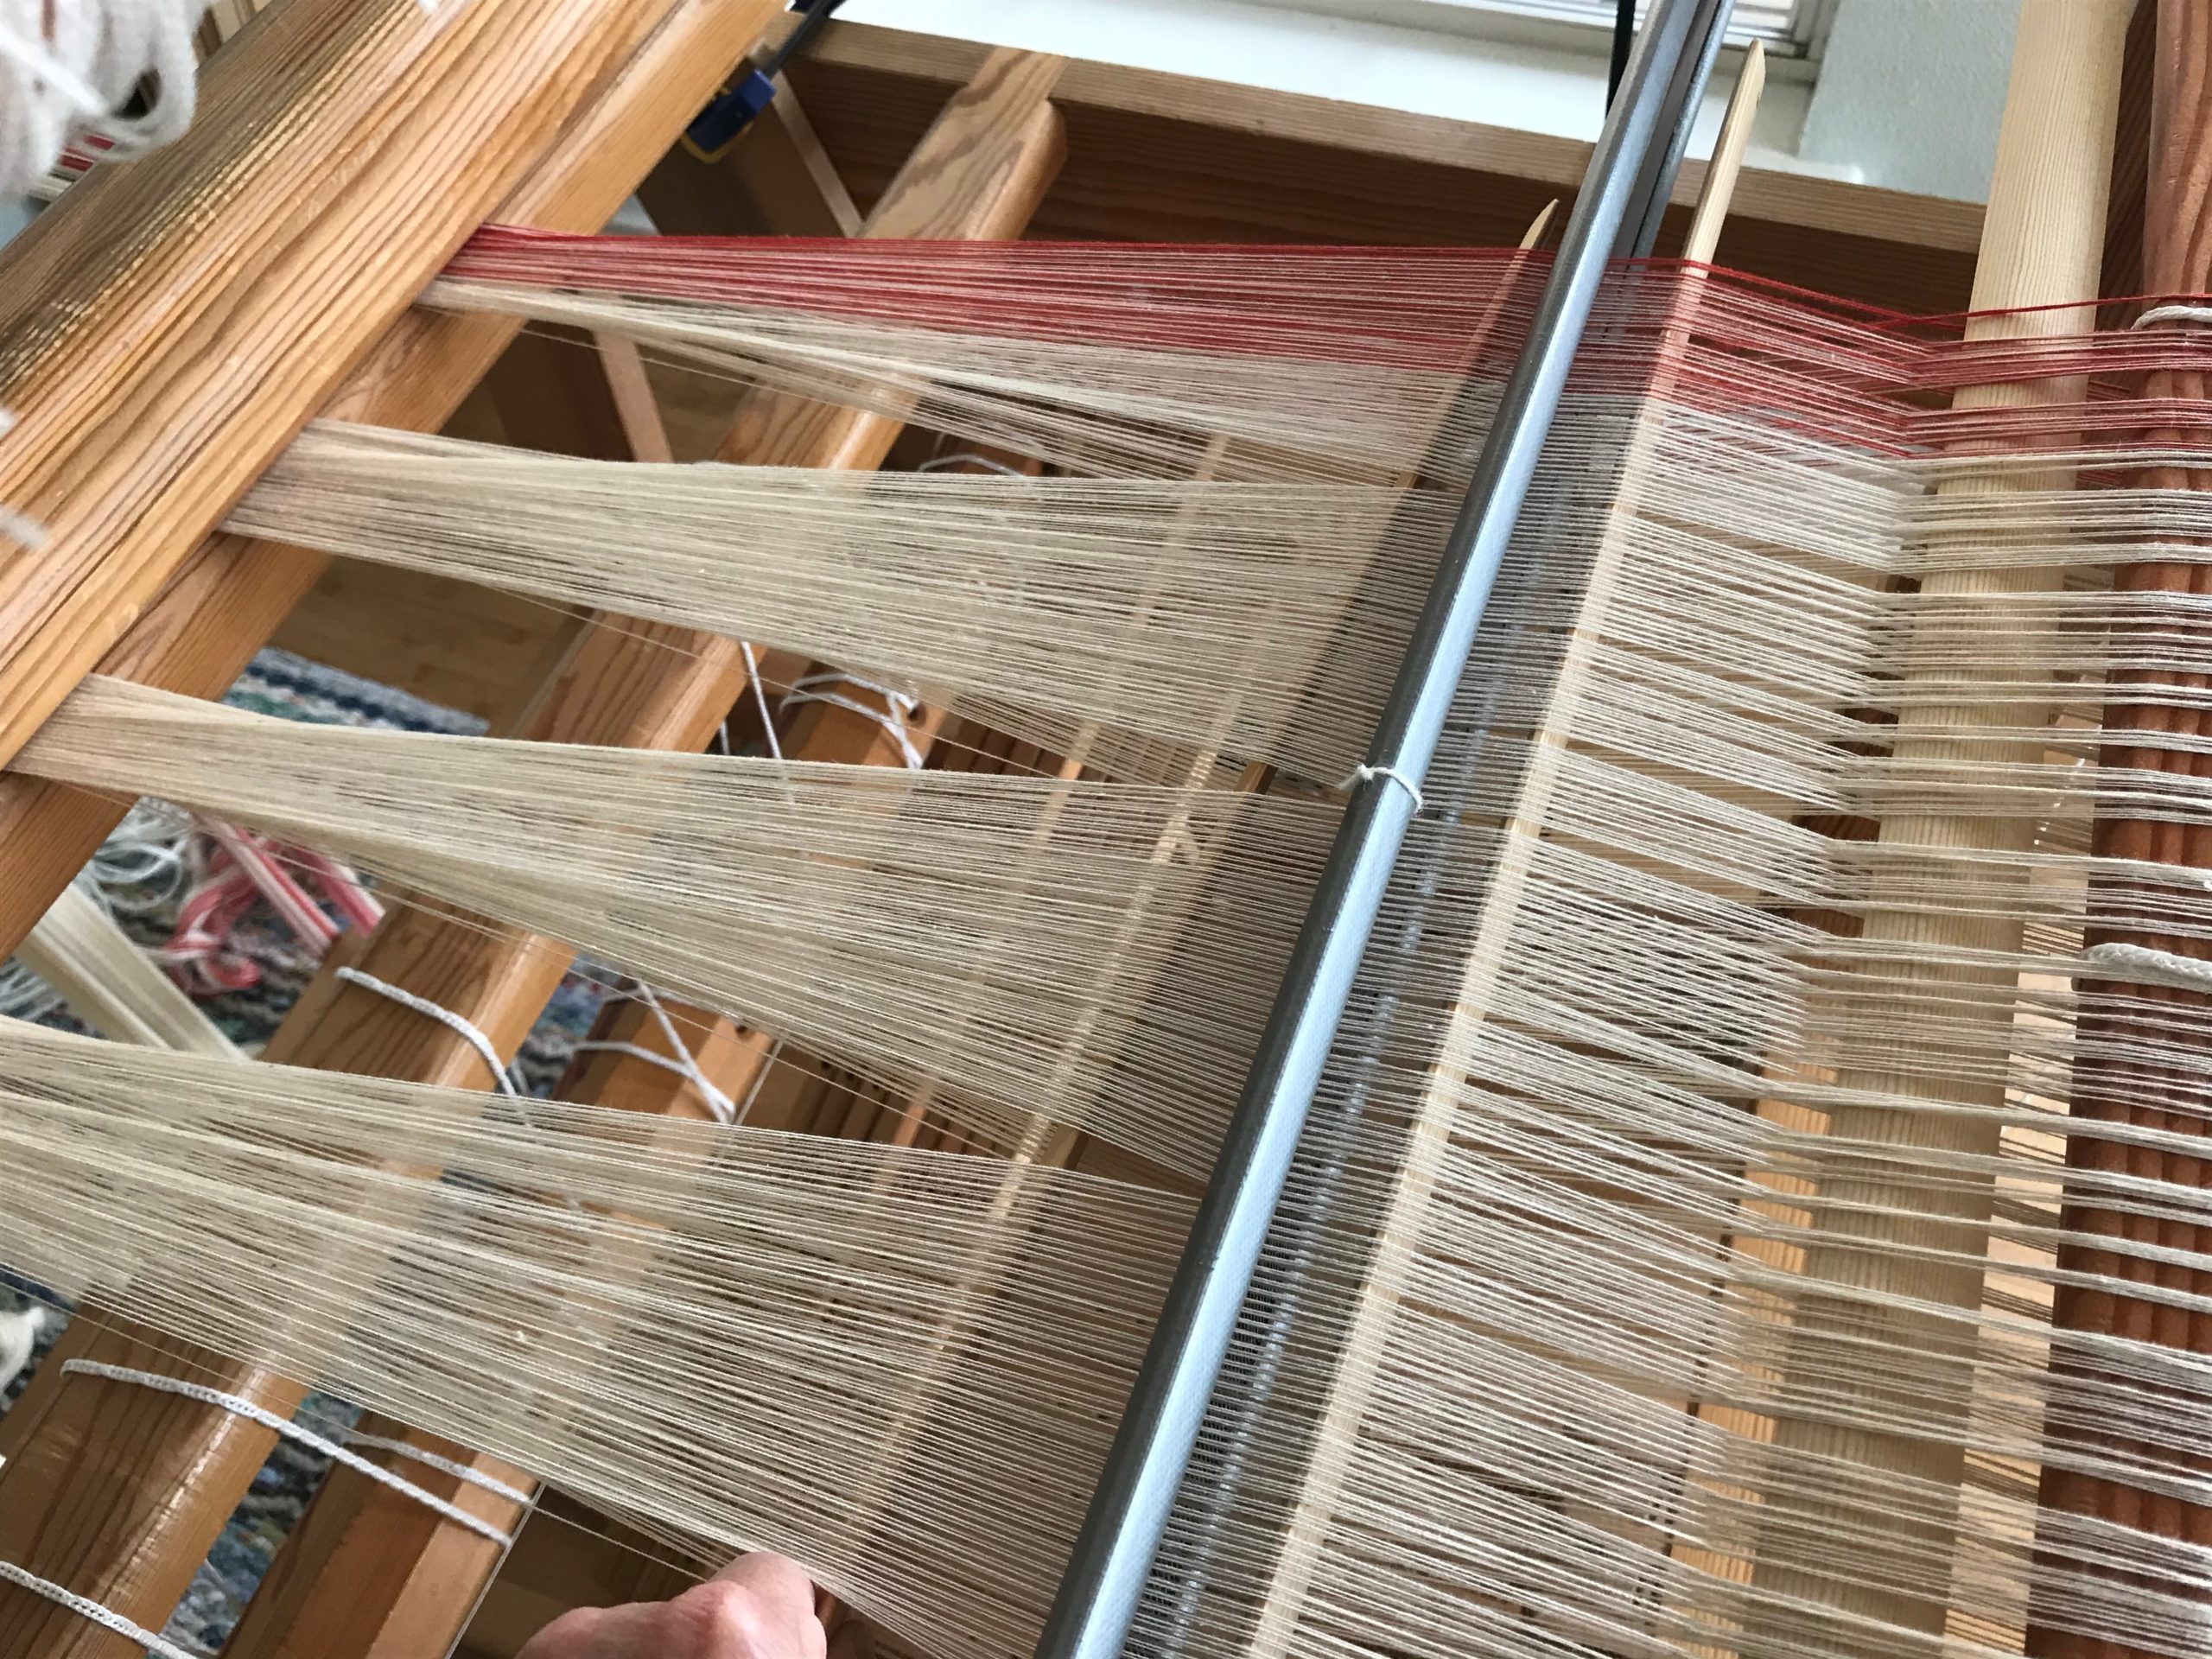
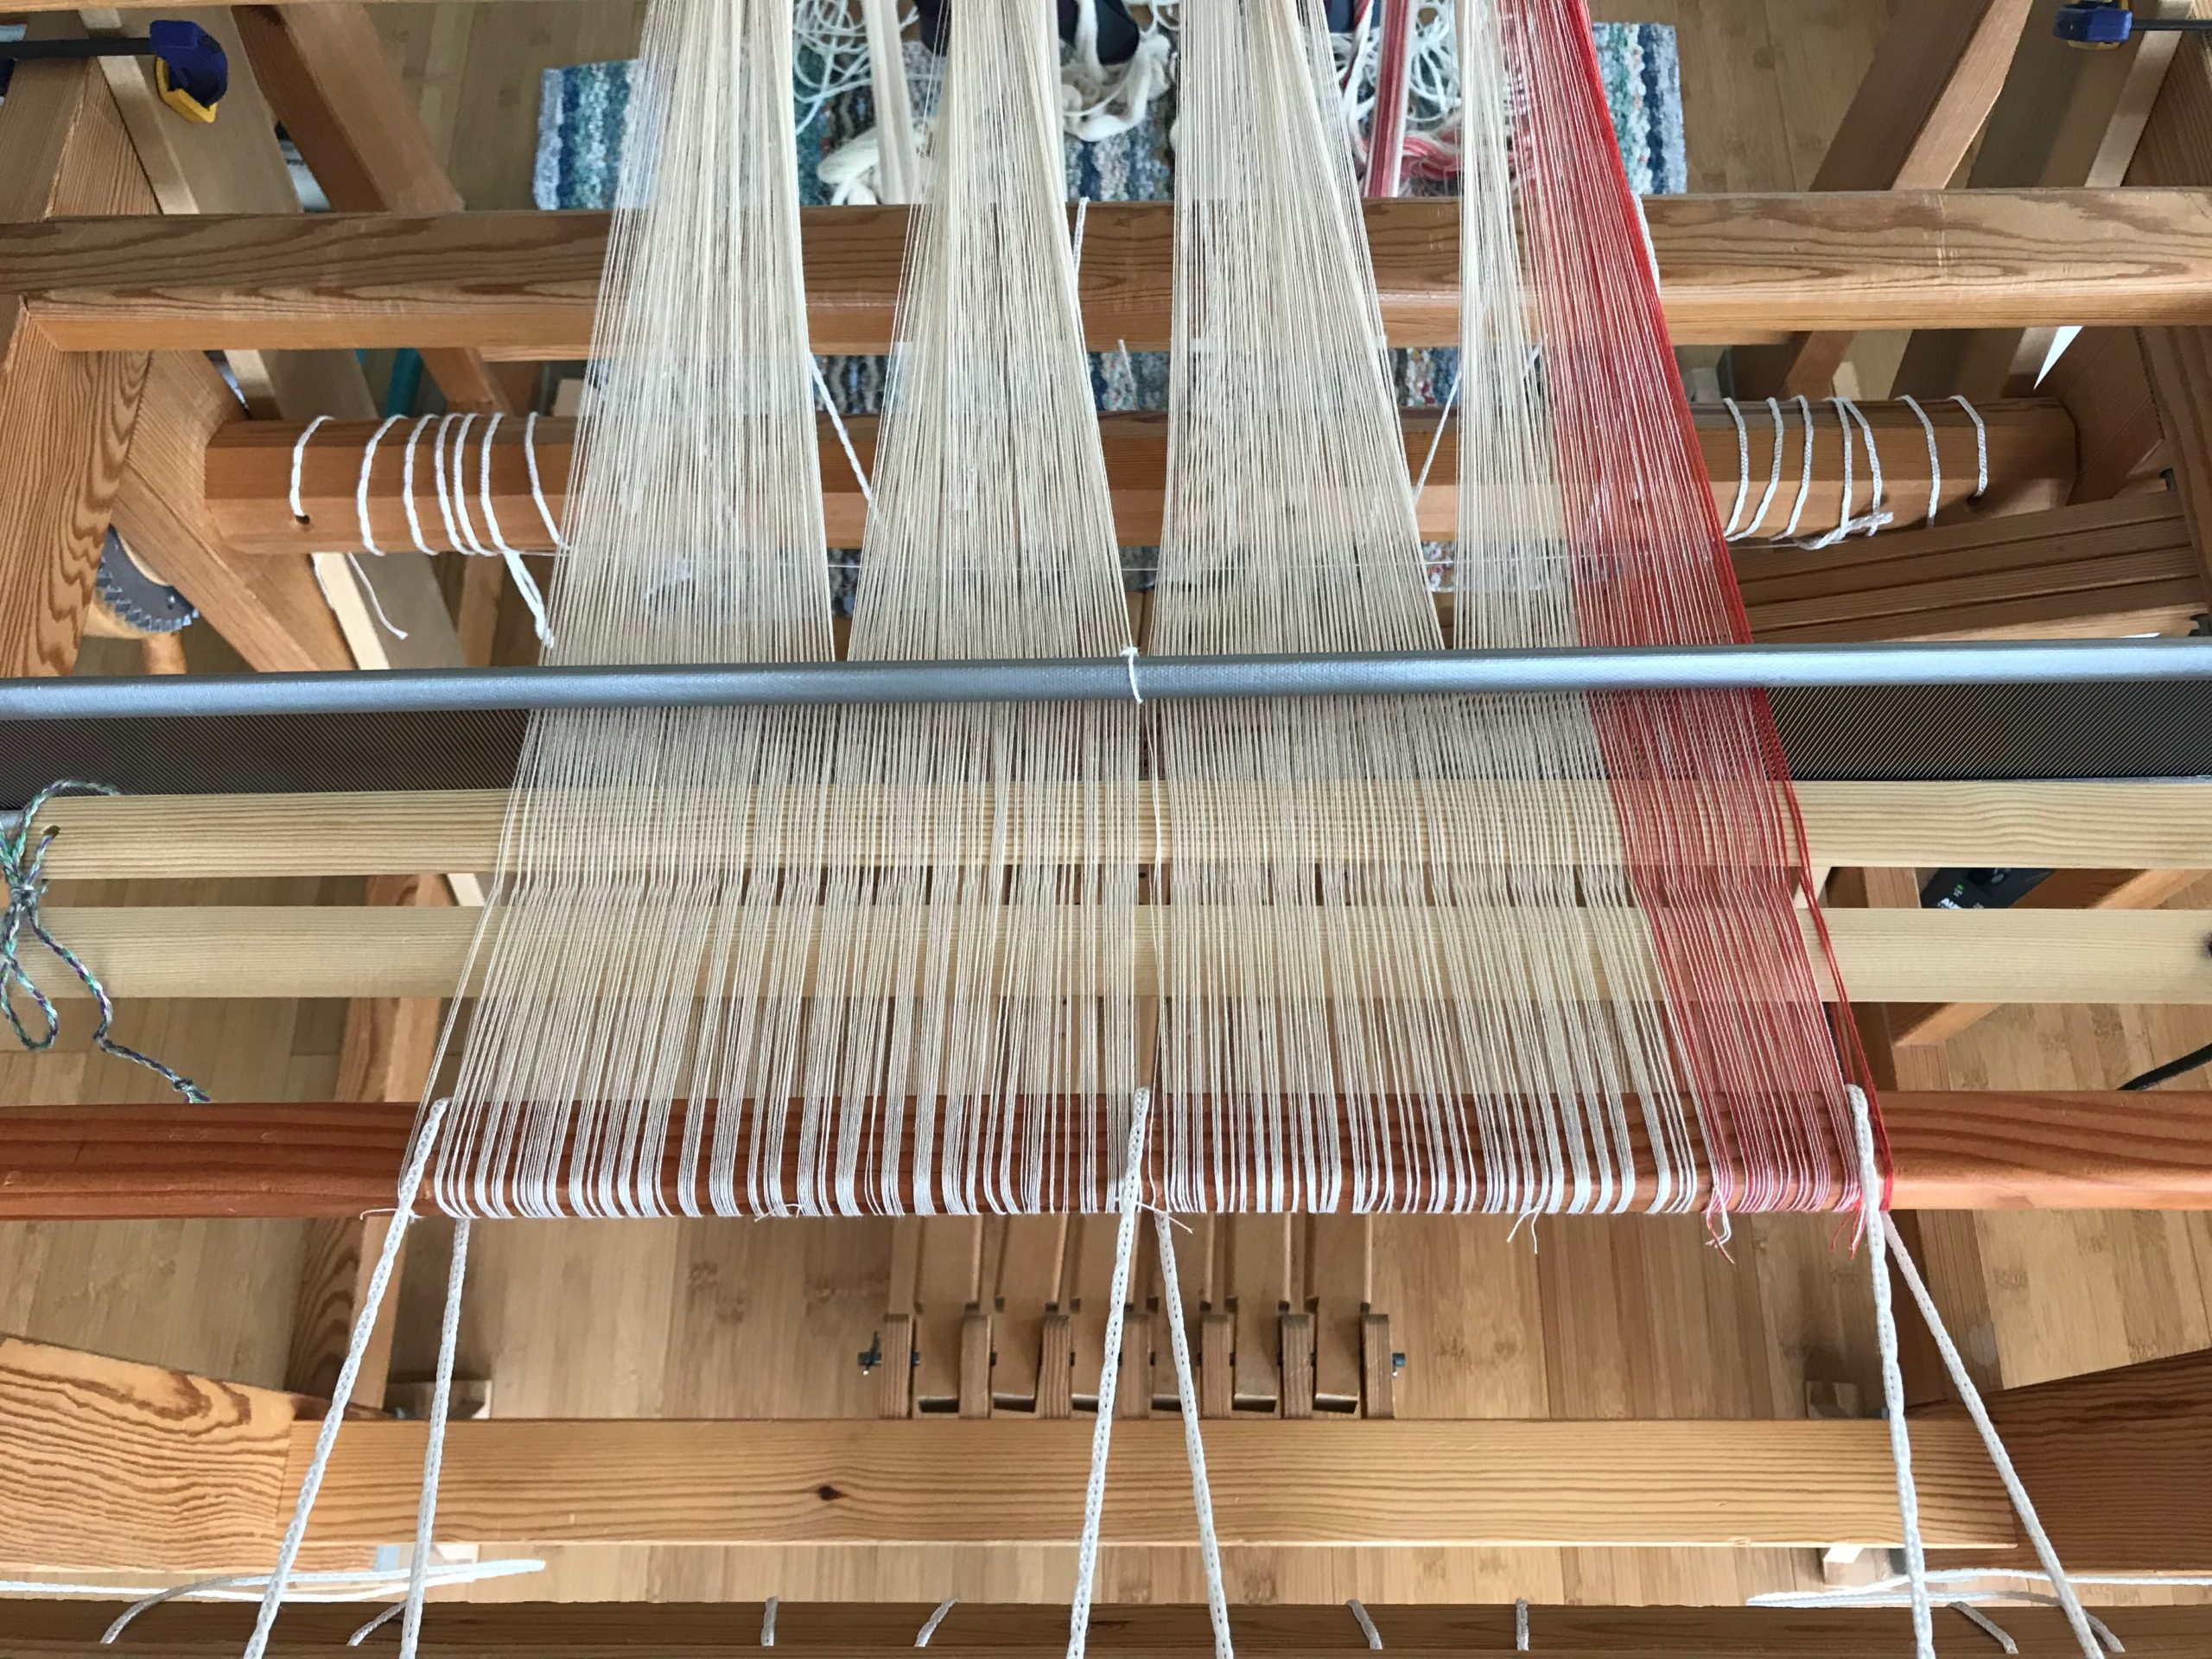
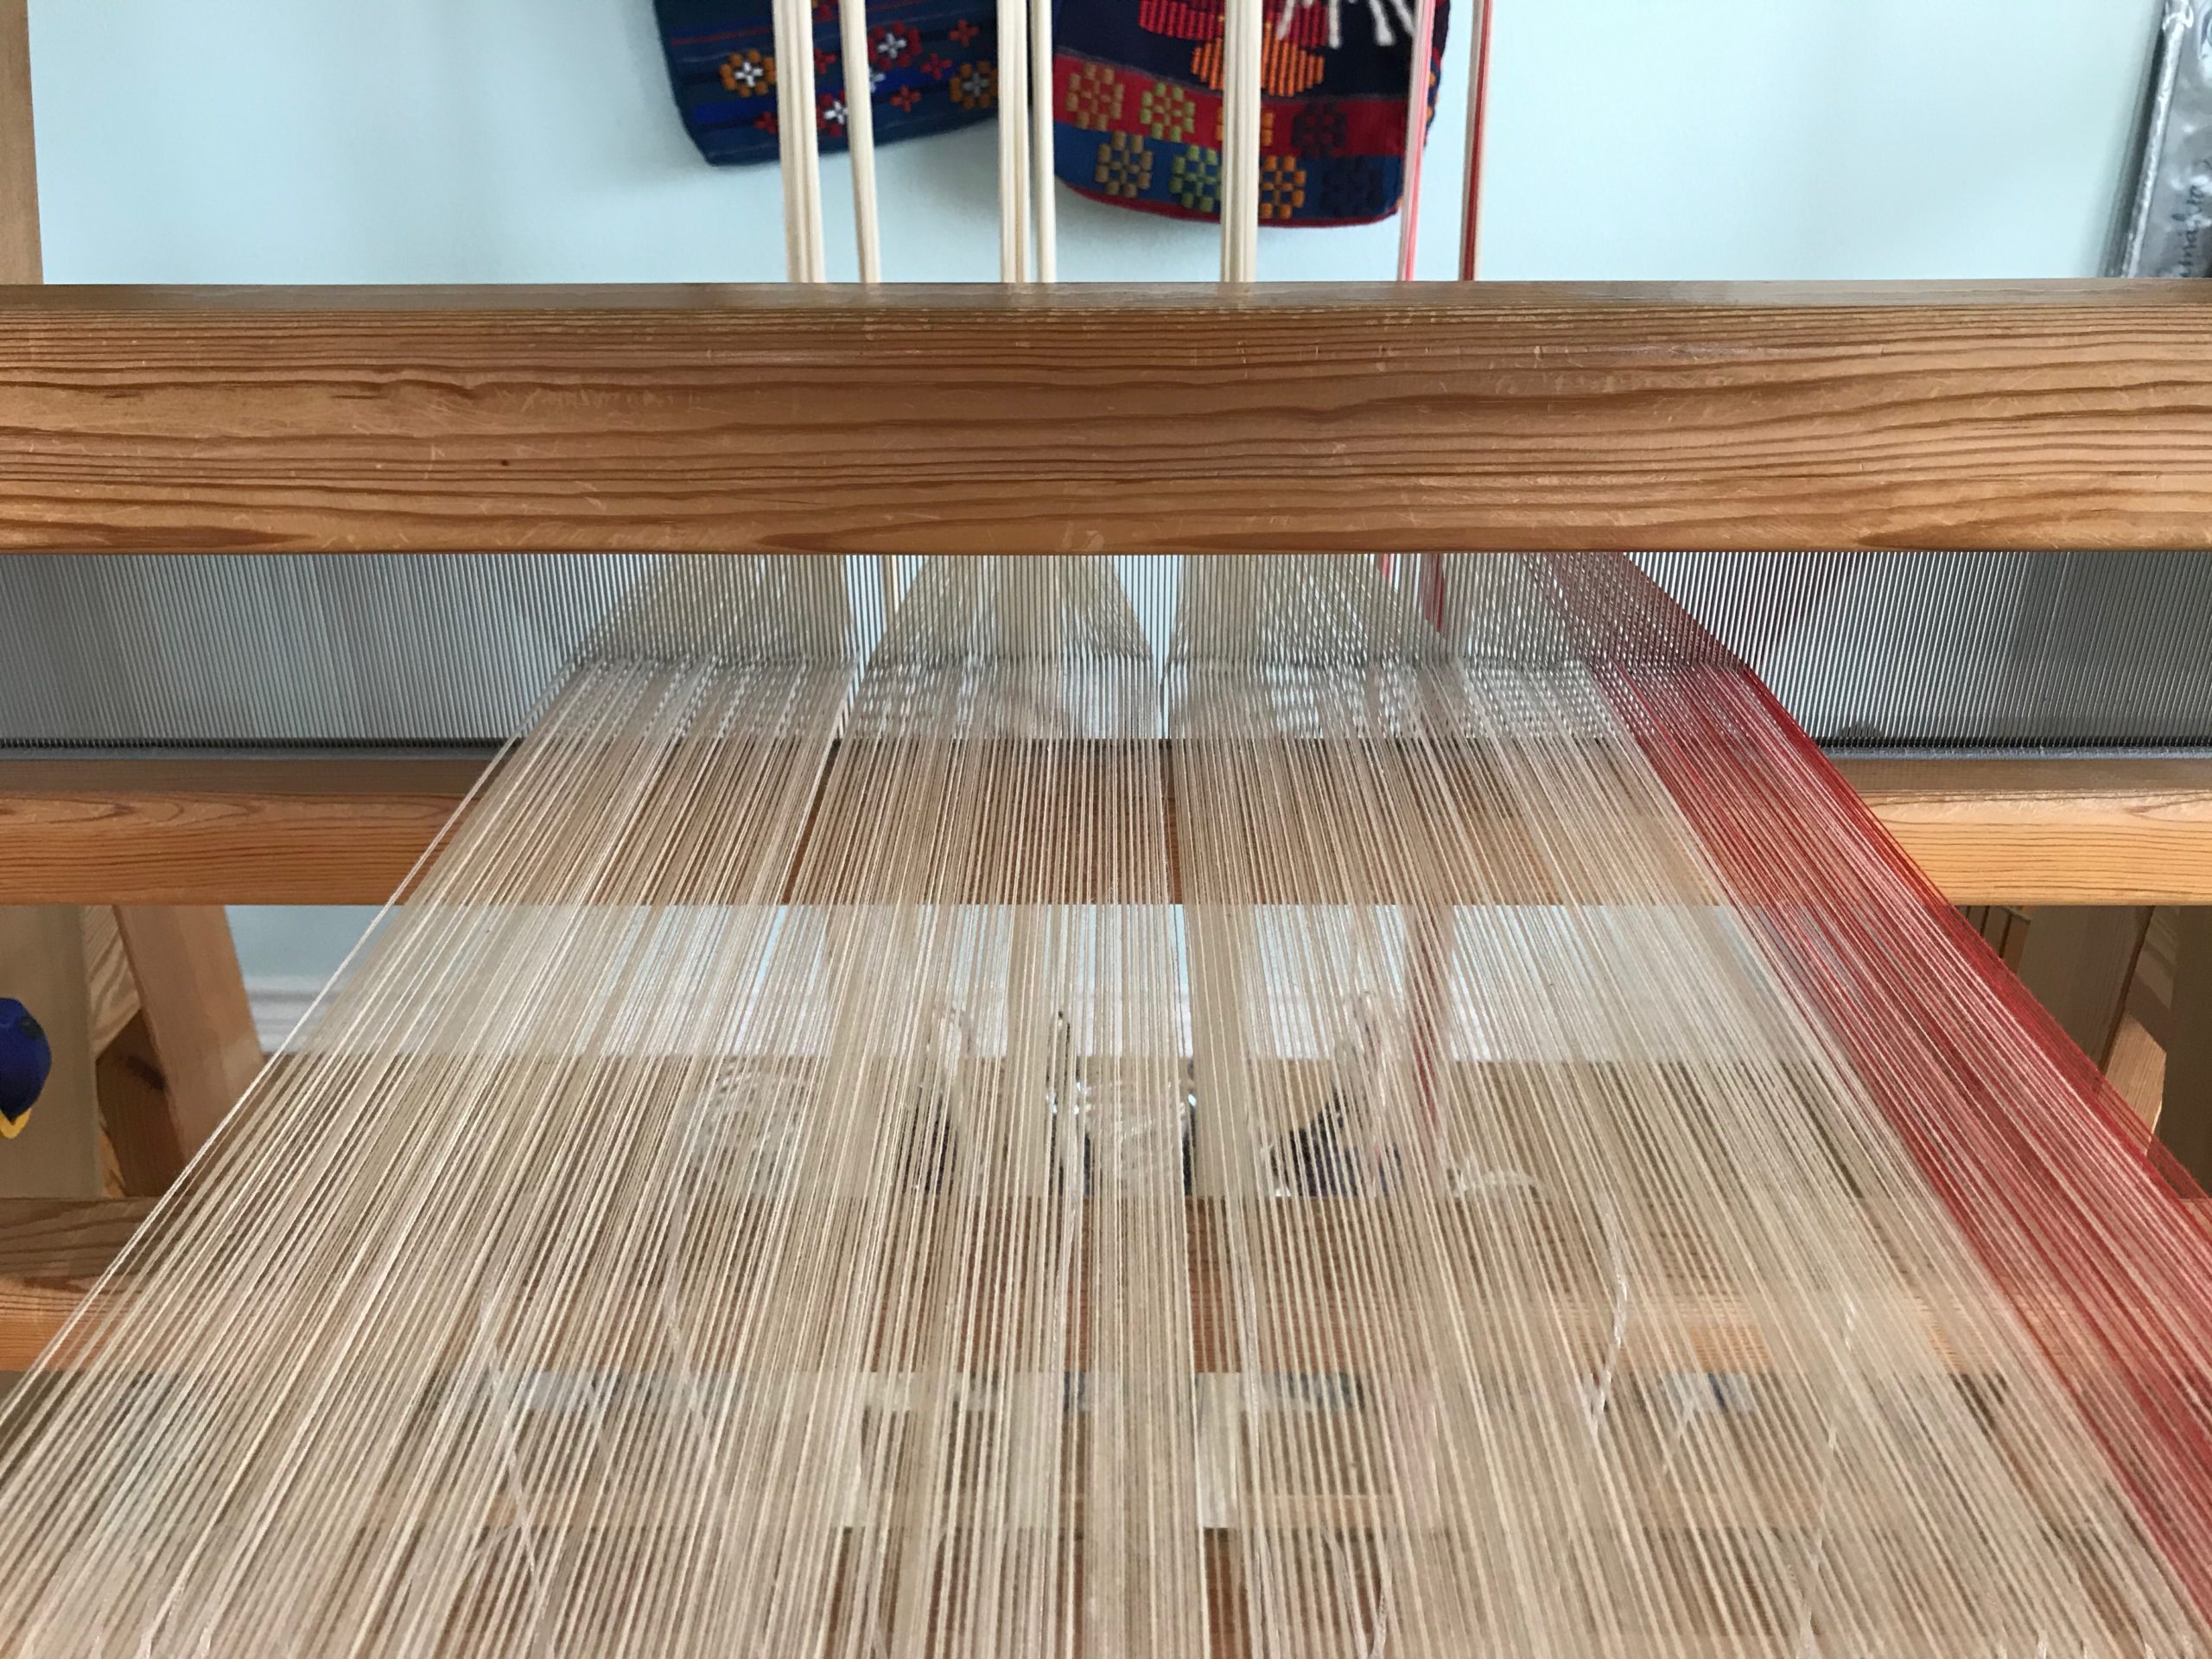
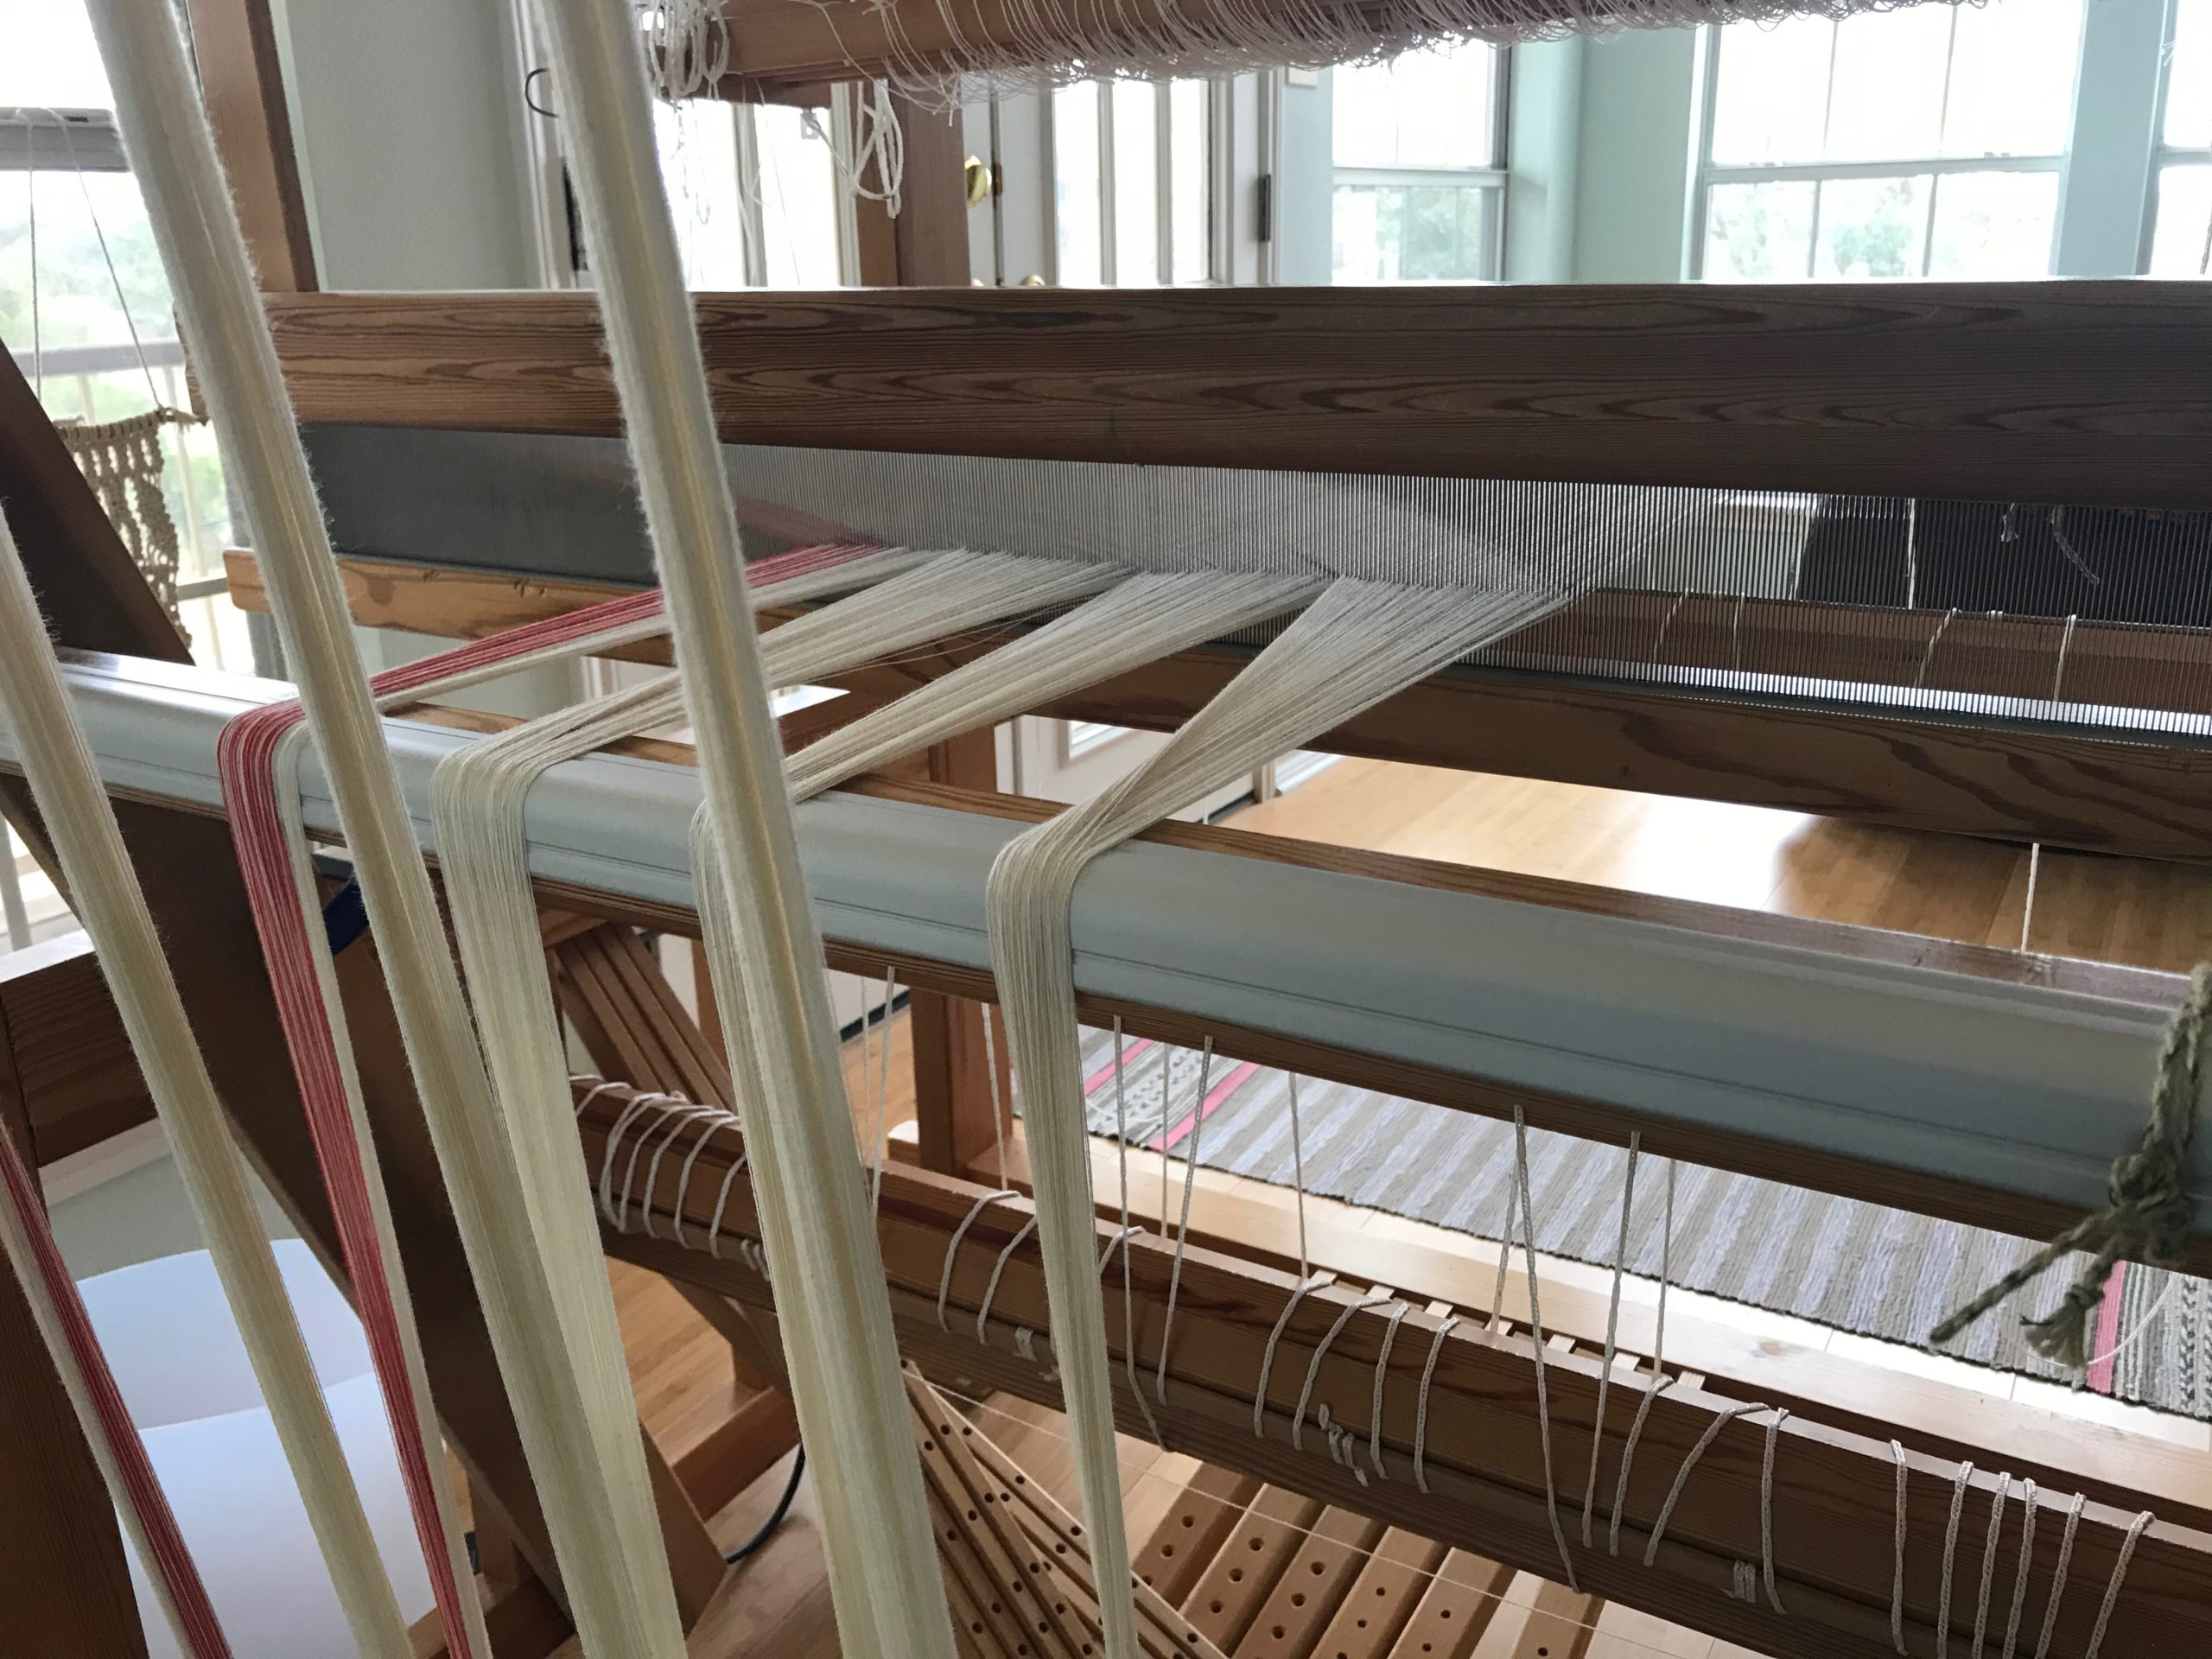
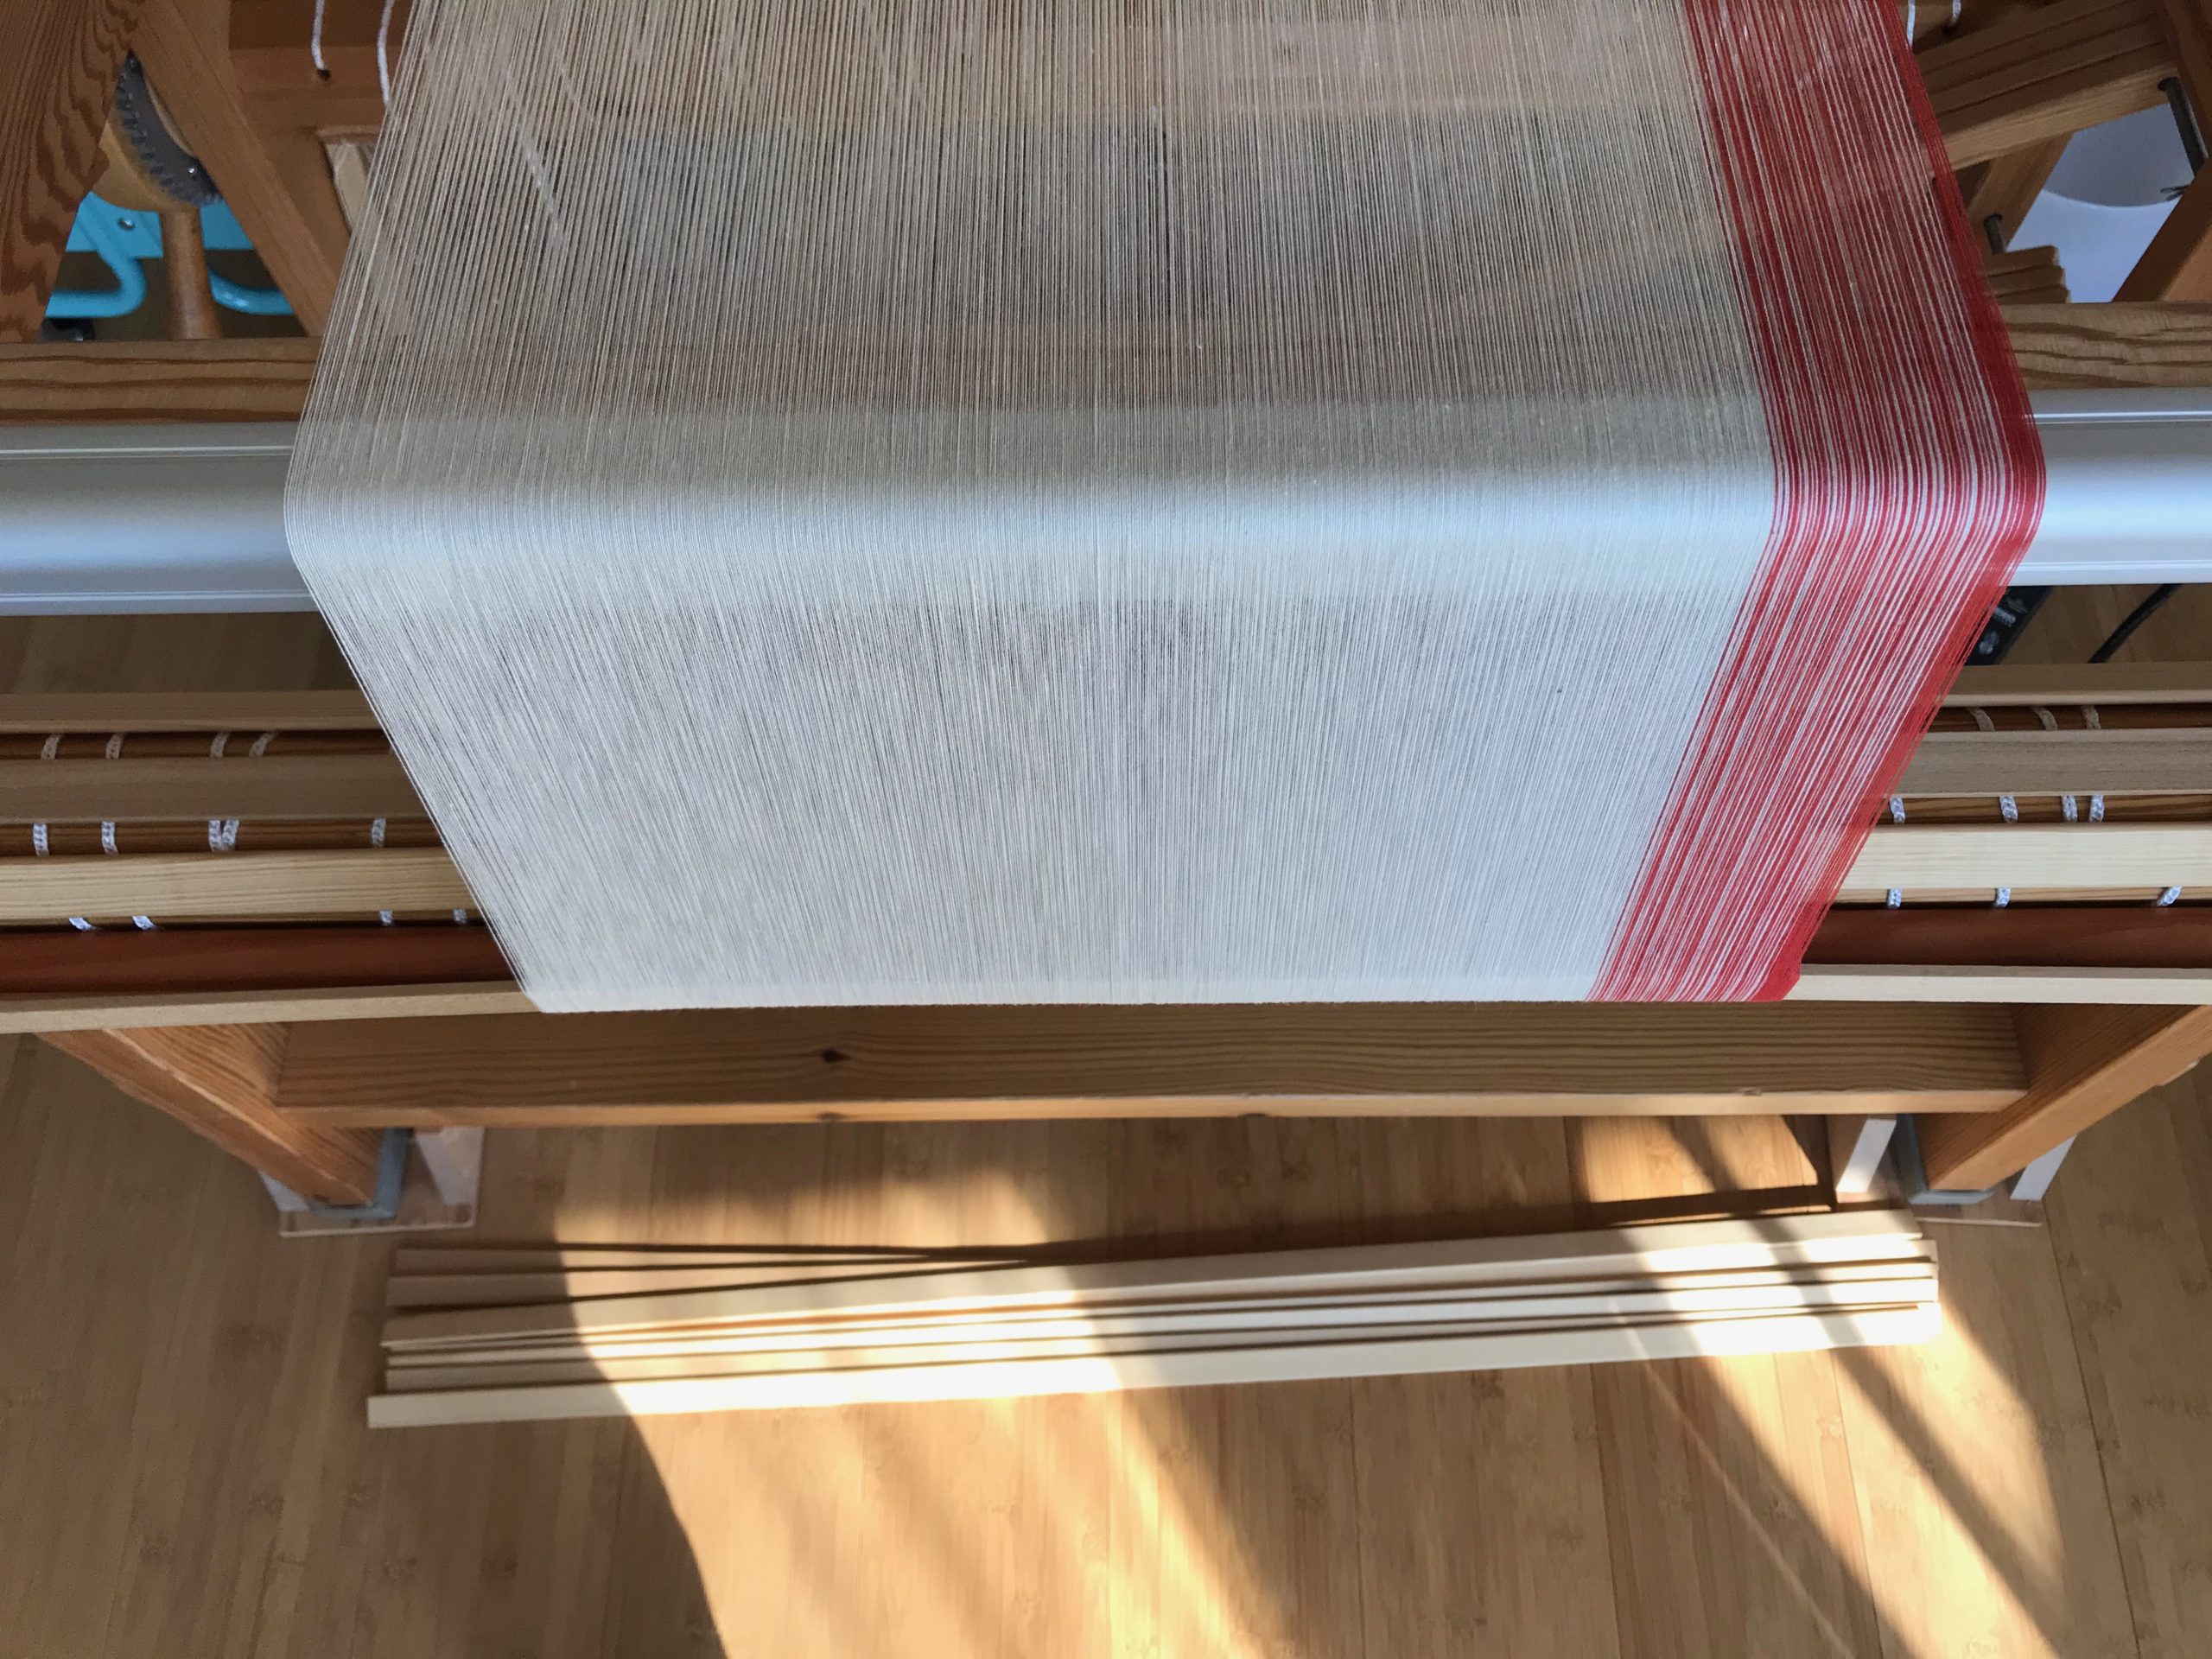
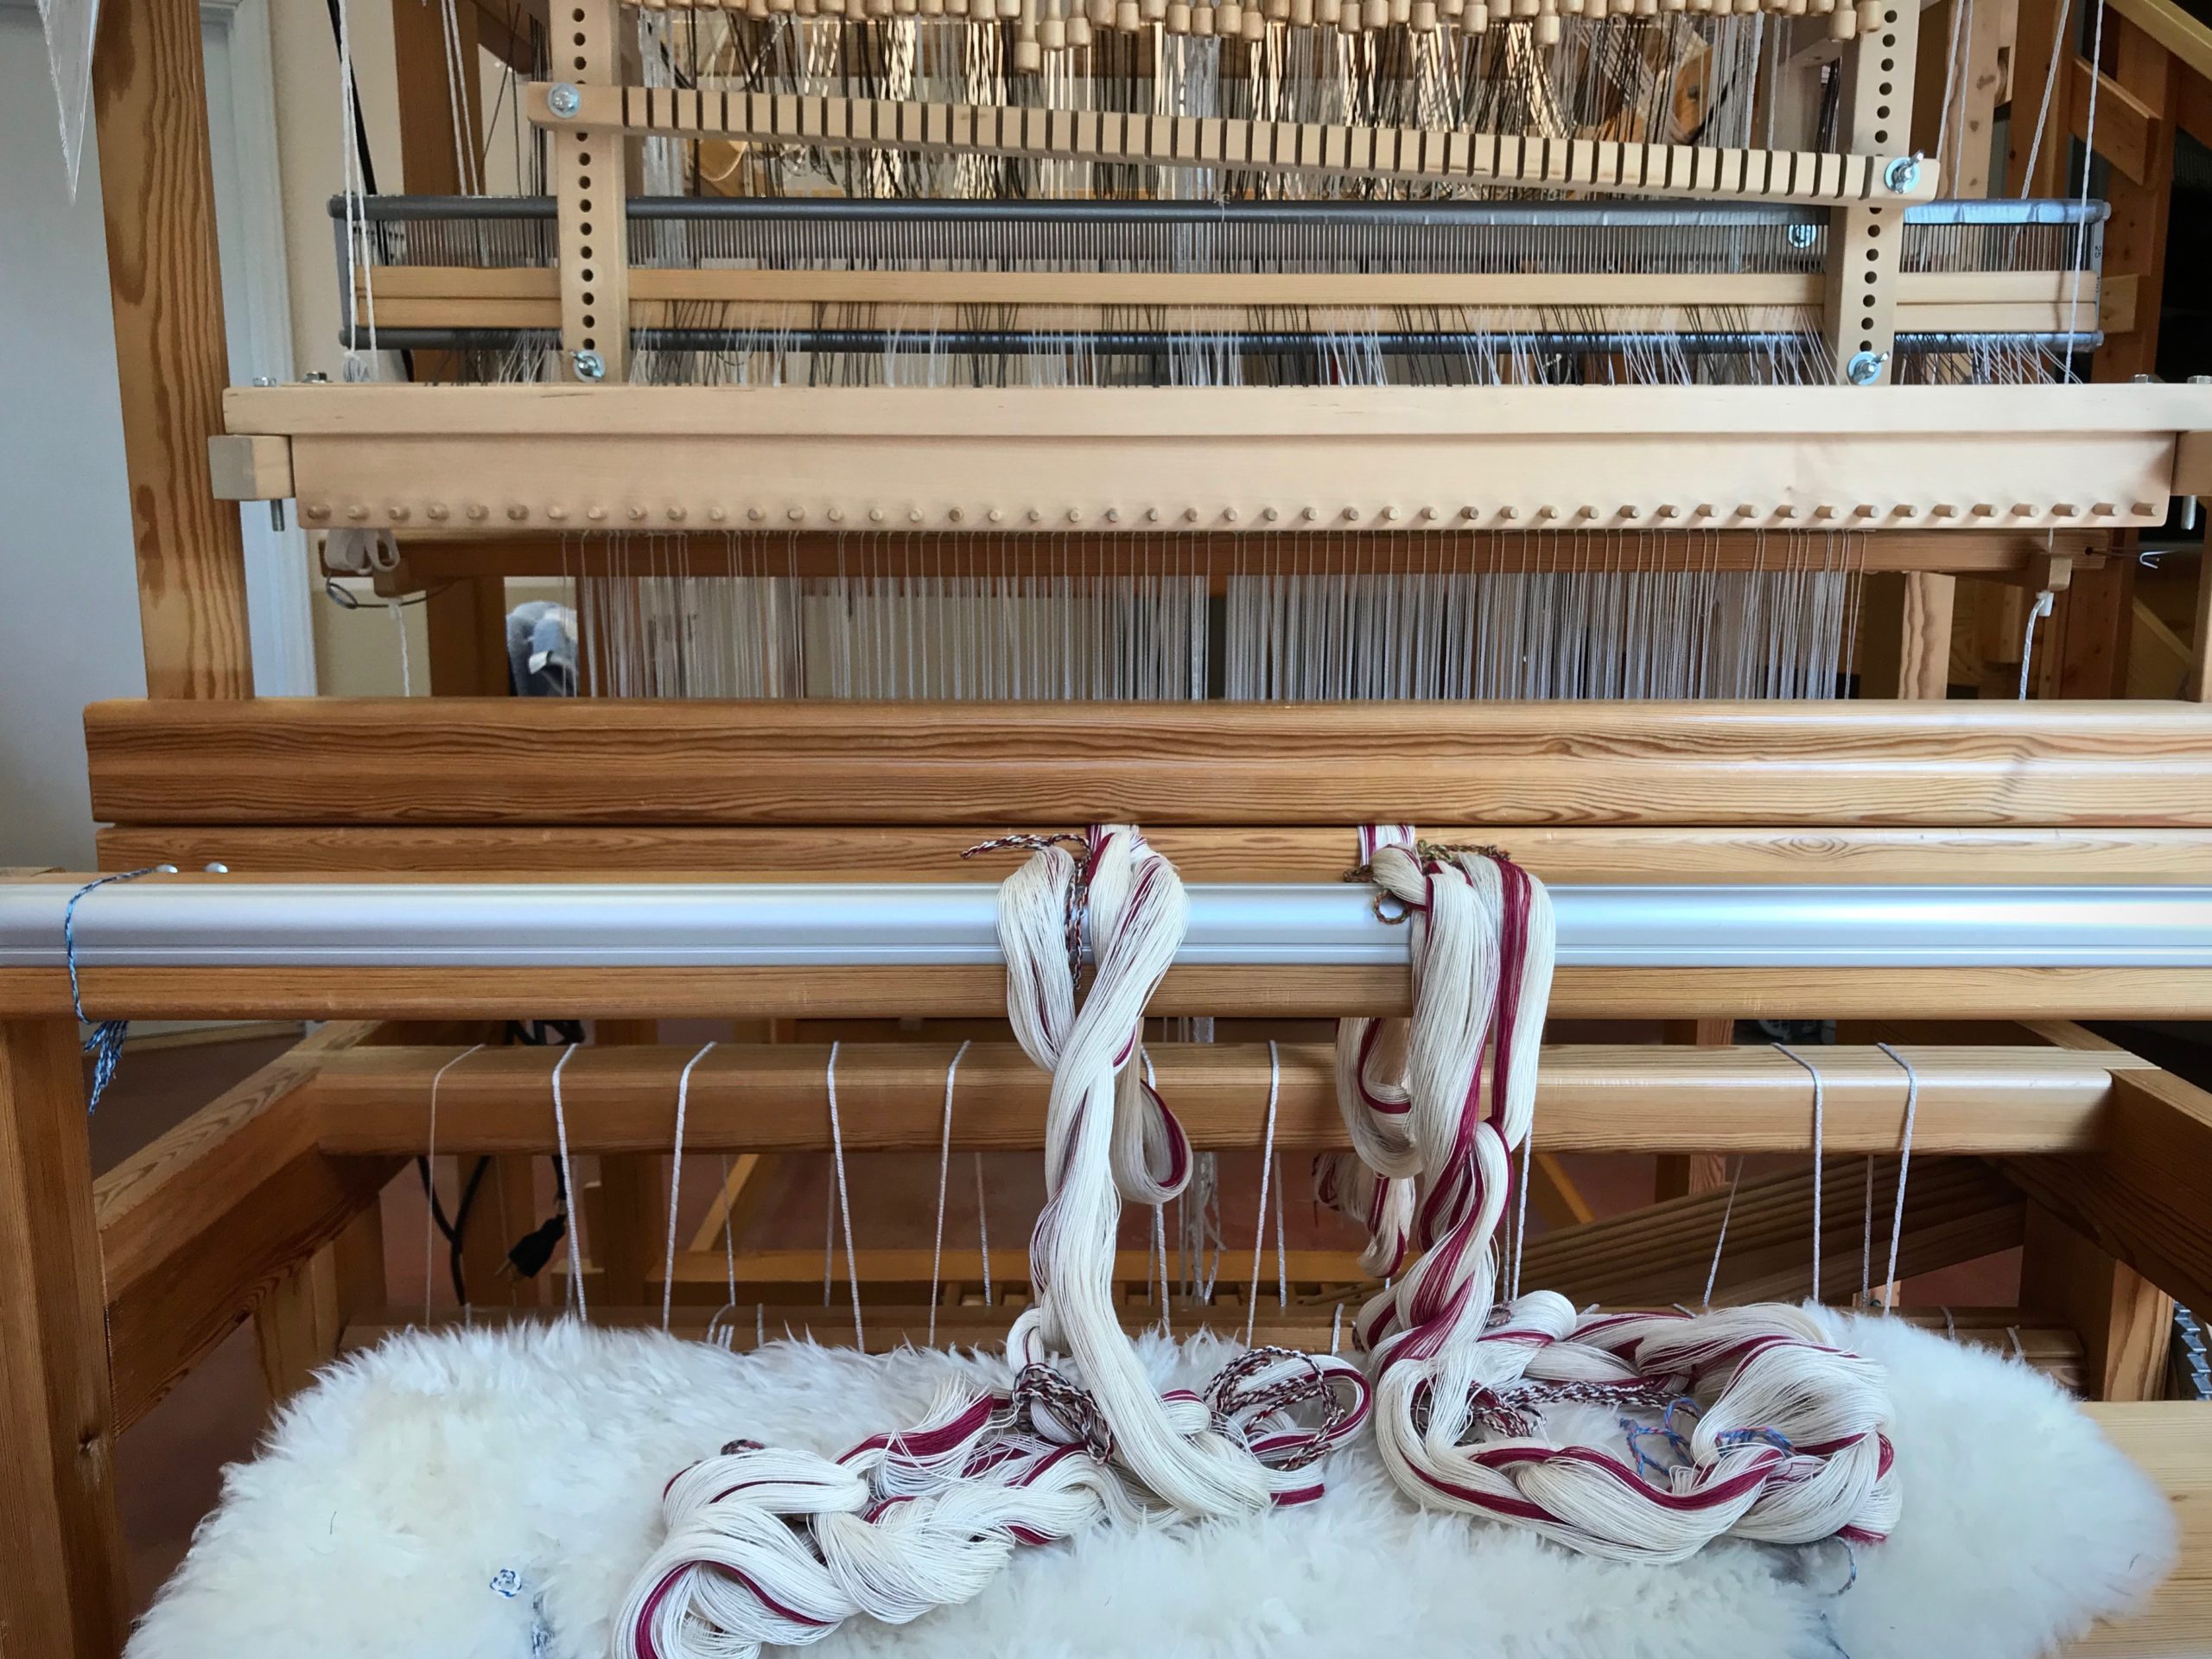
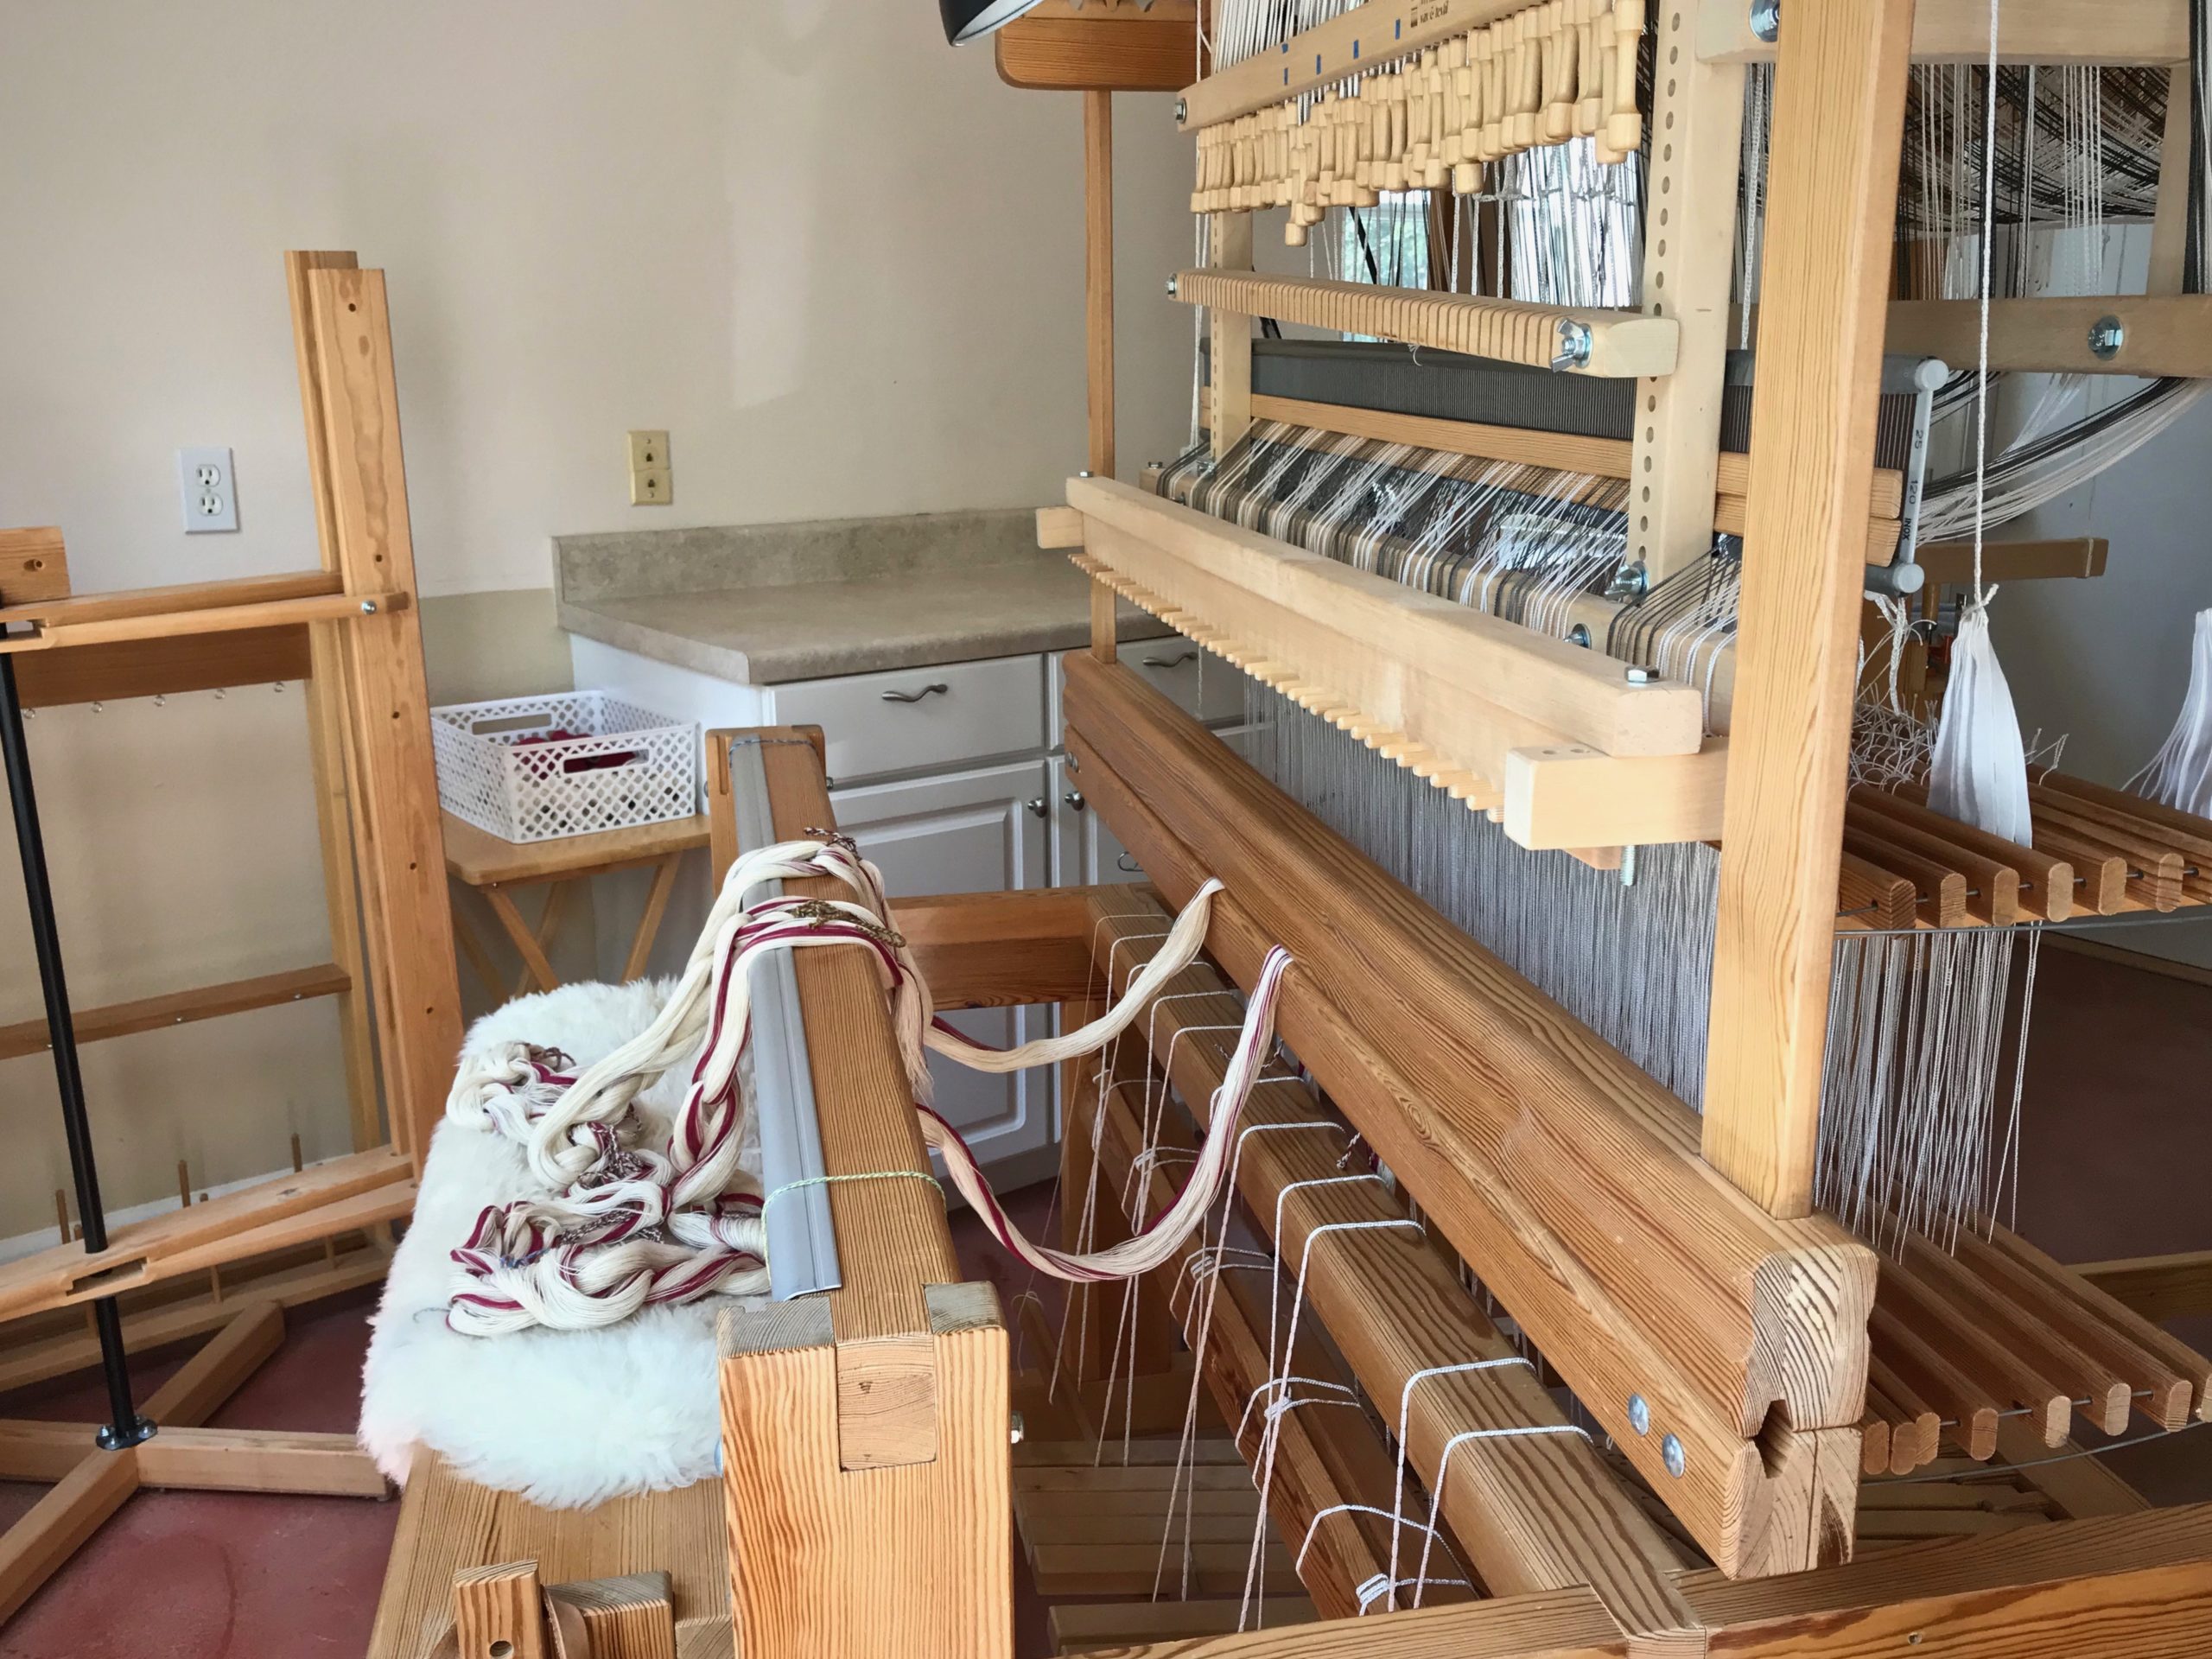
I am making a new ‘cello skirt (a tiered skirt), starting from scratch. The warp is 24/2 cotton, most of it unbleached. Each tier will be edged with a narrow Poppy border. The pattern in the cloth will be a huckaback (huck lace) design, adapted from Little Tablecloth in Huckaback on p.10 in Happy Weaving from VävMagisinet.
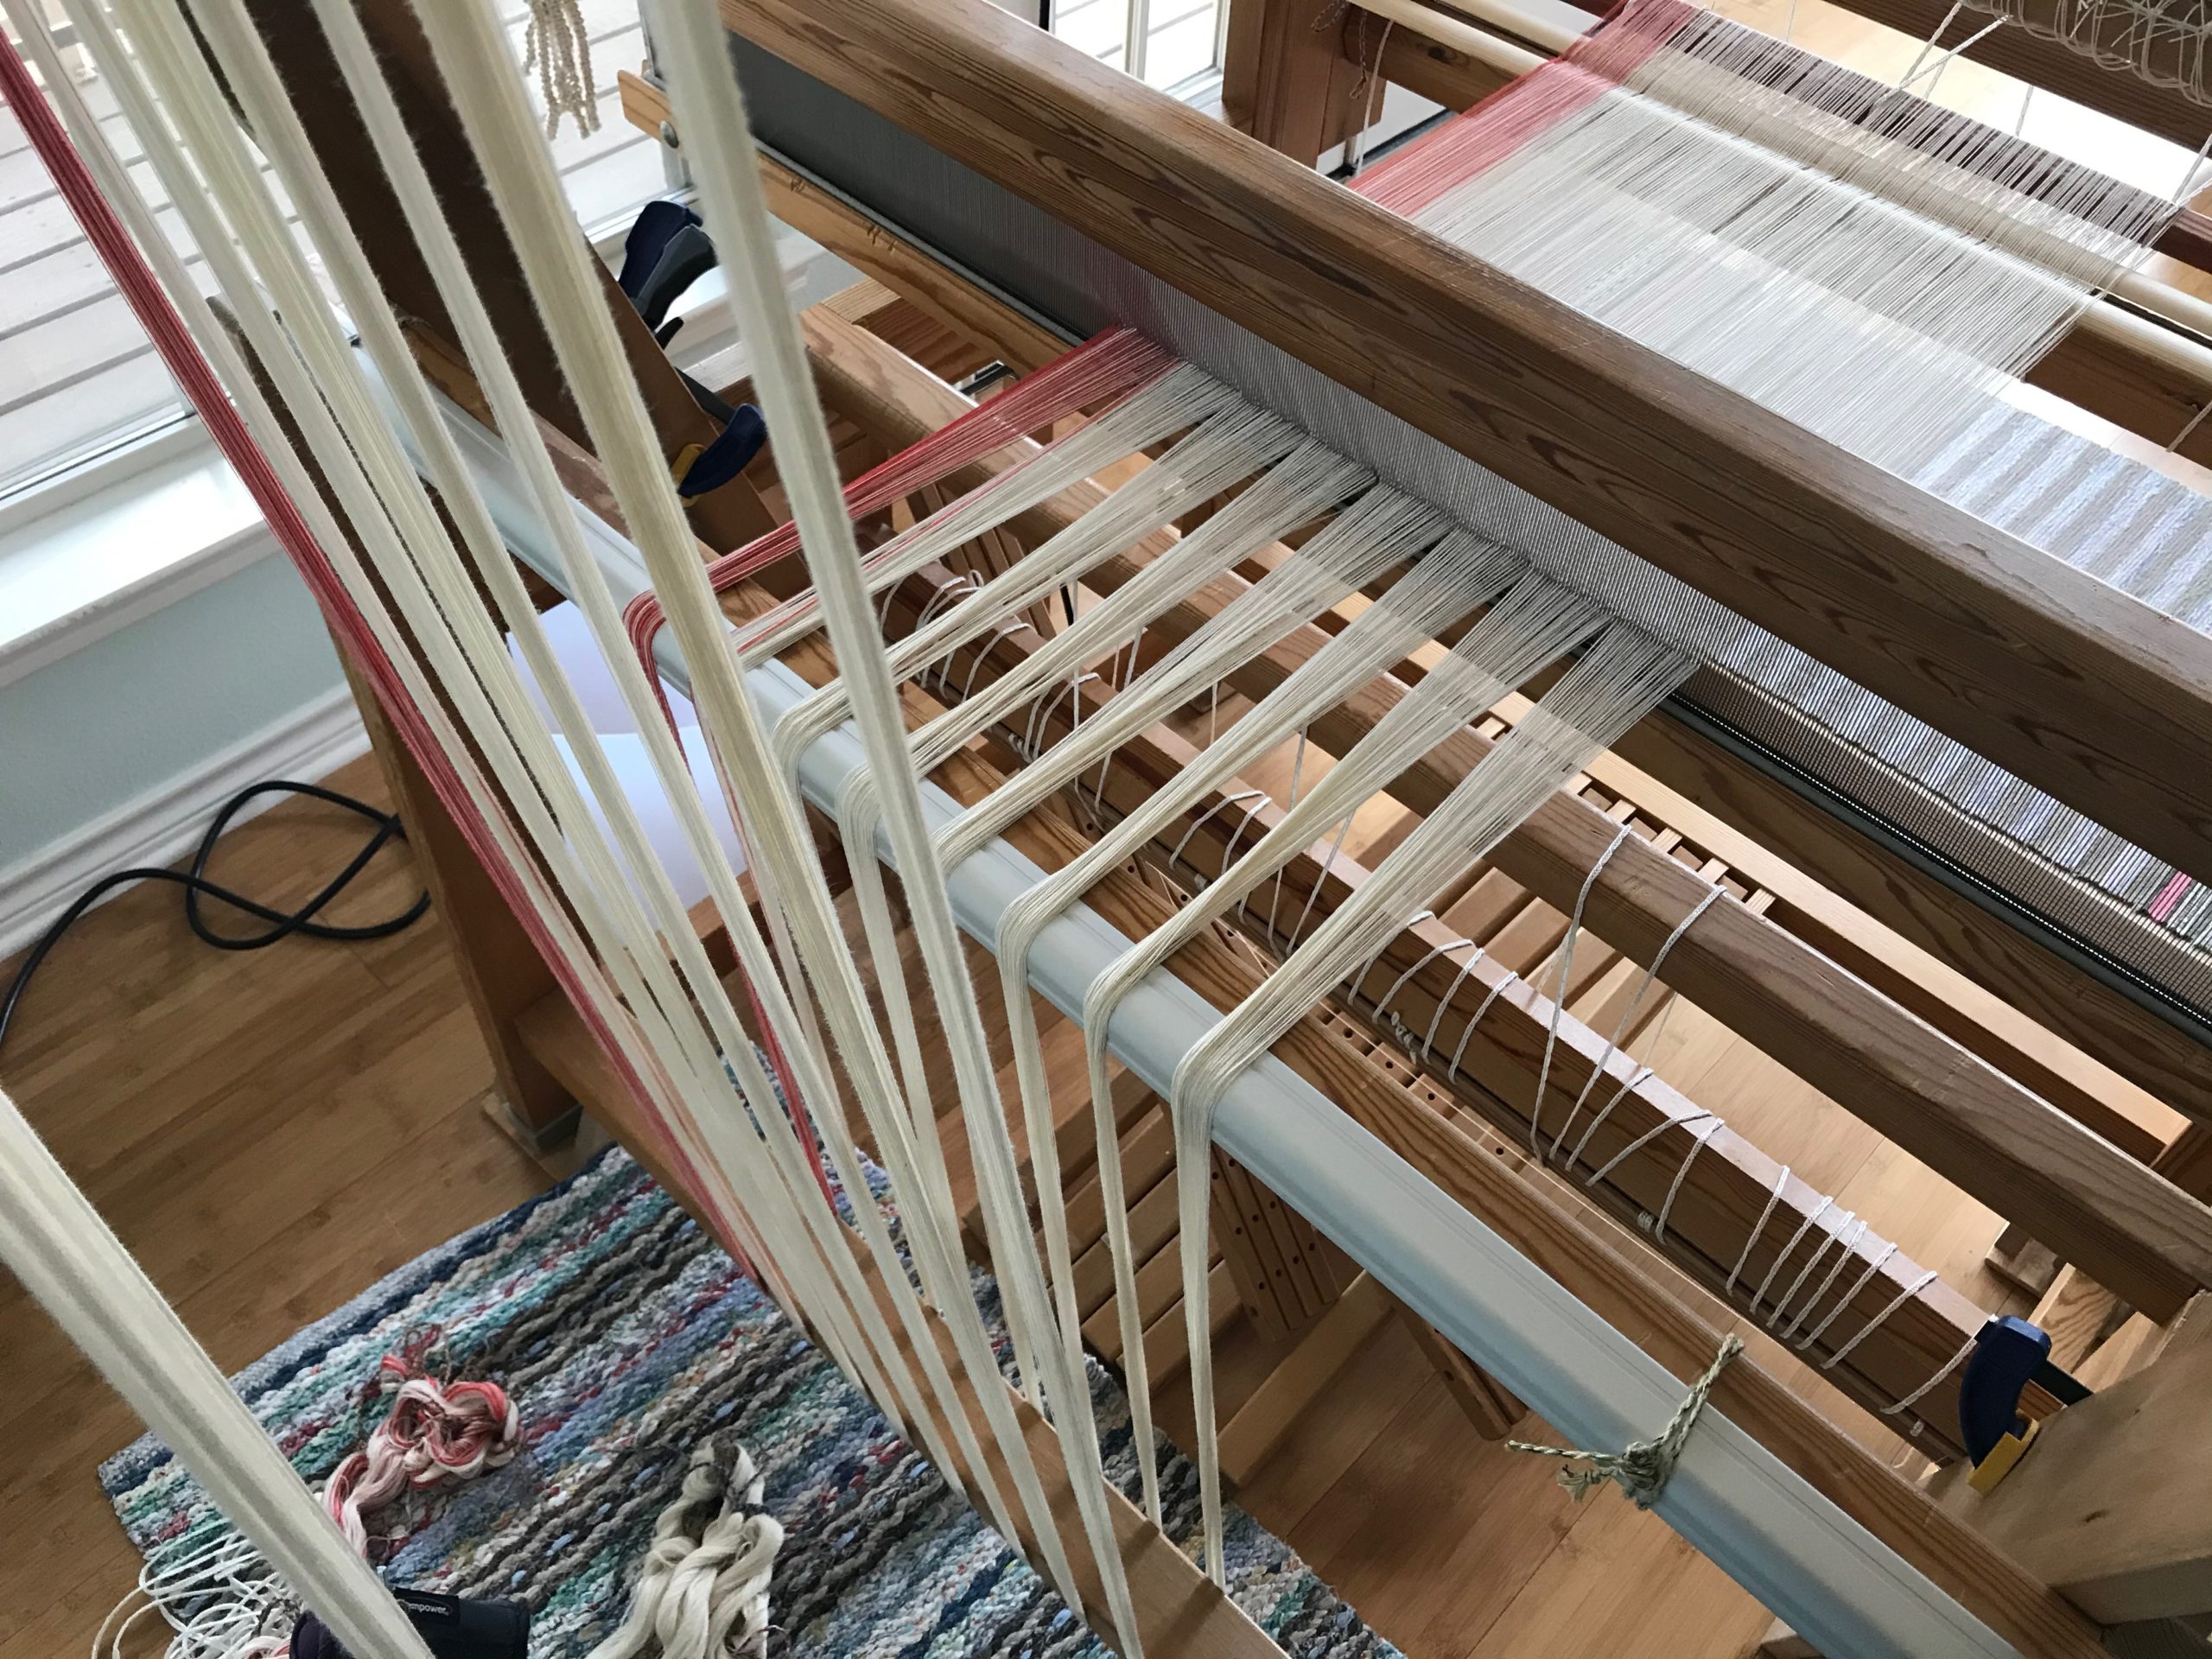
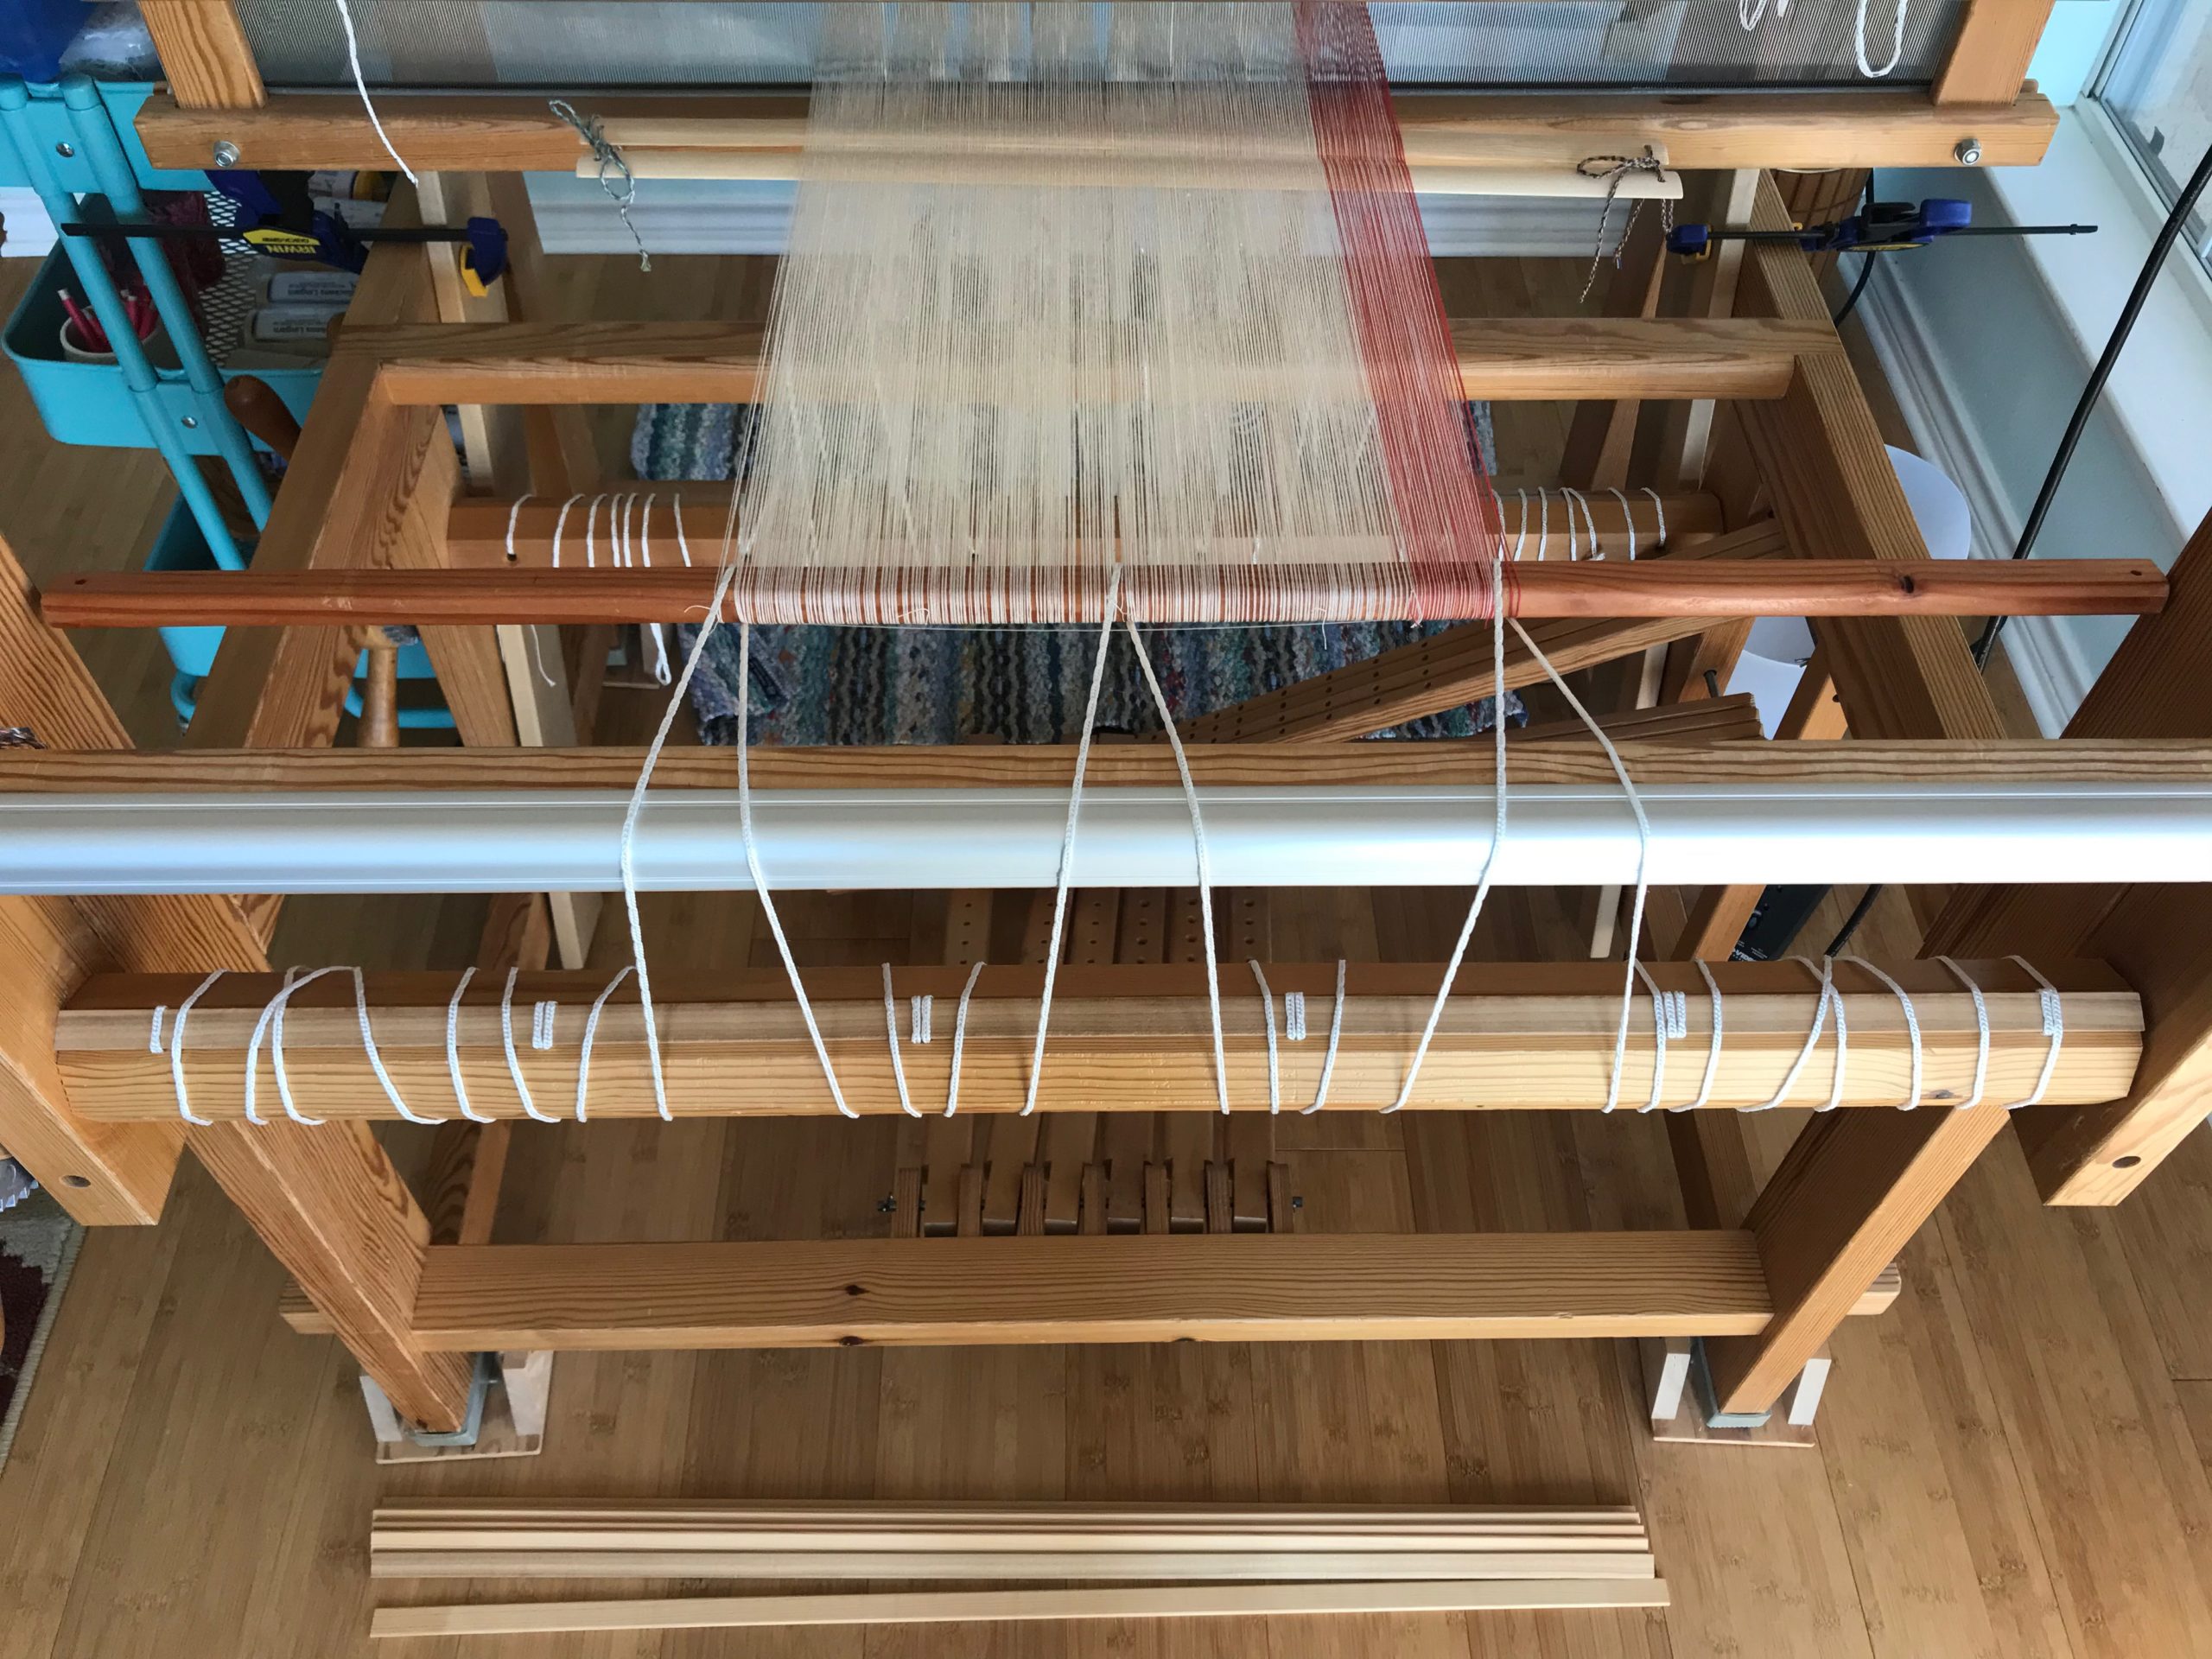
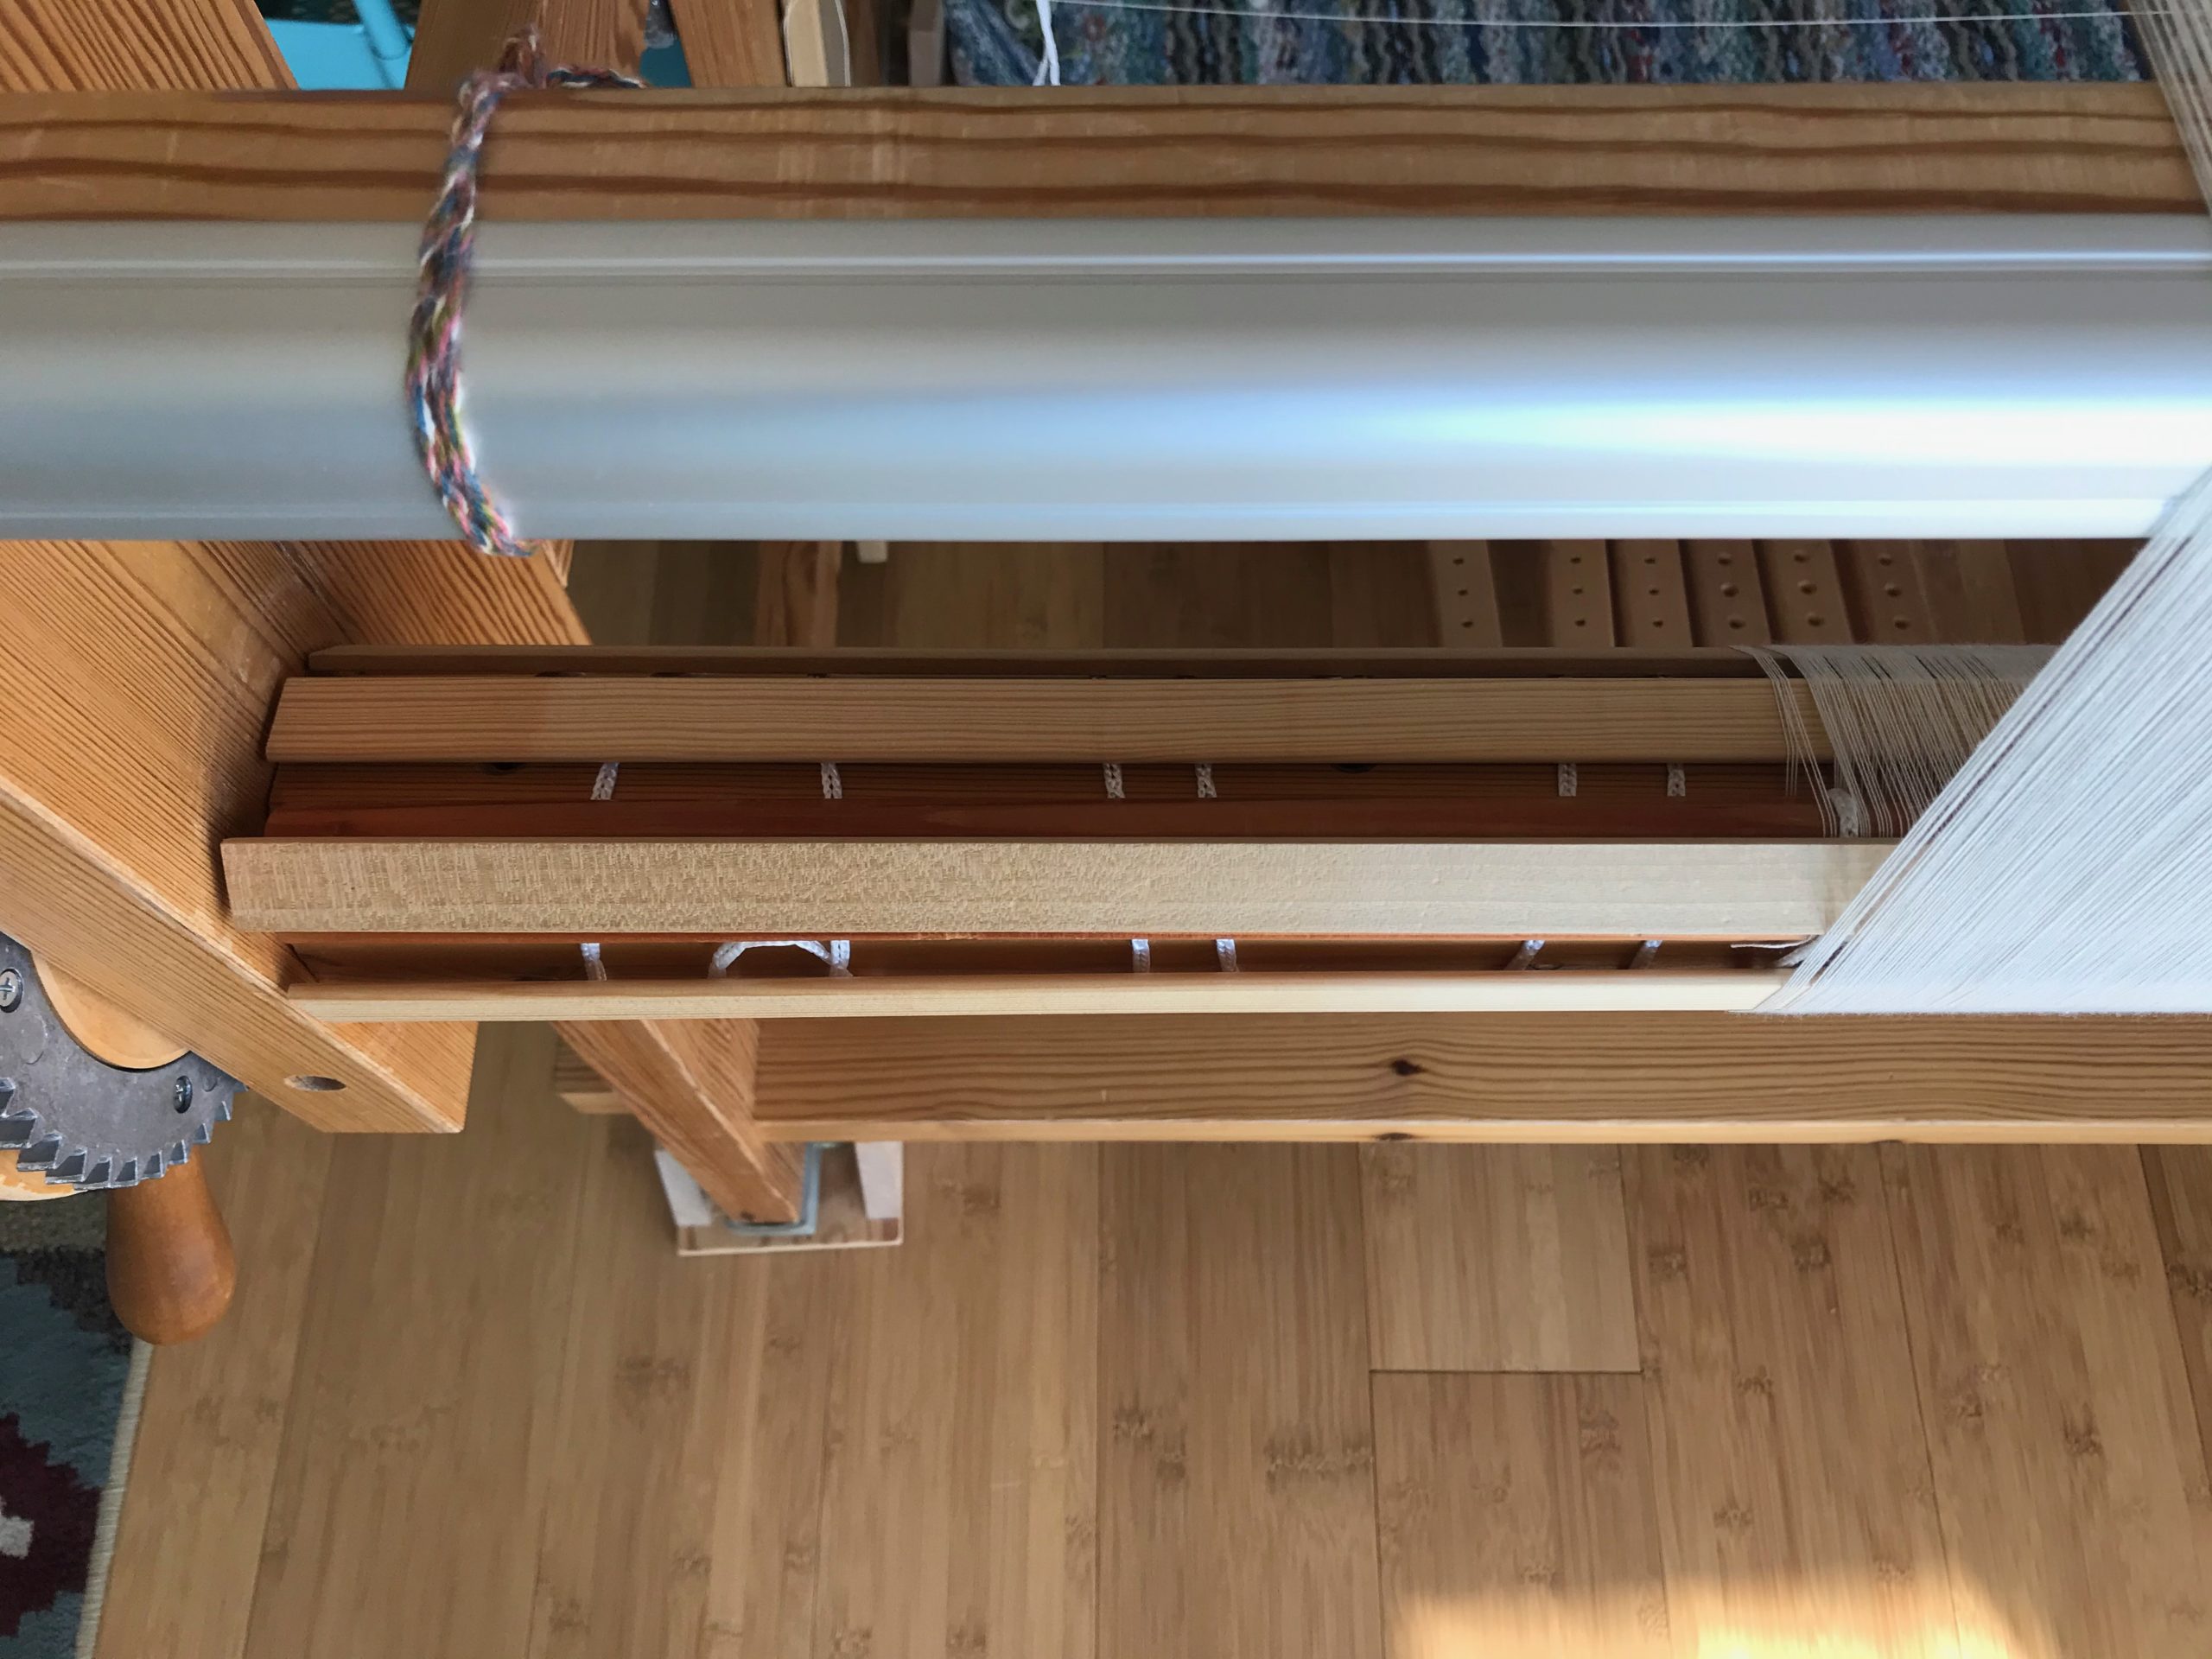
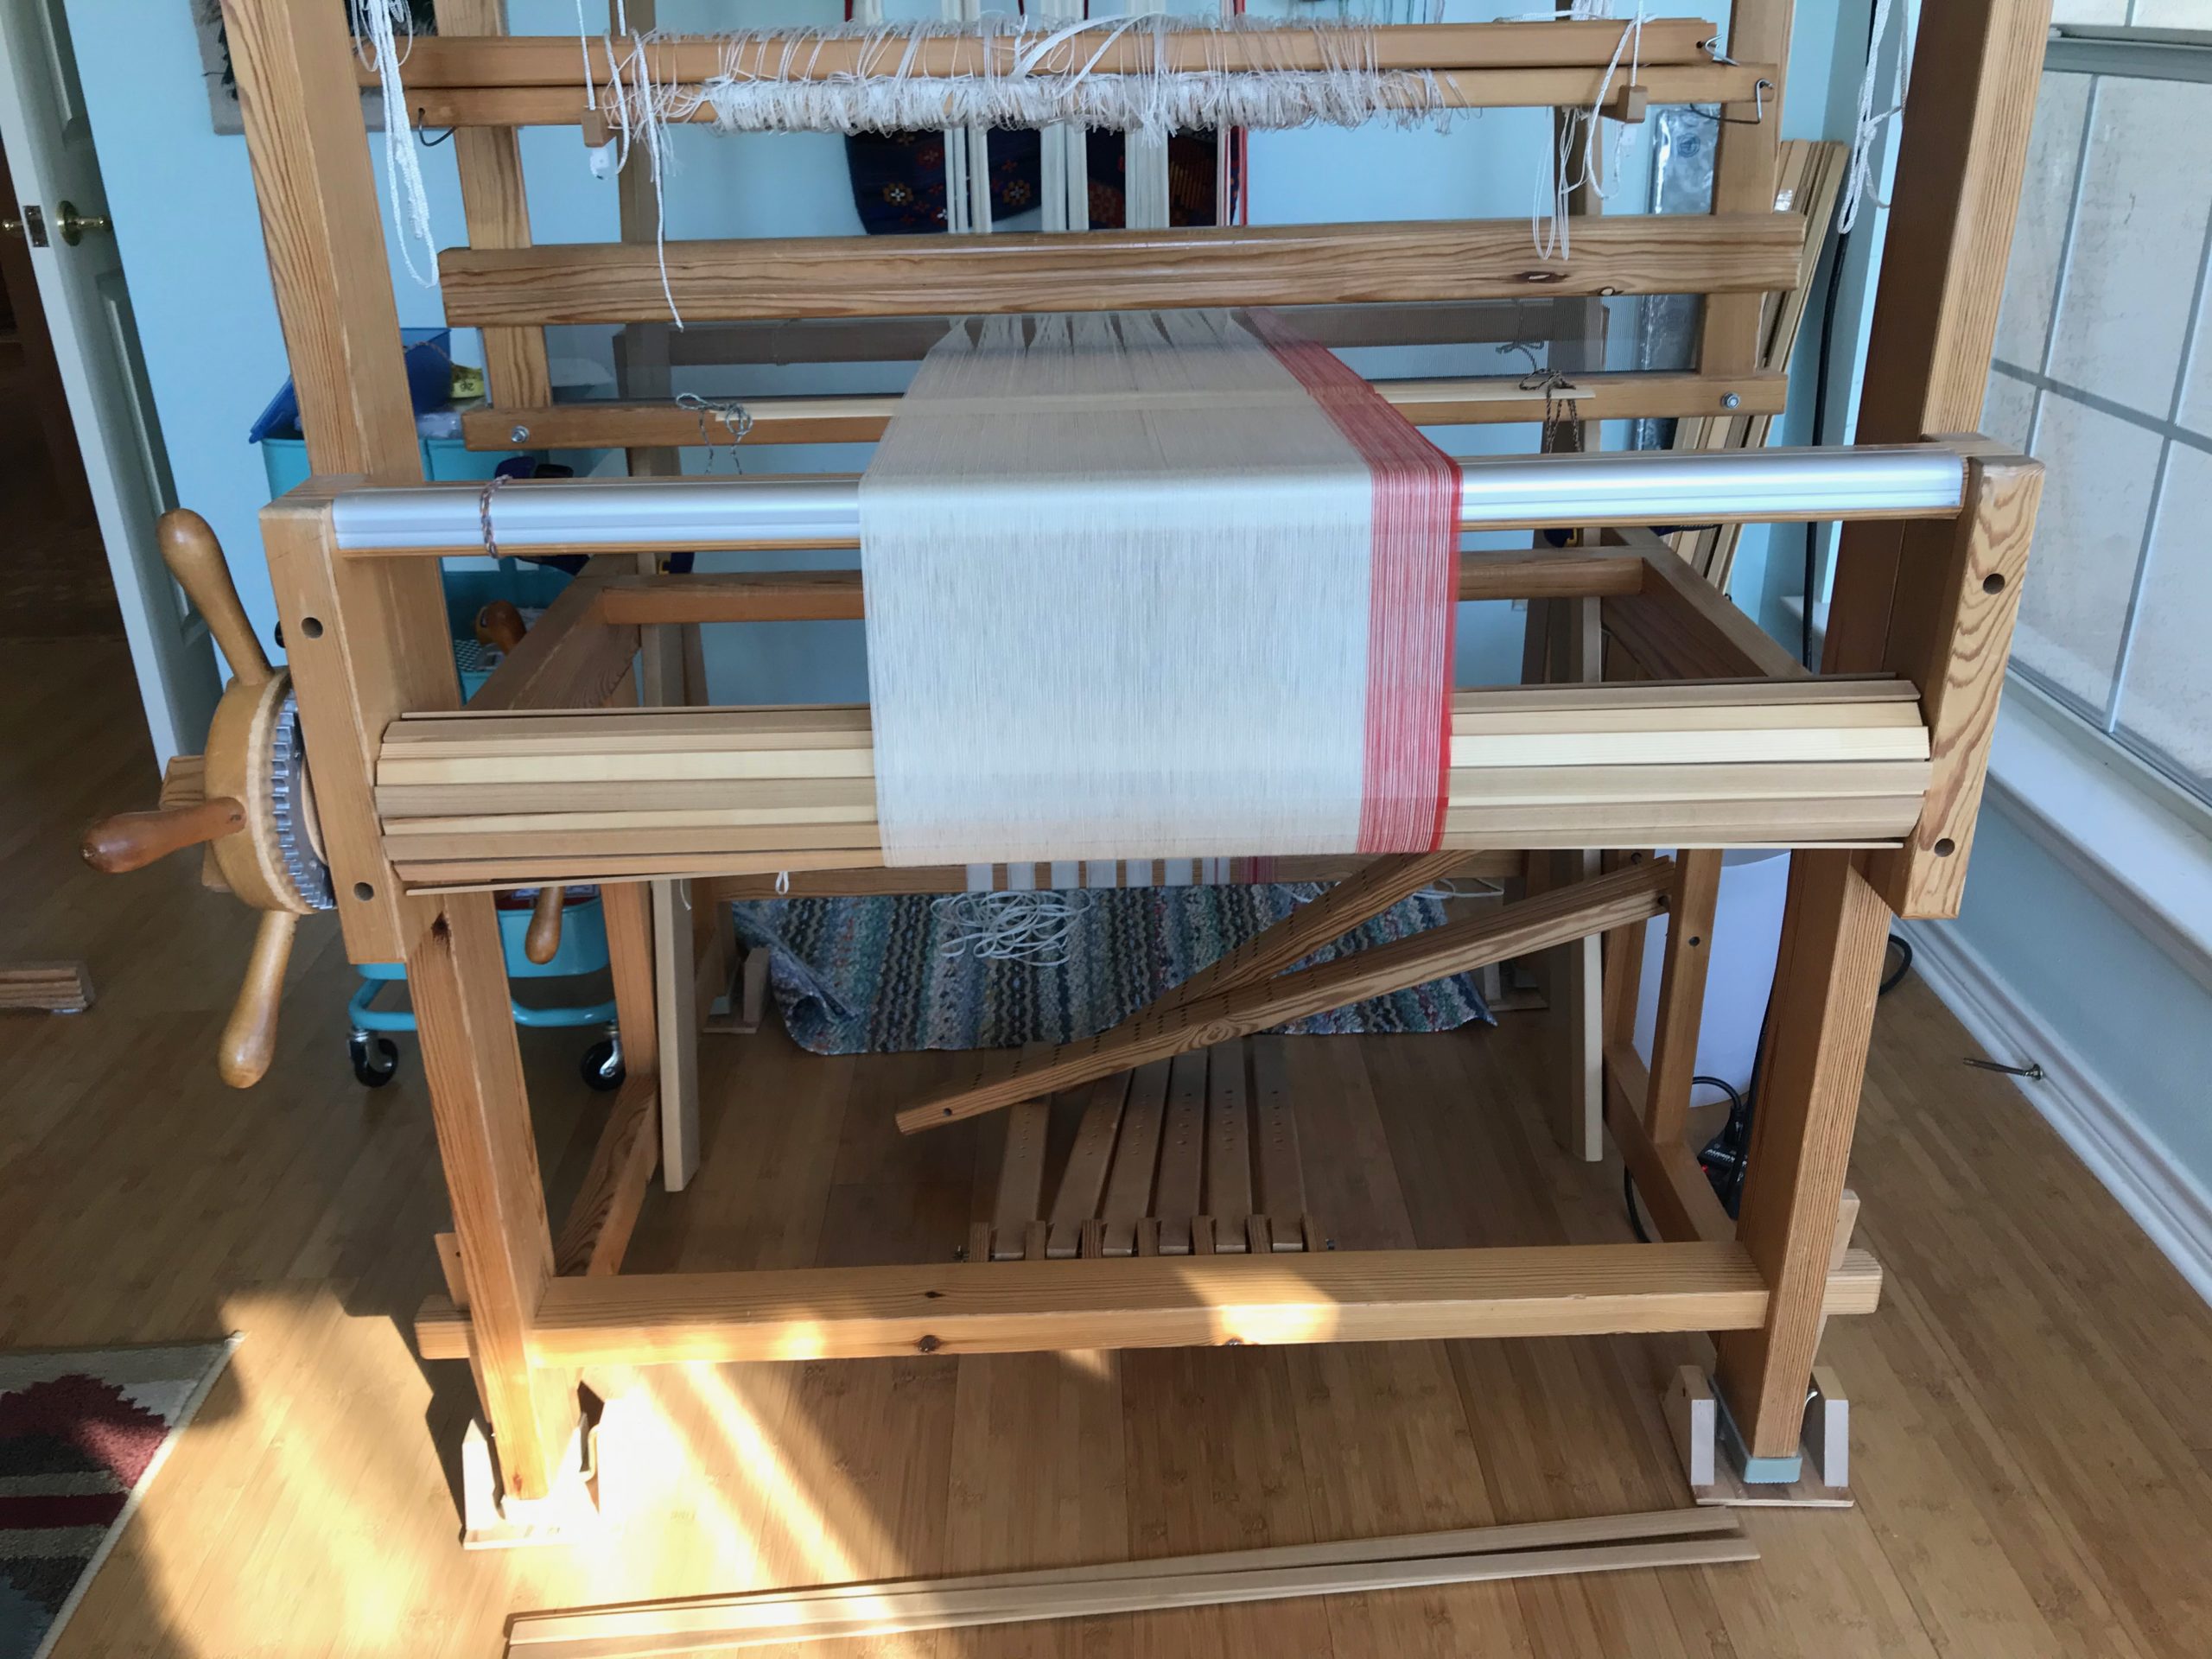
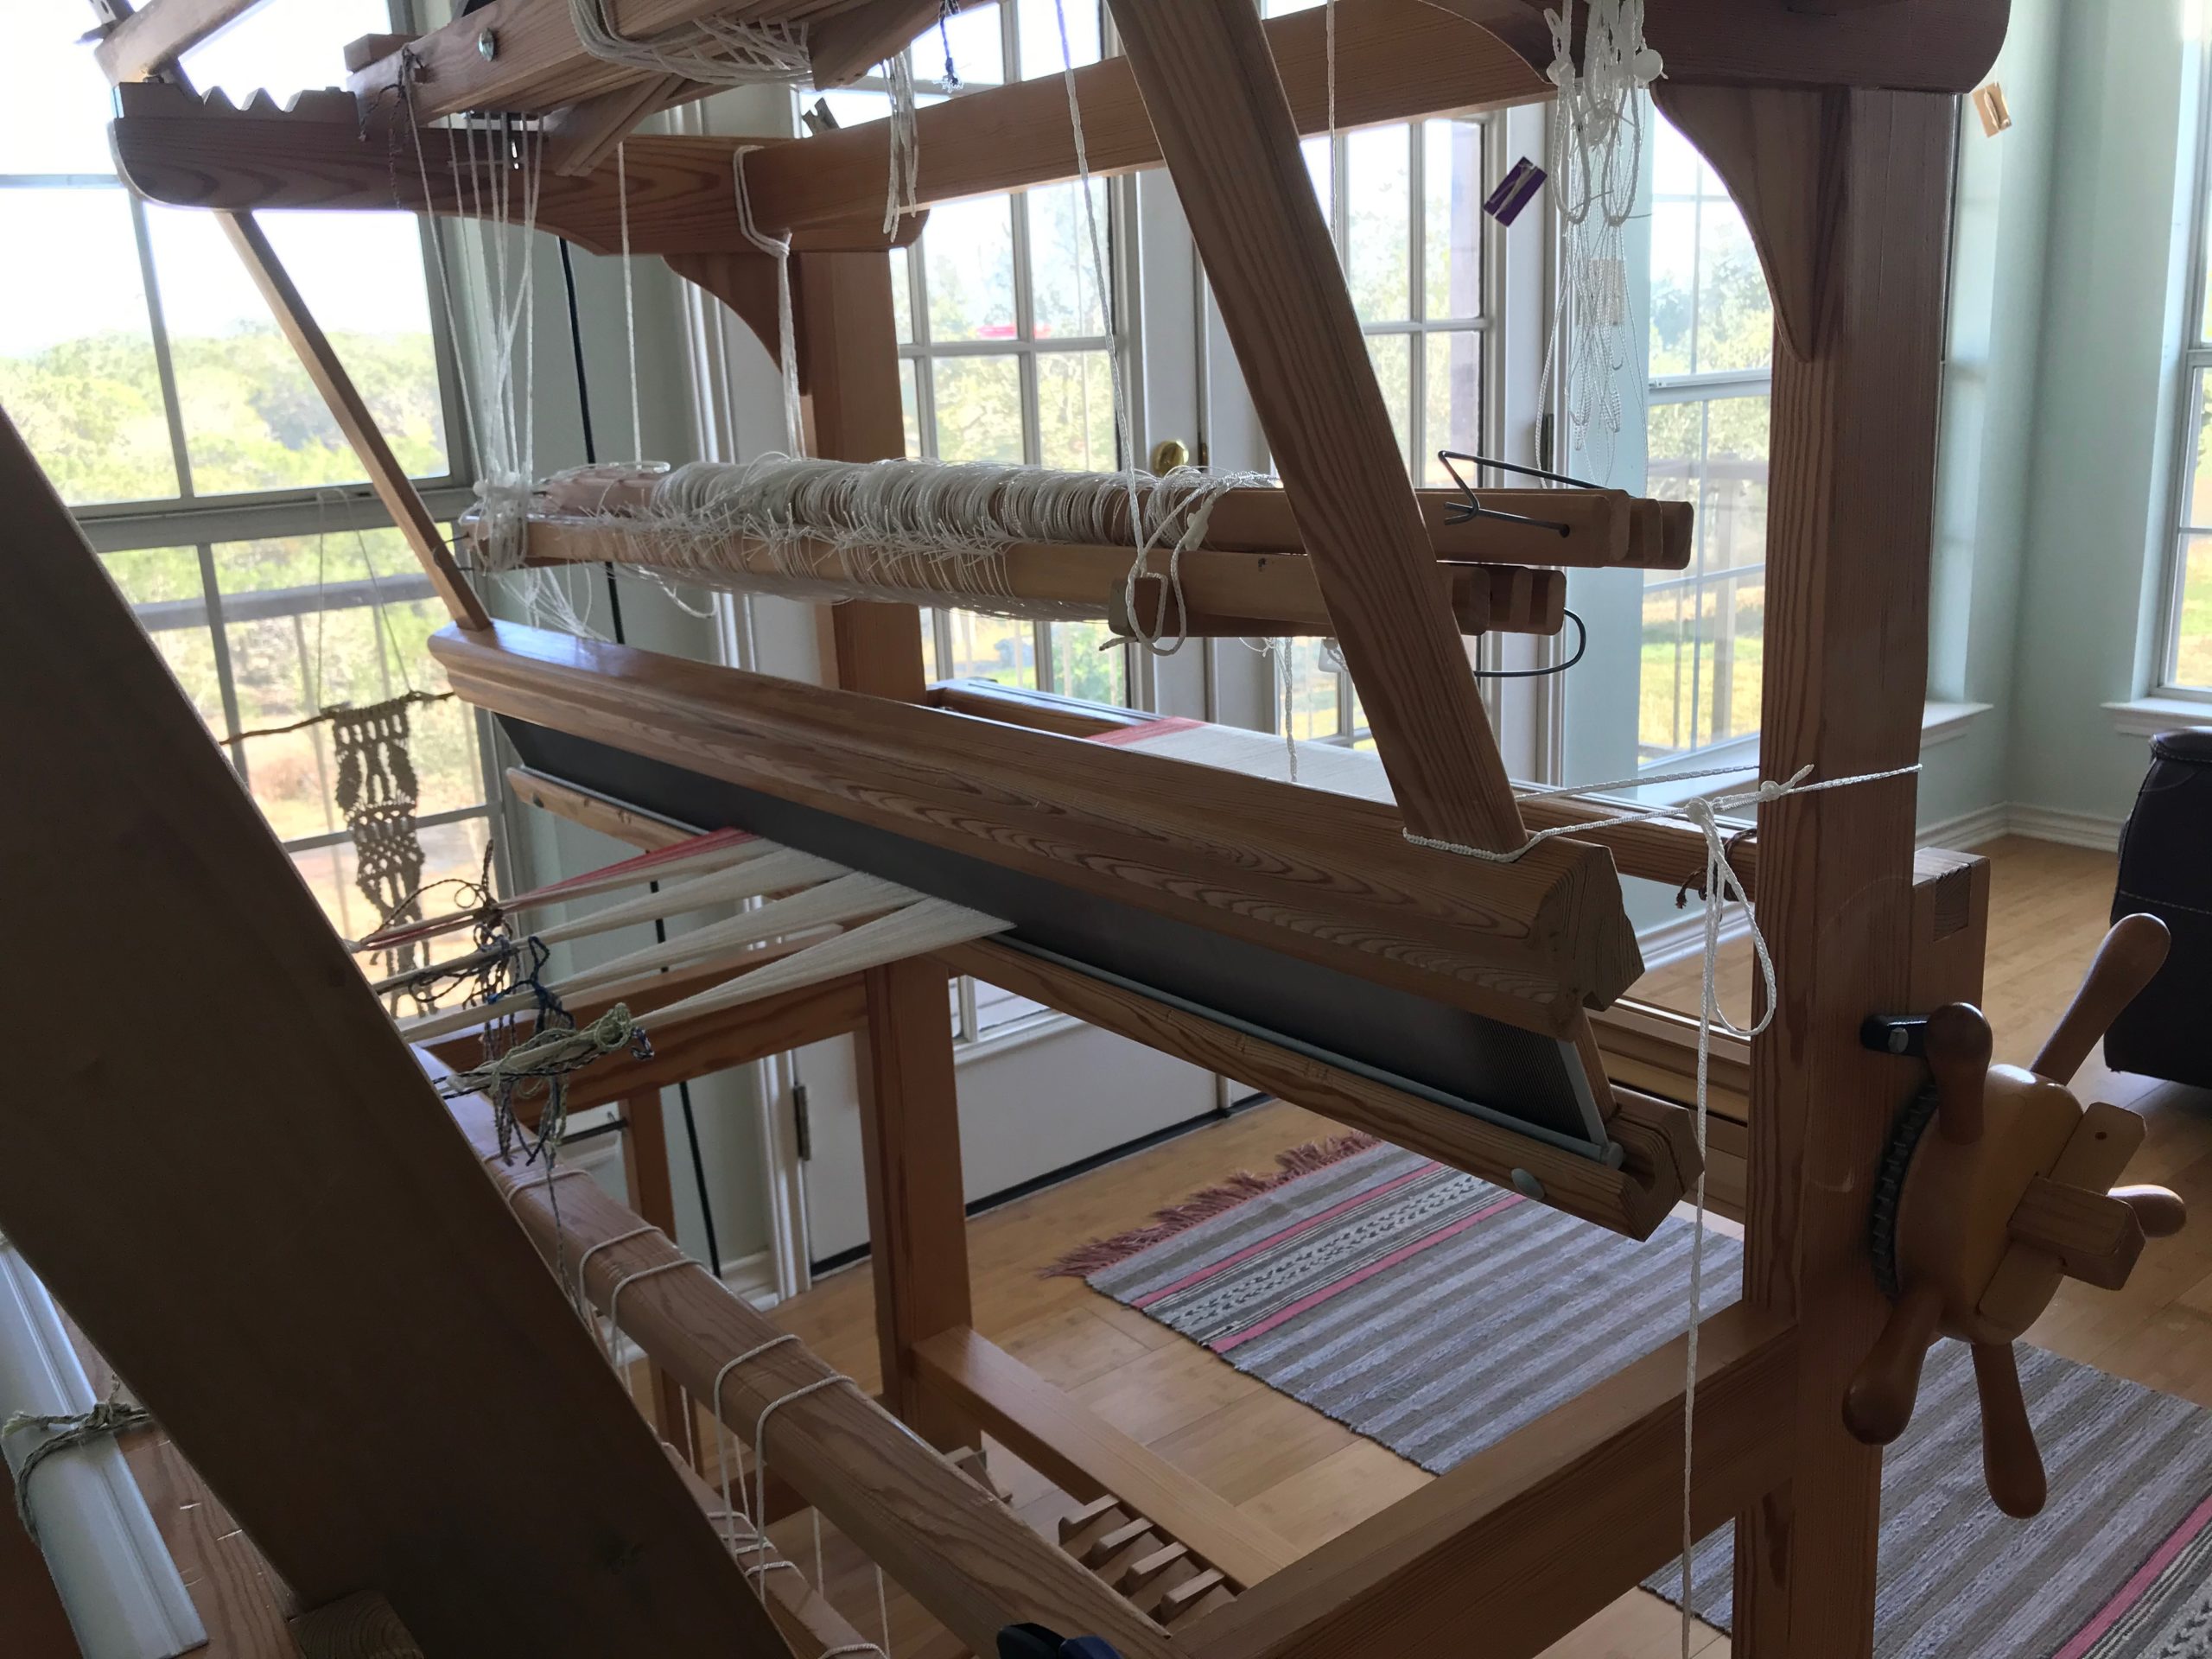
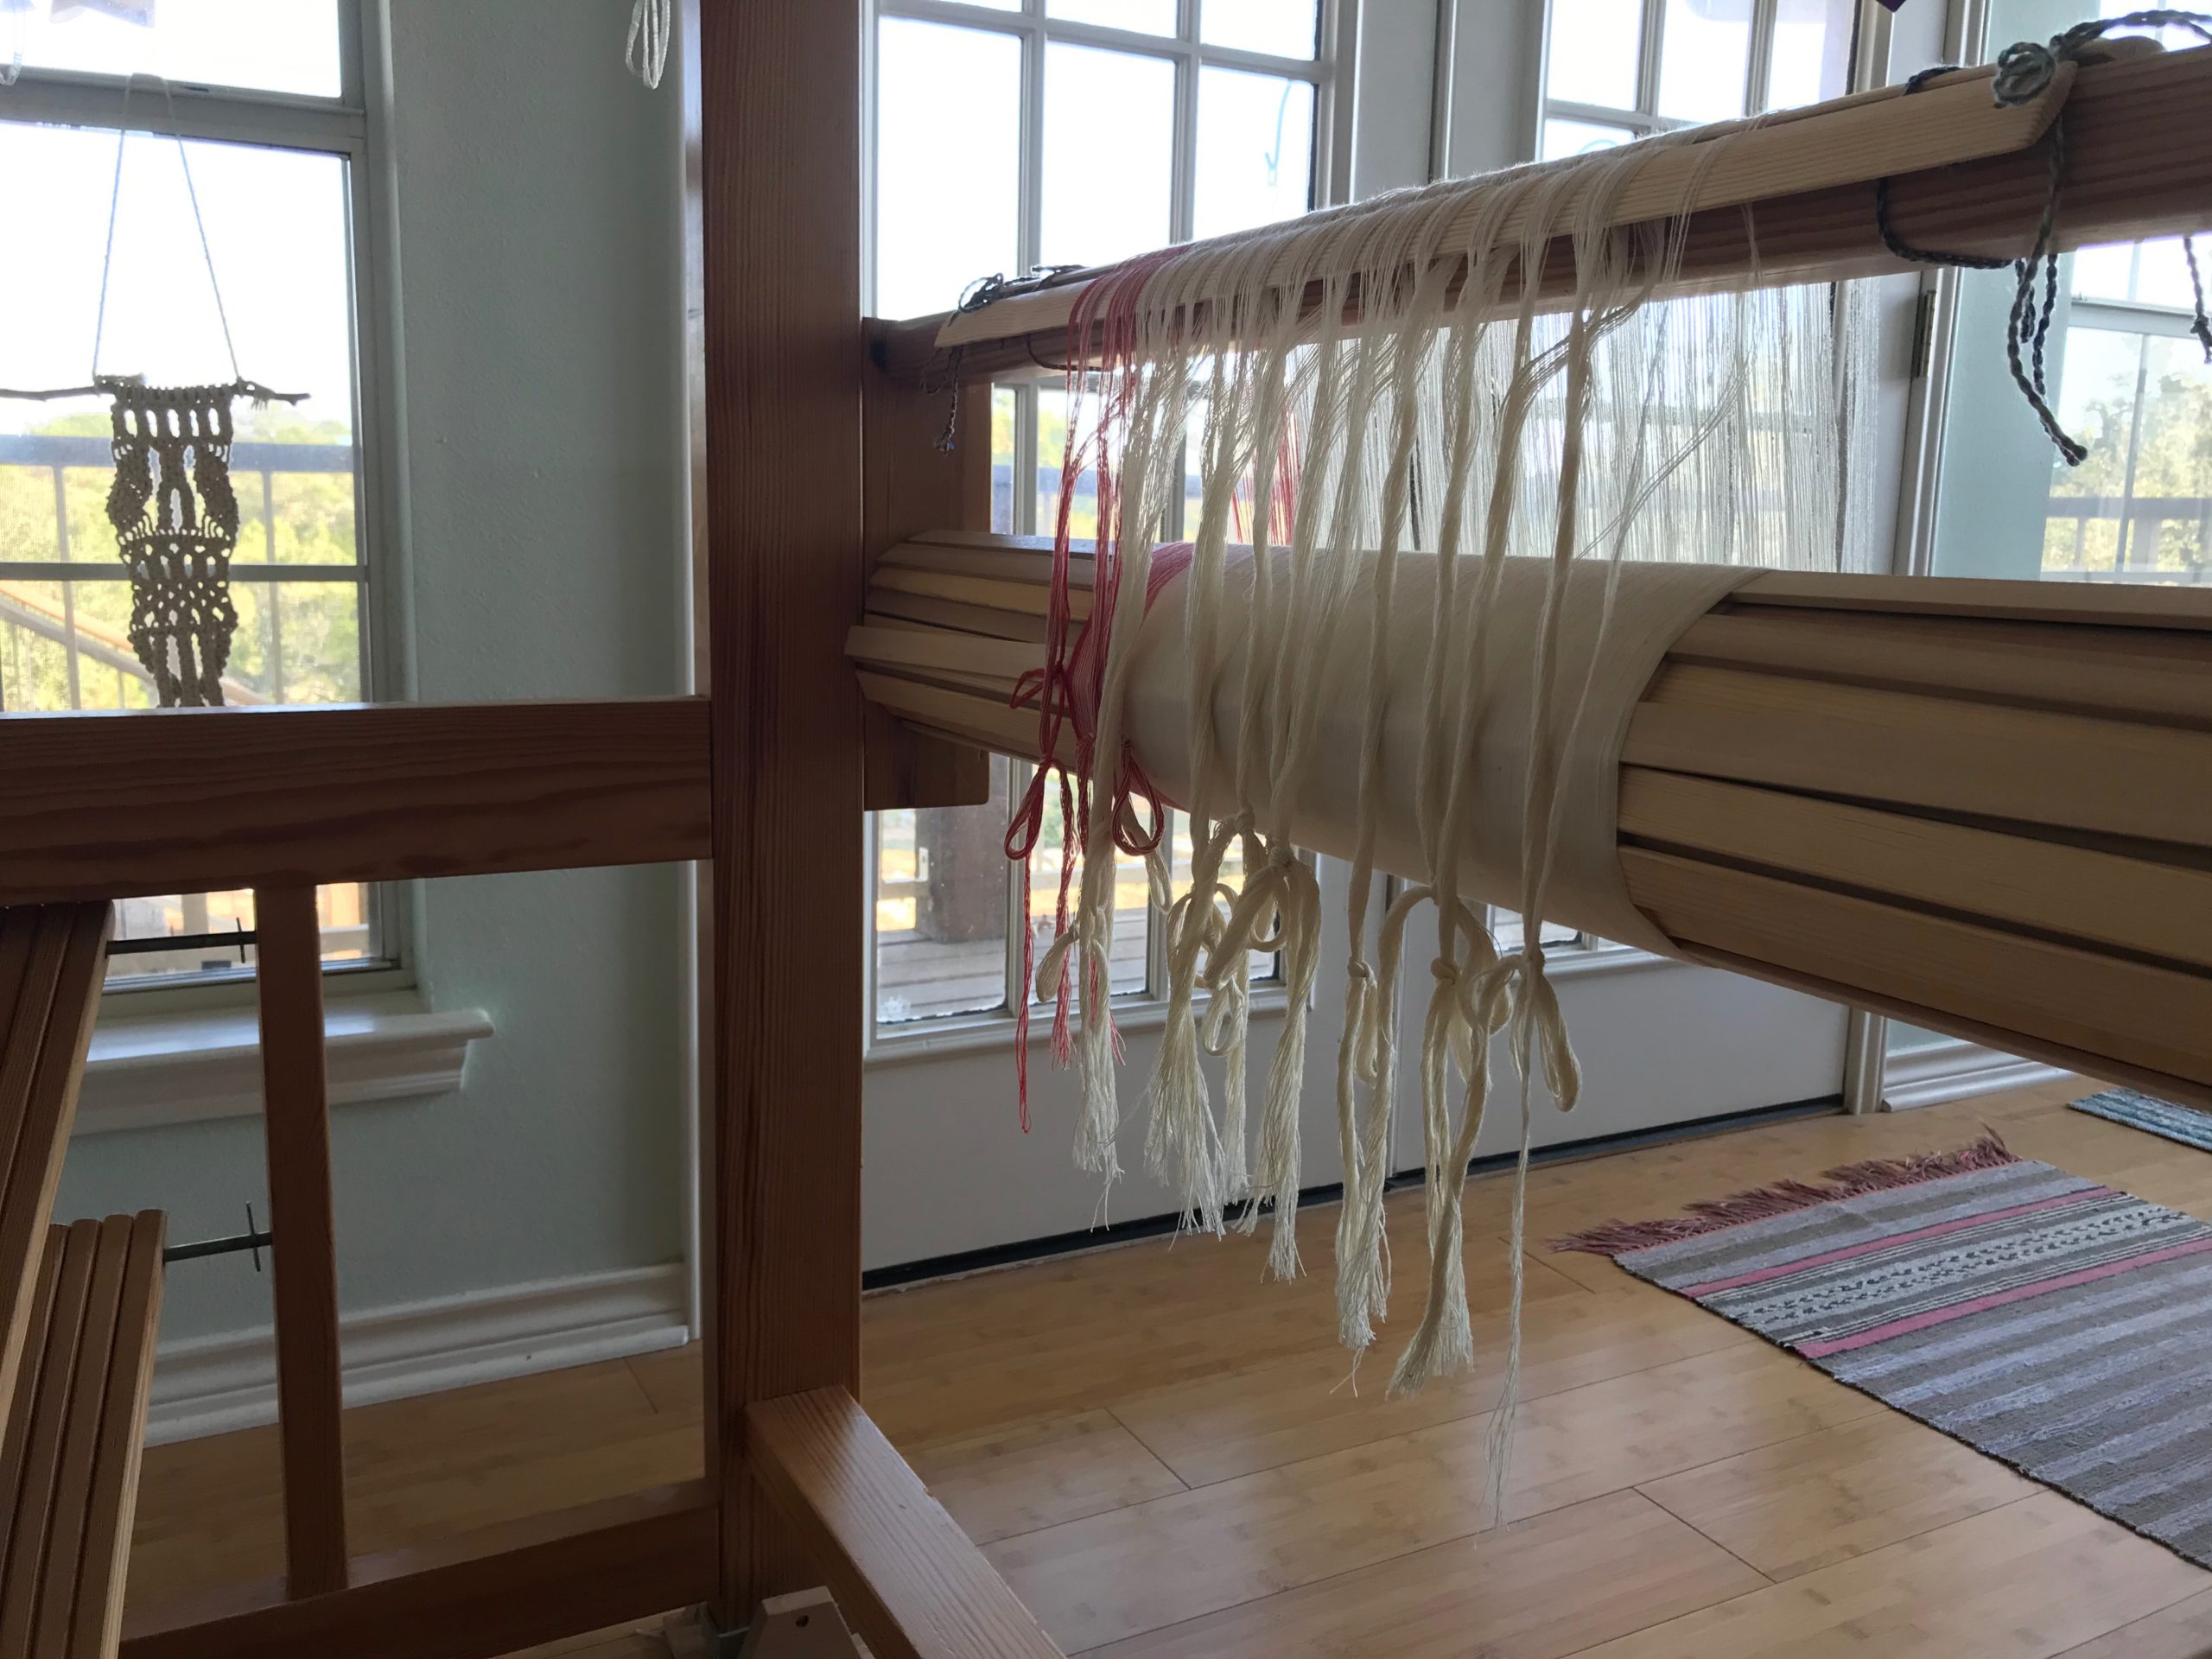
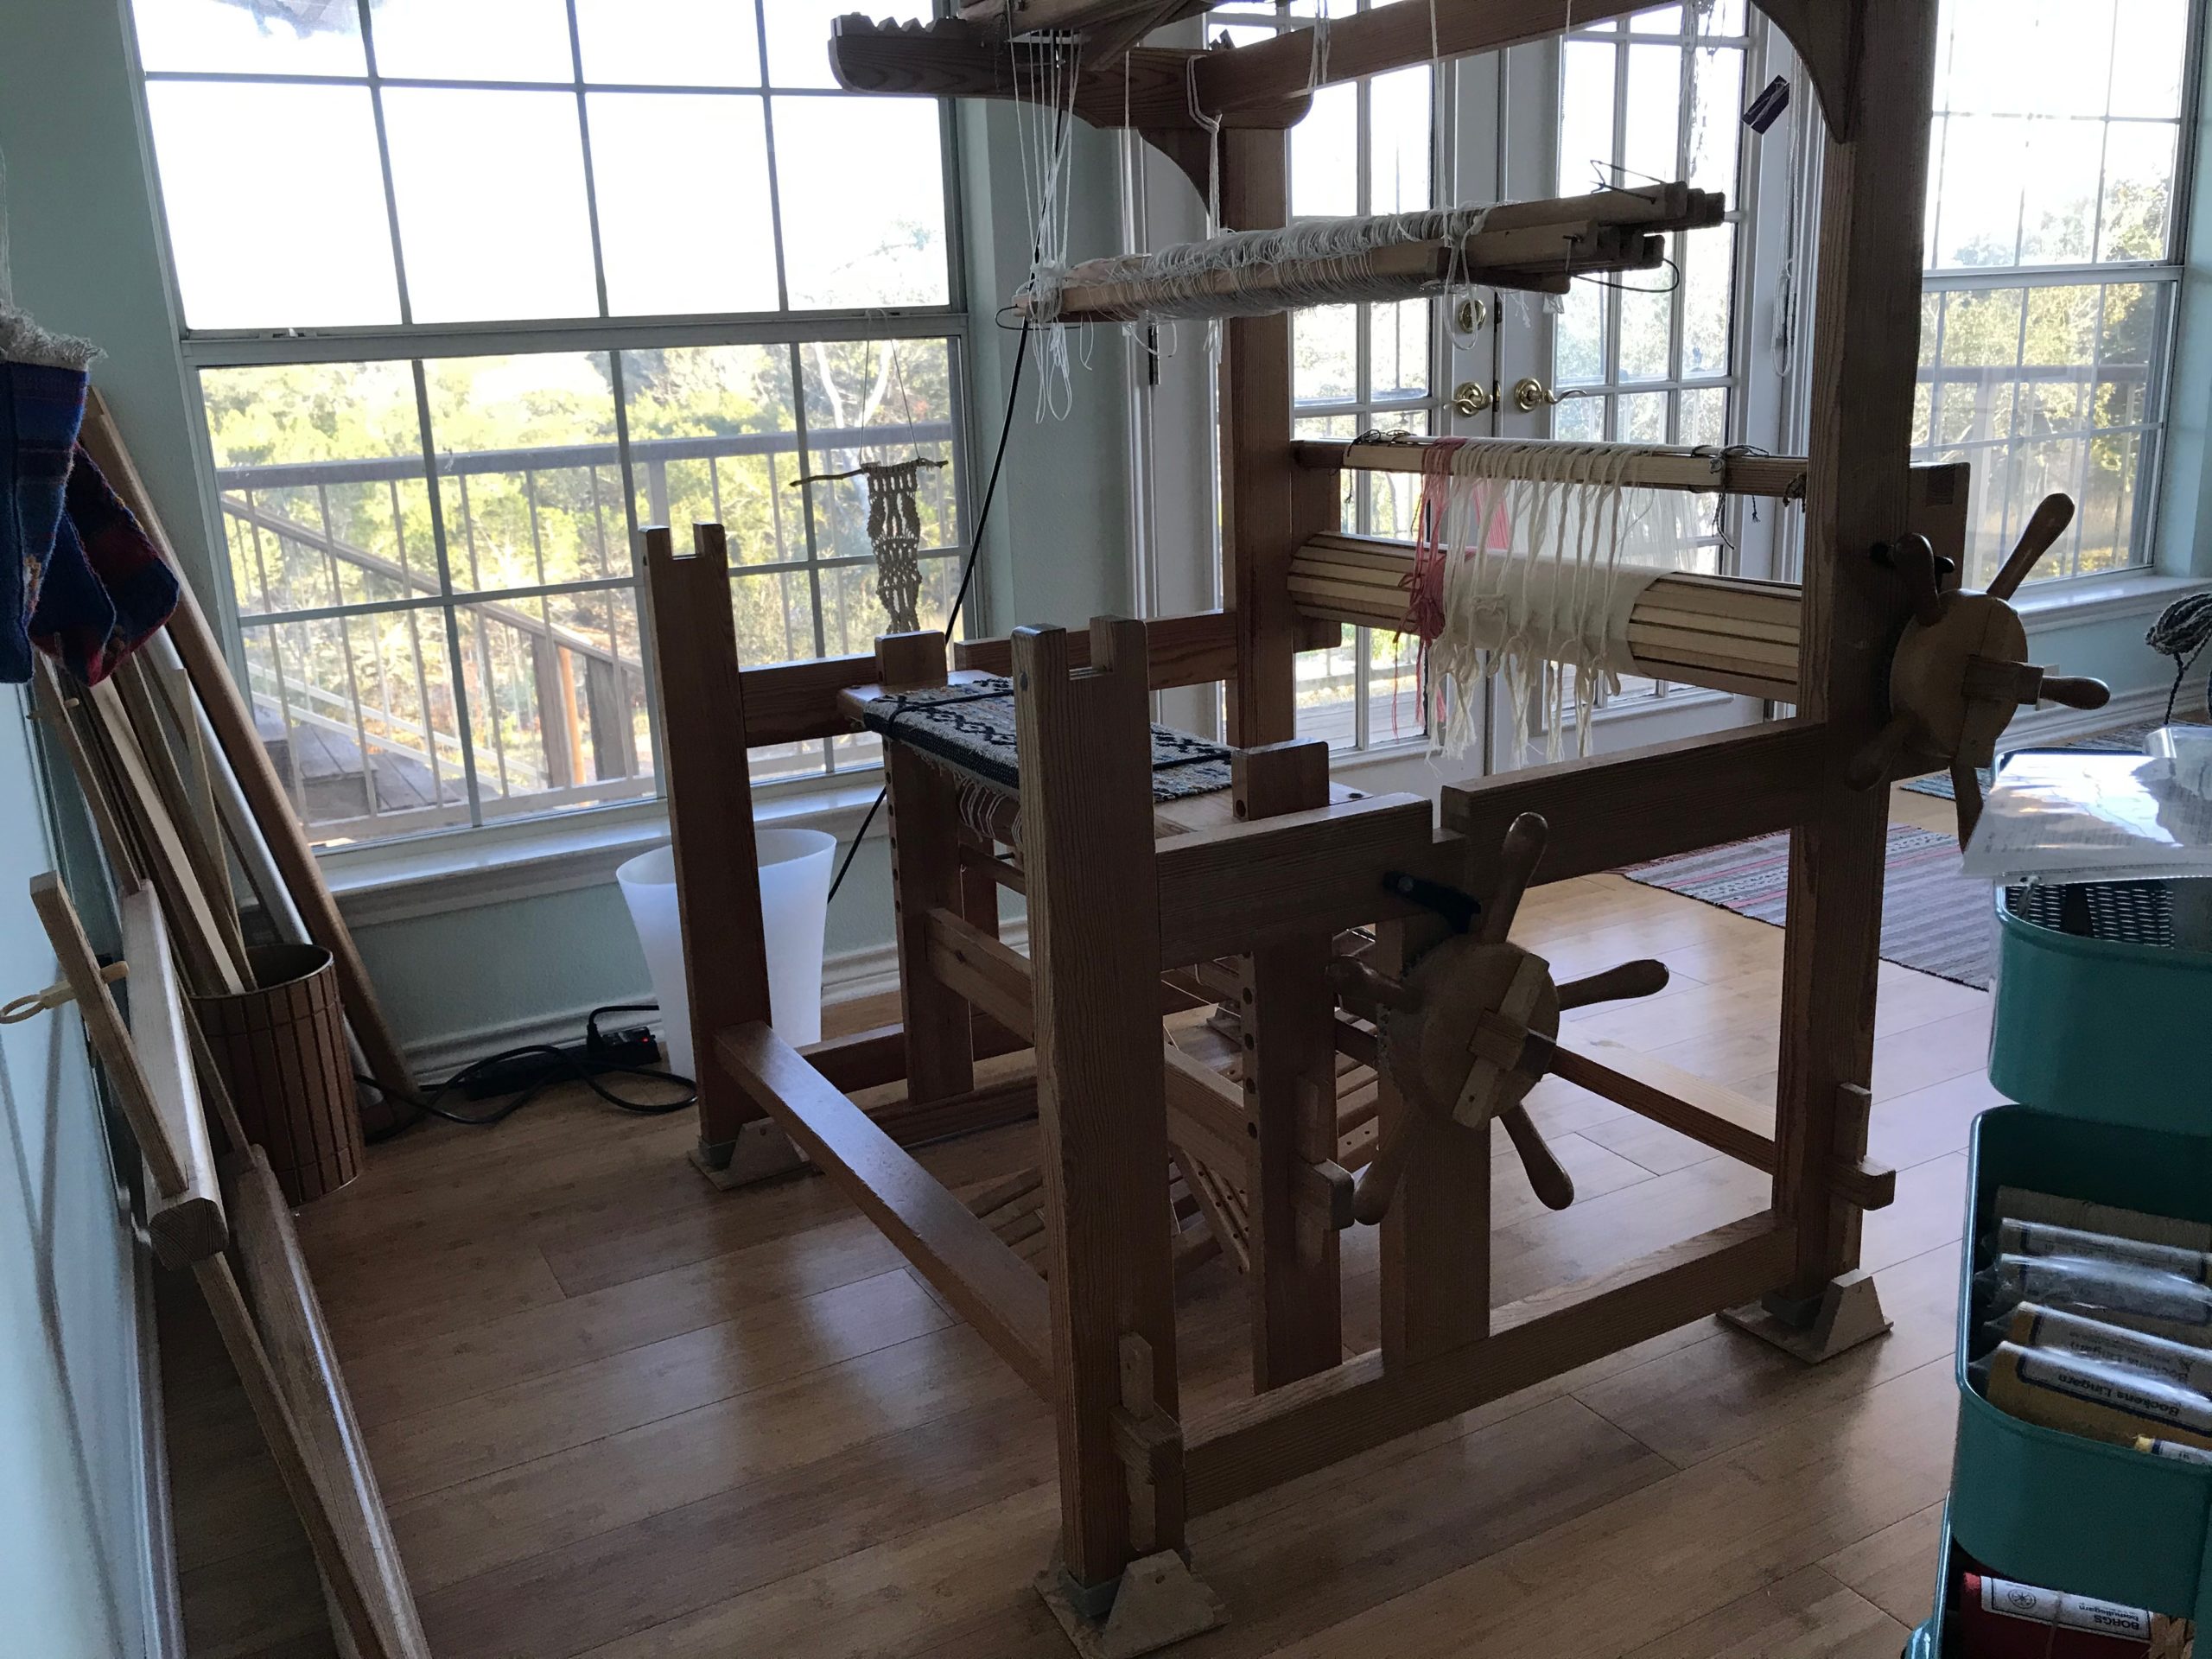
Today, I’m beaming the warp. My method includes a combination of things I have learned from these three excellent sources: Learning to Warp Your Loom, by Joanne Hall, Dress Your Loom the Vävstuga Way, by Becky Ashenden, and The Big Book of Weaving, by Laila Lundell.
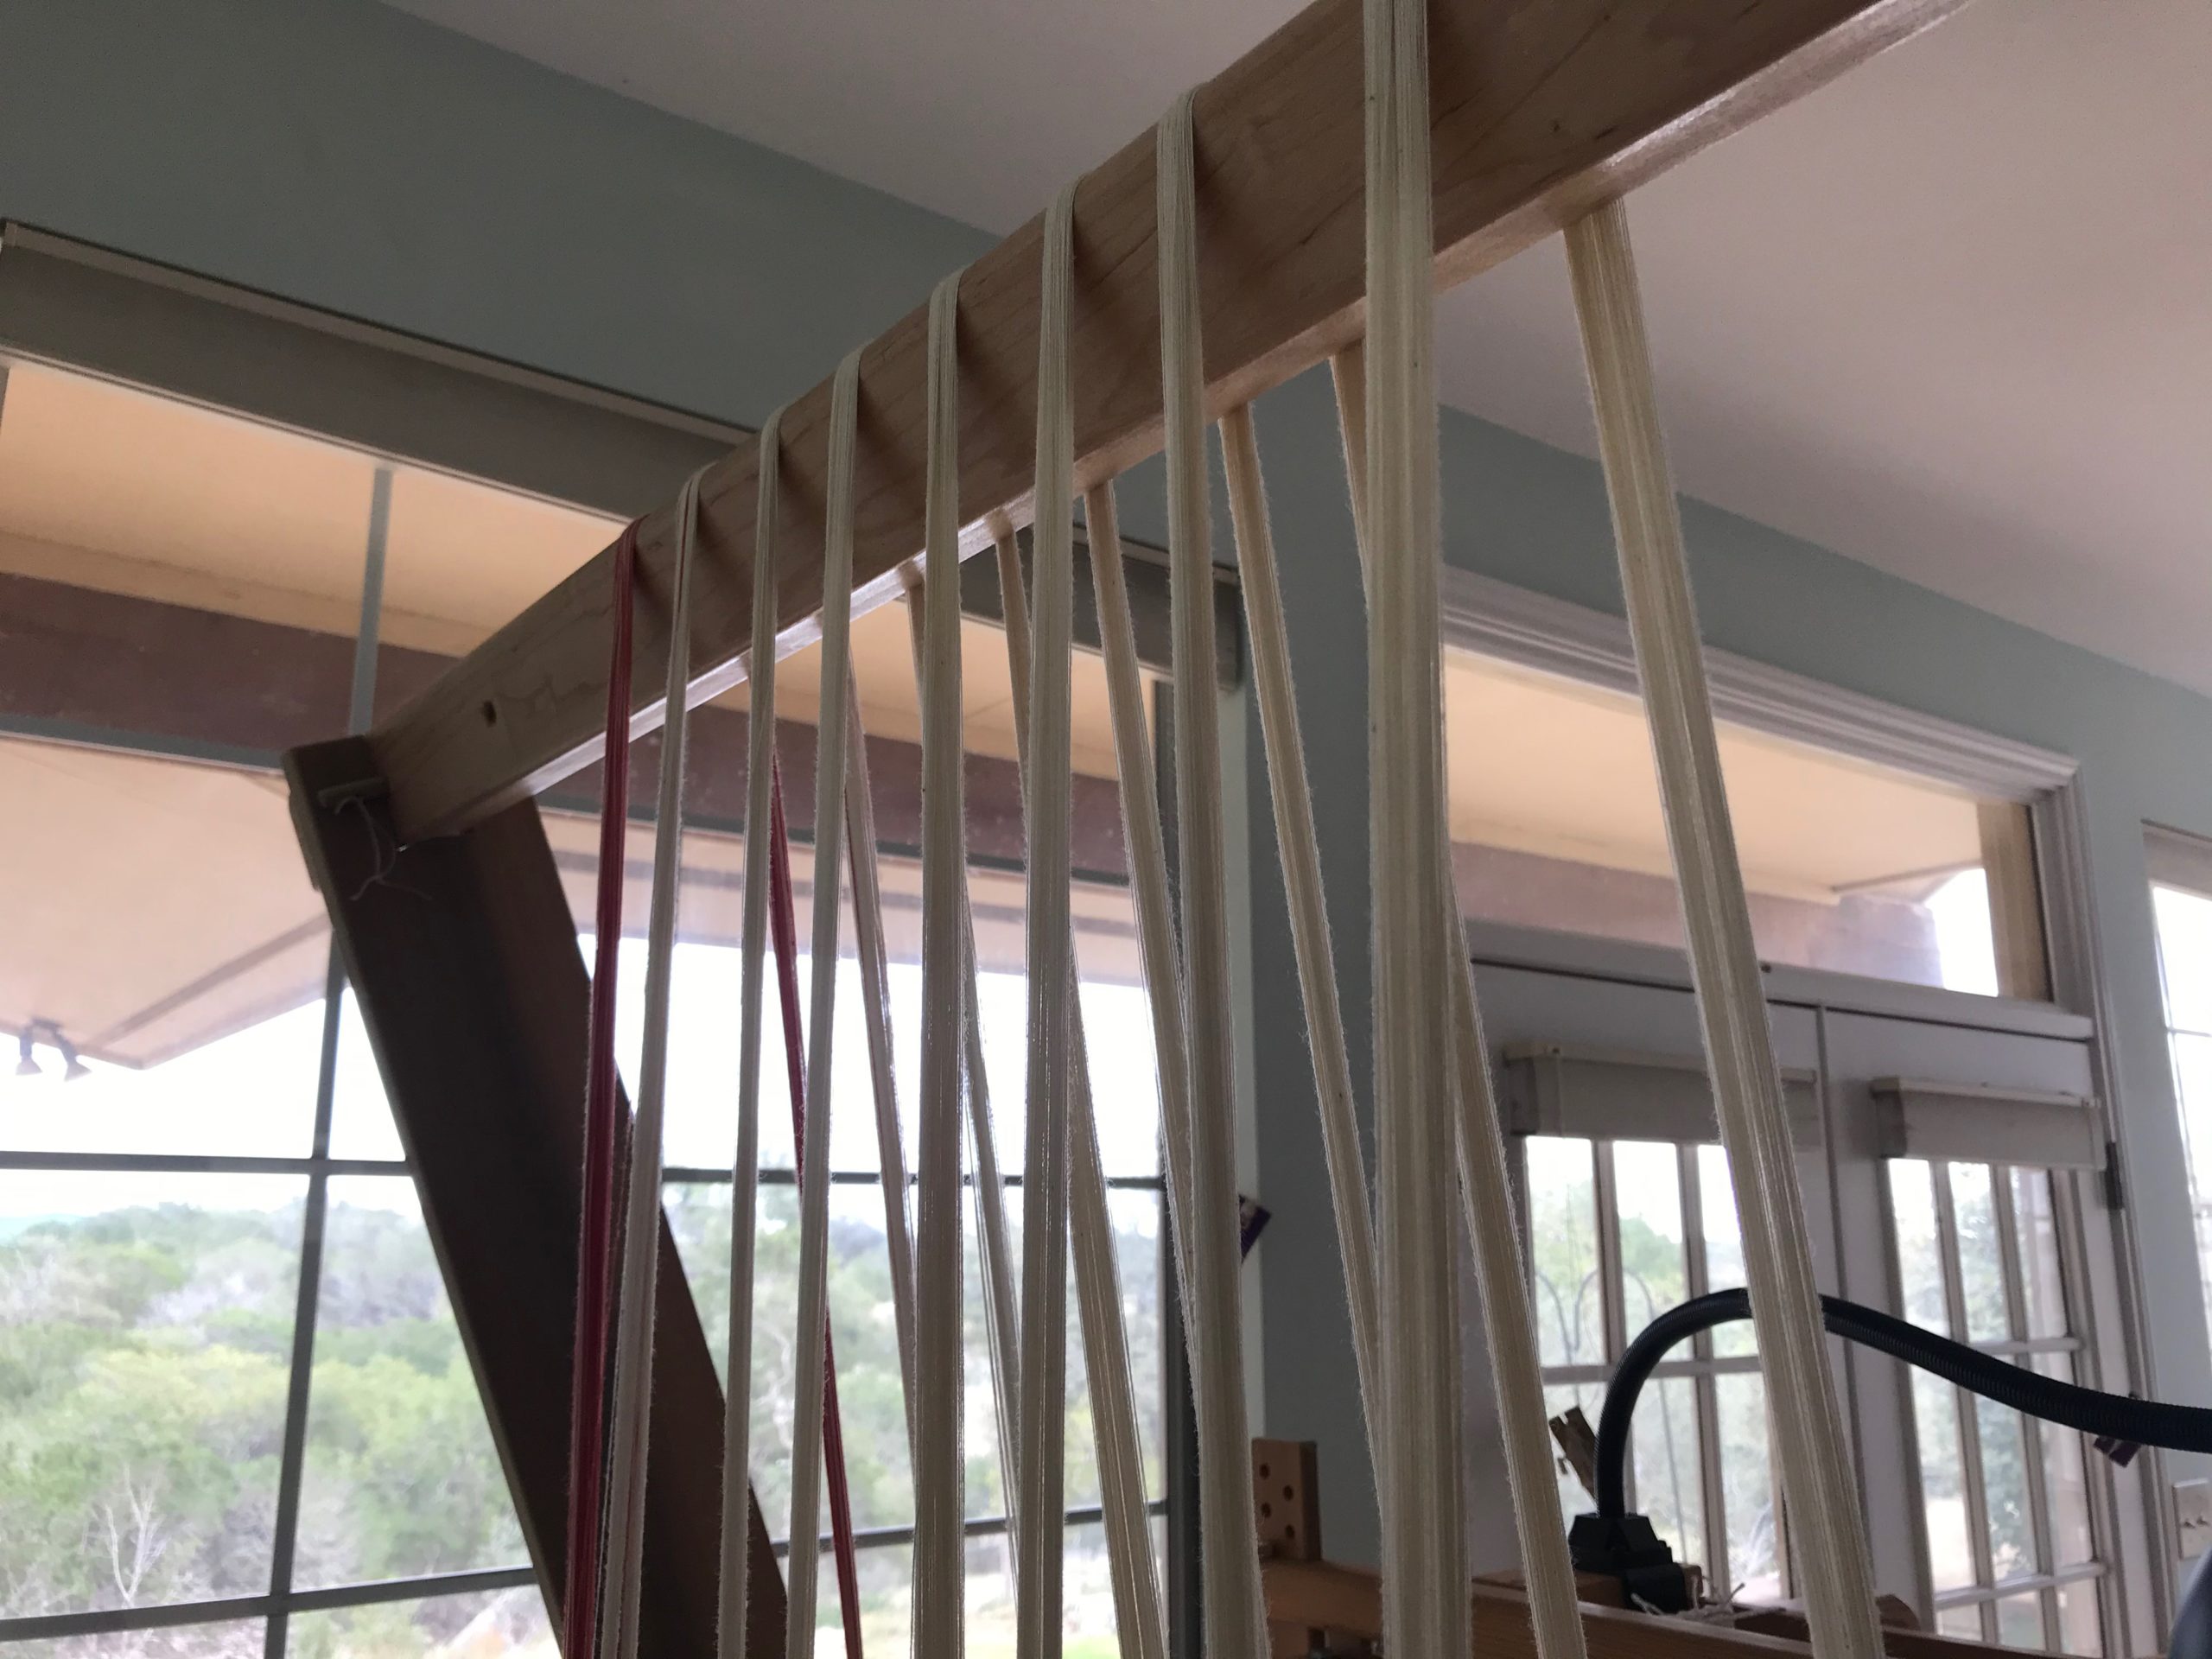
I’ll let the pictures speak for themselves.
Do you have any questions about my beaming process? If you warp back to front, like I do, what do you do differently?
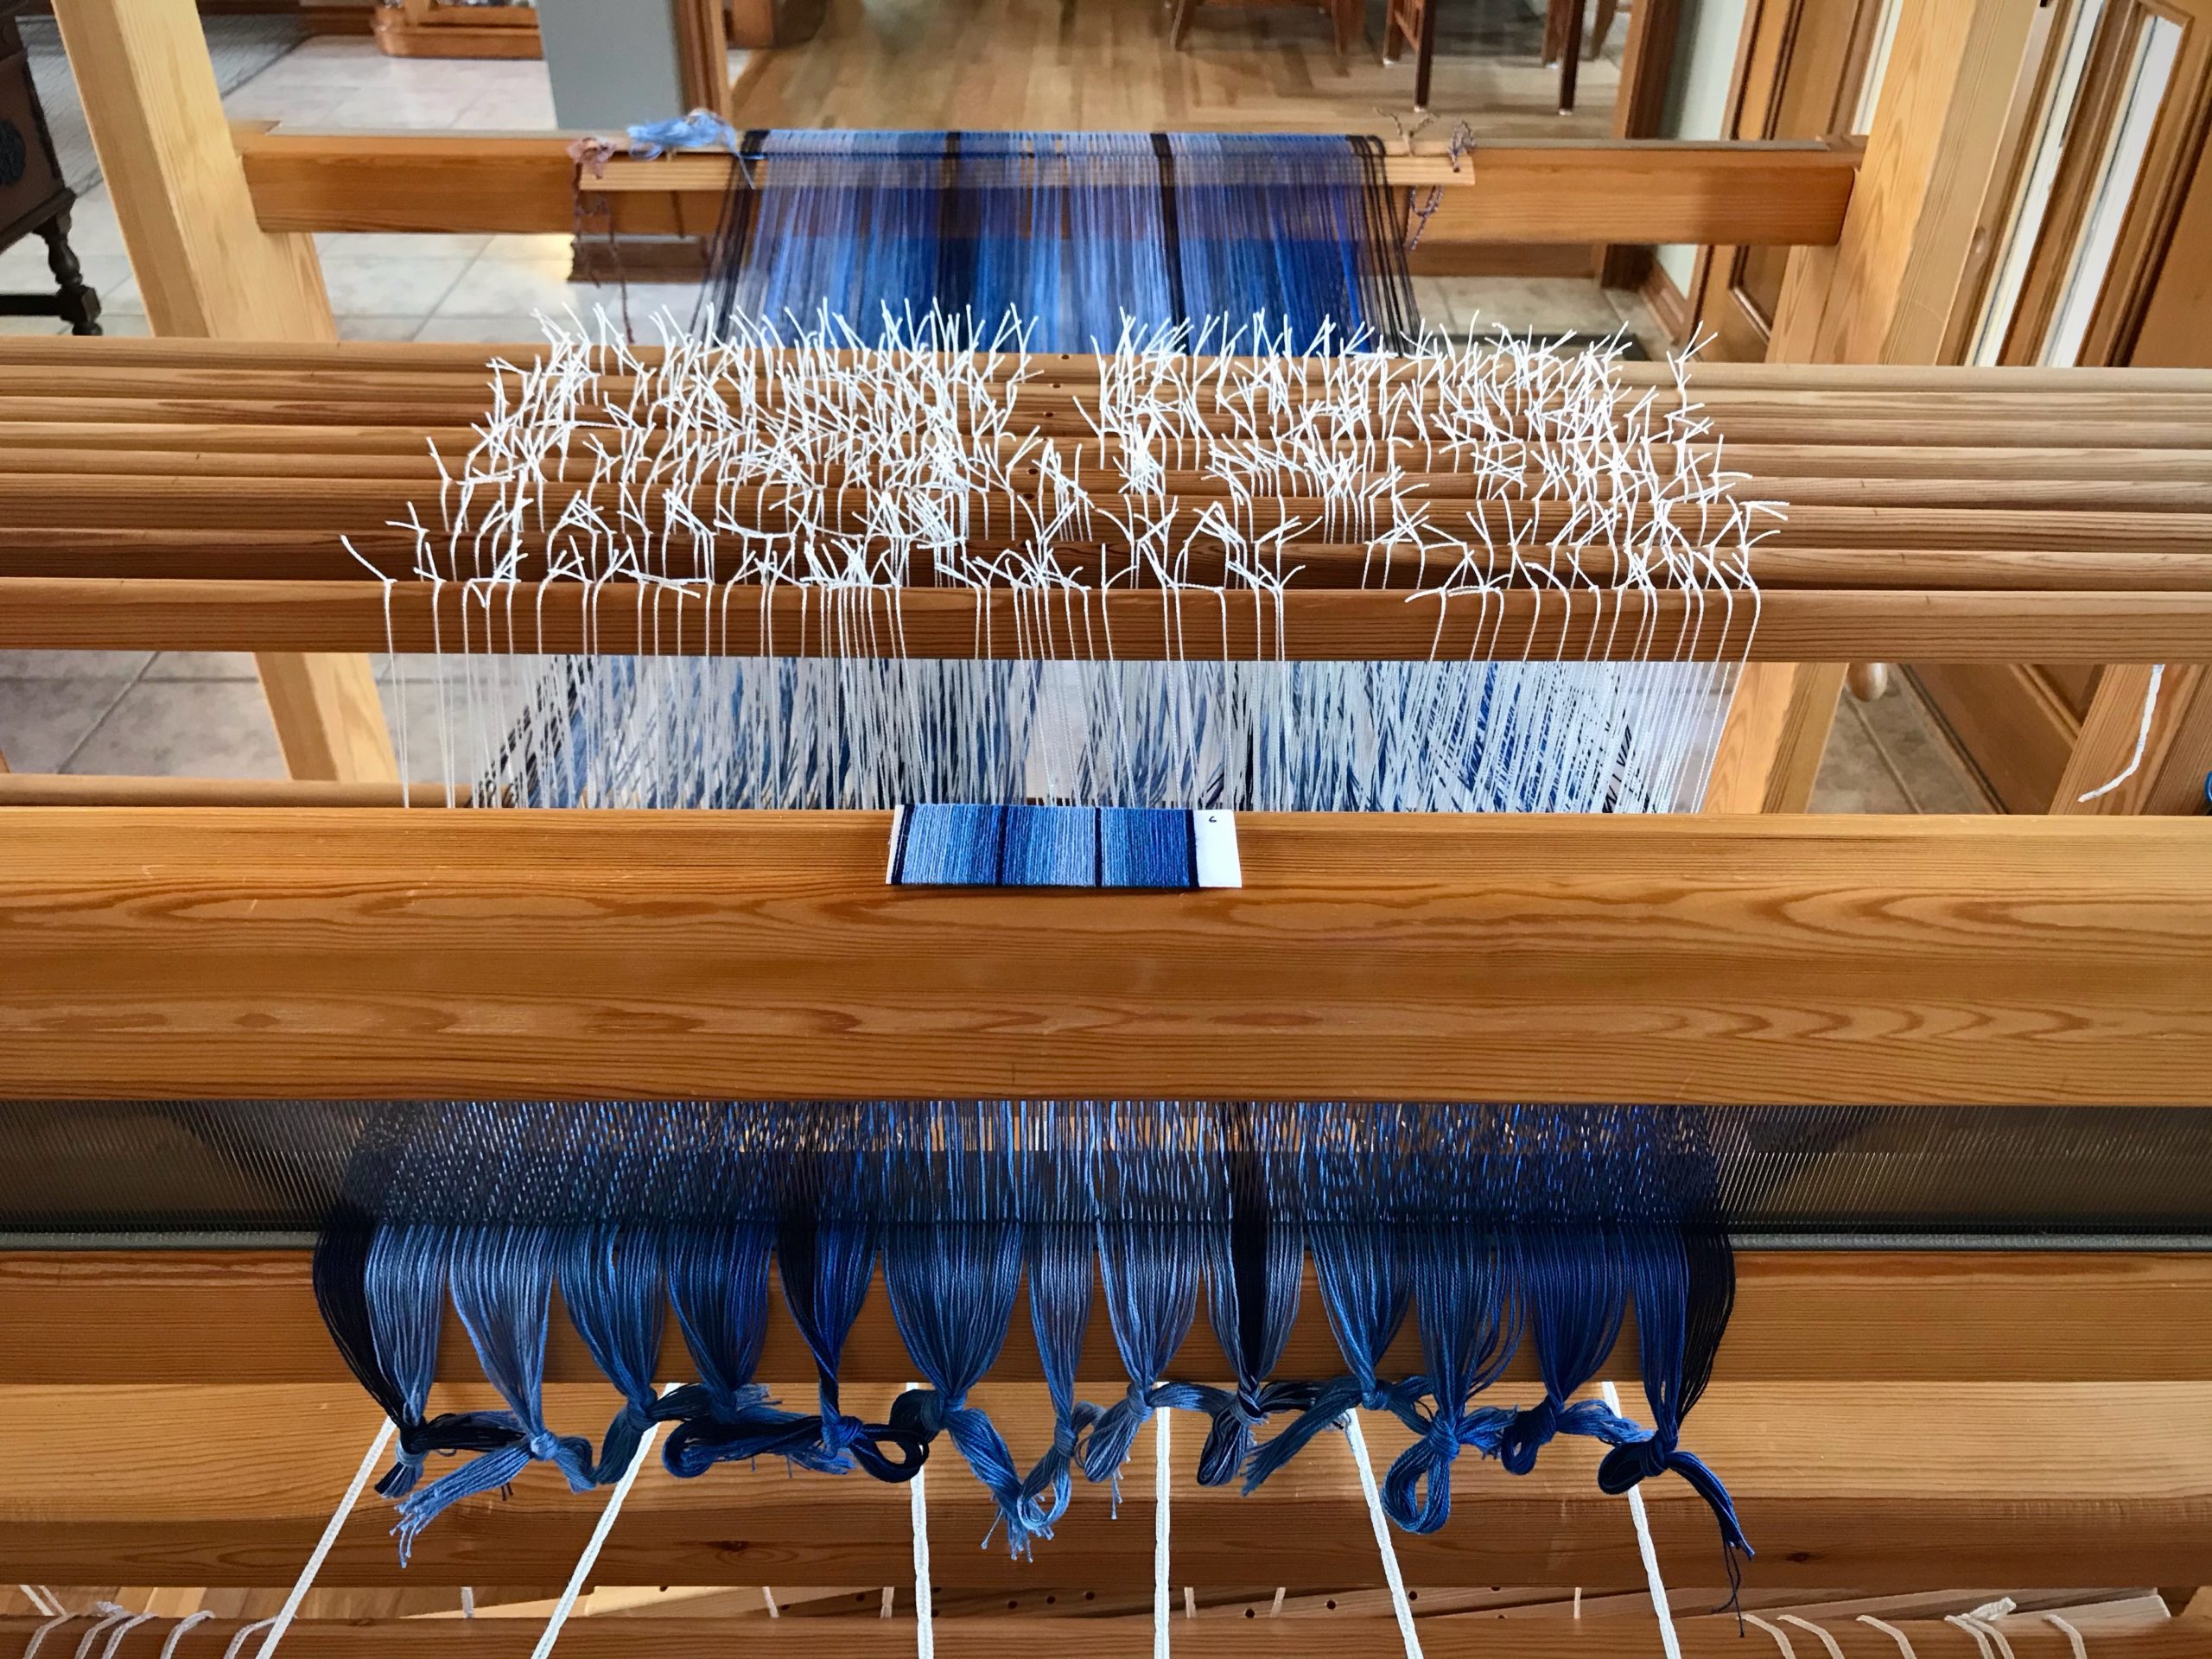
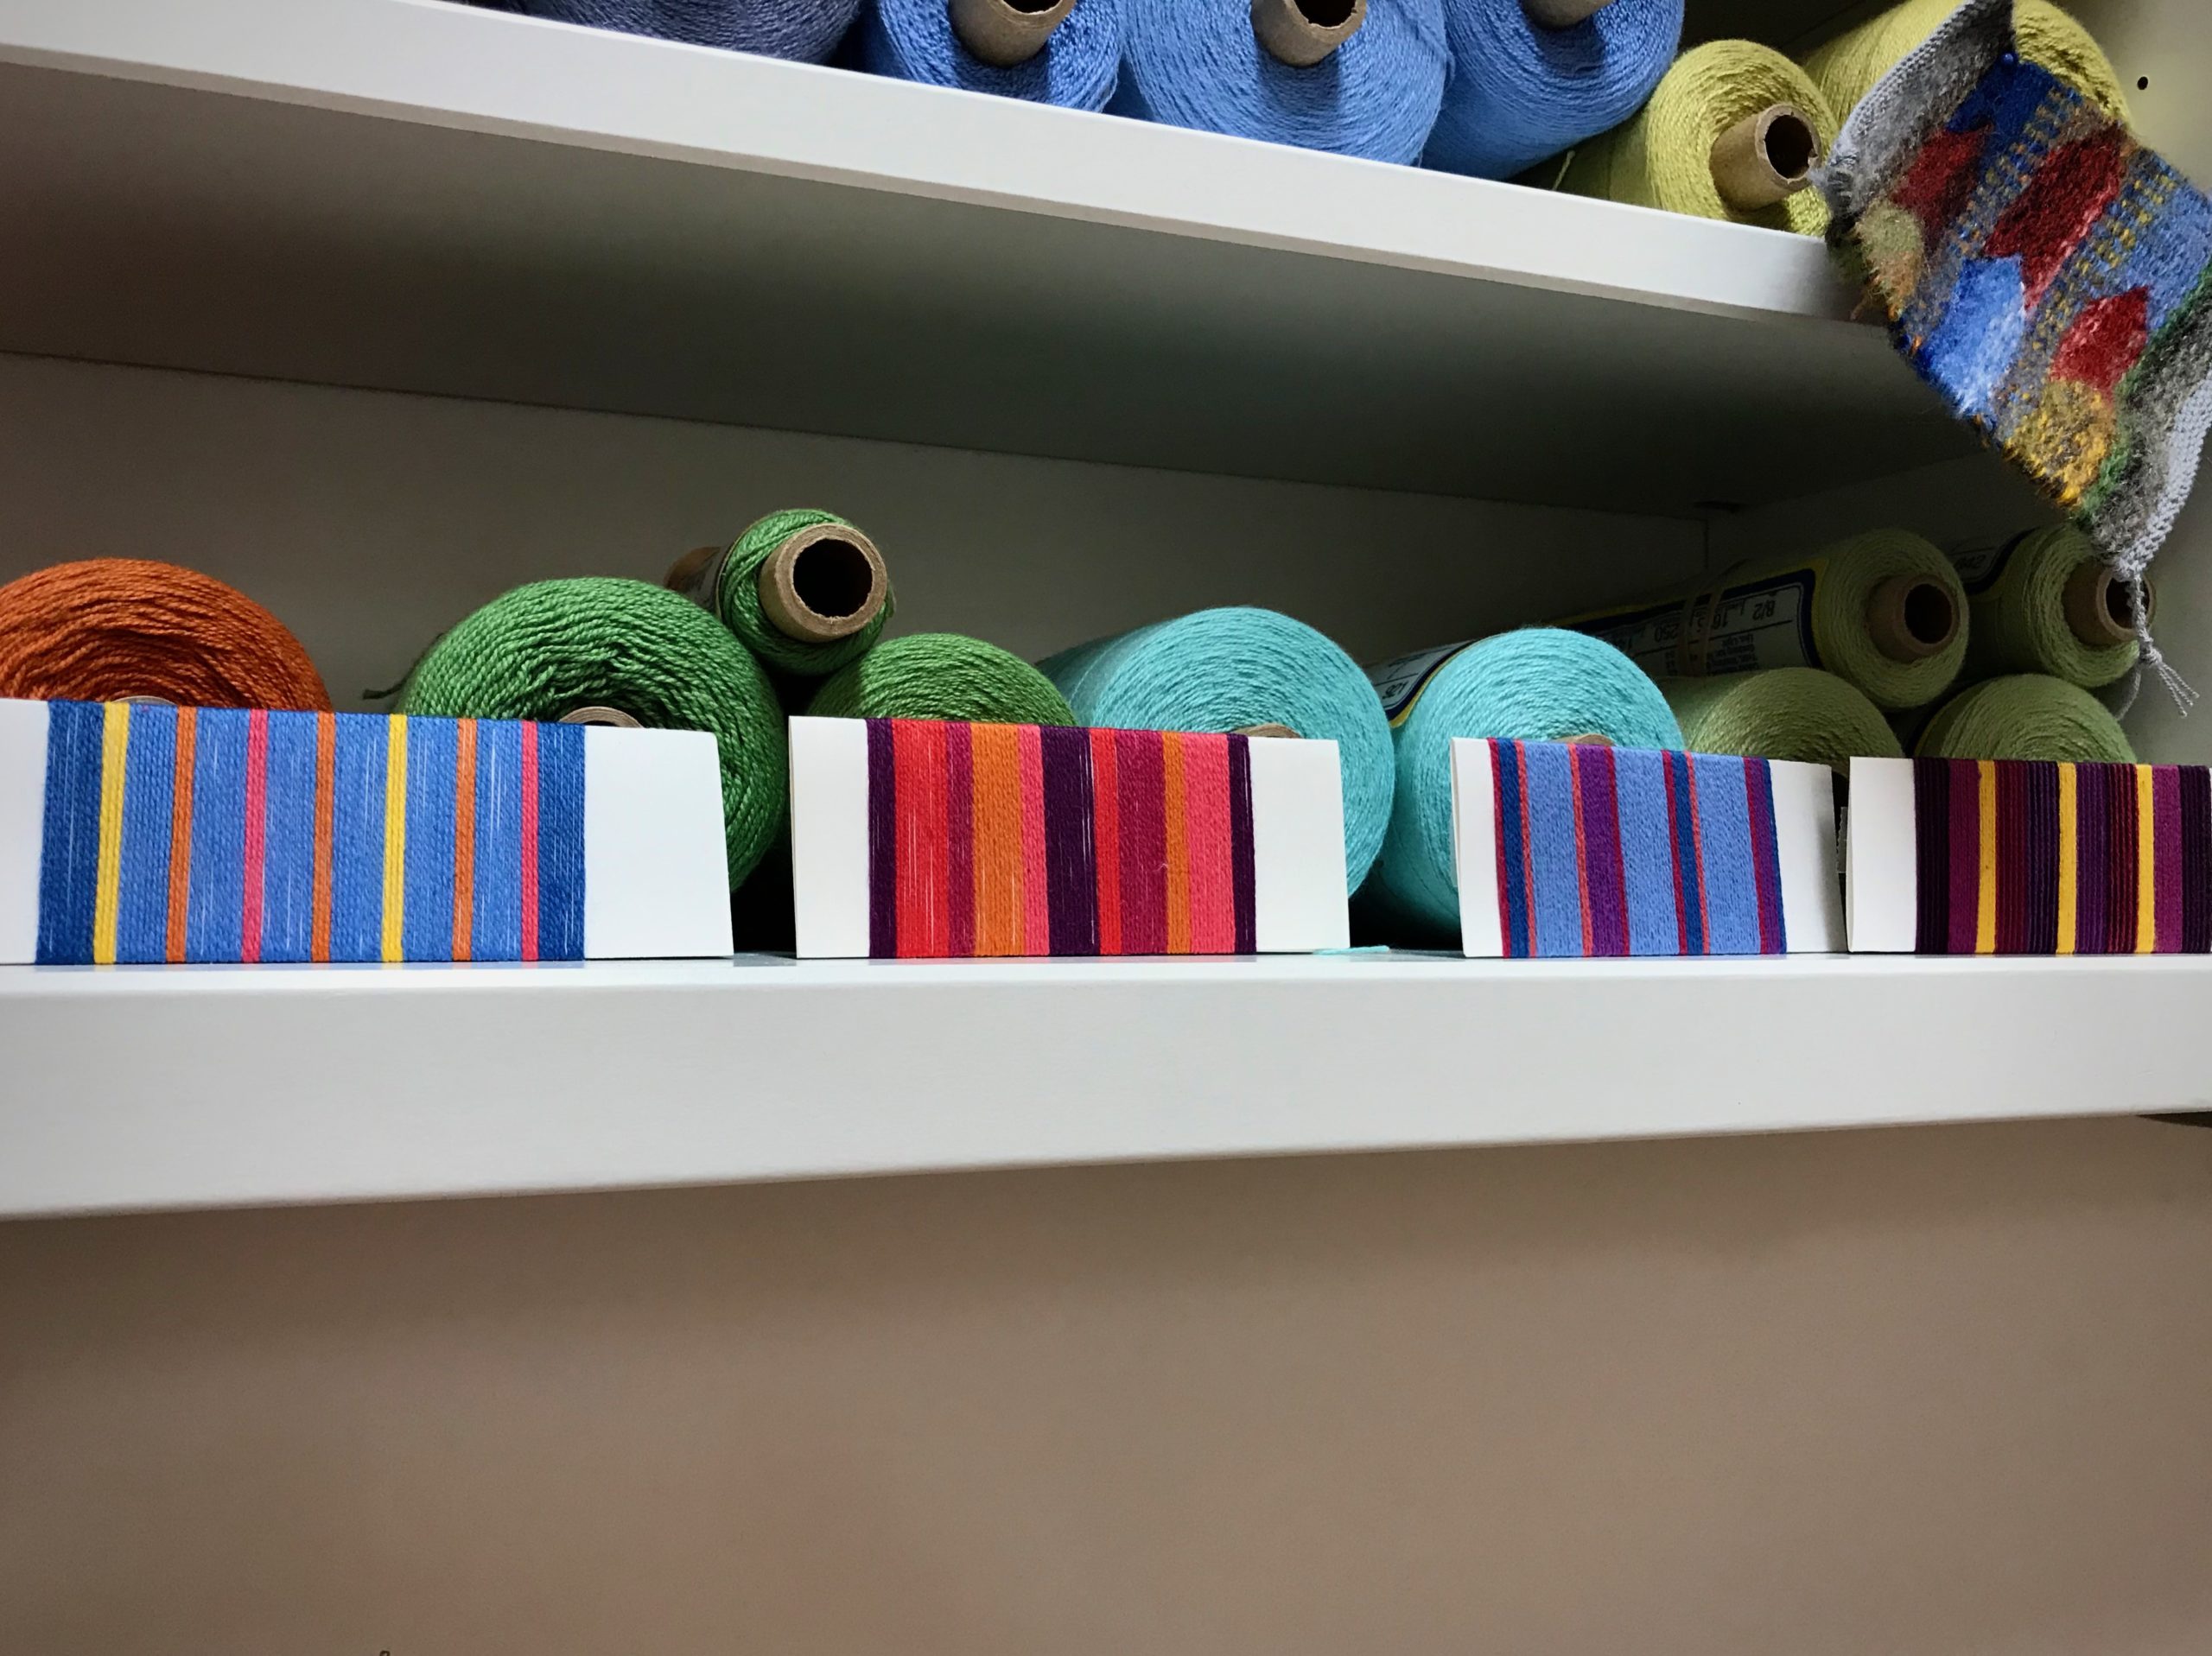
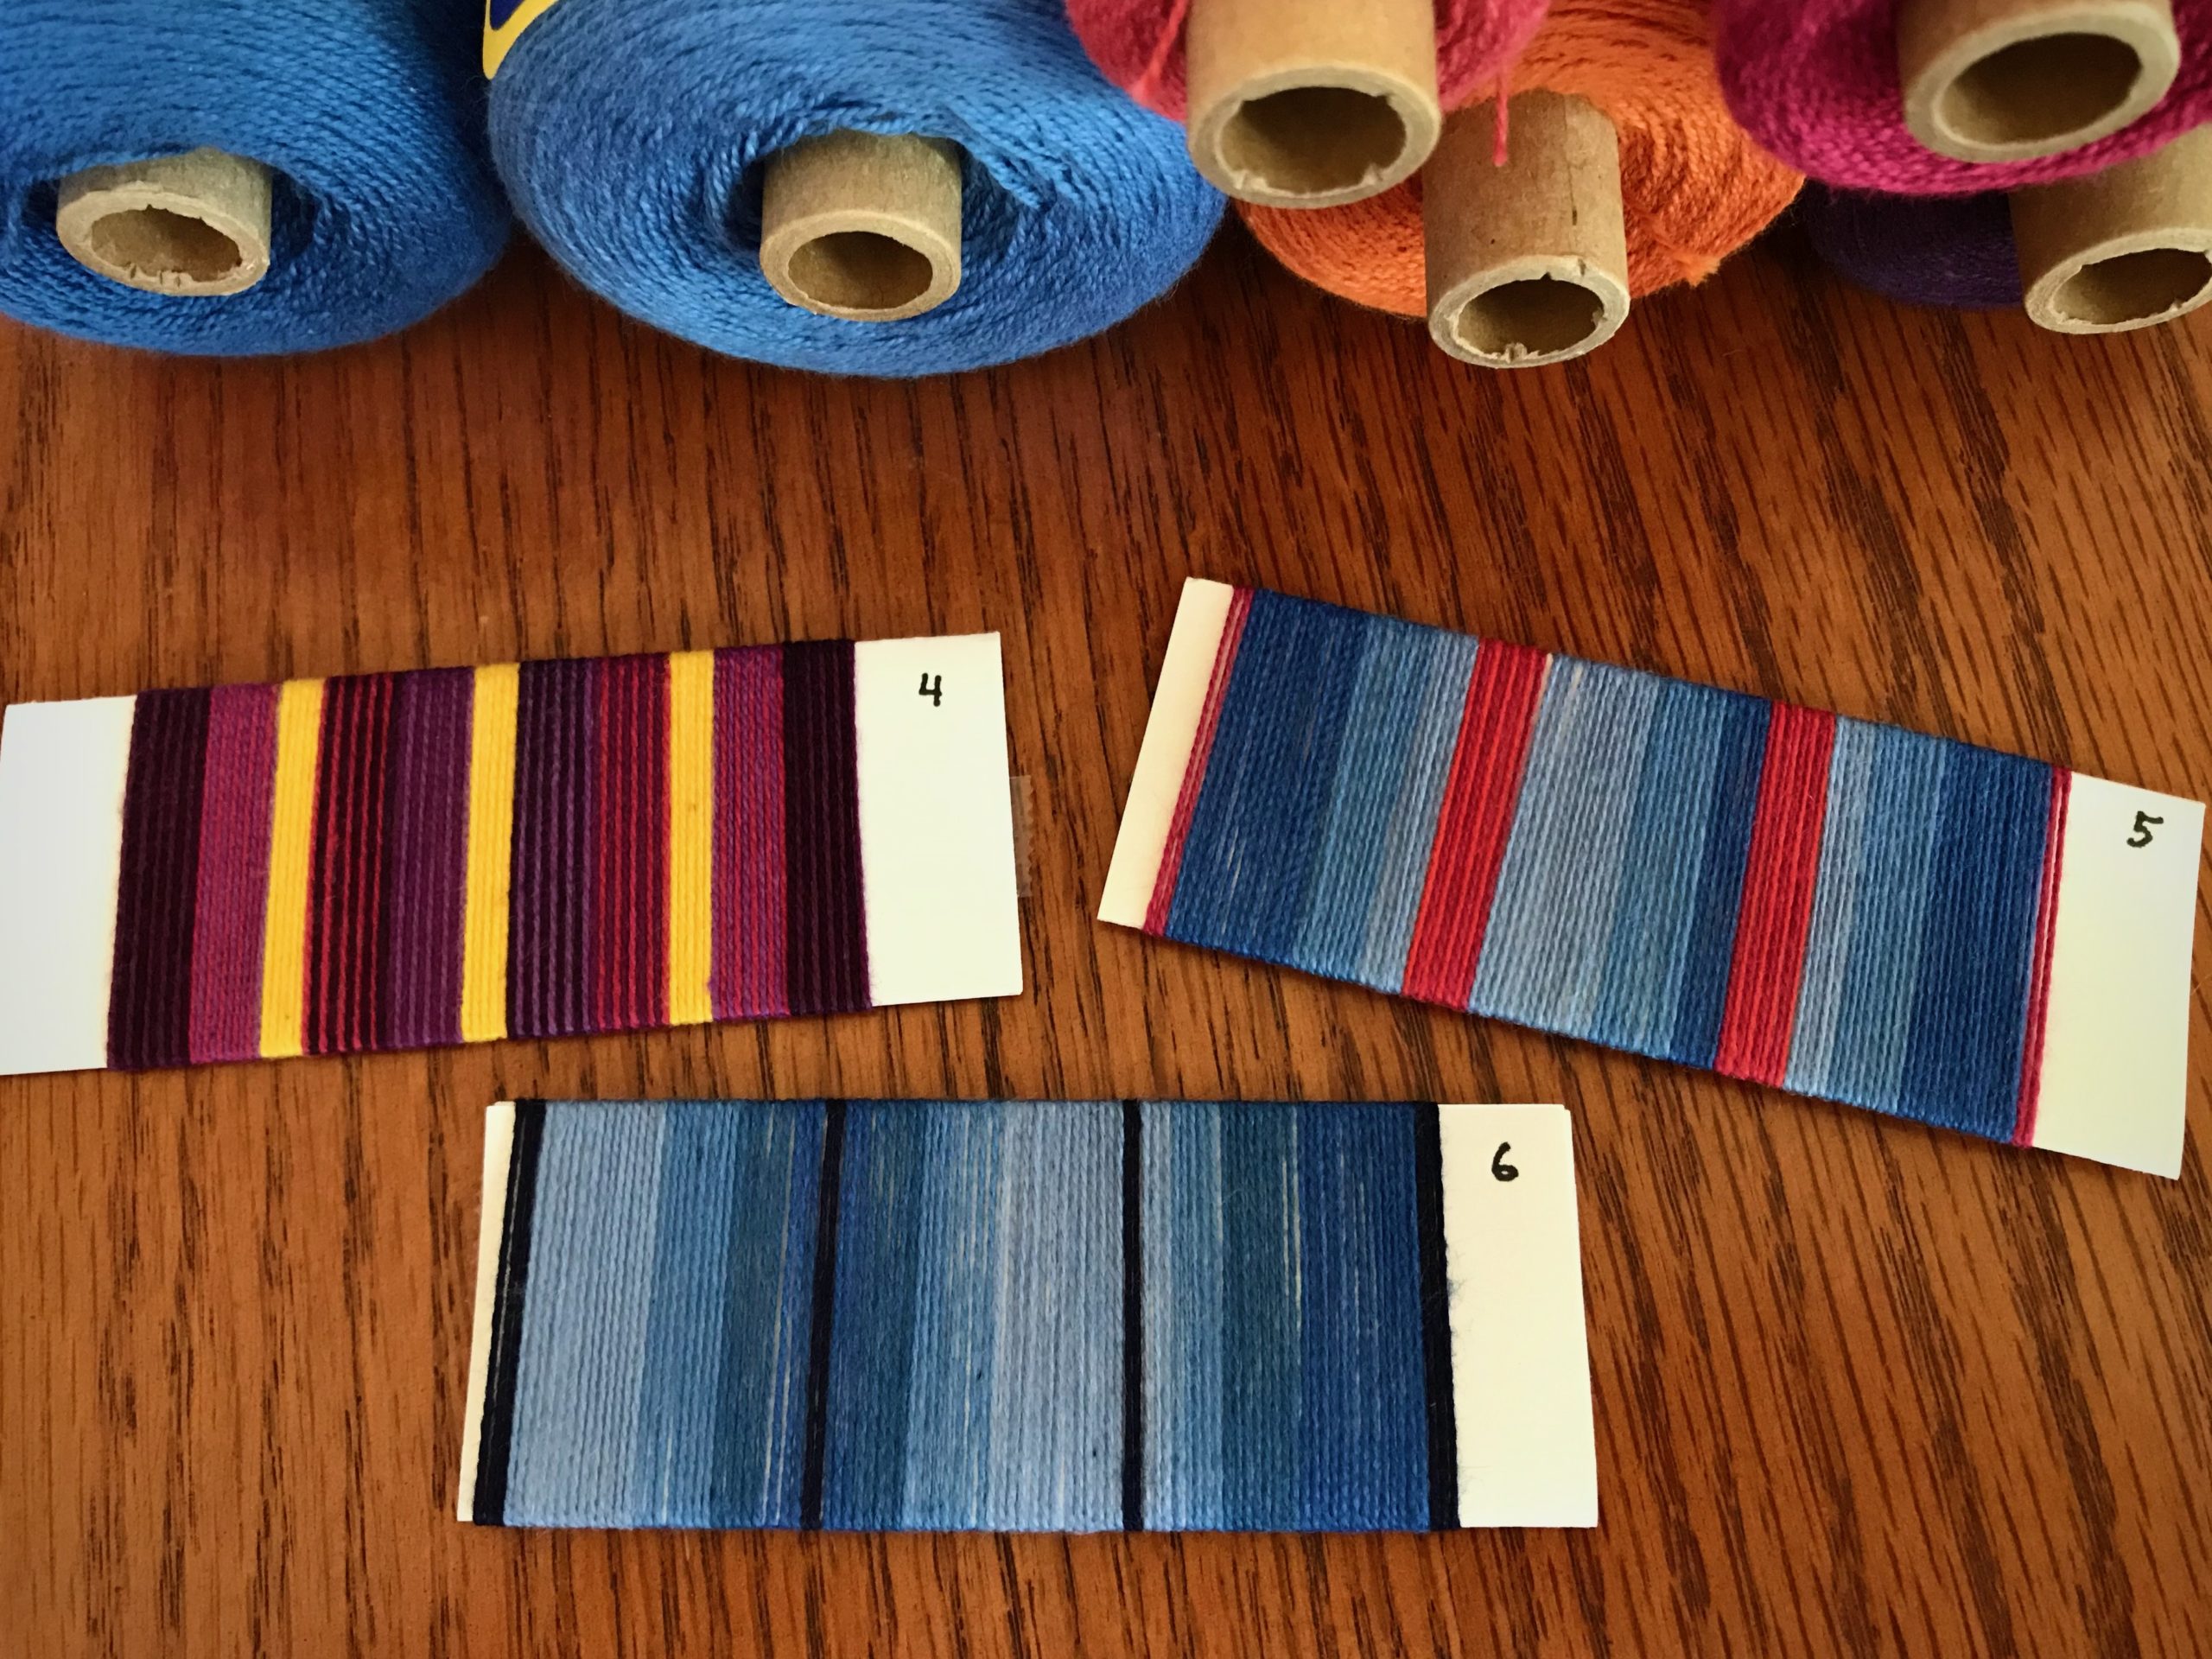
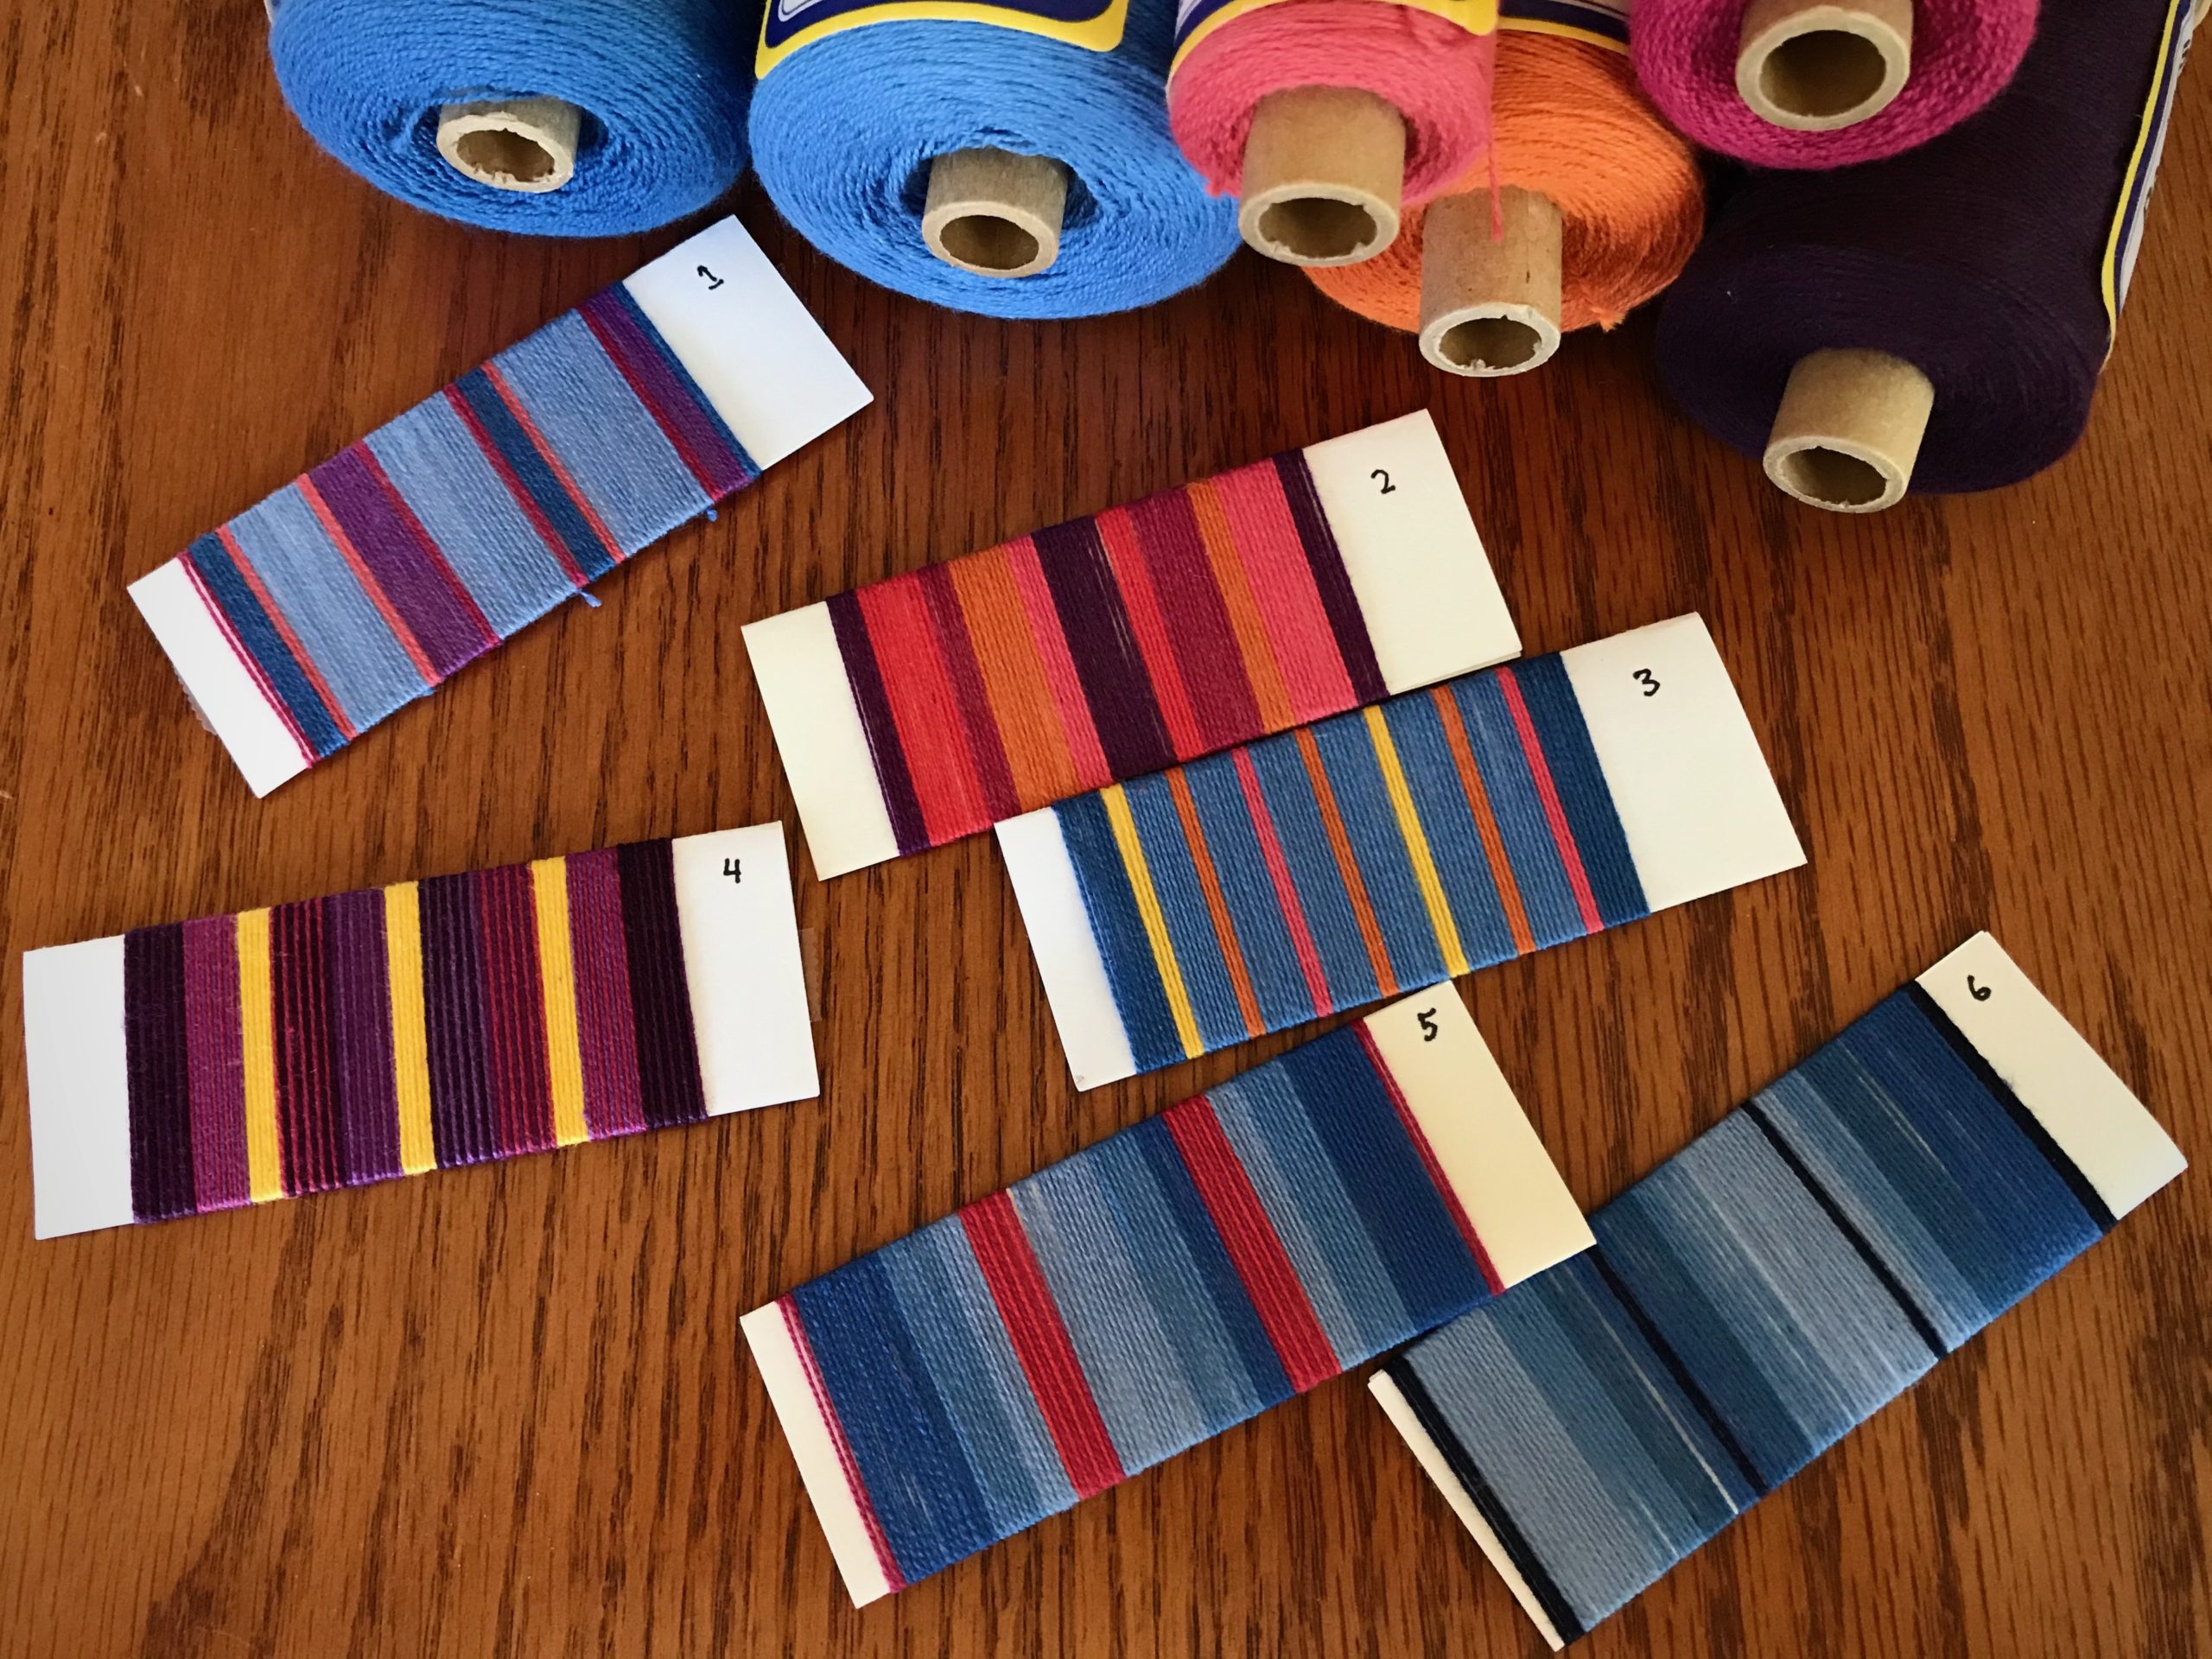
When I wrap potential warp sequences on folded index cards it brings design thoughts out into the open. It makes the ideas tangible, helping me plan a pleasing warp. For this 8/2 cotton warp I am choosing colors from the plentiful selection I already have on my shelves.
8/2 cotton left from previous projects fills the shelves. Each warp wrapping sparks ideas for more possible warps.
This warp will be woven as eight-shaft–twill yardage, about 15 1/2 inches wide. The fabric will be cut and hemmed to make colorful arm and headrest covers for my mother-in-law’s comfy off-white recliner. I will increase the width of the stripes proportionately to fill the warp width. My mother-in-law will have the final say, but if you could help her decide, which set of warp stripes would you choose? Please let us know in the comments.
What if our attitudes were made tangible? What would our thoughts look like if they were out in the open, wrapped like colored threads around our actions? With the love of Christ in us, forgiveness is the recurring thread. Forgiveness is for the undeserving. That is who we forgive. Because that is who we are when we are forgiven by God.
May the thread of forgiveness be woven in your life’s fabric.
A warp is finished when the woven cloth has been taken to completion. At that point, the loom is free for a new warp. That is the rule I’ve given myself. If I ignore the rule and put on a new warp before its time, the unfinished cloth has a way of staying unfinished for too long.
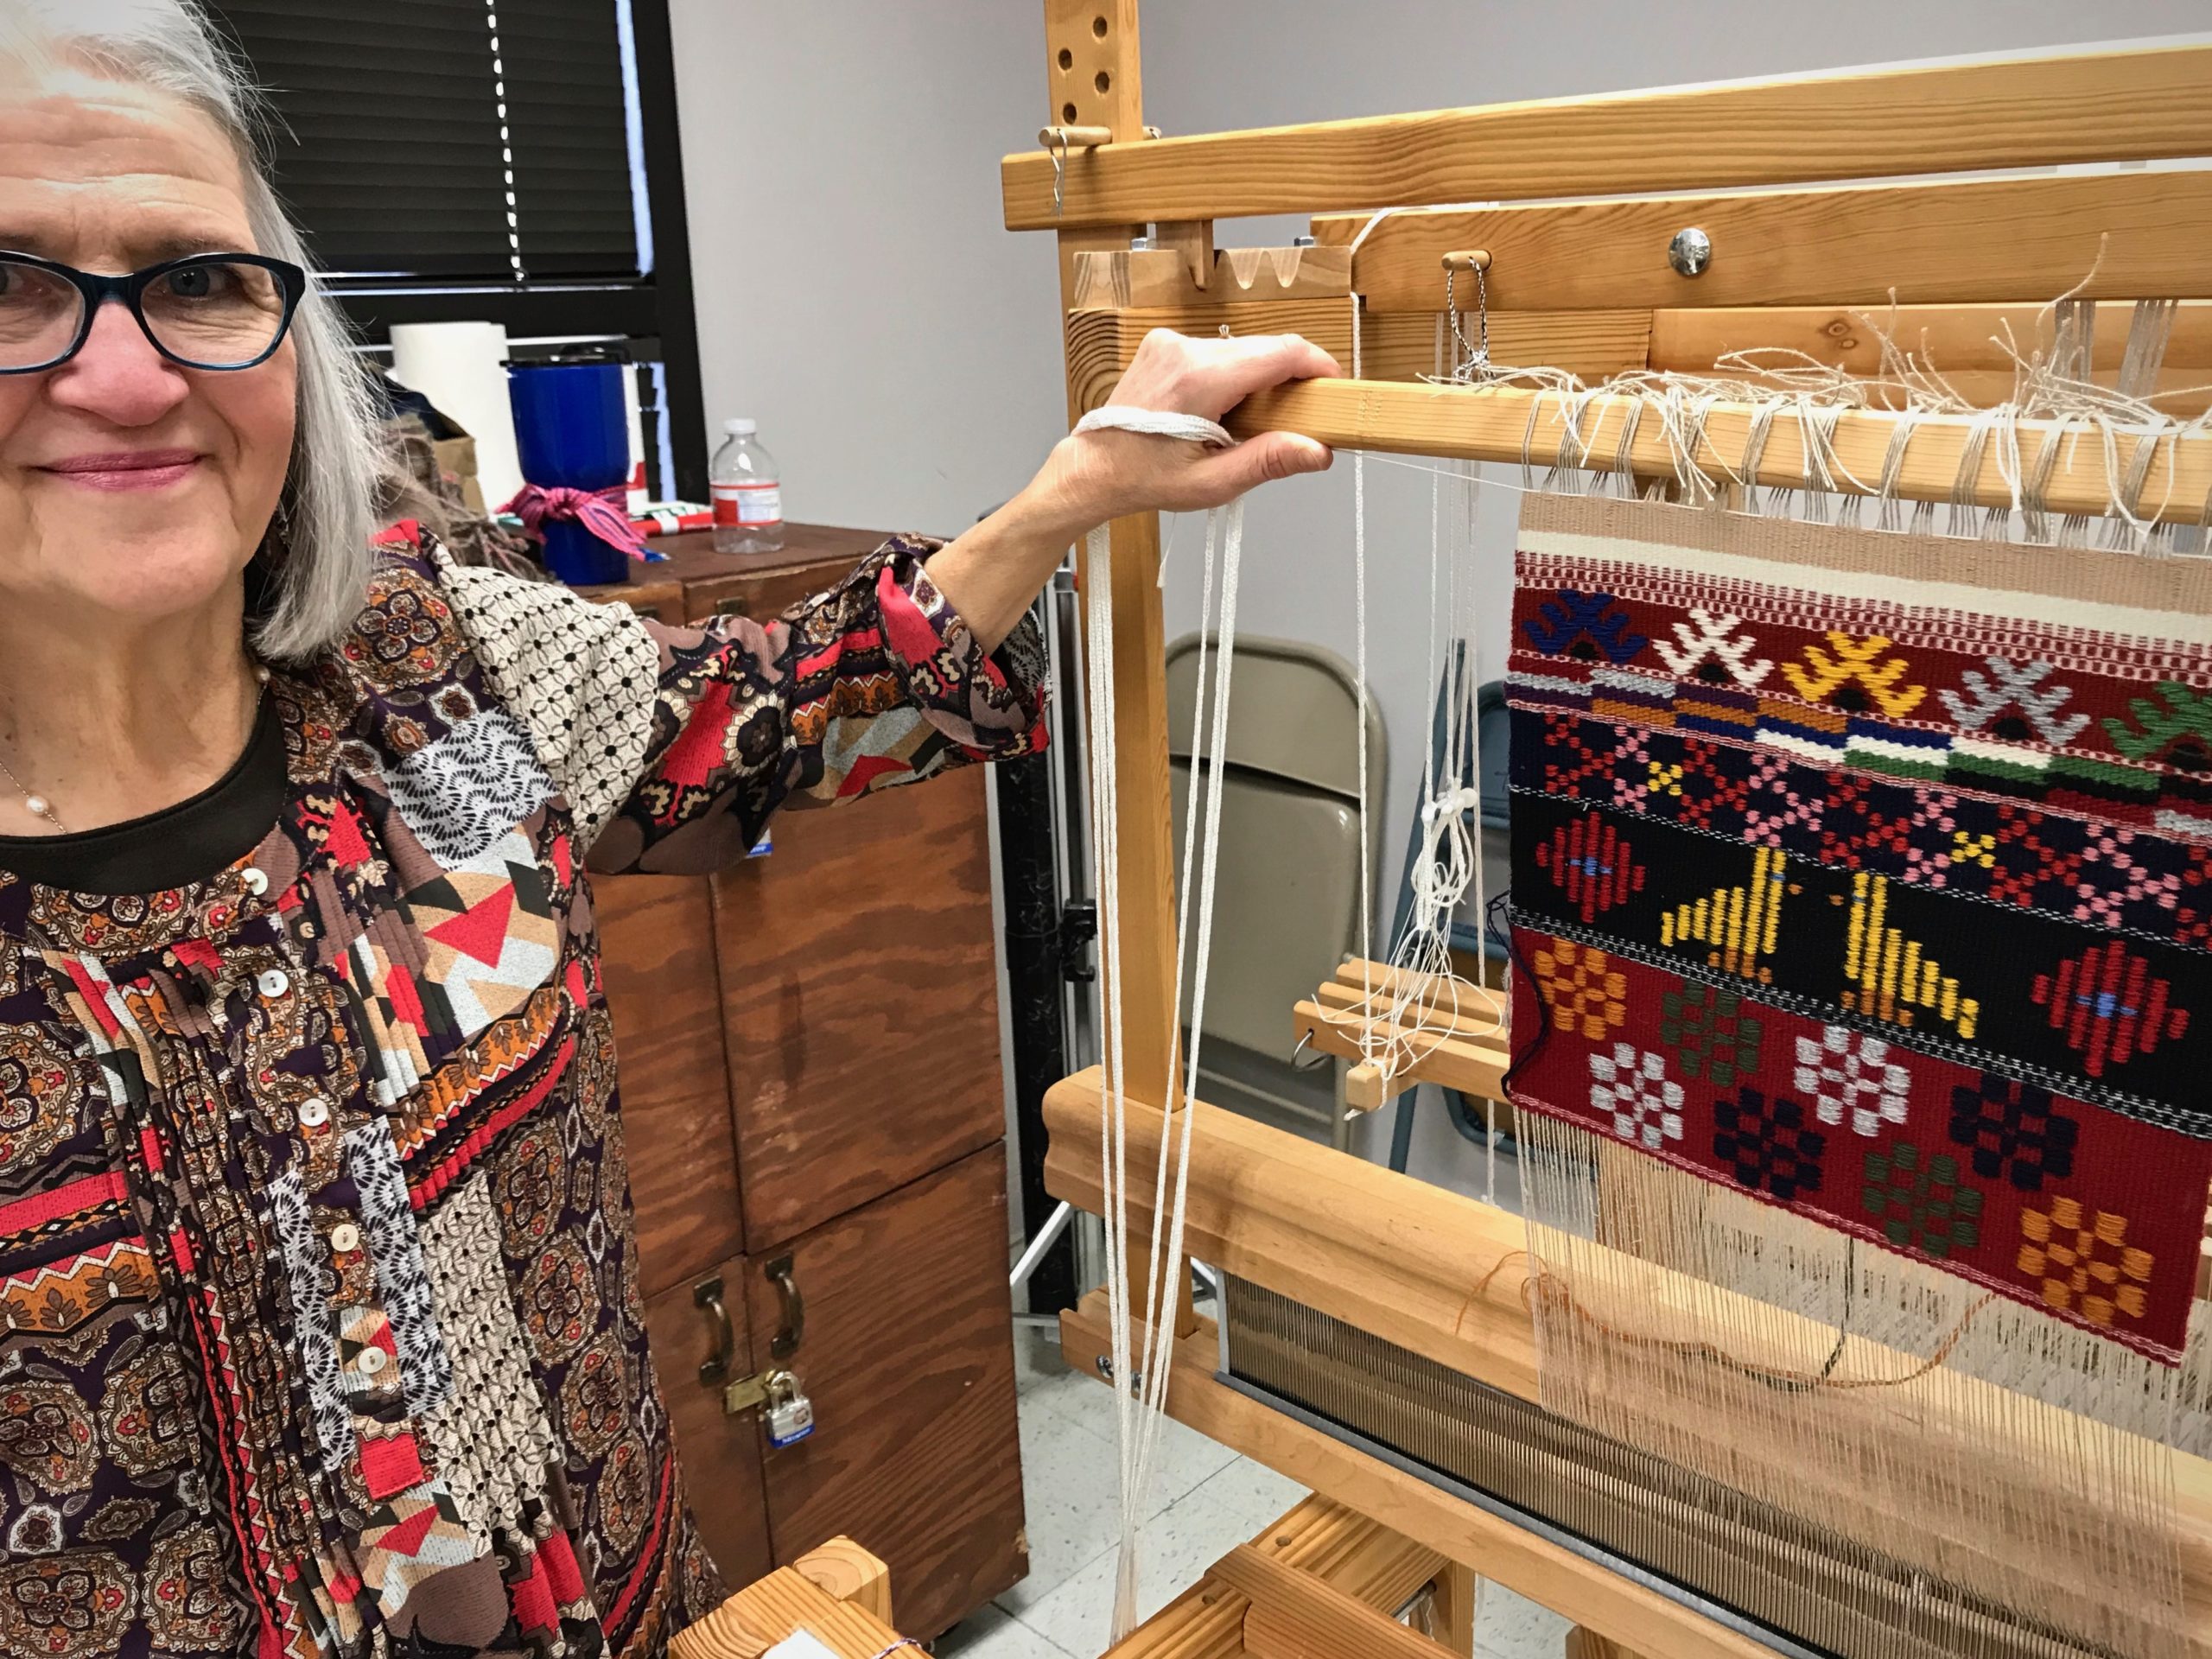
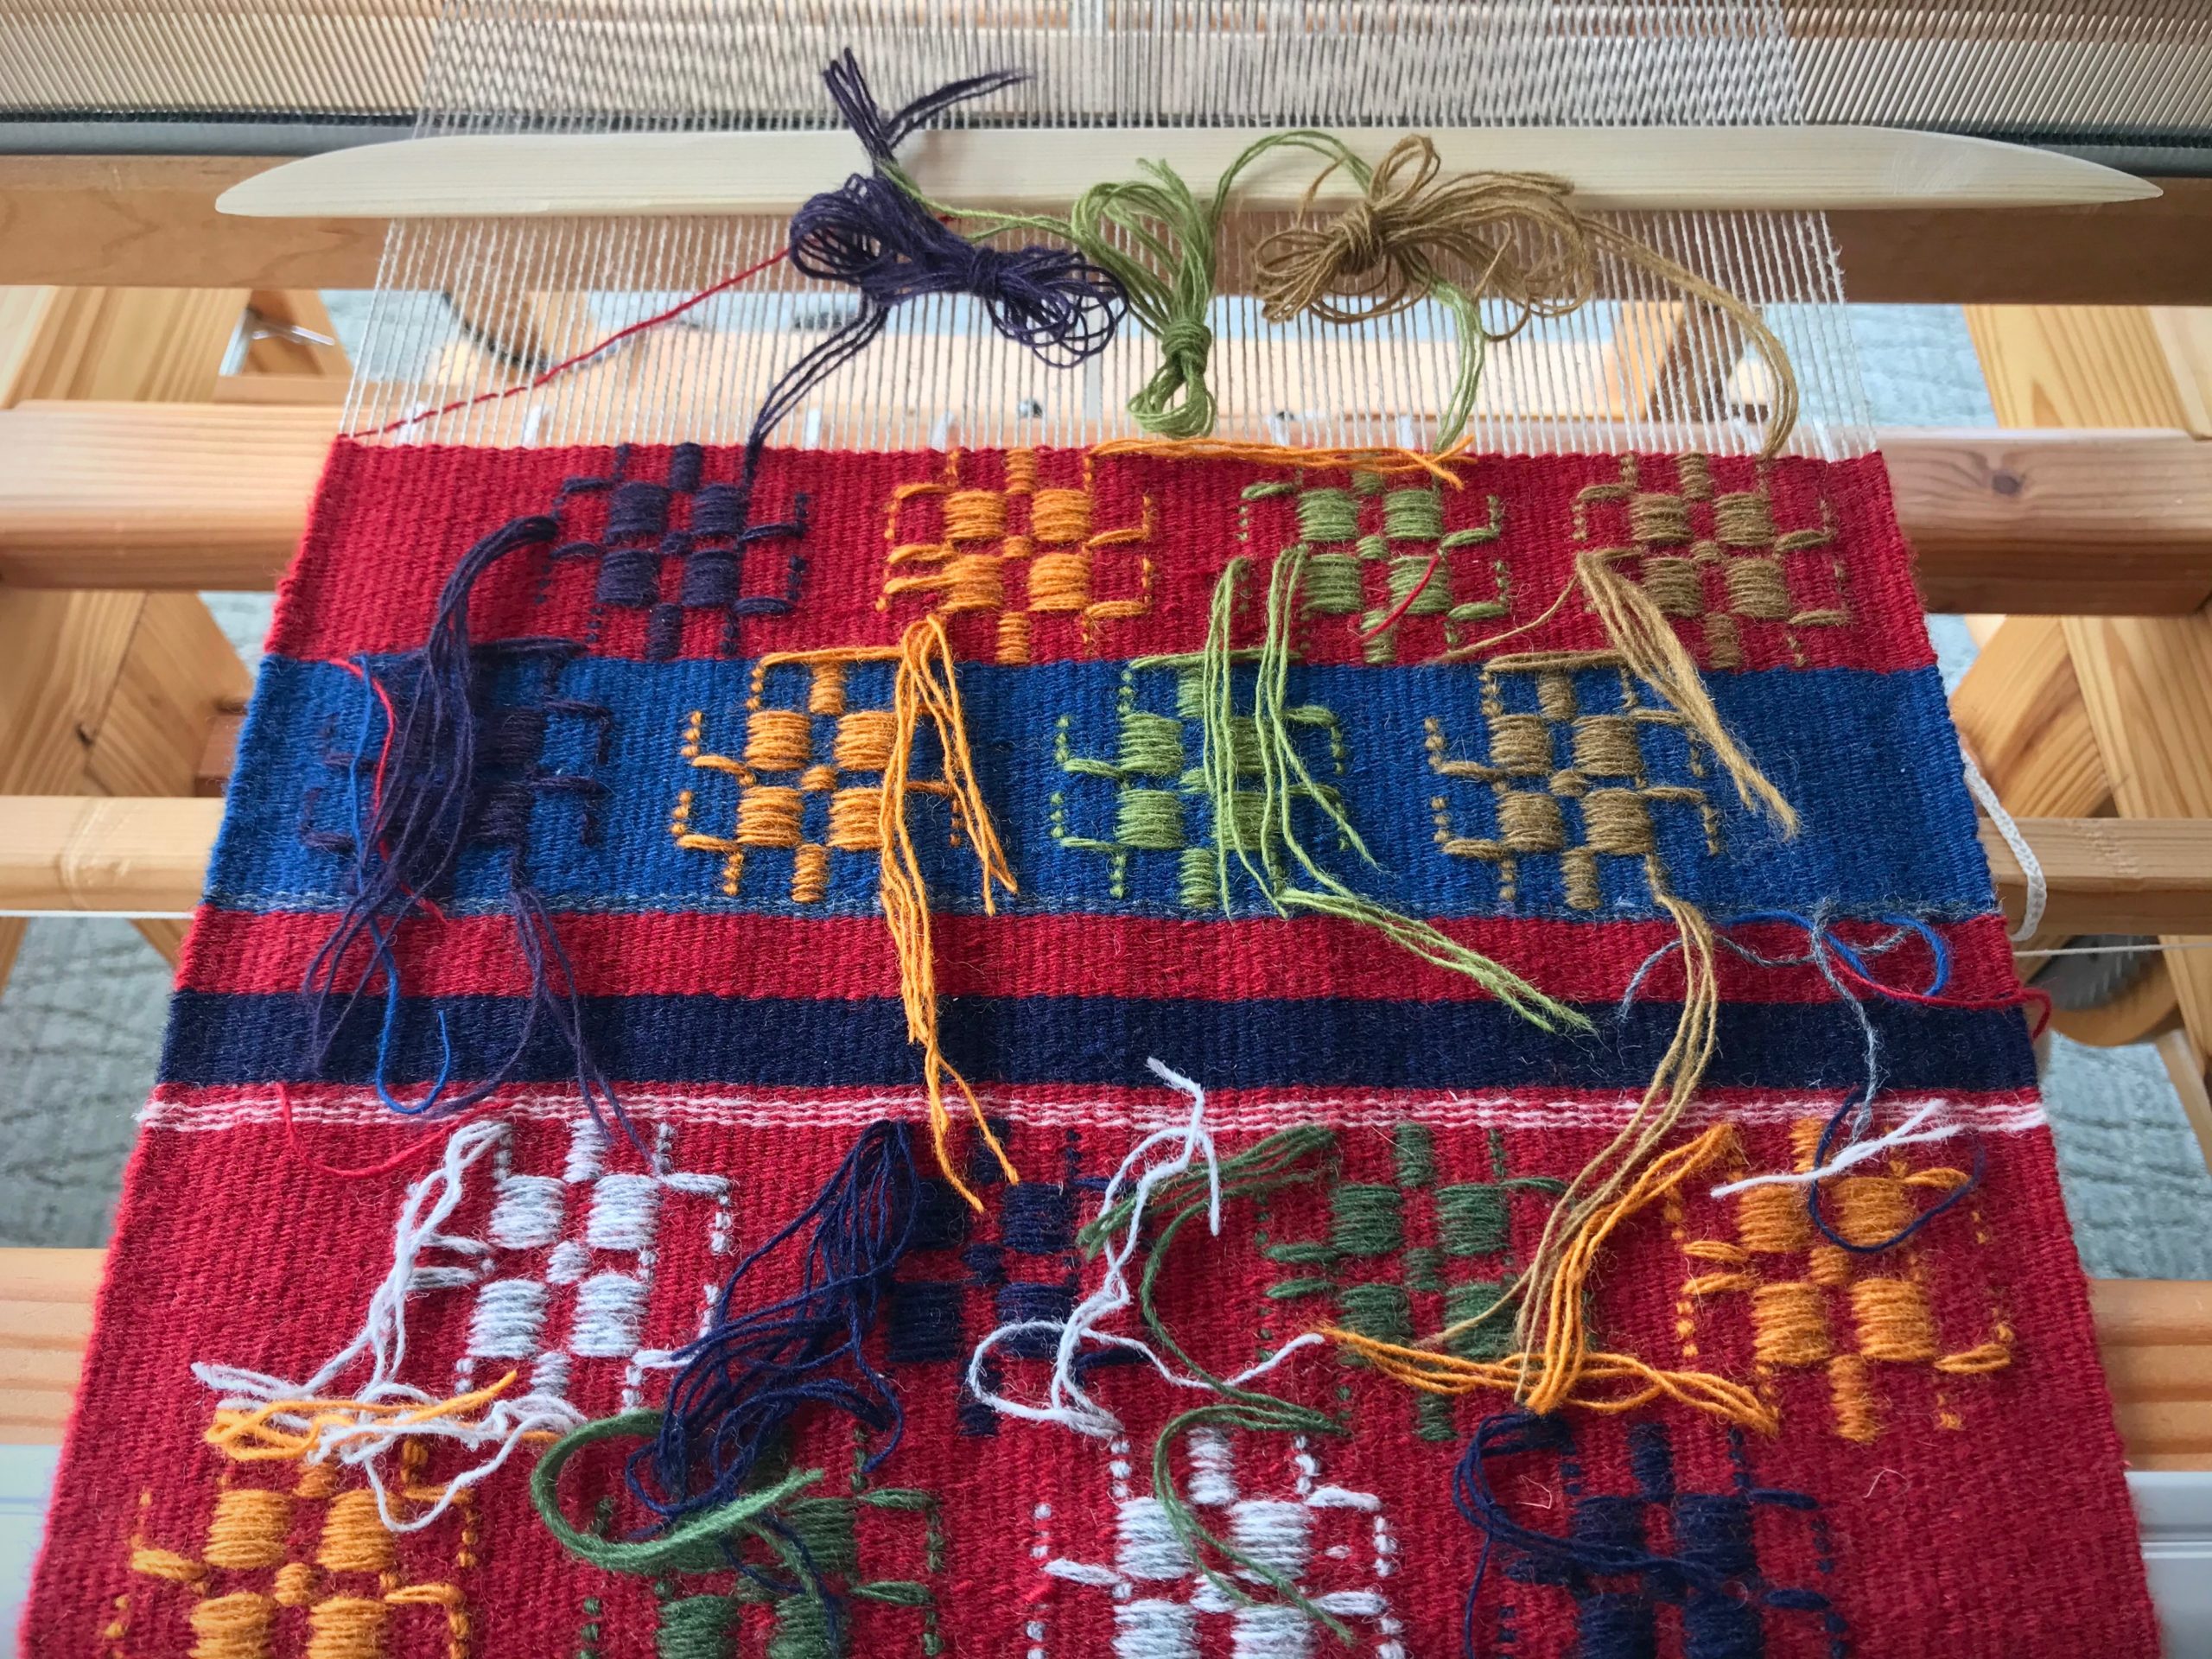
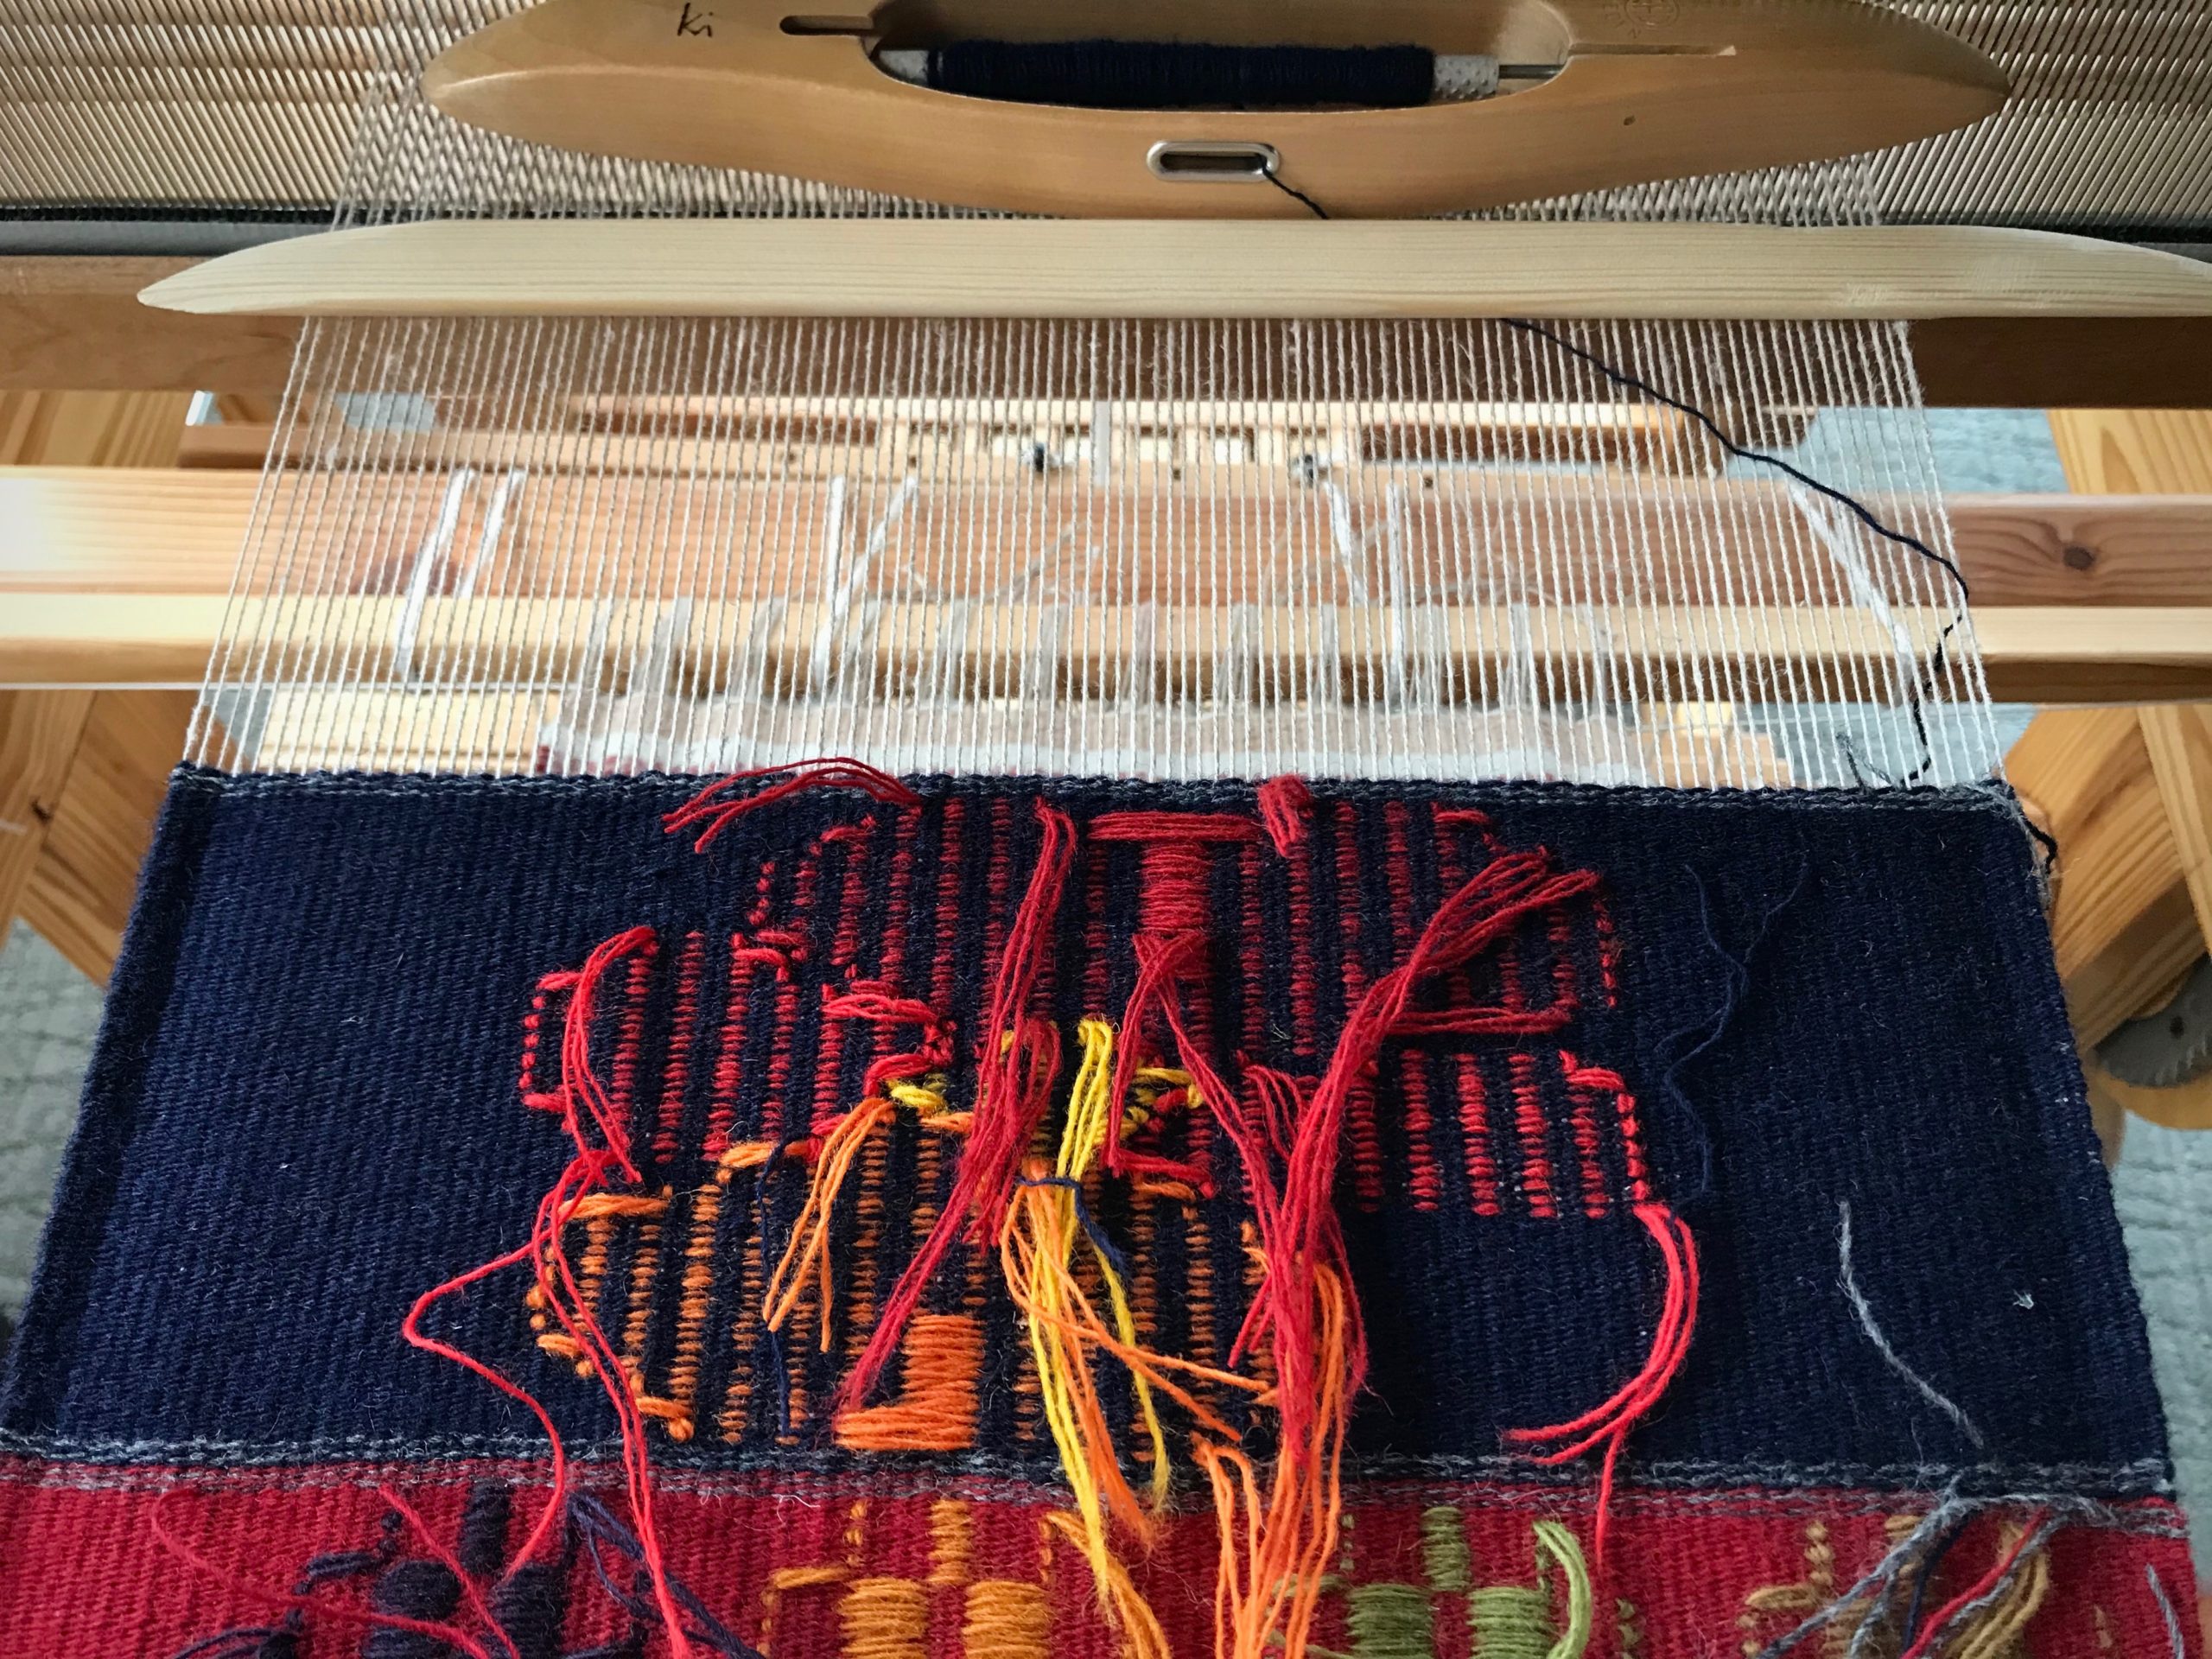
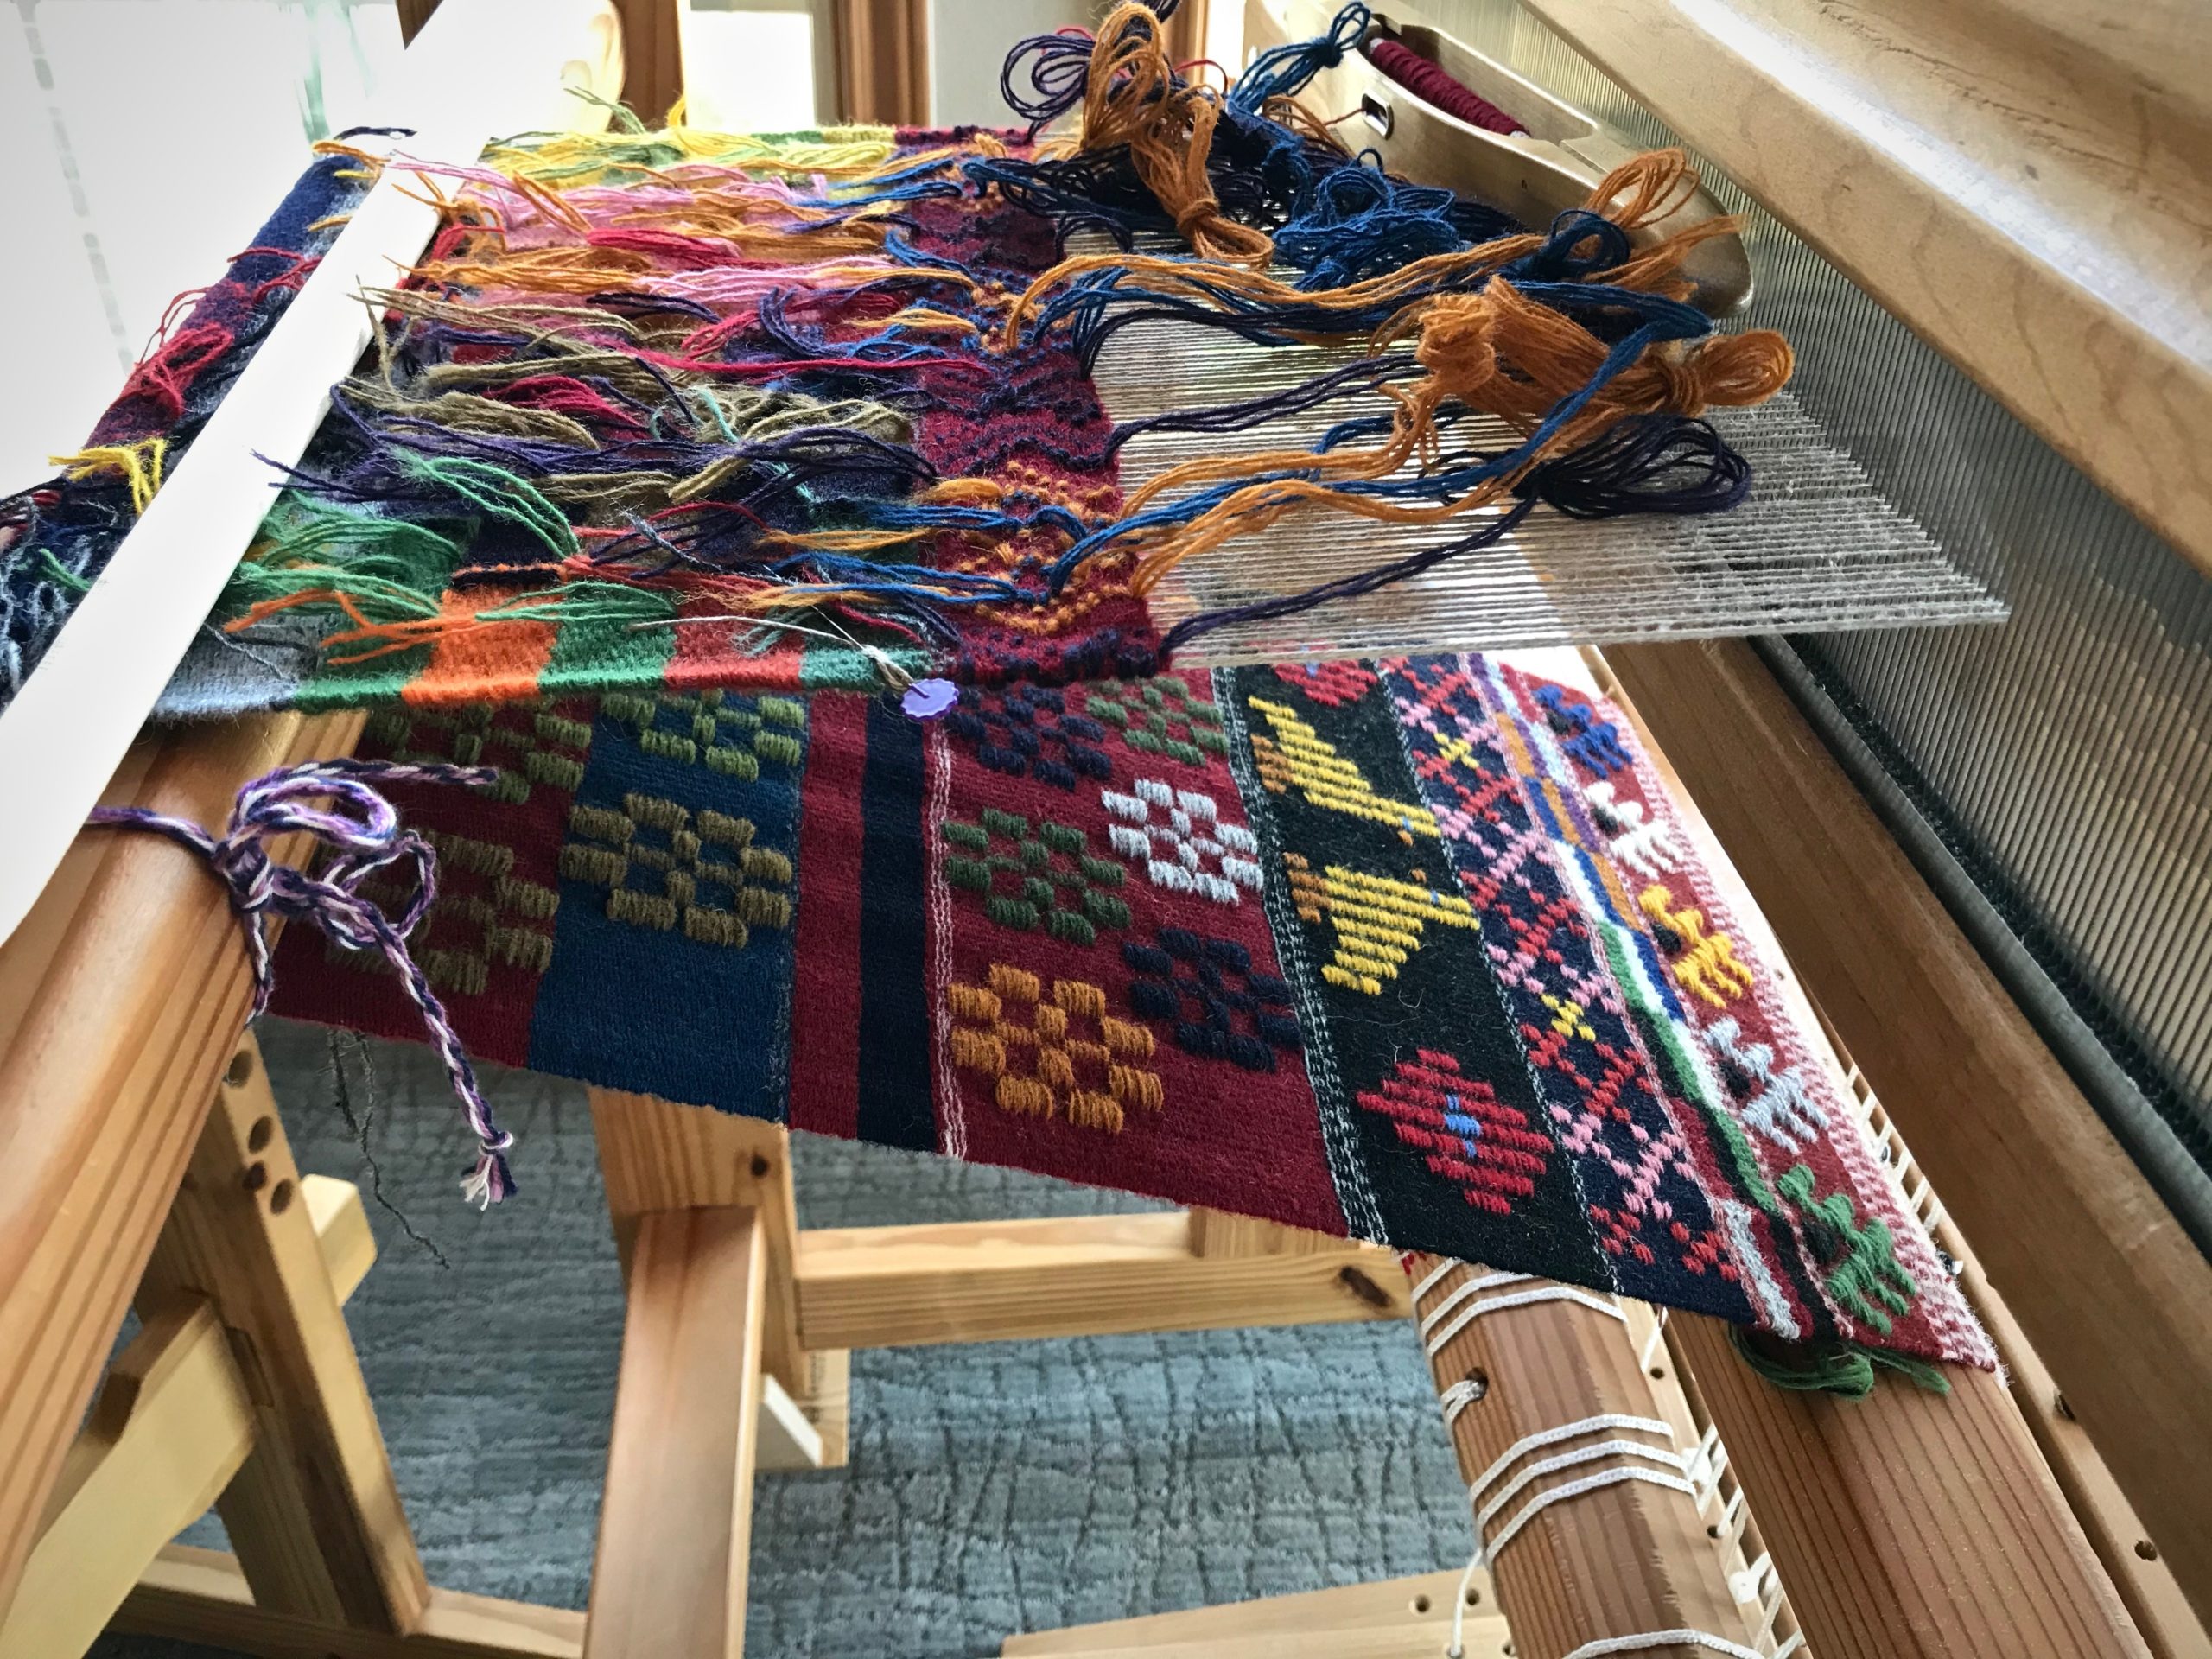
Ready to pack up after the Swedish Art Weaves workshop and take my loom back home. The Joanne Hall workshop was sponsored by the enthusiastic San Antonio Handweavers Guild a few months ago.Monksbelt pattern continued at home.Woven from the back, this dukagång pattern came from a Swedish publication I borrowed from the San Antonio Handweavers Guild library.Krabbasnår, just behind the fell line, is from a pattern in Heirlooms of Skåne, Weaving Techniques, by Gunvor Johansson.
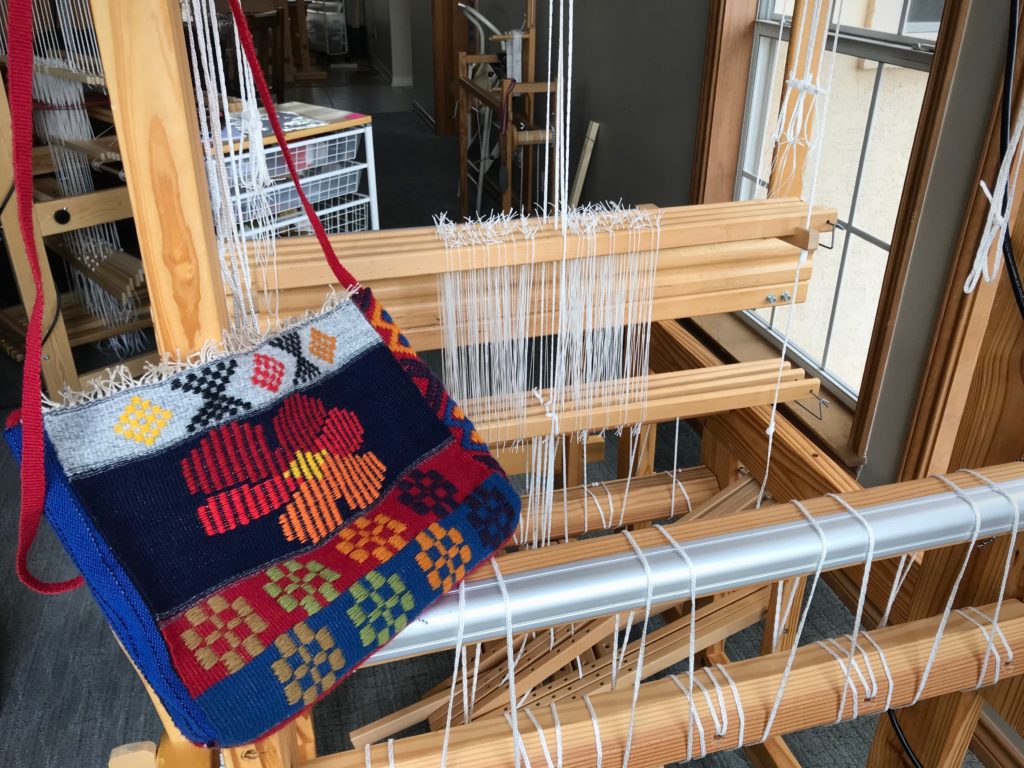
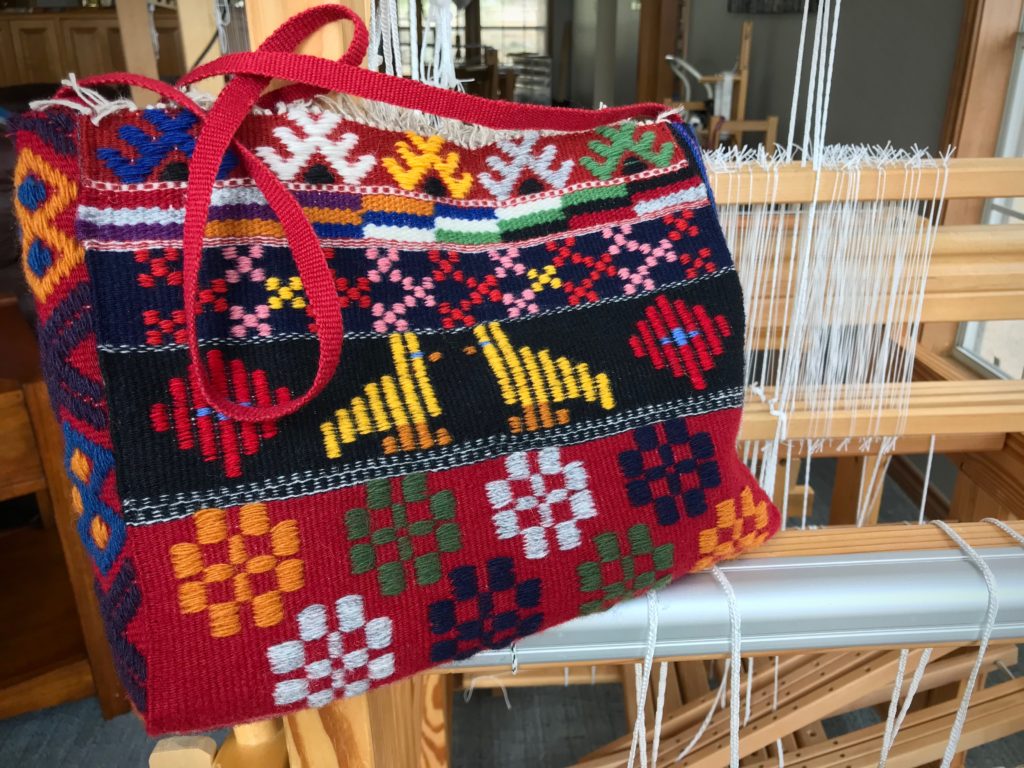
Thanks to that completion rule, I have a new bag. This fabric includes the various patterns that I wove in Joanne Hall’s workshop on Swedish Art Weaves several months ago. You will also see that I explored some patterns on my own at home. I gained two excellent outcomes from this finishing pursuit—a new bag to use, and a loom that is free for the next warp! (See the first bag here: Monksbelt Flowers on a Shoulder Bag)
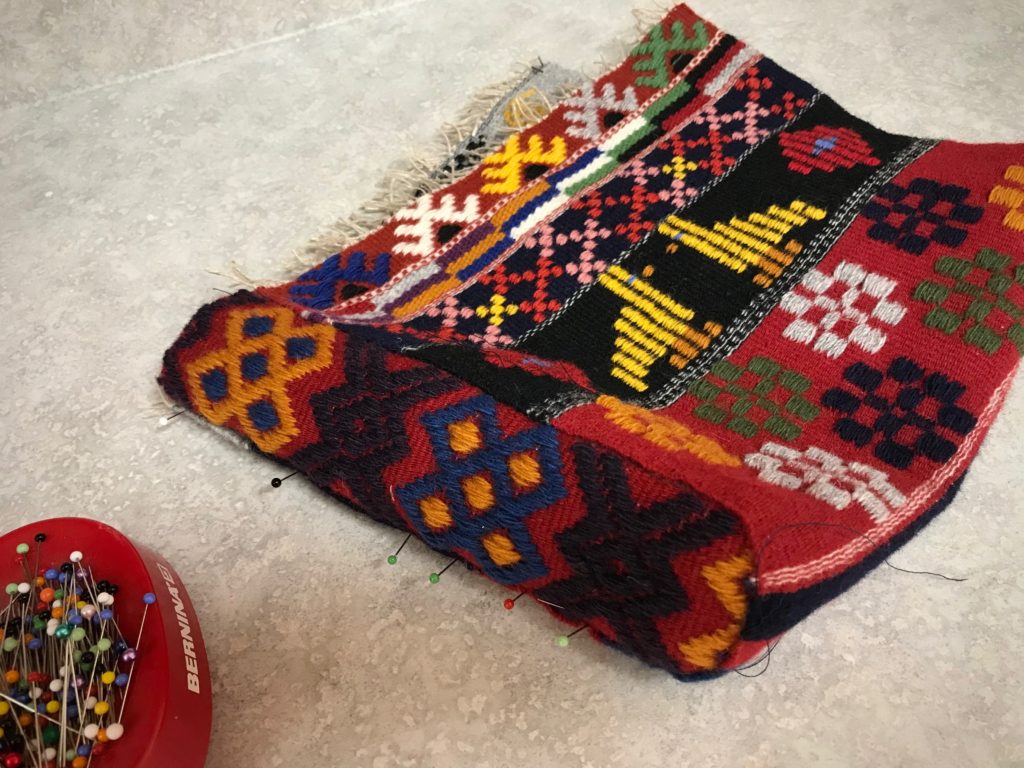
Side piece, krabbasnår, is hand-stitched in place. From the top of the bag to the bottom – krabbasnår (krabba), rölakan, halvkrabba, dukagång, munkabälte (monksbelt), each section separated by plain weave stripe variations.On this side of the finished bag, from top to bottom – halvkrabba, dukagång, munkabälte. I made the hard decision to take out a section of rölakan I had woven in order to be able to put the knots from the linen warp at the top of the bag.Bag is lined and has pockets, and has a magnetic snap closure. The 6/2 Tuna wool shoulder strap was woven on my Glimåkra band loom.Now, on to the next warp!
Left to myself, I’d rather do what I want. I’d rather start a new project than bring an “old” one to completion. I’m glad my Lord is faithful with me. He completes the work that he began. The Good Shepherd tends his sheep. He leads us to the still waters of peaceful perseverance, saving us from the regret of going our own way. And we have his perfect outcome to look forward to.
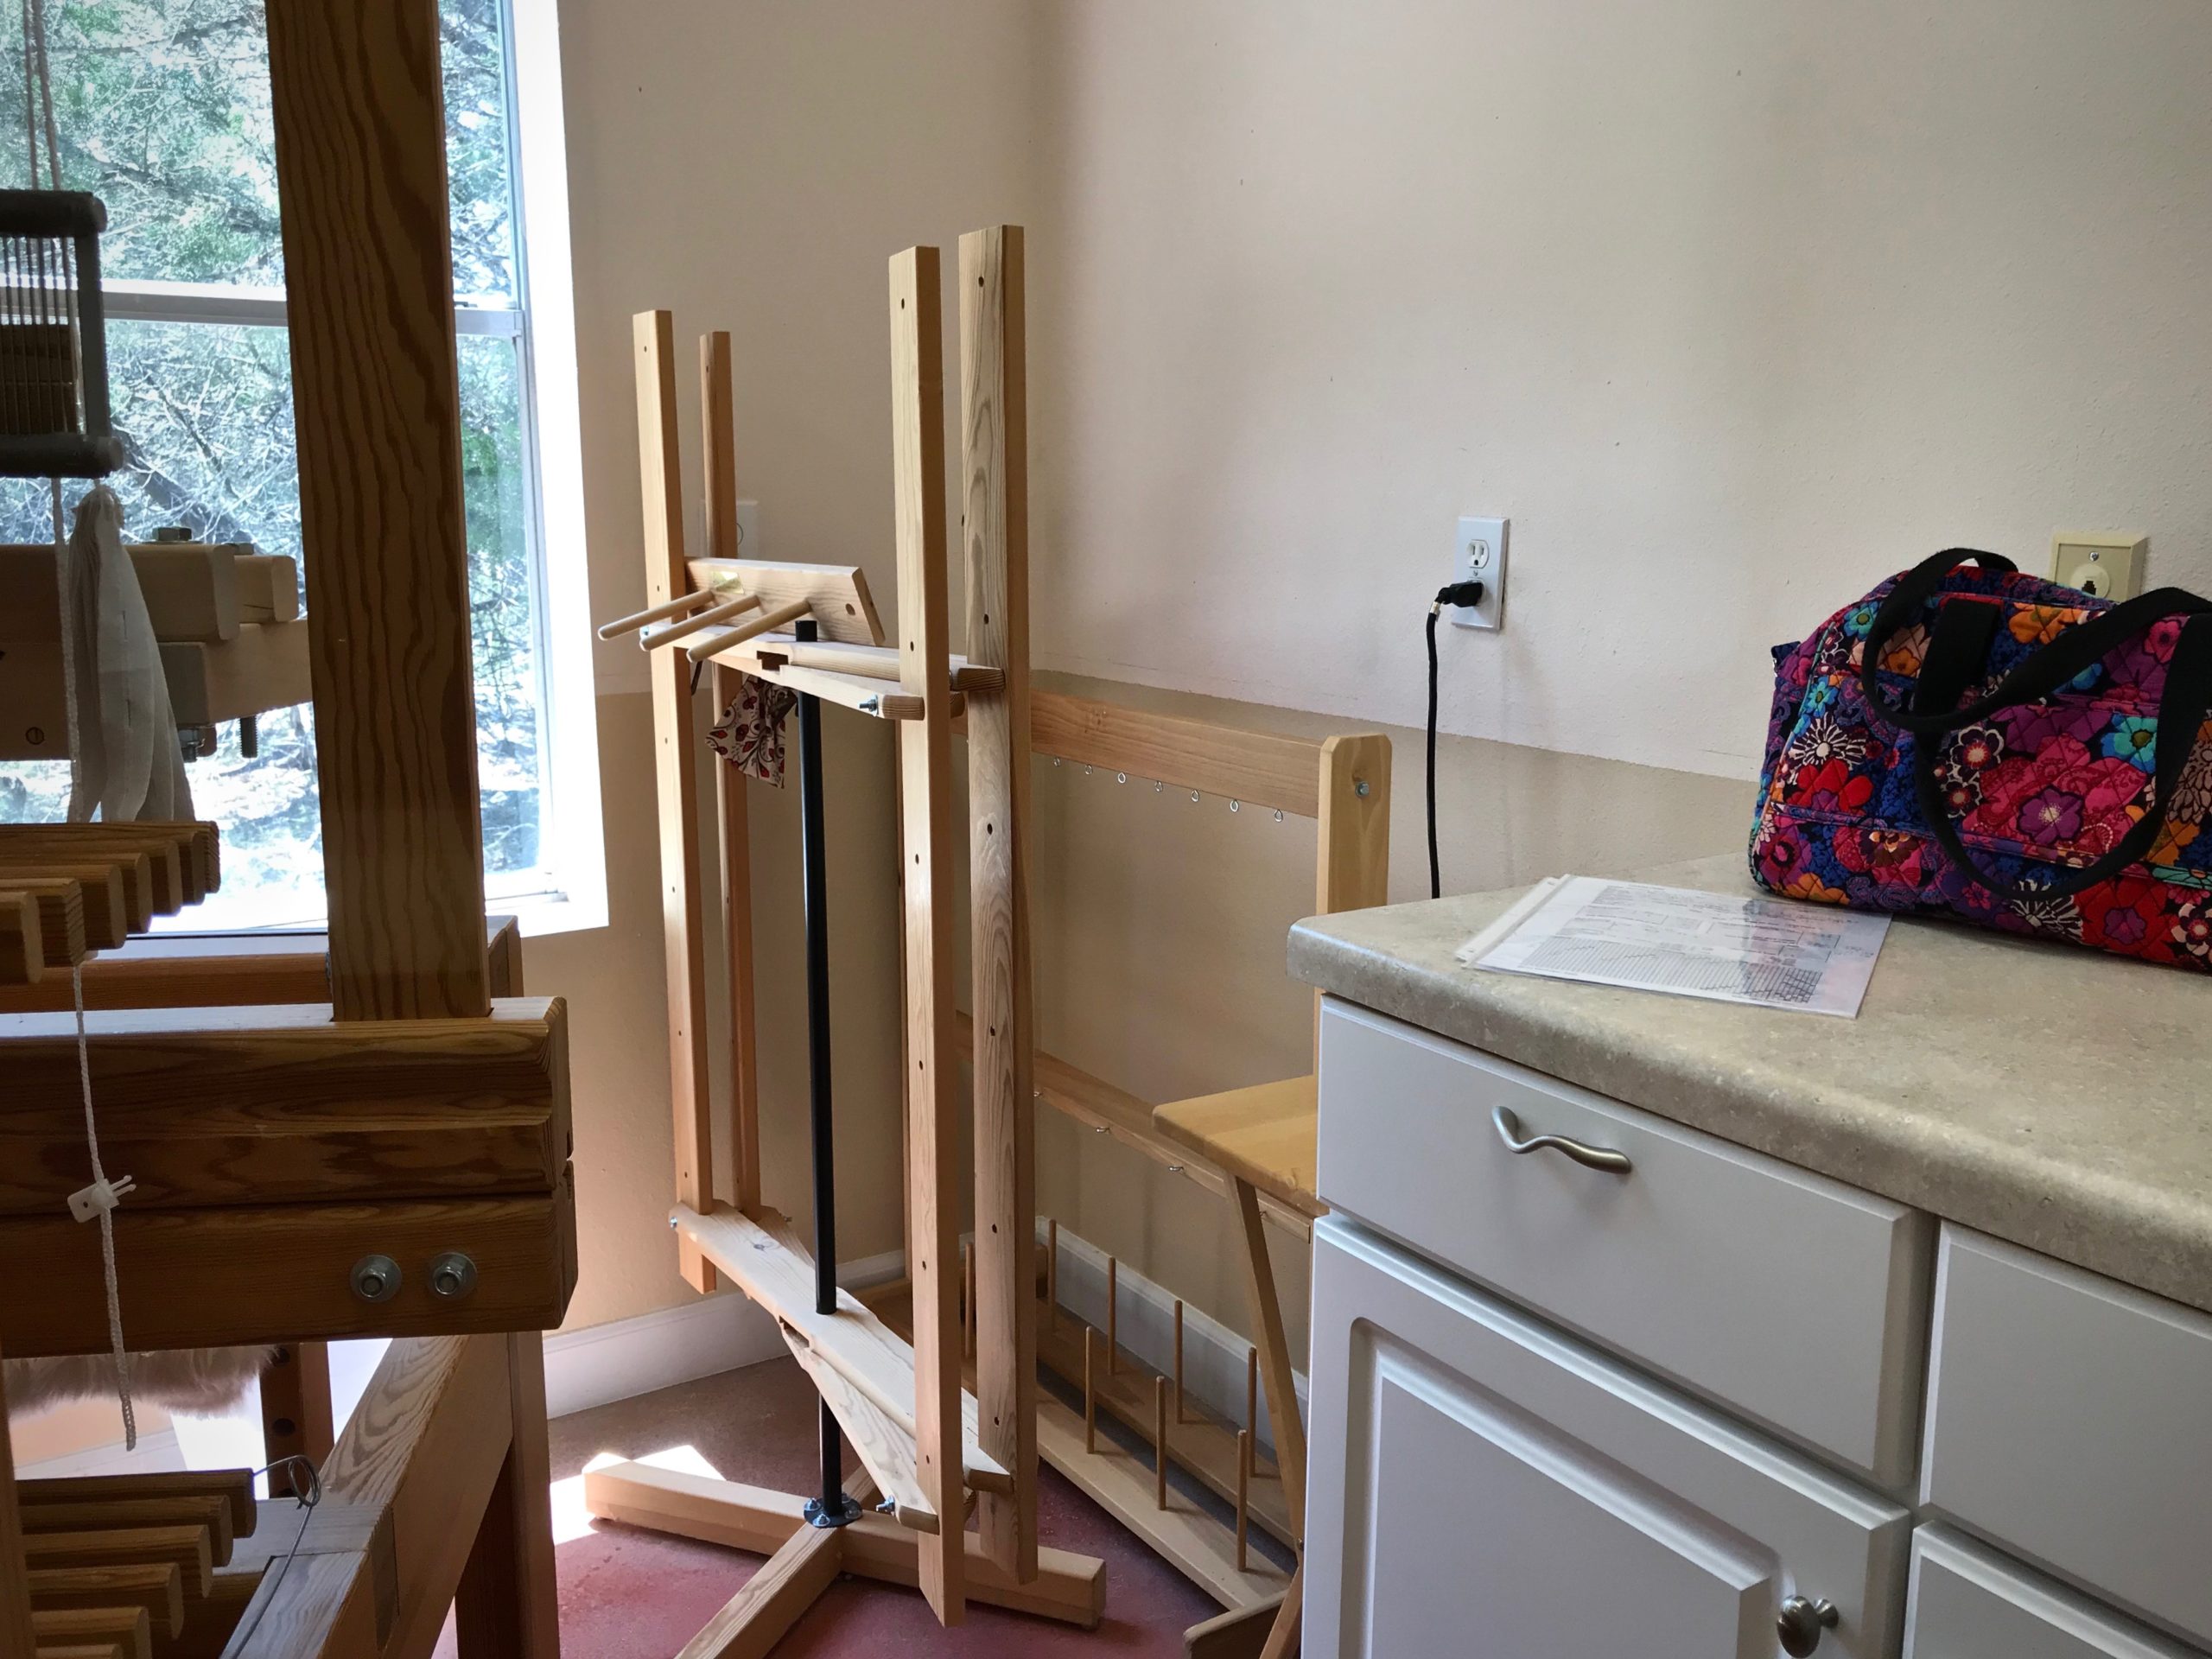
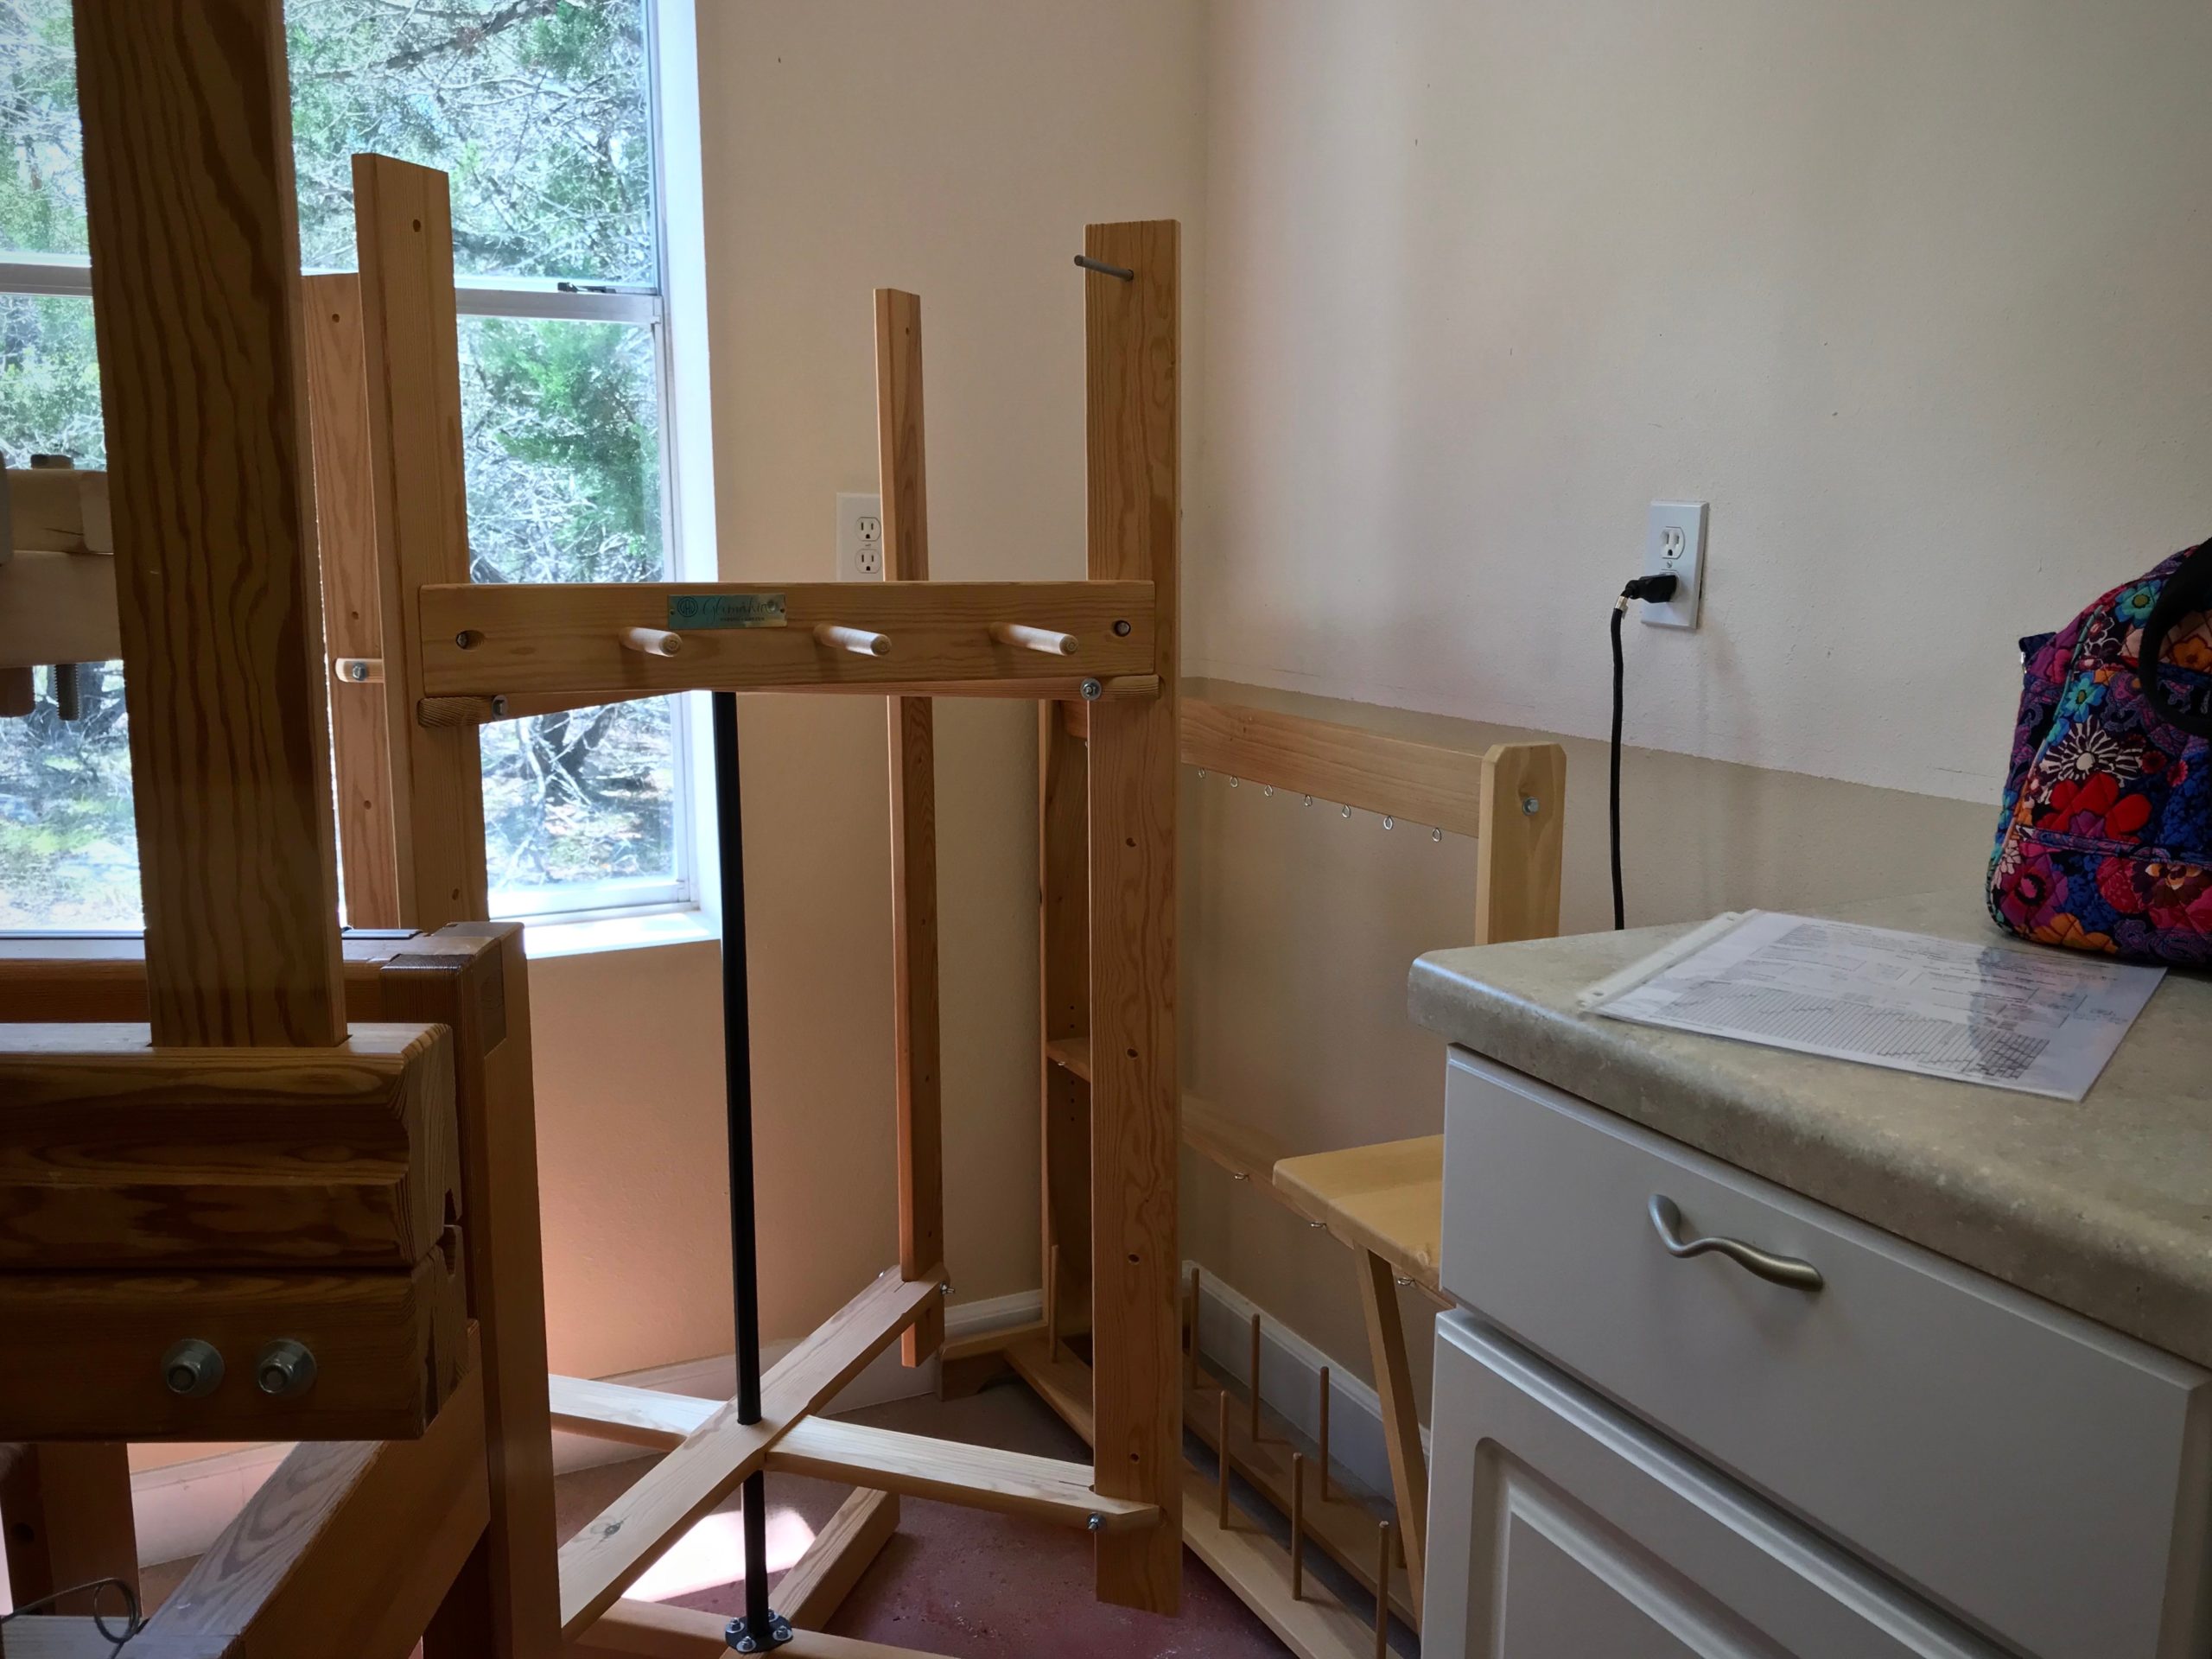
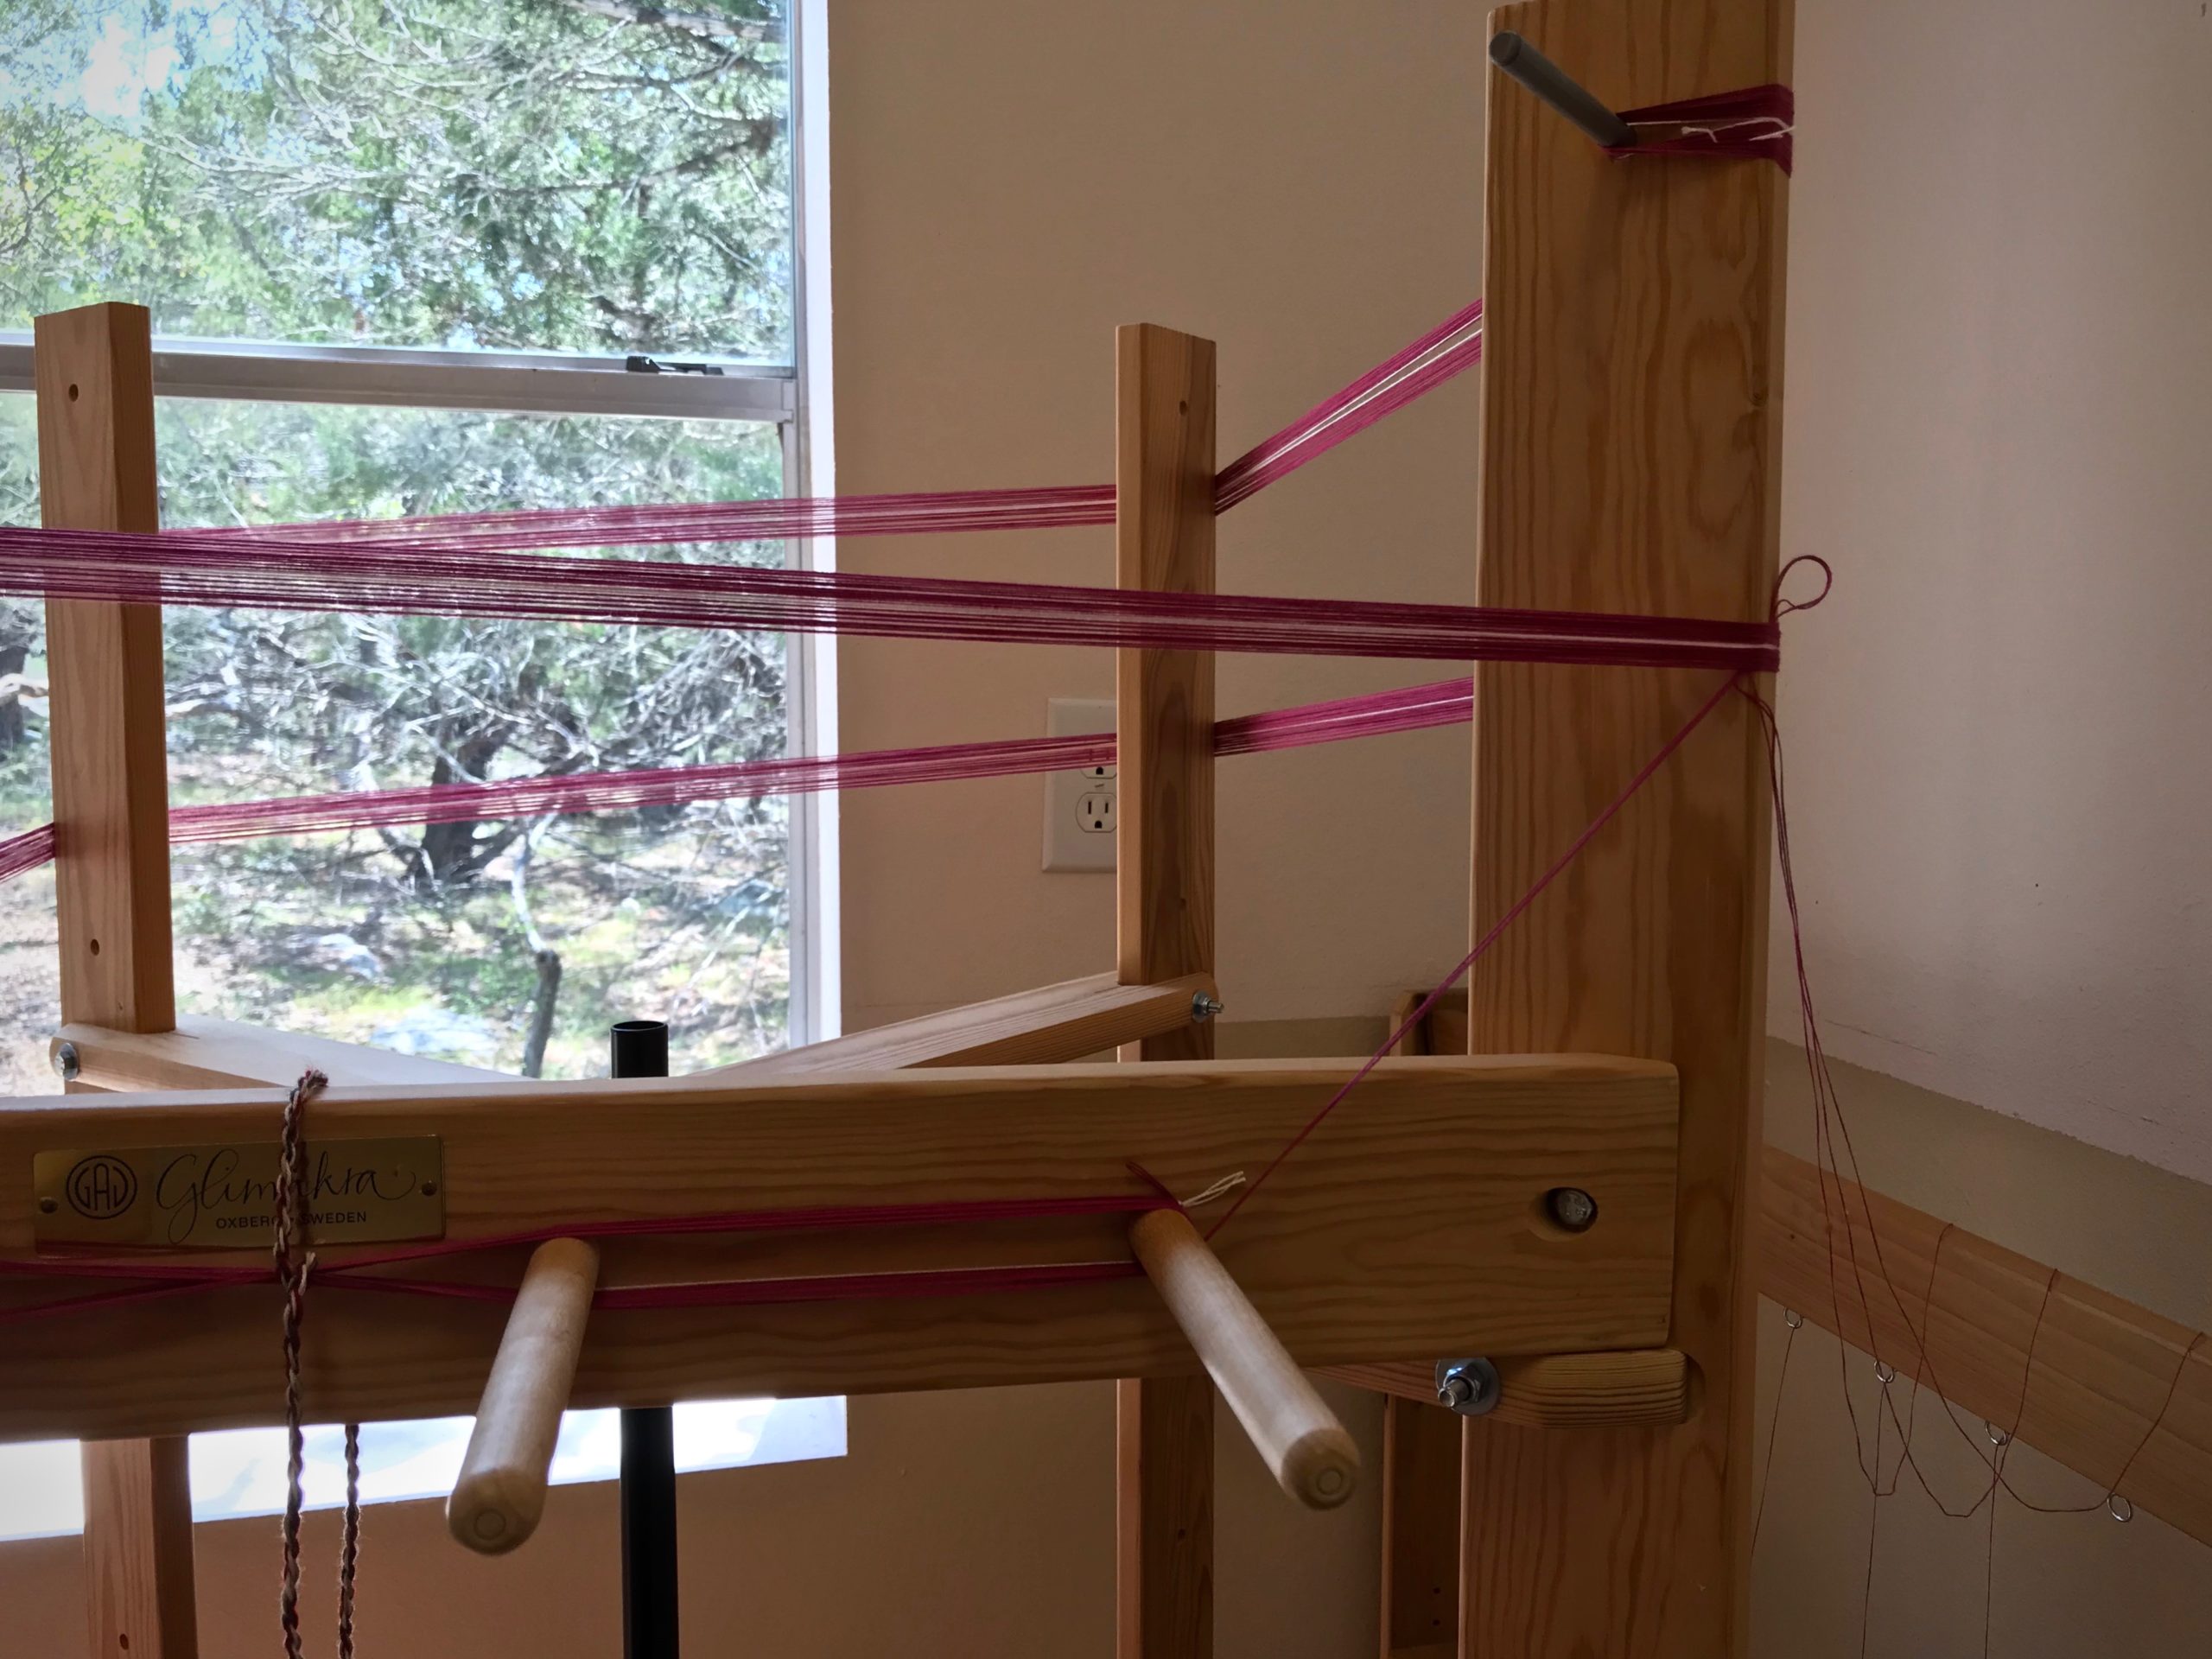
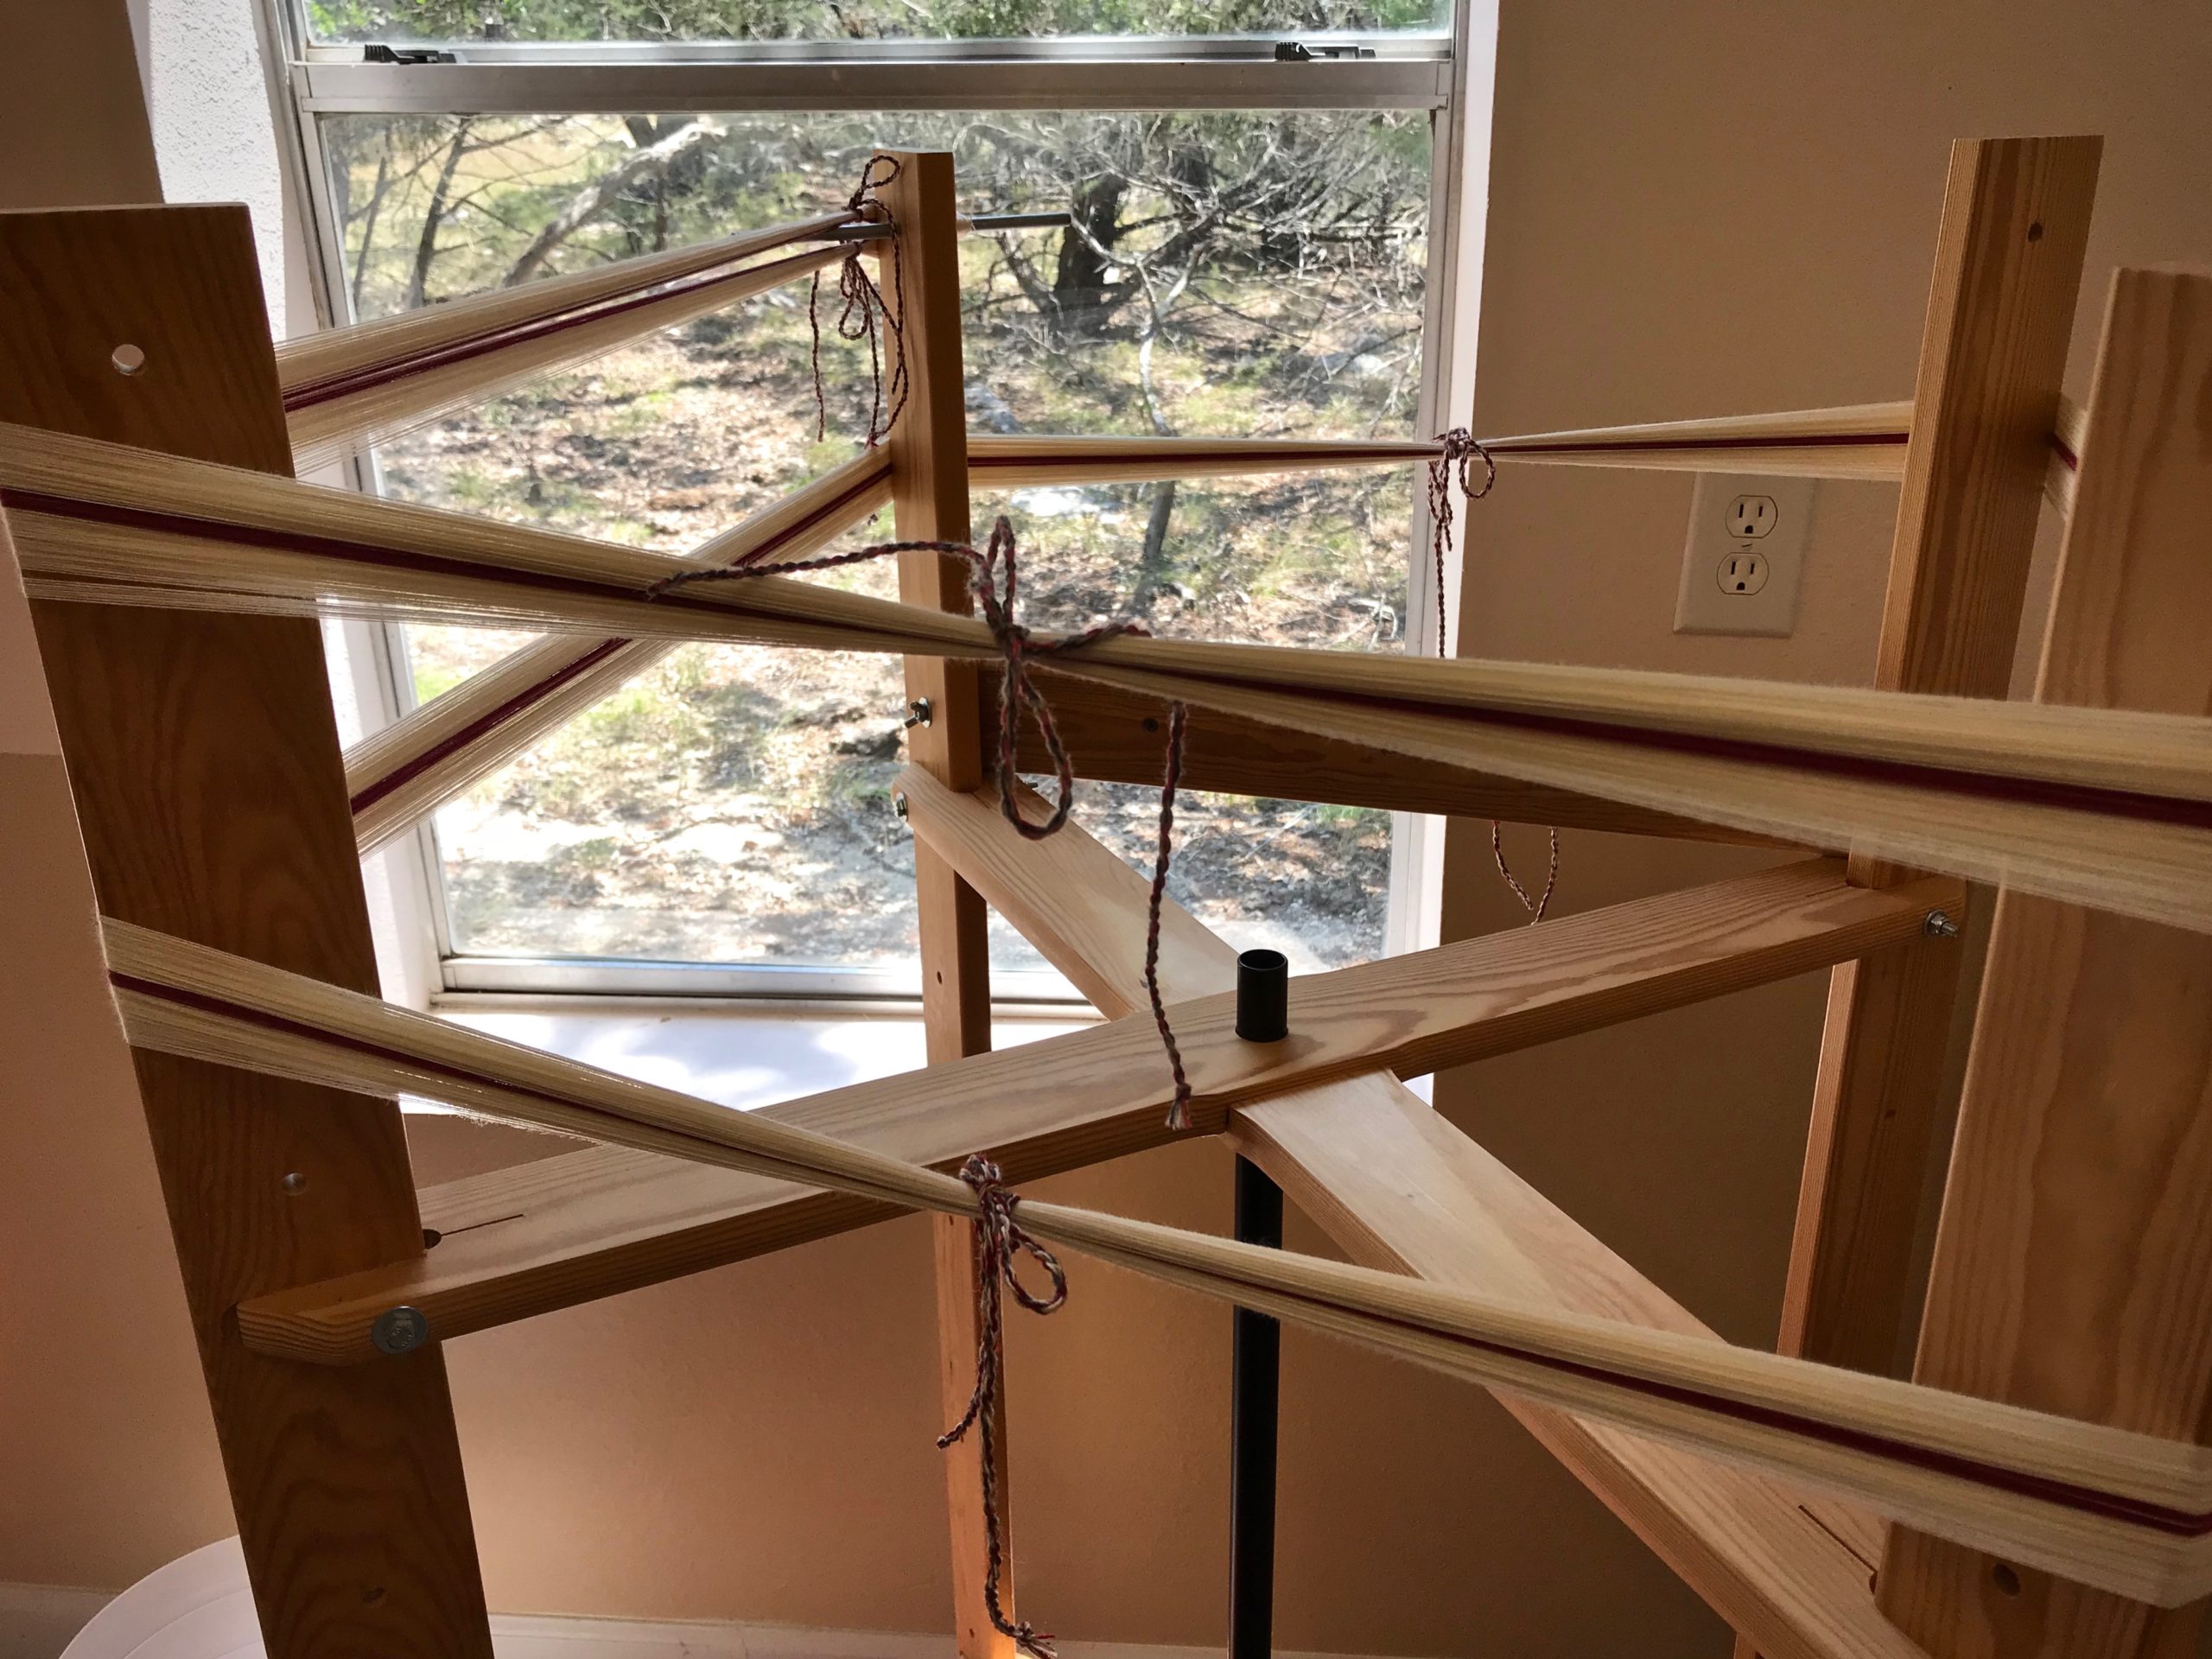
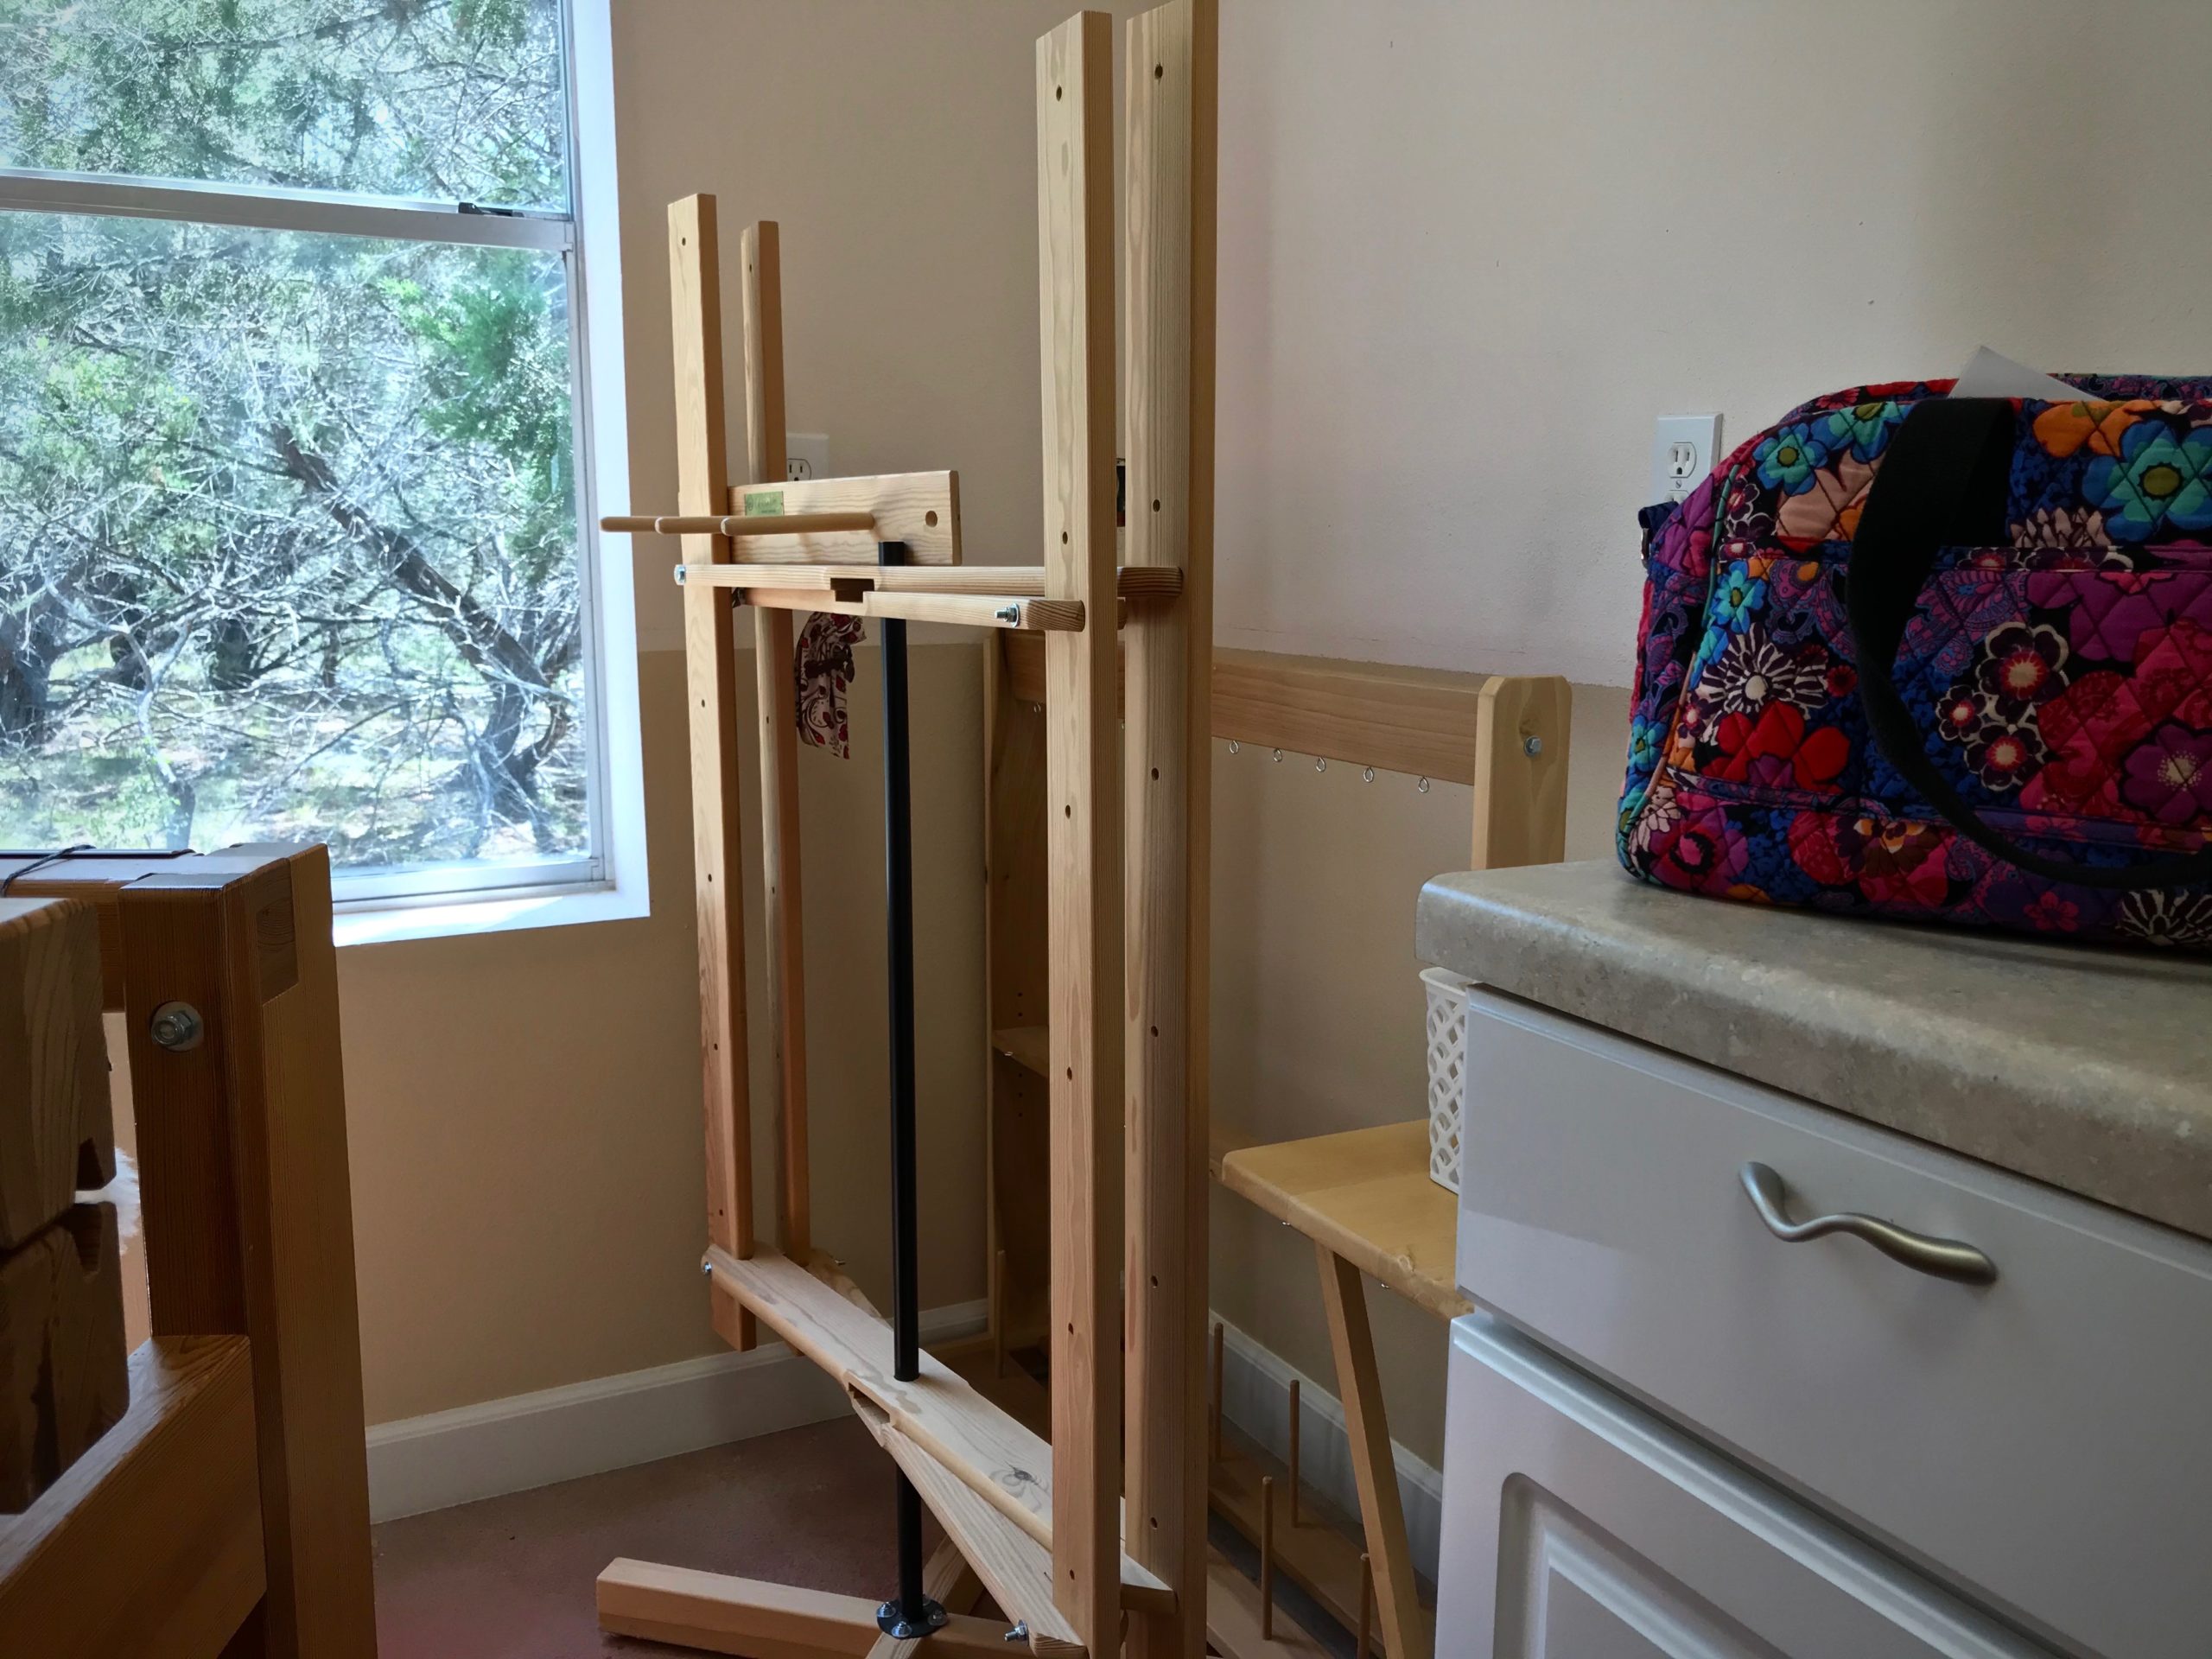
I am winding a narrow warp for my next drawloom project. My warping reel is in a little four-foot-by-four-foot corner of my drawloom studio, and has just enough room to maneuver. When I am ready to wind a warp the first thing I pull out is my trusty checklist. I use a checklist for efficiency. It keeps me on track. And it’s more dependable than my memory.
Checklist for Winding a Warp
__ Weigh warp thread and write the amounts on the project notes. By weighing the thread before and after a project, you will know exactly how much warp thread was used in the project.
__ Stick a sample four-inch thread to each thread label; put a rubber band around the tube. After you finish winding the warp, you can quickly pair each yarn with its correct label because of the sample thread stuck to the label.
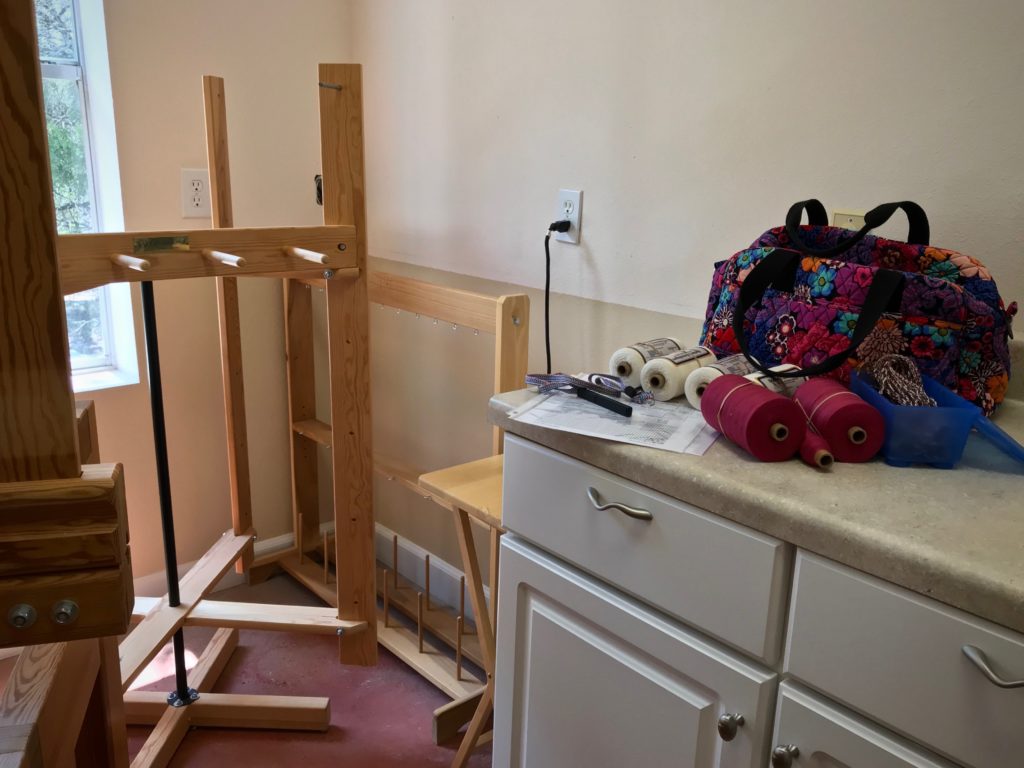
__ Bring supplies to the warping reel. If your warping reel is in a different room, or in a separate building, like mine is, make sure you have all you need before you head to the warping reel.
+ Project notes, with fully completed draft — An incomplete draft may give faulty information. Also, a review of the project notes and draft is a good idea, especially if weeks or months have passed since you wrote it all down.
__ Set up the warping reel for warp length. Use a guide string, or measure the distance needed to place the pegs and turning pin at the right place on the warping reel for the warp you are going to wind.
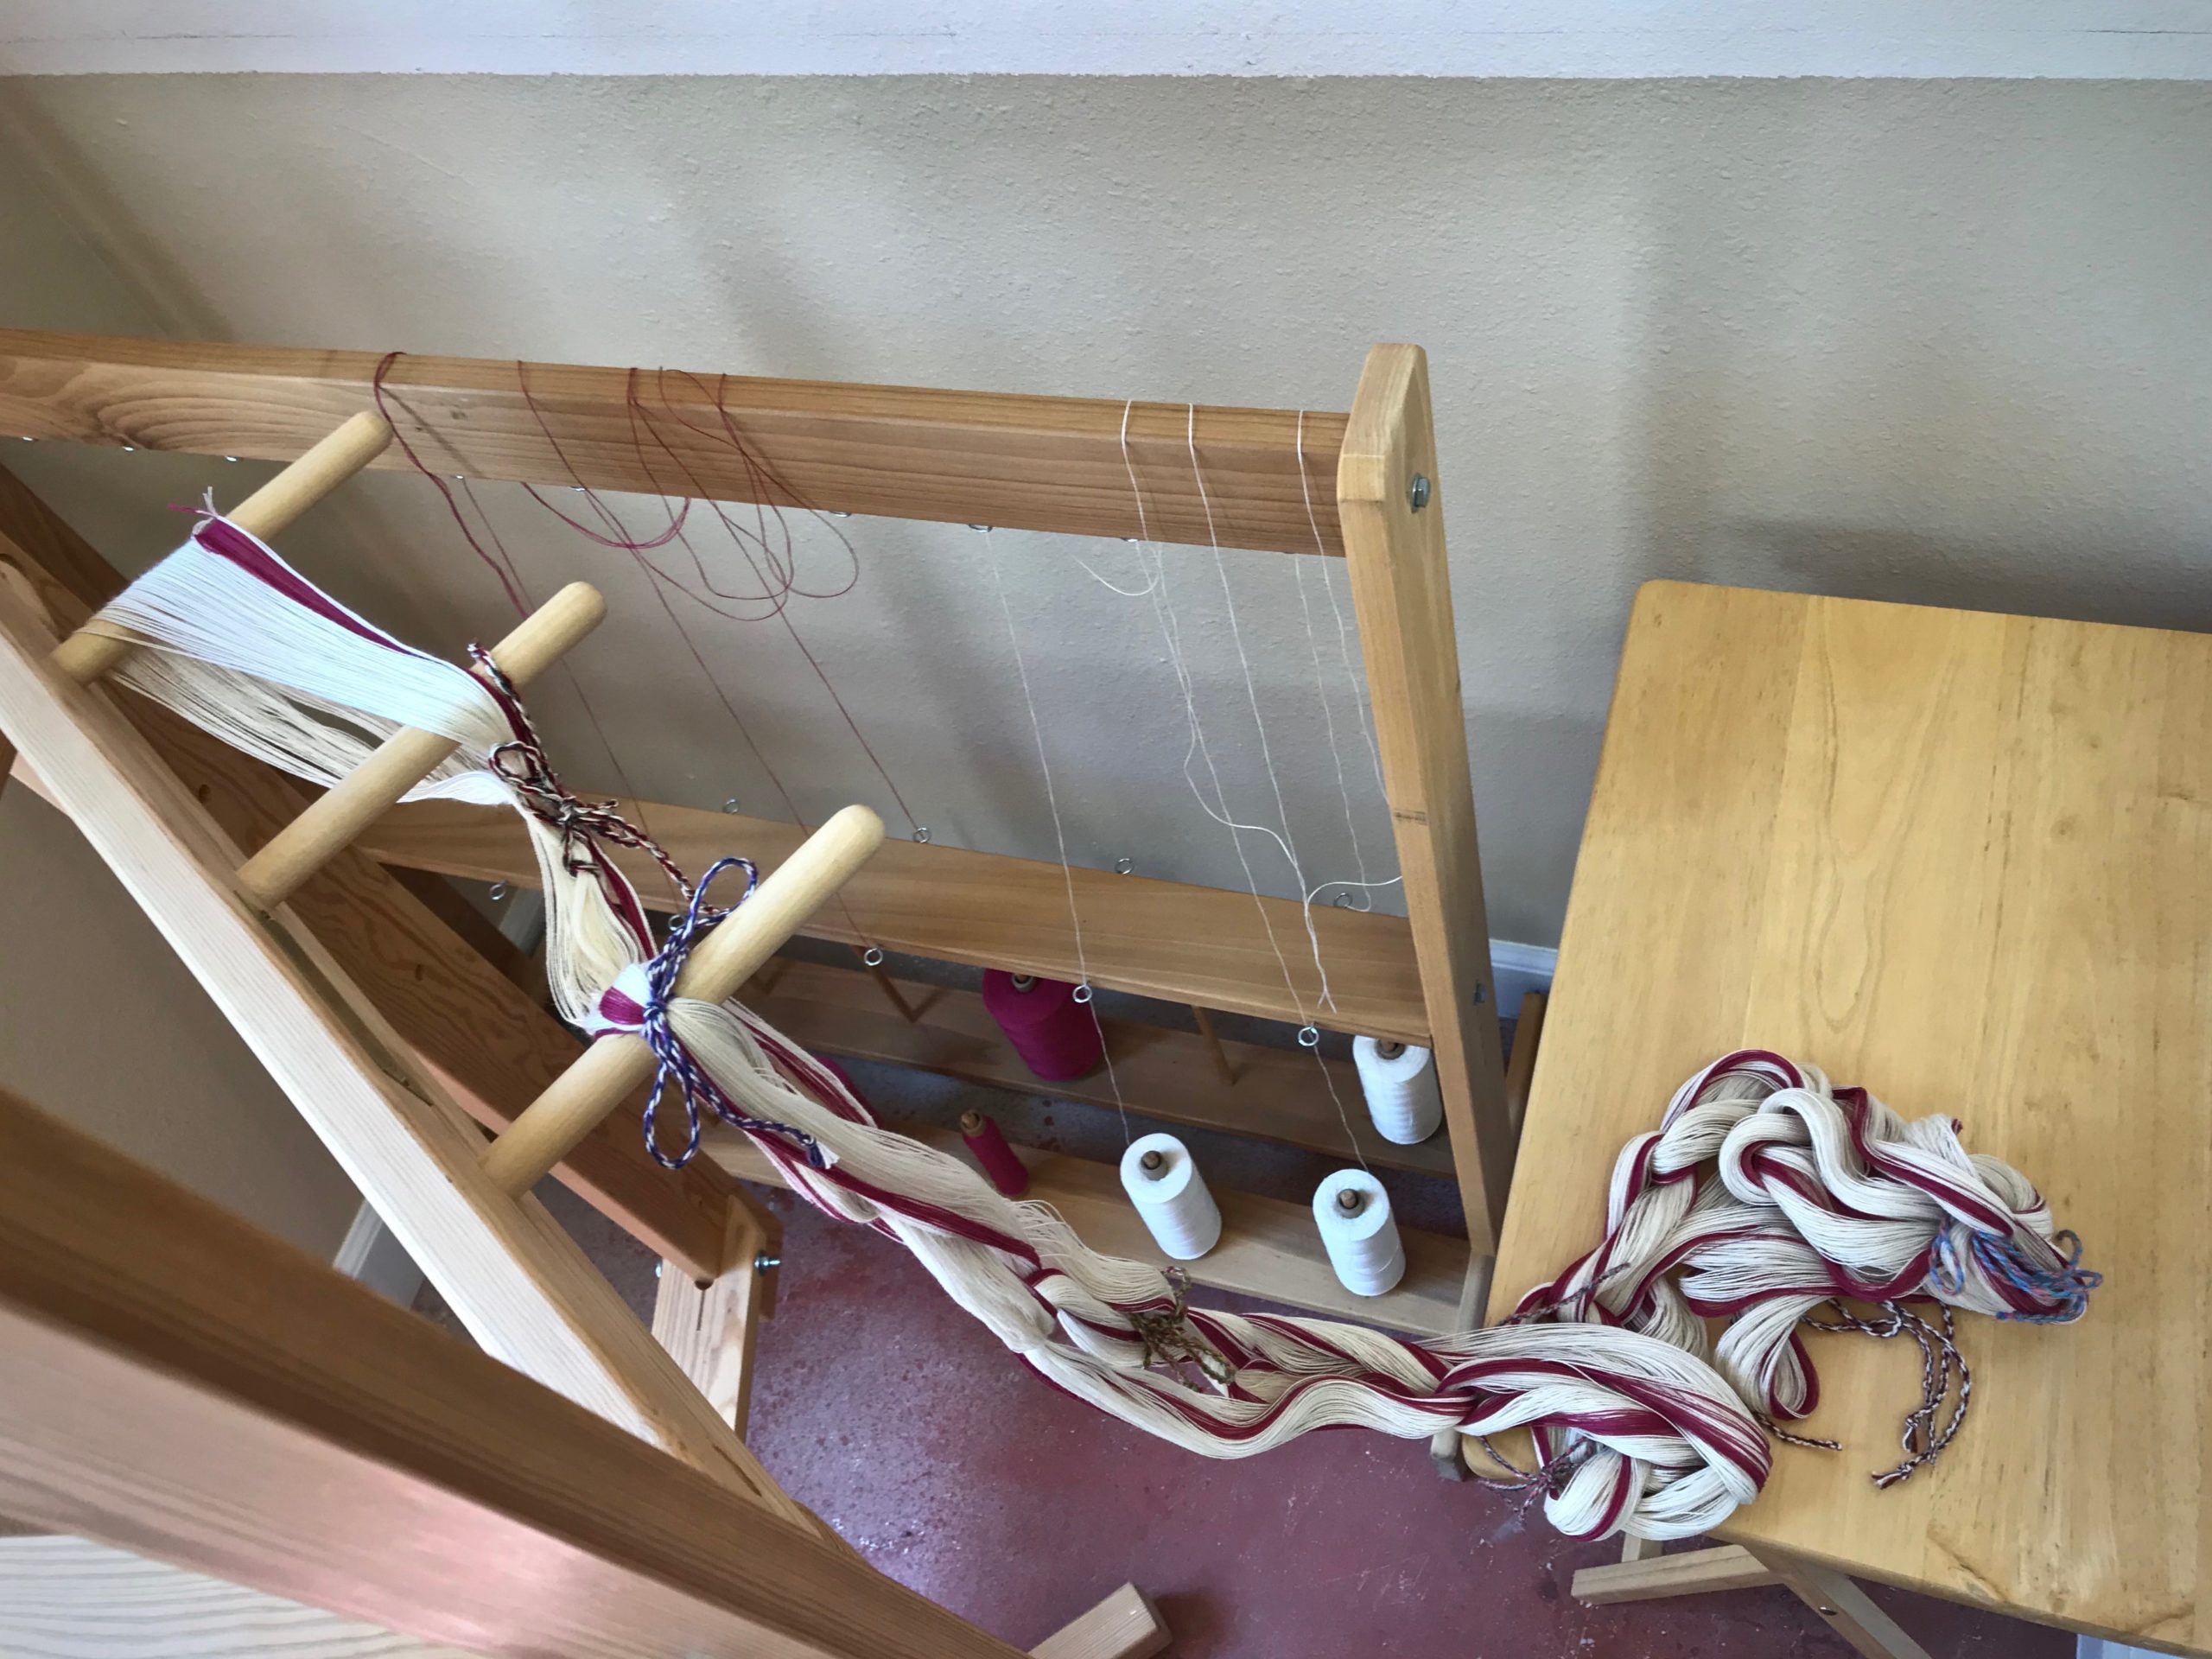
__ Set out the thread on the thread stand. Wind the warp with two or more threads at the same time, for best results.
__ Hang or tape up the project notes at eye level. Project notes show the warp sequence and other vital information.
__ Take note of warp length, number of bouts, and number of ends in each bout. Aim for 25 cm (10”) or less in the reed, or 200 or fewer ends, per bout. For the drawloom, wind the warp in pattern unit increments when possible.
__ Wind first bout, counting warp ends. Use a cord between groups of ends to keep track of the counting.
__ Visually check the warp order. Check to see that the warp order on the warping reel matches the warp sequence on the project notes. (I added this step to my checklist after the time I omitted 6 threads at the center of a warp, discovered after threading the loom.)
__ Tie off around the turning pin or the outside peg. Always wind the last pass with two or more threads together so you can tie them around the pin or peg.
__ Tie the lease cross; and tie choke ties on the warp. Tie the cross first, and tie any passes of the warp directly above the cross. Then, spin the wheel and tie the warp wherever it passes on the side opposite the cross. Also tie at the turning pin, at the top and bottom of the loop.
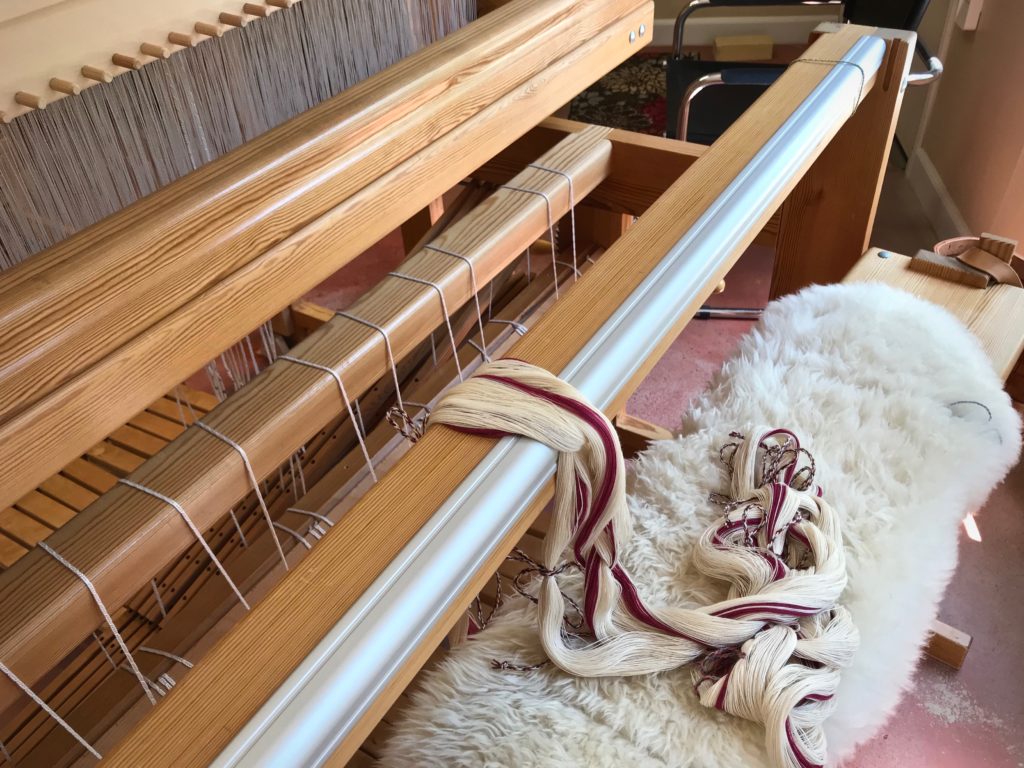
__ Chain the warp bout. Start the chain by holding the loop at the turning pin, and pull out the pin. Chain the warp, ending at the cross. (I use my knee, not so gracefully, to control the turning of the reel as I chain the warp.)
__ Place the warp bout on the loom, with the lease cross end going through the beater.
__ Wind remaining bouts, following the same procedure. When you place the warp chain on the loom double check the warp sequence to make sure the bouts are in the right order.
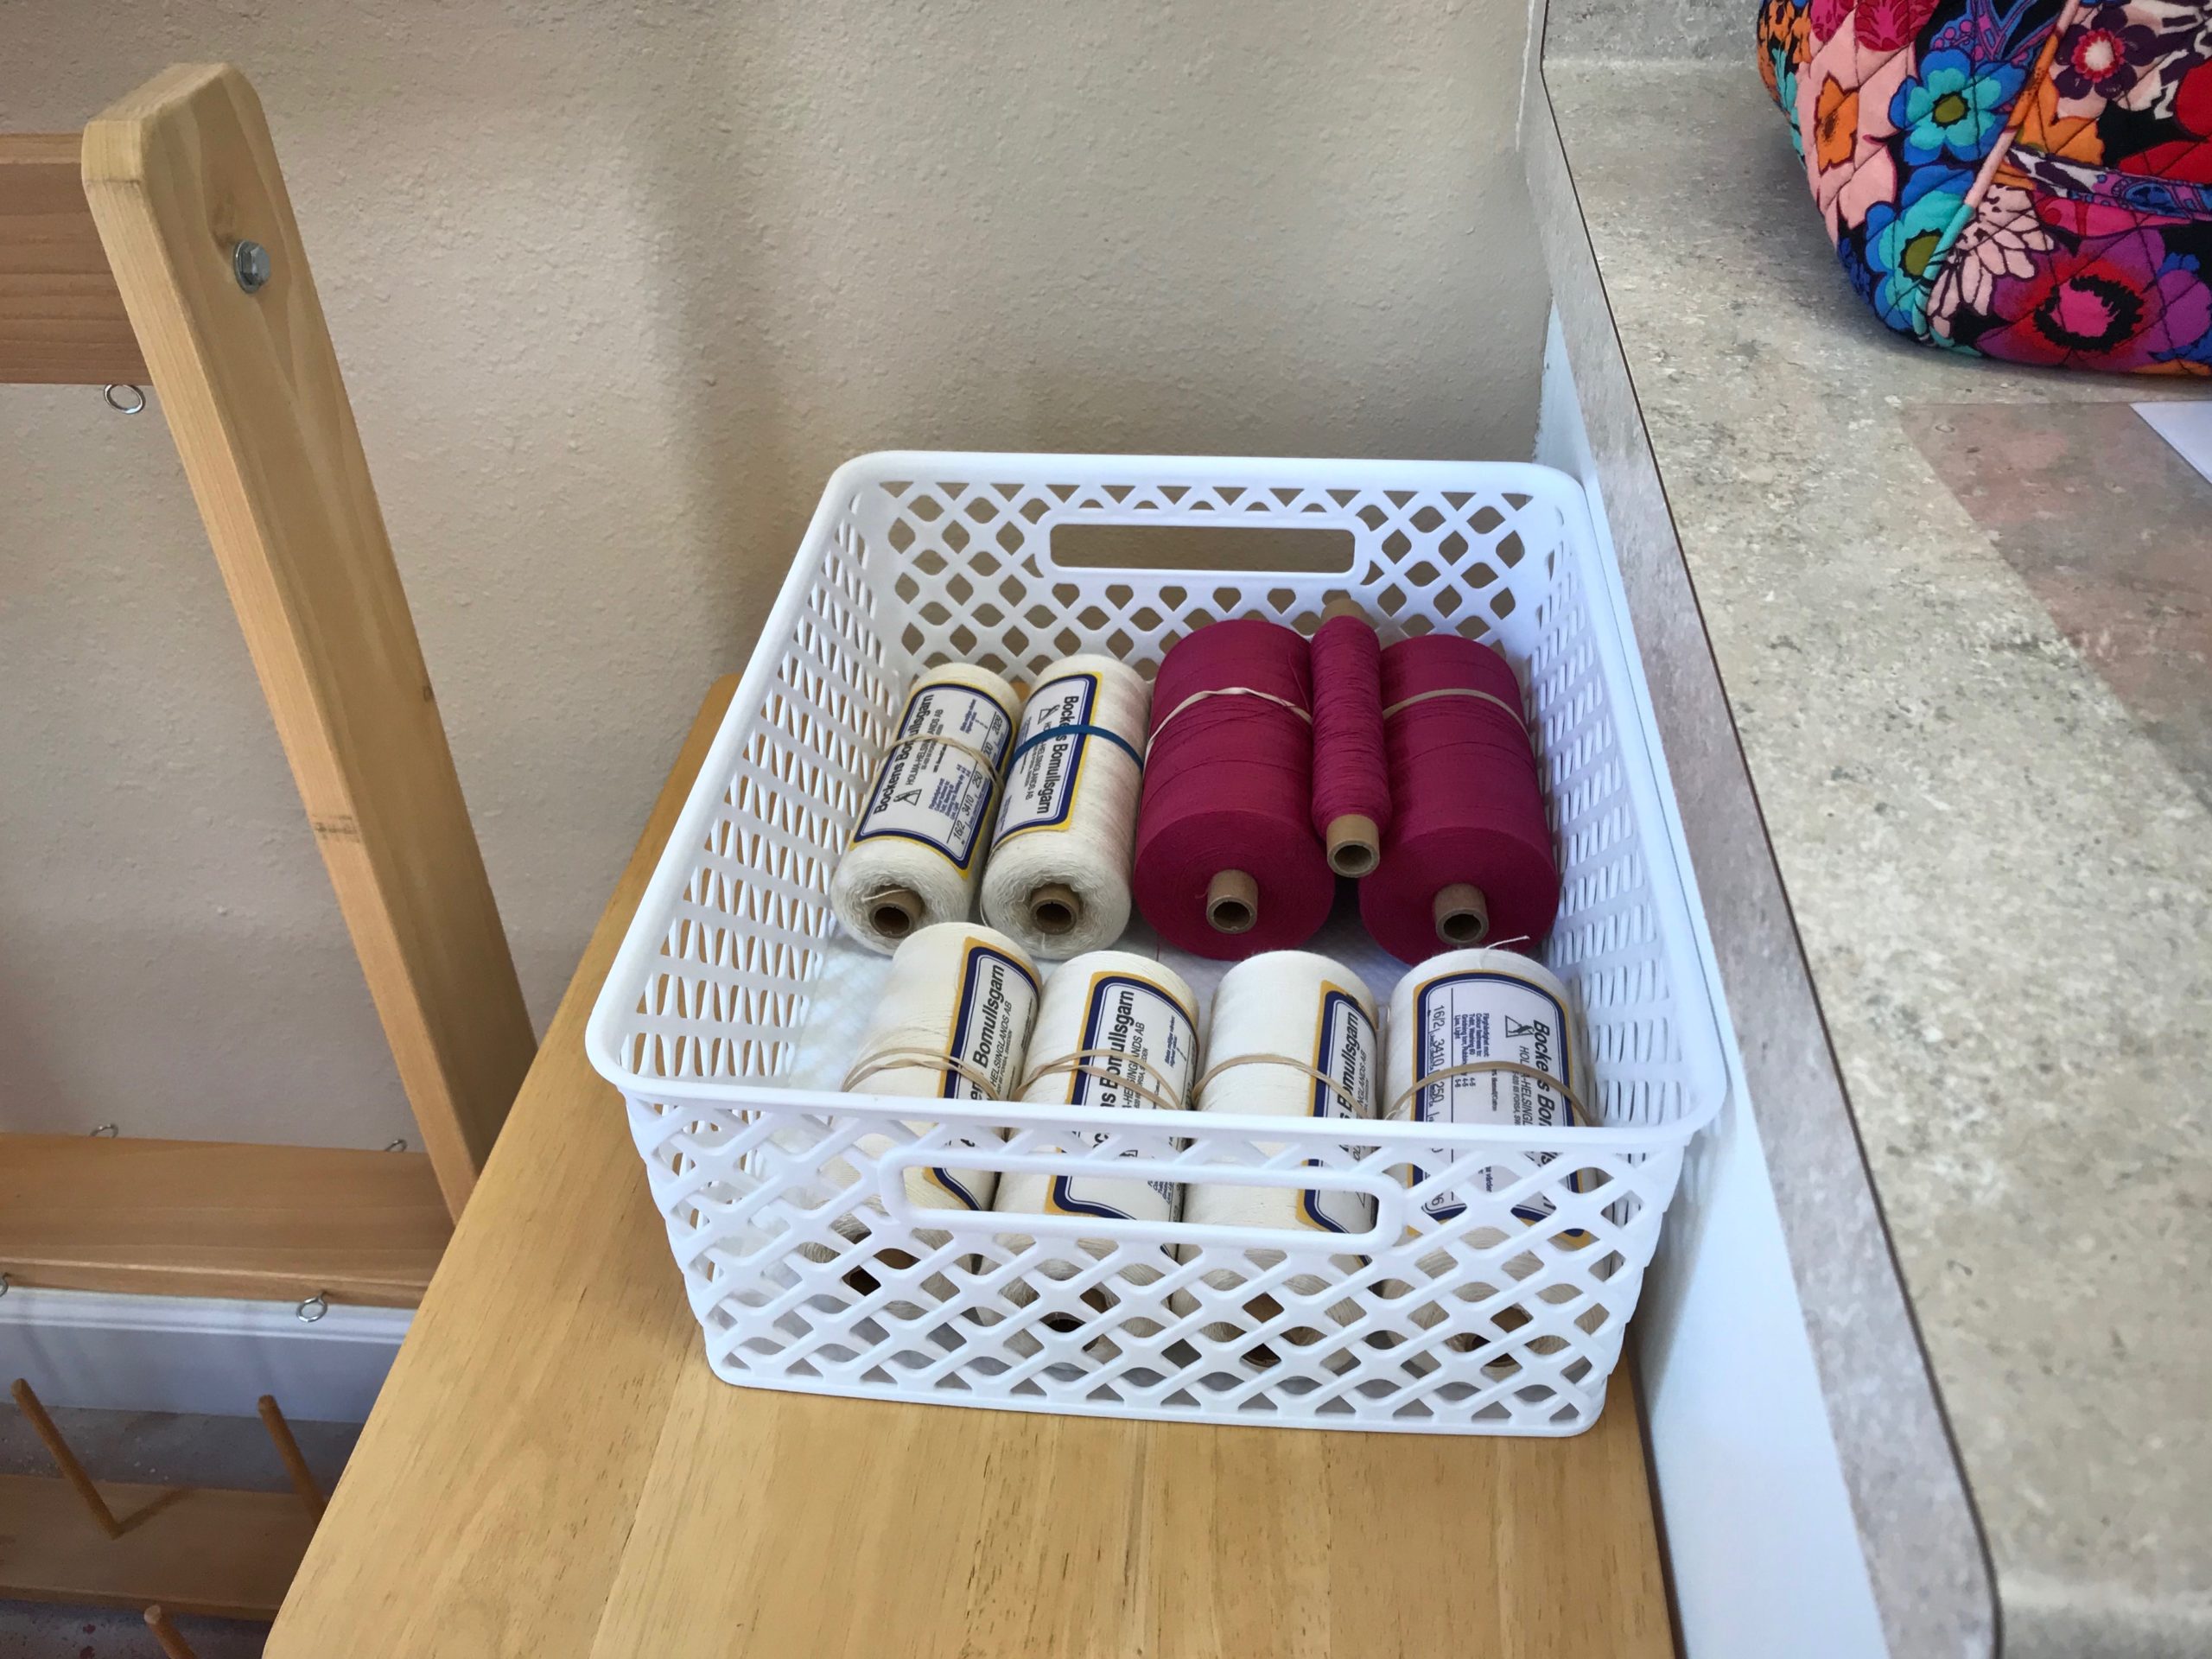
__ Roll up the thread tubes, replace labels, weigh thread and write down amounts, and place thread tubes in project bin. Each loom has its own project bin to hold the thread for that project.
__ Put away the choke ties, scissors, and thread holder.