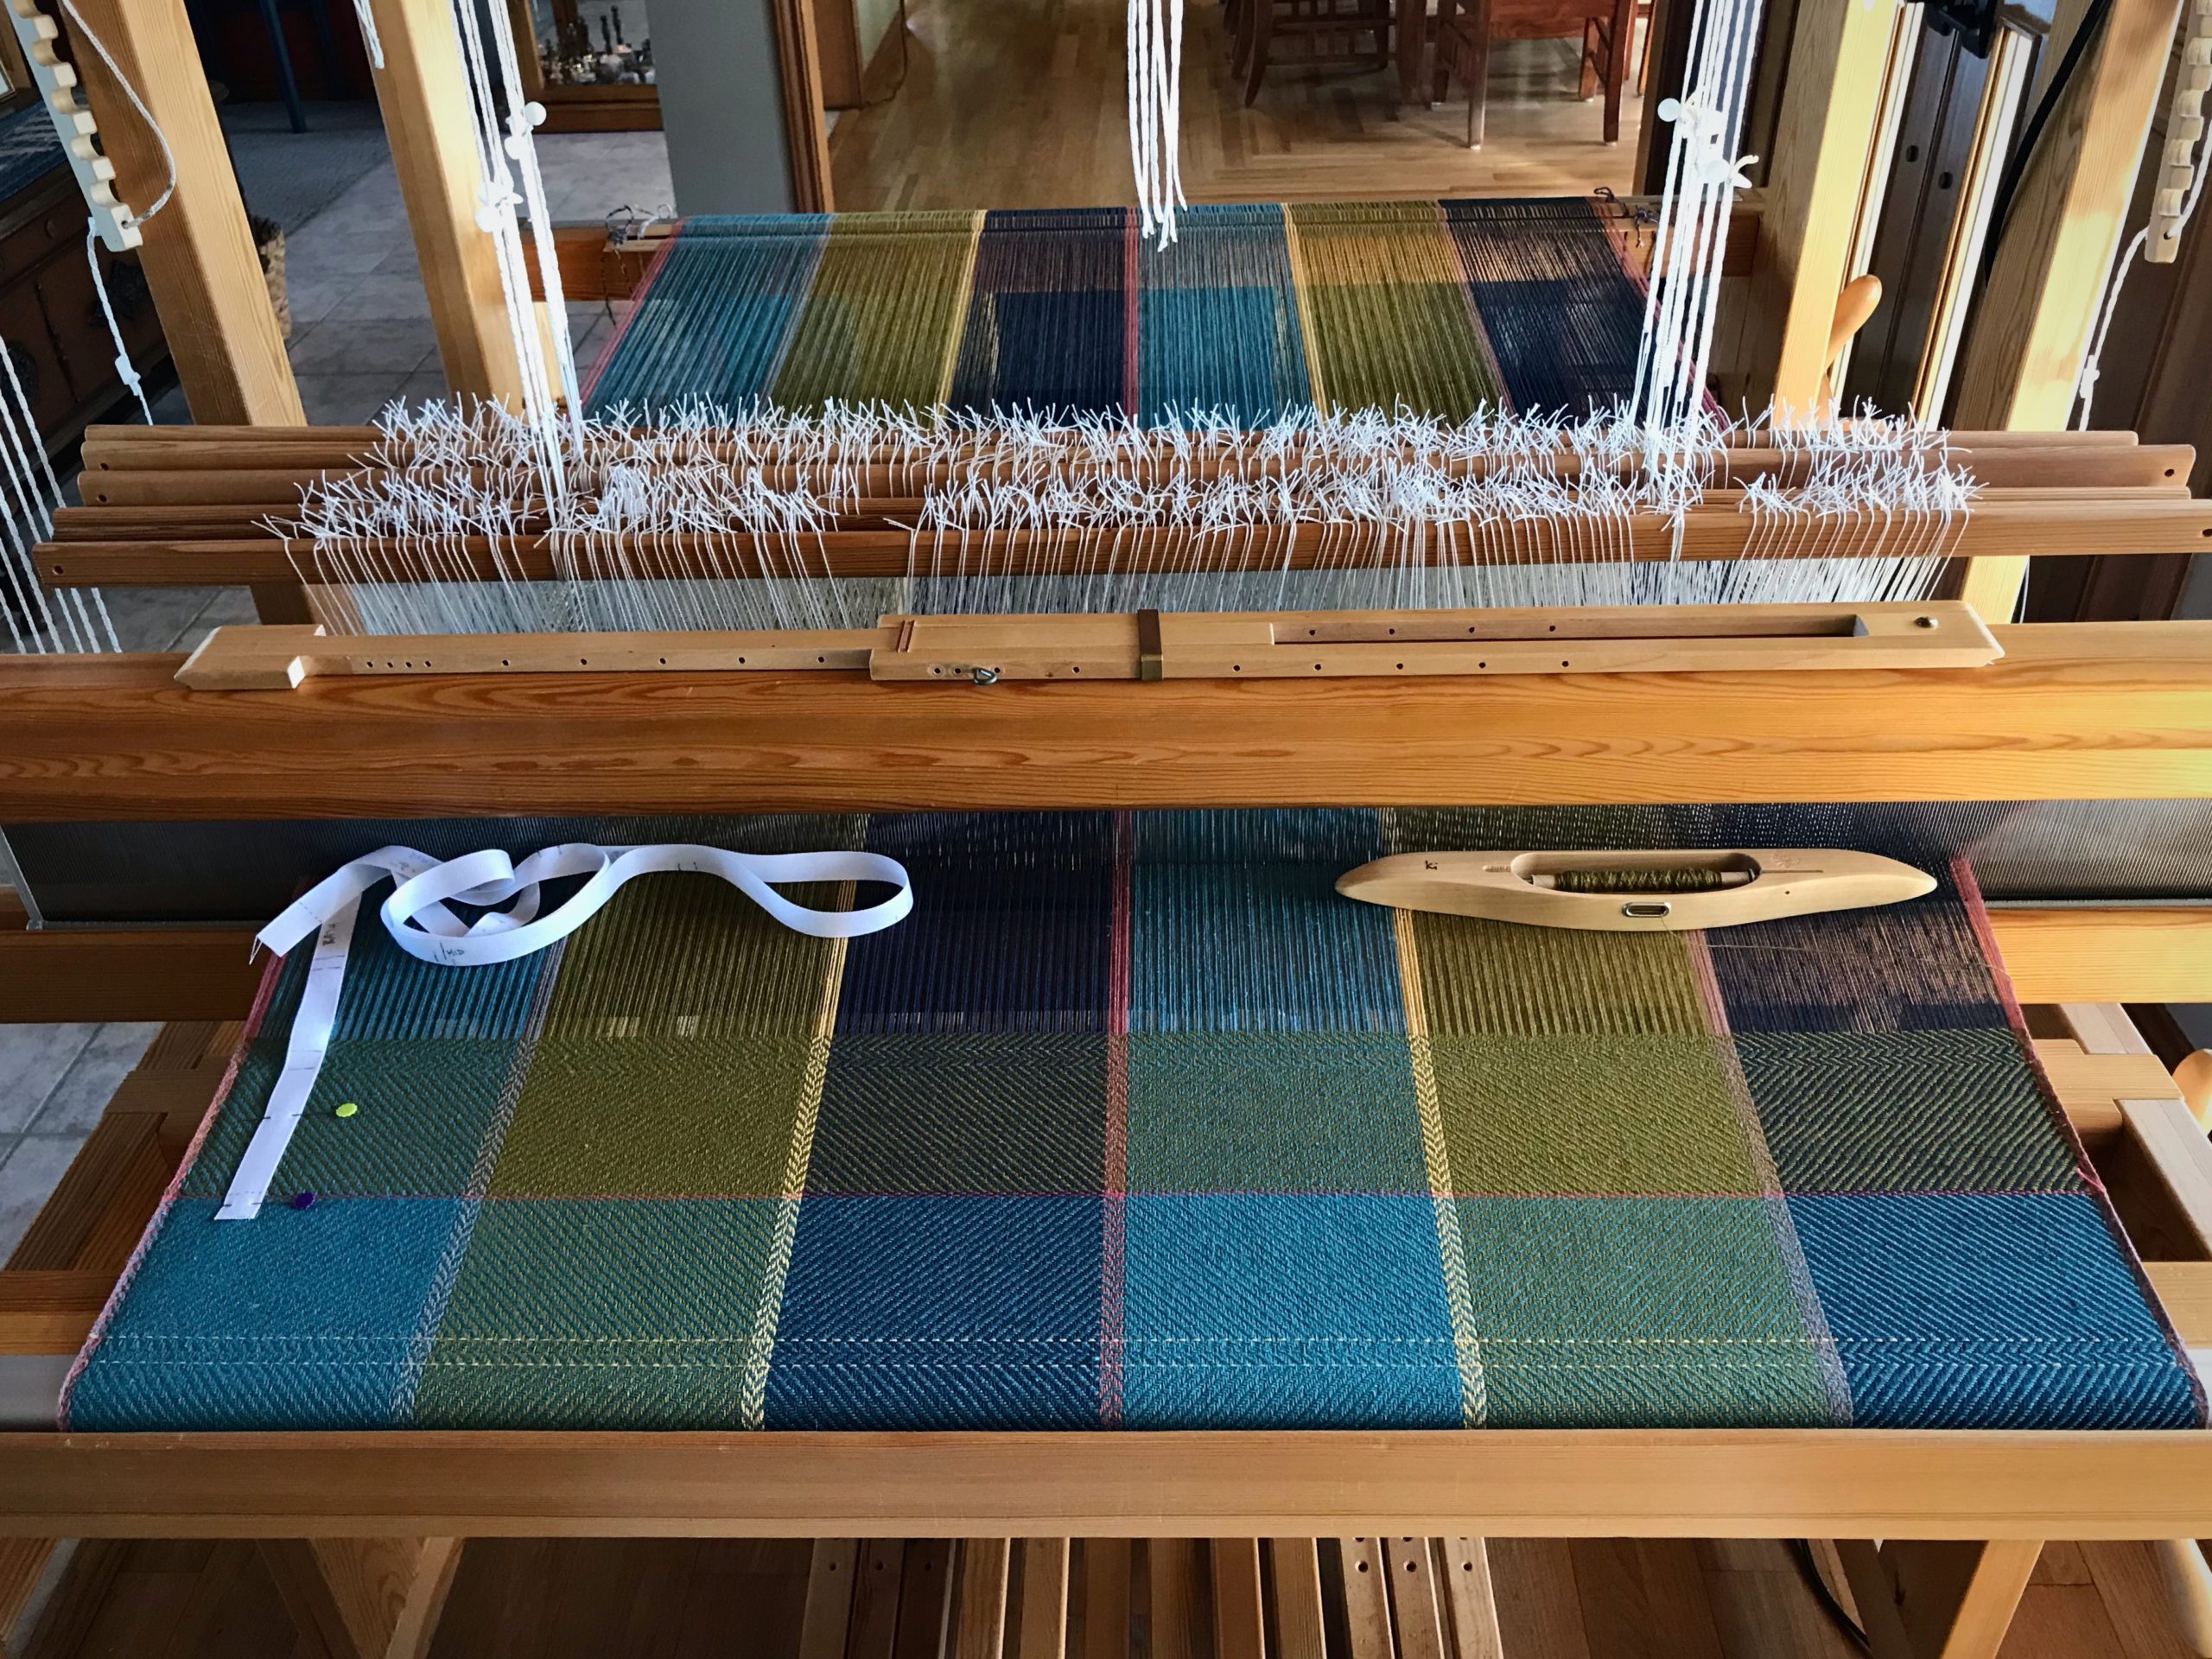
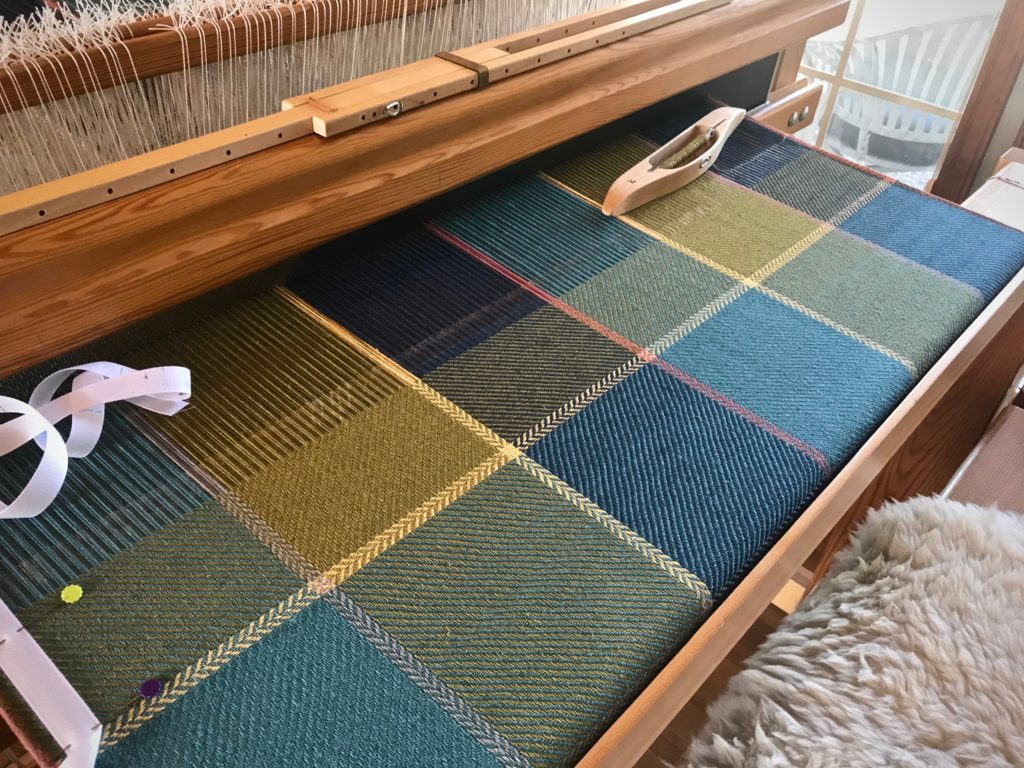
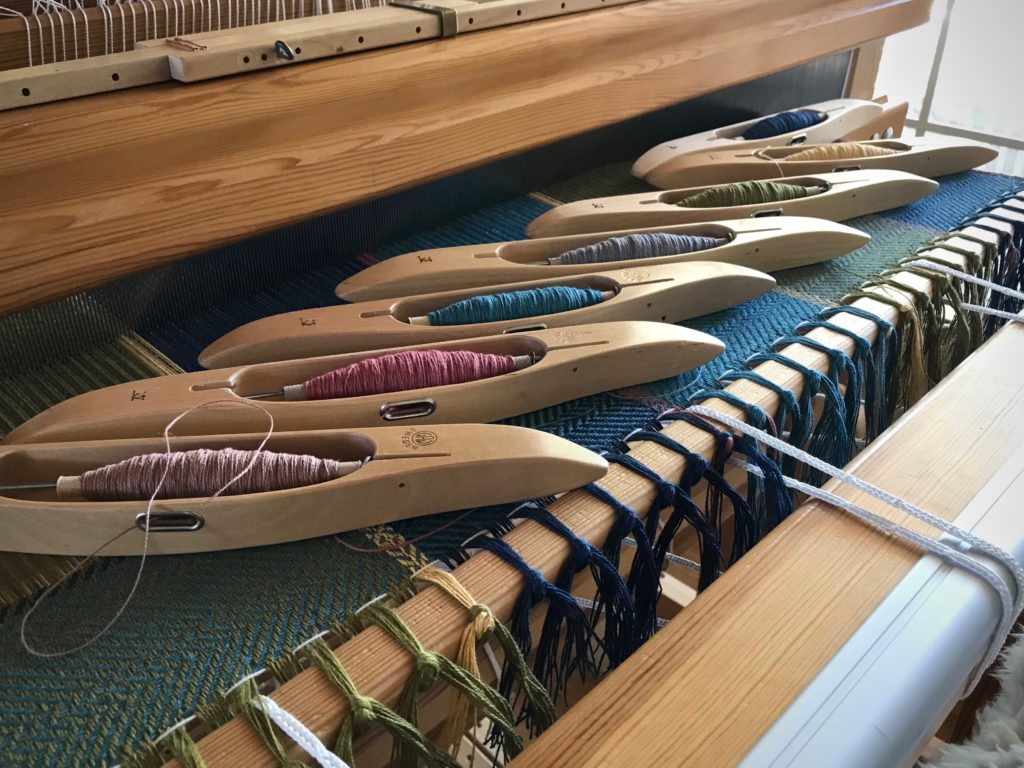
I have an efficient way to handle weft color changes. It’s very simple. This is for those instances when I need to end one weft thread and start a new one. As a rule, I take care of weft tails as I go. I don’t want to come back to them later if I don’t have to. If I tuck in each weft tail at the beginning of the row, thickness from the extra wefts builds up at the selvedge, especially if I’m weaving horizontal stripes. The method I describe reduces the extra wefts, and eliminates having to tuck any tails in.
How to Start a New Weft Color
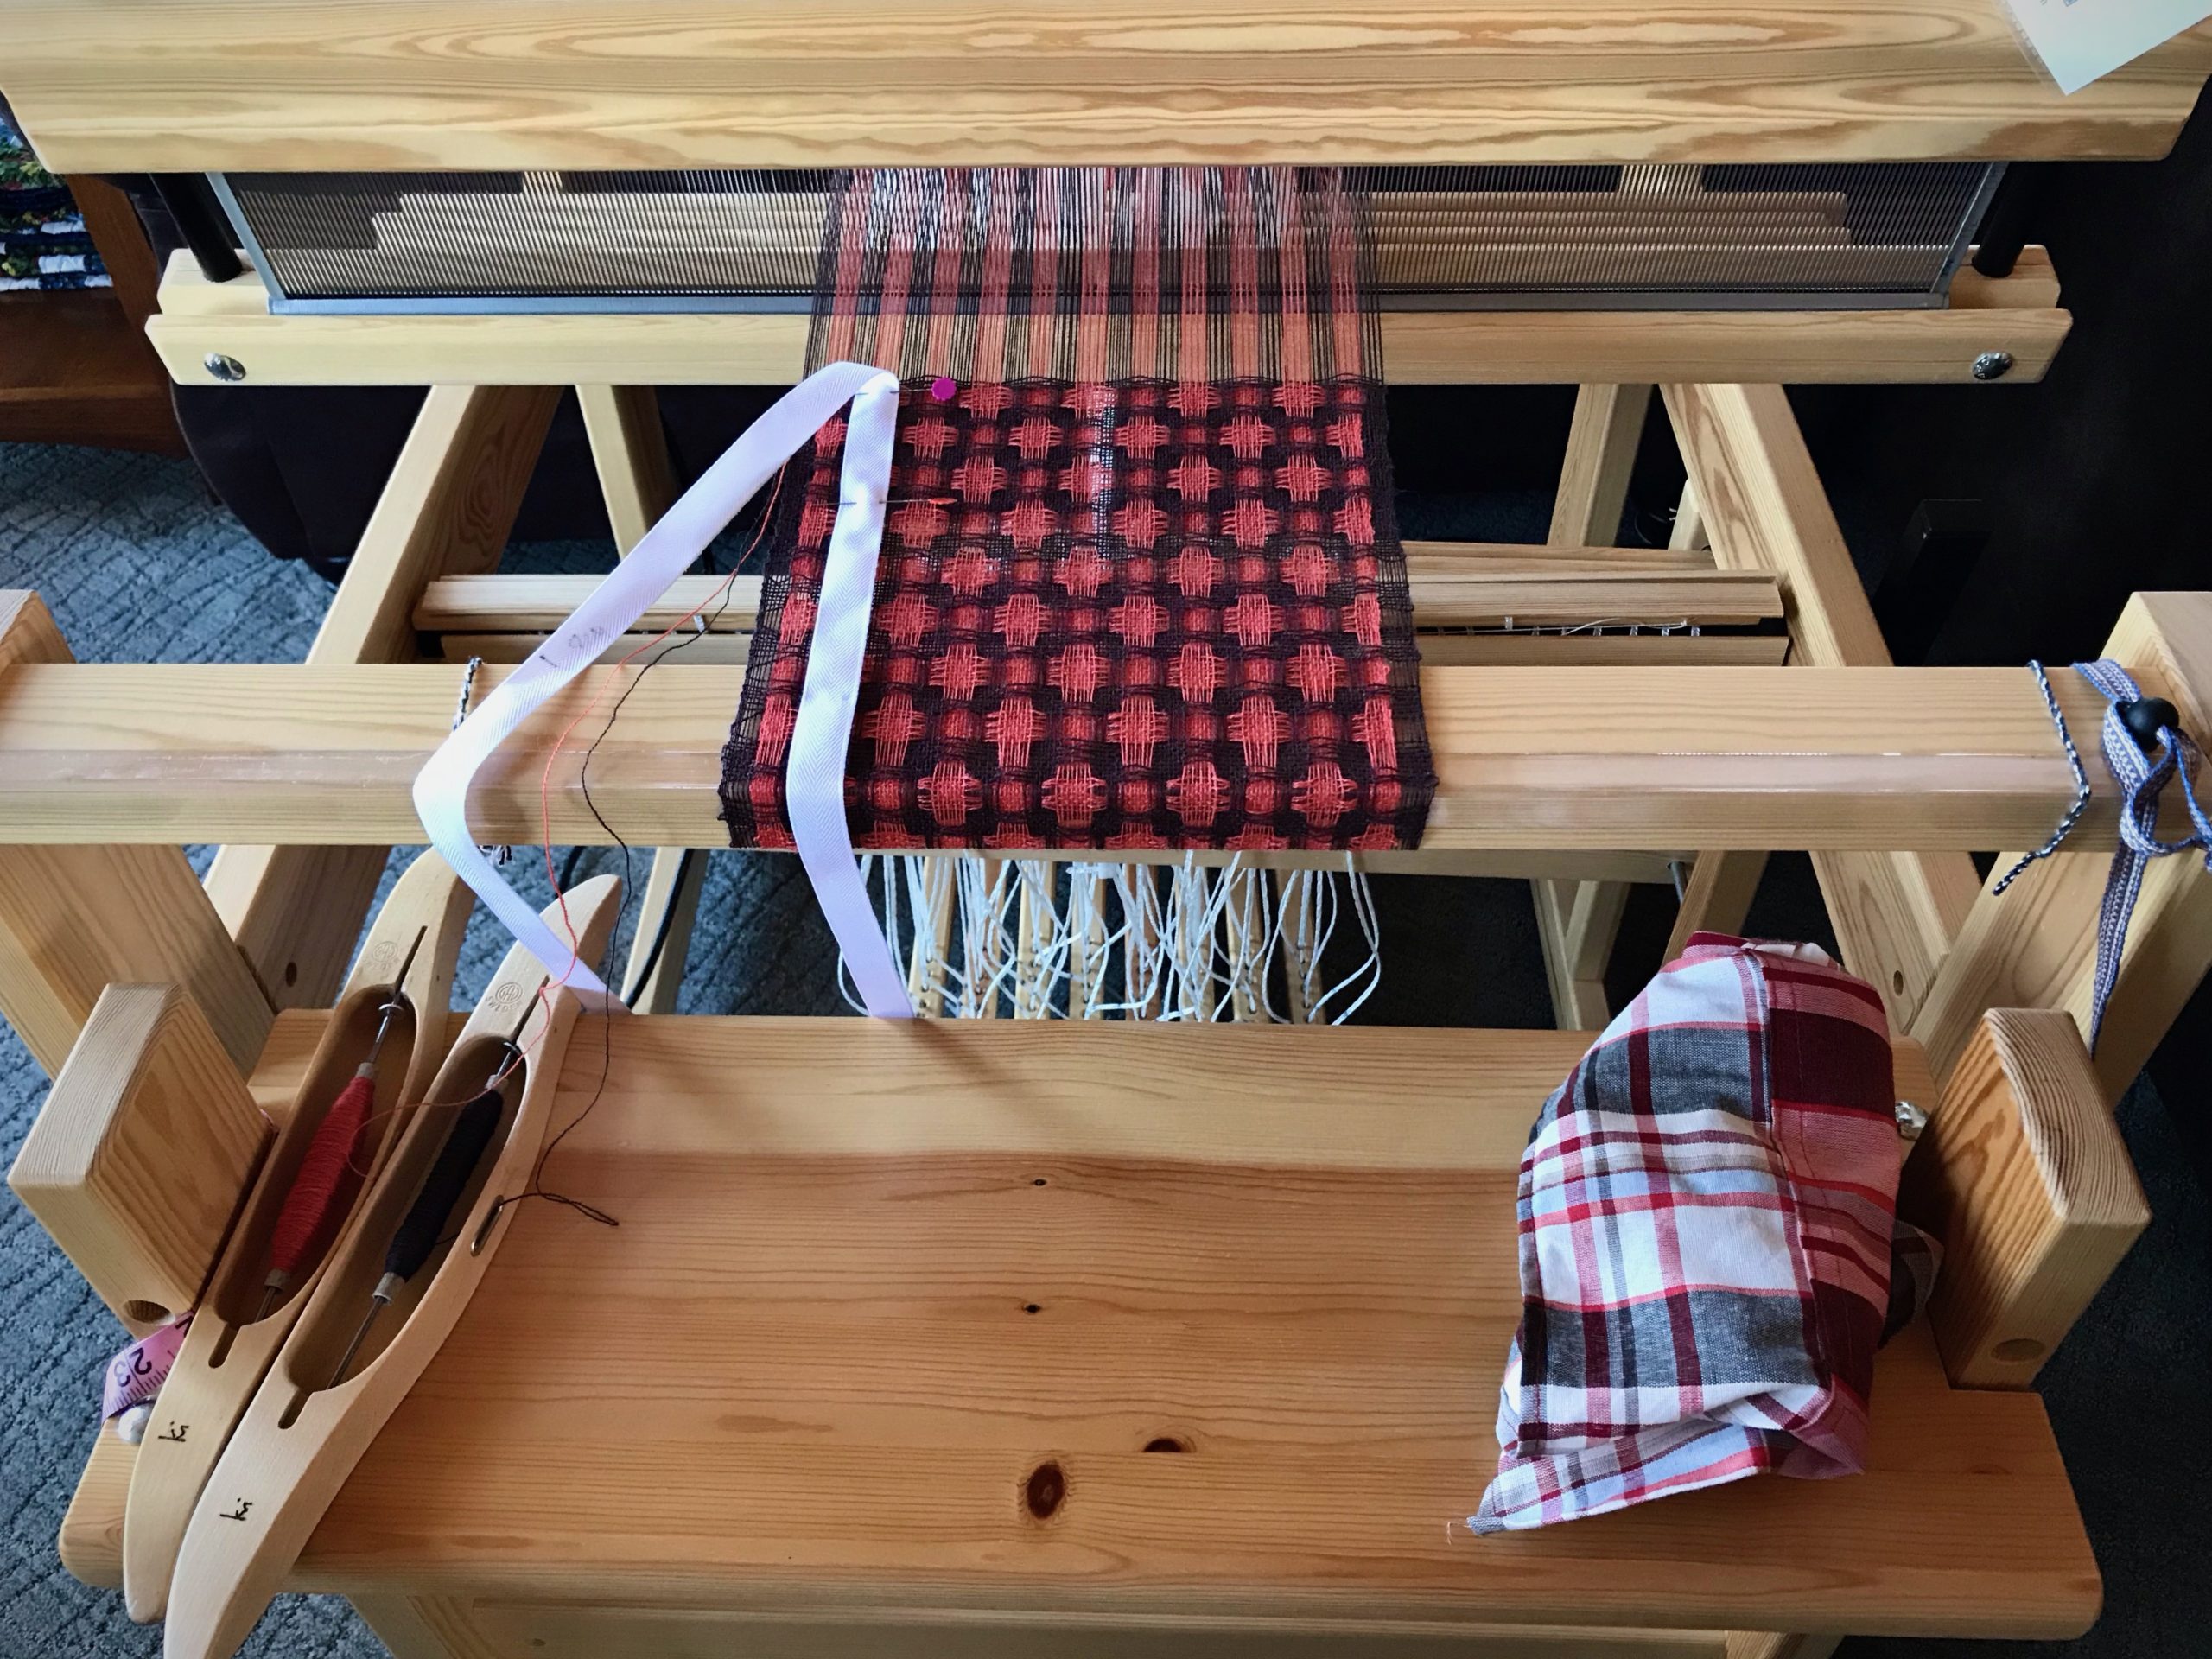
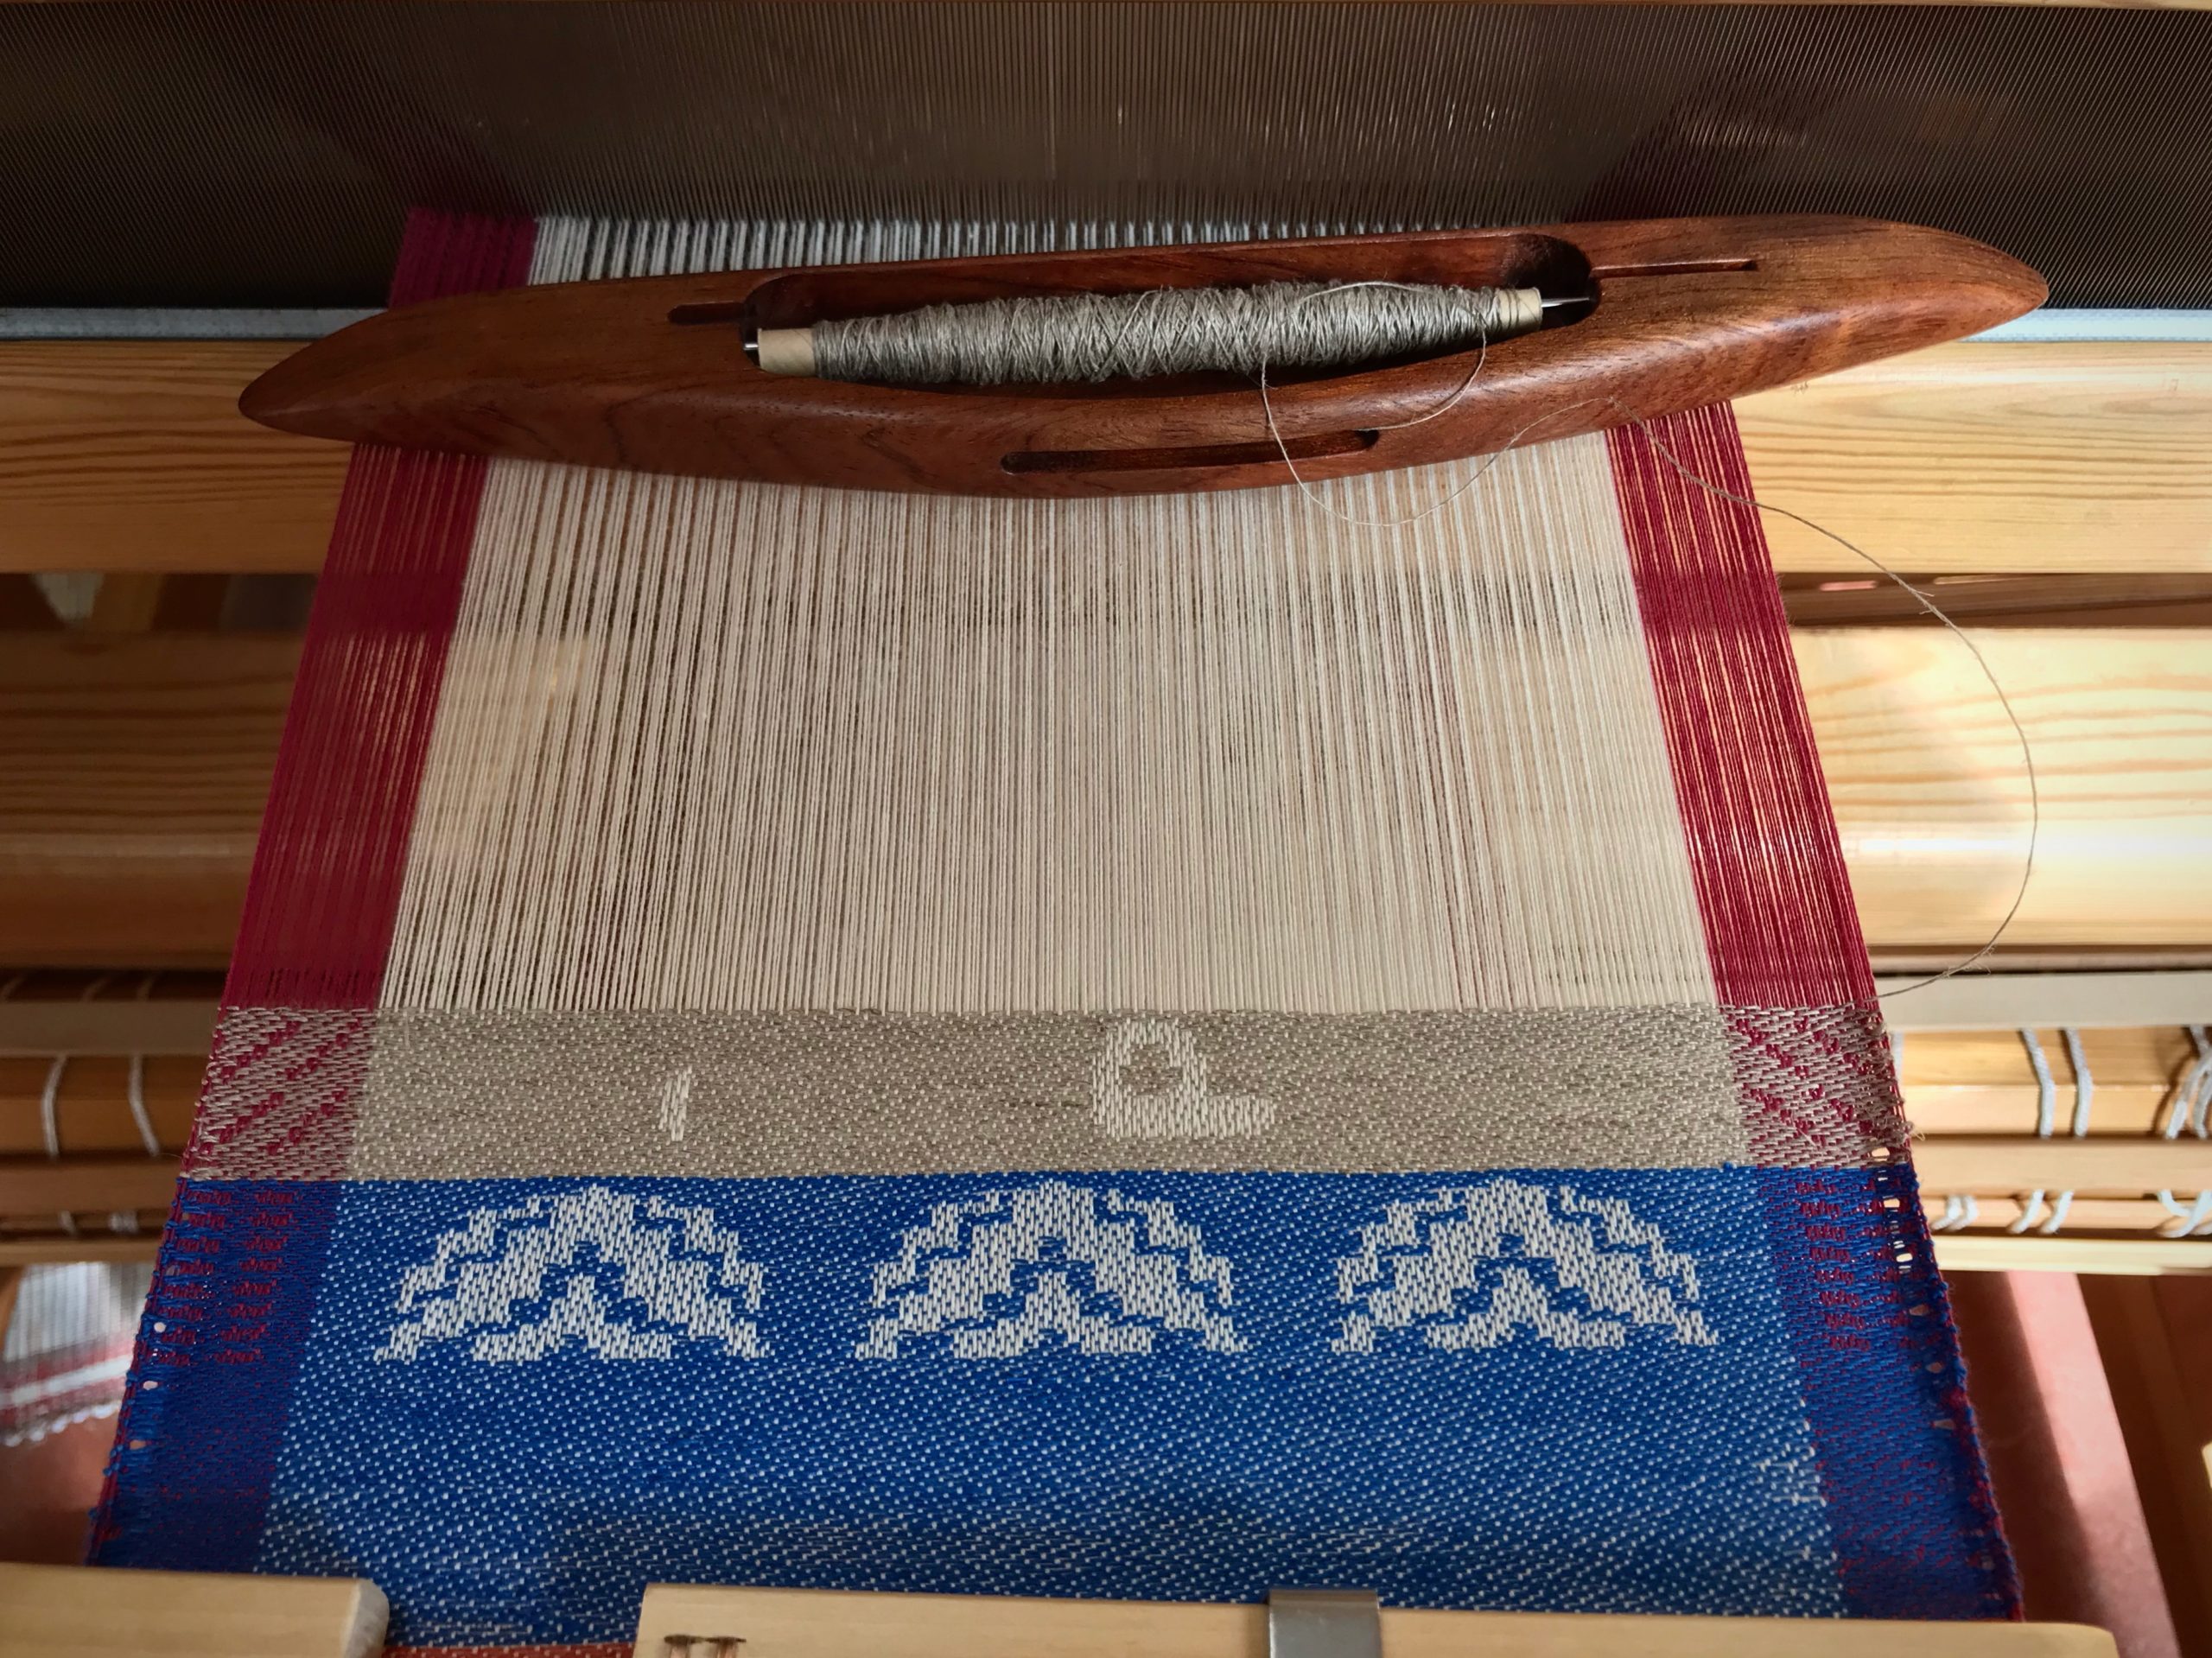
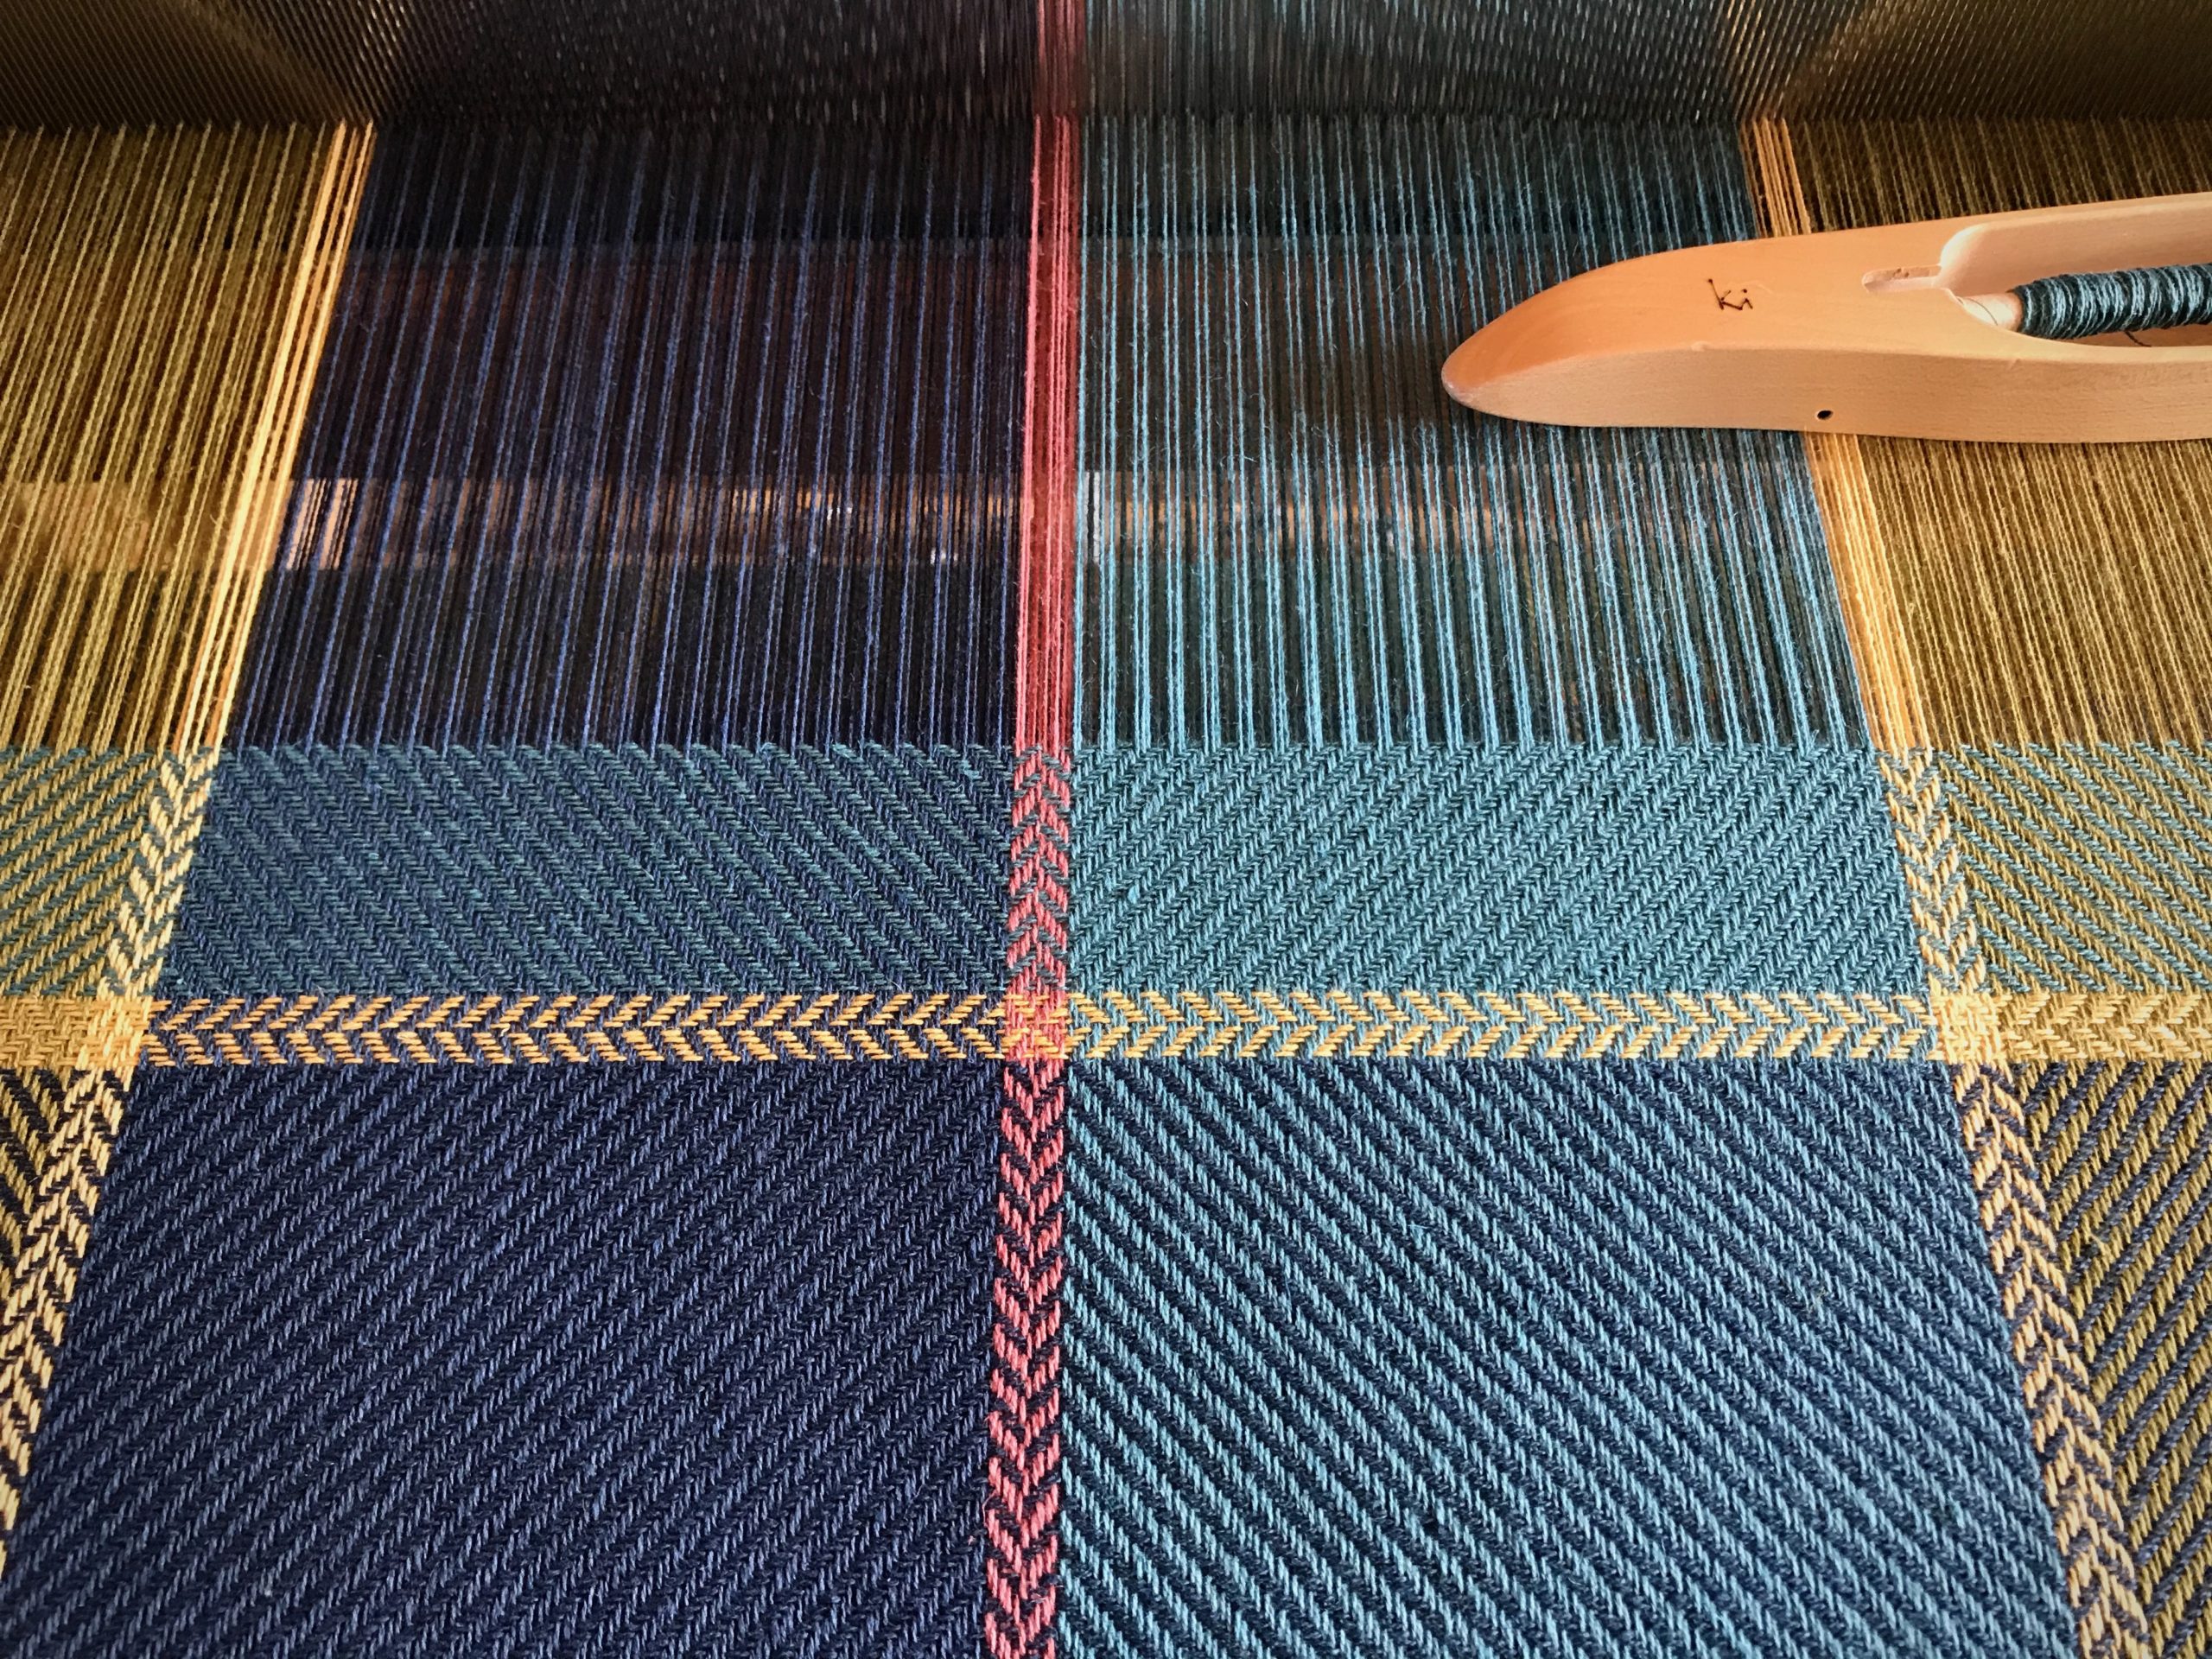
- Weave the last pick of one color.
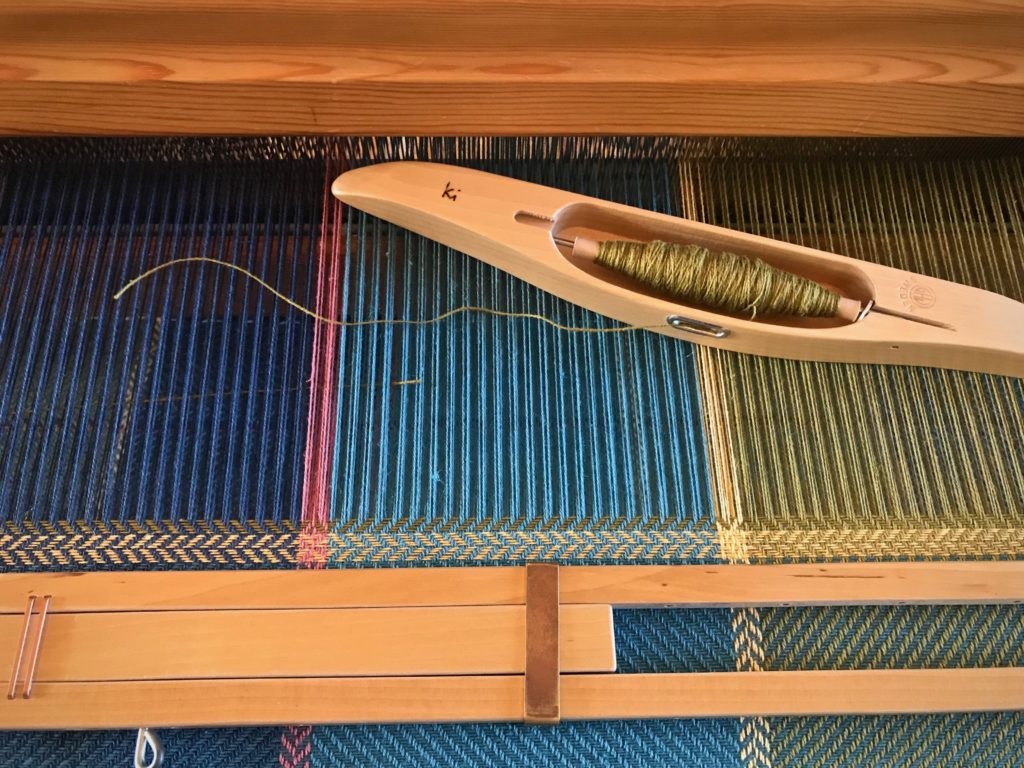
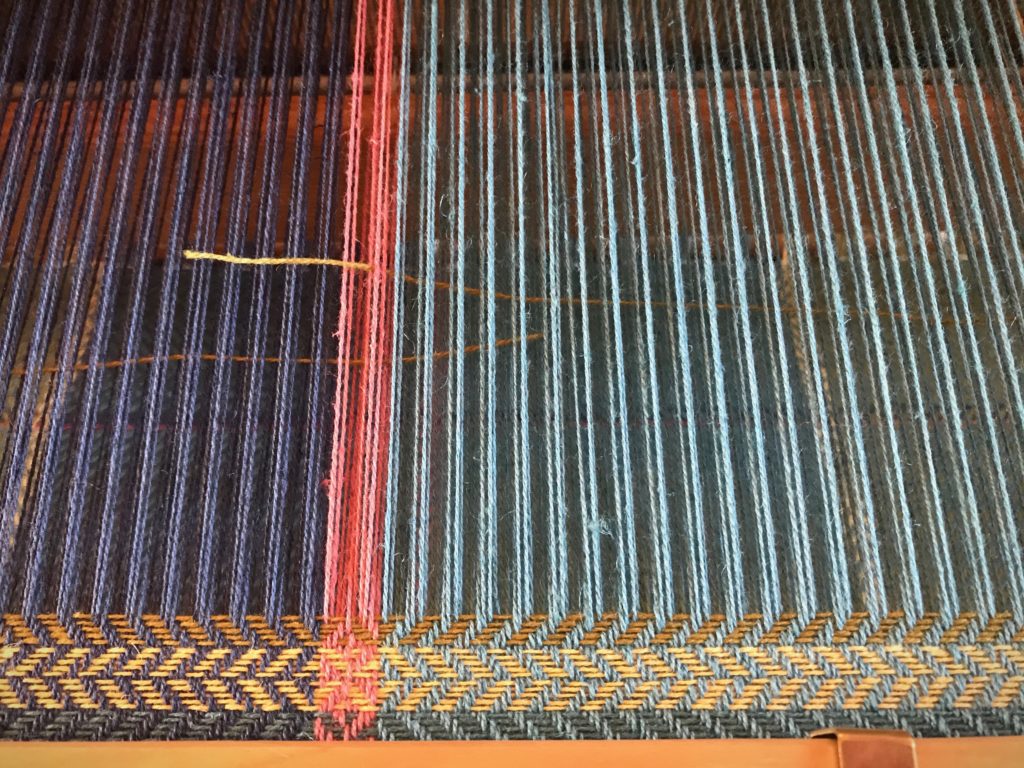
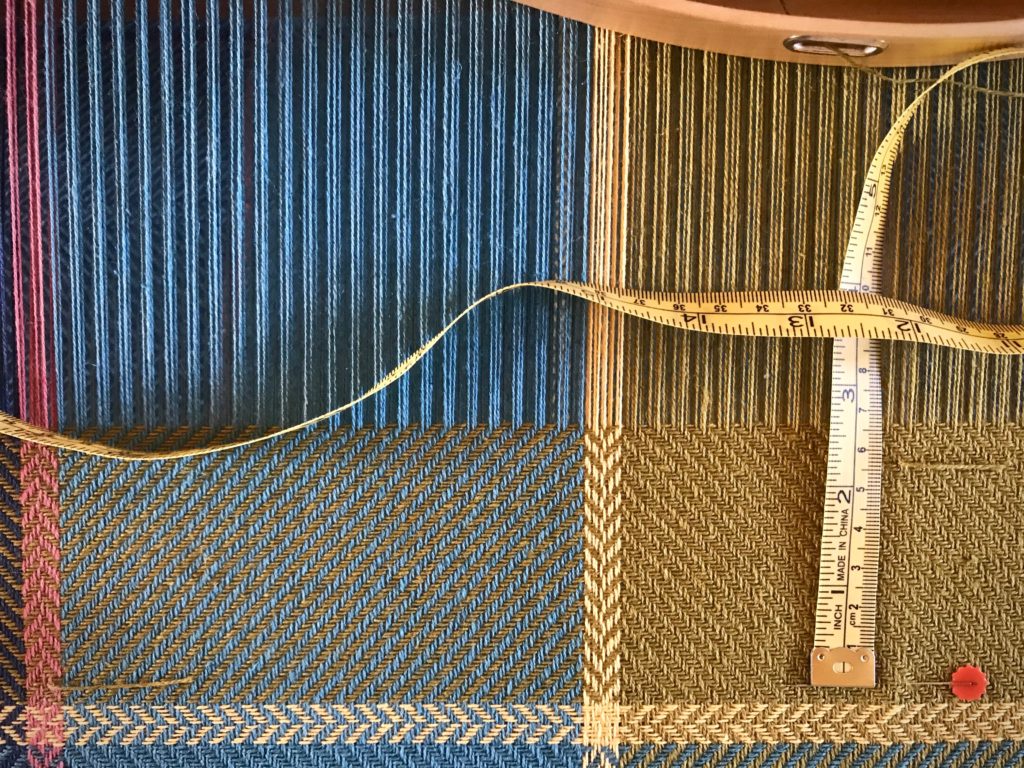
- Change to the shed needed for the next color. Take the shuttle with the first color into the shed for about about 3 cm (1 1/8”), and bring the shuttle up and out through the top of the warp.
- Lightly beat (tap) in the 3 cm (1 1/8”) of thread. Carefully snip off the thread close to the warp.
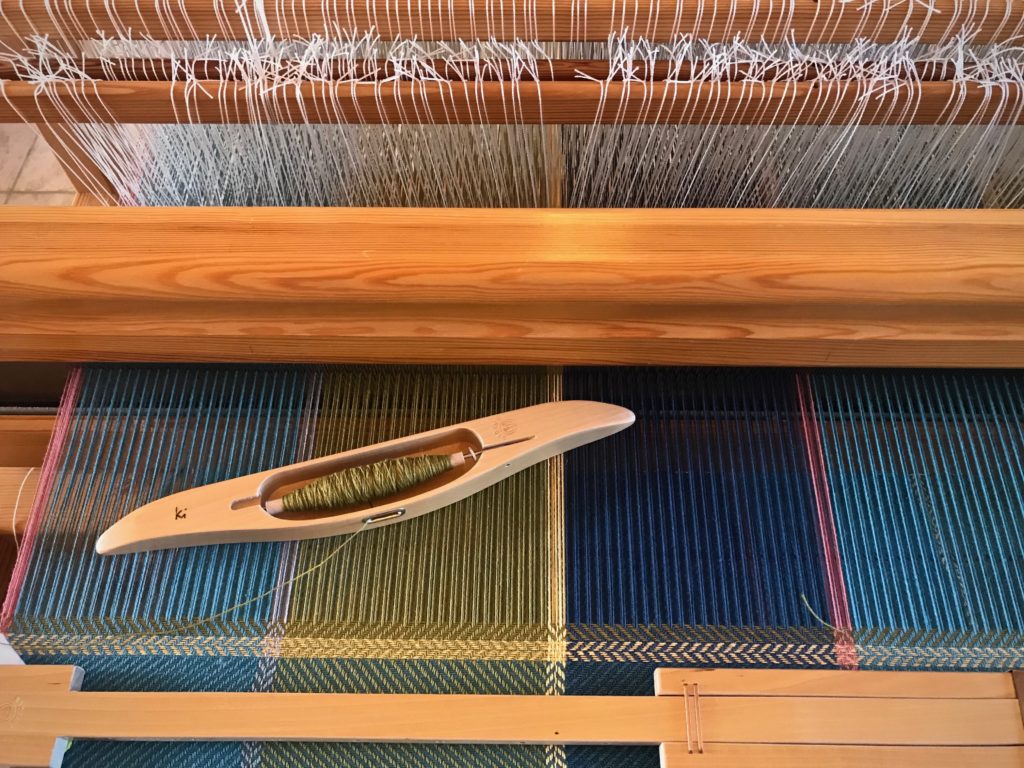
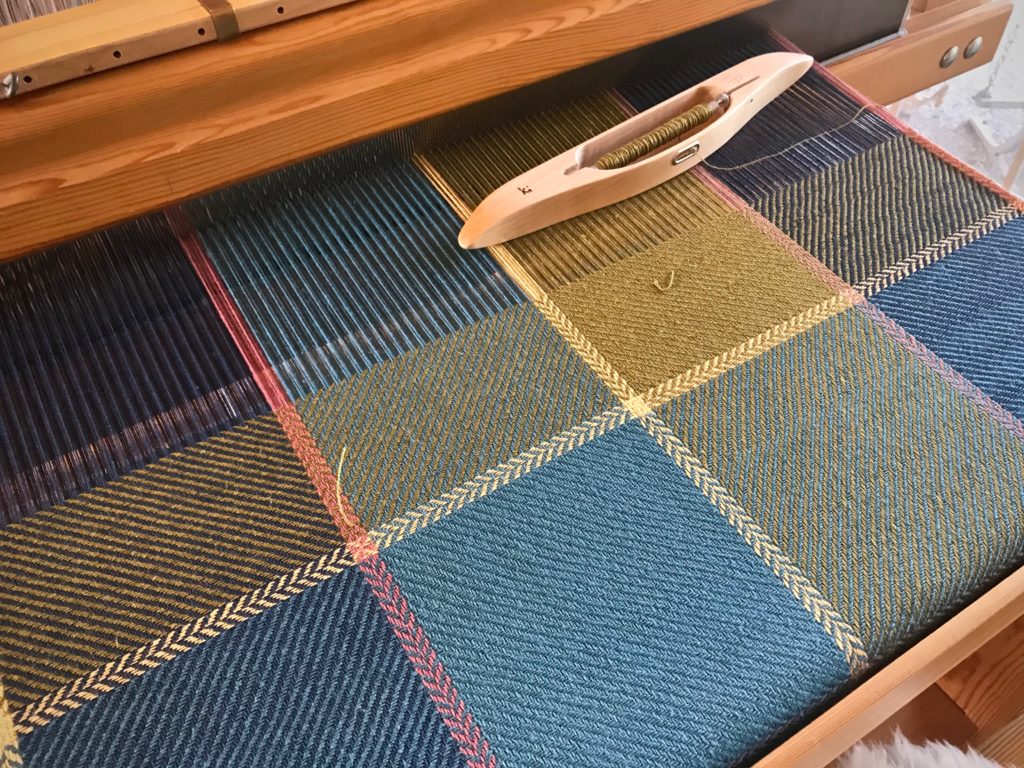
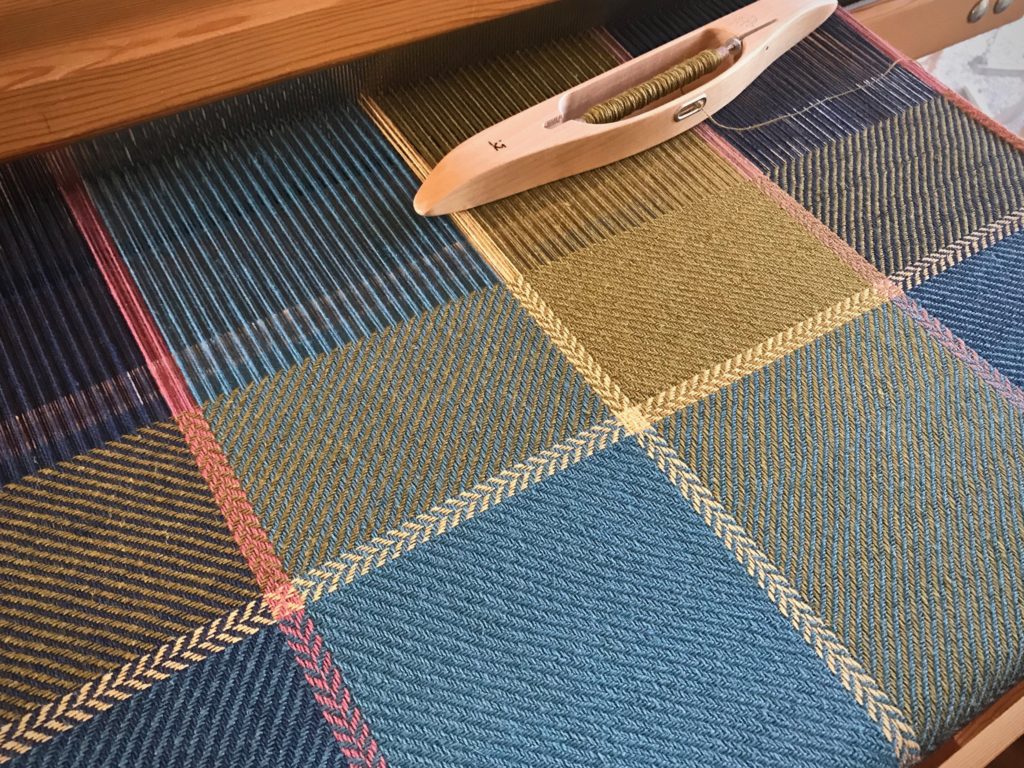
- Weave a pick of the next color, with the end of the new thread overlapping the 3 cm (1 1/8”) of the previous color thread. Position the new thread such that the end is outside the selvedge just a hair.
- Beat in the new weft and continue weaving until the next color change.
Watch this short video to see me demonstrate this method of changing the weft colors.
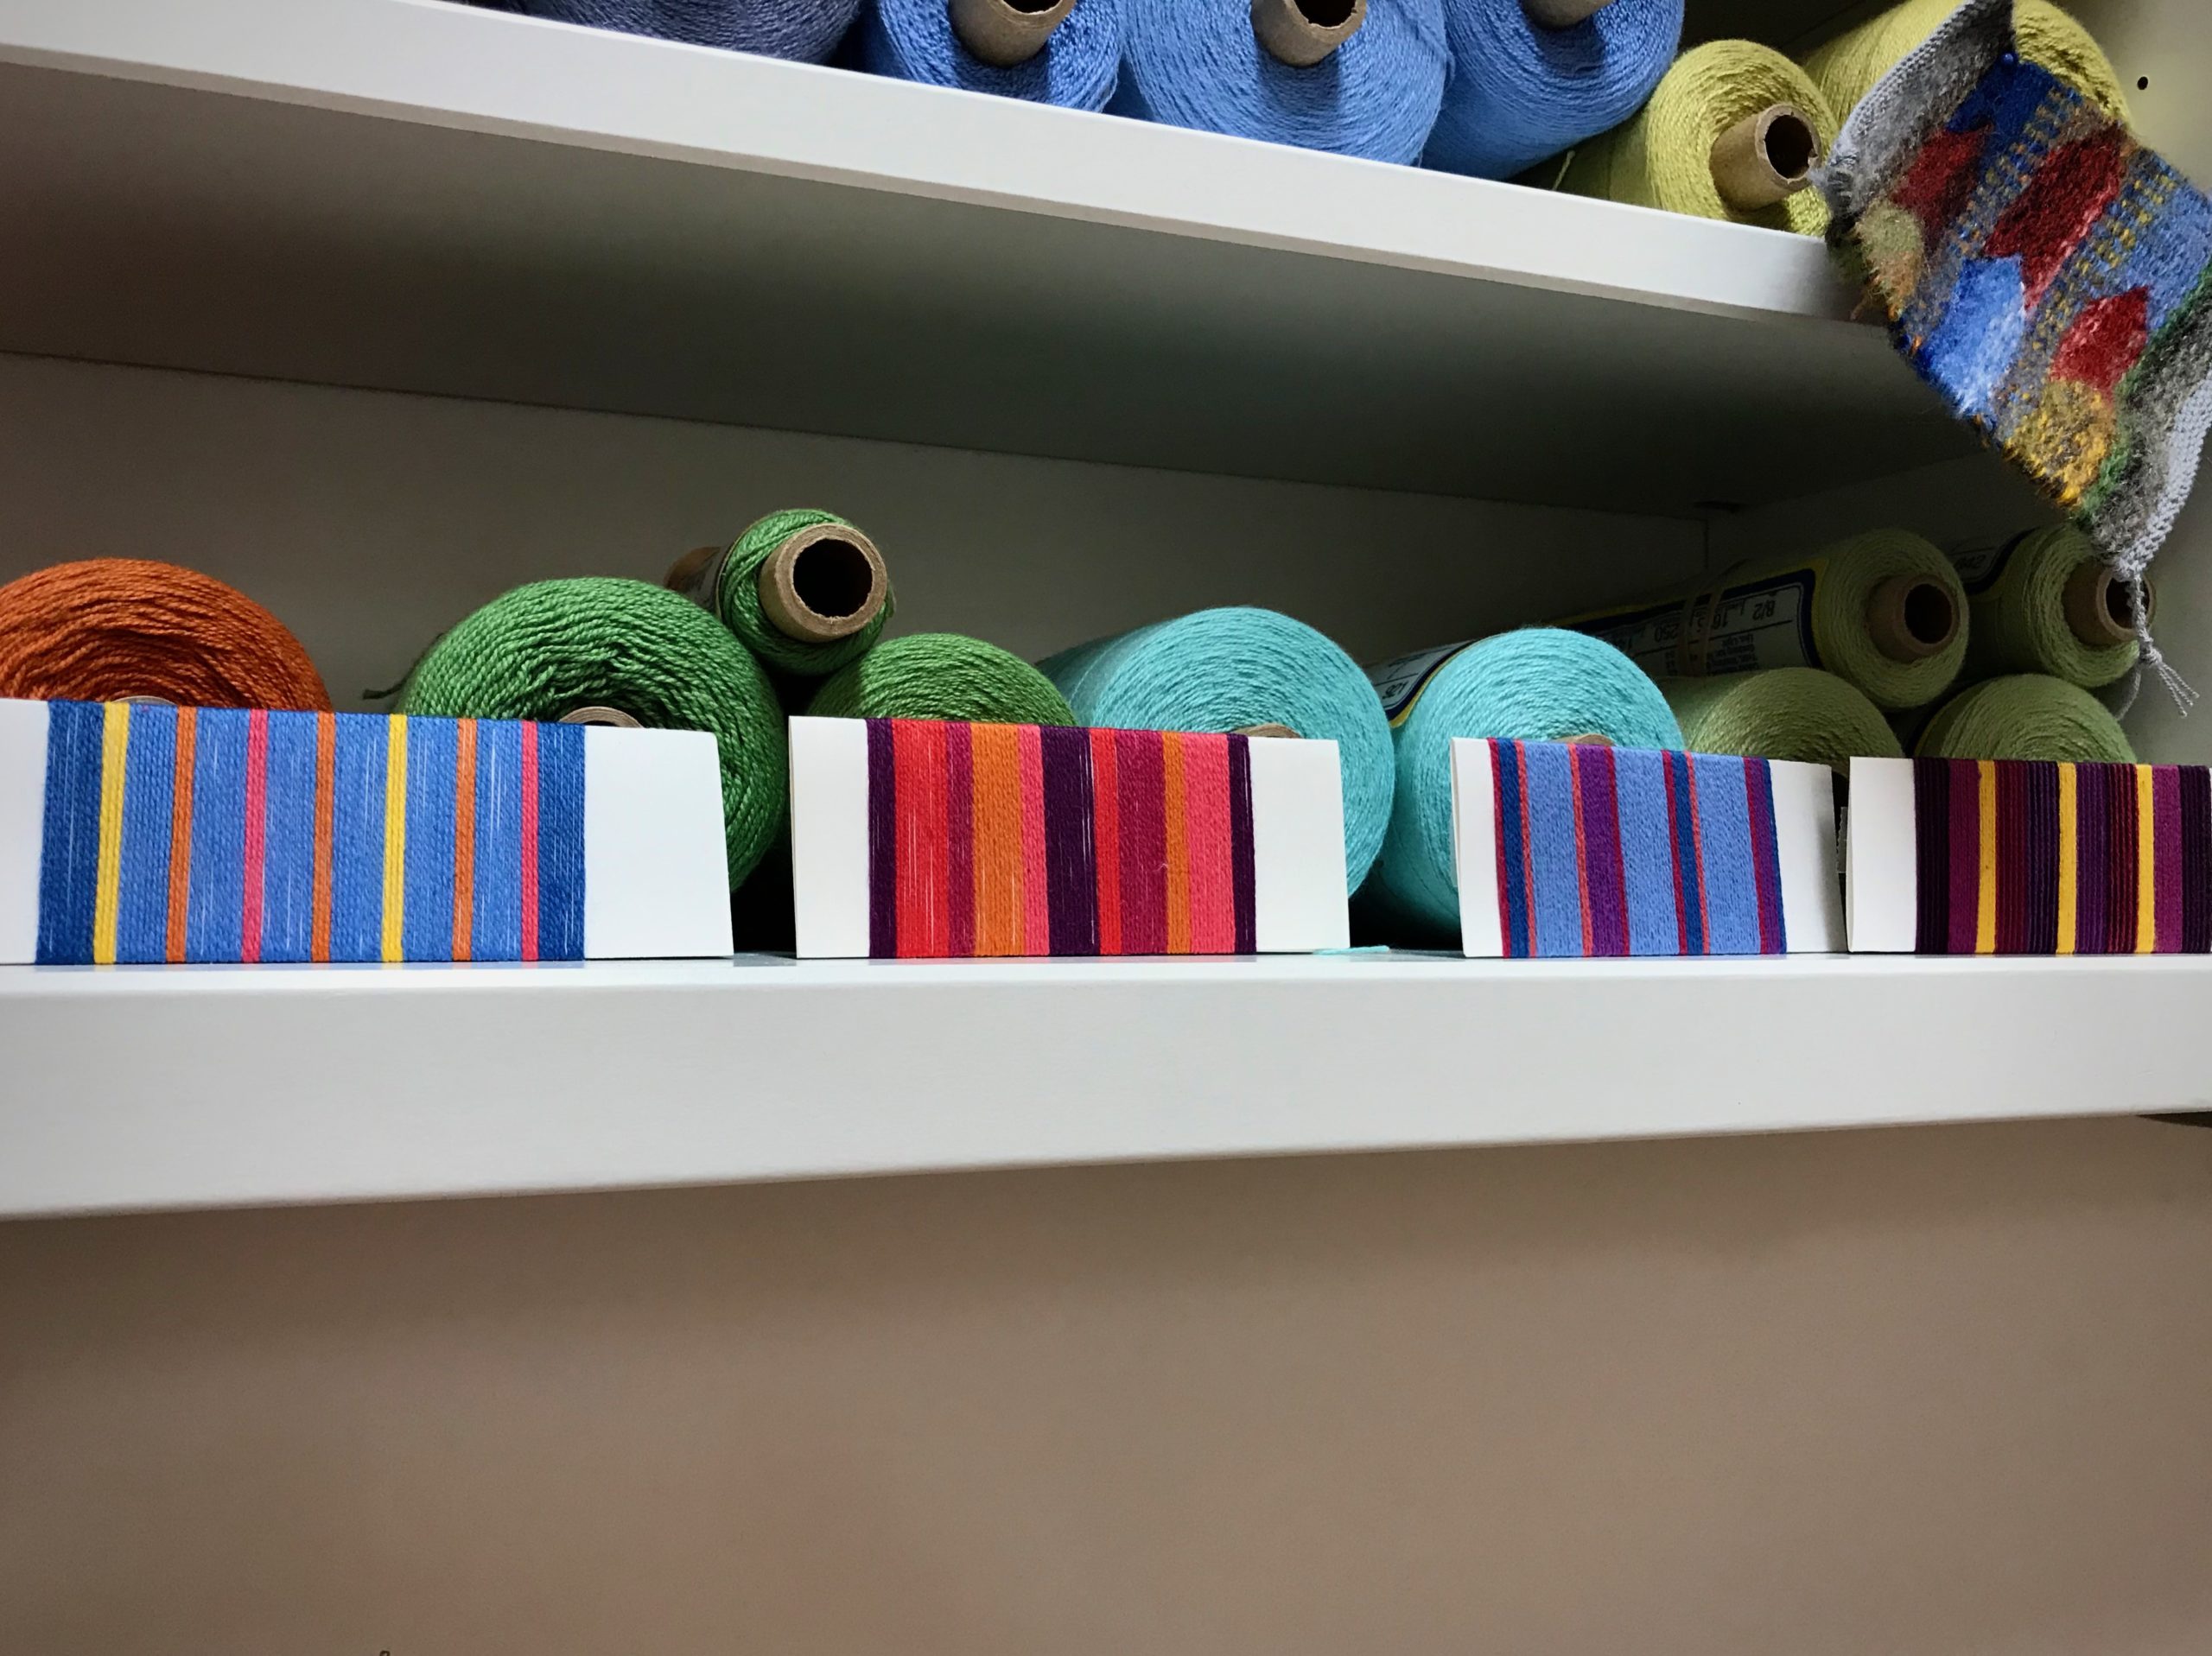
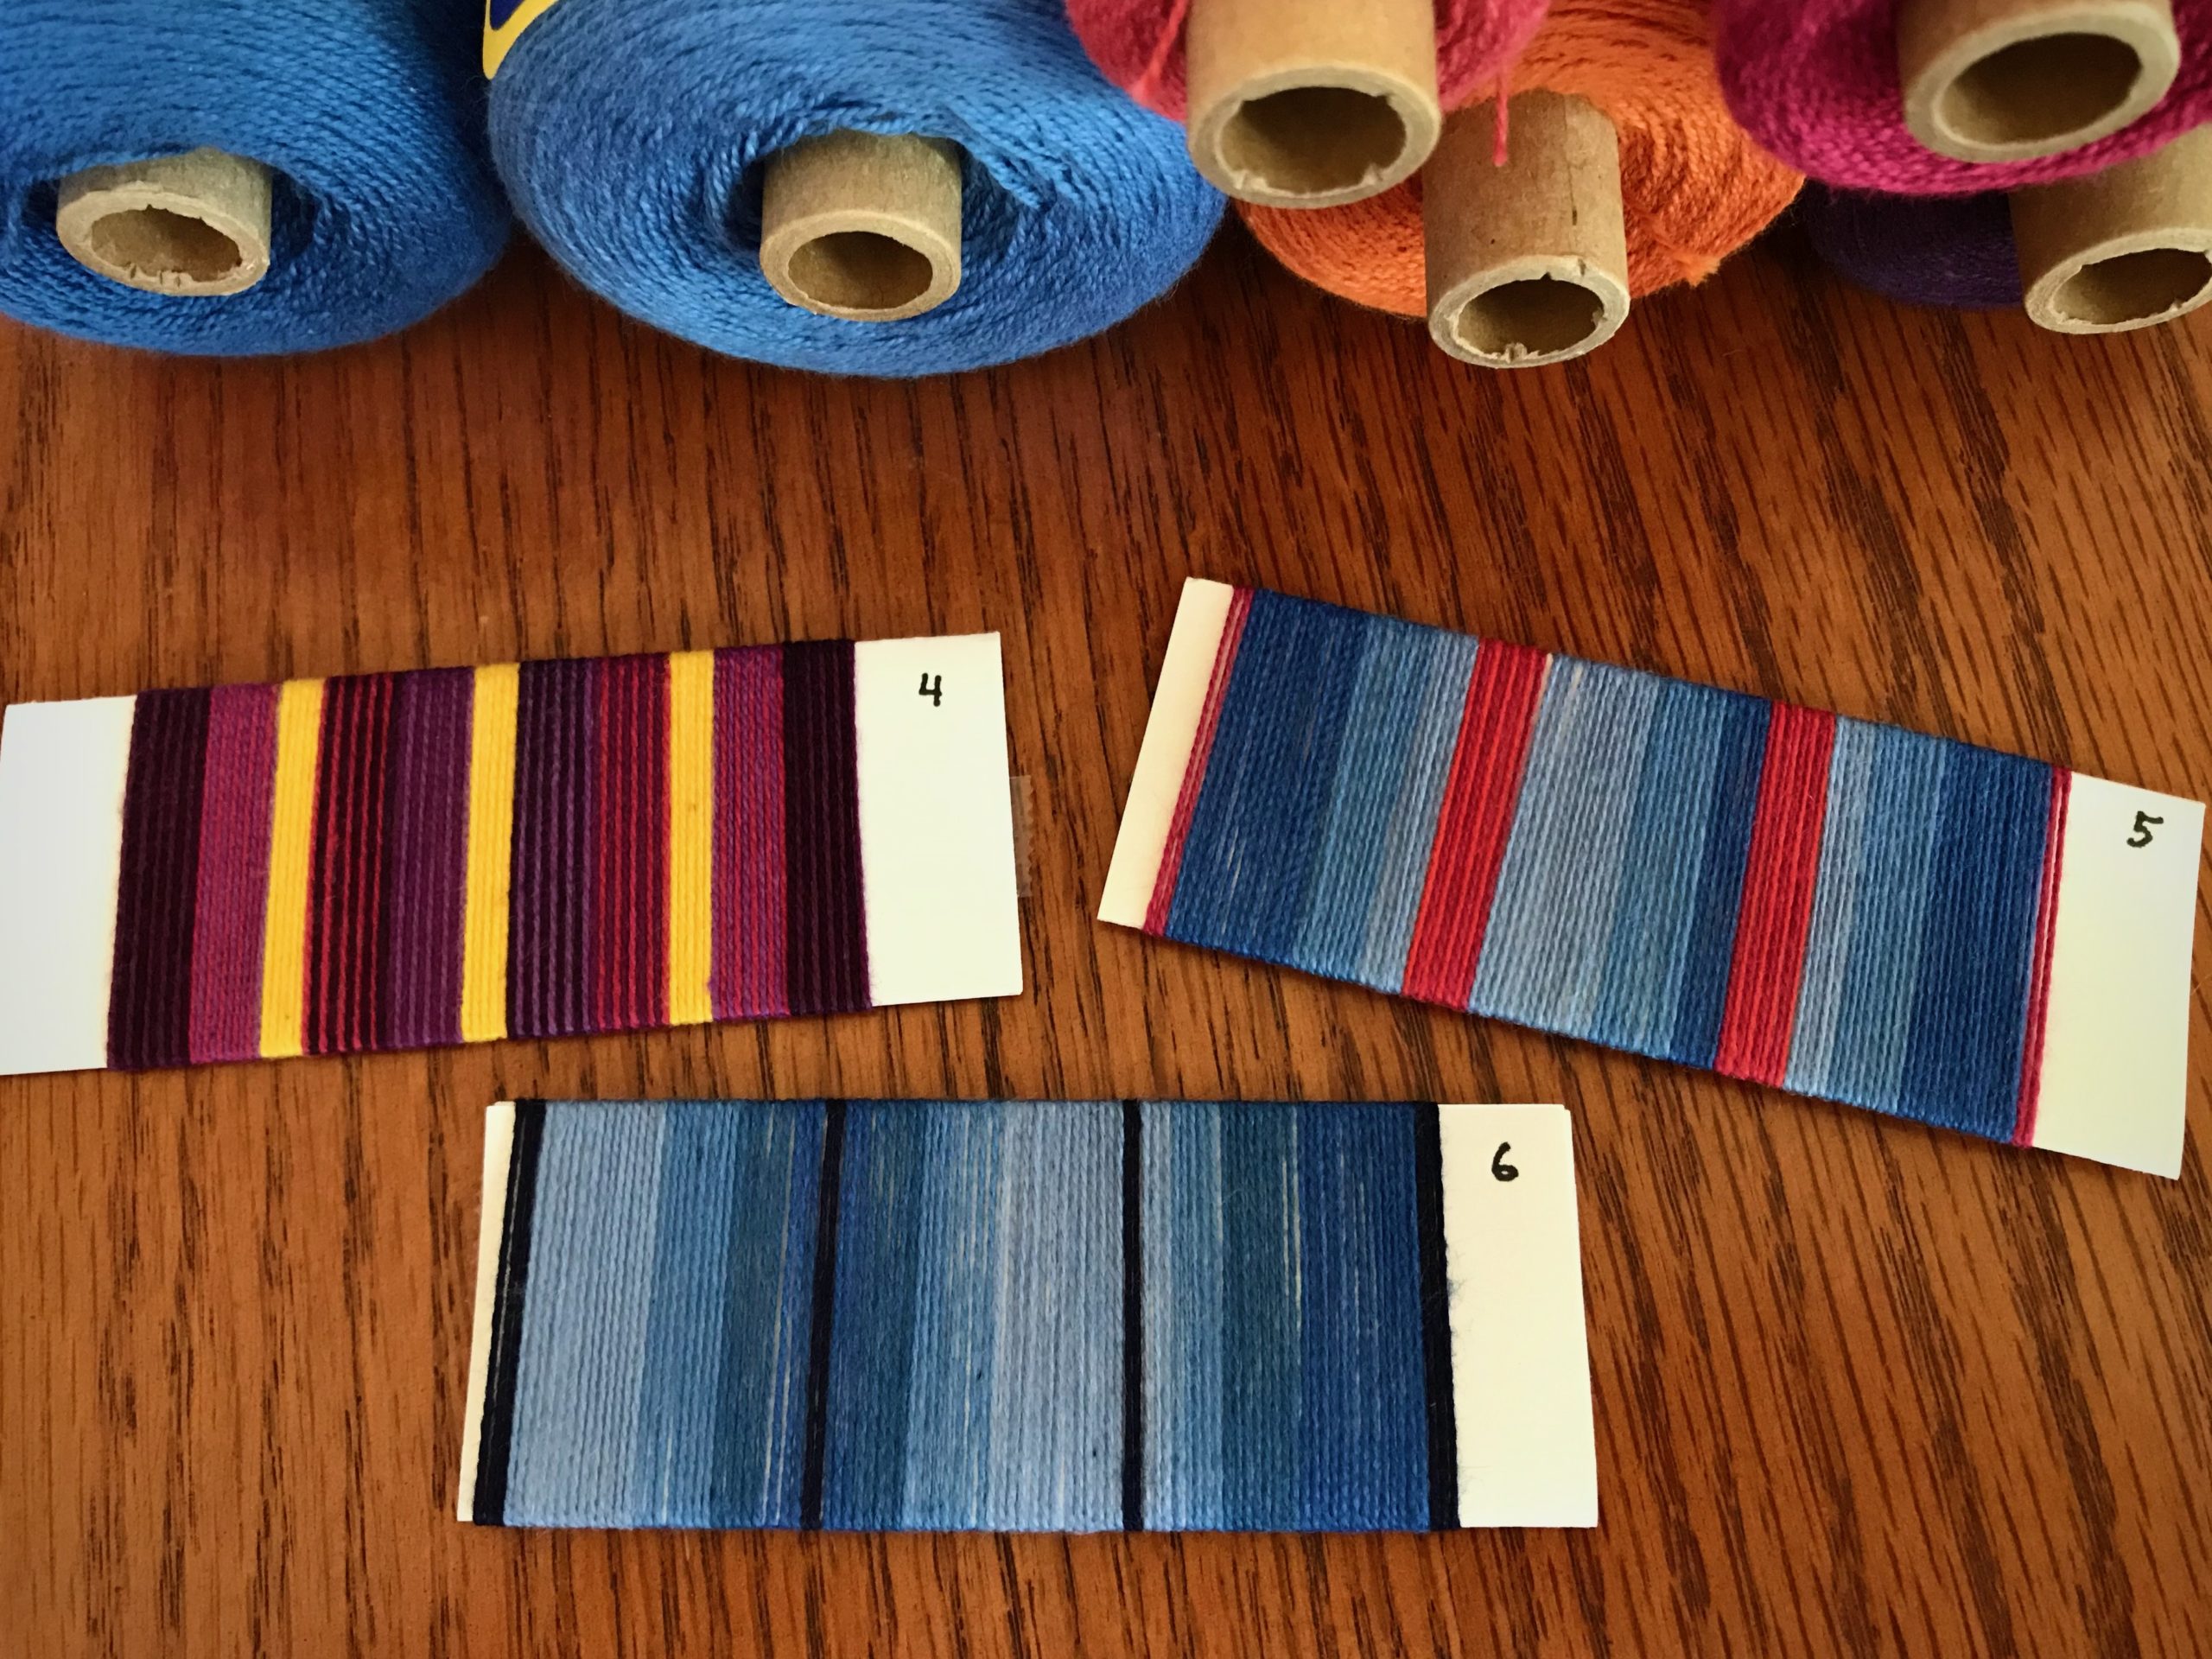
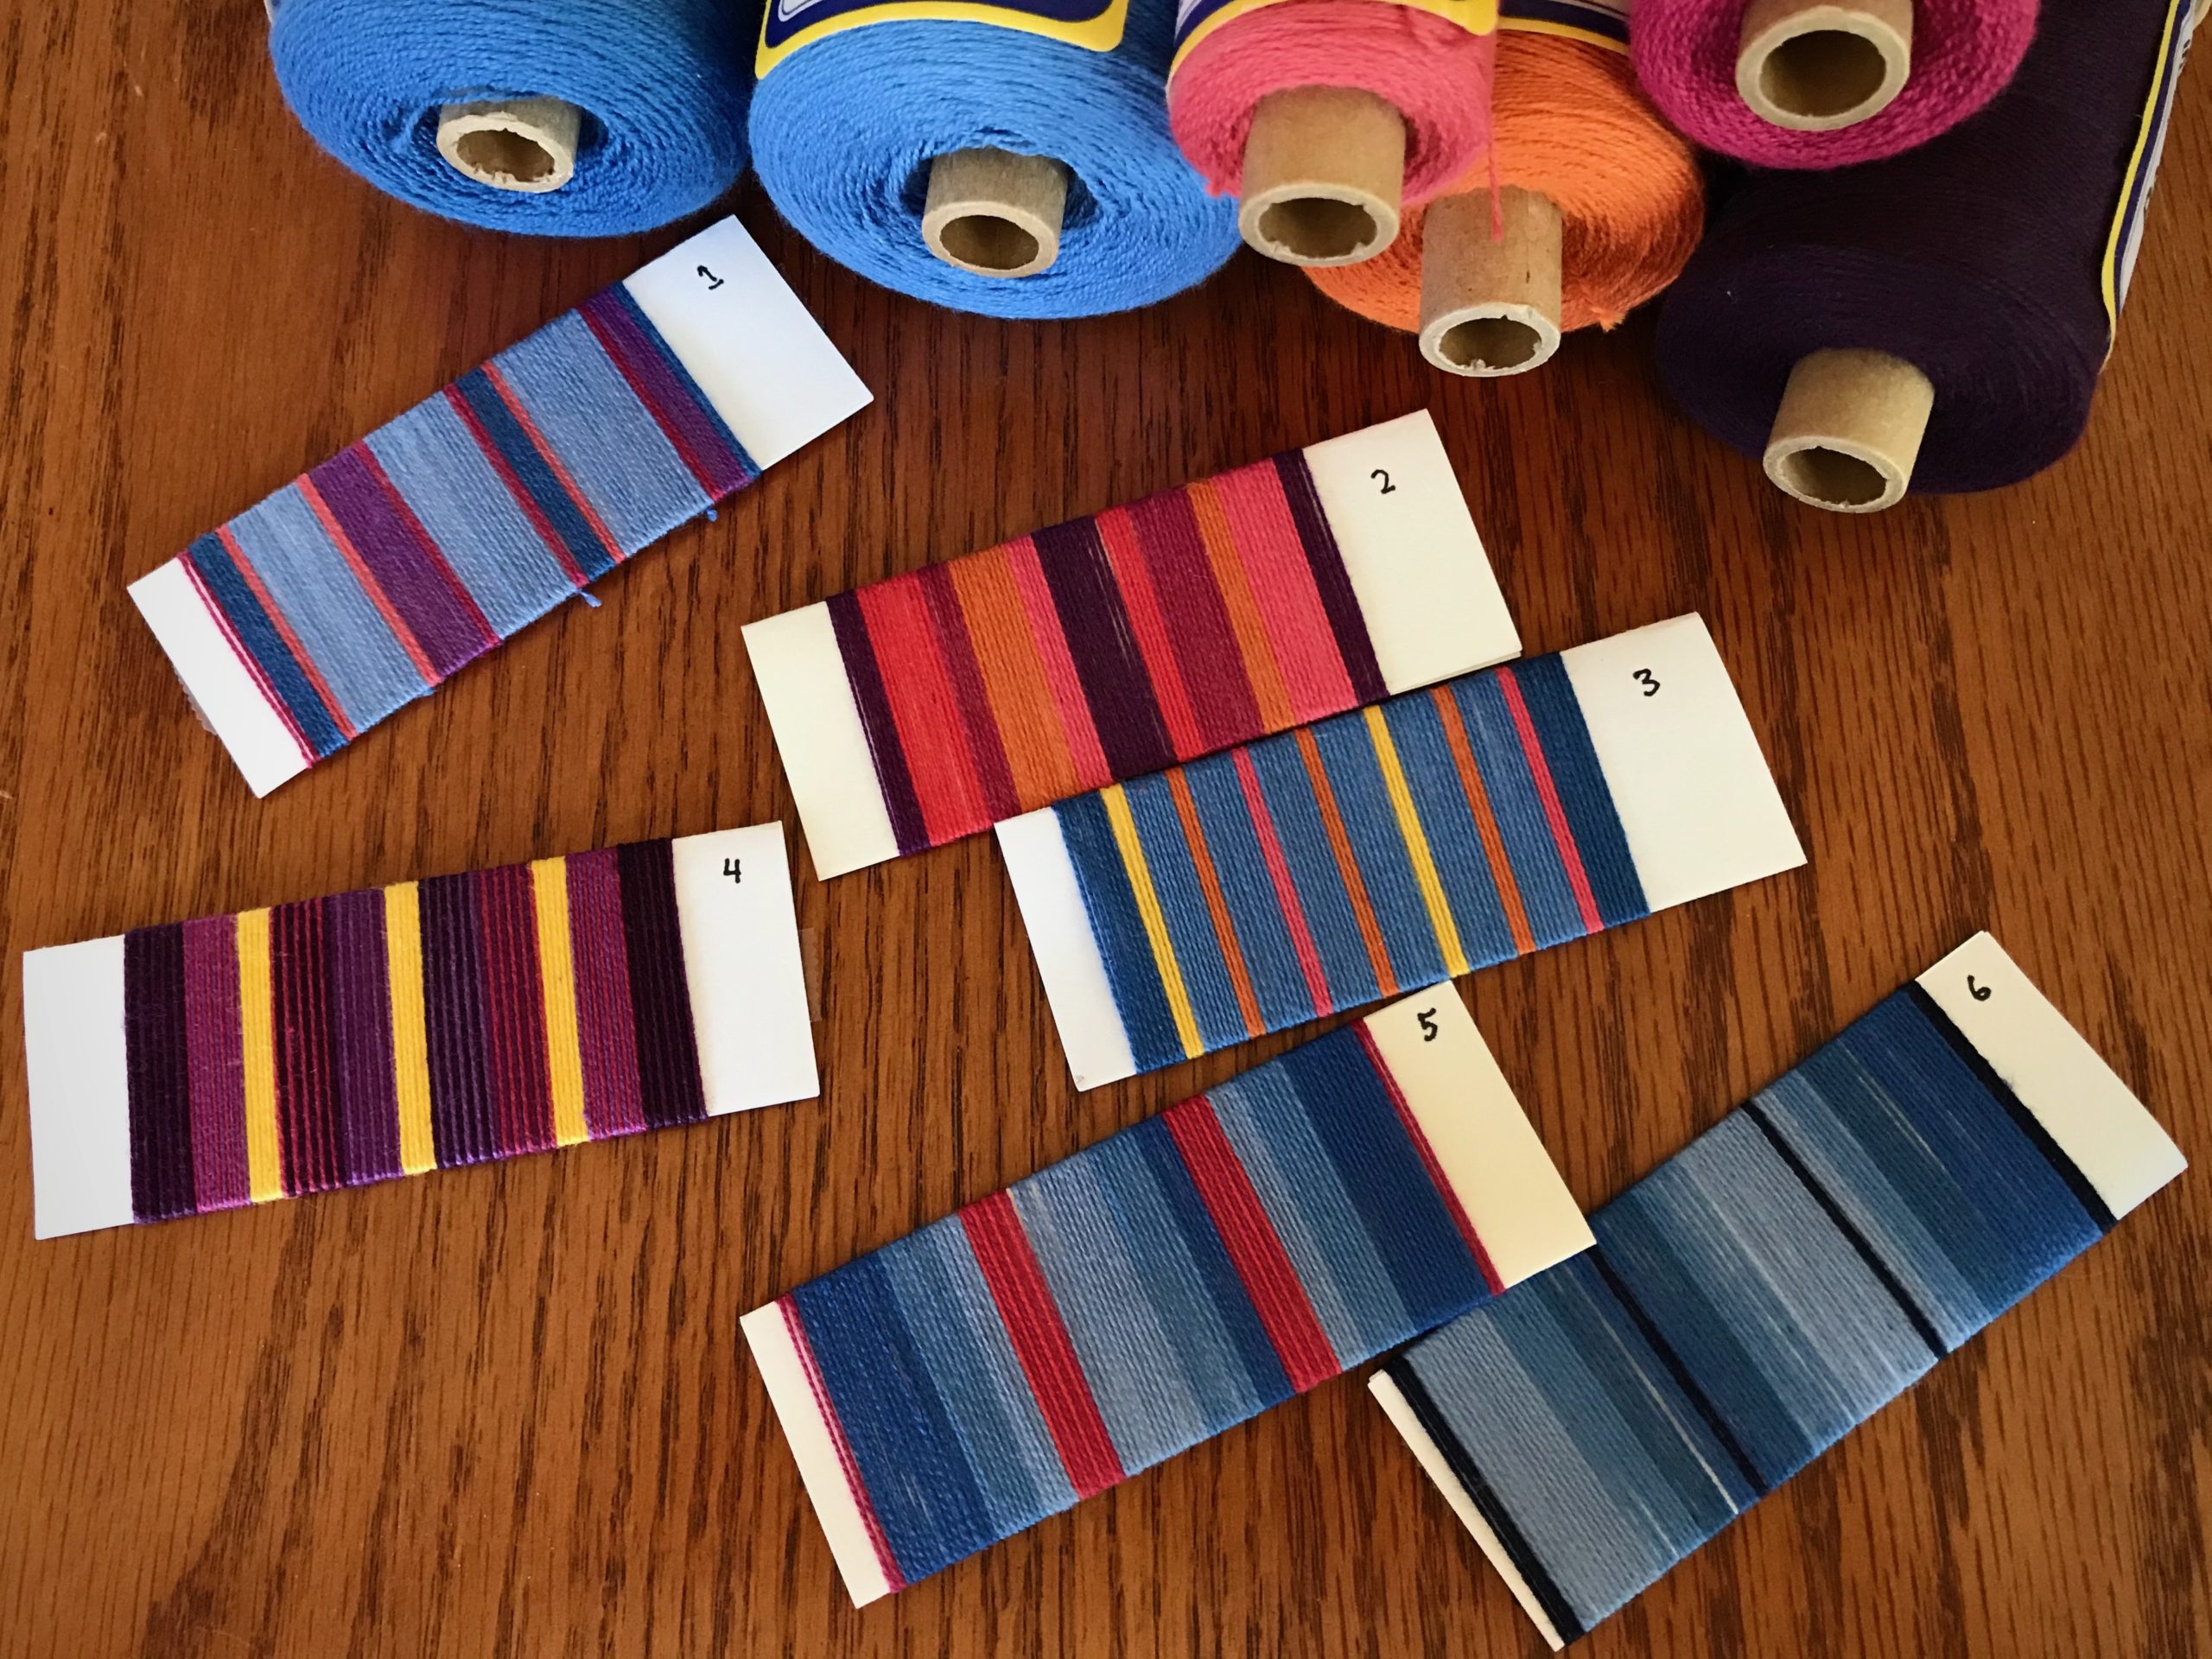
May your choice of weft colors give a glimpse of your best qualities.
Simply Weaving,
Karen