Monksbelt Flowers on a Shoulder Bag

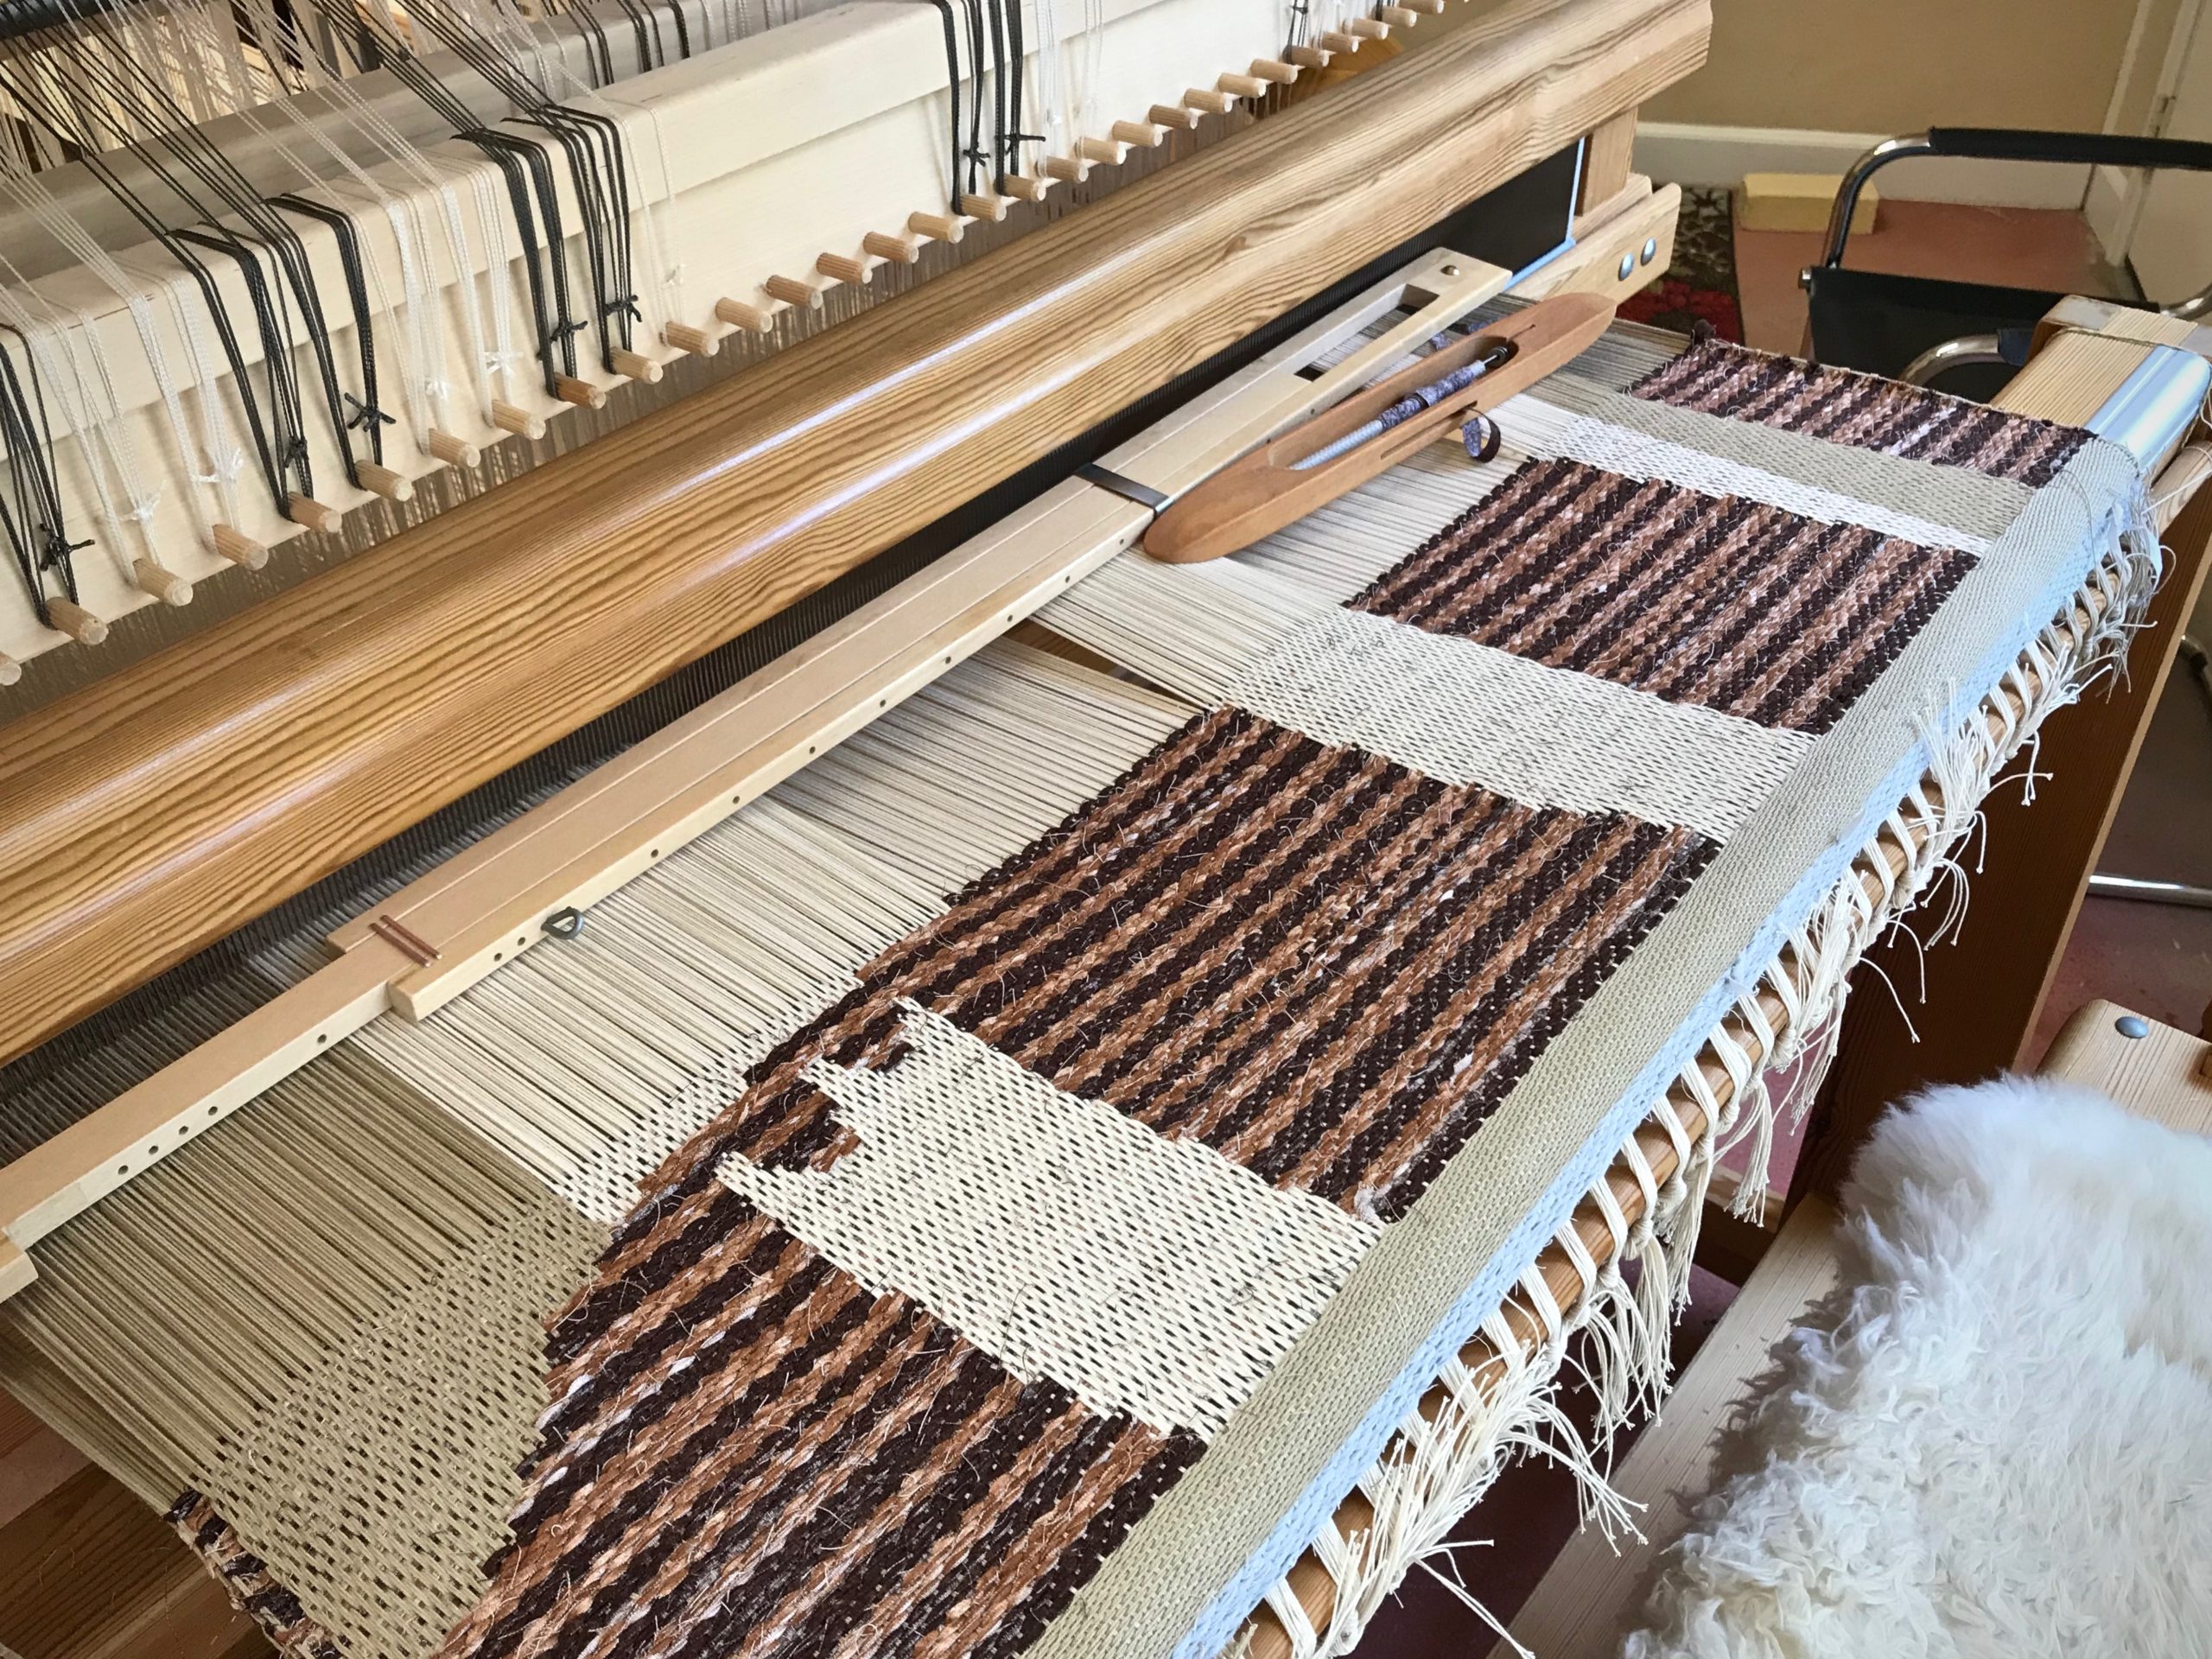
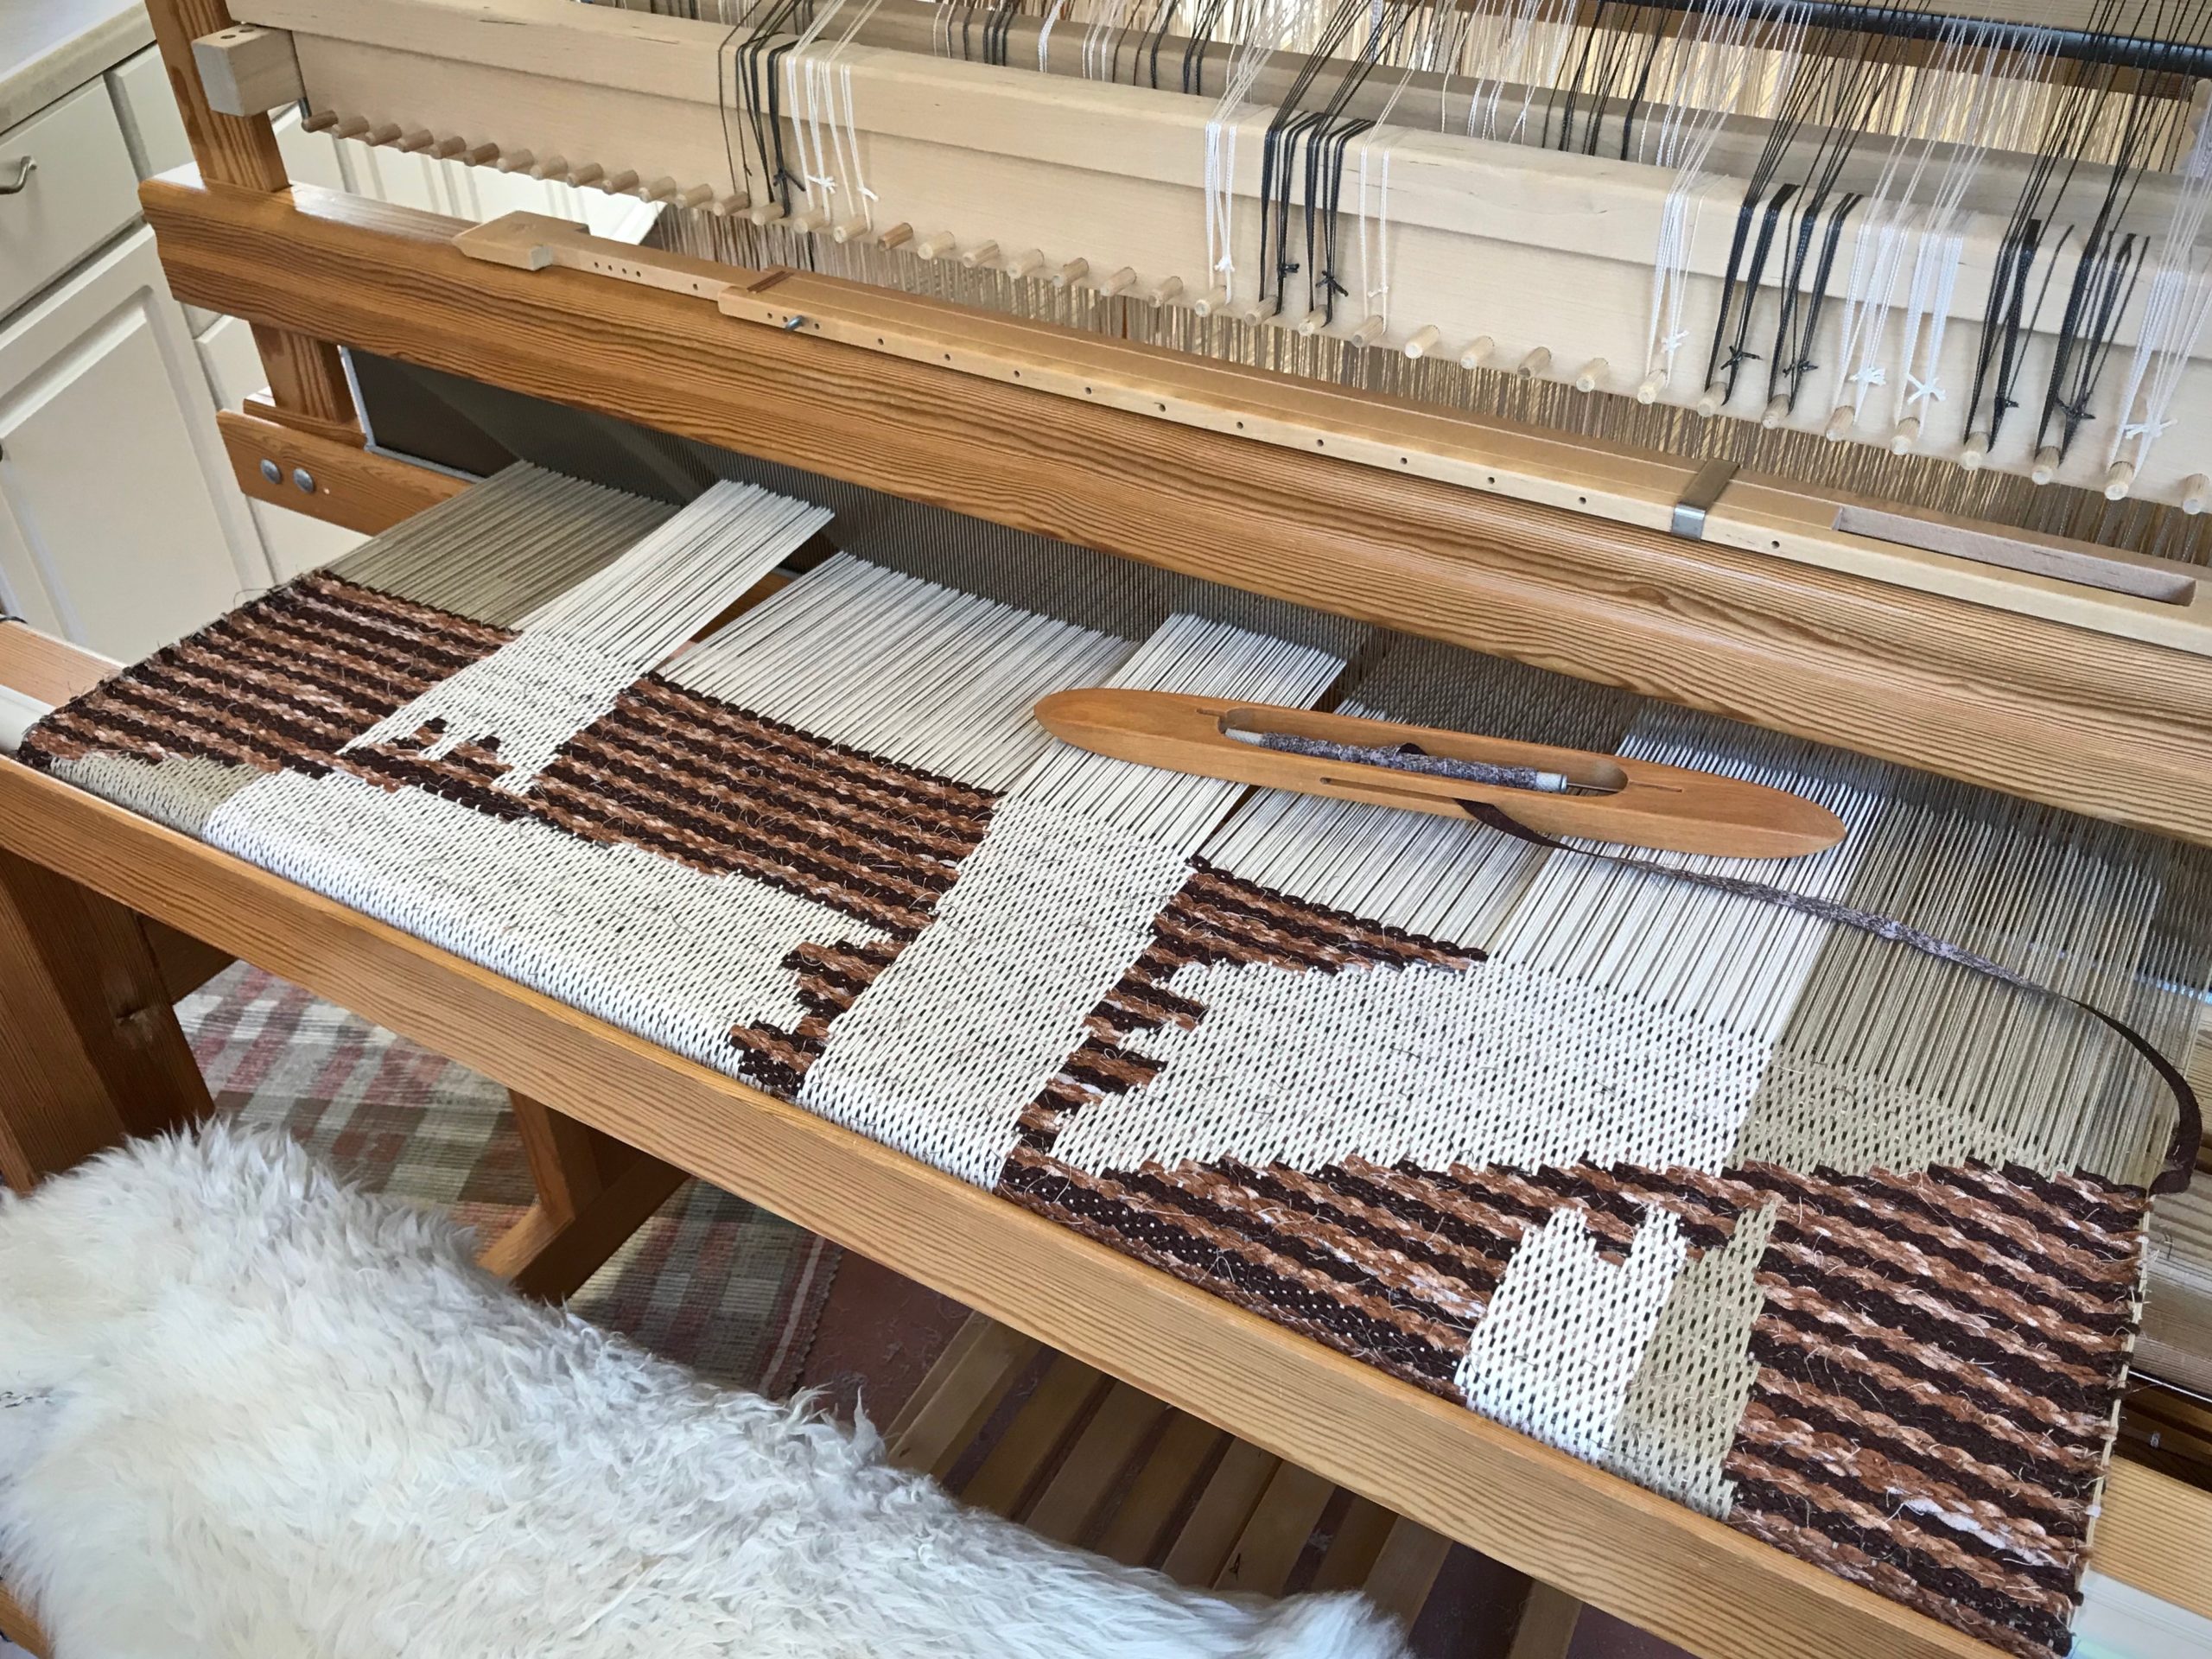
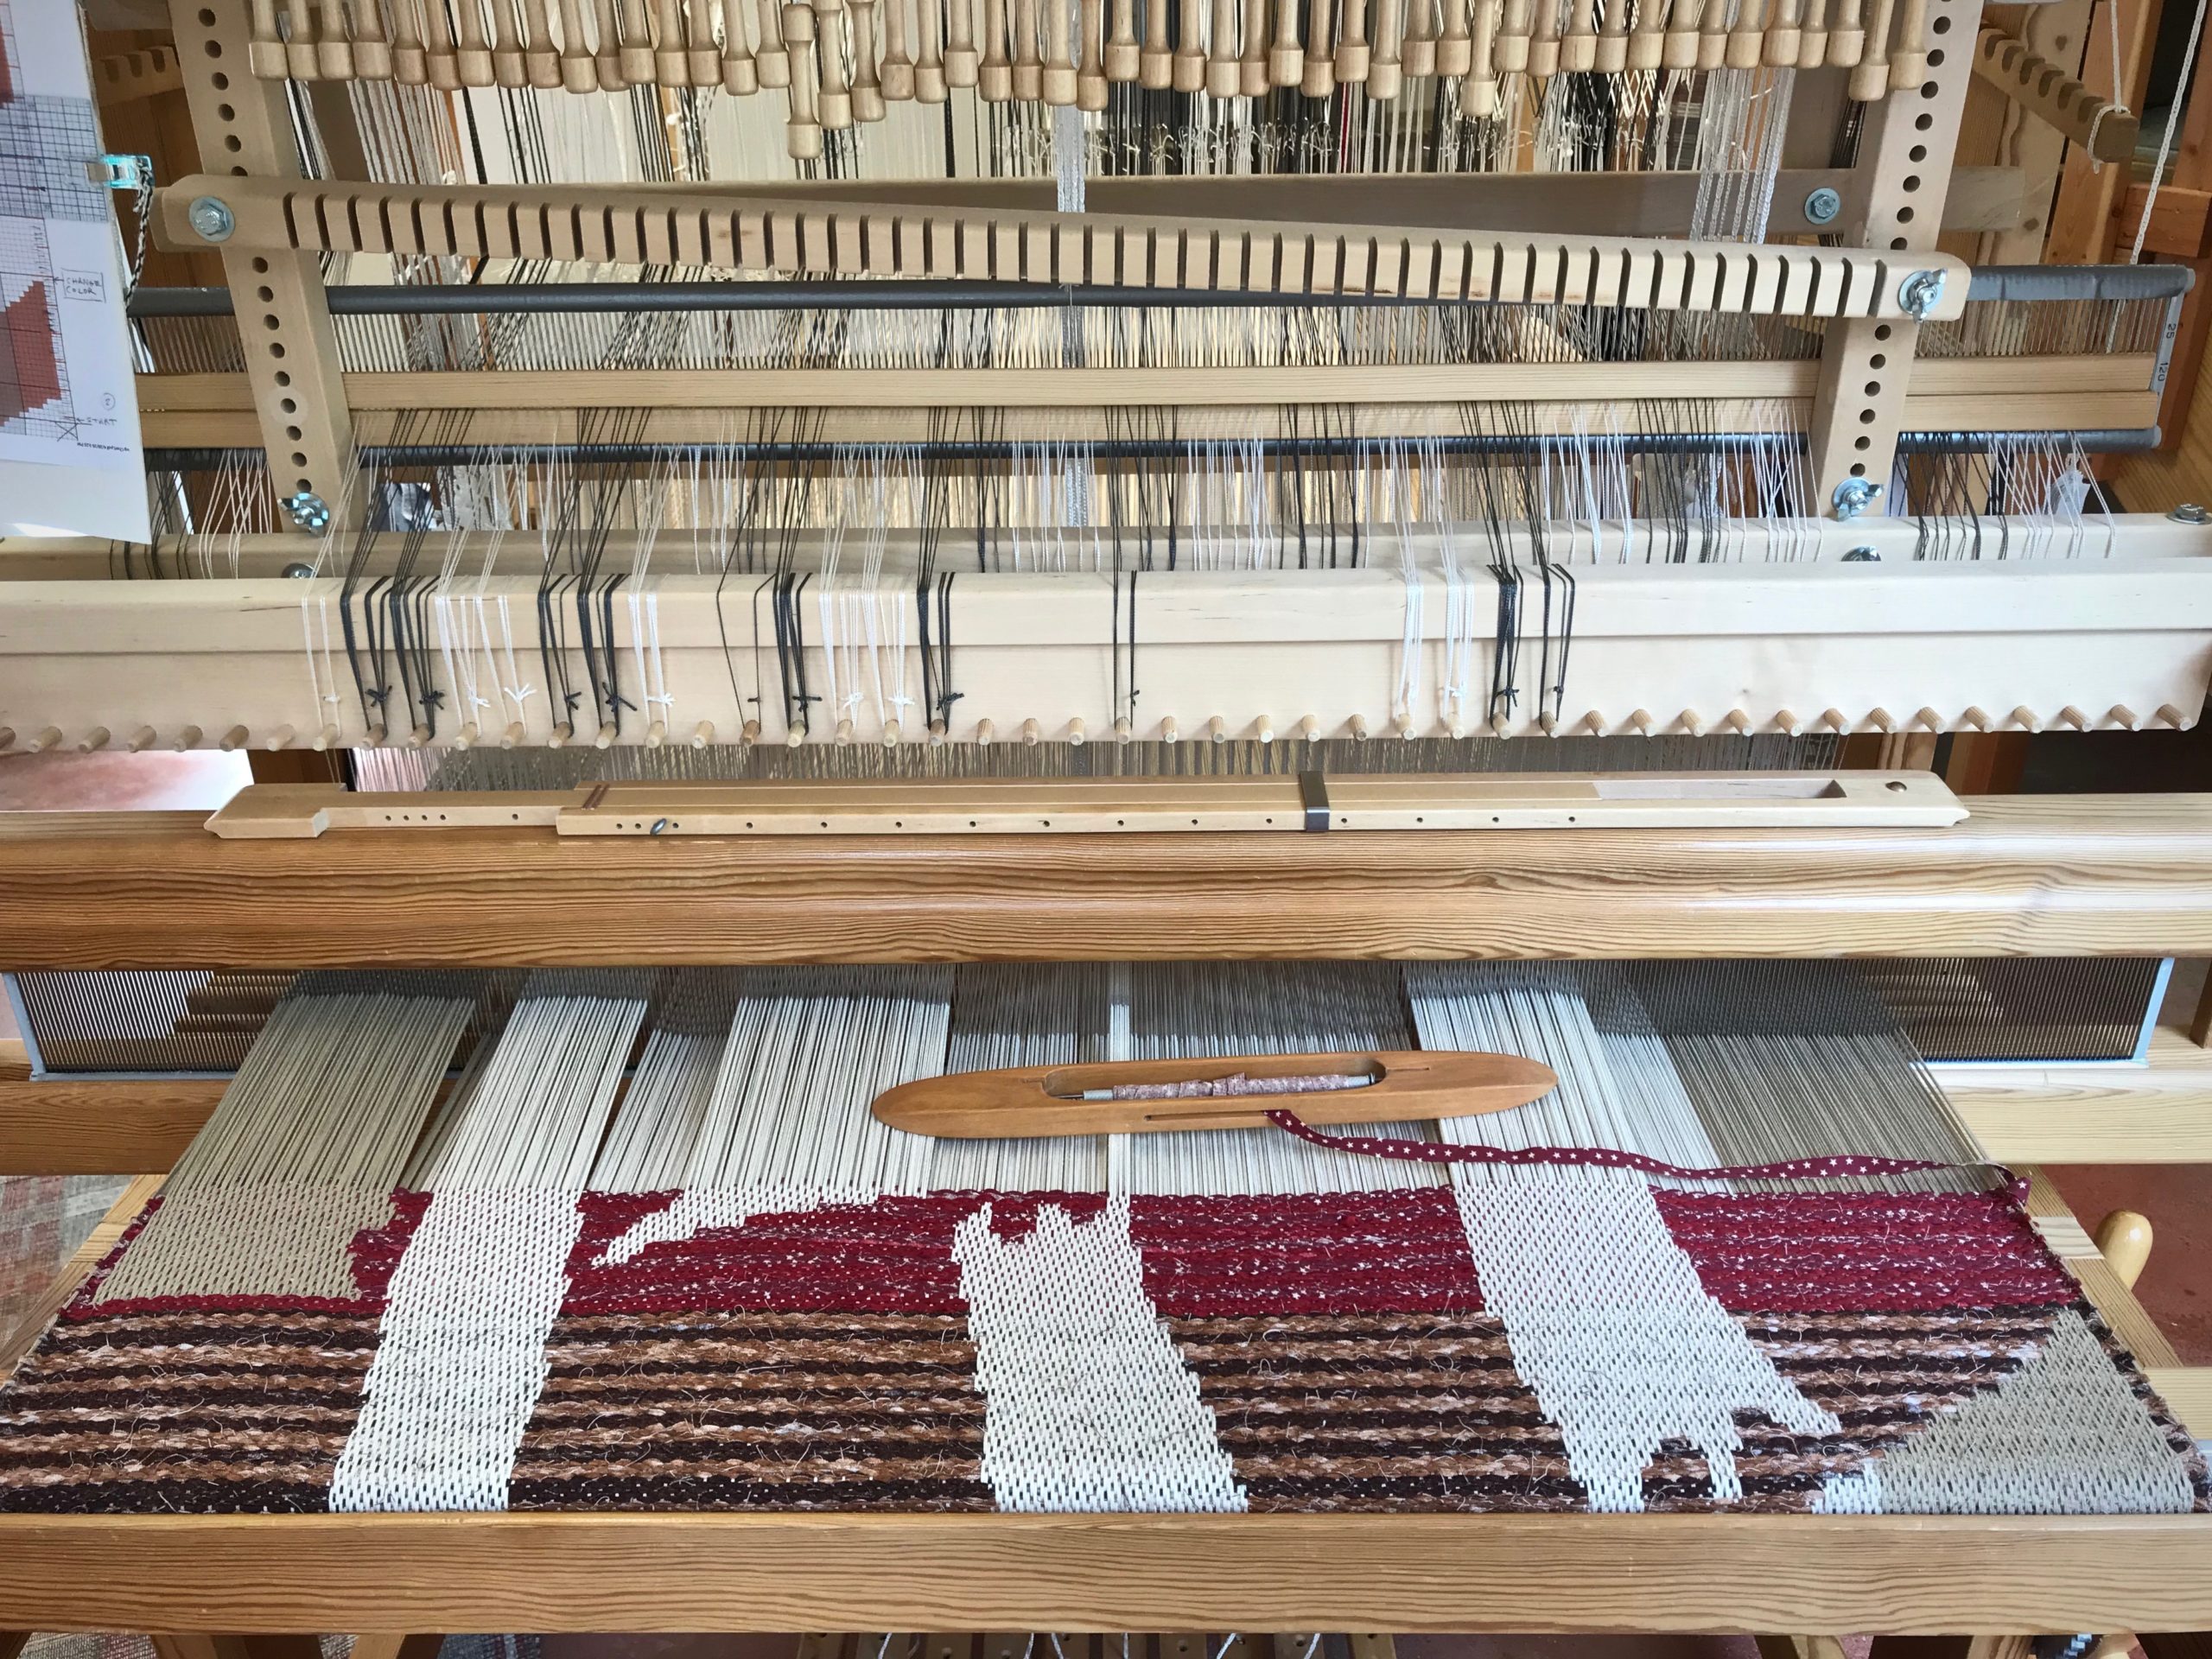
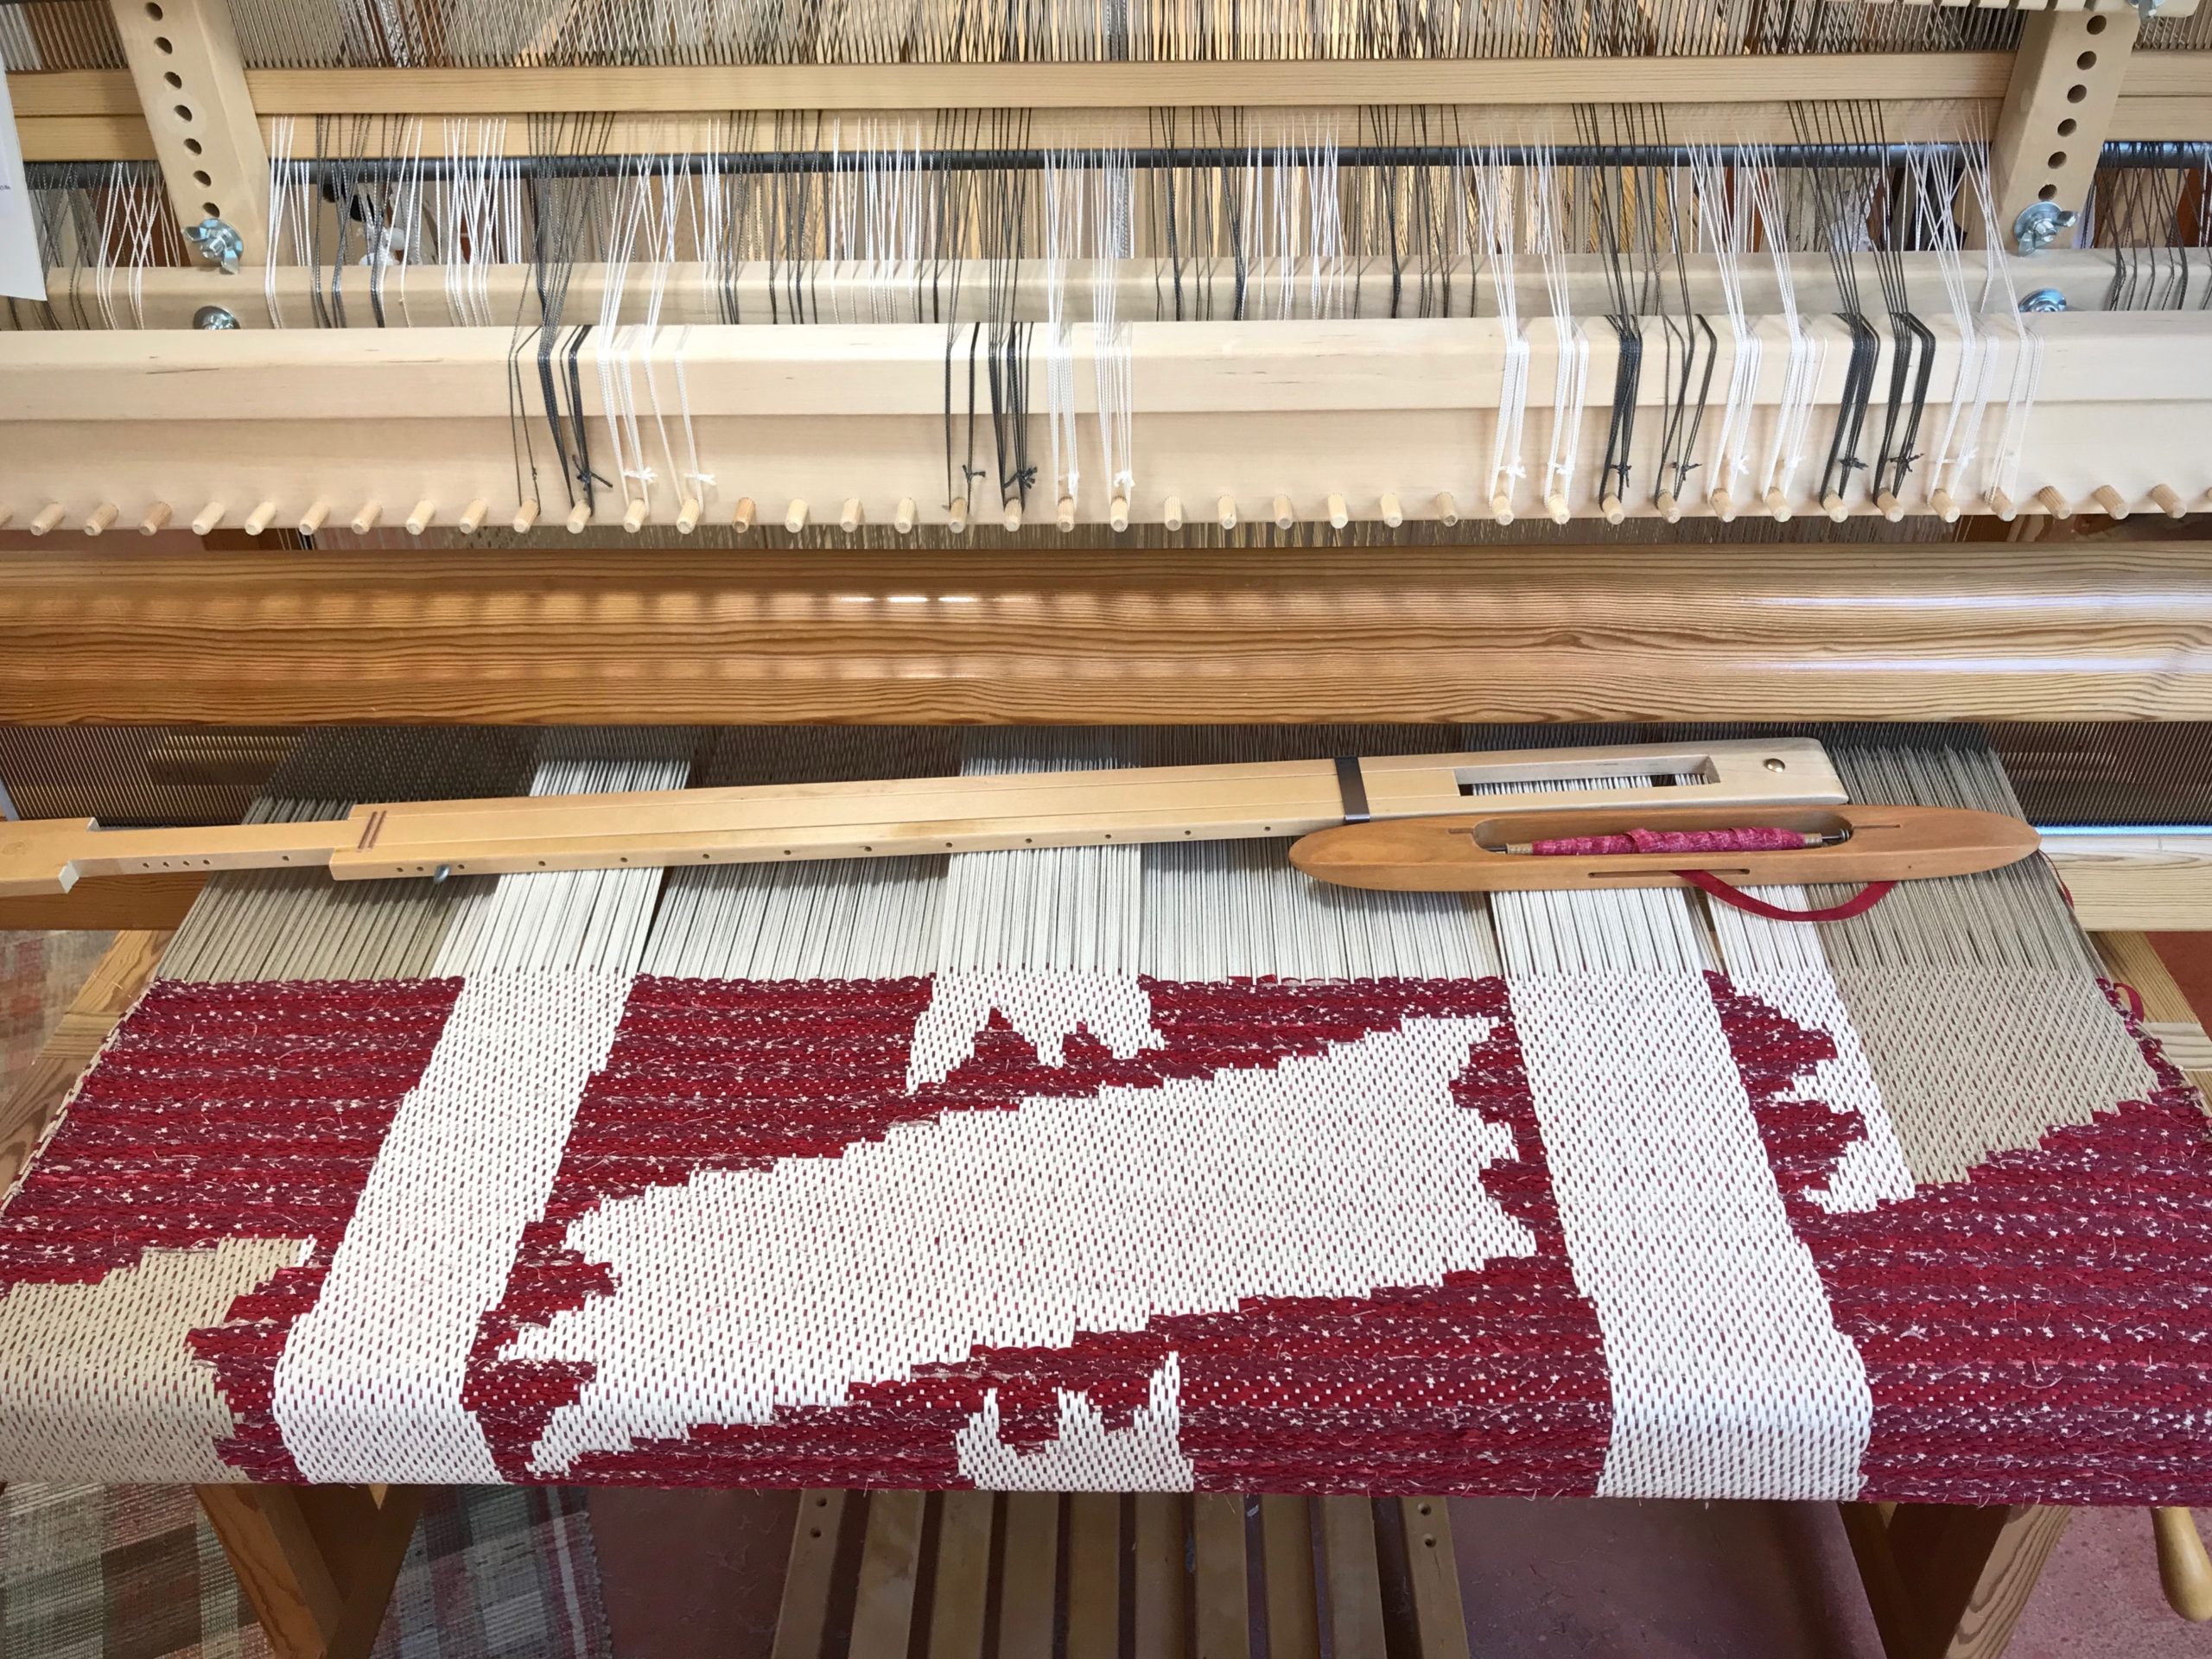
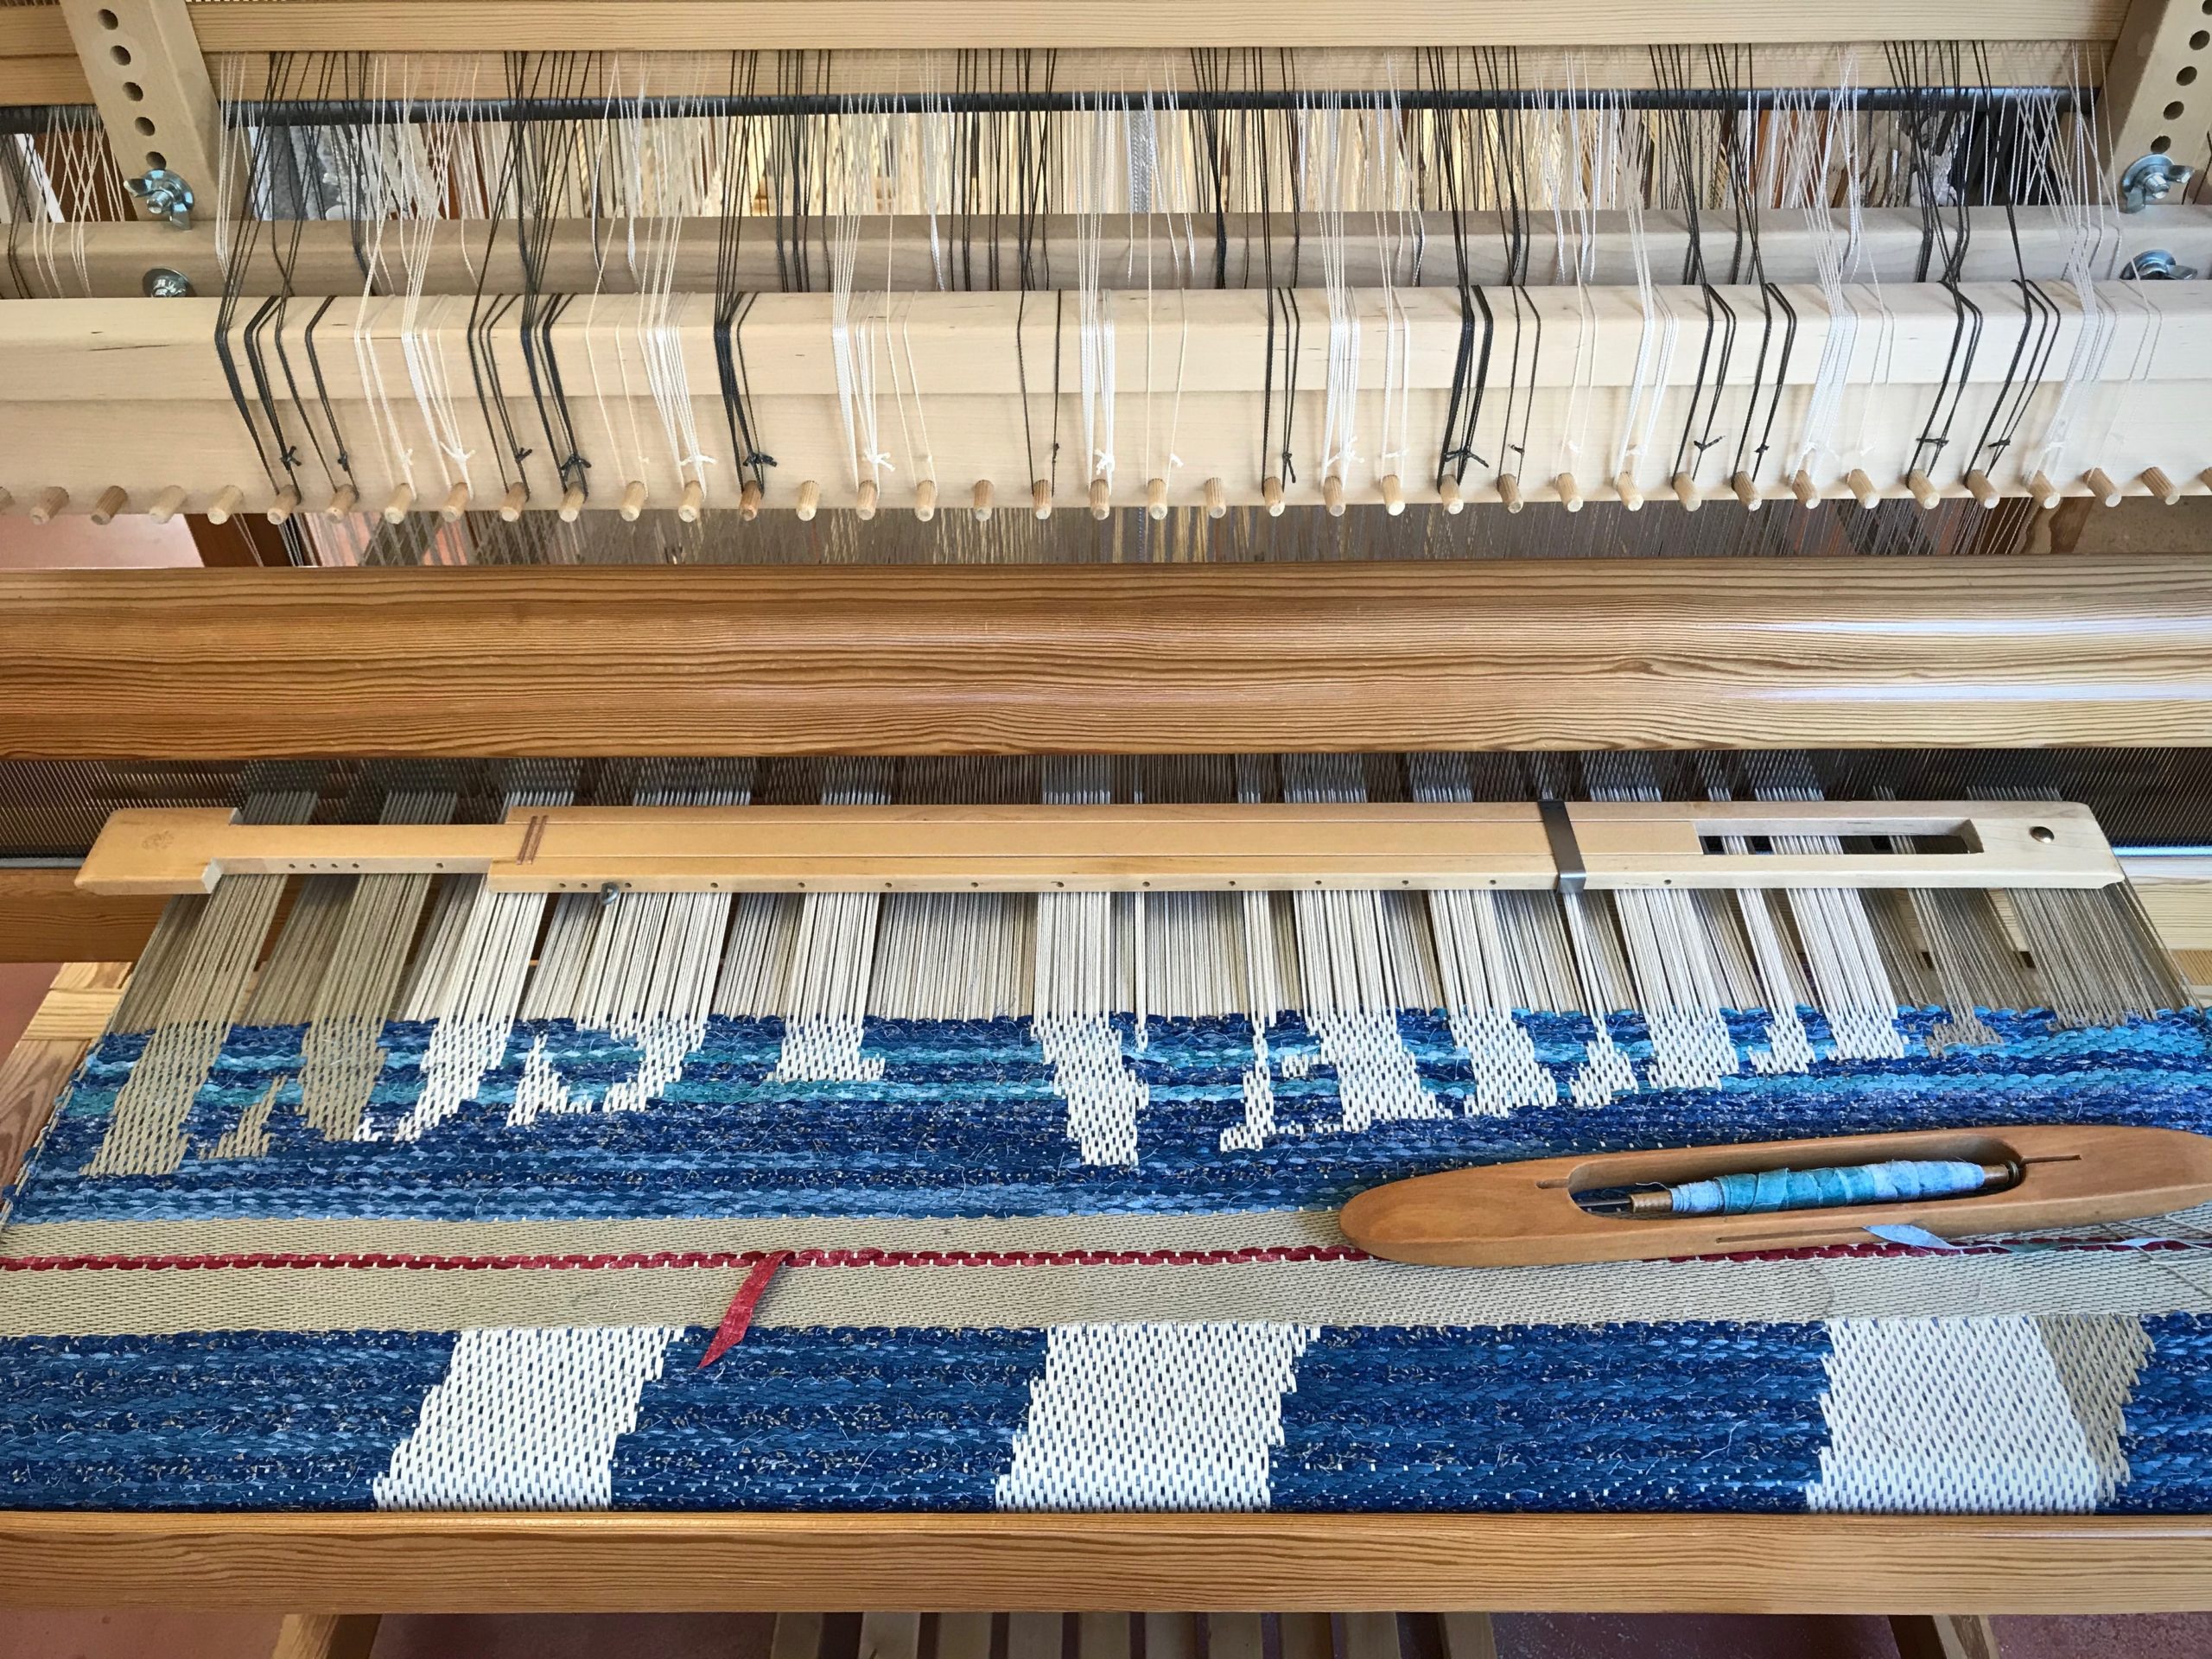
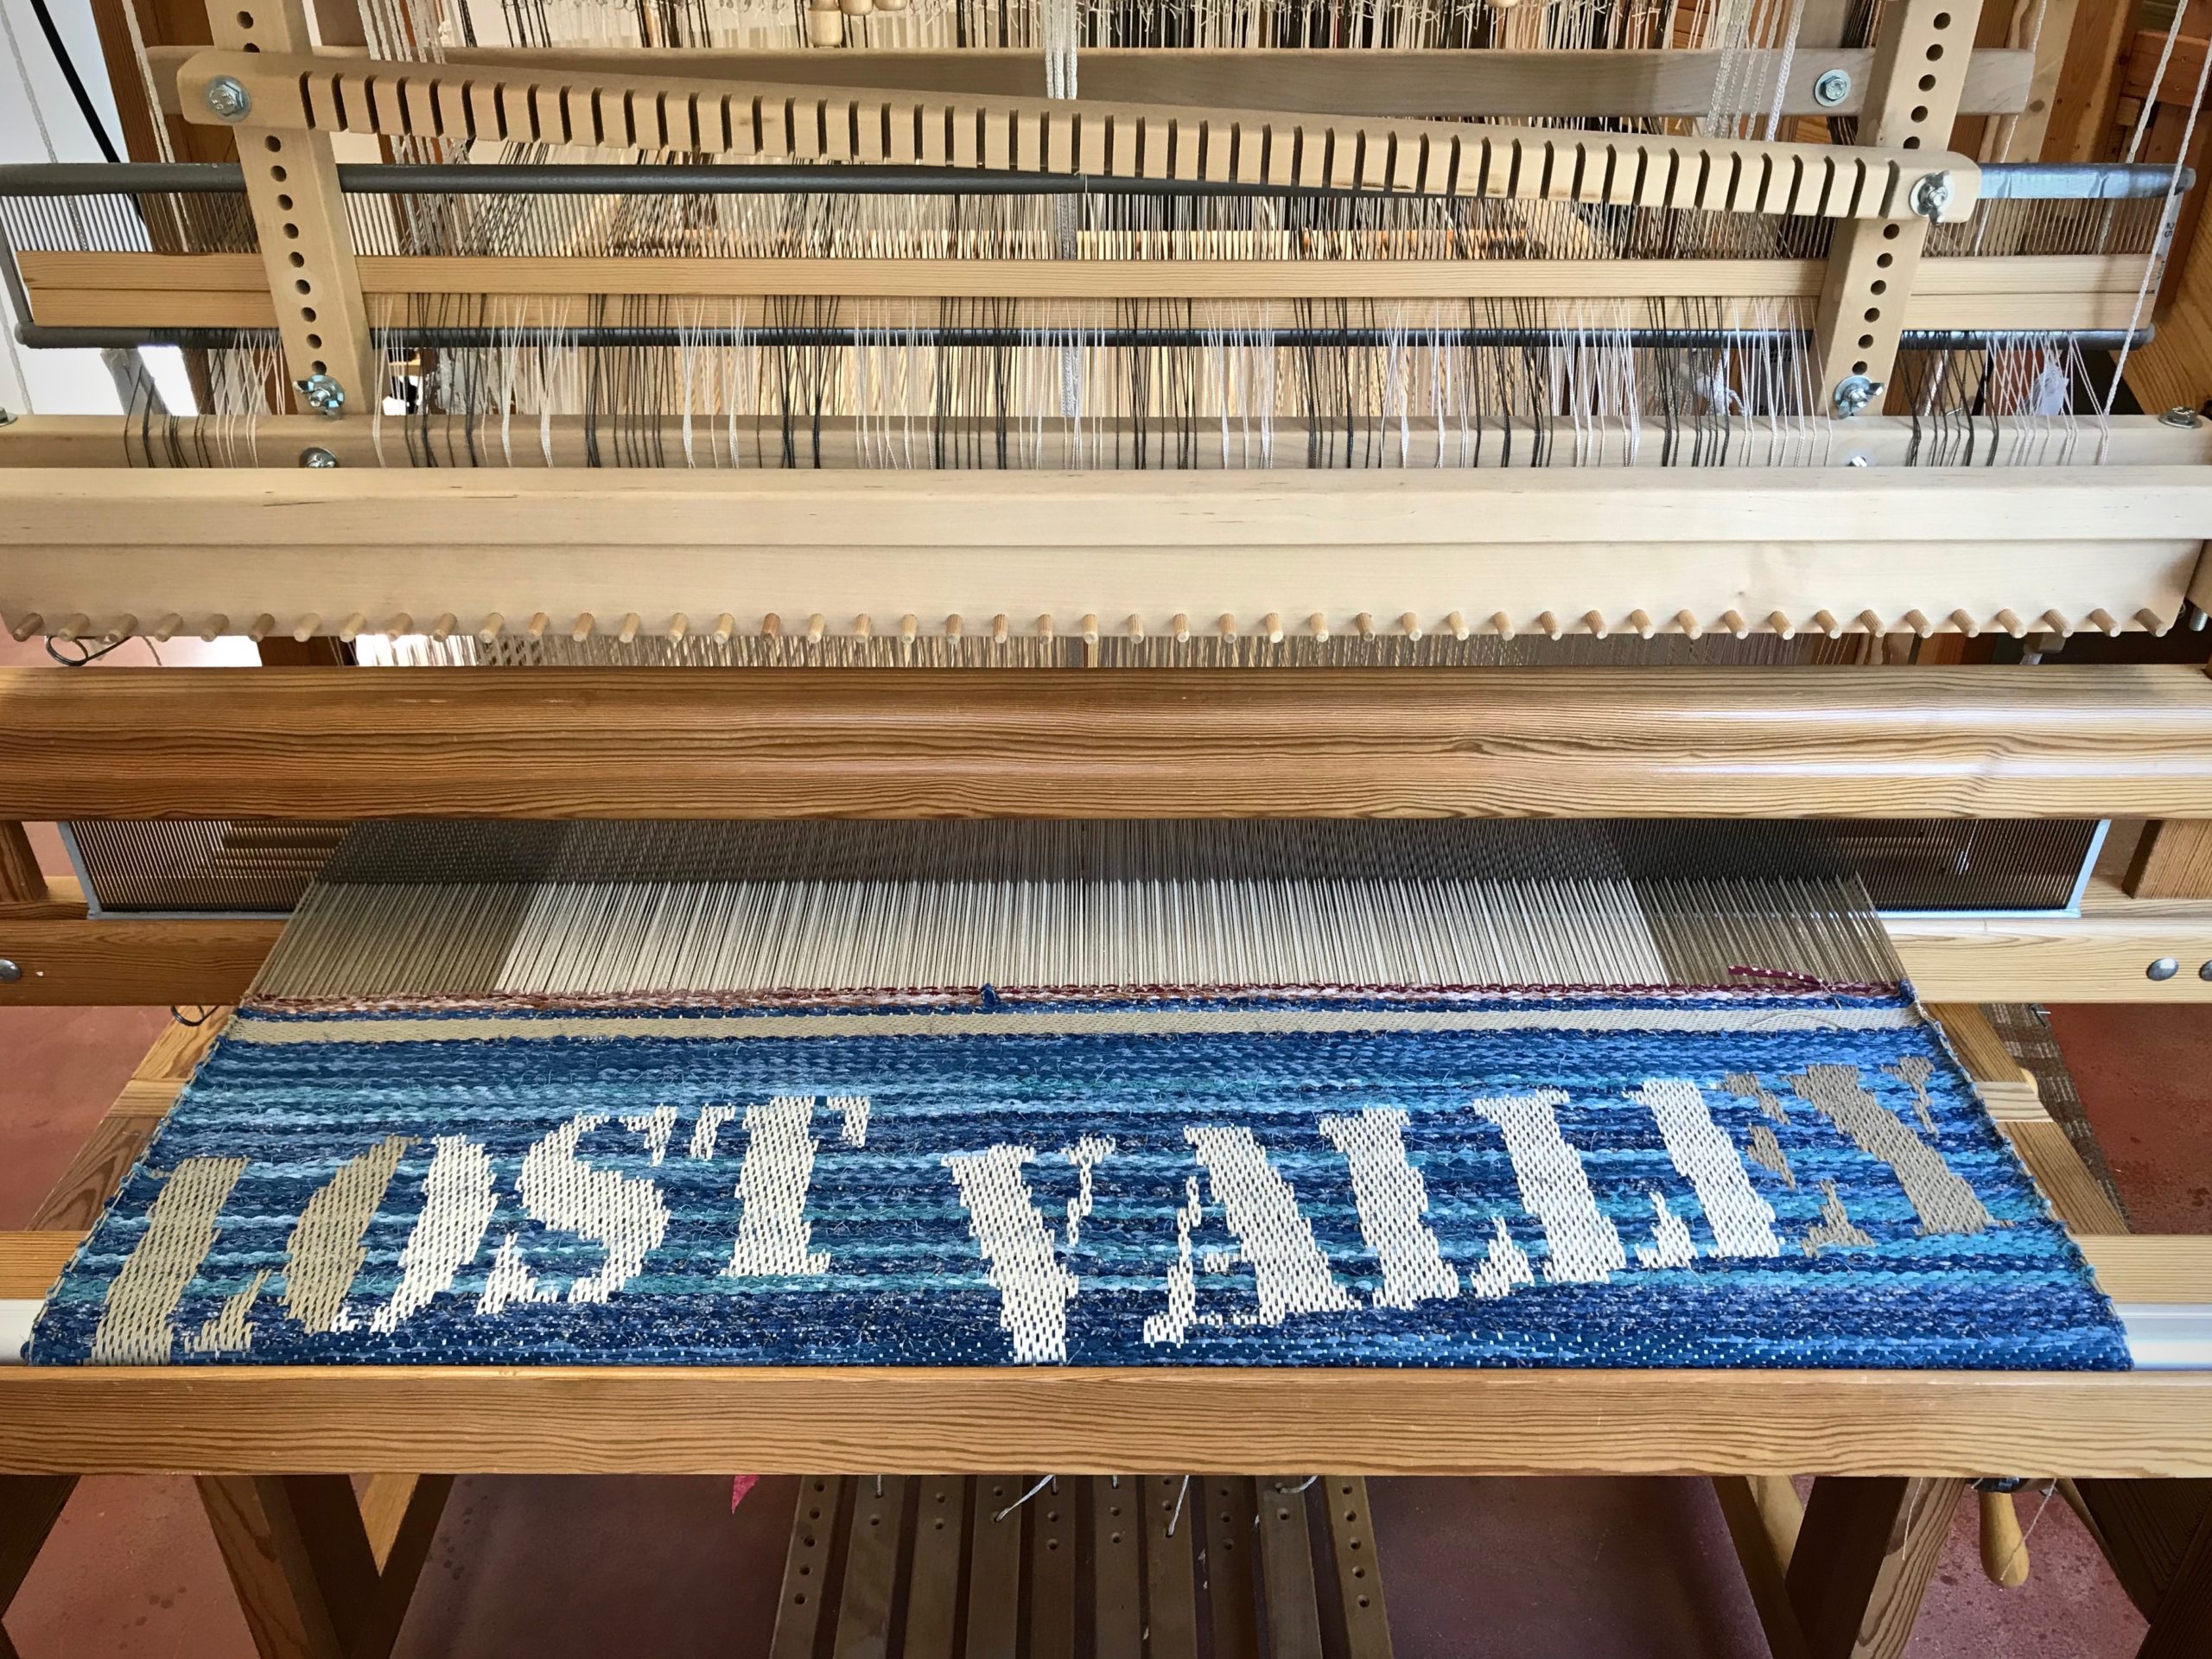
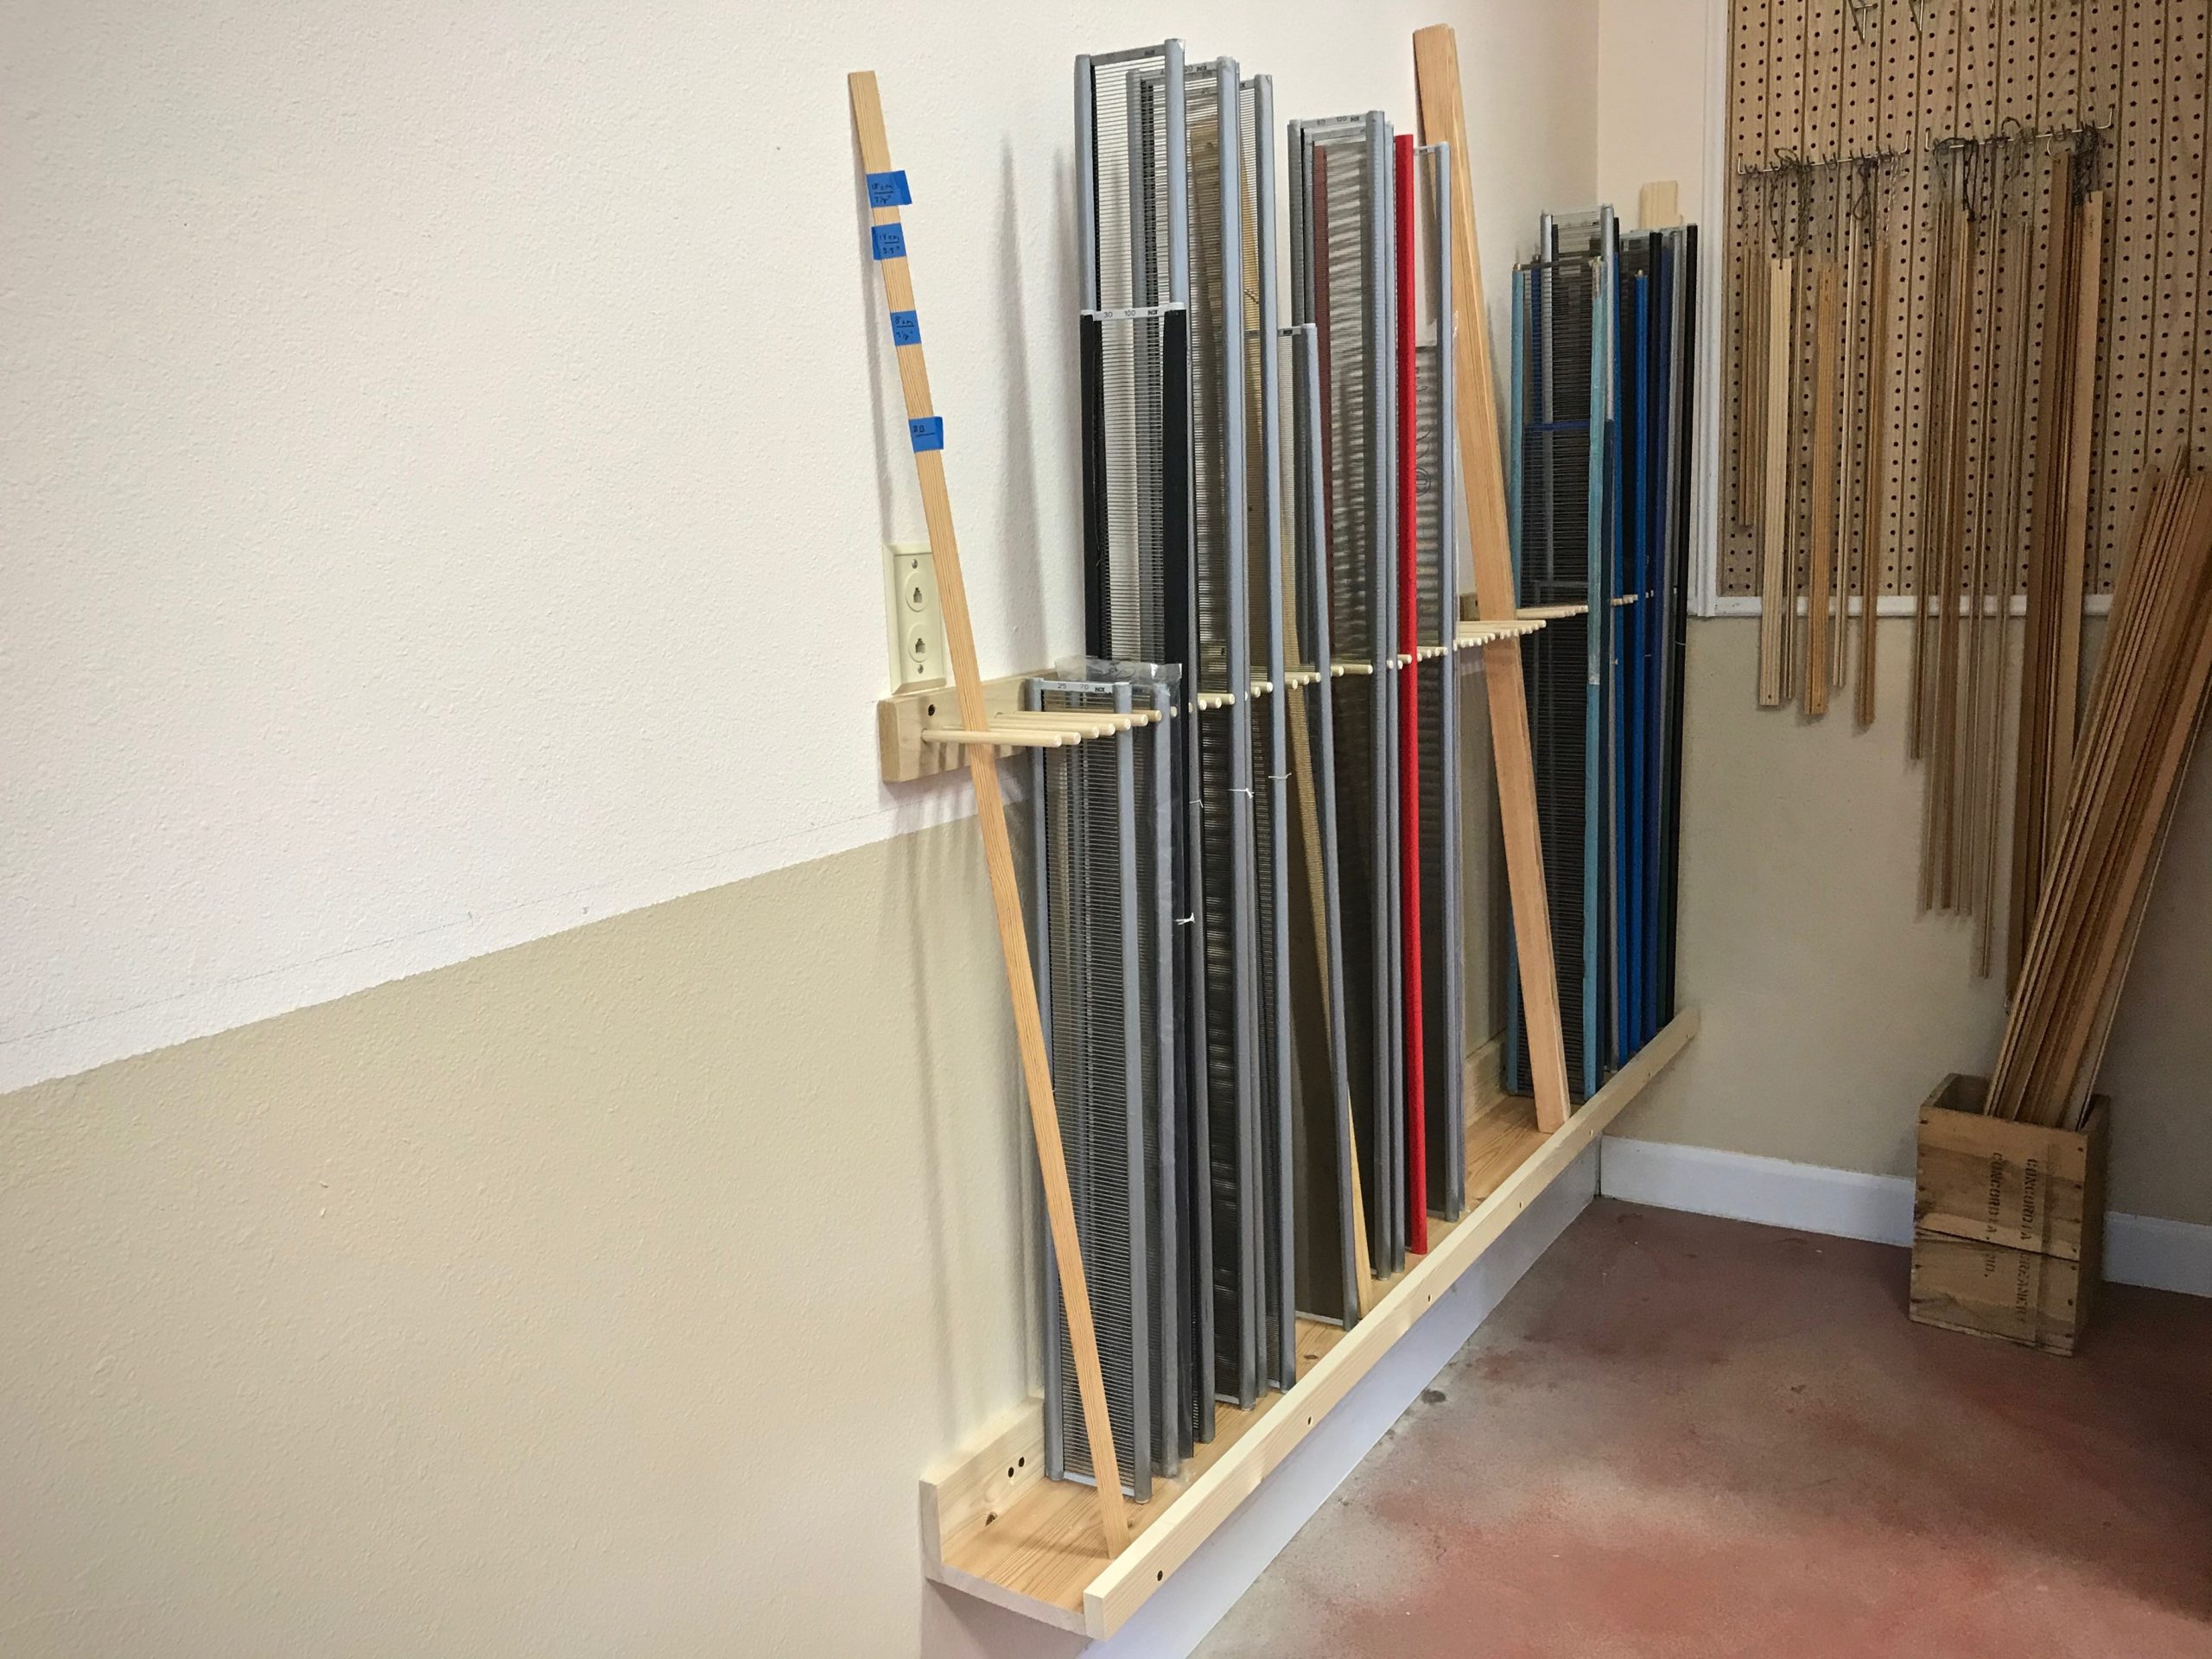
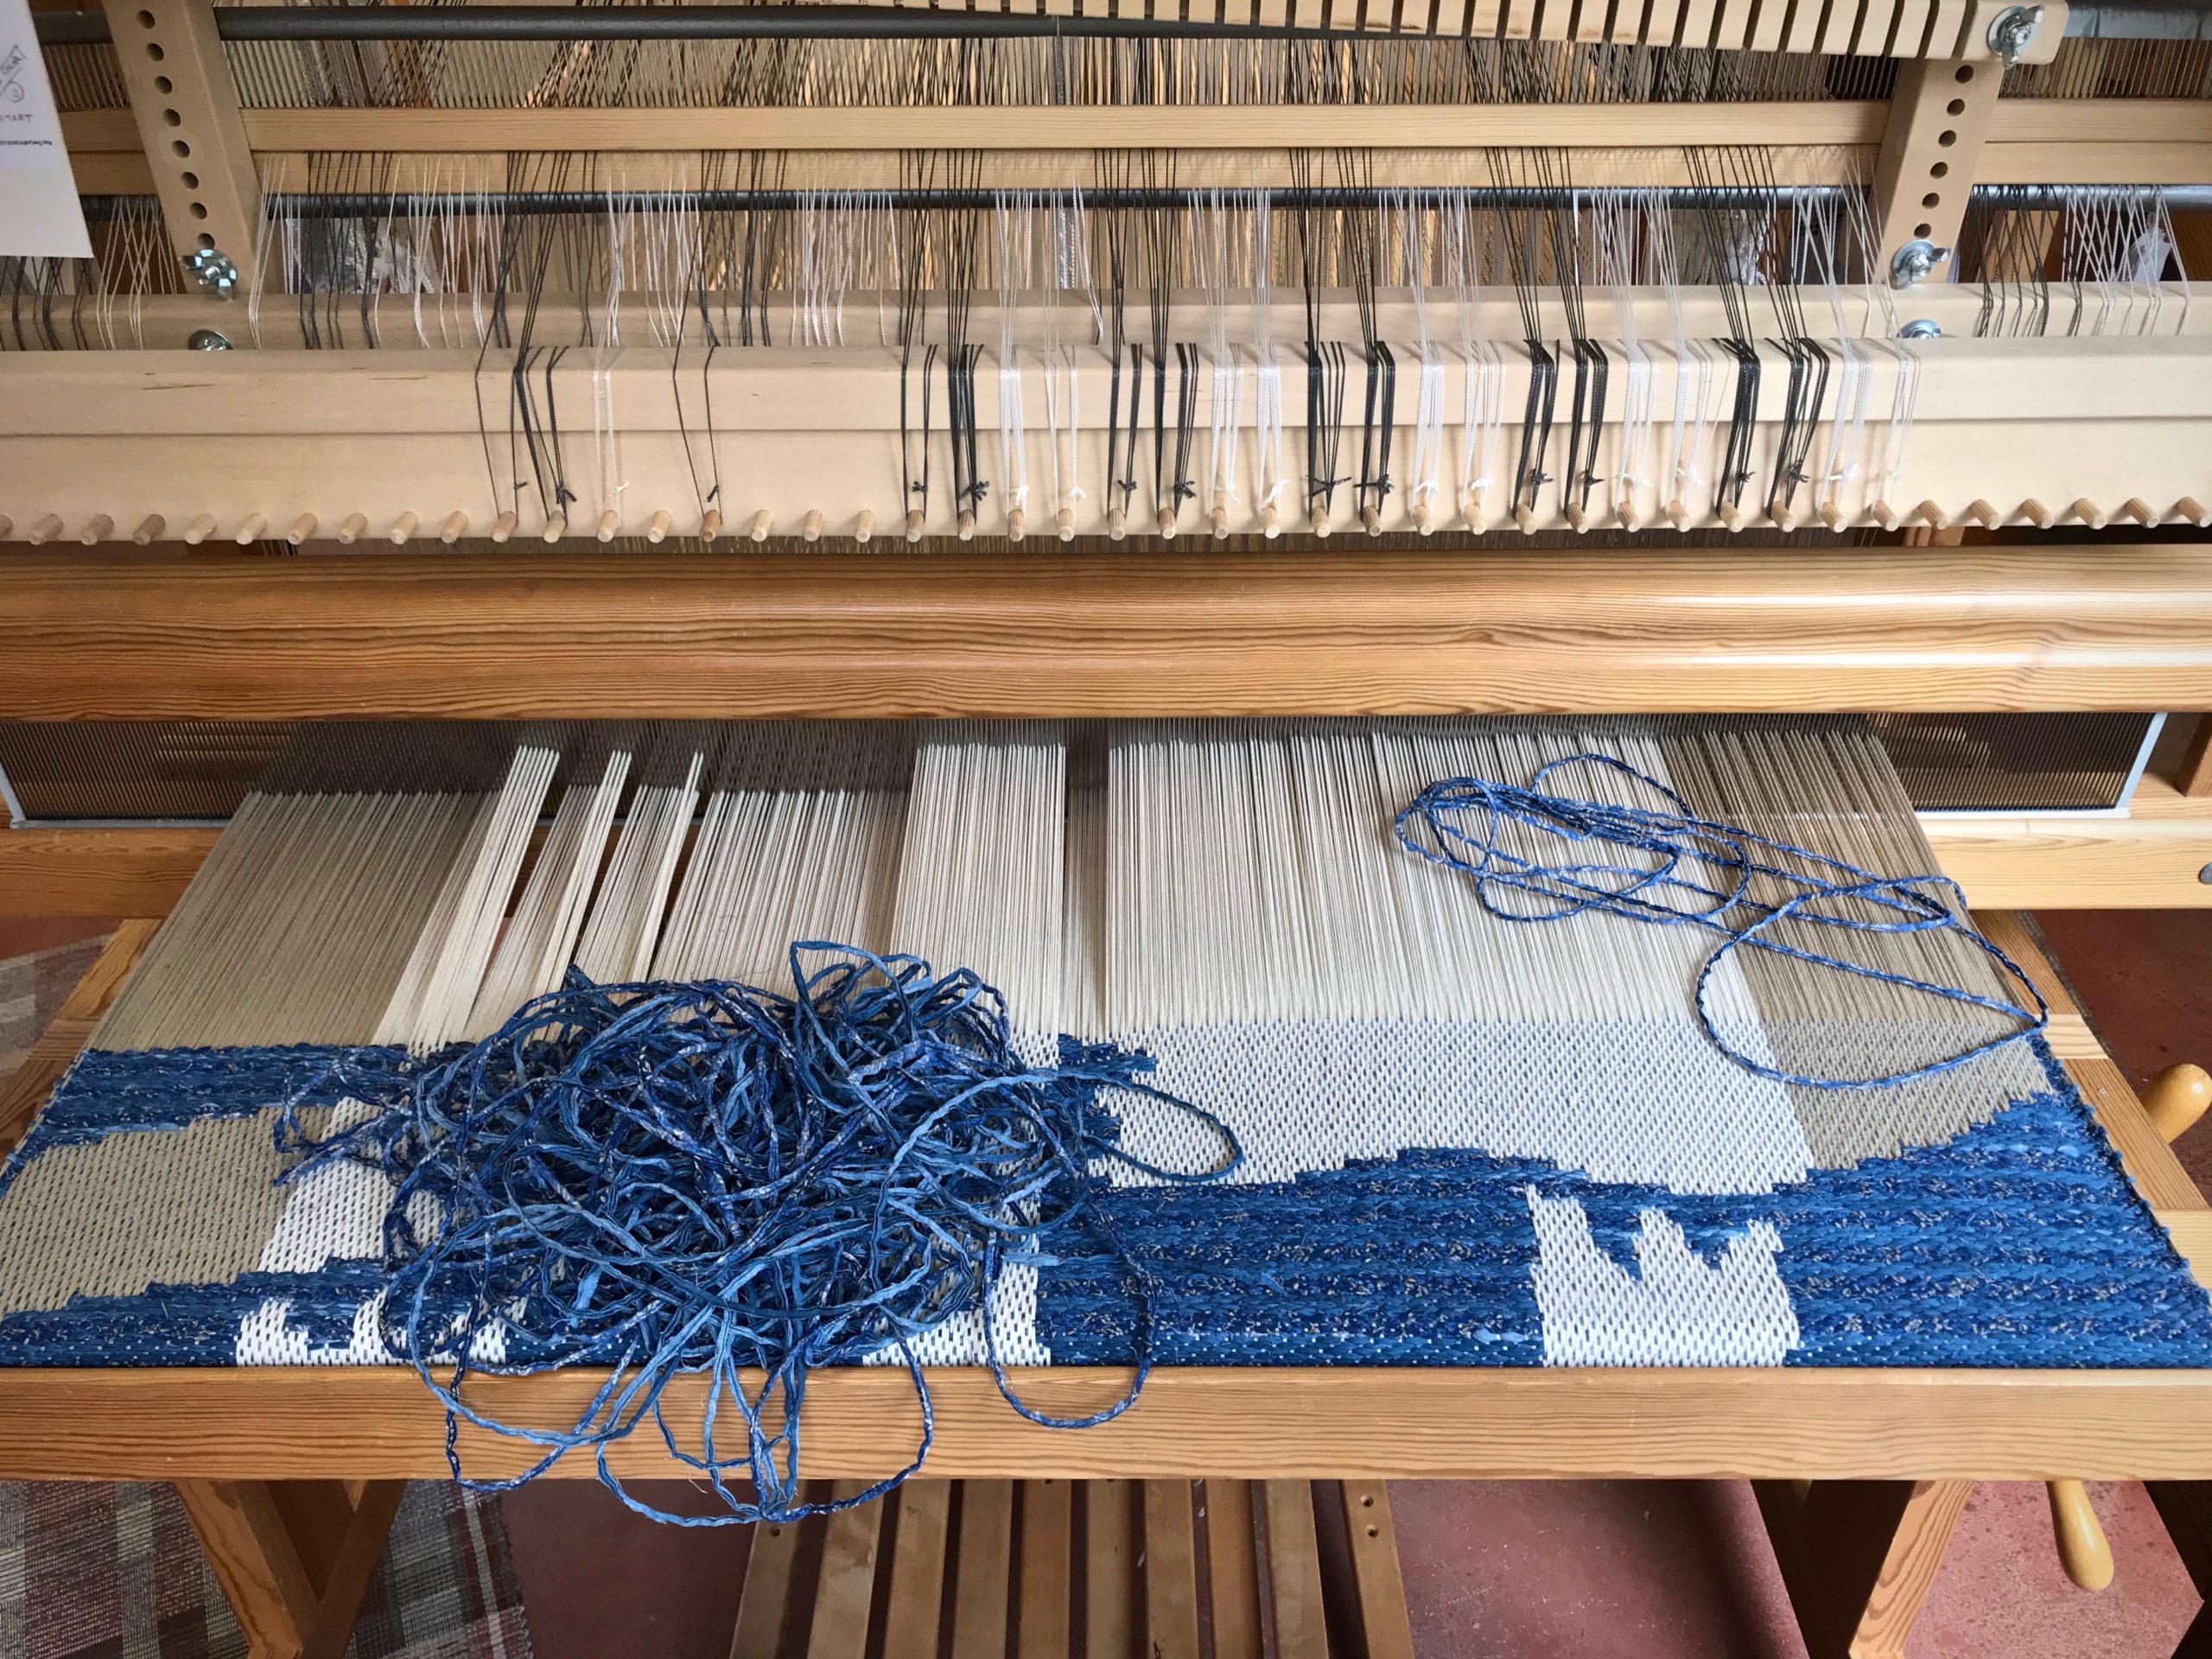
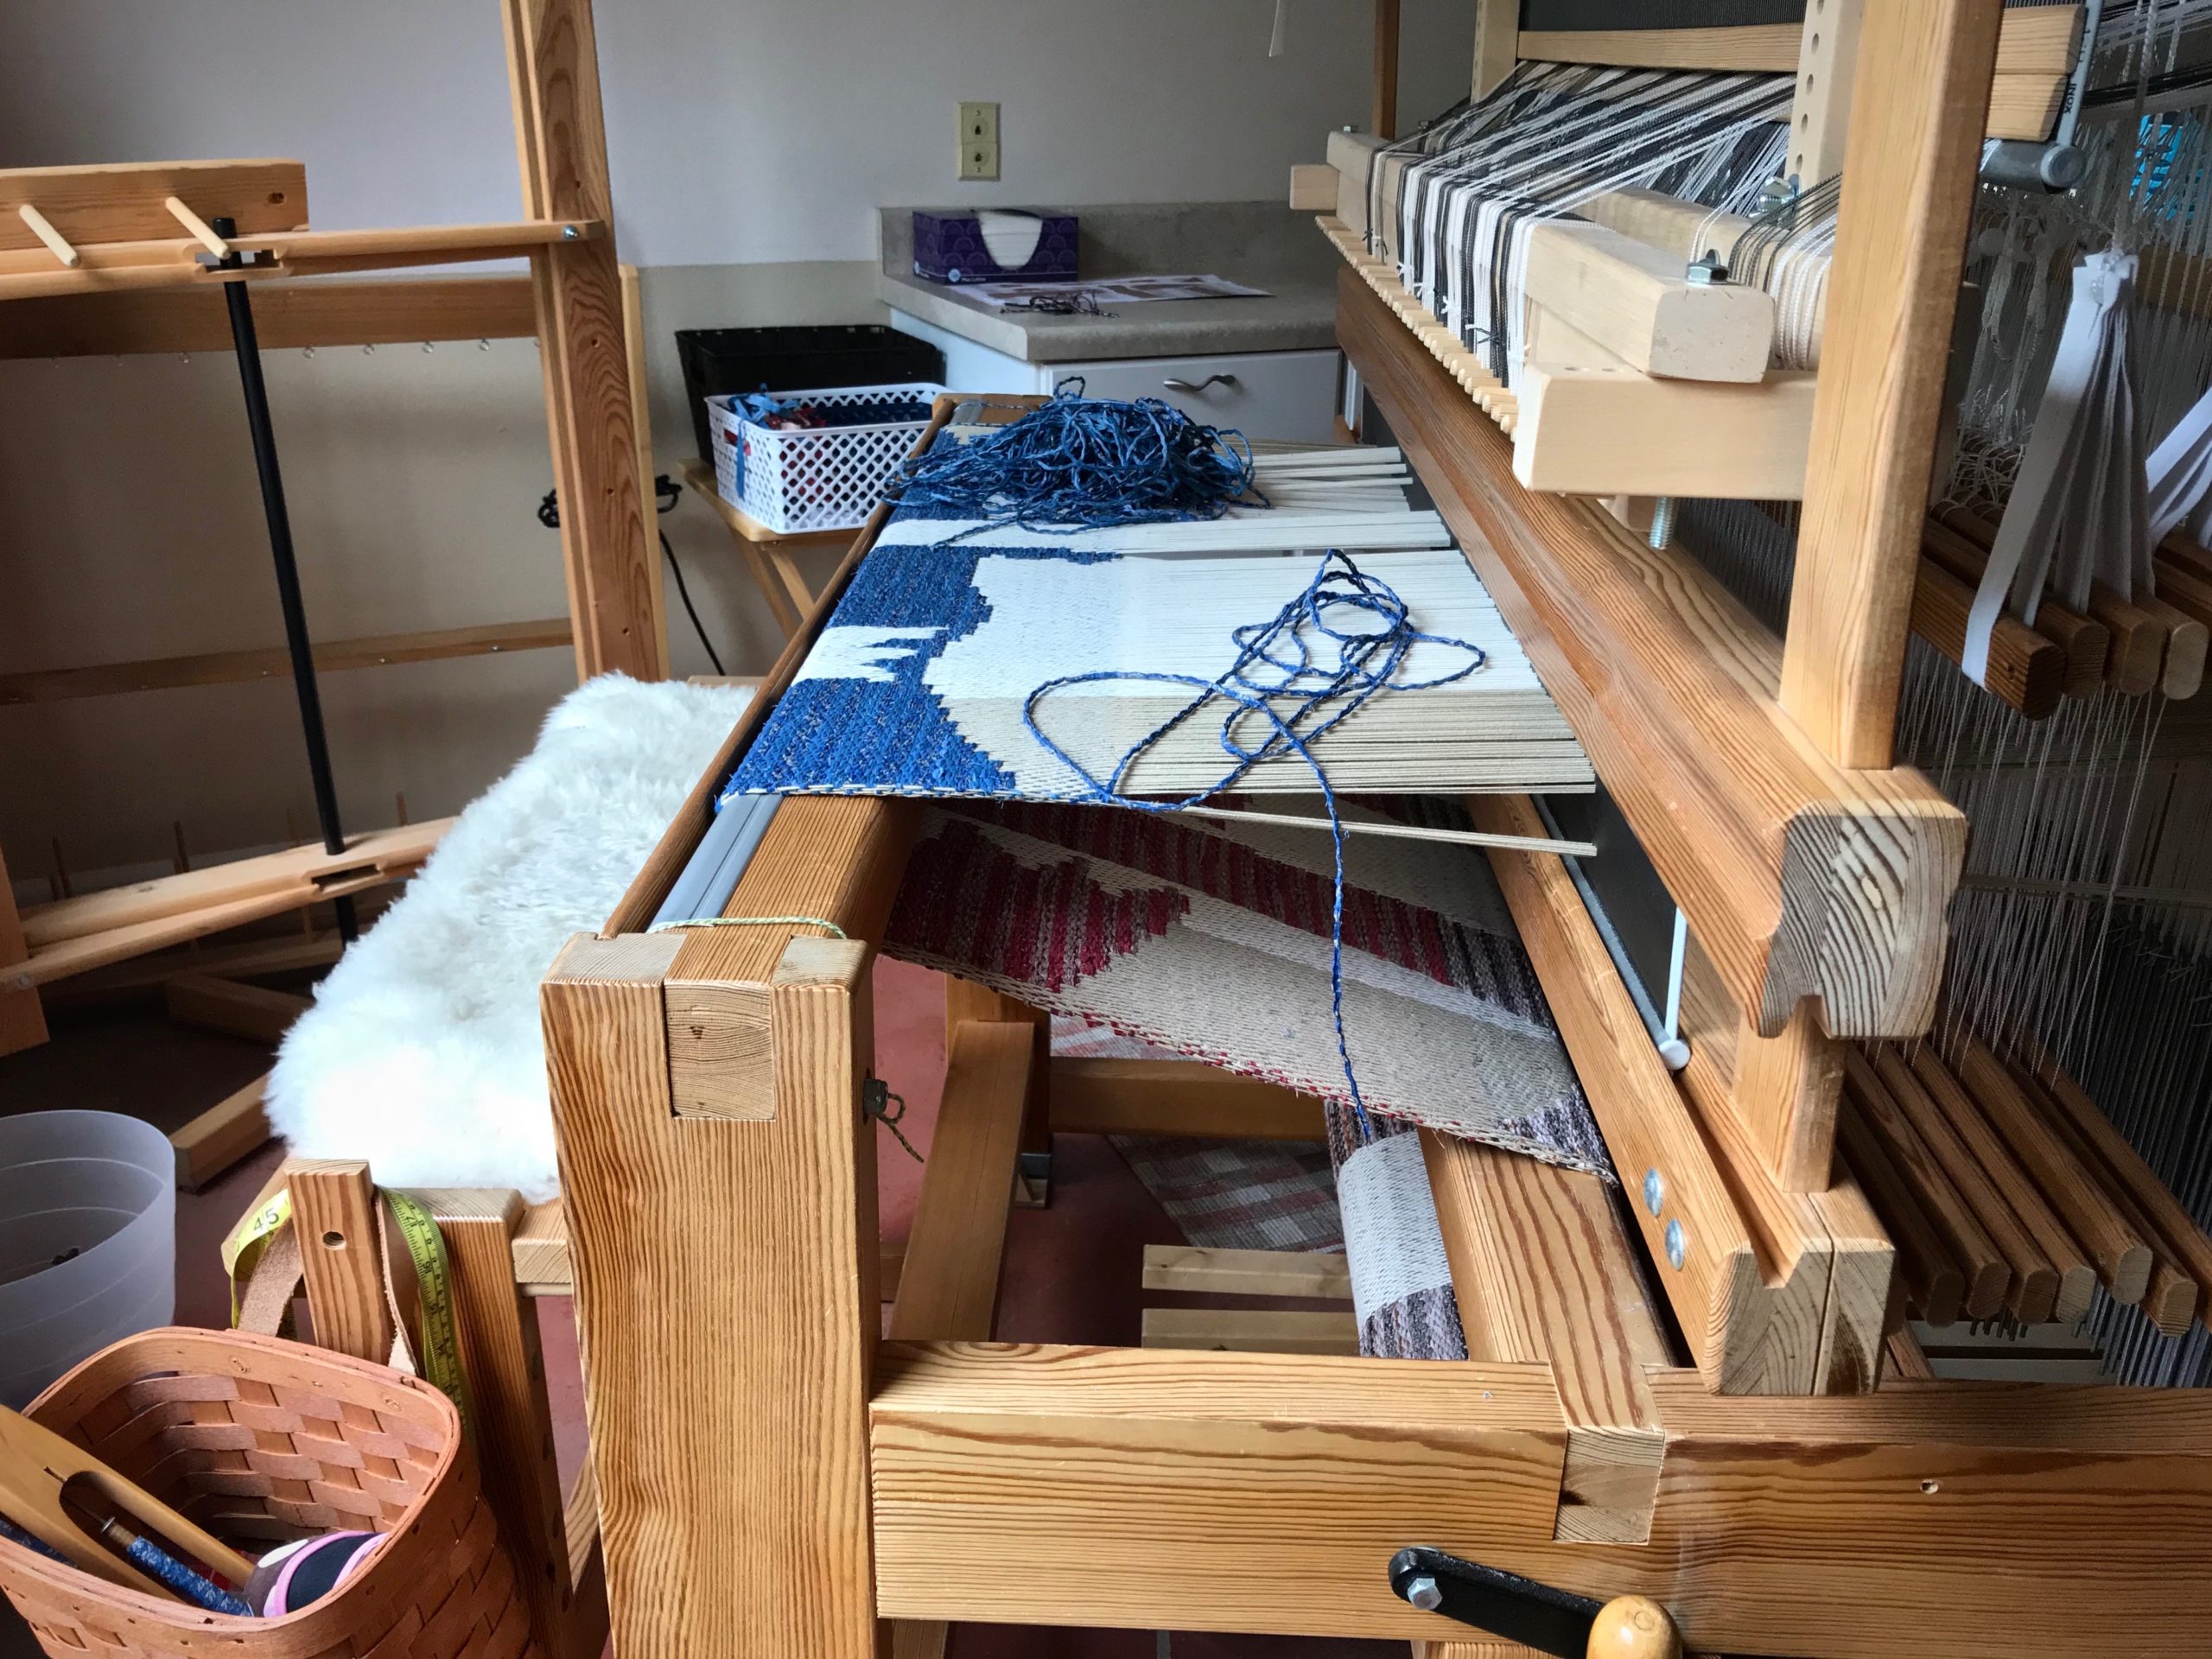
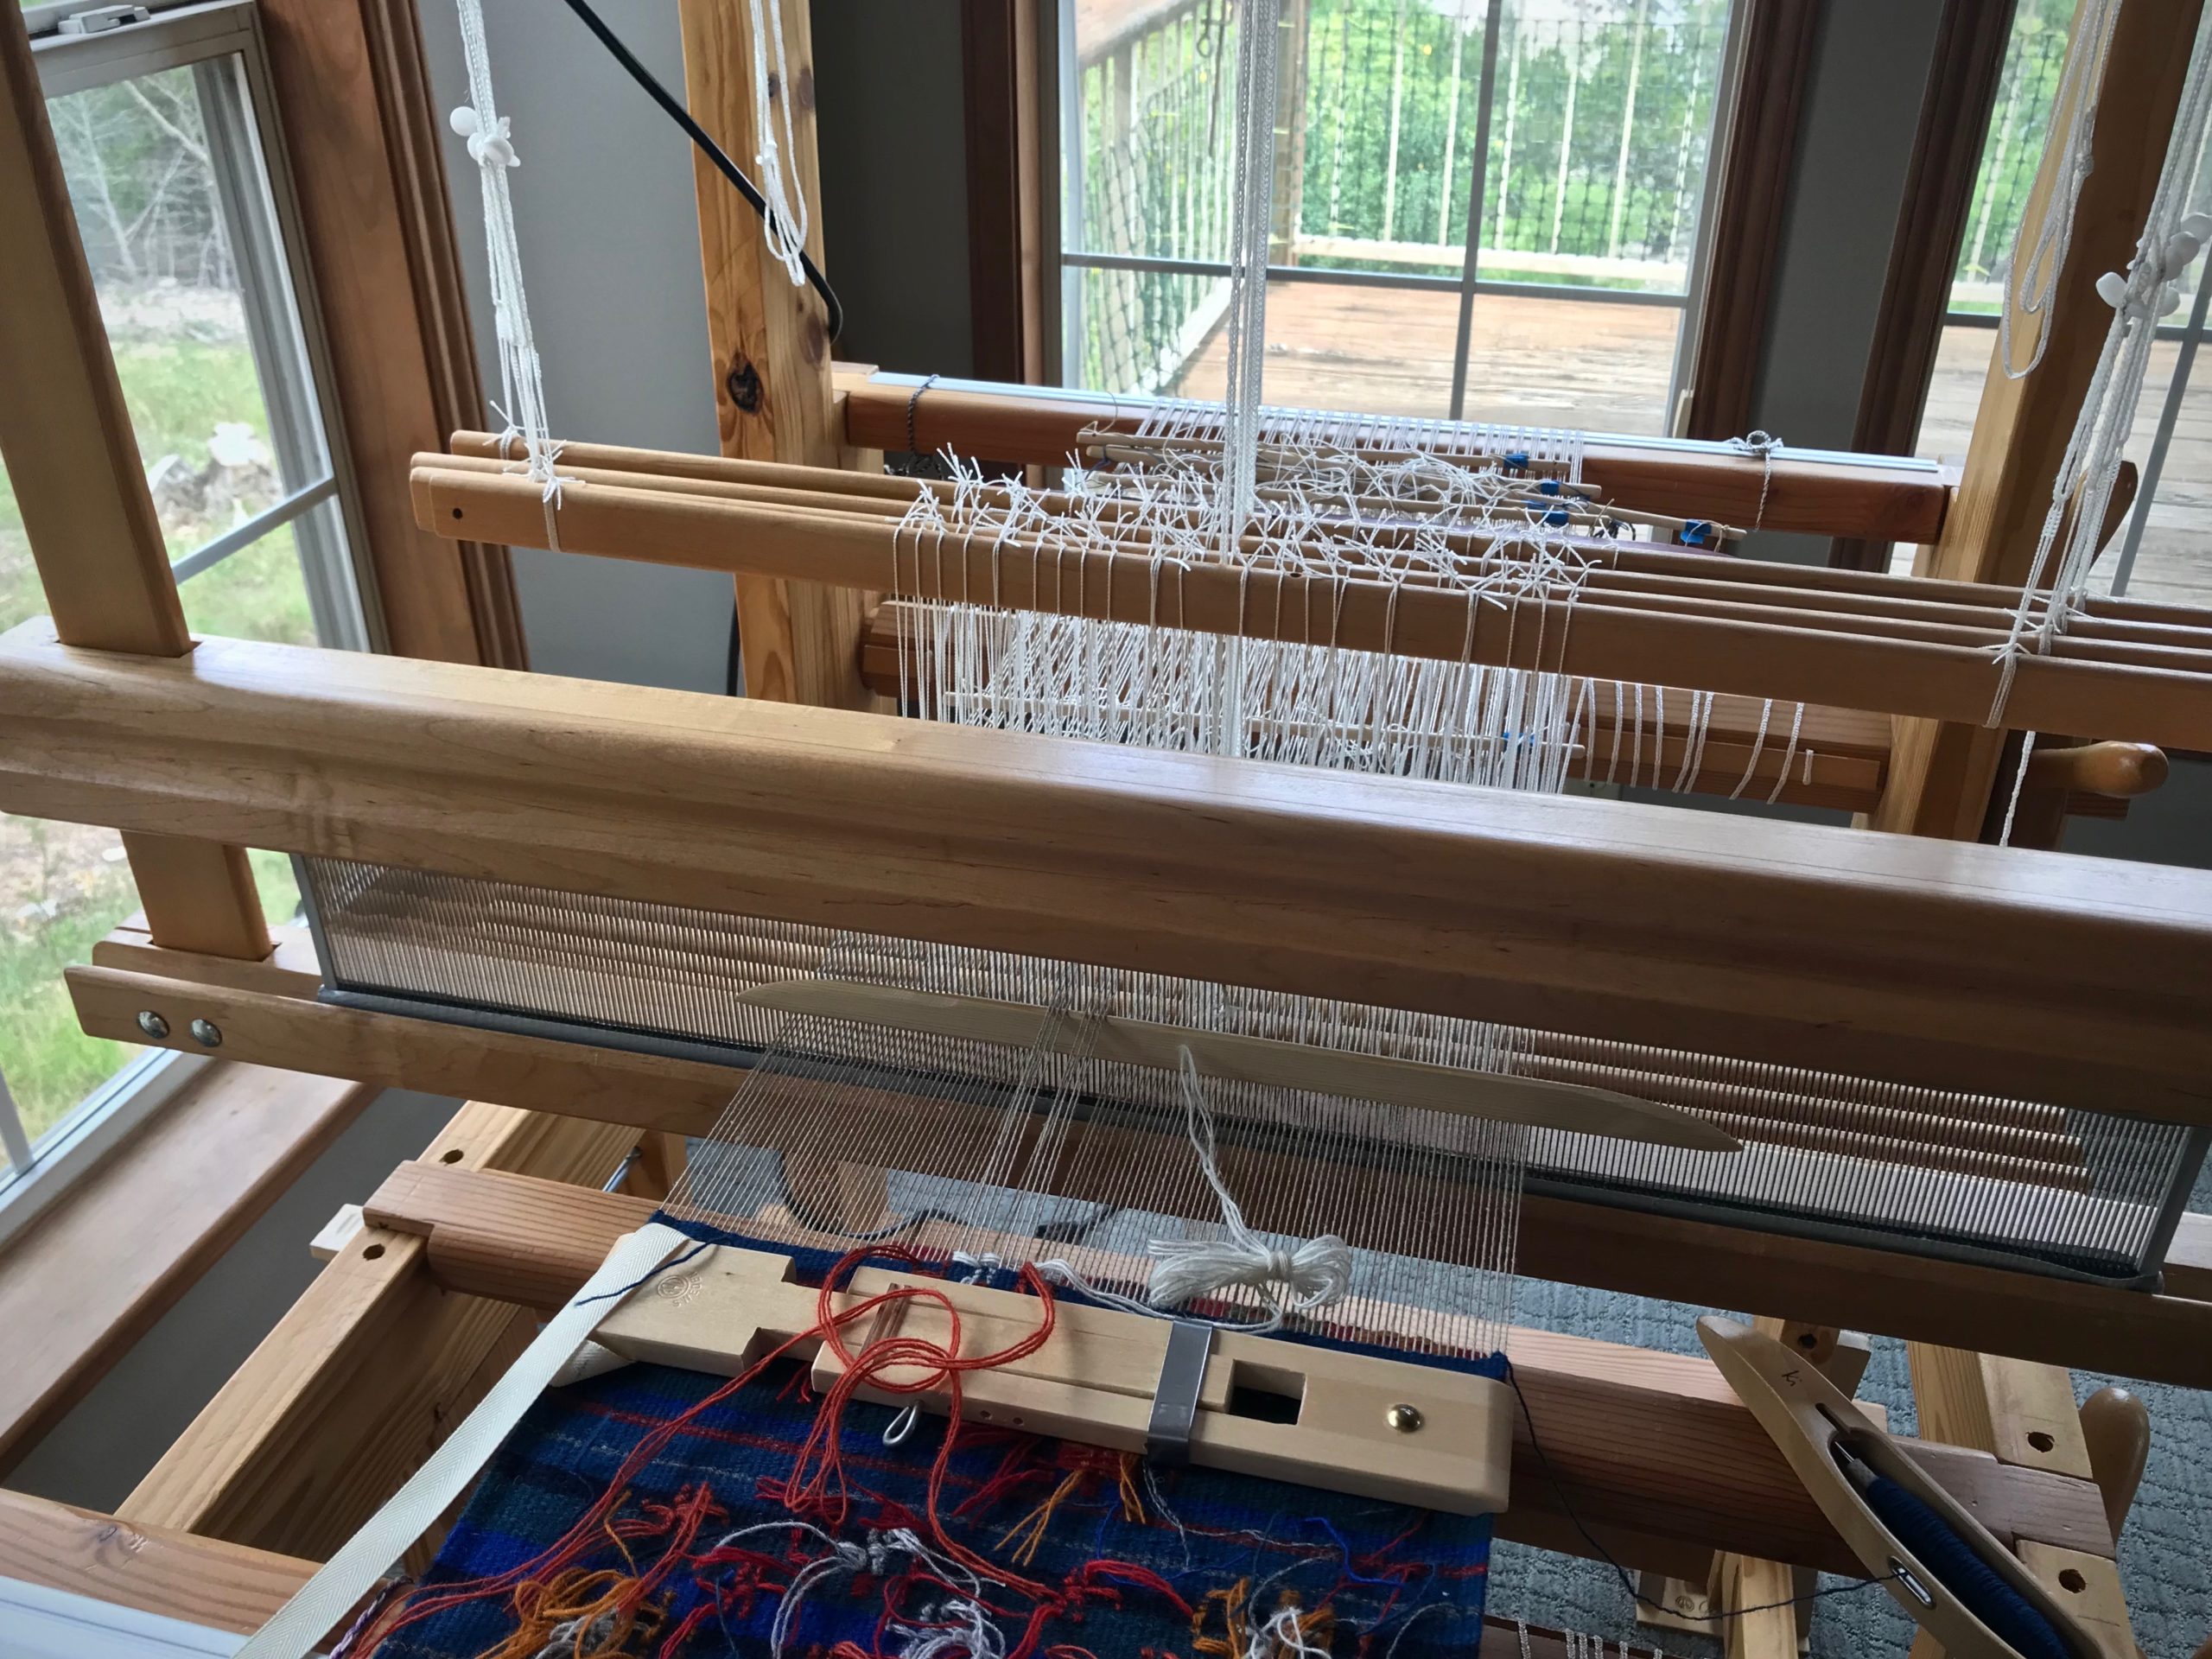
Remember Joanne Hall’s Swedish Art Weaves workshop that I took a few months ago? With the warp that was left, I explored some of the art weaves in more depth.

Monksbelt (Munkabälte), Dukagång, and Halvkrabba can be seen below the warp.

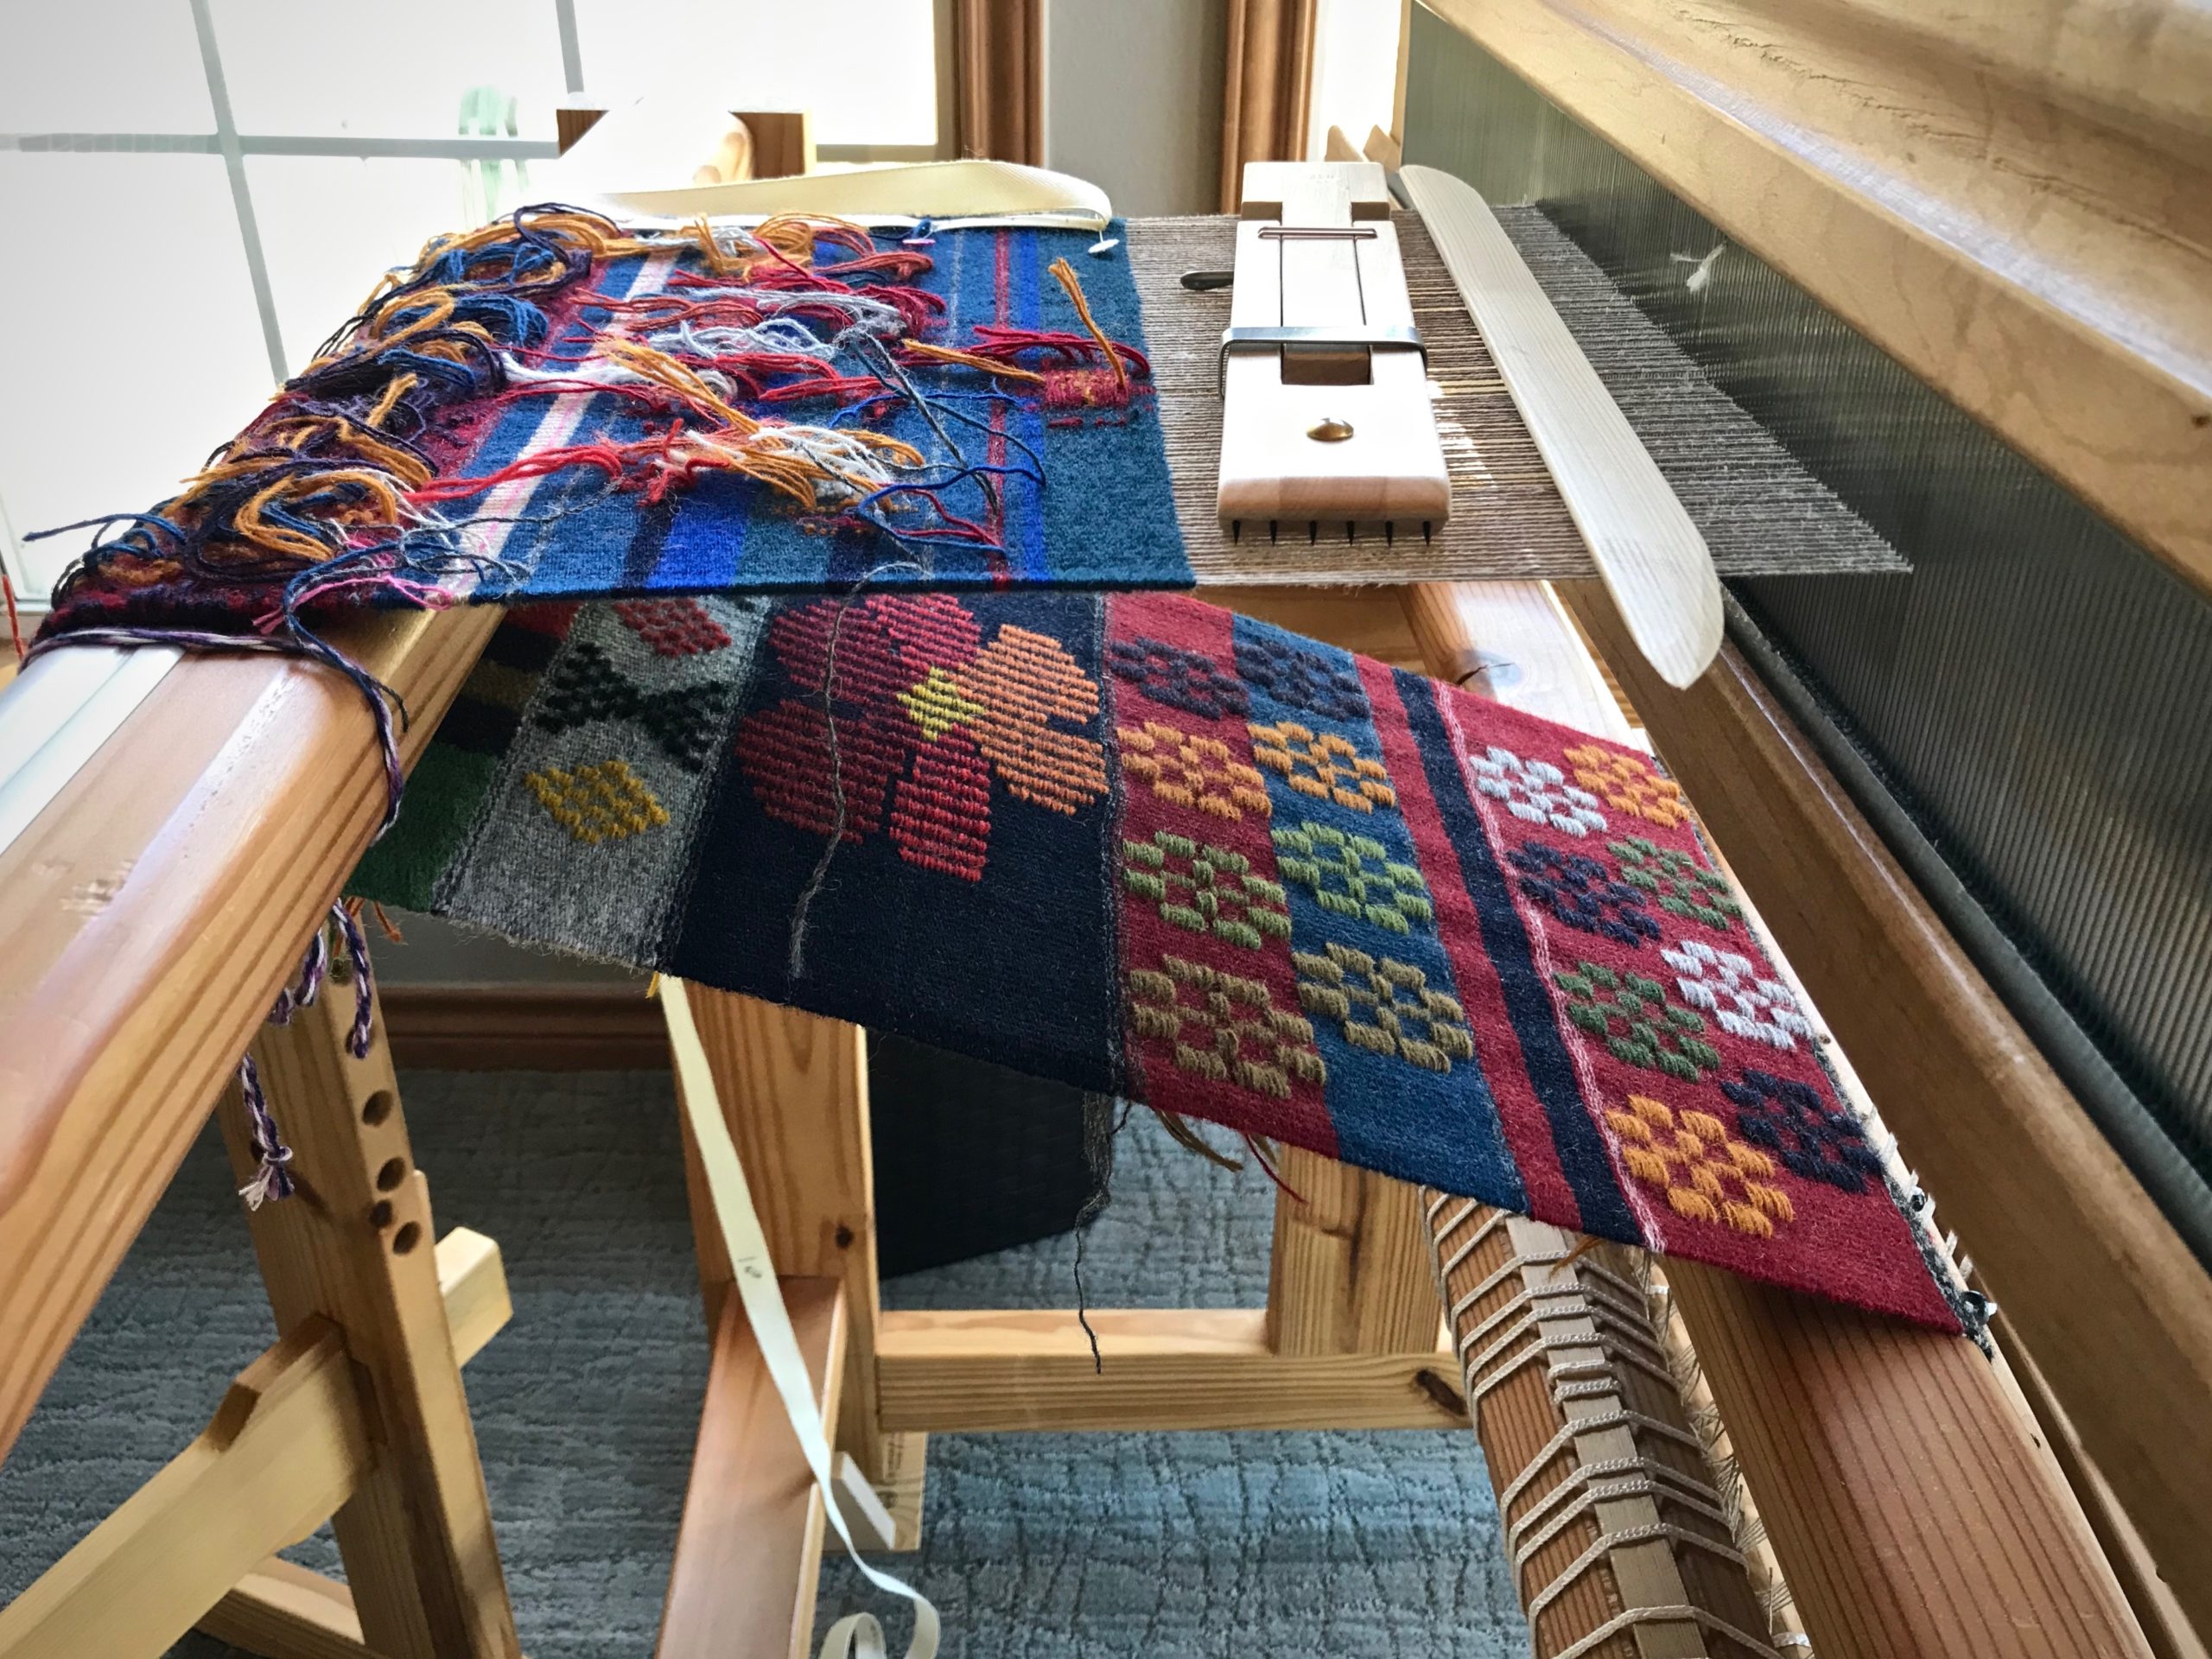
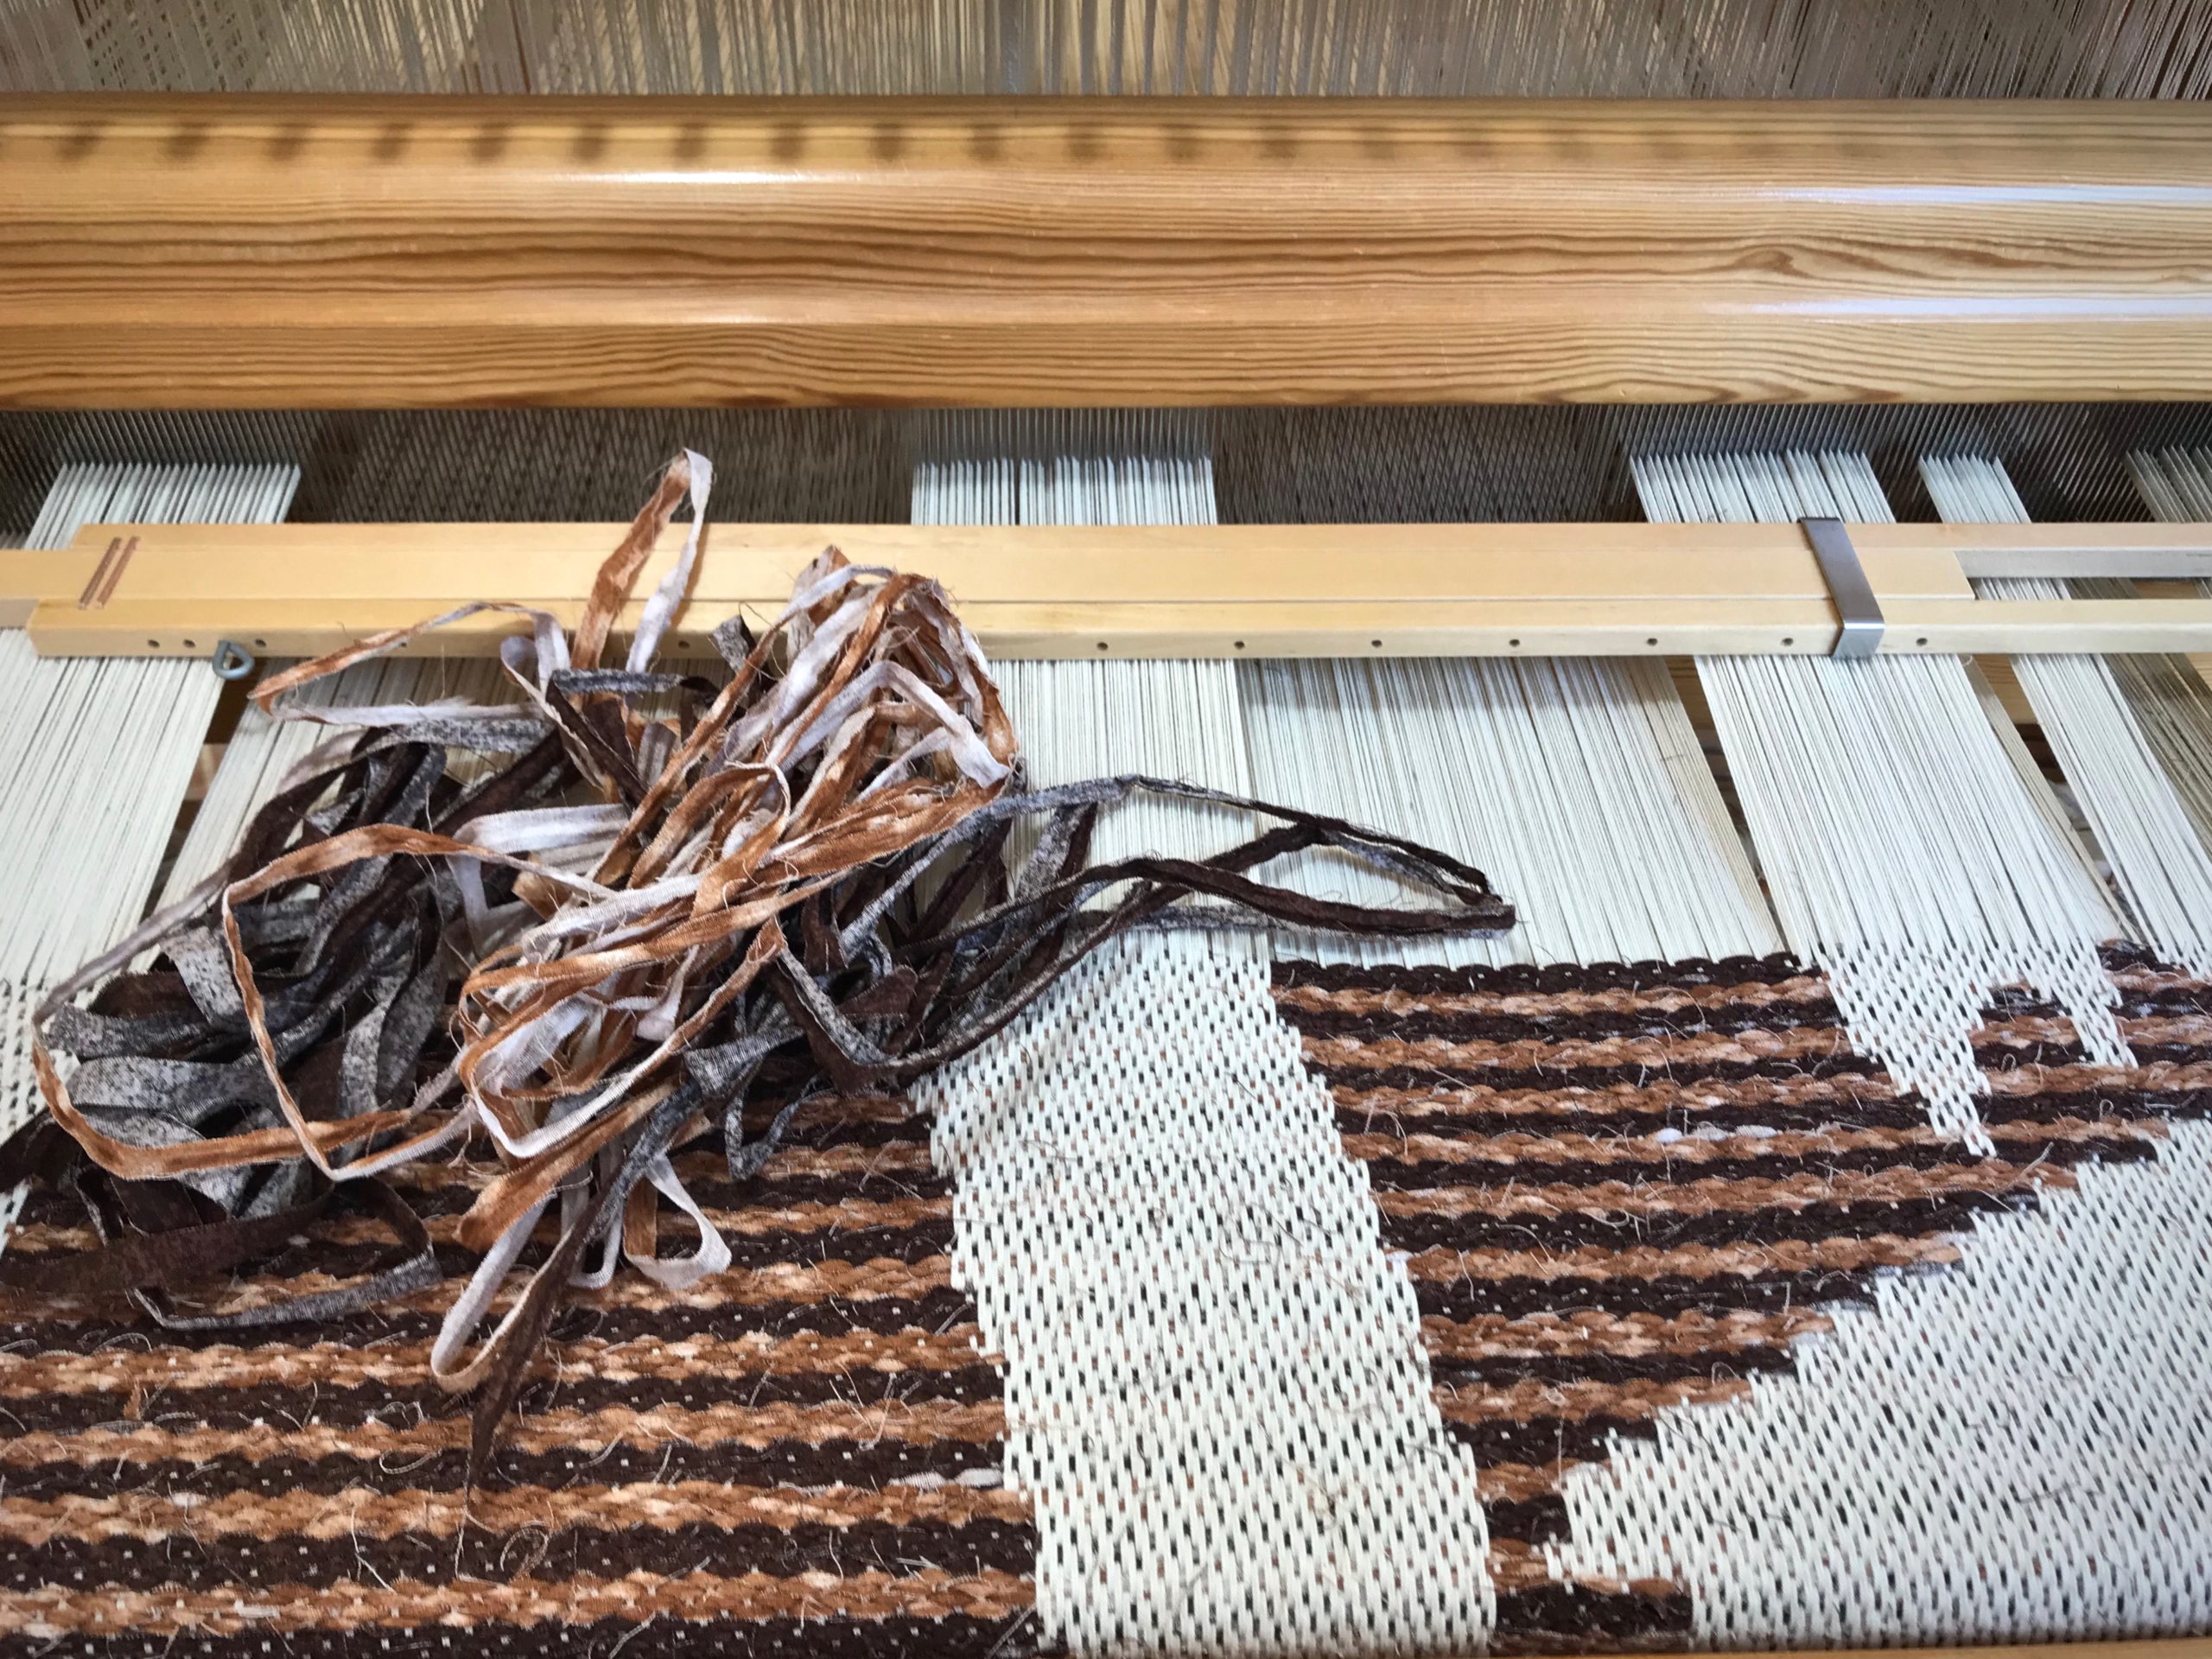
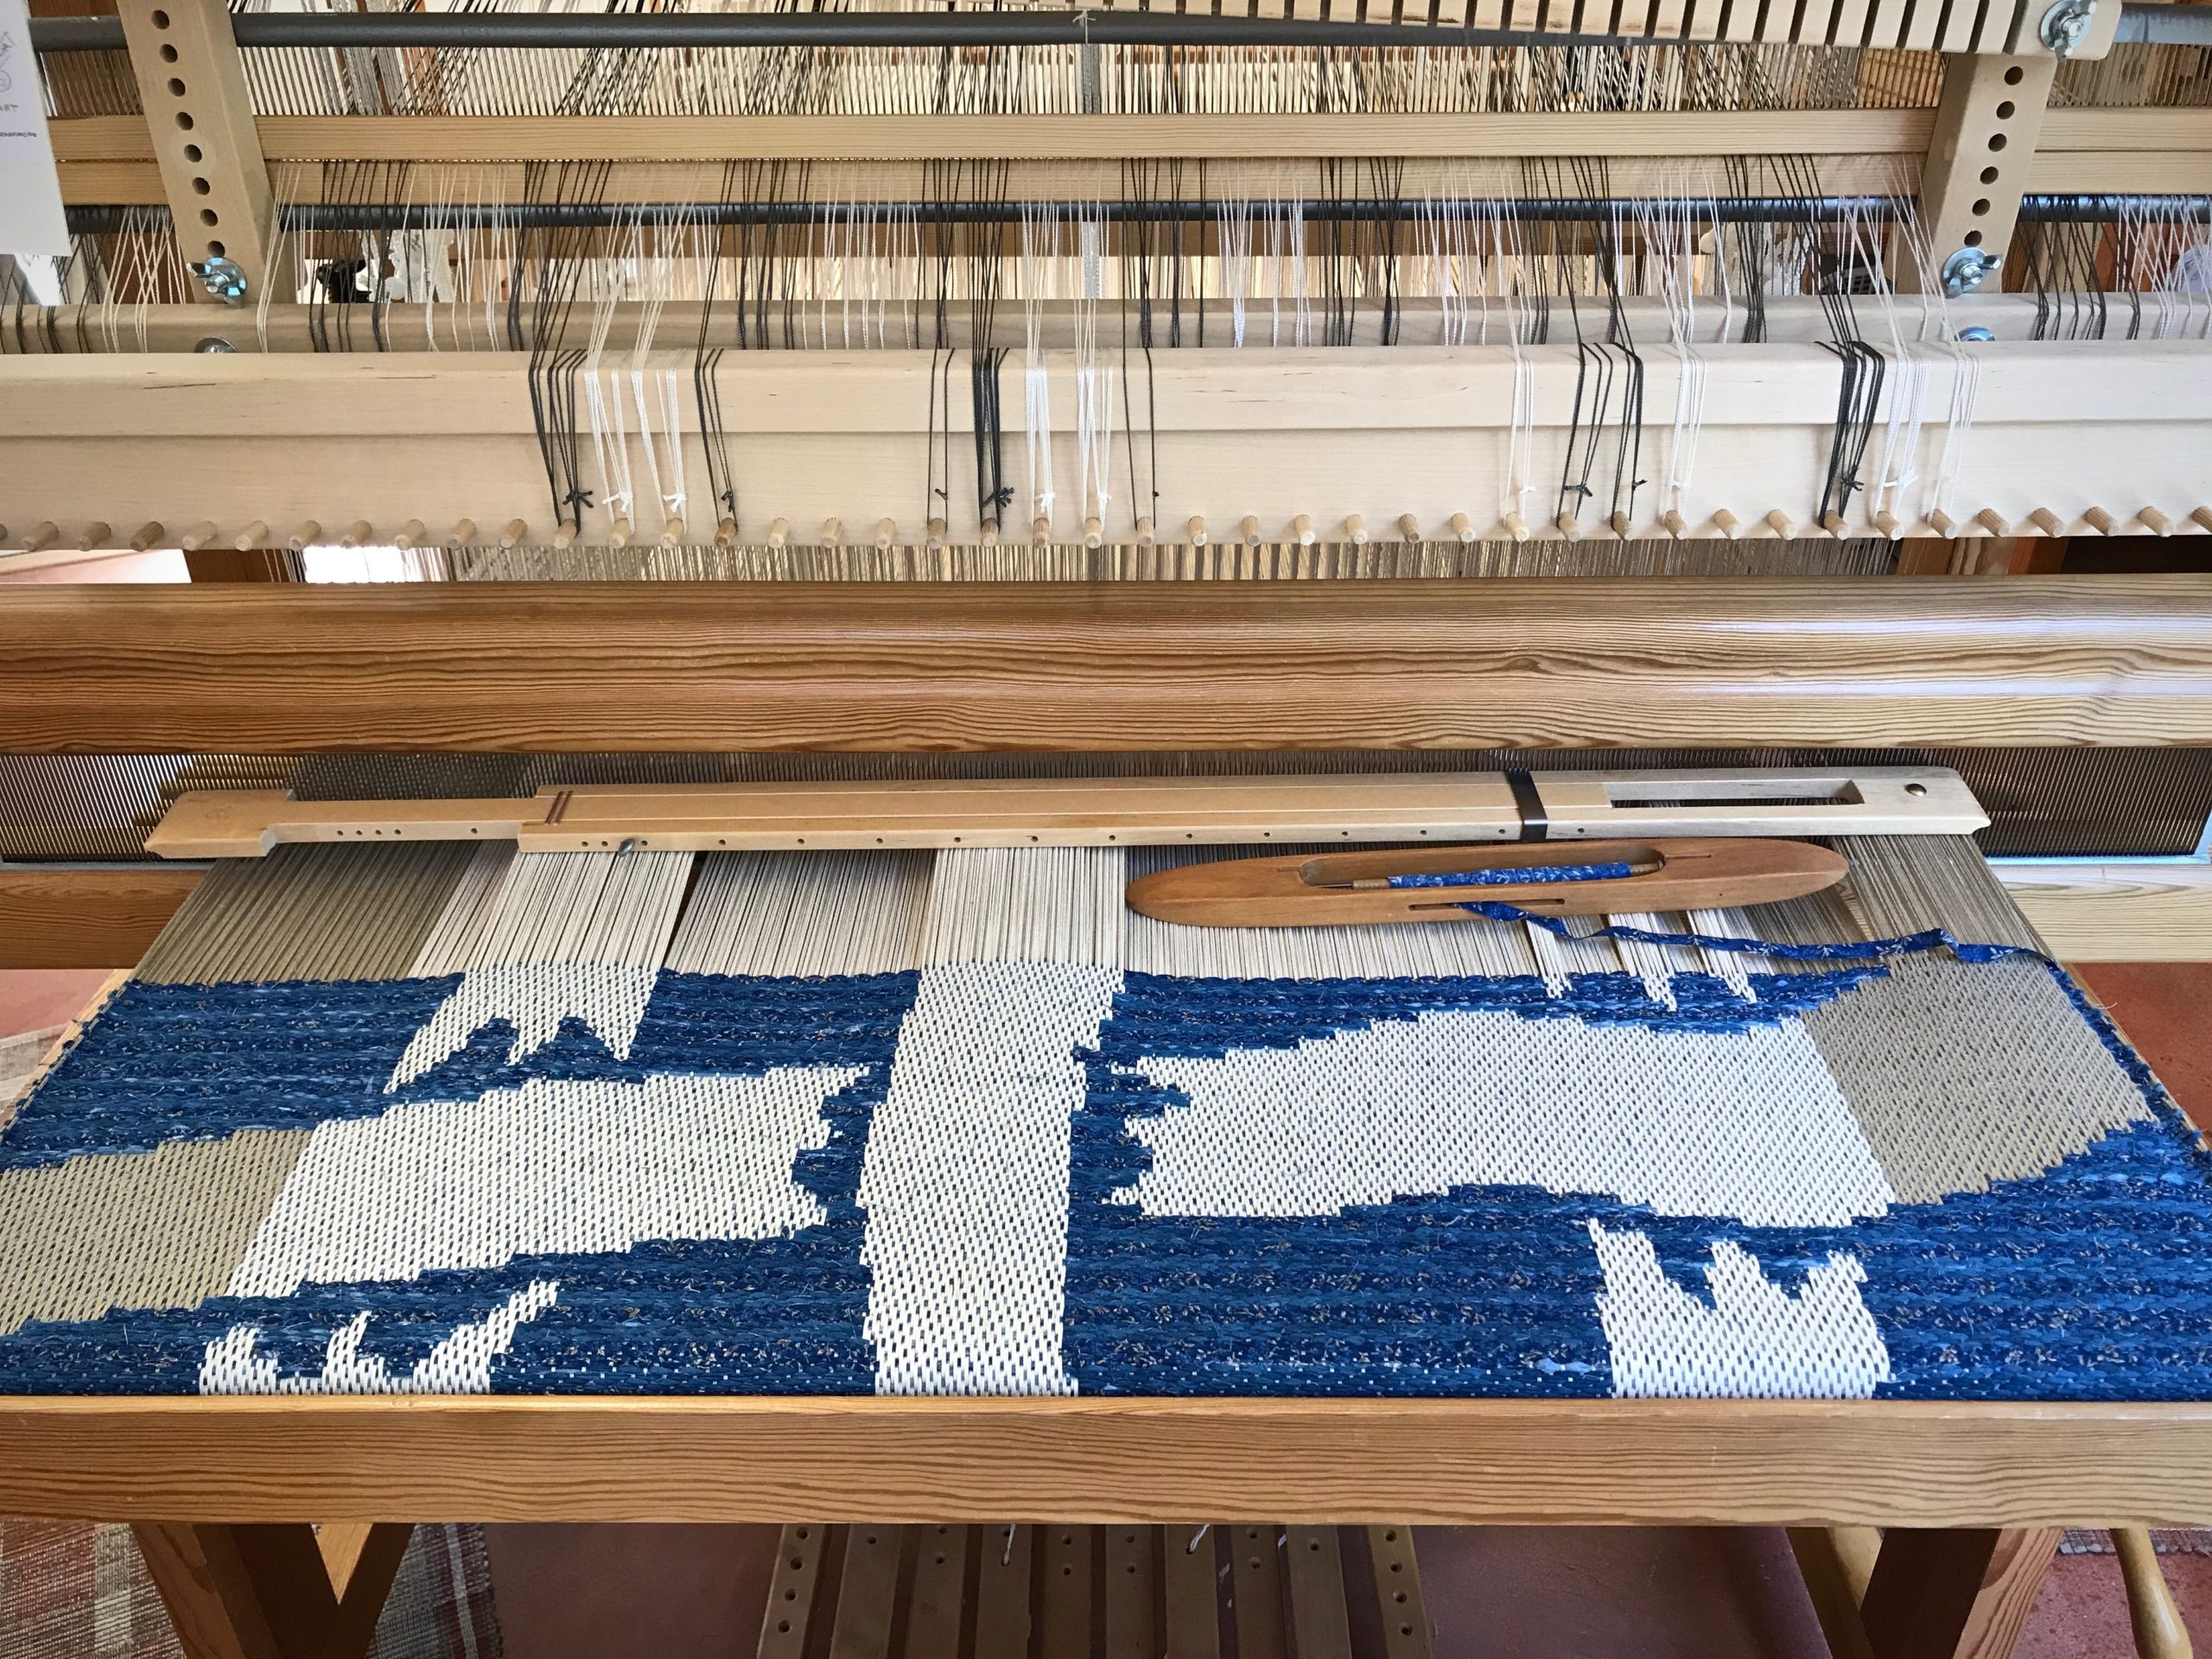
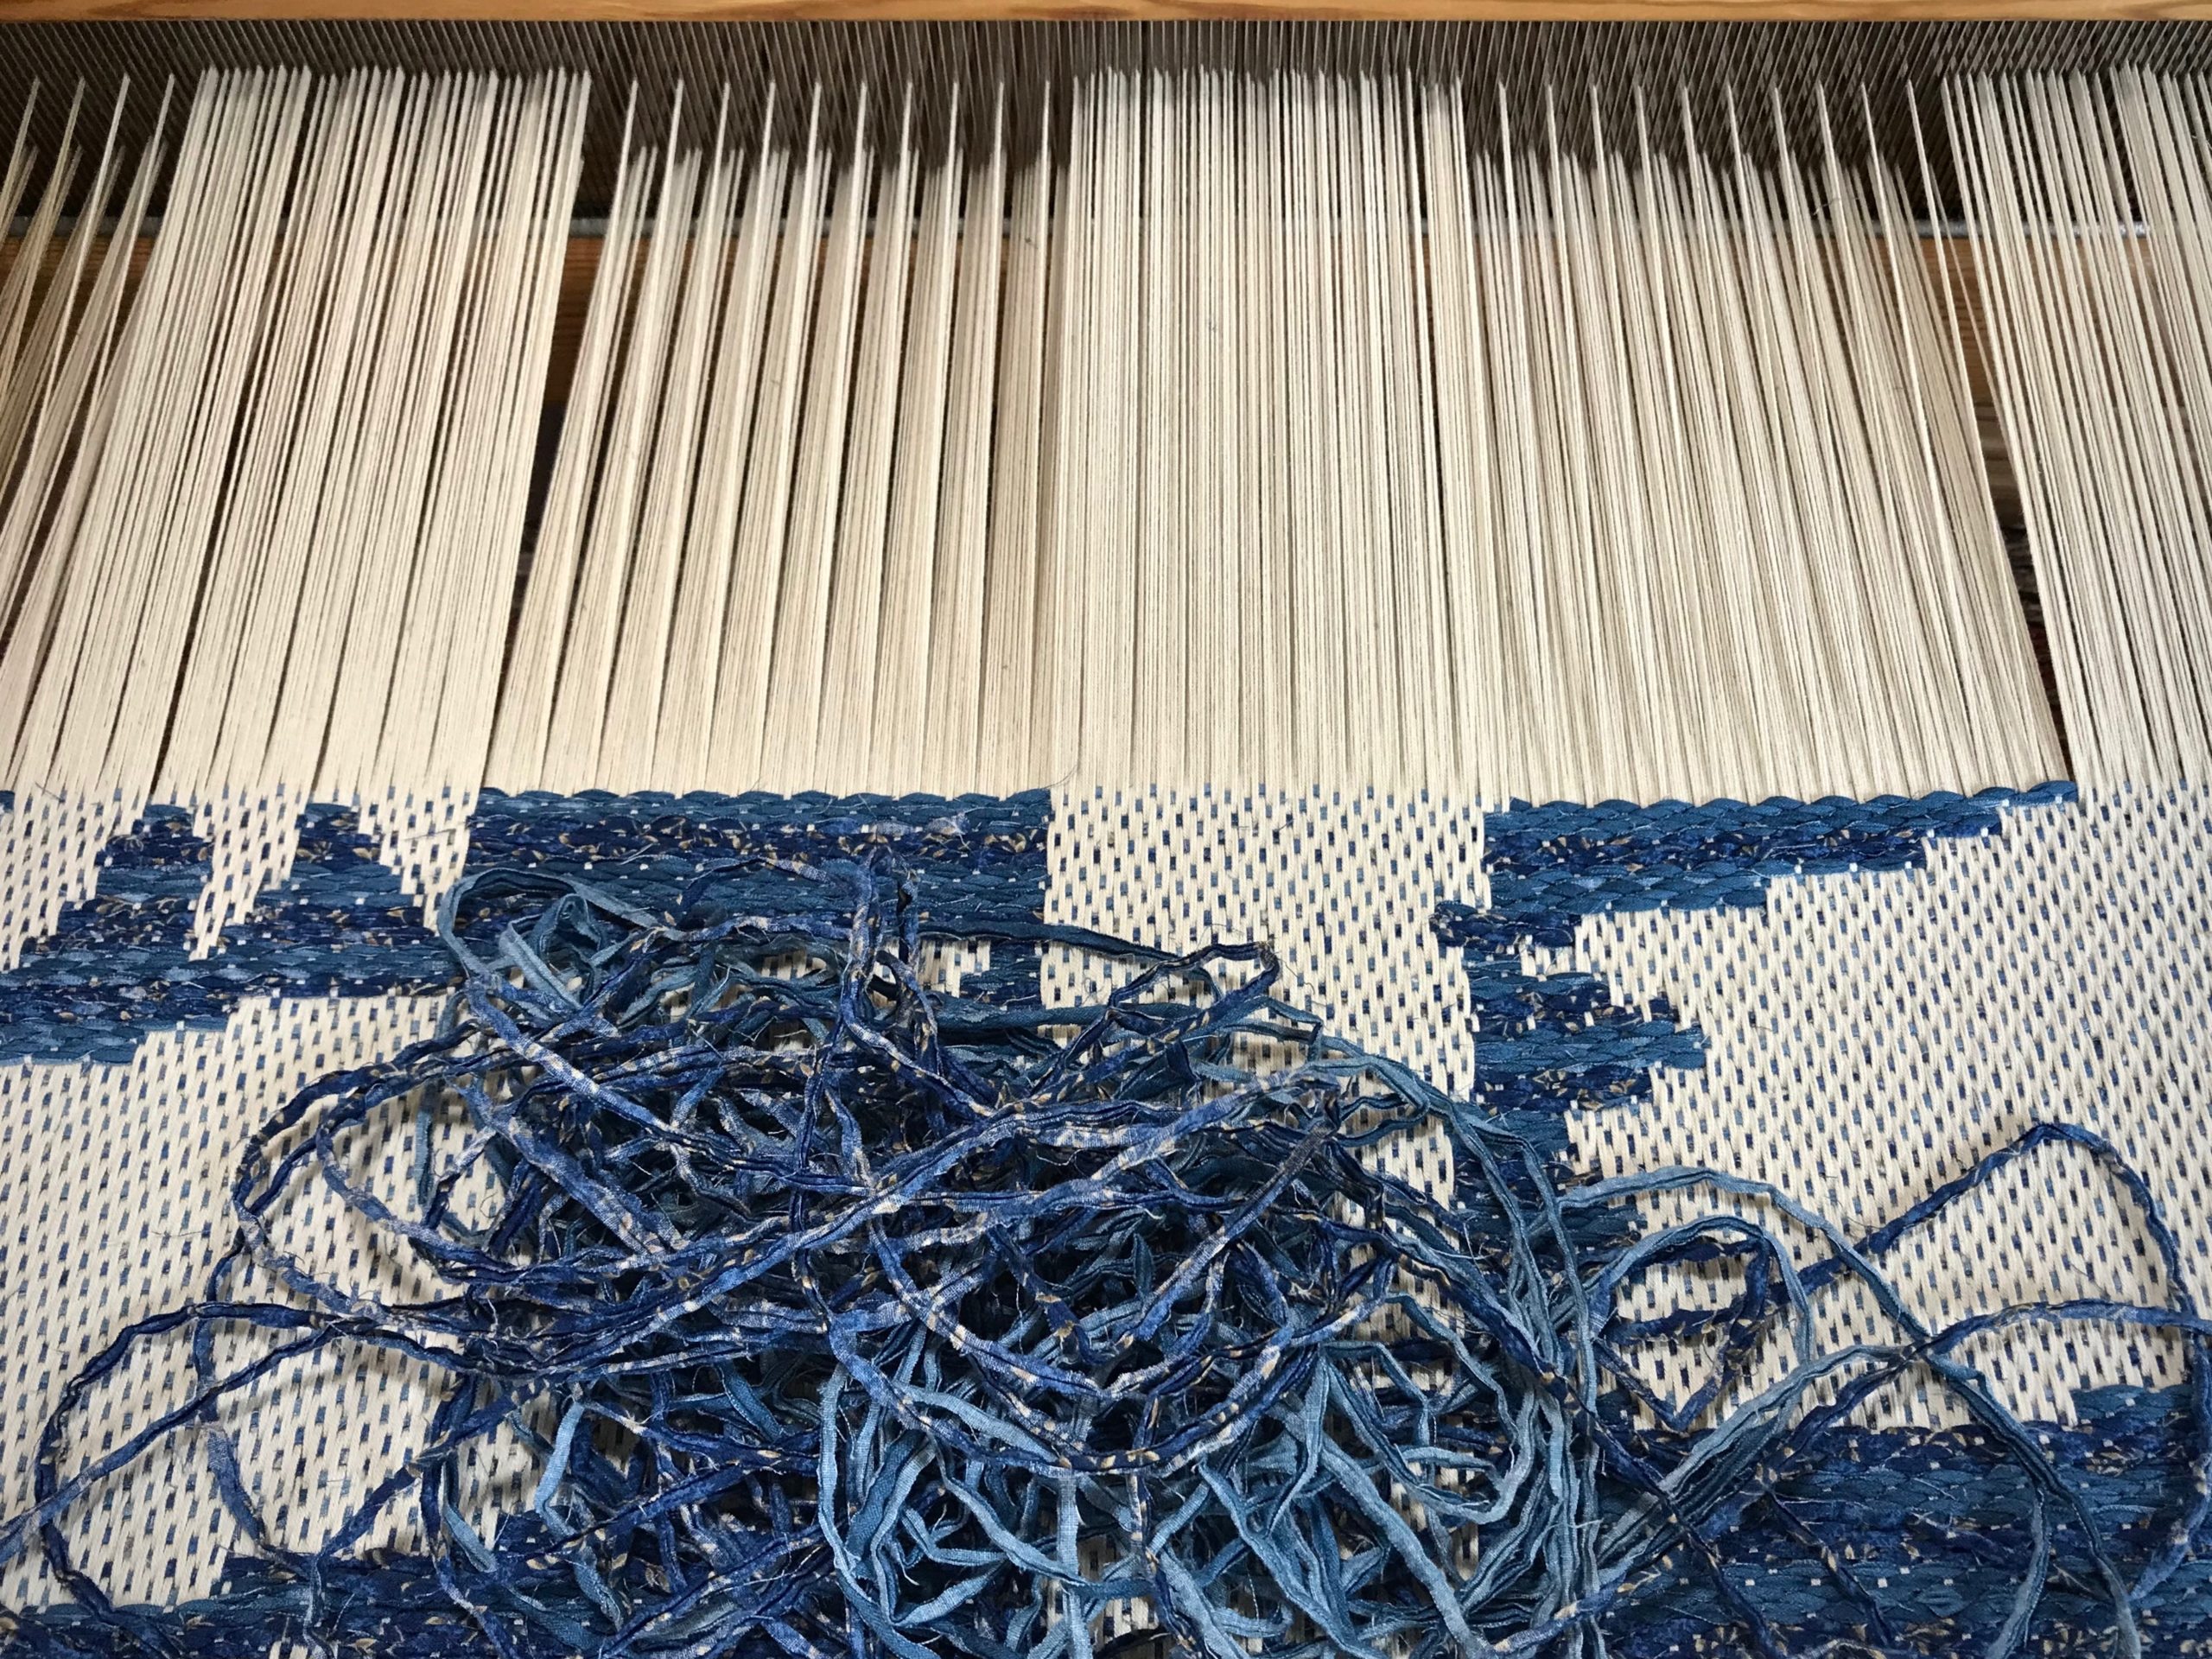
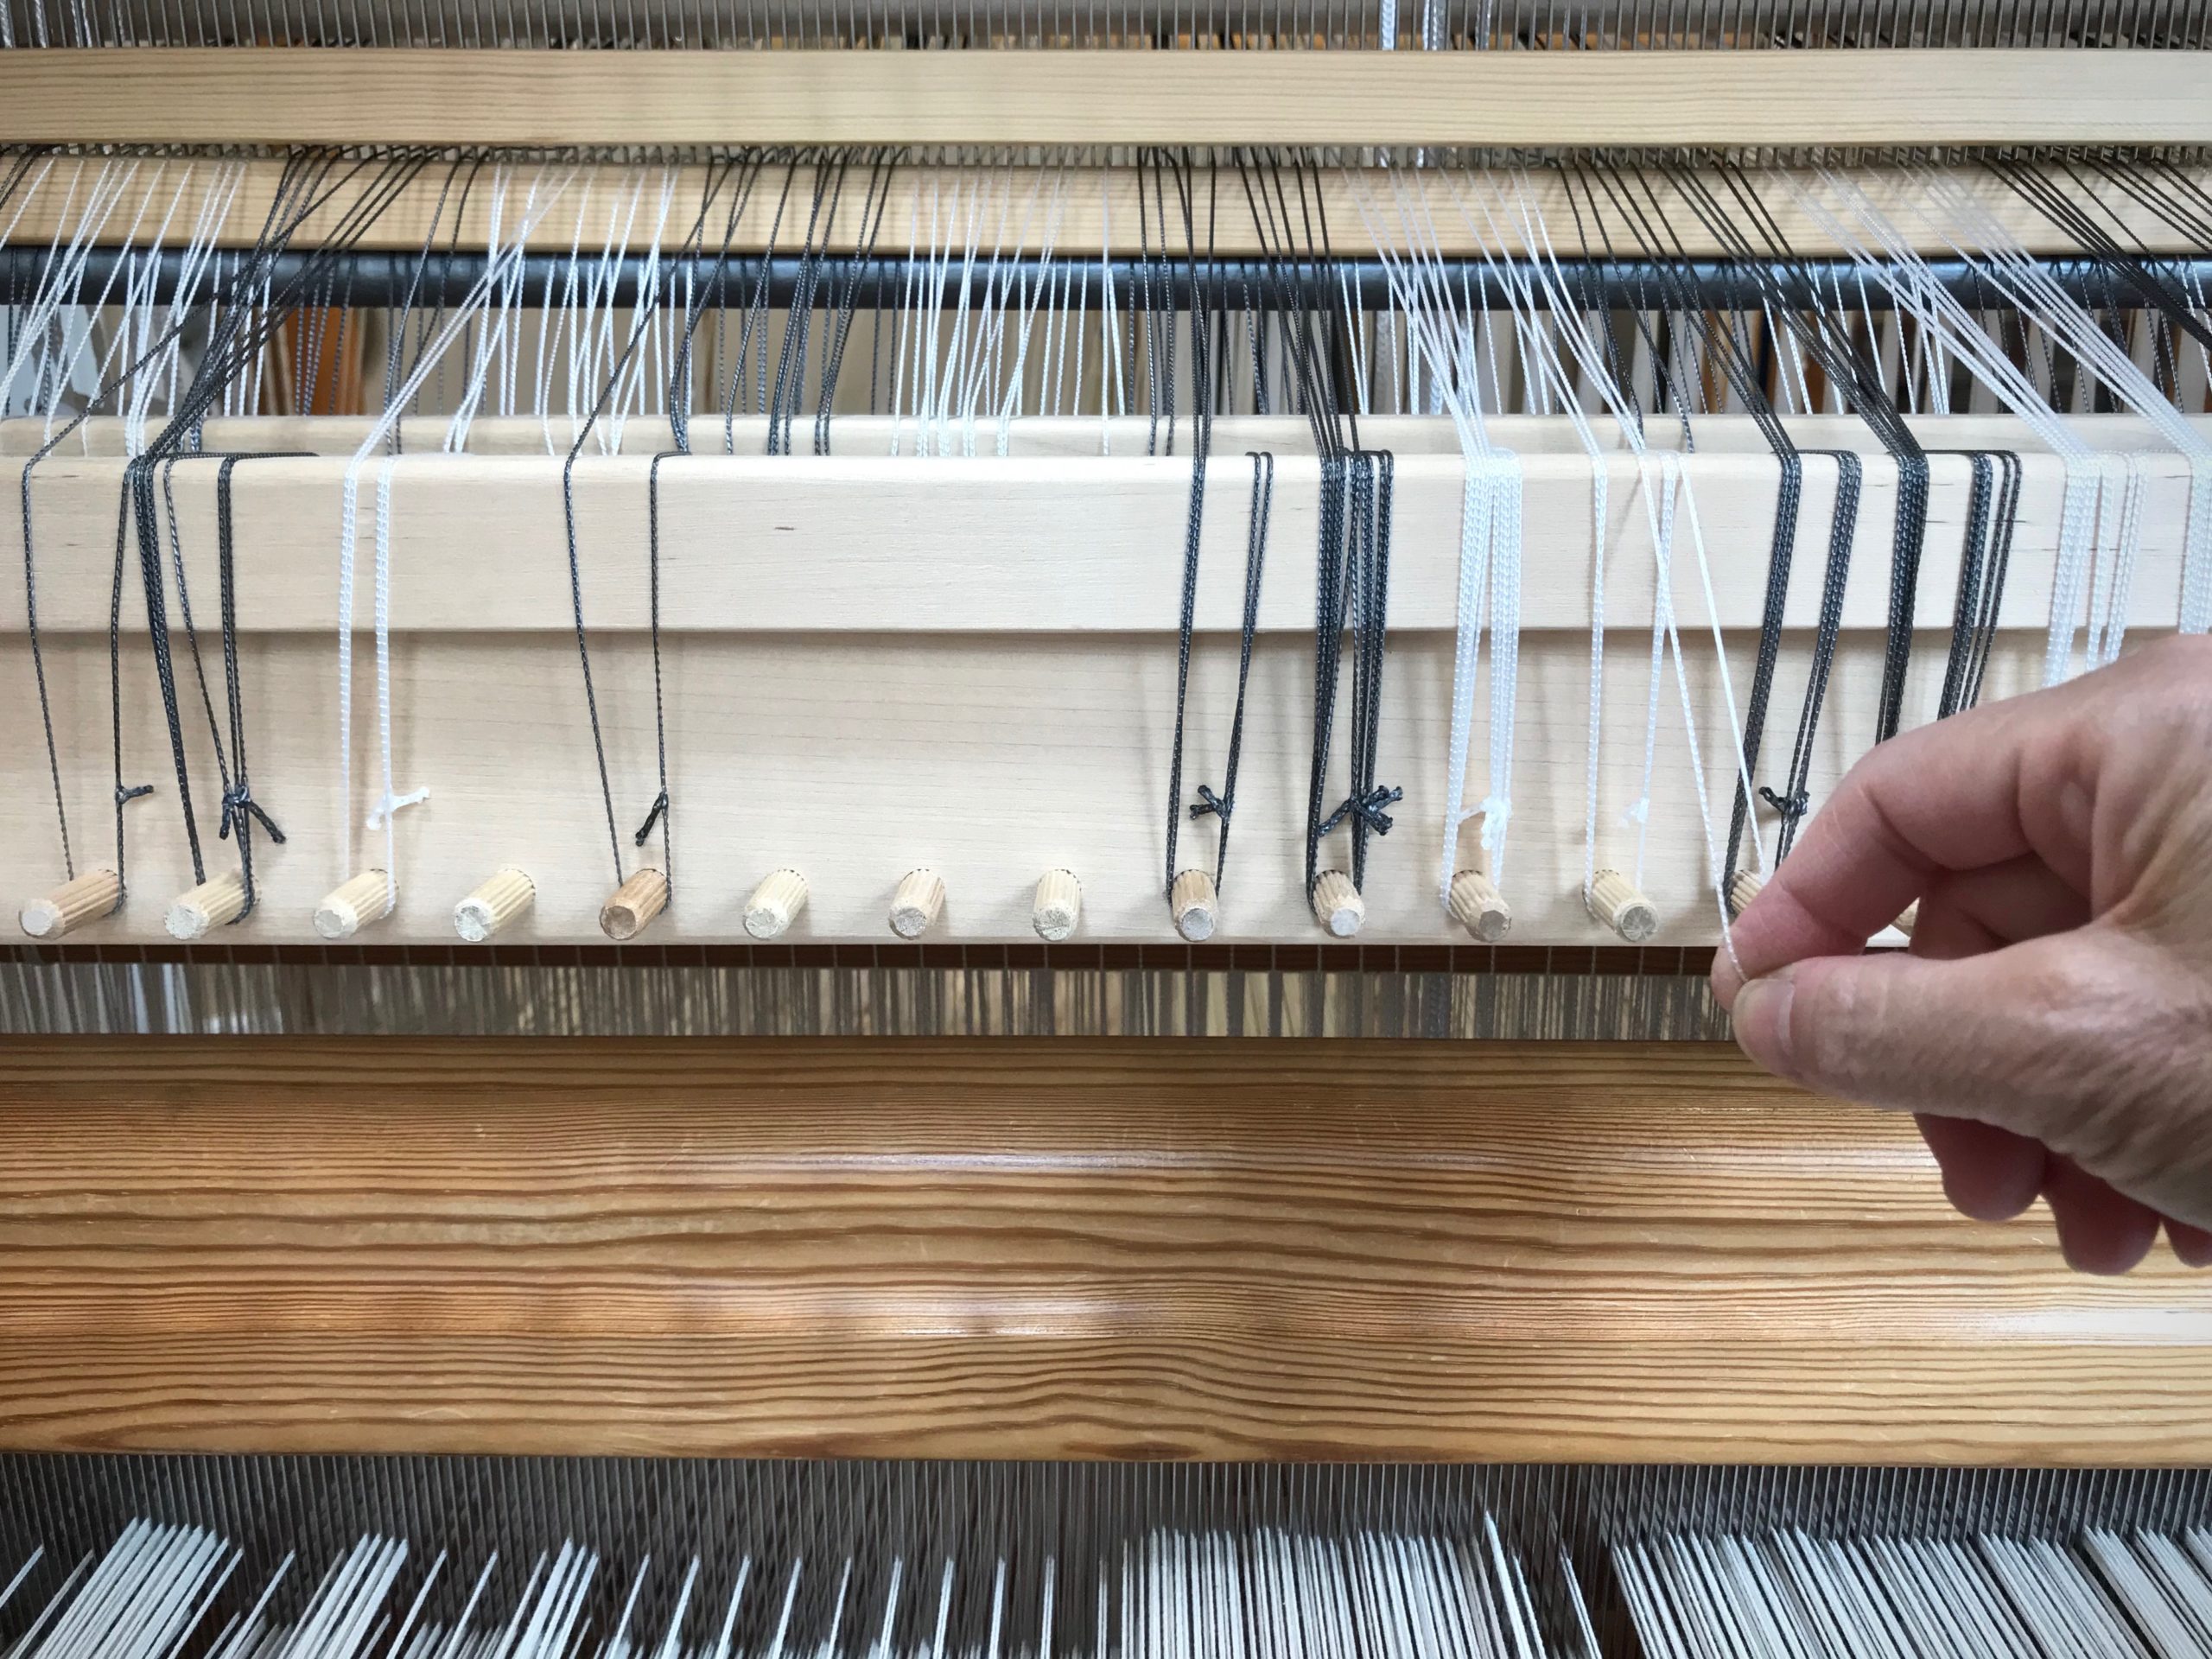
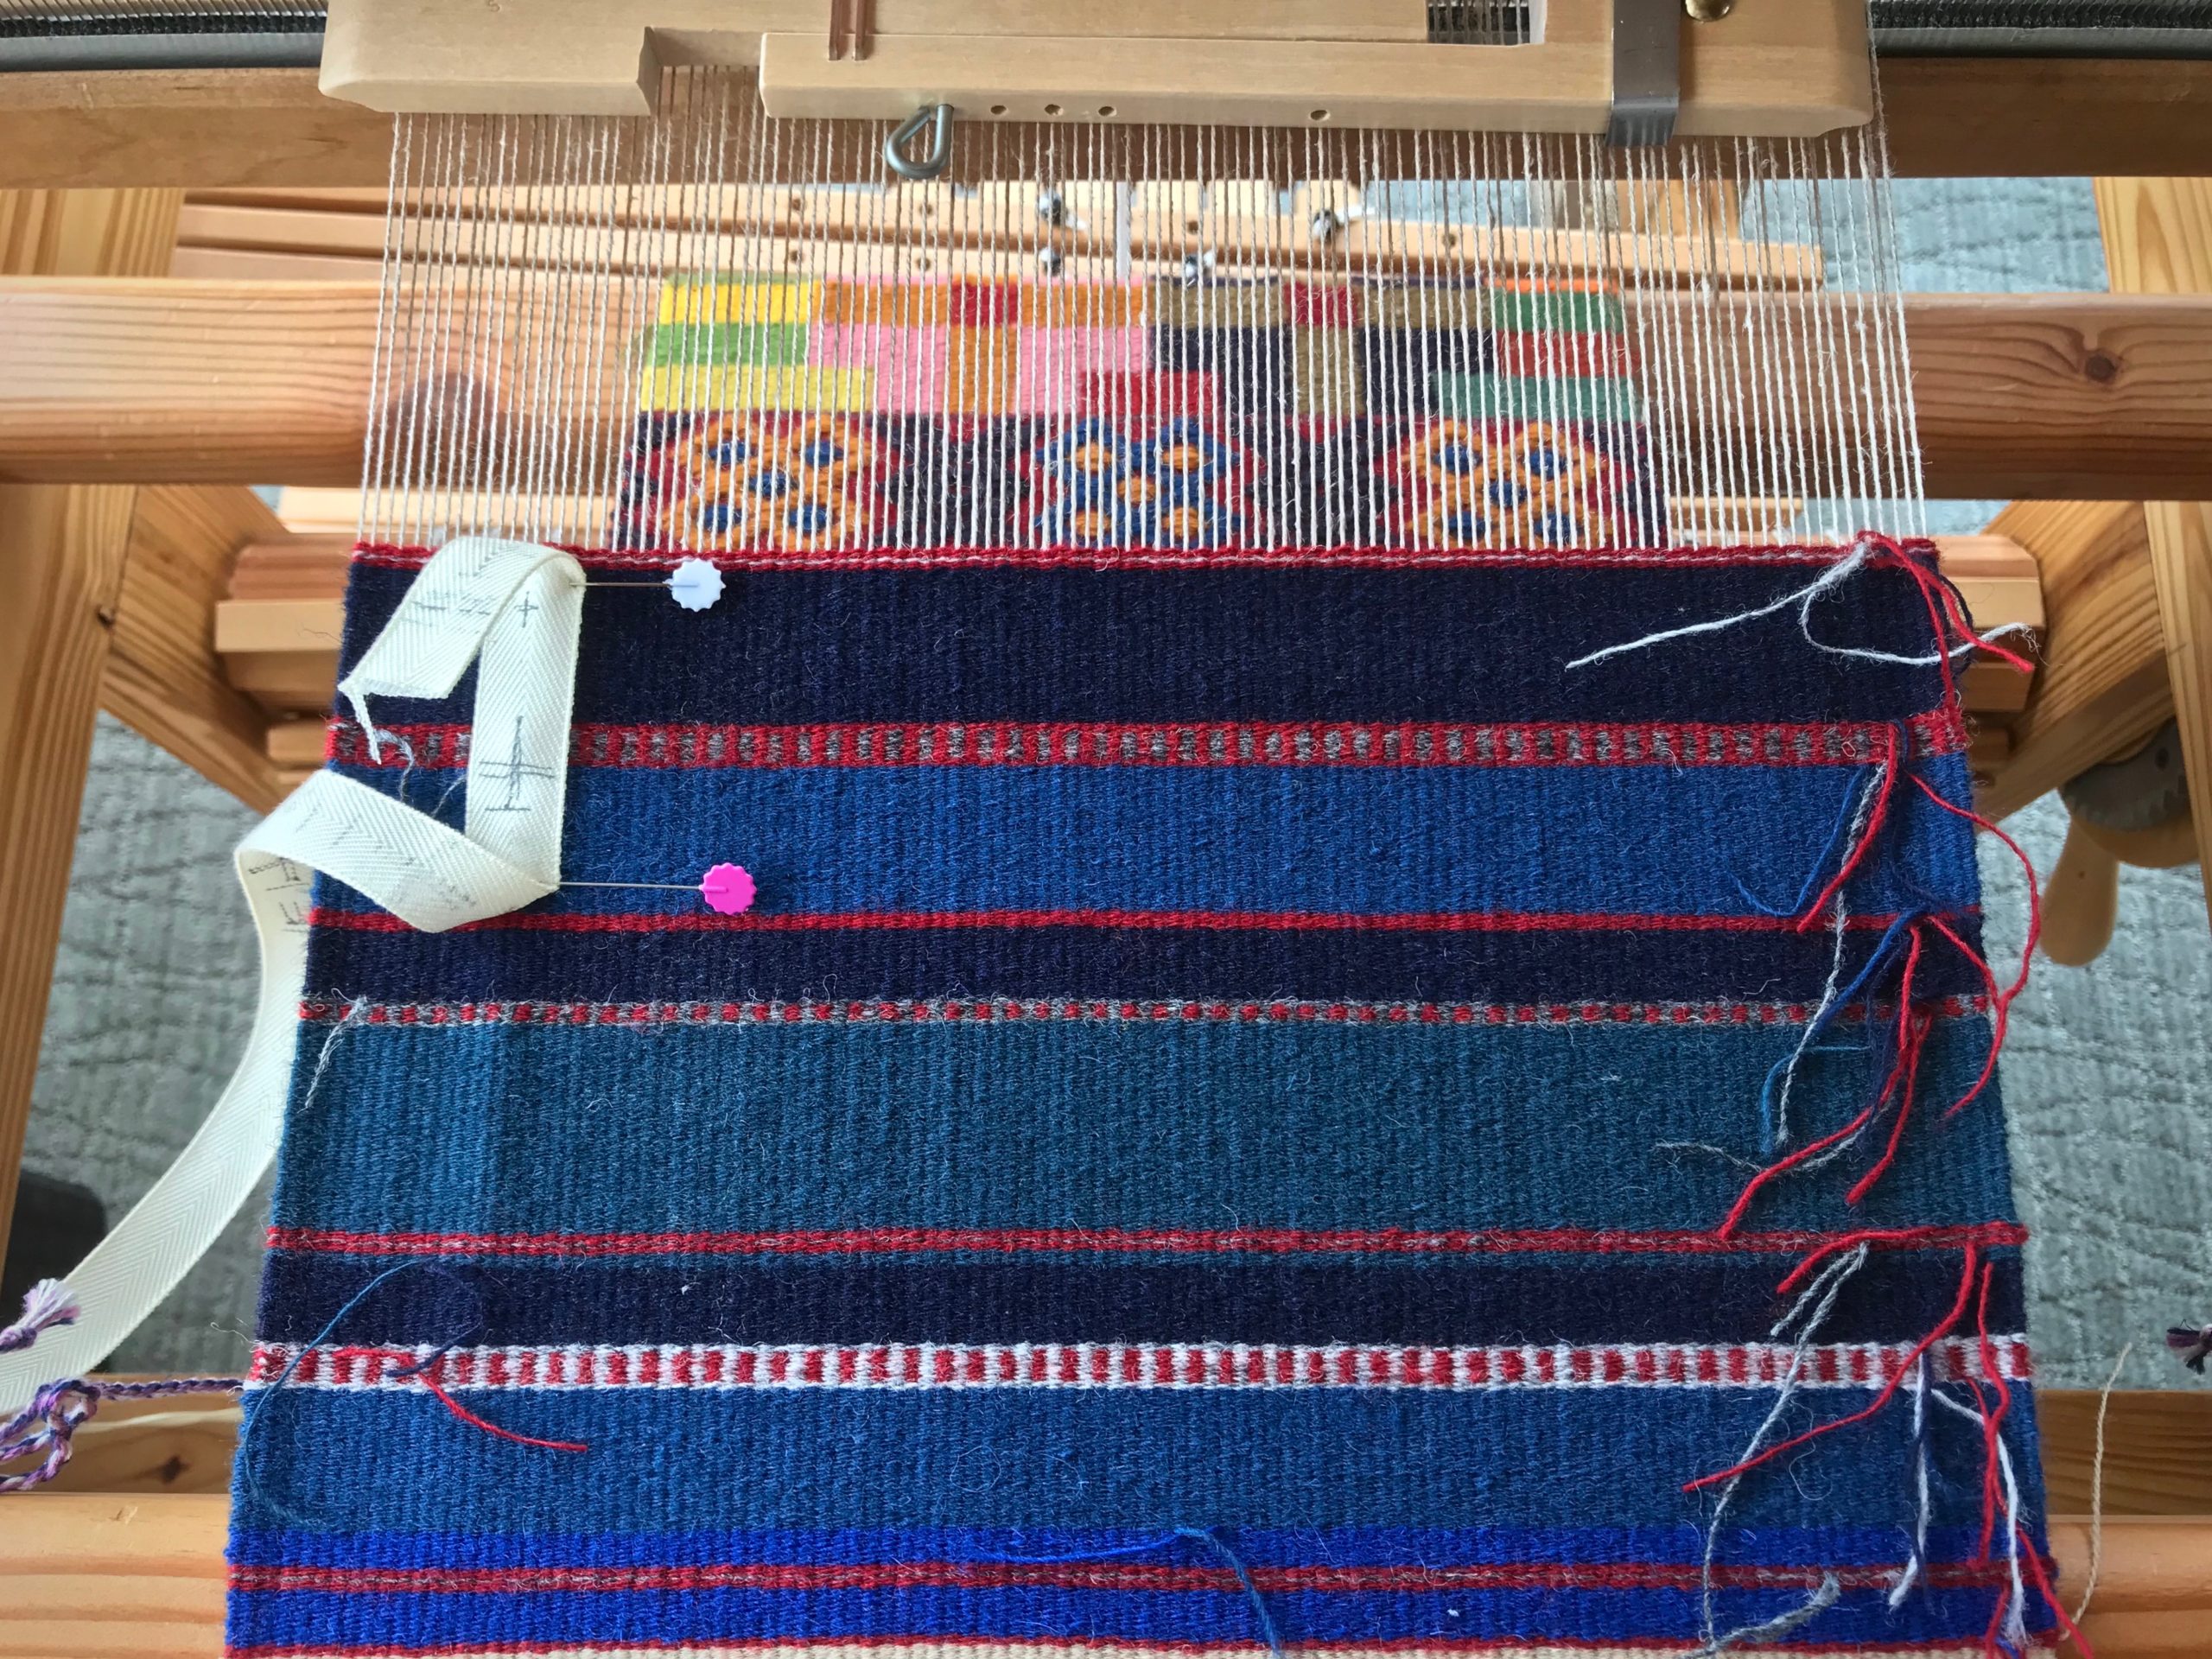
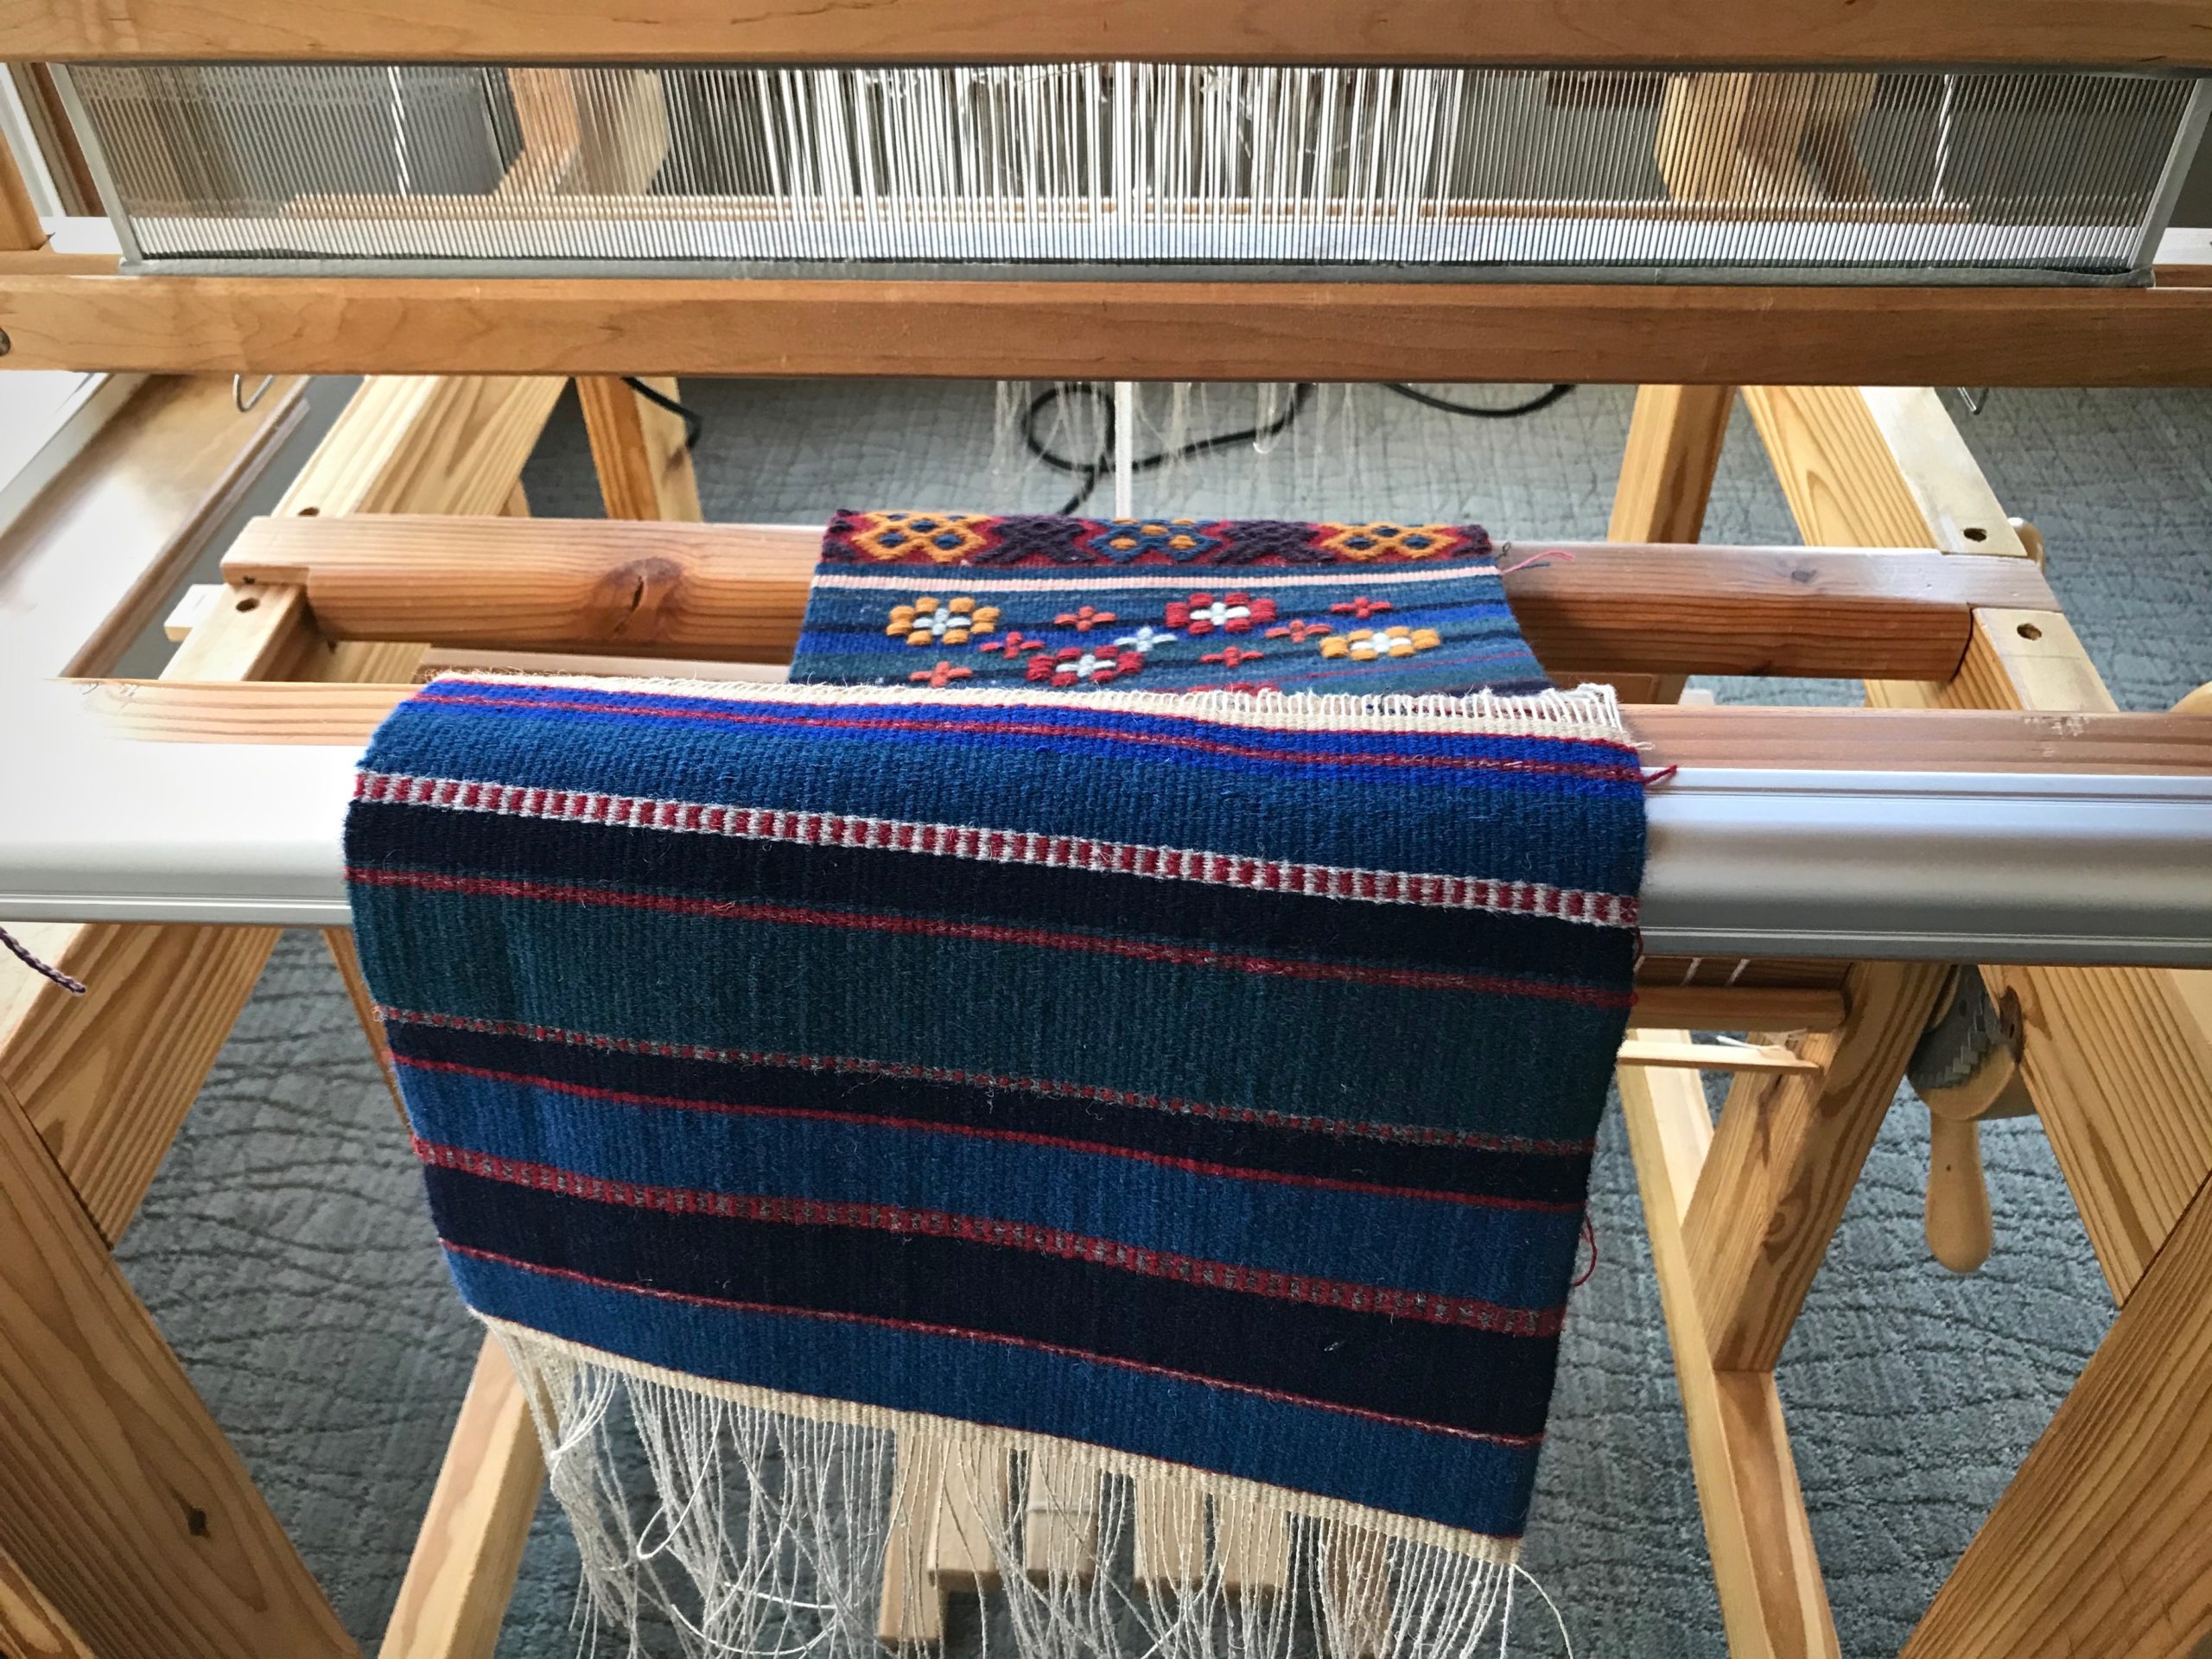
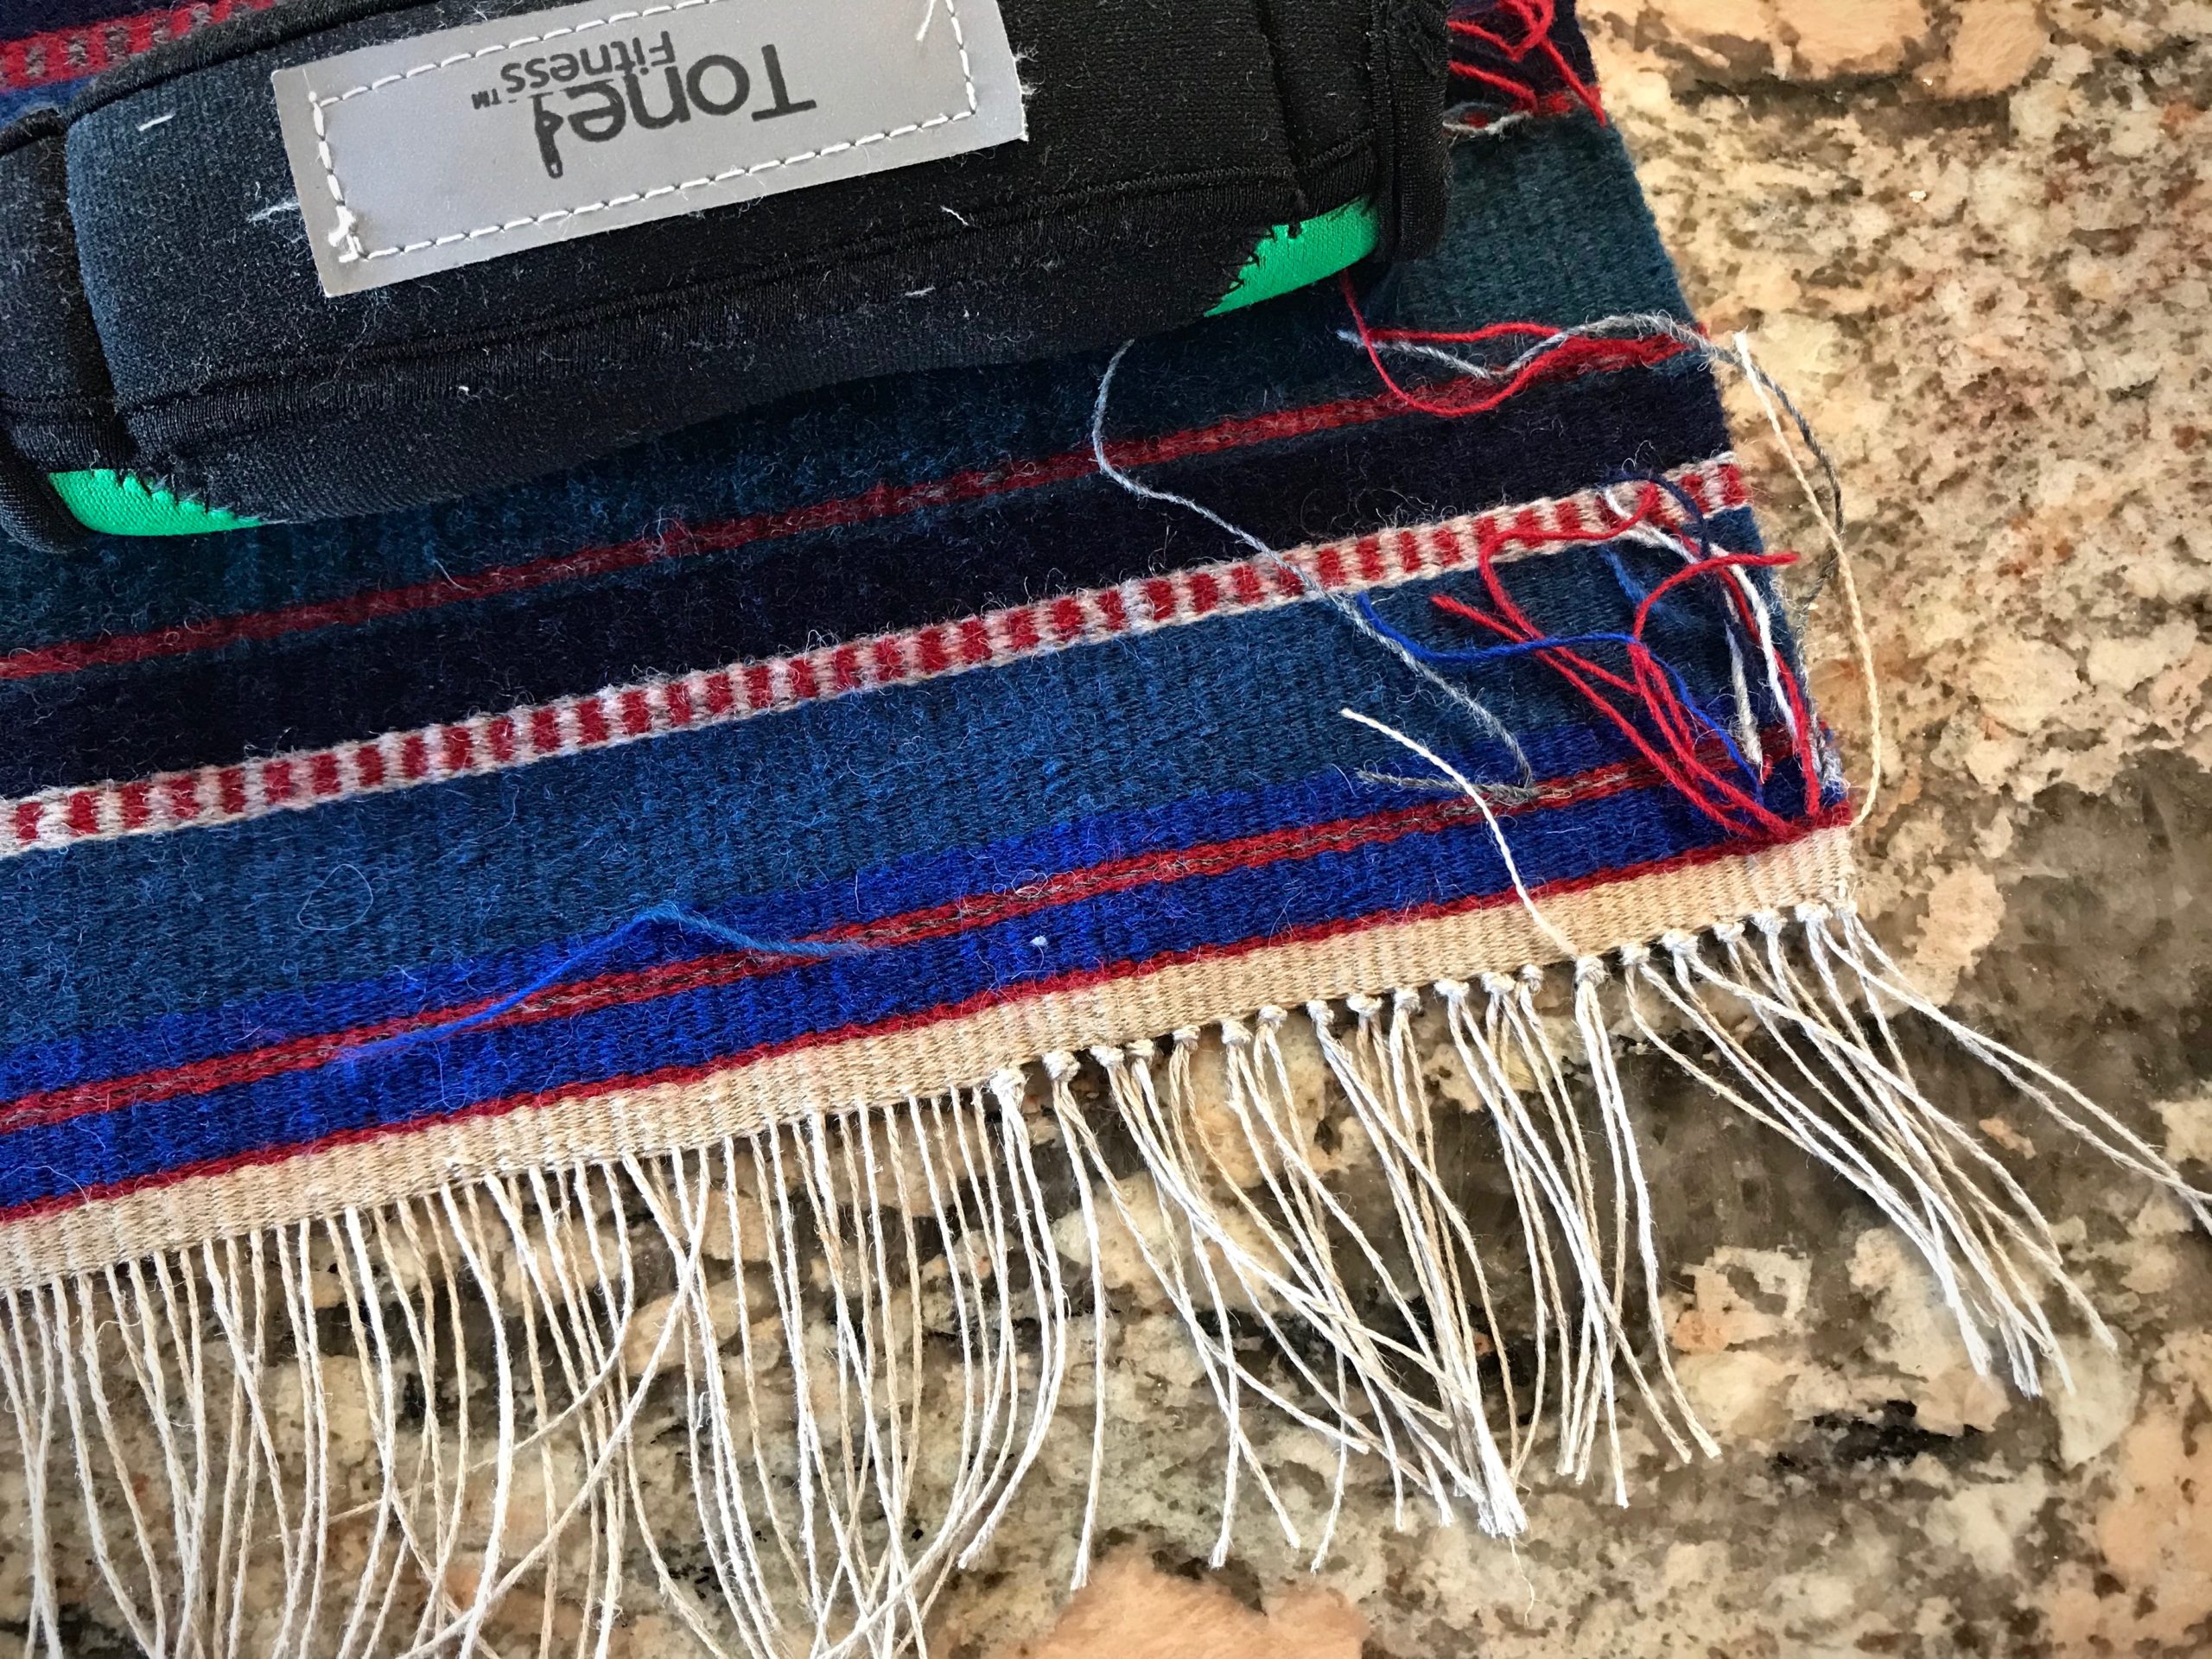
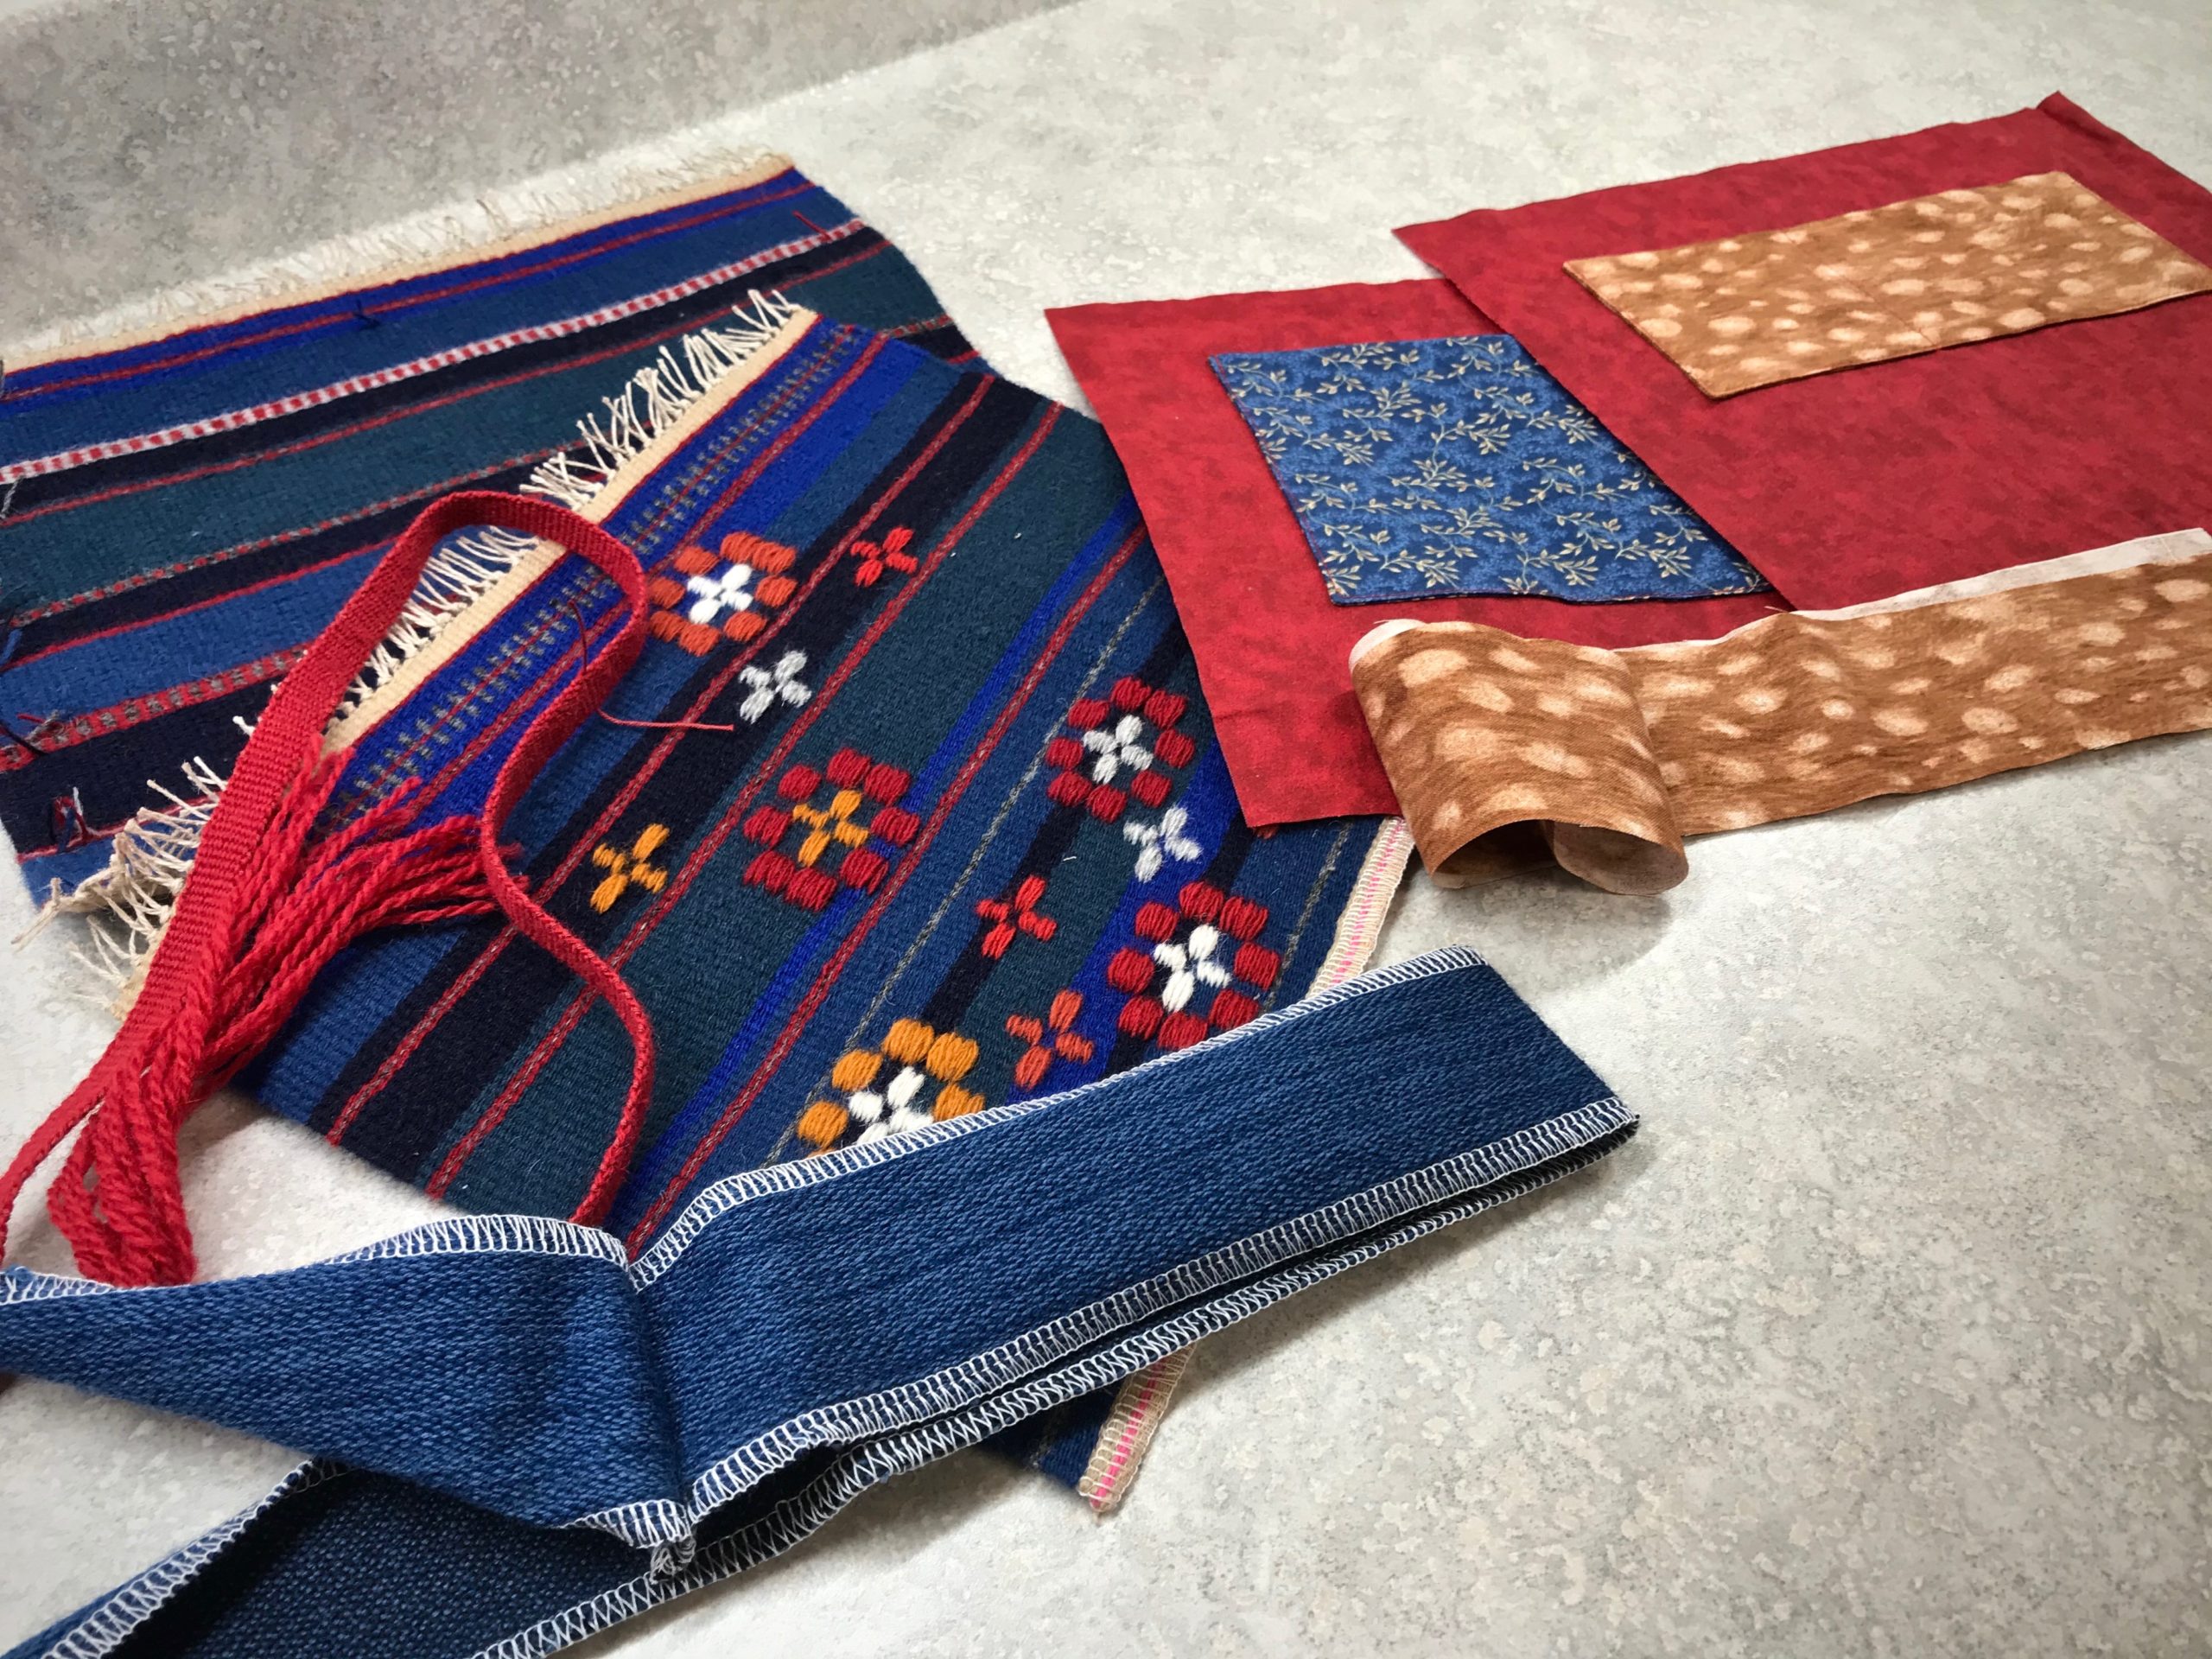
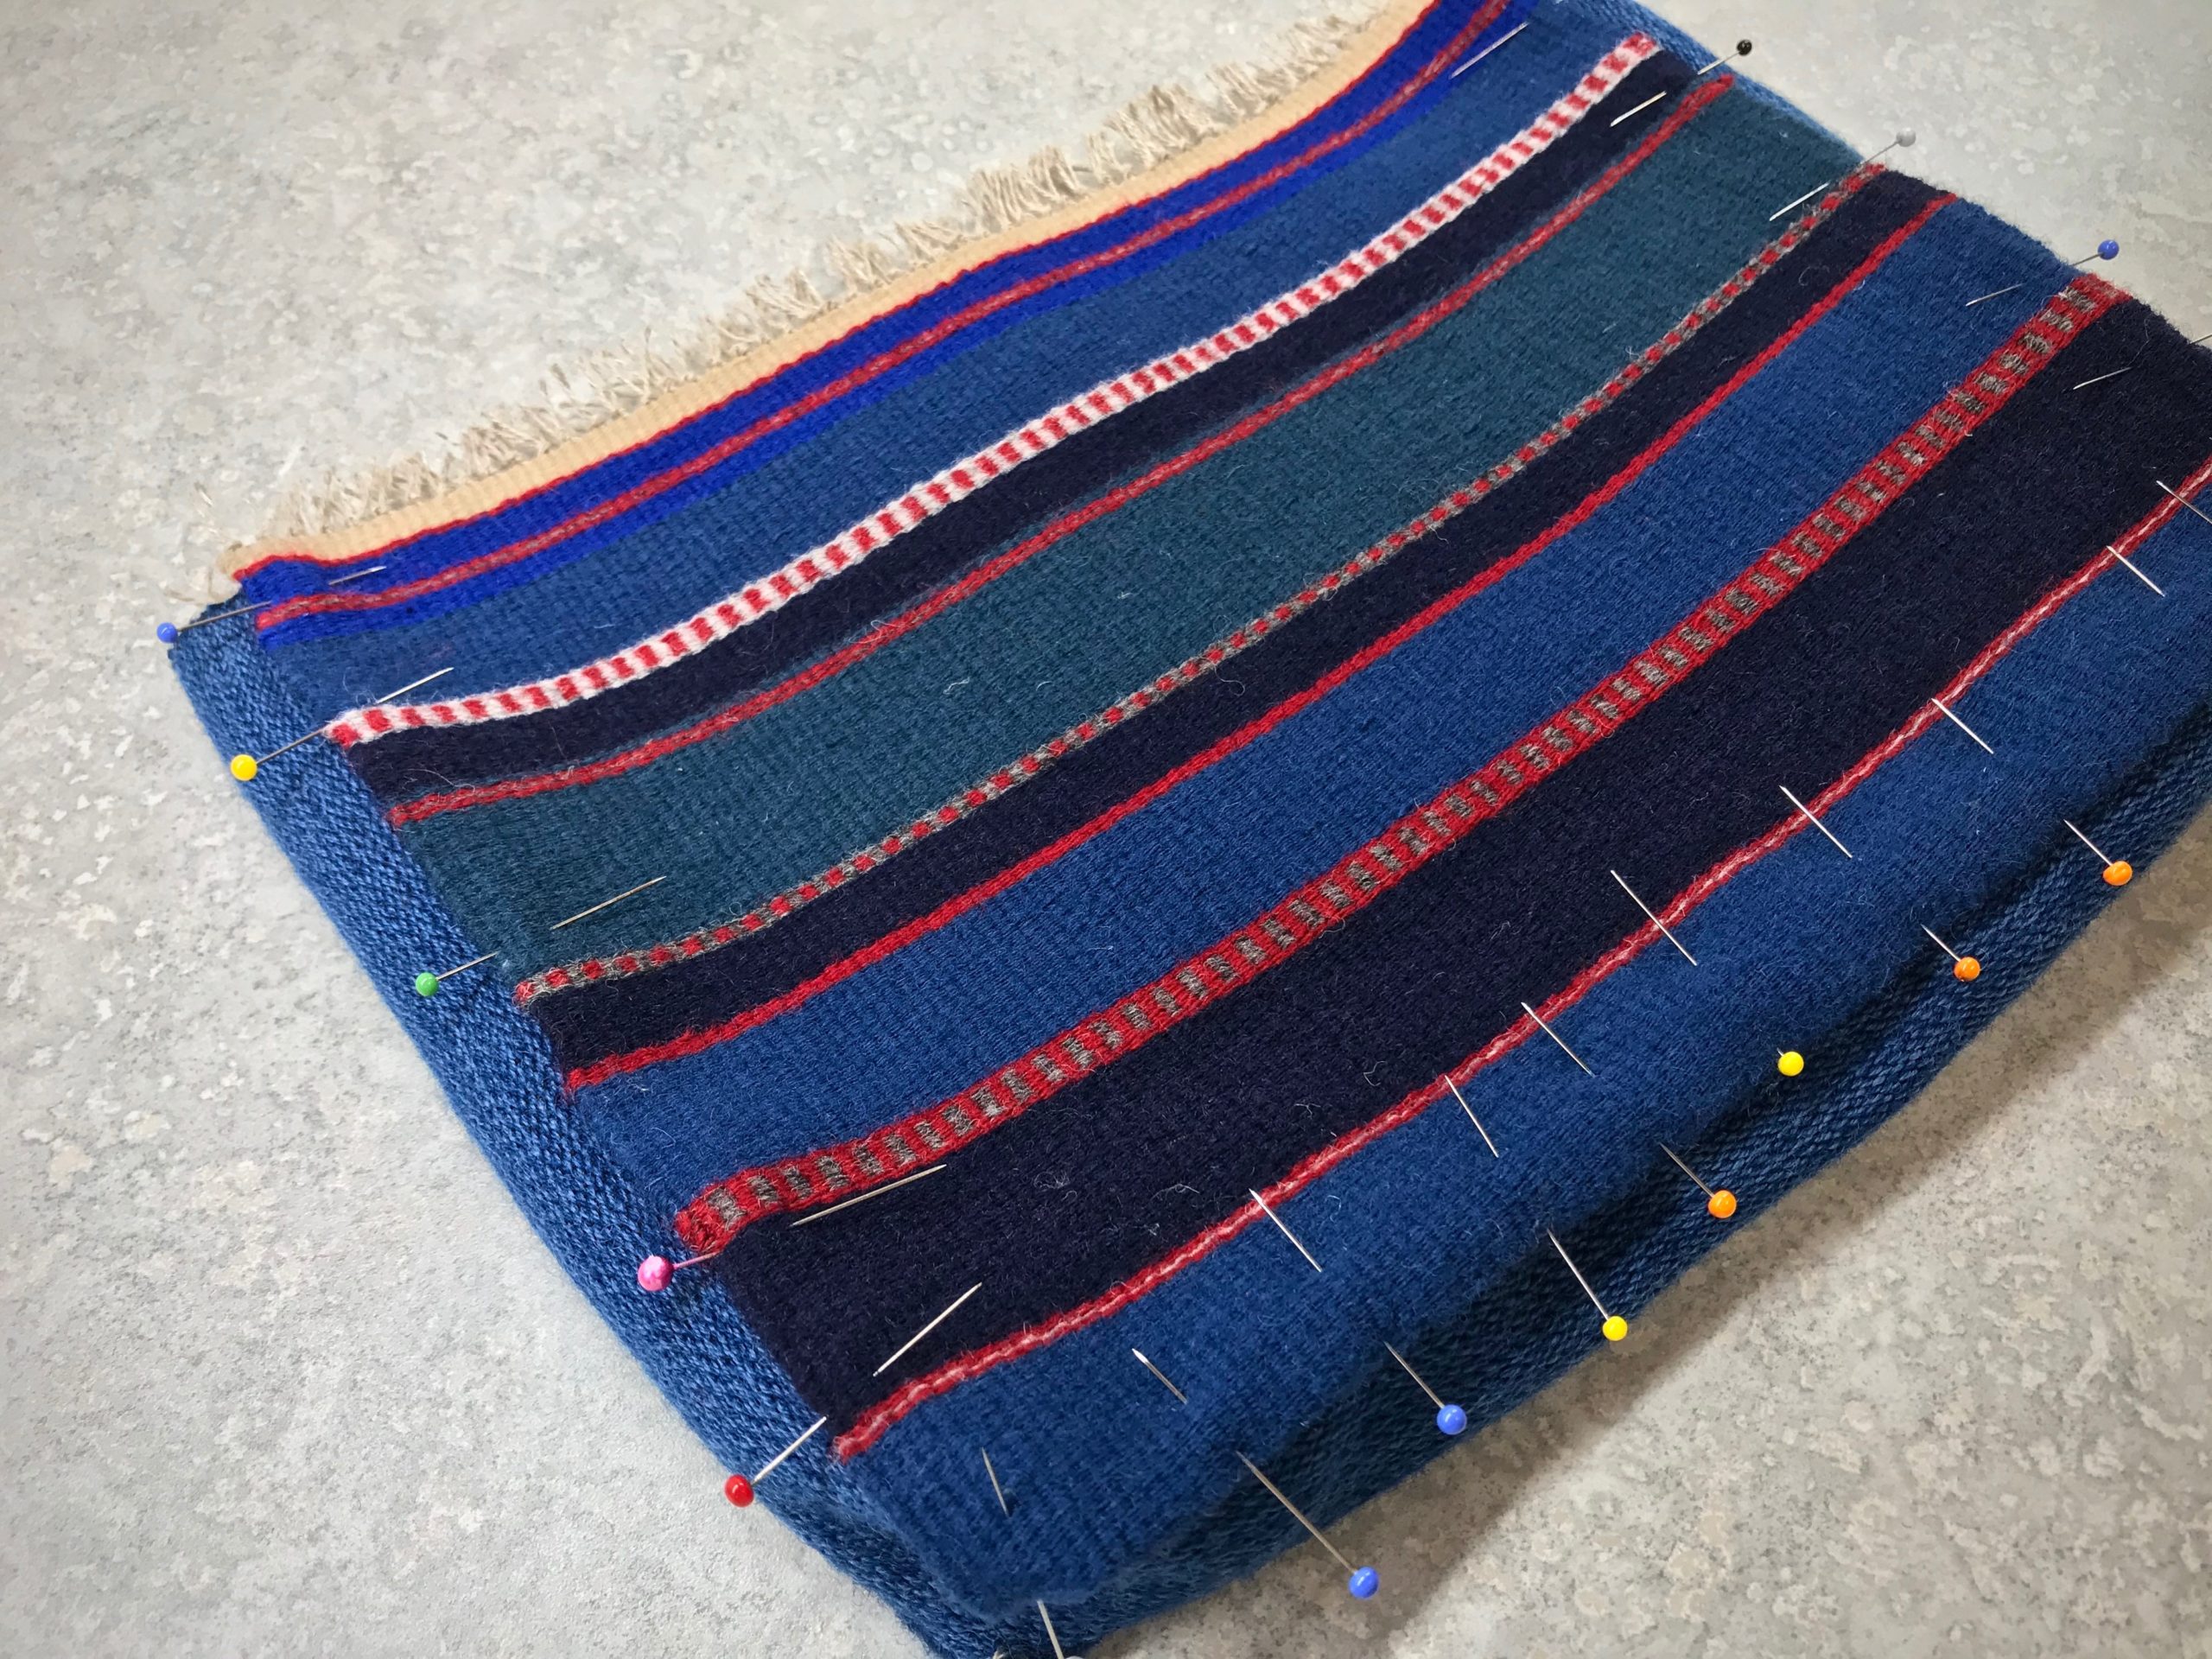
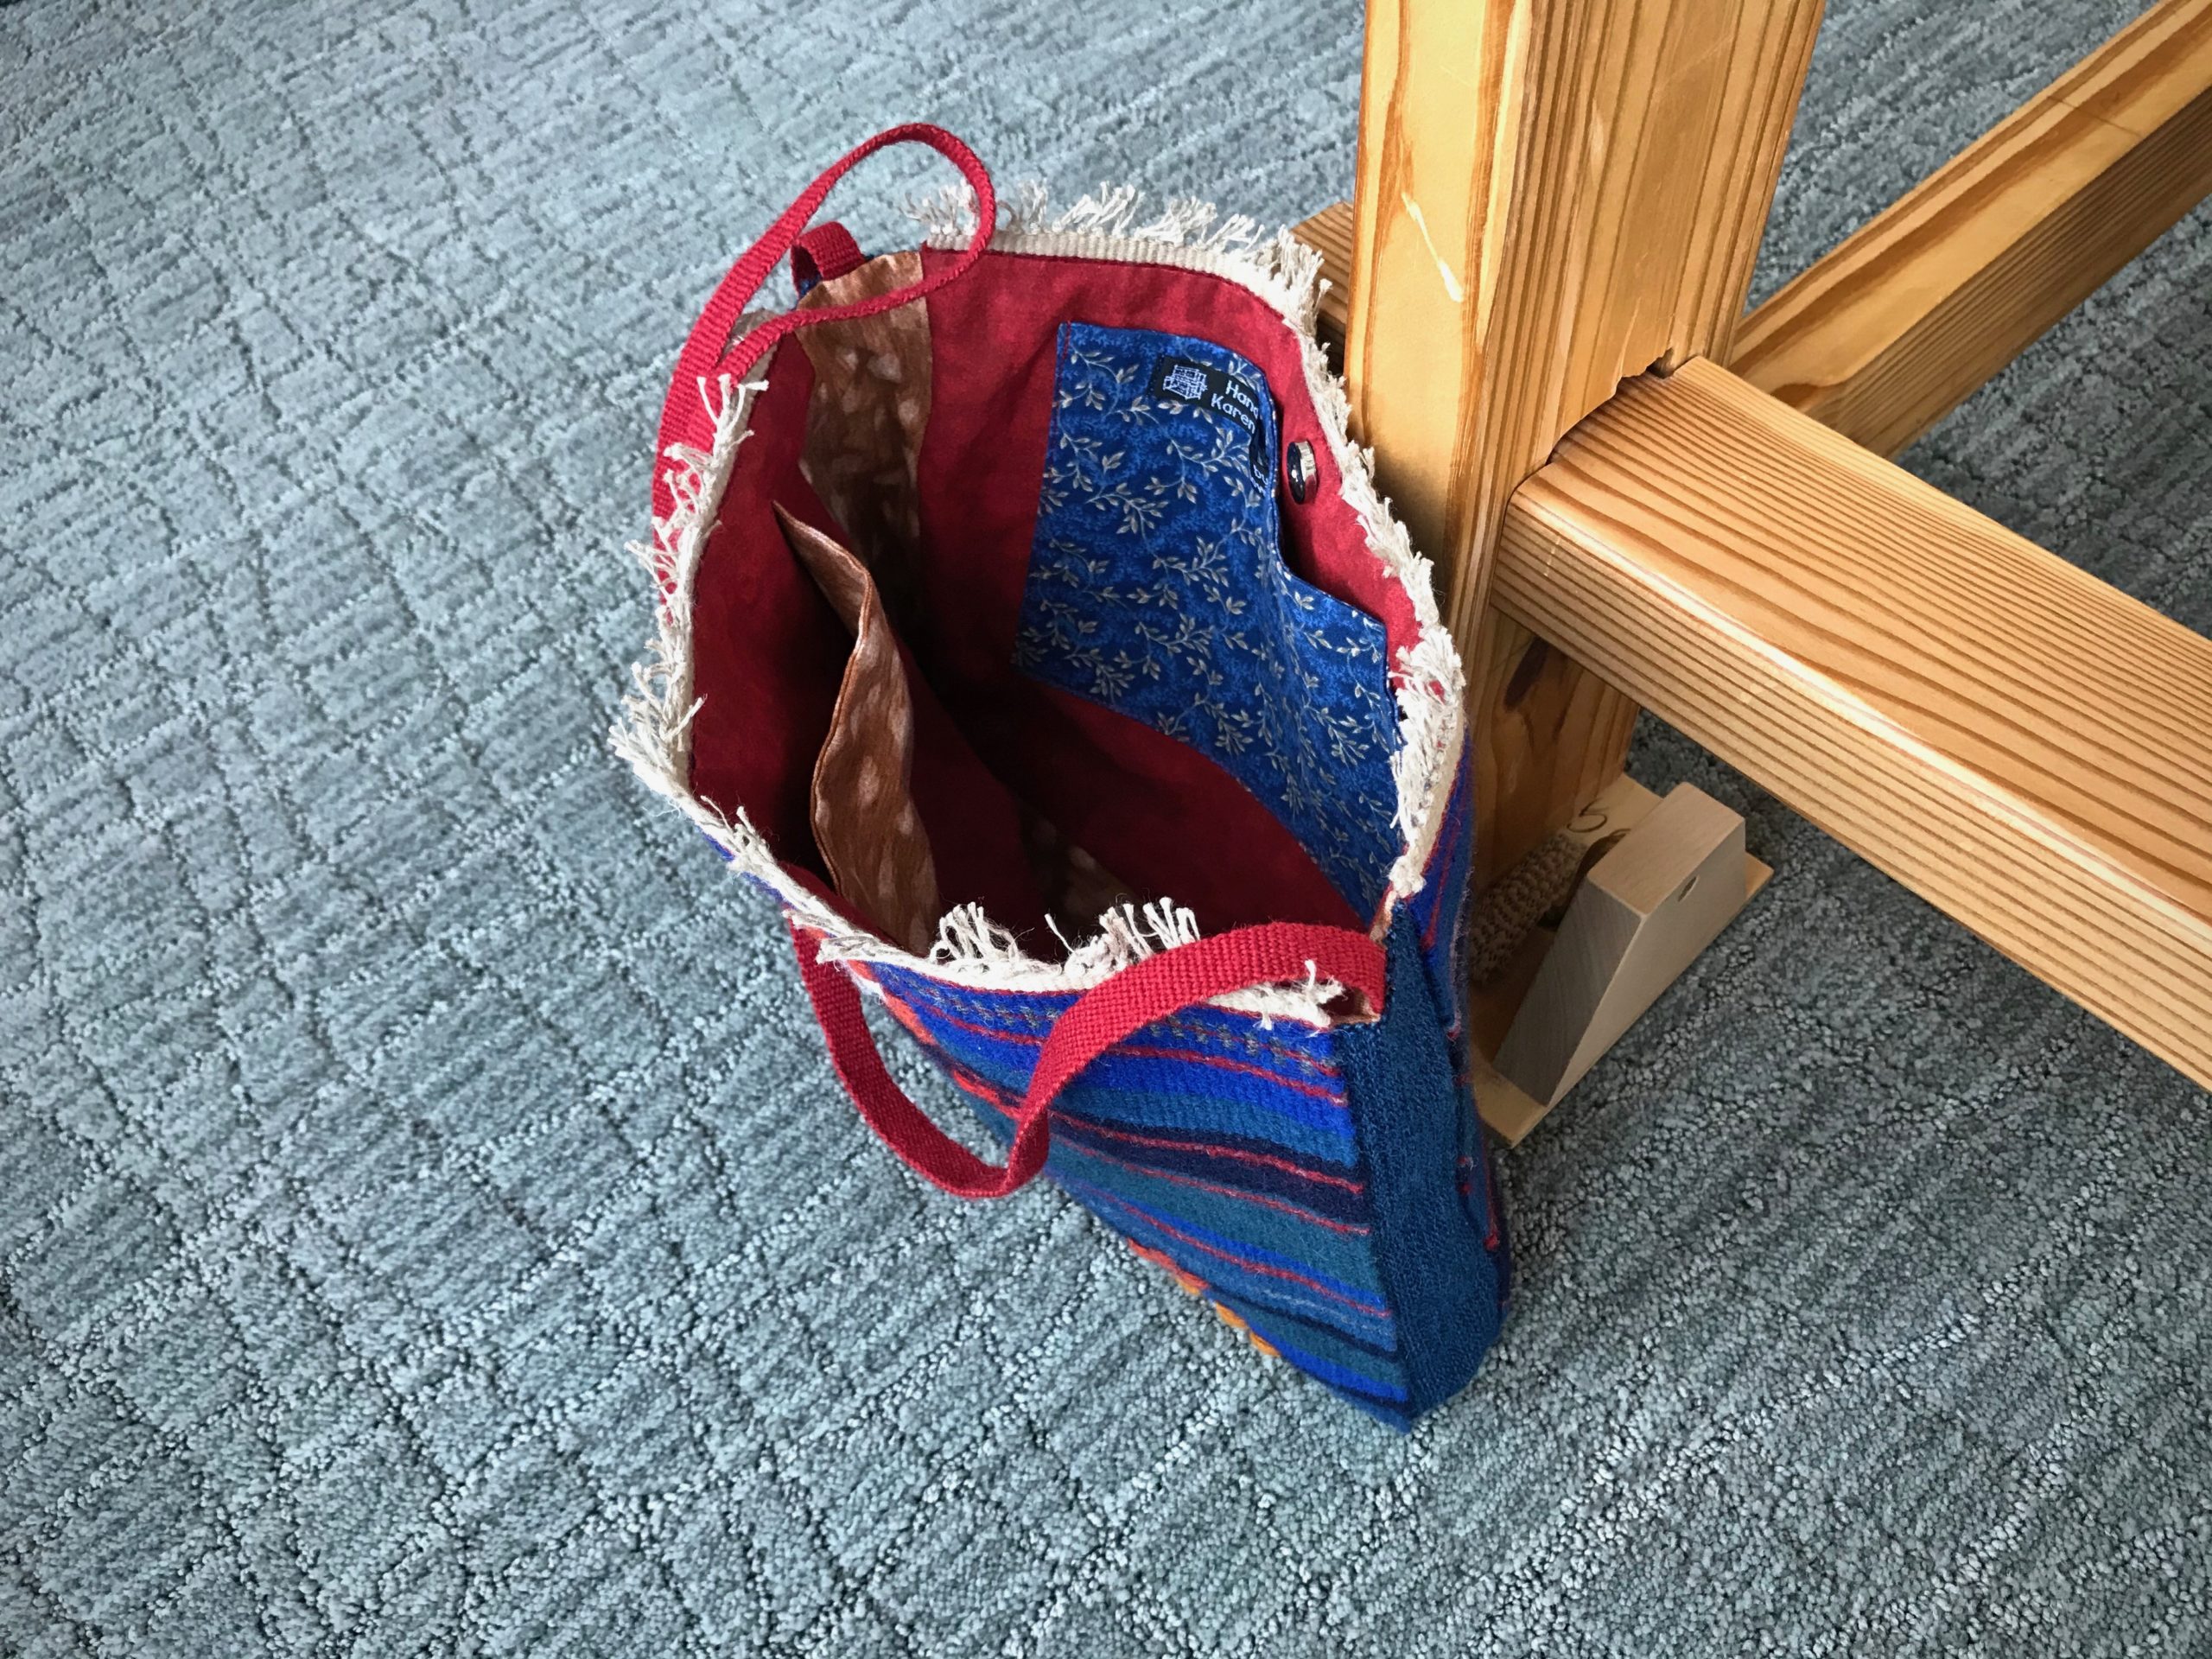
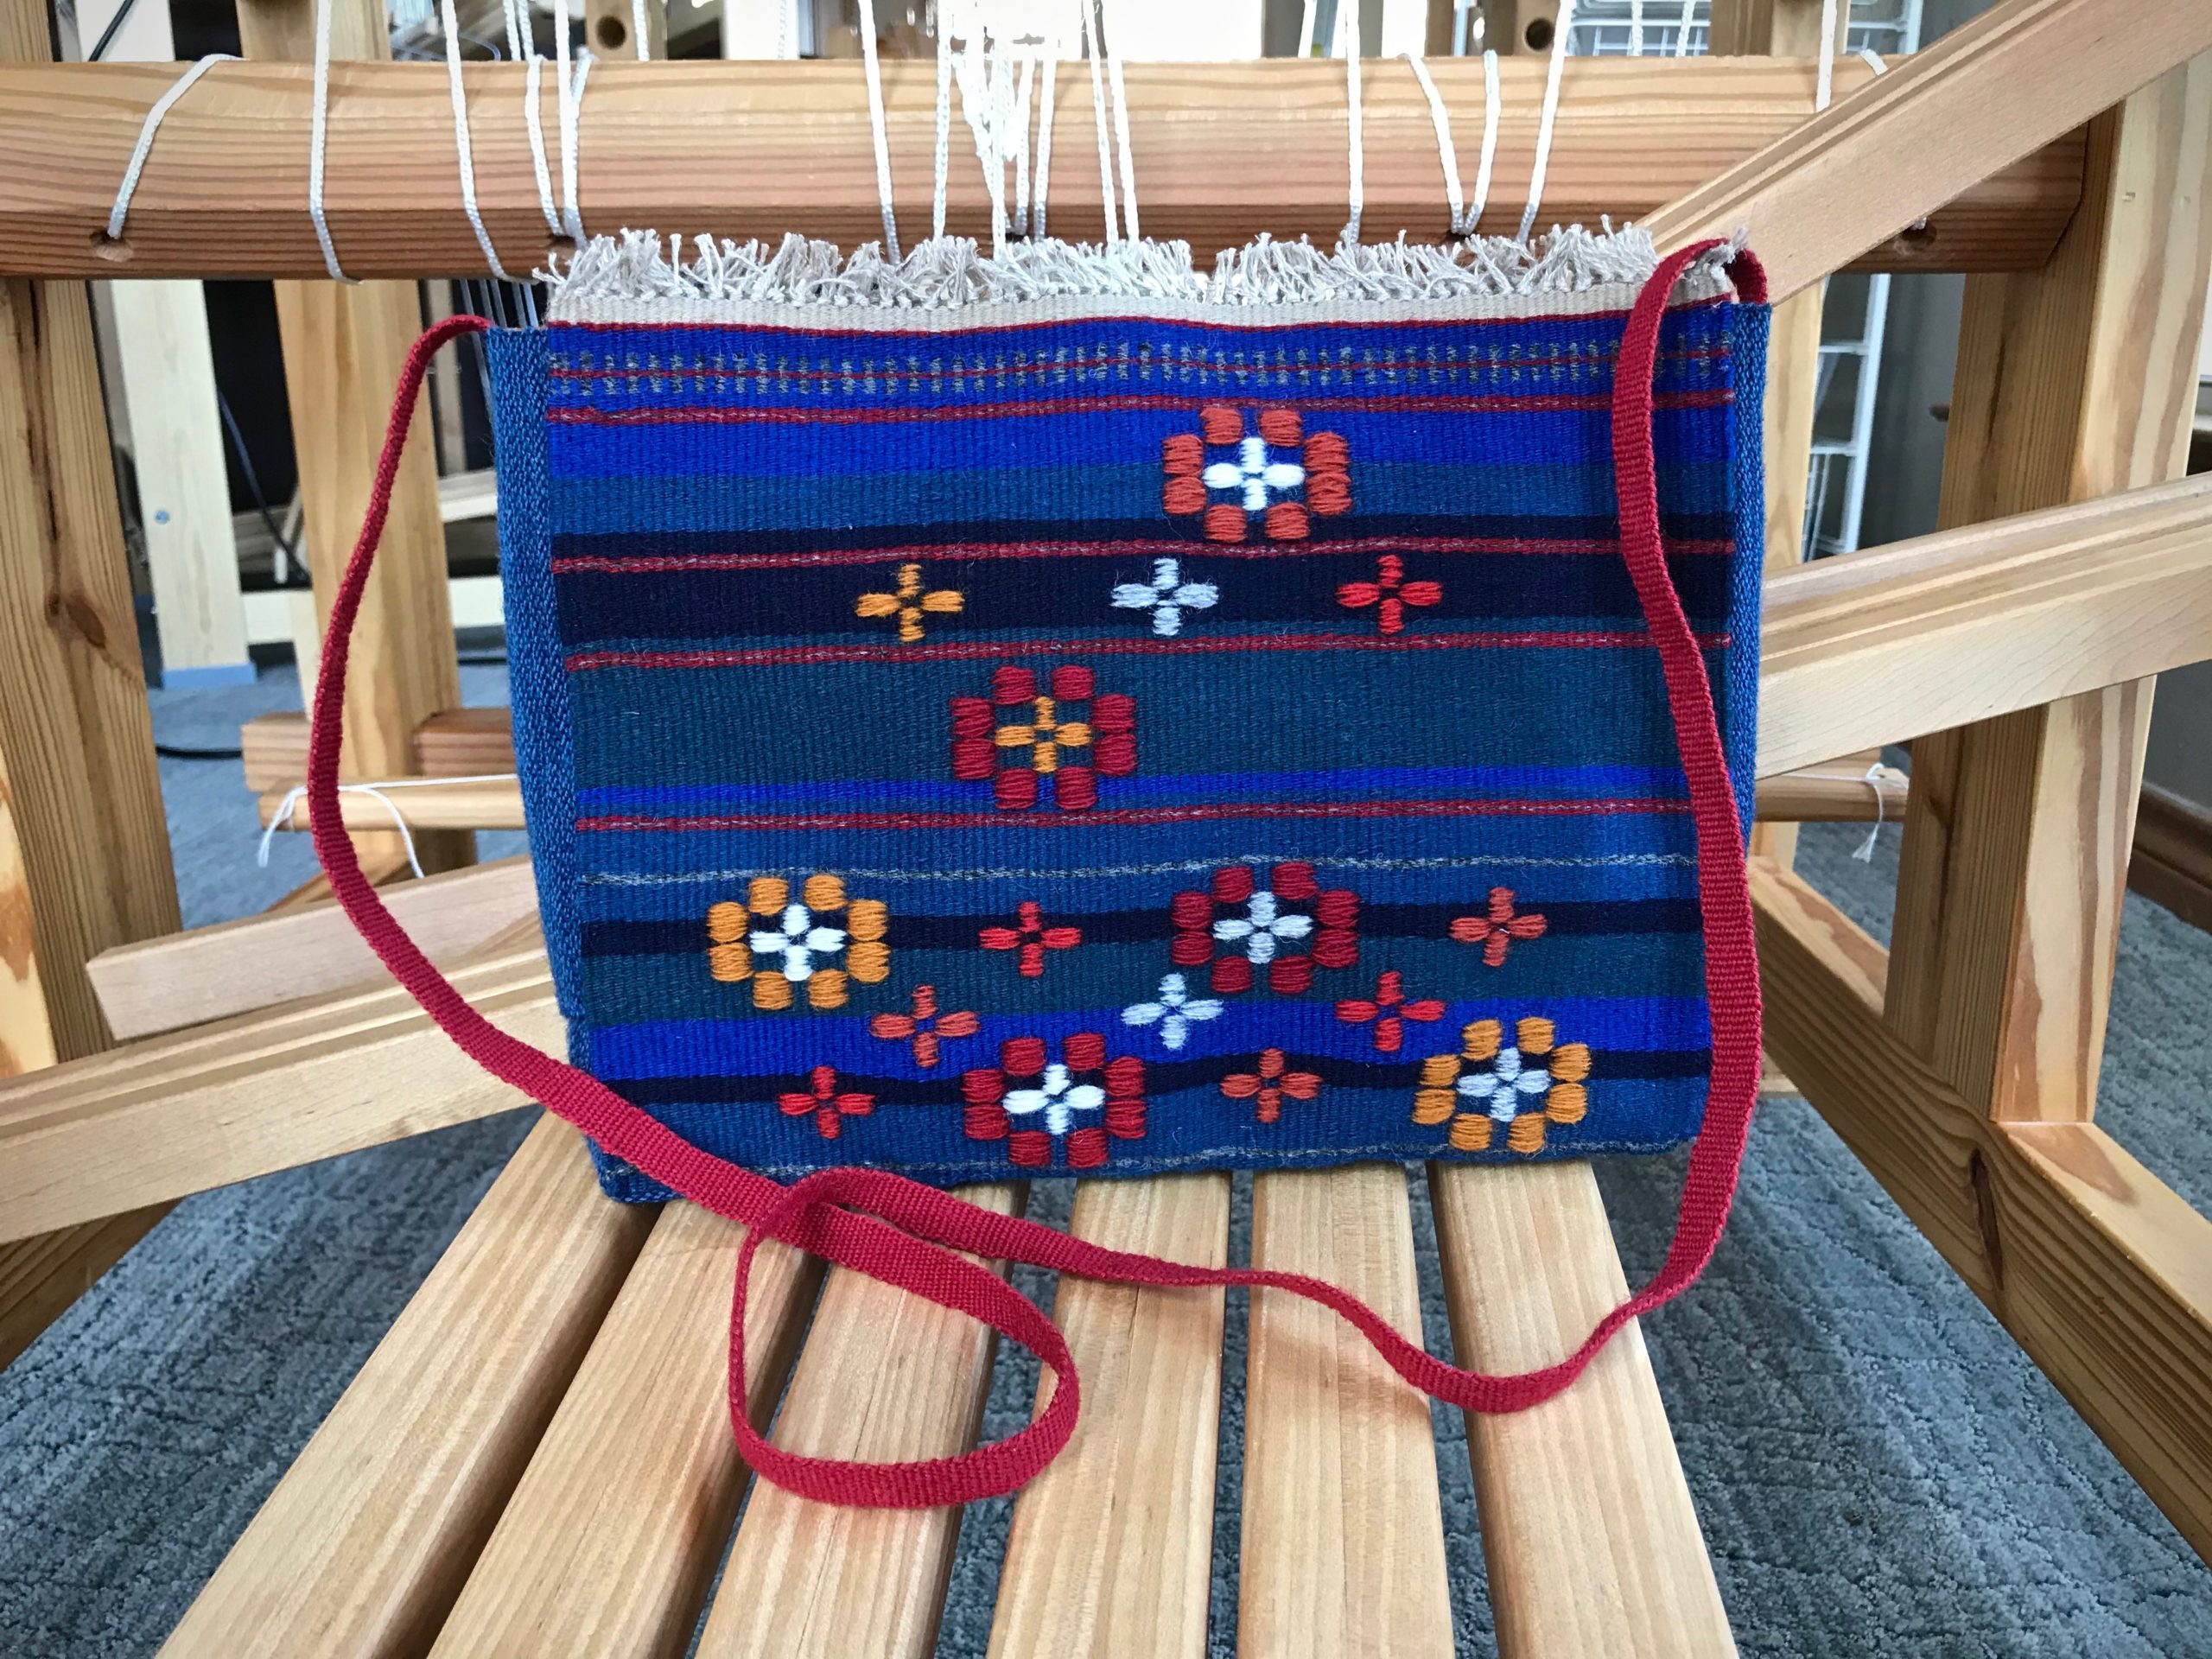
I finished off the linen warp by making a front and back panel for a small shoulder bag. A monksbelt pattern is scattered like flowers on the front. The back has various stripe patterns in weft-faced plain weave. I wove a shoulder strap on my band loom using 6/2 Tuna wool for warp and 12/6 cotton for weft.

Weaving Monksbelt with half heddle sticks.
Half-heddle sticks and batten in front of the back beam, for weaving monksbelt patterns.
Pick up for monksbelt.
Pick-up stick in front of the reed is being used to weave a monksbelt flower “petal.”
Handwoven shoulder bag in progress.
Back panel has varying stripe patterns.
Cutting off.
Cutting off.
Glimakra band loom. Narrow wool band.
Narrow wool band for the bag shoulder strap.

The bag has simple construction, mostly hand-stitched. In one of my remnant bins I found a piece of wool fabric that I wove several years ago. It’s perfect for the sides and bottom of the bag. The lining uses pieces from fabric that went into my latest rag rugs, and has pockets, of course.

Making a handwoven wool bag.
Overhand knots secure the warp ends.
Construction of a wool shoulder bag.
Ready to assemble all the parts.
Constructing a small handwoven wool bag.
Handwoven wool pieces are hand-stitched together.
Handwoven wool bag construction.
Bag construction continues with stitching the back in place.
Magnet closure on a handwoven bag.
Magnet closure is added to the lining before stitching the lining in place. Knots and fringe outline the top of the bag.

This bag with Monksbelt Flowers is for carrying sweet memories, happy moments, and heavenly dreams.

Handwoven shoulder bag.
Inside of handwoven wool bag.
Pockets in the lining.
Monksbelt Flowers handwoven shoulder bag.

Resources: Swedish Art Weaves workshop with Joanne Hall; Heirlooms of Skåne Weaving Techniques, by Gunvor Johansson; Väv Scandinavian Weaving Magazine, 2/2013.

This is the time for my annual pause for the month of July. I appreciate you joining me in this weaving journey!

I look forward to being back with you again Tuesday, August 4. In the meantime, joyfully draw living water from the source, Jesus Christ.

May you carry no more than necessary.

With love,
Karen

Process Review: Drawloom Weaving without Errors

I found a way to practically eliminate draw cord errors on the single-unit drawloom. After making one too many mistakes while weaving this rag rug, I resolved to find a solution. True, I will still make mistakes, but now I expect them to be few and far between. (To view the first rag rug on this warp, see Stony Creek Drawloom Rag Rug.)

My most frequent error is having a draw cord out of place, either pulled where it shouldn’t be, or not pulled where it should be. And then, I fail to see the mistake in the cloth until I have woven several rows beyond it. I determined to find a way to eliminate this kind of error. (For an example of this kind of error, see Handweaving Dilemma.)

Test 1. Double check my work. Pull all the needed draw cords for one row and then double check all the pulled cords.
Results: This bogs me down. And I still fail to catch errors.

Test 2. Double check my work little by little. Treat every twenty draw cords as a section—ten white cords and ten black cords. Pull the cords in the first section. Double check. Pull the cords in the next section. Double check. And so on all the way across…
Results: Easy to do. I quickly catch and correct errors.

Now, I am implementing this incremental method of double checking my work on the little bit of warp that remains. With a Happily-Ever-After ending, the short Lost Valley piece is completed with NO draw cord errors! (Lost Valley is the name we’ve given our Texas Hill Country home.)

Woven Rag Rug and Lost Valley process in pictures:

May you learn from experience.

Happy Weaving,
Karen

Warp Chains Are Beautiful

The reel spins ‘round, ‘round, ‘round one way, and then ‘round, ‘round, ‘round back the other way. Rhythmic, mesmerizing, and strangely soothing. Counting, as I wind two ends at a time, I find myself whispering “2, 4, 6, 8, 10, 12, ….” The warping reel is one of my favorite pieces of equipment. This warp has seven colors of 22/2 Cottolin for bath towels which are to accompany the hand towels I recently made. I am winding this in four bouts, and there are different color changes in each bout.

Winding a warp for cottolin bath towels.
First bout on the warping reel.
Making cottolin bath towels.
Second bout. Choke ties about every meter keep the ends from shifting as the warp bout is chained and taken to the loom.
Making a warp for handwoven bath towels. Cottolin.
Third bout. Each of the four bouts has nearly the same number of warp ends.
Glimakra warping reel - one of my favorite pieces of equipment!
Fourth bout.

I marvel at the combination of thread colors as I chain each bout off the reel. The warp chains look beautiful. They always do. Warp chains are dreams in the making, where anything is possible. Haven’t you dreamt of handwoven bath towels?

Winding a warp on the Glimakra warping reel.
Came close to running out of thread on some of the tubes. (I did have backup tubes, but not from the same dye lots.)
Beautiful warp chains!
Beautiful warp chains, ready for the loom.

When we listen closely, we can hear the inaudible. Our hearts can hear the softest whisper. “2, 4, 6, 8, 10, 12, …” Even the hairs on our head are numbered by the Grand Weaver who planned our existence. Our days are numbered, as well. And when our heart is listening, we can hear the quiet whisper of the Lord Jesus, “Are you weary and burdened? Come to me, and I will give you rest.”

May you listen for the softest whisper.

Gently,
Karen

Tried and True: Organized Reeds

My weaving history includes very fine threads all the way to heavy-duty rug warps. As a result, I have acquired a wide selection of reeds over time. All five of my looms have beaters that will accommodate any length or height of reed. When I plan a project, one of the first things I consider is whether I have the size reed that is needed. To keep my reeds organized, I need two things. One, a simple method to manage the reeds I have, tracking the reeds as they go in and out of use. Two, a place to store all the reeds, arranged in order by dents per cm and dents per inch.

Reed Organization

  • Reed Inventory

I keep a list in my Notes app on my phone with the sizes and lengths of reeds that I have. If a reed is in use, I note which loom. If a reed will be needed for a planned project, I also note that. As soon as I remove a reed from the beater at the end of a project, I put the reed away and update my Reed Inventory list.

Simple system for tracking reeds in and out of use.
Sample Reed Inventory note. When I am planning, I look at the note on my phone to see what reeds I have that are available. “Next” reserves the reed for the loom that needs it next.
  • Reed Holder

Steve created a storage solution for my reeds. The holder goes along the back wall of my drawloom studio for about six feet. Here are the details, using nominal board sizes. The reeds sit on a 1” x 6” board at the base, which is supported against the wall by a 1” x 4” board. The base, with a 1” x 2” lip, sits about 12” off the ground. The reed dividers are 3/8” x 5 3/4” dowels that are sunk into a 1” x 3” board that is attached to the wall, which sets the dowels about 27” above the base.

DIY Reed Holder behind my drawloom.
Reed holder is fastened to the wall behind the drawloom. (Notice that the drawloom rag rug warp has come over the back beam…)
Organized reeds!
The dowels are placed at a height that will hold even my shortest reeds.
Reed holder stores weaving loom reeds. DIY
Reeds are in order by dent size. Metric reeds are separate from those with dents per inch.

If you would like a PDF copy of Steve’s diagram that shows all the dimensions, click HERE to send me an email request.

May you have a place for everything, and everything in it’s place.

Yours,
Karen

Handweaving Dilemma

I am making great progress on my drawloom rag rug, closing in on the final segment. And then, I take a picture and the camera reveals something I had failed to see. A mistake! Here is the dilemma that I’m sure other weavers face, too. It’s an internal dialogue. I can live with the error. Or, can I? No one will notice. Well, I certainly will notice. But I am sooo close to the end. I really don’t want to undo the last forty minutes of weaving. What would you do?

Drawloom rag rug.
Error in the rug escapes my notice.
Mistake in the weaving, exposed by taking a photo.
Photo reveals my mistake.

Back it up. Using the chart that I follow for pulling draw cords, unit by unit, I work my way back until I get to the error. On reflection, doing the task is easier than thinking about doing it.

Removing weft to fix an error.
Backing up.
Single-unit drawloom.
One single unit draw cord makes all the difference. This cord should have been drawn in the affected rows.
Rag weft is taken out to correct an error.
Undone. Weft is removed. The mistake has been taken out.
Drawloom rag rug. Correcting an error.
Ready to start fresh from here.

My feelings can fool me. I don’t feel like going back and correcting my mistake. This is the time to pause and listen. Wisdom is at the door. Wisdom requires thinking, and listening, and time. Time is my friend, if I refrain from hurry. Wisdom is much like the skill of an experienced craftsman—one who understands precision and artistic expression and do-overs. Wisdom knows that patience is powerful. The easiest way to do something often forfeits the greatest rewards.

May you keep your ear at wisdom’s door.

Peace,
Karen