Tried and True: Wool Skeins into Balls

I am adding about thirty more skeins to my yarn supply to get the colors I need for a new tapestry. At this rate, maybe I will have every single color of Borgs 6/2 Tuna and 6/1 Fårö wool on my shelves some day. That’s wishful thinking… But I do have what I need for now to make the butterflies for this special pictorial tapestry.

Preparing to weave a new pictorial tapestry.
Beautiful colors of wool skeins of yarn.

All these new skeins of yarn need to be wound into balls using my Swedish umbrella swift and a ball winder. In the past, I have used a manual ball winder. That means a lot of handle turning, but eventually all the yarn is wound into balls.

Swedish umbrella swift and an electric ball winder.
Skein of yarn is opened and placed on the umbrella swift.

This time is different. I found a new time-saving and arm-saving tool. It’s an electric ball winder, made by Fiber Artist Supply Company. I put the skein on the swift, cut the ties, secure the loose end of yarn to the ball winder, and then turn it on, gradually increasing the speed. In less than two minutes, I have another beautiful ball of yarn to use for making tapestry butterflies.

My new electric ball winder.
End of yarn is secured on the post of the ball winder.
Electric ball winder. Time-saver and arm-saver!
Dial on the winder allows me to gradually increase the speed. When I see that the skein is unwinding properly, I turn the dial to full speed.
Yarn swift is turning swiftly!
Maybe this is why it’s called a yarn “swift.” Previous pictorial tapestry, Siblings, is seen on the wall.
Electric ball winder. Time-saver and arm-saver!
One minute, fifty-four seconds later, and we have a ball of yarn.
New ball of yarn from the electric ball winder.
I will wrap the label on this ball of yarn and it will join the yarn collection for this tapestry.
Getting ready to start a new pictorial tapestry!
Linen warp is ready for beaming. Wool weft yarn is being sorted and organized for making butterflies.

May your tools give you more time for weaving.

Making it easier,
Karen

Drawloom Windmill and Taildragger – Version 2

I’m curious. How much difference will it make to change the direction of the design? I wove the first Windmill and Taildragger from the side. (See Time Lapse: Windmill and Taildragger on the Drawloom.) This second one, I am weaving from bottom to top. For one thing, I know I can enlarge the image if I turn it upright, giving me more distinct details.

Windmill and Taildragger woven on the drawloom.
Windmill and Taildragger – Version 1, from the side. Beginning of Windmill and Taildragger – Version 2, upright.
Taildragger on the drawloom.
More detail is possible with the expanded size of the image. Center image and lower border use single-unit draw cords. Five pattern shafts are used for the side borders.
Temple in use on the drawloom.
Temple maintains the correct weaving width.
Glimakra Standard loom with Myrehed combination drawloom attachment.
Side view of drawloom with Myrehed combination attachment.

This second Windmill and Taildragger is indeed larger, with smoother detail lines. No surprise. What does surprise me is how much simpler this one is to weave! The single-unit pulls are more manageable now that the design is turned in a lengthwise direction. Enlargement, clarity, and ease—all from a single design adjustment.

Drawloom weaving.
Single-unit draw cords seen in the weaving of the windmill’s blades.
Windmill and Taildragger on the drawloom.
Windmill and Taildragger – Version 2
Drawloom weaving.
Version 1 and Version 2 – Windmill and Taildragger

Spoken wishes express our needs. Our wishes are sincere, but hold no power in themselves. What if we turn the direction of our wishes? When we turn those expressions upward to God they become prayer. Prayer is an expression of belief. Jesus invites us to tell him our needs through prayer. Prayer enlarges and clarifies our hopes. You may be surprised how simple it is to take your needs to the Lord in prayer.

May your prayers bring the help you need.

Peace to you,
Karen

Process Review: Beaming the Warp

I am making a new ‘cello skirt (a tiered skirt), starting from scratch. The warp is 24/2 cotton, most of it unbleached. Each tier will be edged with a narrow Poppy border. The pattern in the cloth will be a huckaback (huck lace) design, adapted from Little Tablecloth in Huckaback on p.10 in Happy Weaving from VävMagisinet.

Preparing to beam the warp.

Today, I’m beaming the warp. My method includes a combination of things I have learned from these three excellent sources: Learning to Warp Your Loom, by Joanne Hall, Dress Your Loom the Vävstuga Way, by Becky Ashenden, and The Big Book of Weaving, by Laila Lundell.

I’ll let the pictures speak for themselves.

Using warping trapeze to beam the warp.
Transferring the lease sticks.
Transferring lease sticks.
Transferring lease sticks. Beaming.
Beaming a new warp.
Beaming the warp with a trapeze.
Warping trapeze in use.
Using warping slats.
Placing warping slats.
Beaming with warping slats.
Warping trapeze in use.
Warping slats for beaming the warp.
Last step in beaming the warp.
Tie the lease sticks to the back beam.
Lease sticks tied to back beam.
Ready to cut the end-of-warp loops.
Cutting loops at end of the warp.
Cutting the loops at the end of the warp.
Beaming a new warp.
All Counted into Threading Groups
Newly beamed warp. Complete process pictures.
Newly beamed warp ready for threading.
Beaming process in pictures.

Do you have any questions about my beaming process? If you warp back to front, like I do, what do you do differently?

May you find yourself beaming.

Happy Weaving,
Karen

Applique from Handwoven Remnants

This is the Christmas-tree-skirt project. I wove 3 1/2 meters of background fabric with 8/1 Möbellåtta warp and 6/1 Fårö wool weft. Now, having sorted through all my handwoven remnants, big and small, I have colors and textures for telling the Nativity story in appliqué. My friend with appliqué experience has advised me on materials and technique, for which I am enormously grateful.

Applique from handwoven remnants.
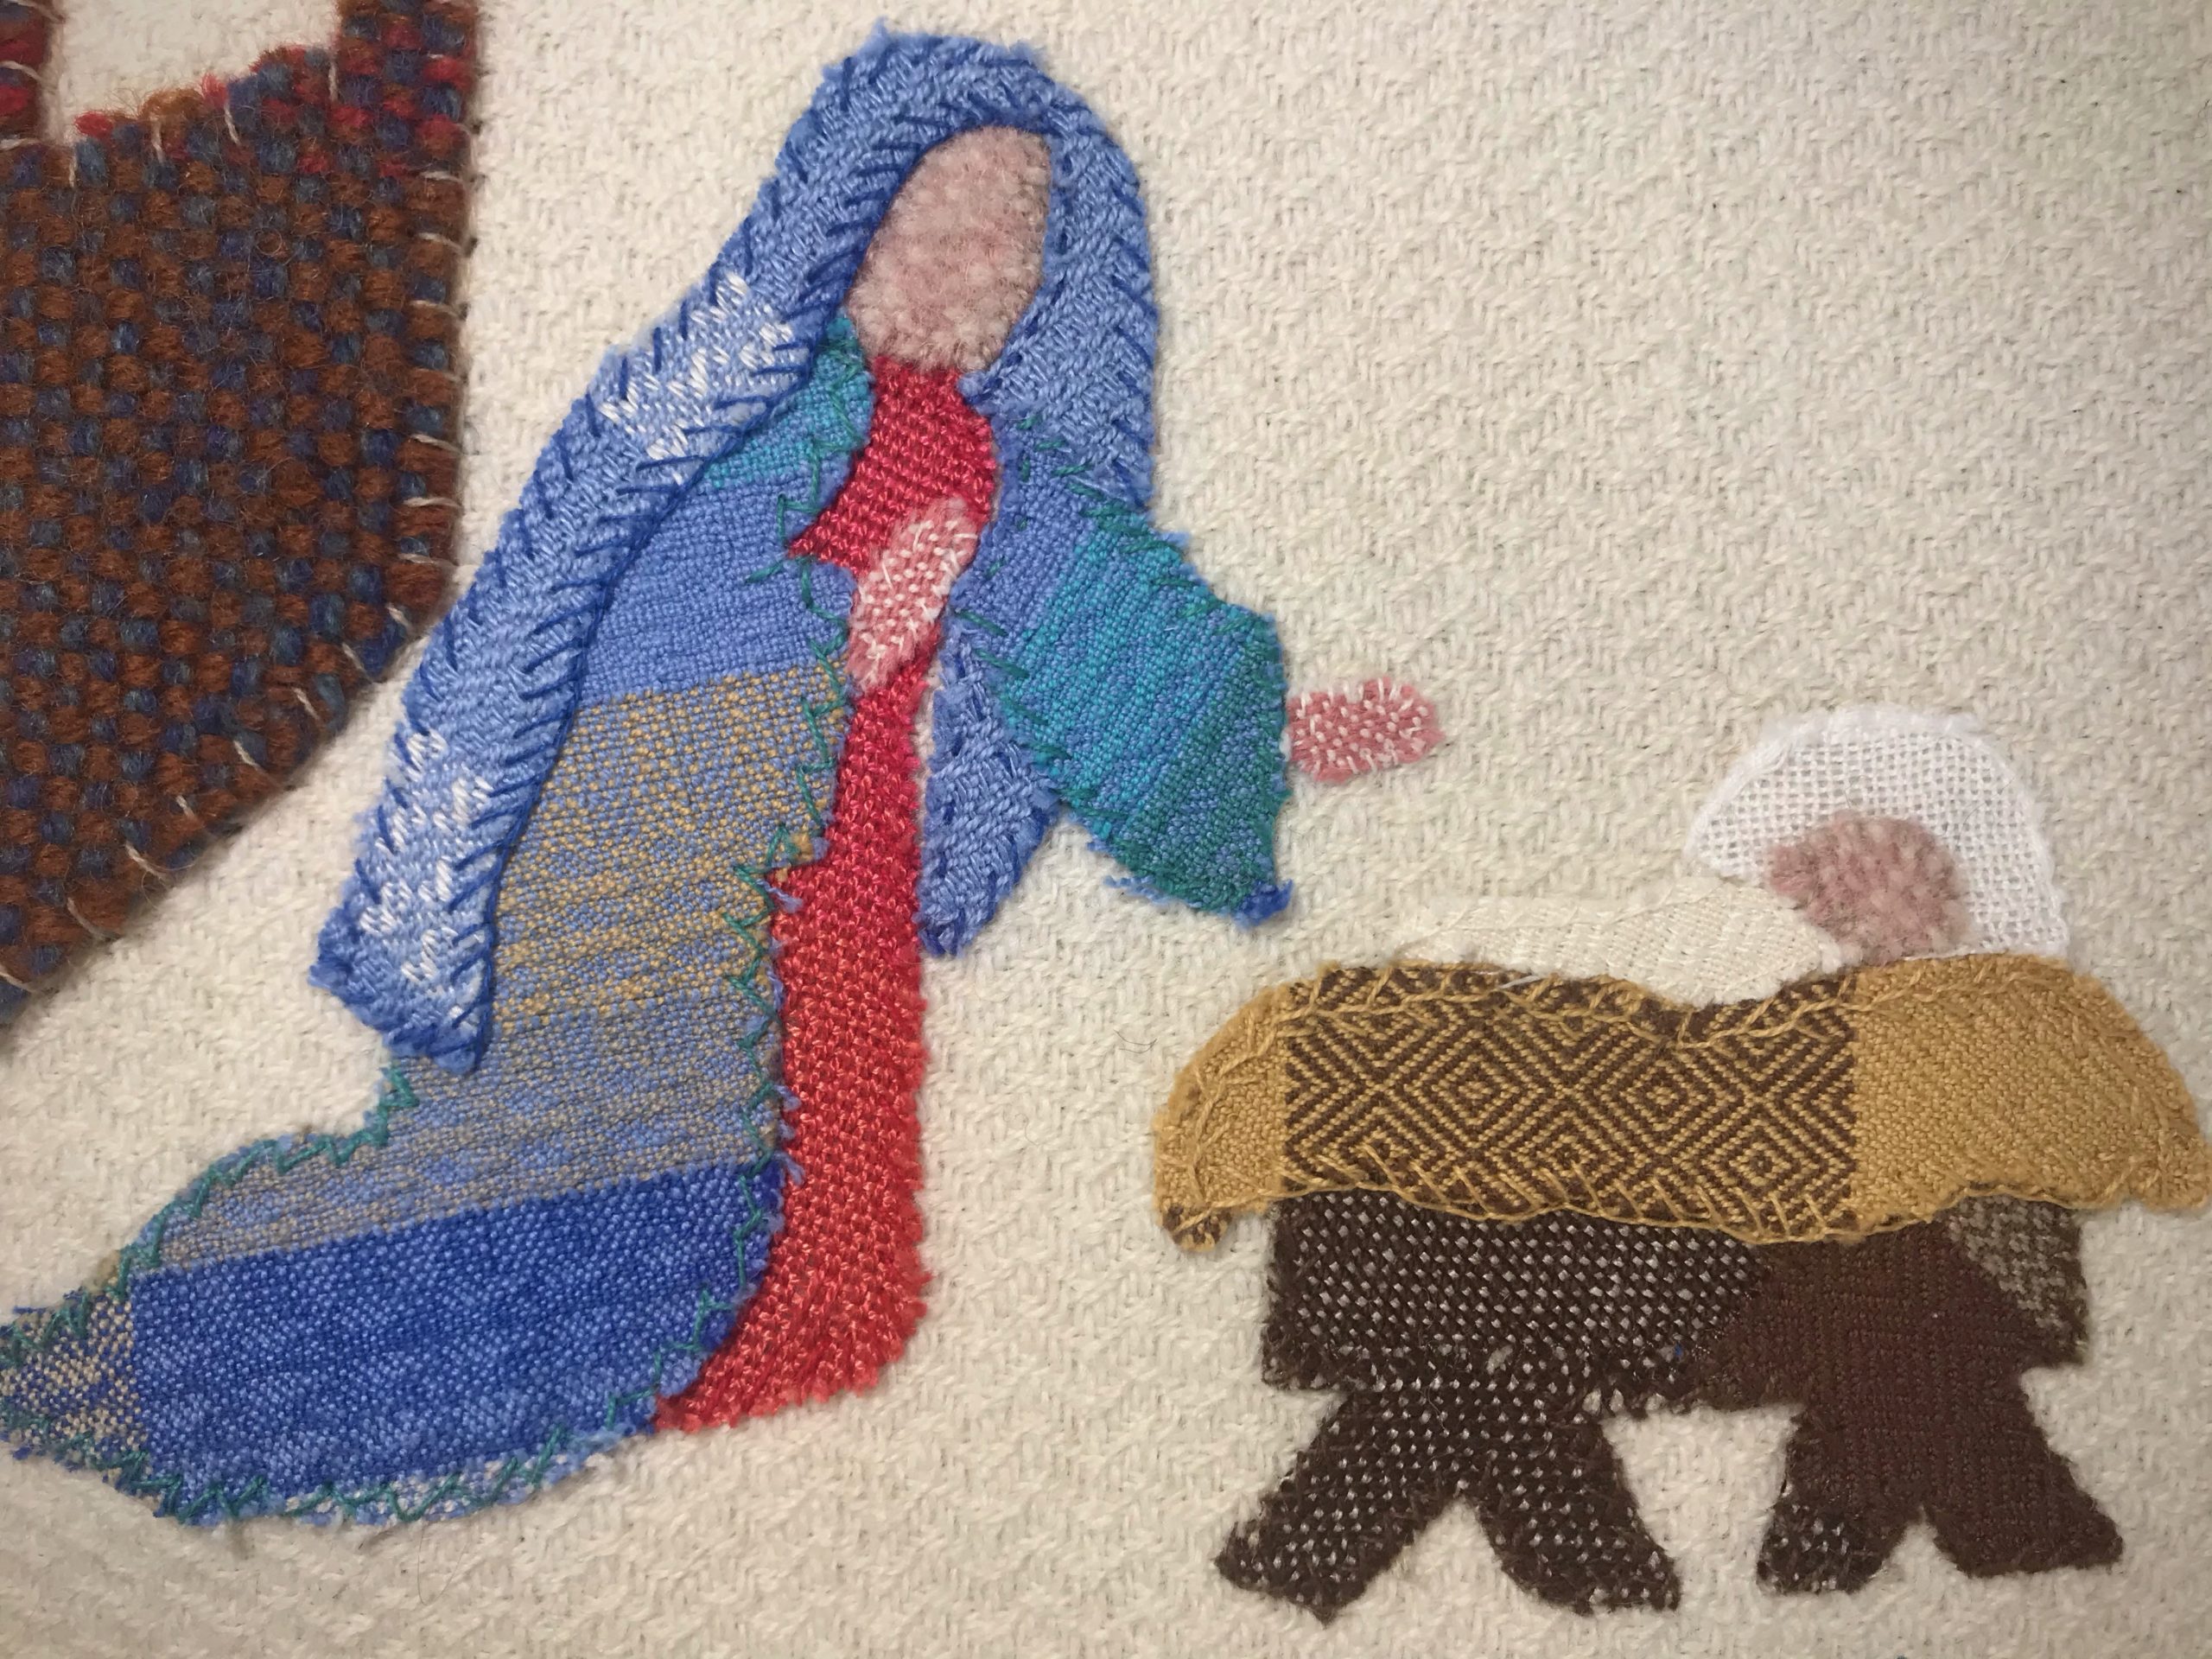
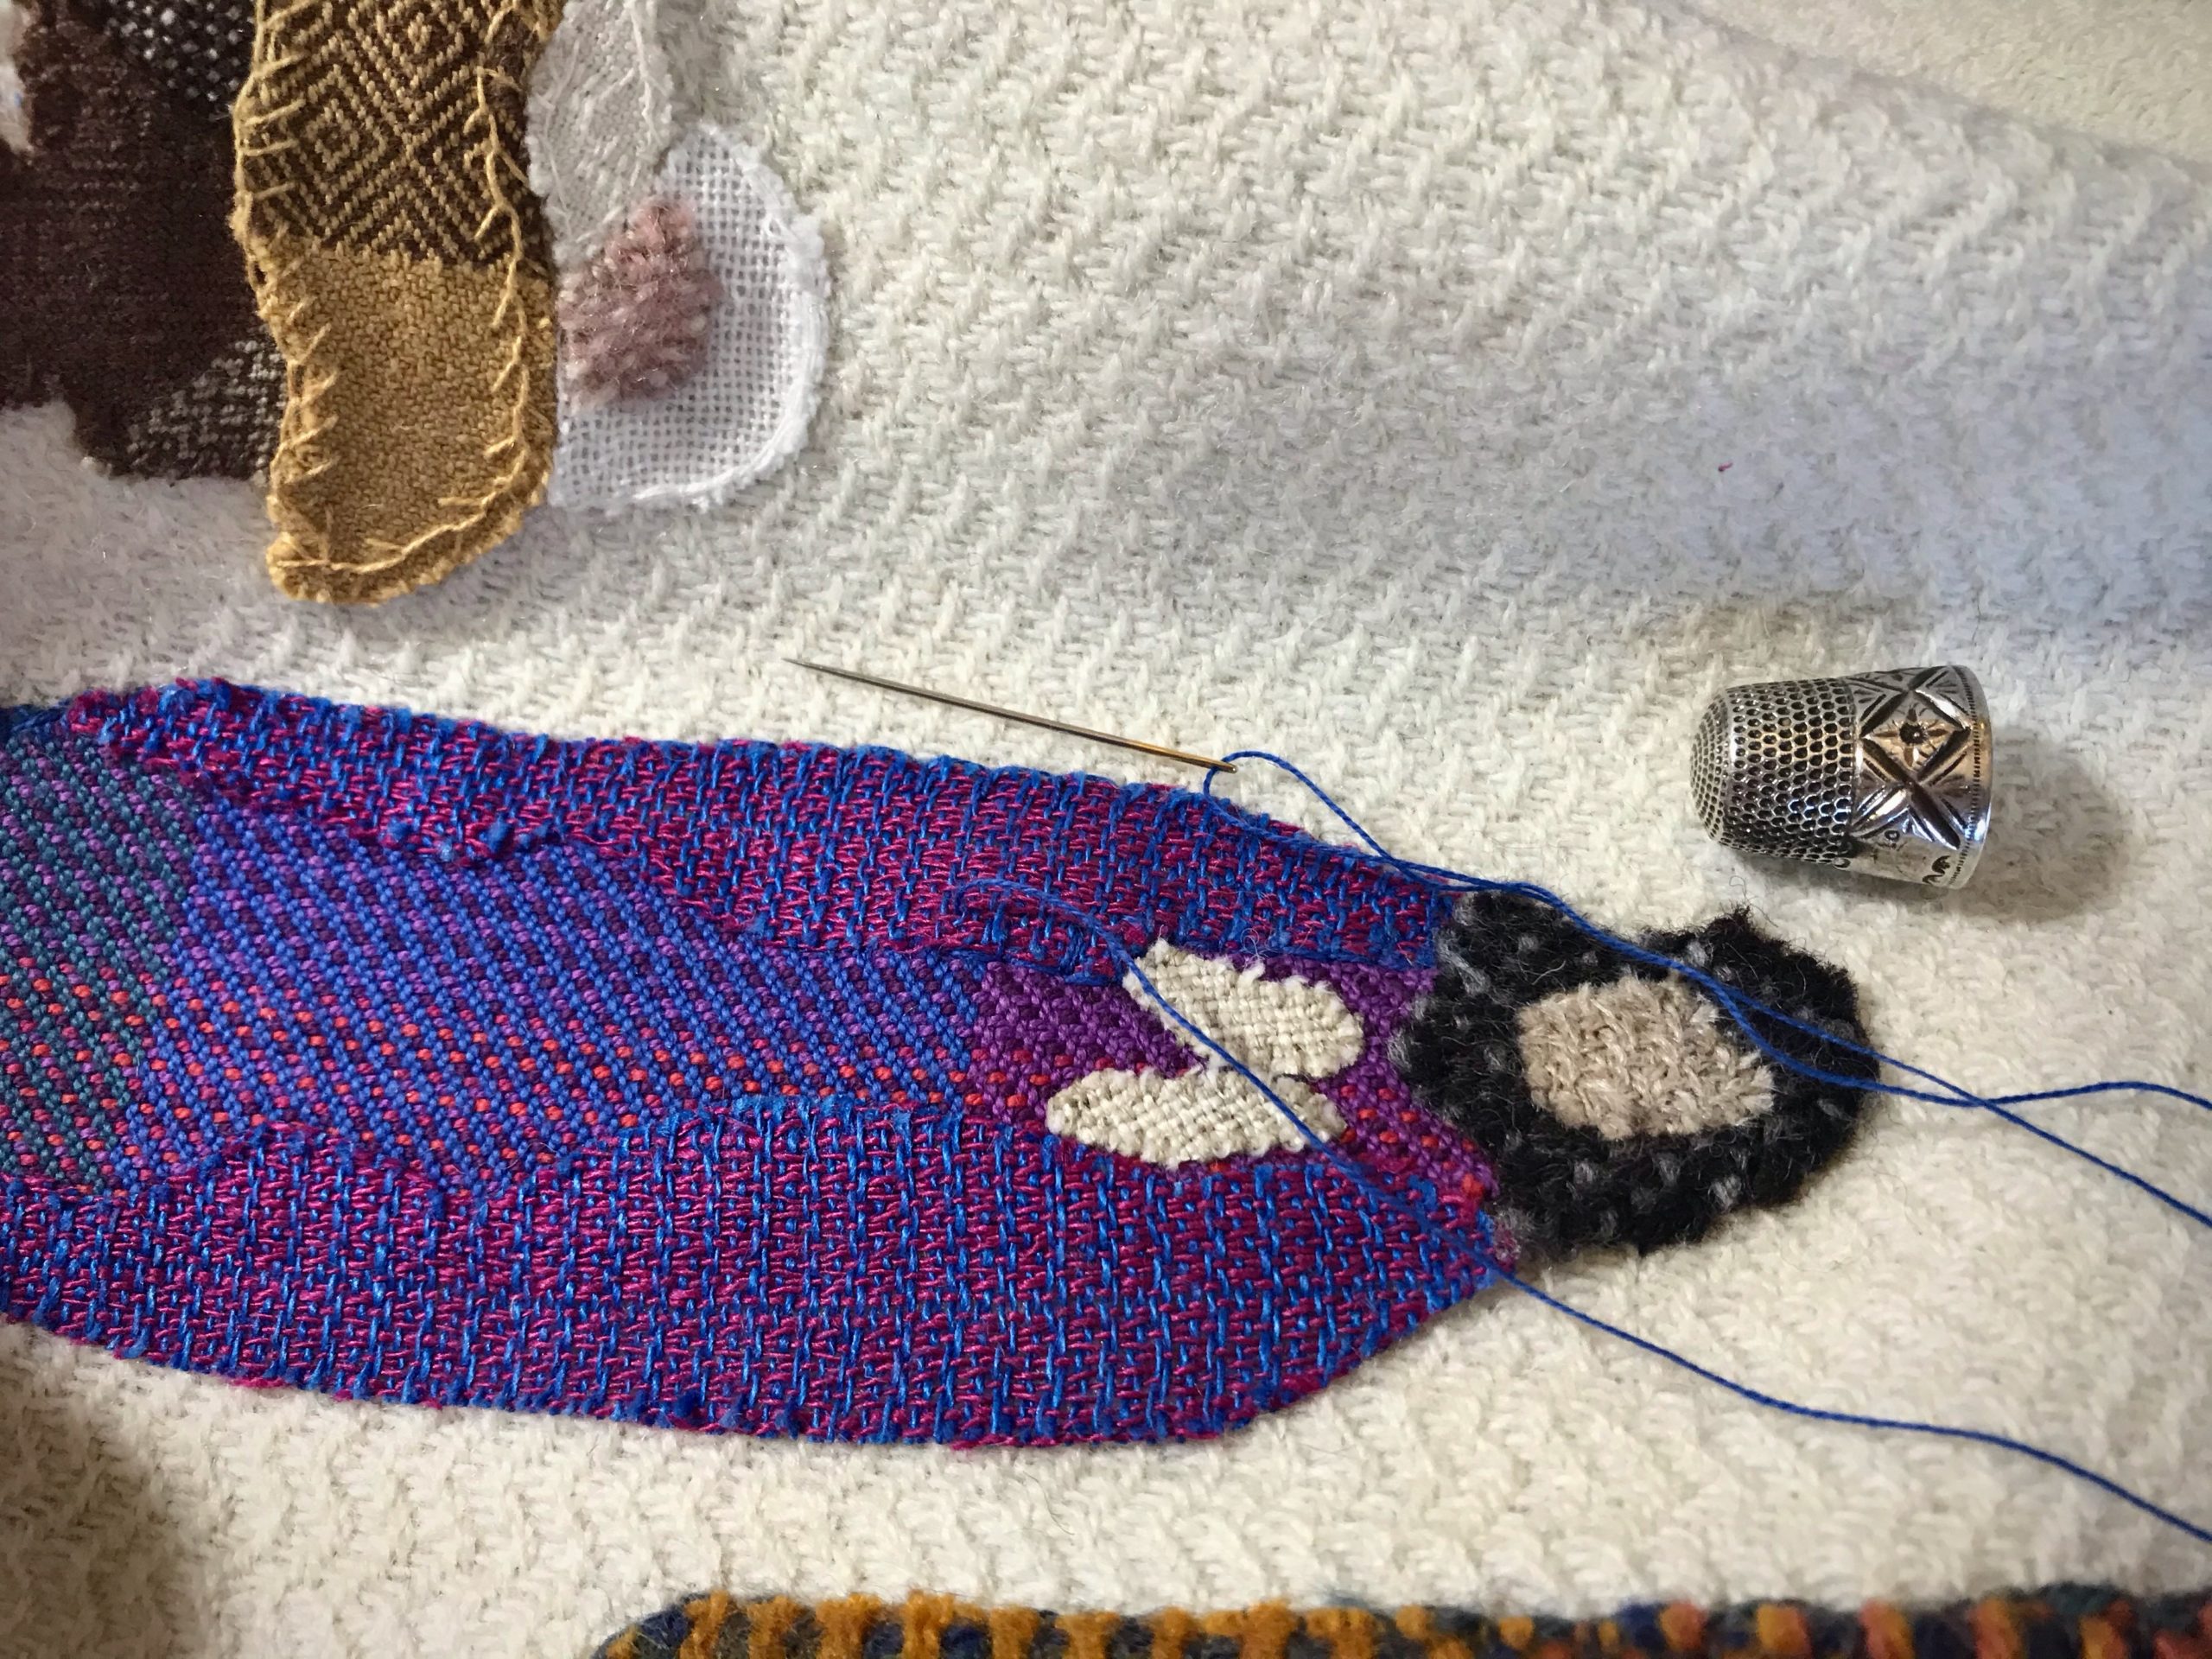
Remnant from the warp for towels I wove for my daughter becomes part of Mary’s garment.
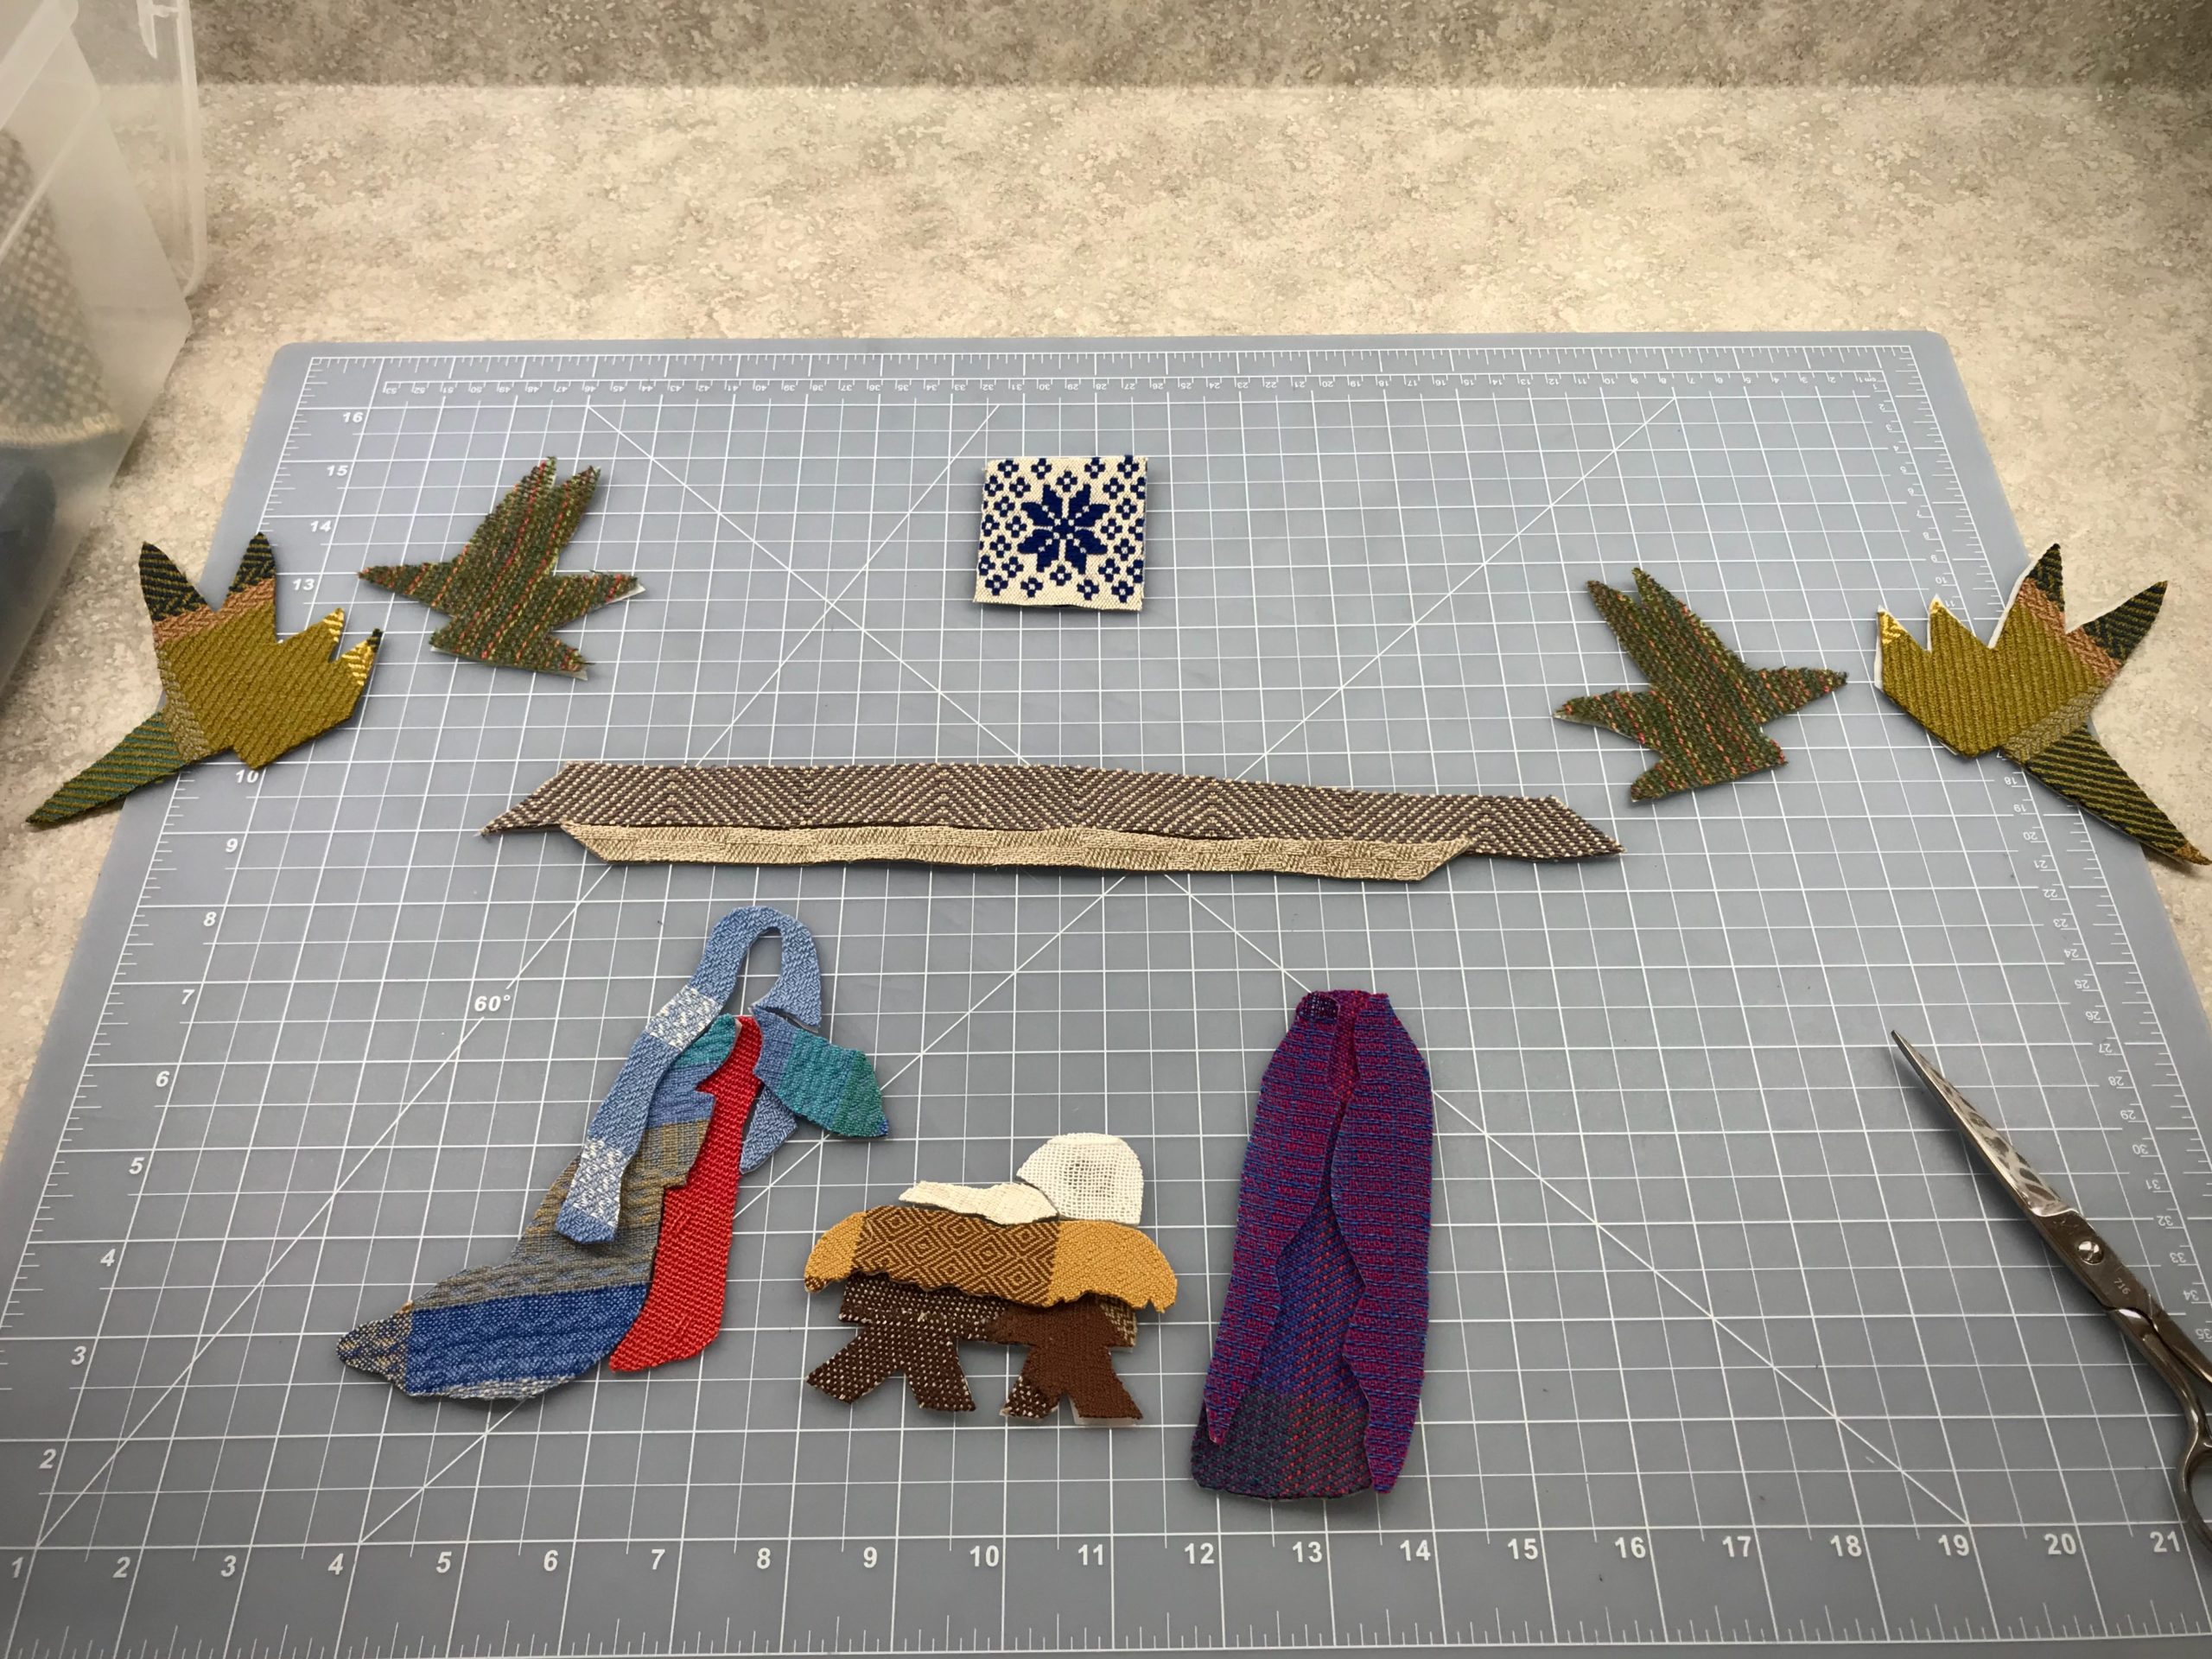
Handwoven remnants cut for applique Nativity.
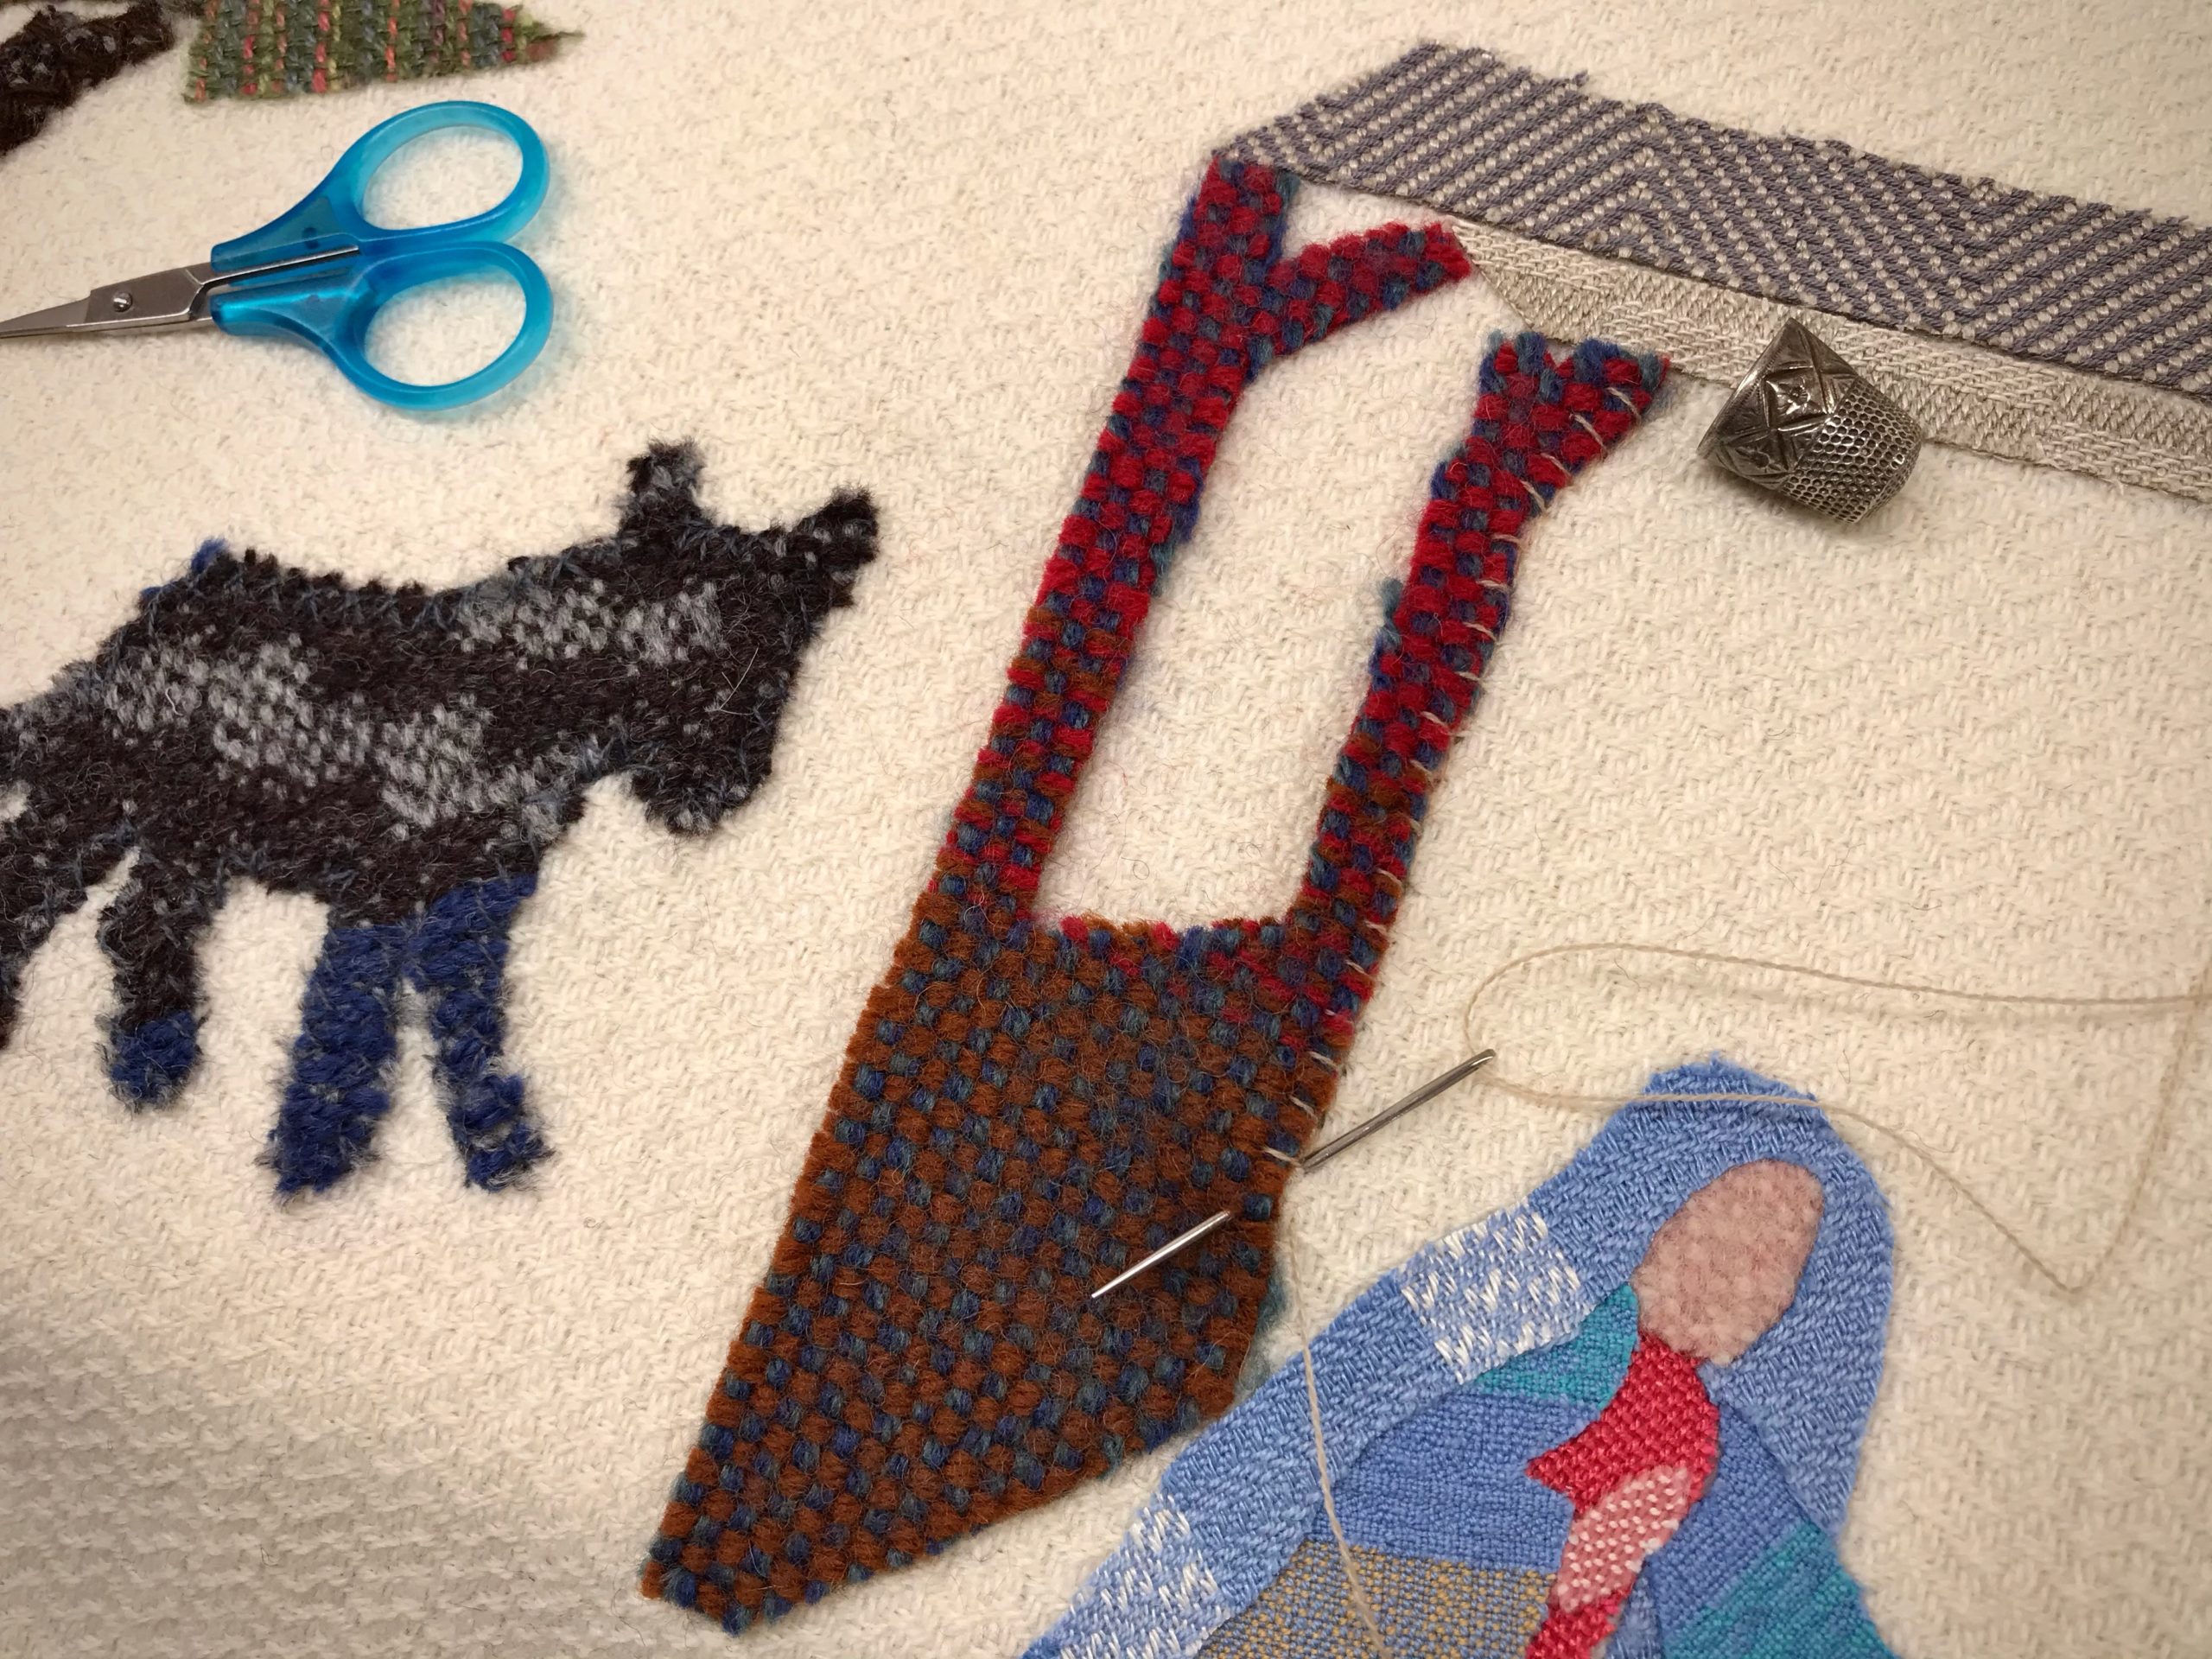
Donkey shape is cut from remnants from my wool vest project on the drawloom. Paper is on both sides of the double-sided fusible product. One side is peeled off to adhere the fusible to the back of the appliqué piece. (Always remember to draw the reverse side of the image onto the paper on the fusible.)
Applique from handwoven drawloom fabric.
Appliqué piece is face up, ready to be fused to the background.
Making handwoven applique Nativity.
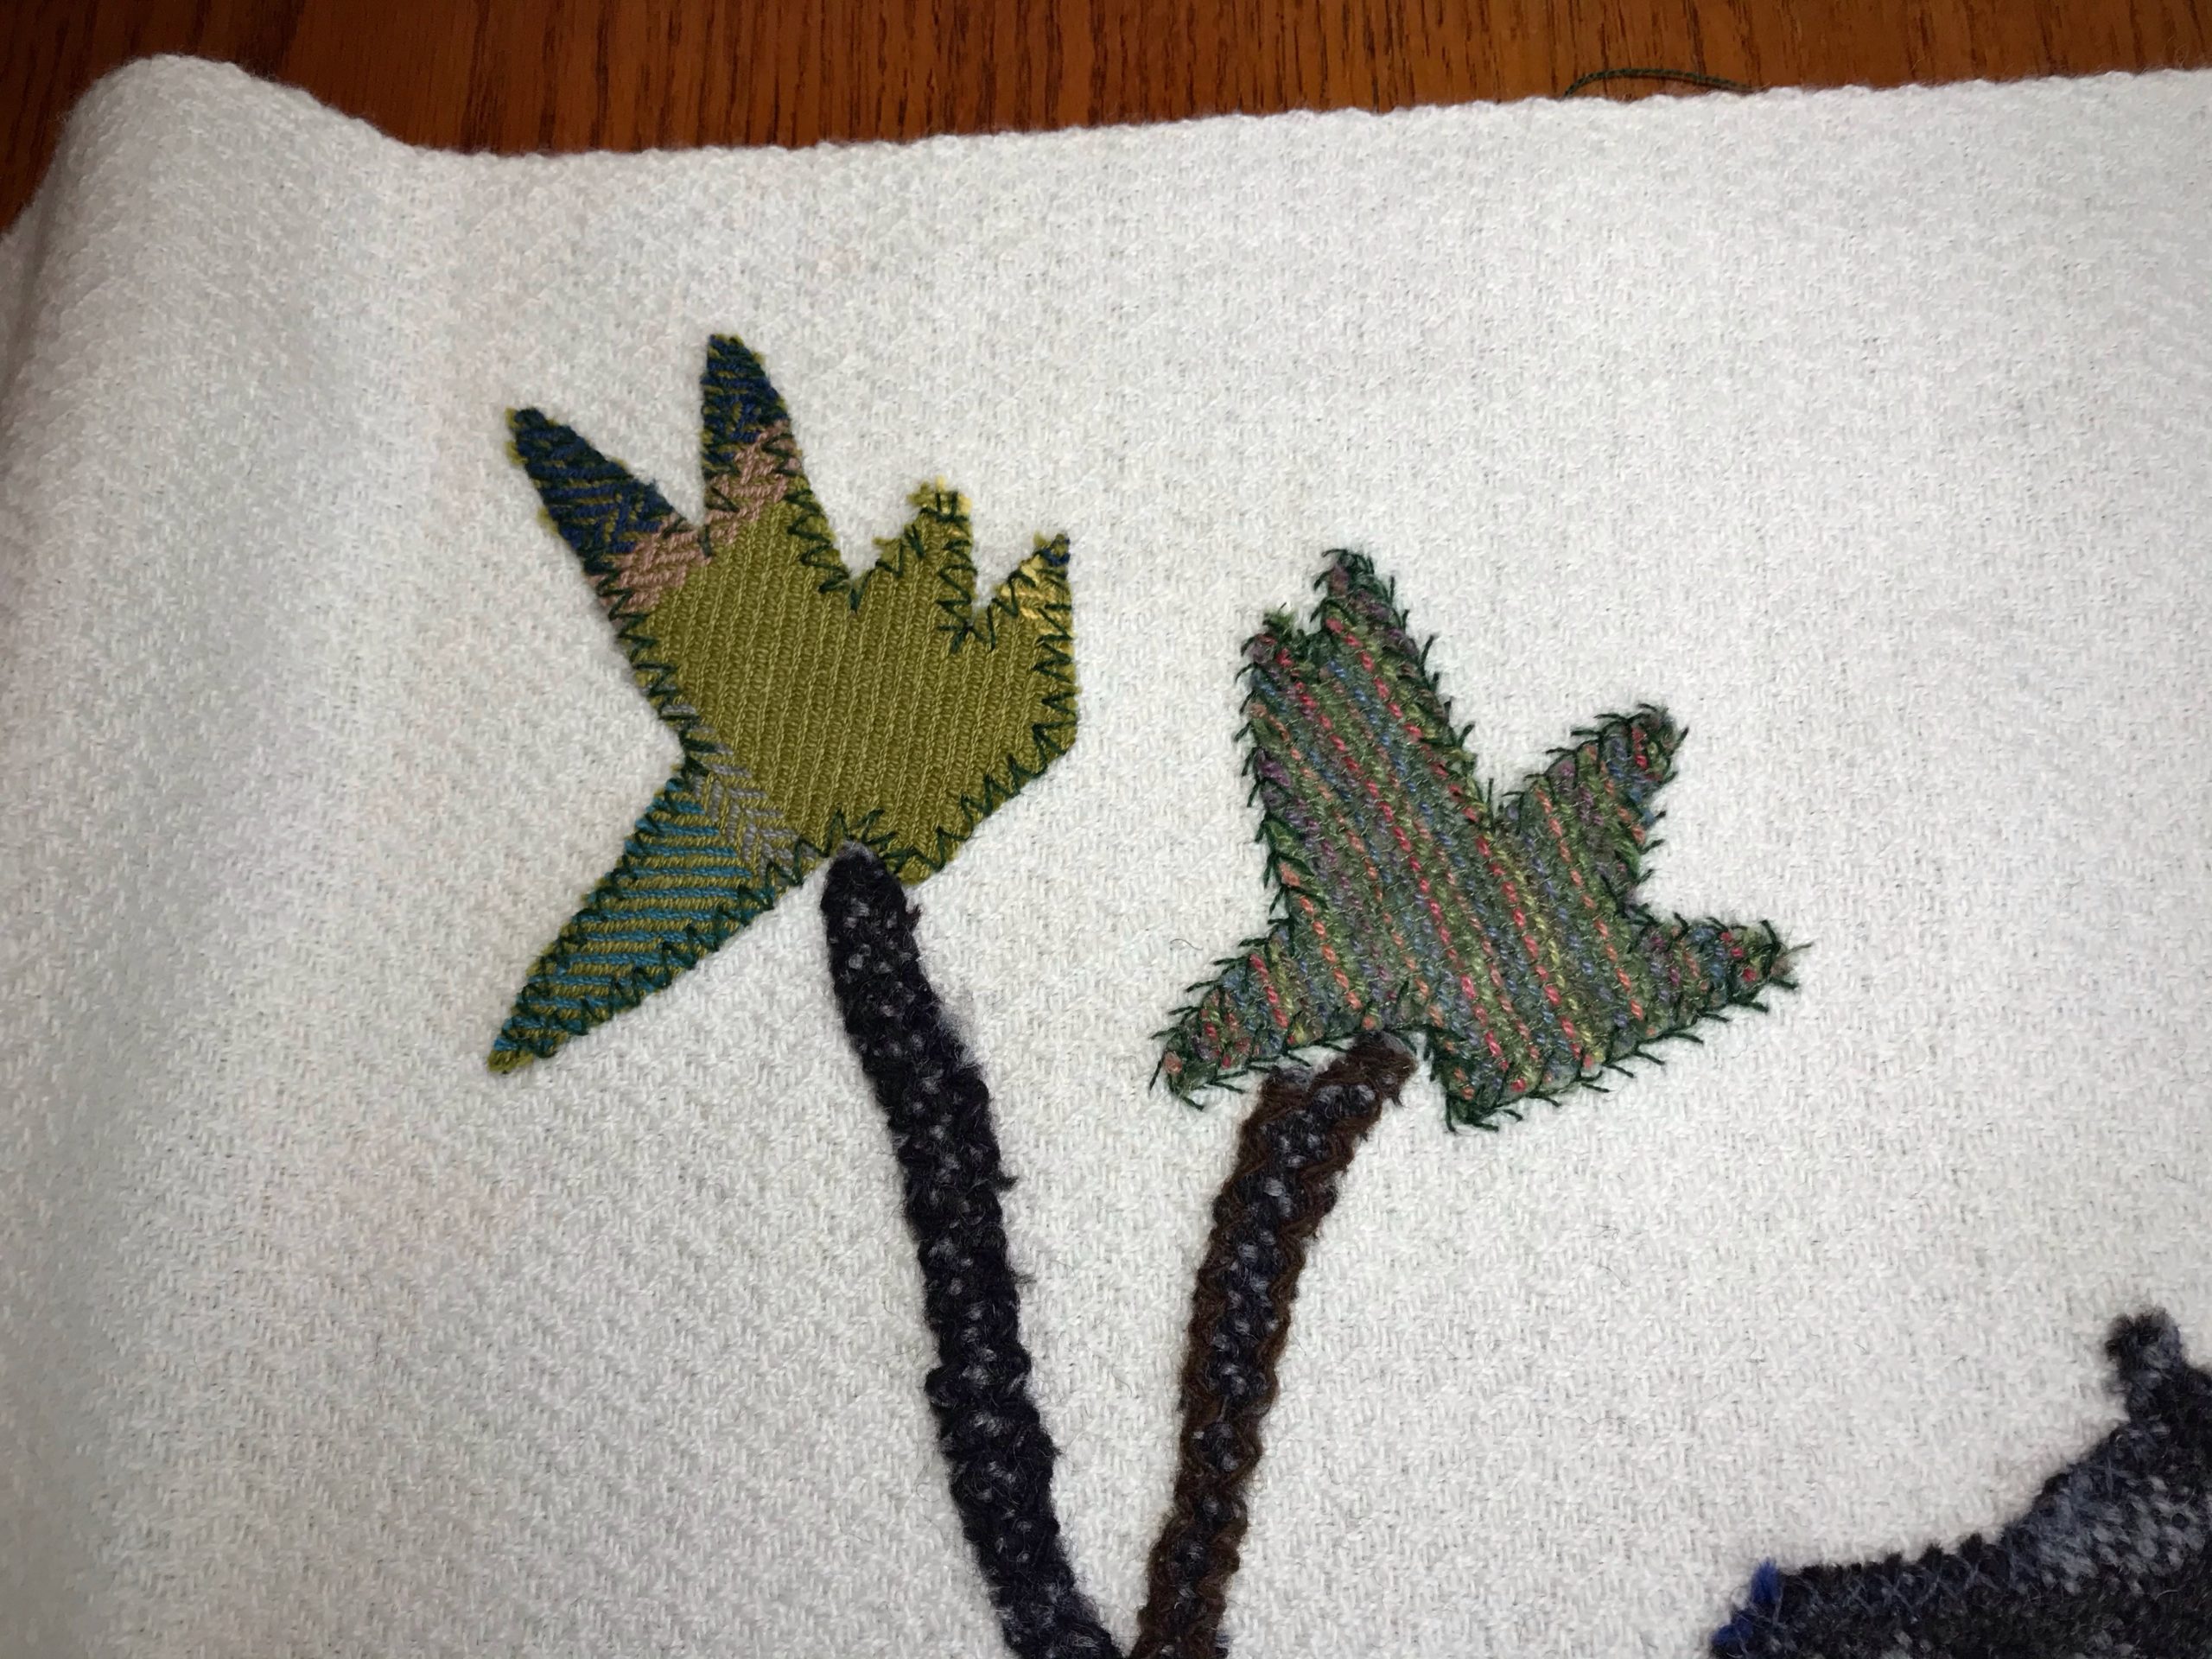
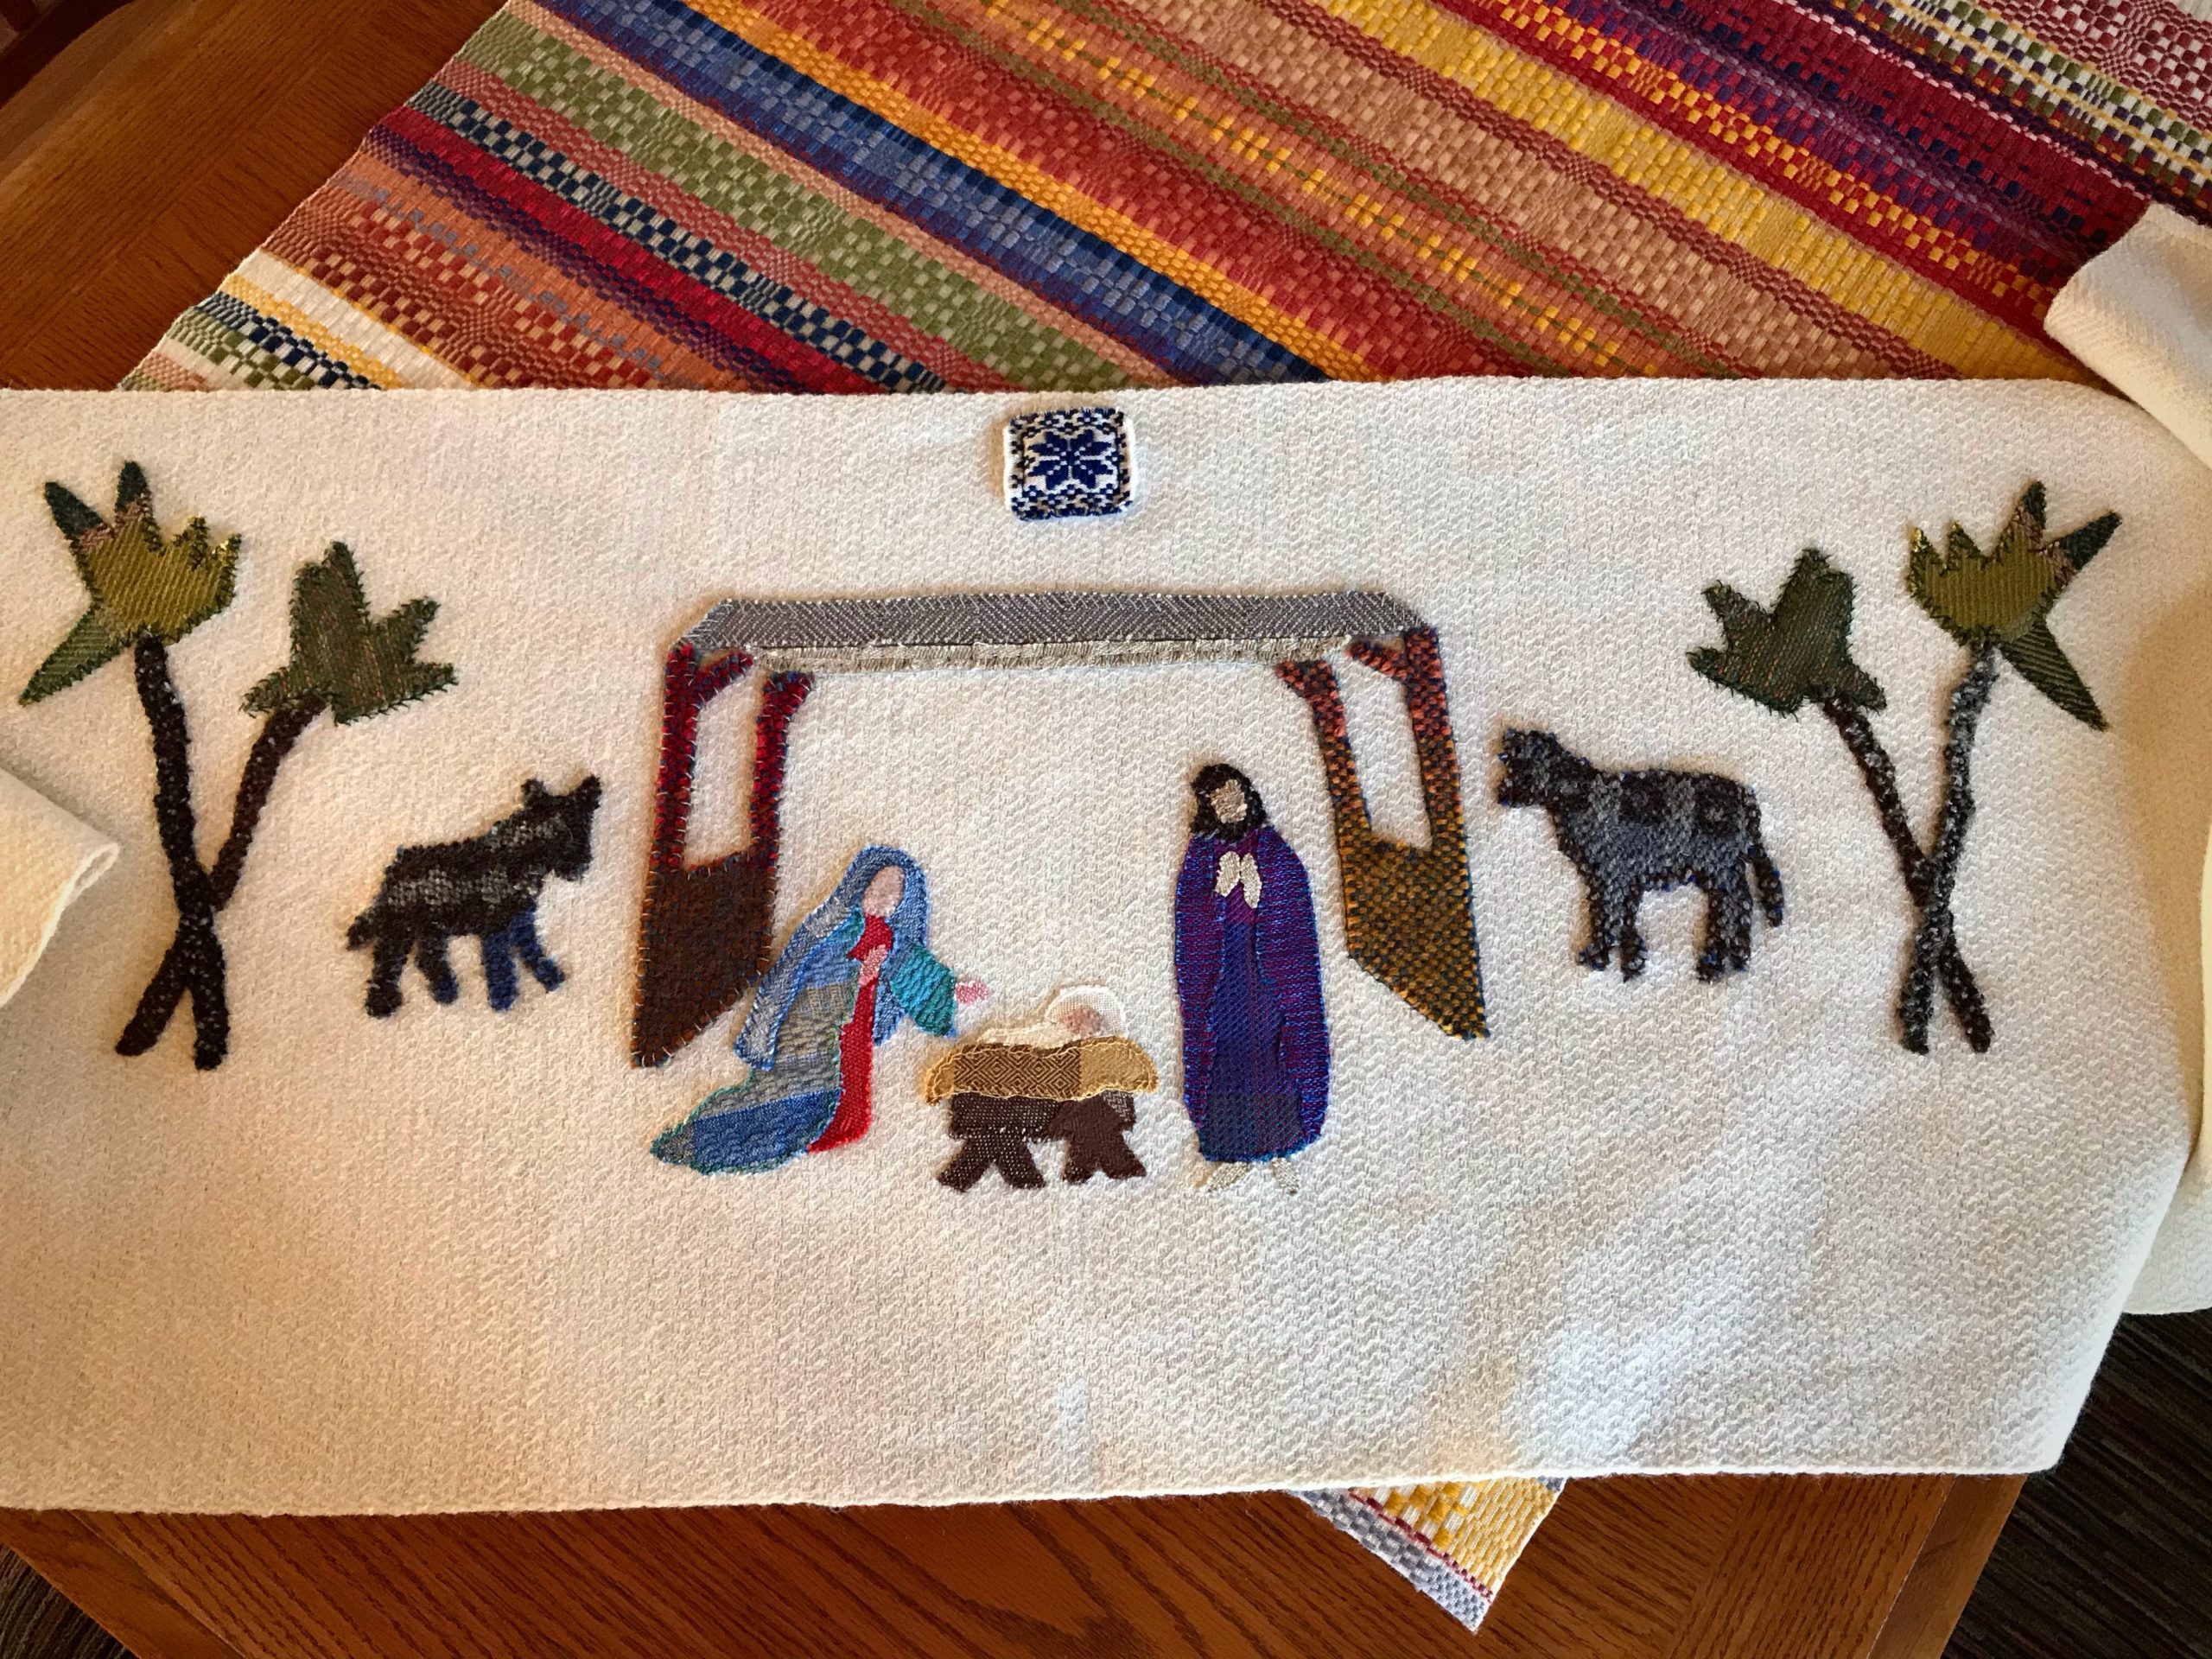
Blue star is from opphämta on the drawloom. Green palm trees are from a long-ago rigid heddle scarf and from a warp of cottolin towels. Manger is pieced from some of my earliest floor loom fabrics. Swaddling cloth is fine cotton M’s and O’s. Baby’s halo is from Swedish lace curtain fabric. Every piece of fabric has a story.

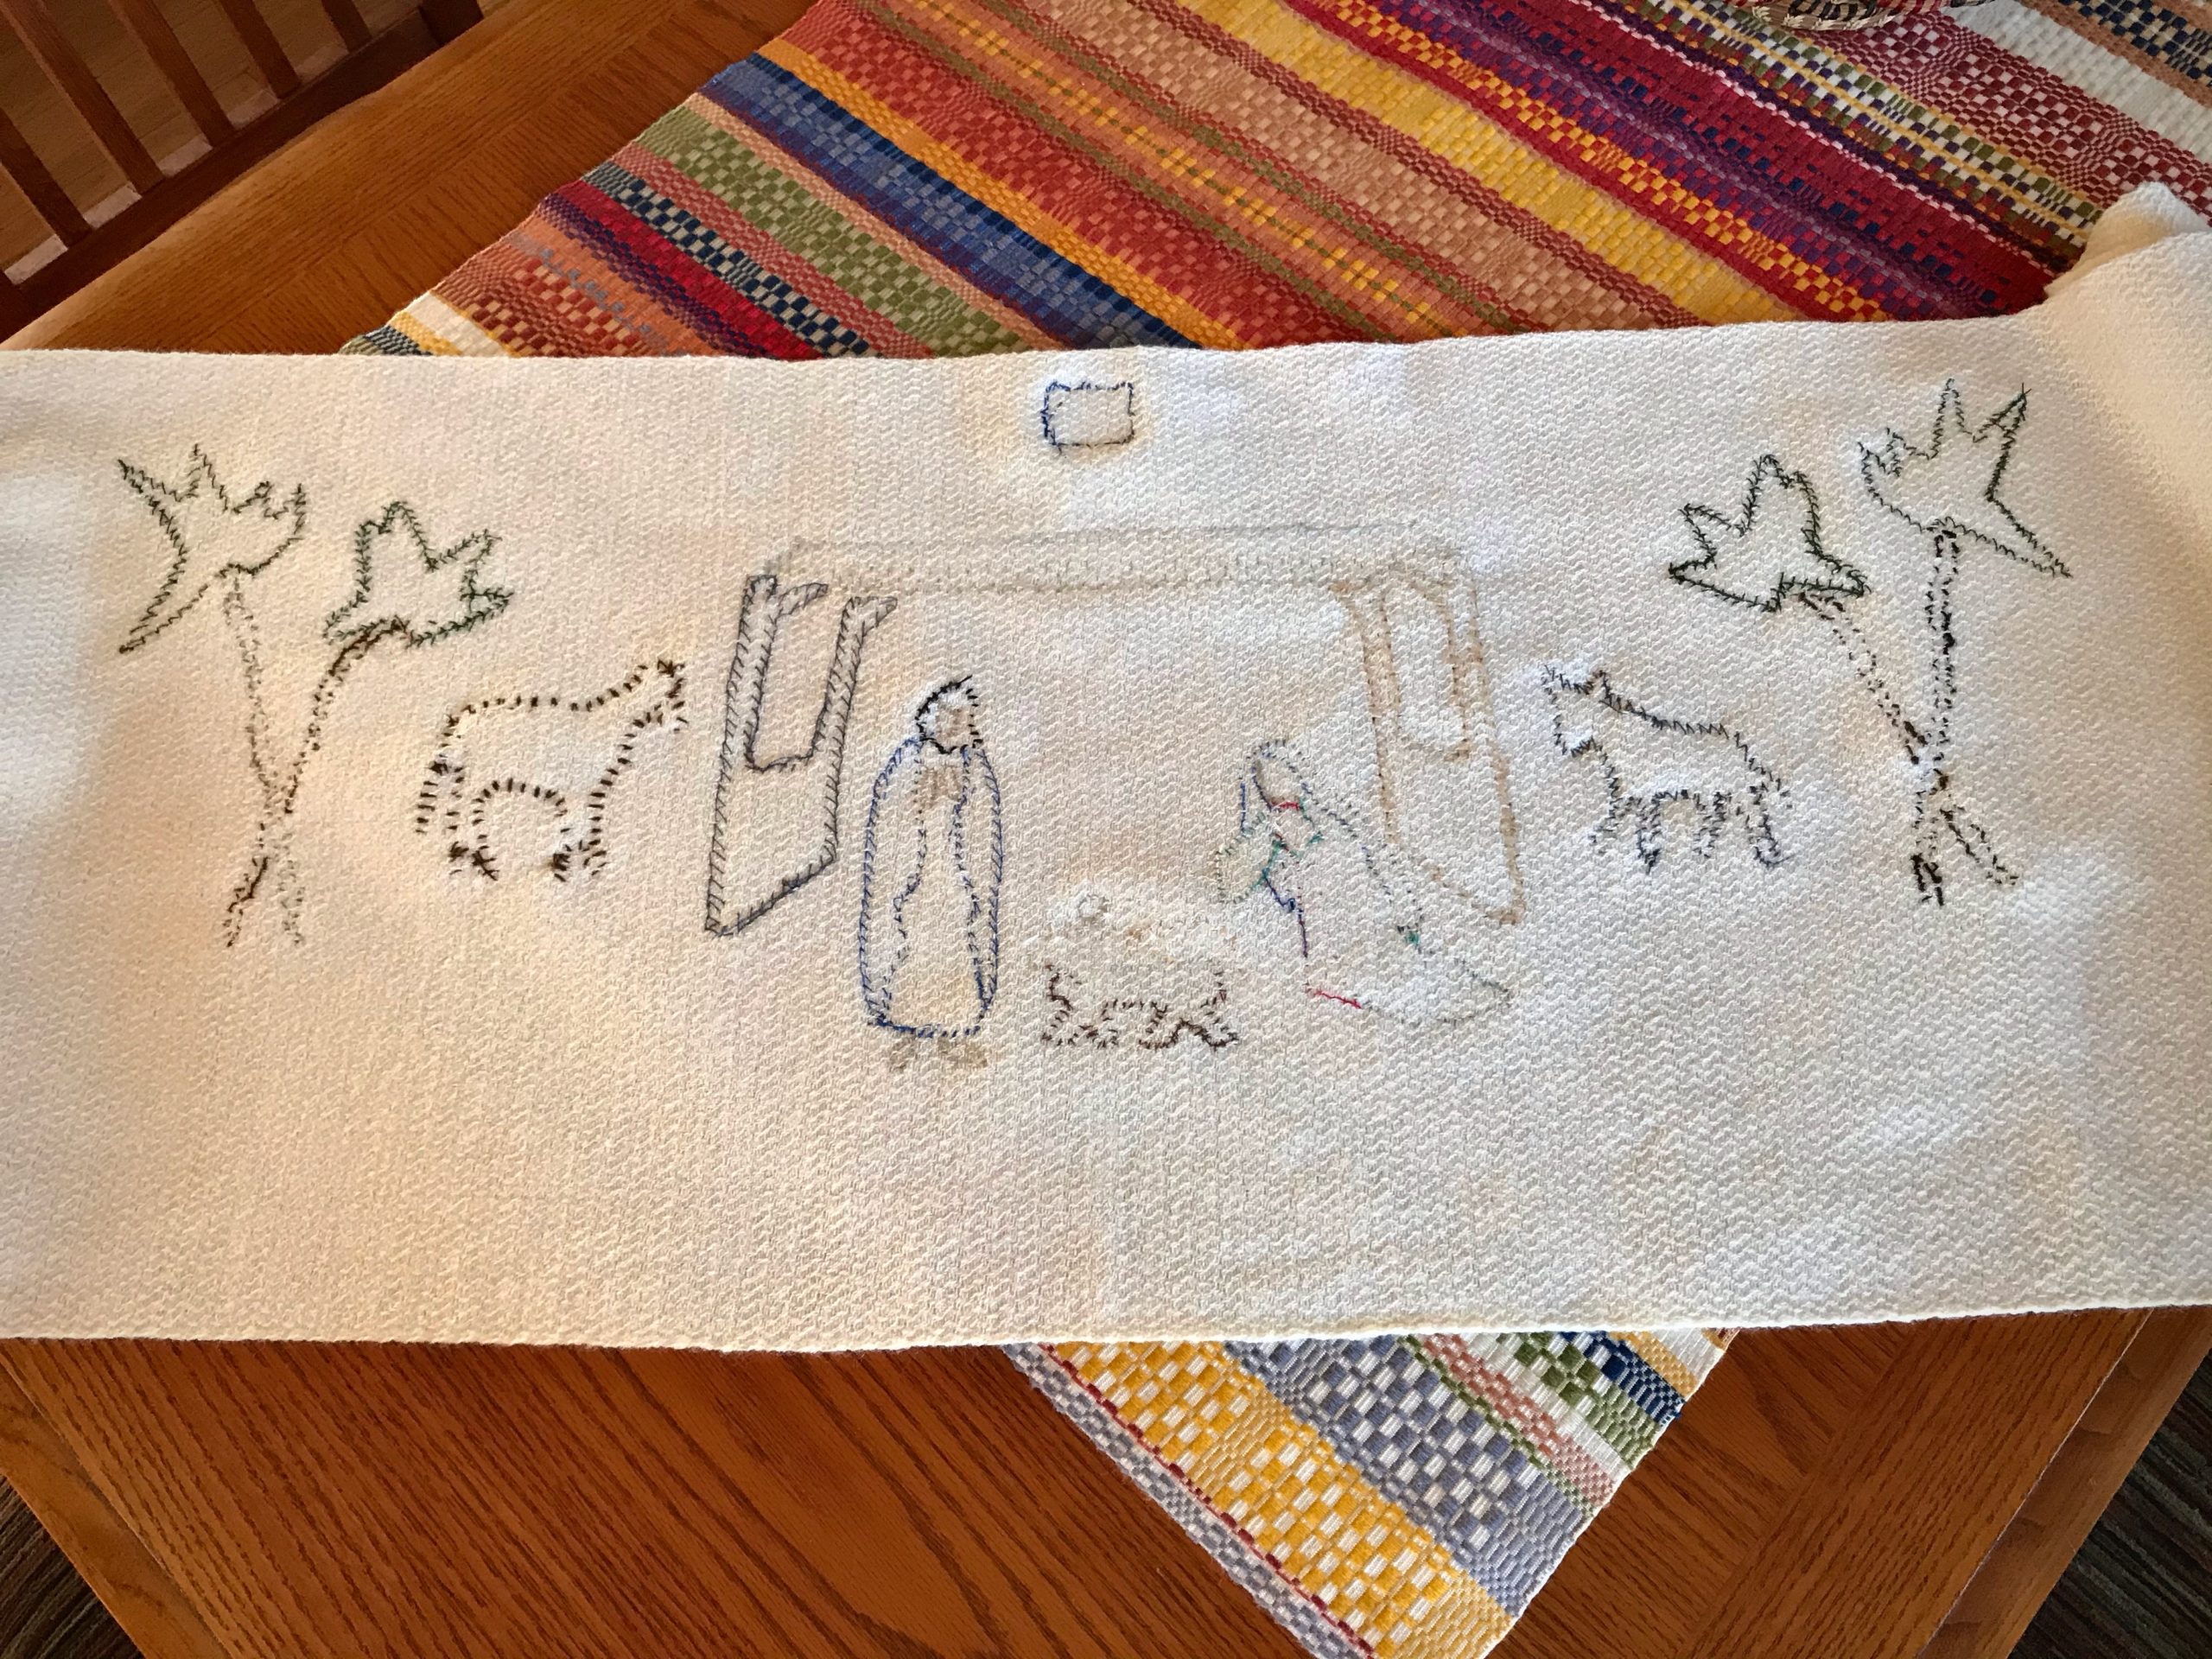
Using a double-sided fusible product, I carefully cut out each shape. After laying all the pieces out in the proper arrangement, I fuse them, layer by layer, to the background fabric. The Nativity narrative is formed, piece by piece. I still have handwoven remnants to add to the lower edge, and embroidery to stitch around some of the appliqué shapes. I’m hopeful to complete all of it before Christmas.

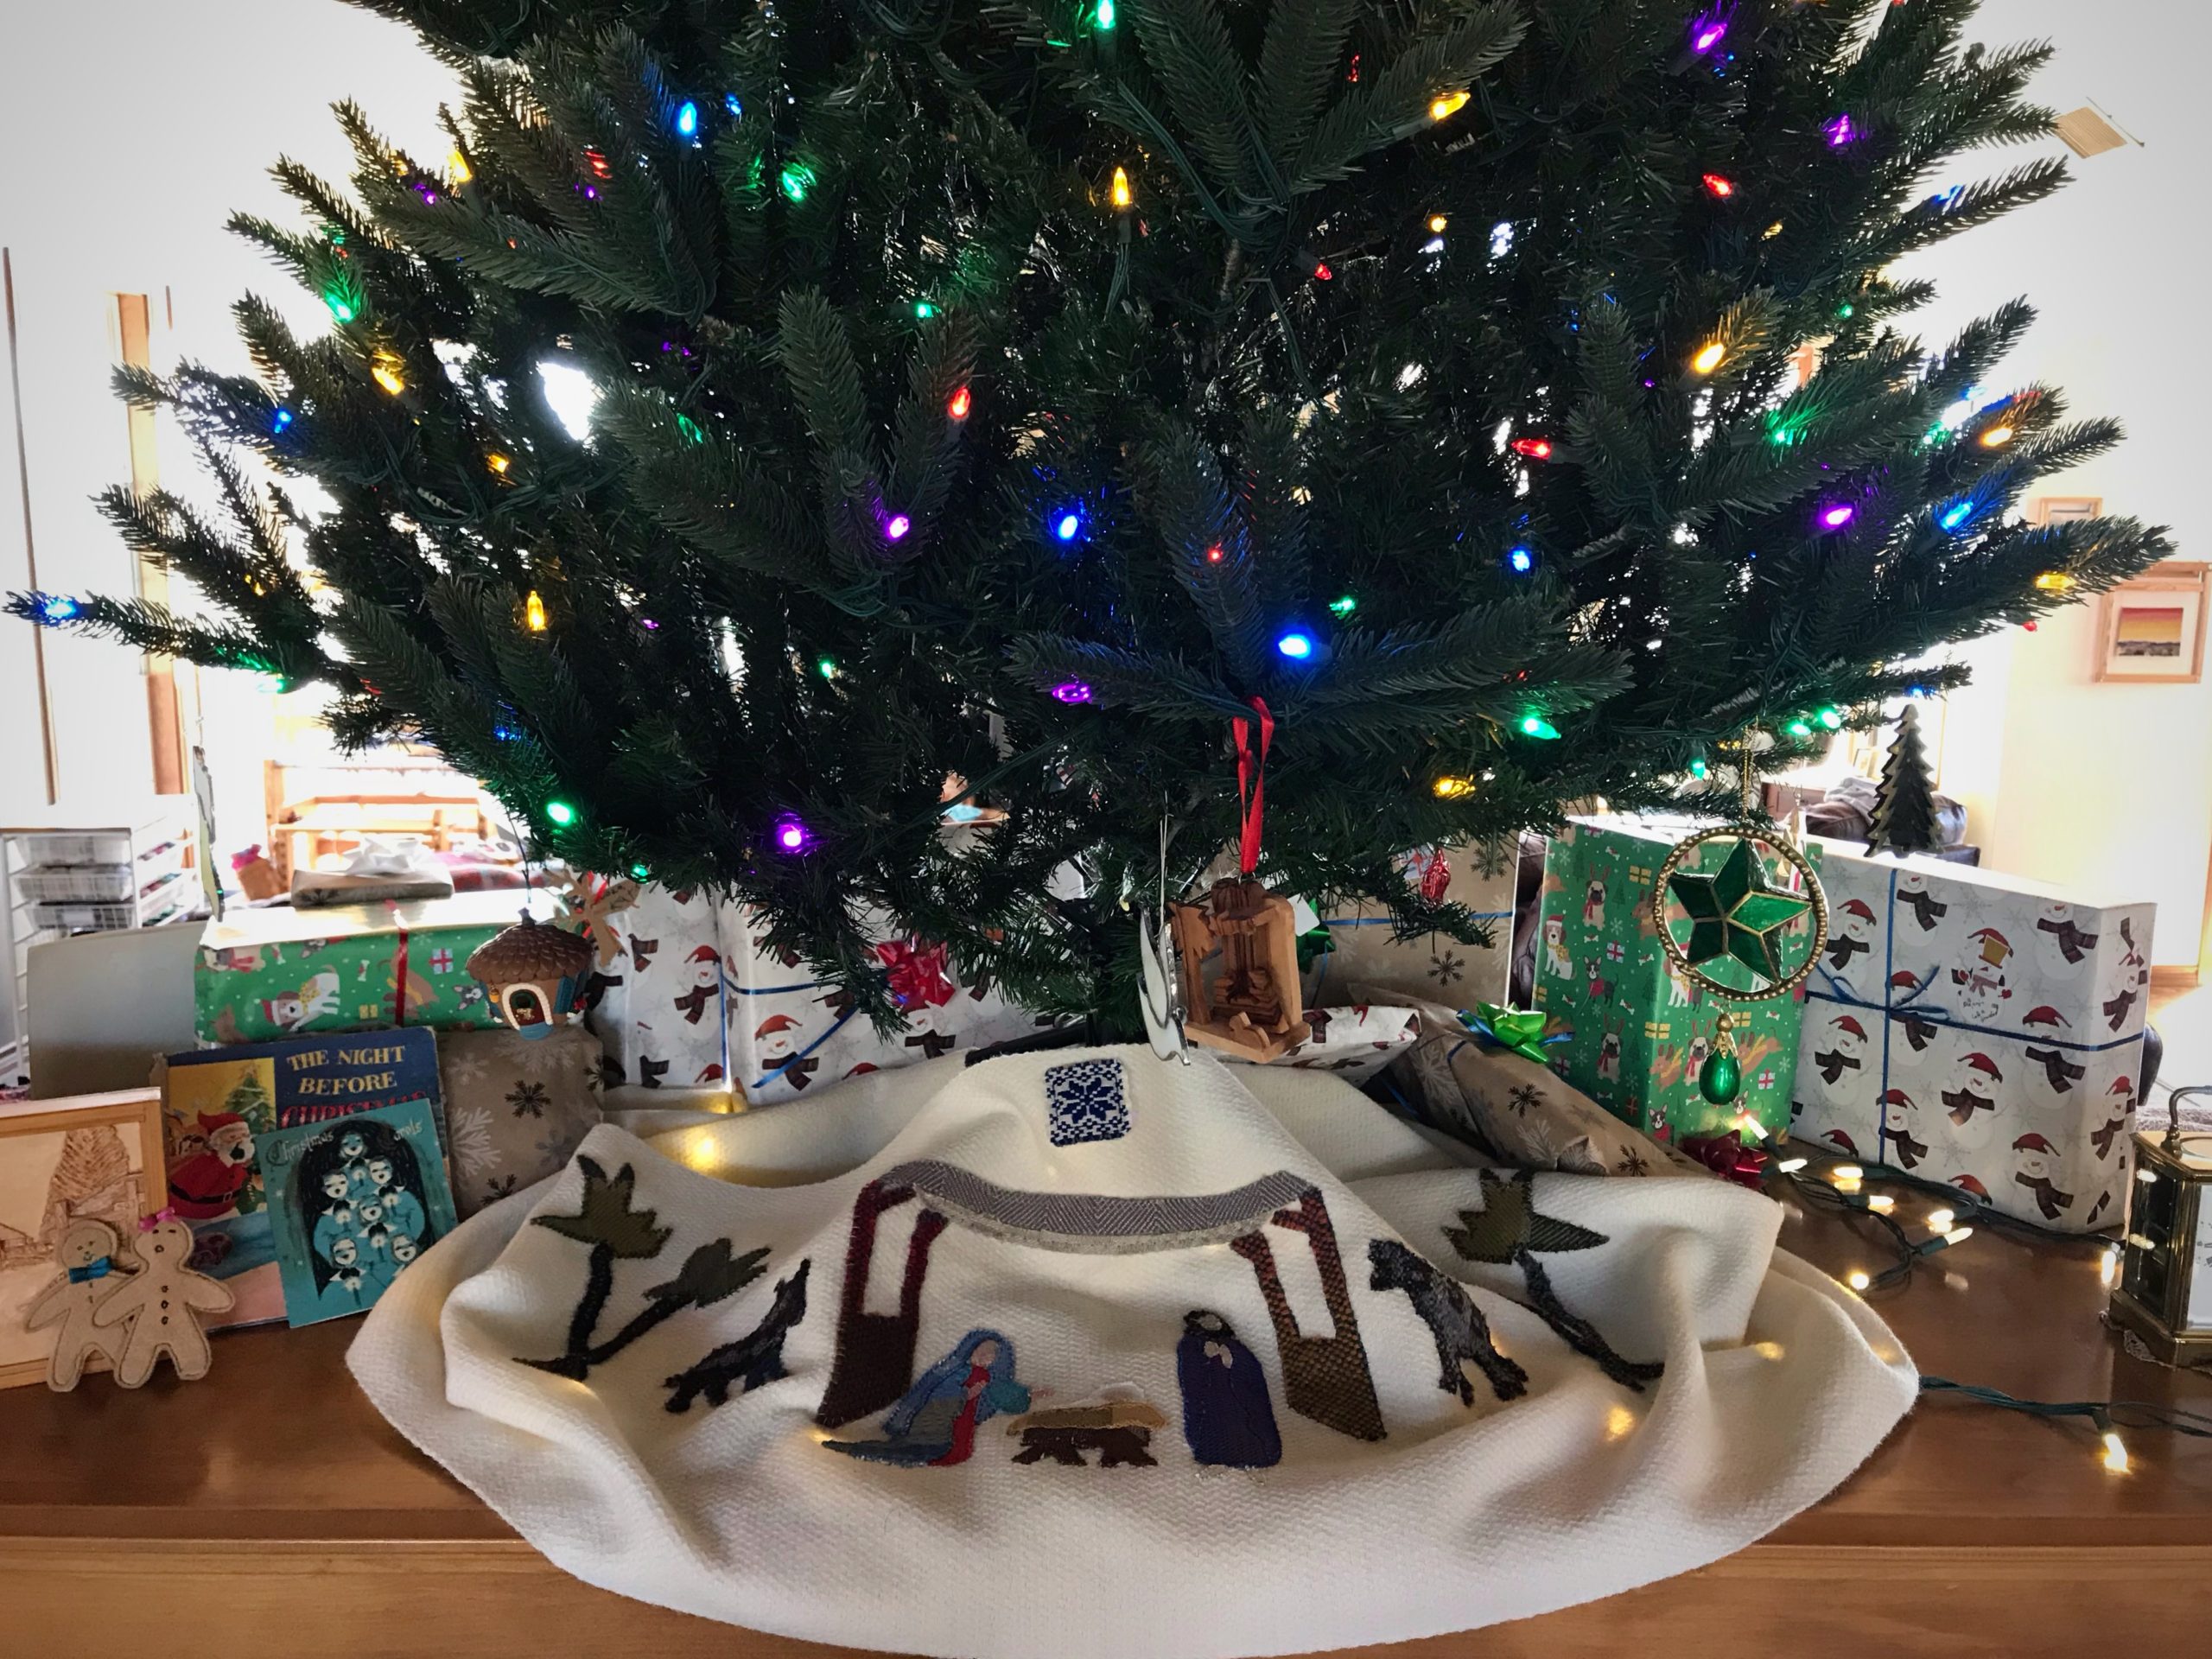
Making a handwoven Christmas tree skirt.
This is the felt tree skirt I saw every year around our family’s Christmas tree when I was a girl.
Handwoven Christmas tree skirt.
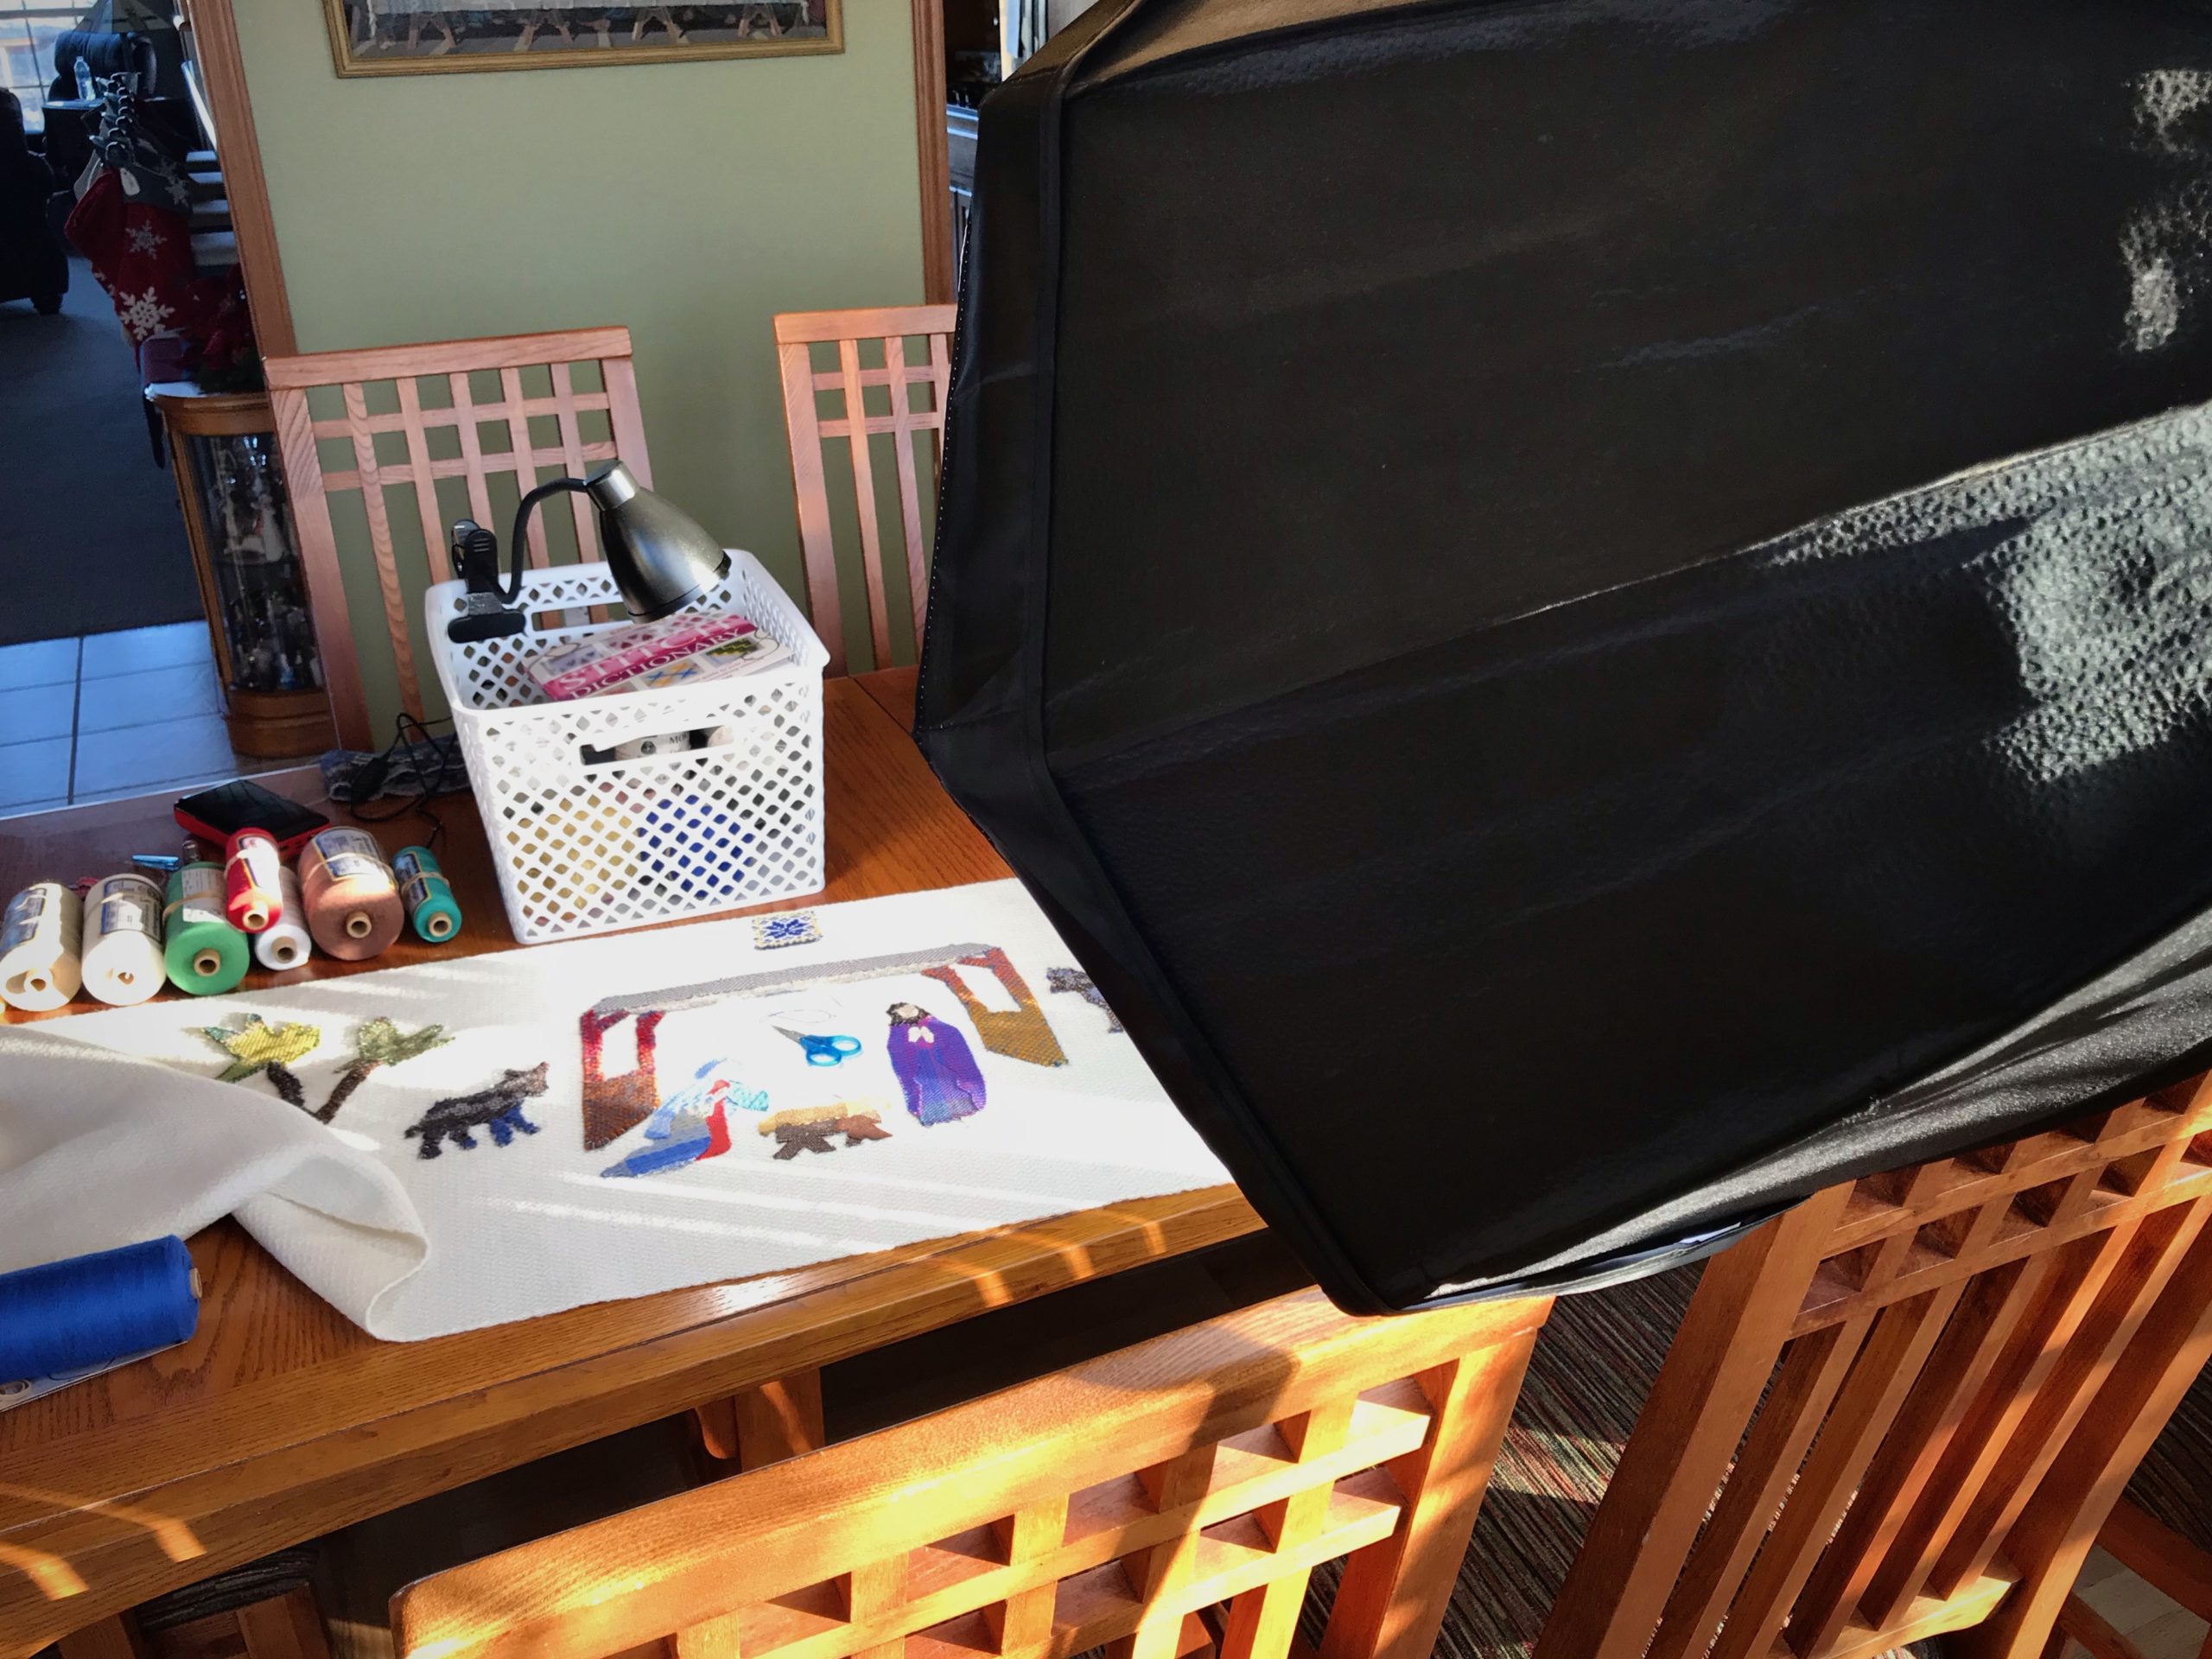
Planning the arrangement of the appliqué pieces onto the background fabric.
Making a handwoven applique Nativity scene.
I start by fusing the manger into place because the head of baby Jesus is at the very center of the whole length of cloth.
Handwoven applique Nativity scene.
Wide variety of handwoven fabrics tell the Nativity story. Threads of linen, cotton, wool, and bamboo.
Handwoven applique Nativity project.
Scraps of paper backing indicate that all the pieces have been fused into place. Next, embroidery and other handwork, while considering the meaning of Christmas.

My remnant scene tells the story of God with us. The holy babe in a pieced-together manger reminds us that God loved us by sending Jesus to our worry-ridden world. Worries are the little things and big things that we would like to control, but can’t. Can we add one moment to our lifespan by worrying? Trust in Jesus replaces worry because it puts control back in the right hands.

May you live worry free.

Love,
Karen

Tried and True: One Small Skein

I have a single skein of colorful cotton/bamboo sock yarn that a sweet friend gave to me. I’m not a knitter. What can I do with a mere 50 grams of silky-soft yarn? My 13.5” Glimåkra Emilia rigid-heddle loom is perfect for the task. When I’m at home I weave on floor looms. When I travel I like to take Emilia along.

"Make Do" warping while away from home.
This is called “Make Do” warping while away from home.
Glimakra 13.5" Emilia rigid heddle loom, ready to tie on and start weaving.
Emilia is beamed and the heddle is threaded. Ready to tie on and start weaving.
Weaving in the Casita Travel Trailer.
Now, a trip to visit some wonders of creation in Texas. Time to bring Emilia along. Weaving in “La Perlita,” our Casita Travel Trailer.
Weaving outside while camping.
Weaving outside the Casita in the shade of a tree is a relaxing way to spend the afternoon.
Weaving outdoors.
Two shades of bamboo thread are used for the weft–hot pink and coral–woven in alternating blocks of color.
Santa Elena Canyon in Big Bend National Park, with poppies in the foreground.
Santa Elena Canyon in Big Bend National Park. Poppies in the foreground provide color inspiration for more weaving projects.
Hemstitching at the end of a scarf on the rigid heddle loom.
Hemstitching at the end of the scarf, easiest to do while still on the loom.

One skein of this yarn yields just enough to make the warp for a short scarf with fringe. I am using Xie Bamboo thread for the weft, left from the huck lace shawl I wove for myself to wear to my daughter’s wedding six years ago (See Quiet Friday: Coral Shawl for a Memorable Occasion). This thinner weft gives me a loose weave, and the color blends in a way that allows the changing color of the warp to take center stage.

Trimming fringe on a handwoven scarf.
Back home again, doing the finishing. Fringe is trimmed to an even length.
Trimmed.
Trimmed.
Twisting fringe.
Twisting fringe. (For more on twisting fringe, see Tools Day: Fringe Twister.)
Twisting fringe.
Fringe twisted.
Handwoven scarf before washing.
Before hand washing.
Rigid heddle scarf made with sock yarn.
Scarf has been air dried, and the fringe knots have been trimmed. This soft short scarf is just right to wear with a light jacket in the Texas autumn air.

Now that this scarf is finished, the only thing left to do is make sure I have a new warp ready for Emilia in time for our next travel adventure.

May you take your joys with you.

Happy travel weaving,
Karen