Process Review: Weaving Rhythm

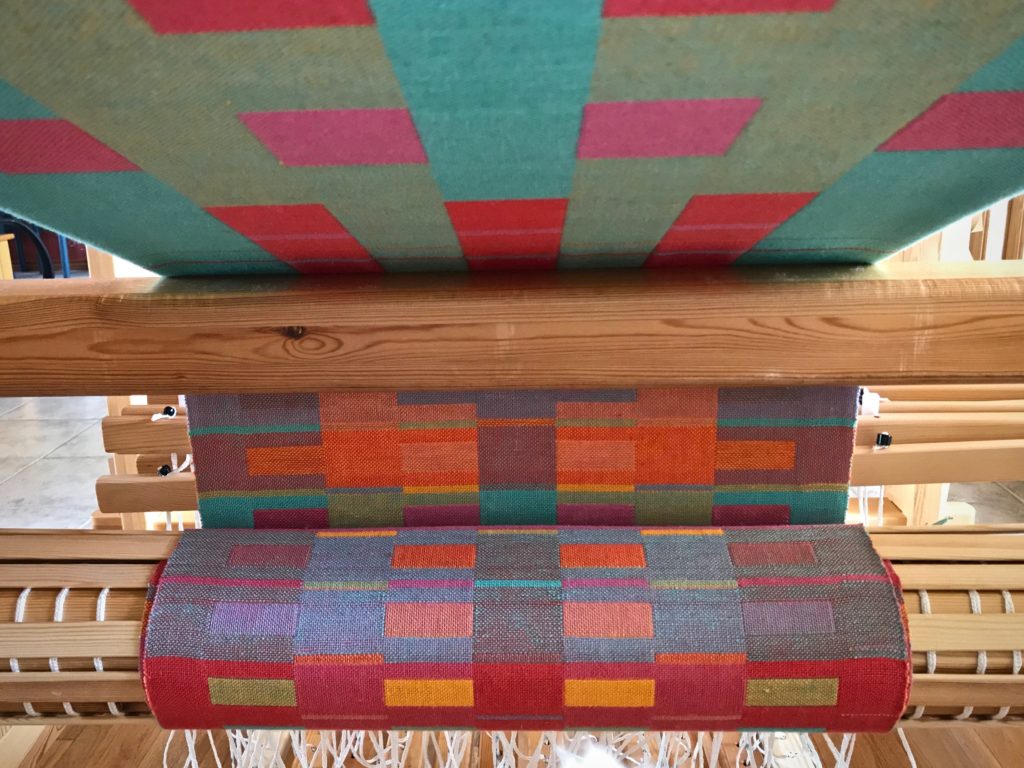
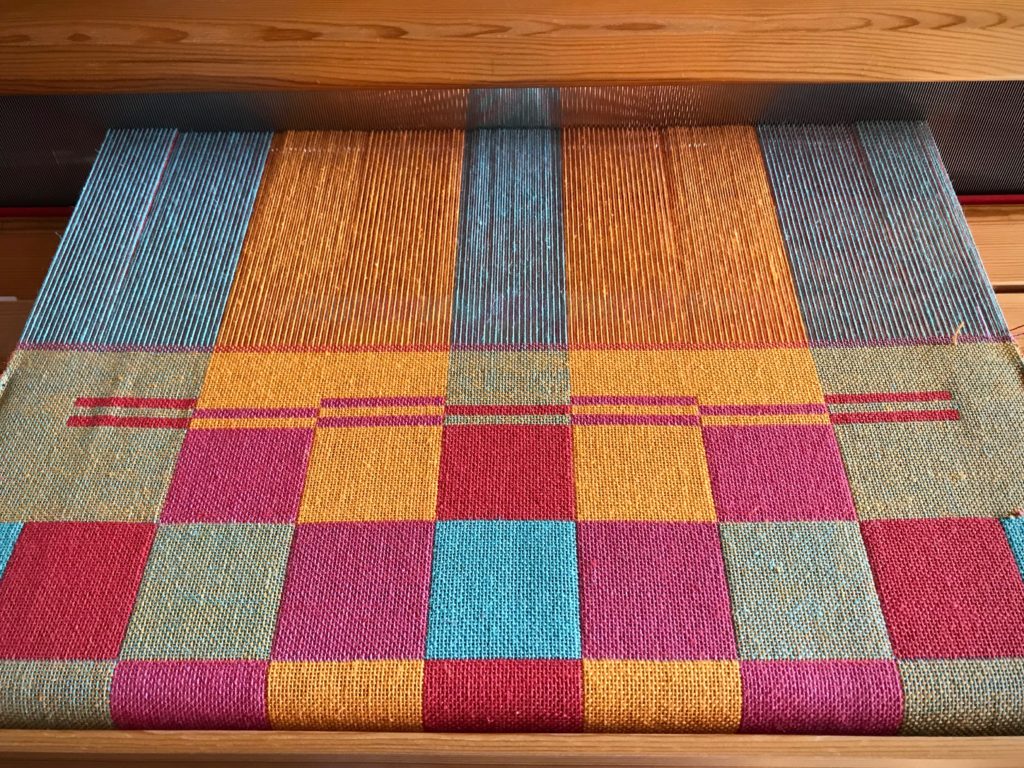
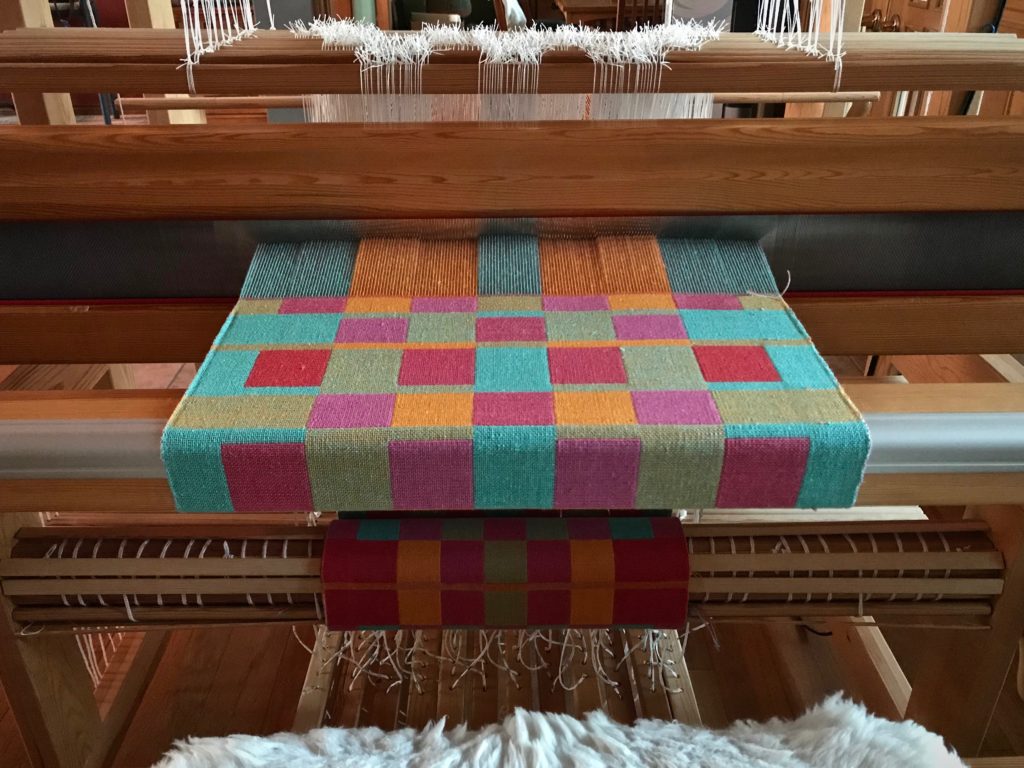
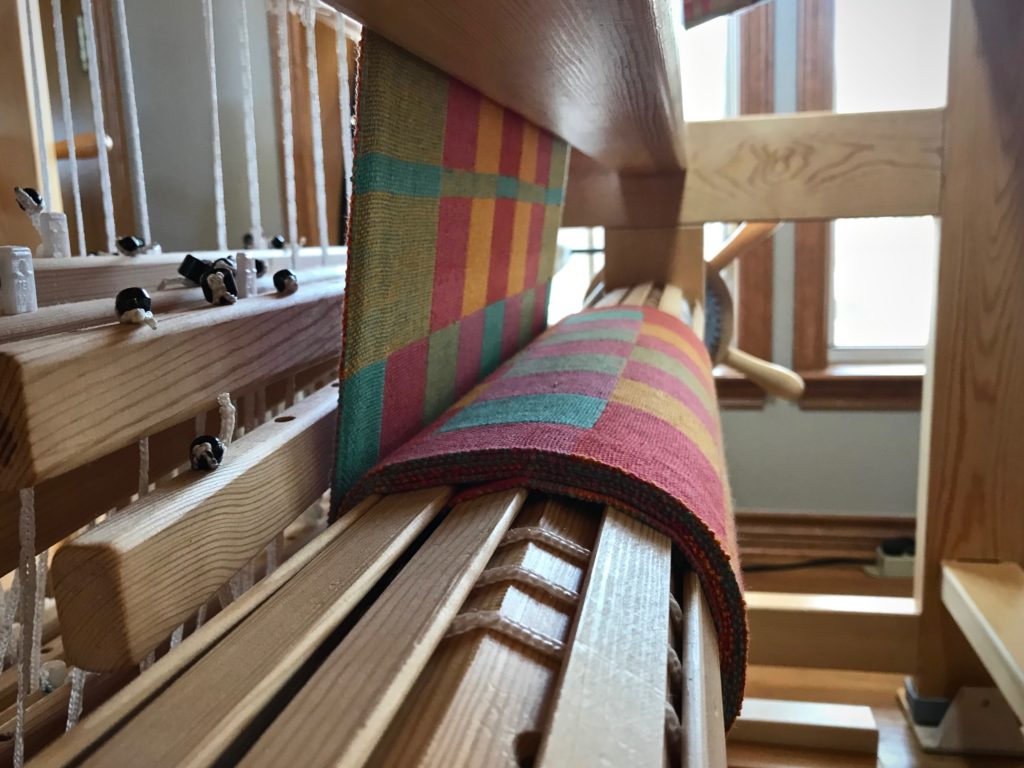
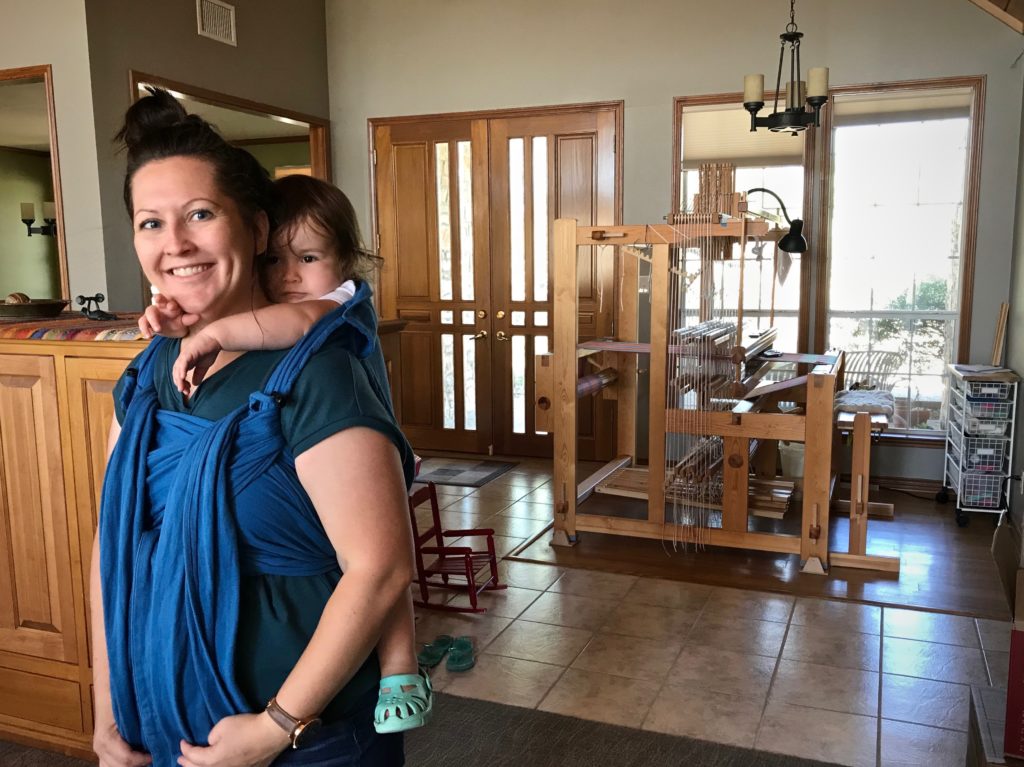
“With so many looms, how do you decide what to weave every day?,” I was asked. The answer lies in my Weaving Rhythm. I have five floor looms. I happily aspire to meet the challenge of keeping all of them active.

Glossary

Weaving Rhythm ~ A pattern created across time, through a regular succession of weaving-related tasks.

Arrange individual tasks to keep each loom consistently moving forward in the weaving continuum.

Weaving Continuum ~ The cycle for each loom that is continually repeated.

When the first few centimeters are woven on a new project, begin planning the next project. When finishing is completed for the current project, wind a new warp and dress the loom for the next project.

First Things First ~ Prioritize daily tasks to maintain the Weaving Rhythm.

  1. Finishing
  2. Dressing
  3. Weaving

Do some finishing work first. Do some loom-dressing tasks next. The reward, then, is sitting at one of the dressed looms and freely weaving for the pleasure of it.
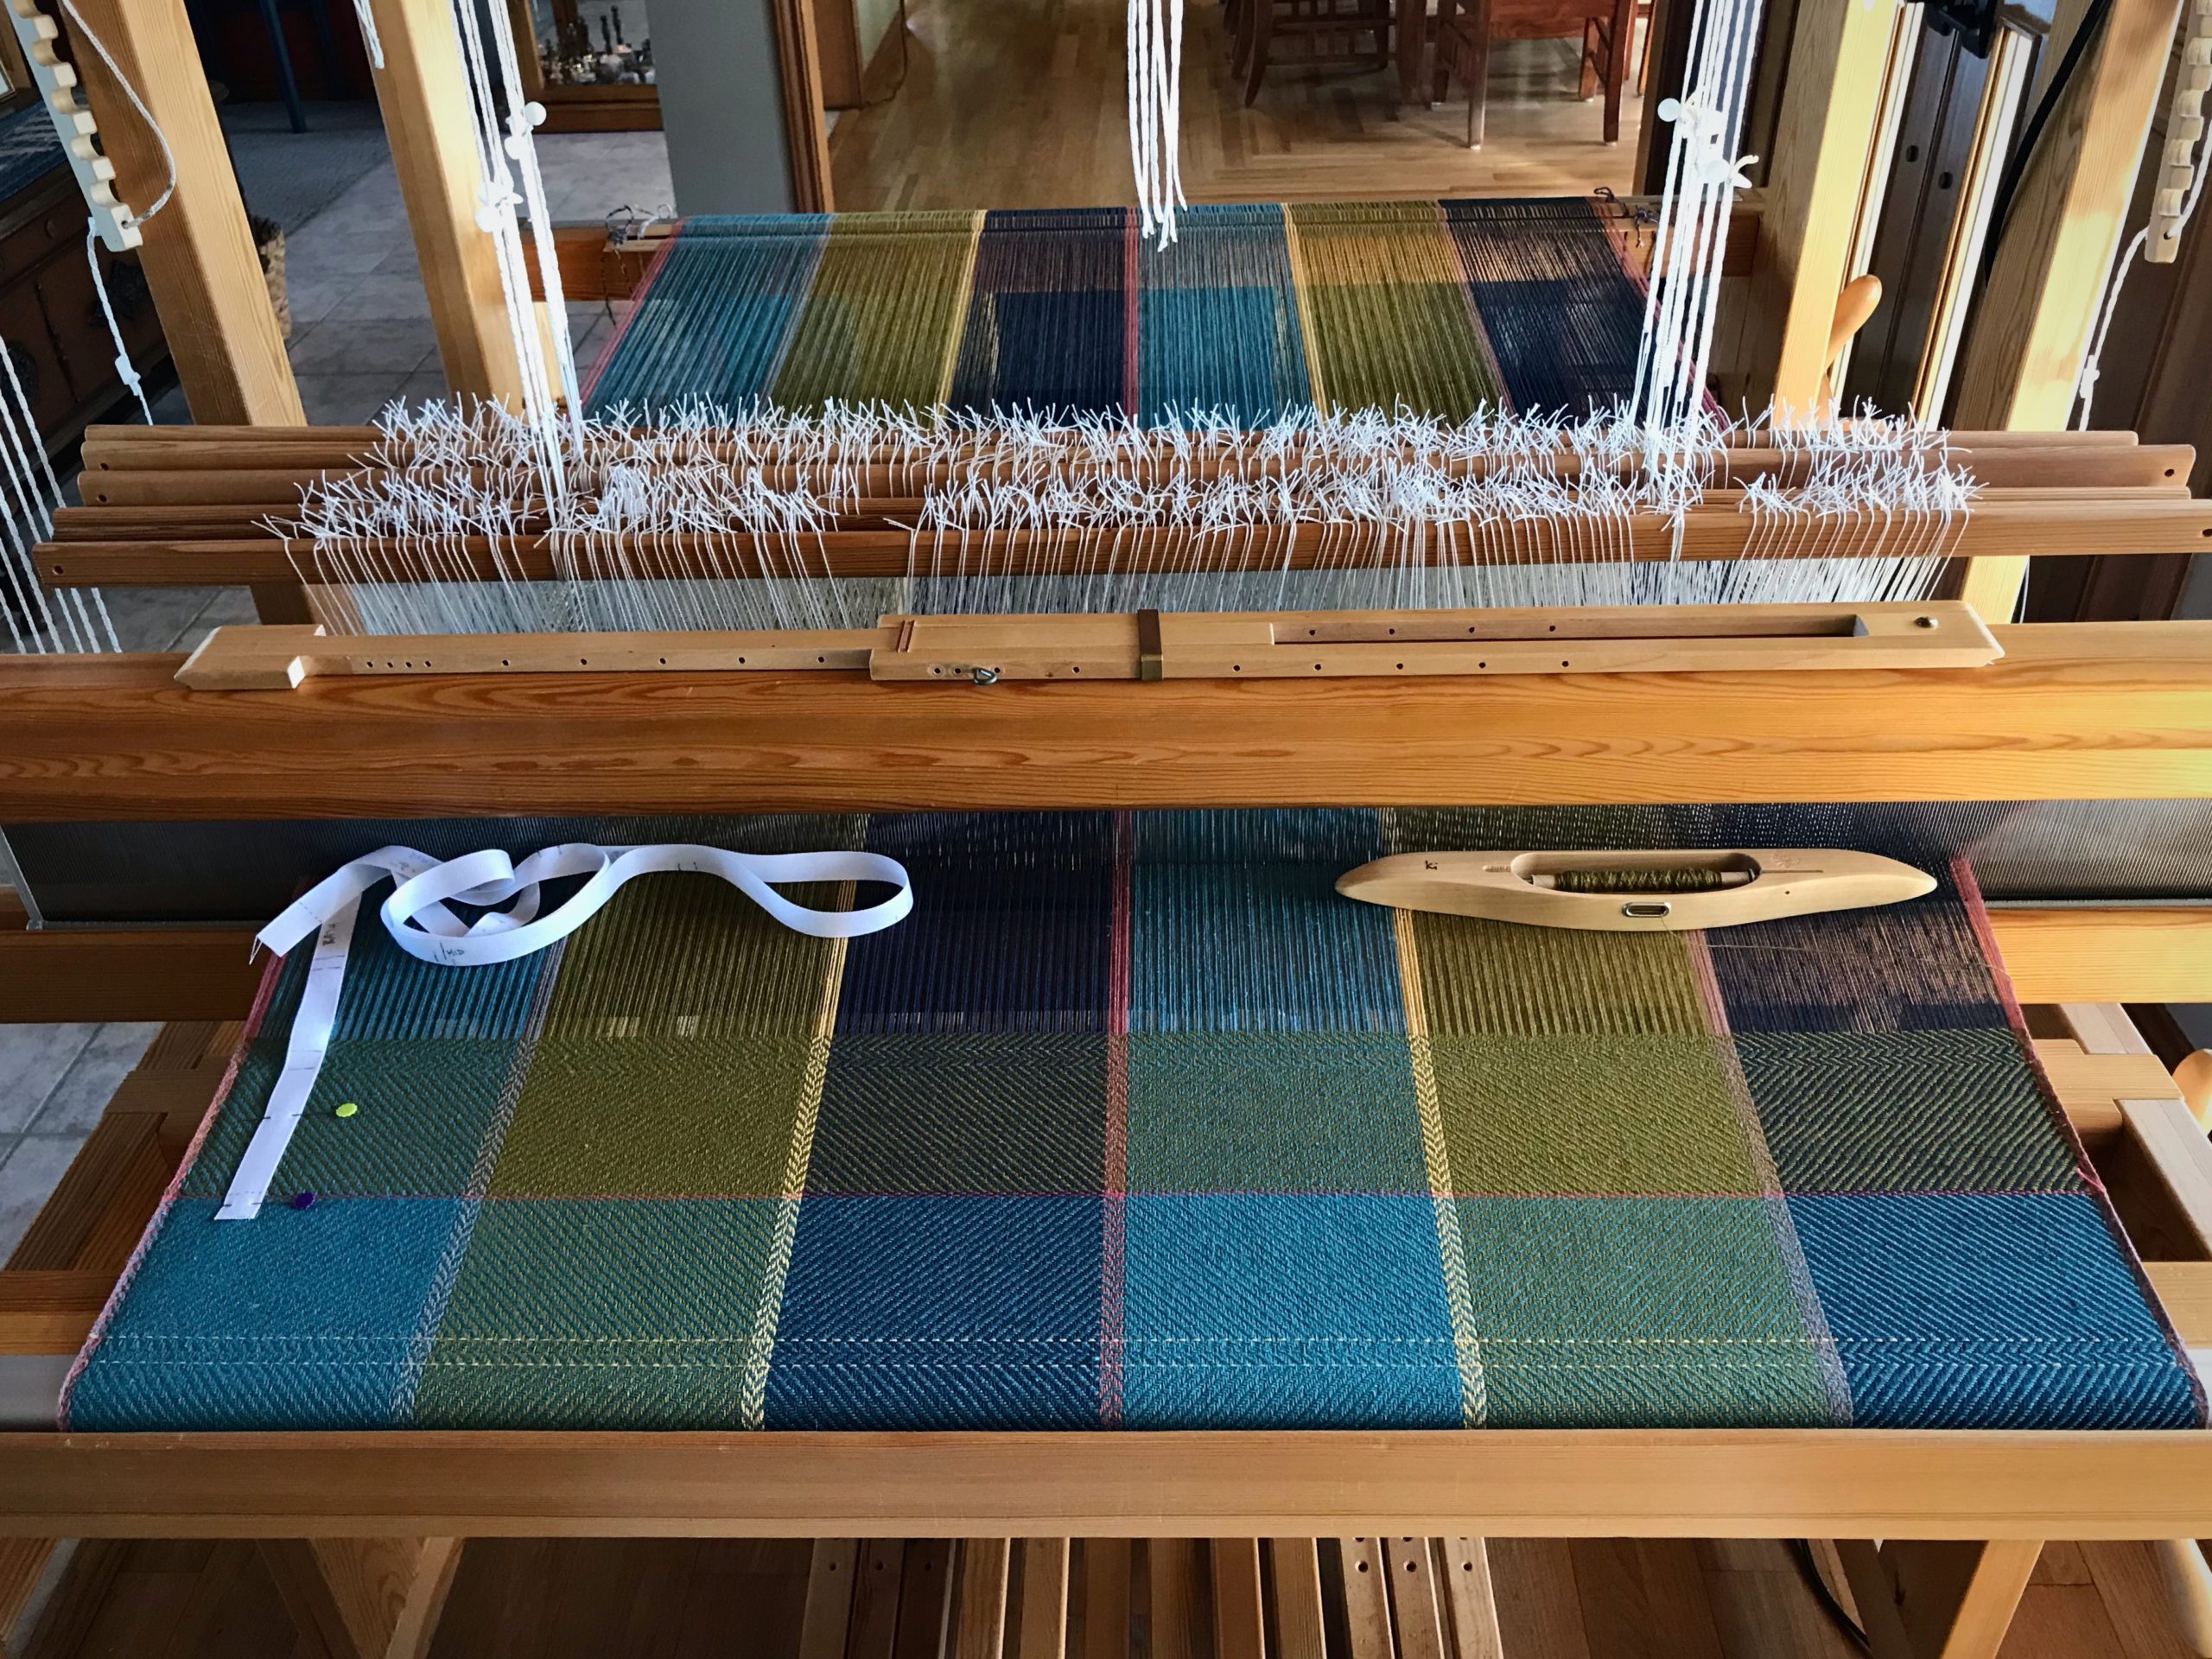
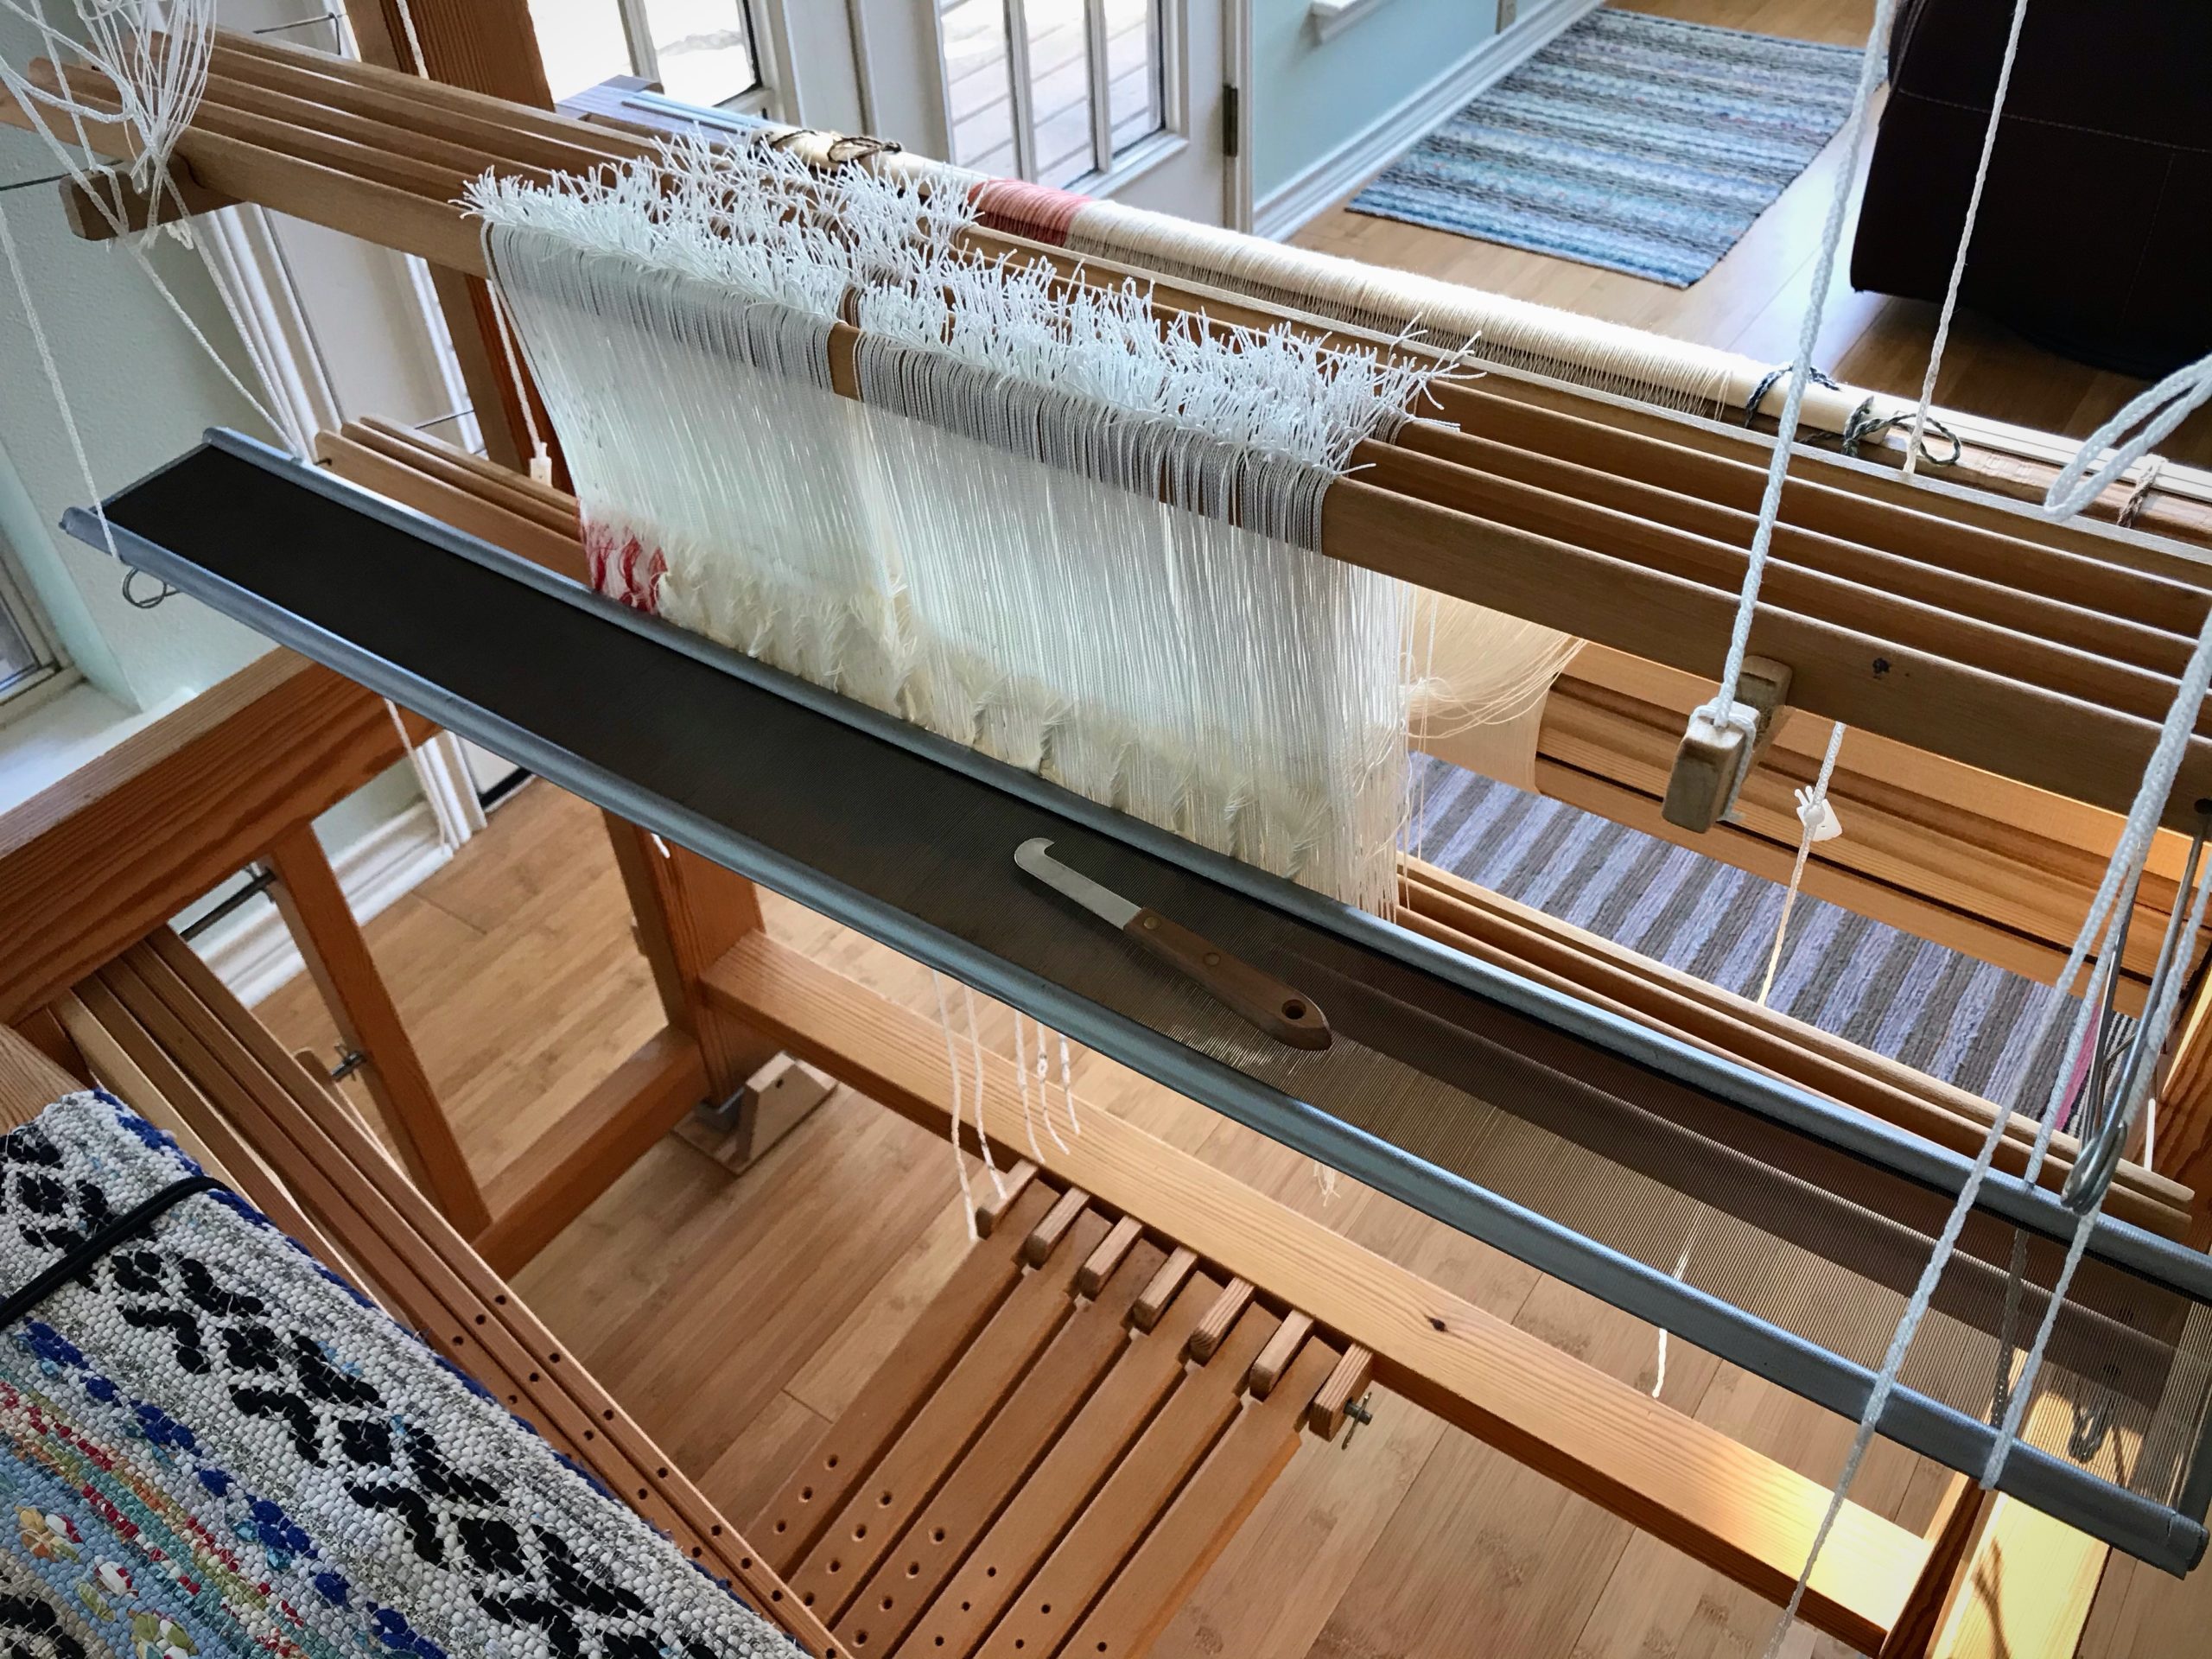
Weaving bath towels on the Glimakra Standard.
Glimåkra Standard, 120cm (47″), vertical countermarch. My first floor loom. Weaving the third of four bath towels, 6-shaft broken and reverse twill, 22/2 cottolin warp and weft.
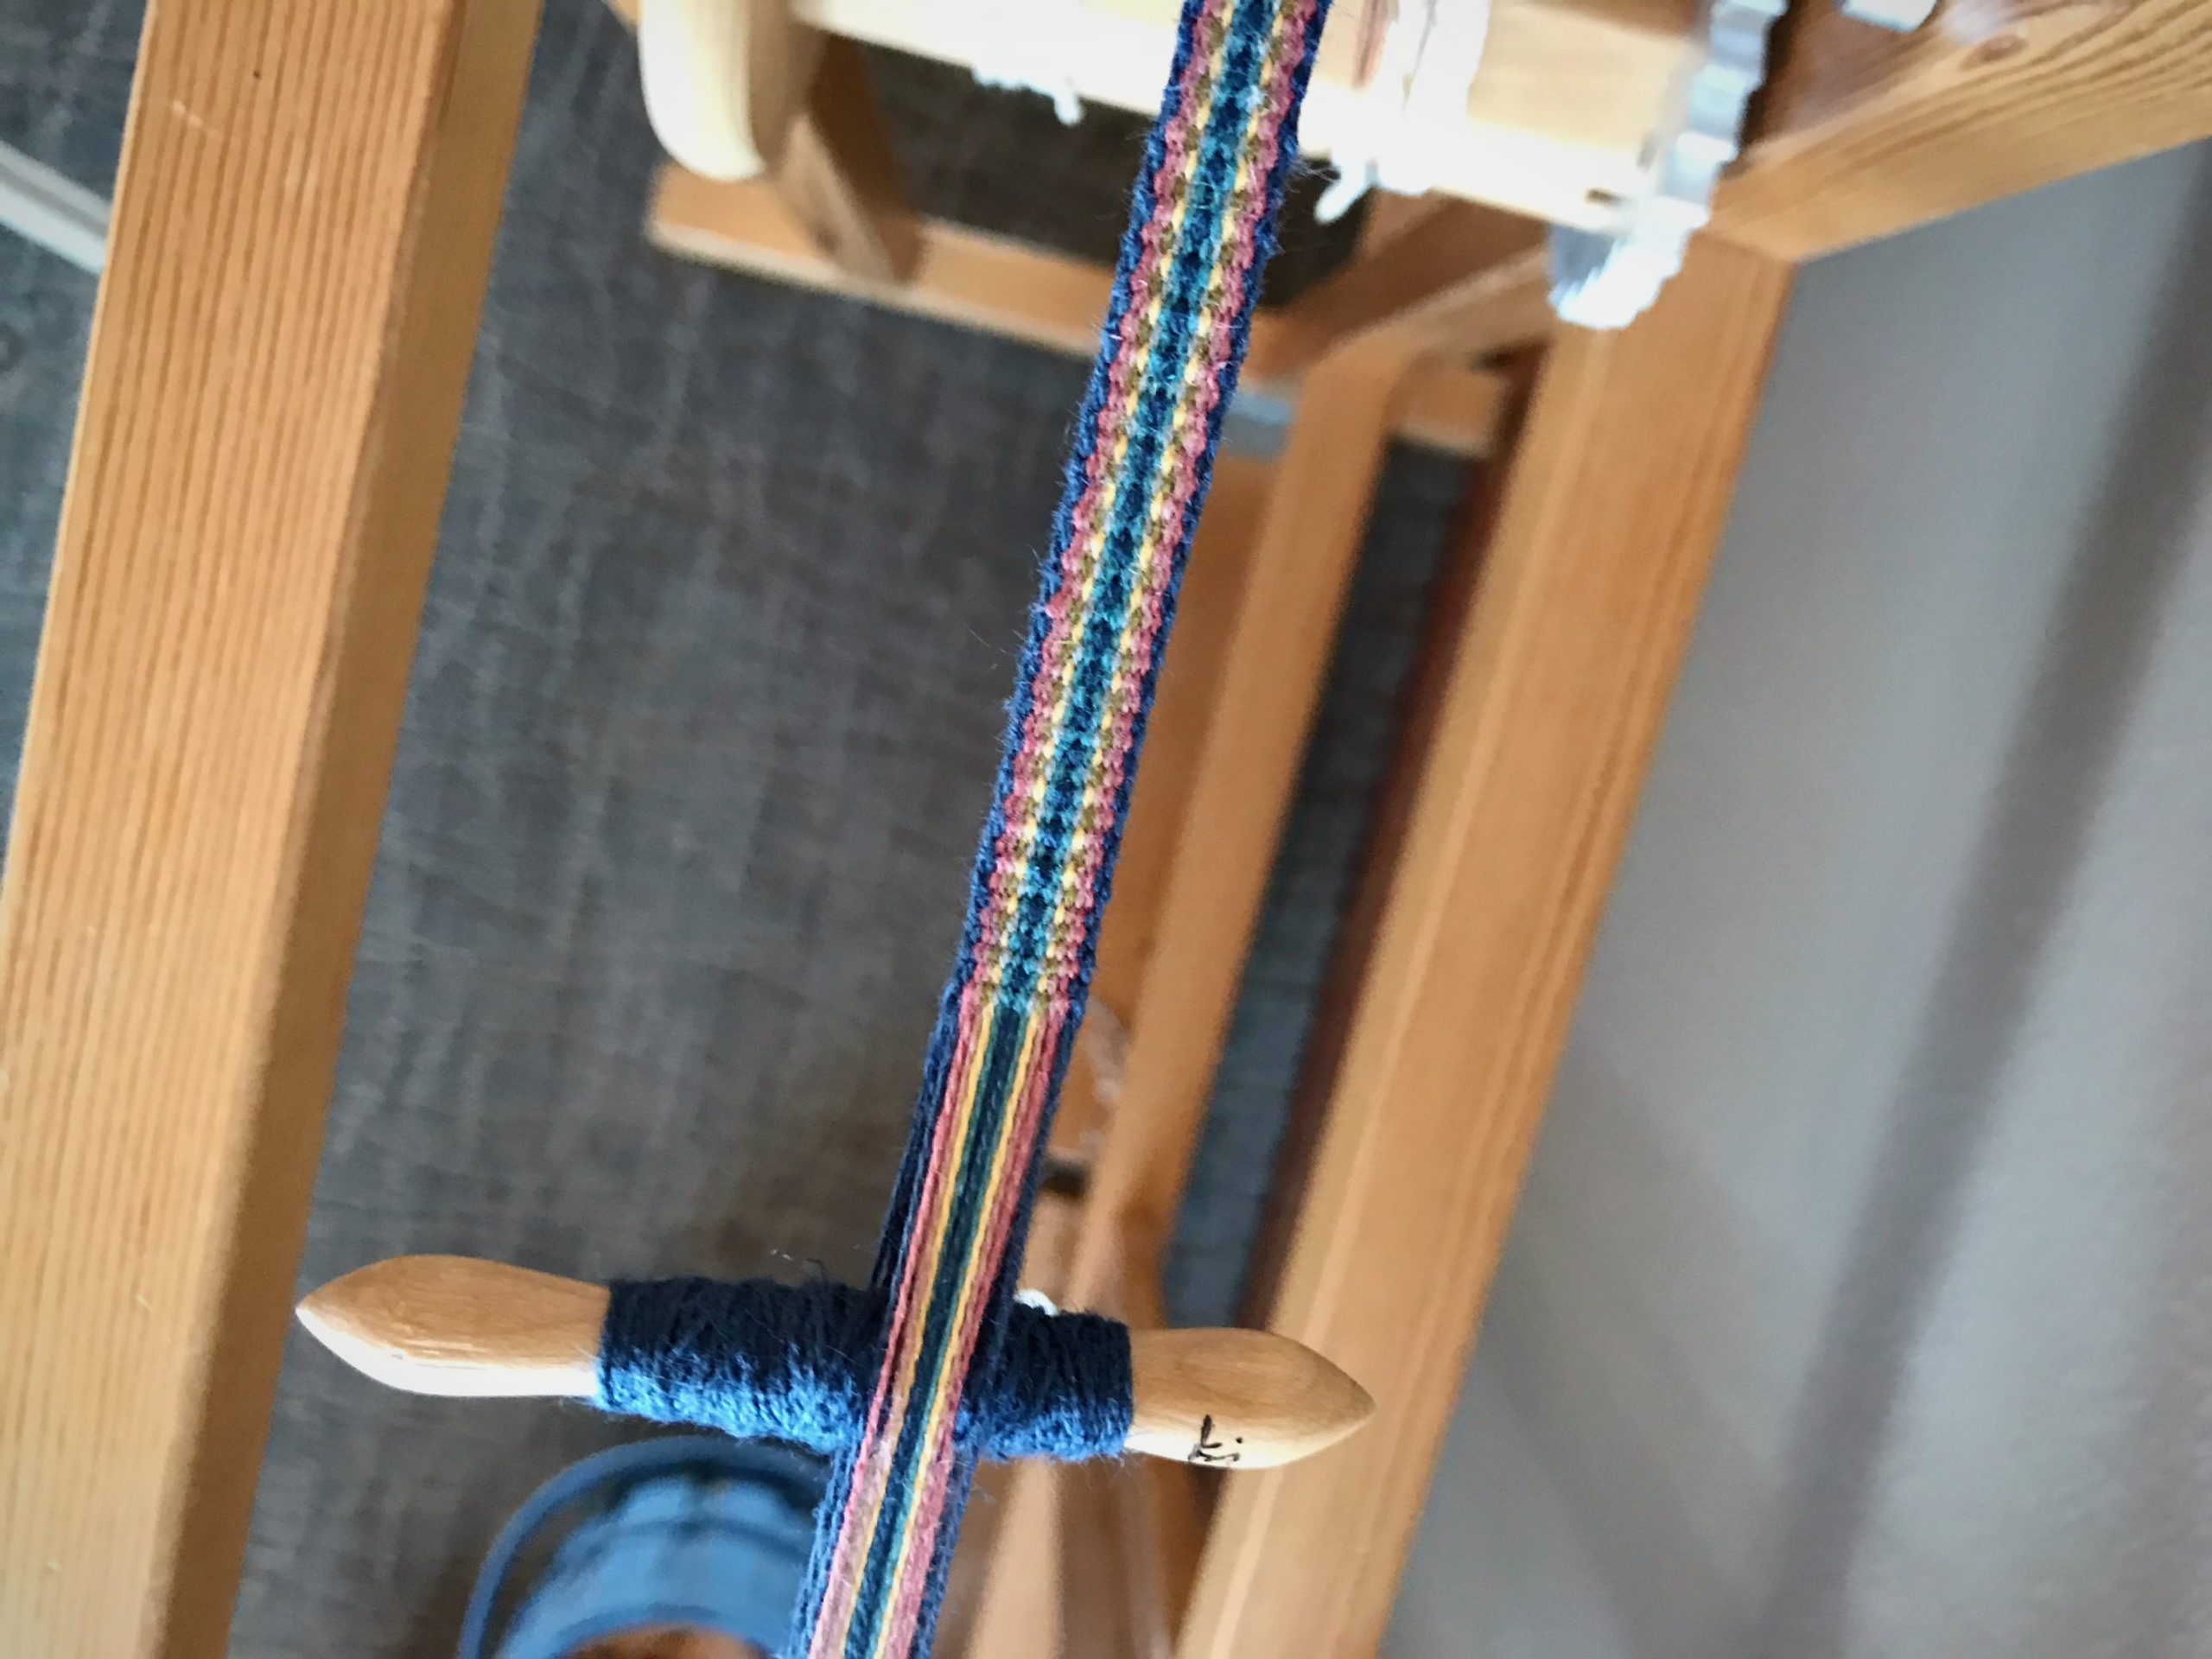
Weaving hanging tabs for bath towels.
Glimåkra two-treadle band loom. Weaving hanging tabs for bath towels. 22/2 cottolin warp and weft.
Glimakra 100cm Ideal. Sweet little loom.
Glimåkra Ideal, 100cm (39″), horizontal countermarch. My second floor loom. Dressing the loom in 24/2 cotton, five-shaft huckaback, for fabric to make a tiered skirt. Ready to start sleying the reed.
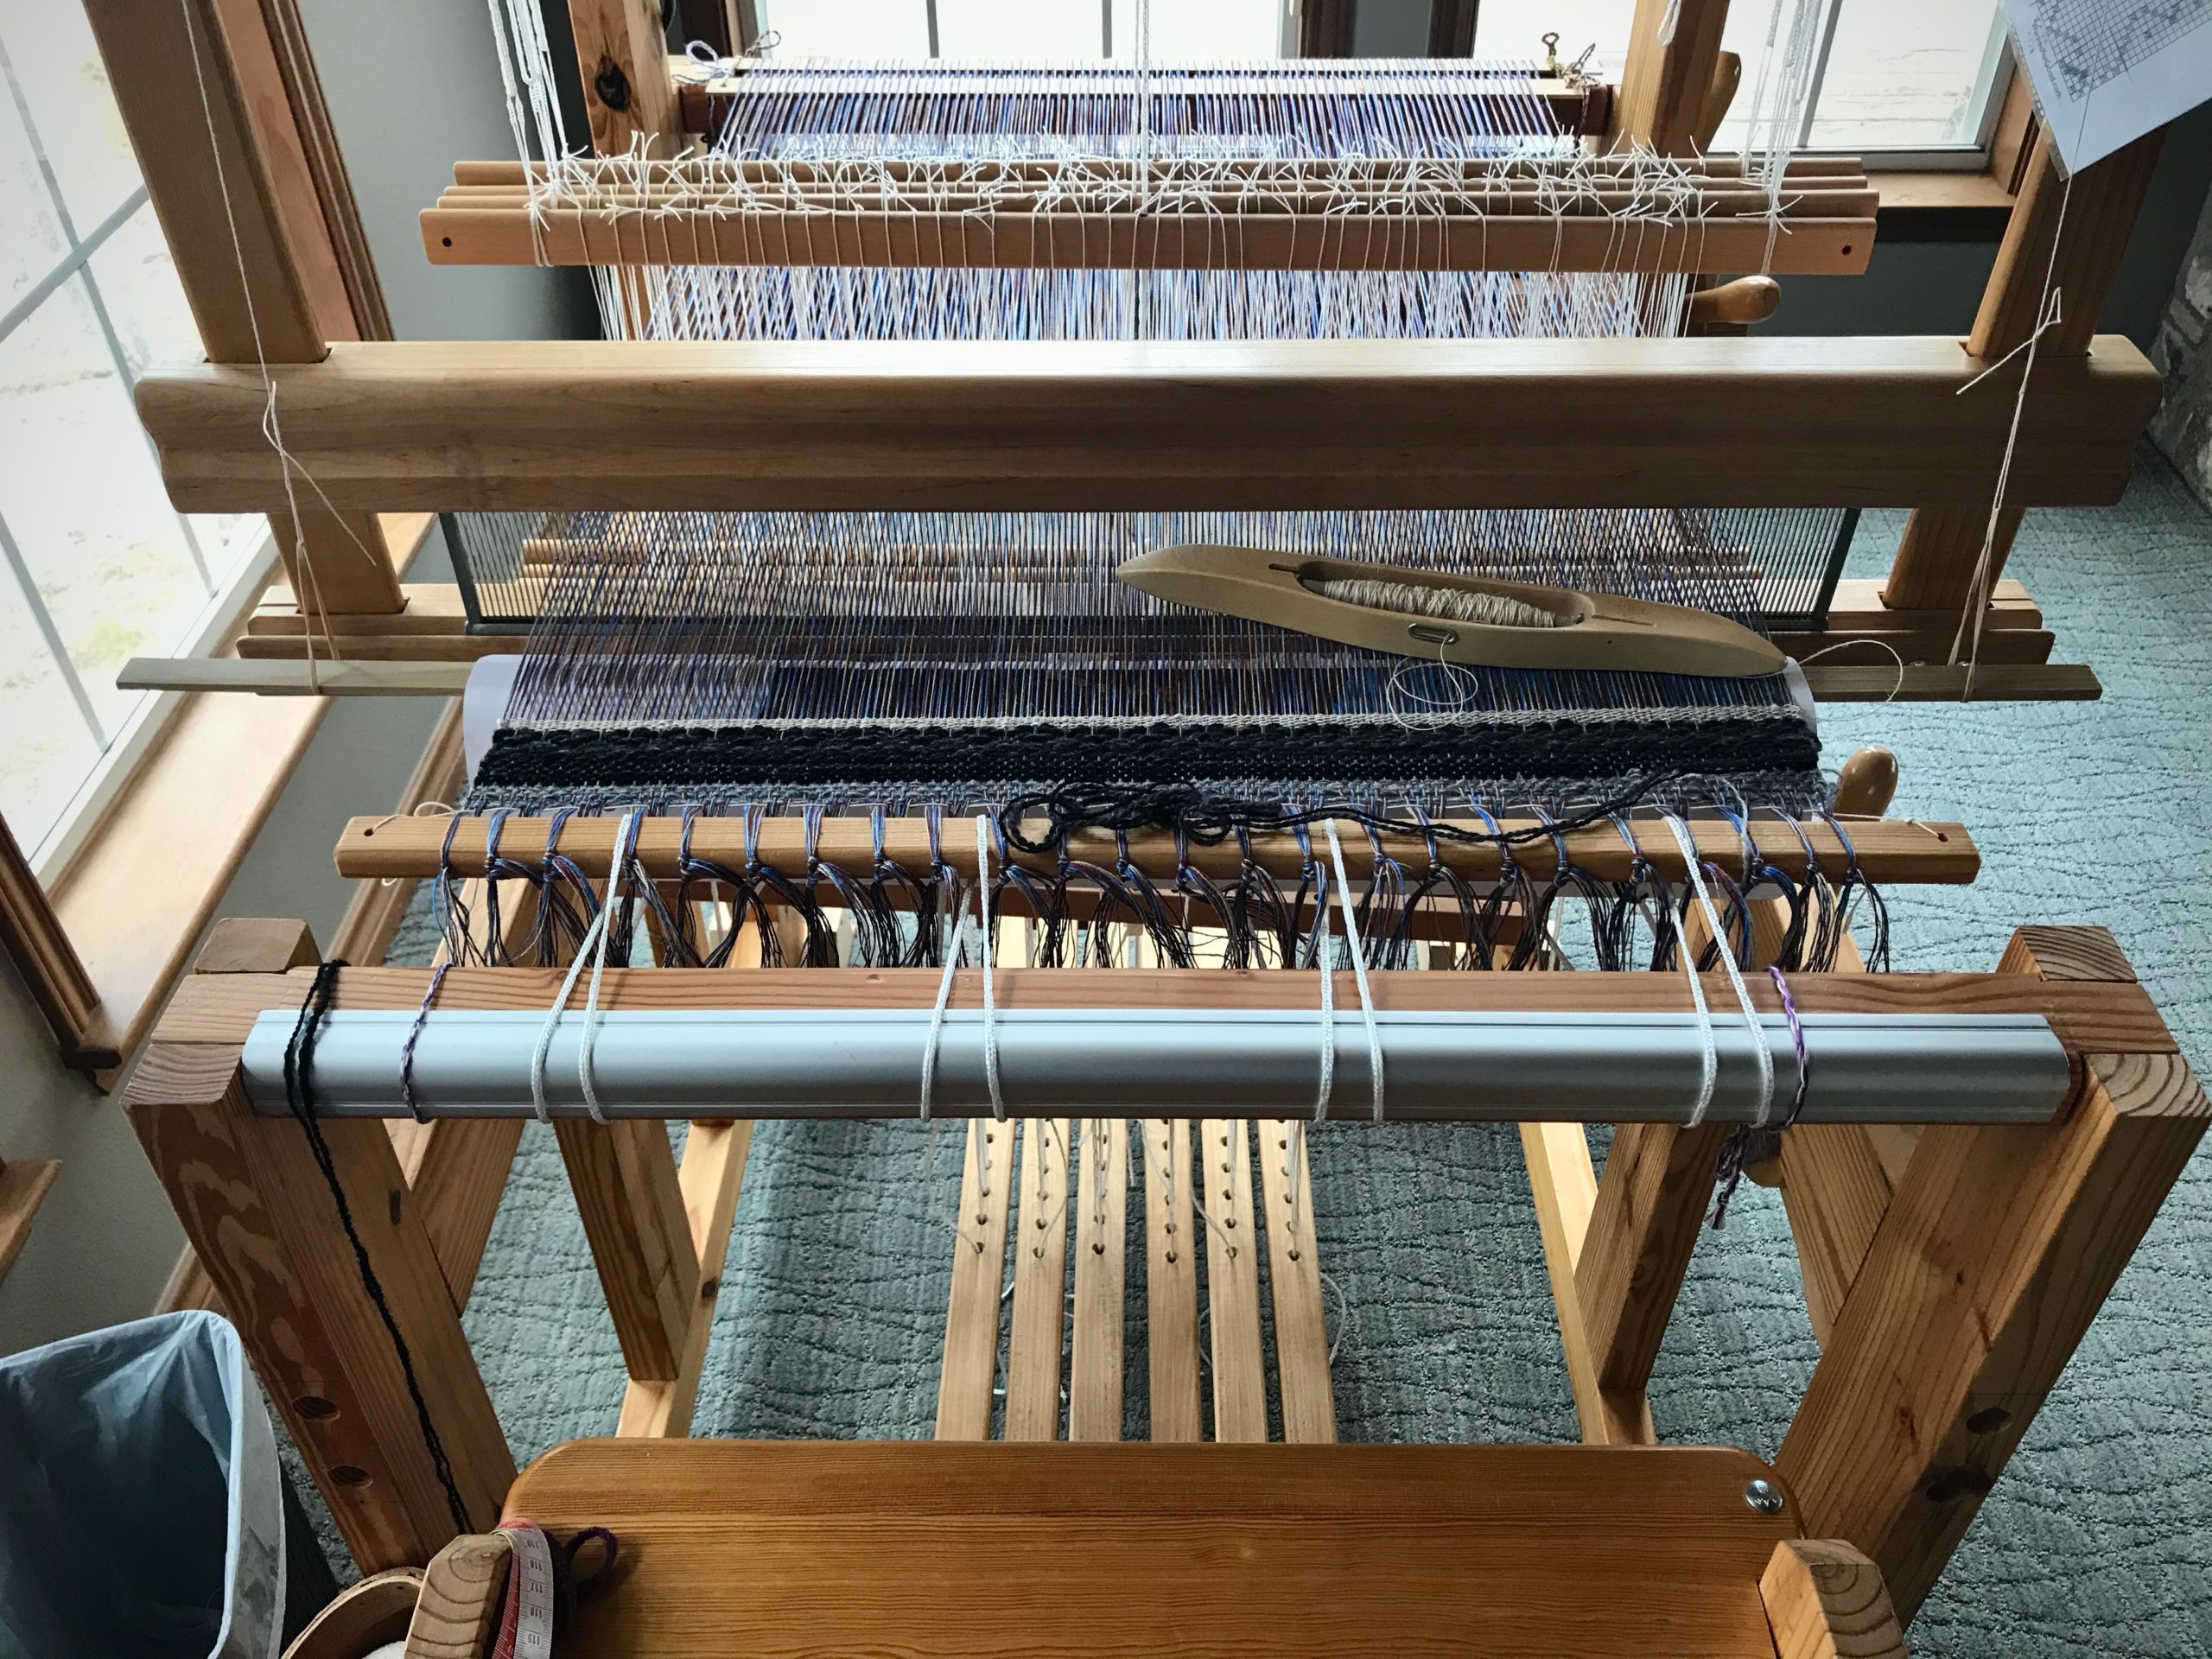
Hand-built Swedish loom.
Loom that Steve built, 70cm (27″), horizontal countermarch. My third floor loom. Weaving the header for a pictorial tapestry sample, four-shaft rosepath, 16/2 linen warp, Tuna/Fårö wool and 6/1 tow linen weft.
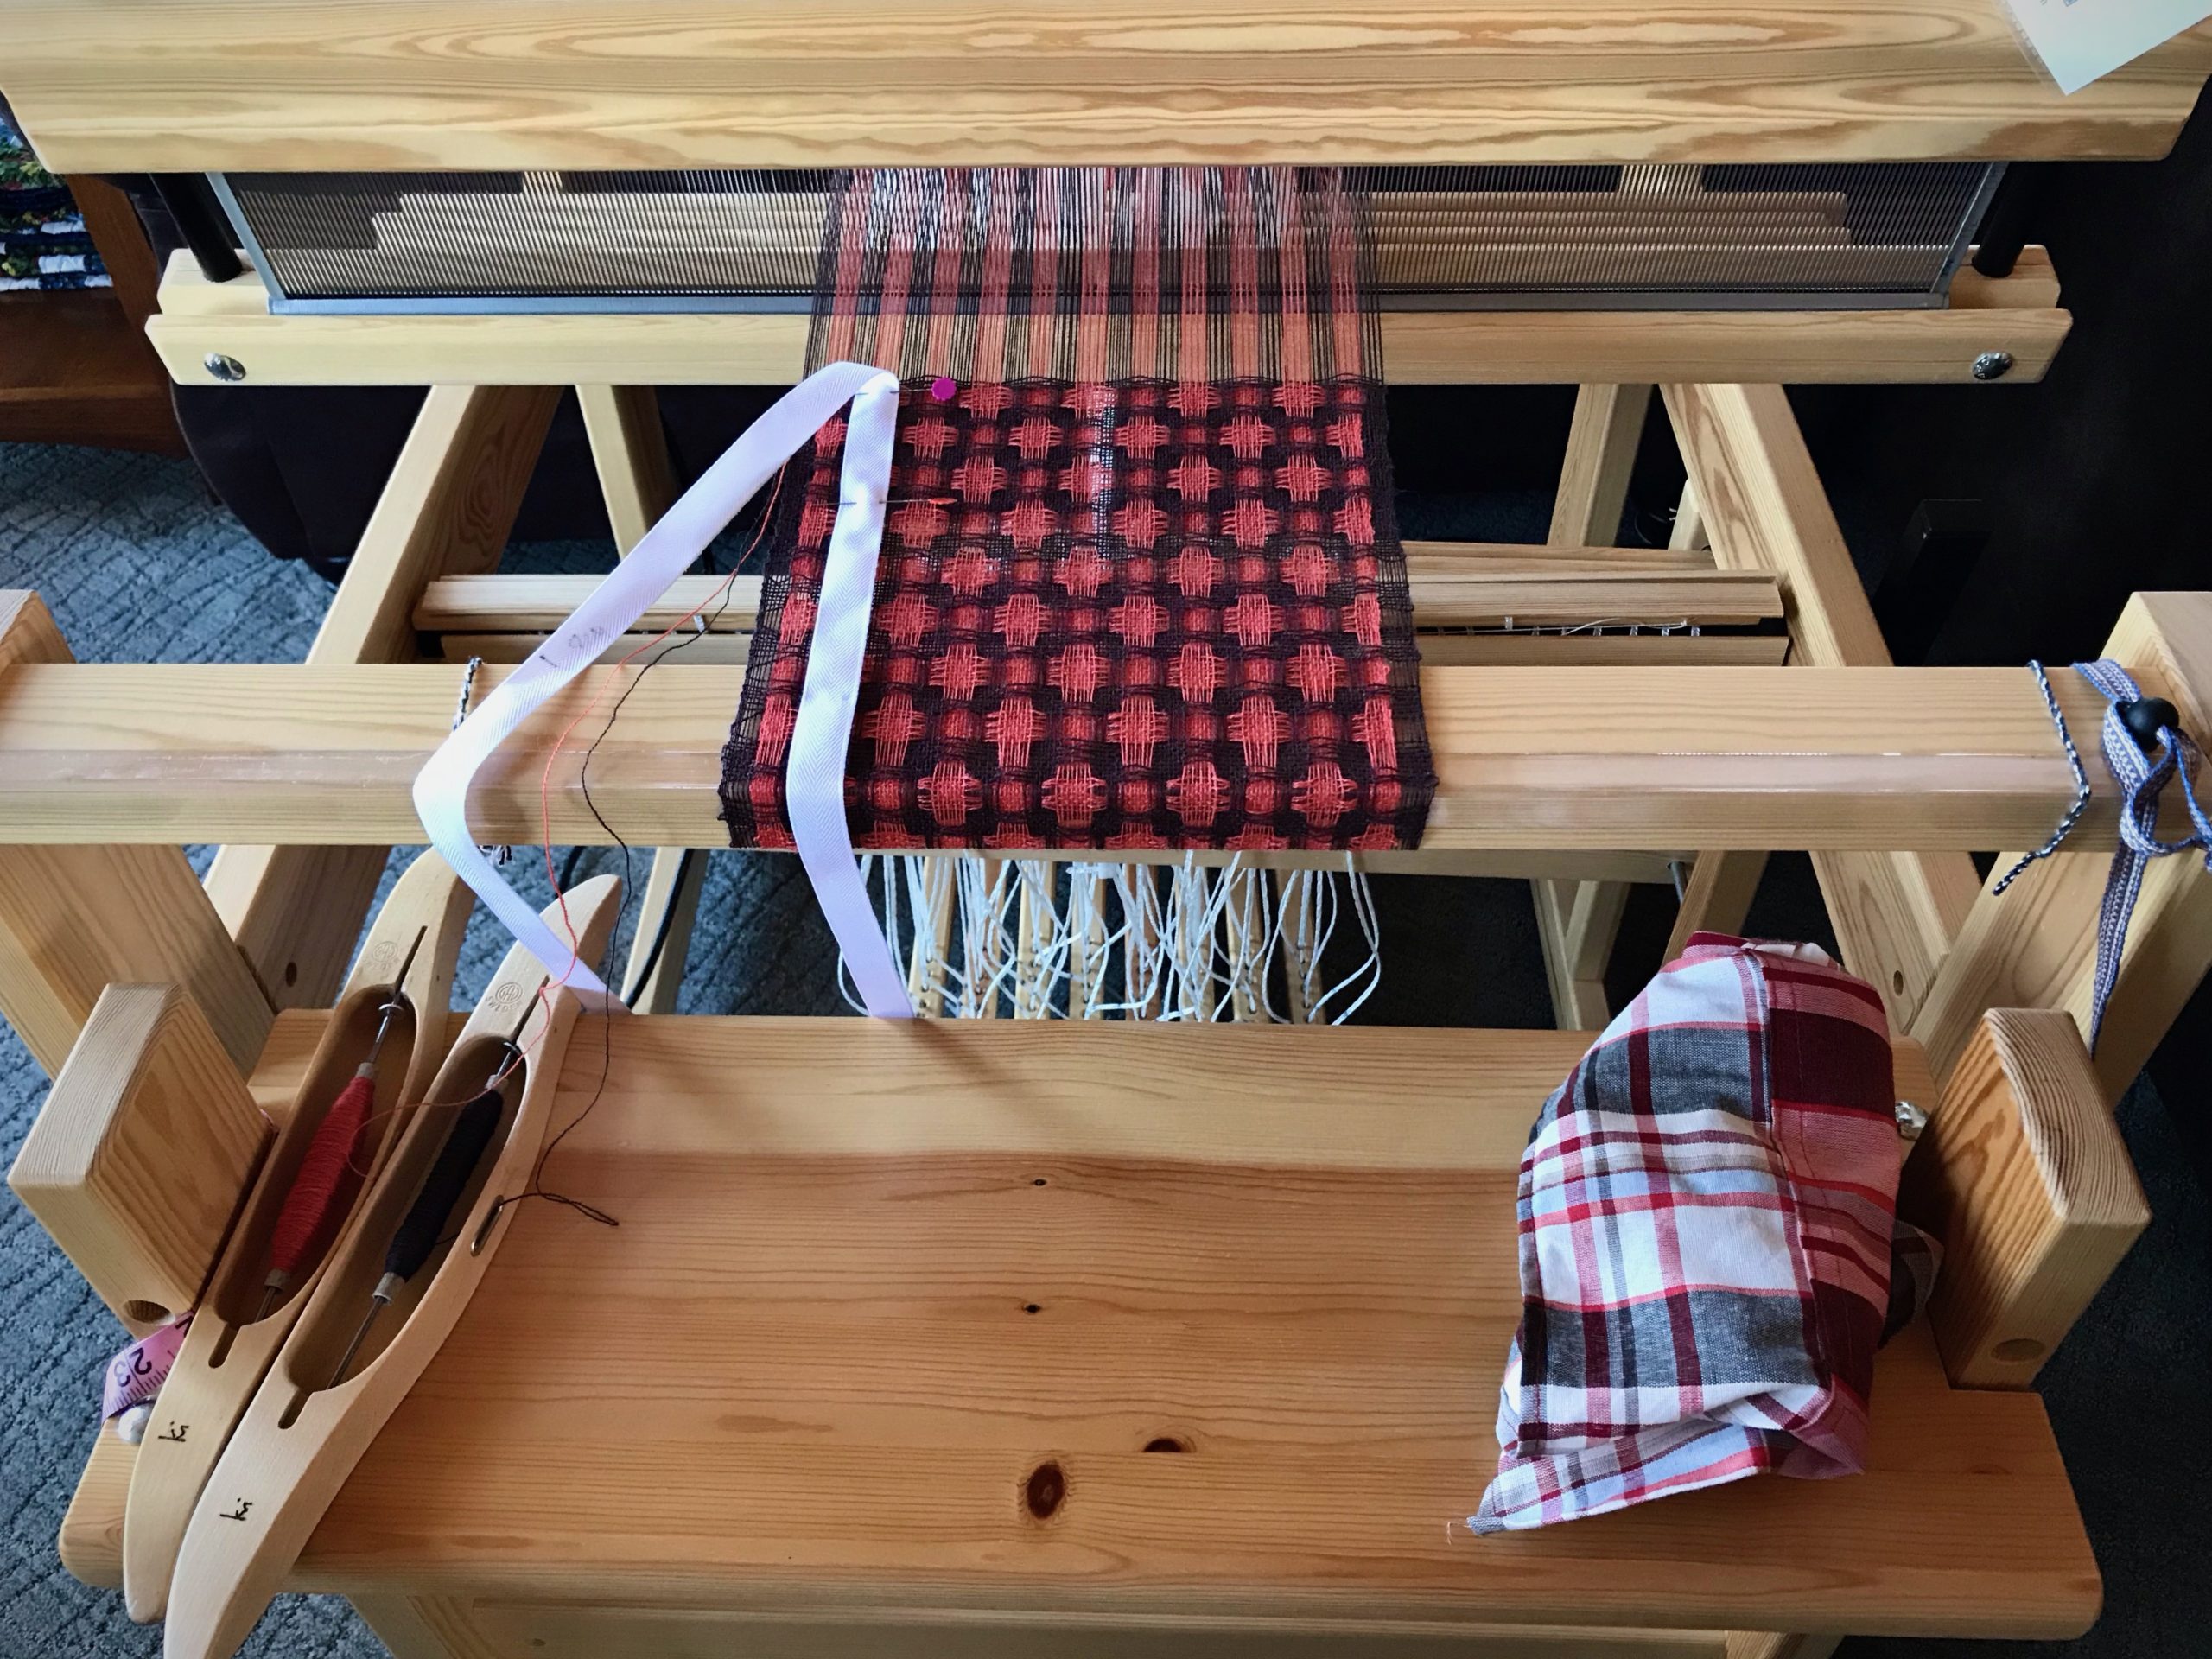
Sweet little Glimakra Julia 8-shaft loom.
Glimåkra Julia, 70cm (27″), horizontal countermarch. This is my fifth (and final?) floor loom. Weaving the first of two scarves, eight-shaft deflected double weave, 8/1 Mora wool warp and weft.
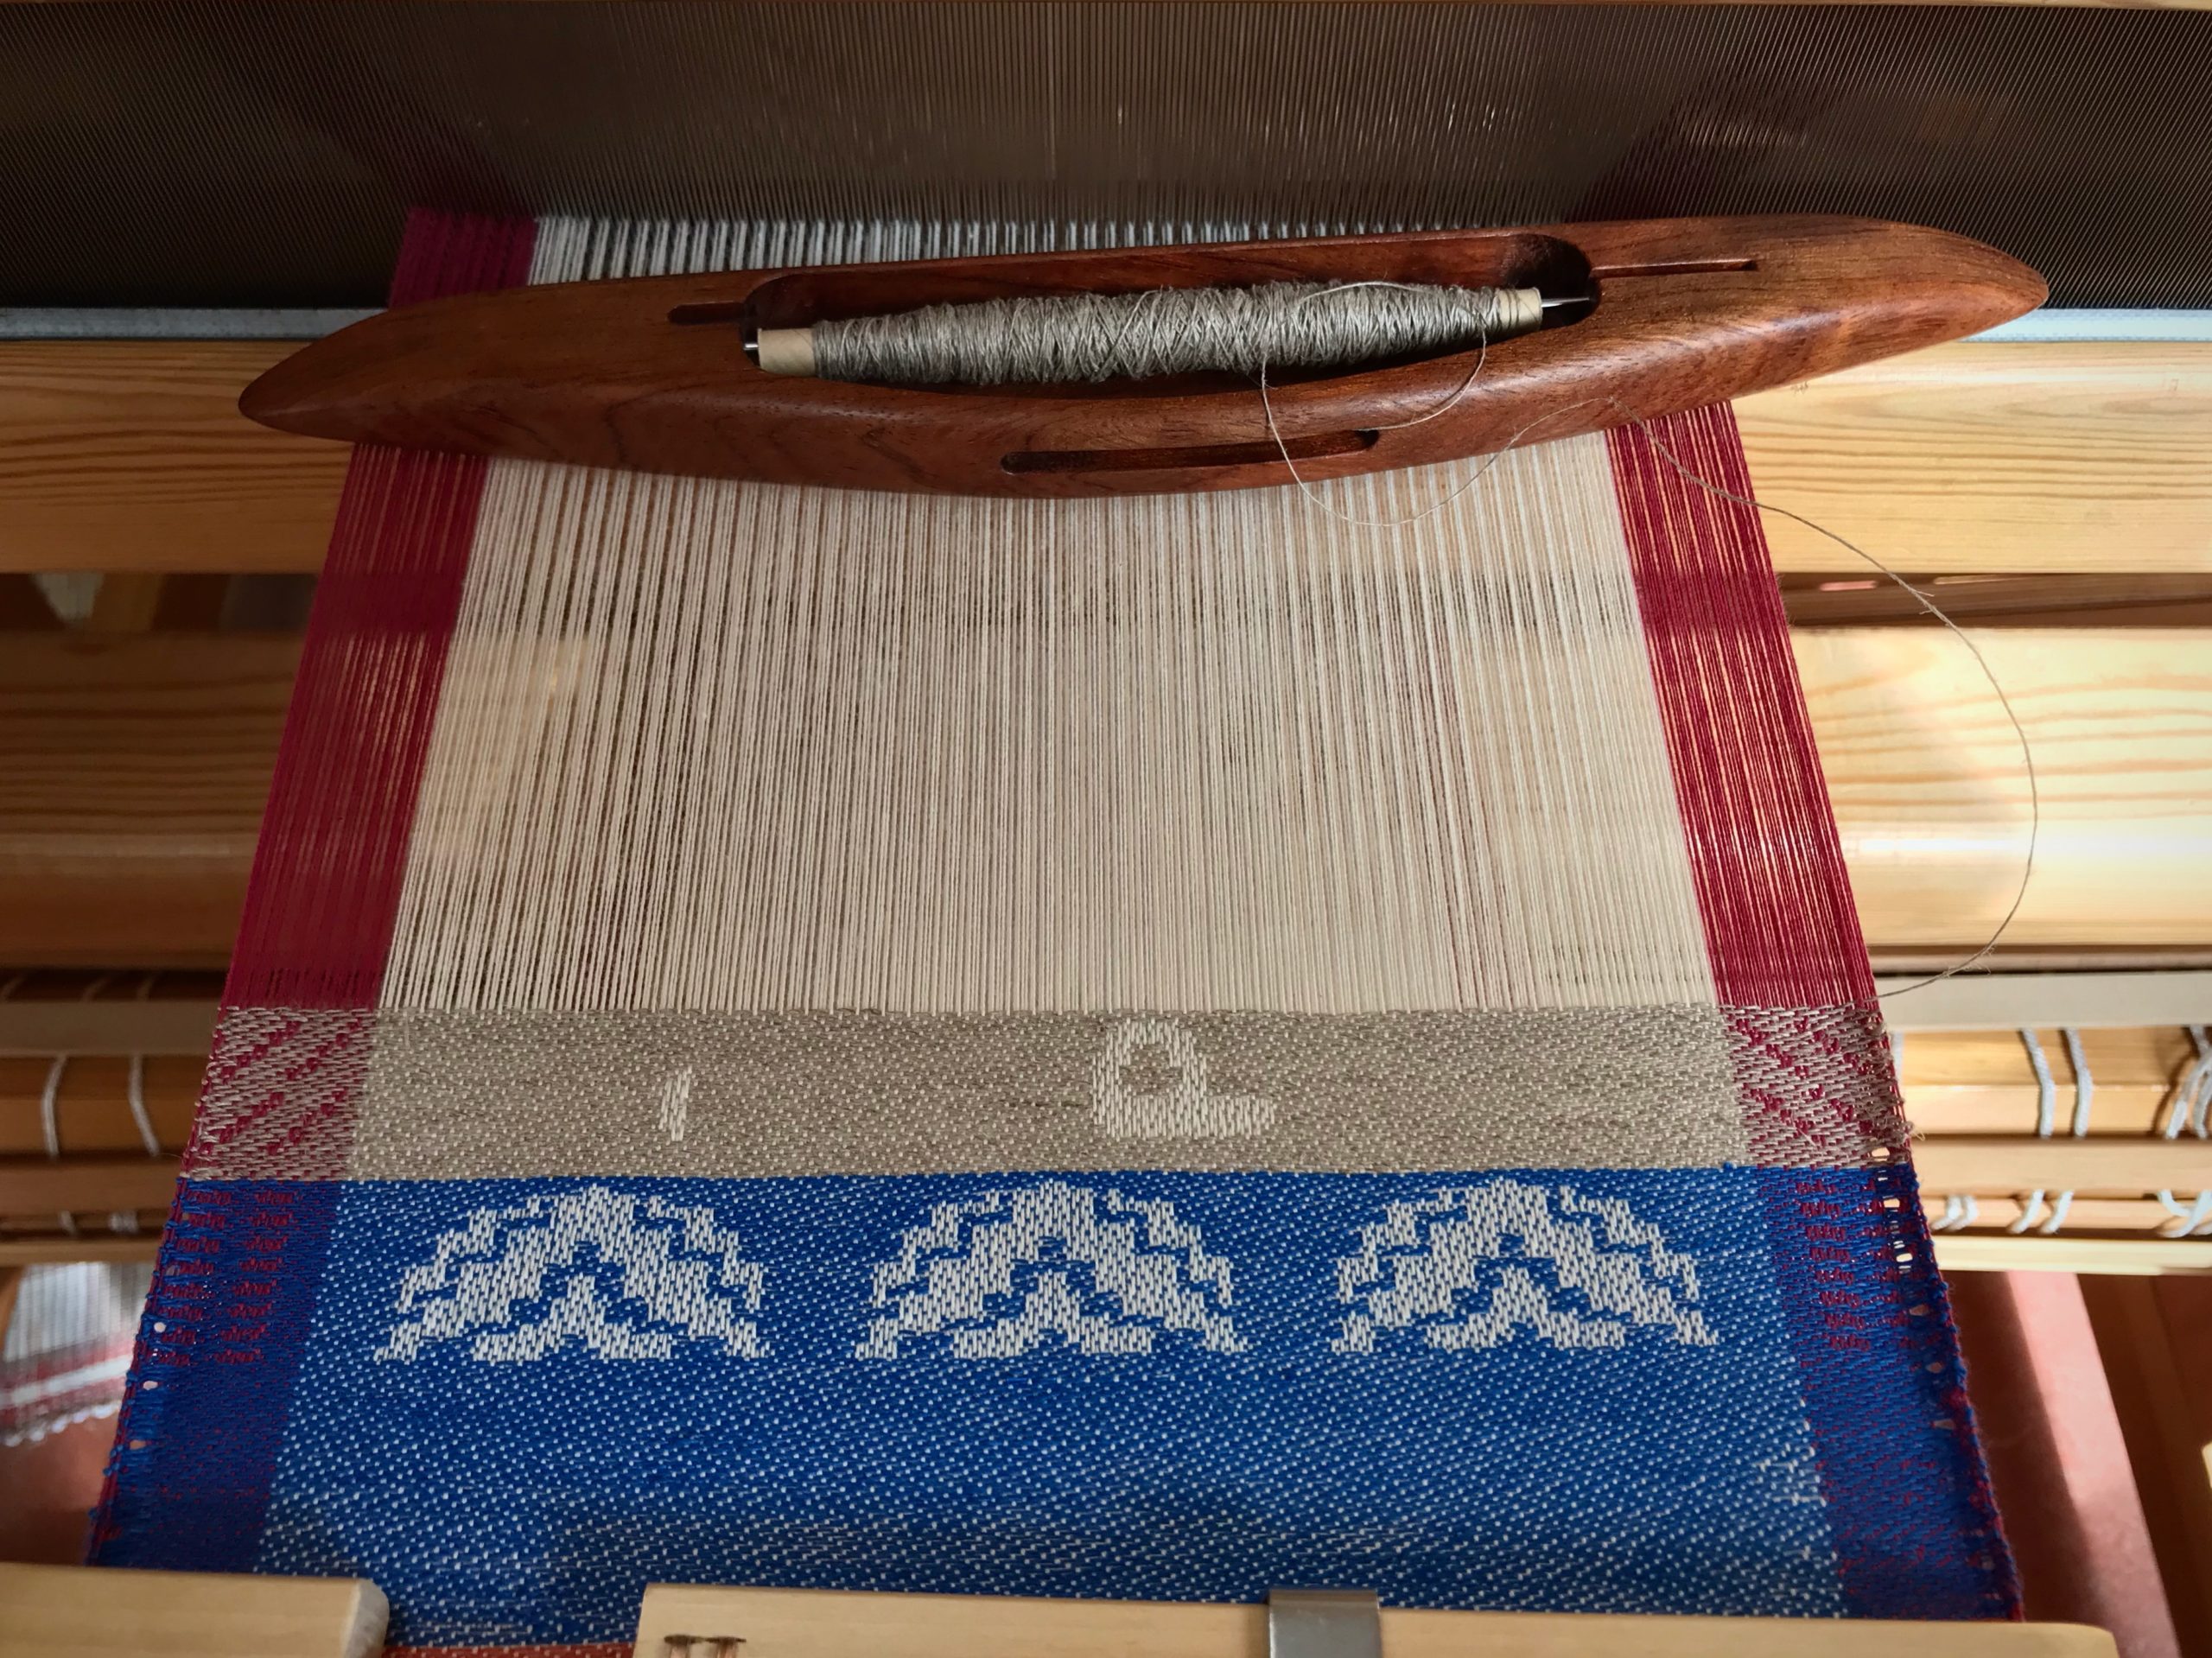
Weaving lettering on the drawloom.
Glimåkra Standard, 120cm (47″), horizontal countermarch, with Myrehed combination drawloom attachment. This is my fourth floor loom. Weaving some lettering for the seventh pattern on this sample warp, six-shaft irregular satin, 16/2 cotton warp, 16/1 linen weft. 35 pattern shafts, 132 single unit draw cords.

Give Thanks ~ Live with a thankful heart.

Every day I thank the Lord for granting me the joy of being in this handweaving journey. And I thank him for bringing friends like you along with me.

May you always give thanks.

With a grateful heart,
Karen

Process Review: Leftover Linen Waffle Weave Washcloths

This is the kind of weaving results that makes me giggle like a child. Waffle weave is one of those things I have been intrigued about for some time, and have wanted to give it a try. Will it really buckle up into waffled wrinkles? Will linen do that? Will it be even better than I expect? Yes, yes, and YES. Talk about transformation!

Using linen thrums for weft.
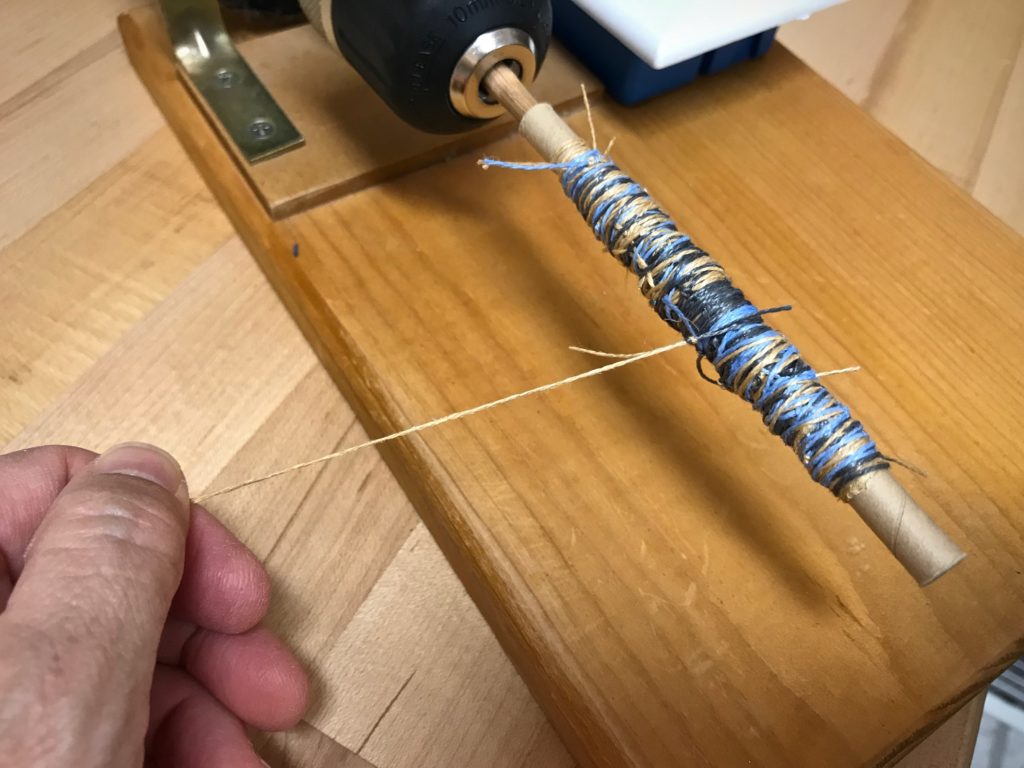
Taken from thrums, each length of thread is added with a square knot, which makes for slow quill winding. And slow weaving, as I untie each knot that comes along, and overlap weft tails in the shed.
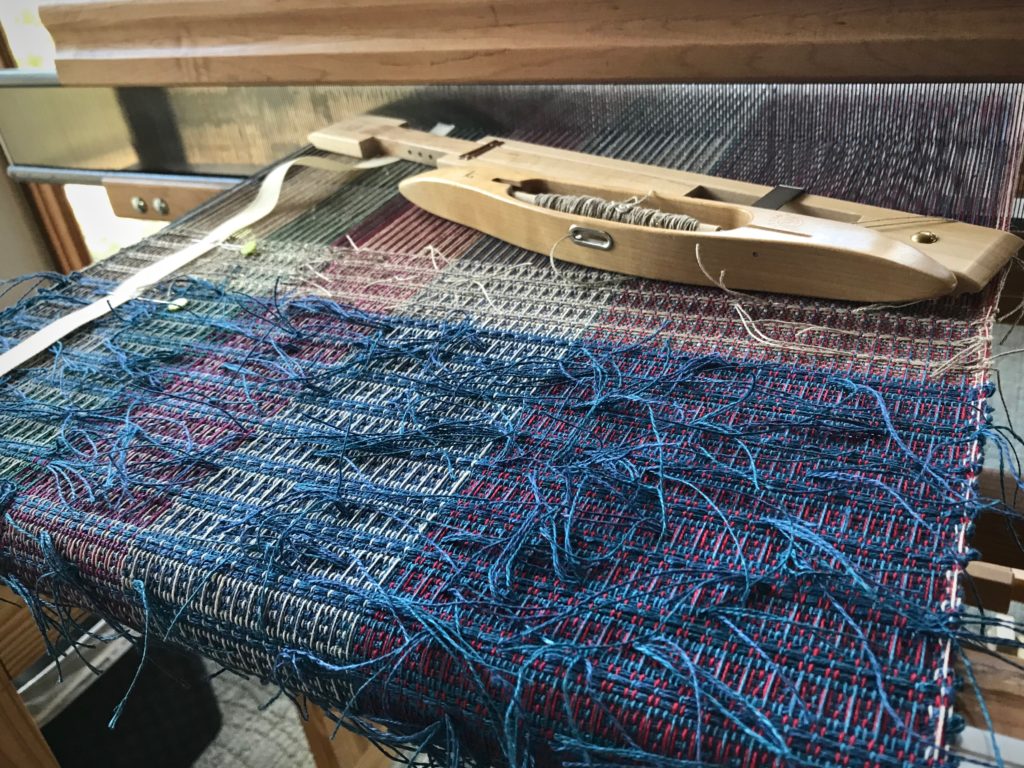
Made with linen leftovers. Weft tails cover the surface.
Shaggy thick blue linen weft tails cover the surface.

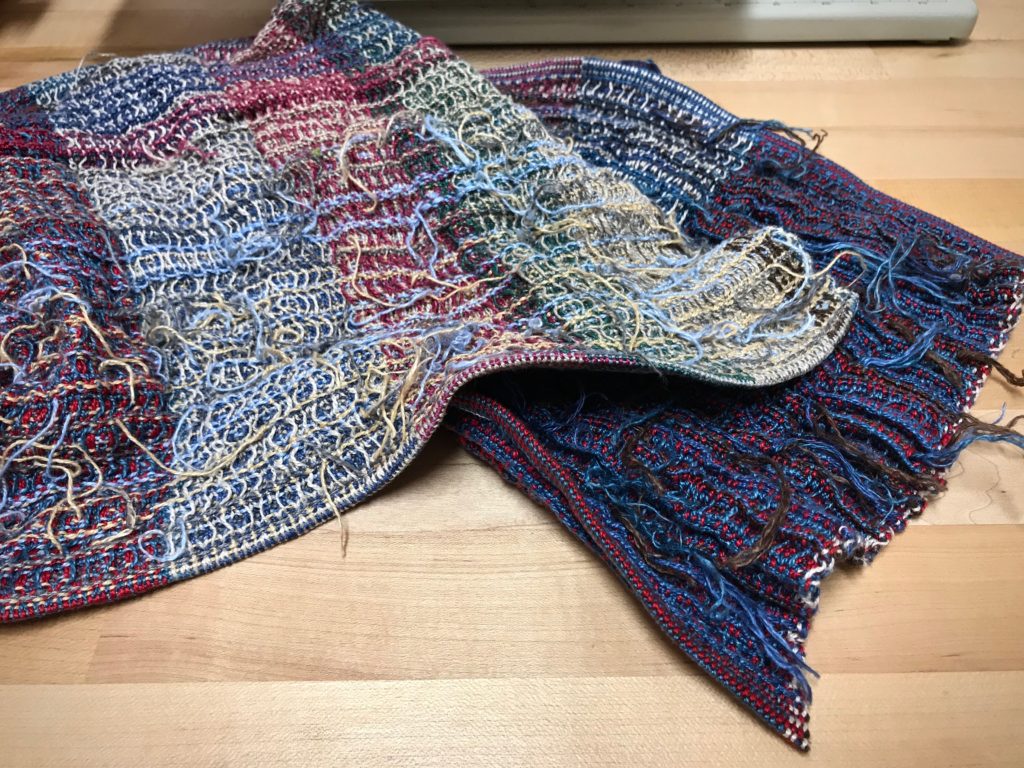
Everything in these waffle weave washcloths is linen that has been leftover from previous projects. The tail end of linen tubes, quills that didn’t quite get used up, thrums, and threading missteps that gave me skinny warp chains of several meters. The warp is 16/2 linen, but the weft is everything from fine linen threads, to bundles of threads, to coarse linen rug warp. I discovered, as you will see, that the thicker the weft, the more pronounced the wrinkles. The thickest wefts have given me delightful accordion pleats.

Waffle weave washcloths made entirely of leftover linen.
Wet-finished linen waffle weave has a surprisingly soft hand. After hemming, I am trimming the weft tails to 1/4″, leaving a hint that this is made of leftovers.

Please enjoy this process video of the making of leftover linen waffle weave washcloths! Watch to the end to see the squishiness of this unusual cloth.

Don’t think that this is the end of waffle weave. I am already thinking of all the interesting possibilities…

May your best wrinkles make you giggle.

Happy Happy Weaving,
Karen
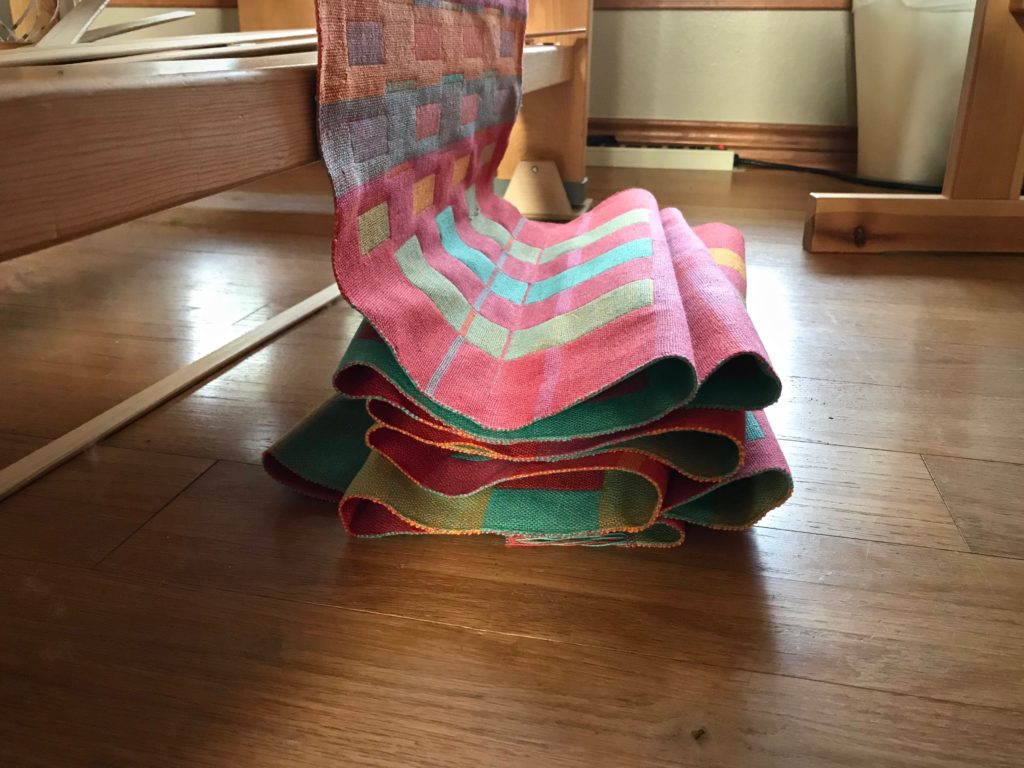
Tried and True: Leftover Linen on the Band Loom

Remember that time you miscalculated when planning your warp? You found the mistake when you were threading, and you ended up with an extra group of ends. If you have ever done something like that, then you understand where this leftover linen warp came from.

New warp on the Glimakra band loom.

This little linen leftover warp is now on the Glimåkra band loom. I removed two ends to get a warp with symmetrical colors. It’s perfect for making hanging tabs to go on the leftover linen waffle weave washcloths. The weft on these band loom shuttles is from one of the little linen warp chains I mentioned last week. (See Put the Linen Back to Use.)

Leftover linen to use as weft on the band loom.
Linen from a leftover warp chain fills the little band loom shuttles.
Band Loom weaving.
Weft tails show the color variance–turquoise and blue–in the leftover linen used for weft, indistinguishable in the selvedges of the woven band.

When the thread comes to an end on the shuttle, I follow this simple process to begin a new weft.

  • Place the ending weft through the shed, leaving a tail of at least 1/2”.
How to change the weft on the band loom.
  • Without changing sheds, lightly tap the weft in place with the band knife.
  • Bring the new weft on a shuttle through the same shed, going in the same direction as the previous weft’s shuttle, leaving a tail of at least 1/2”. (There is now a weft tail extending in both directions.)
How to overlap wefts on the band loom.
How to add a new weft. Glimakra Band Loom.
  • Without changing sheds, lightly tap the new weft into place with the band knife. (This helps to make a snug fit for the two wefts in this shed.)
  • Change sheds. Beat firmly with the band knife.
  • Send the weft back through.
How to end one weft and begin another on the band loom.
  • Beat firmly, and continue weaving.
Instructions for ending and starting wefts on the band loom.
  • After weaving 1/2” further, clip off the weft tails; or, clip all the tails after the entire band is woven and has been cut from the band loom.
Linen band weaving for hanging tabs on linen washcloths.
Weft tails are left extended on this band. I may trim some of them later to 1/4″ for effect, to be used as hanging tabs on the leftover linen waffle weave washcloths.

May you put your leftovers to good use.

Happy Weaving,
Karen
Quiet Friday: Threads of Love

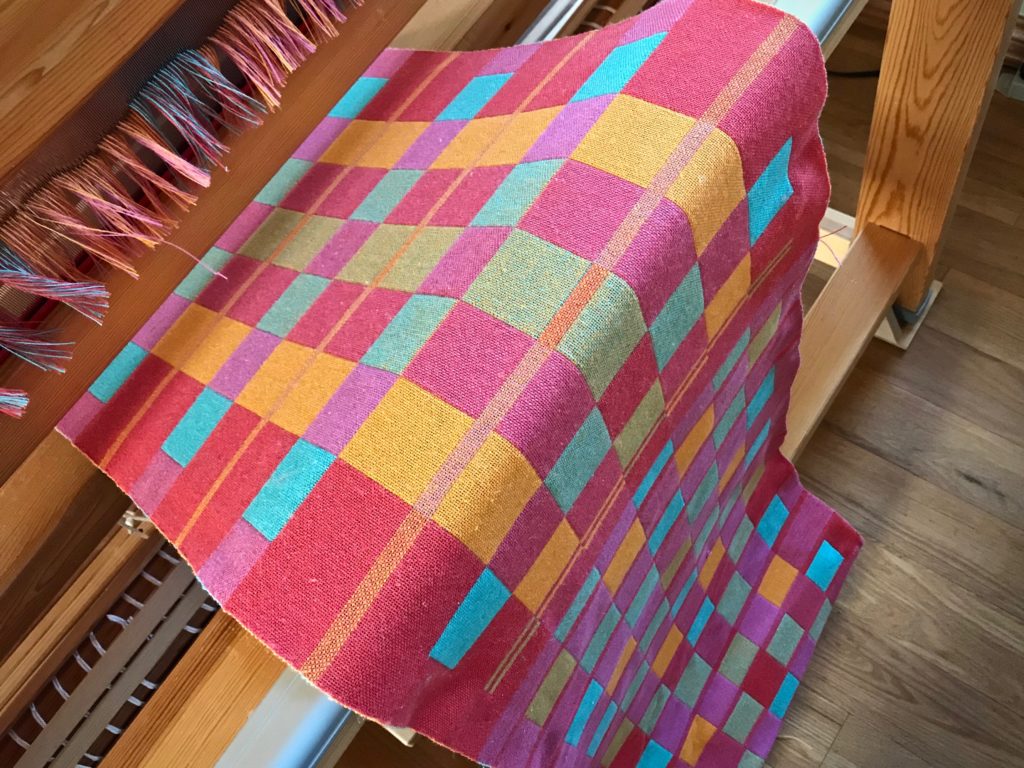
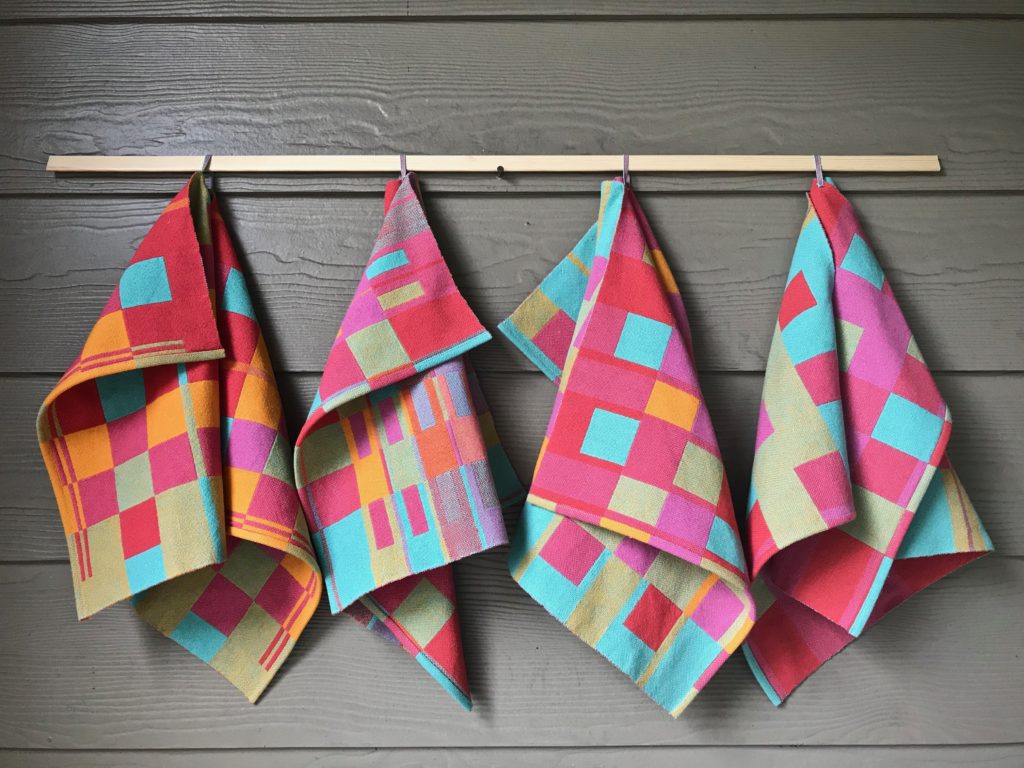
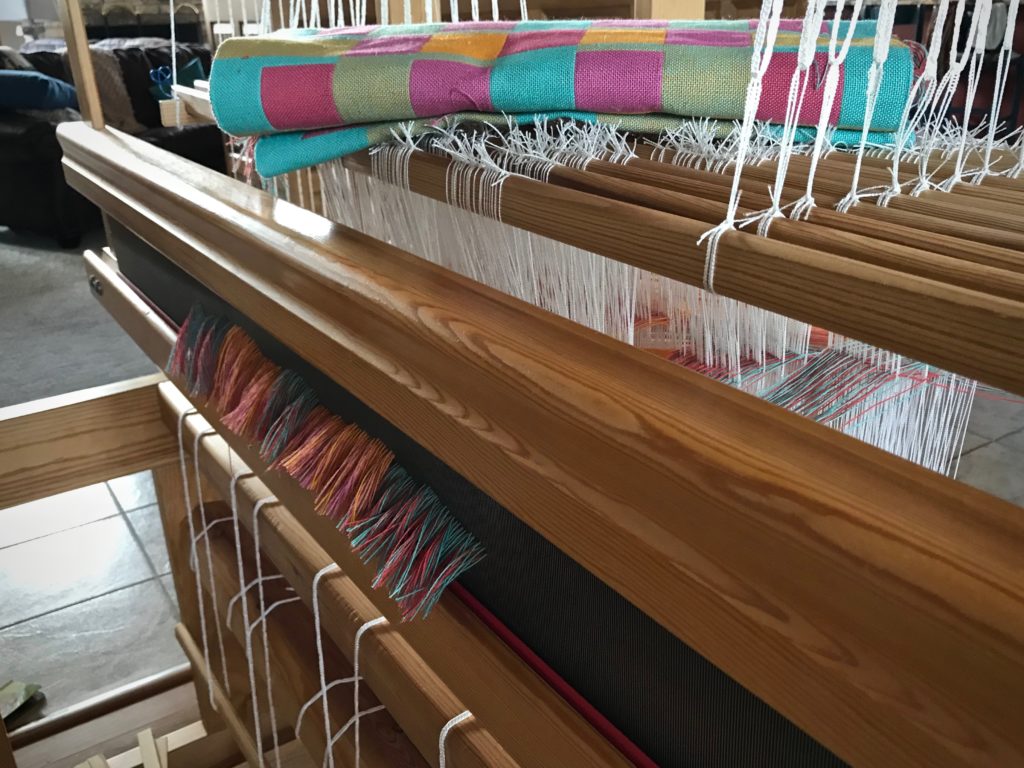
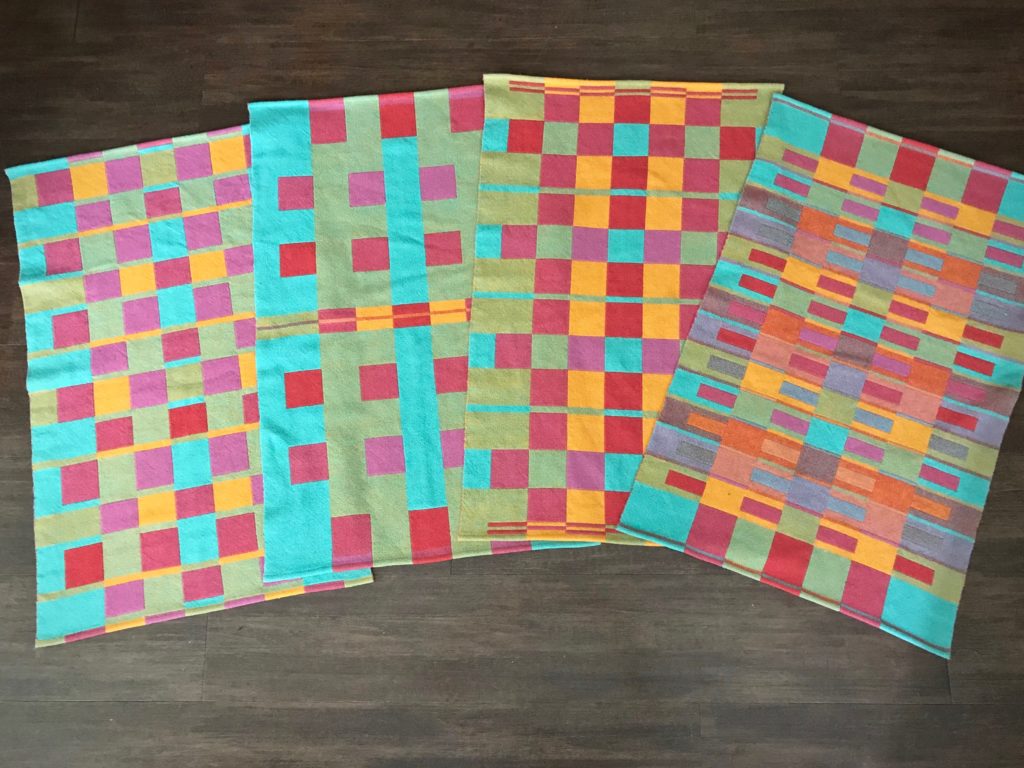
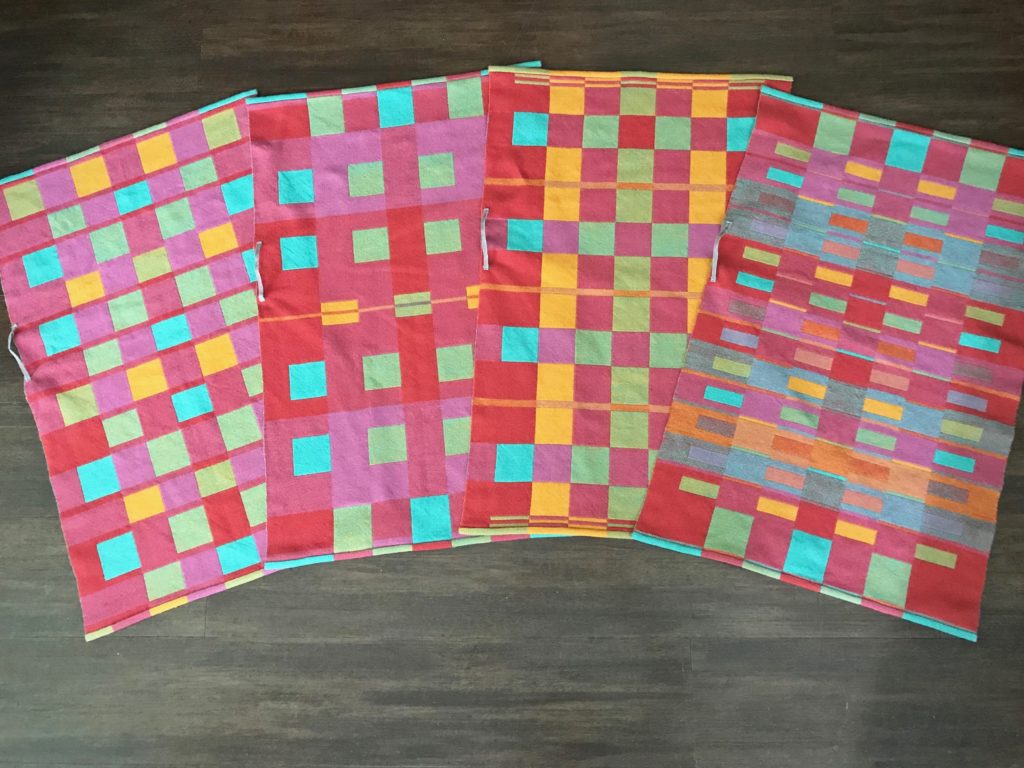
Talk about thick and thirsty towels! Double weave makes these hand towels thick. And the linen in the cottolin threads makes them highly absorbent. The colors are fantastic together. When our daughter Melody moves with her little family to Chile, she can set up her new home with these made-for-her towels. My love is woven into every single pick.

I have included two short little videos just for the fun of it. Enjoy!

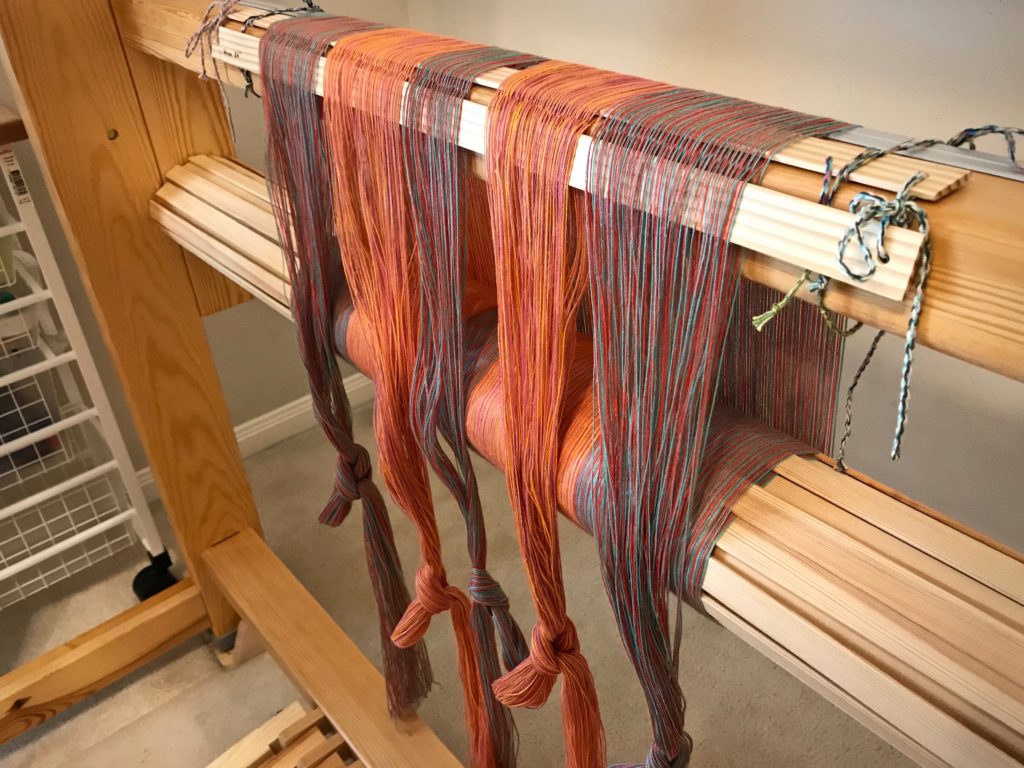
This project started in my weaving studio in our Houston home, where I beamed the warp.

Colors for Towels

Winding a warp for double weave towels.

Beaming the warp for towels.

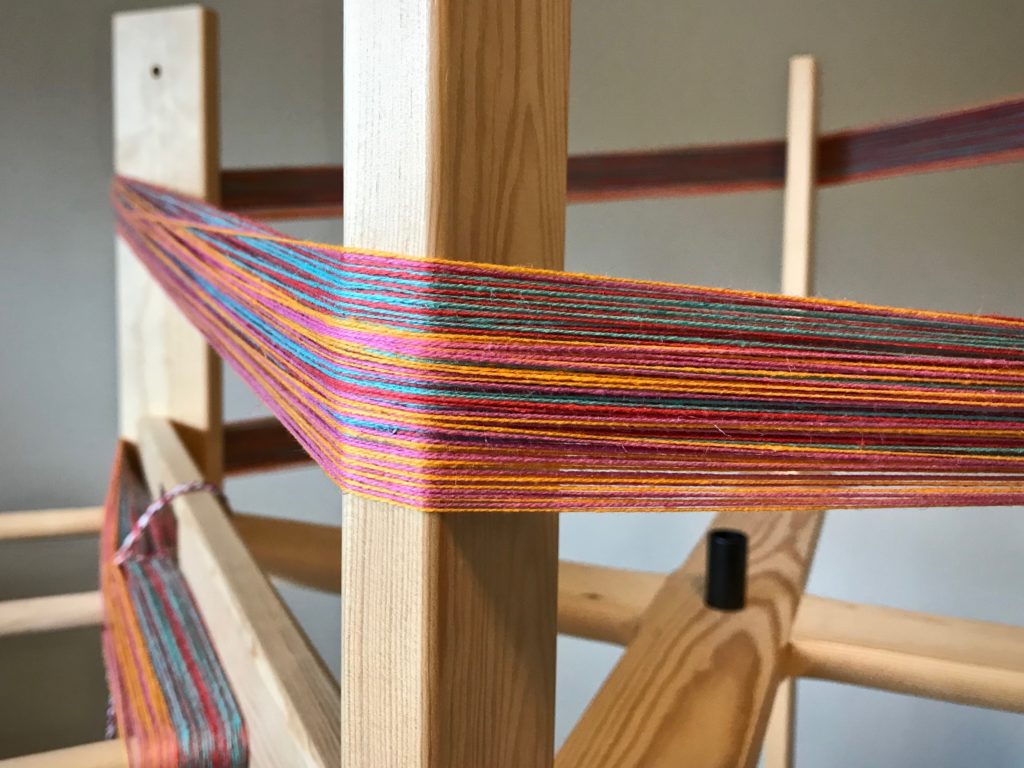
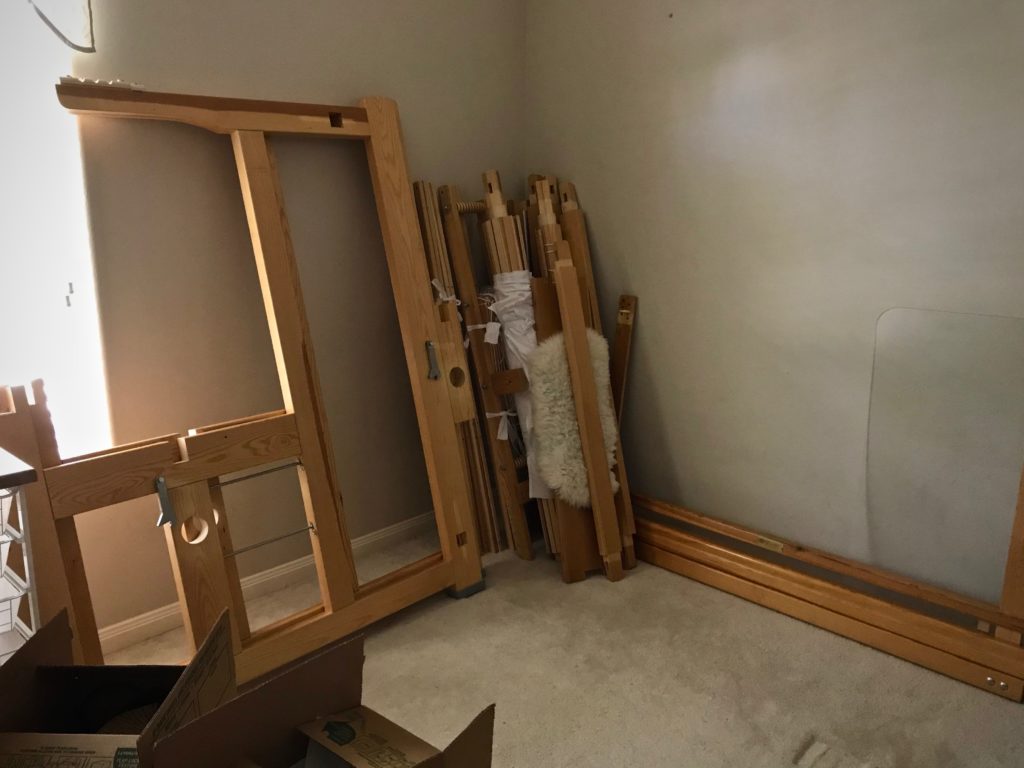
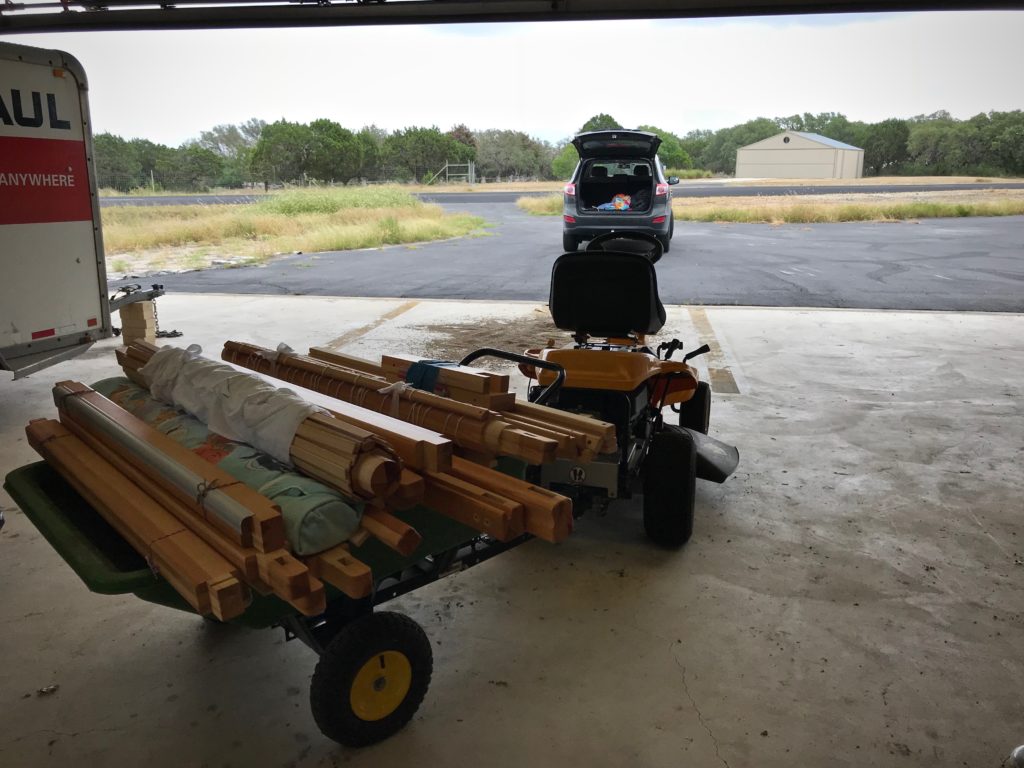
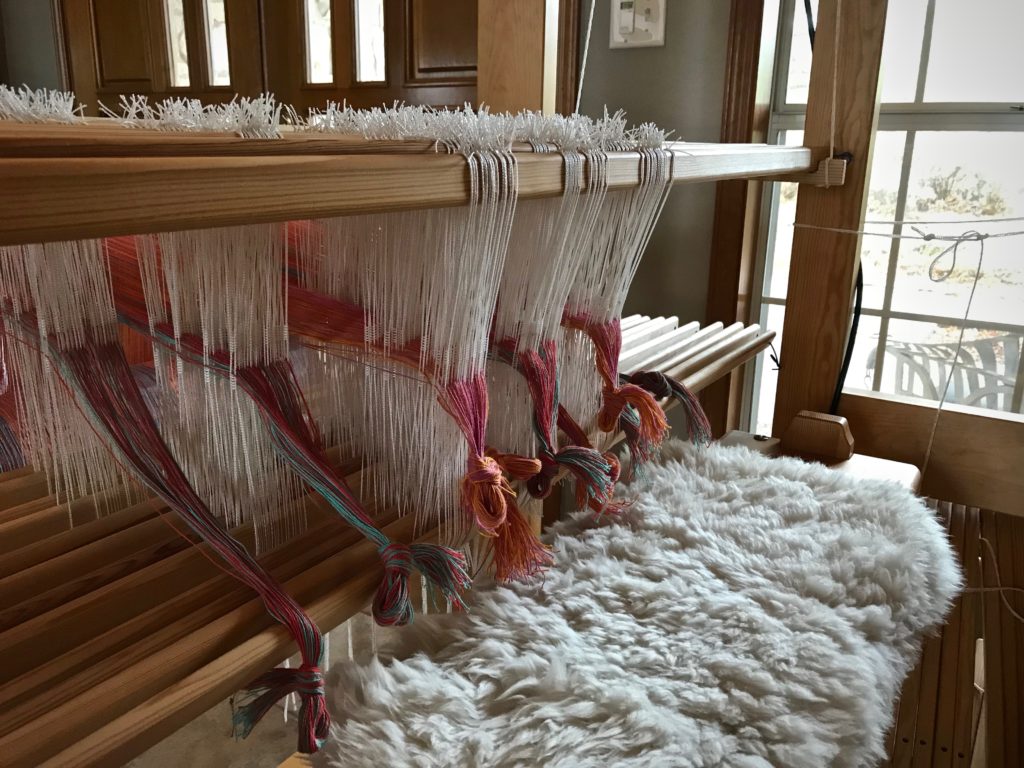
And then we decided to move! We sold the house and moved into an apartment. The big loom was dismantled, with the towel warp on the back beam. Then, we moved all the pieces to our Texas hill country home.

Dismantled loom for moving.

Moving a Glimakra Standard loom.

Putting the Glimakra Standard loom back together.

Recently, I spent a week there to finish dressing the loom and weave all four towels. Whew! (Here’s what I did that week: Testing Color Surprises with My Little Helper and Weaving Deadline)

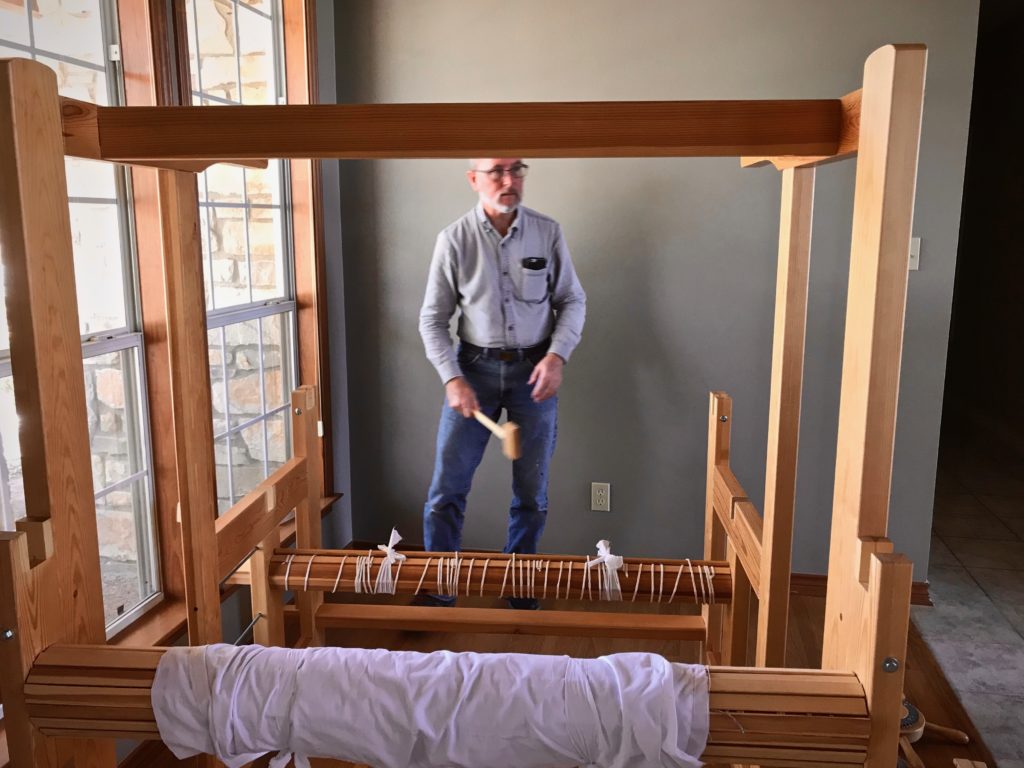
Threading 12 shafts. Double weave towels coming!

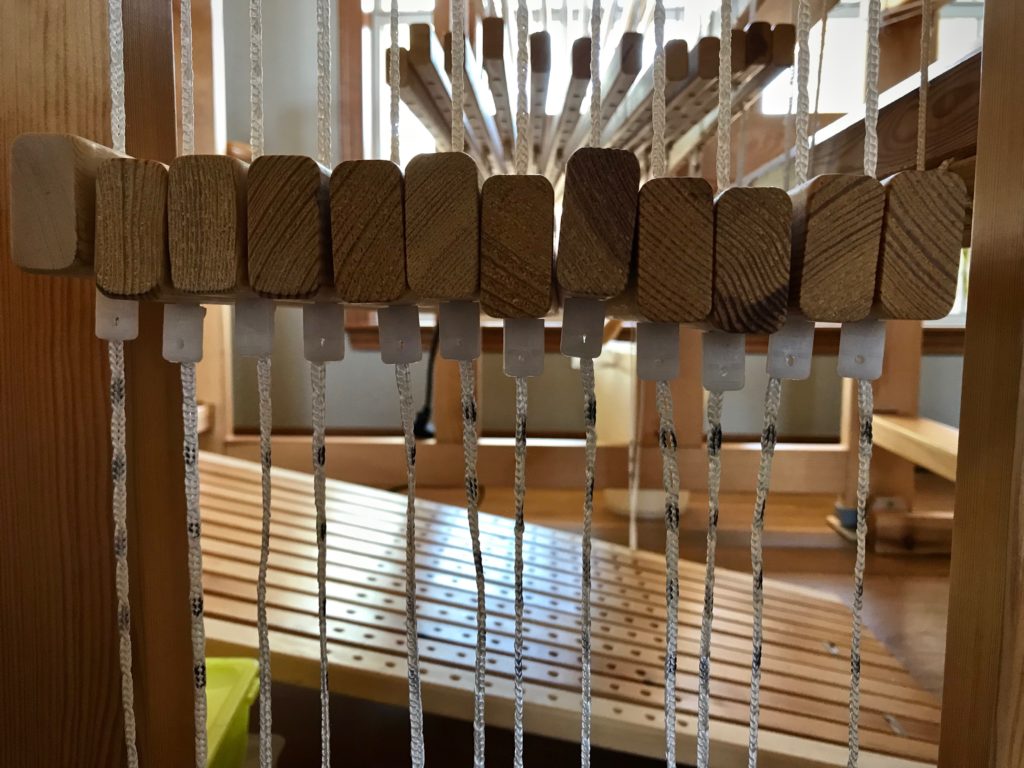
Lower lamms ready to go!

Starting the hem on double weave towels.

Double weave cottolin towels on 12 shafts. Karen Isenhower
From the back beam. Double weave on 12 shafts.

Double weave towels. Loom with a view!

Squares in a double weave towel.

Towels on the cloth beam. Karen Isenhower
Double weave towels on the loom.

Double weave cottolin towels on the loom. Karen Isenhower
Towels on the cloth beam.

Glimakra Standard loom in Texas hill country.

Cutting off!

Cutting off! Double weave towels.

Fresh double weave towels, ready for finishing.

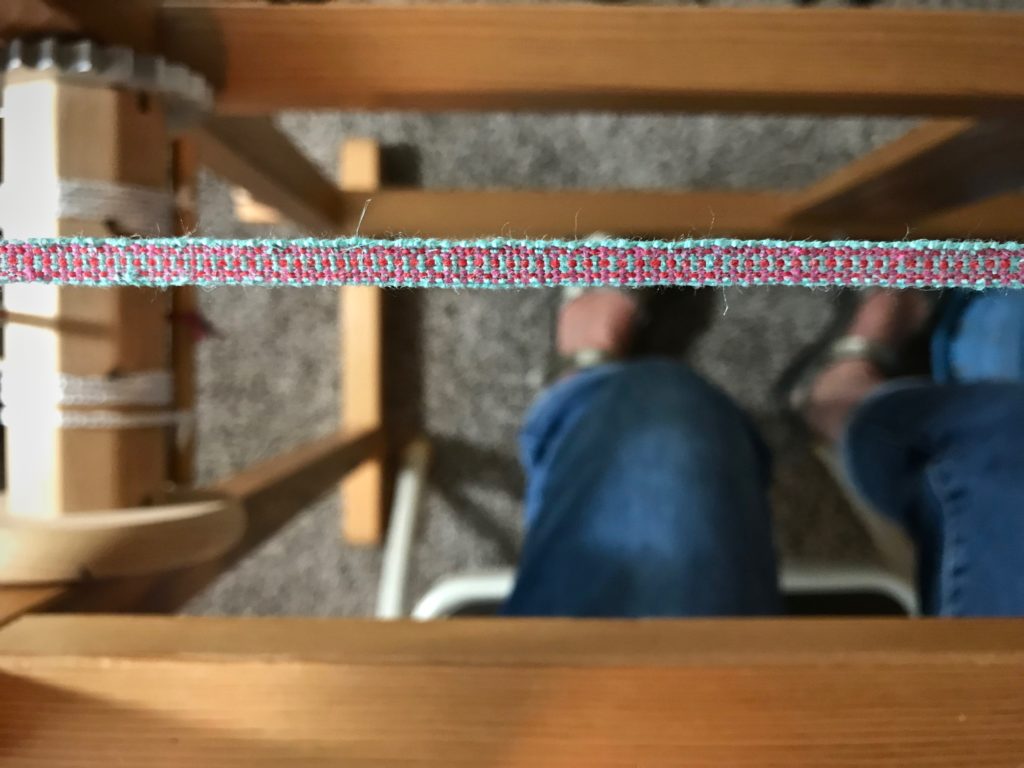
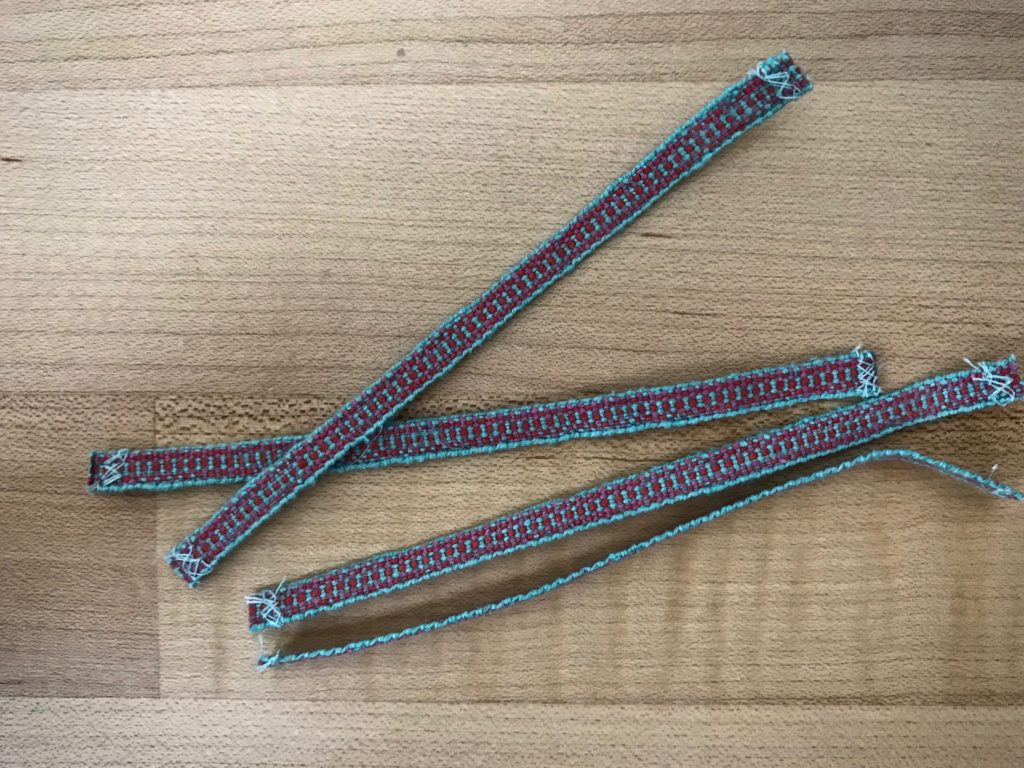
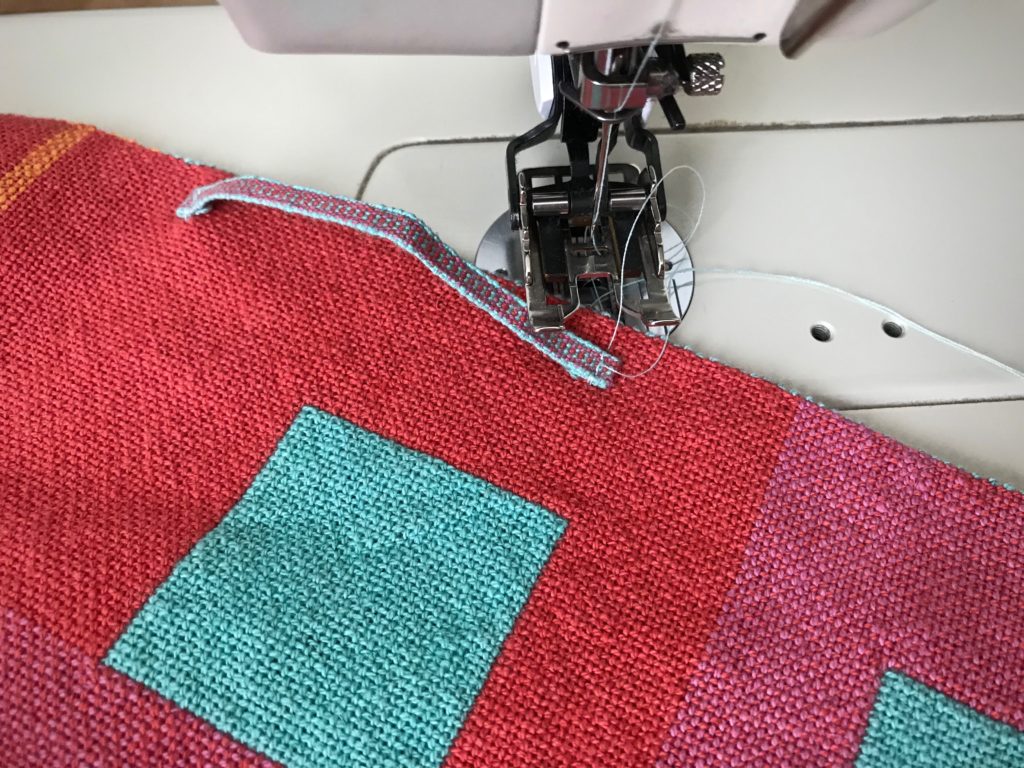
I wove hanging tabs on my band loom. And I discovered that I could showcase both sides of the colorful towel if I stitch the hanging tab on the side of the towel, off center.

Glimakra band loom.

Hanging tabs for towels woven on Glimakra band loom.
Hanging tab stitched to side of towel.

The towels are hemmed and pressed, ready to brighten the day!

Double Weave cottolin towels. Side A.

Double weave cottolin towels. Side B.

Double weave cottolin towels! Karen Isenhower

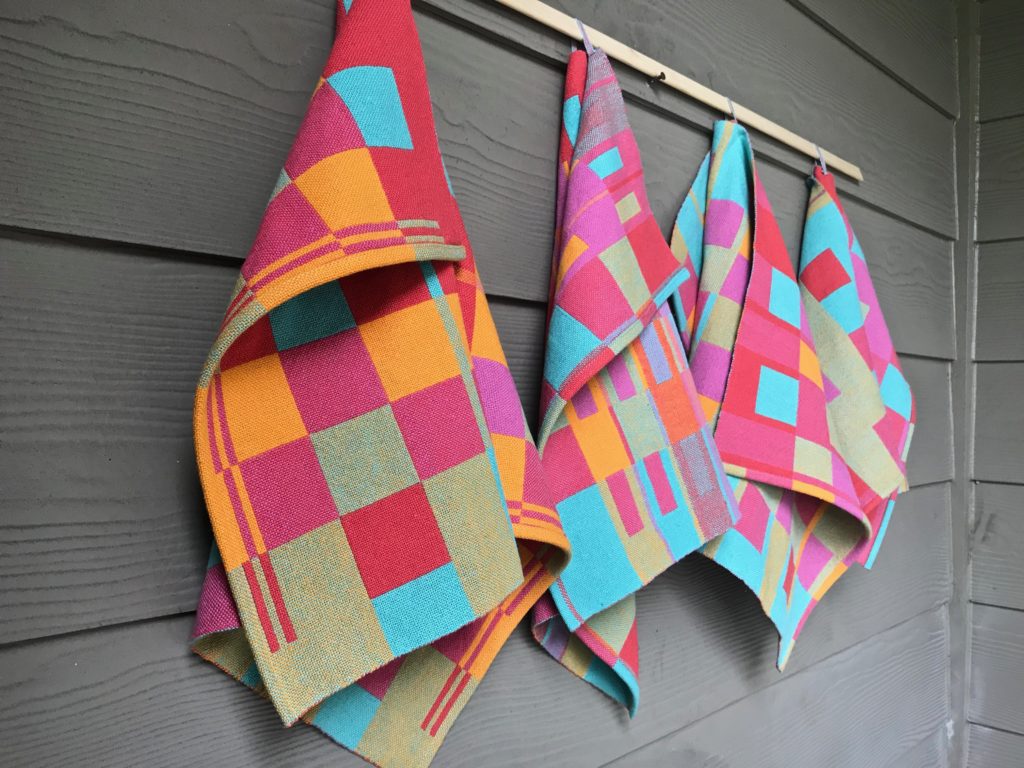
Cottolin towels, hanging from the side. More pics on the blog.

May you put threads of love into everything you do.

Love,
Karen

Tools Day: Band Loom Warping Board

It is almost effortless to make a short warp for the band loom. All you need is a peg at the beginning and a peg at the end. You can use a spoke of the warp beam wheel, for instance, at one end, and the leg of an upside-down stool at the other. I normally use my warping reel, though, for even a simple warp, because the reel is so handy. However, I don’t have my warping reel here at the apartment, so I am turning my band loom into a handy warping board for this band loom project.

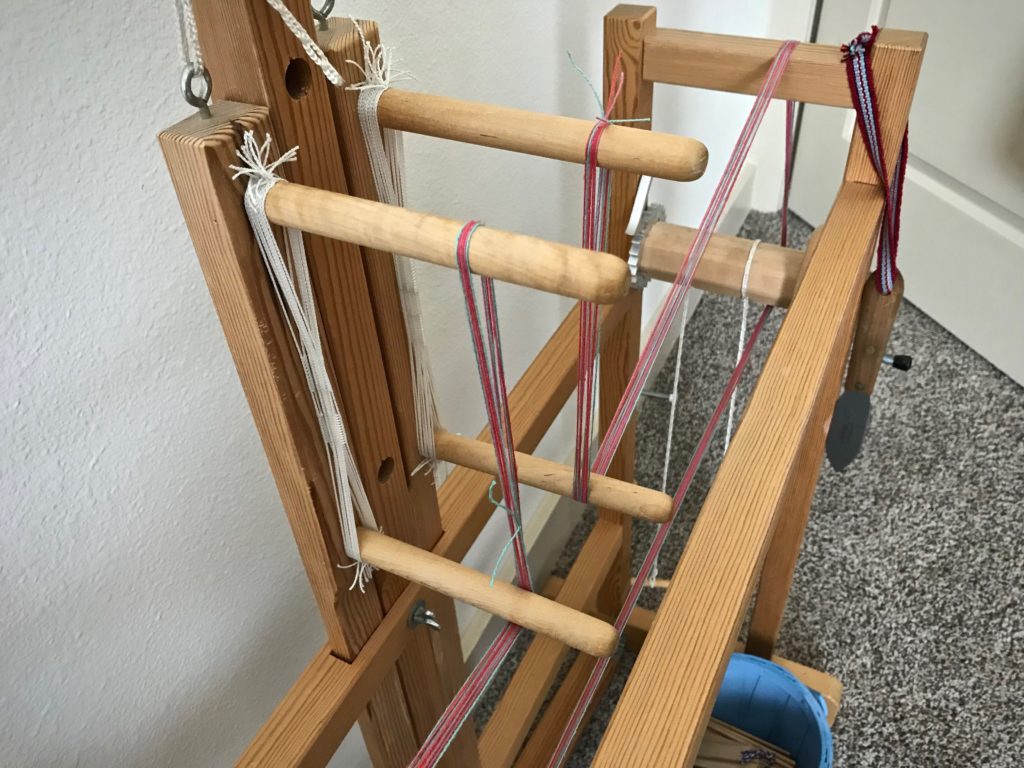
Using the Glimakra band loom as a warping board.
Using the Glimåkra band loom to measure a narrow cottolin warp.

How to Use the Band Loom as a Warping Board

Tools and supplies:

  • Glimåkra band loom
  • Thread for weaving a narrow band
  • Basket and/or spool holder(s)
  • Scissors

How to use the band loom as a warping board.
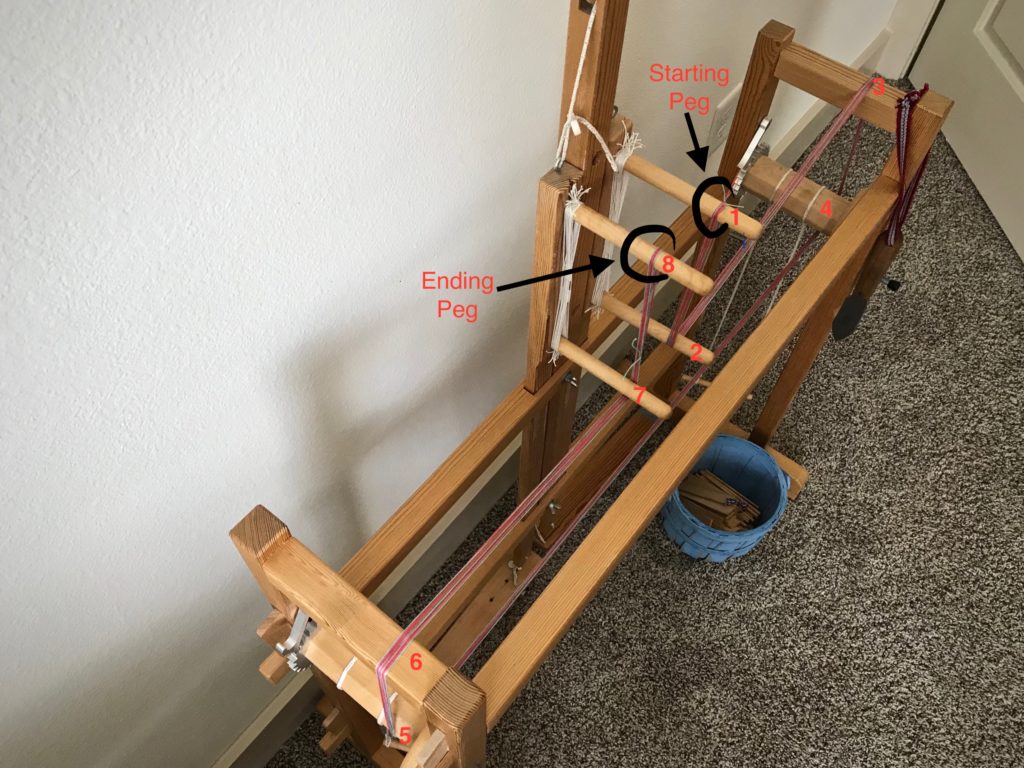
Starting at one peg and ending at another. The band loom becomes a simple tool for winding a short warp.

For a warp of approximately two meters:

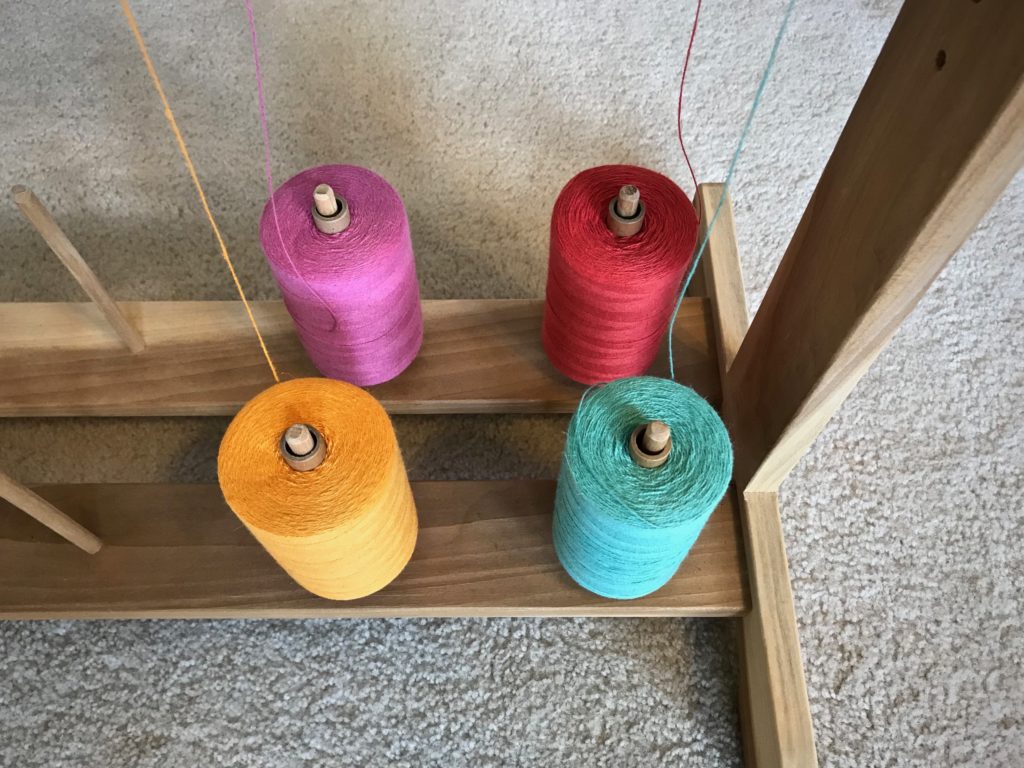
  • Put the warp thread on the floor below—quills in a basket, and/or thread tubes on spool holders.
  • Using two or more ends, tie the ends together with an overhand knot. (I used three ends together for this warp.)
  • Bring the warp ends up around the warp beam and over the back beam.
  • Loop the knot on the starting peg.
  • Draw the ends from the starting peg to the ending peg, around the band loom, following this path:
  1. Starting peg–upper heddle peg nearest back beam
  2. Lower heddle peg nearest back beam
  3. Back beam
  4. Warp beam
  5. Cloth beam
  6. Front beam
  7. Lower heddle peg nearest front beam
  8. Ending peg–upper heddle peg nearest front beam
  • Follow the winding path in reverse order back to the starting peg.
  • Continue winding until you have reached the desired number of ends.
  • Cut the ends and tie off at the starting peg or the ending peg.
  • Tie one or two choke ties, if needed. (I didn’t need them for this short warp.)
  • Carefully remove the warp and dress the band loom as usual. (For a tutorial on dressing the band loom, click here: Quiet Friday: Band Loom Warping and Weaving.)
  • Weave to your heart’s content.

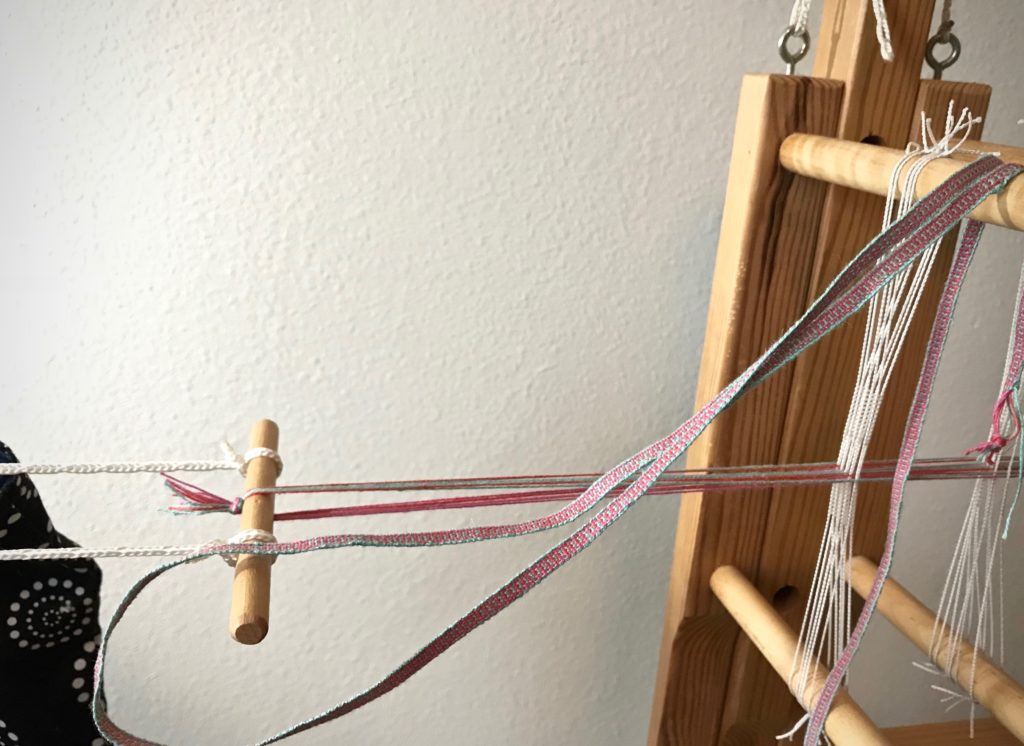
Weaving hanging tabs for towels on my Glimakra band loom.
One meter of woven band is cut off. The remaining band warp is tied back on. Weaving can resume at any time.

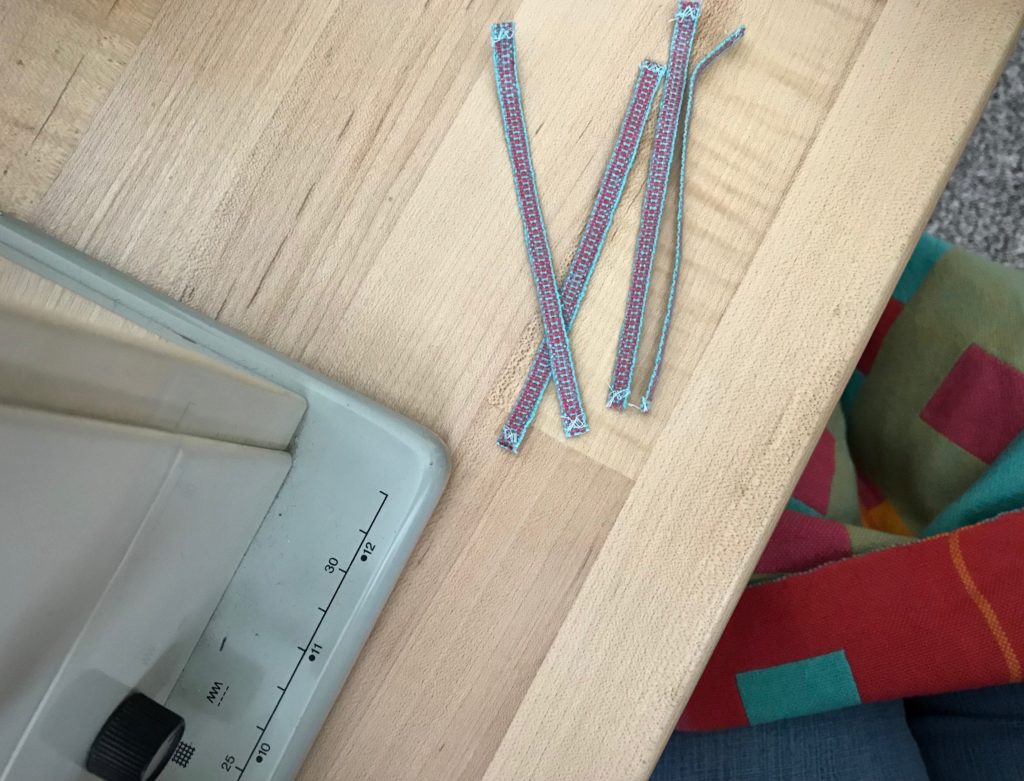
Preparing to sew handwoven ribbons onto handwoven towels for hanging.
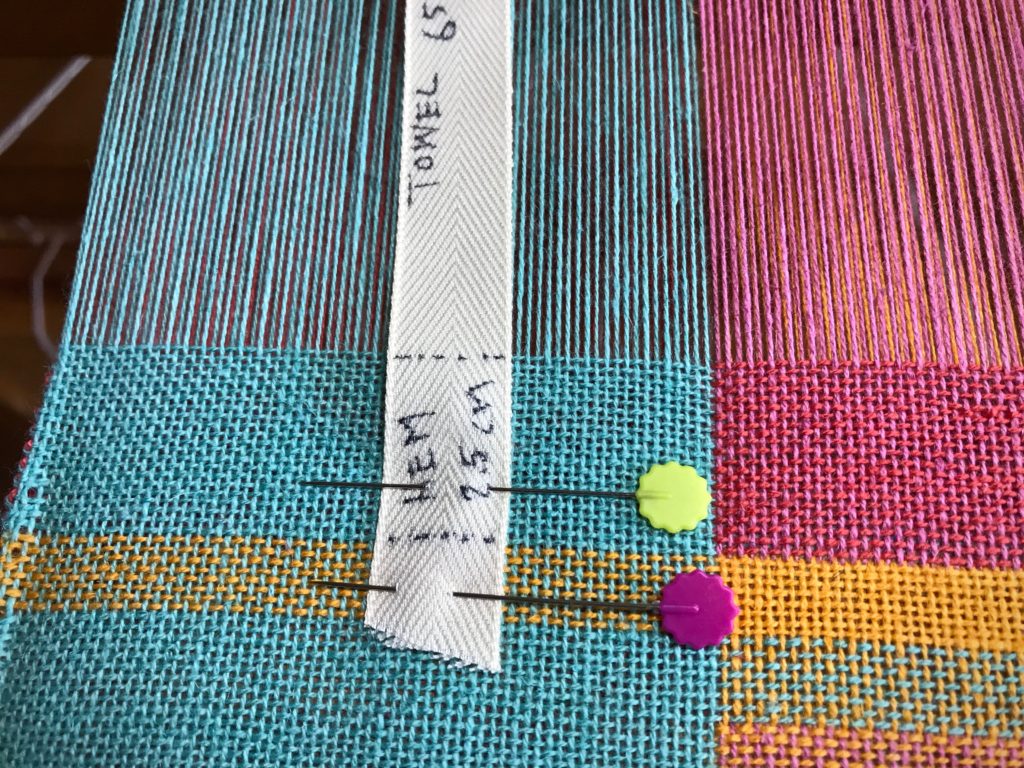
Ends secured, and cut in 10.5 cm lengths, the tabs are ready to be sewn onto the double weave towels.

May you find tools you didn’t know you had.

Happy band weaving,
Karen