Hazards and Rewards of Weaving a Portrait

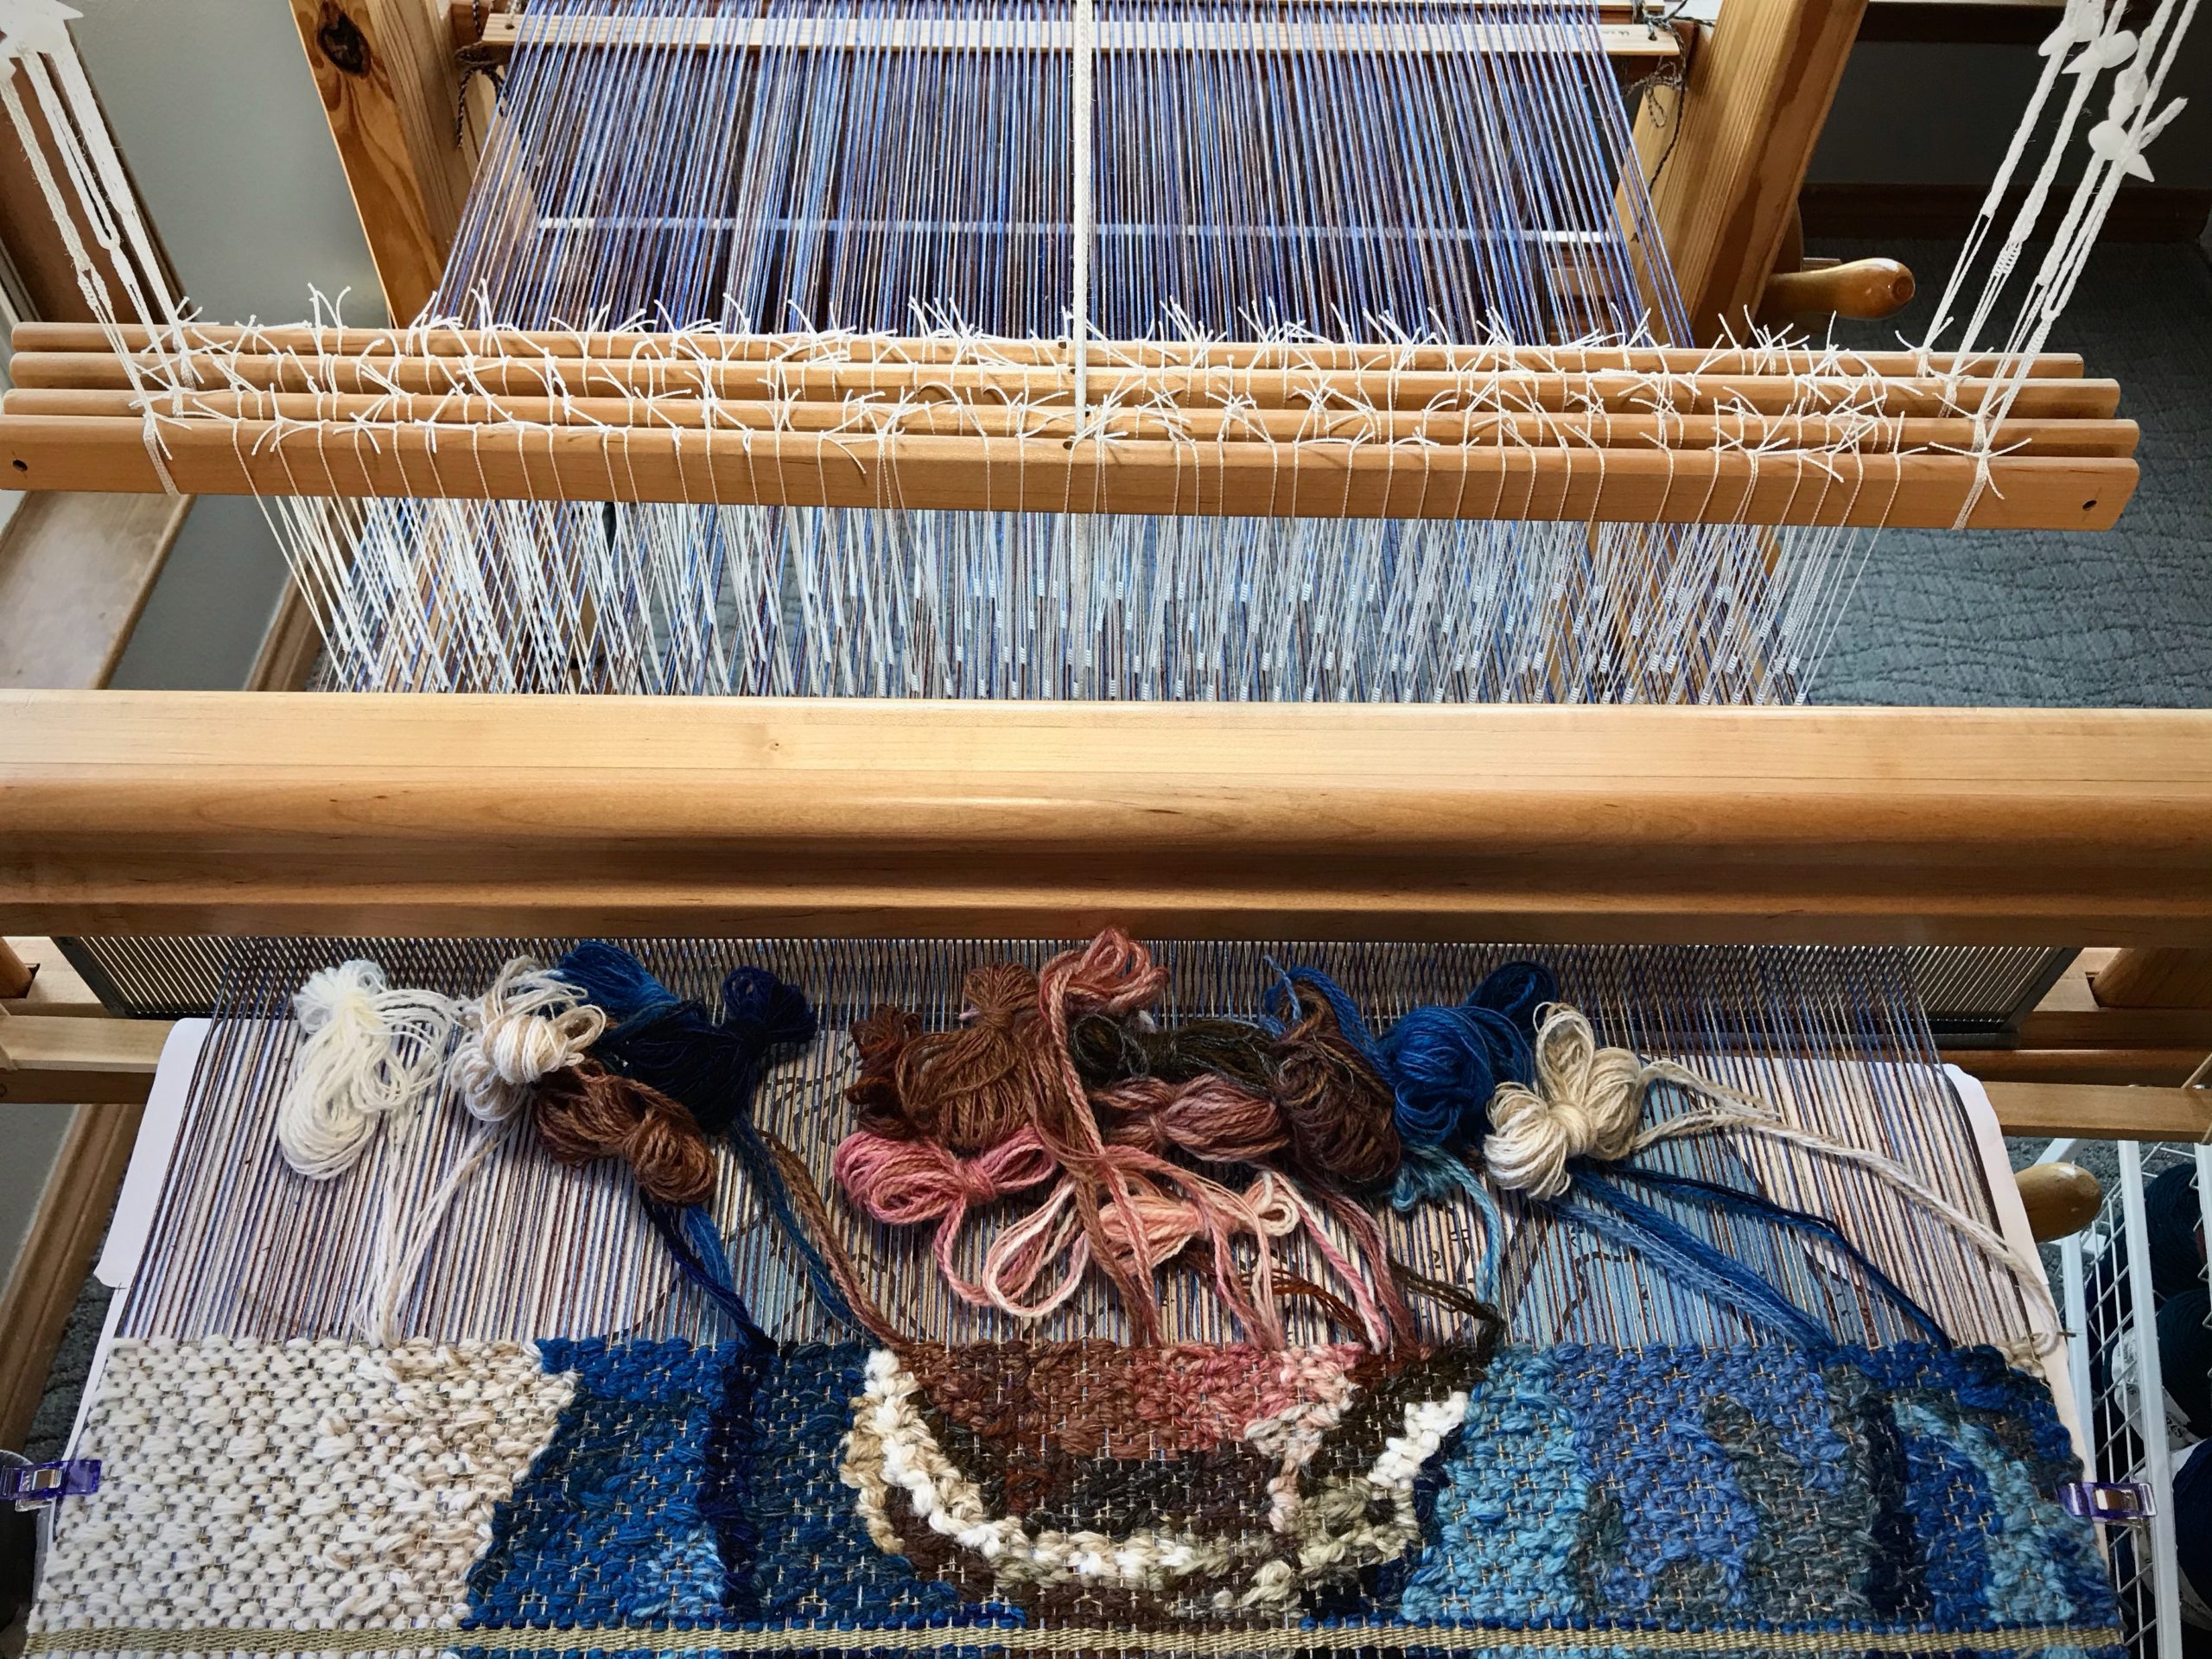
When you want a better photograph you snap another picture. When you want a better tapestry you take out what you’ve woven and weave it another way. I recently showed you my progress on the tapestry of my mother. (See Tapestry of the Heart.) As I viewed the tapestry in photographs I could see that the 6/1 tow linen that weaves between the rows of wool was too bright. The golden bleached linen is lovely on its own, and melts into the background on the sides of the portrait. But this bright linen draws undo attention to itself within the darker portions of the tapestry because of the stark contrast. The day after that post I undid everything back to the starting line.
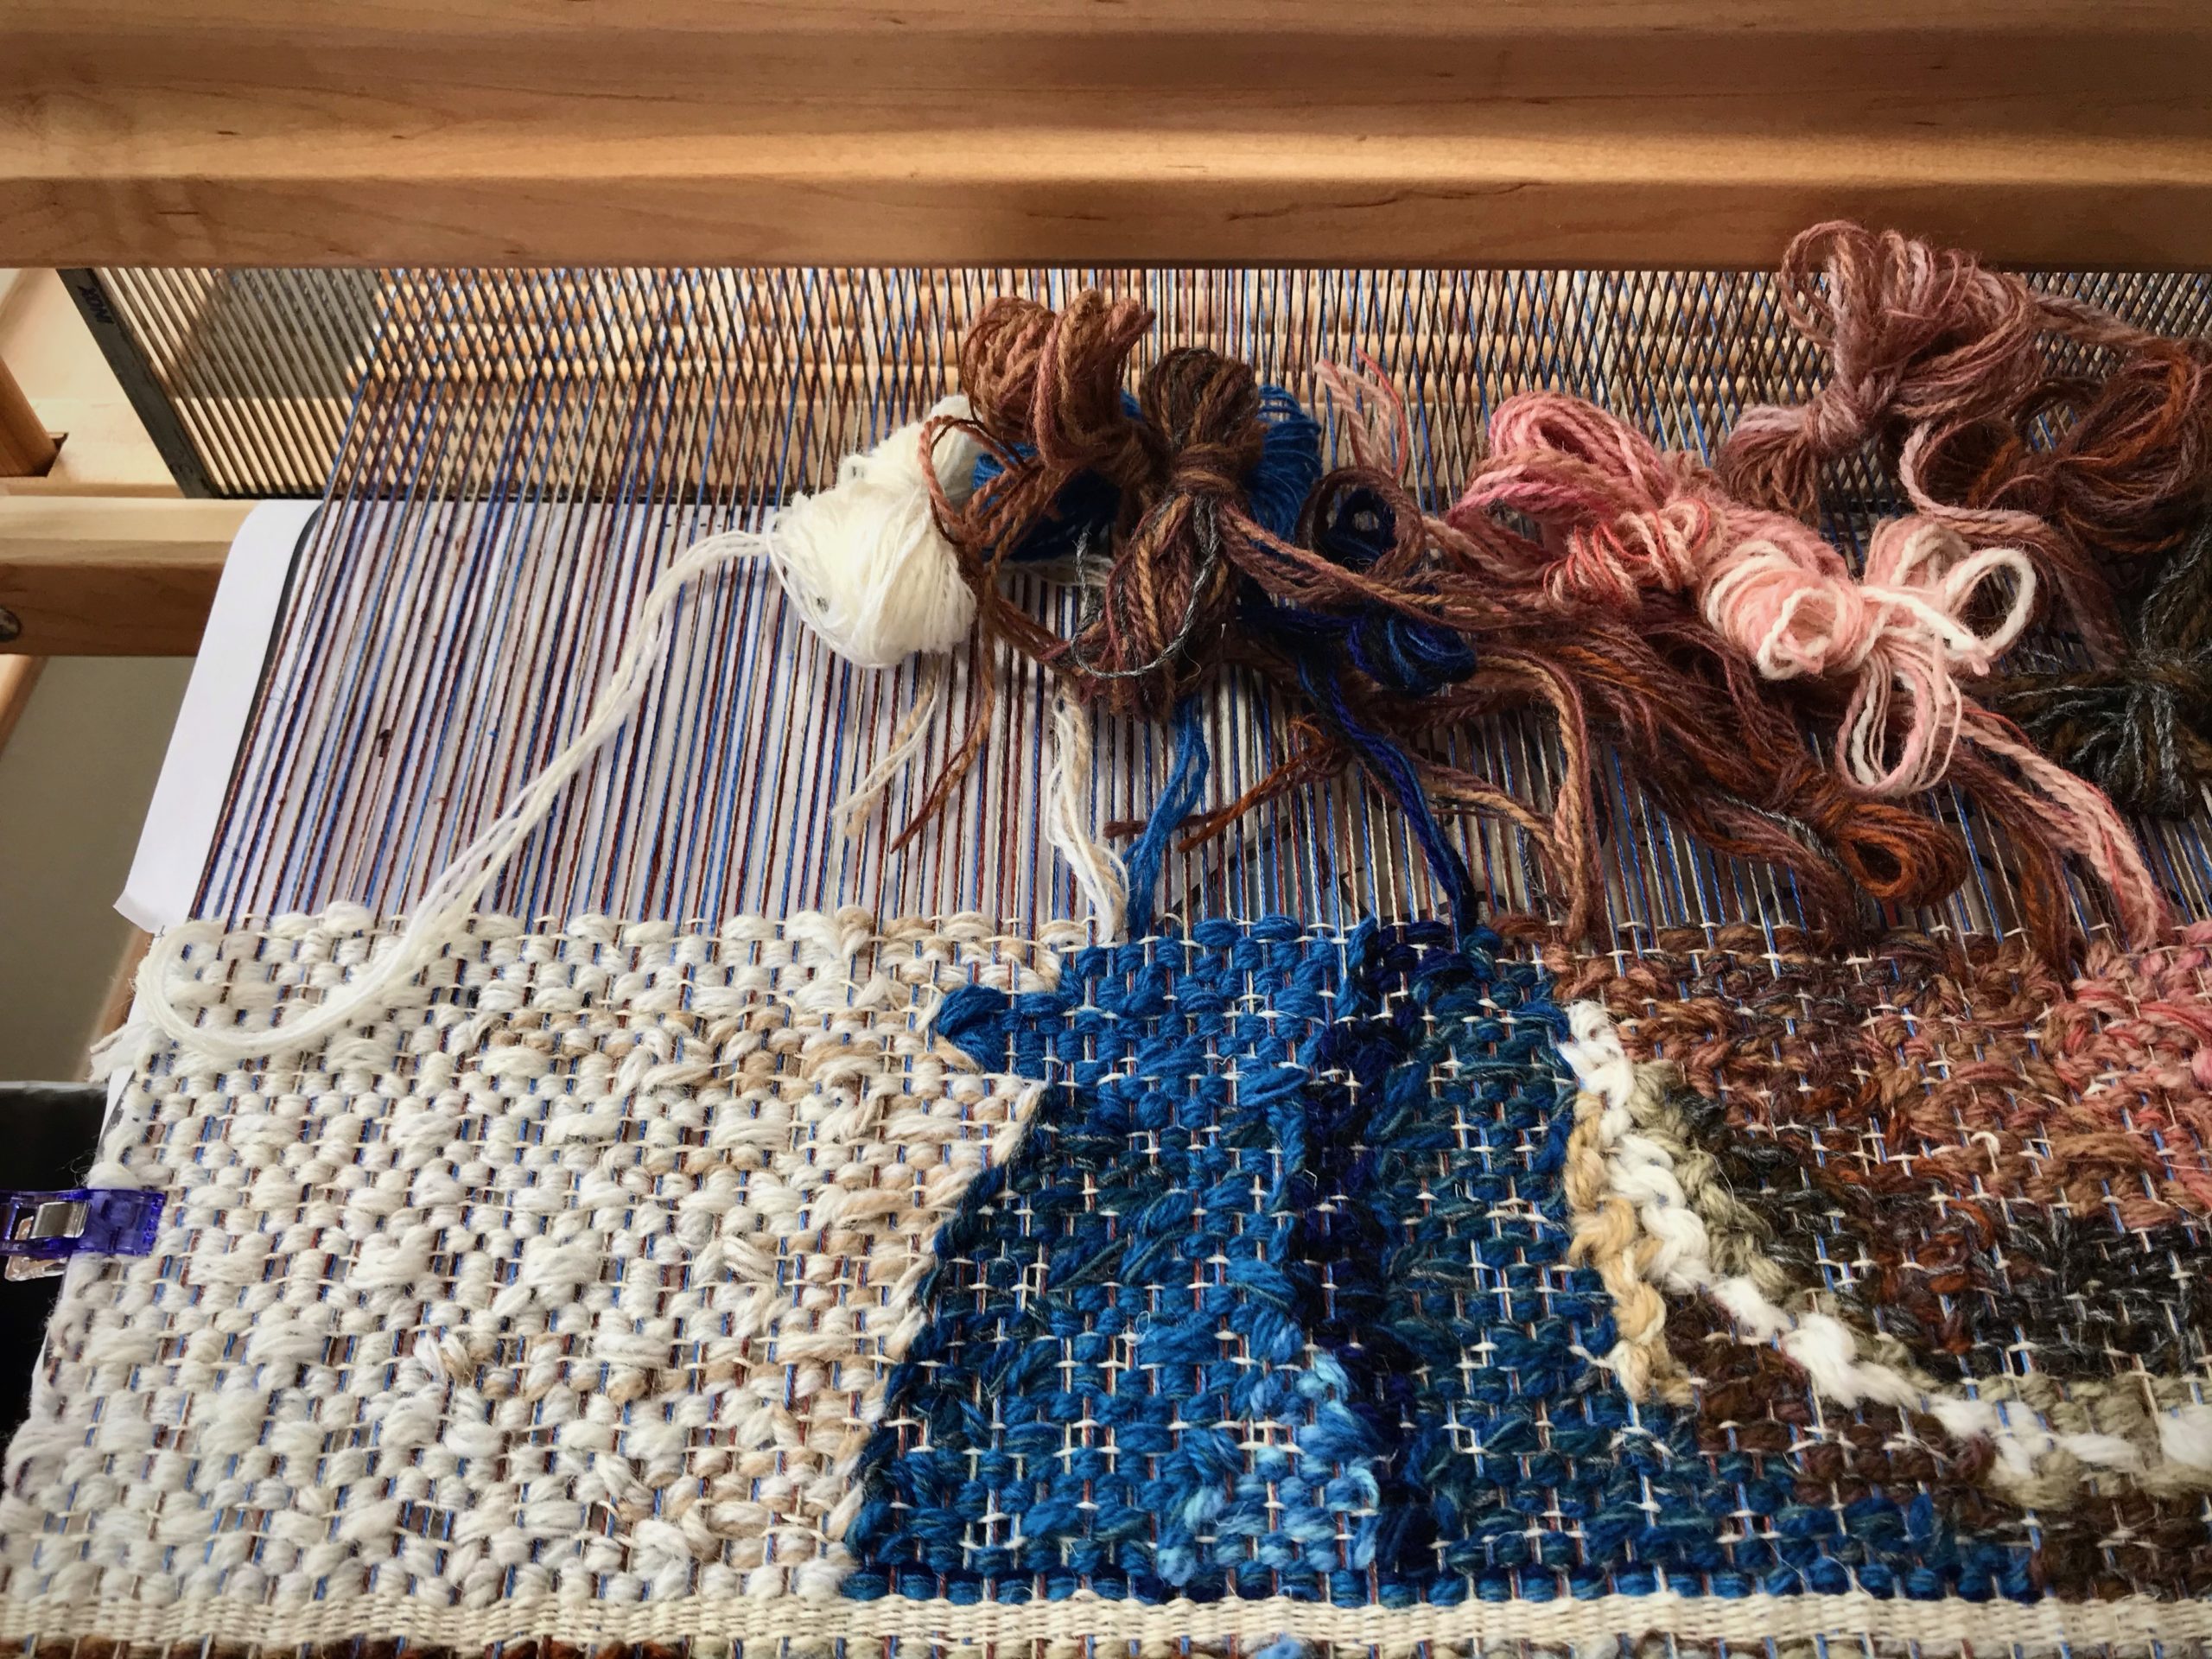
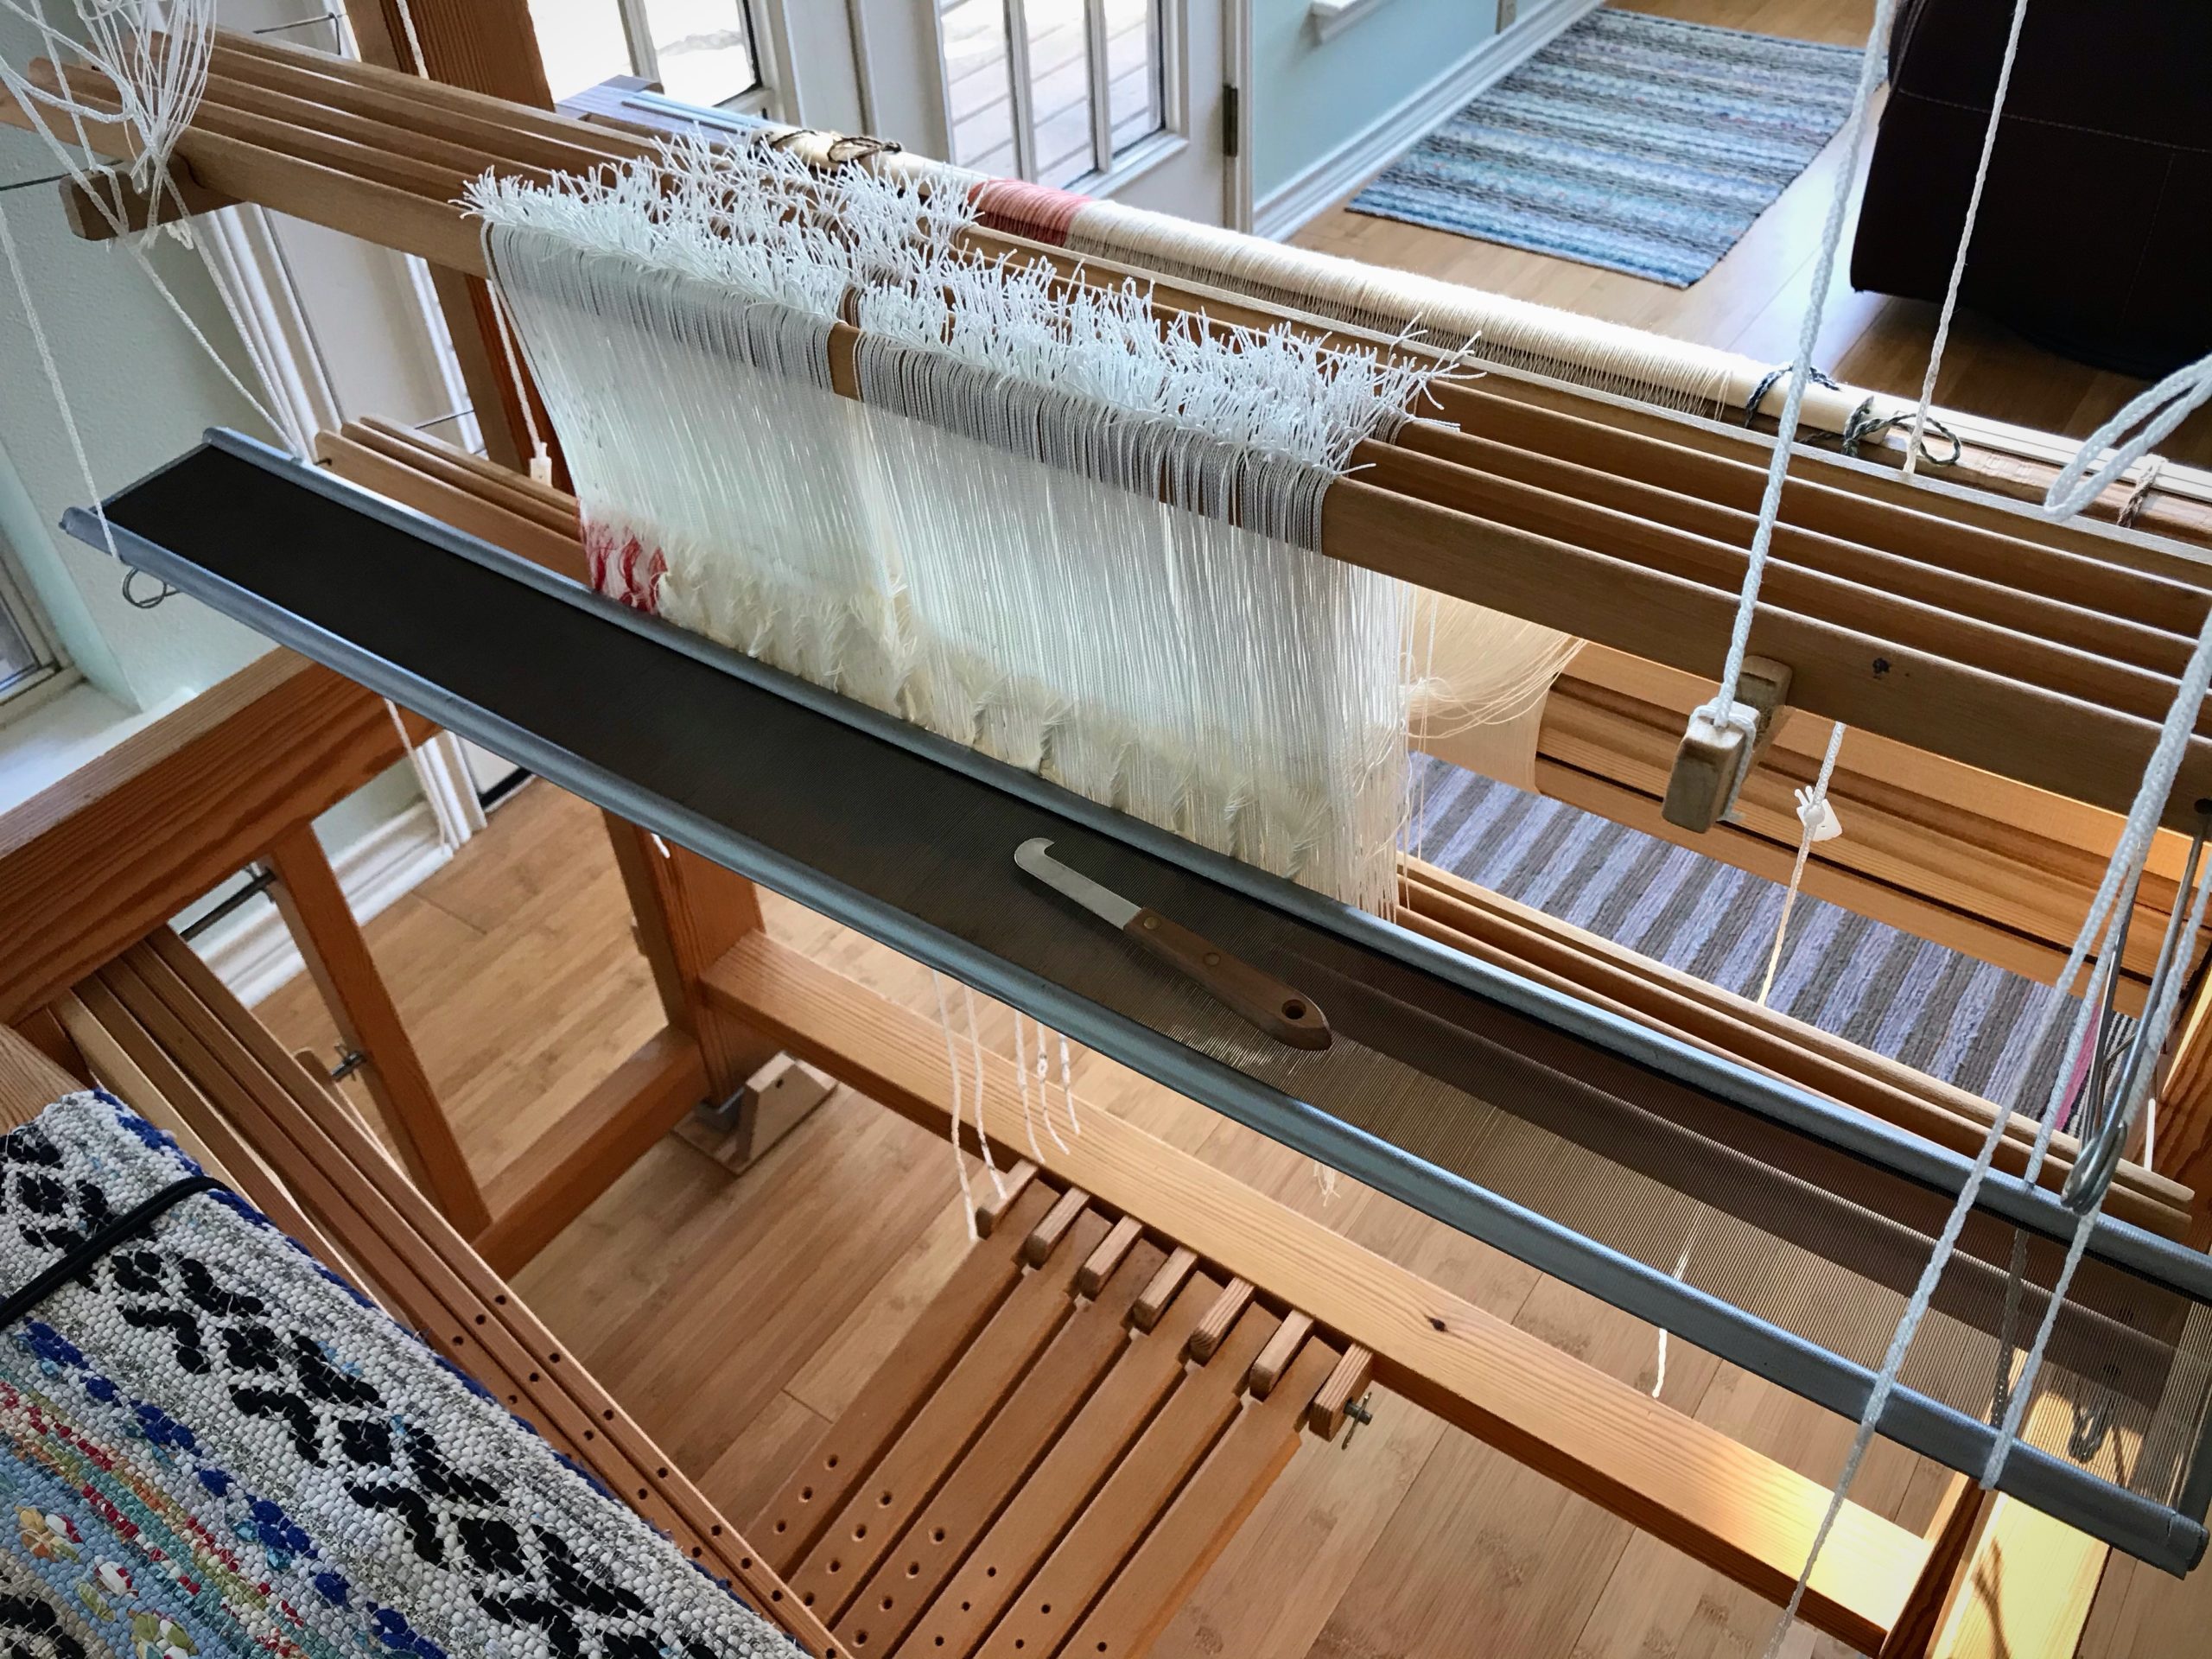
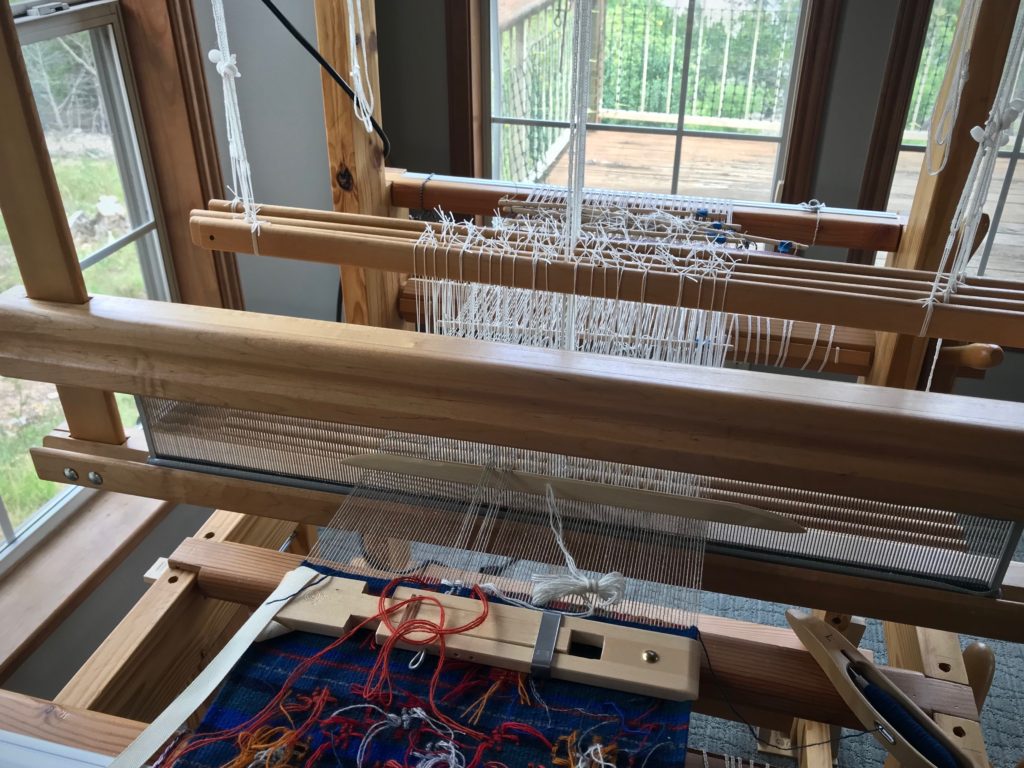
Weaving a four-shaft tapestry portrait.
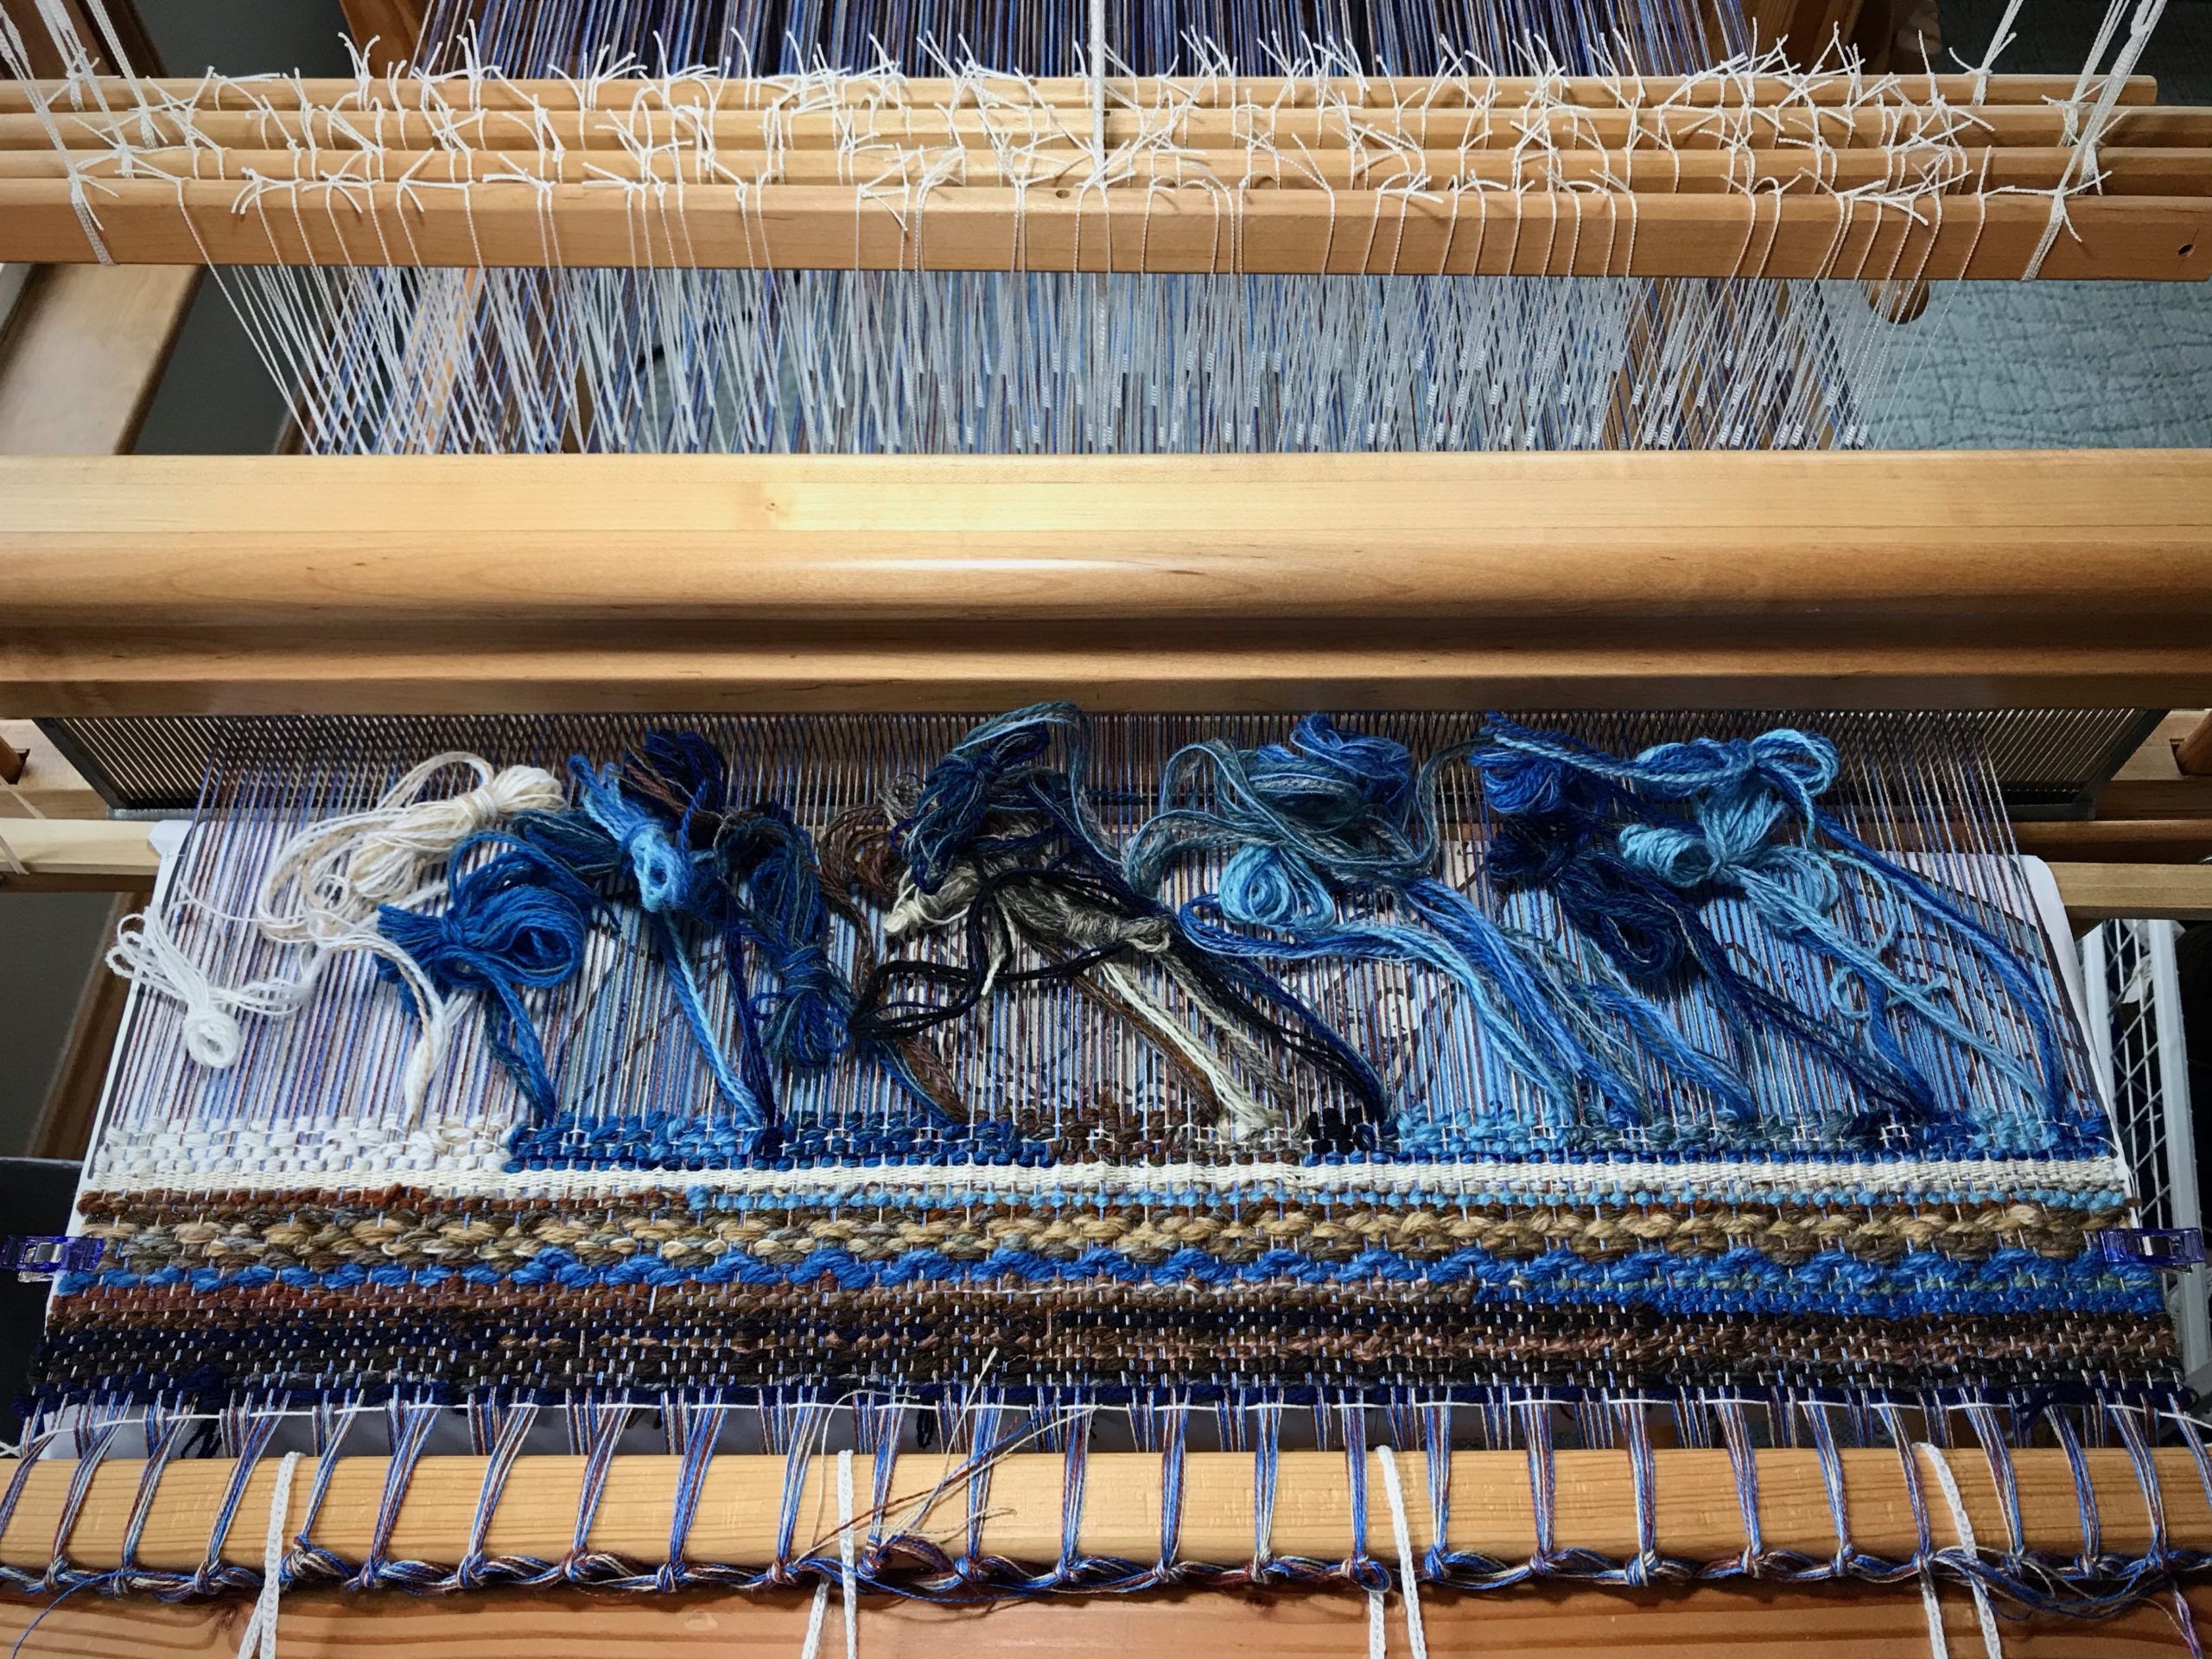
Take One, with golden bleached 6/1 tow linen weft threads interspersed.

Undoing a few weeks of tapestry weaving is not physically hard to do, but making the decision to undo it is hard, indeed. Since then, I have been weaving every day to get back to the point where I stopped everything. This time, I am using a different color tow linen that will make all the difference.
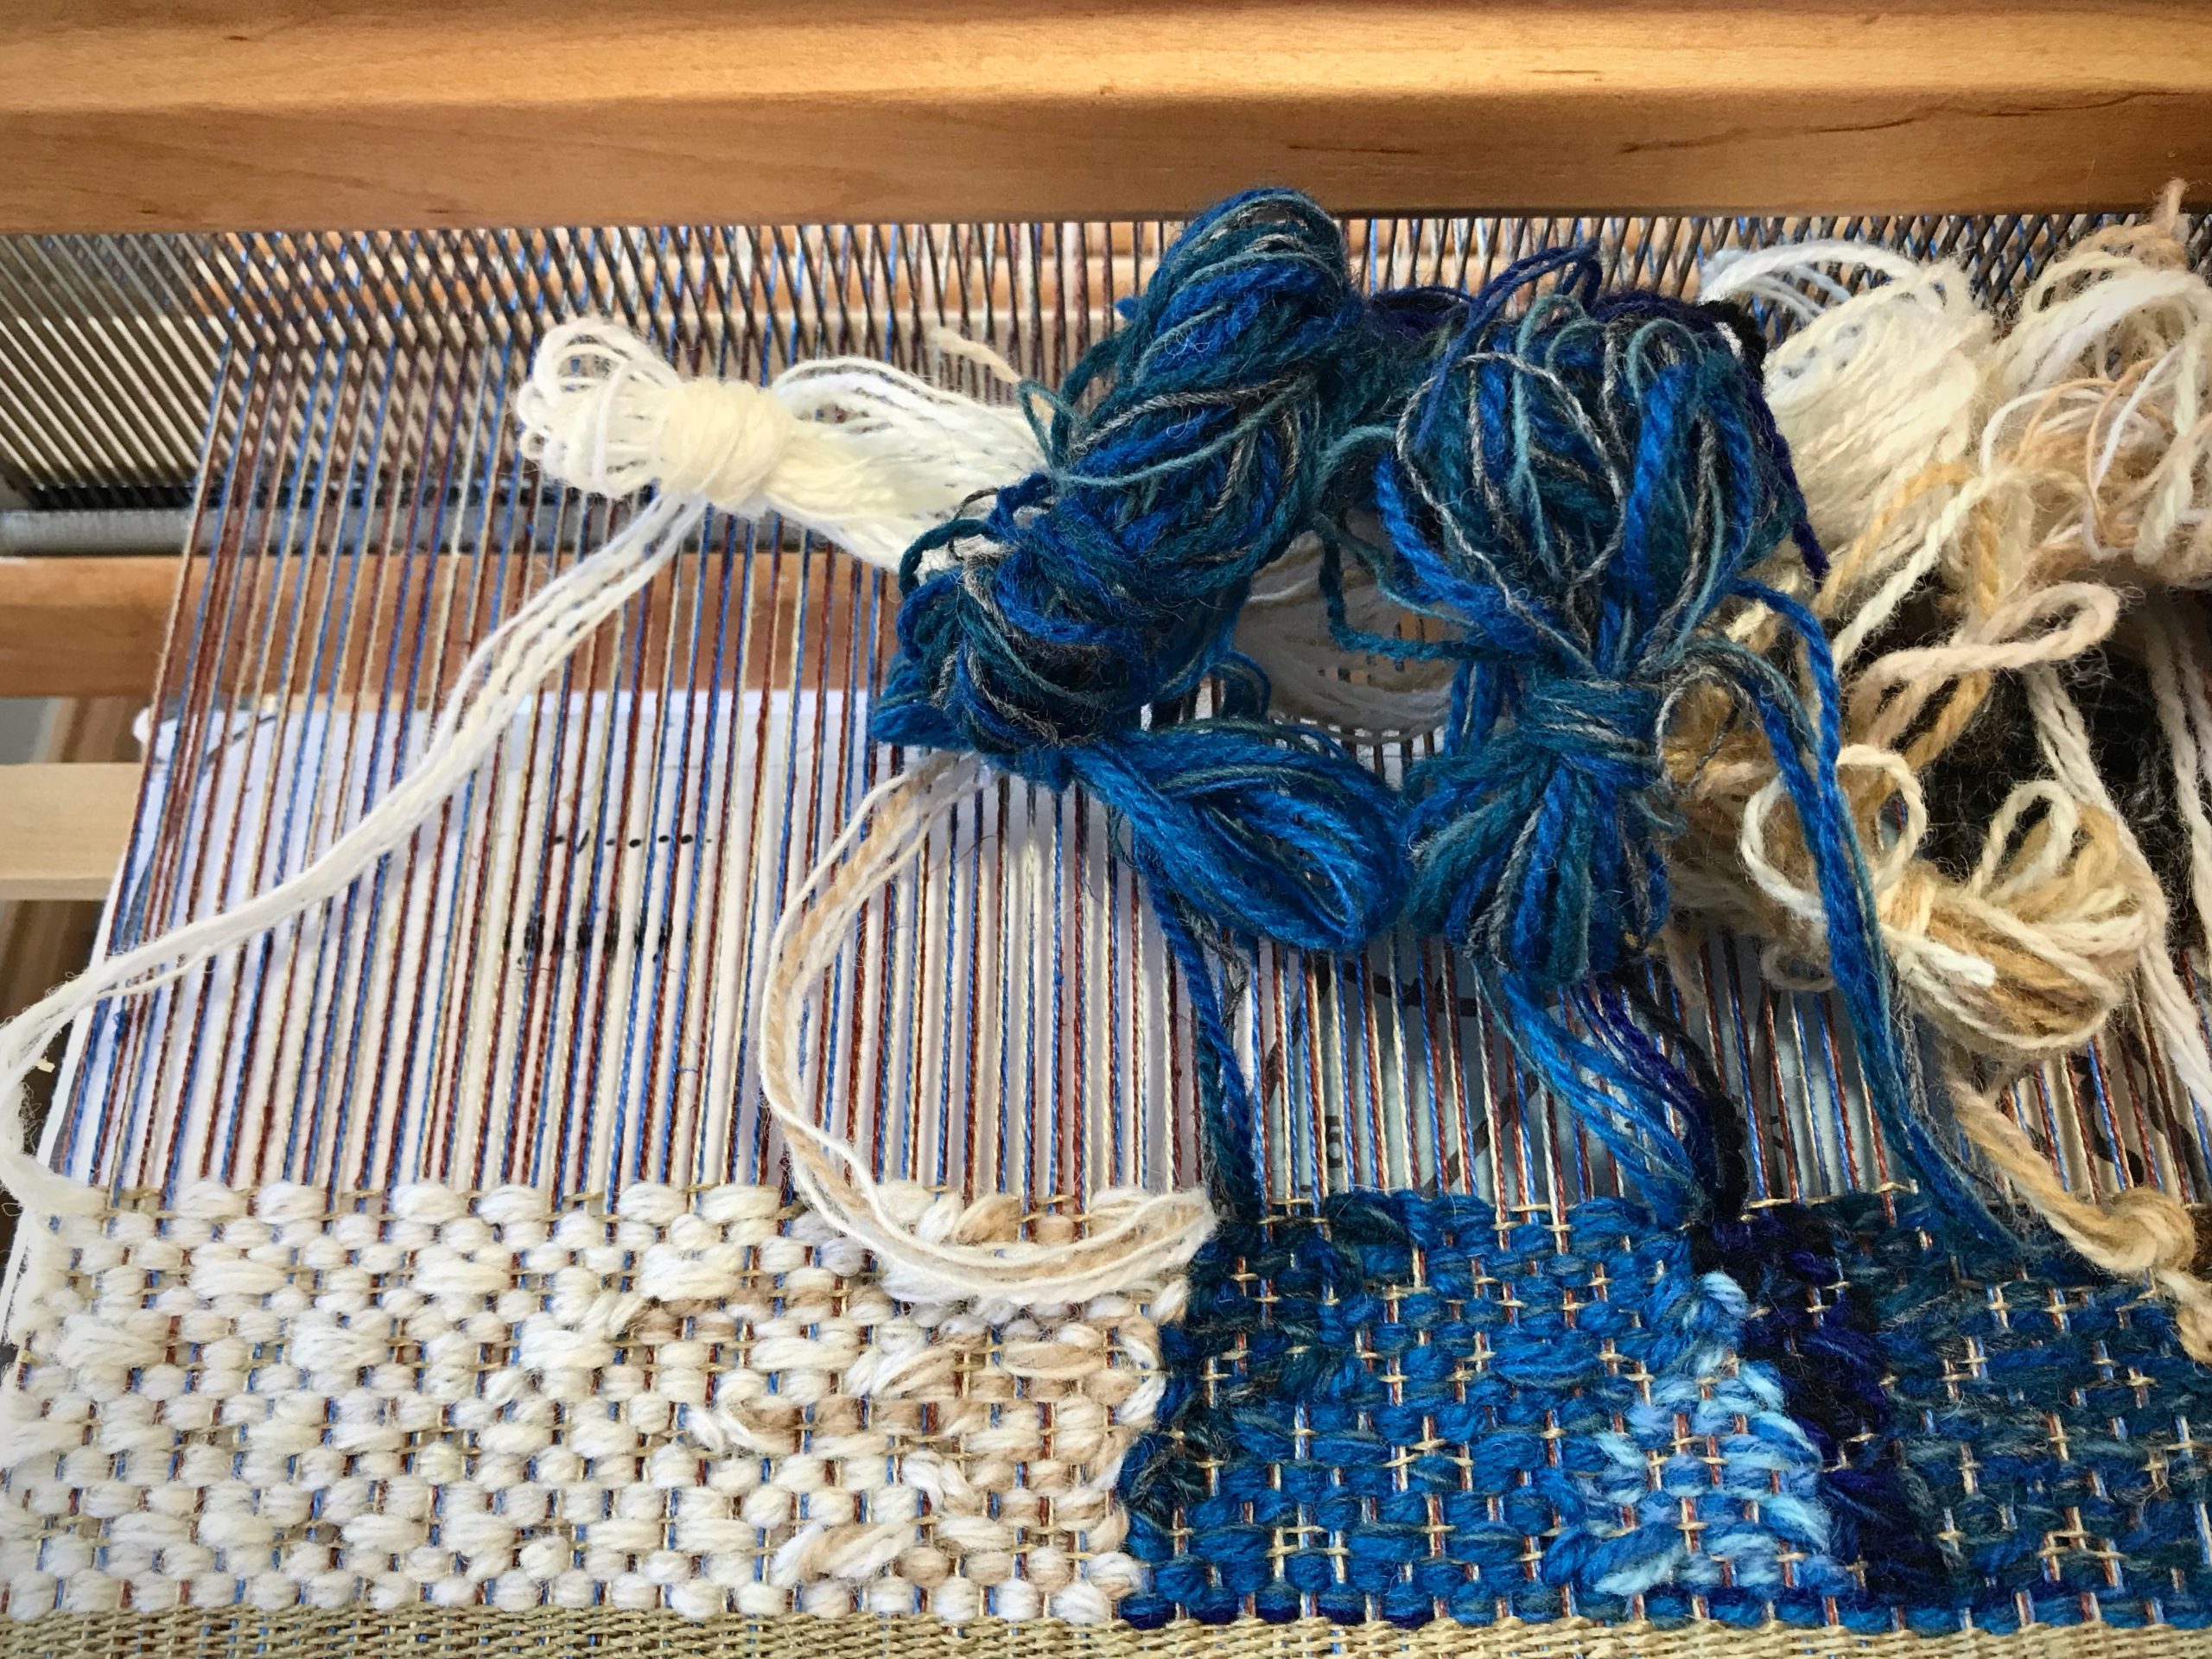
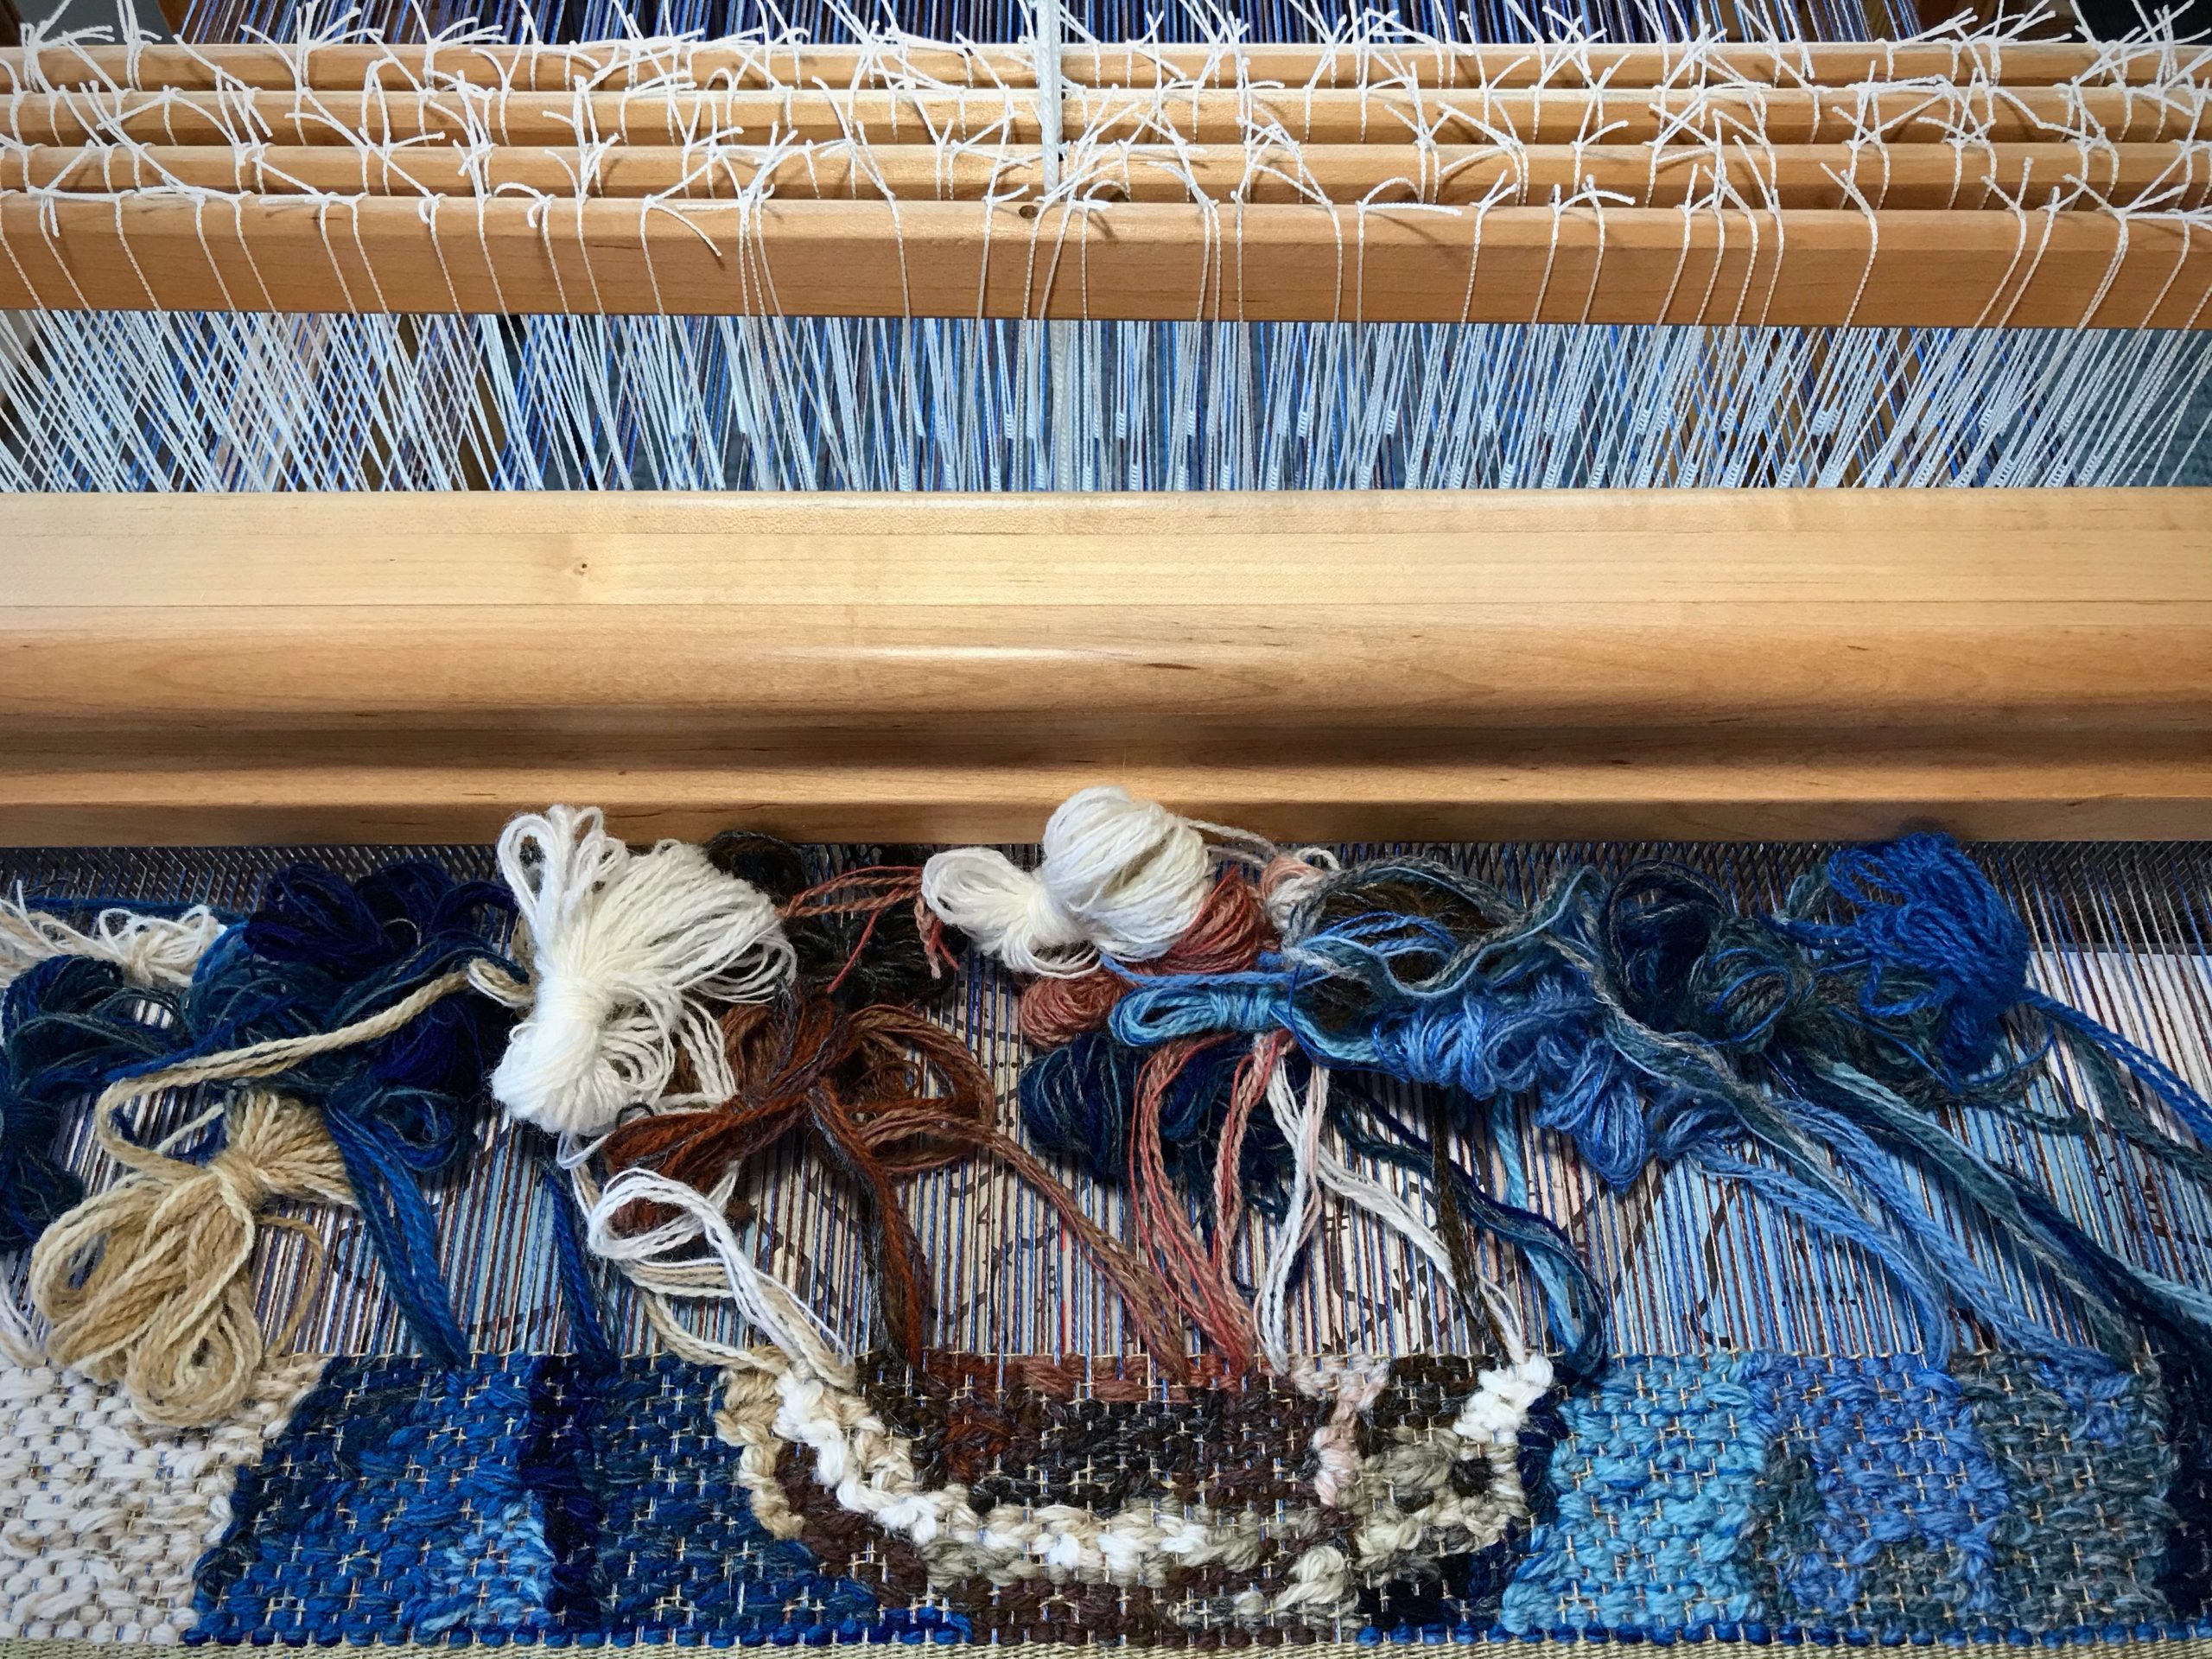
Wool butterflies for a tapestry portrait.
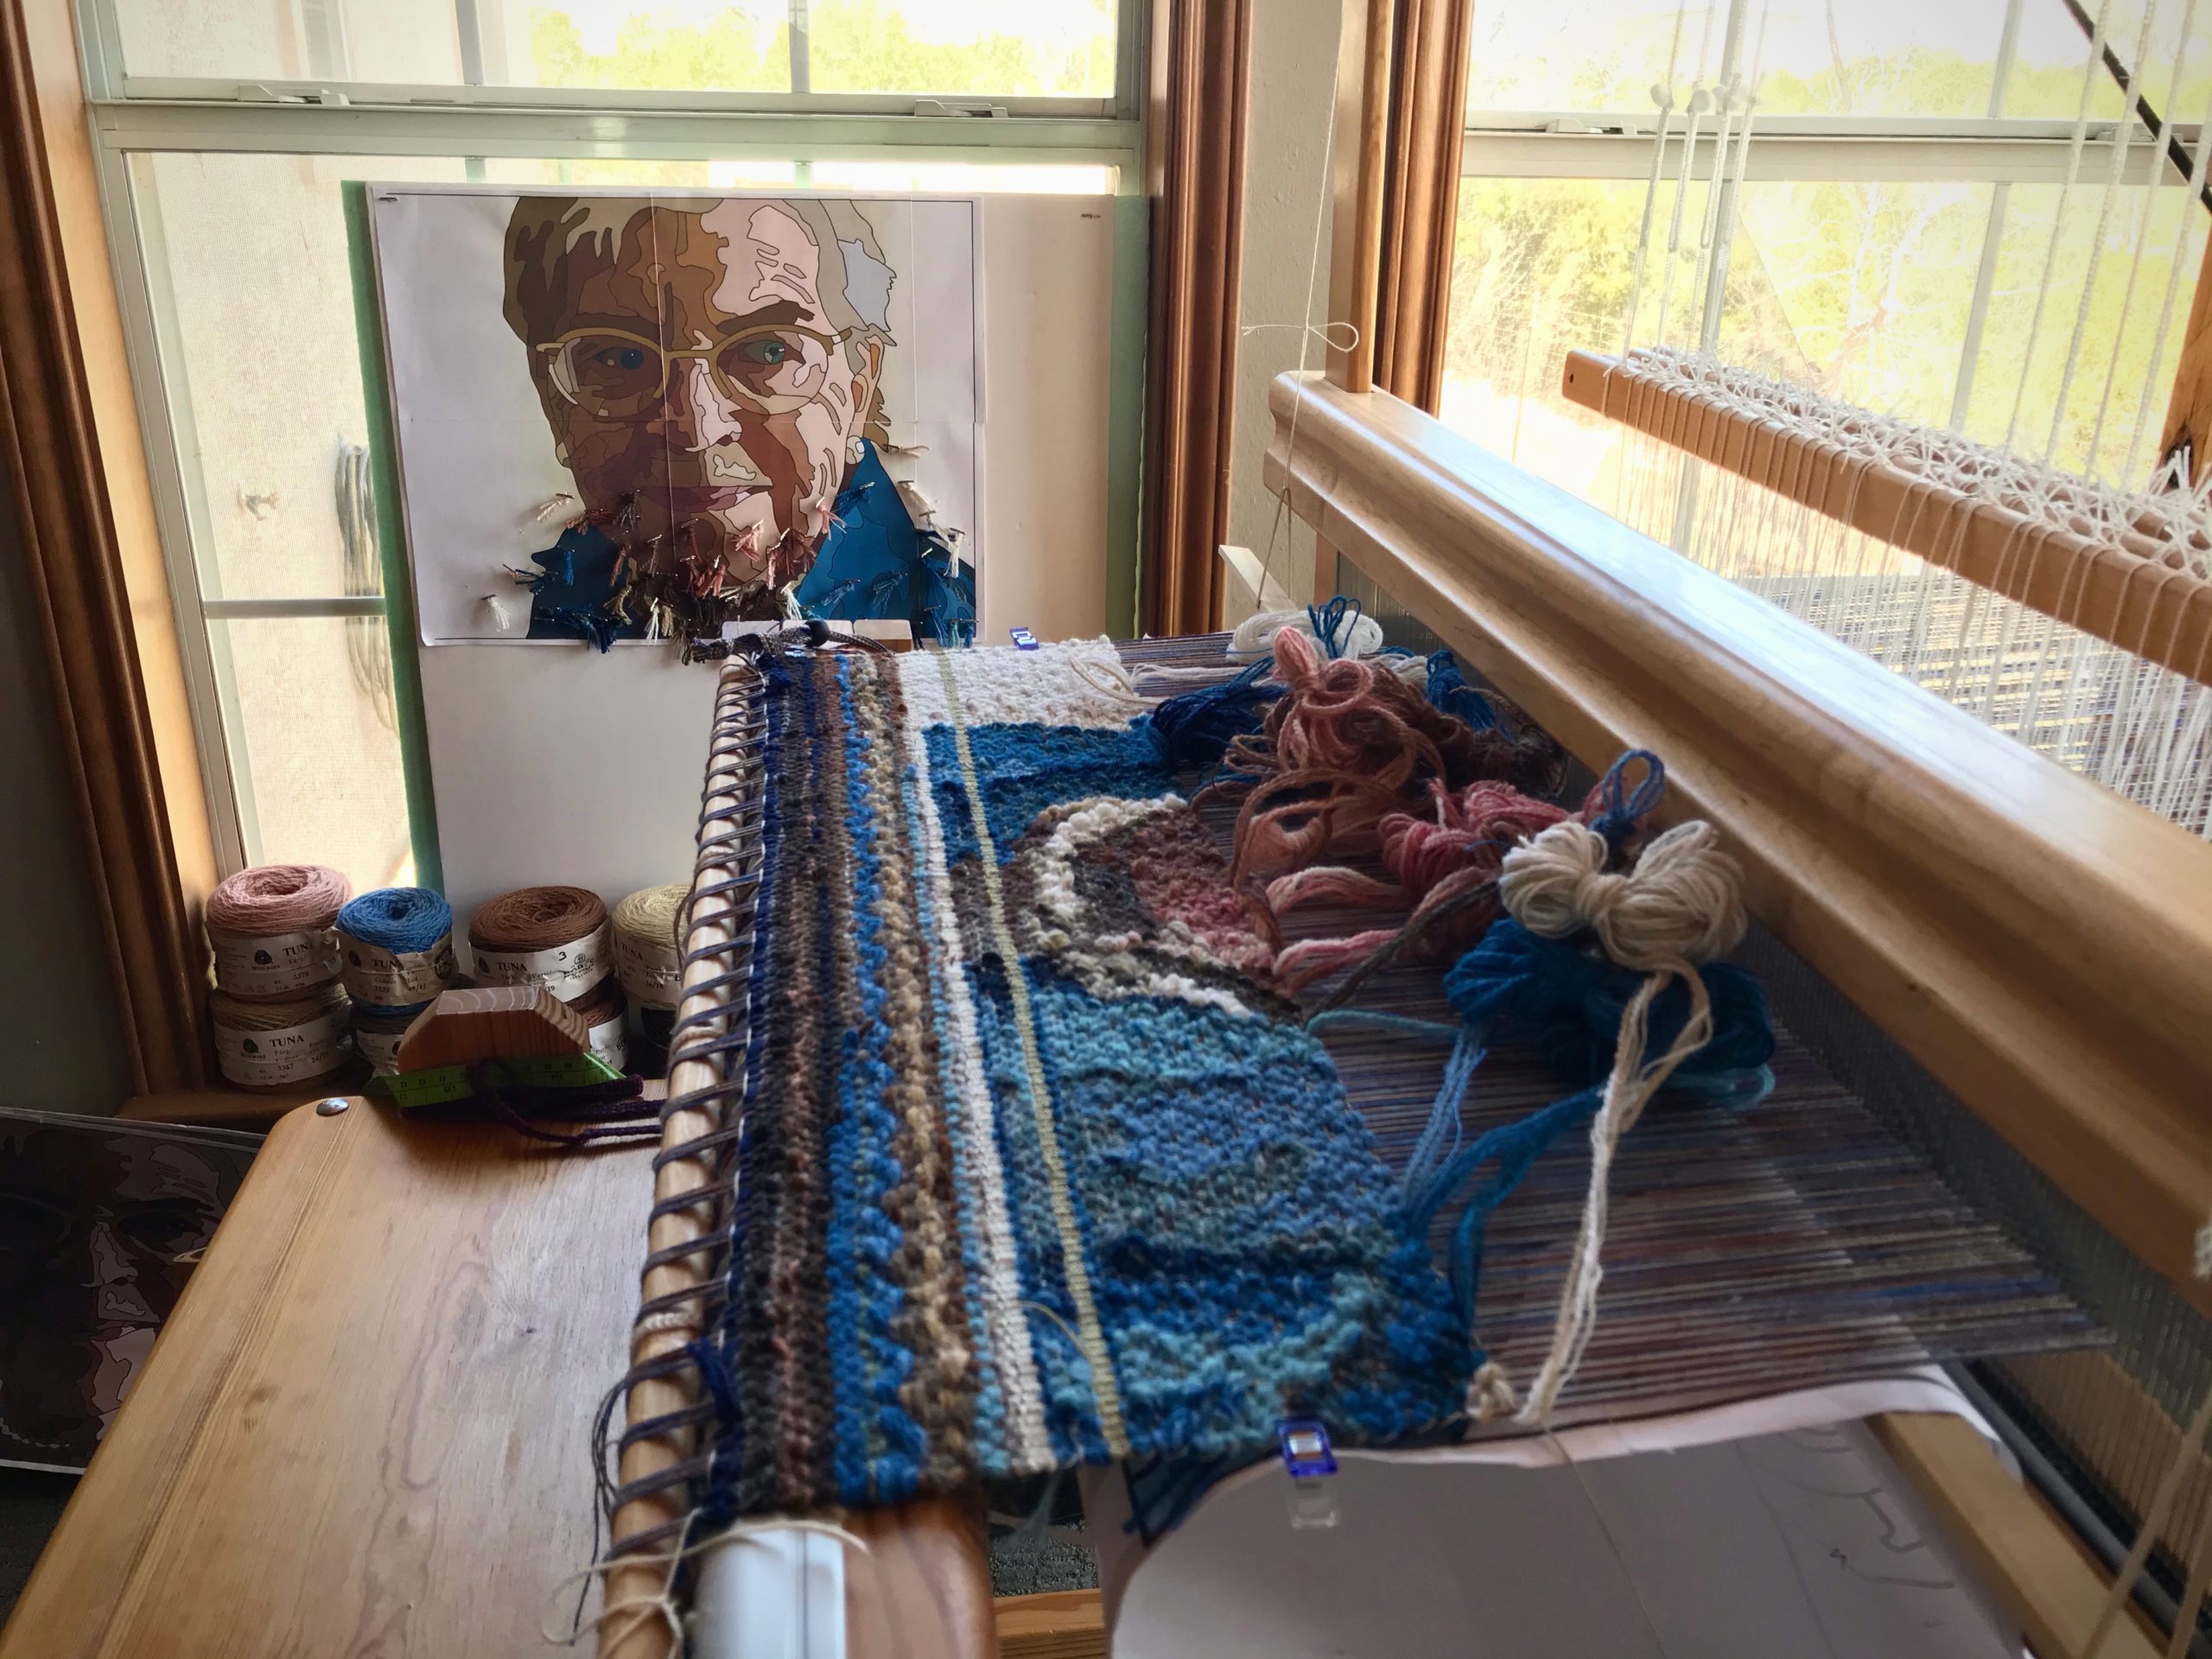
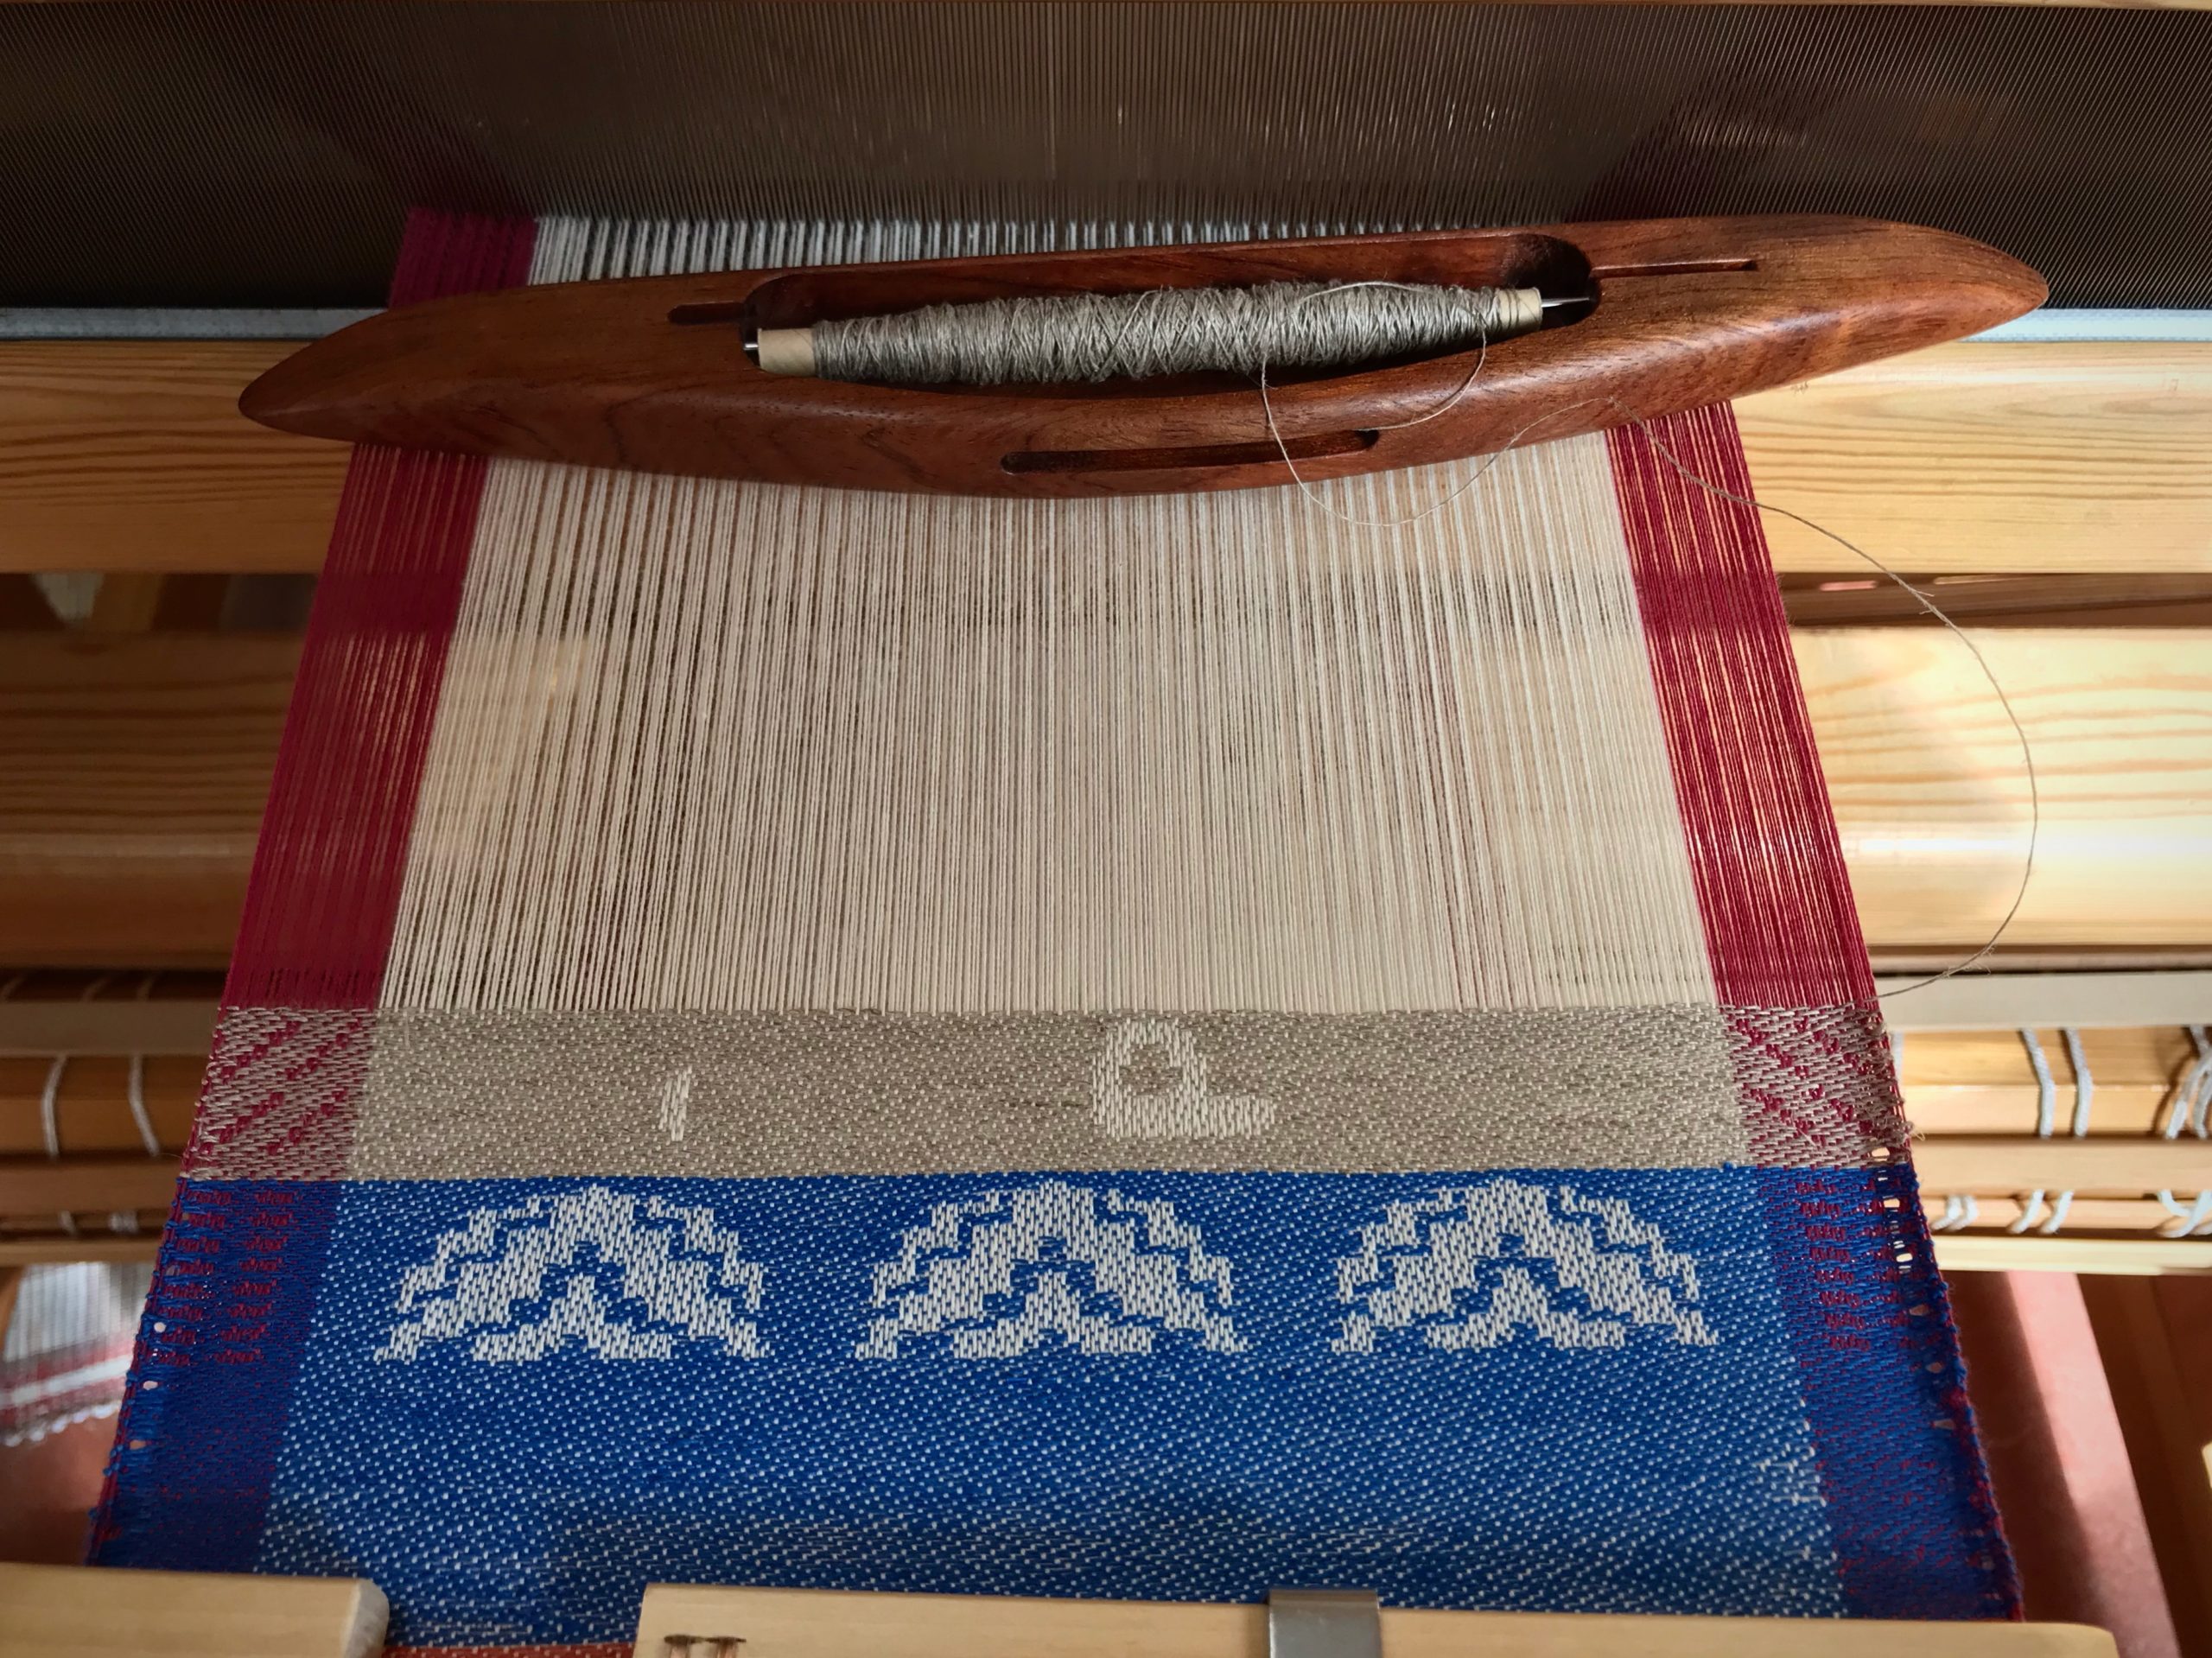
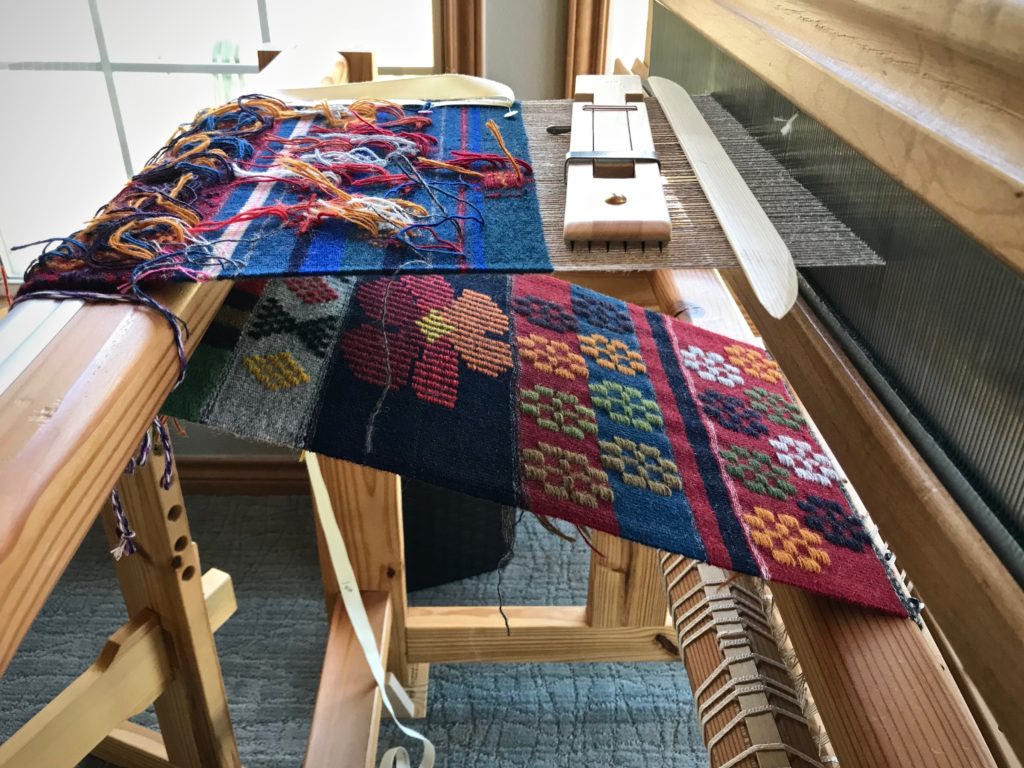
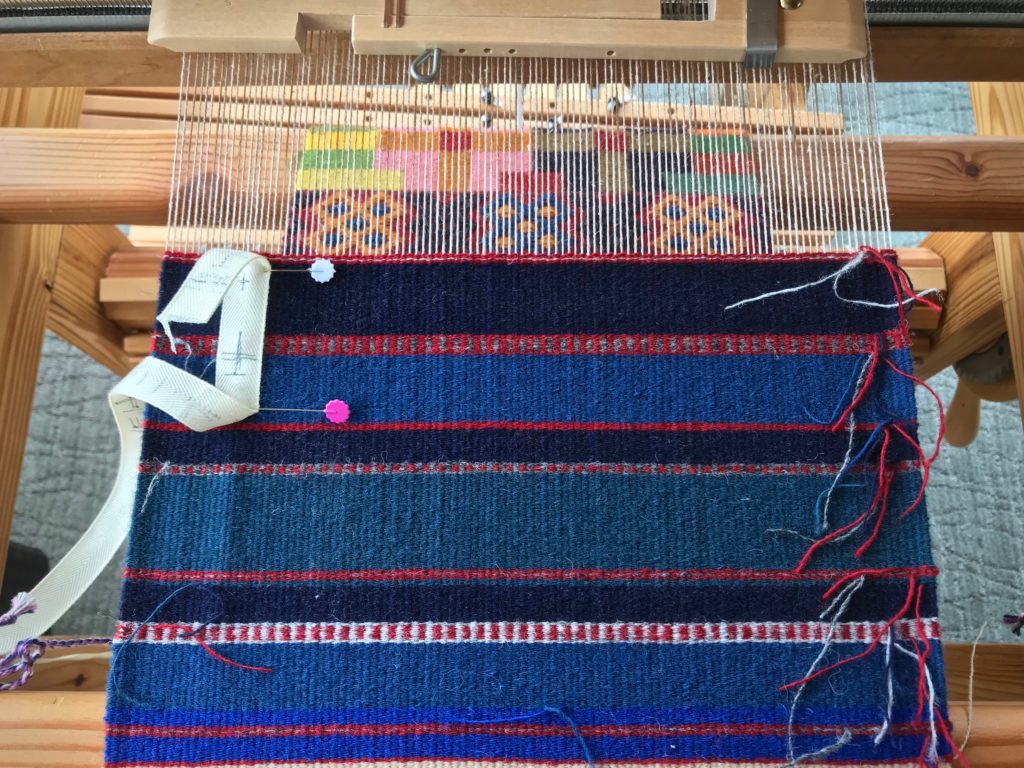
Take Two. Golden beige tow linen, as seen in the header rows, is interspersed in the weaving.
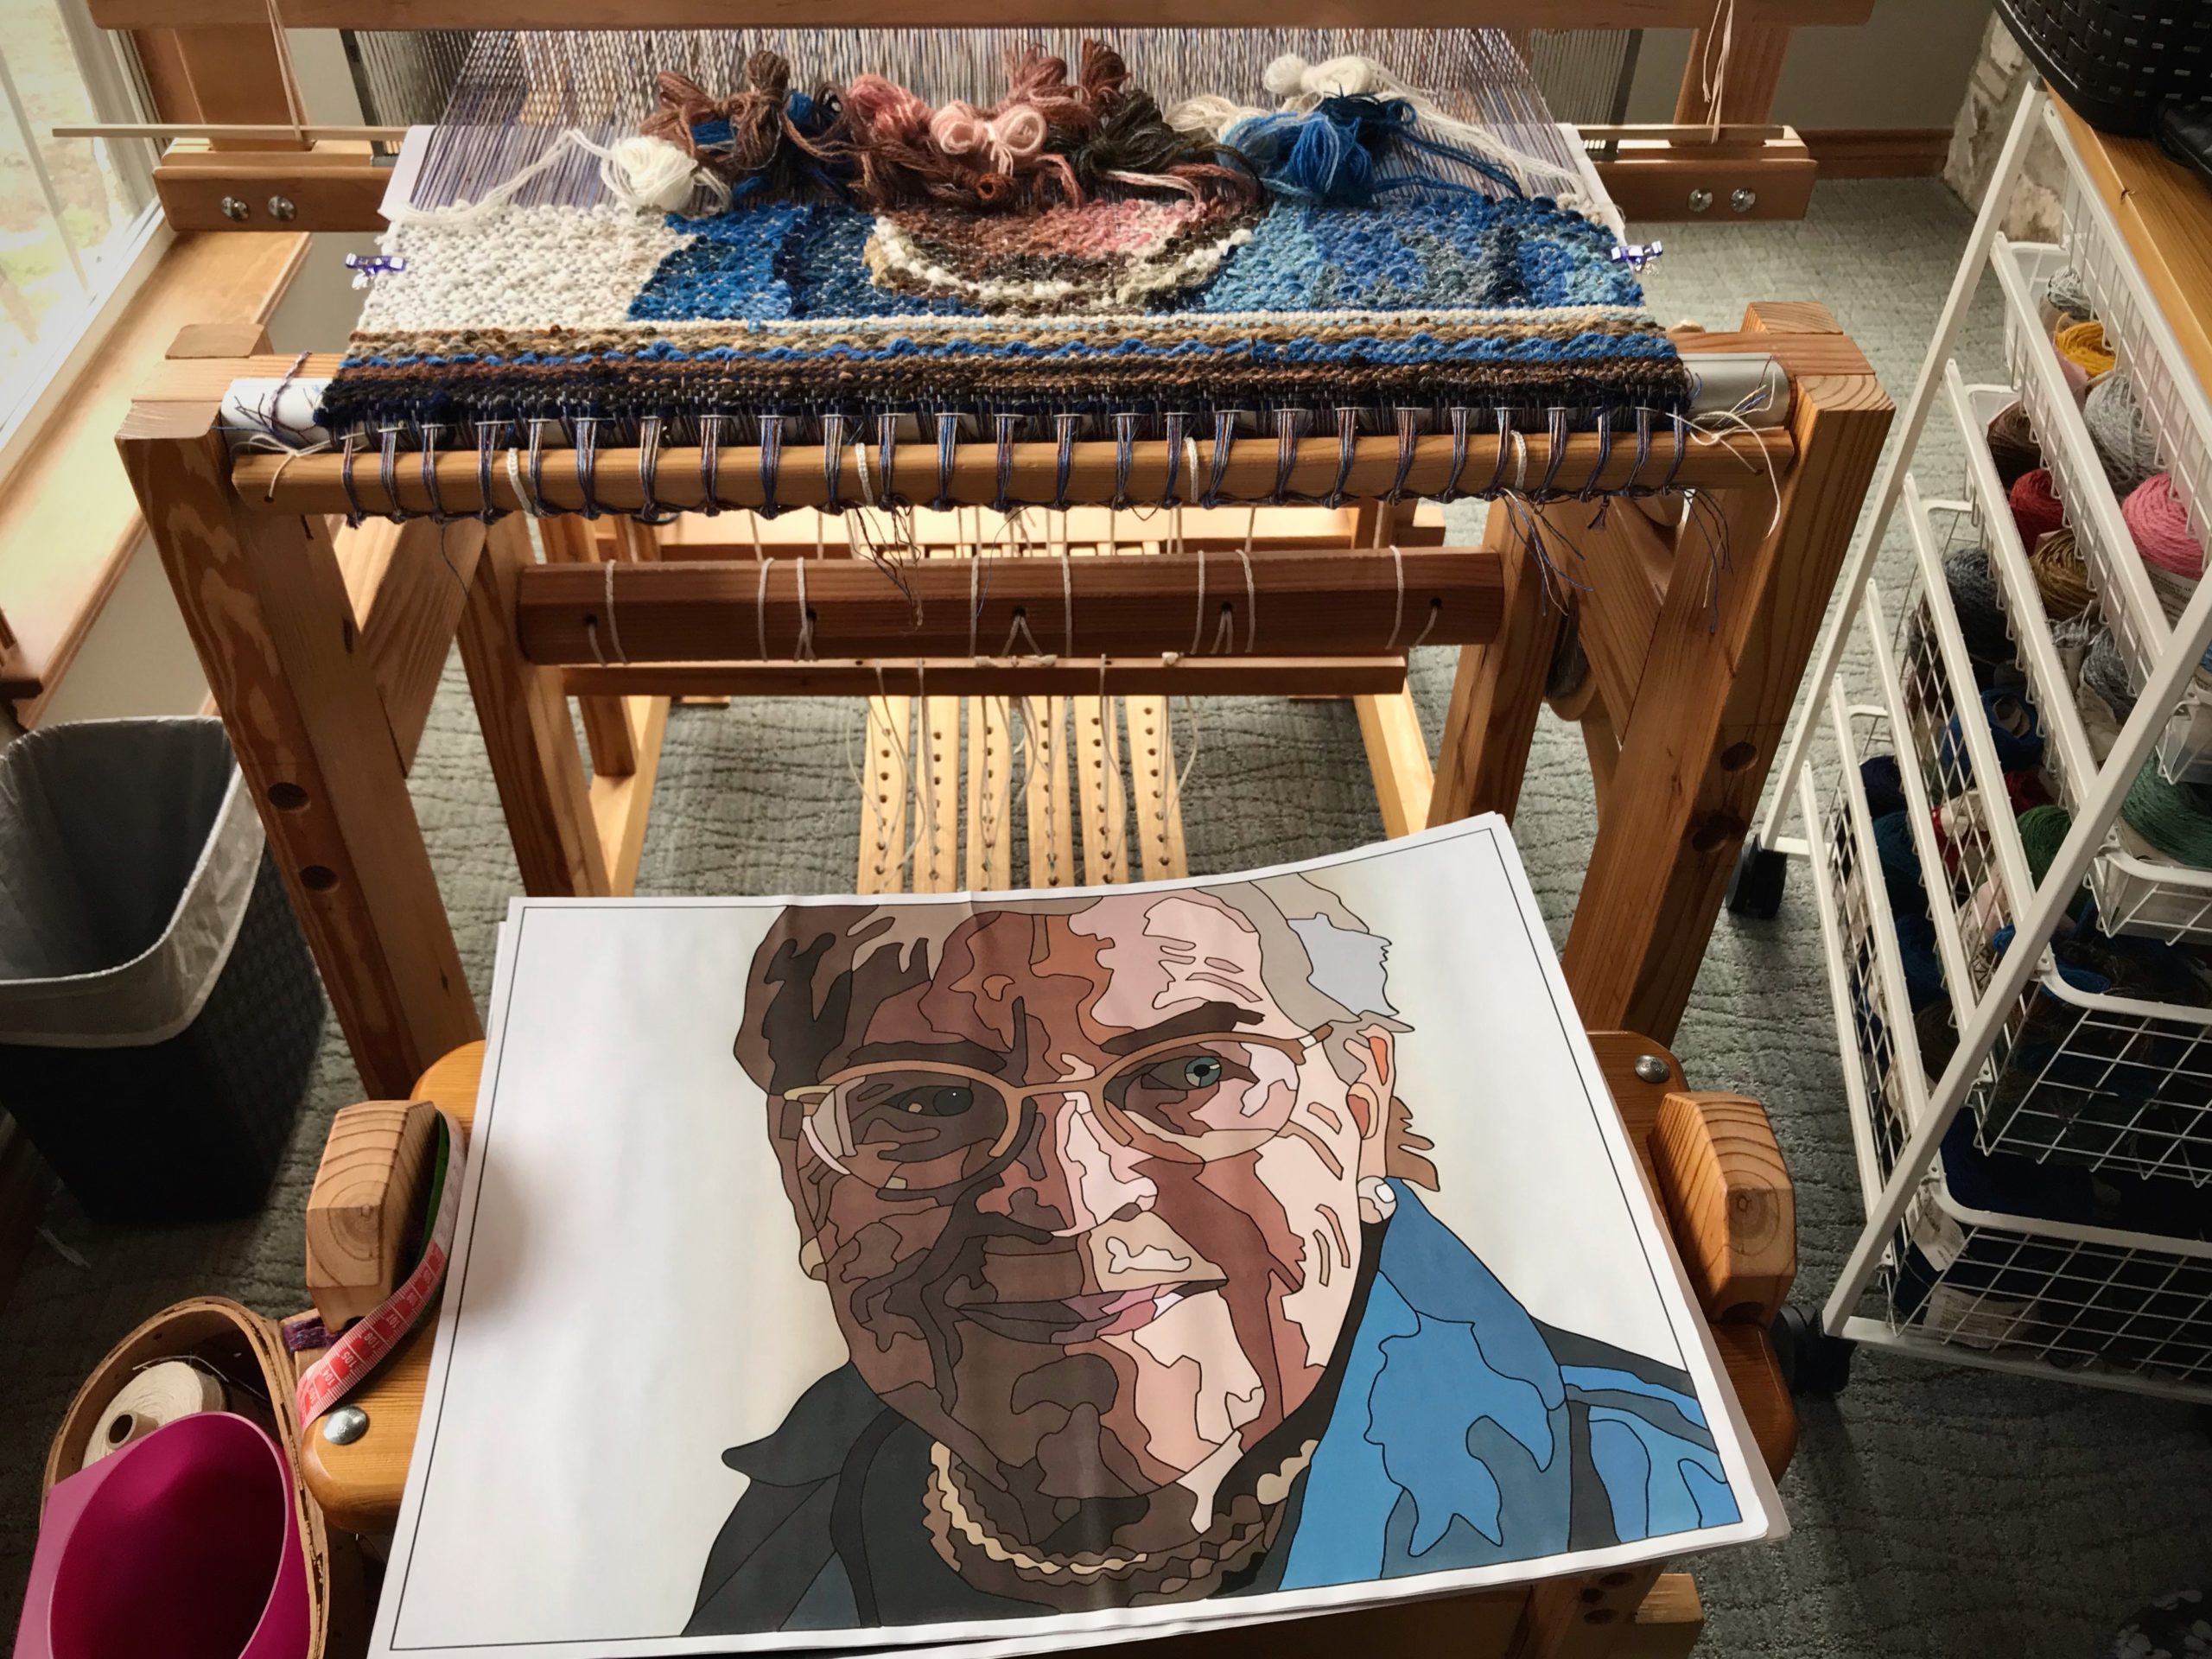
Tapestry portrait in progress.
I was able to save and reuse some of the wool butterflies from the first take.
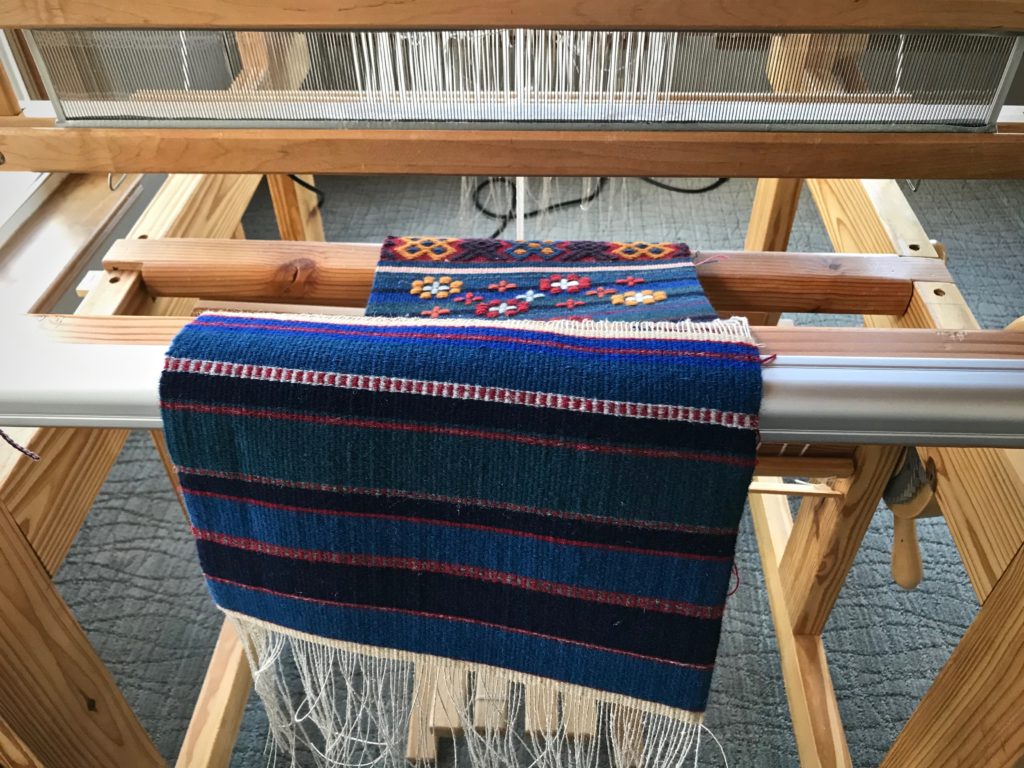
Tapestry portrait of my mother.
Almost back to where I stopped. Besides changing the linen weft color, weaving a second time allowed me to make other improvements to the tapestry, as well.
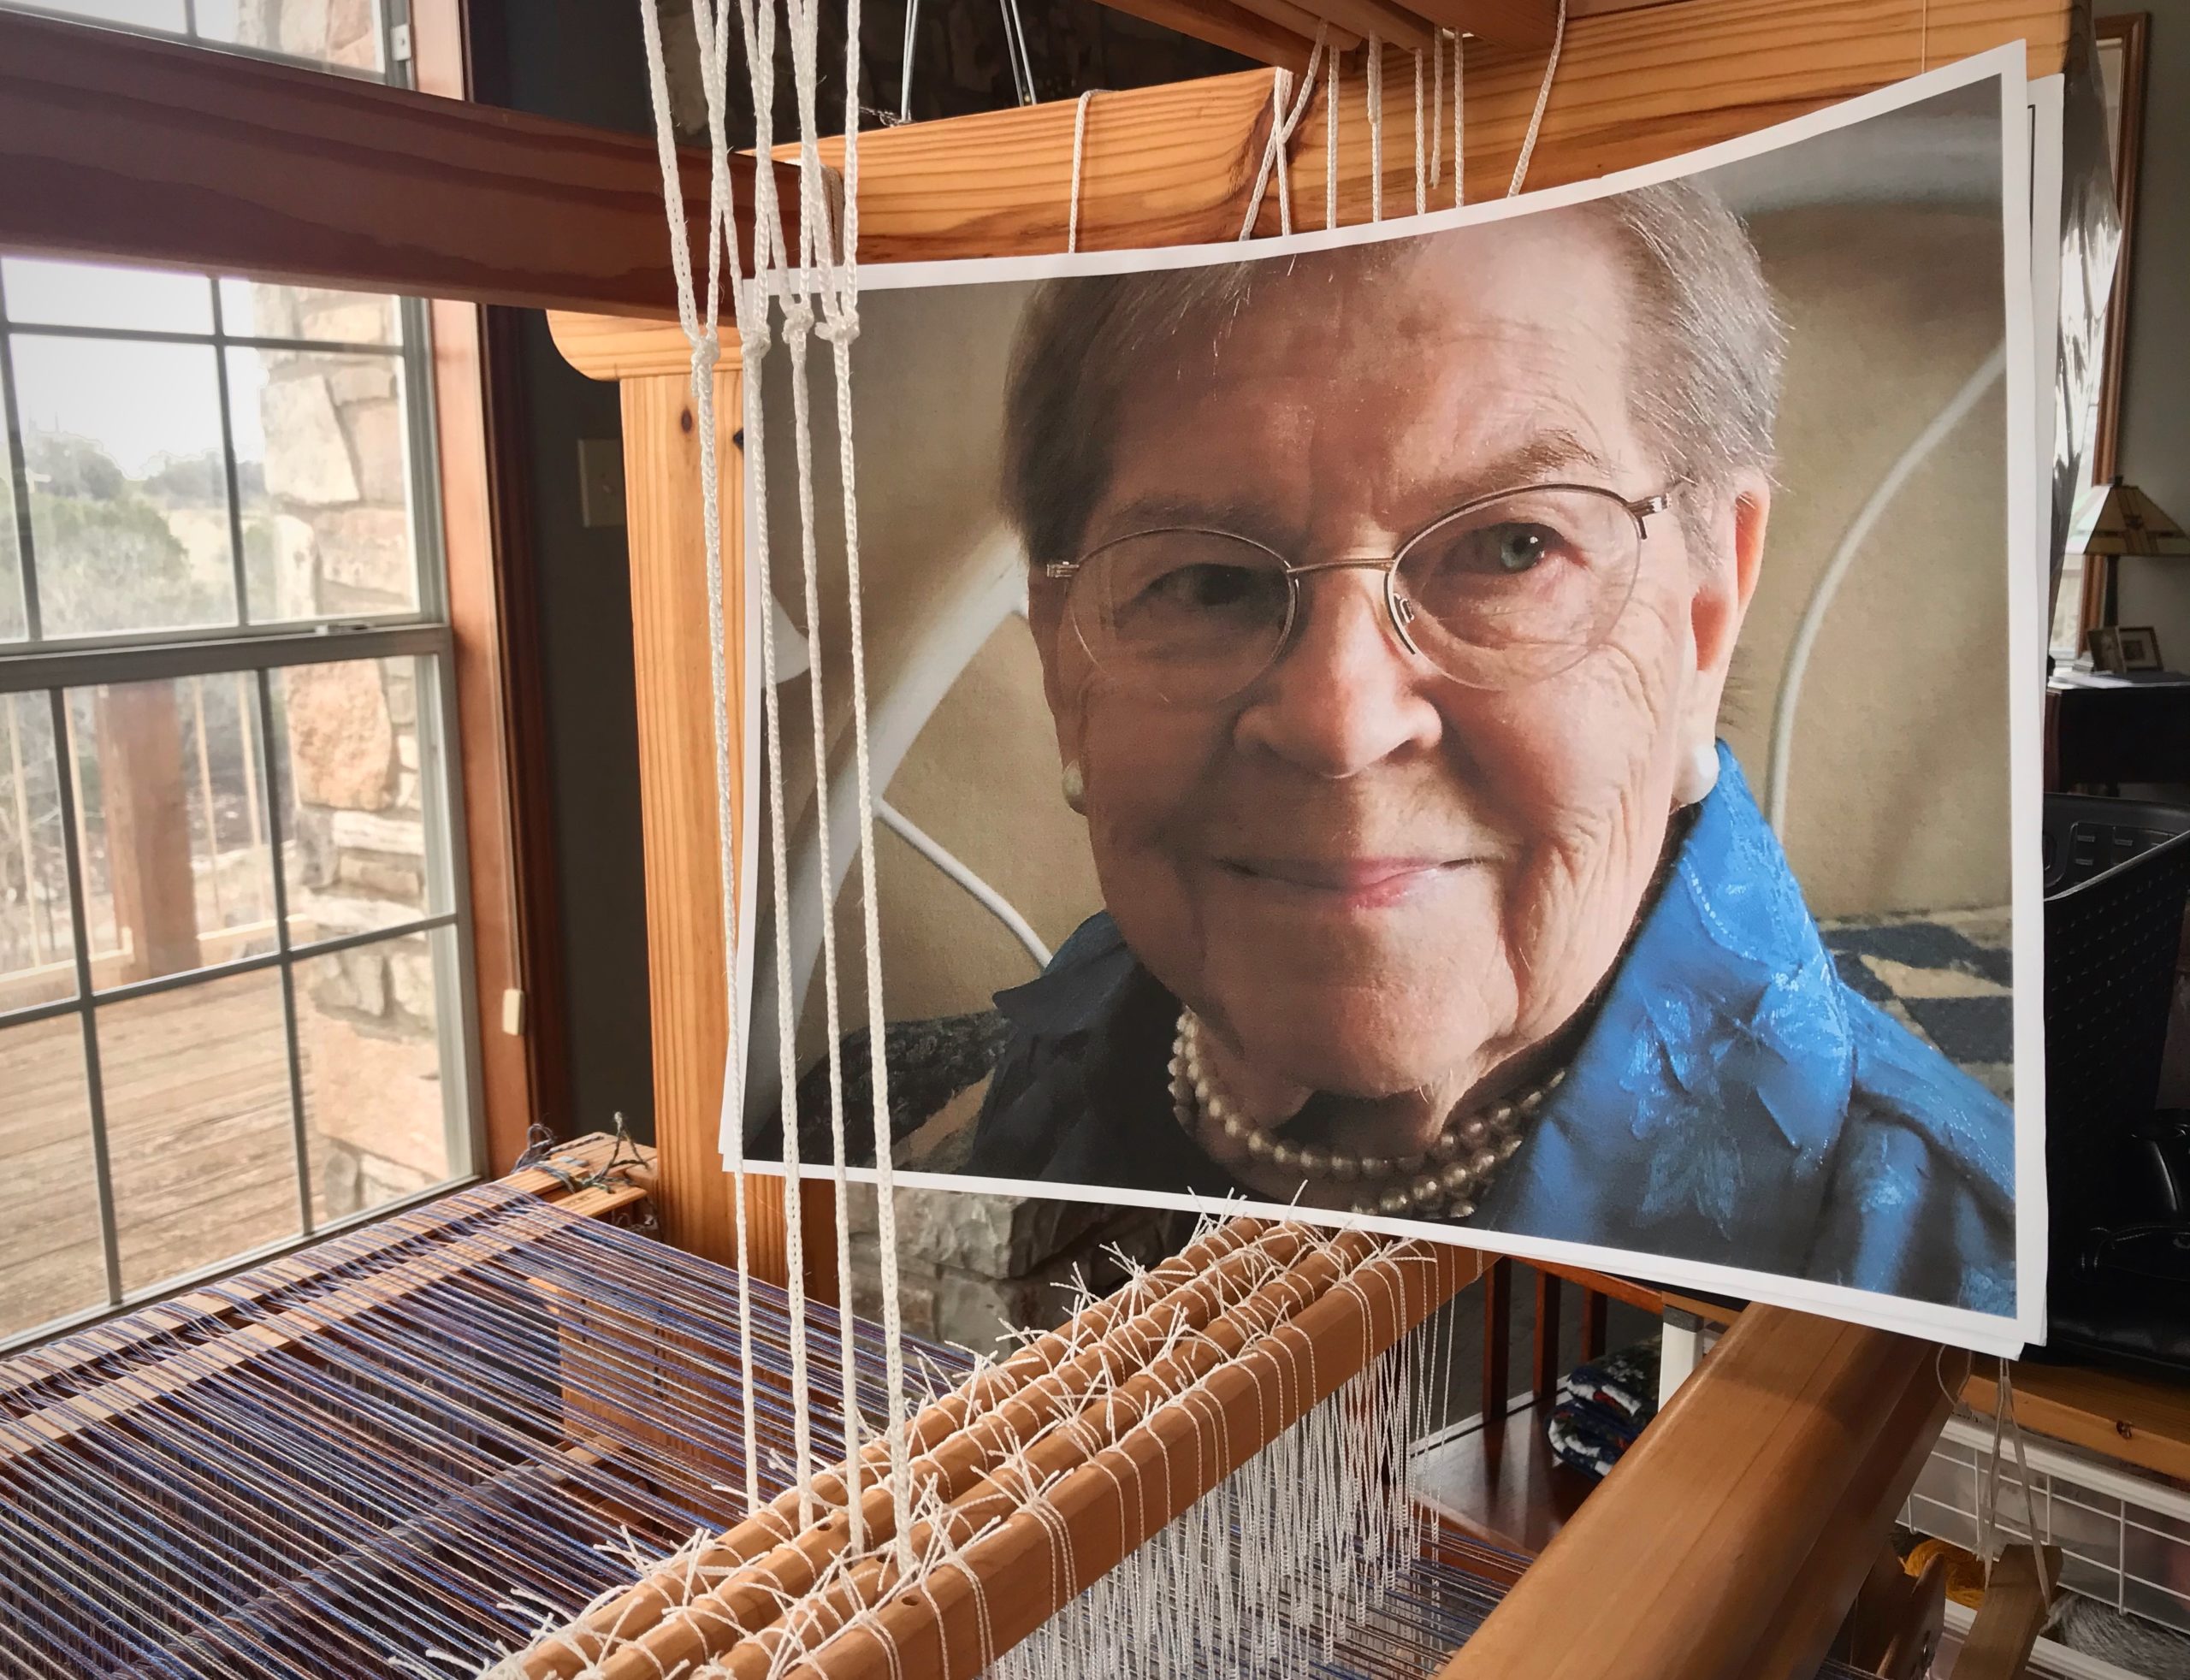
Is that a look of approval?
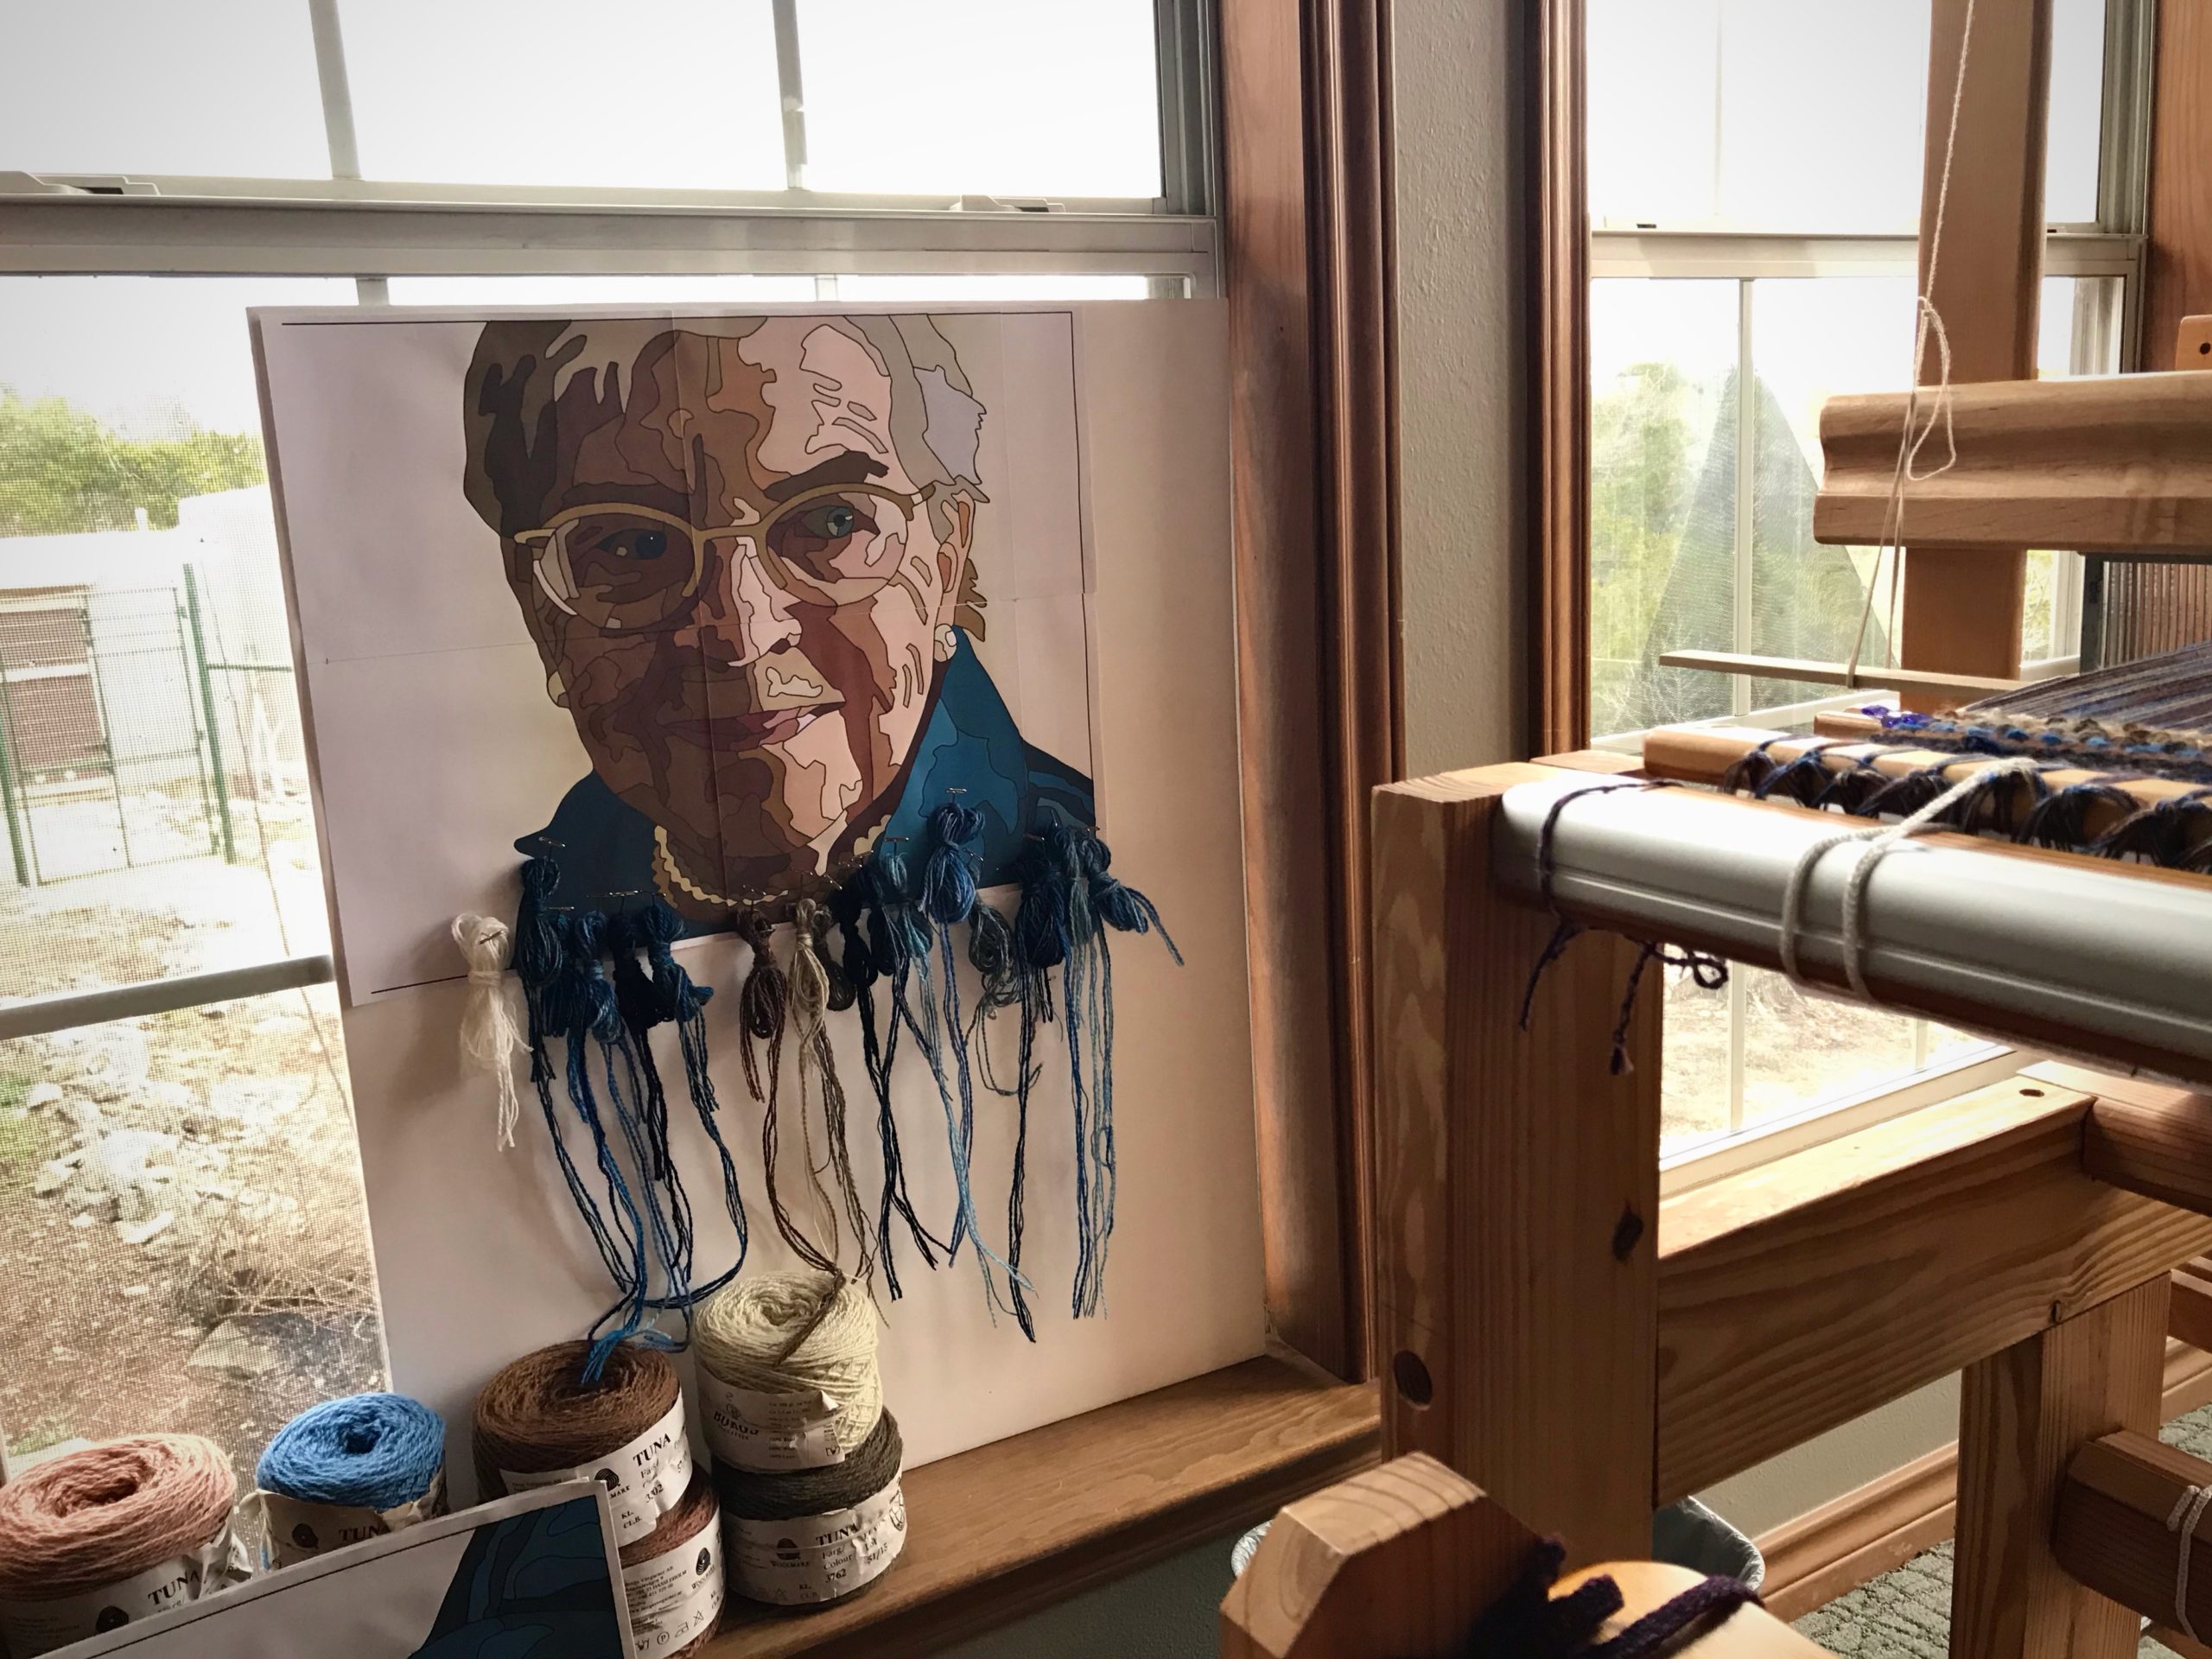
Small sample of each butterfly is pinned to the picture beside my loom. I choose colors for each wool bundle in correlation to its adjacent colors, working out the colors a few steps ahead of my weaving. …Is that a look of approval?

Now, instead of golden bleached, the linen thread is a golden beige that disappears into the fabric, while holding everything together. Come to think of it, that is an apt picture of a mother’s influence.

May you know when to go back to the beginning.

Happy Weaving,
Karen

Tapestry of the Heart

It is a daunting task to weave a tapestry of an important person. Do I have enough skill to give what this project deserves? I started with a photograph of a beautiful woman in her eventide years, and made a workable cartoon. The person in the picture is someone who has significantly influenced my appreciation of beauty all around. This is my mother.

Tapestry weaving that starts with a photo of a beautiful woman.
Photo enlargement is printed and taped onto poster board. I keep it near the loom for reference while I’m weaving.
Planning a new 4-shaft pictorial tapestry!
Cartoon replica is printed and taped to foam board. I plan out butterflies for the first few rows of the tapestry and pin them in their place on the picture. Yarn overflow is on the windowsill beside the loom.

In preparation for the tapestry, I have been weaving sample areas of the cartoon. The eyes, the chin and neck, the mouth, the edge of the ear. The biggest lessons I’ve learned are to exaggerate contrasts in value, and to dull the colors that are adjacent to colors that I want to appear bright. It’s time to step out and give myself to the task. This is where I aspire to show more than the unique features of my mother’s face. It’s where I show her heart.

Beginning wool butterflies for a new tapestry.
First row of the tapestry has only four butterflies. Additional butterflies are added gradually over the next few rows. (Tapestry begins with a few rows of white 6/1 tow linen.)
Weaving a pictorial tapestry of this lovely woman.
Printed reference cartoon helps me check my work as I go along. The cartoon that is under the weaving on the loom is not only larger, it is printed at a lighter setting, which makes a better weaving guide for me.

A generous heart always has enough. Giving out of our surplus is not generosity. However, if I give you what I’d rather keep, I give you some of myself. Give time, resources, support. Share talents, fascinations, insights. Mom, thanks for giving me so much of yourself.

May your loved ones benefit from your generosity.

With gratitude,
Karen
Process Review: Weaving Rhythm

“With so many looms, how do you decide what to weave every day?,” I was asked. The answer lies in my Weaving Rhythm. I have five floor looms. I happily aspire to meet the challenge of keeping all of them active.

Glossary

Weaving Rhythm ~ A pattern created across time, through a regular succession of weaving-related tasks.

Arrange individual tasks to keep each loom consistently moving forward in the weaving continuum.

Weaving Continuum ~ The cycle for each loom that is continually repeated.

When the first few centimeters are woven on a new project, begin planning the next project. When finishing is completed for the current project, wind a new warp and dress the loom for the next project.

First Things First ~ Prioritize daily tasks to maintain the Weaving Rhythm.

  1. Finishing
  2. Dressing
  3. Weaving

Do some finishing work first. Do some loom-dressing tasks next. The reward, then, is sitting at one of the dressed looms and freely weaving for the pleasure of it.

Weaving bath towels on the Glimakra Standard.
Glimåkra Standard, 120cm (47″), vertical countermarch. My first floor loom. Weaving the third of four bath towels, 6-shaft broken and reverse twill, 22/2 cottolin warp and weft.
Weaving hanging tabs for bath towels.
Glimåkra two-treadle band loom. Weaving hanging tabs for bath towels. 22/2 cottolin warp and weft.
Glimakra 100cm Ideal. Sweet little loom.
Glimåkra Ideal, 100cm (39″), horizontal countermarch. My second floor loom. Dressing the loom in 24/2 cotton, five-shaft huckaback, for fabric to make a tiered skirt. Ready to start sleying the reed.
Hand-built Swedish loom.
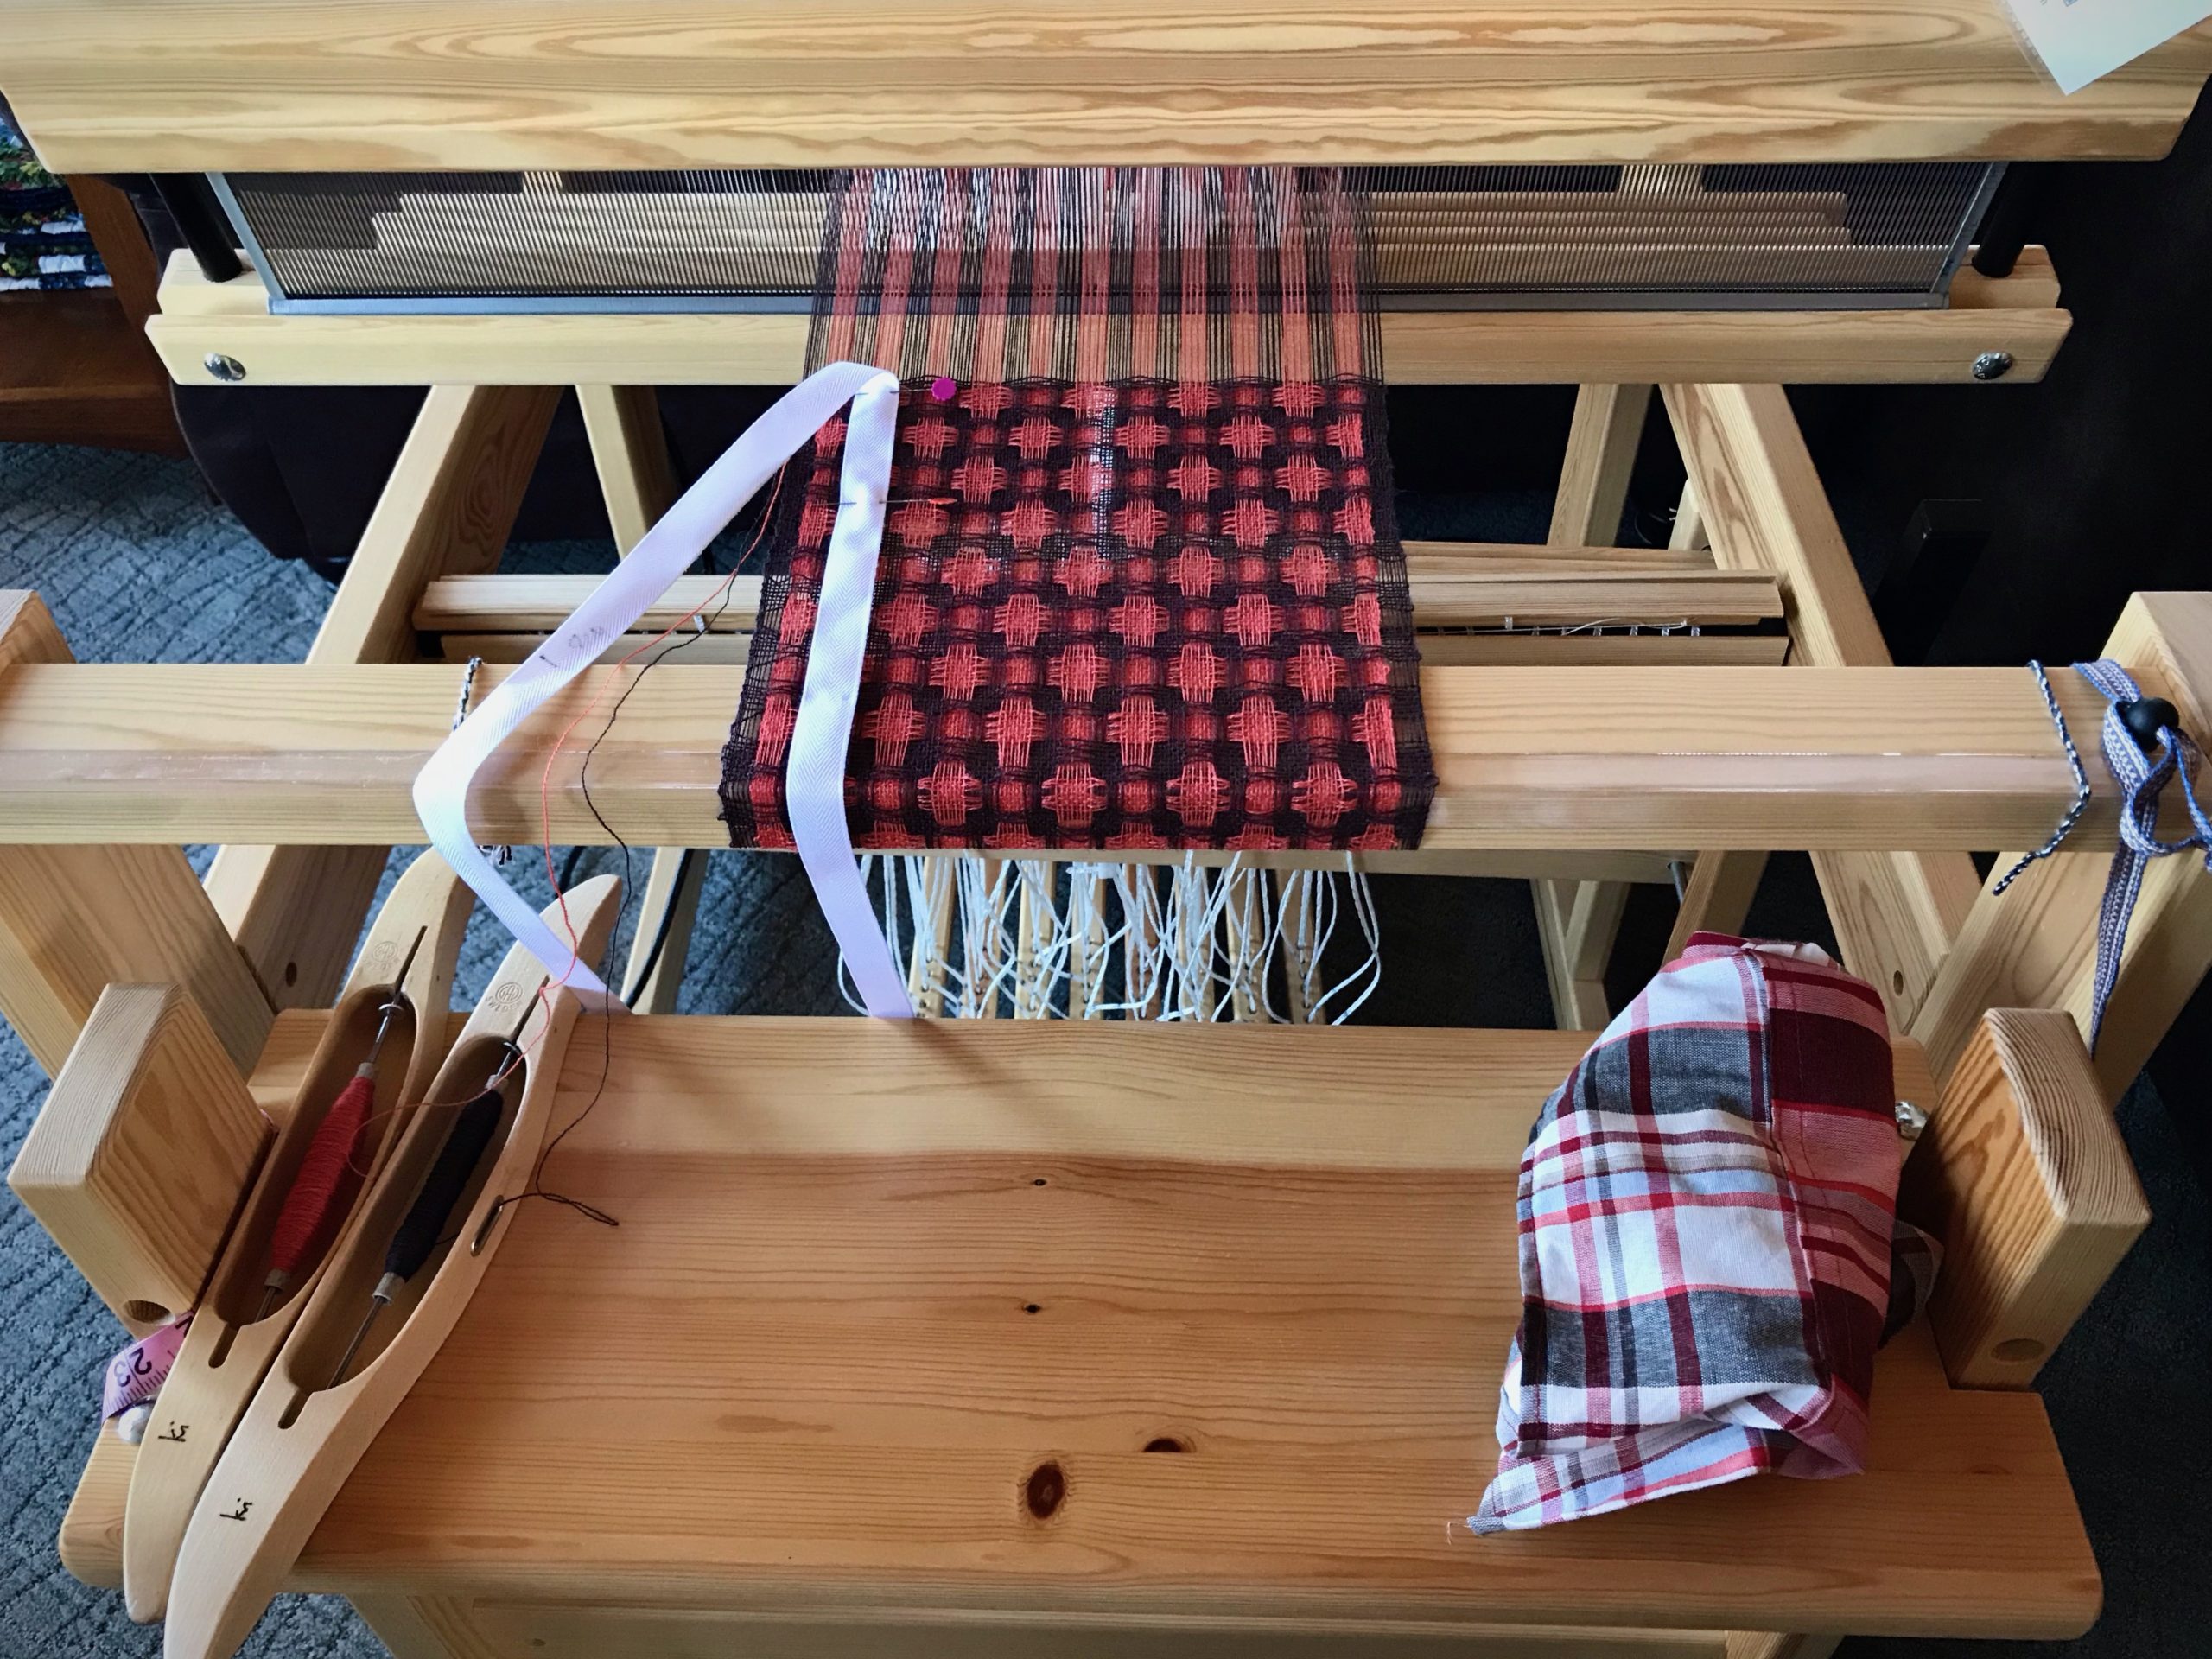
Loom that Steve built, 70cm (27″), horizontal countermarch. My third floor loom. Weaving the header for a pictorial tapestry sample, four-shaft rosepath, 16/2 linen warp, Tuna/Fårö wool and 6/1 tow linen weft.
Sweet little Glimakra Julia 8-shaft loom.
Glimåkra Julia, 70cm (27″), horizontal countermarch. This is my fifth (and final?) floor loom. Weaving the first of two scarves, eight-shaft deflected double weave, 8/1 Mora wool warp and weft.
Weaving lettering on the drawloom.
Glimåkra Standard, 120cm (47″), horizontal countermarch, with Myrehed combination drawloom attachment. This is my fourth floor loom. Weaving some lettering for the seventh pattern on this sample warp, six-shaft irregular satin, 16/2 cotton warp, 16/1 linen weft. 35 pattern shafts, 132 single unit draw cords.

Give Thanks ~ Live with a thankful heart.

Every day I thank the Lord for granting me the joy of being in this handweaving journey. And I thank him for bringing friends like you along with me.

May you always give thanks.

With a grateful heart,
Karen

Tried and True: Wool Skeins into Balls

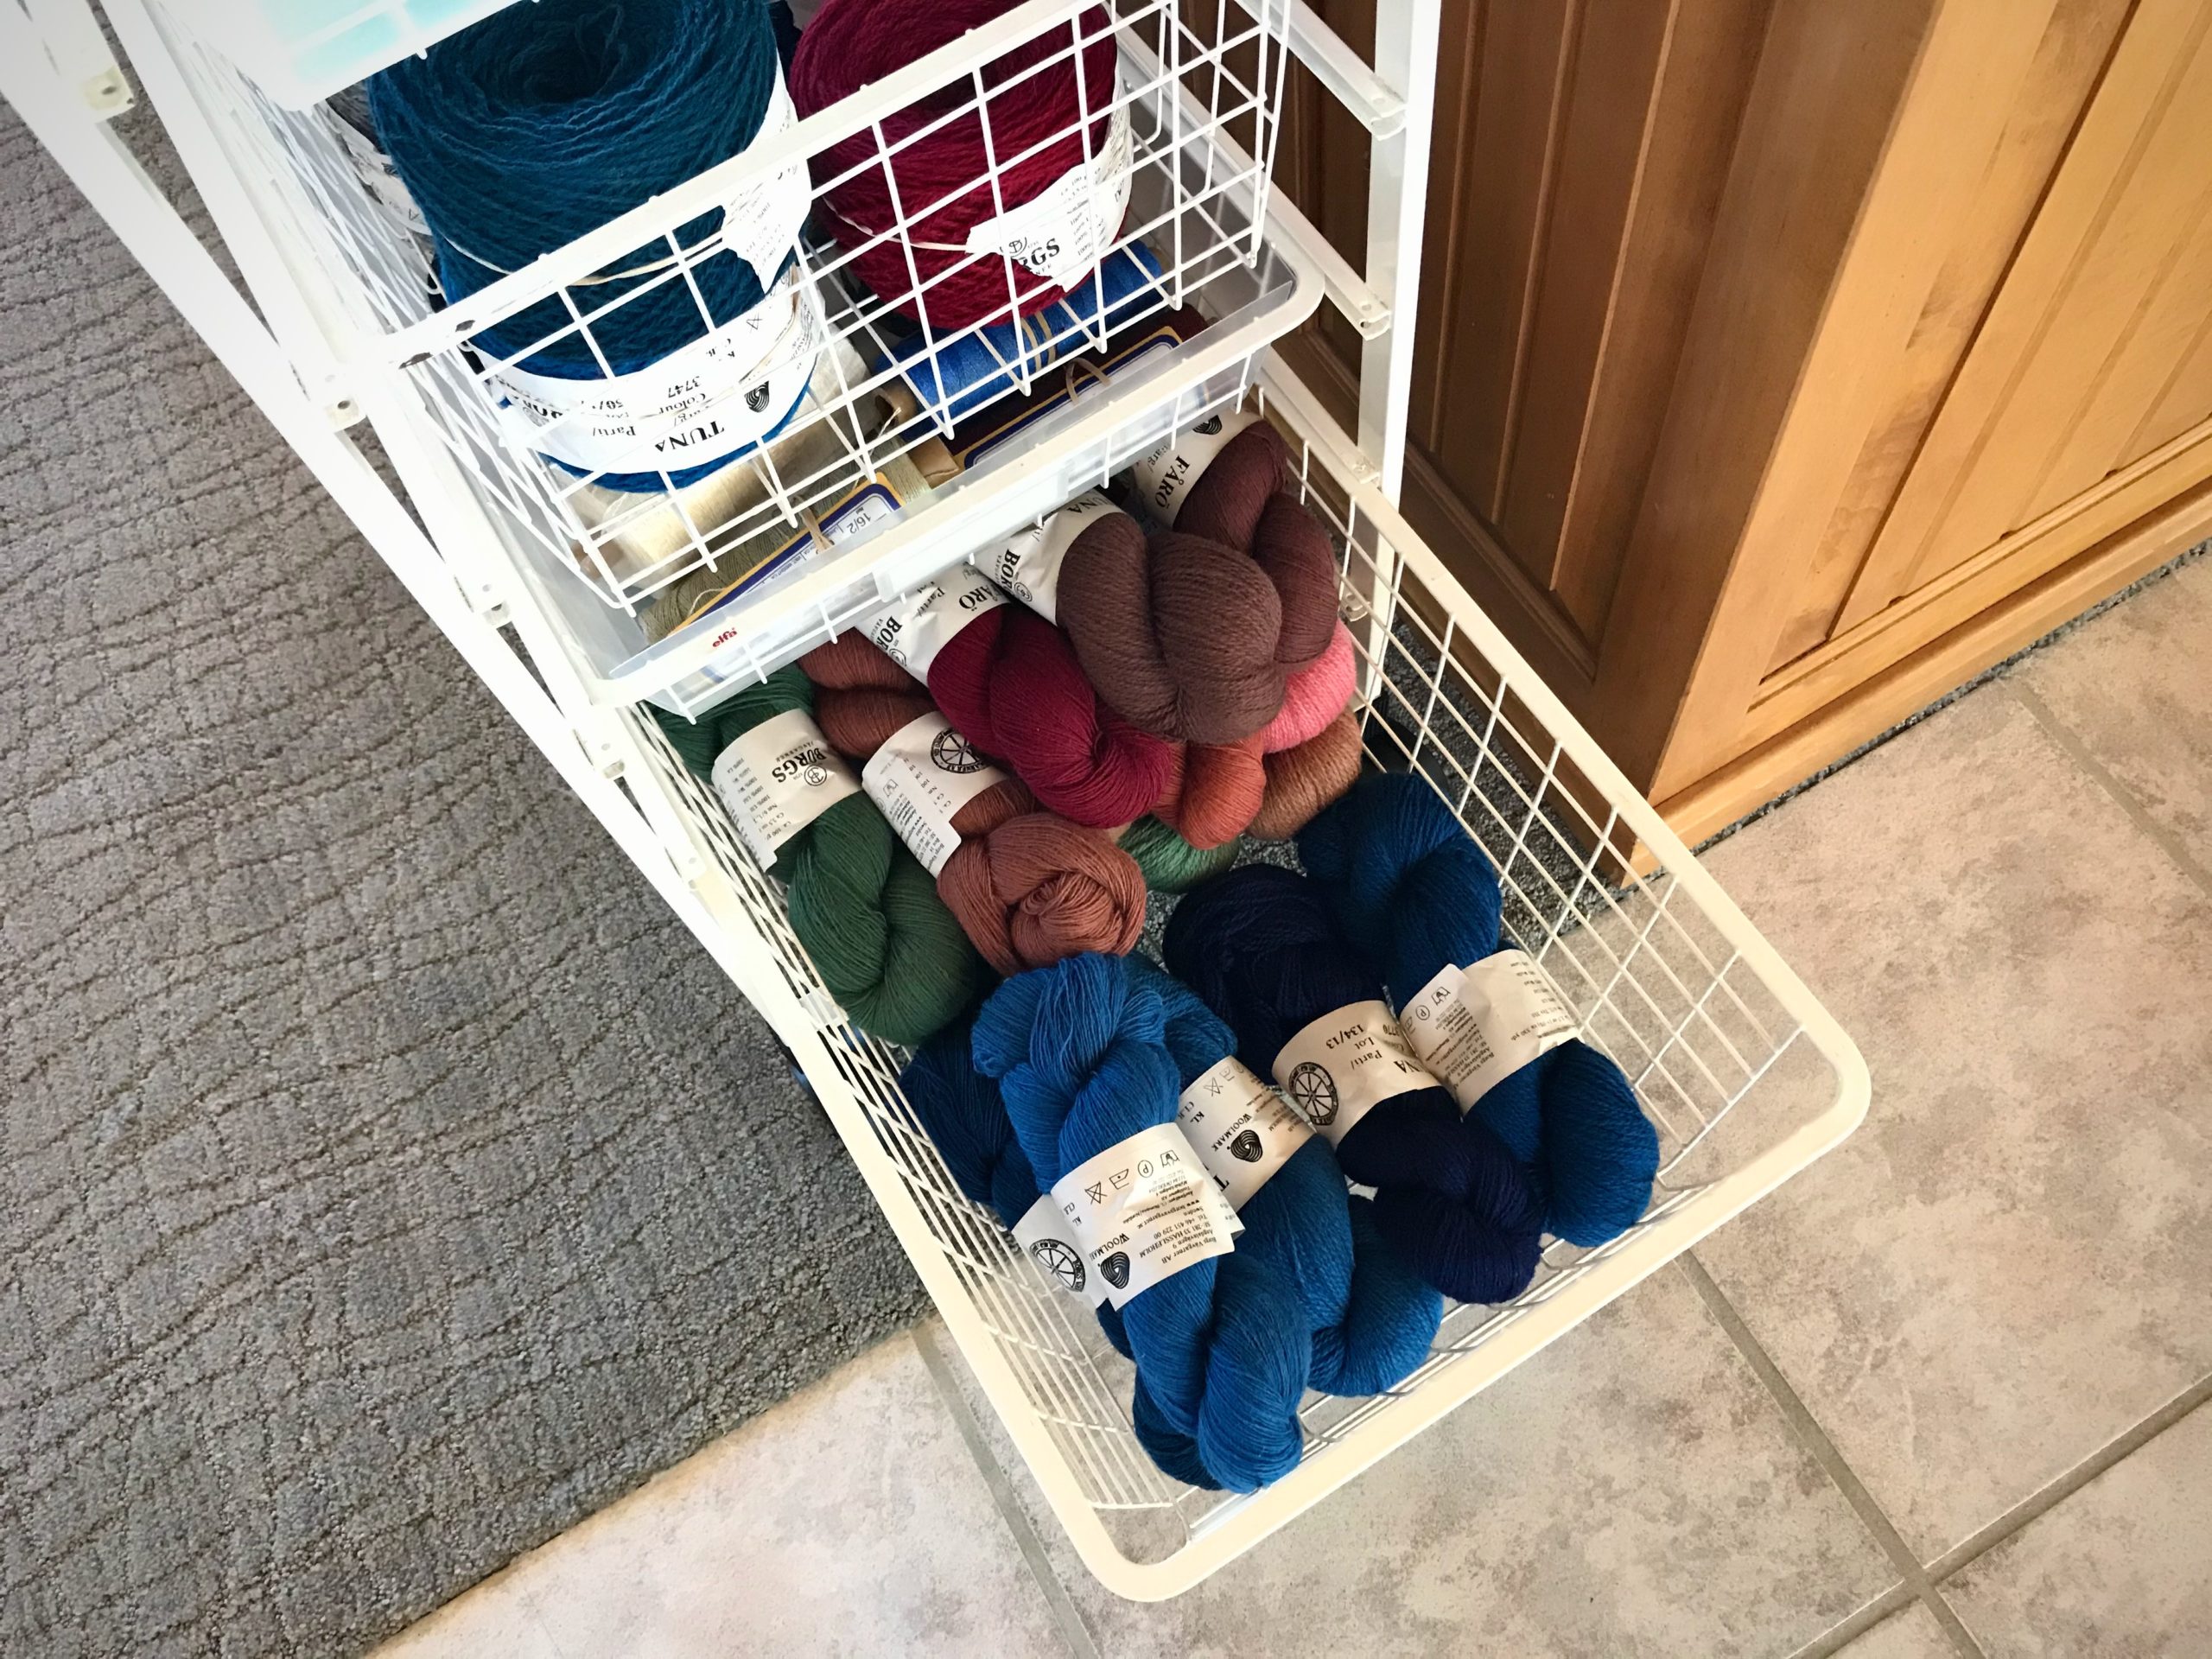
I am adding about thirty more skeins to my yarn supply to get the colors I need for a new tapestry. At this rate, maybe I will have every single color of Borgs 6/2 Tuna and 6/1 Fårö wool on my shelves some day. That’s wishful thinking… But I do have what I need for now to make the butterflies for this special pictorial tapestry.

Preparing to weave a new pictorial tapestry.
Beautiful colors of wool skeins of yarn.

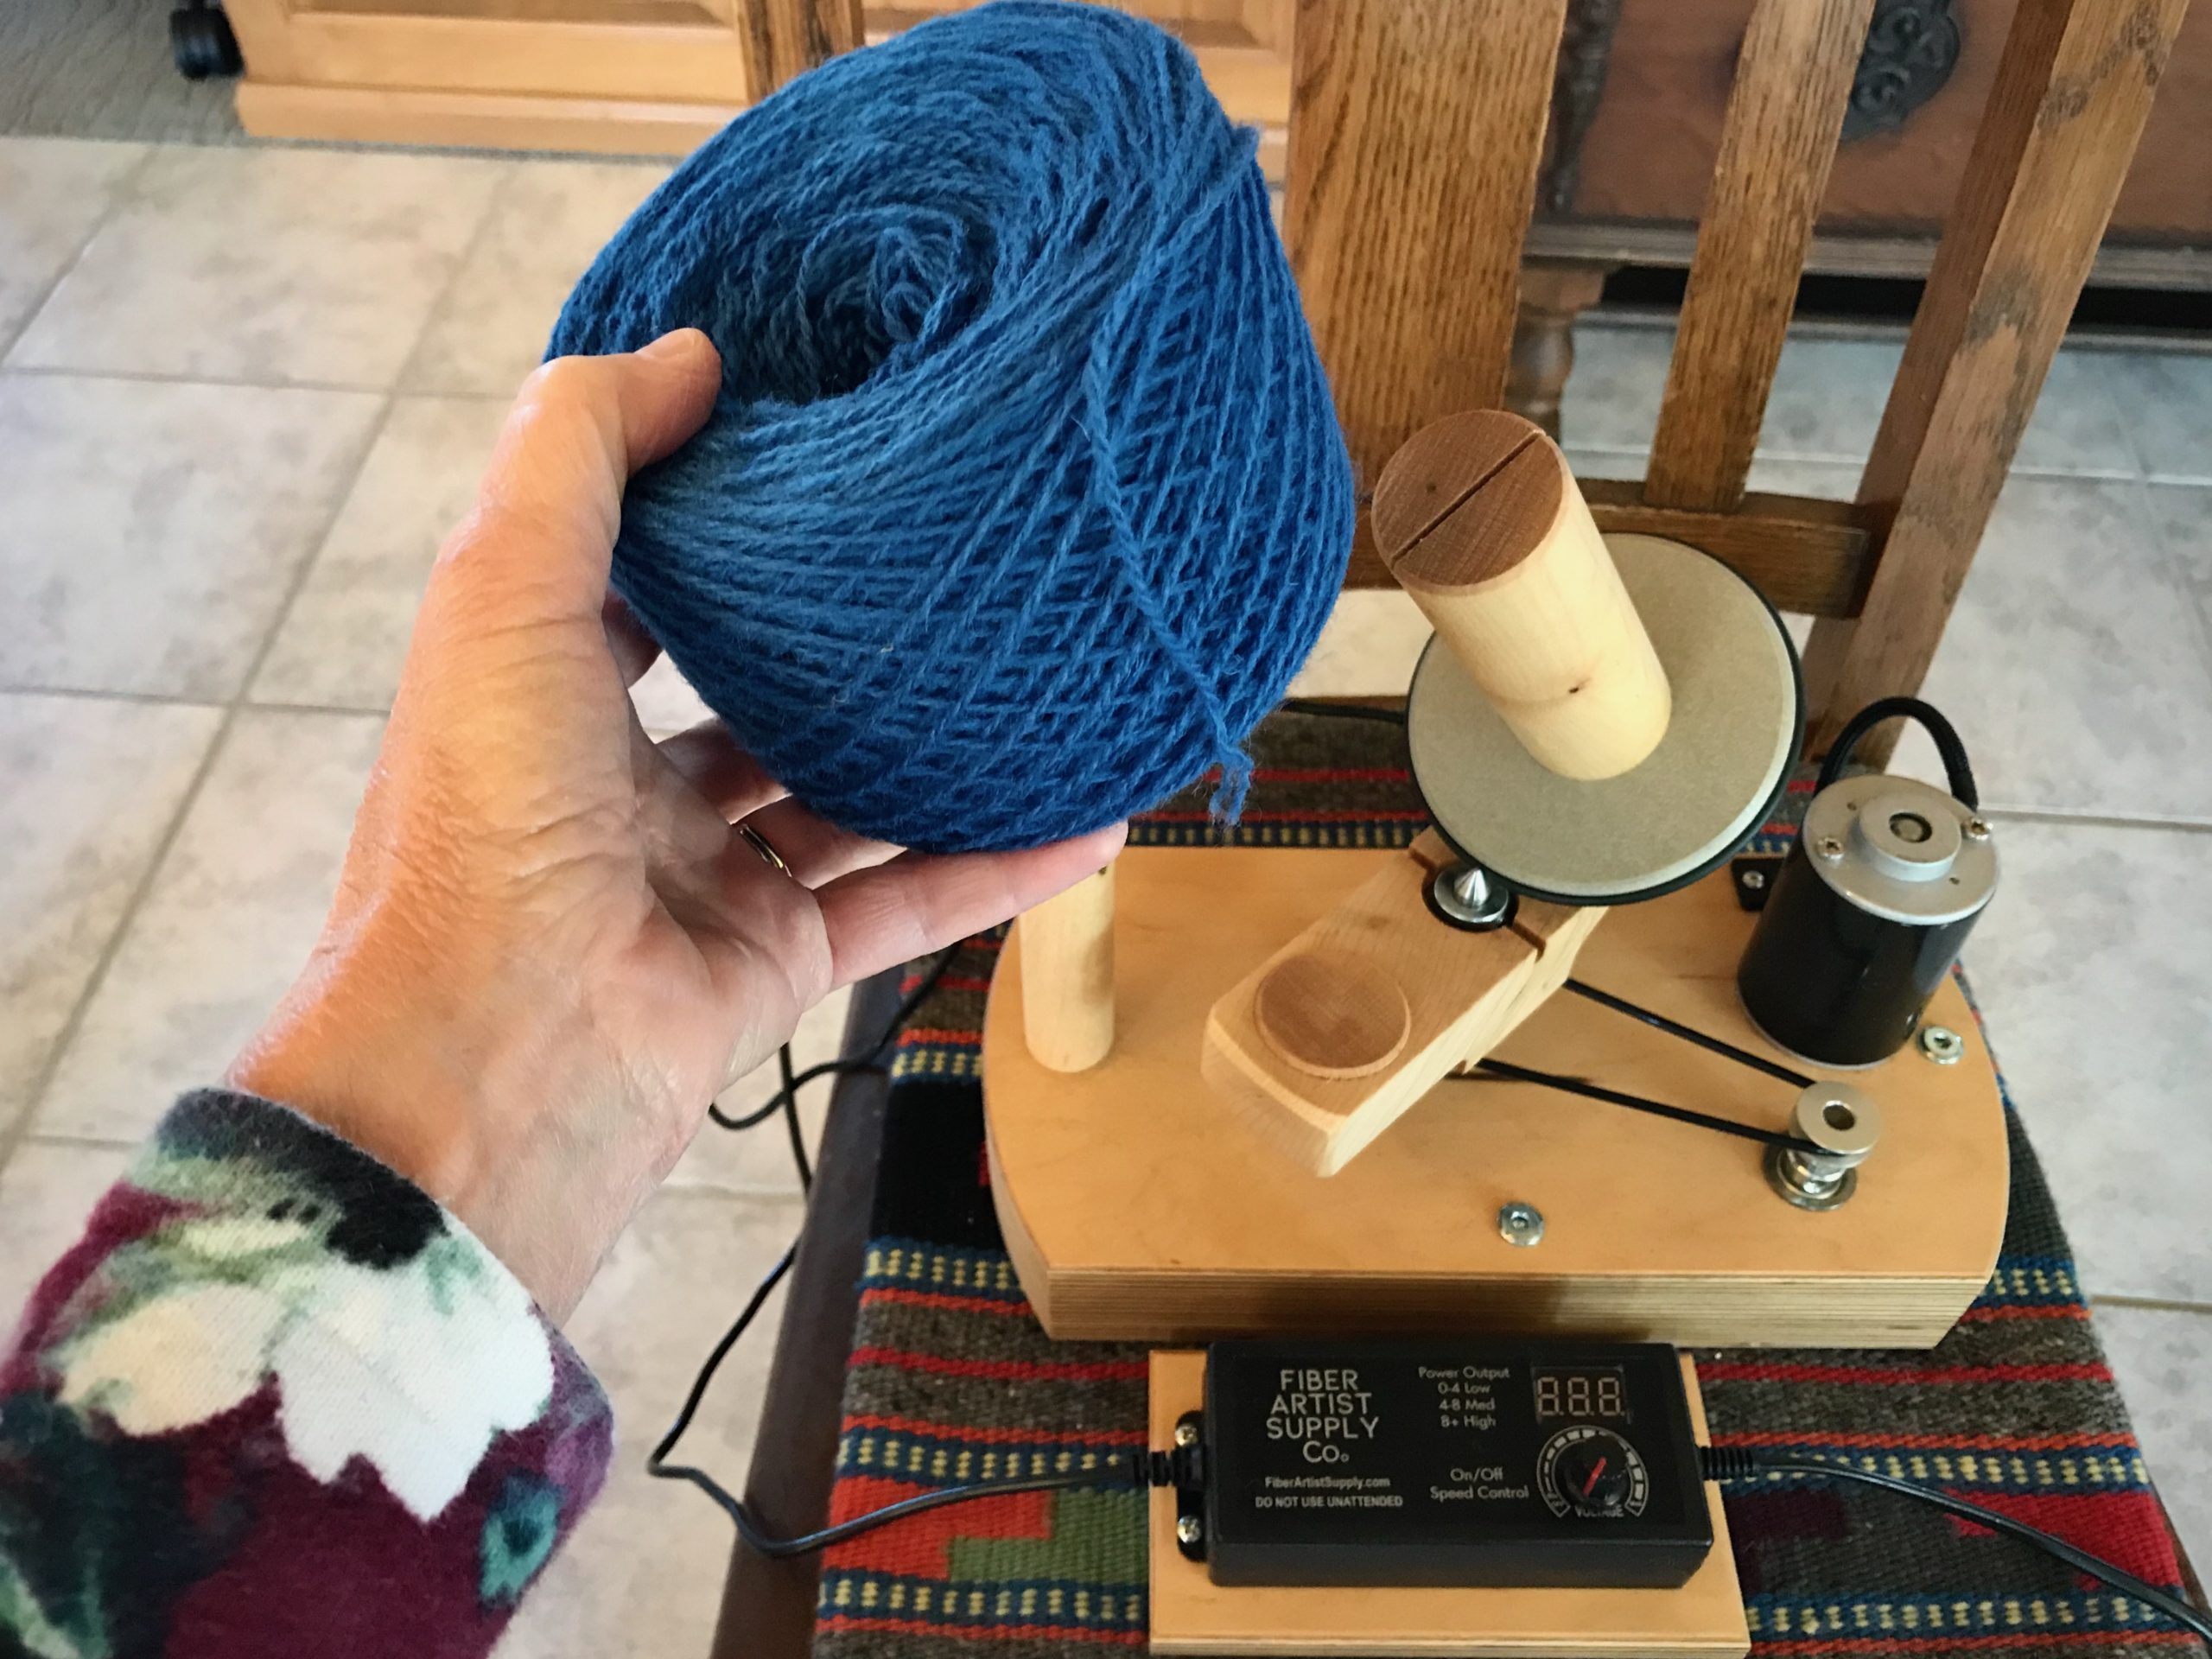
All these new skeins of yarn need to be wound into balls using my Swedish umbrella swift and a ball winder. In the past, I have used a manual ball winder. That means a lot of handle turning, but eventually all the yarn is wound into balls.

Swedish umbrella swift and an electric ball winder.
Skein of yarn is opened and placed on the umbrella swift.

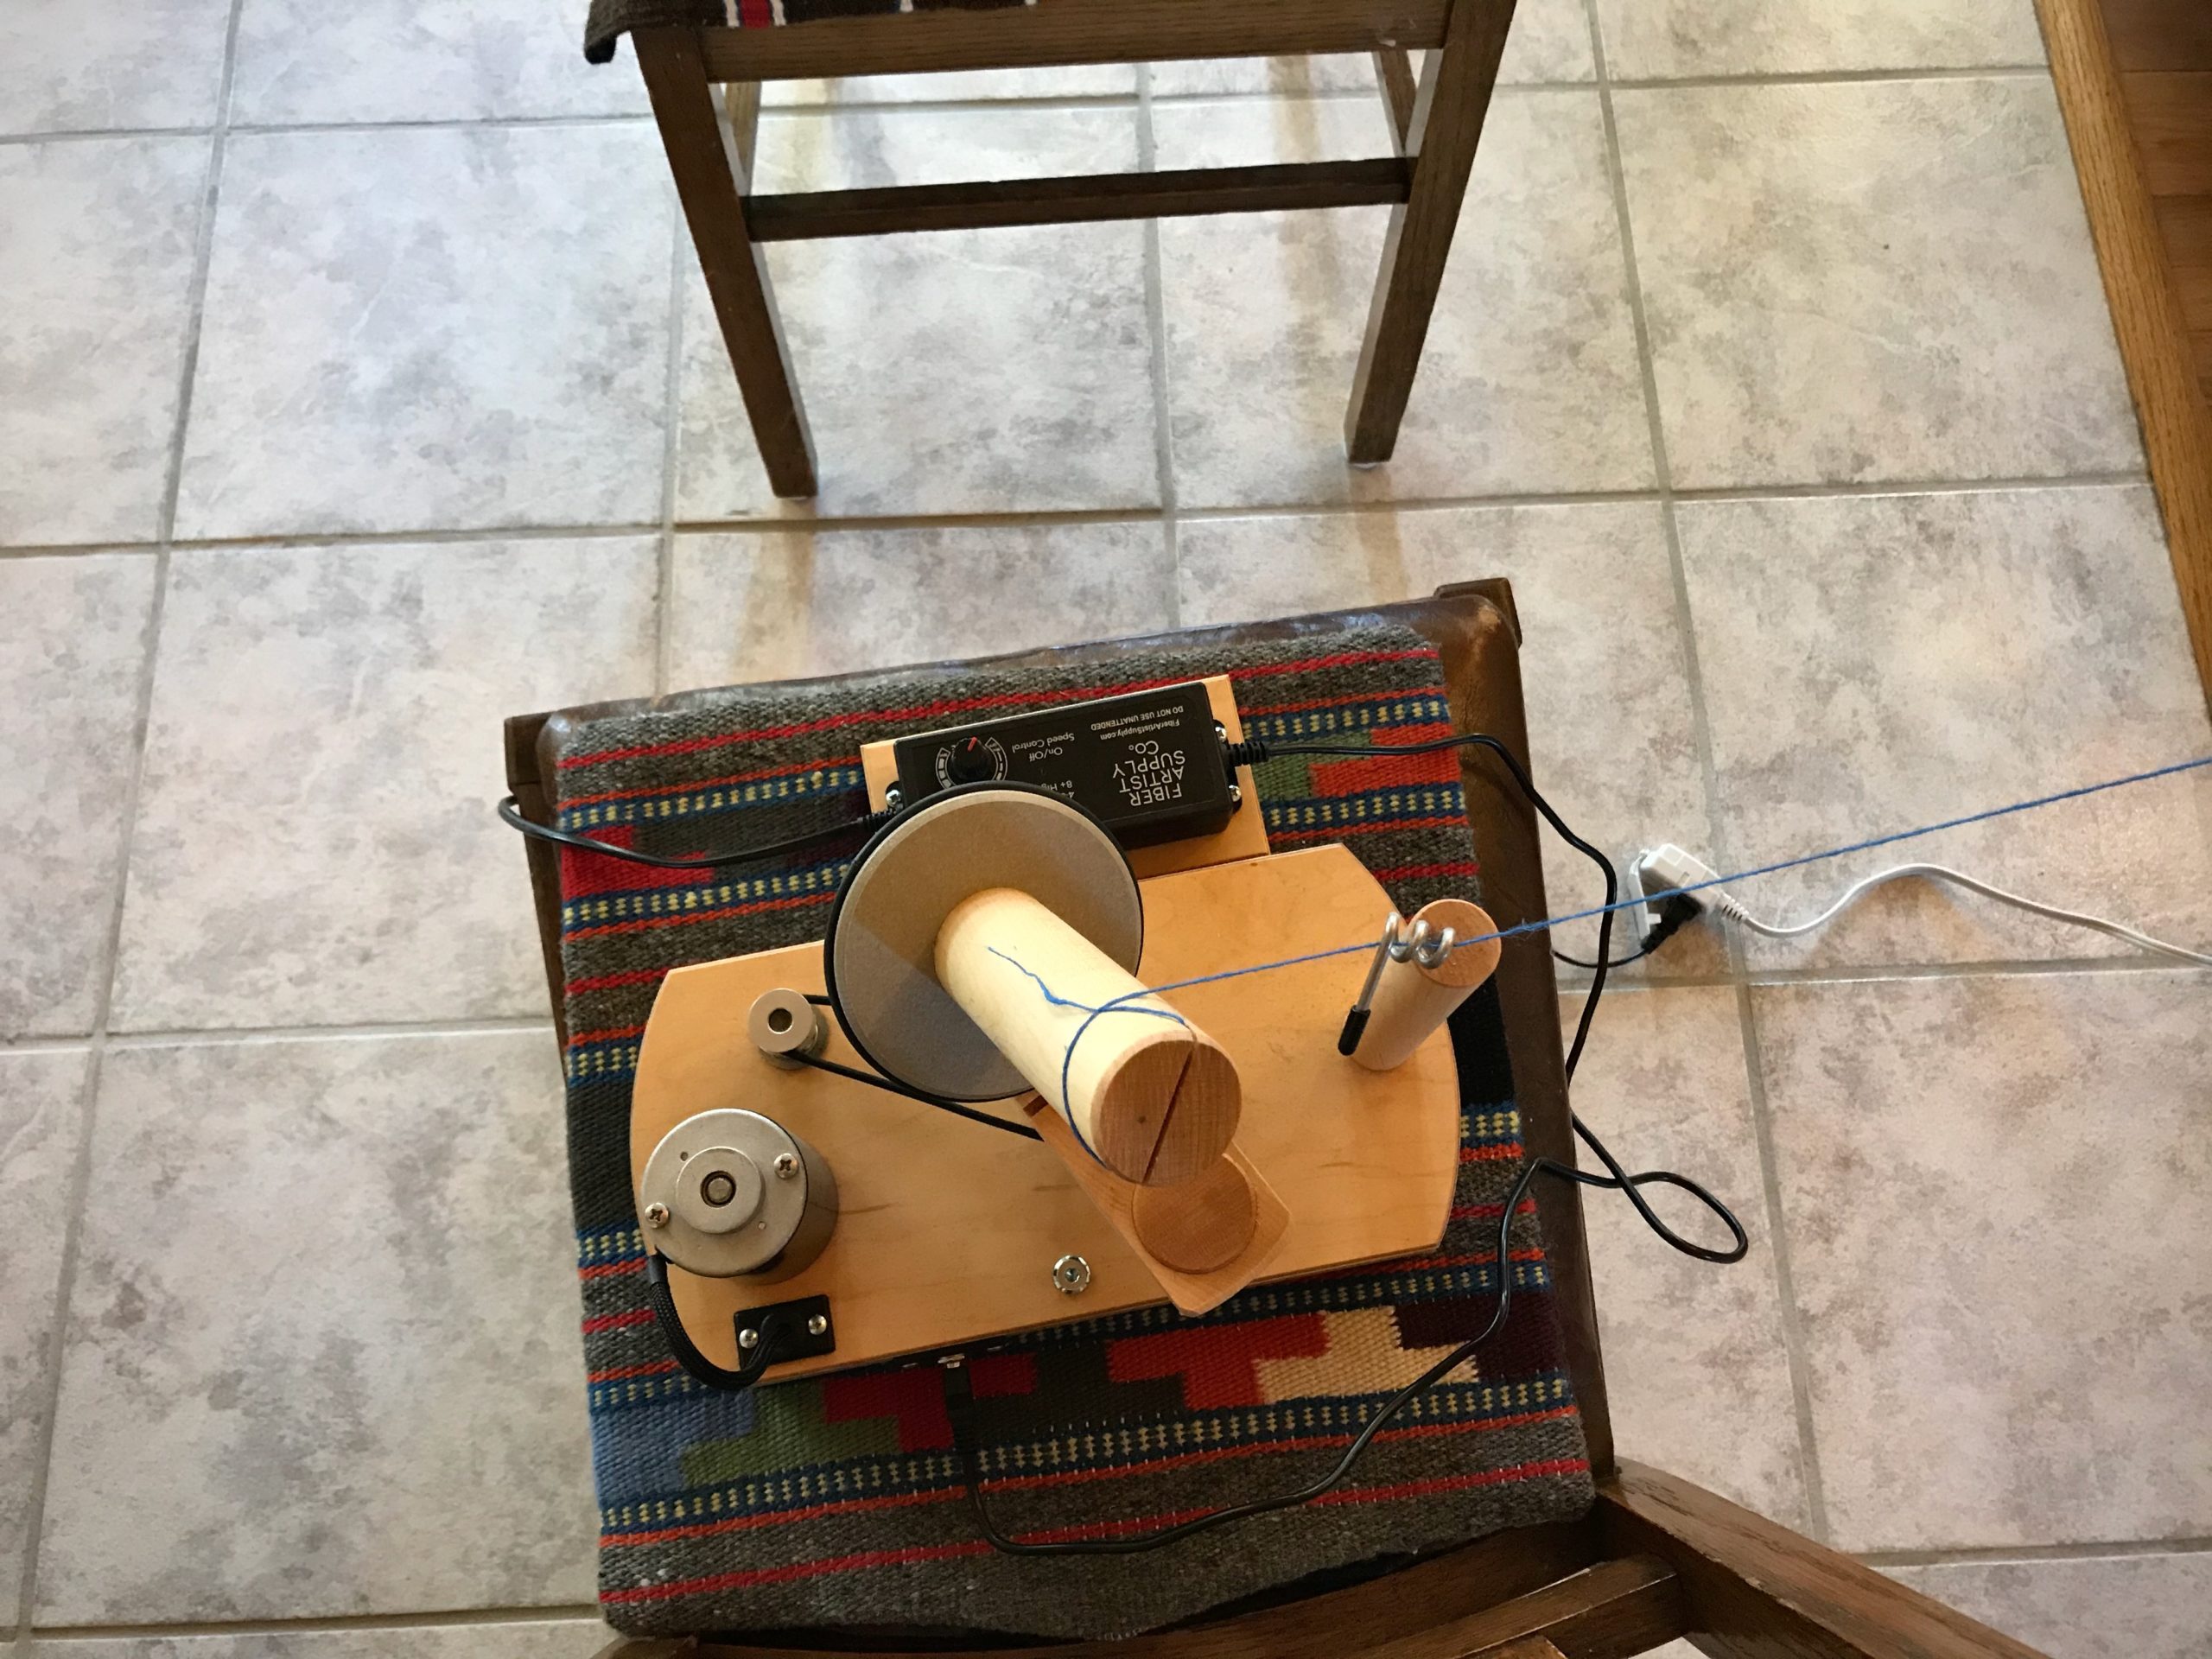
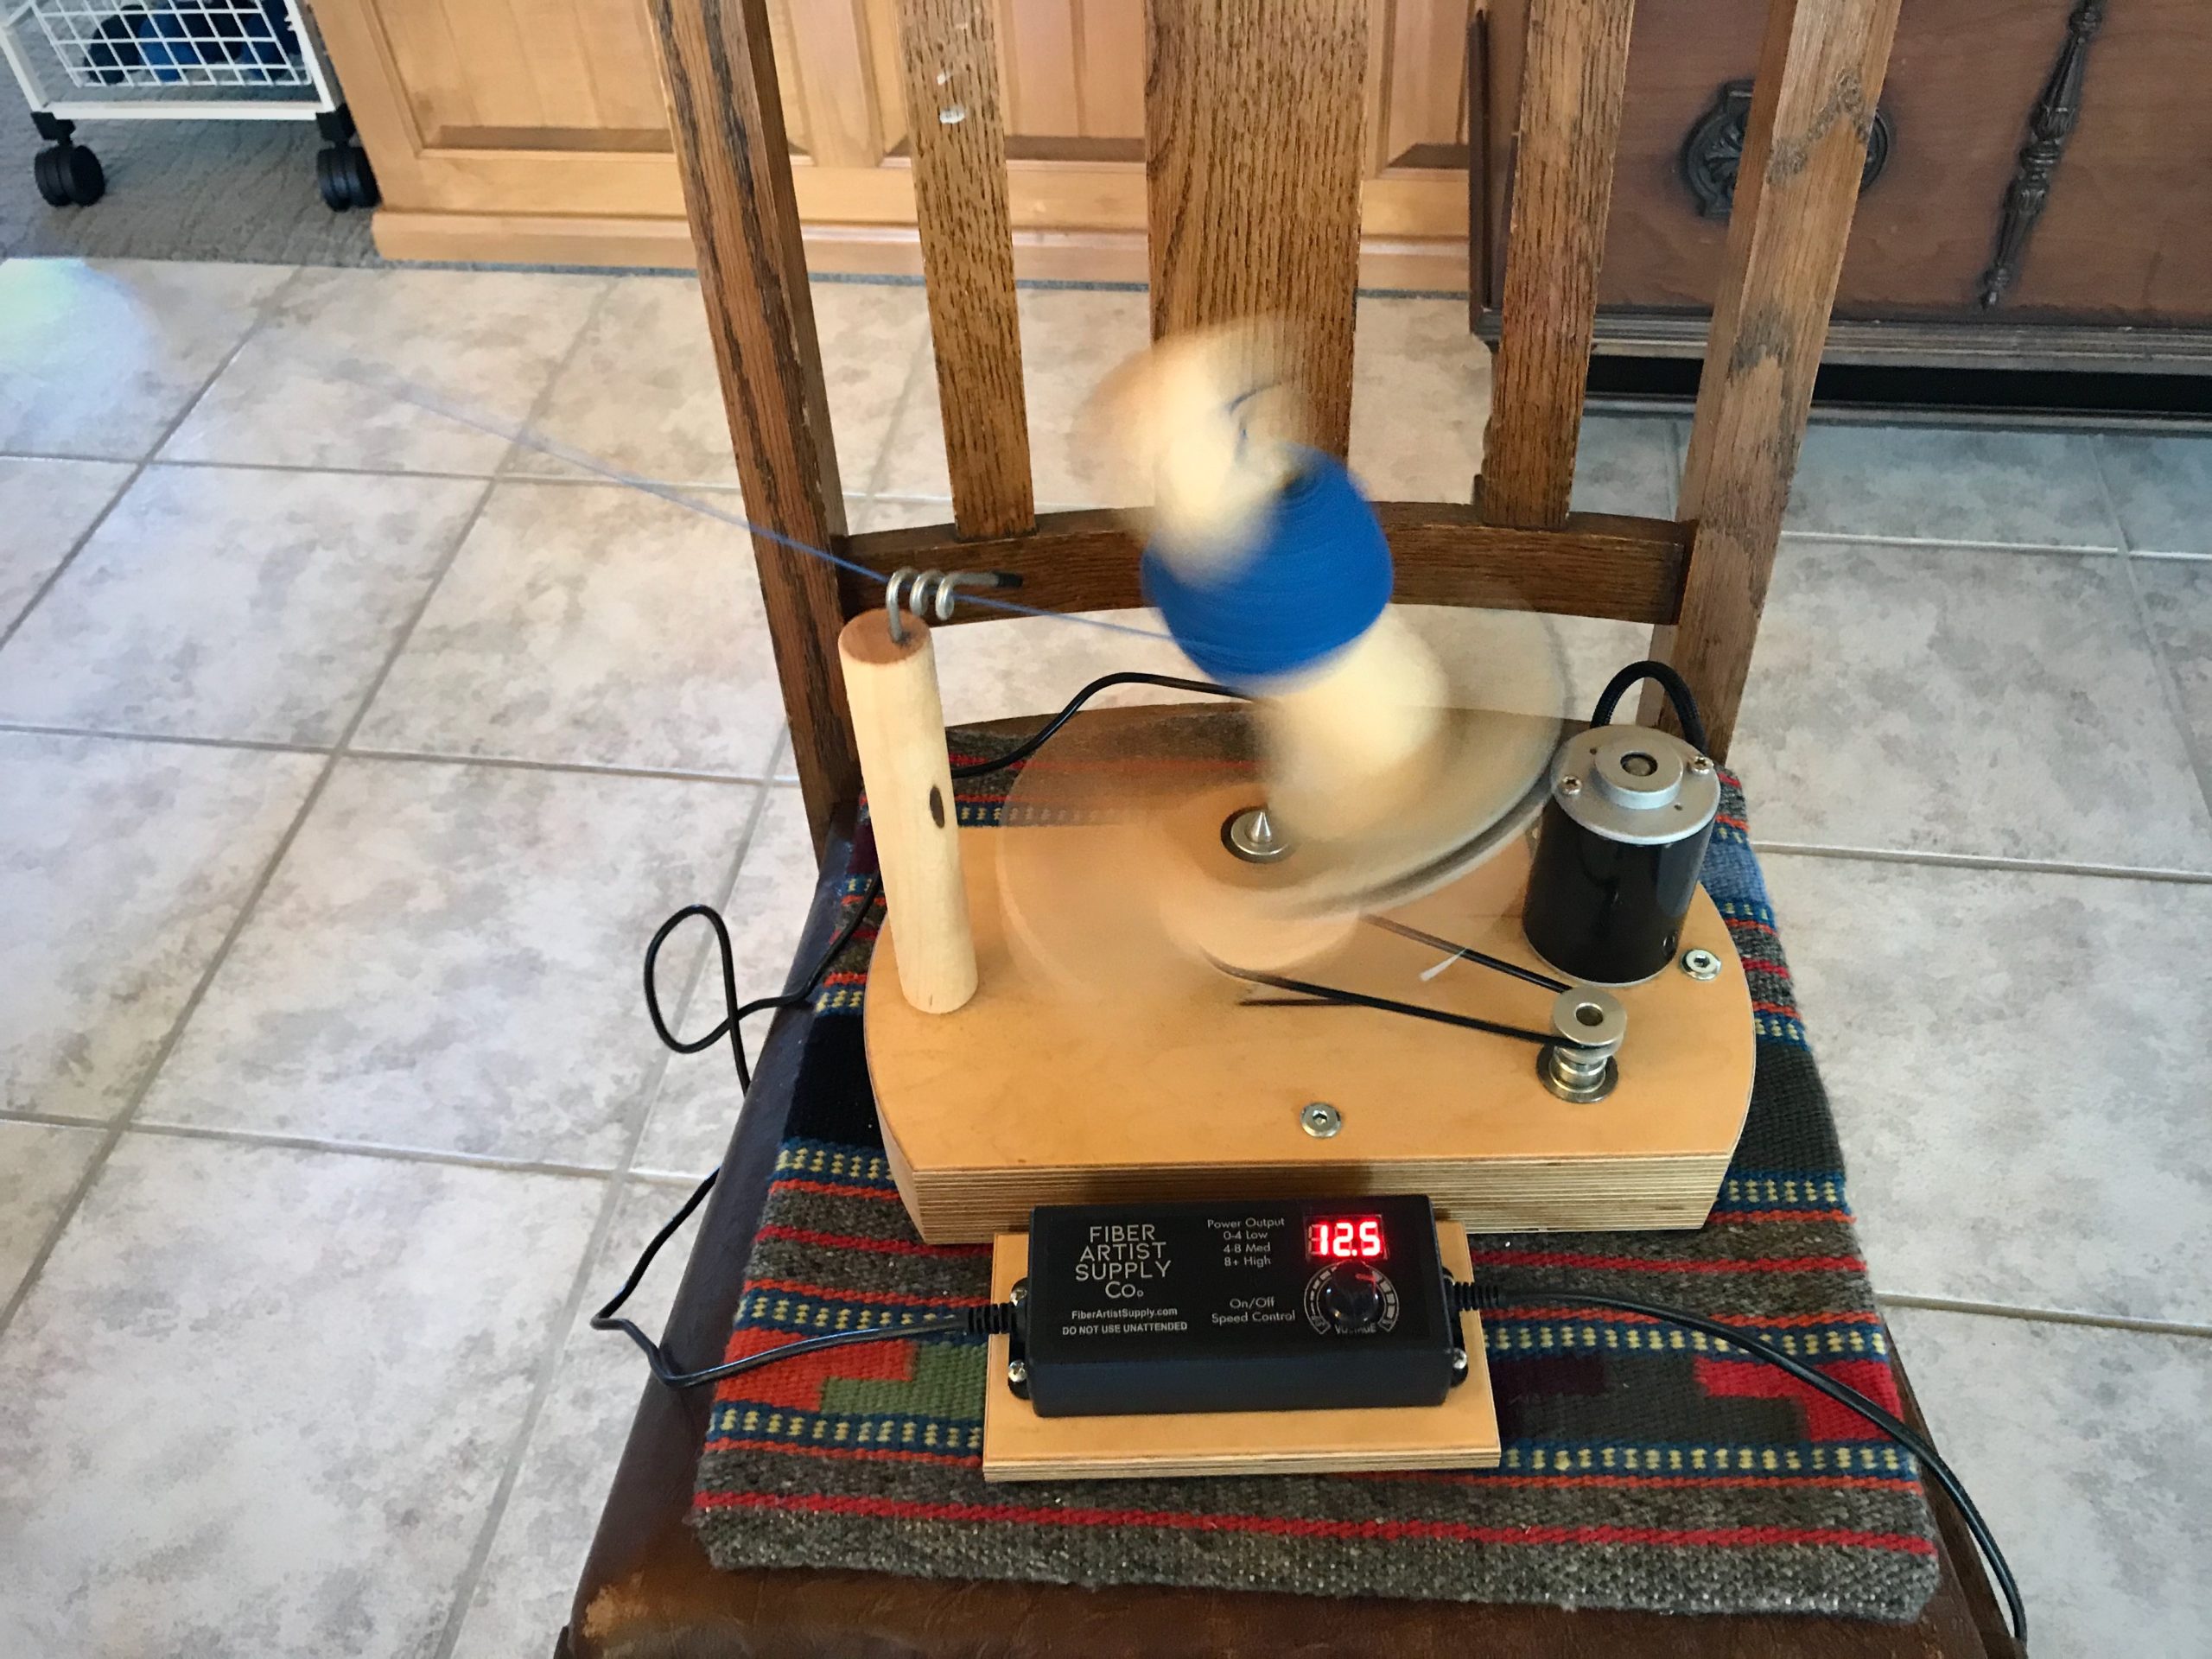
This time is different. I found a new time-saving and arm-saving tool. It’s an electric ball winder, made by Fiber Artist Supply Company. I put the skein on the swift, cut the ties, secure the loose end of yarn to the ball winder, and then turn it on, gradually increasing the speed. In less than two minutes, I have another beautiful ball of yarn to use for making tapestry butterflies.

My new electric ball winder.
End of yarn is secured on the post of the ball winder.
Electric ball winder. Time-saver and arm-saver!
Dial on the winder allows me to gradually increase the speed. When I see that the skein is unwinding properly, I turn the dial to full speed.
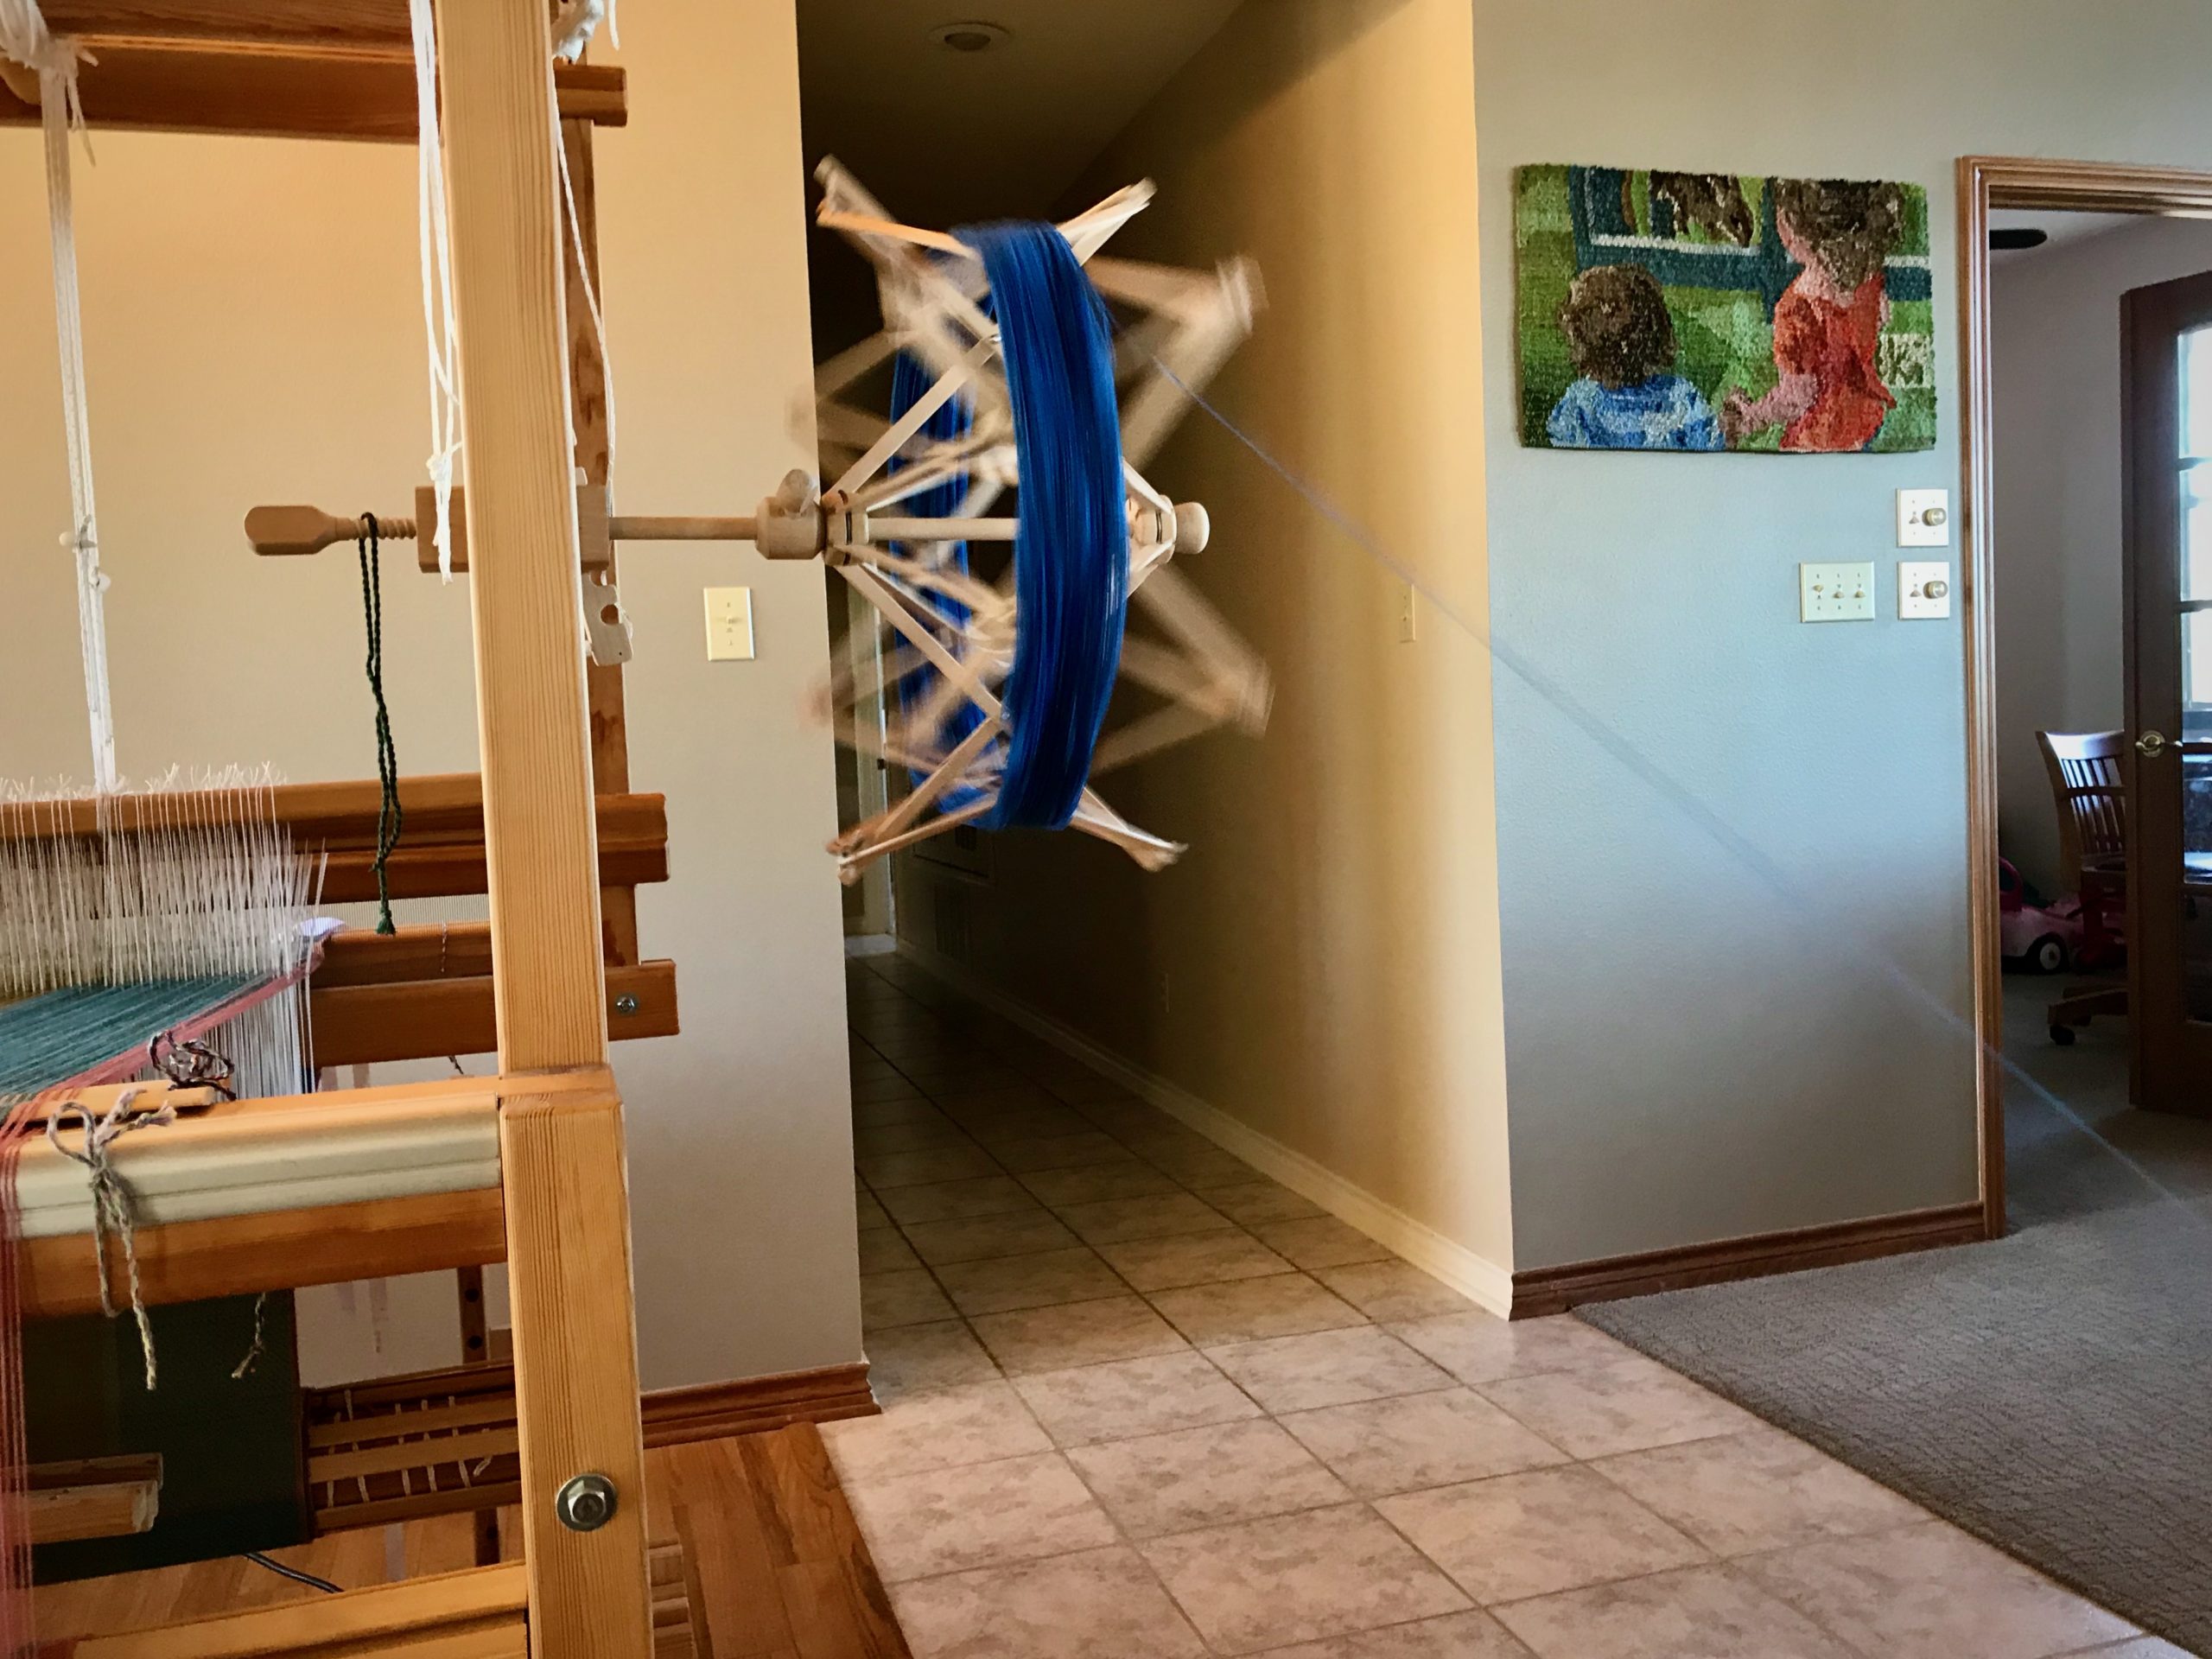
Yarn swift is turning swiftly!
Maybe this is why it’s called a yarn “swift.” Previous pictorial tapestry, Siblings, is seen on the wall.
Electric ball winder. Time-saver and arm-saver!
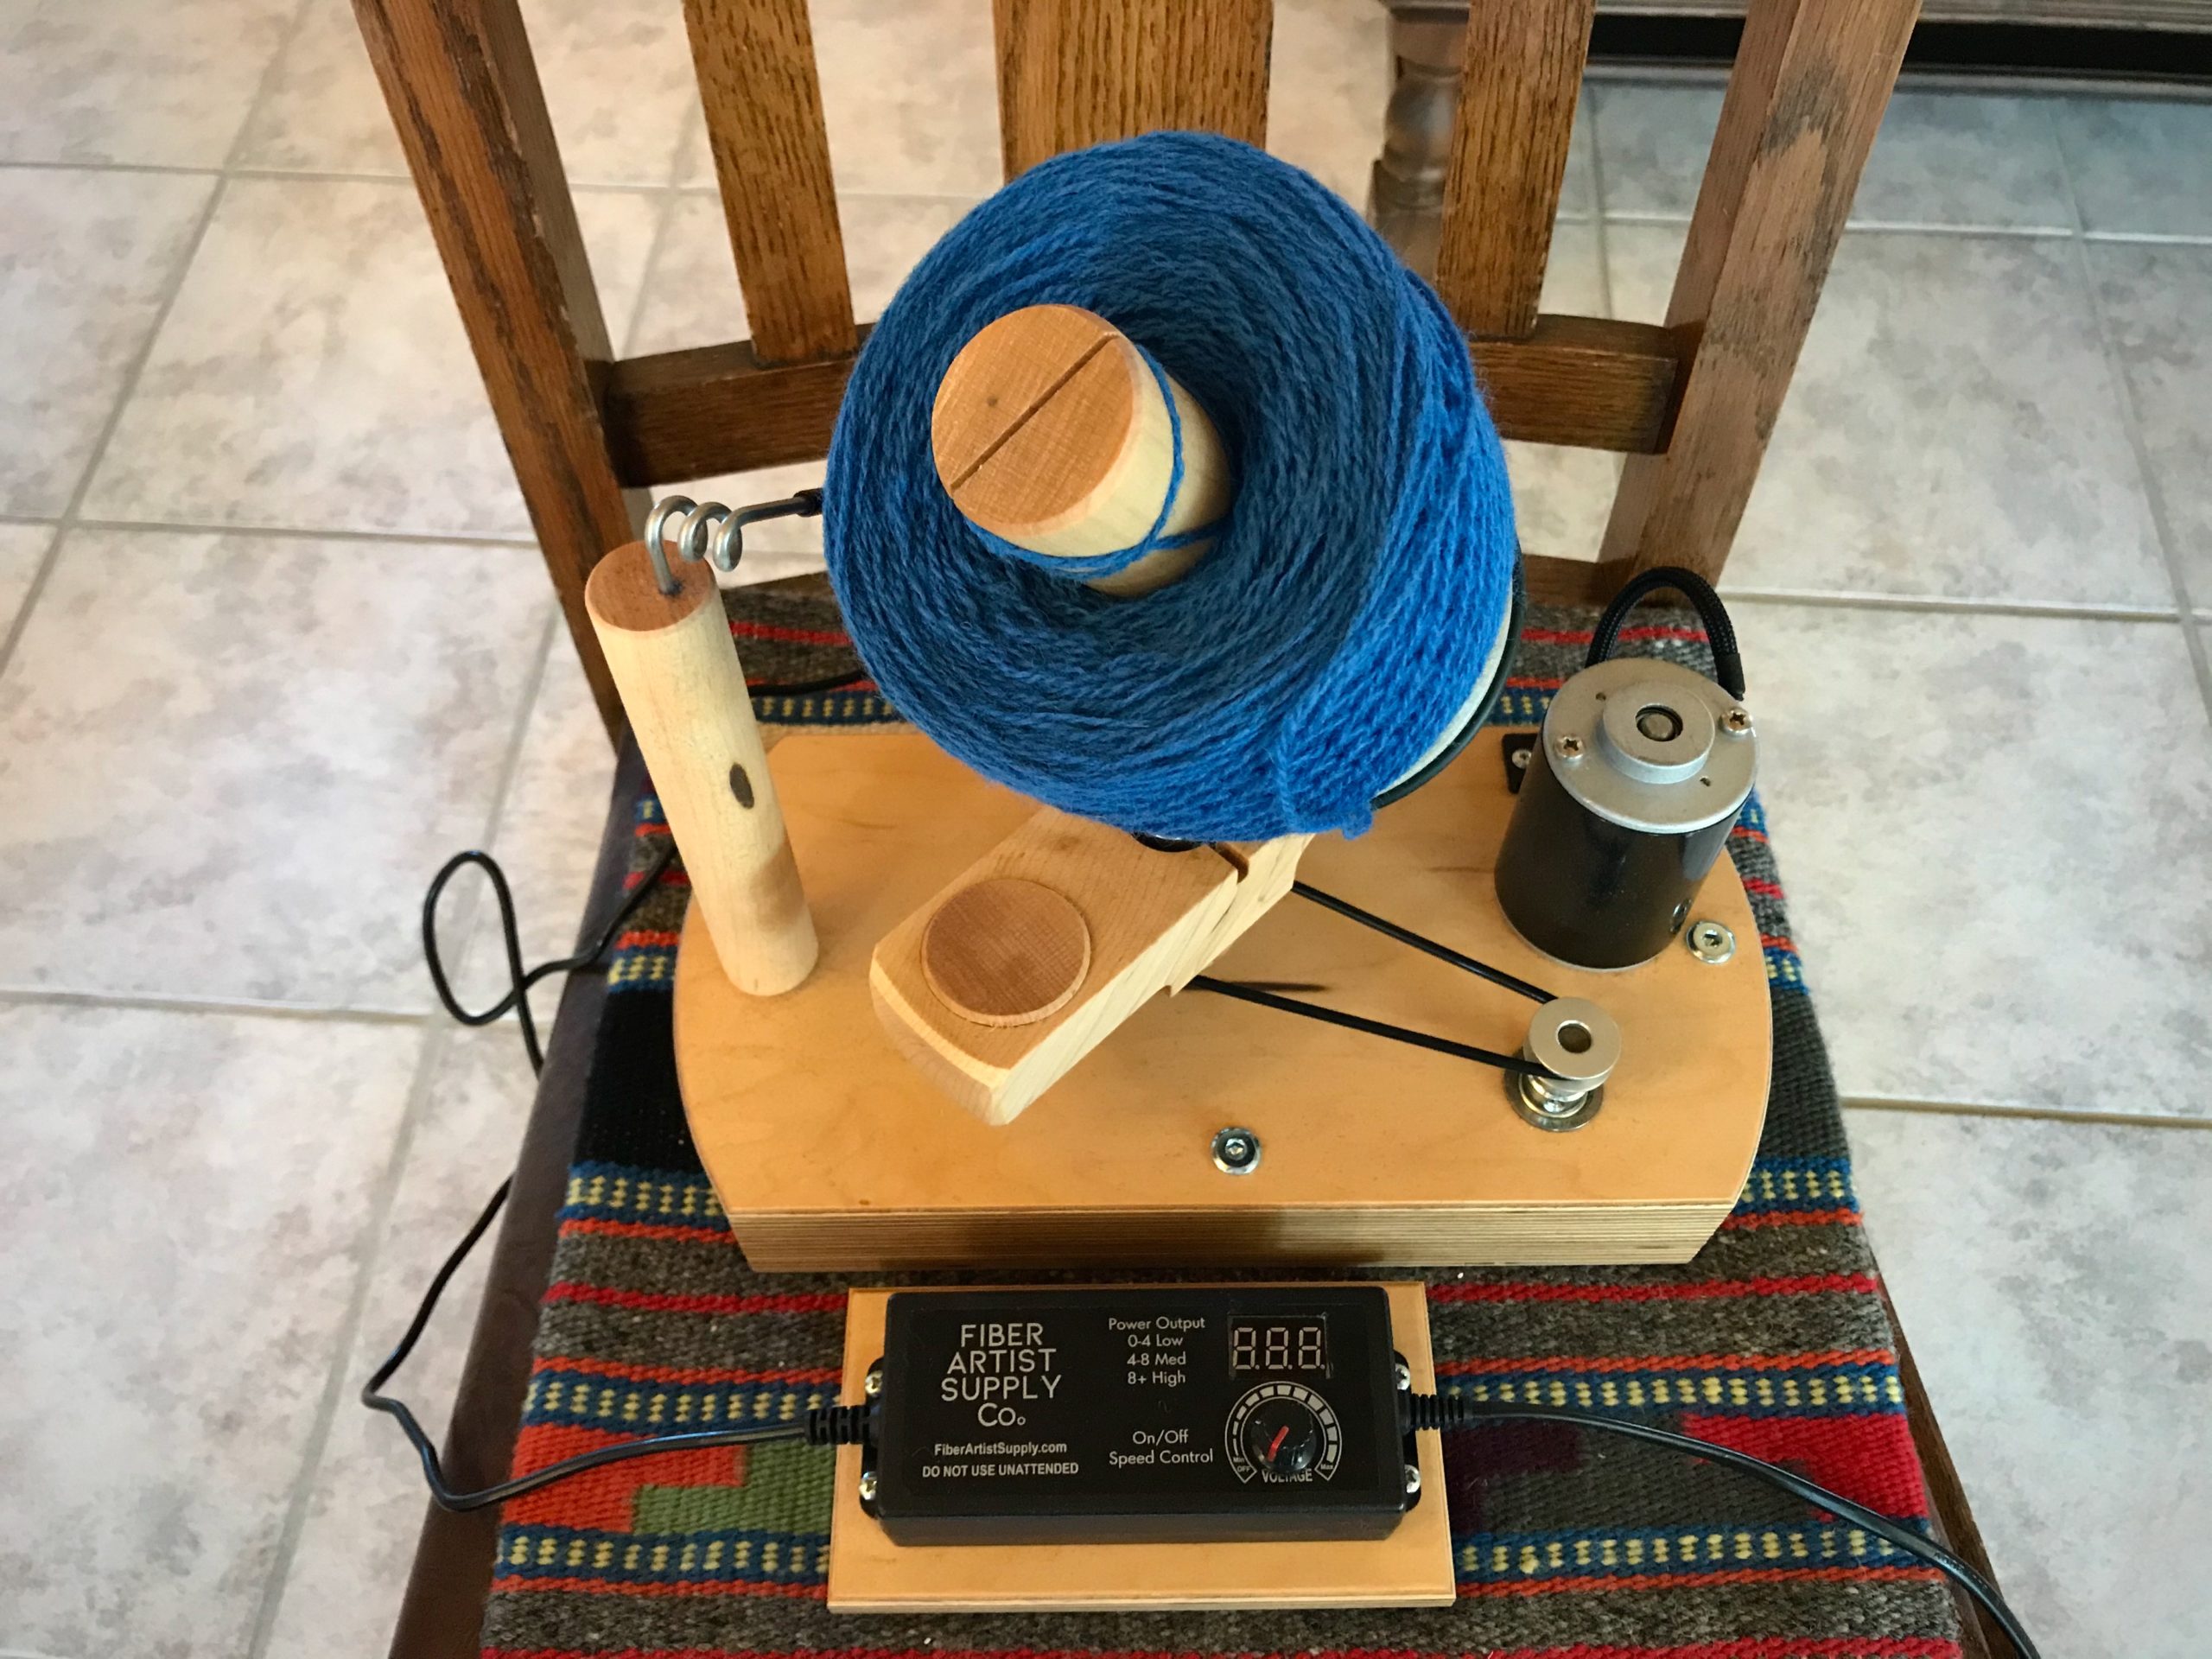
One minute, fifty-four seconds later, and we have a ball of yarn.
New ball of yarn from the electric ball winder.
I will wrap the label on this ball of yarn and it will join the yarn collection for this tapestry.
Getting ready to start a new pictorial tapestry!
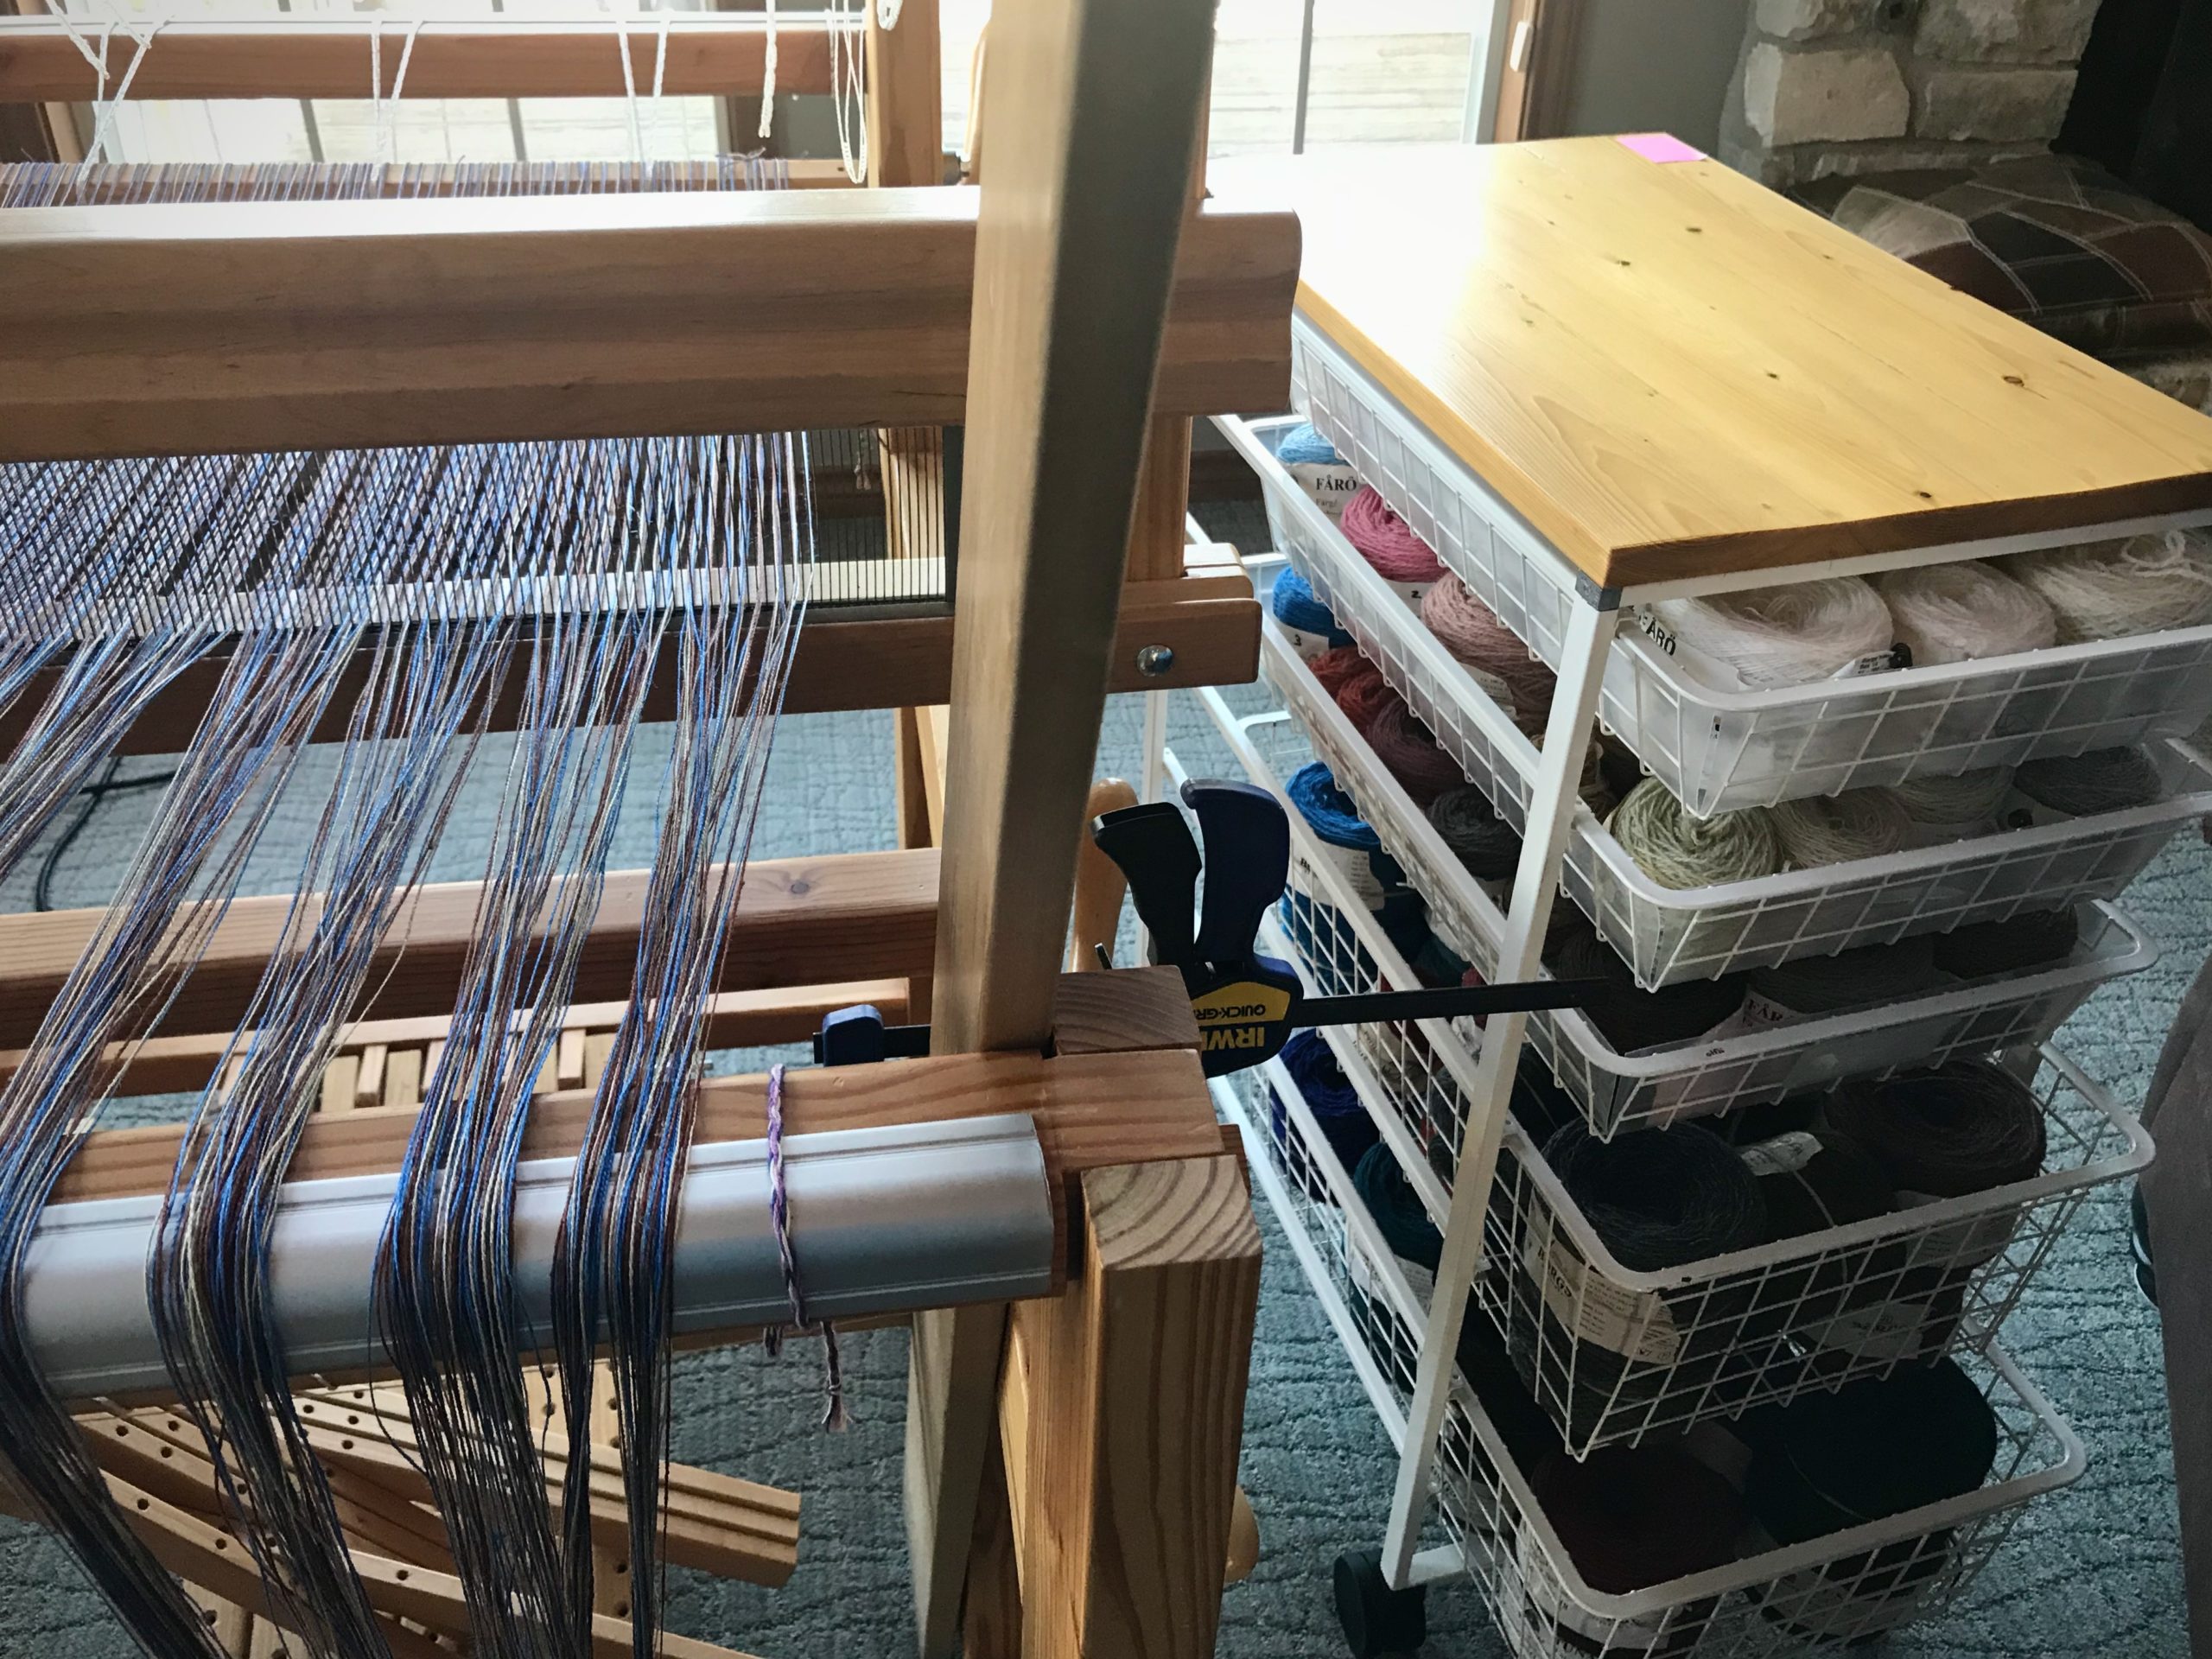
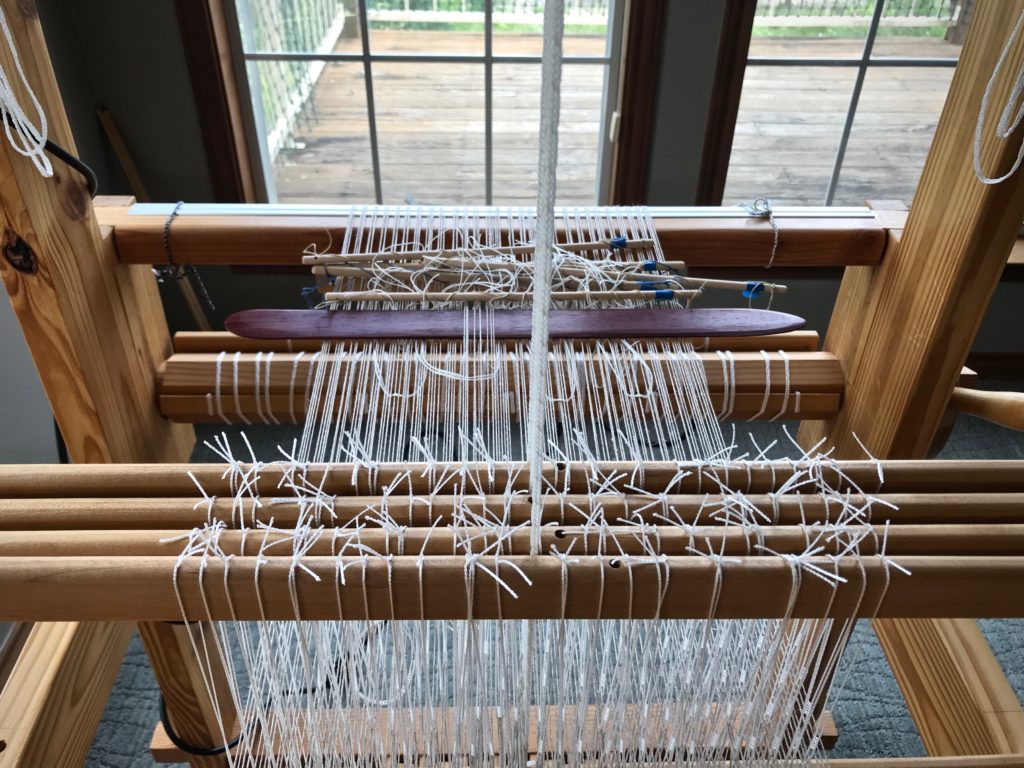
Linen warp is ready for beaming. Wool weft yarn is being sorted and organized for making butterflies.

May your tools give you more time for weaving.

Making it easier,
Karen

Monksbelt Flowers on a Shoulder Bag

Remember Joanne Hall’s Swedish Art Weaves workshop that I took a few months ago? With the warp that was left, I explored some of the art weaves in more depth.

Monksbelt (Munkabälte), Dukagång, and Halvkrabba can be seen below the warp.

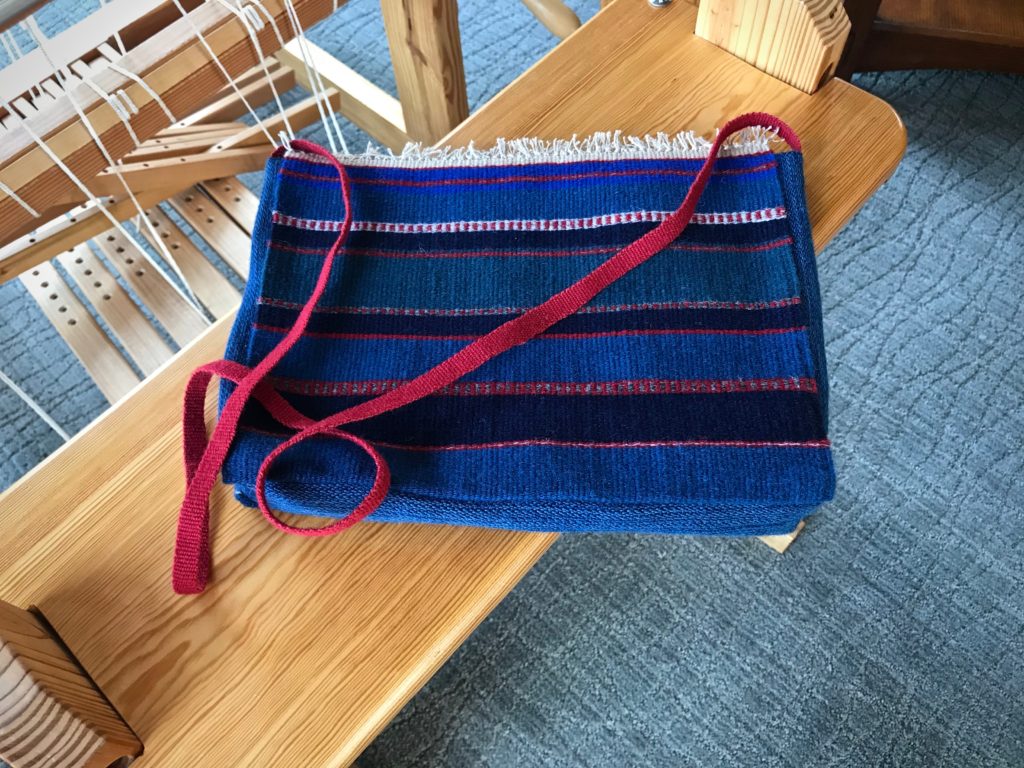
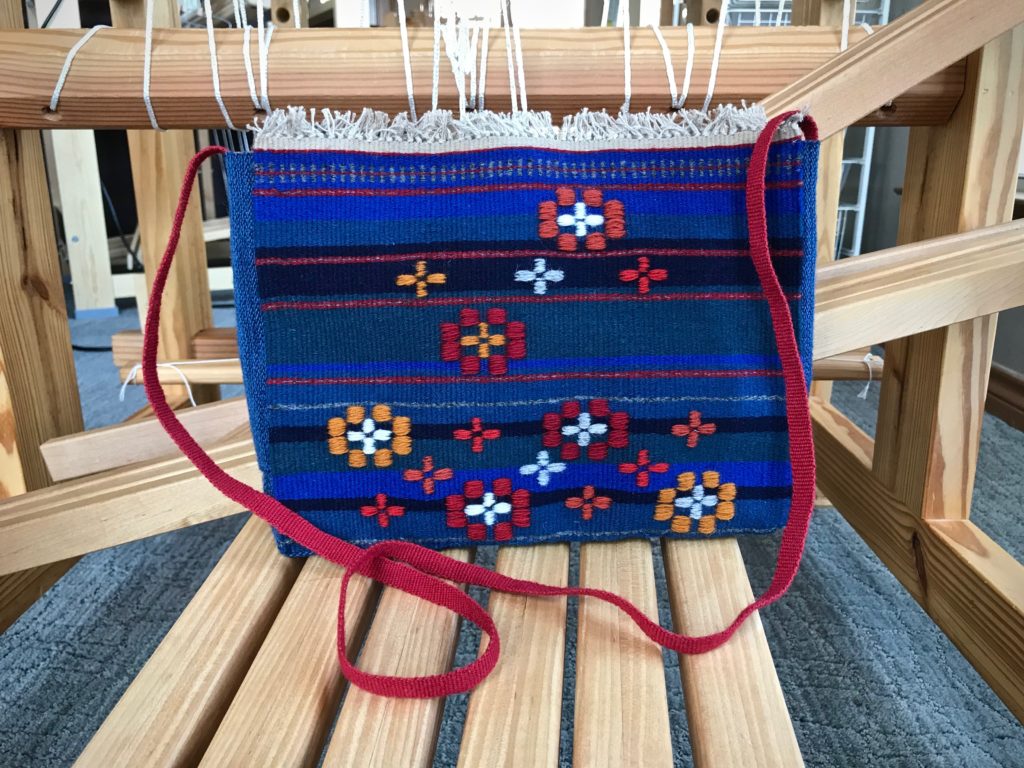
I finished off the linen warp by making a front and back panel for a small shoulder bag. A monksbelt pattern is scattered like flowers on the front. The back has various stripe patterns in weft-faced plain weave. I wove a shoulder strap on my band loom using 6/2 Tuna wool for warp and 12/6 cotton for weft.

Weaving Monksbelt with half heddle sticks.
Half-heddle sticks and batten in front of the back beam, for weaving monksbelt patterns.
Pick up for monksbelt.
Pick-up stick in front of the reed is being used to weave a monksbelt flower “petal.”
Handwoven shoulder bag in progress.
Back panel has varying stripe patterns.
Cutting off.
Cutting off.
Glimakra band loom. Narrow wool band.
Narrow wool band for the bag shoulder strap.

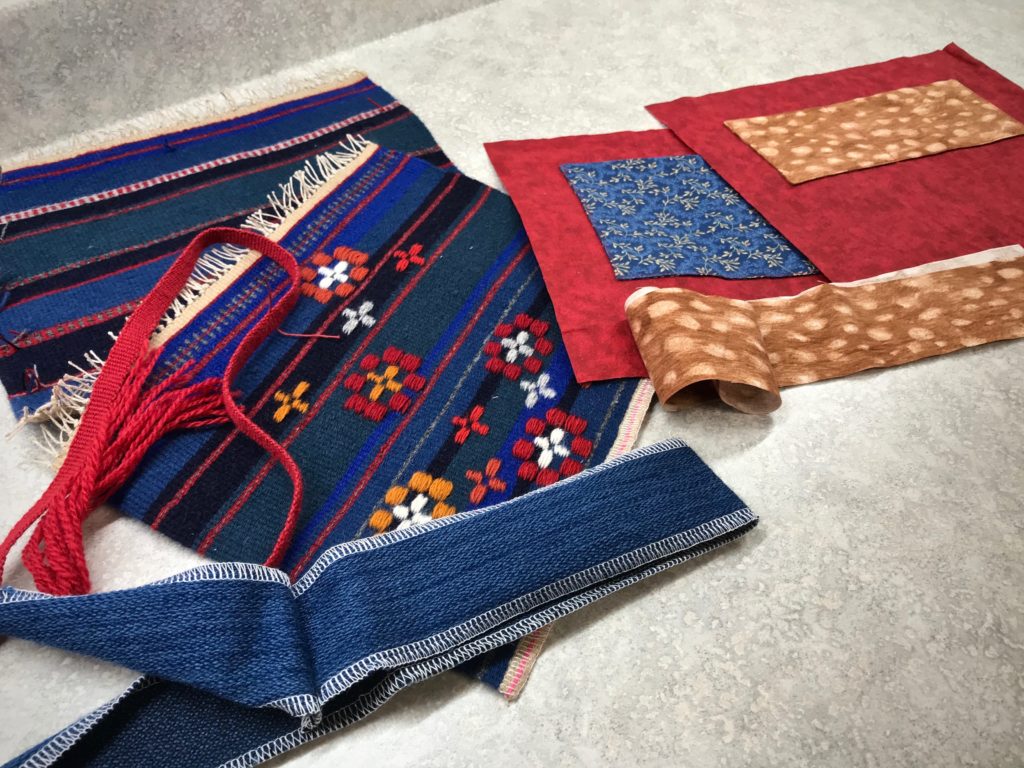
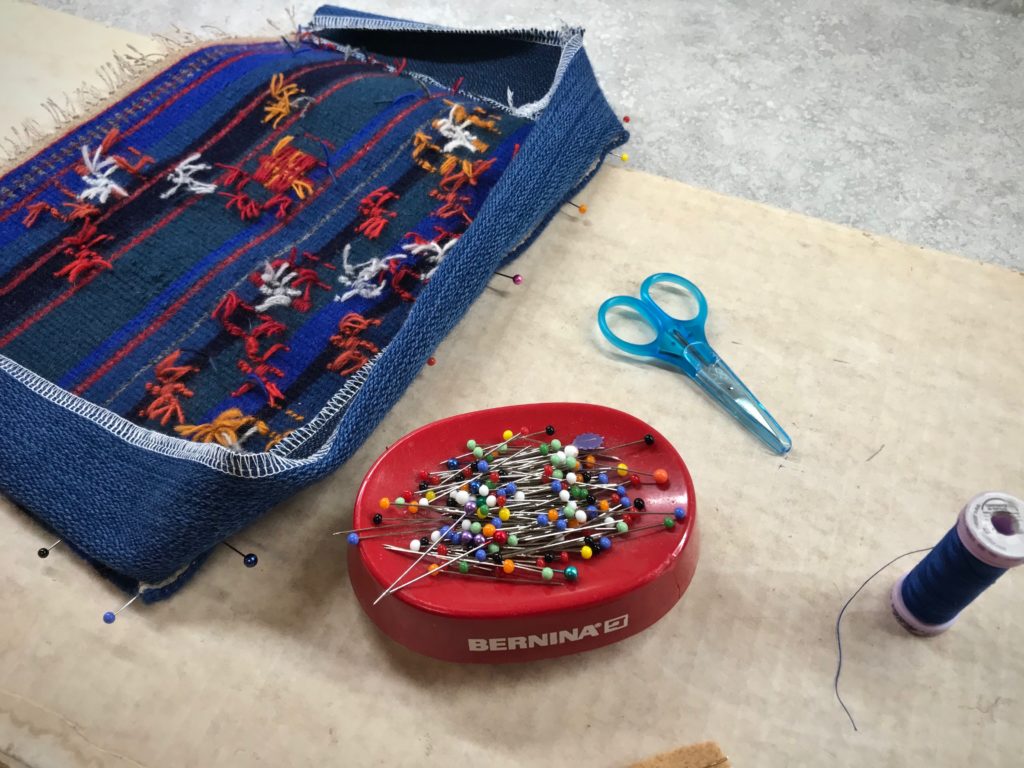
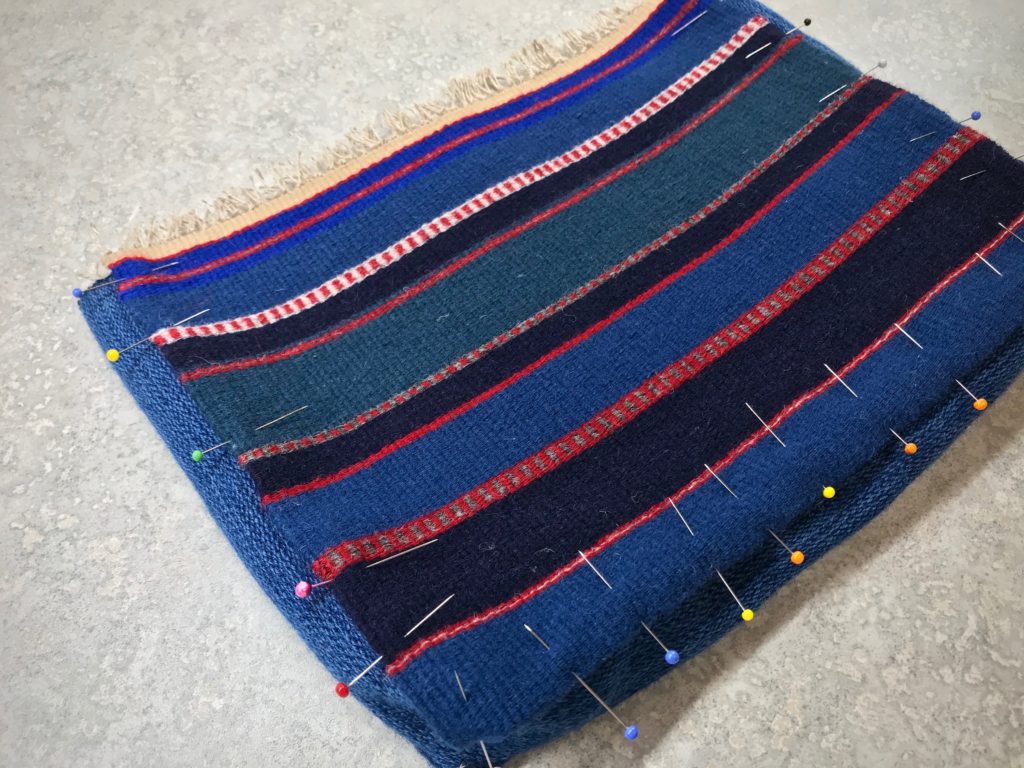
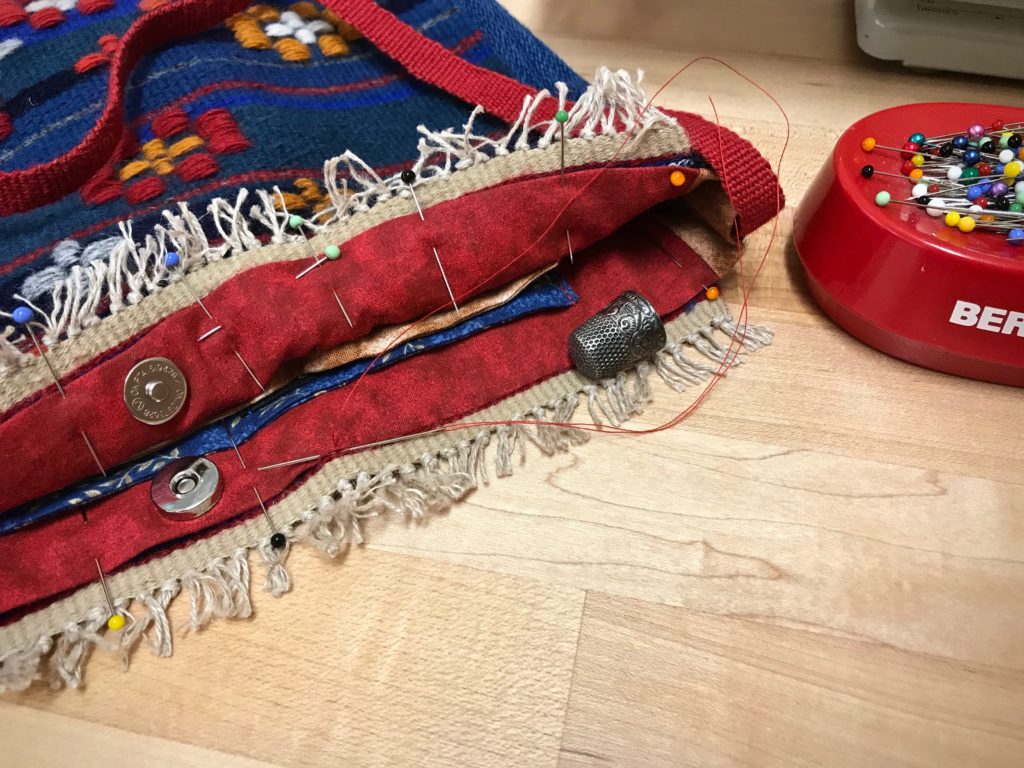
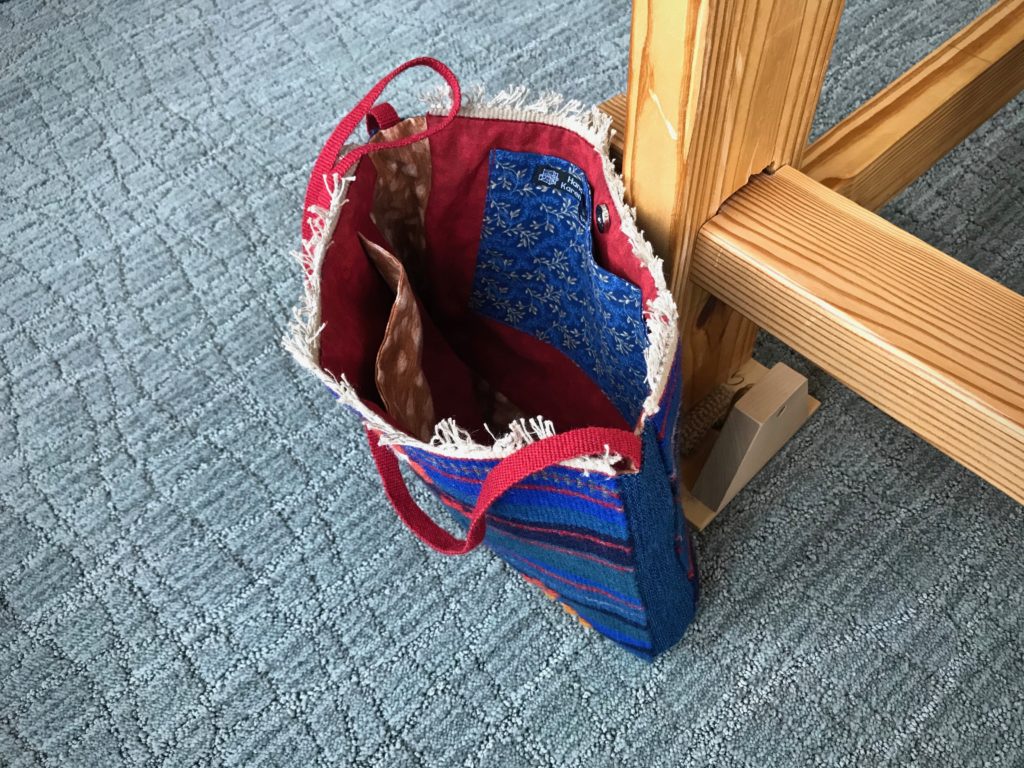
The bag has simple construction, mostly hand-stitched. In one of my remnant bins I found a piece of wool fabric that I wove several years ago. It’s perfect for the sides and bottom of the bag. The lining uses pieces from fabric that went into my latest rag rugs, and has pockets, of course.

Making a handwoven wool bag.
Overhand knots secure the warp ends.
Construction of a wool shoulder bag.
Ready to assemble all the parts.
Constructing a small handwoven wool bag.
Handwoven wool pieces are hand-stitched together.
Handwoven wool bag construction.
Bag construction continues with stitching the back in place.
Magnet closure on a handwoven bag.
Magnet closure is added to the lining before stitching the lining in place. Knots and fringe outline the top of the bag.

This bag with Monksbelt Flowers is for carrying sweet memories, happy moments, and heavenly dreams.

Handwoven shoulder bag.
Inside of handwoven wool bag.
Pockets in the lining.
Monksbelt Flowers handwoven shoulder bag.

Resources: Swedish Art Weaves workshop with Joanne Hall; Heirlooms of Skåne Weaving Techniques, by Gunvor Johansson; Väv Scandinavian Weaving Magazine, 2/2013.

This is the time for my annual pause for the month of July. I appreciate you joining me in this weaving journey!

I look forward to being back with you again Tuesday, August 4. In the meantime, joyfully draw living water from the source, Jesus Christ.

May you carry no more than necessary.

With love,
Karen