Process Review: Jämtlandsdräll with Julia

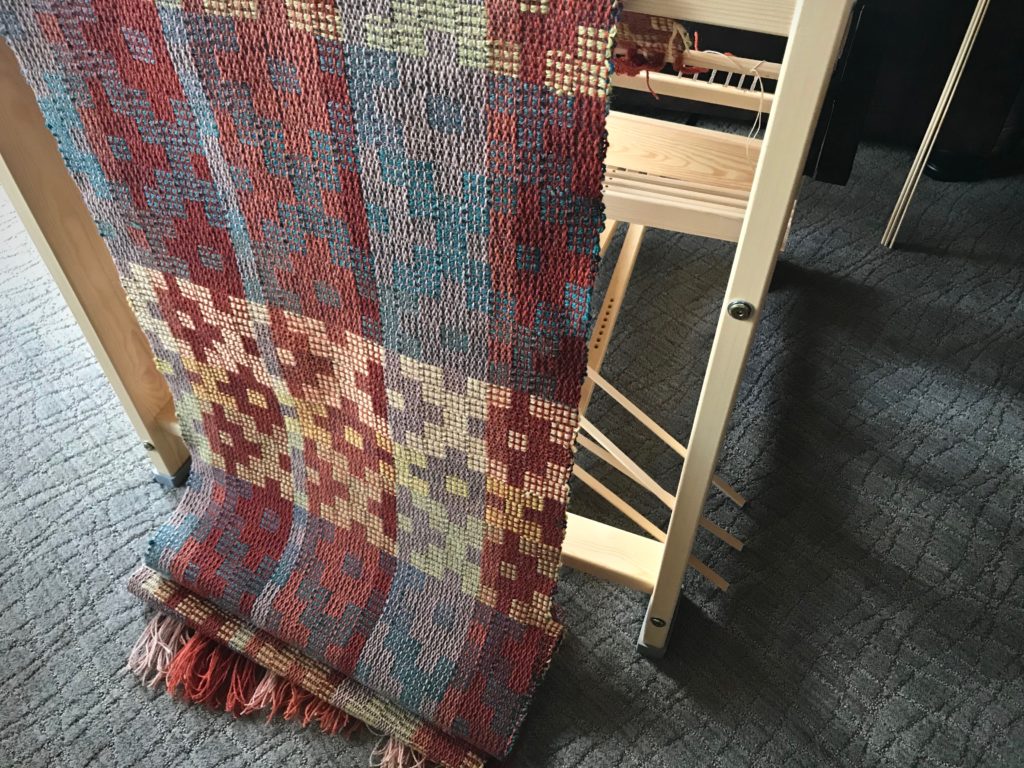
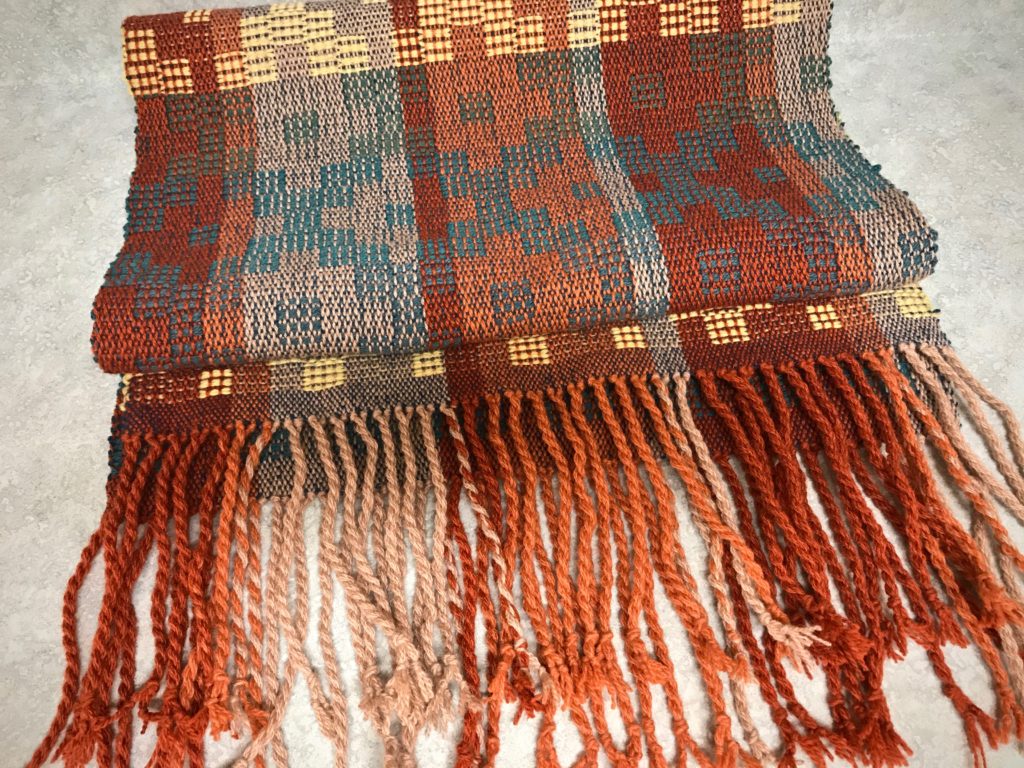
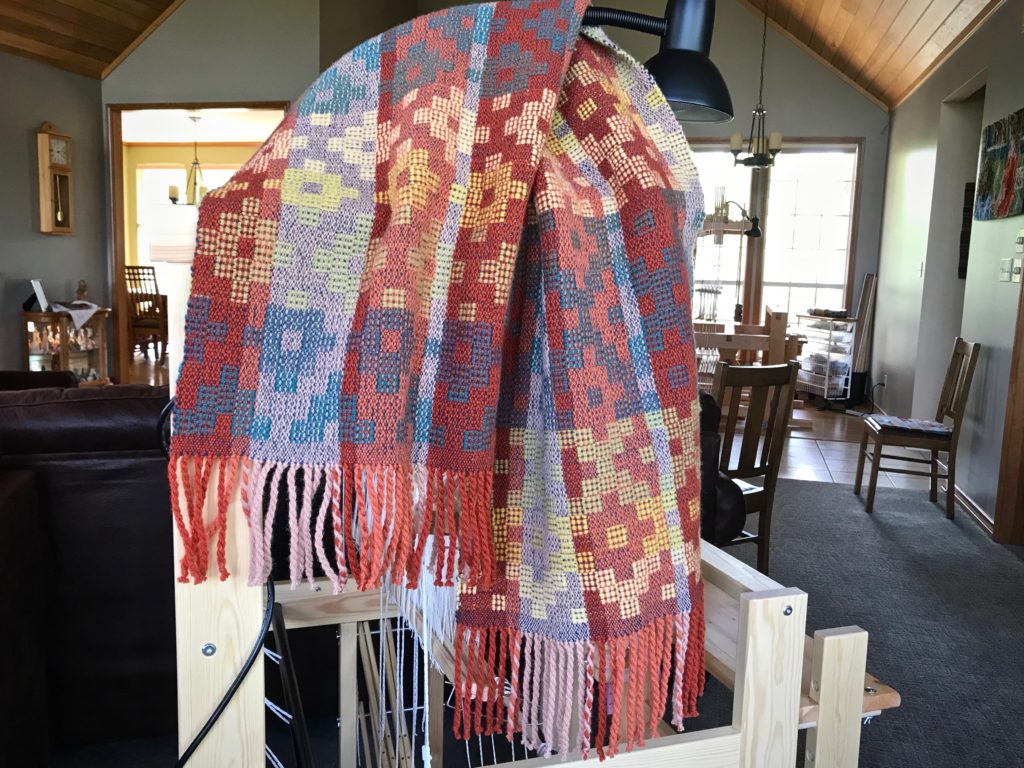
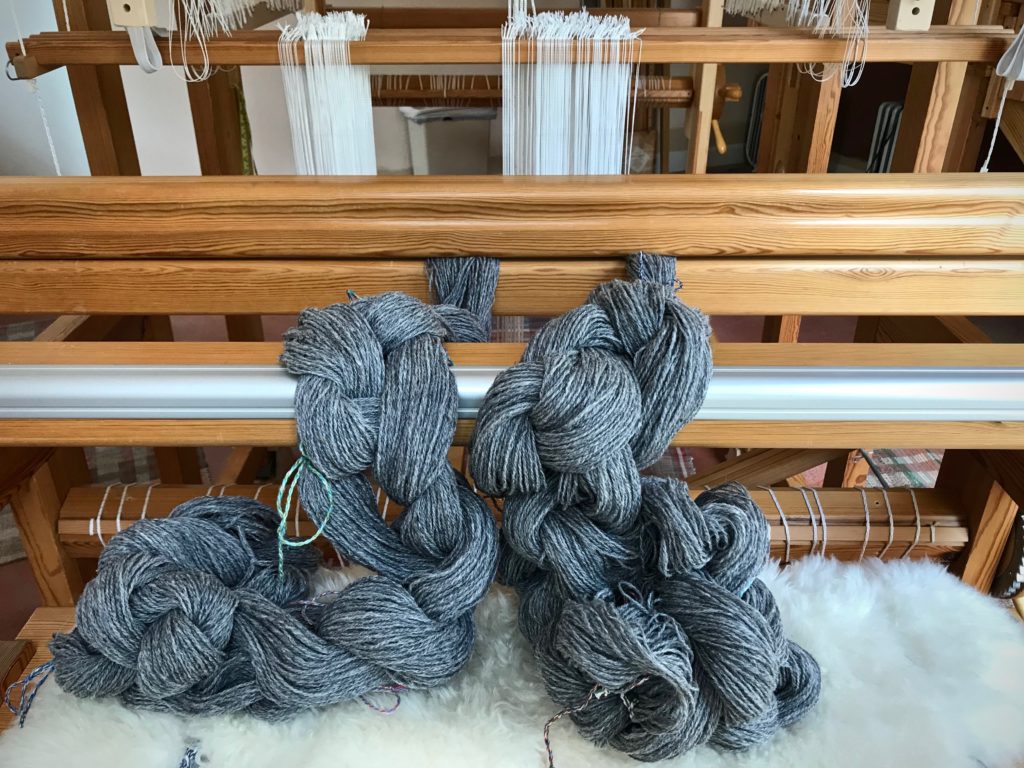
My intention is to weave fabric for a couple of cushy throw pillows. But after just one pattern repeat, I realize that this cloth on my brand new Glimåkra Julia is something I would like to wear! No pillows this time. Instead, here is my new autumn/winter shoulder wrap, embellished with frisky swinging fringes. Miss Julia has proven her worth on four-shaft Jämtlandsdräll (crackle) in 6/2 Tuna wool. Her next adventure will be something that explores all eight shafts. (See My New Glimåkra Julia Loom.)

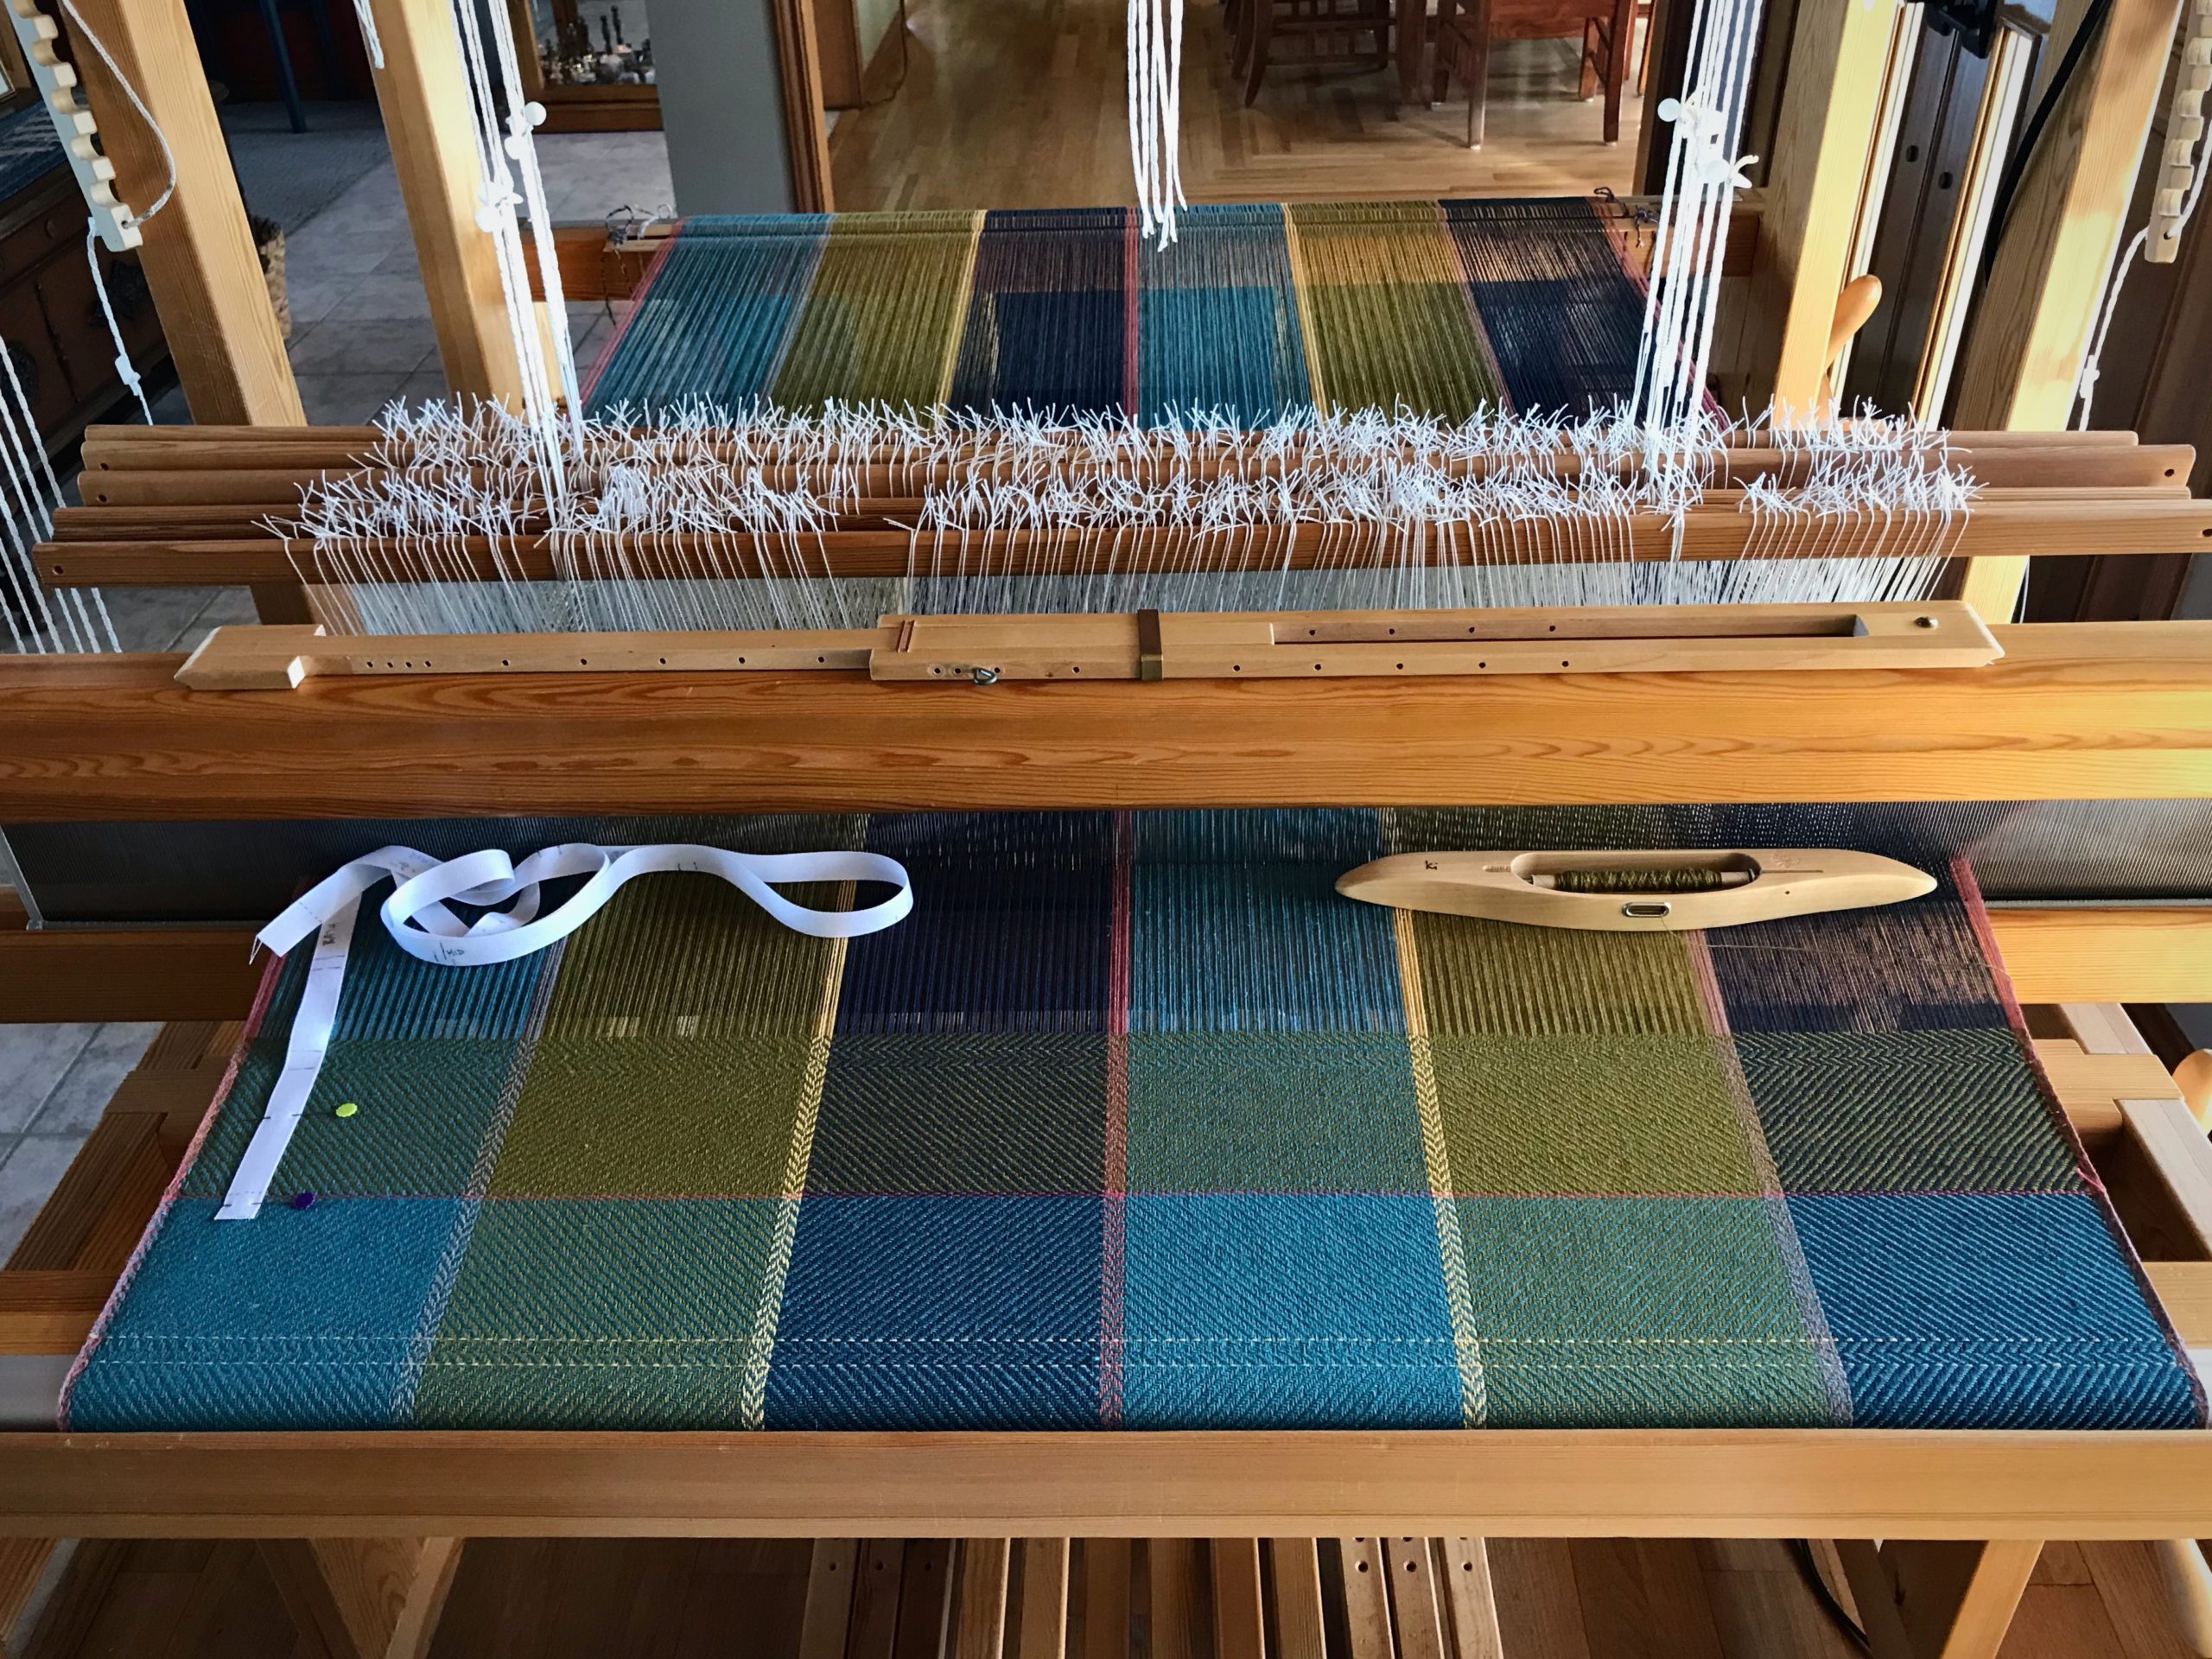
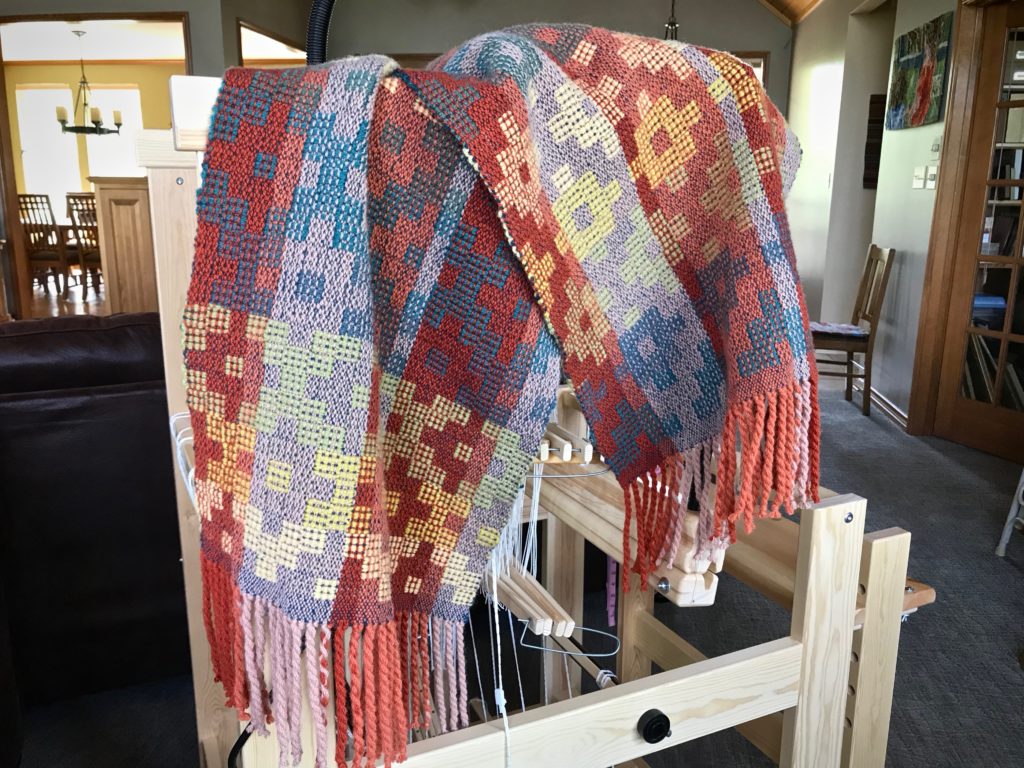
Jämtlandsdräll Wool Wrap - woven on Glimåkra Julia.
Finished wrap. Ready for cool weather!

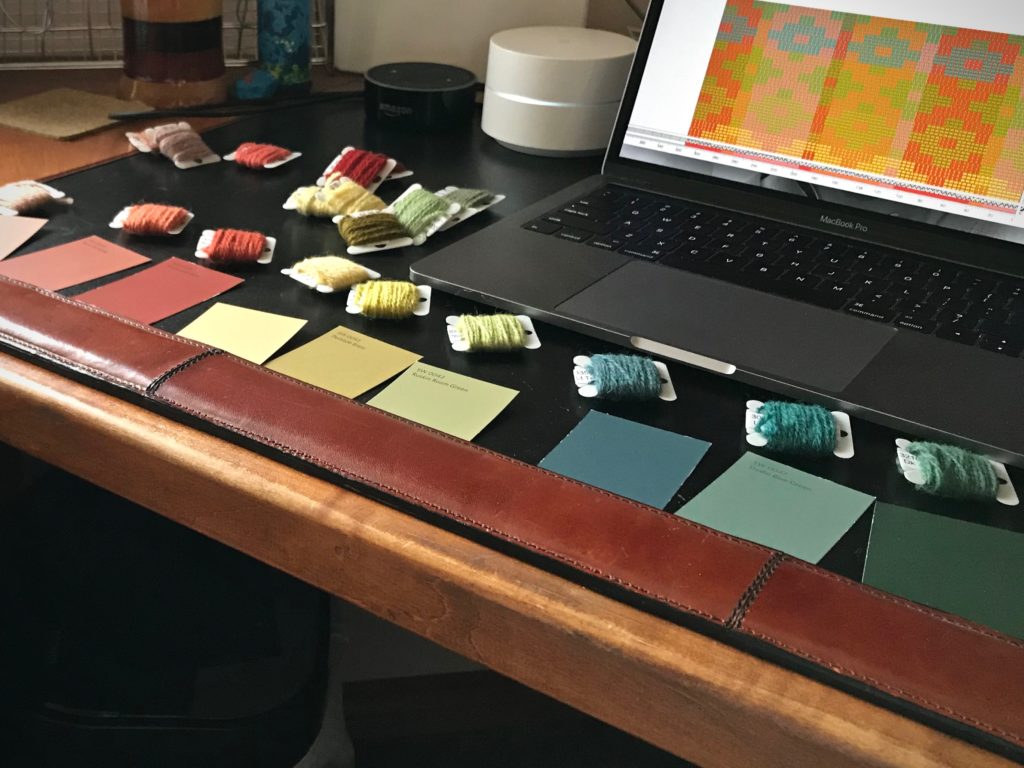
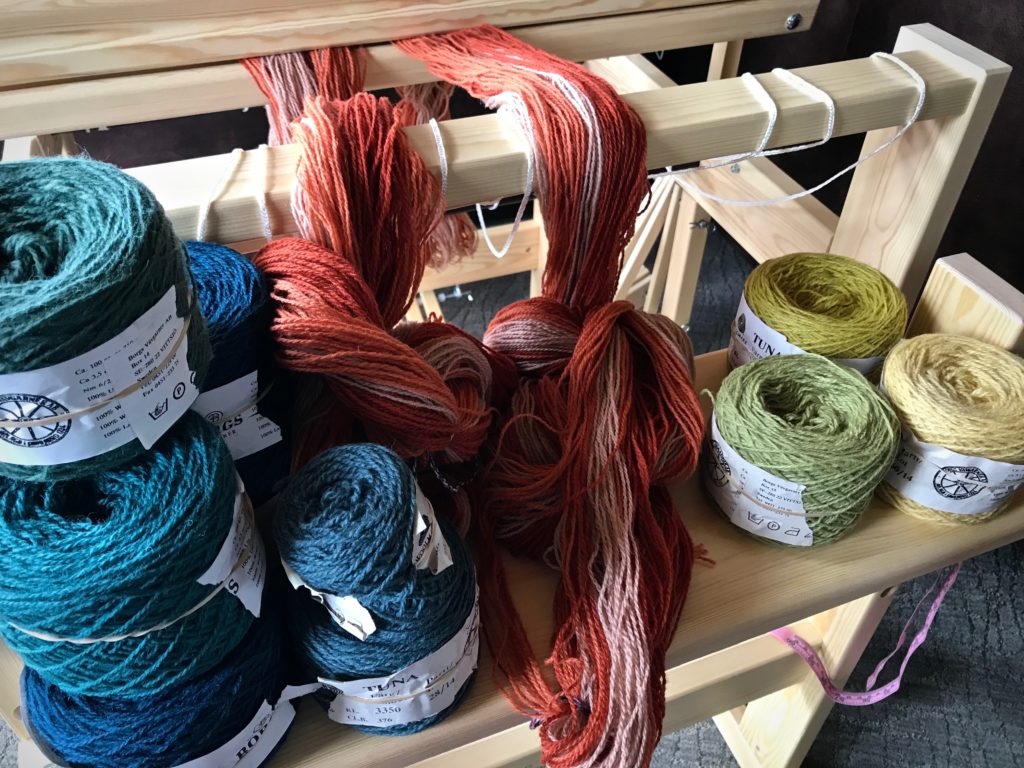
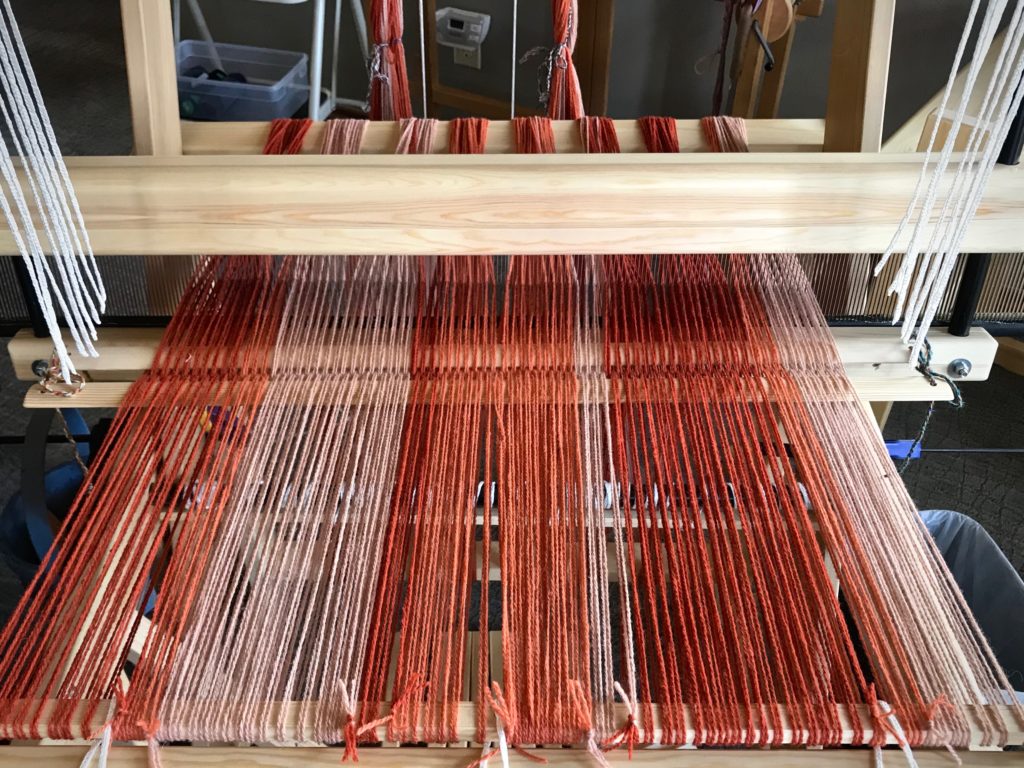
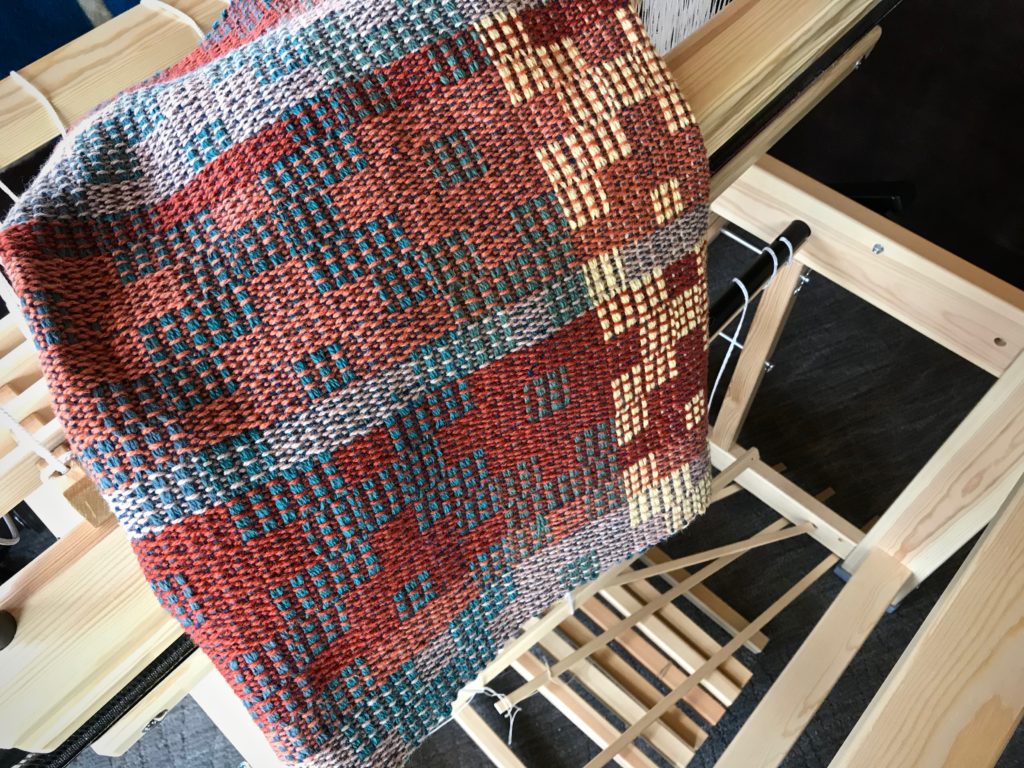
This project starts with the draft for the Jämtlandsdräll Blanket on p.59 of Simple Weaves, by Birgitta Bengtsson Björk and Tina Ignell. Tuna yarn samples, along with Fiberworks Silver for Mac, help me jazz up the color. I settle on three colors for the warp, with burnt orange as the anchor. Six different colors are used for the pattern weft, plus dark teal for the tabby.

Planning my next weaving project on Fiberworks.
Paint chips, Tuna yarn samples, and Fiberworks Silver for Mac aid my planning process.
Colors! Let's see how they work together on the loom.
Colors! Let’s see how they work together on the loom.
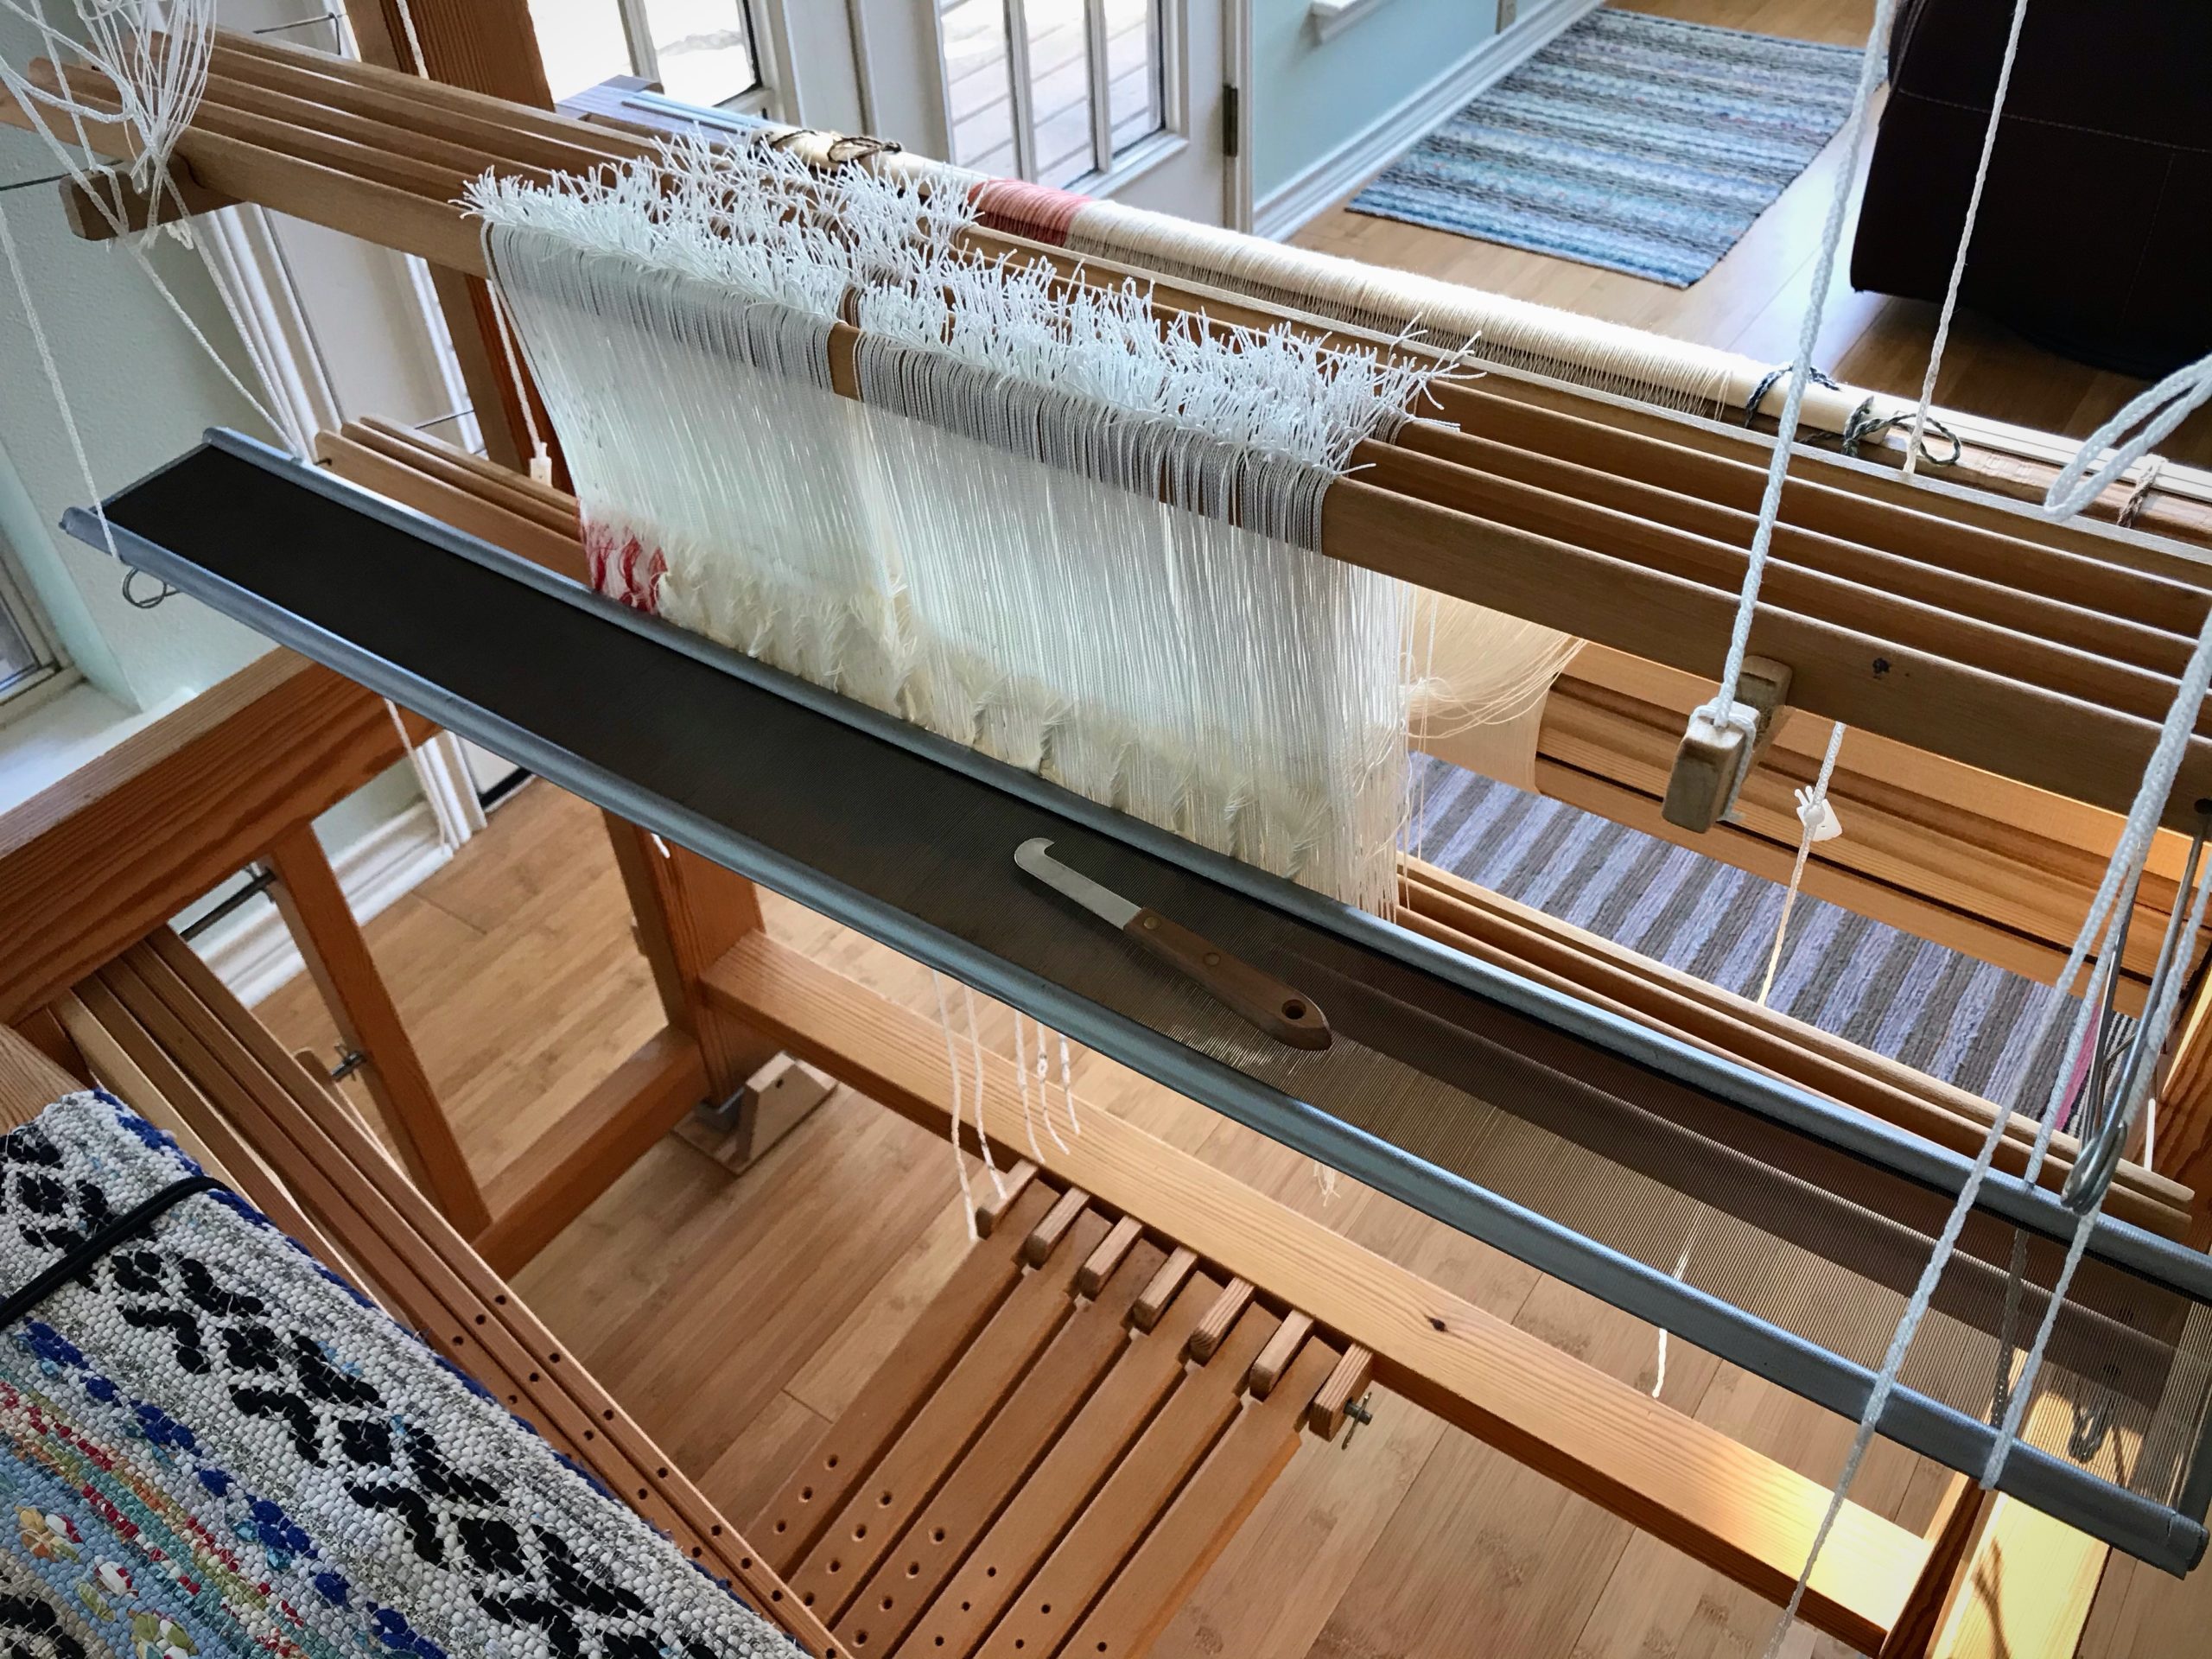
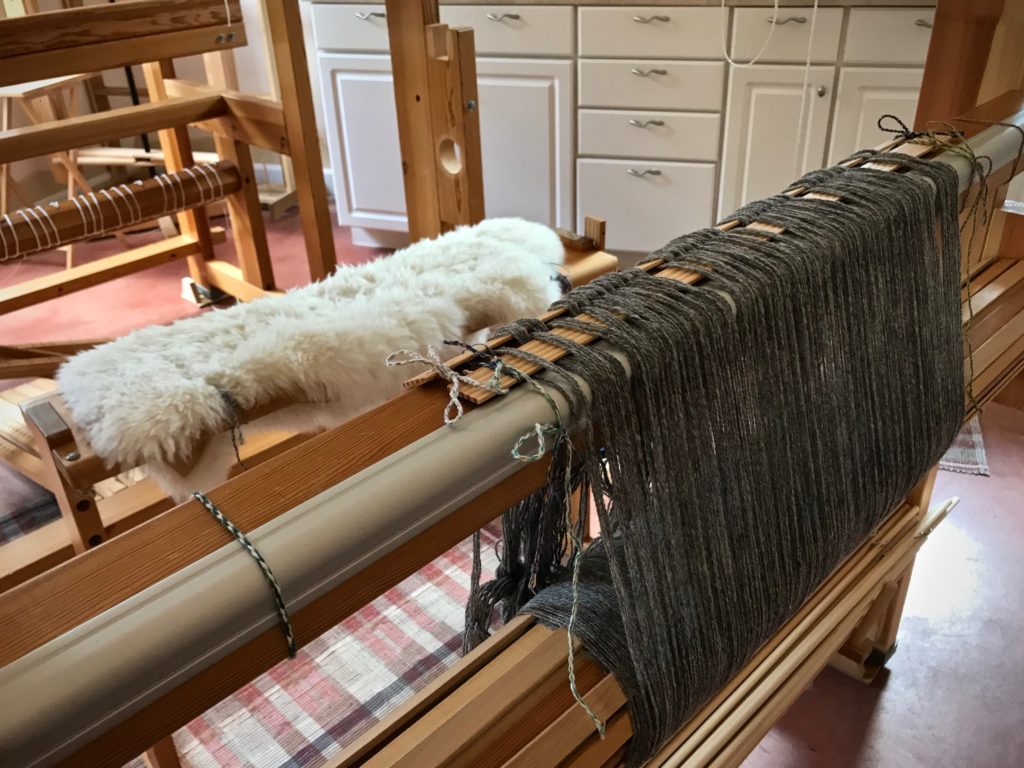
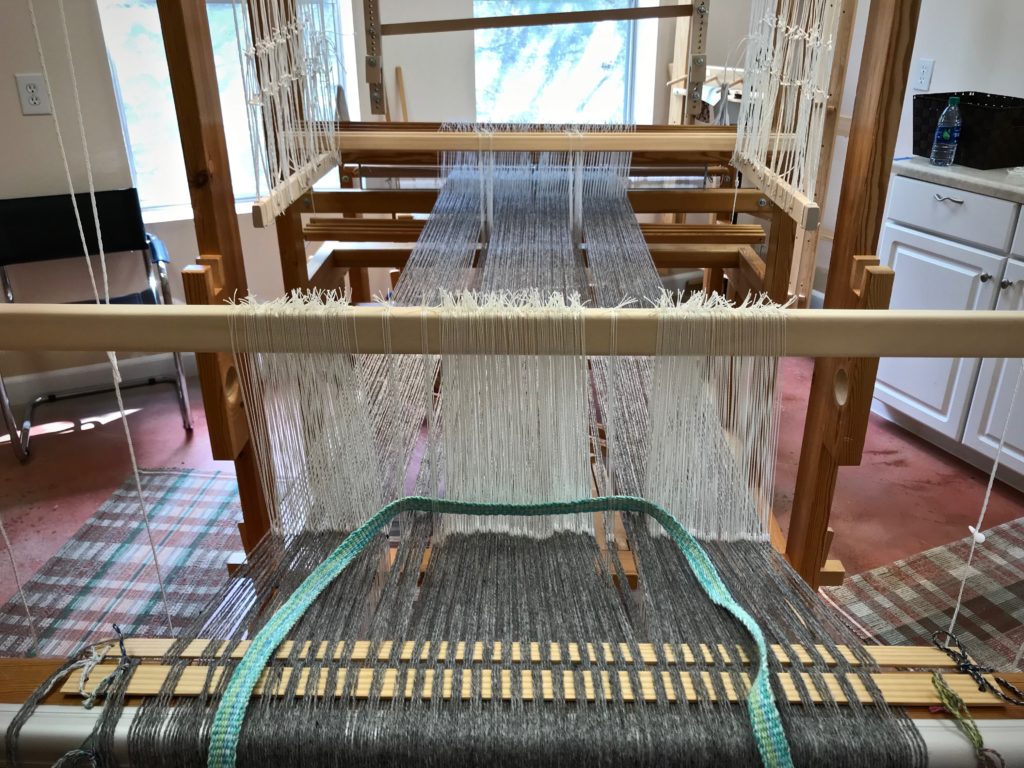
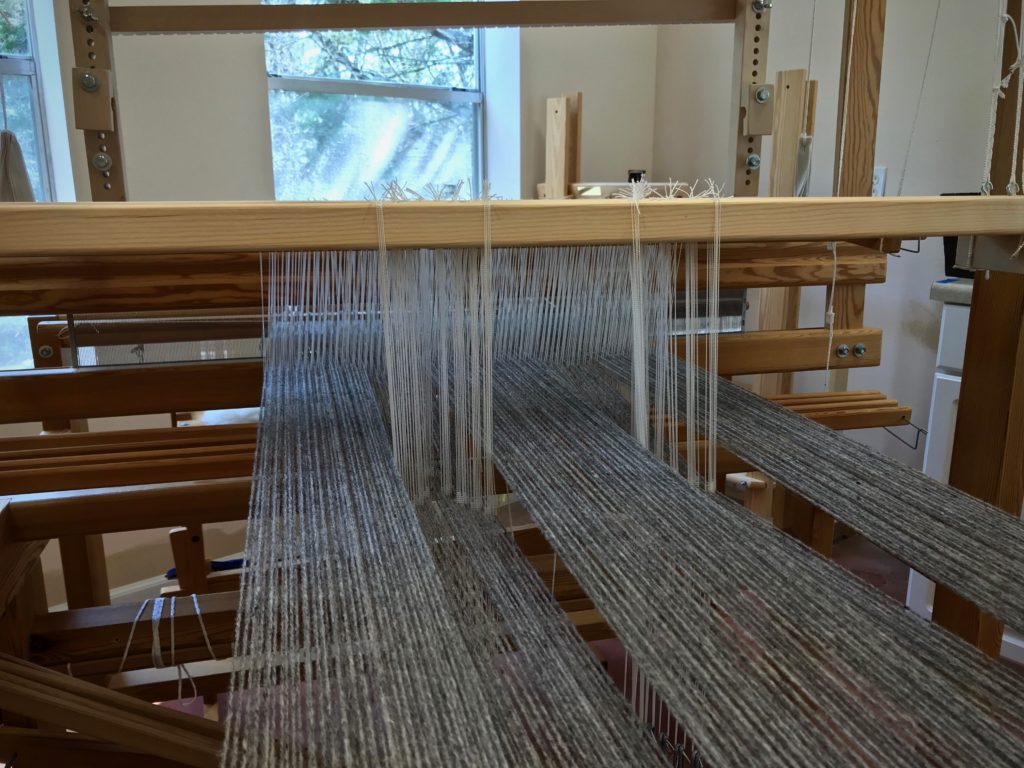
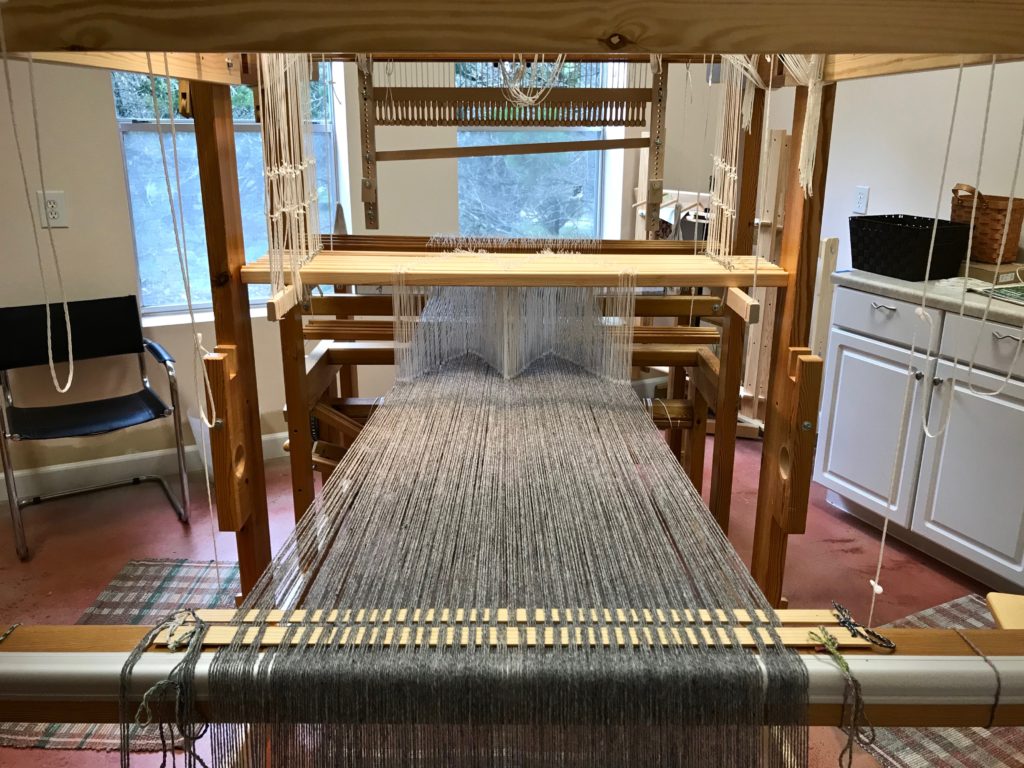
Beaming the warp on my new Julia.
Beaming the warp.
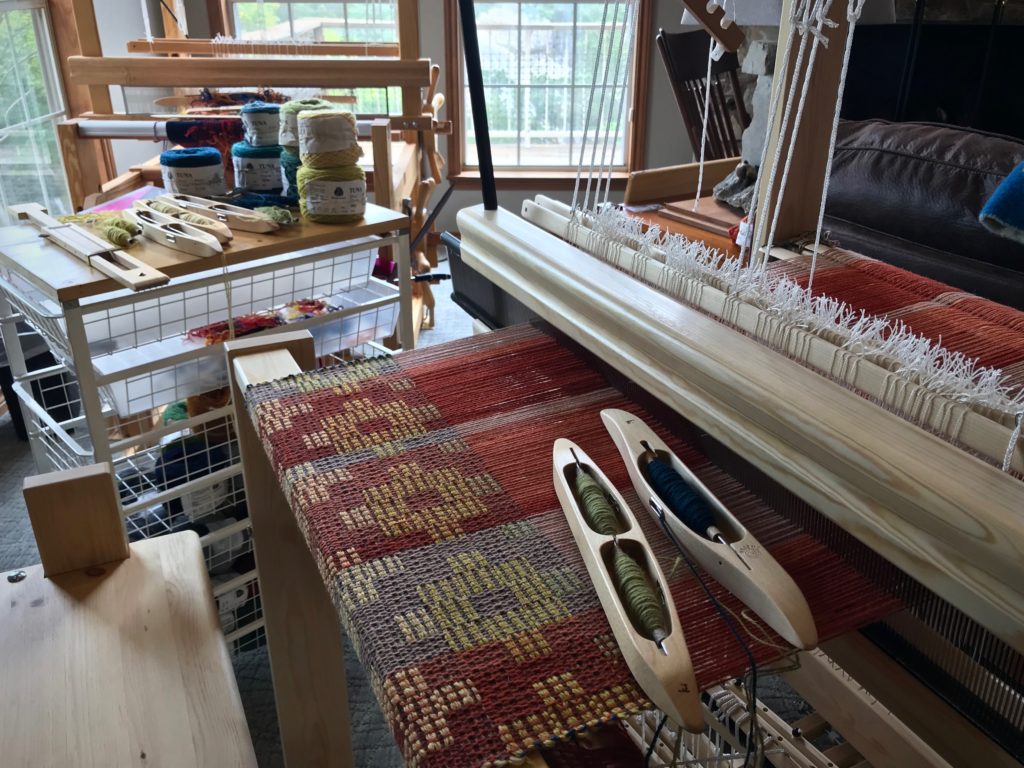
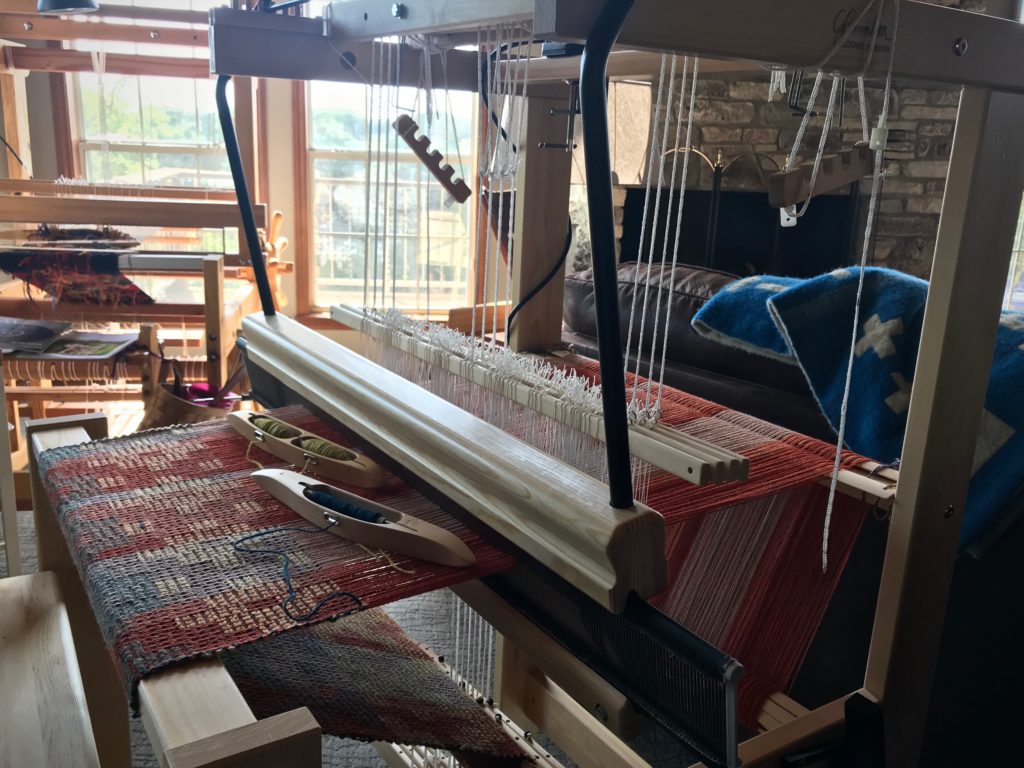
Weaving Jamtlandsdrall (Crackle) on my new Julia.
Daylight, plus colorful yarn. As summer is warming up outside, Julia is dressed warmly inside.
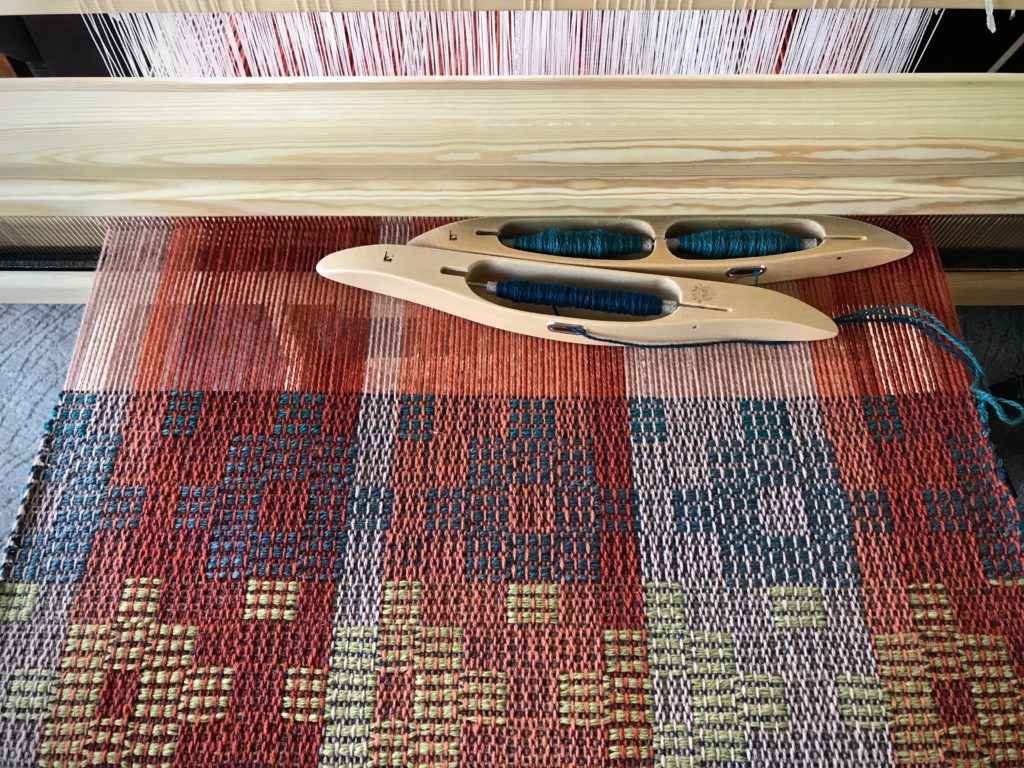
Weaving Jamtlandsdrall (crackle) on my new Julia.
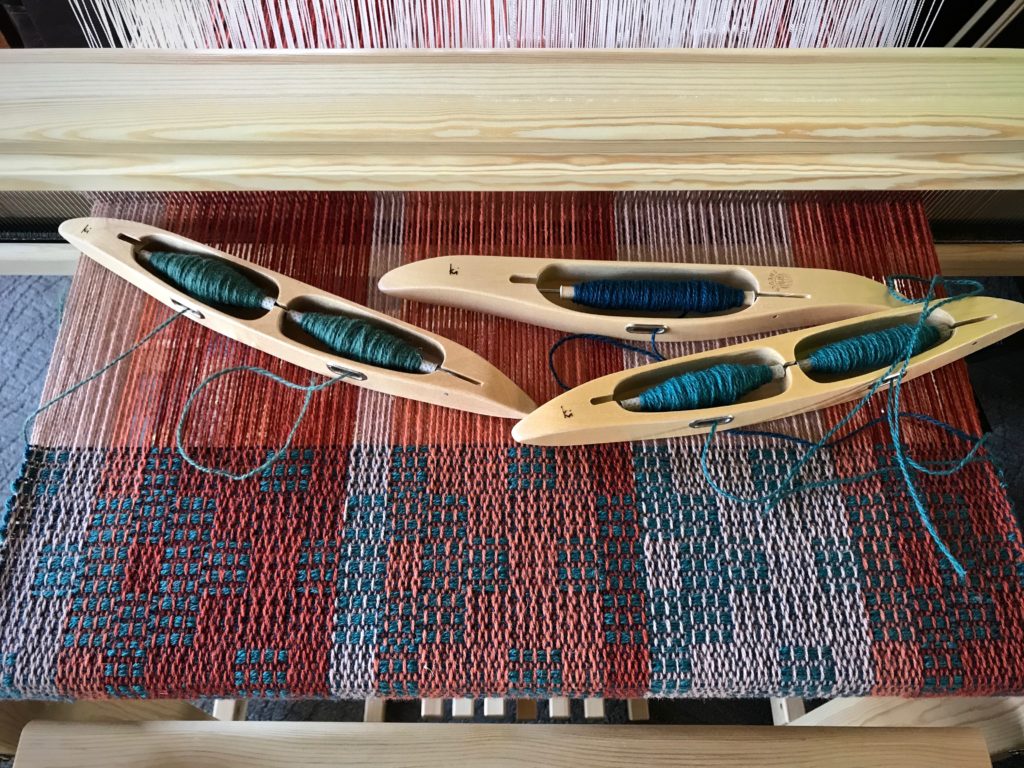
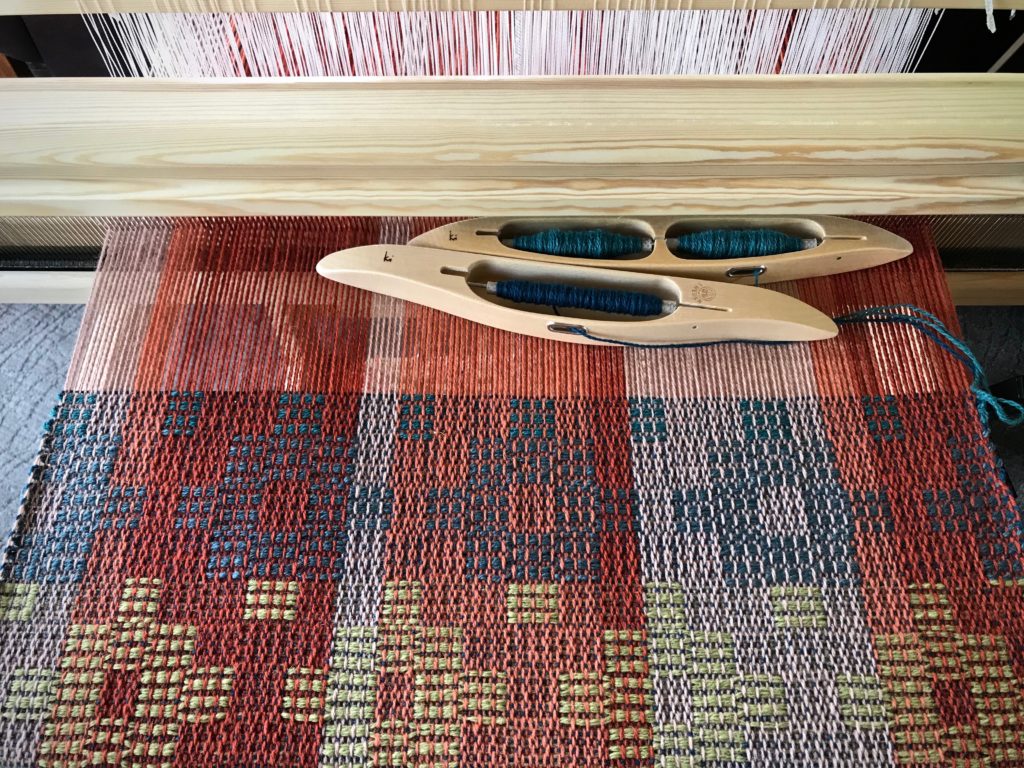
There is something about weaving with a double-bobbin shuttle that I especially enjoy.
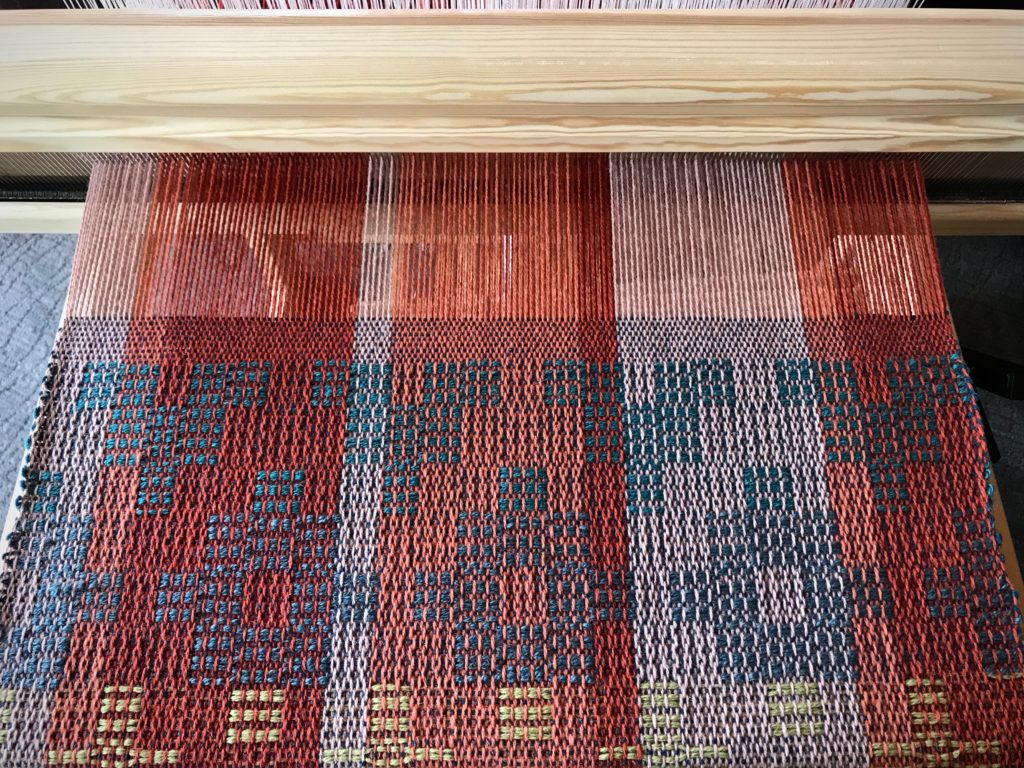
Color gradation in the pattern.
Some color gradation in the pattern.
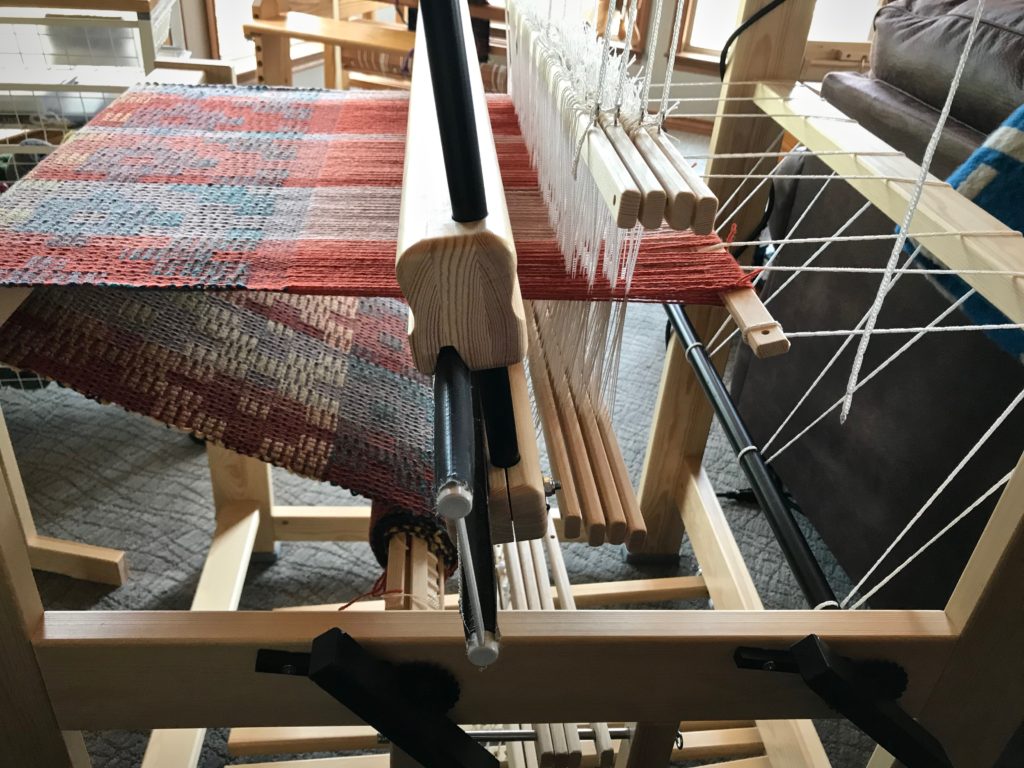
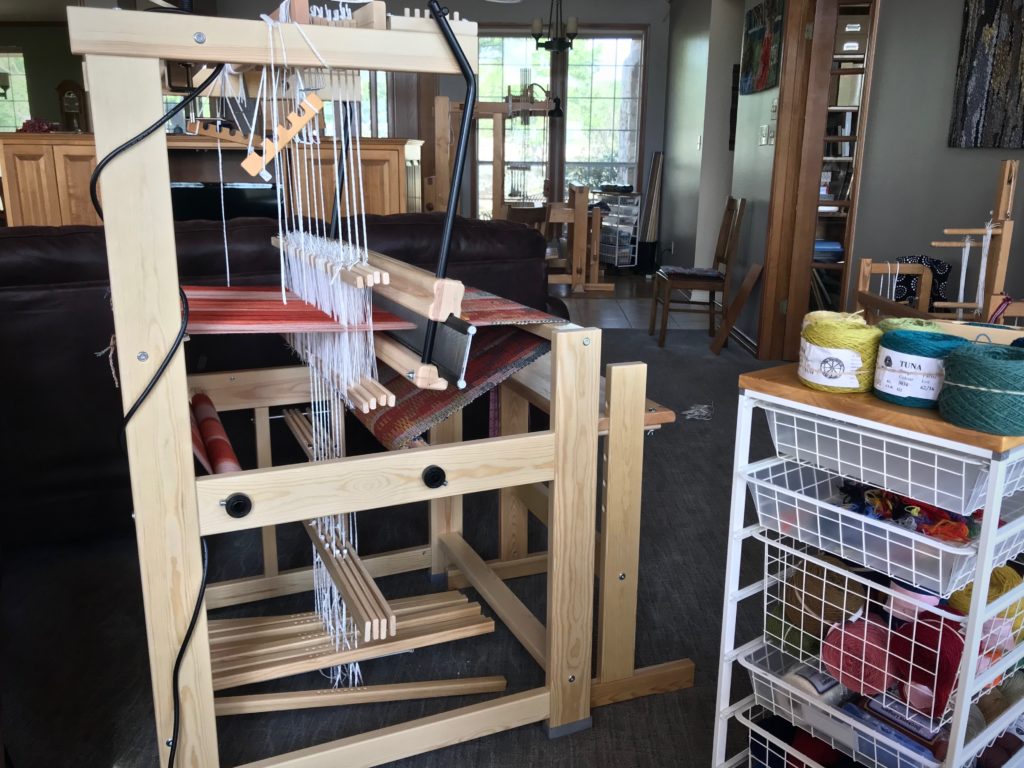
My new Glimakra Julia!
Miss Julia, filling up her cloth beam.
Crackle (Jamtlandsdrall) in Tuna Wool.
Ending with a few picks of plain weave.
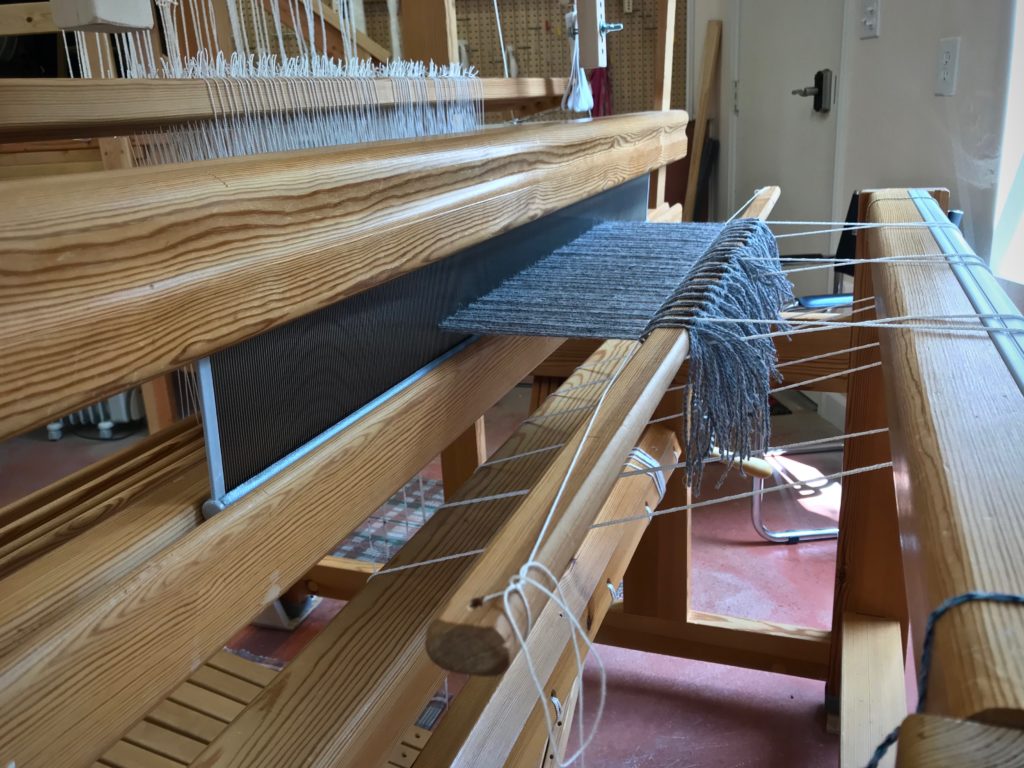
End of warp on my new Glimakra Julia.
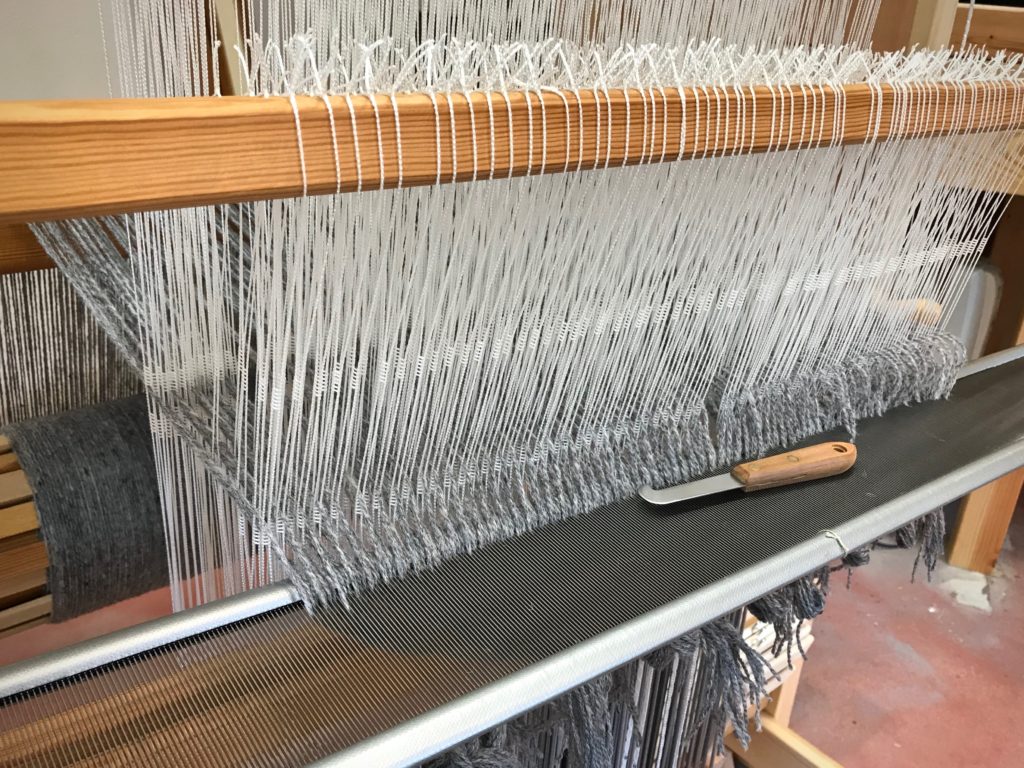
Thrums at the end of the warp will serve as fringe.
Cutting off Jamtlandsdrall (crackle)!
Cutting off, giving a view of the back side of the cloth. Front and back have reverse images.
Jämtlandsdräll, just off the loom.
Twisting fringe on Jamtlandsdrall wrap.
Much to my pleasant surprise, after removing (unweaving) my short sample weaving at the beginning, and untying the front tie-on knots, I had the EXACT same length of fringe–to the centimeter–on both ends of the woven wrap.
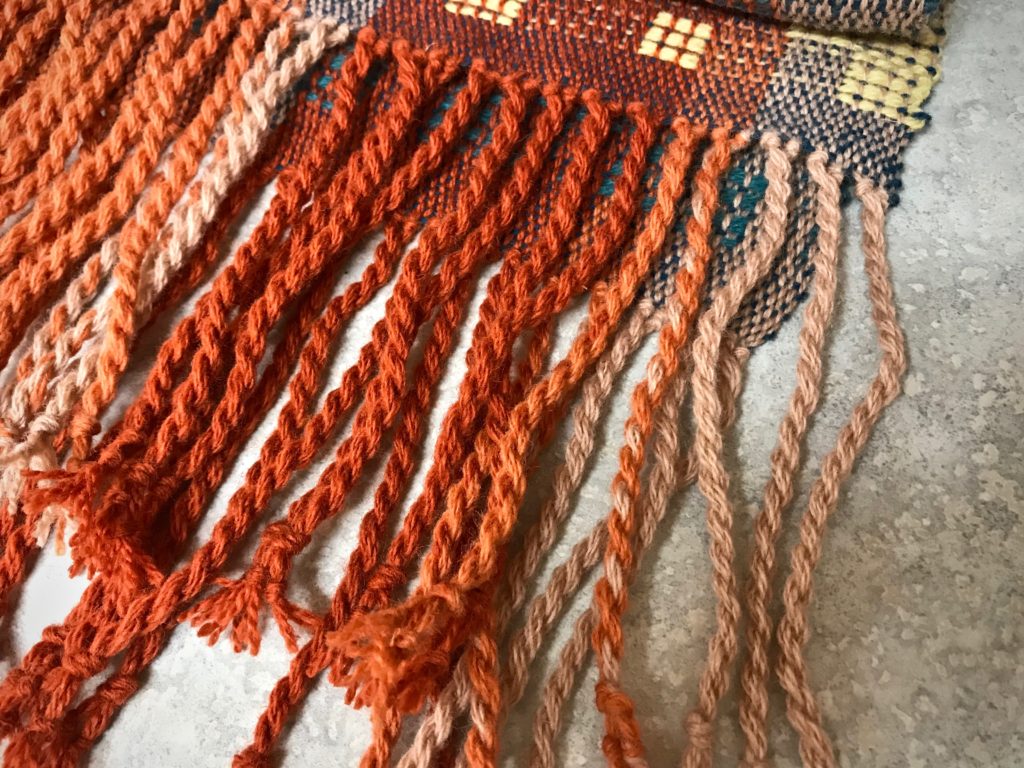
Chunky, frolicky fringe.
Overhand knots secure the weft. Two groups of four warp strands each form each chunky fringe. Now, this wrap is ready for wet-finishing.

This is one of those times when the weaving is so satisfying that I truly don’t want the warp to come to an end. (…except that I’m excited to start on Julia’s second adventure!)

Jämtlandsdräll Autumn/Winter Wrap

May your adventures never cease.

Happy Weaving,
Karen

My New Glimåkra Julia Loom

My family of looms just welcomed a new little sister—Julia! This 8-shaft countermarch is Glimåkra’s smallest floor loom. I dressed the loom right away in 6/2 Tuna wool for 4-shaft Jämtlandsdräll to try out the loom. So far, so good. An 8-shaft project using 20/2 Mora wool is up next. Would you believe this is my new portable loom? Surprisingly, the Julia fits in the back of our vehicle, without disassembling. This is the loom you can expect to see with me at future workshops.

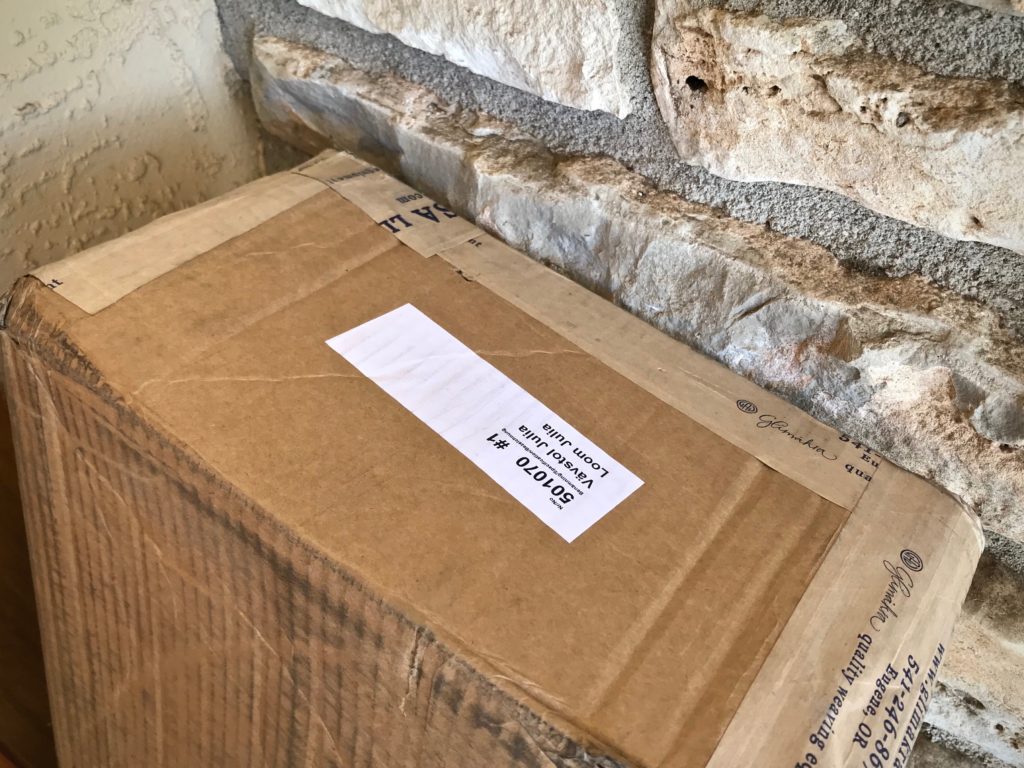
My new Glimakra Julia Loom delivered!
One of the boxes delivered to my front door.
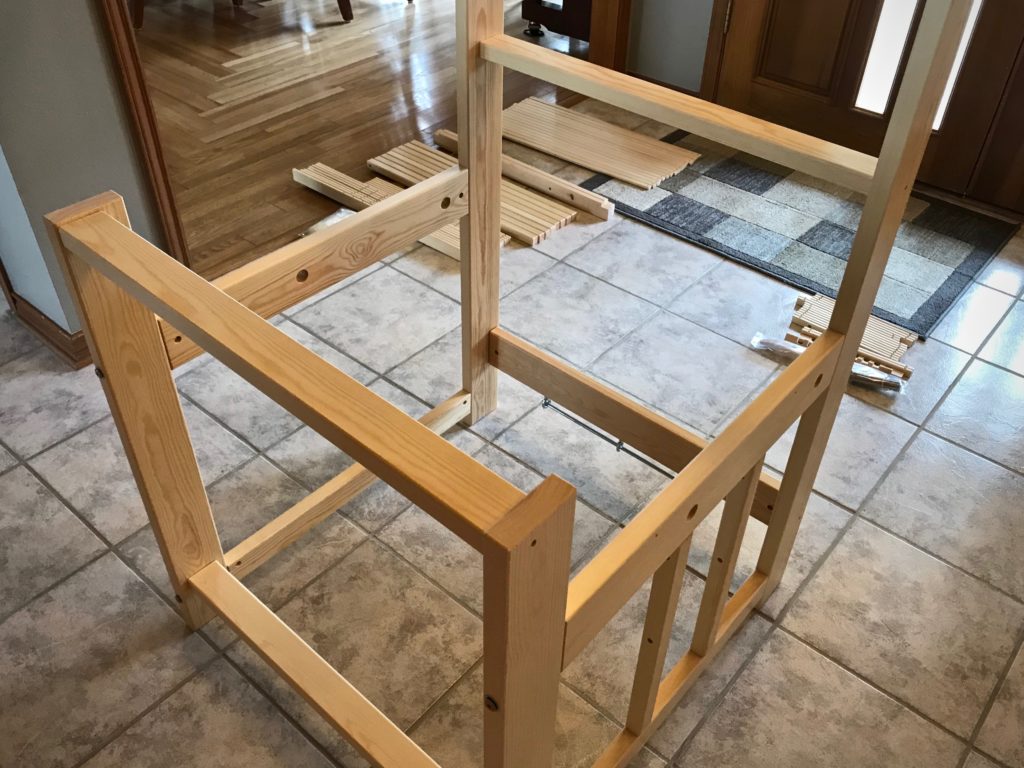
Assembling my new Glimakra Julia loom!
Loom assembly in our foyer.

My Julia Observations:

  • It goes together like you’d expect from a Glimåkra. Instructions are minimal, and quality is high. It’s a well-designed puzzle.
  • The assembled loom is easy to move around to gain space needed for warping, or simply to change location for any reason.
  • The breast beam is not removable like it is on my other Glimåkra looms, which makes it a stretch to thread the heddles from the front. However, by hanging the shaft bars from the beater cradle at the very front I can thread the heddles without back strain. (Or, if you are petite and don’t mind climbing over the side, you can put the bench in the loom for threading.)
  • Tying up lamms and treadles is not much different than it is for my Ideal. Everything is well within reach from the front. It helps to take the lamms off the loom to put in the treadle cords, and then put the lamms back on the loom. With one extra person available, it is entirely feasible to elevate the loom on paint cans, upside-down buckets, or a small table to make tie-ups easier, but I didn’t find it necessary to do that.
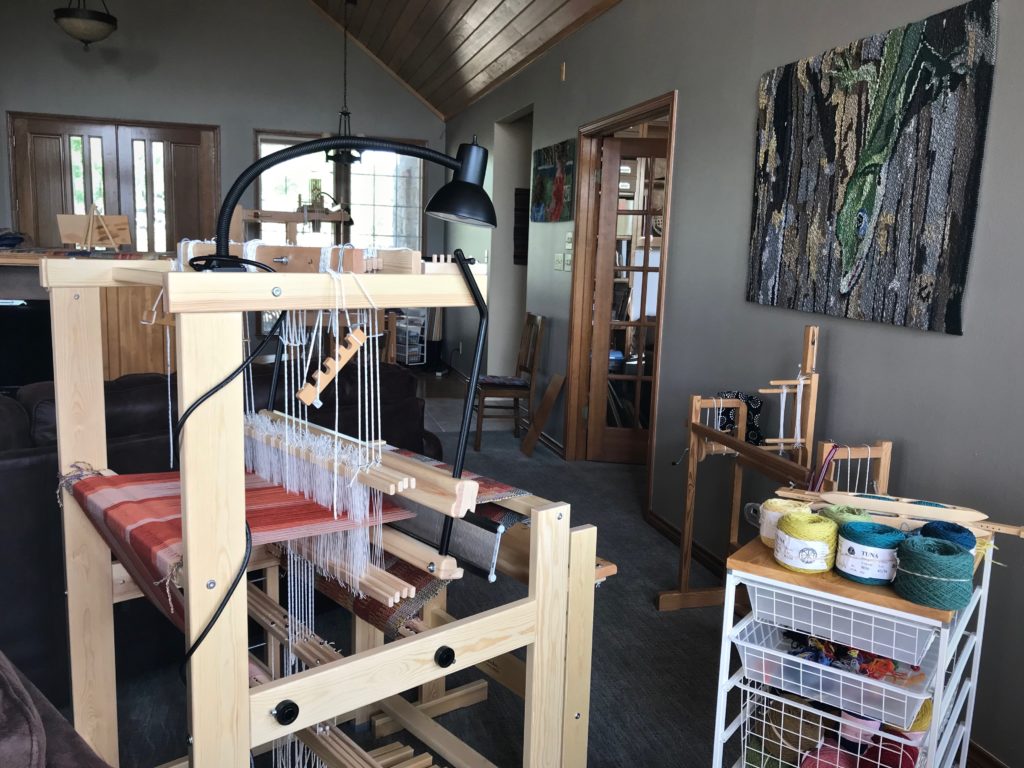
Swedish loom corner in the living room. New Glimakra Julia.
Loom that Steve built sits near the windows in our living room. Julia sits nearby. Sister looms.
Glimåkra Standard and Glimåkra Julia in the living room.
Glimåkra Standard sits by the windows at the front of the living room. Julia sits a few steps away. Loom sisters.
  • Weaving on the Julia is a delight, as it is with my other countermarch looms. Everything works. With four shafts, the sheds are impeccable.
  • The bench adjusts to the right height.
  • The hanging beater is well balanced, sturdy, and has a good solid feel. I can move the beater back several times before needing to advance the warp.
  • I thought the narrower treadles might prove annoying, but I’ve been able to adjust quickly. After weaving a short while, I forget about the treadle size.
Jämtlandsdräll in Tuna wool.
Double-bobbin shuttle for the pattern weft, and new boat shuttle that came with the loom for the ground weave weft. All 6/2 Tuna wool. Jämtlandsdräll.

Steve is the loom assembler in our family. I stand by and give a hand when needed. I hope you can feel our excitement as you watch this short video of us discovering what’s in the boxes and figuring out how it all goes together.

May you enjoy the puzzles that come to your doorstep.

Happy Weaving,
Karen

Process Review: Dressing the Drawloom the Second Time

Dressing the drawloom the second time is easier than the first time. No slip ups or confusion. Just smoothly moving from one step to the next. (Read to the end to see what to expect for July.)

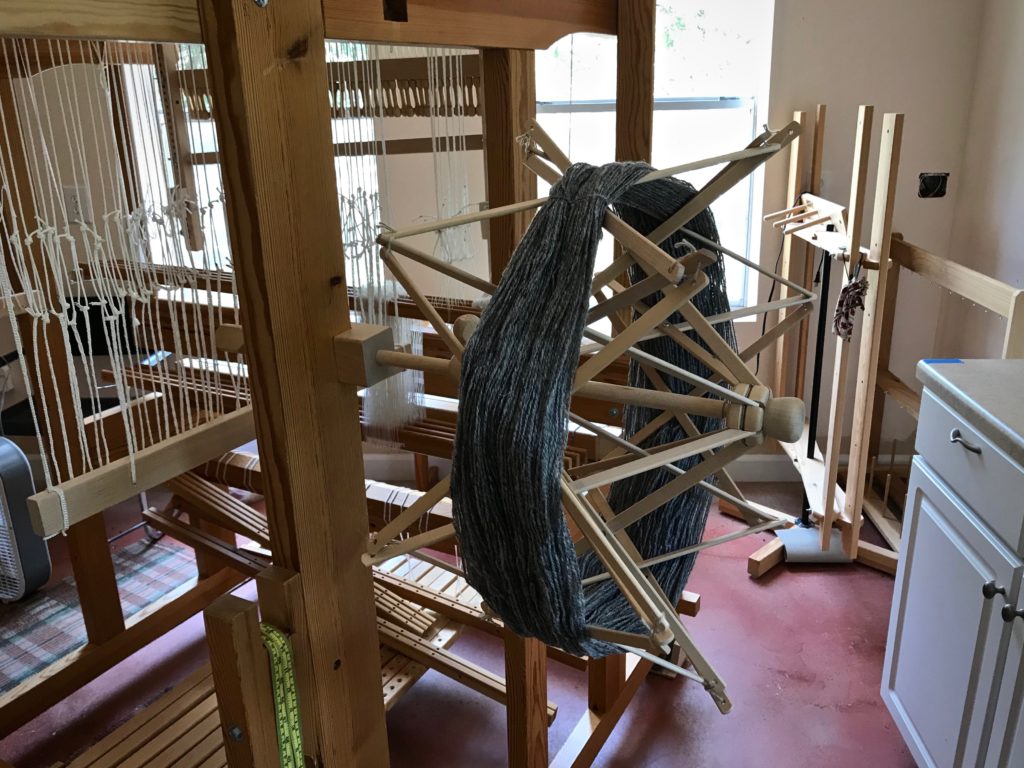
Winding skeins of wool yarn into balls.

With my first drawloom warp the most challenging part was distributing the pattern shafts. (See Q and A with Joanne Hall and Drawloom Dressing.) This time something clicked and the light bulb turned on. Instead of blindly following steps, I now understand what I am doing, and why. And I am having fun in the process!

Winding warp on the warping reel.
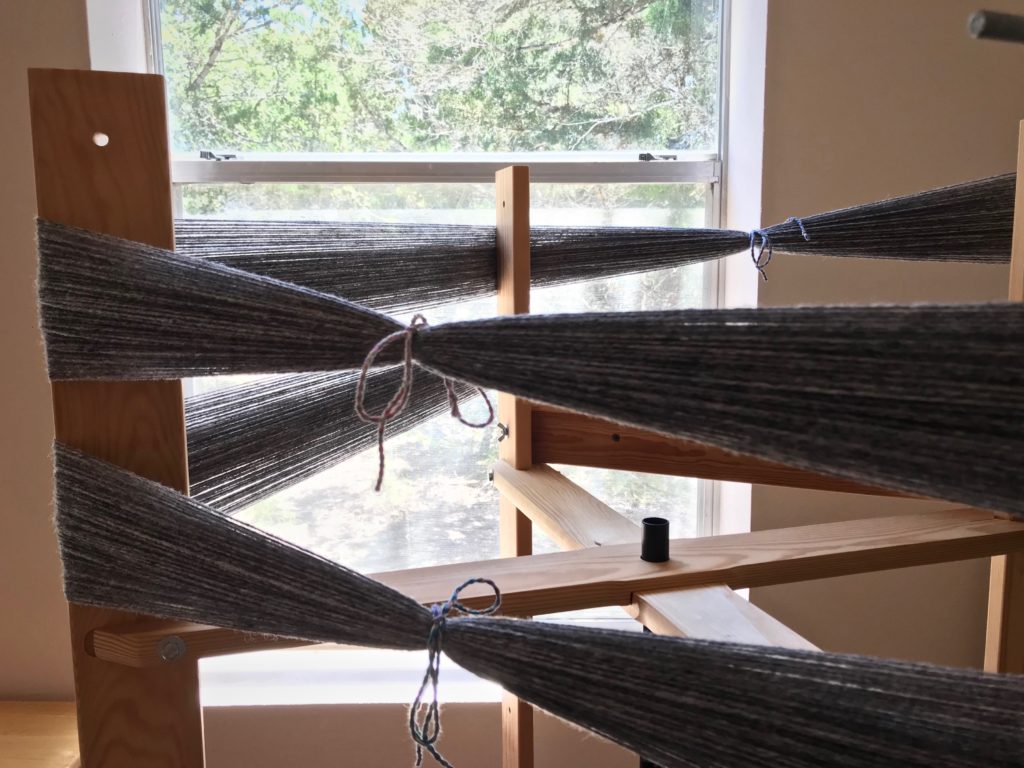
Winding the warp on the warping reel, making two bouts.
Big fat wool warp chains.
Warp chains of 6/2 Tuna wool, ready to dress the loom.
Ready to thread pattern heddles.
After beaming the warp, the loom bench is moved to the back of the loom for threading heddles. Pattern heddles first, and then, ground heddles.
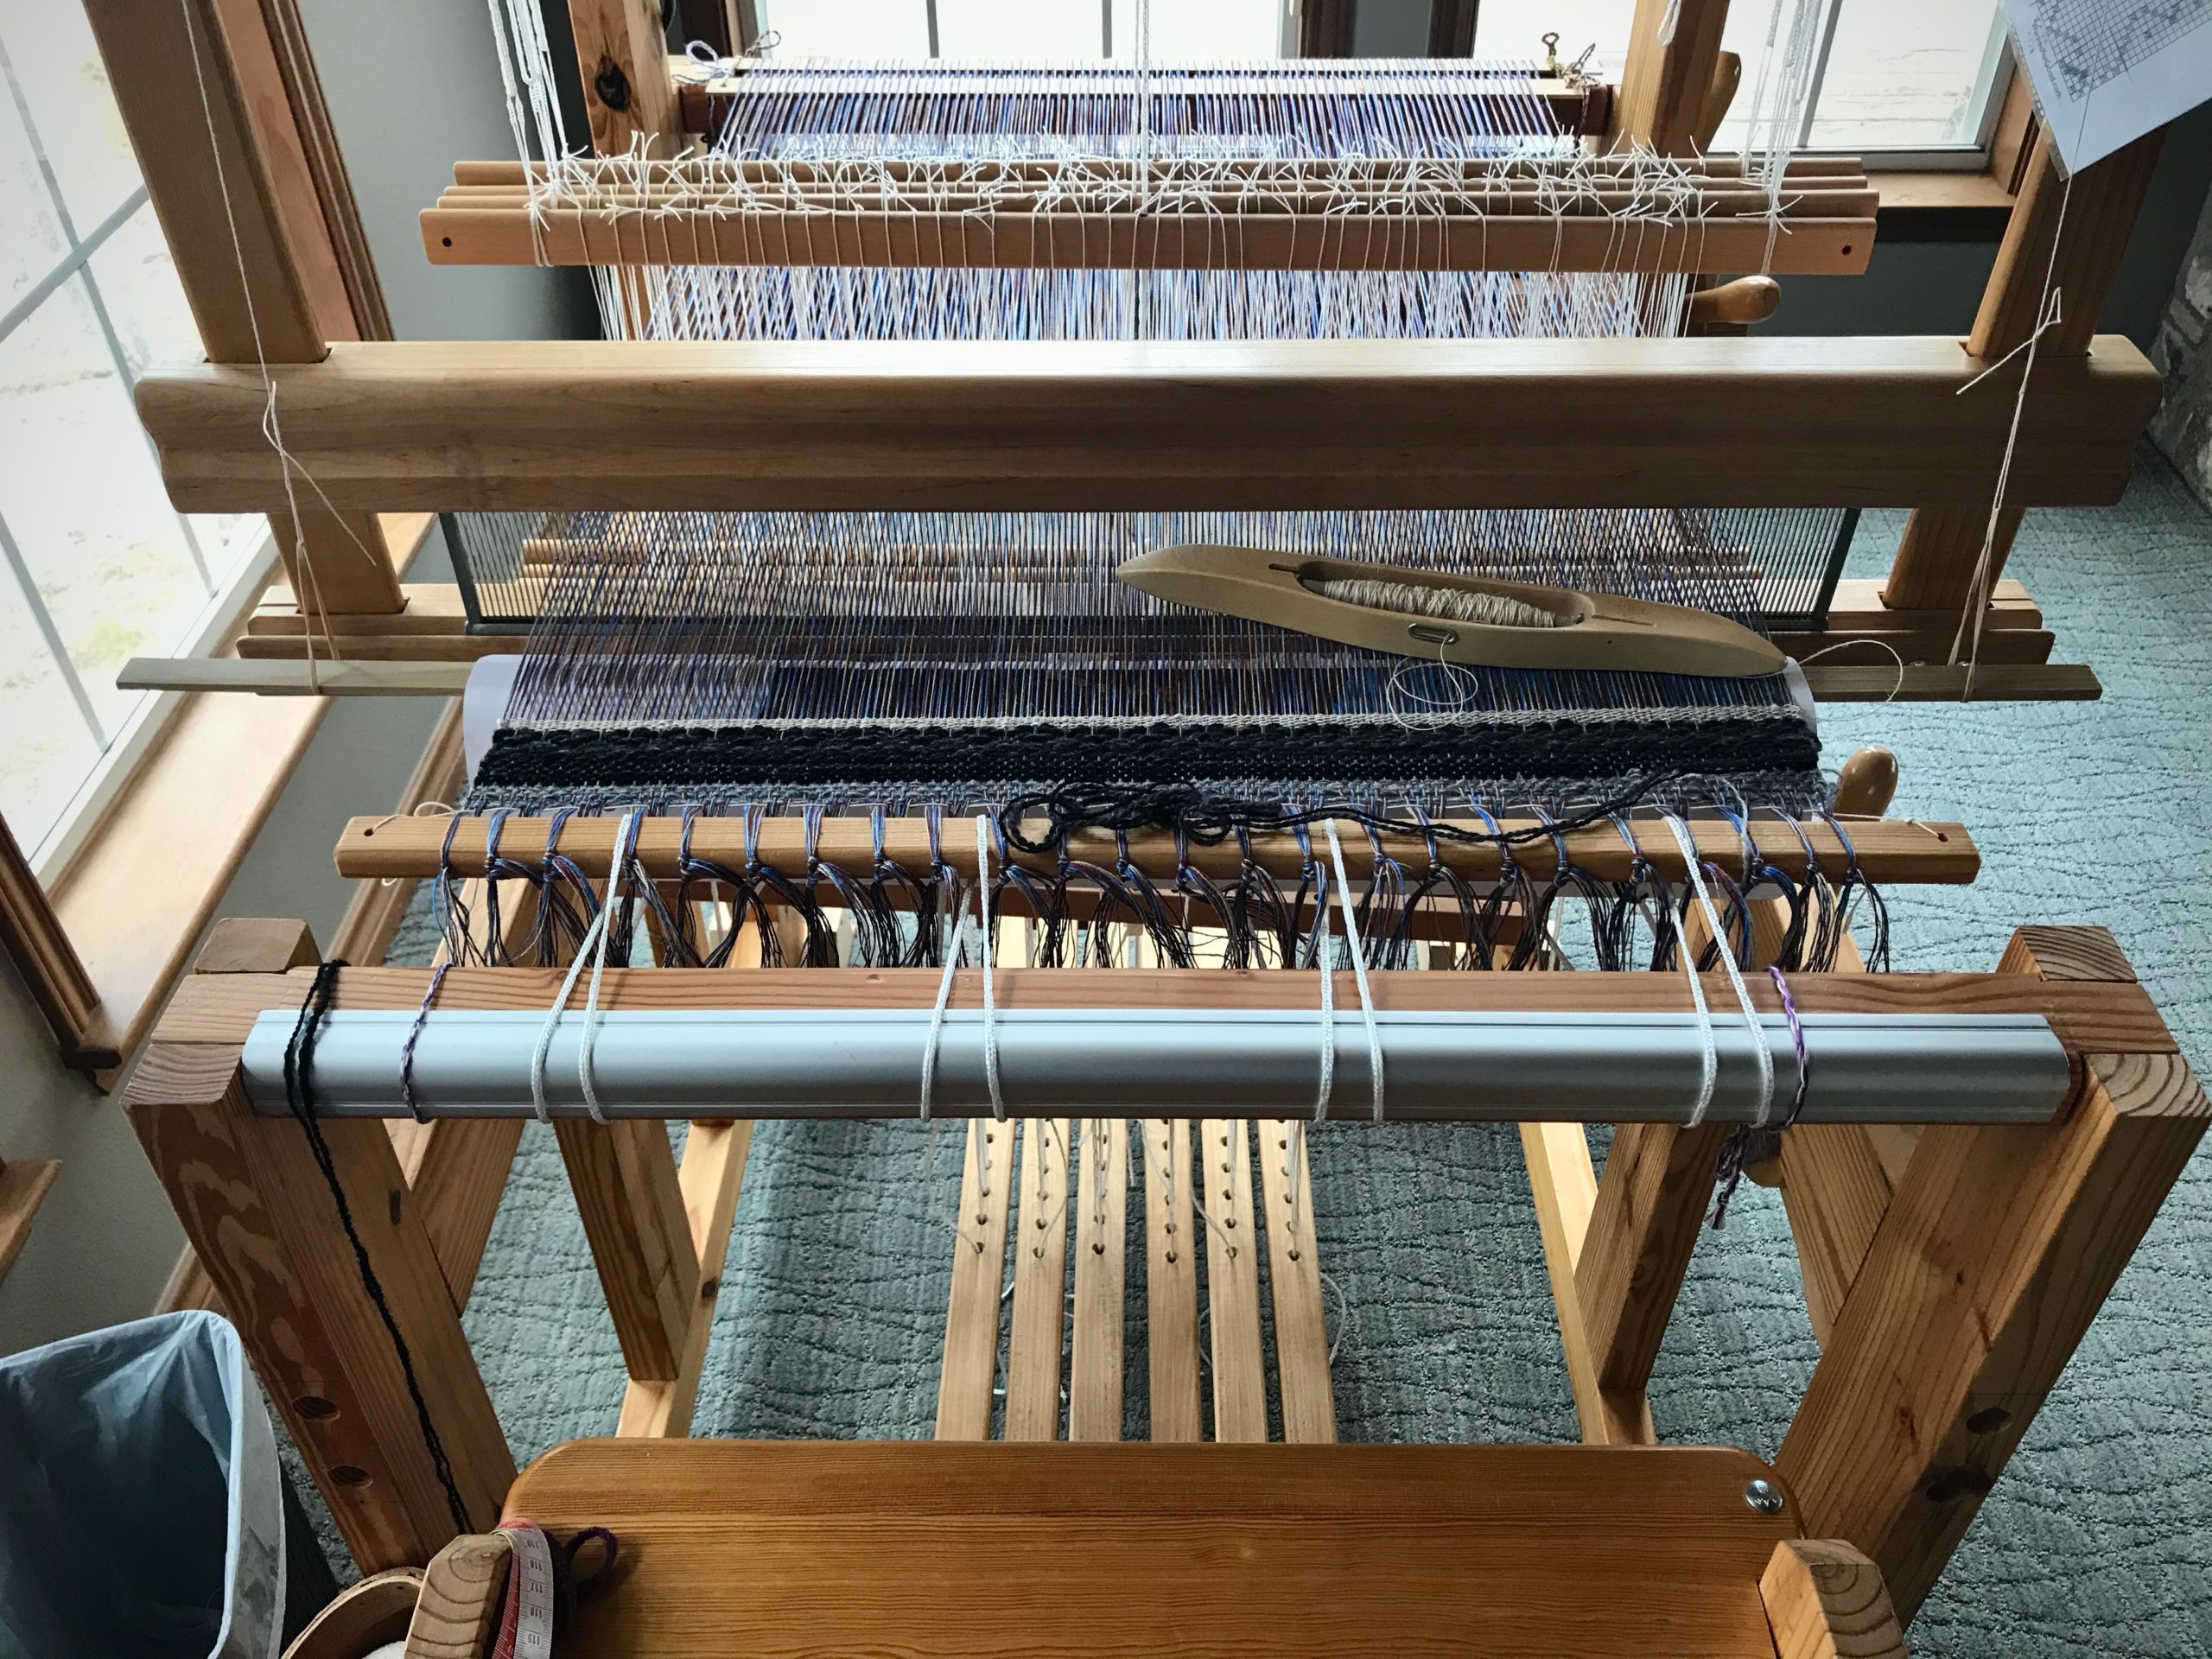
Sleying the reed on the drawloom.
With the reed sleyed, it’s time to return the ground shafts to the front of the loom and put the reed in the beater.
Leveling string is doing its job!
Warp is tied on, and the leveling string is doing its job.
Distributing pattern shafts on the drawloom.
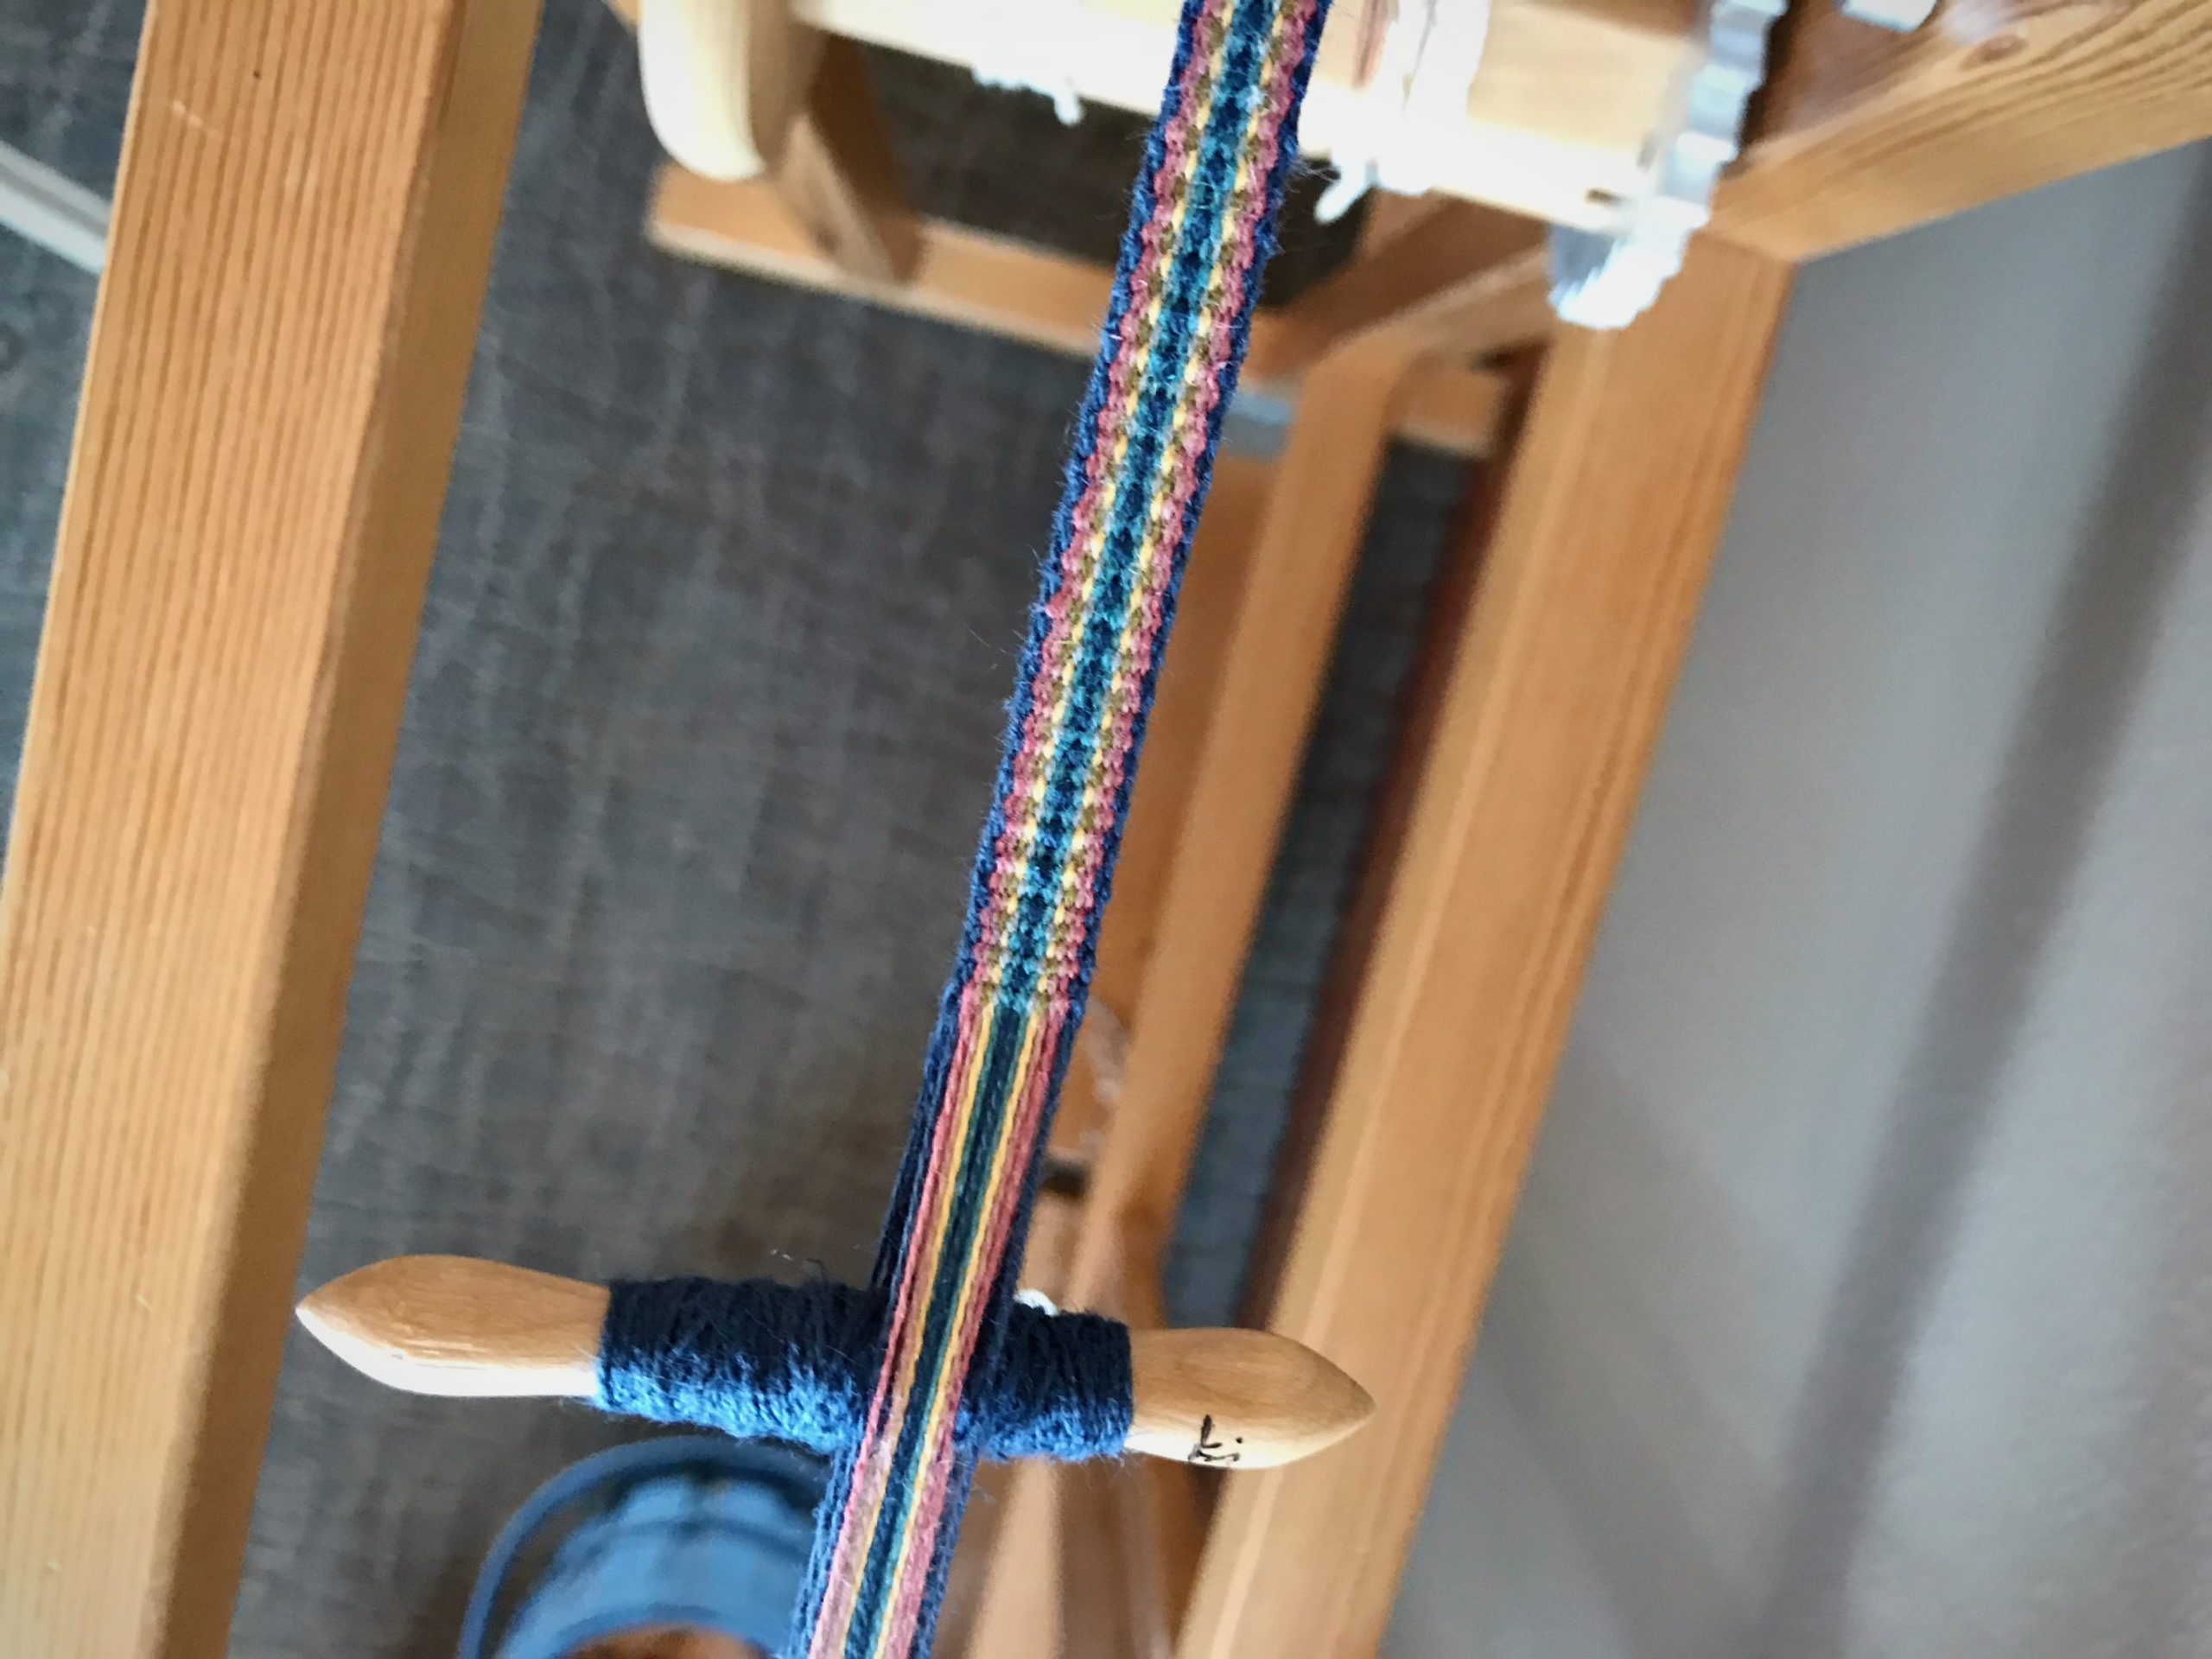
Inkle band serves to separate pattern heddles as I distribute the pattern shafts.
Adding pattern shafts to the drawloom.
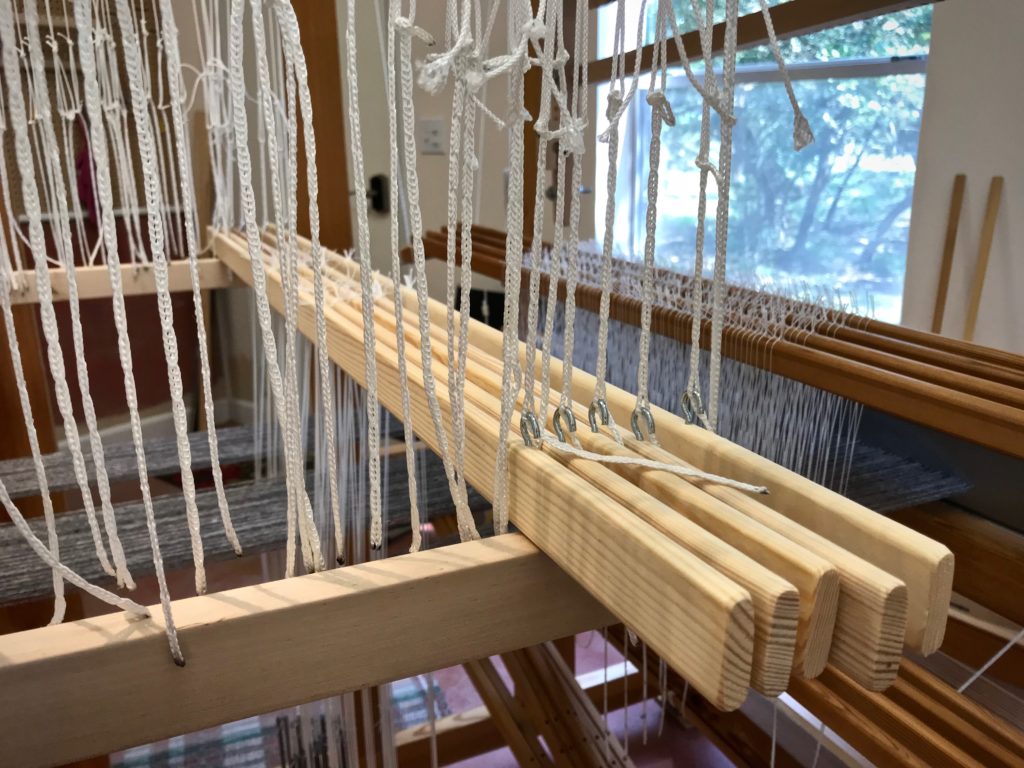
Pattern shafts are resting nicely on the pattern shaft holders. Their little hooks grab the Texsolv that connects them to the draw cords and handles.
Dressing the drawloom!
Pointed threading can be seen in the arrangement of the heddles on the pattern shafts.
Dressing the drawloom!
Drawloom setup is complete except for tying up the treadles. Treadle tie-ups on a drawloom are refreshingly simple.
Testing pattern sheds on the drawloom.
Testing pattern sheds by pulling some of the draw handles. After a few small adjustments, she’s ready to weave!
Wool on the drawloom.
First sample. 6/2 Tuna wool warp and weft, 4-shaft broken twill on the ground shafts, sett is 5.5 ends per cm, 16 pattern shafts with 1 extra shaft for the edges.

Friends, It’s that time again, when Warped for Good is put on pause for the month of July.

Thank you for sharing in this journey with me!

What’s on my looms: I am near the end of the blue double weave blanket on the Standard, and I am planning a new pictorial tapestry for that loom. The drawloom is dressed and in motion. And the Ideal loom is still sitting ready for rosepath rag rugs. Also, Steve and I have a Casita trip planned that will include some leisurely backstrap band weaving.

What’s on your loom right now? Share with us in the comments.

See you the first Tuesday of August! (In the meantime catch me over on Instagram @celloweaver.)

May your second times be better than your first times.

Keep on Weaving,
Karen
Pictorial Tapestry Weaving

Inspired by some of Joanne Hall’s exquisite large tapestries, I have been taking steps to learn her techniques. This fascinating style that is unique to Joanne enables her to weave large tapestries at a comfortable pace. My Lizard tapestry last year was a step in this direction. (See Quiet Friday: Lizard Tapestry.) One thing that the lizard taught me is how much more I need to learn. So, you can imagine my delight in having the opportunity to take a Pictorial Tapestry Weaving workshop taught by Joanne Hall last week! (Contemporary Handweavers of Texas Conference in Fort Worth was the setting.)

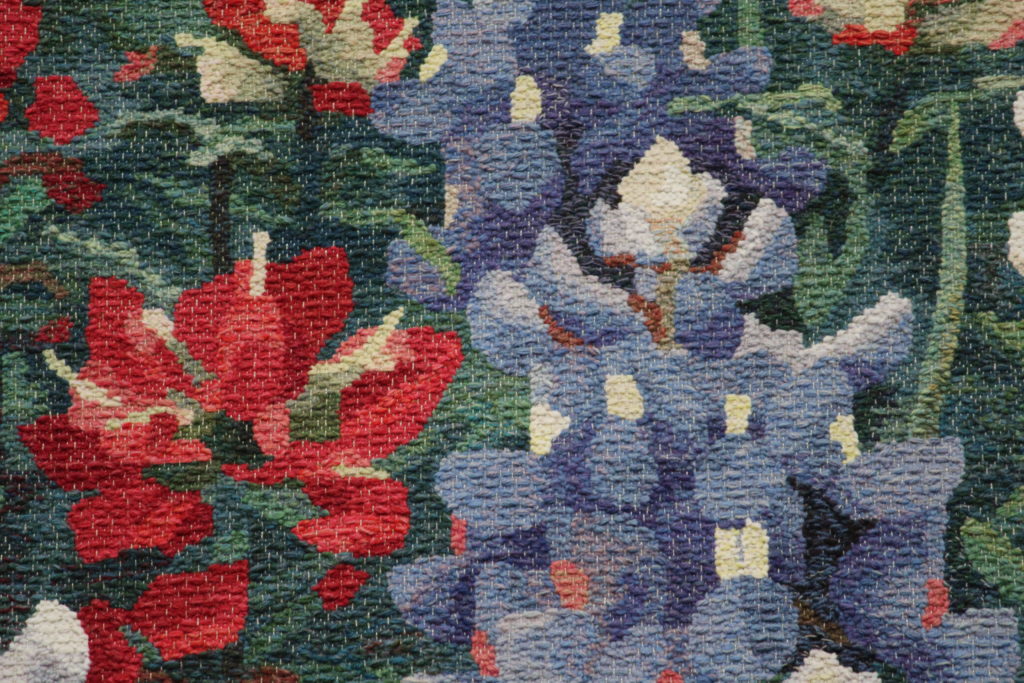
Texas Wildflowers, tapestry by Joanne Hall.
Texas Wildflowers, tapestry by Joanne Hall. Photo credit: Steve Isenhower 2013
Detail of Texas Wildflowers, tapestry by Joanne Hall.
Detail of Texas Wildflowers. Threaded in rosepath, with a linen warp. Woven with butterfly bundles of wool yarn. Photo credit: Steve Isenhower 2013

Things to remember: Don’t beat hard. Bubble the weft more. Color theory is invaluable for adding depth and intensity. Simplify the cartoon. And countless more bits of insight and instruction! I am invigorated in my pursuit to develop these tapestry skills. Expect to see a tapestry on my 120cm Glimåkra Standard in coming days.

Workshop looms.
My hand-built countermarch loom is perfect for a tapestry workshop. Betsy brought her Glimåkra Julia loom.
Tapestry sampler in Joanne Hall's workshop.
Workshop sampler gives students various tapestry techniques to practice. We learned techniques of other tapestry weavers, such as Hans Krondahl and Helena Hernmarck, as well as Joanne’s unique approach.
Tapestry workshop with Joanne Hall.
Fellow student Cindy created this pear, taking advantage of the rosepath threading to add pattern to the image.
Joanne Hall's tapestry workshop.
Joanne, center, explains the process of creating a cartoon. She spreads out photos of flowers as a starting point for students’ cartoons.
Joanne Hall's tapestry sample.
Joanne’s tapestry sample demonstrates the outcome of her process. A portion of the photo was enlarged from which she drew the cartoon.
Tapestry workshop.
Fellow student Deborah creates a flower from her original cartoon.
Making a tapestry cartoon.
I am choosing to make my cartoon from an enlarged portion of a lily photo.
Weaving from a cartoon in tapestry workshop.
Color studies and technique exercises all come together in the last part of the tapestry sampler. Weaving from a cartoon.
Tapestry progress.
Time to take the loom apart and head home. Checking my progress with the photo before packing up.
Lily sample from tapestry workshop with Joanne Hall.
Lily sample is finished at home.

I find myself pondering how experiences fall into place in our lives. There are times when the stepping stones seem to be set out before us, showing the way, when we don’t know exactly where we are going. The Lord knows where I am going. He knows me. And he kindly sets out the next steps. Perhaps he smiles as he sees our delight when we figure out that we are the bundles of yarn in his tapestry.

May your joy in learning never cease.

Happy Weaving,
Karen

Weaving Some Simple Borders

I need to free up this little loom in order to put on a different warp that has a deadline. So, now that I have returned from my travels, my attention is going to these towels. My friend is letting me weave this lovely cottolin warp that she got at Vavstuga.

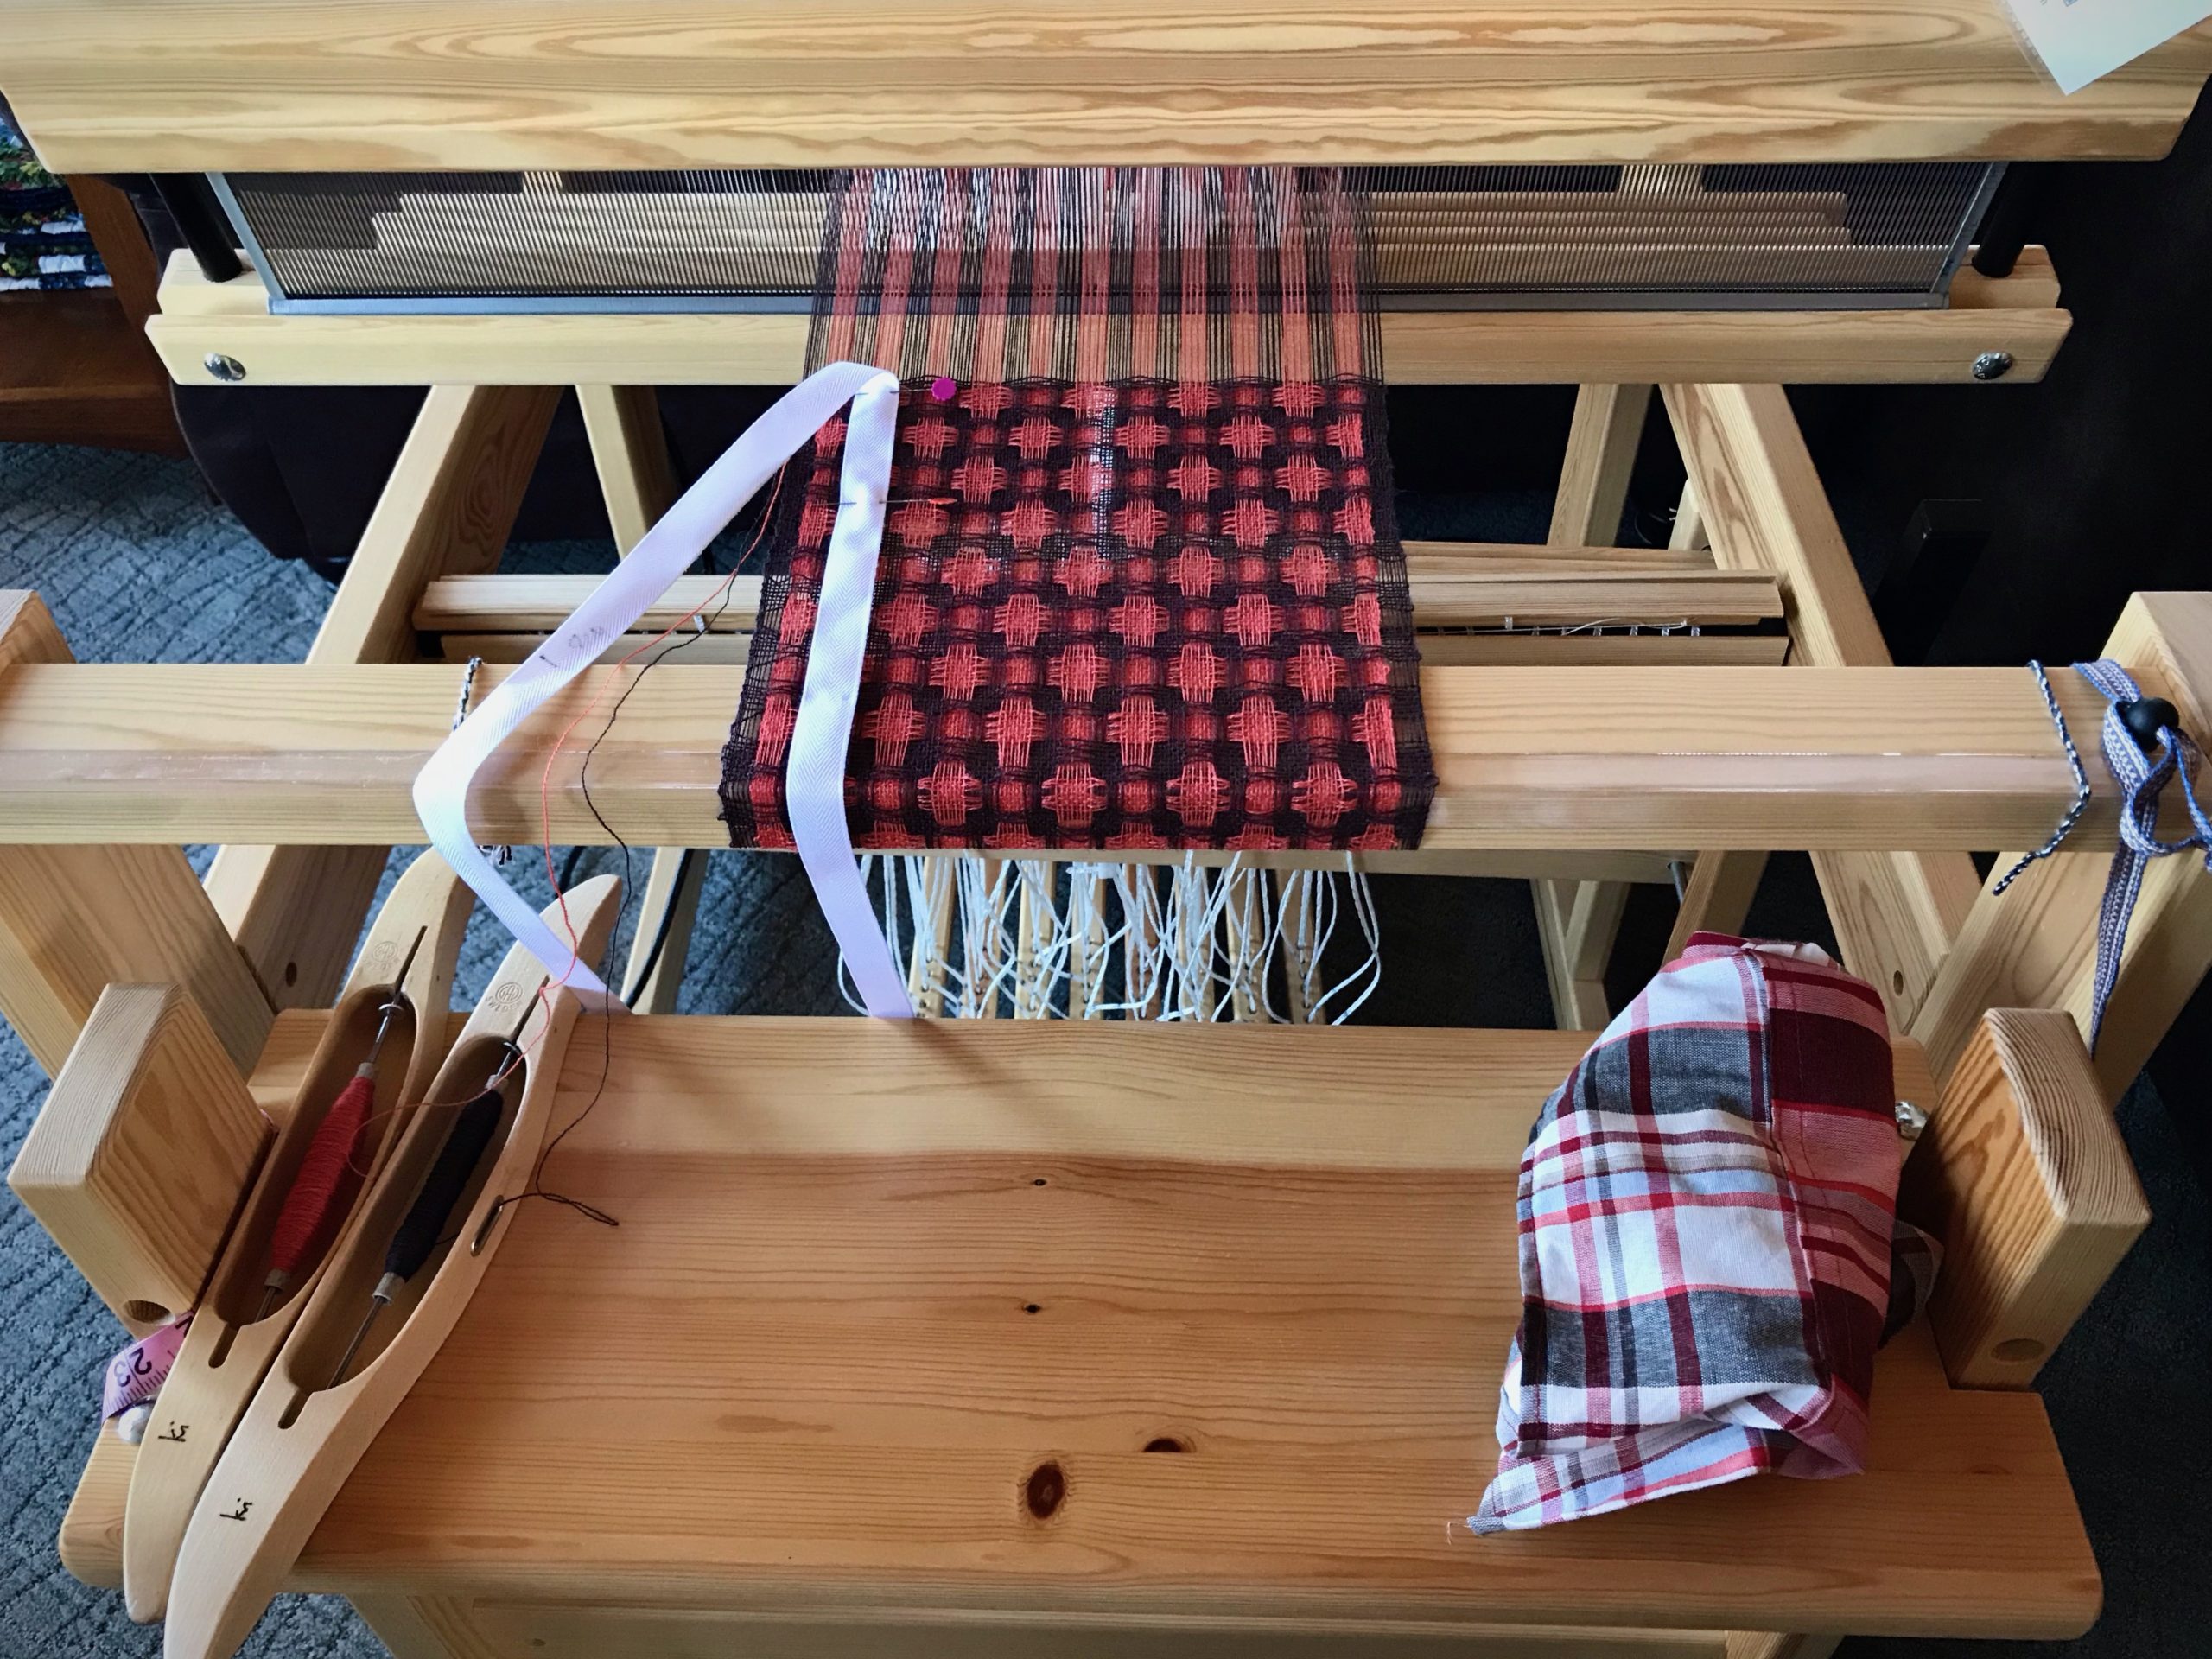
Simple border stripe in first towel of the Vavstuga towel kit.
Simple border stripe in first towel. Straight twill.
Cottolin warp and 8/1 tow linen weft.
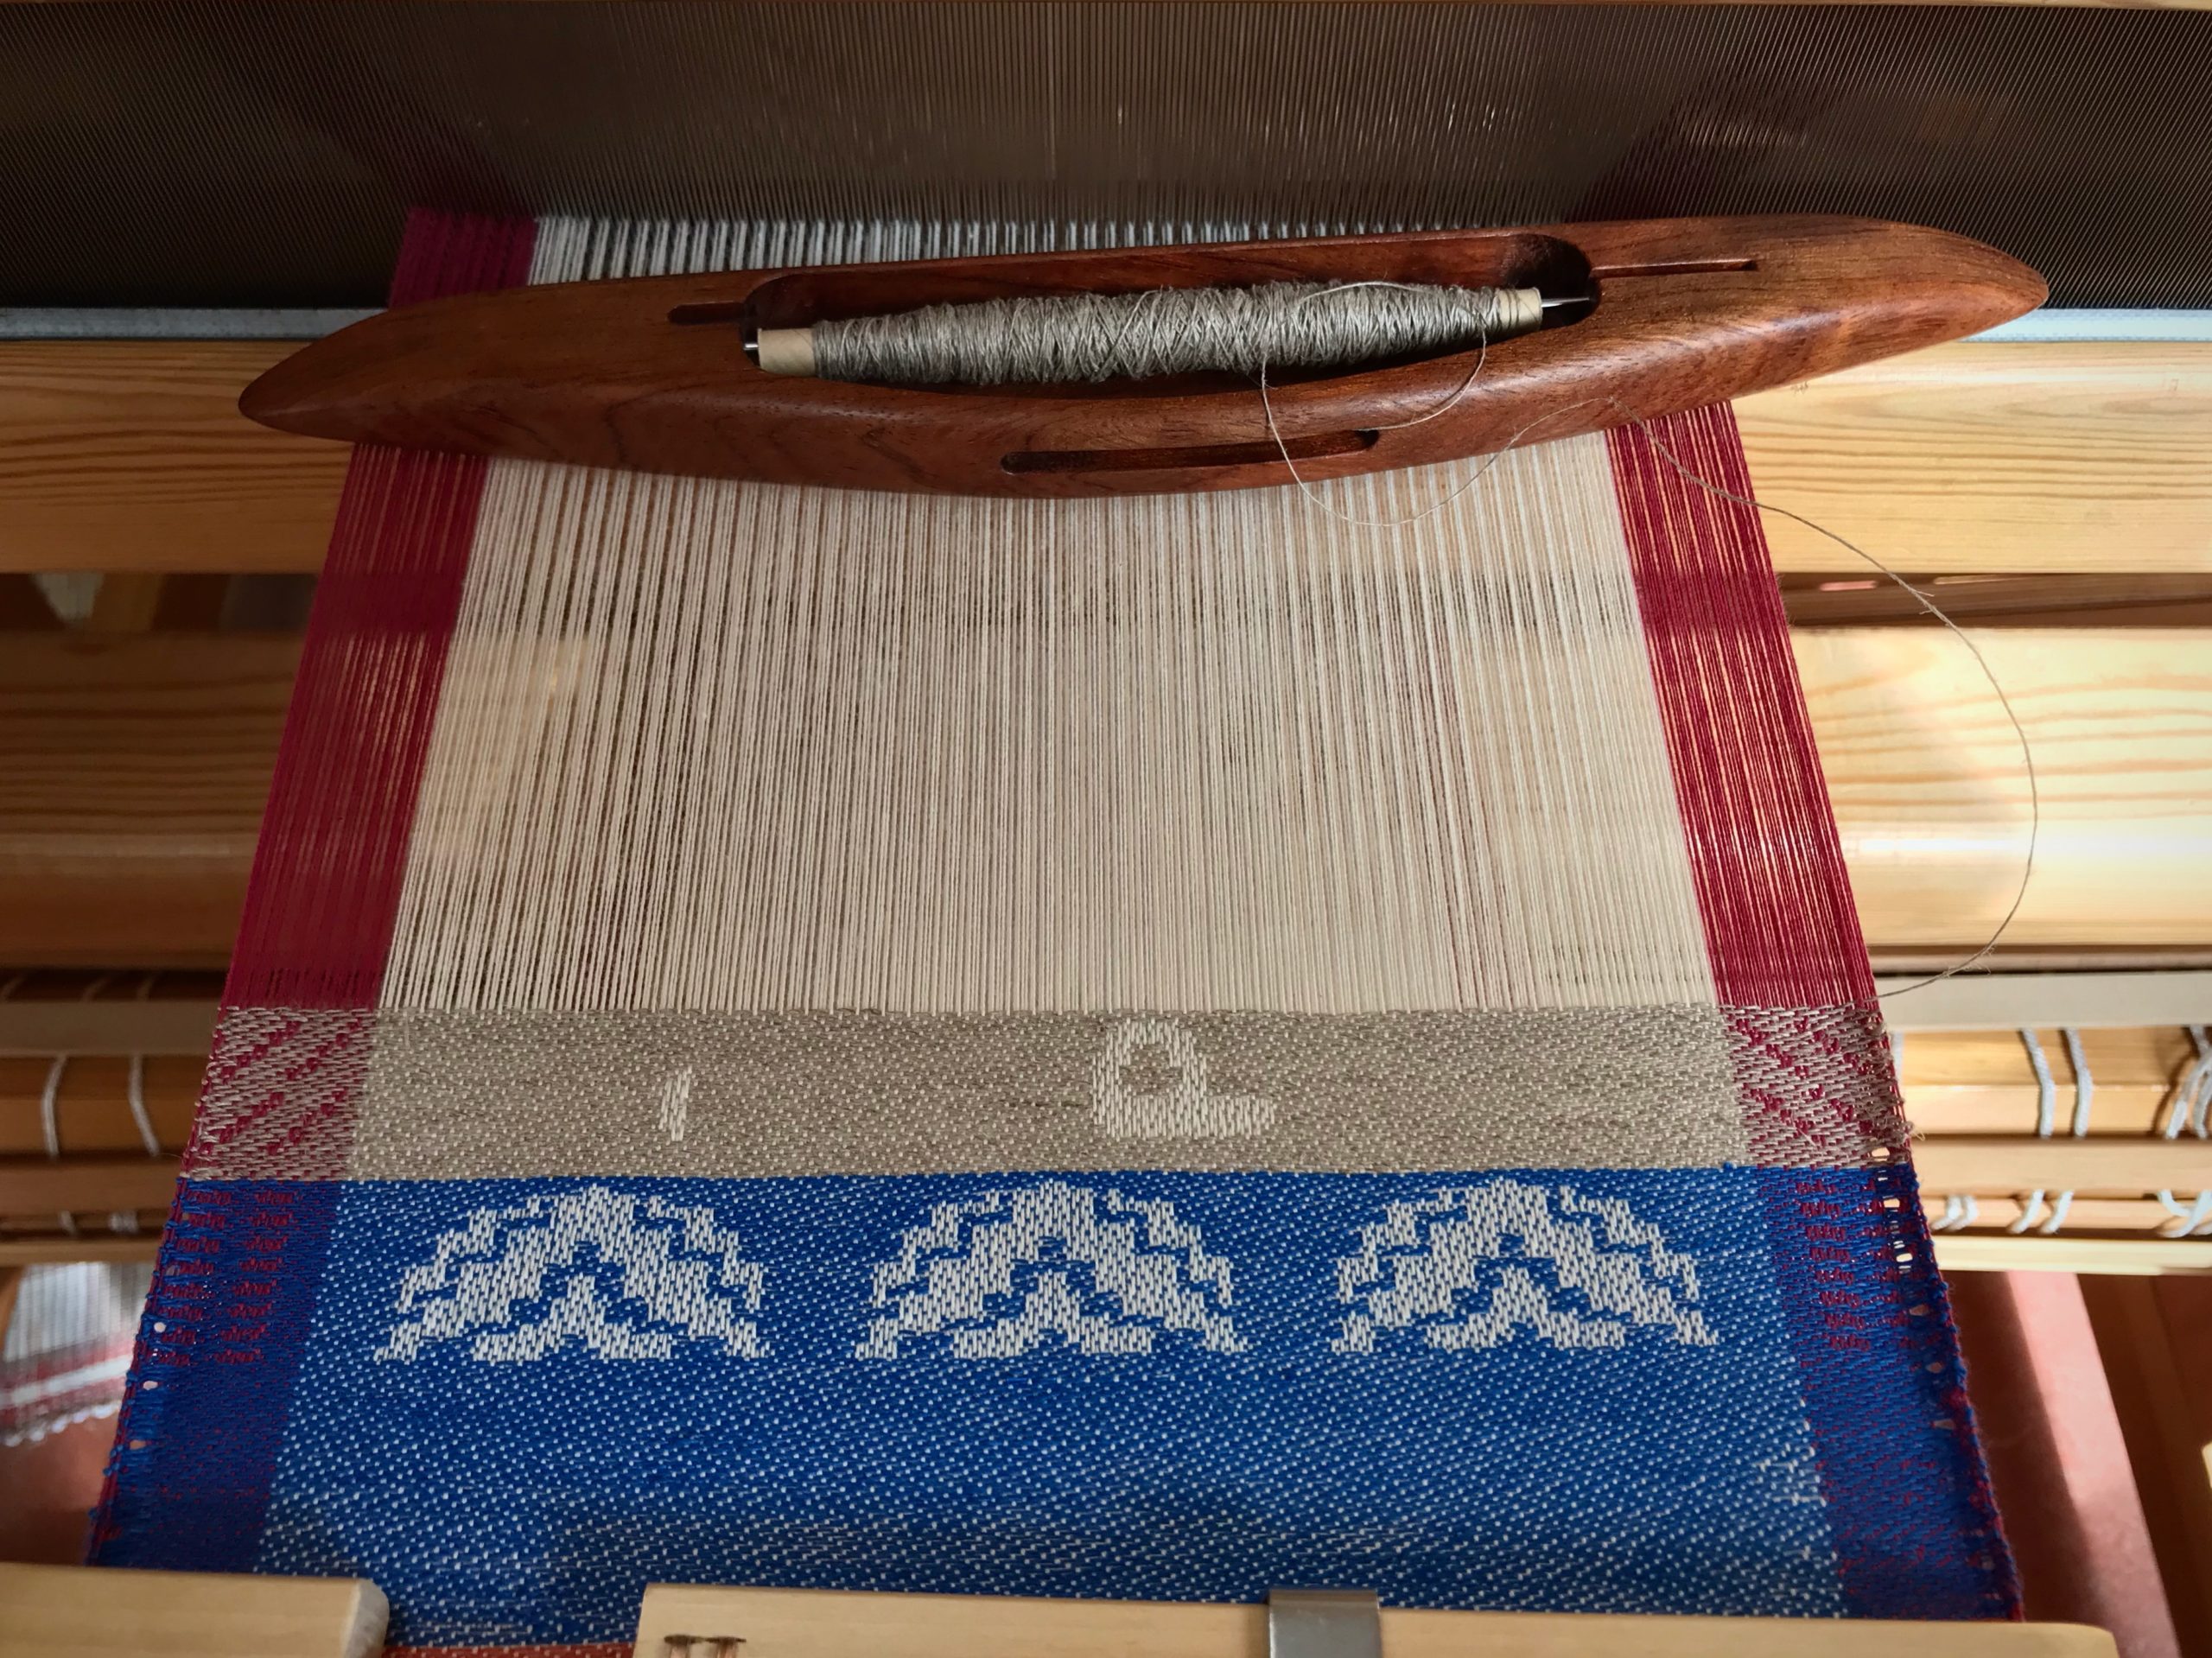
Point twill on four shafts.
Point twill on four shafts. Three horizontal stripes made with half-bleached tow linen weft.

Straight twill, point twill, broken twill, and now “rick-rack.” And after that, a couple towels in plain weave. Everyone who weaves this Vavstuga towel kit and follows the instructions will end up with the same six towels. True? Not necessarily. I like to step off the expected path. That is why I vary the weft and include some type of simple border design on each towel.

Loom with a view. Texas Hill Country.
Three colors of 8/1 tow linen sit on the little blue table as choices for weft. Half-bleached, Unbleached, and Bronze.
Broken twill for a cottolin towel.
Changed the tie-up to broken twill, which allows me to keep a simple straight treadling pattern. Dashed weft pattern for the border stripe is produced by alternating the bronze linen weft with the half-bleached linen weft.
Color-blocked towel uses three neutral weft colors.
Long wavy vertical lines give the appearance of rick-rack. Again, I changed the tie-up to keep the simple straight treadling pattern. I use all three weft colors in this color-blocked towel.
Cottolin towels with 8/1 tow linen weft.
Plain weave, with four shafts and two treadles. The main body of the towel uses the unbleached linen weft. Two picks of half-bleached linen are sandwiched between several rows of bronze linen weft.

There is a wide path that is crowded with many people. It’s the common and expected way of life. It’s where you stay if you want to fit in with everyone else. But if you search for it, you’ll find an uncommon path. It’s narrow; and few find it. It’s the path of life that is found in Jesus Christ. Stand in the narrow path. That is where your unique features will show up as border designs that set you apart as a cherished child of God.

May you be set apart.

Happy weaving,
Karen